
ClioSport.net
-
When you purchase through links on our site, we may earn an affiliate commission. Read more here.
You are using an out of date browser. It may not display this or other websites correctly.
You should upgrade or use an alternative browser.
You should upgrade or use an alternative browser.
Project #075
- Thread starter Mutch88
- Start date

Stefan.
ClioSport Club Member
Looks like its in need of abit of tlc
Im a major fan of oem trophies!!!
Im a major fan of oem trophies!!!
Odd that it has a ph1 boot lid
Such a shame to see a Trophy looking like this 
Looking forward to seeing it progress.
Looking forward to seeing it progress.
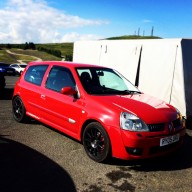
Clio 182 Trophy
So I made some progress finally with the Trophy. This week I ordered up some new brakes for the car through George at RoadTrackRace.com and a quick trip to Autoparts, as it will be going for an MOT this coming week and the old ones were in horrific condition.
So Friday came and the new Discs and pads arrived, and work commenced on the Trophy.
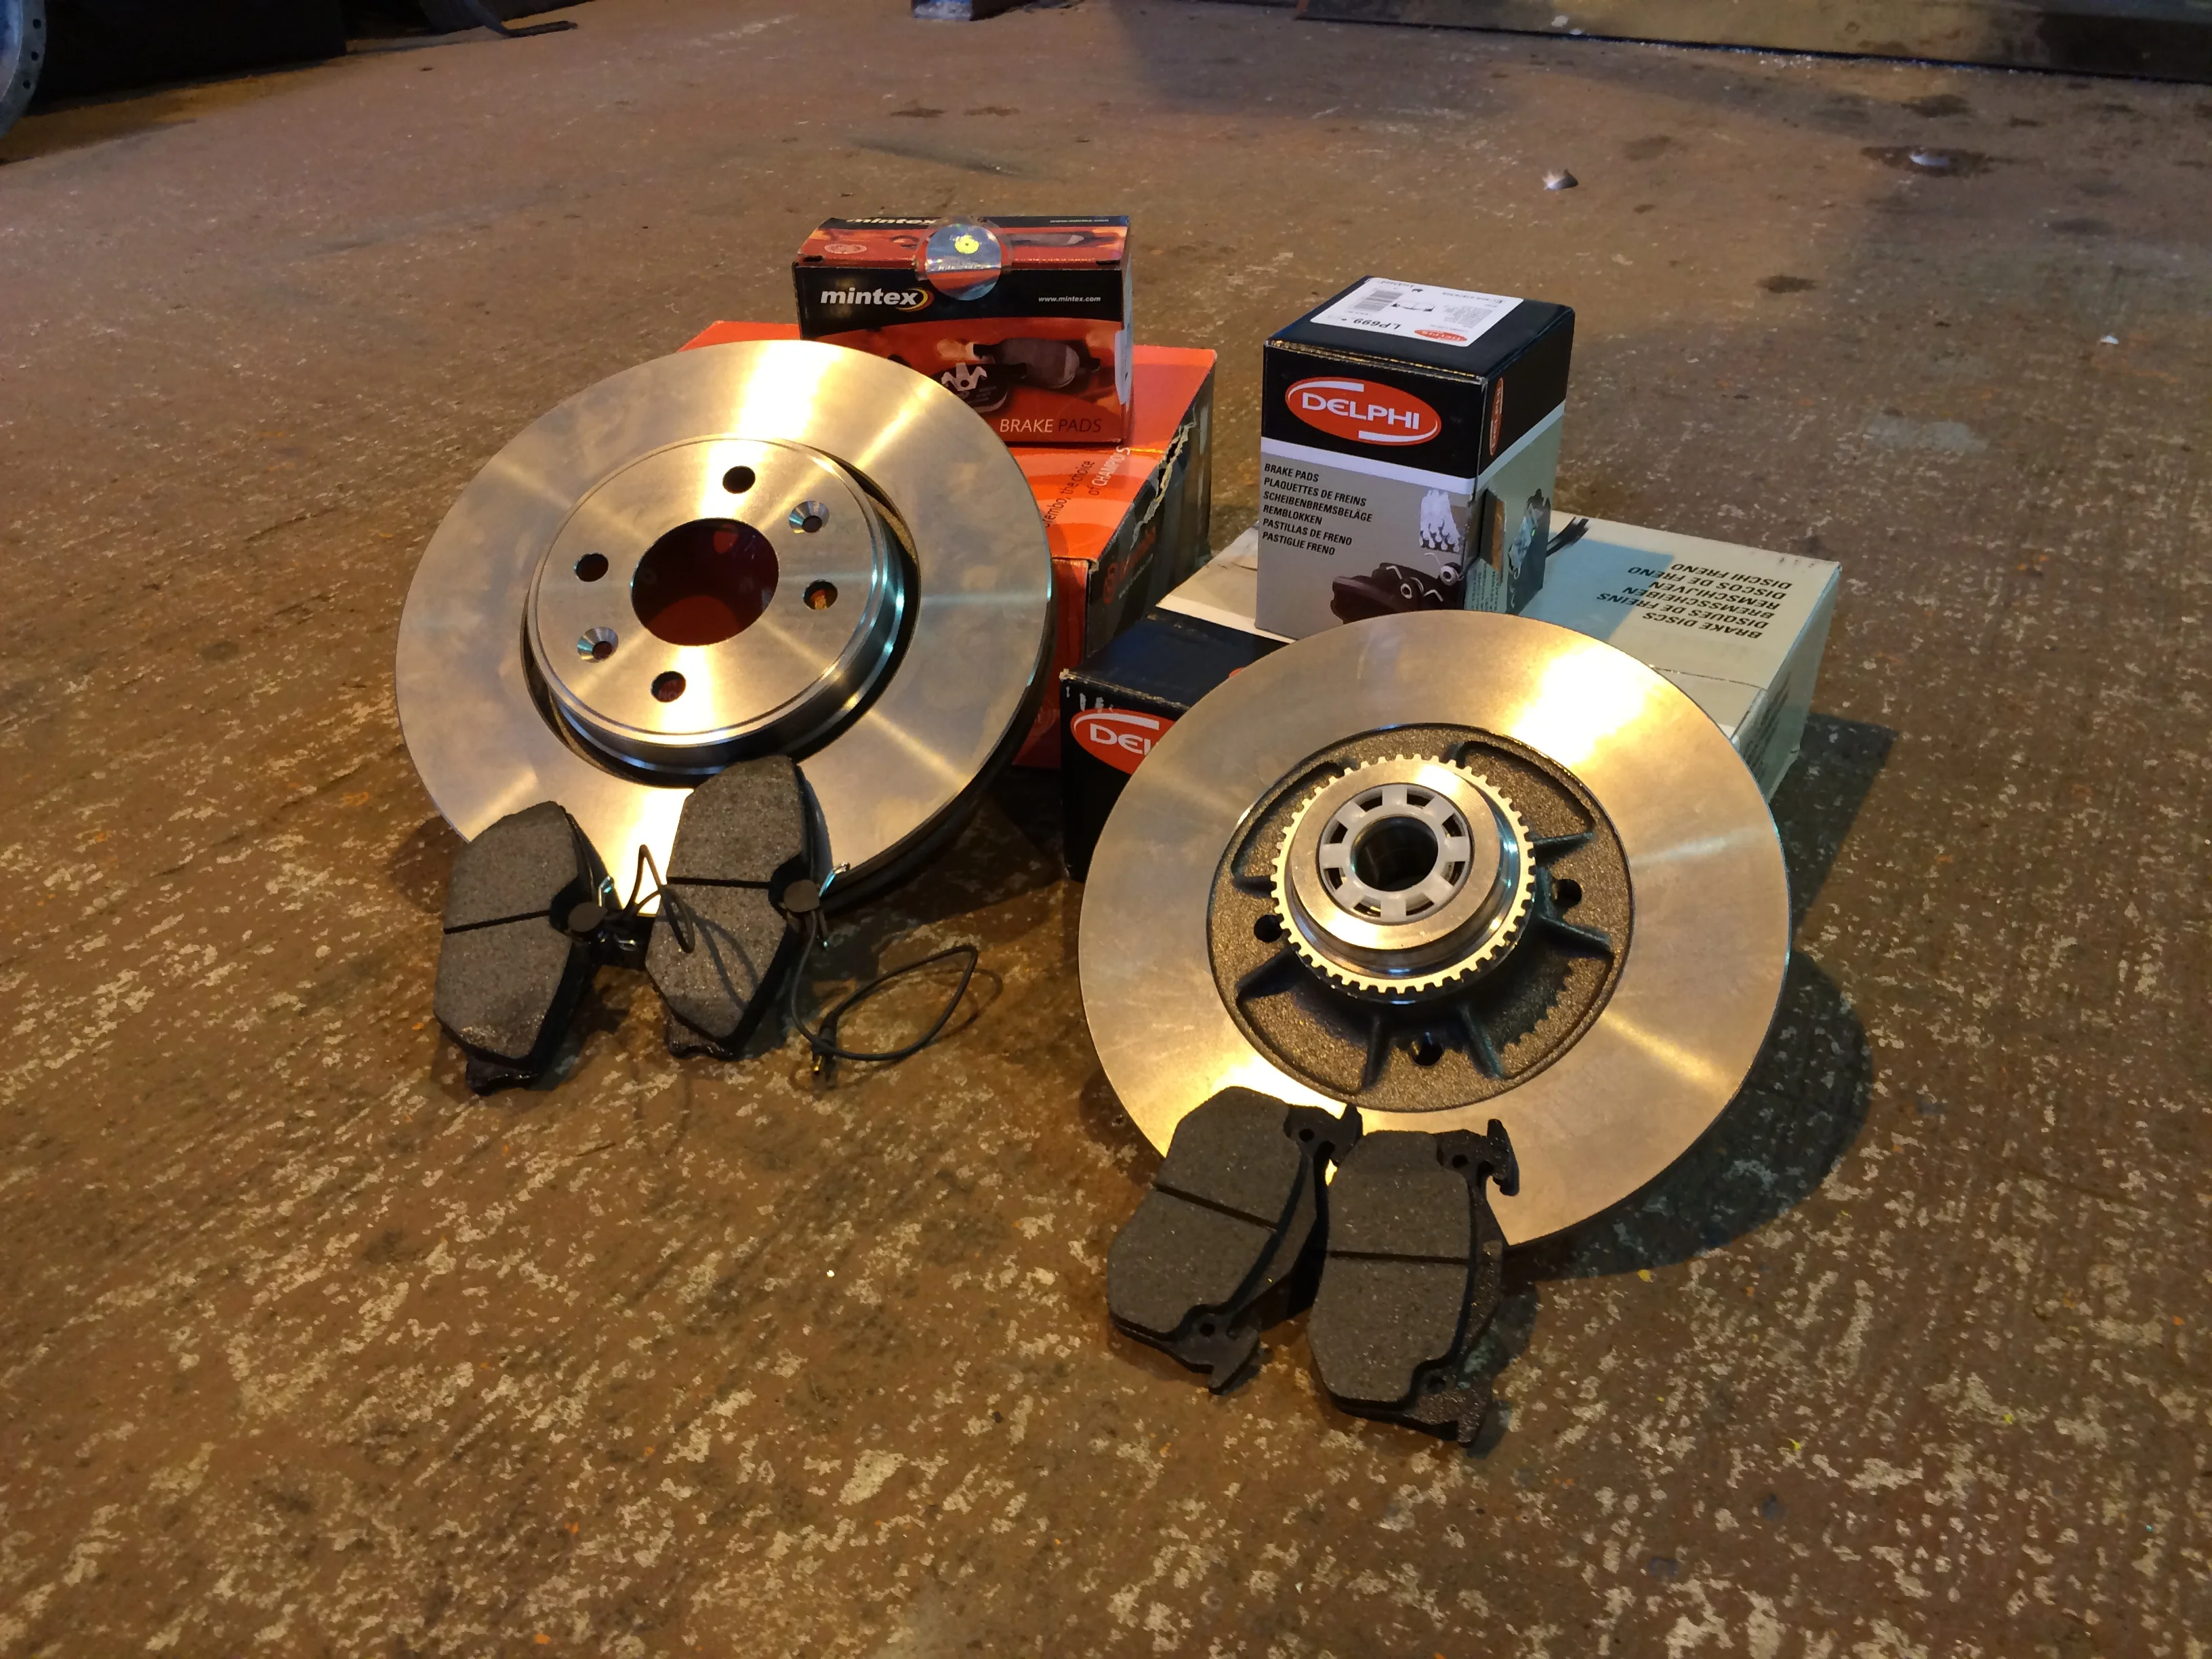
For the front, I opted for Mintex Pads and Brembo HC discs from George at roadtrackraceparts.com.
Then for the back, I ordered some Delphi discs and pads (unsure of how good these are compared to brembo pads)
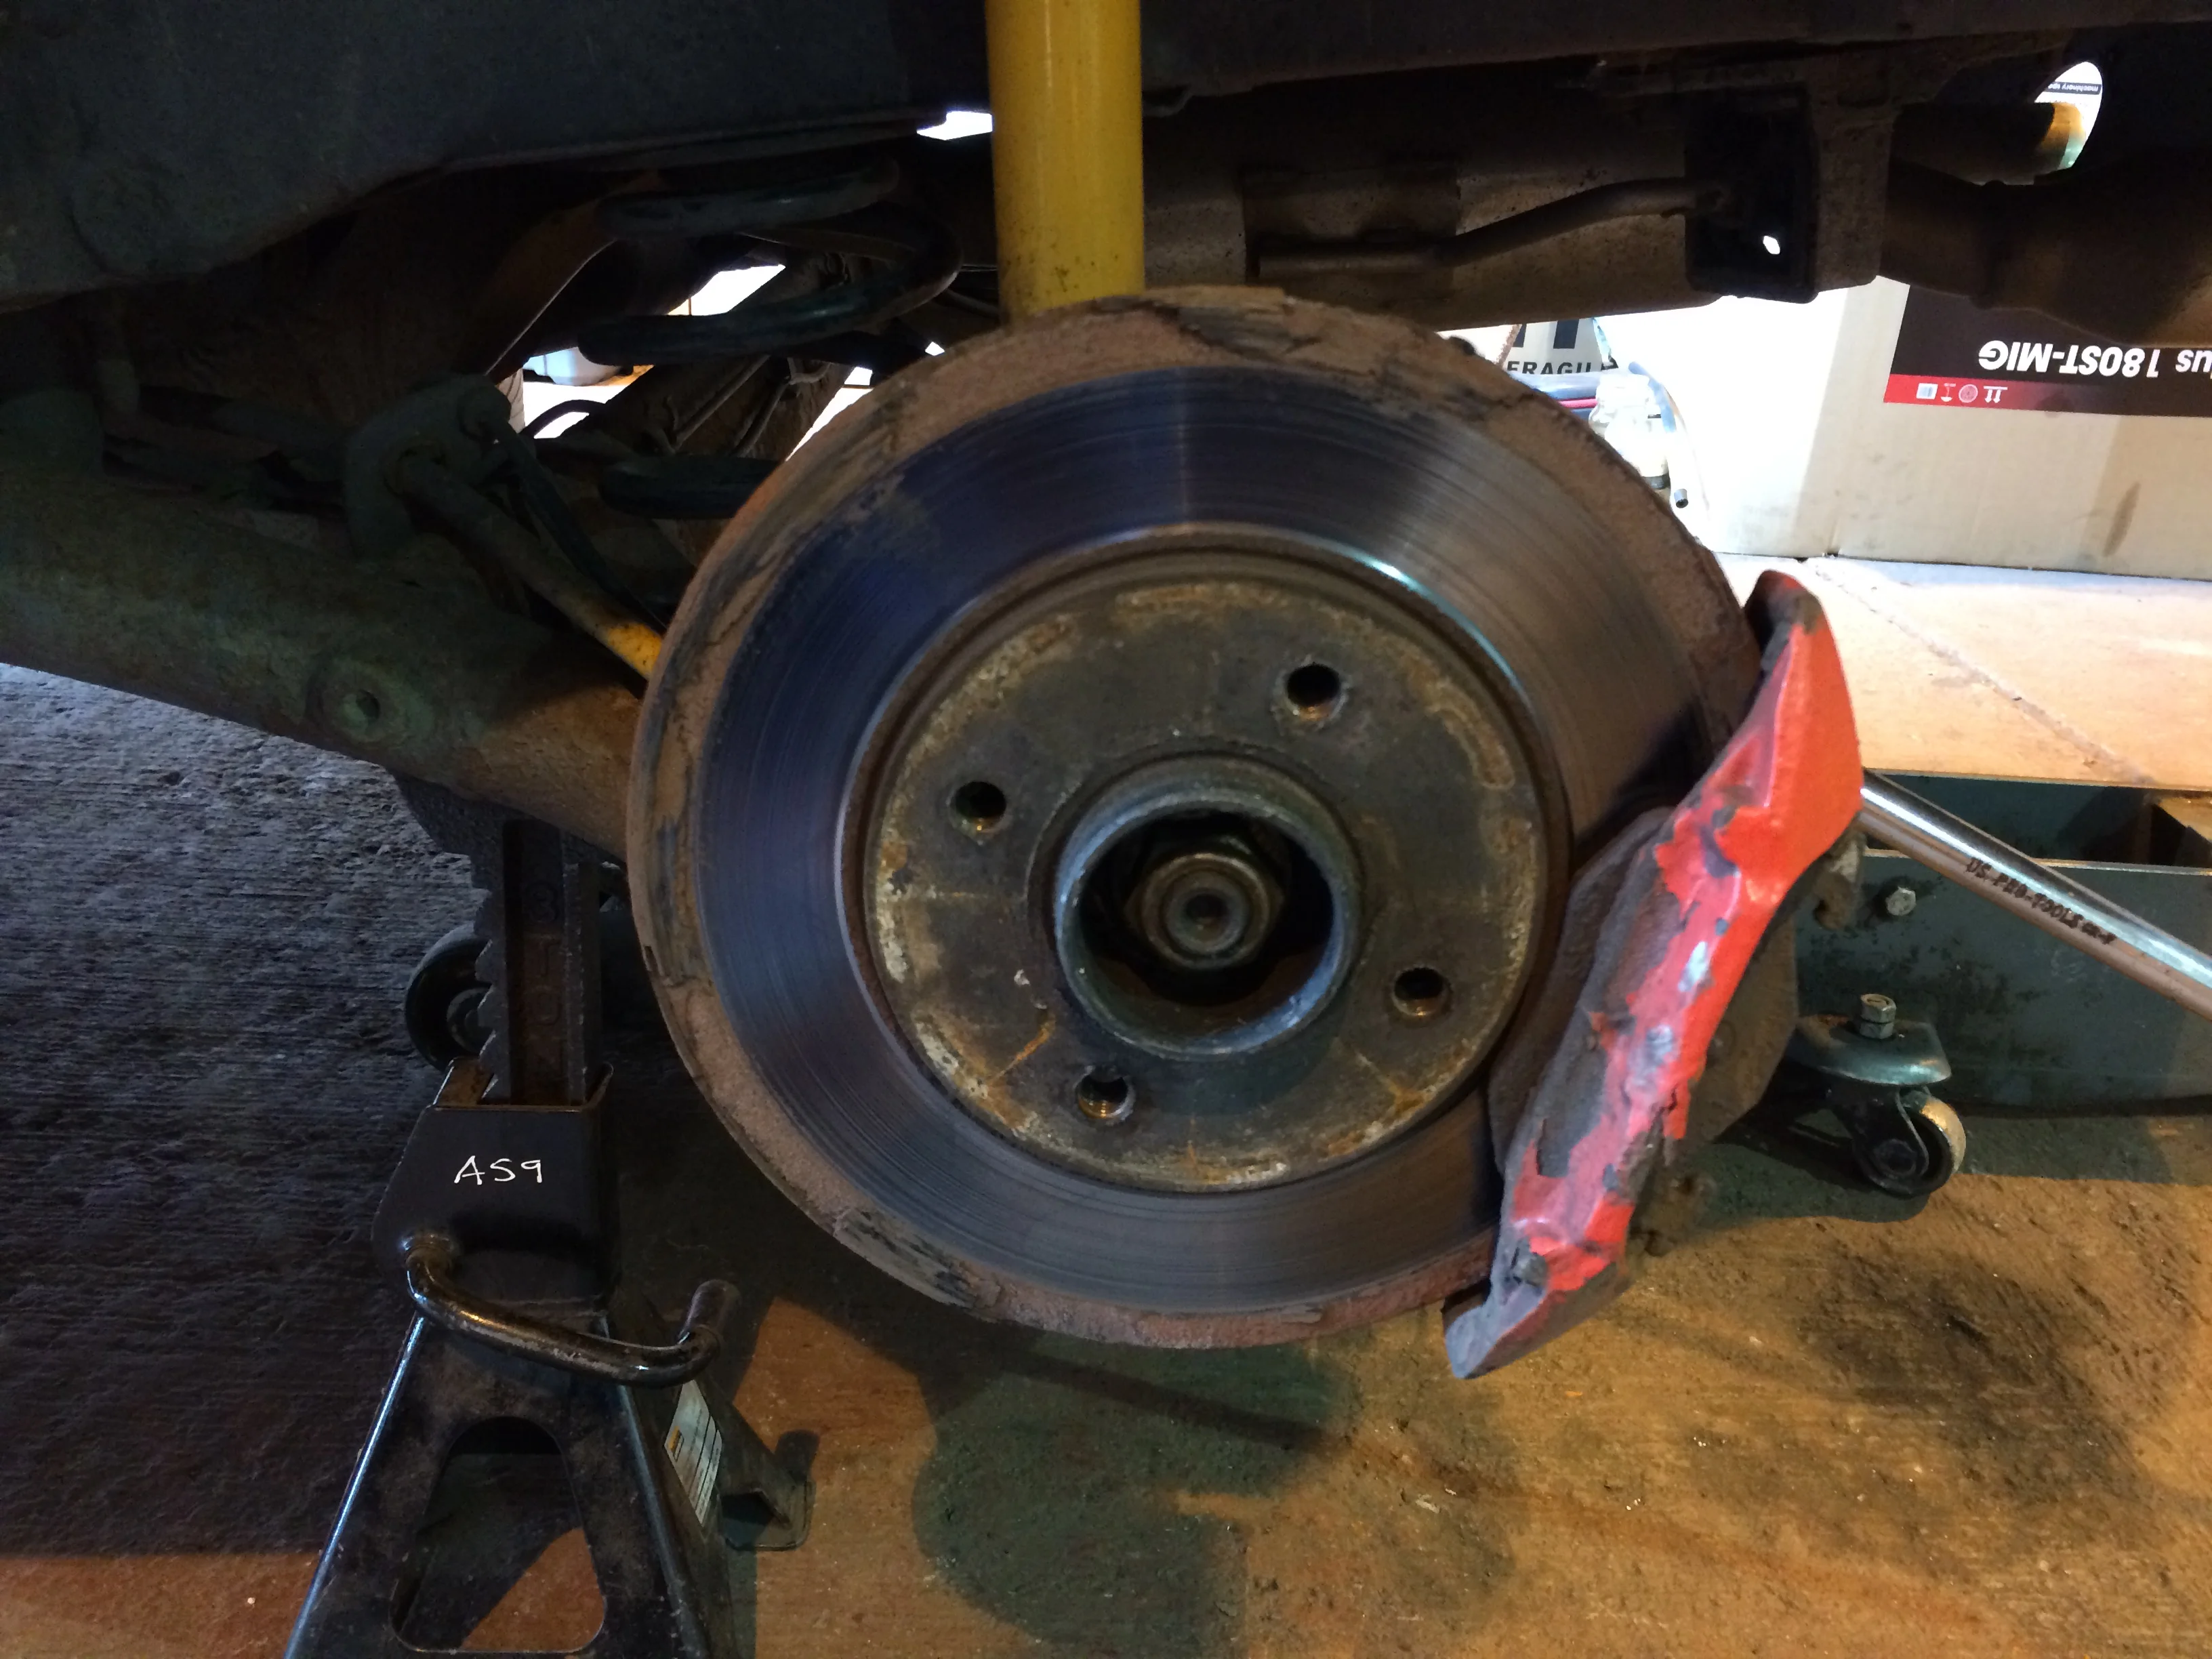
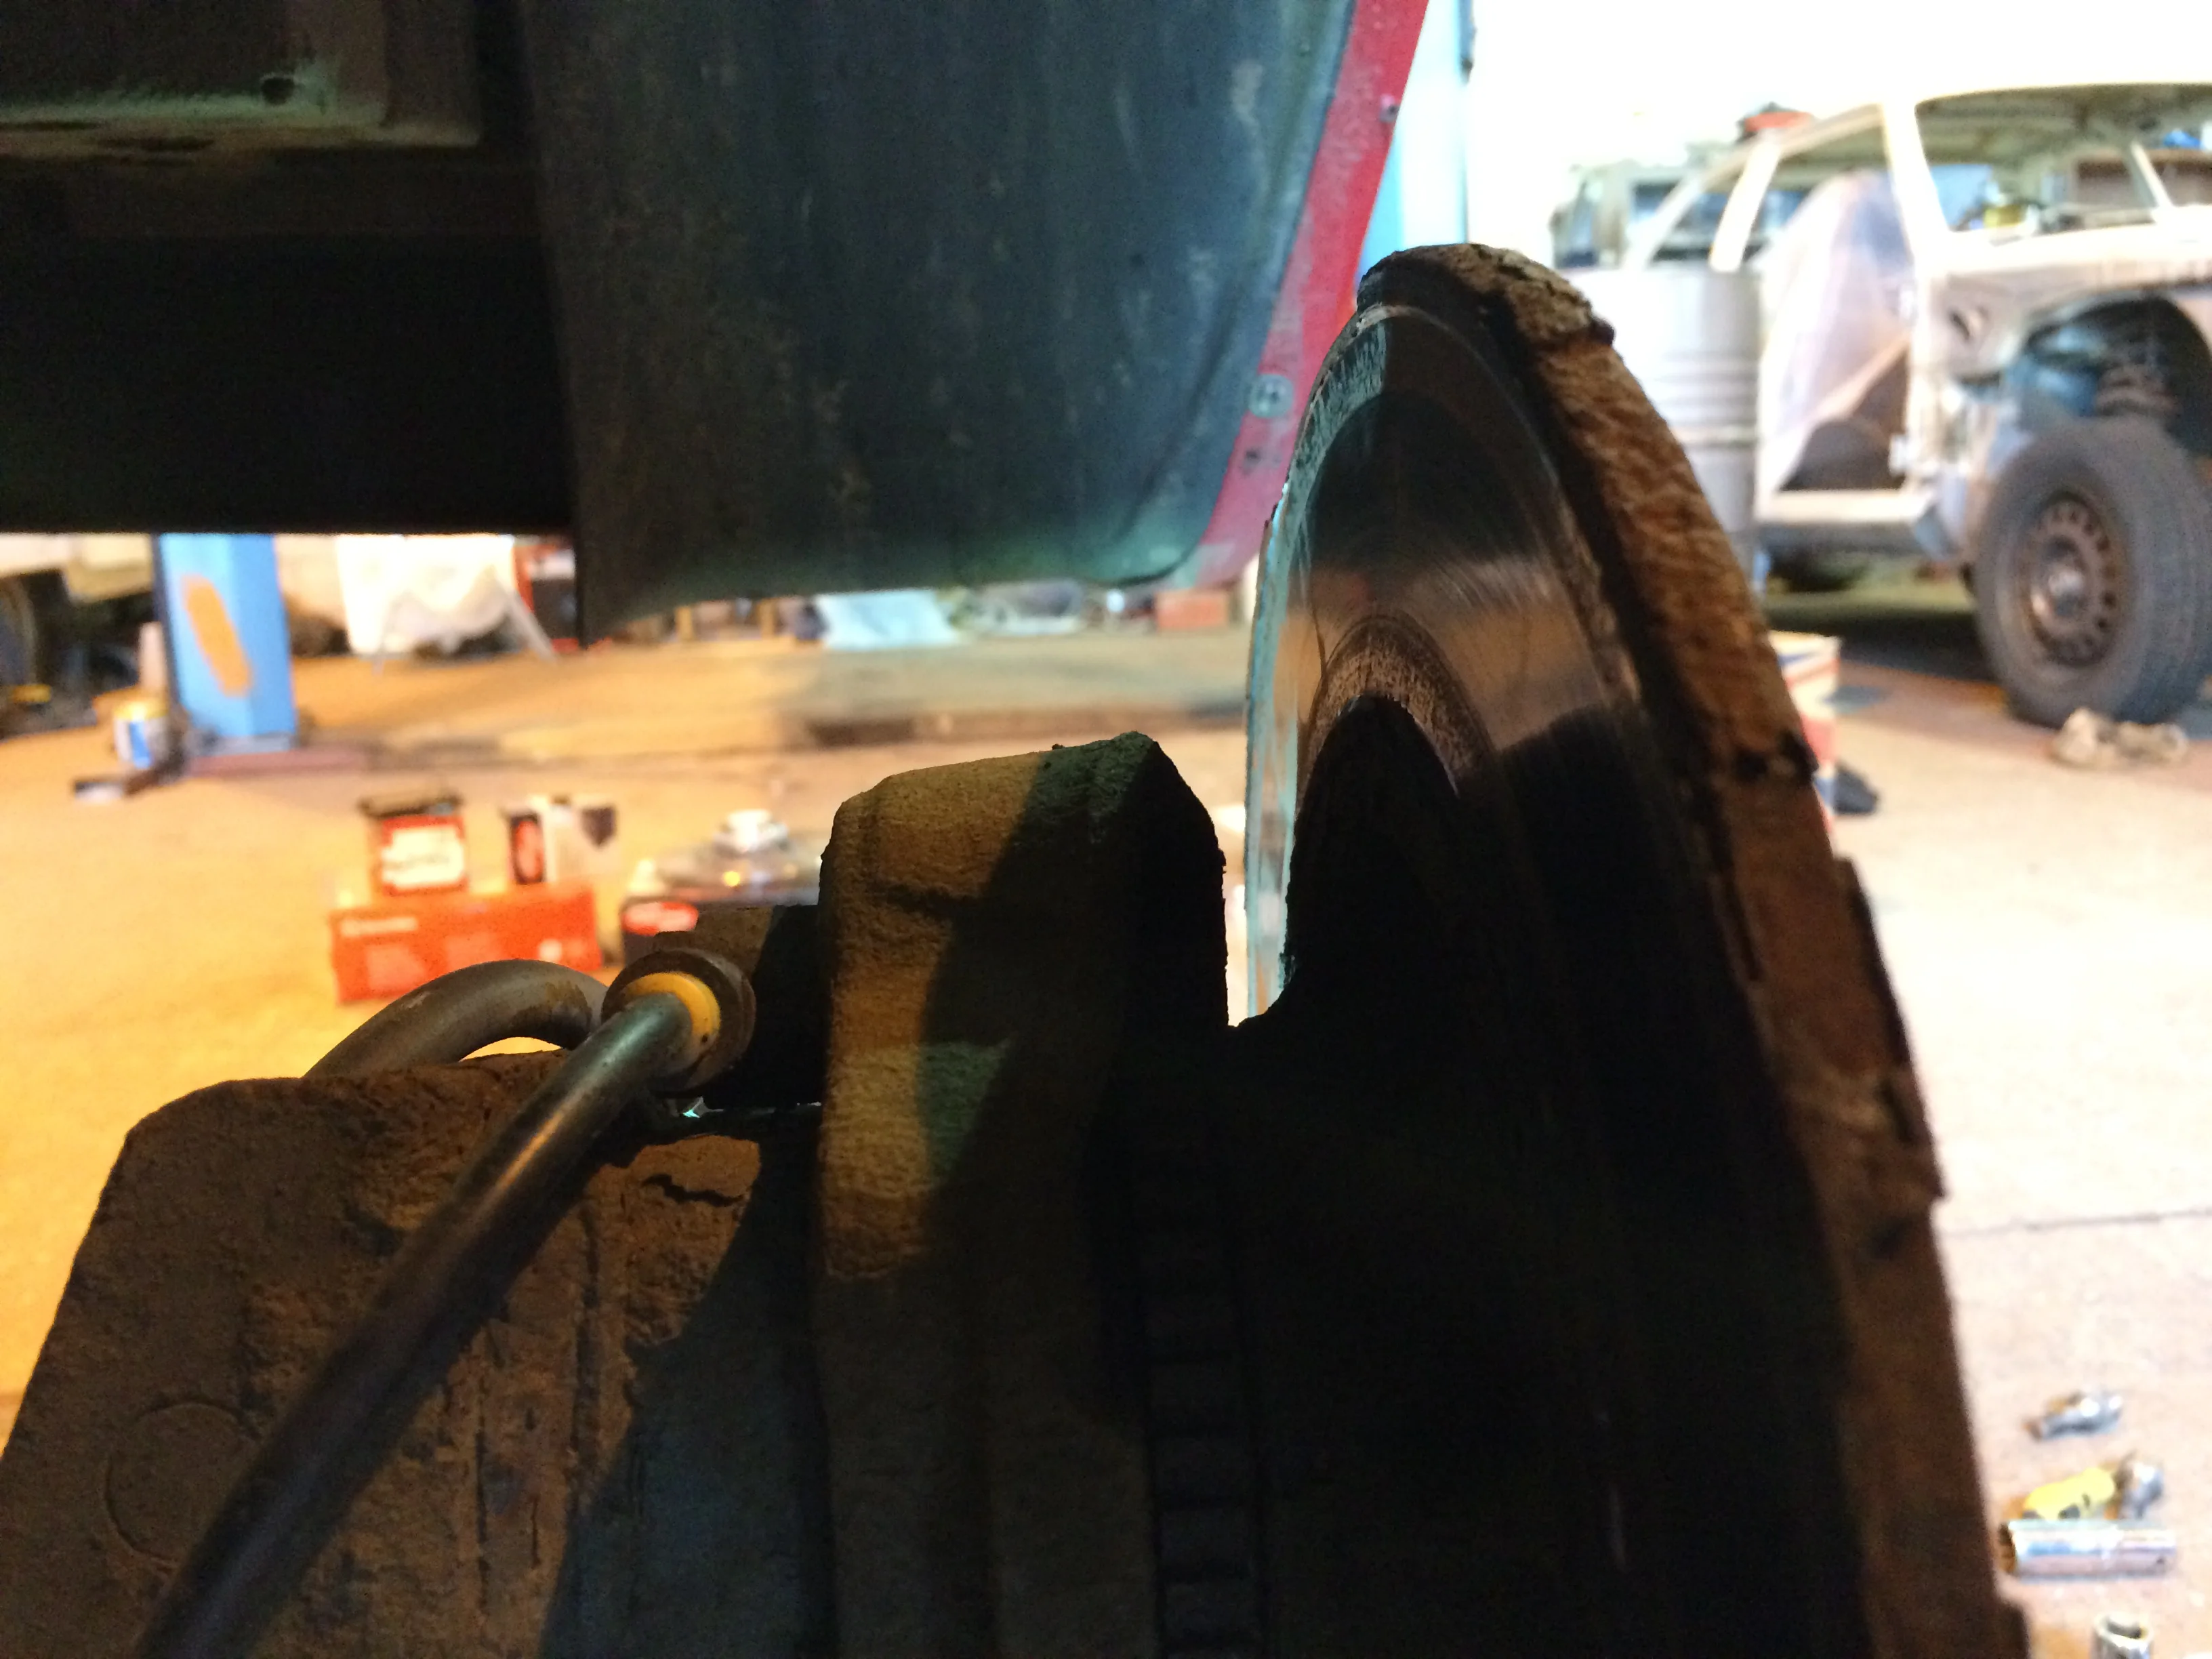
So after taking the Wheel off I could really see how badly needed the new discs were.
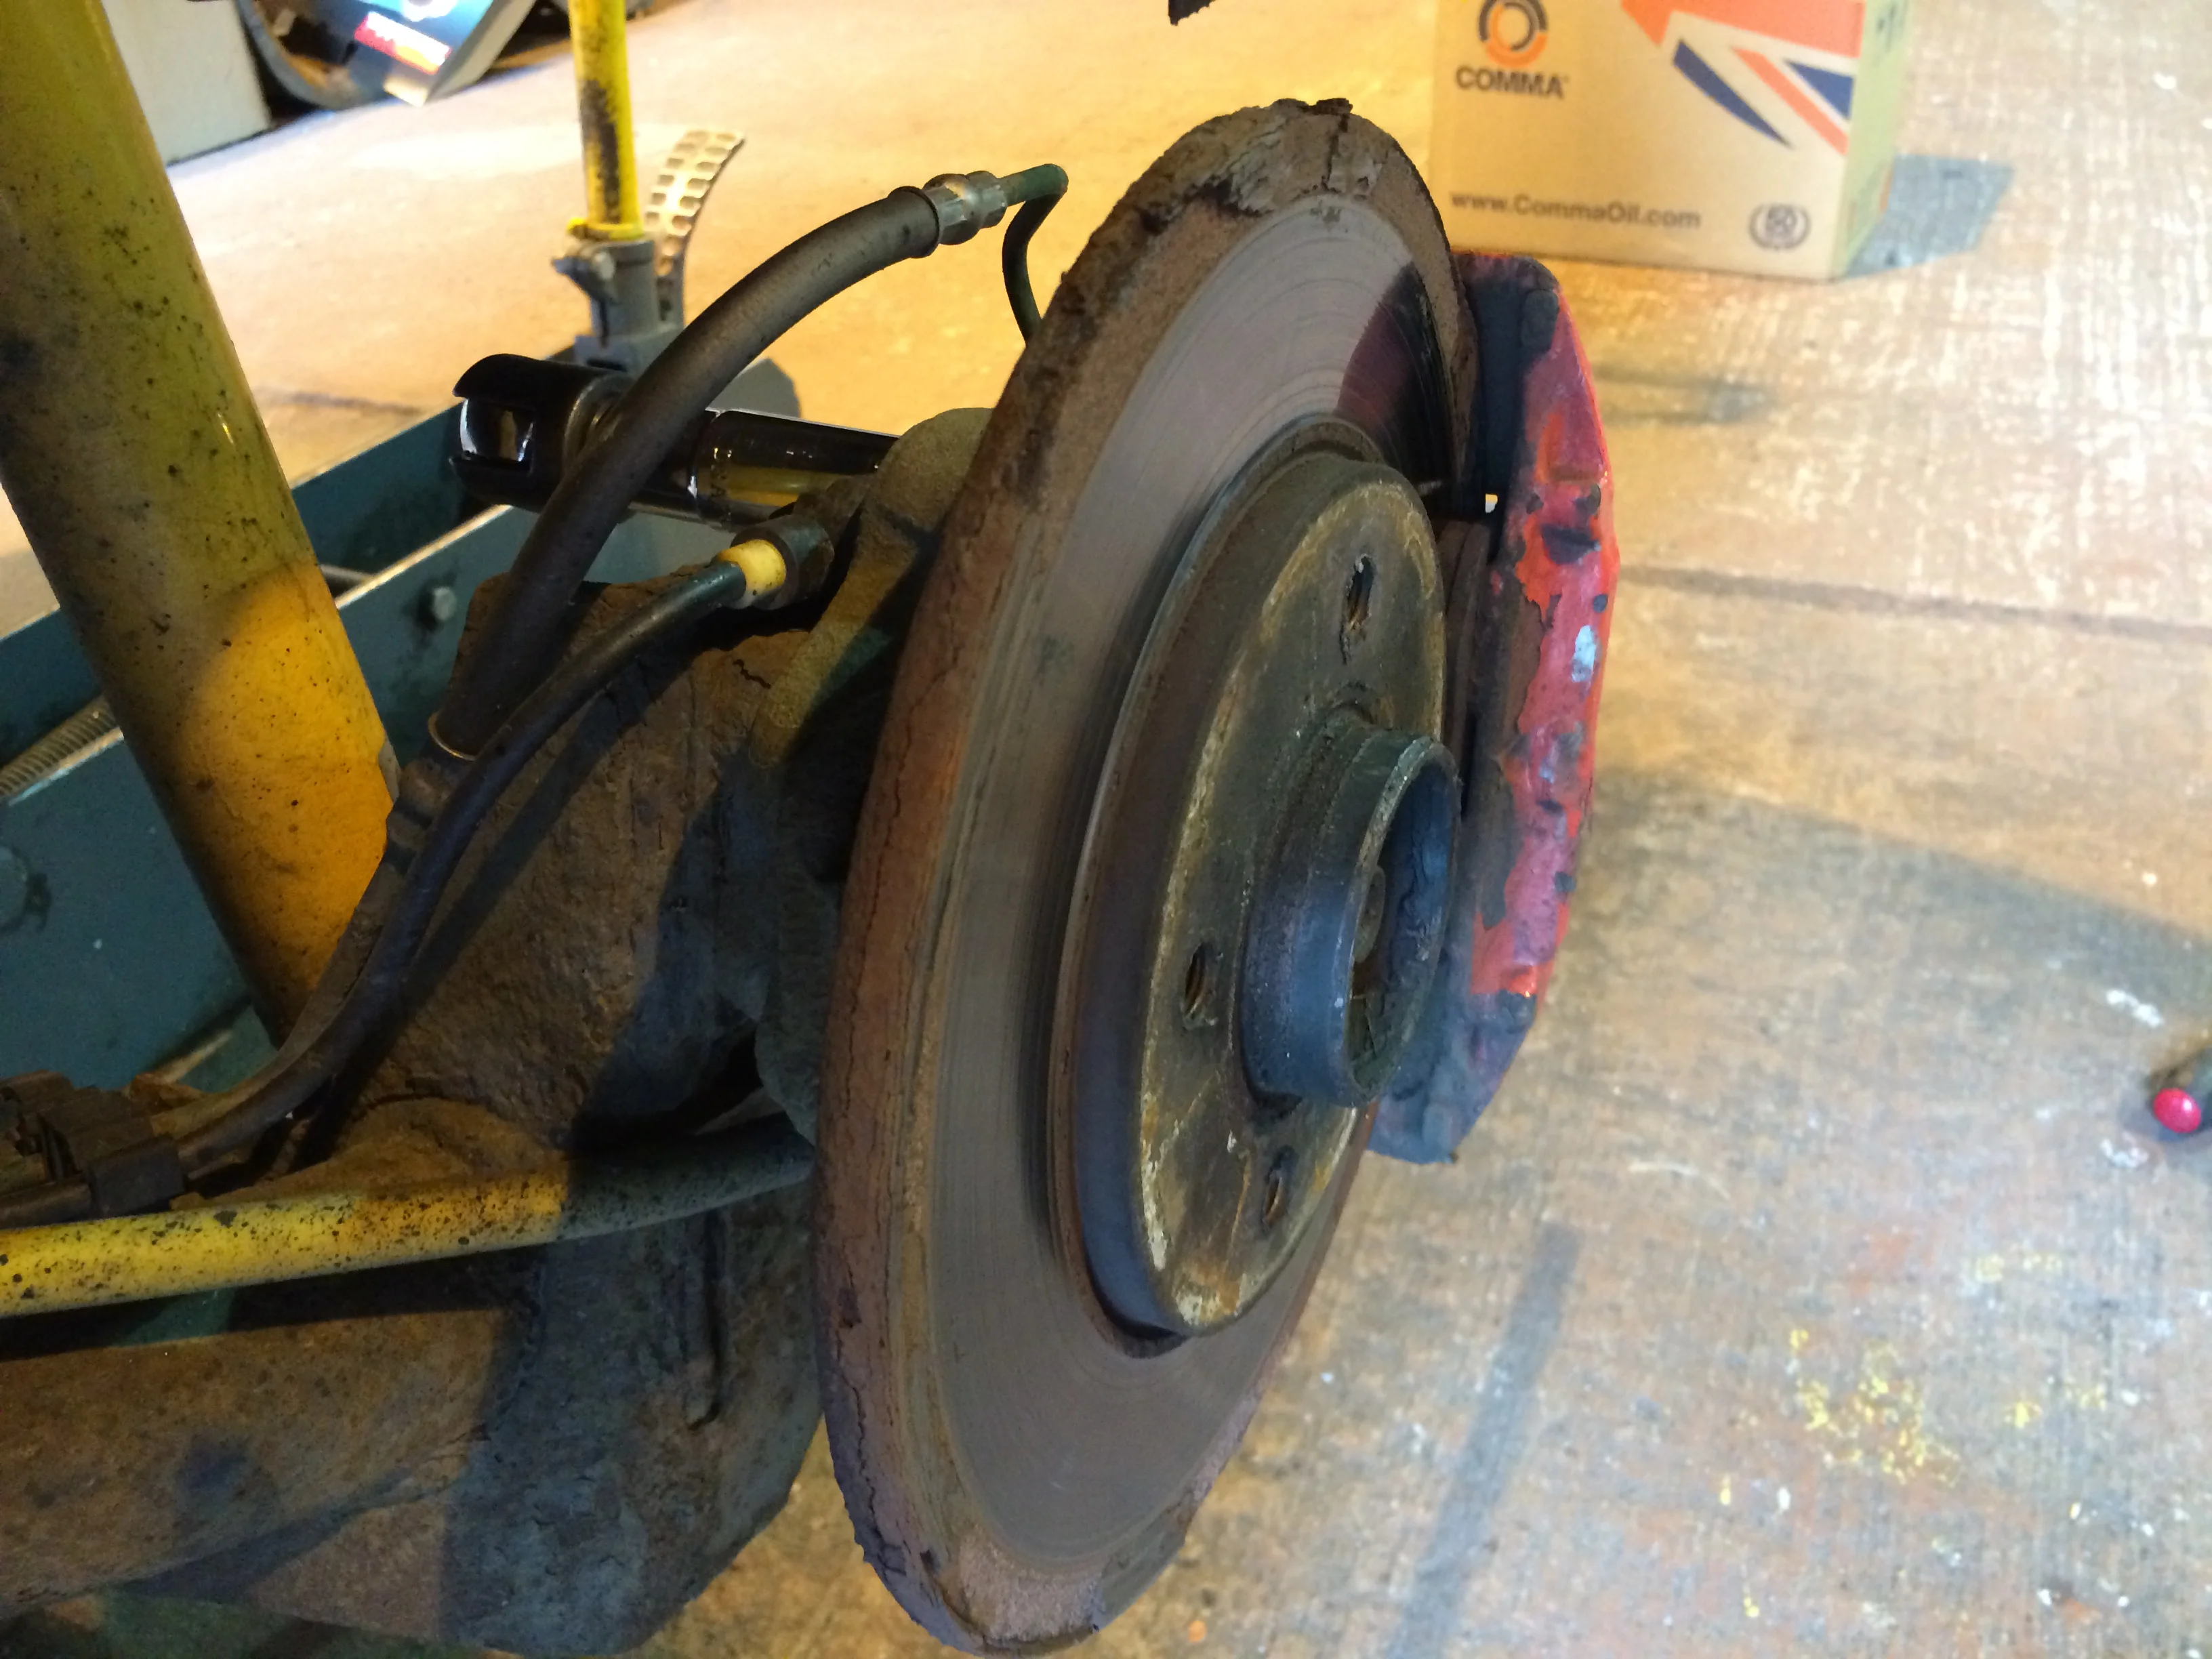
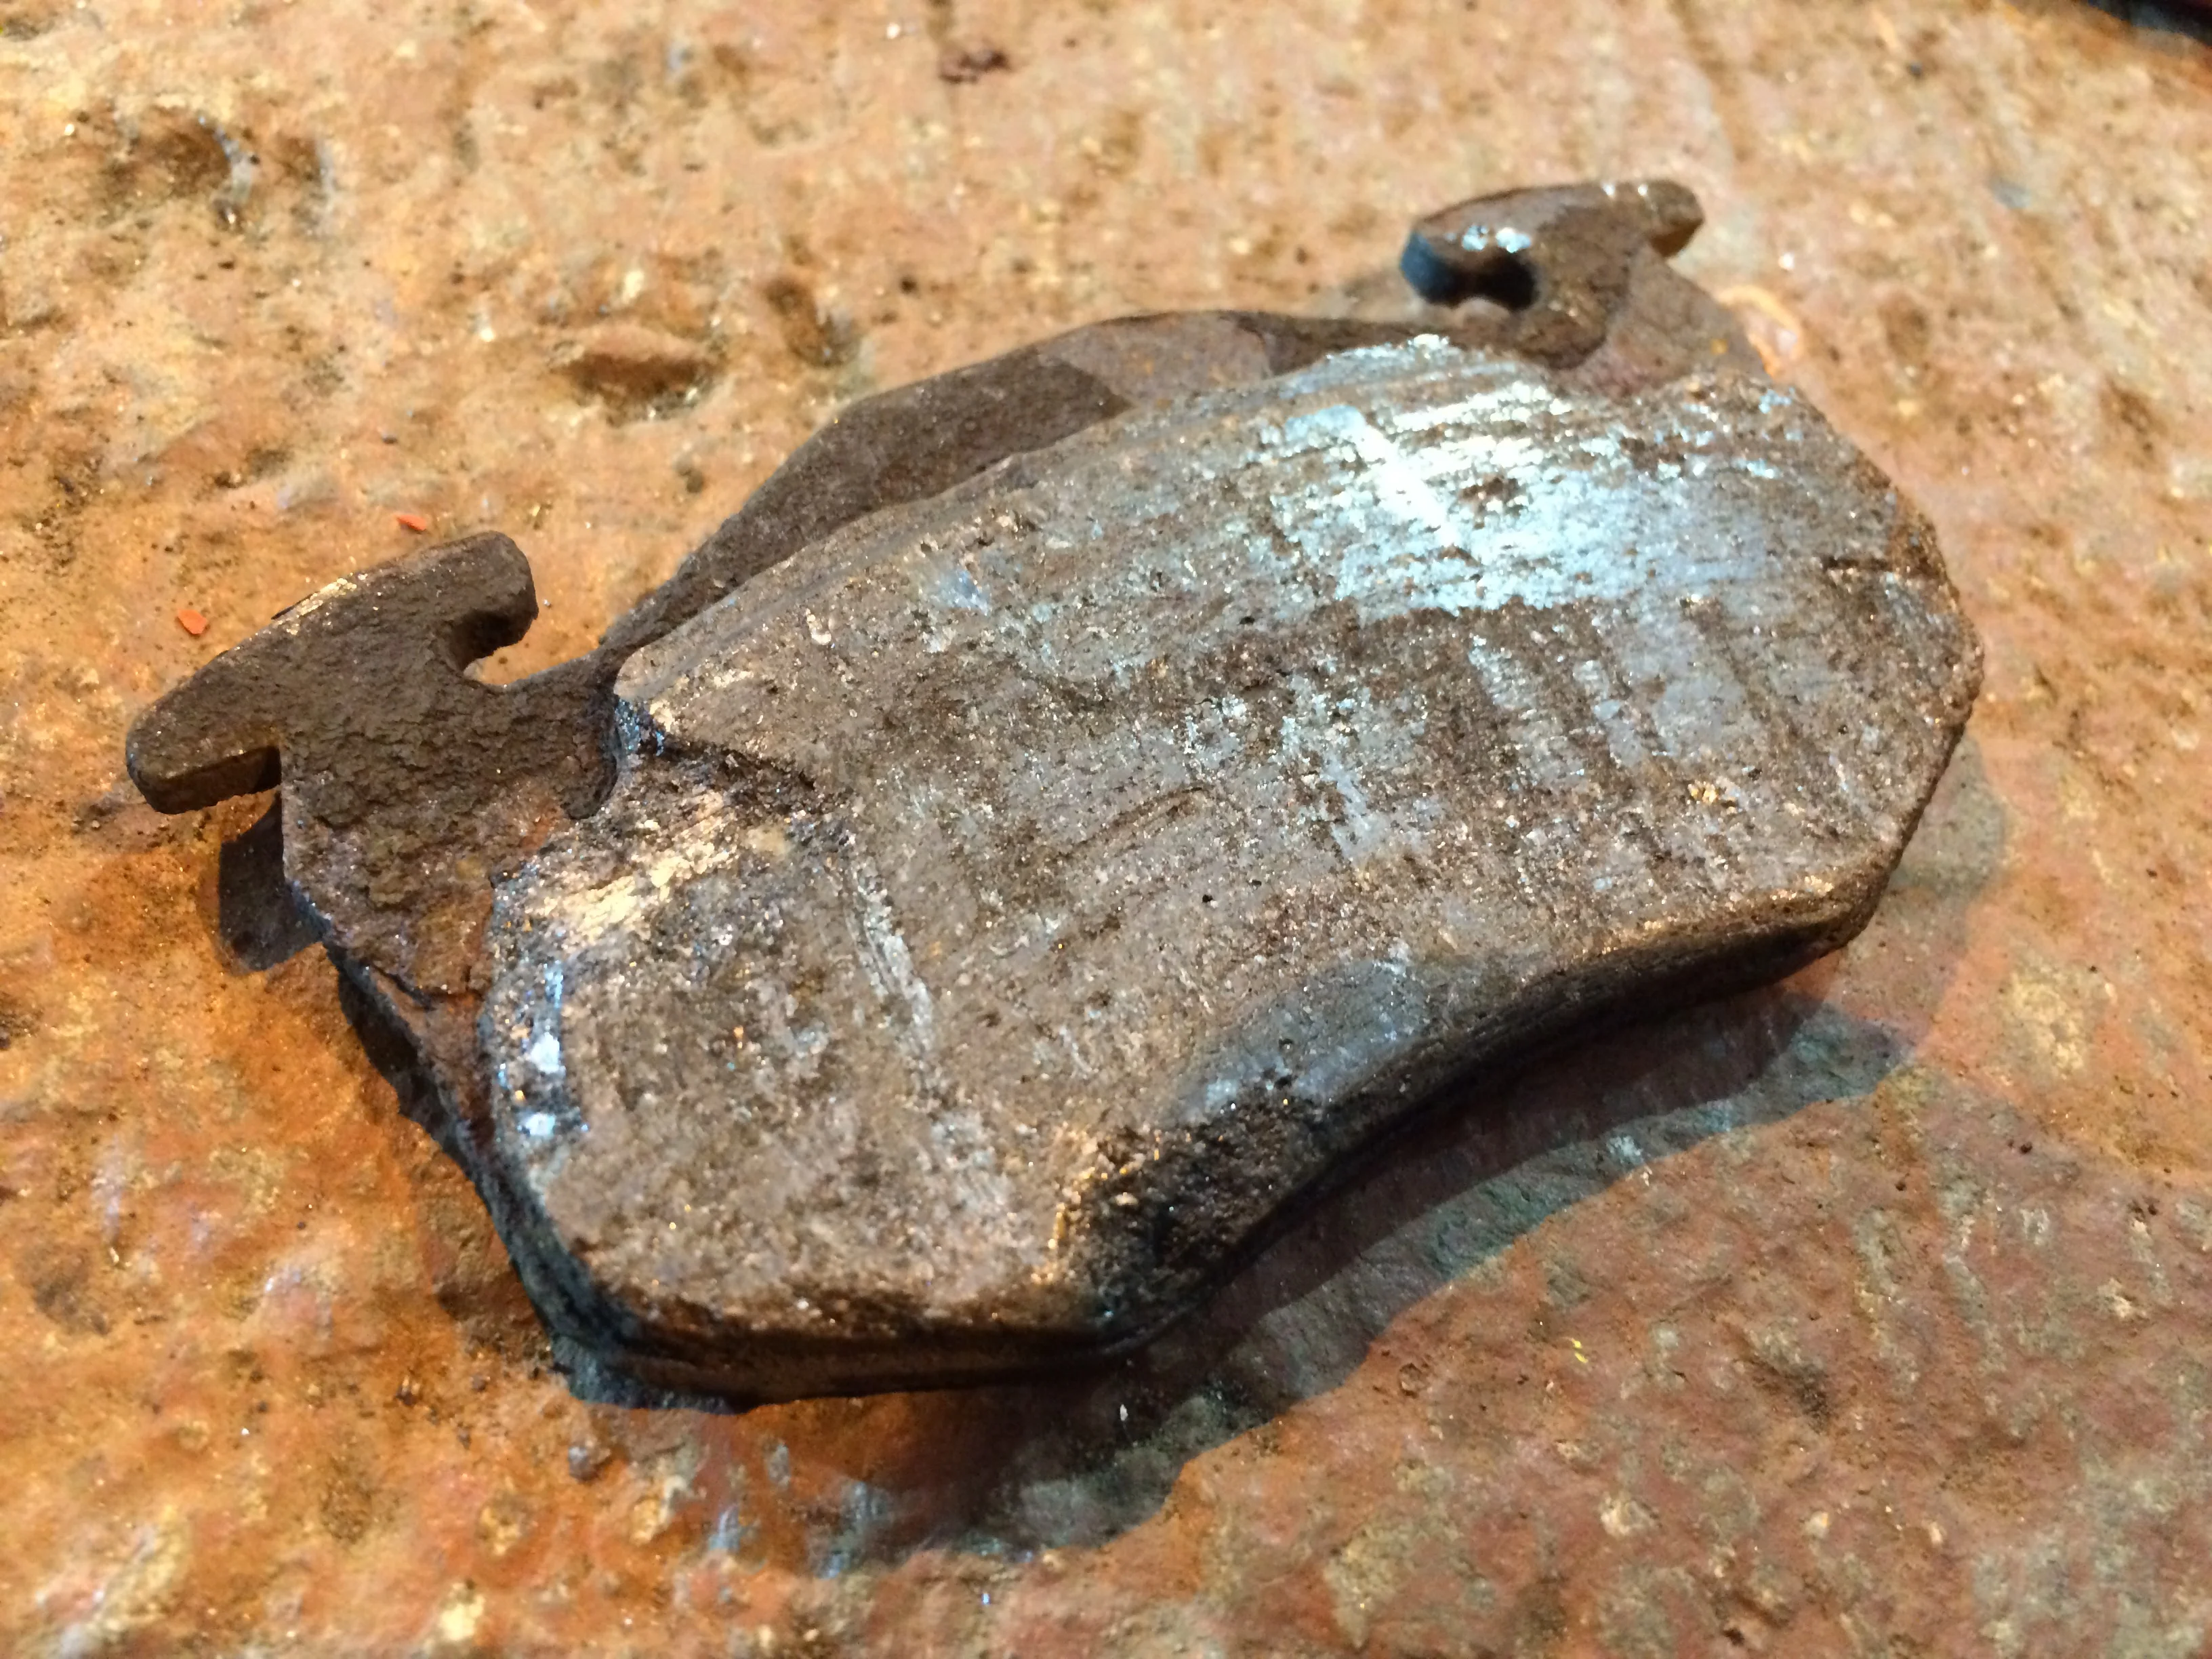
After removing the caliper and carrier, the pads looked just as I expected them too.
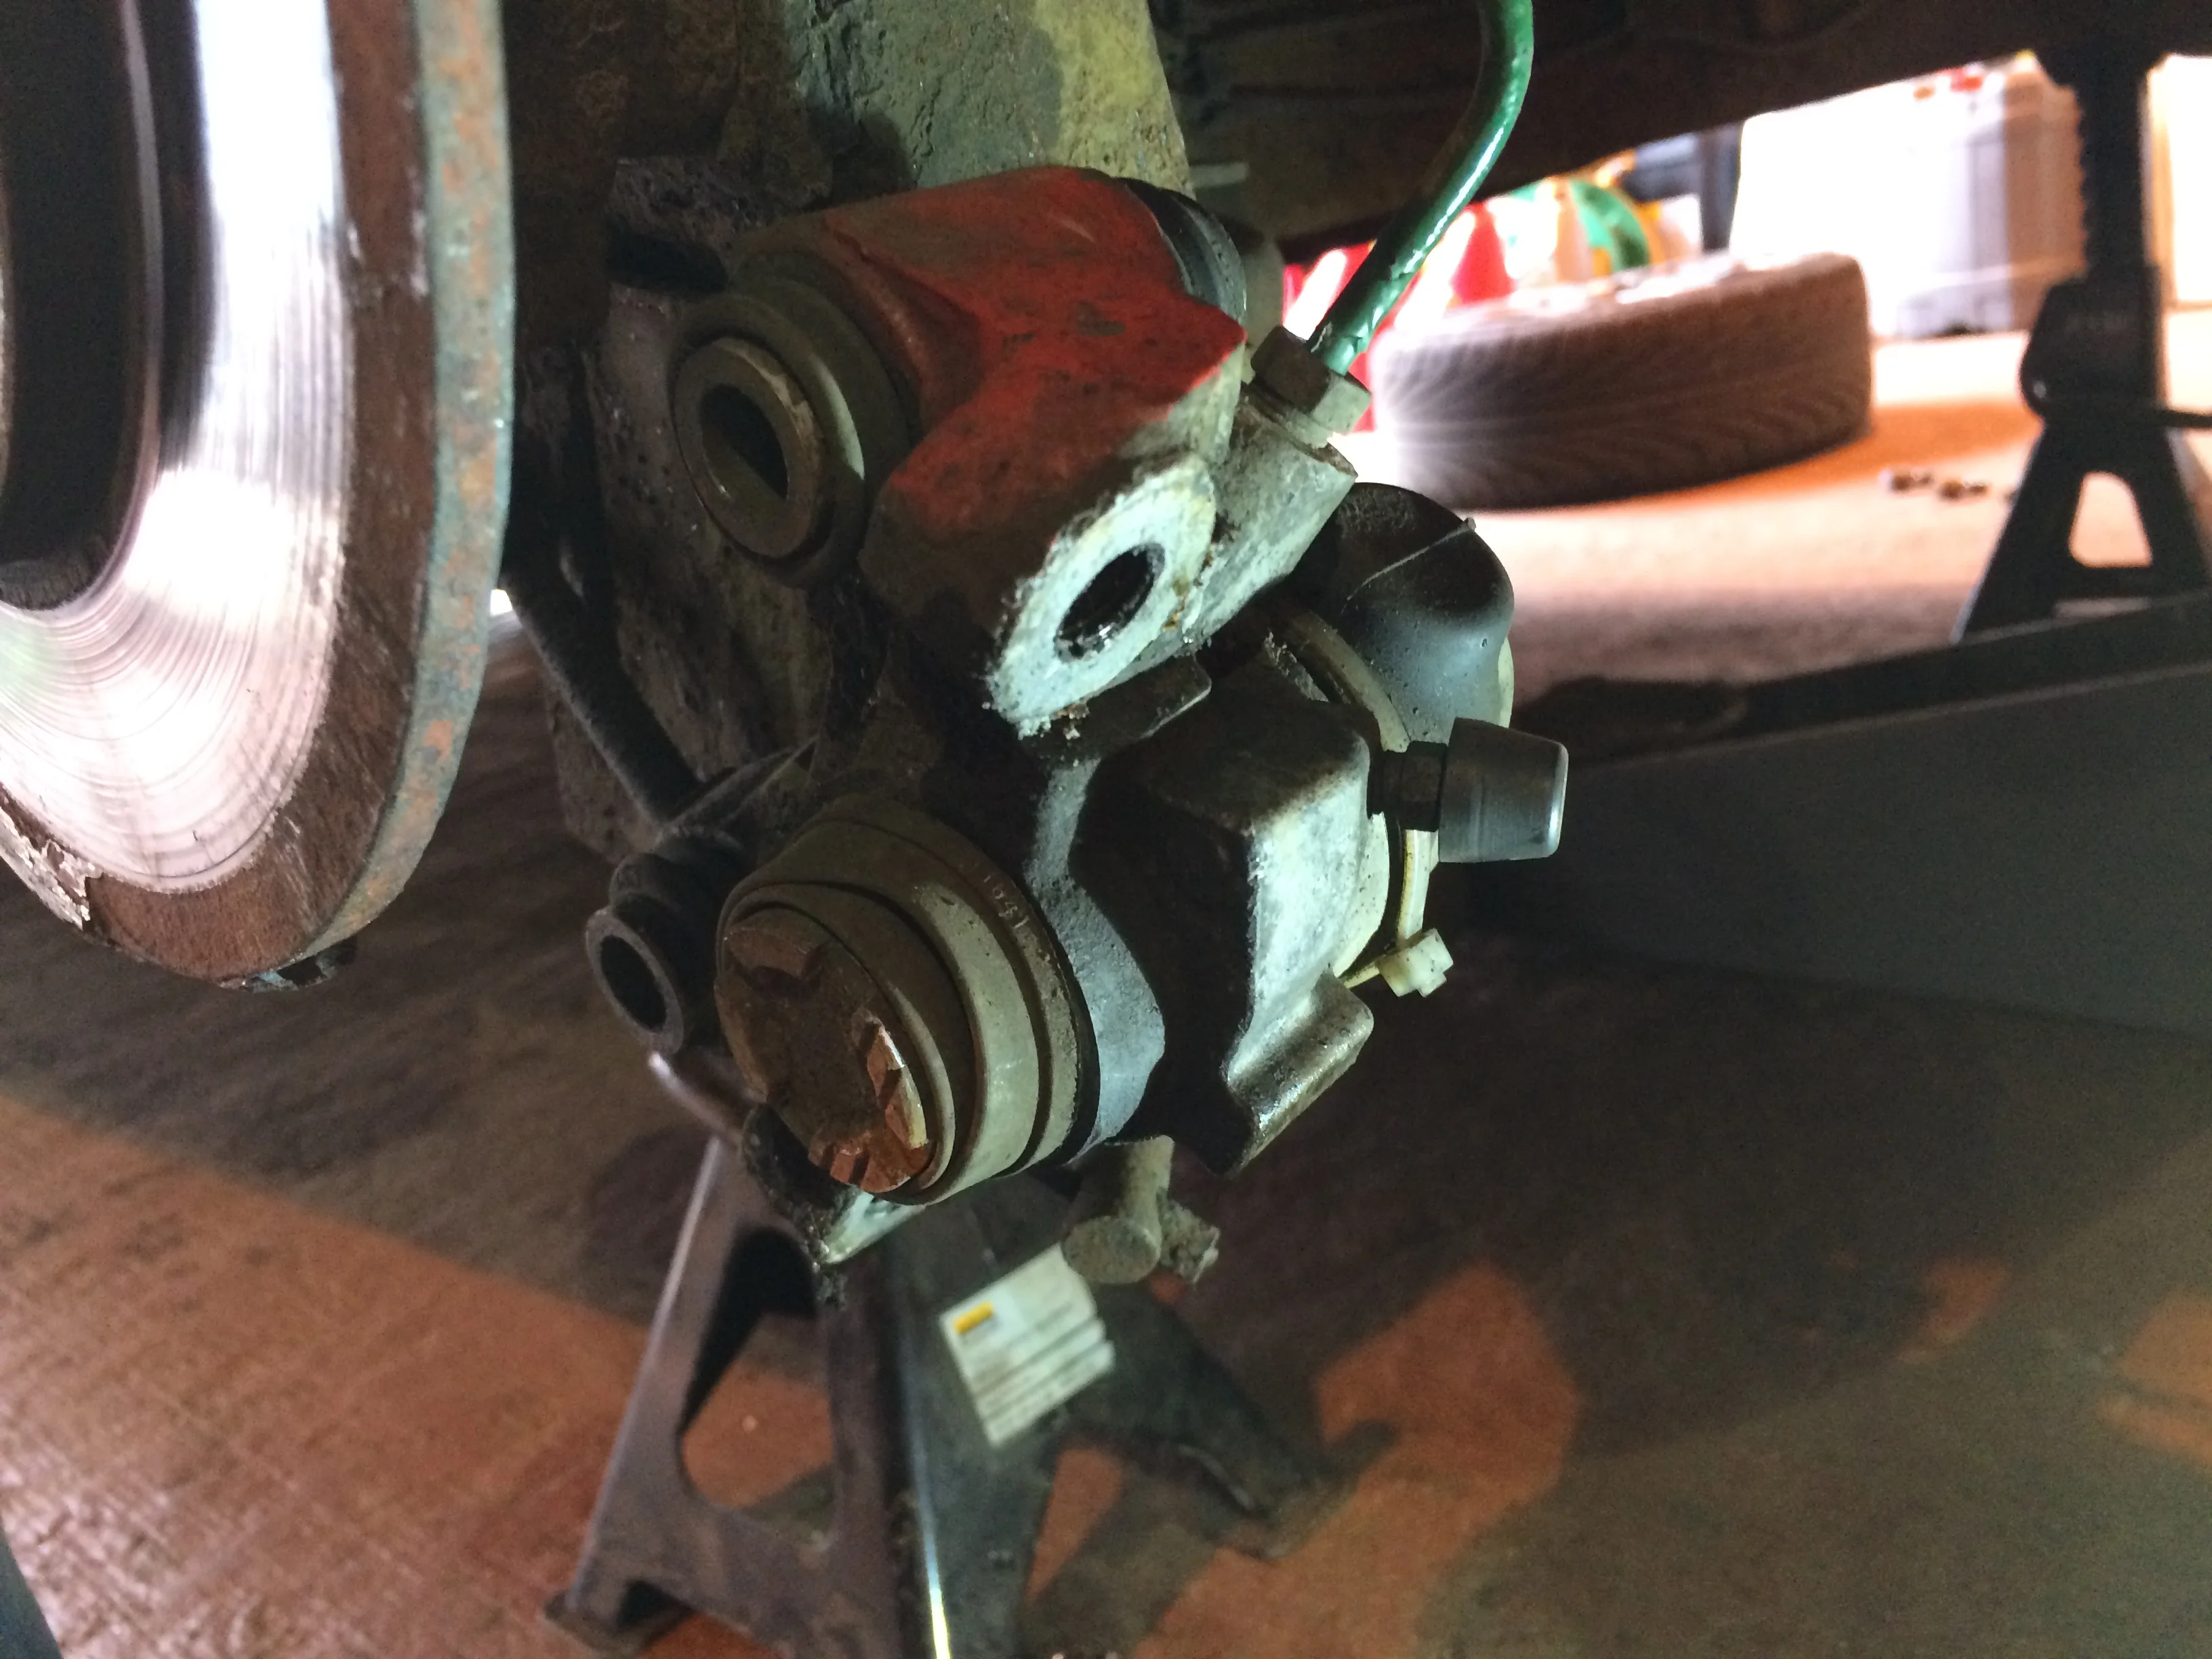
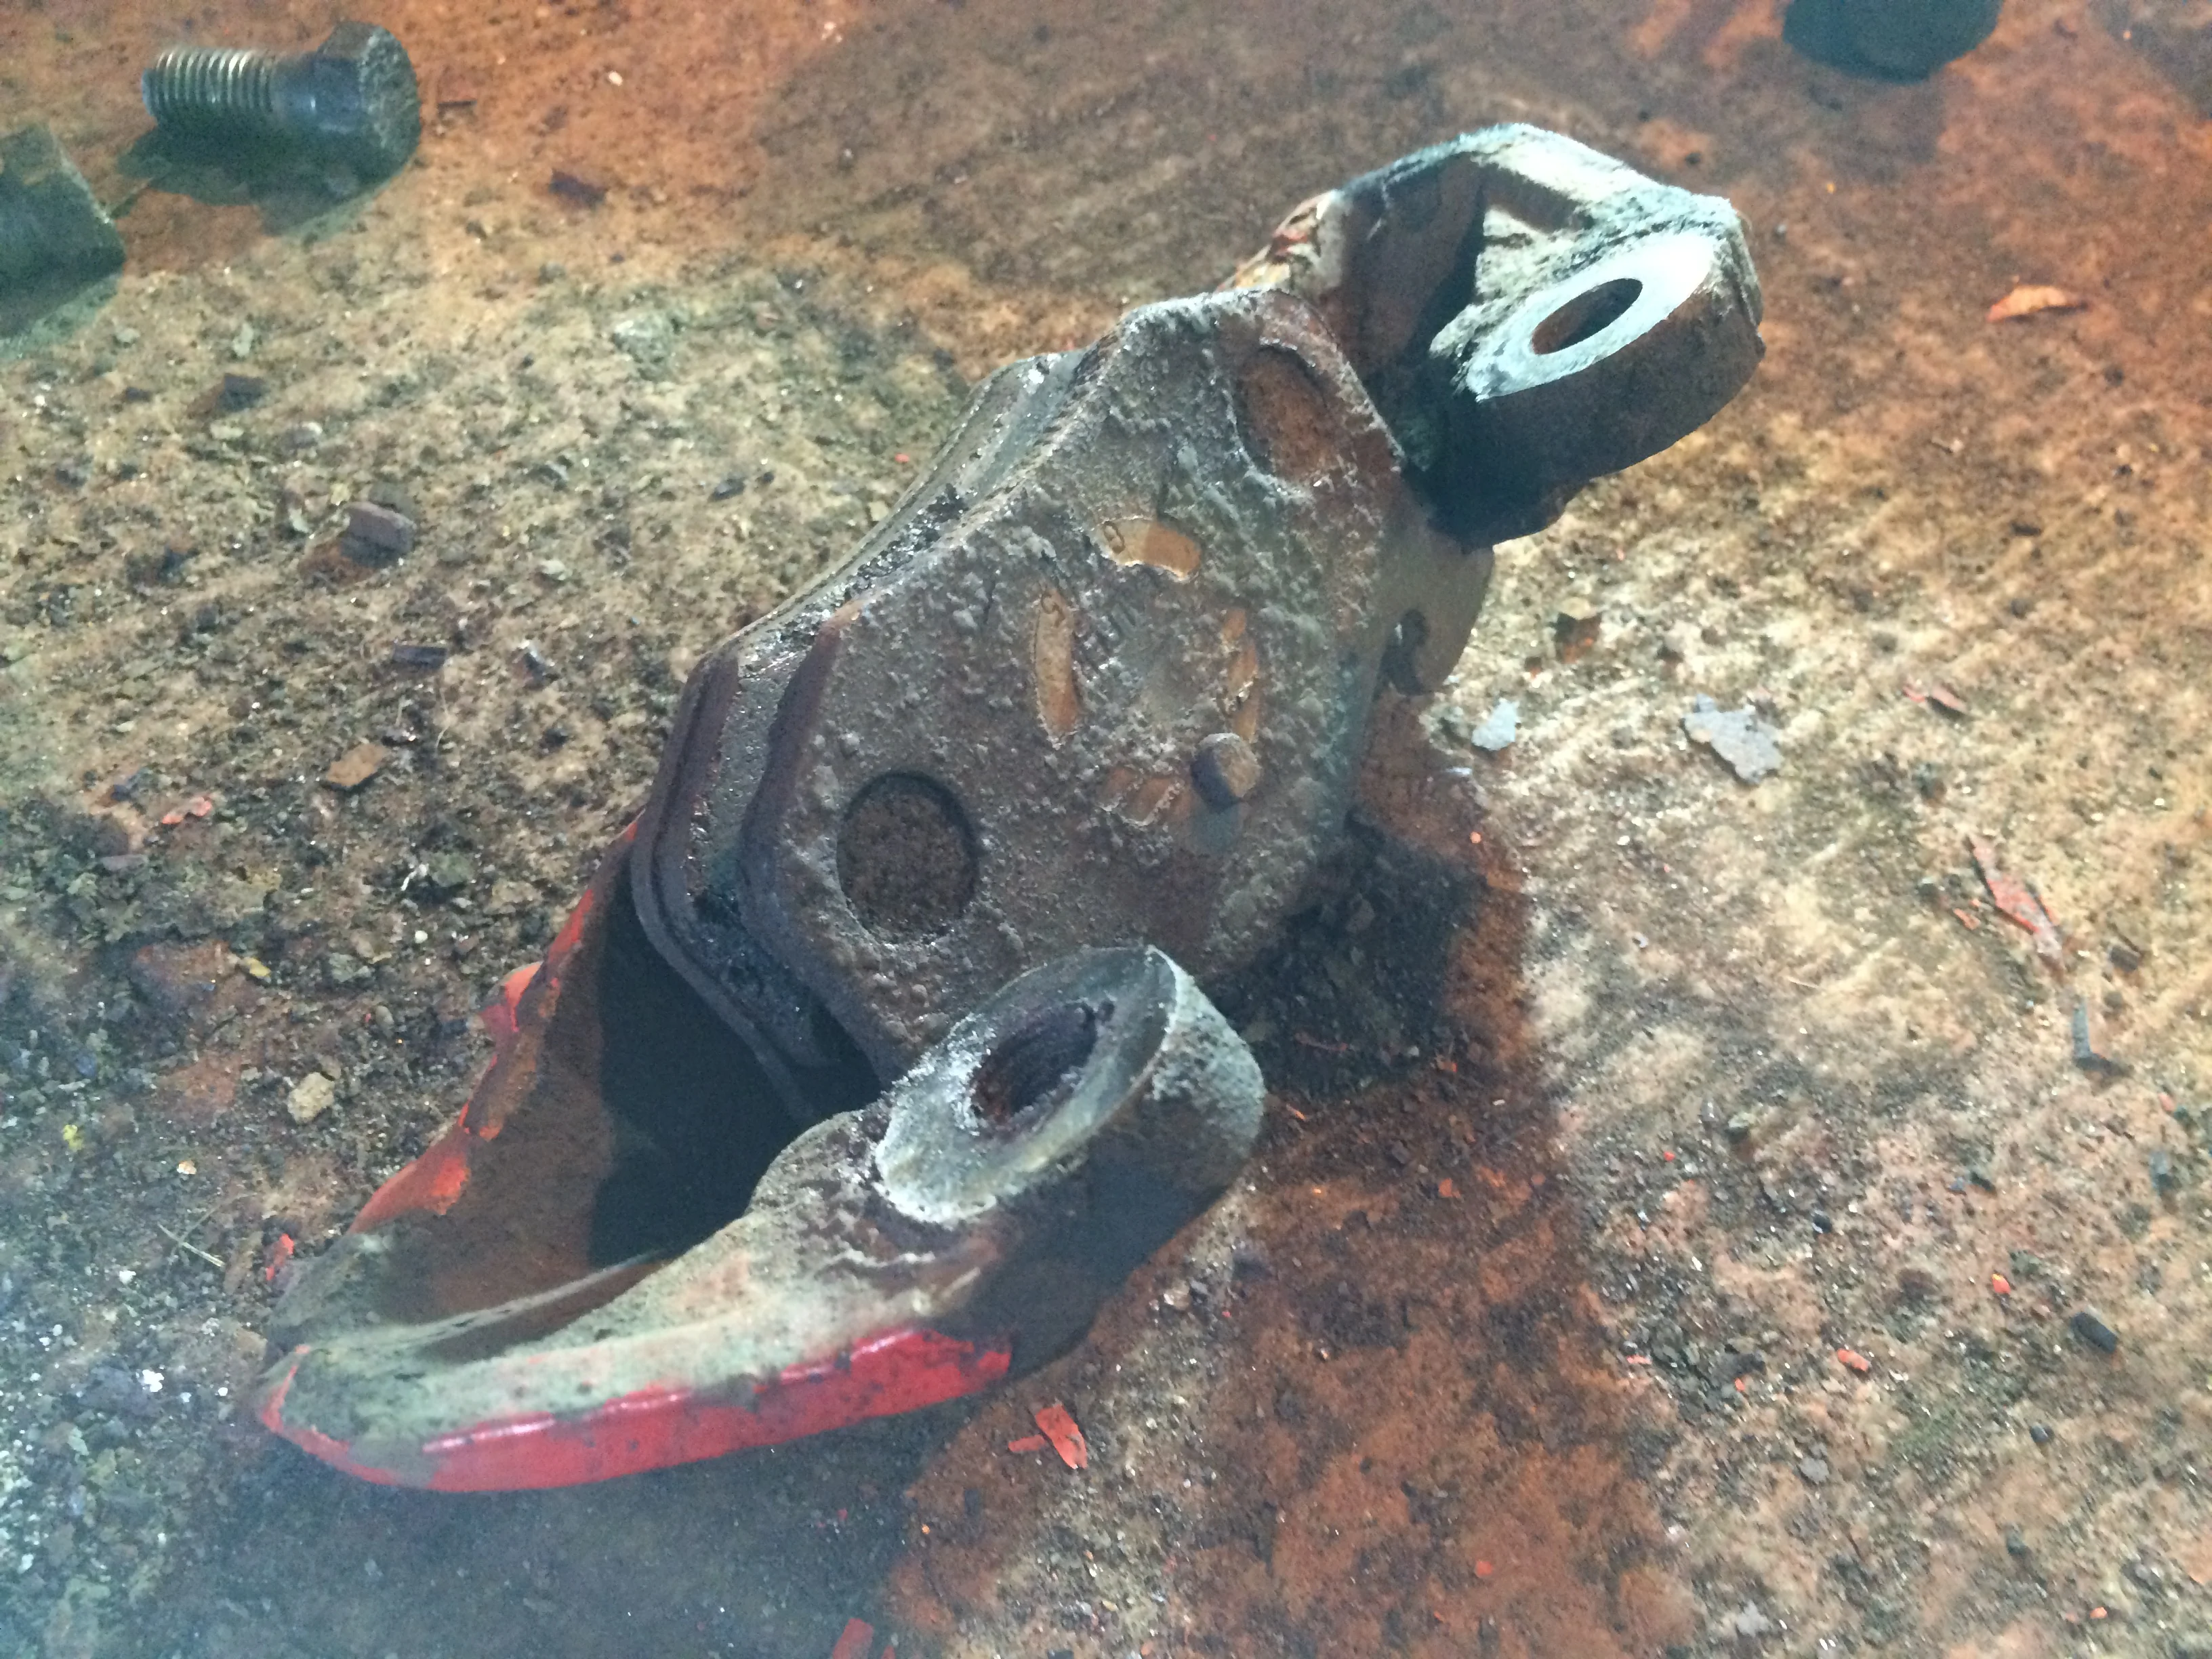
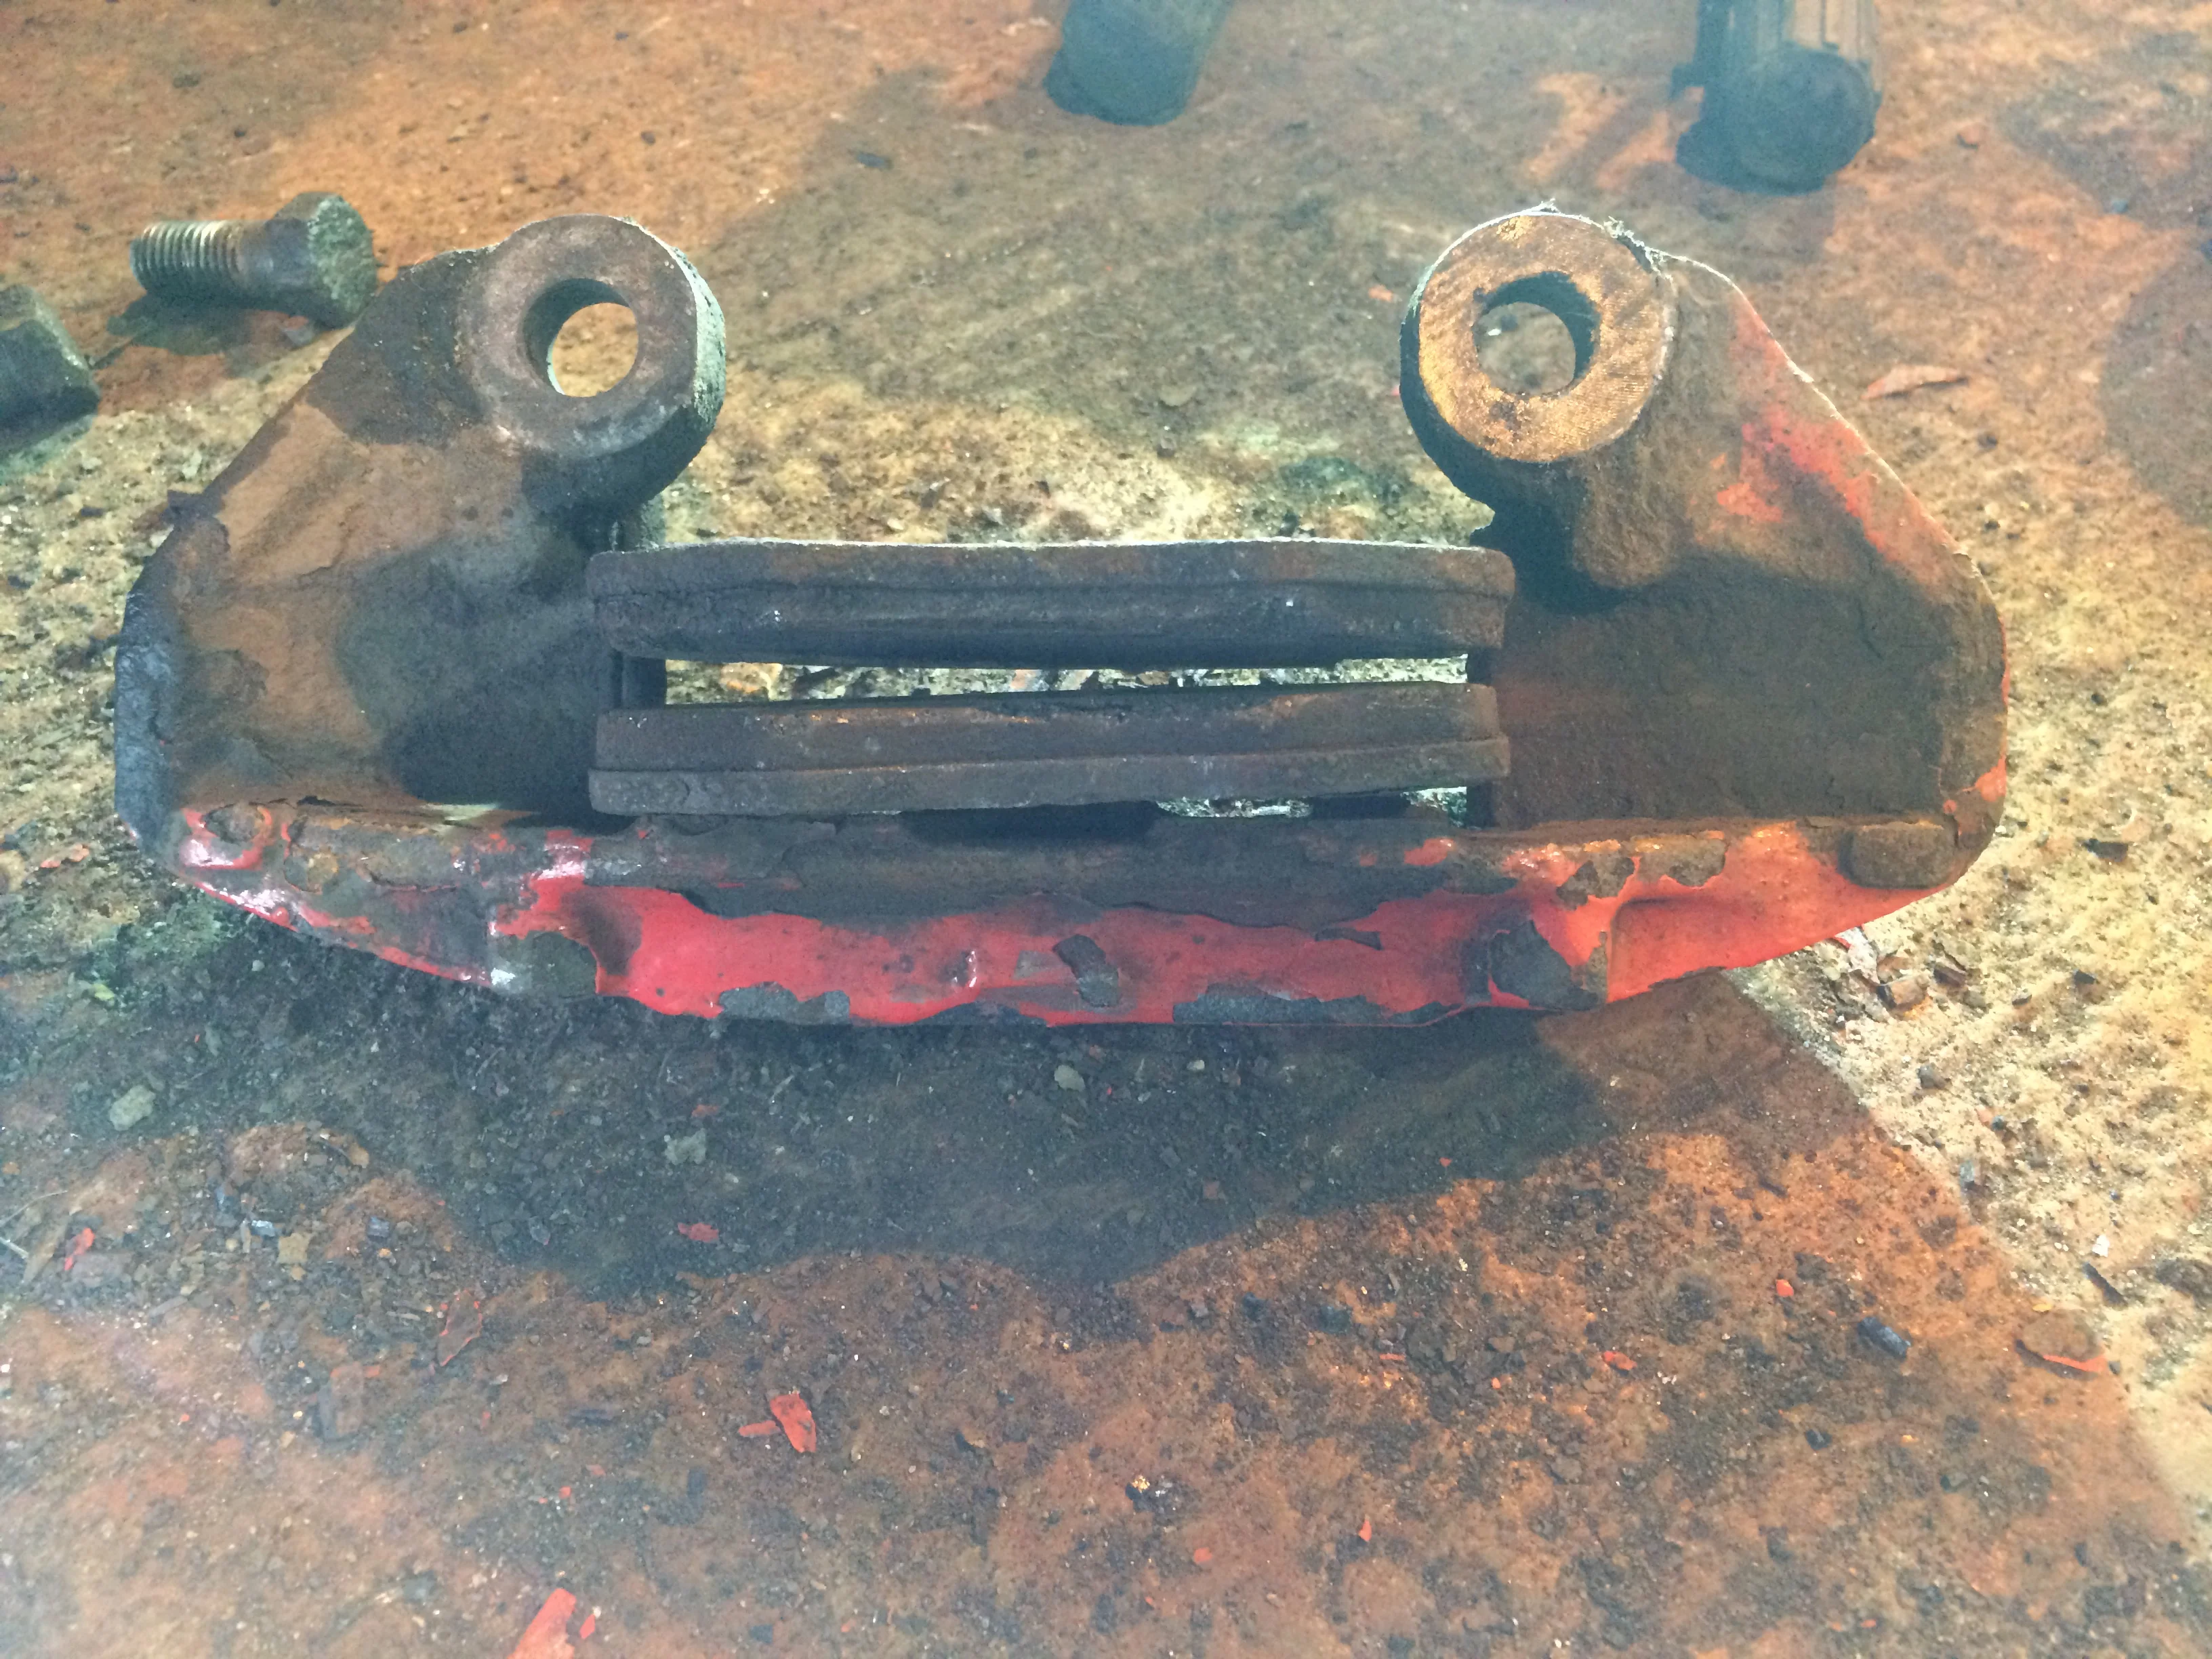
So Friday came and the new Discs and pads arrived, and work commenced on the Trophy.
For the front, I opted for Mintex Pads and Brembo HC discs from George at roadtrackraceparts.com.
Then for the back, I ordered some Delphi discs and pads (unsure of how good these are compared to brembo pads)
So after taking the Wheel off I could really see how badly needed the new discs were.
After removing the caliper and carrier, the pads looked just as I expected them too.
Attachments
Clio 182 Trophy
Well onto the fronts now. Prior to starting on the brakes I thought I would have more trouble with the back due to there being a bearing involved (hence why I started off with the rears), turned out that the rears were pretty easy as the disc basically fell off waiting for the new one to be put on. So I then proceeded with the fronts thinking it would be a half hour job, oh how wrong was I.....
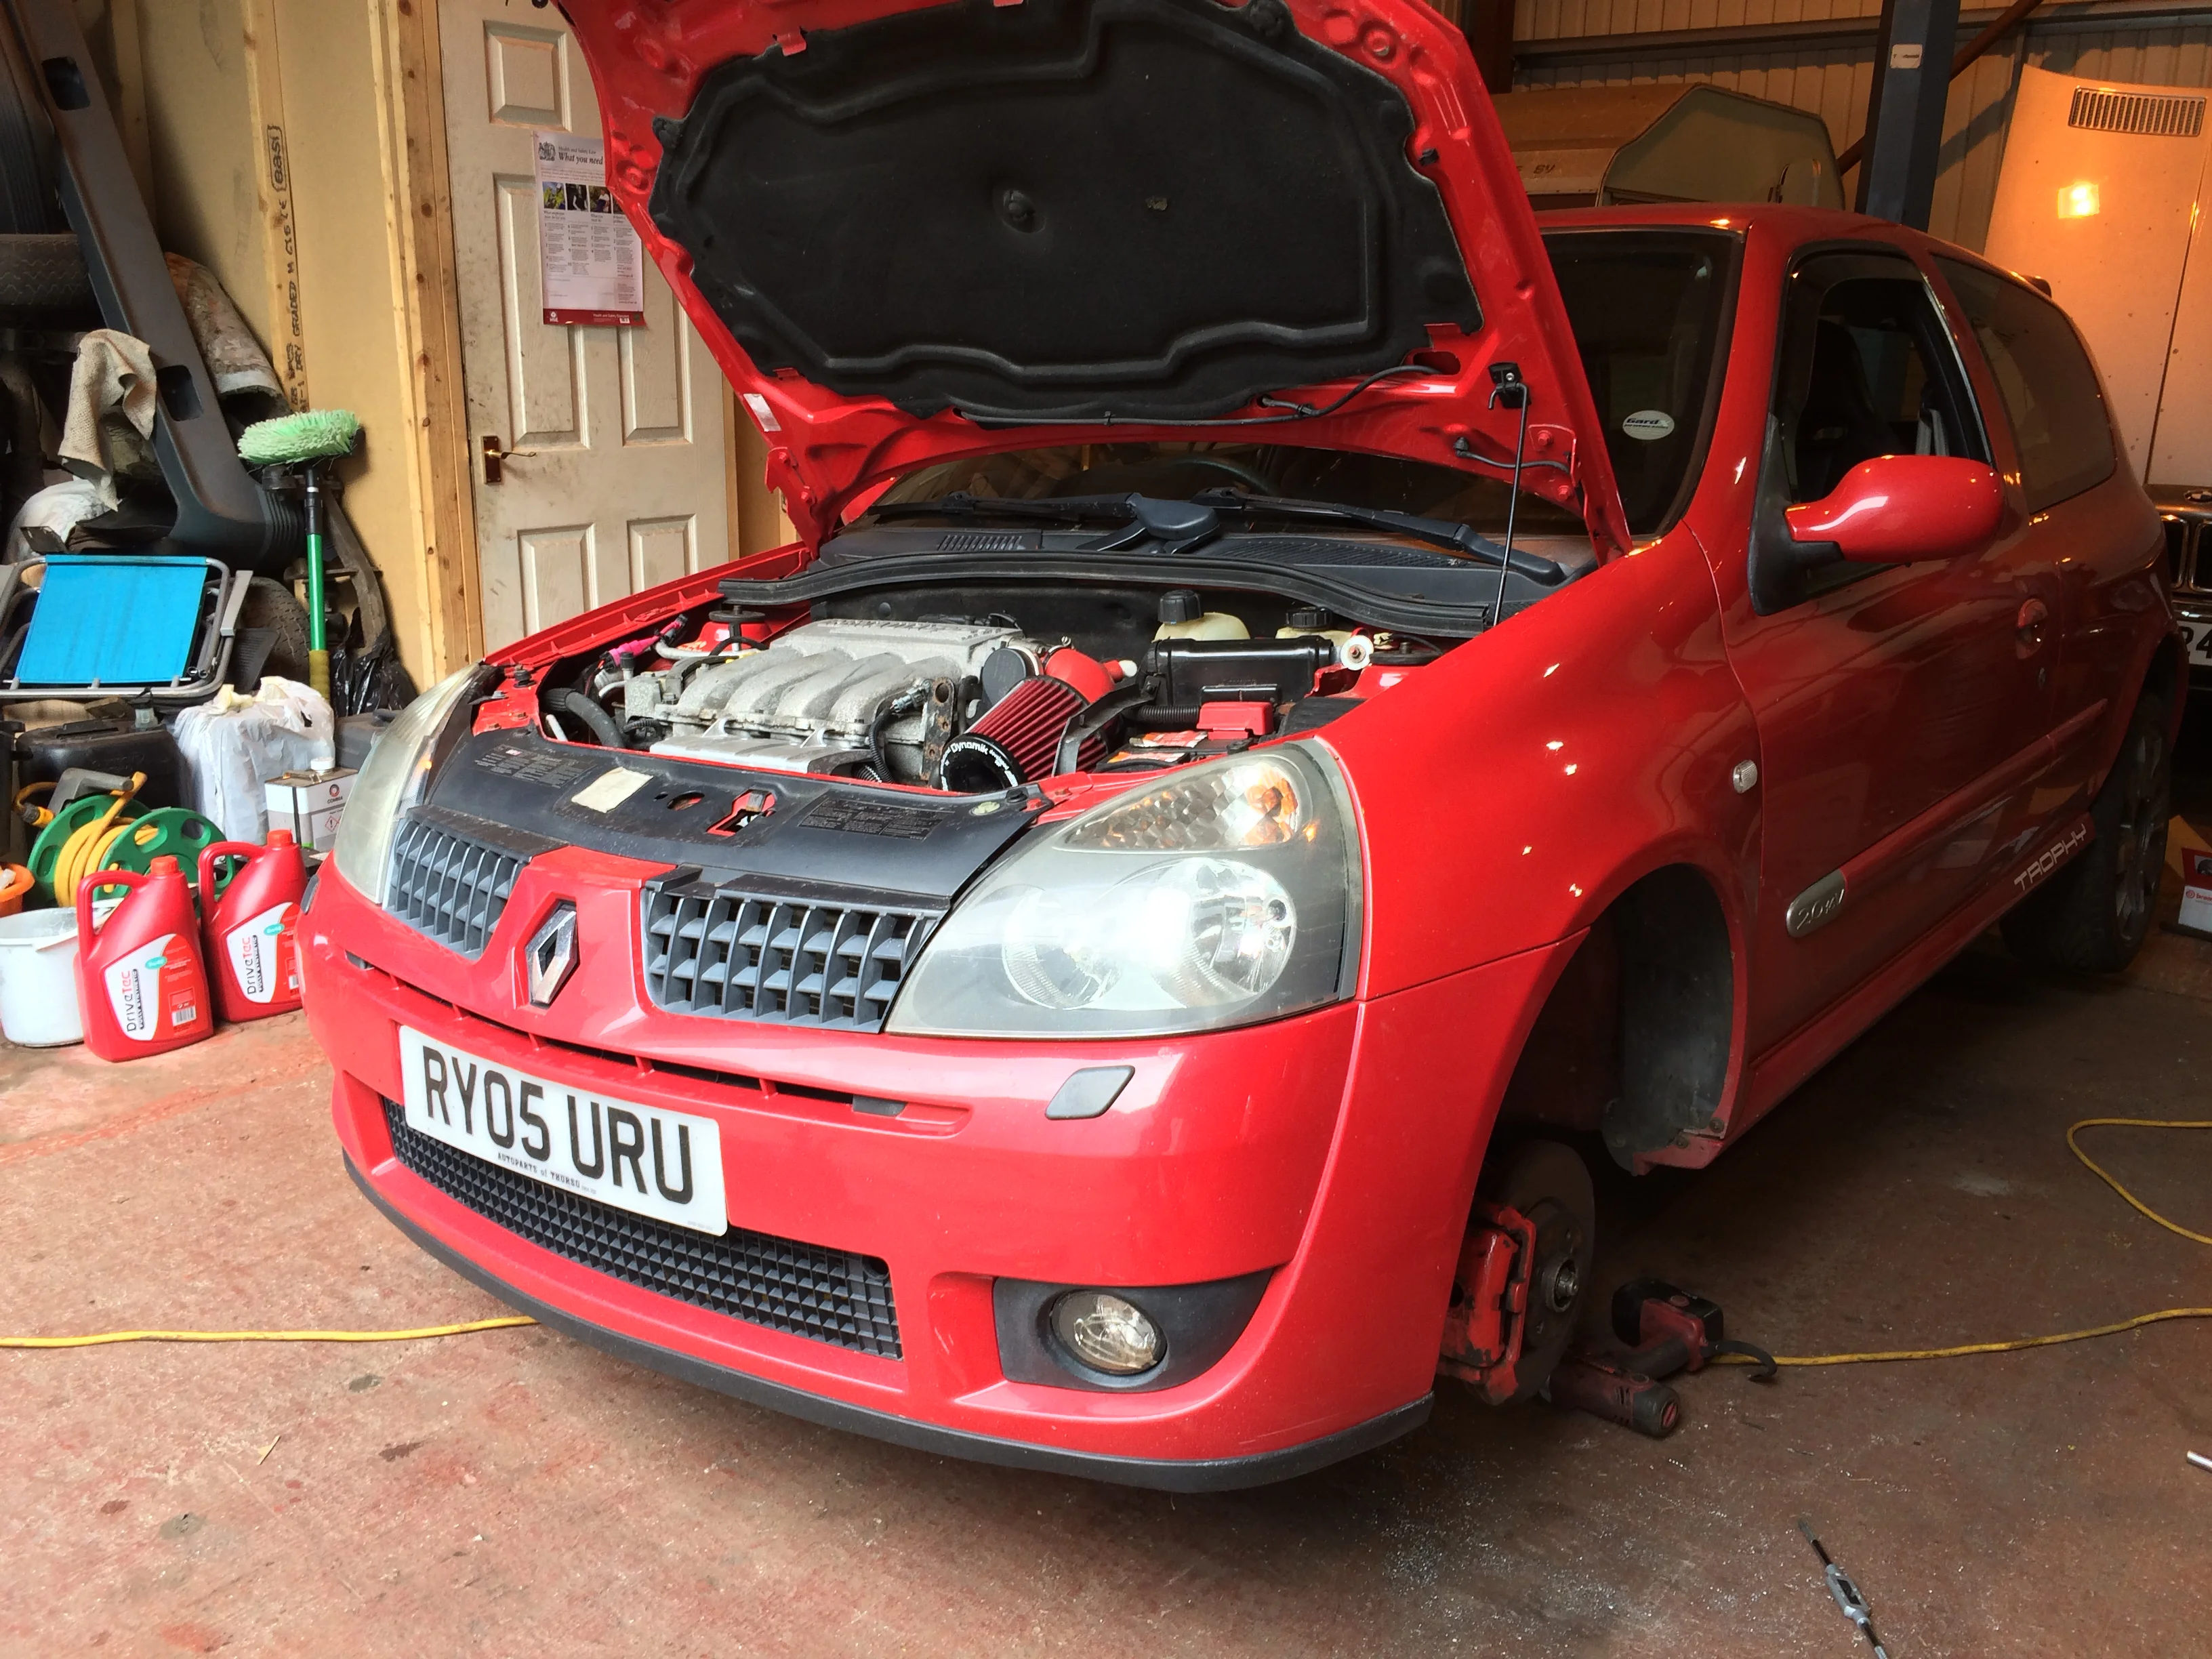
So I started with the front left....
not a great start... i spent the next half an hour just removing the wheel.
In the process of stealing the Turini's from the car, the previous owner actually broke the head off a wheel nut!!!!! and i had to drill out the remaining piece in order to even start on the brakes!!
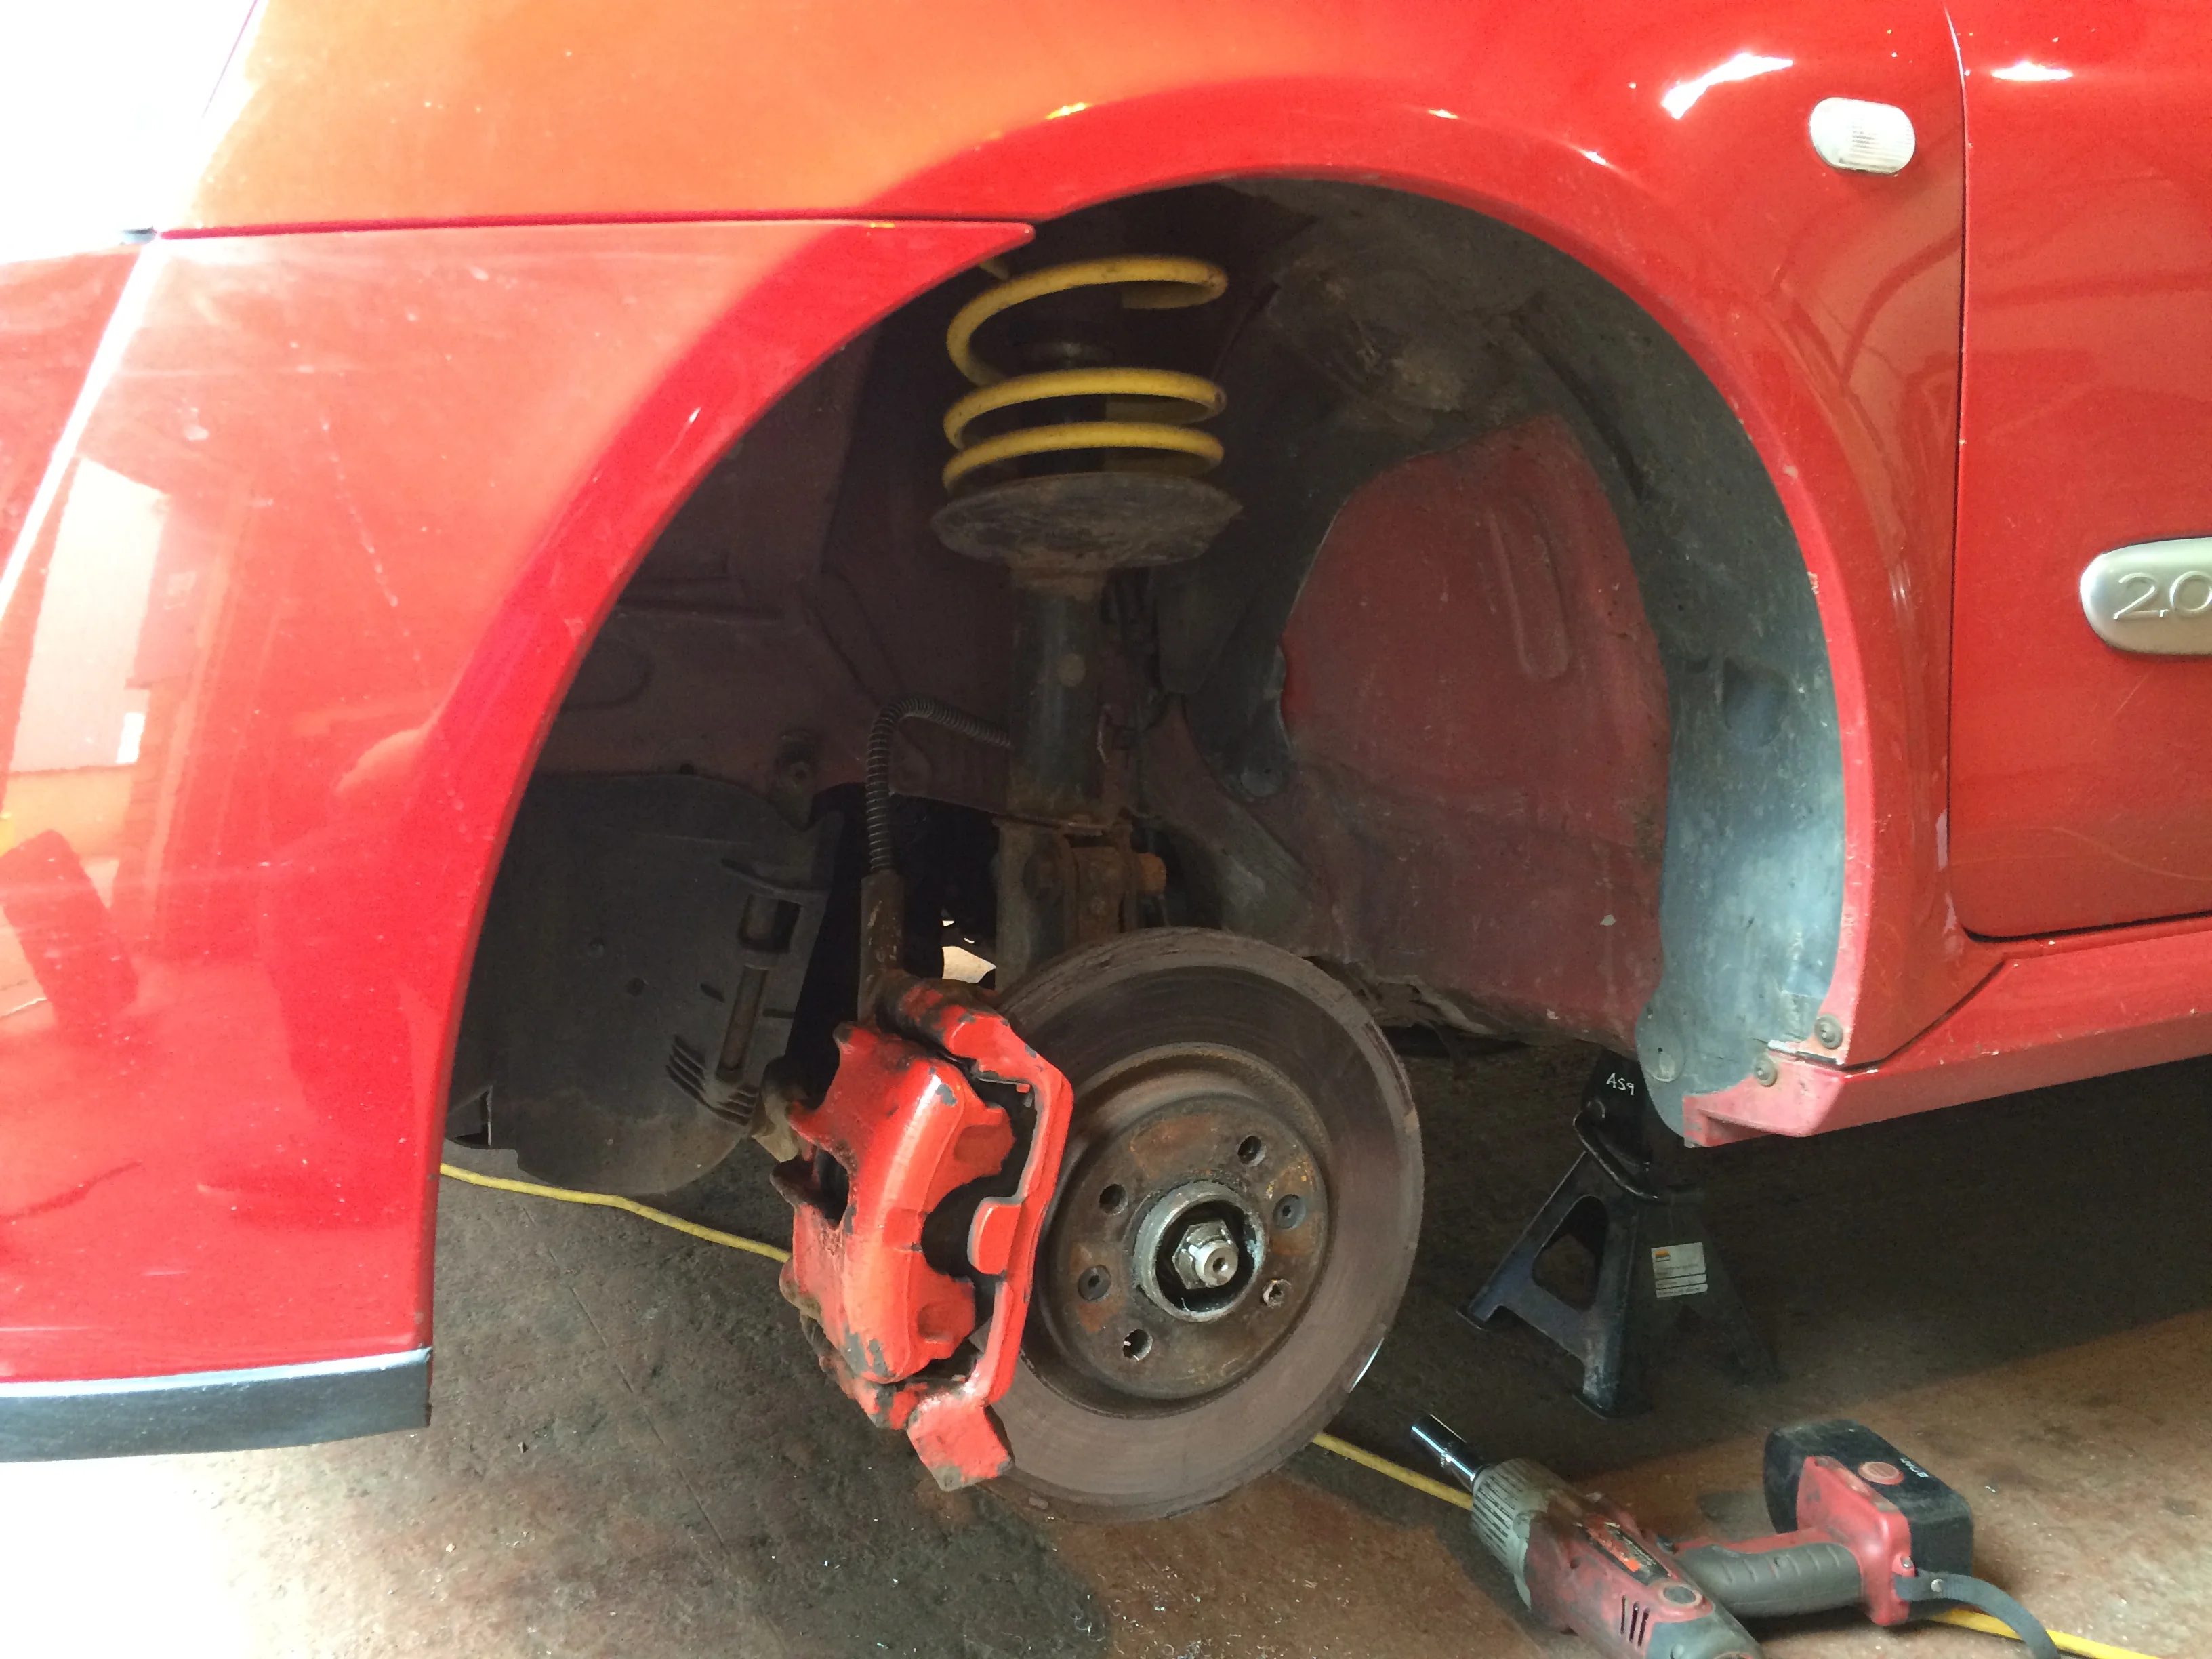
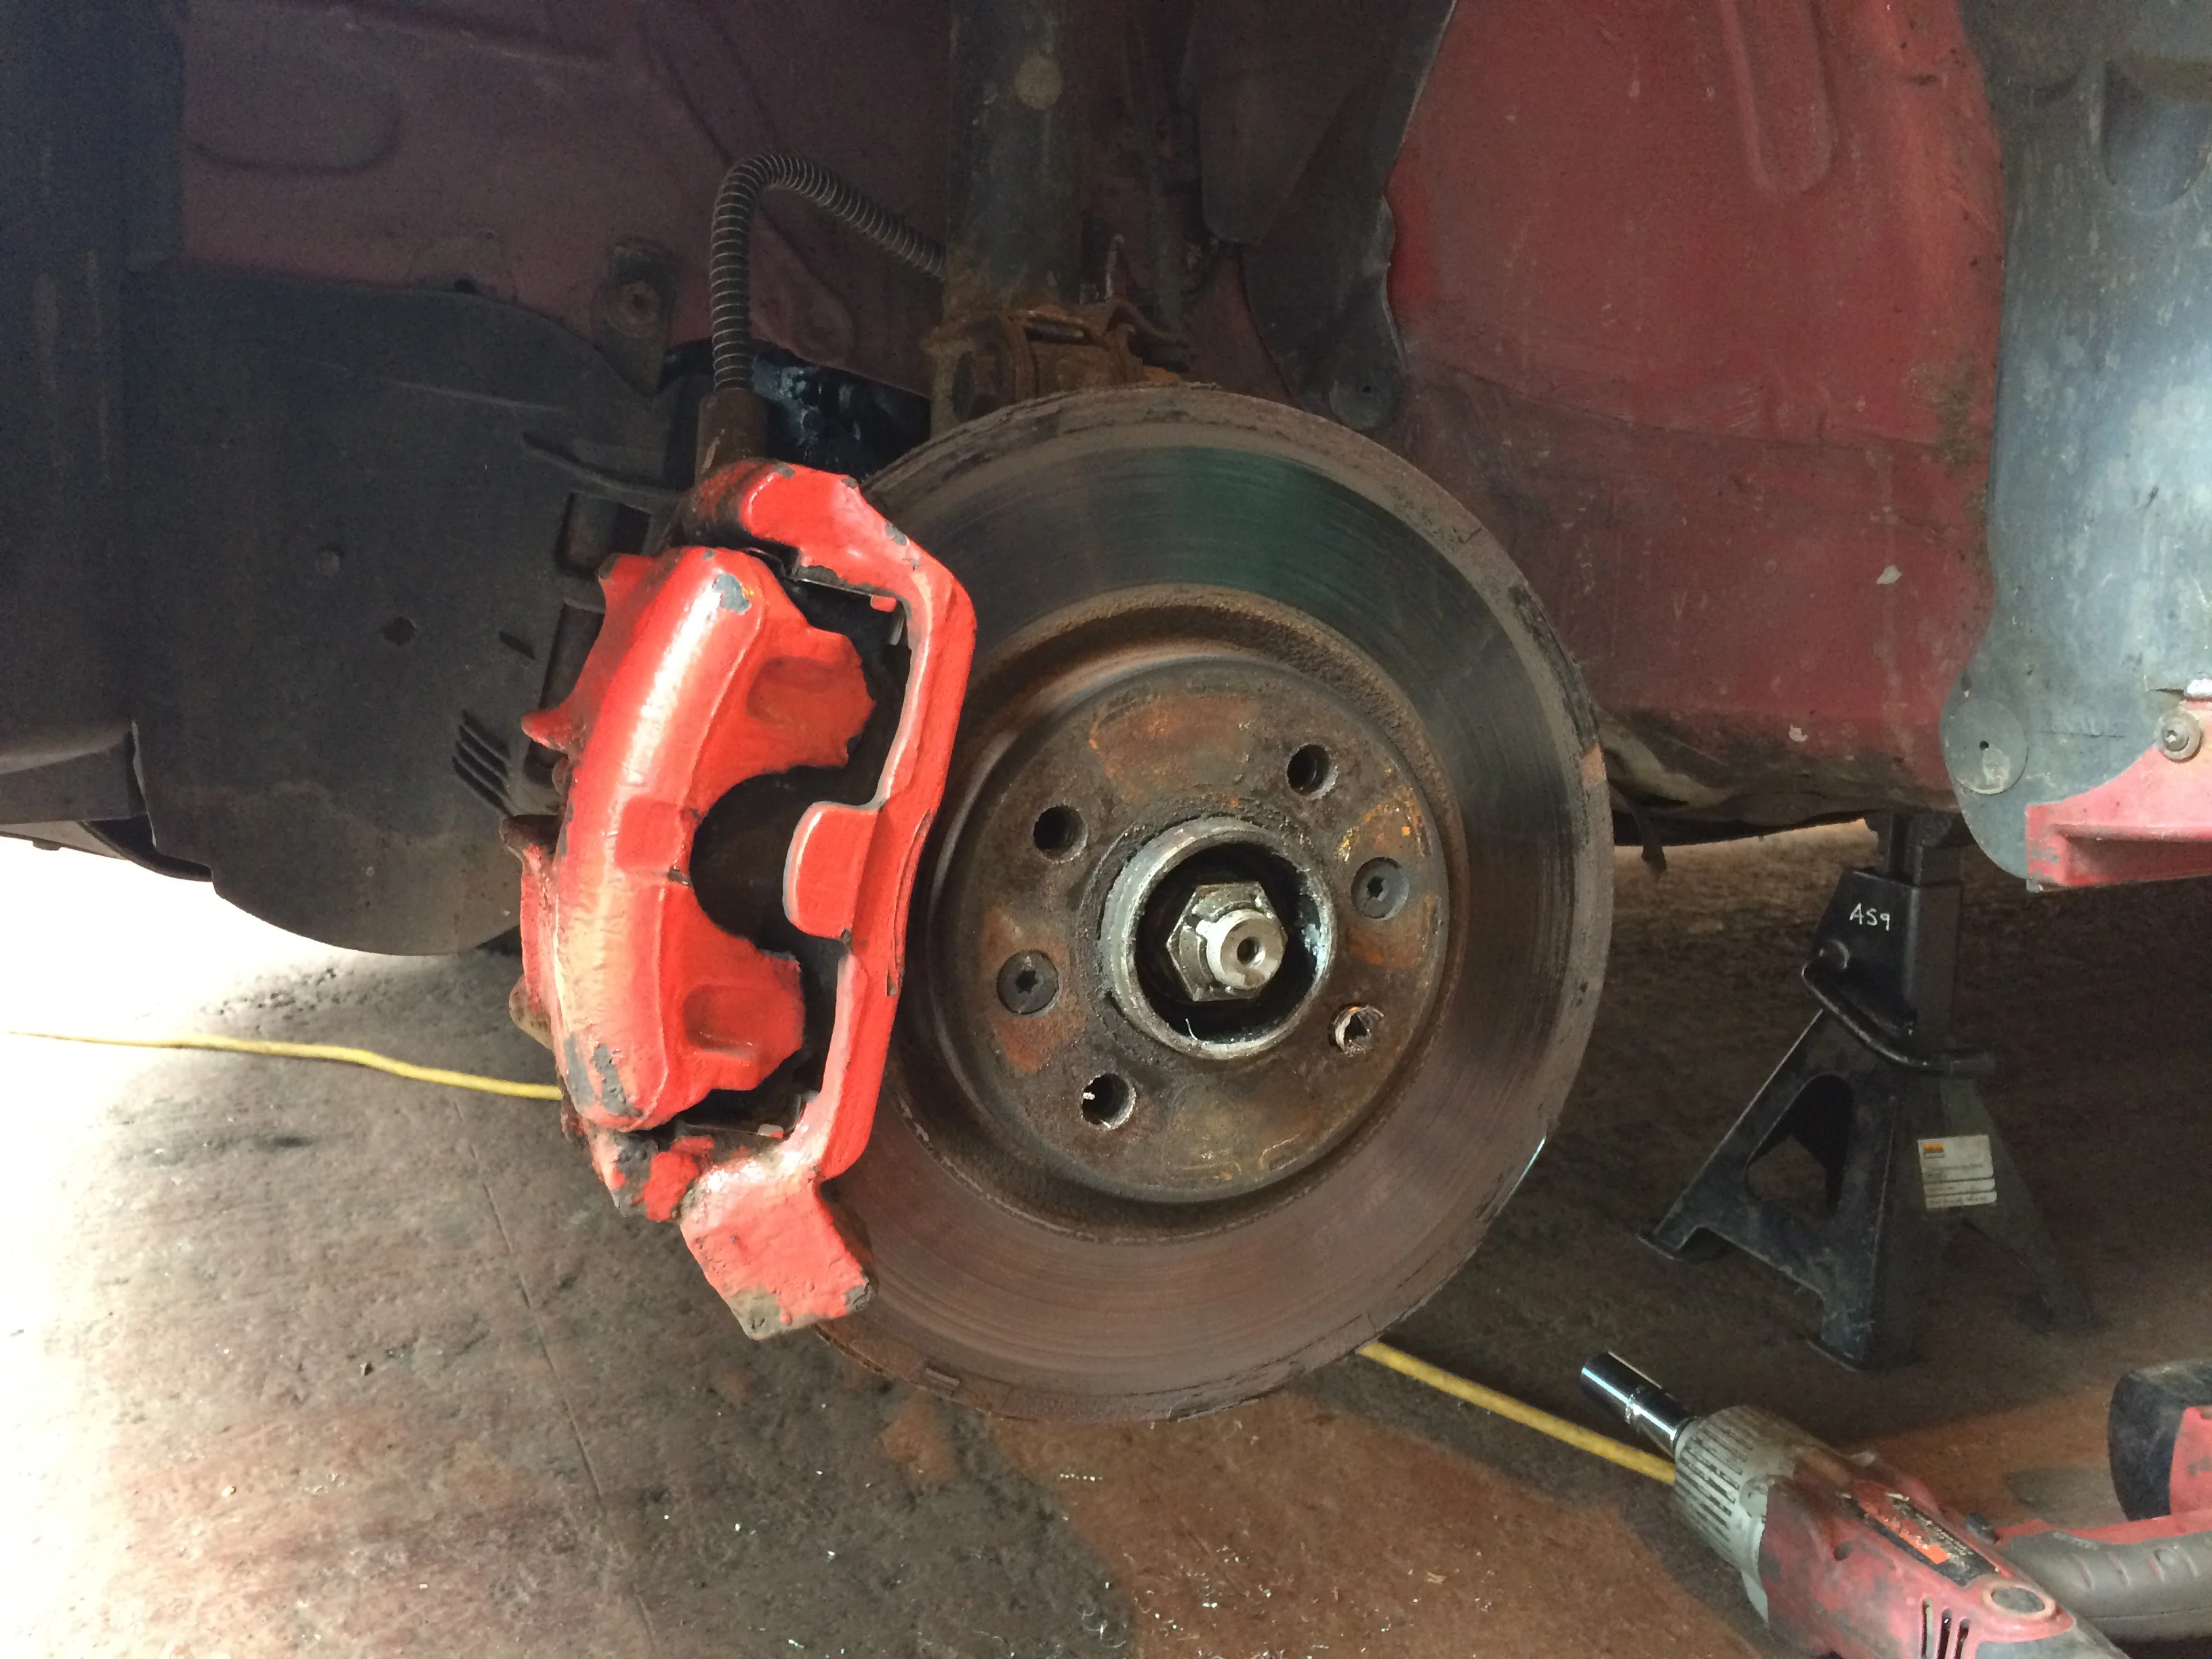
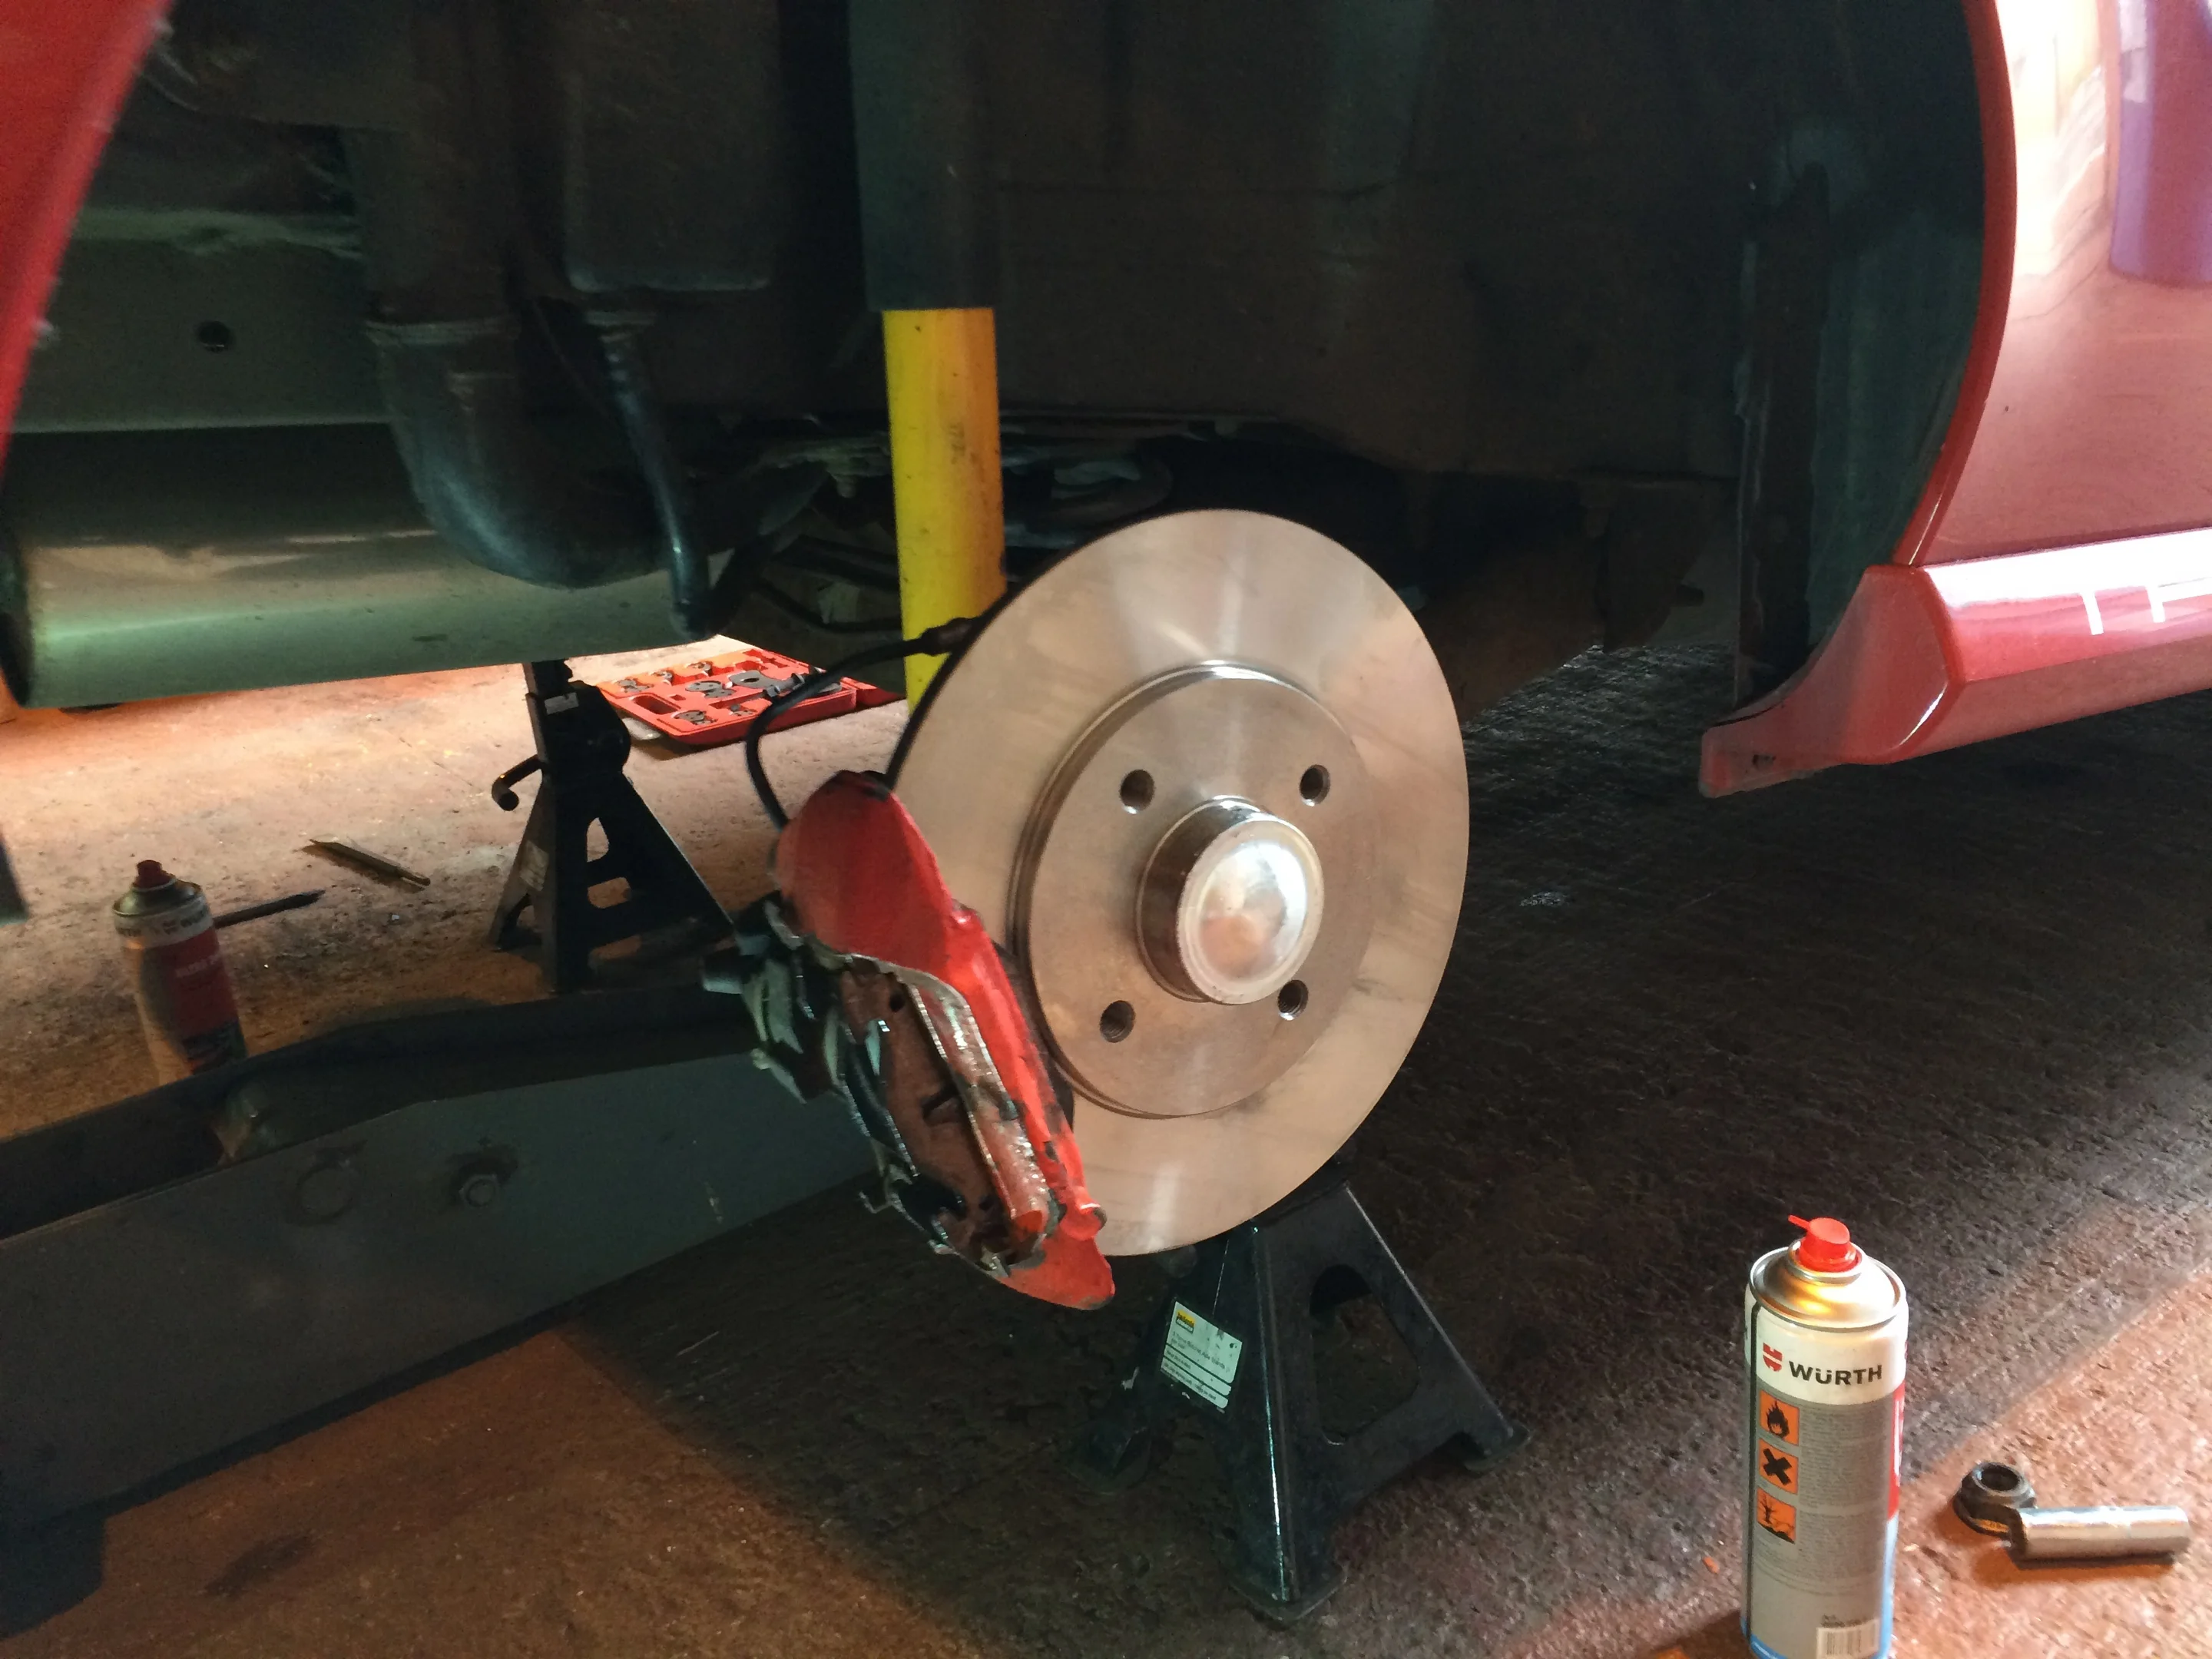
The caliper and carrier came off pretty straight forward....
then the fun began (not)
So upon attempt at removal of the disc, it wouldn't budge. So I figured its probably been on there a few years and needs a little tap from a rubber mallet...nope...ok so maybe move upto a bigger hammer....still didn't budge....at least the threads in the hub for the wheel nut were fine
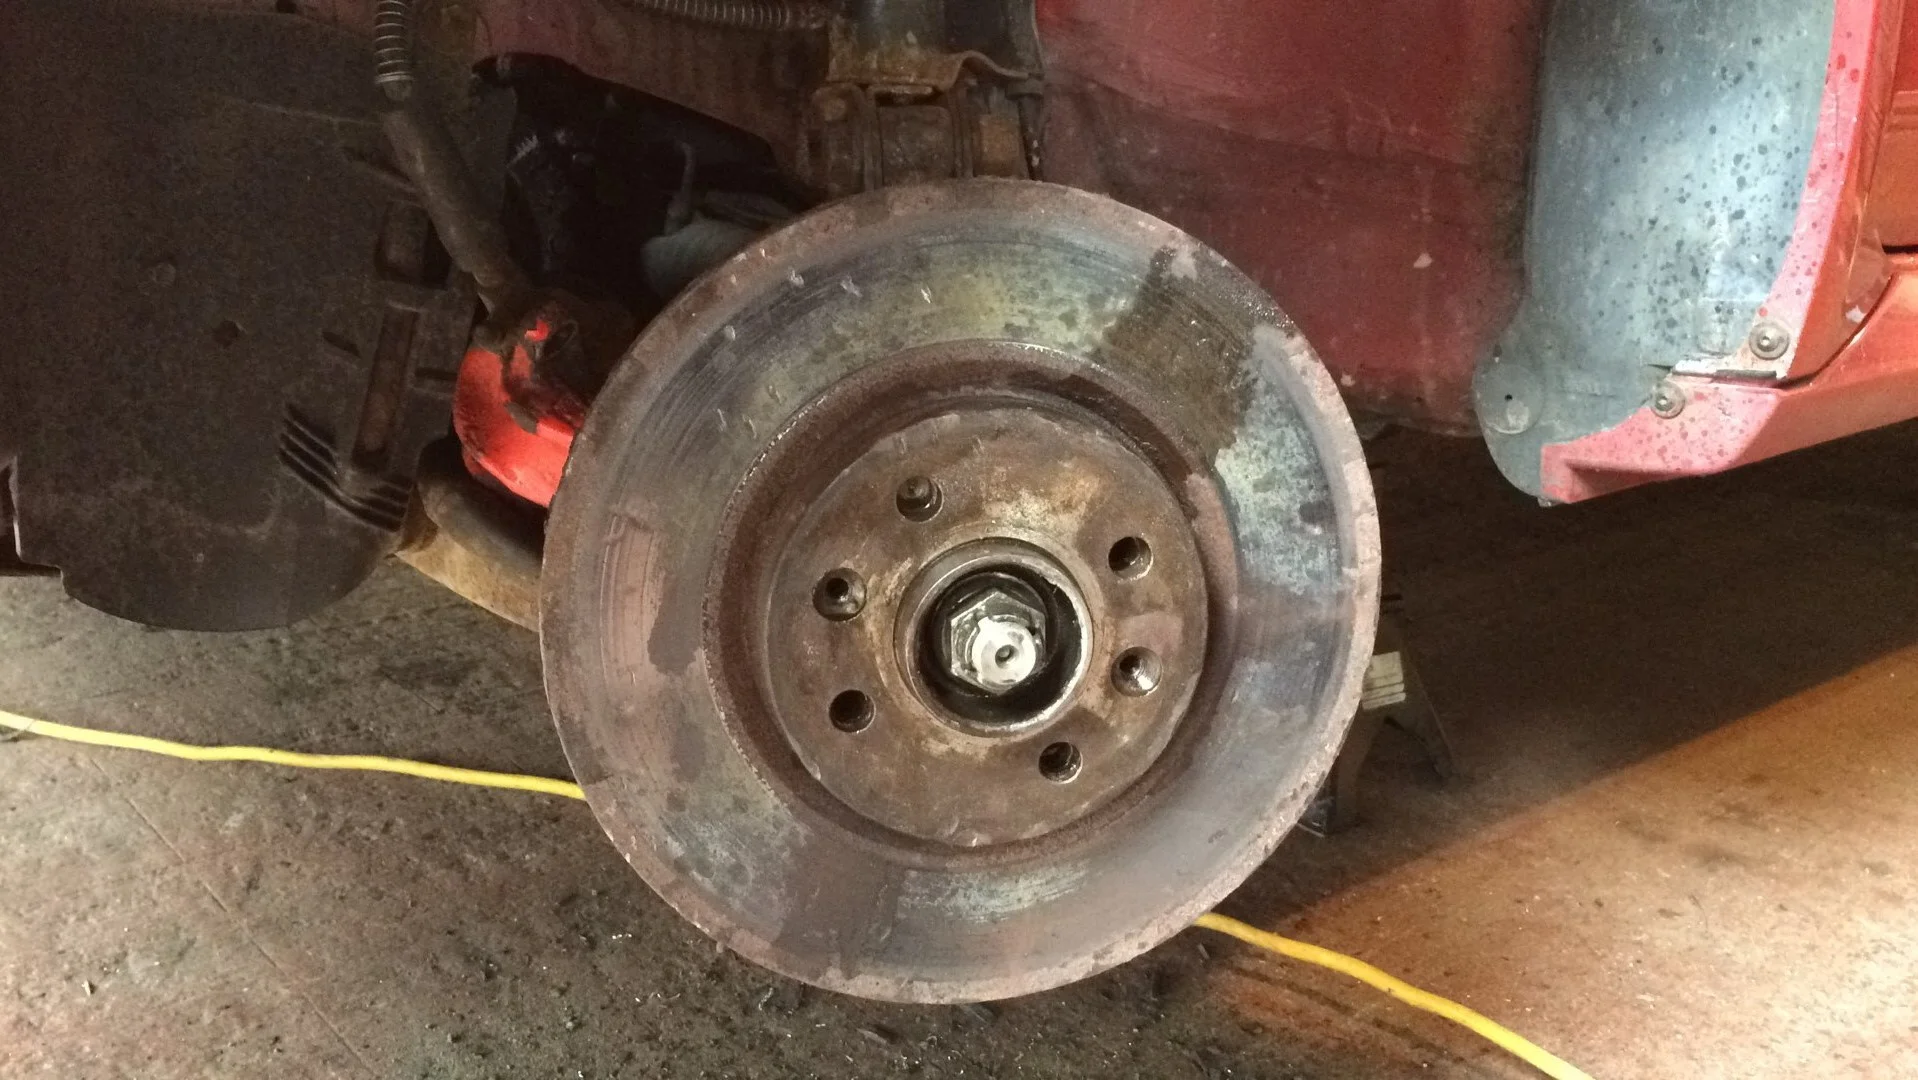
So with patients wearing thinner I broke out the blow torch and began heating the disc, i then proceeded to spend another half an hour heating and hitting and finally....
well with that behind me I went on and cleaned up all the surfaces, adding copper grease in every place possible (within reason obviously) and mounted the new discs and pads.
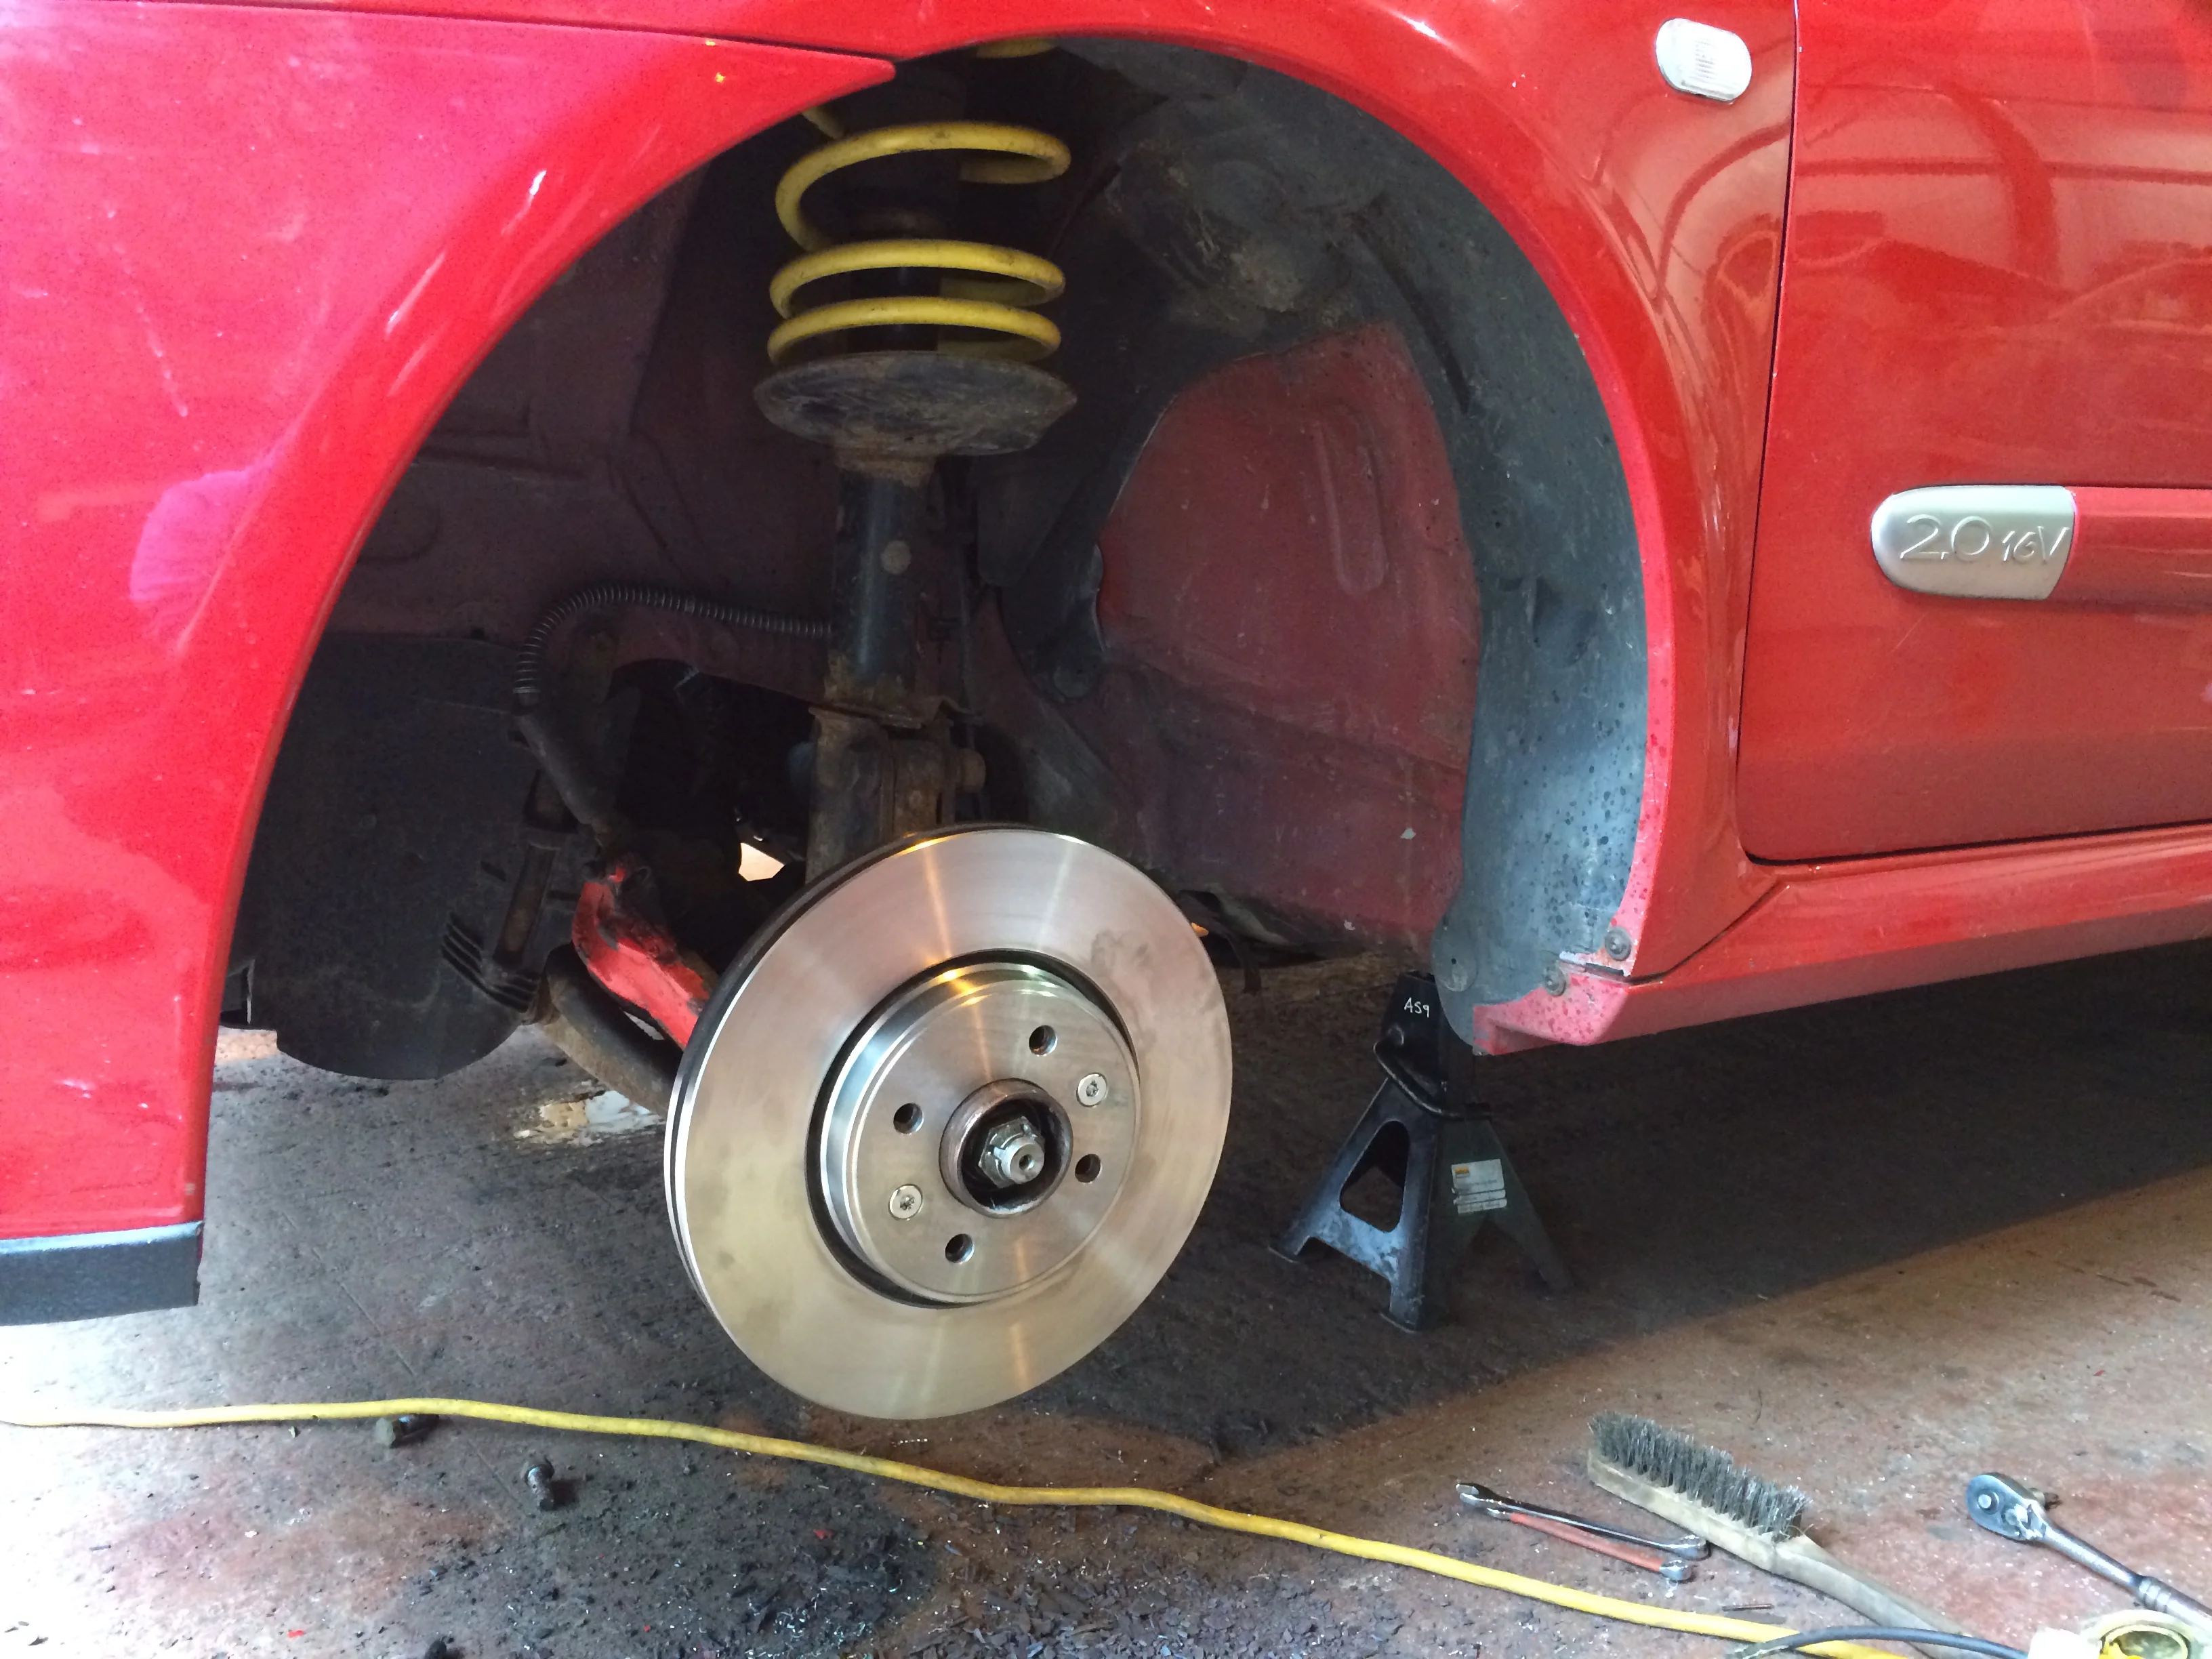
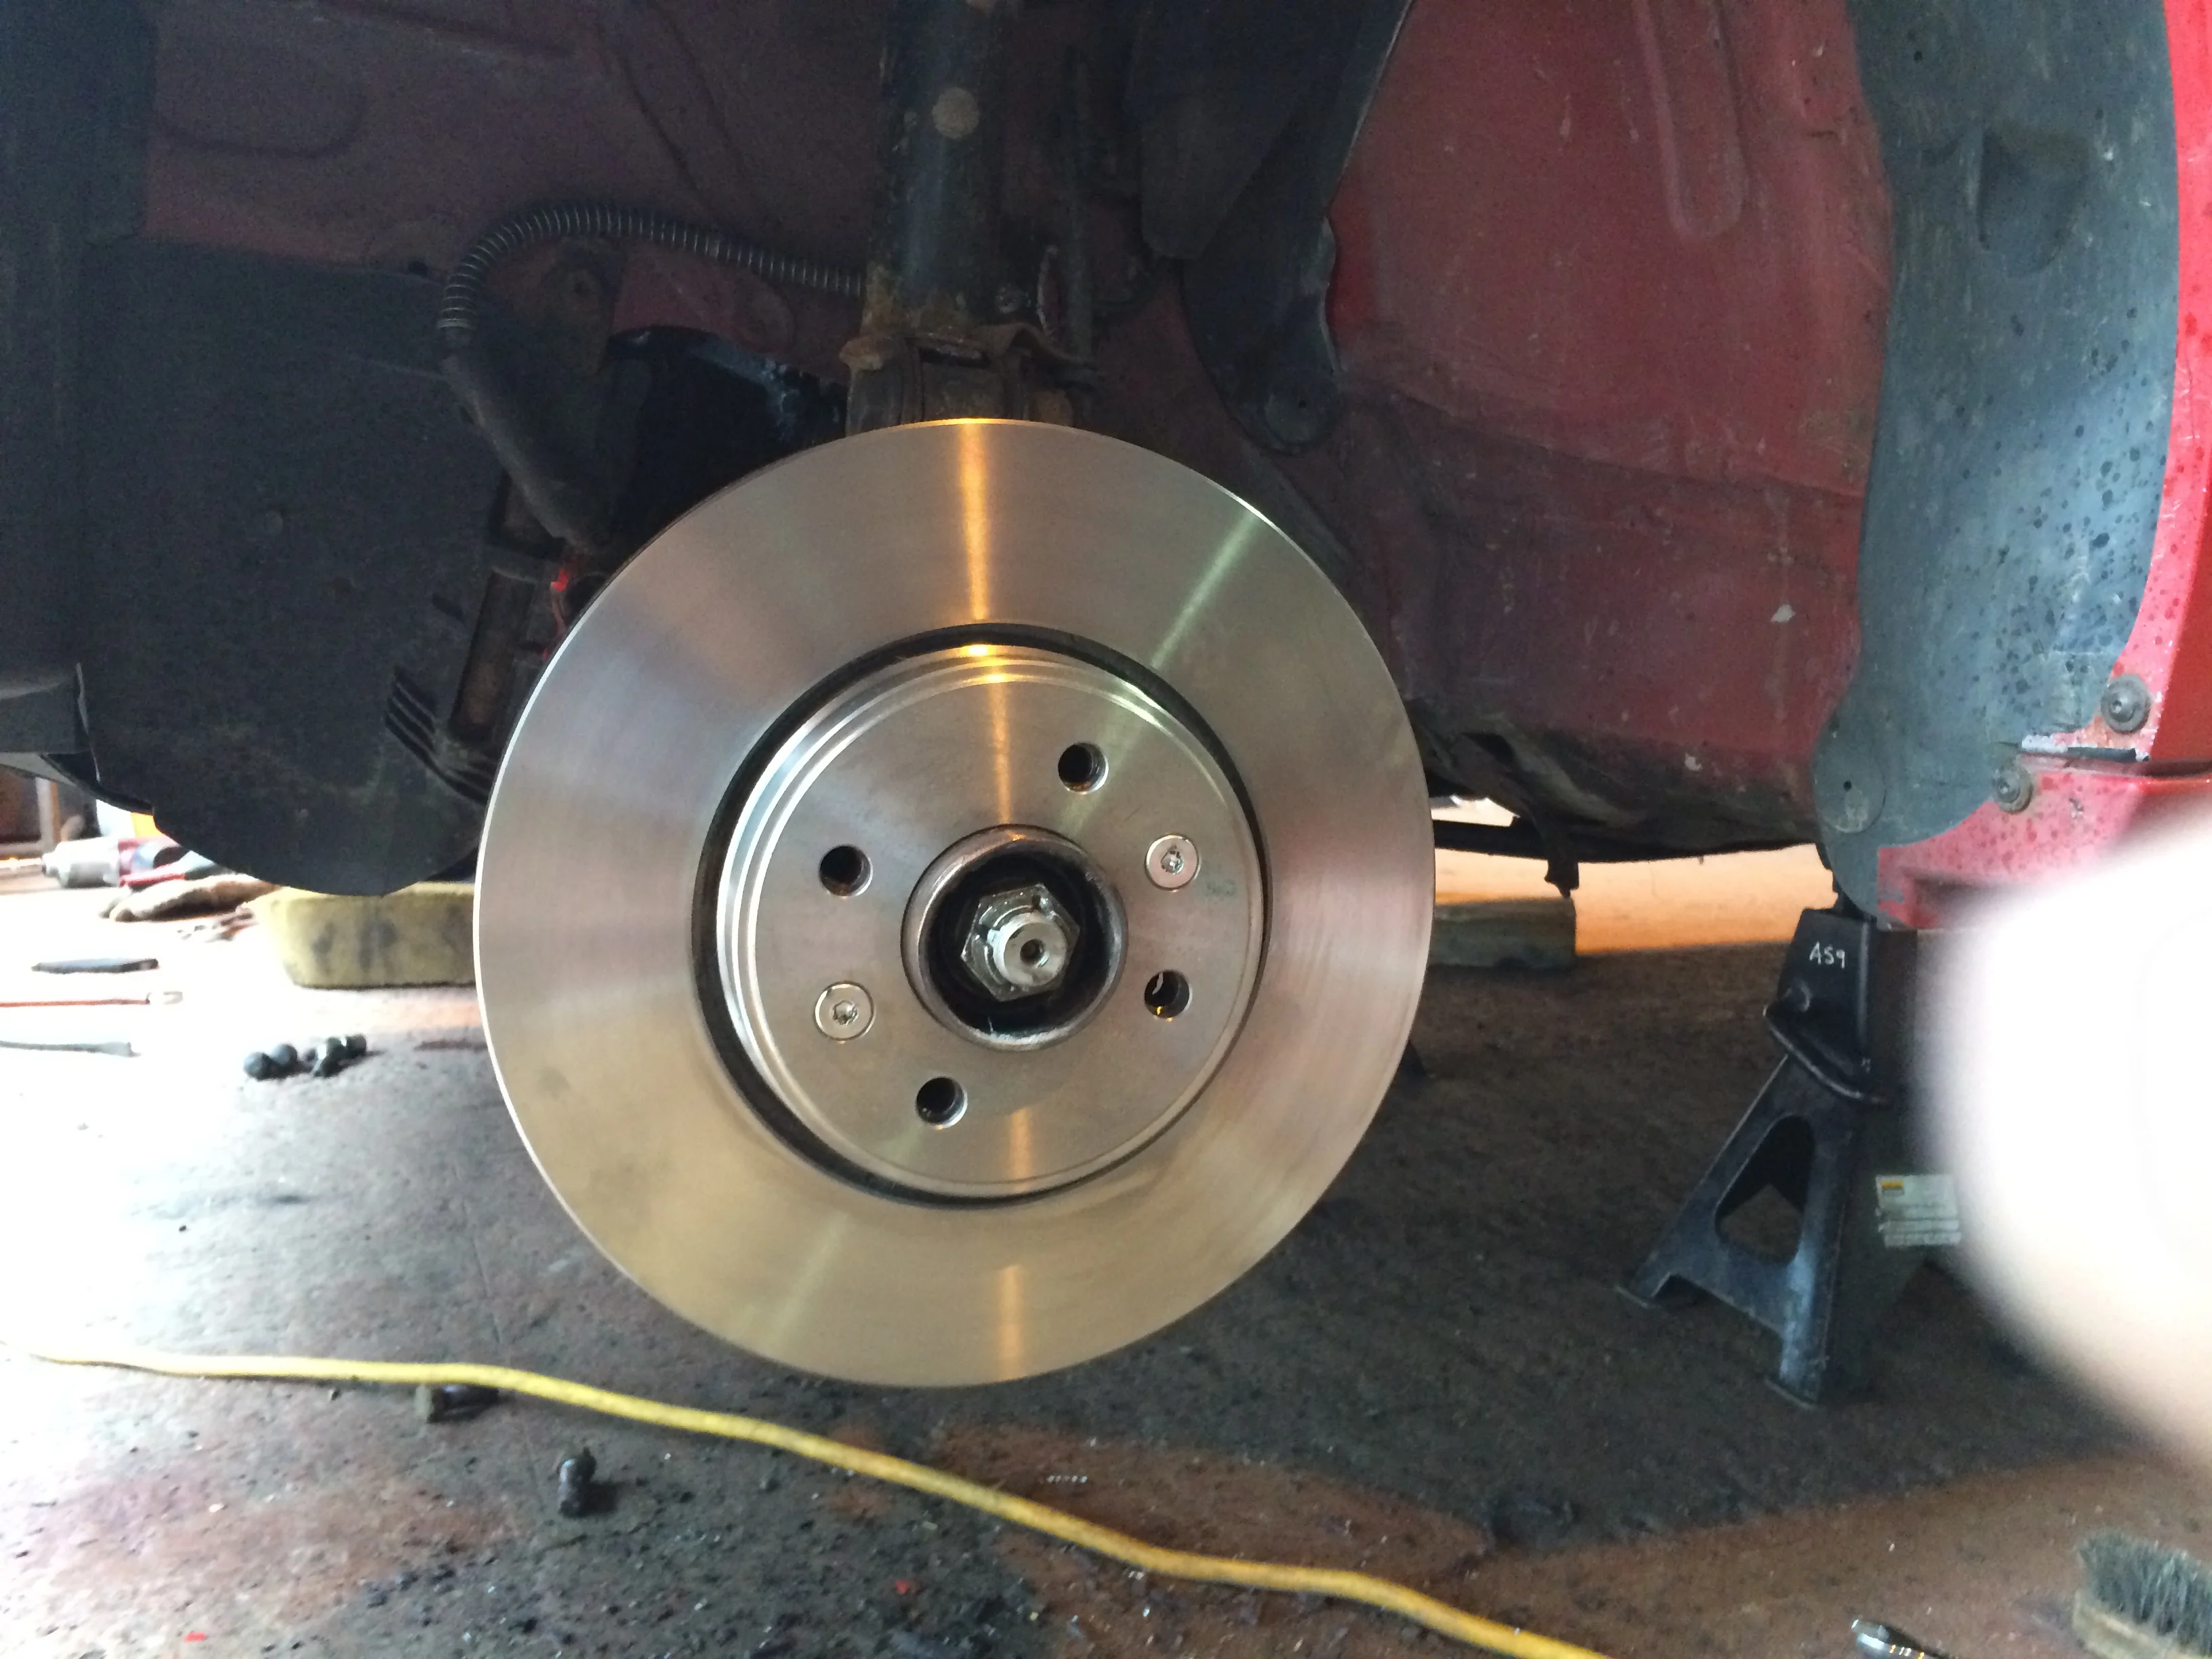
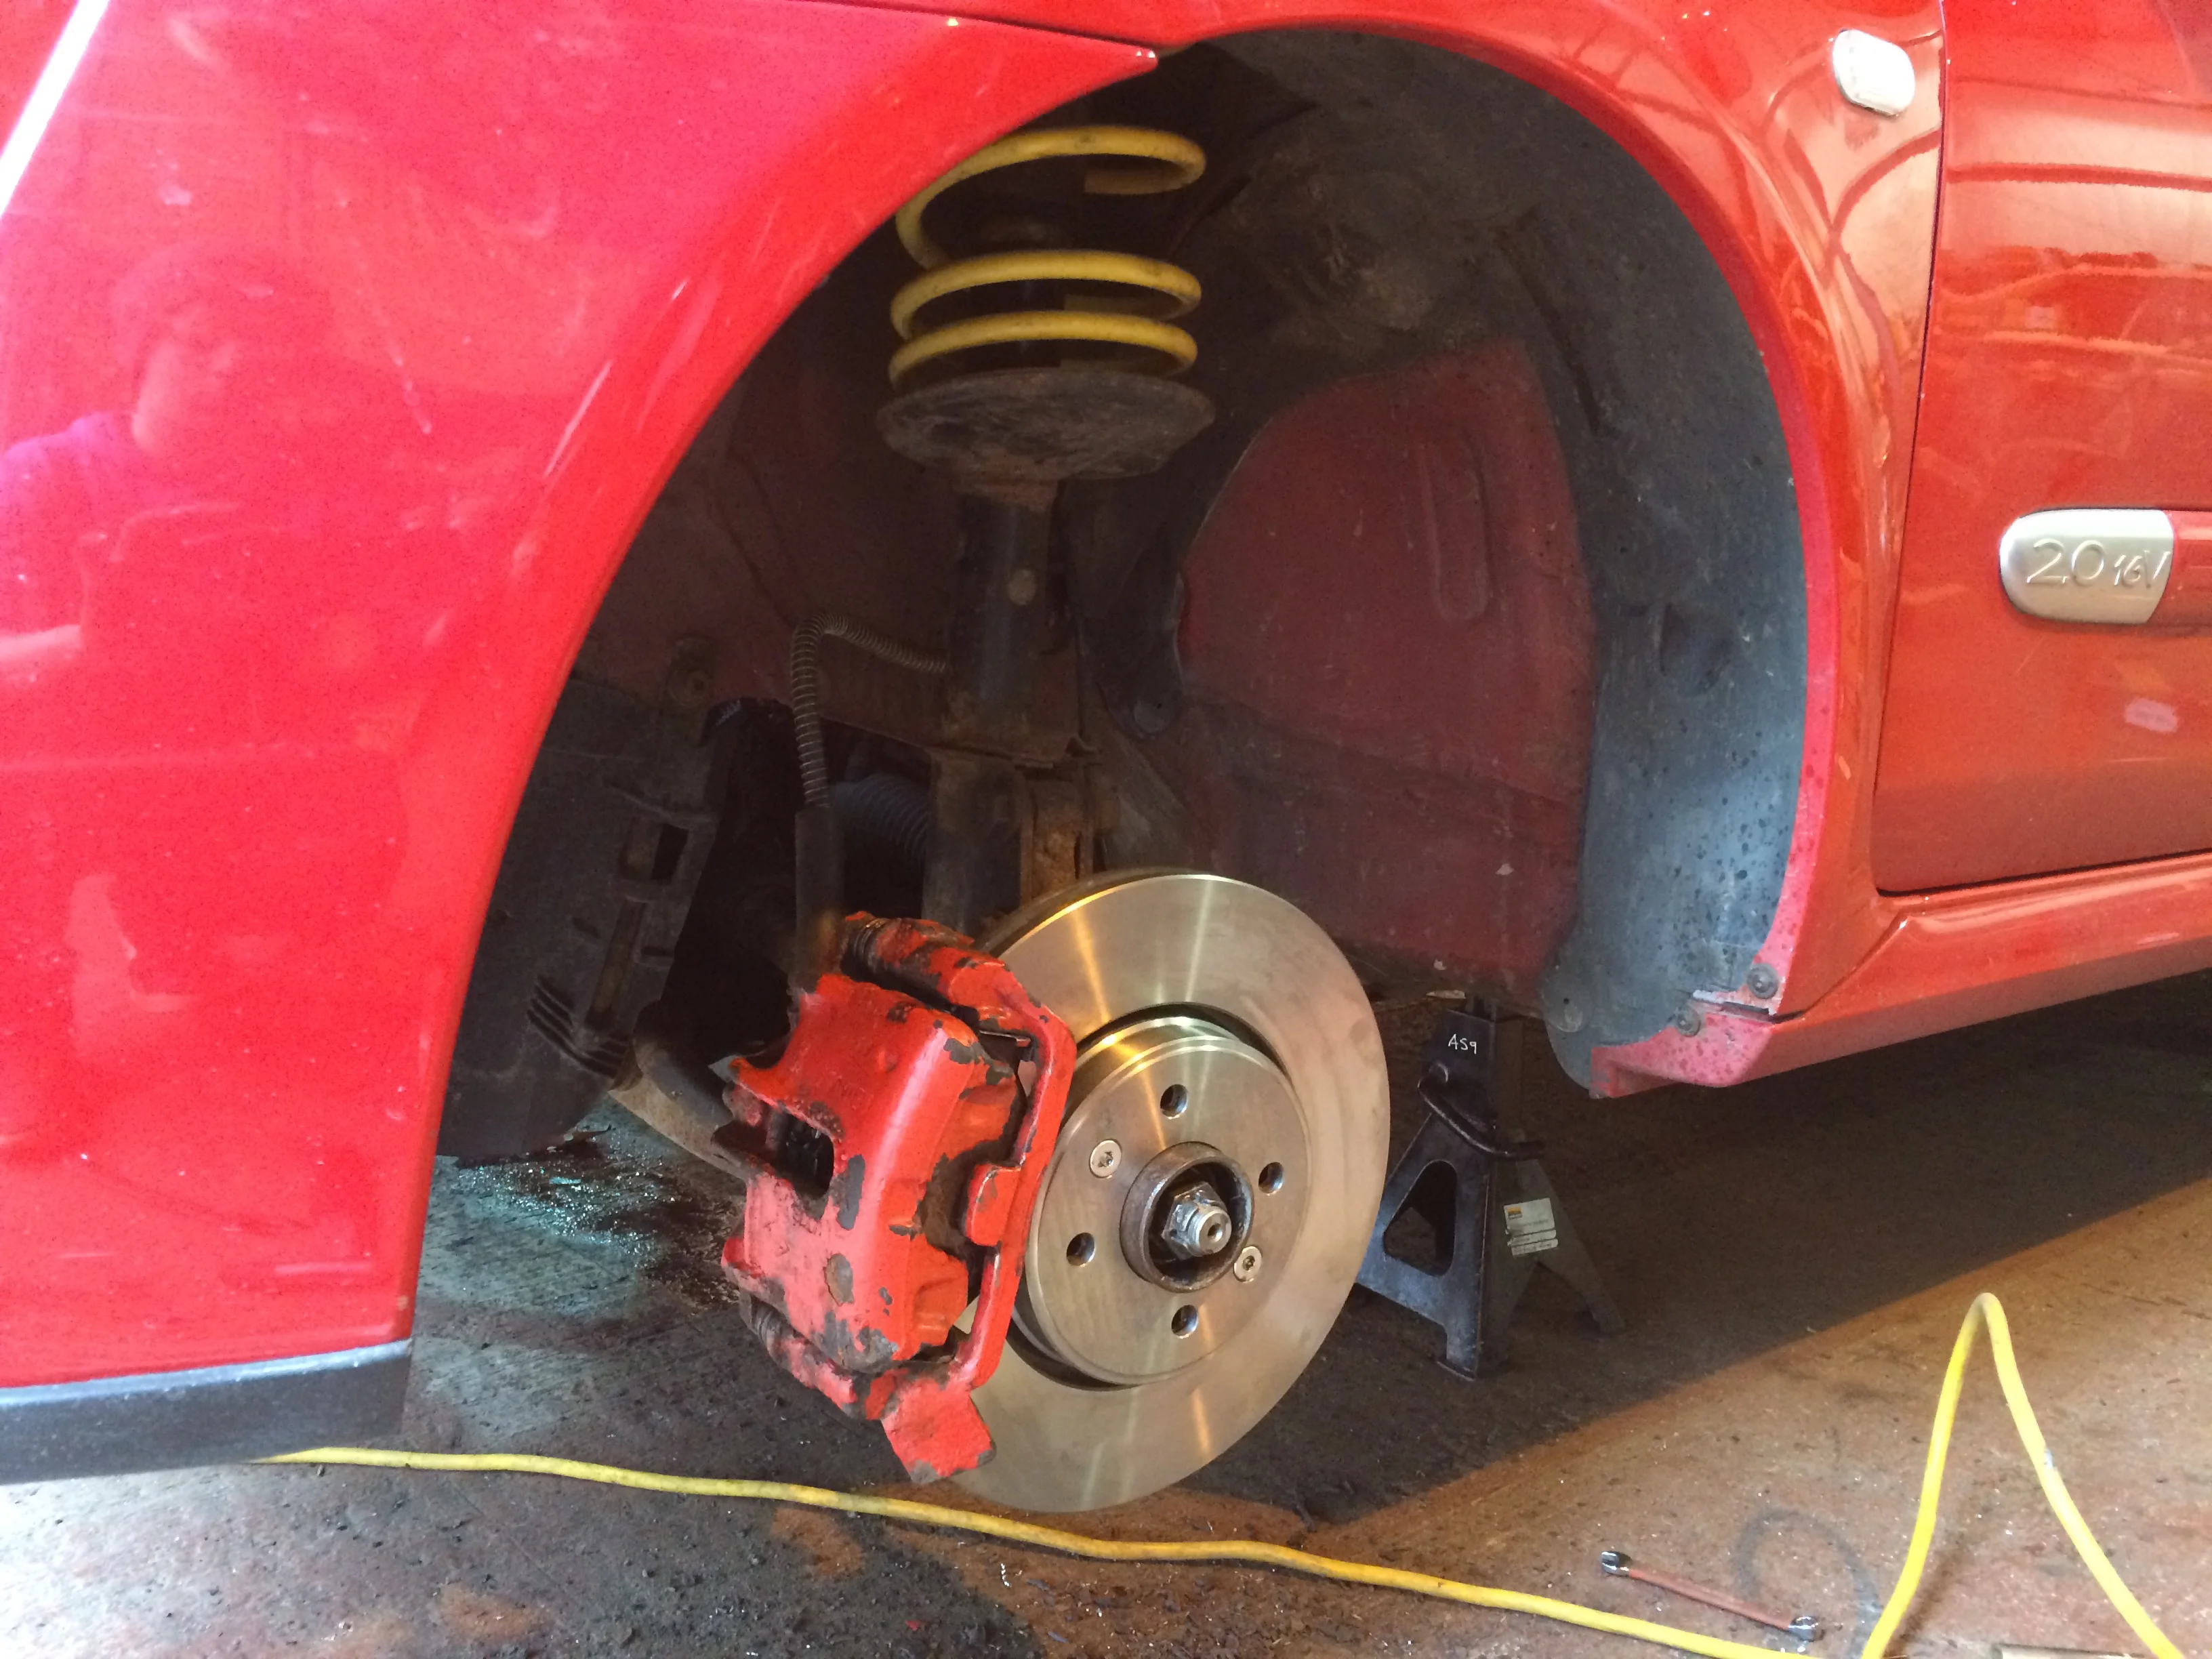
I need to make a point of painting my calipers sometime in the future, but essentials first.
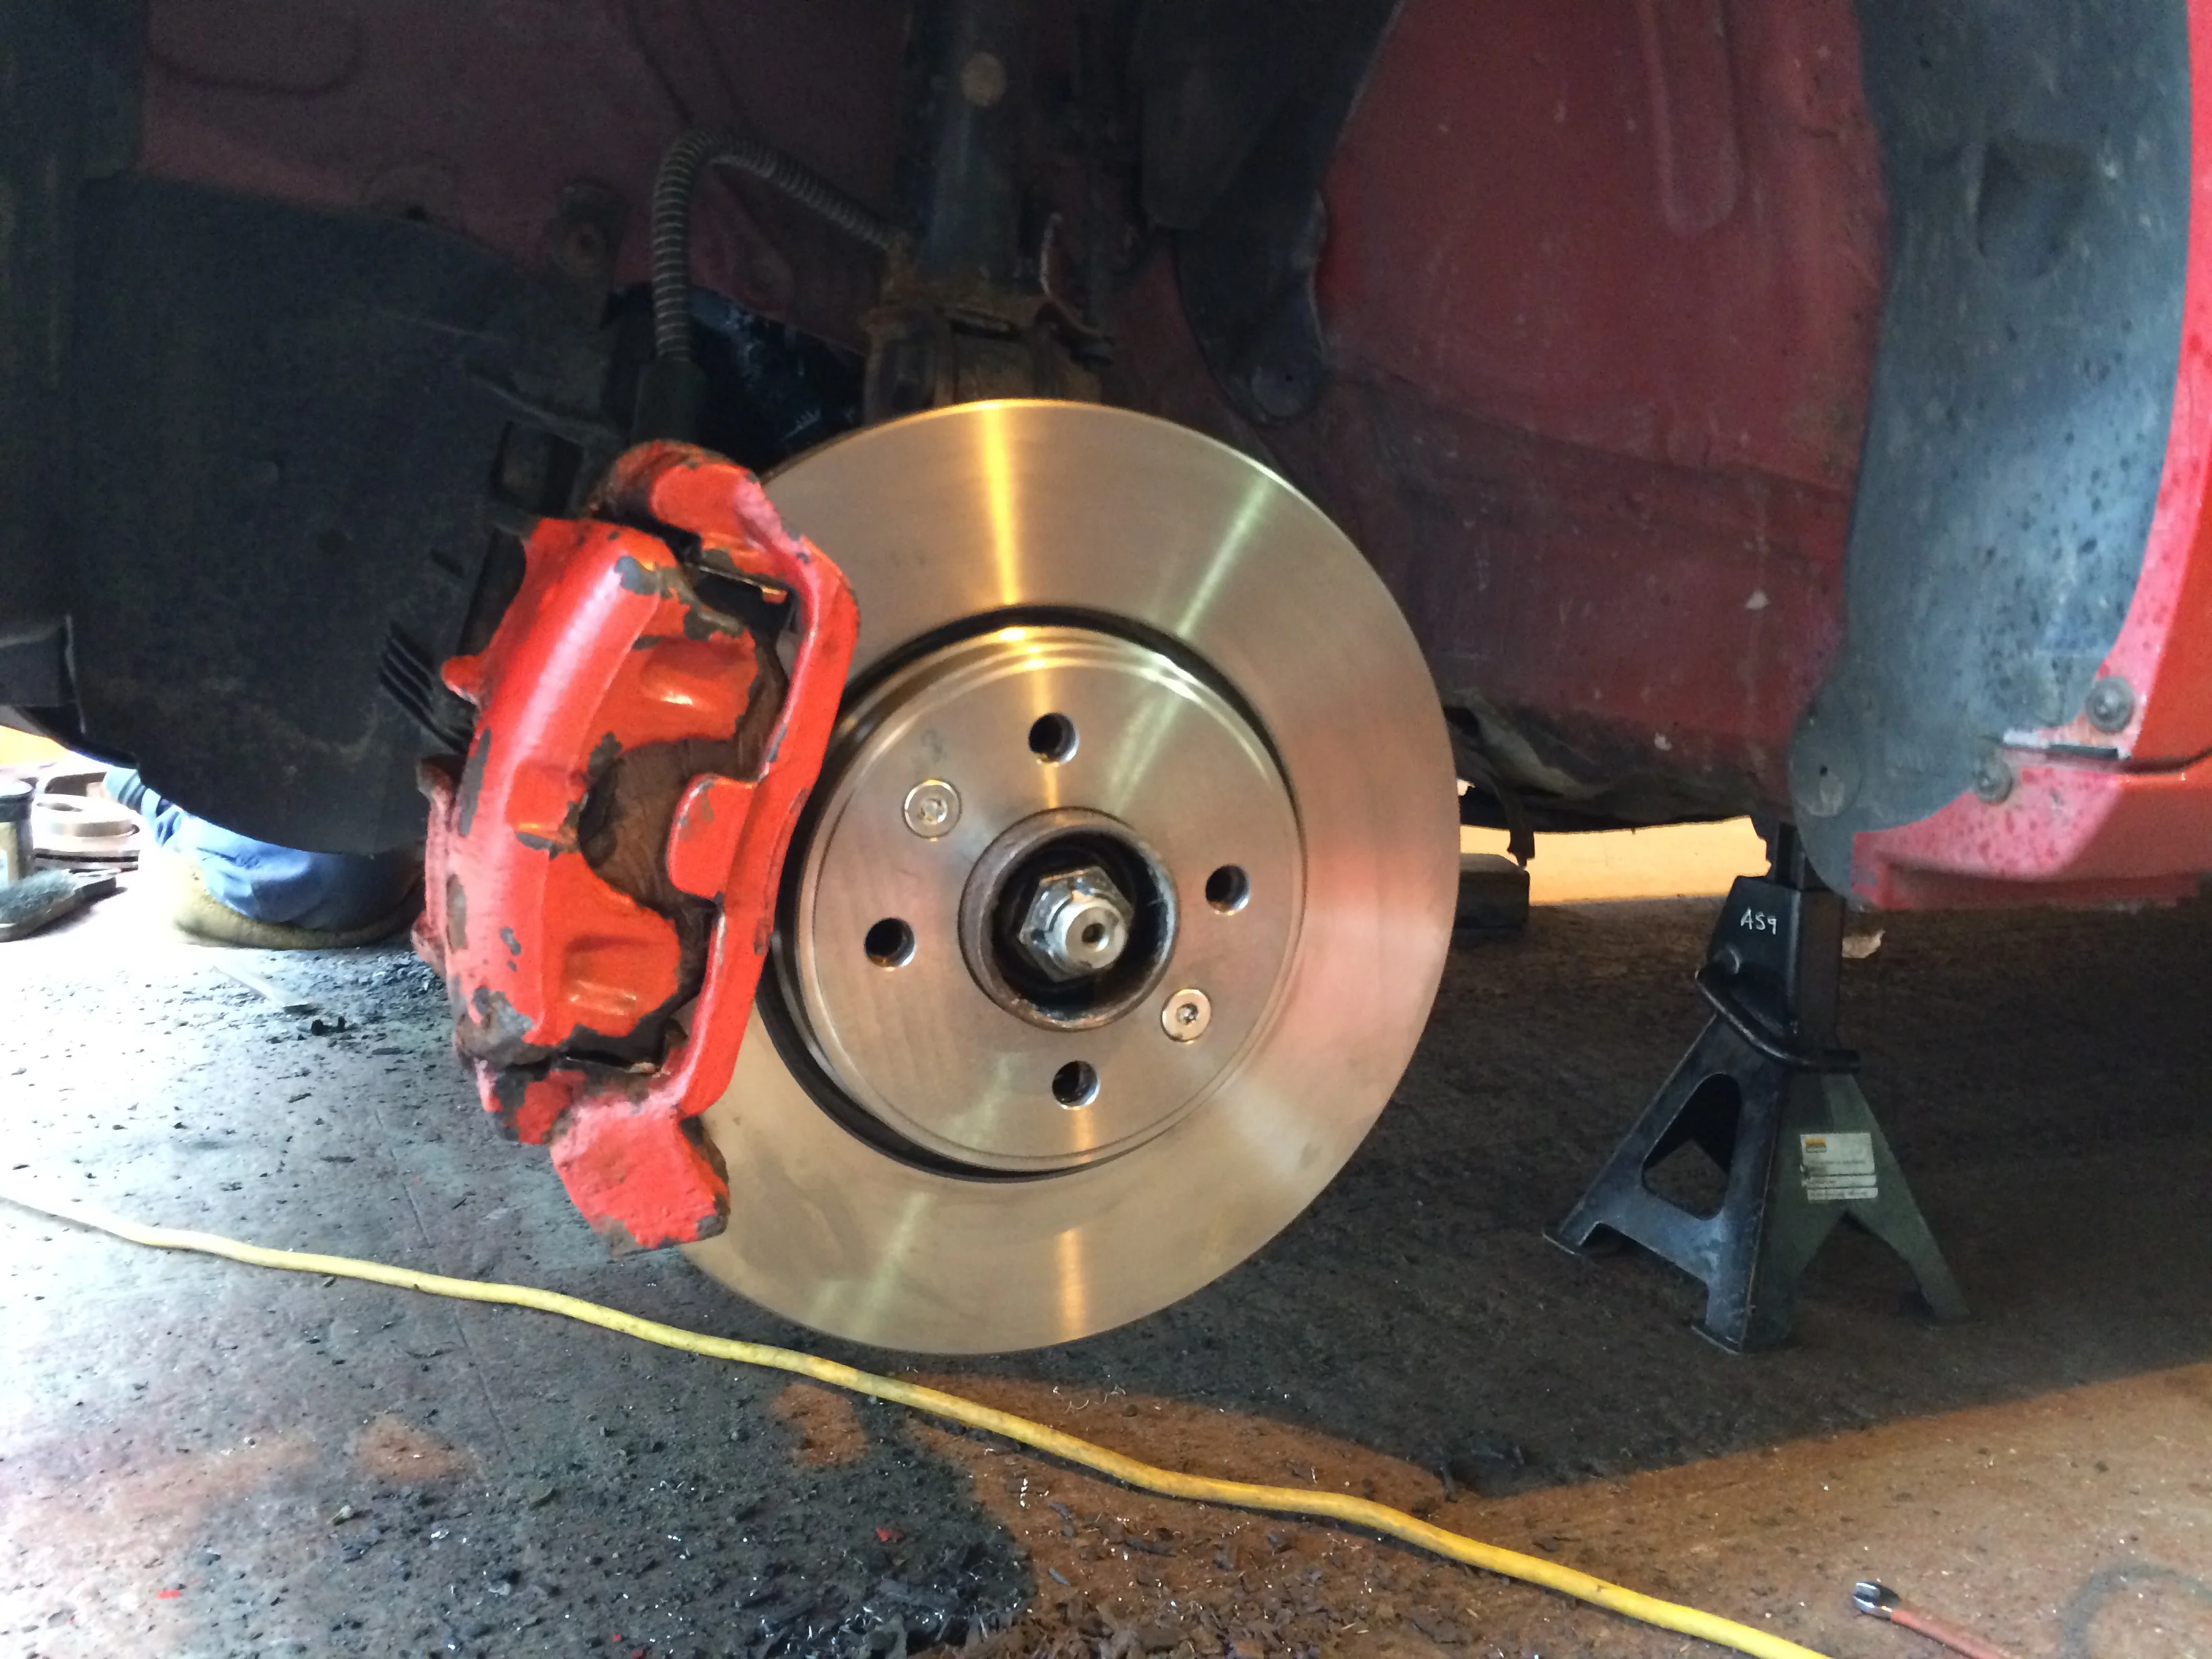
one side done, onto the next.
So I started with the front left....
not a great start... i spent the next half an hour just removing the wheel.
In the process of stealing the Turini's from the car, the previous owner actually broke the head off a wheel nut!!!!! and i had to drill out the remaining piece in order to even start on the brakes!!
The caliper and carrier came off pretty straight forward....
then the fun began (not)
So upon attempt at removal of the disc, it wouldn't budge. So I figured its probably been on there a few years and needs a little tap from a rubber mallet...nope...ok so maybe move upto a bigger hammer....still didn't budge....at least the threads in the hub for the wheel nut were fine
So with patients wearing thinner I broke out the blow torch and began heating the disc, i then proceeded to spend another half an hour heating and hitting and finally....
well with that behind me I went on and cleaned up all the surfaces, adding copper grease in every place possible (within reason obviously) and mounted the new discs and pads.
I need to make a point of painting my calipers sometime in the future, but essentials first.
one side done, onto the next.
Clio 182 Trophy
So I proceeded with front right corner of the car with the hope that it would come off easier but expecting it to be just as bad...
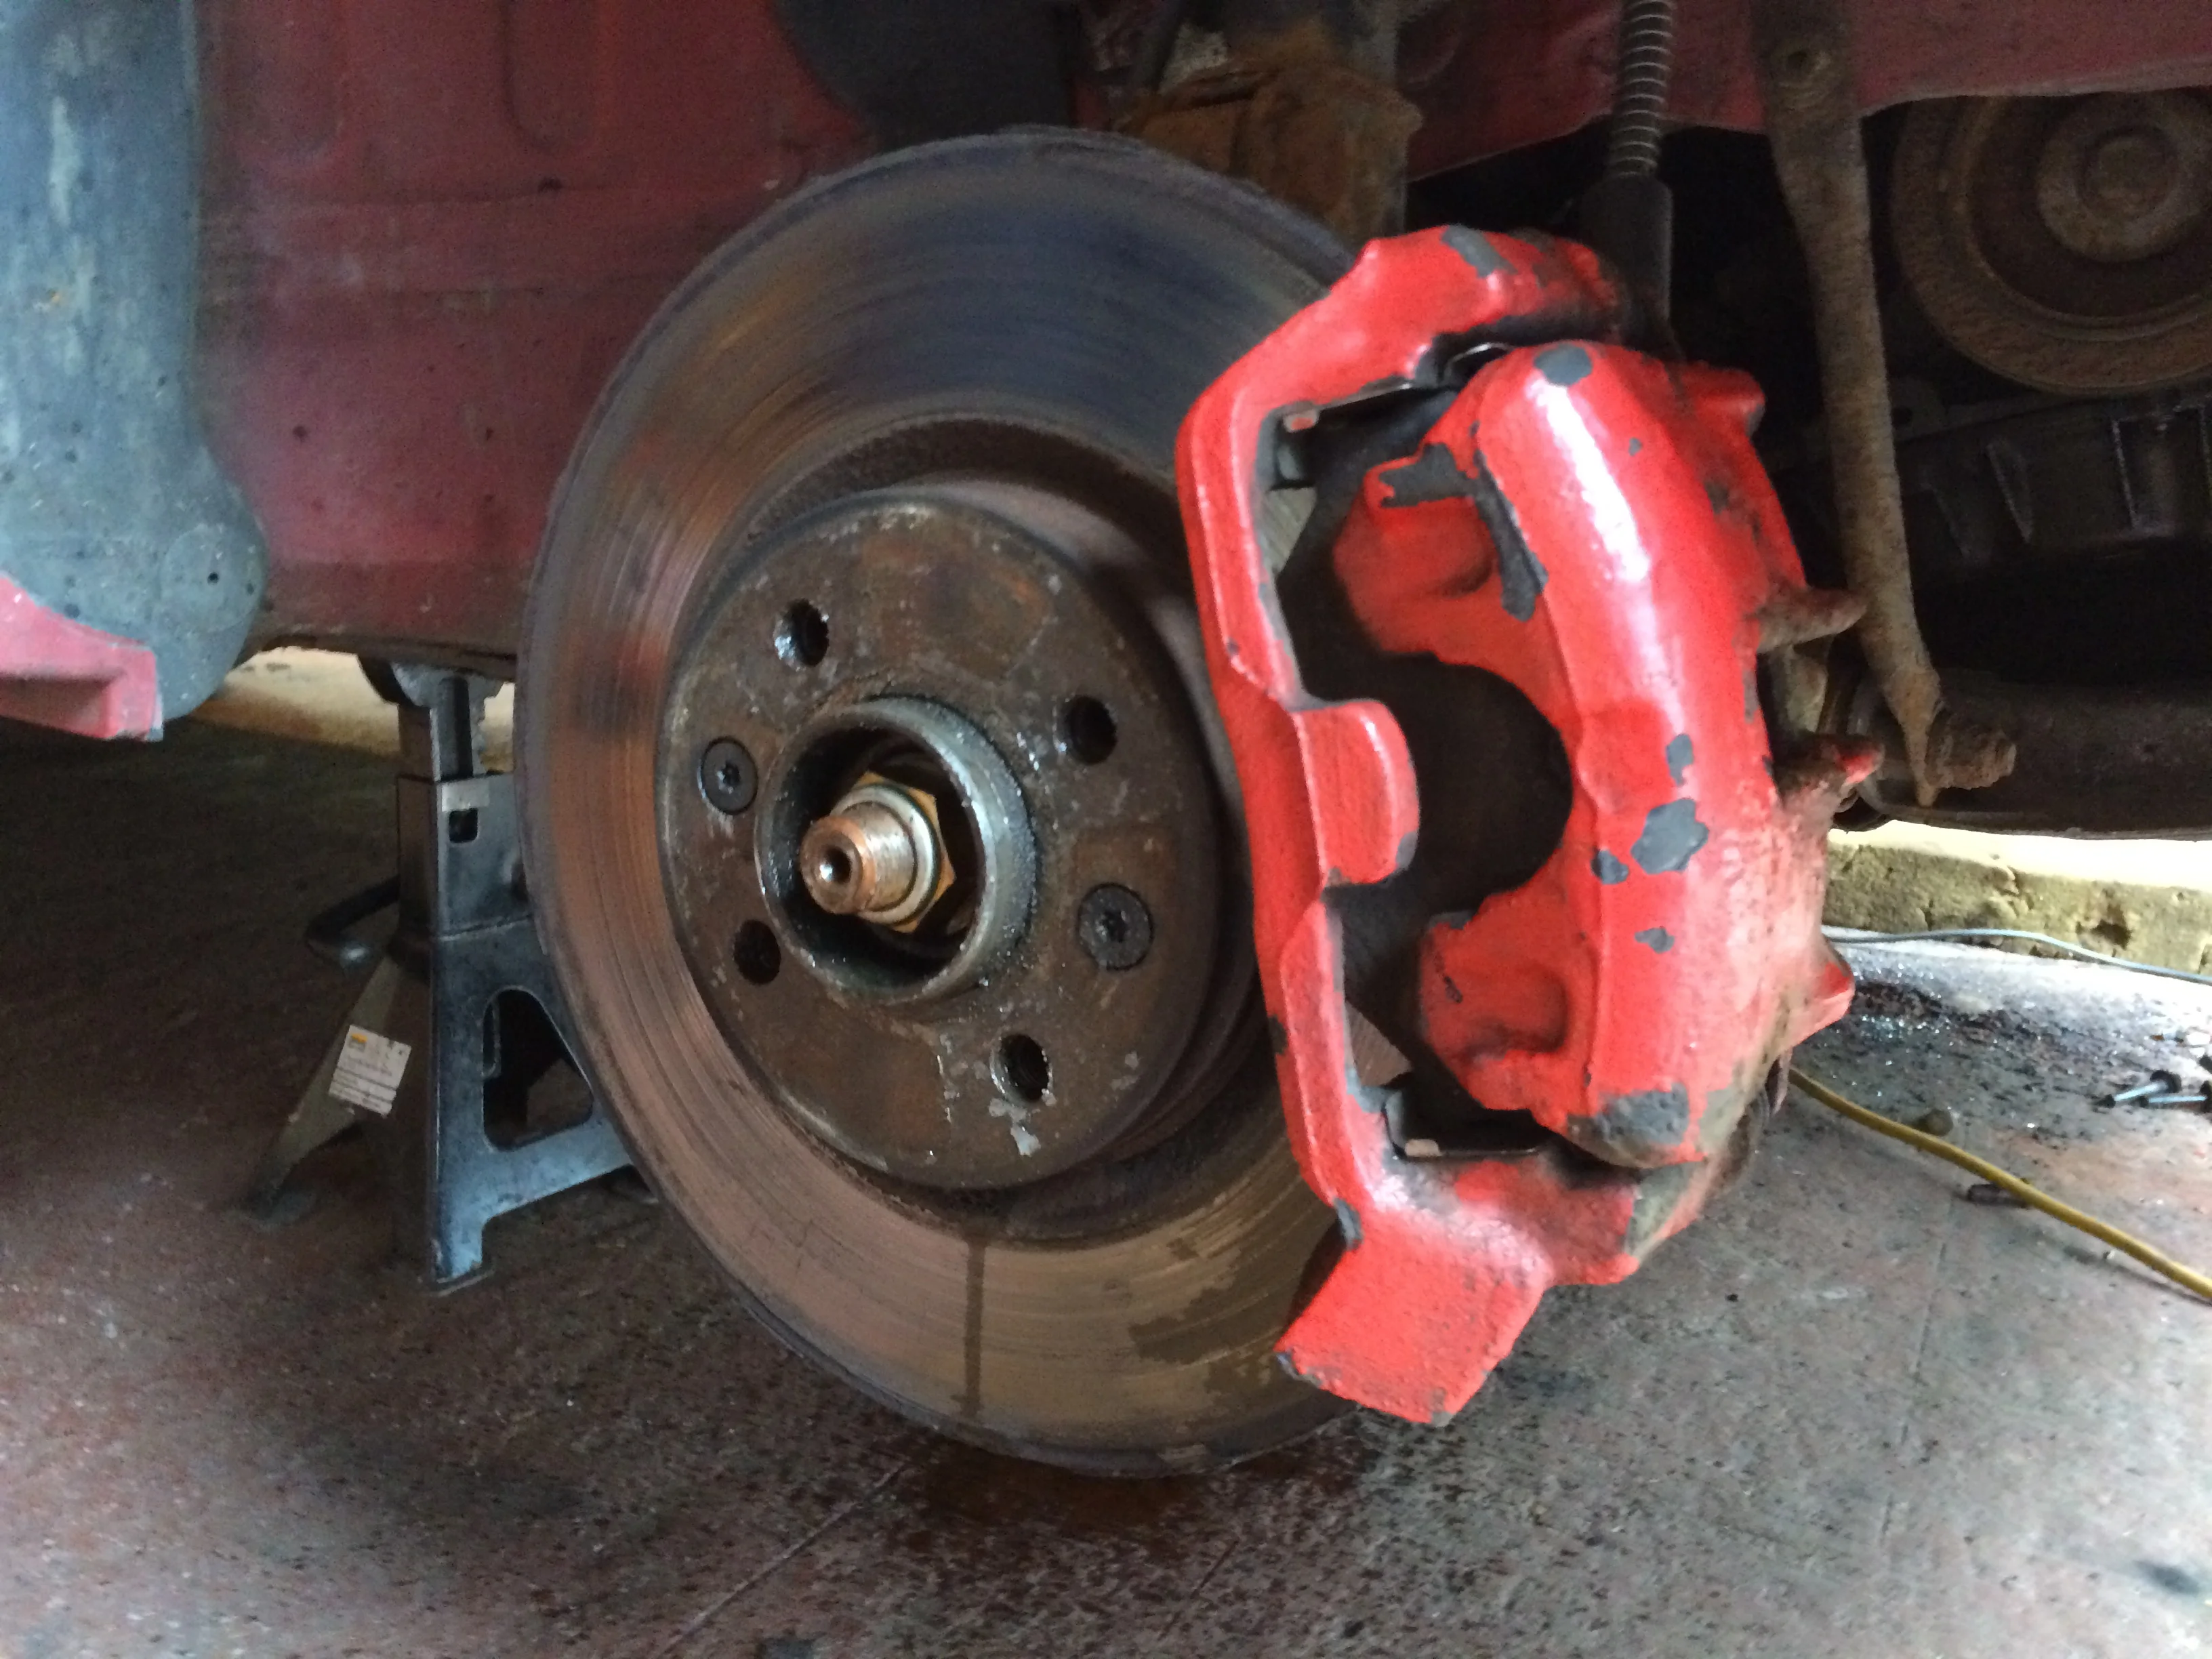
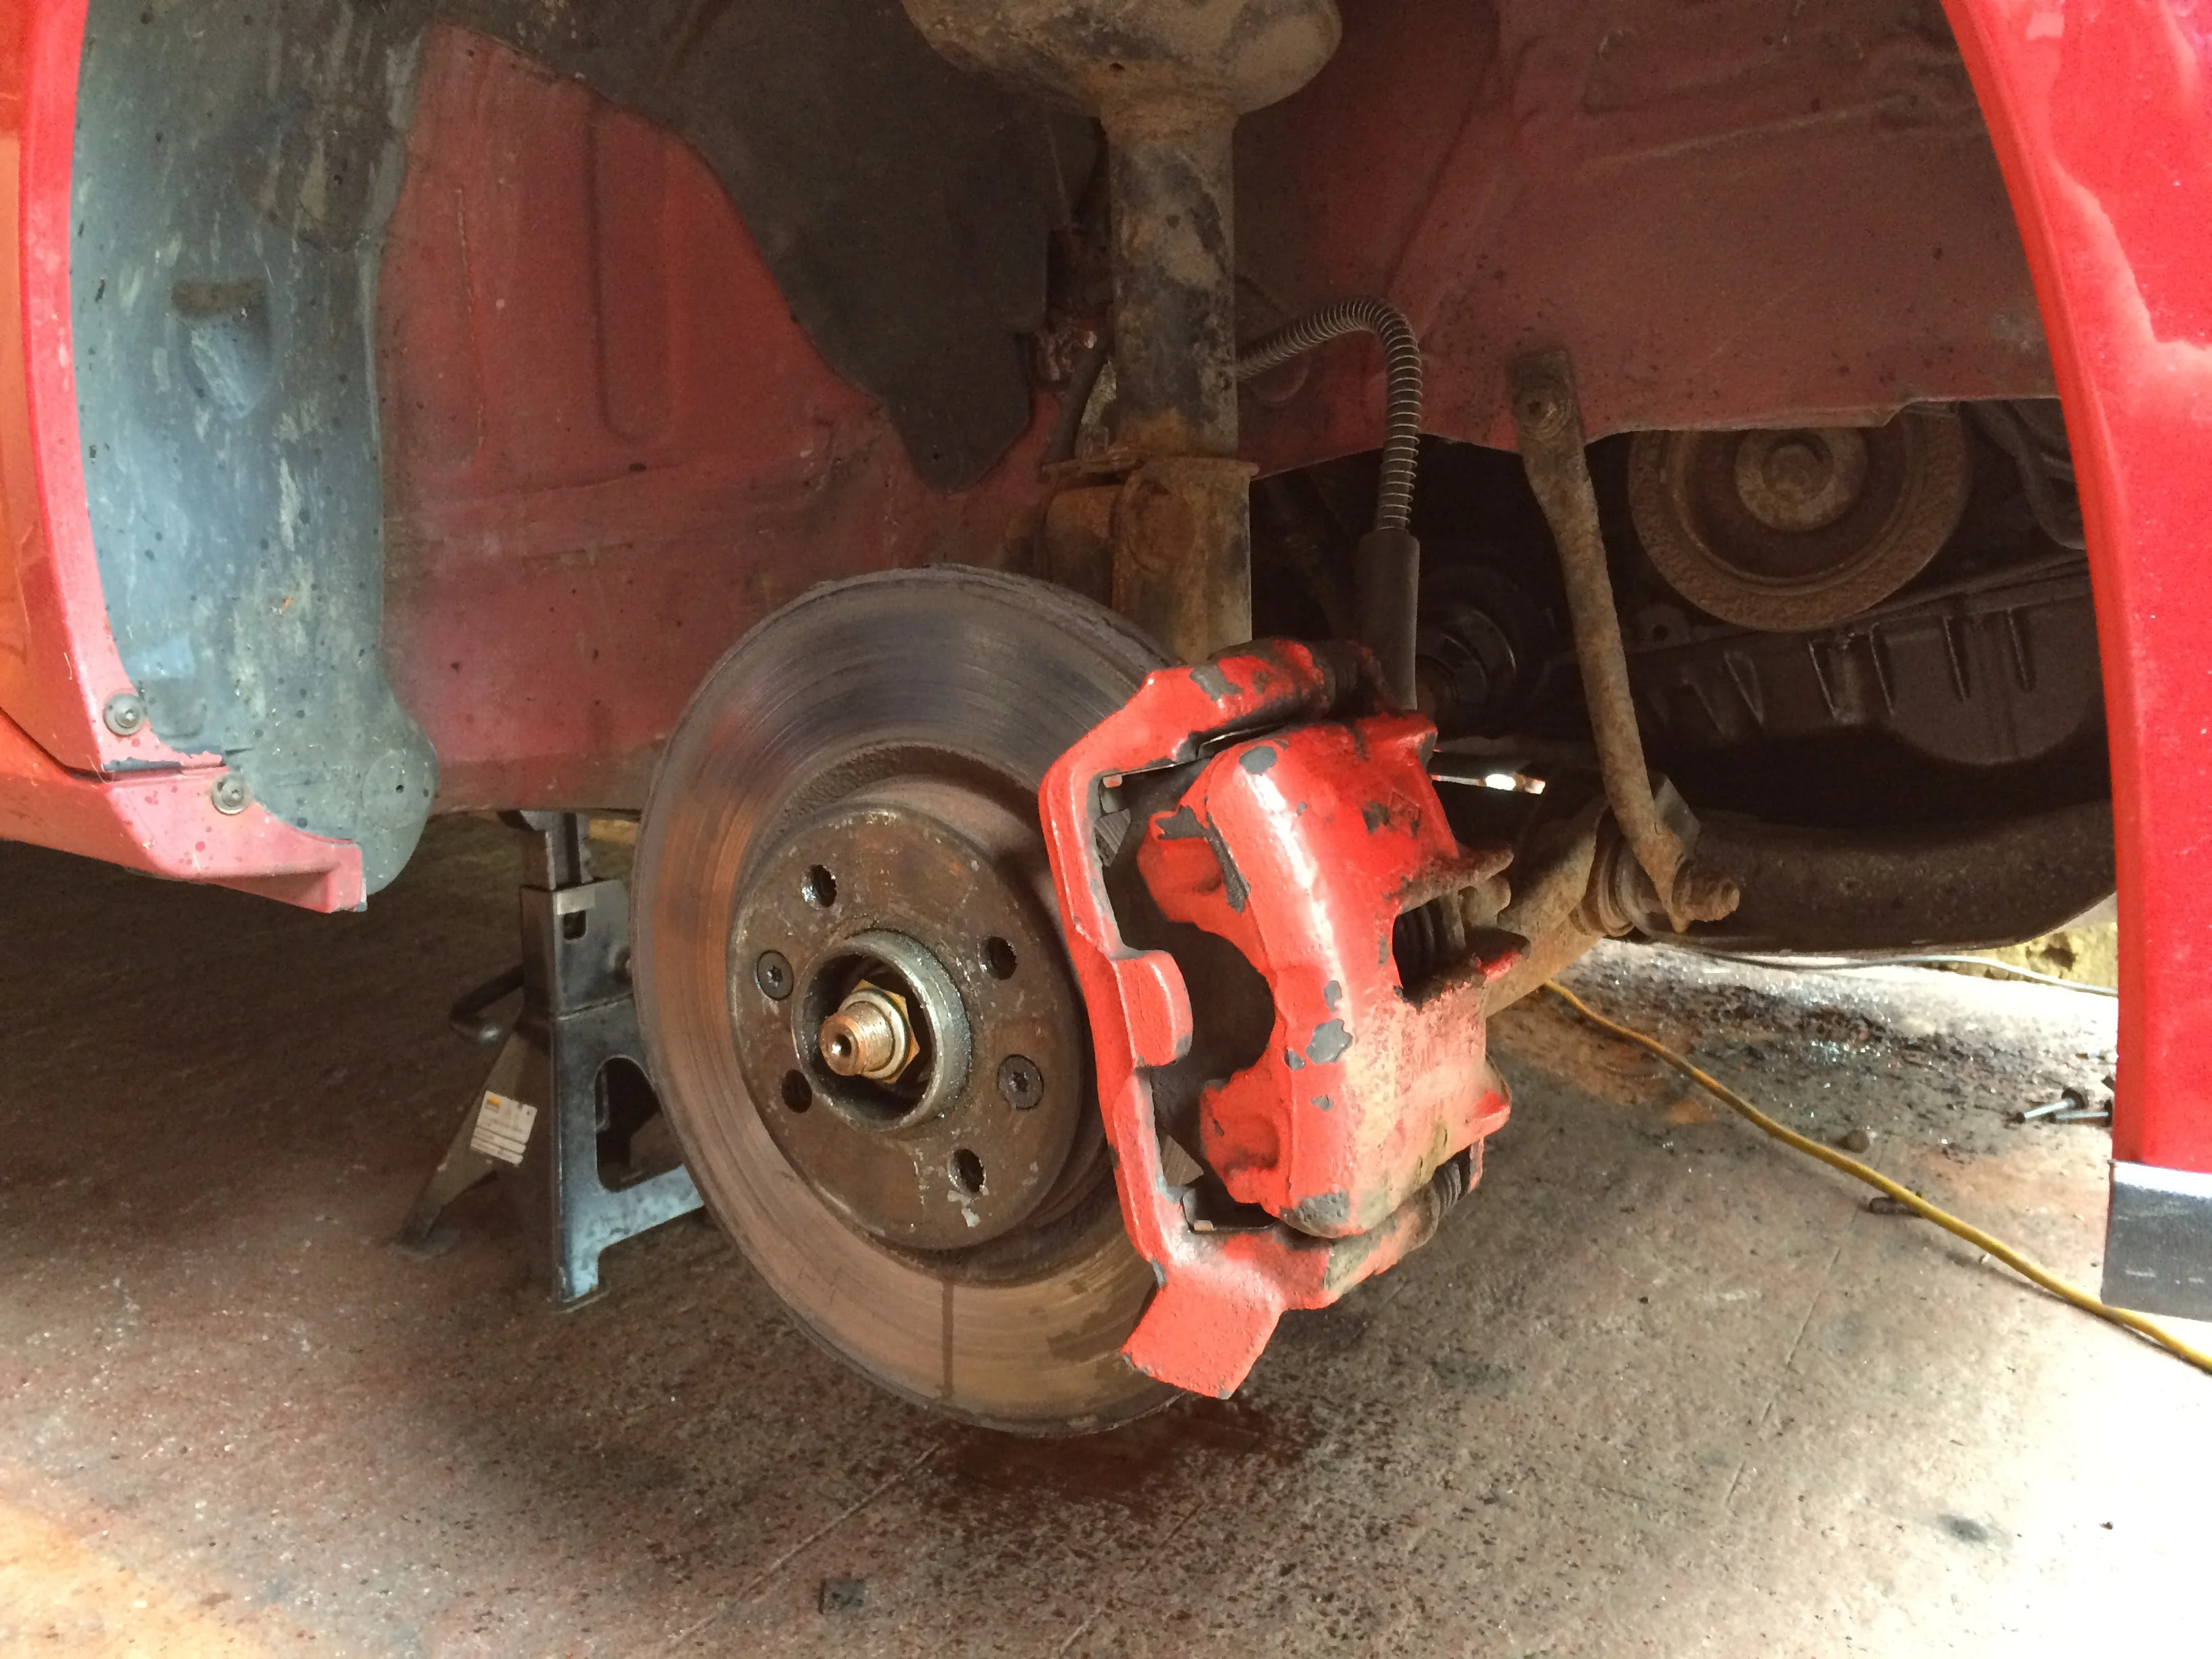
so it wasn't actually as bad as the other side.....it was waaaay worse :weary::weary:
I began by doing the same with this side as i did with the left side, but with no triumph
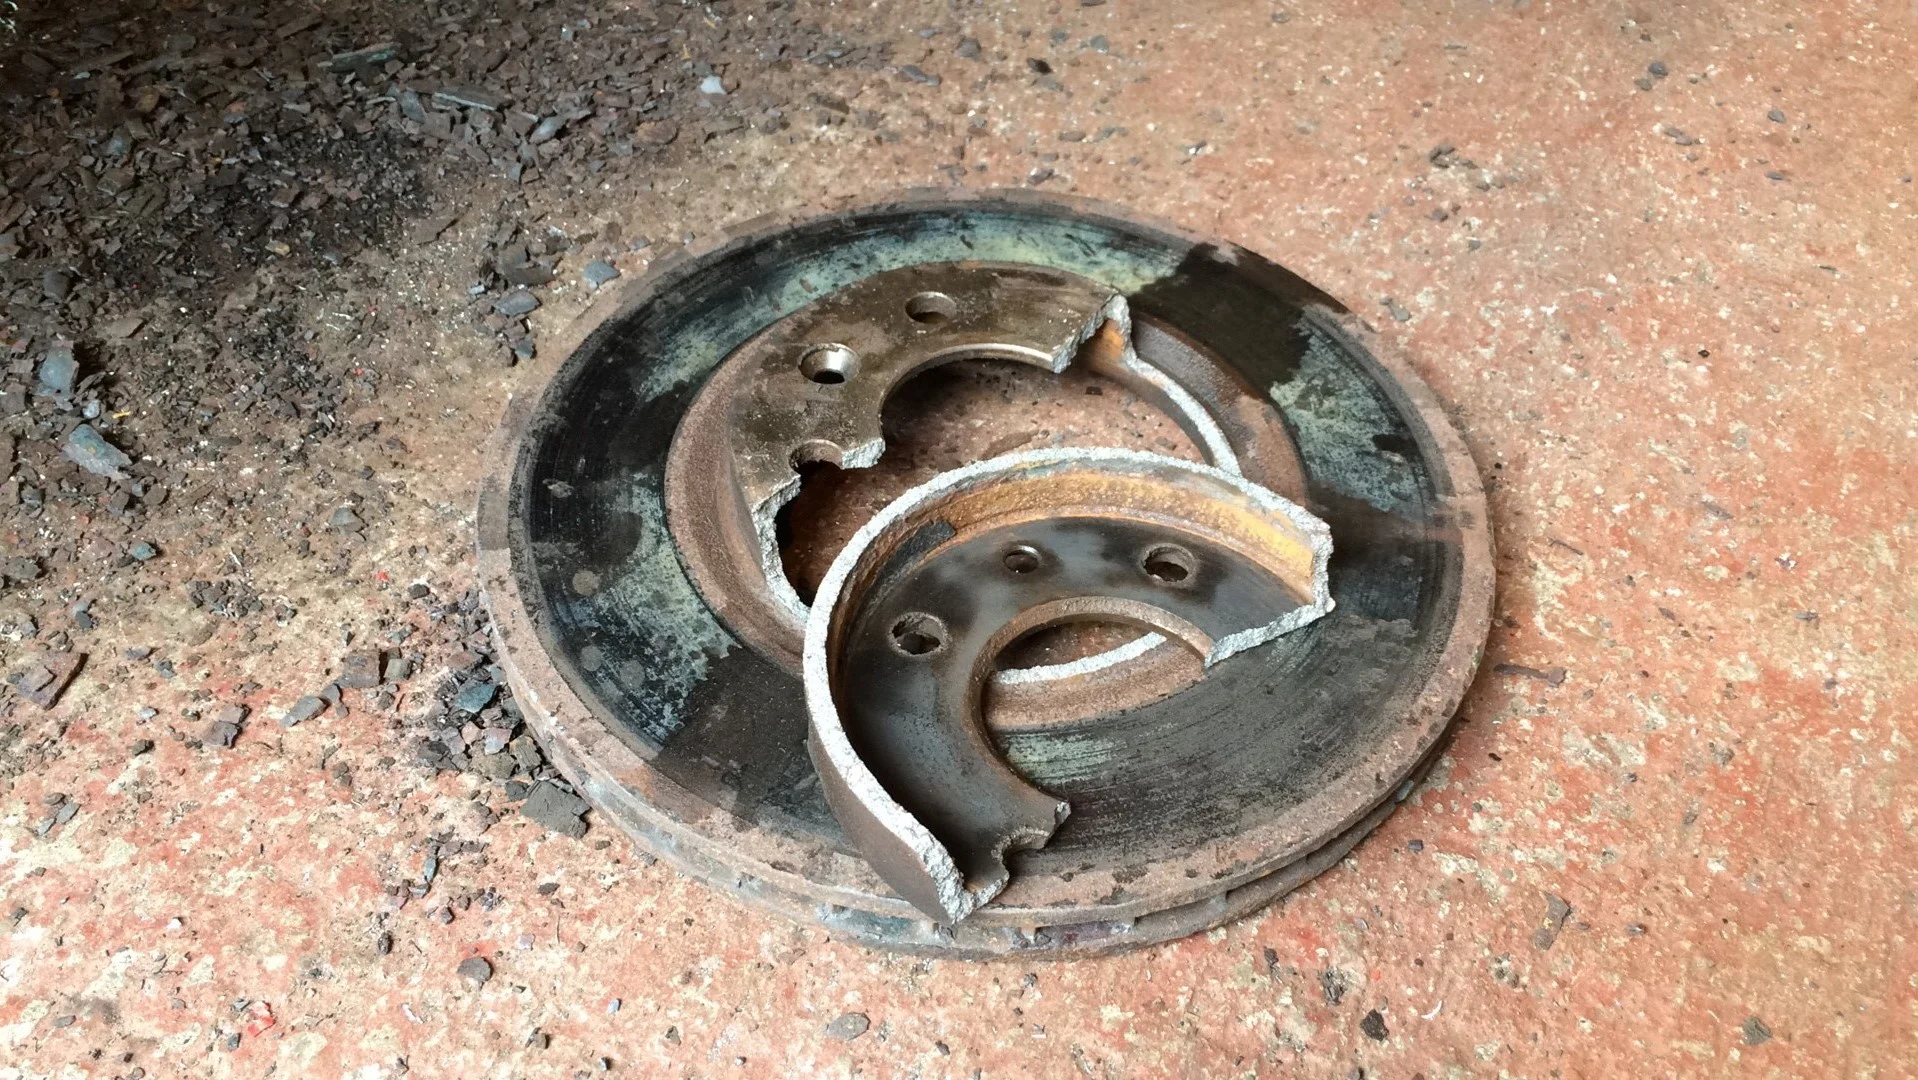
so it had gotten to the point where all patients had been thrown out and I did something that I admit I am not proud of :disrelieved:
I grabbed a grinder and cut slices in the disc until the pressure was released and it just popped off
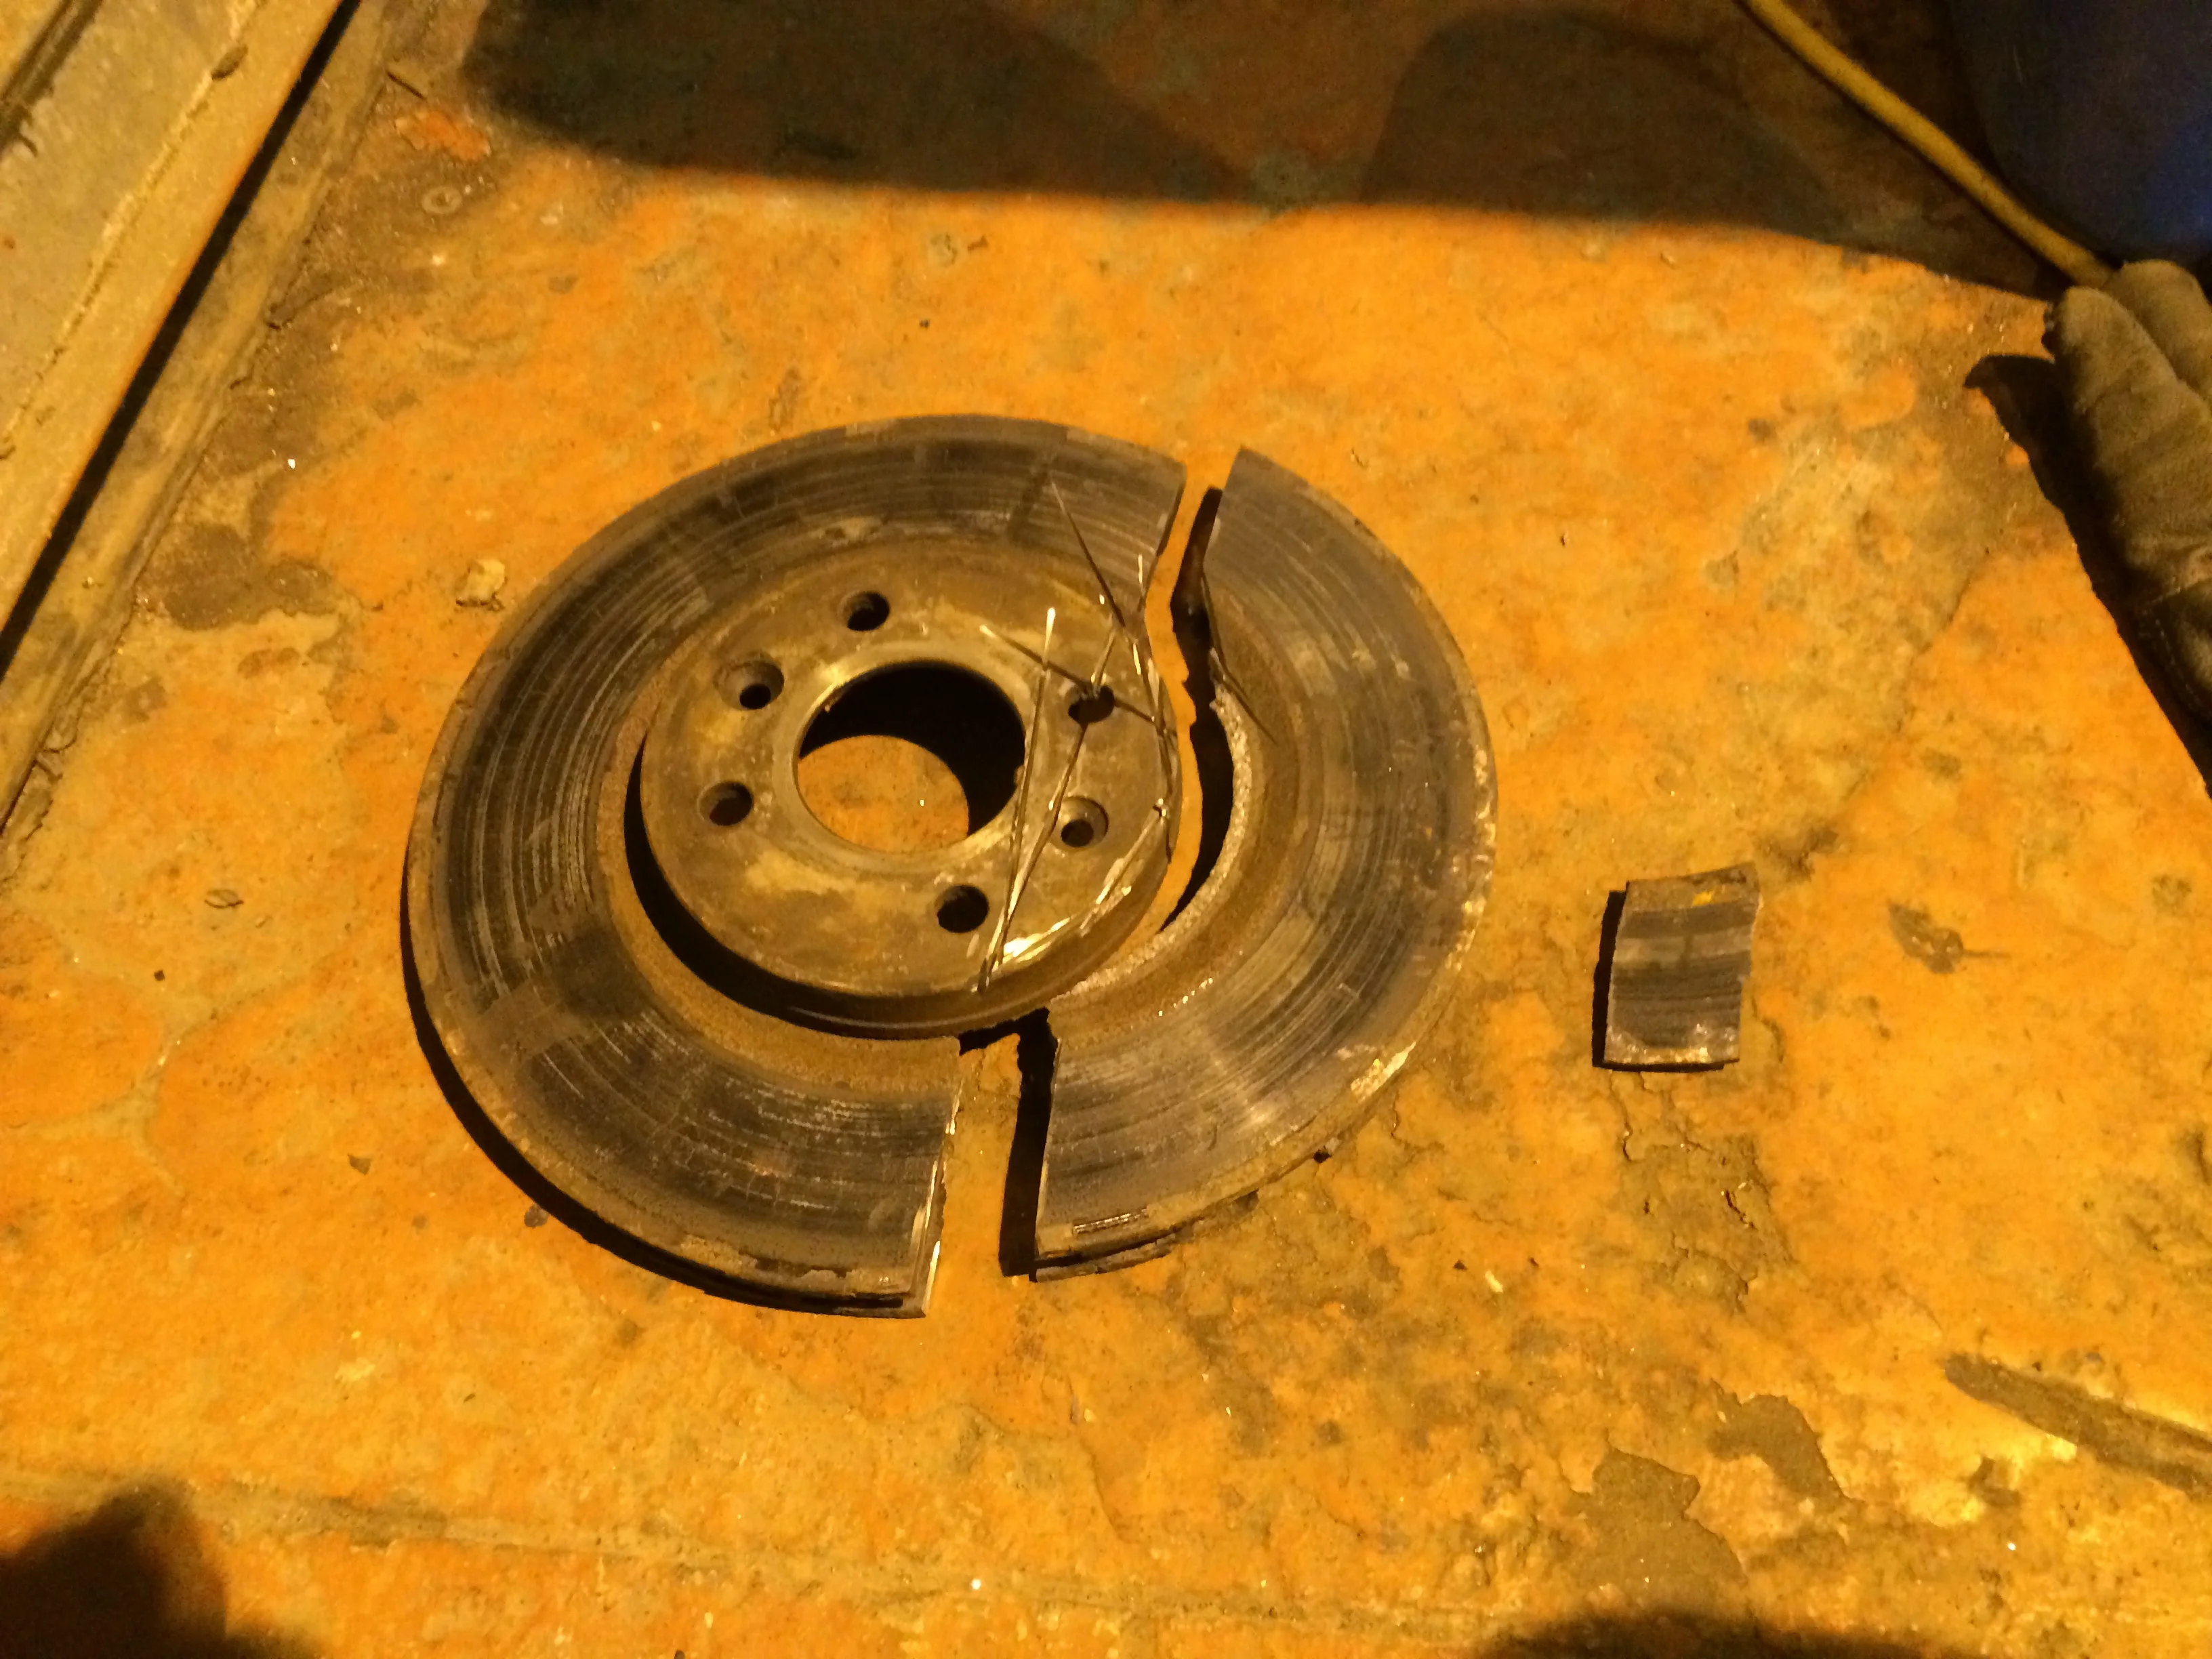
not exactly a surgeon's level of cutting, but it did the trick with no damage done to the hub thankfully
so it wasn't actually as bad as the other side.....it was waaaay worse :weary::weary:
I began by doing the same with this side as i did with the left side, but with no triumph
so it had gotten to the point where all patients had been thrown out and I did something that I admit I am not proud of :disrelieved:
I grabbed a grinder and cut slices in the disc until the pressure was released and it just popped off
not exactly a surgeon's level of cutting, but it did the trick with no damage done to the hub thankfully


George@RTR_Parts
ClioSport Trader
Thanks for using for me for your front Brembo HC discs Ryan
Your brakes had seen better days, not sure if these were fitted/present when doing the rears mate:
http://www.cliosport.net/threads/renault-spacer-that-go-behind-rear-discs-on-clio-172-182.712287/
Hopefully you can smarten it back up to it's former glory :up:
Your brakes had seen better days, not sure if these were fitted/present when doing the rears mate:
http://www.cliosport.net/threads/renault-spacer-that-go-behind-rear-discs-on-clio-172-182.712287/
Hopefully you can smarten it back up to it's former glory :up:

Gus
ClioSport Moderator
182Turbo,DCi90
Where do you get these little hub nut caps, were they with the car or did you buy them. @George@RTR_Parts - have you seen these around.
George@RTR_Parts
ClioSport Trader
I can get you some from Renault if you want Gus

Amos91
Honorary Member
Did the rears require winding back in or do they push in? I know my tears on the 200 I had needed a rewind tool.
Rears wind in, can just use a flat blade screw driver in the slot.

SharkyUK
ClioSport Club Member
It's great to see the Trophy getting some much needed TLC. Good luck with it mate 
Clio 182 Trophy
Thanks for using for me for your front Brembo HC discs Ryan
Your brakes had seen better days, not sure if these were fitted/present when doing the rears mate:
http://www.cliosport.net/threads/renault-spacer-that-go-behind-rear-discs-on-clio-172-182.712287/
Hopefully you can smarten it back up to it's former glory :up:
Thanks George, I was really pleased at how quickly they arrived
Yeah the little spacers were already there, I just cleaned them up and just popped them back on.
Clio 182 Trophy
Like Amos said, you can just use a screwdriver in the slots sideways, I personally just used a set of mole grips and pushed against it as I wound it in.Did the rears require winding back in or do they push in? I know my tears on the 200 I had needed a rewind tool.
Clio 182 Trophy
I have a few more pics to upload so I'll get this updated tomorrow. Its great seeing the appreciation from everyone as I keep thinking I should have just bought a well looked after 182, don't get the same satisfaction out of it though (I dont think my bank account agrees)
Similar threads


- Replies
- 9
- Views
- 1K
- Replies
- 6
- Views
- 432

