Hi all.
From one extreme to the other! Harpham's brand firing Clio 200 Cup to this 50 year old cat. Enjoy...
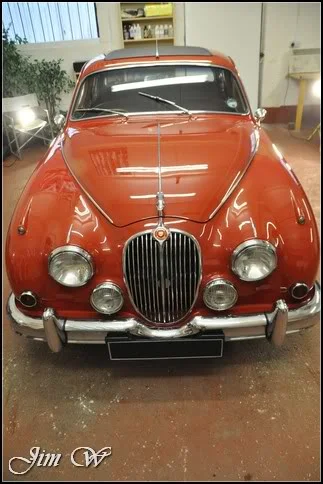
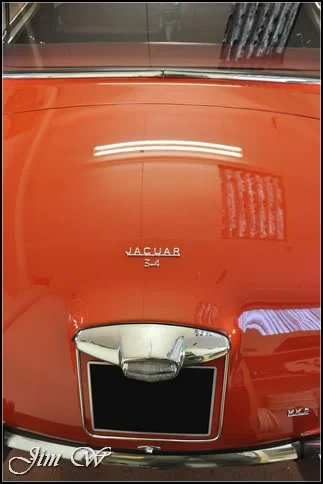
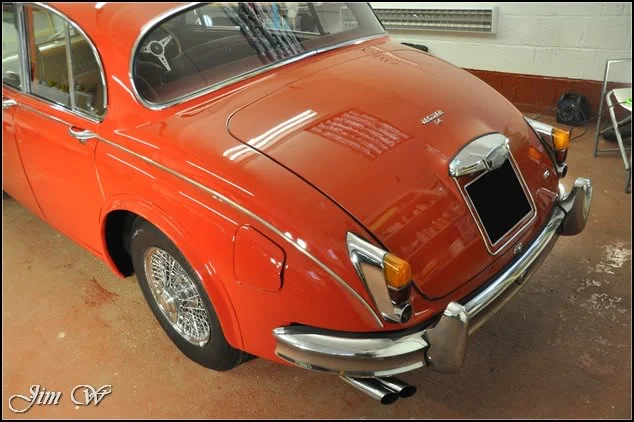
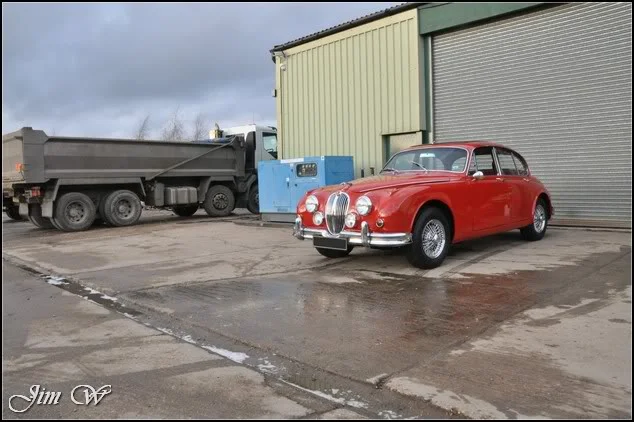
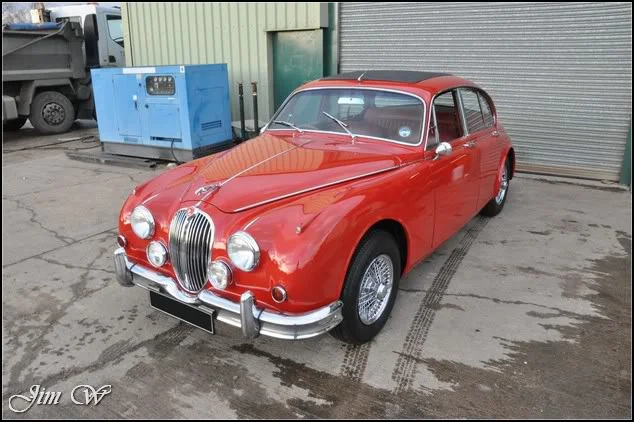
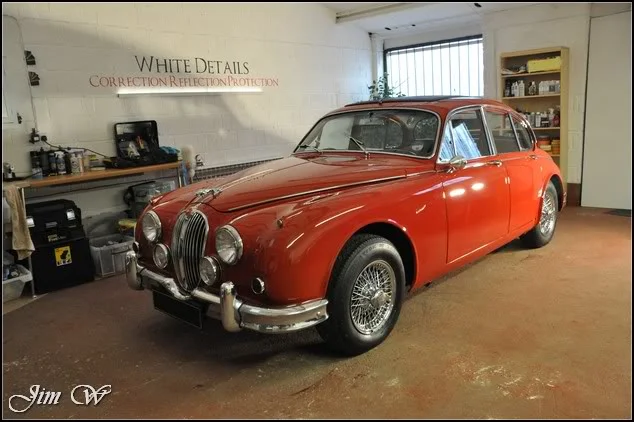
Jaguar mk2 3.4 – 1961
A little bit of history on the mk2 Jag courtesy of Wikipedia.
“The Jaguar Mark 2 is a medium sized saloon car built from 1959 to 1967 by the Jaguar company in Coventry, England, as successors to the Jaguar 2.4 and 3.4 models, manufactured between 1957 and 1959. These retrospectively became known as the Jaguar Mark 1 following the release of the Mark 2 in 1959.”
The vehicle was booked in over two days for a mild paint enhancement and protection detail. As with most classics, the car had seen a fair bit of restoration work with filler, deep bodyshop sanding-scores and flat spots scattered all over the place. My job? To enhance the overall appearance and lay down some good protection.
Product
Vehicle inspection:
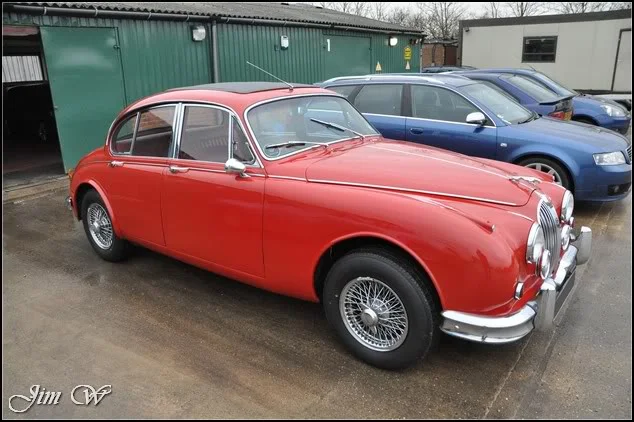
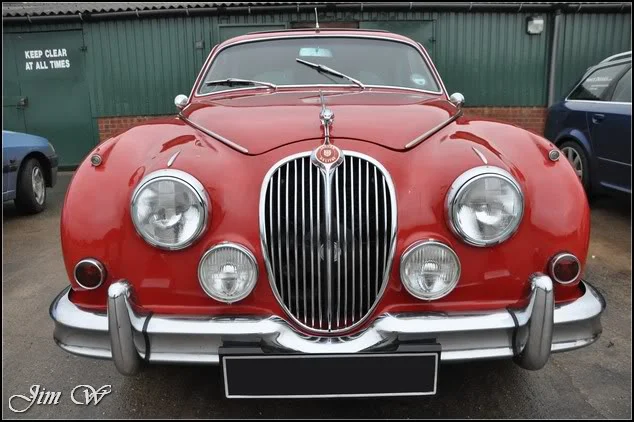
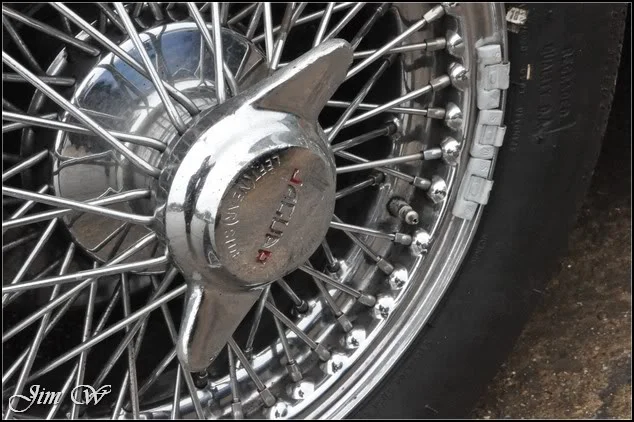
Wire wheels; these will prove to be good fun later on!
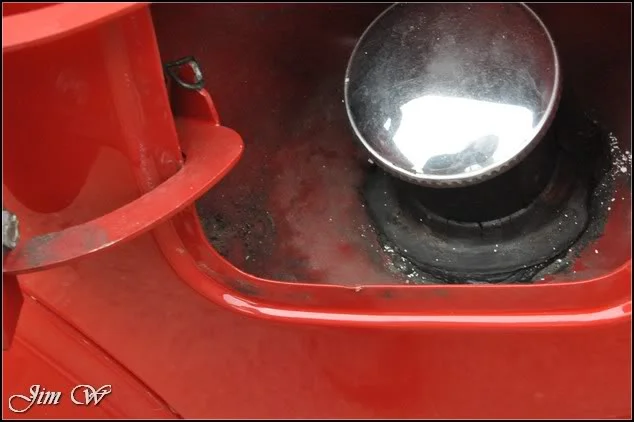
A few areas to be careful of:
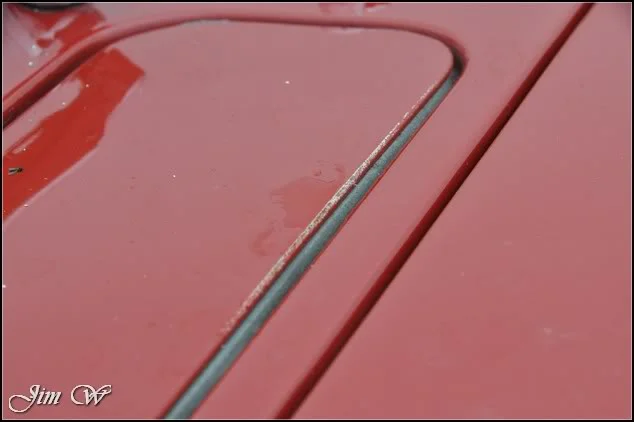
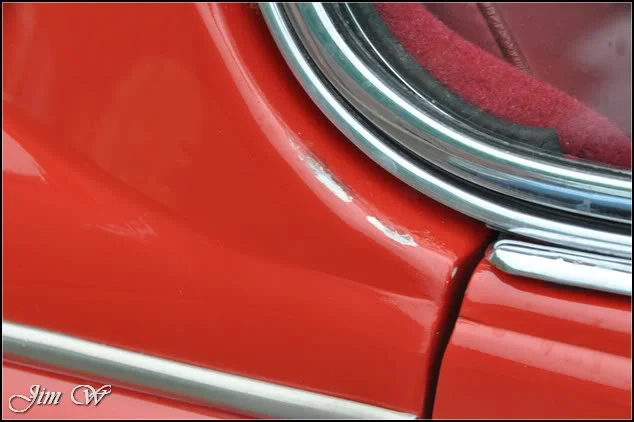
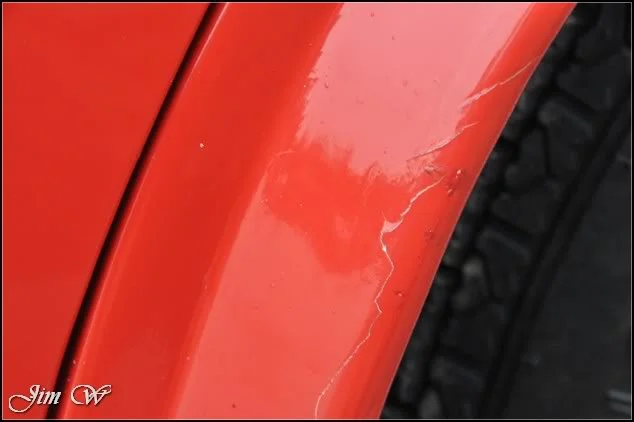
Residues from previous polishing:
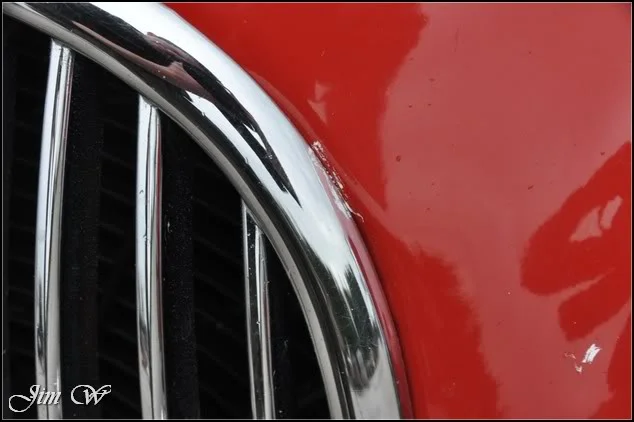
OK. First things first, let's get it washed. It isn't however the sort of vehicle you'd want to use a pressure washer/tons lots of water on... I could see the windows, seams, panel-gaps etc weren't all water tight so I had to think on...
Meanwhile, I turned my attention to the wheels. *”hmm!”* AutoSmart G101 used to clean with various brushes, mitts and tools.
I spot-cleaned a few greasy areas with AutoSmart G101 & Meguiars Super Degreaser. Areas such as the petrol filler housing, underneath the chrome bumpers, around the britework and panel gaps...
As the weather had turned and rain started to fall, I brought the Jag inside and performed an ONR wash (safe waterless wash system) to remove the light dusting/road-grime.
Vehicle was then clayed to remove surface contaminants but very little was seen.
Blown dry with the black baron vehicle dryer, it's time to check the paint condition:
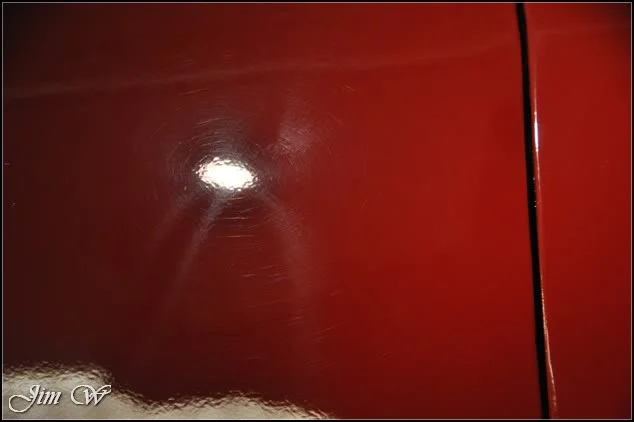
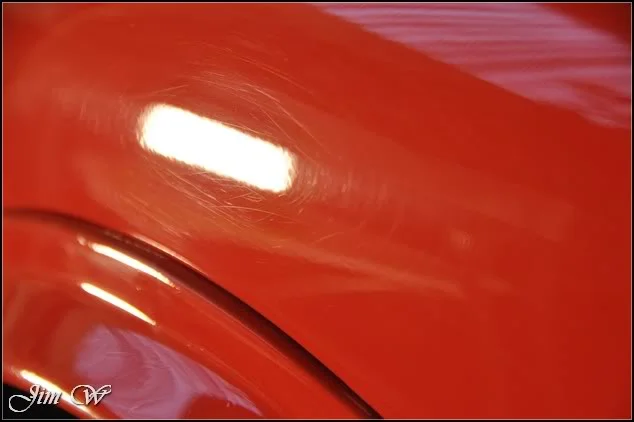
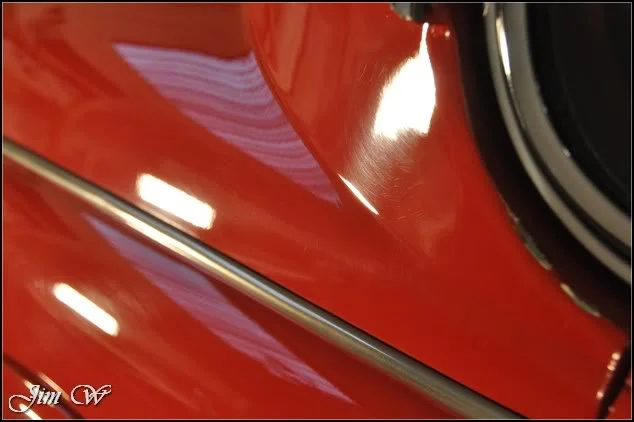
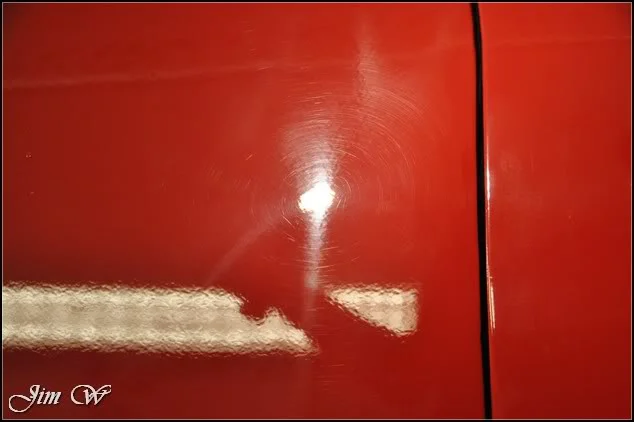
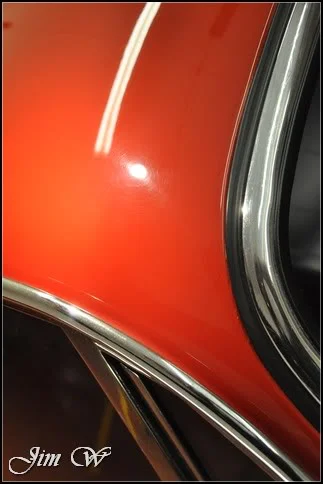
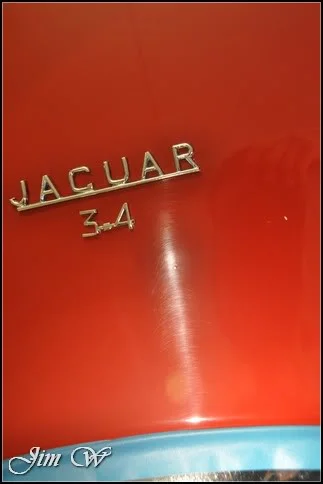
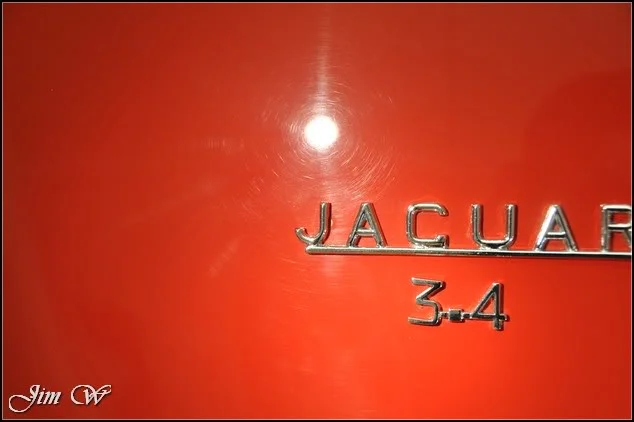
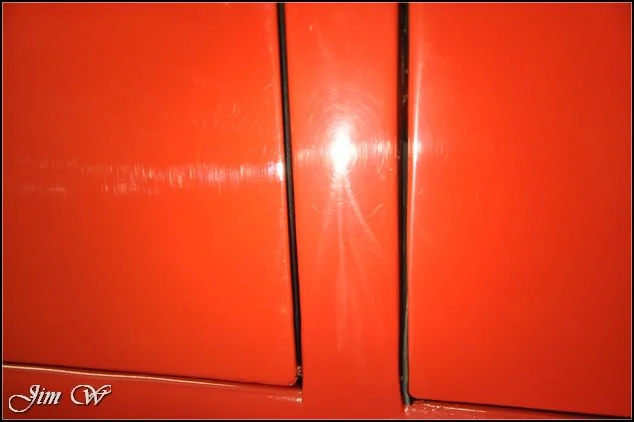
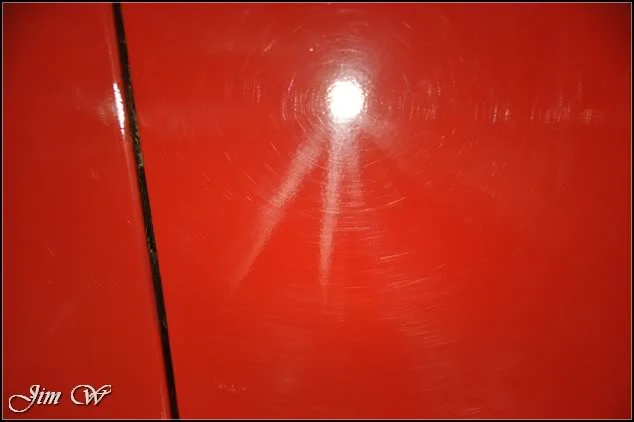
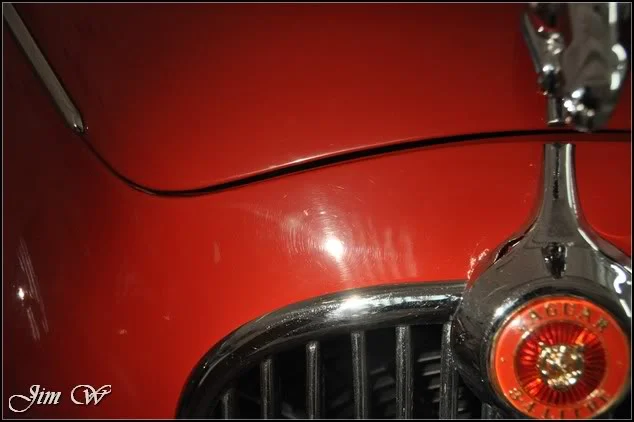
As you can see, swirls, bodyshop buffertrails and oxidation stole the vehicles true shine!
With history and paint thickness’s in mind, I trod carefully.
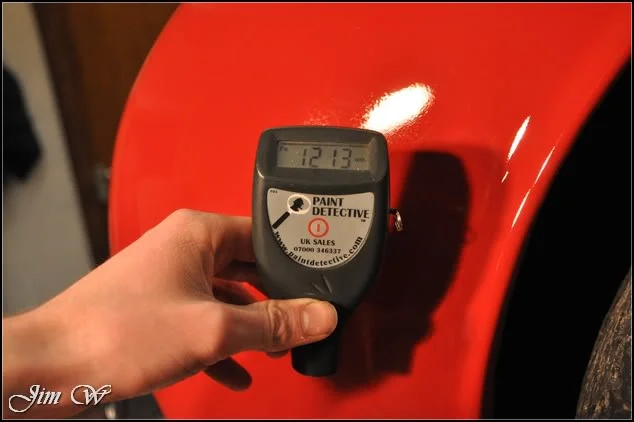
Bonnet thickness readings,
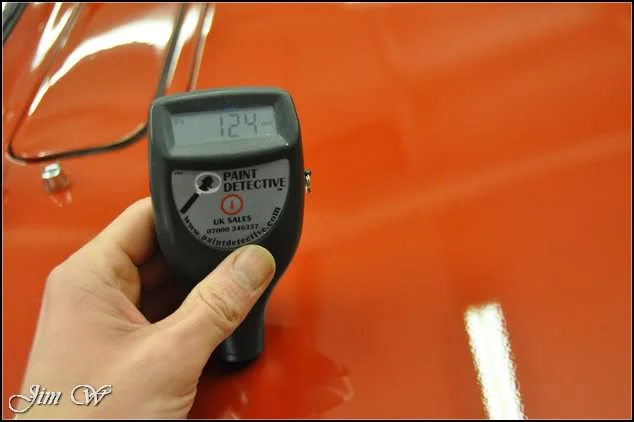
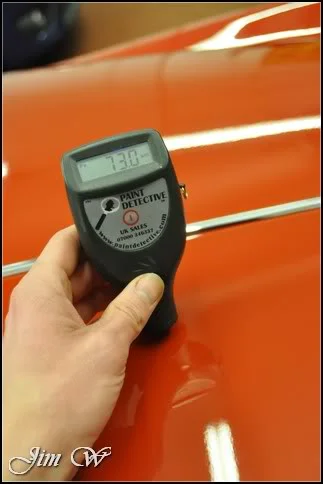
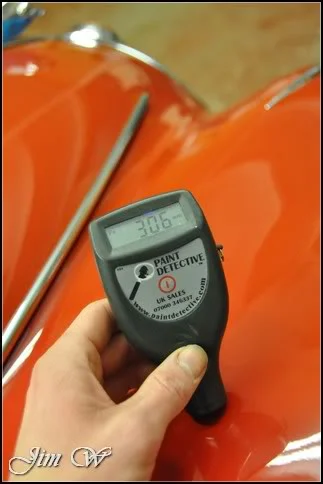
There was no real pattern that I could see when it came to the respray and restoration work. Taking each panel as a new challenge, I had to adapt and change polish/pad combinations and also technique to find our desired results.
Before/After on the O/S front wing:
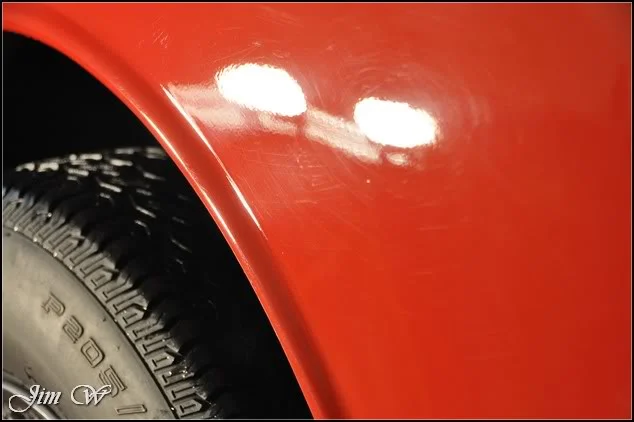
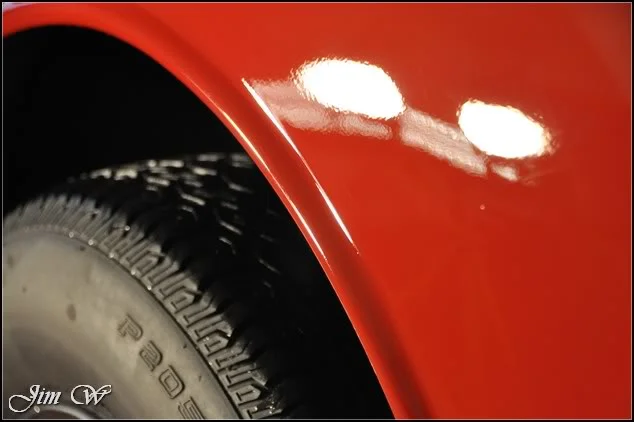
Further back on the O/S front wing, there were some nasty sanding marks spotted.
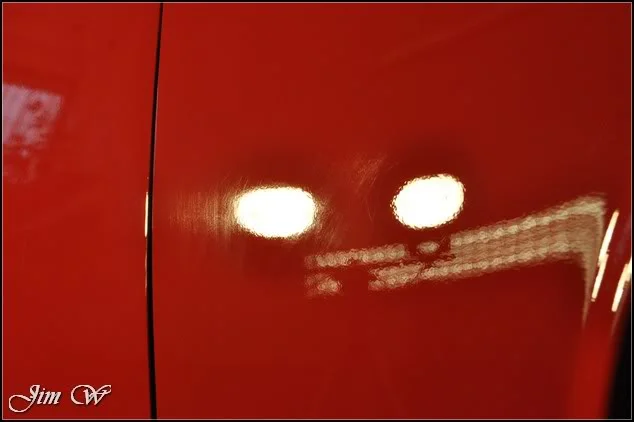
These unfortunately wouldn't budge on my first pass; requiring a slightly more aggressive approach and further refinement to make a difference.
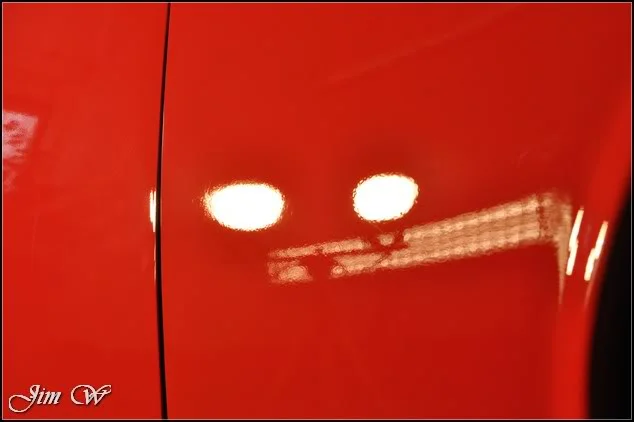
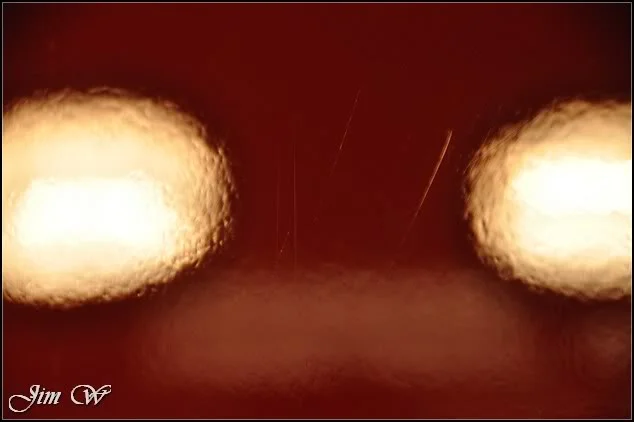
However, get up close, and we're left with terrible orange peel and deep scratches from the bodyshop stages.
O/S drivers door correcting nicely with a single pass:
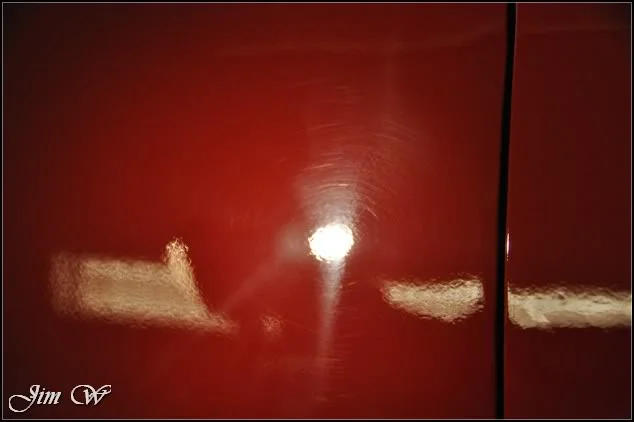
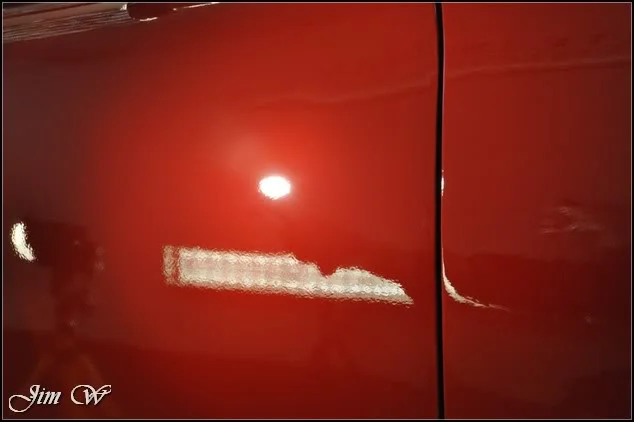
Before:
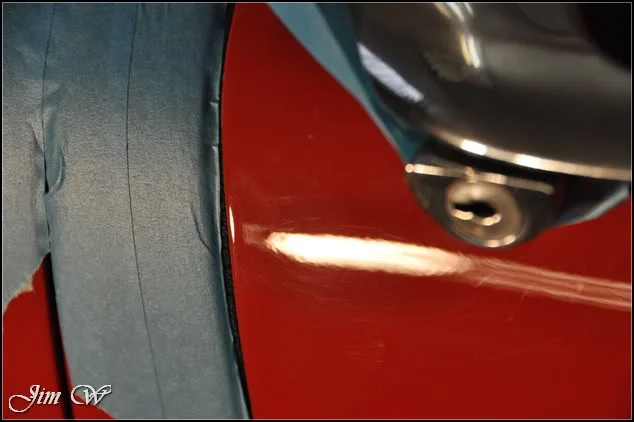
Process:
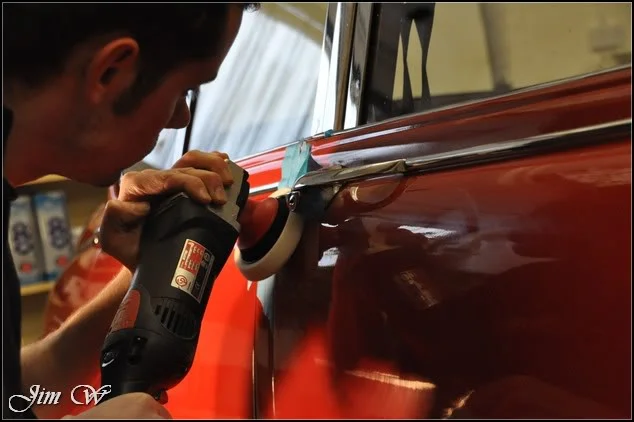
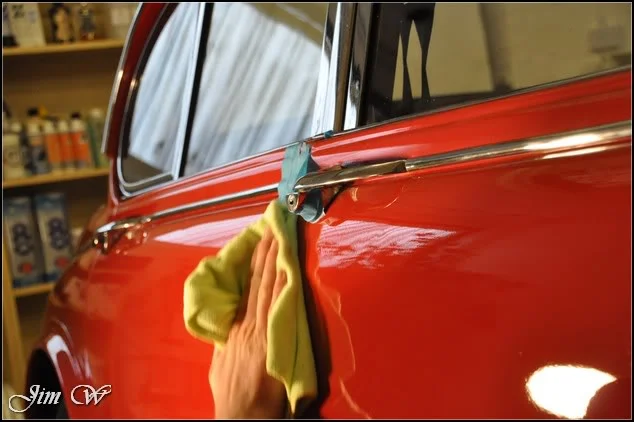
After:
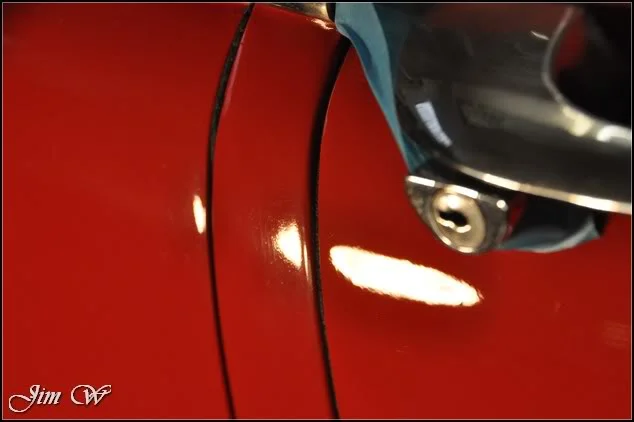
Whilst I was working with the smaller spot-pad, a few of the tighter/difficult areas I'd previously skipped were revisited for a similar approach.
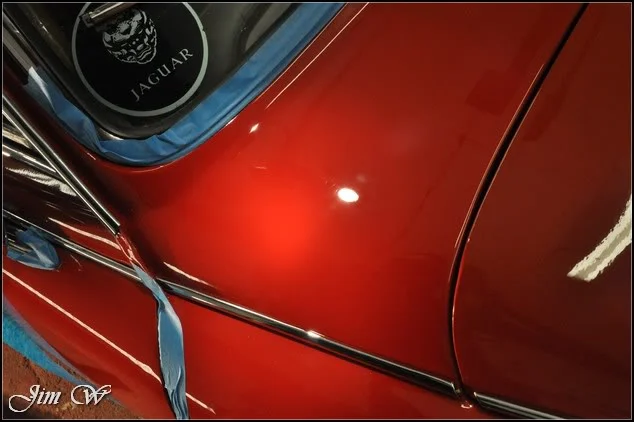
O/S rear wing before/after:
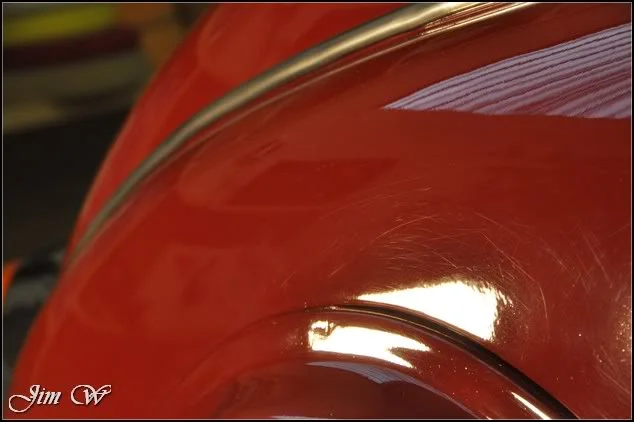
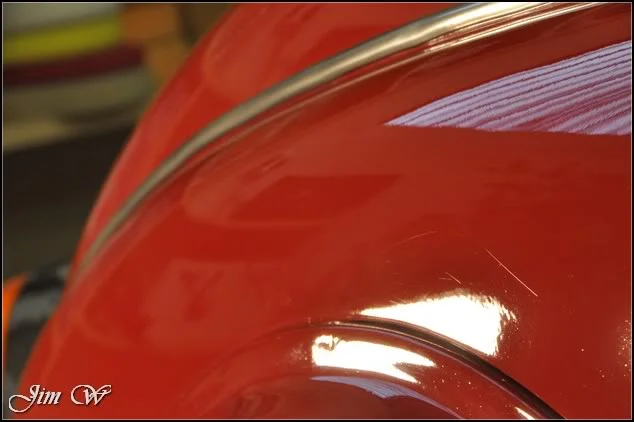
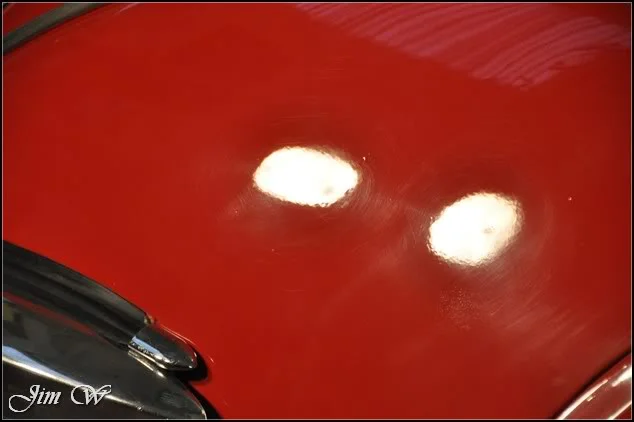
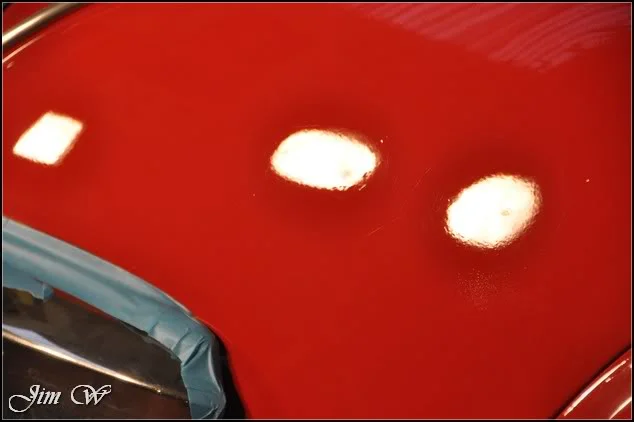
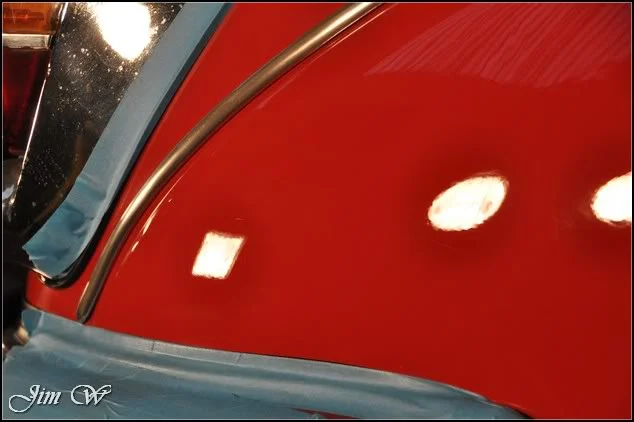
Boot-lid 50/50s:
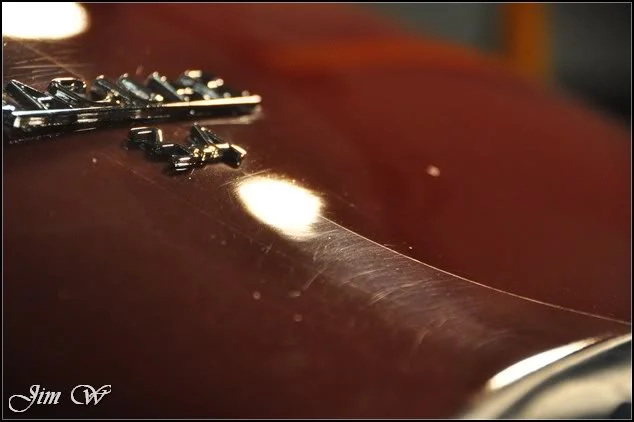
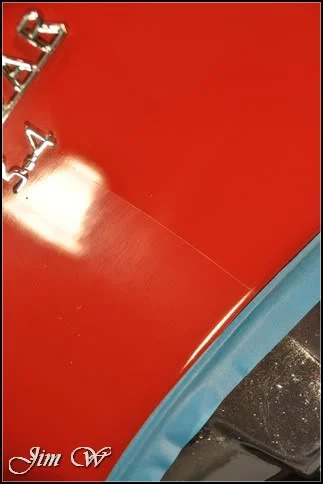
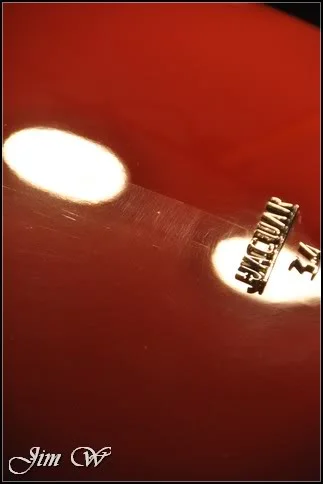
N/S rear wing:
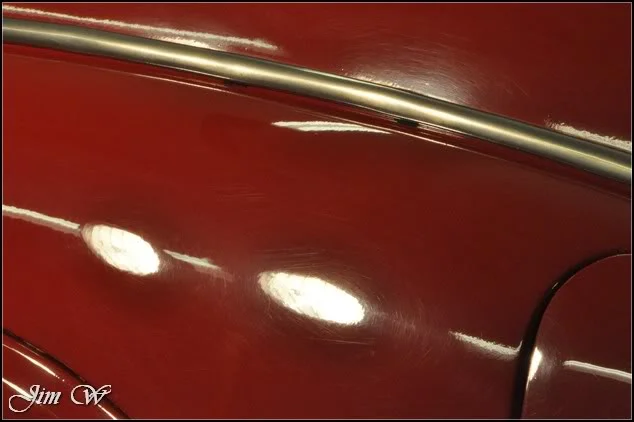
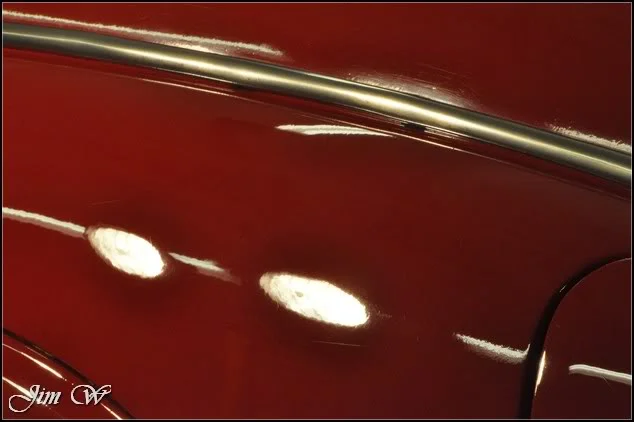
Front wing:
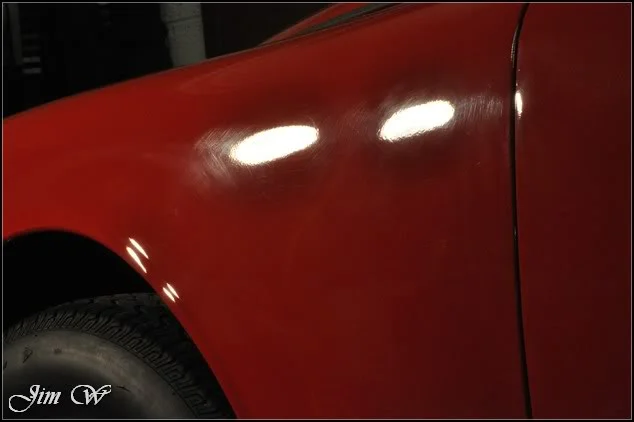
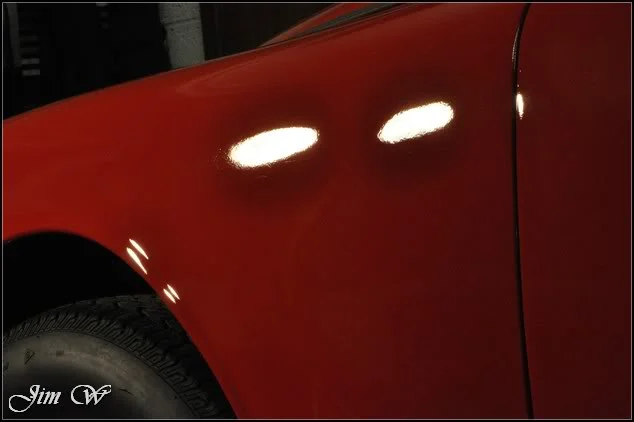
Wing-door 50/50:
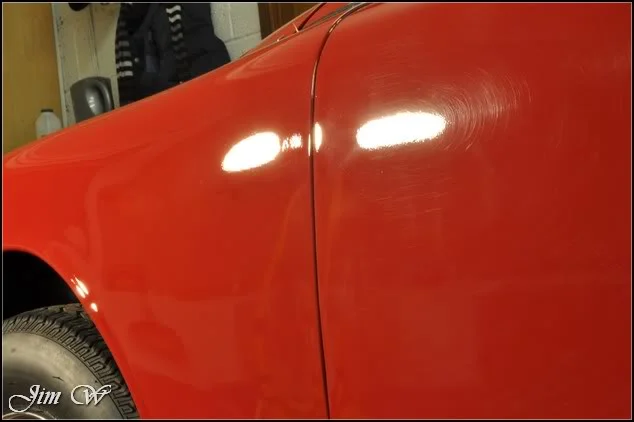
High on the wing/bonnet:
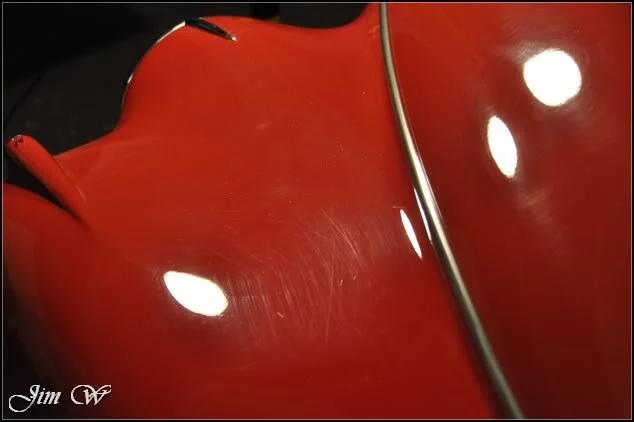
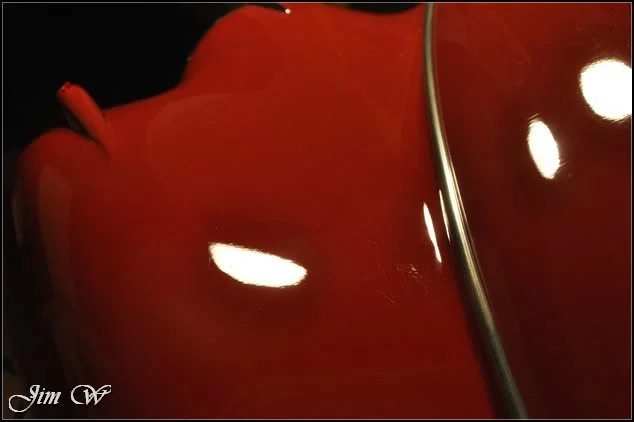
and back down the N/S:
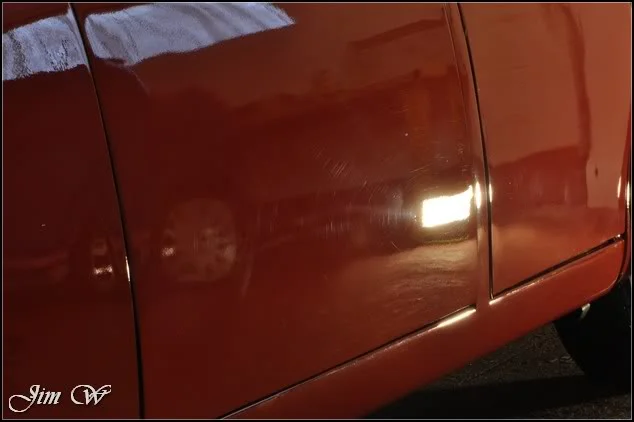
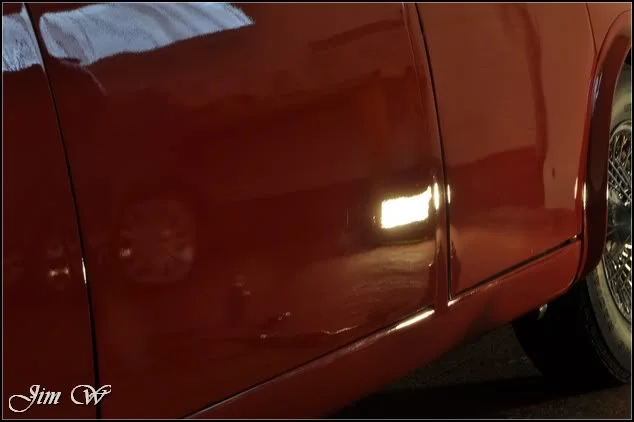
I don't think 100% correction would ever be possible here (I certainly wouldn't like to take it on anyway due to the pick'a'mix paint quality), happy with my progress though, I turned my attention to some hand polishing with Jeffs Prime.
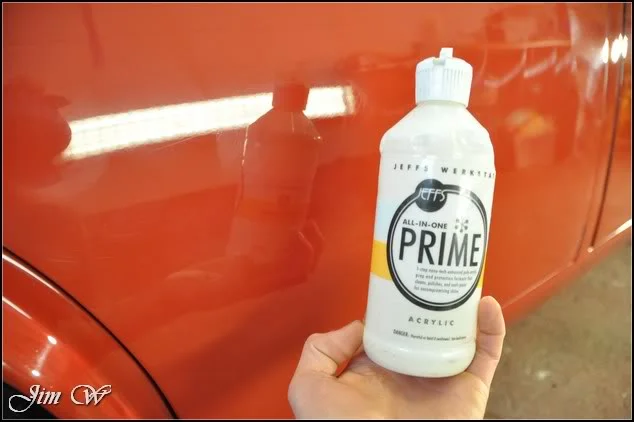
All previously machined panels were cleansed by hand with Jeffs, but mainly, the tough awkward-to-reach areas and curves that the rotary polisher couldn't get to were dealt with here.
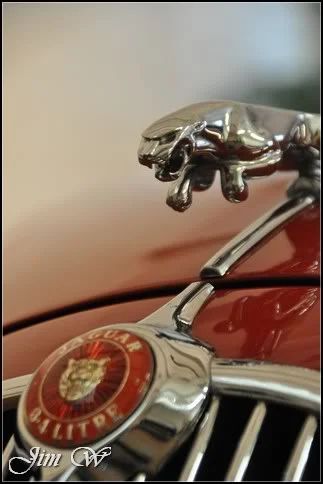
Shortly after, and still using Jeffs Prime, focus was then turned to the britework/chrome.
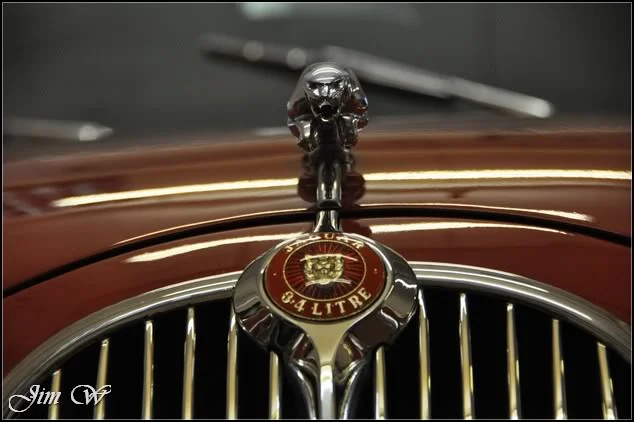
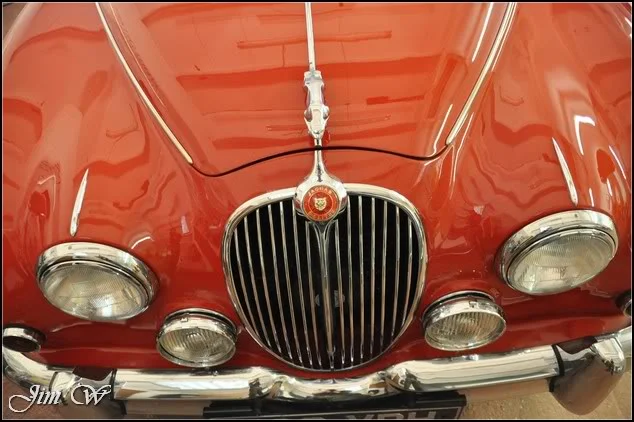
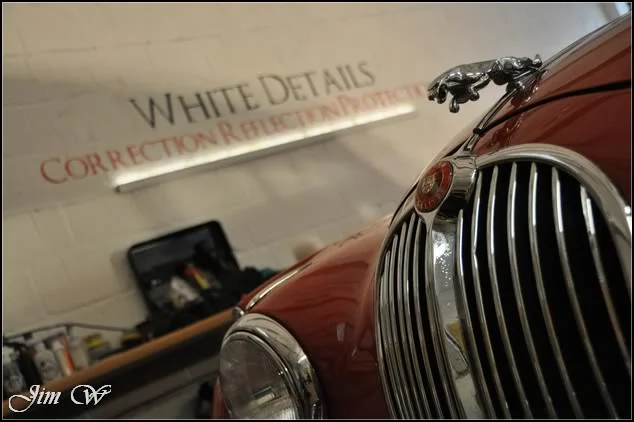
Grille before/after:
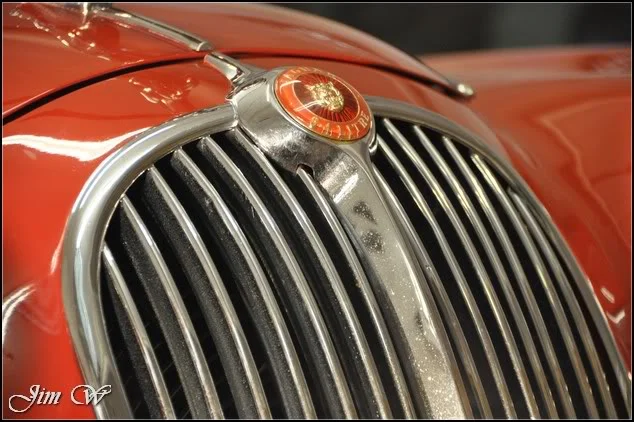
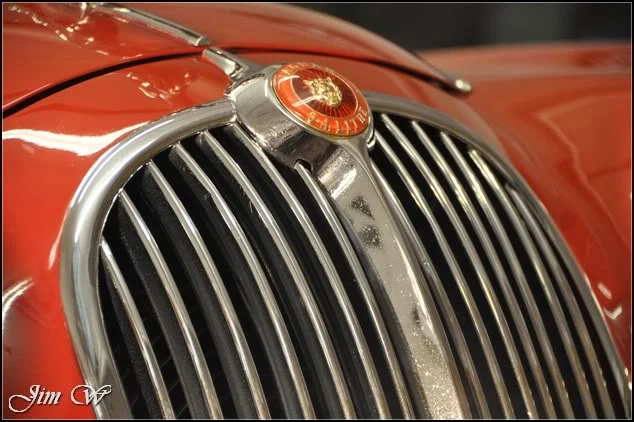
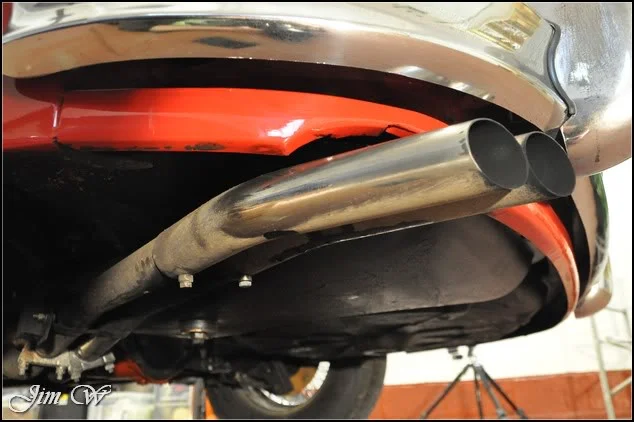
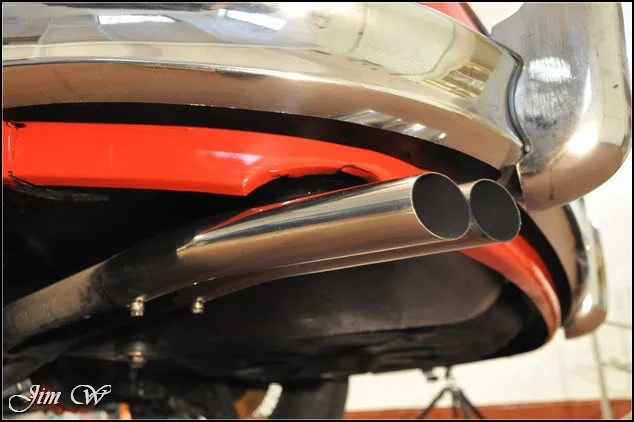
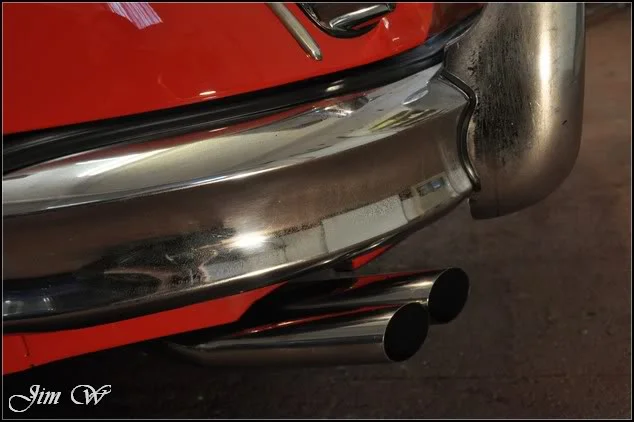
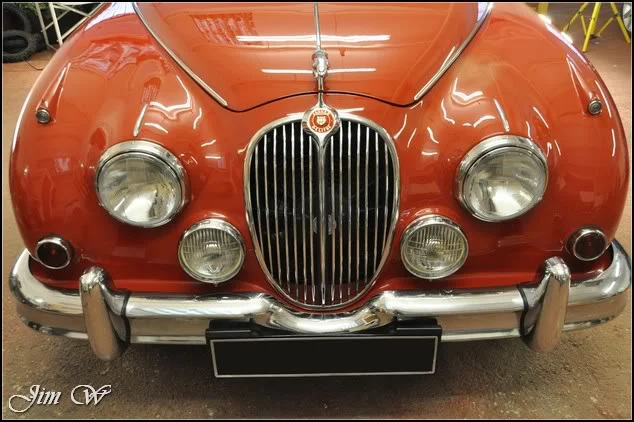
In-between finishing the britework and cleaning the glass, the first coat of Jeffs Werkstat Jett Trigger was applied to all exterior painted surfaces to protect.
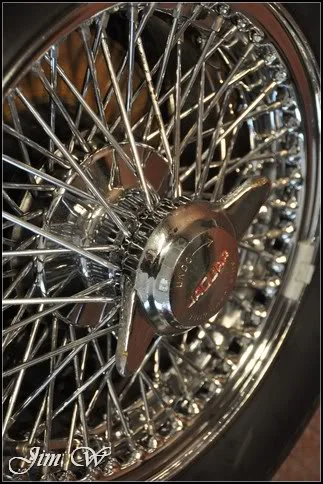
Saving the best until last? The wheels...
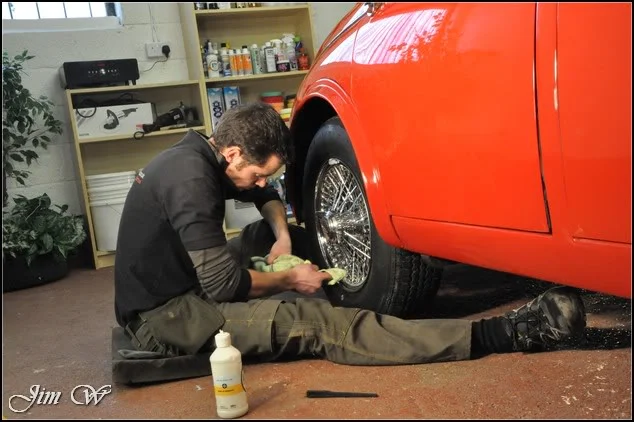
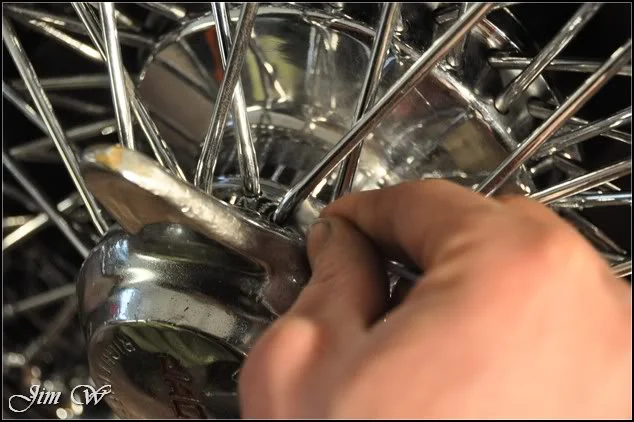
Still using Jeffs Prime but armed with cotton buds, the Megs triple action duty brush, several microfibre pads and clothes but also achy fingers!
A bit of a before/after:
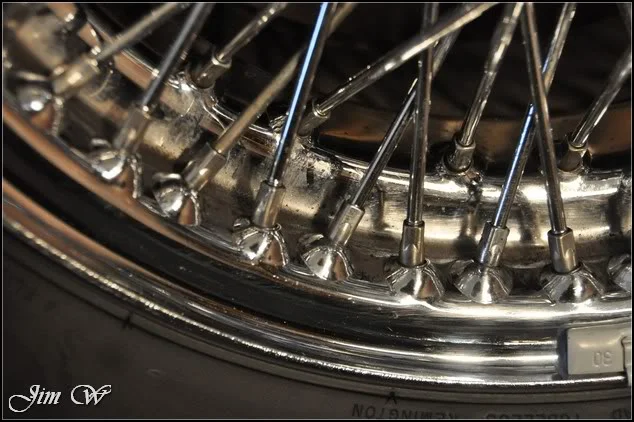
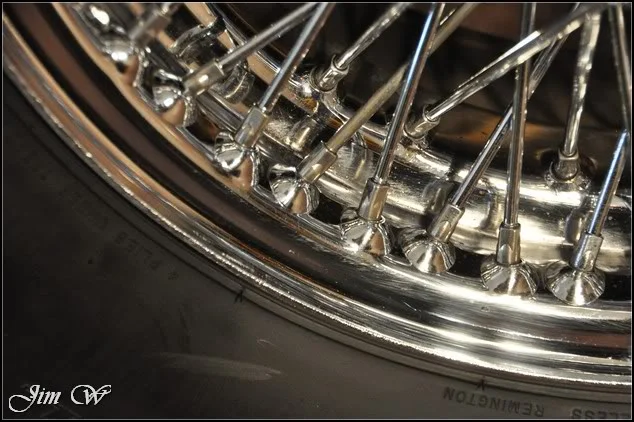
Some areas, my fat fingers just couldn't reach:
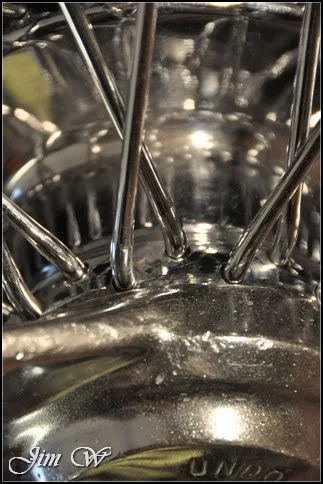
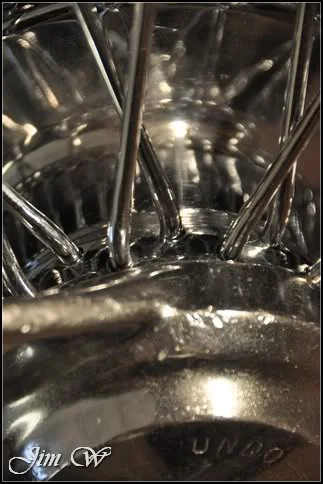
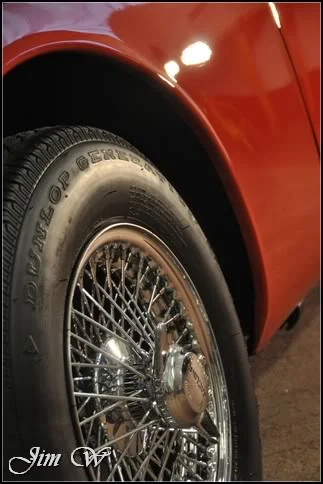
Finished:
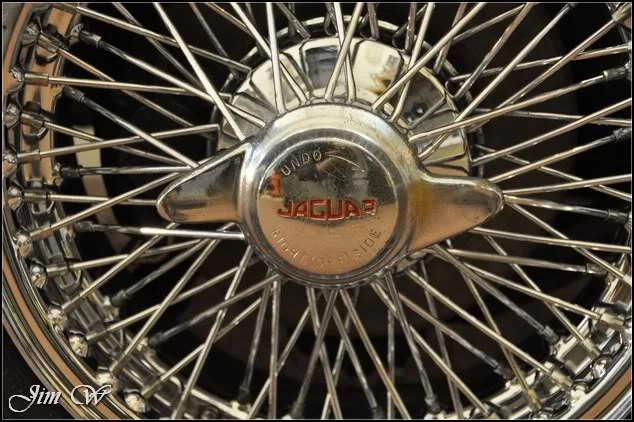
~half an hour was spent on each wheel, rolling the car backwards and forwards, backwards and forwards, backwa...... *ugh*. They weren't perfect, but certainly much improved.
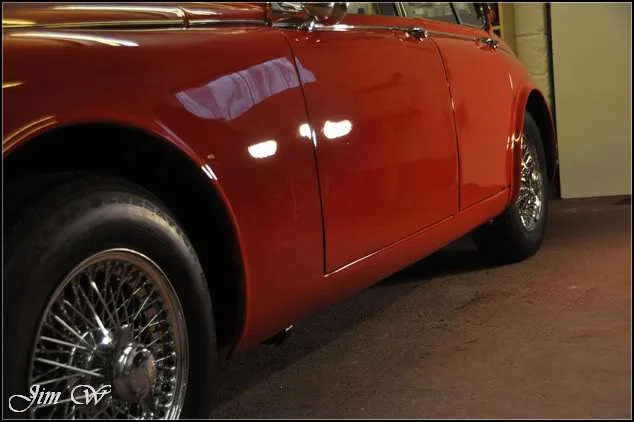
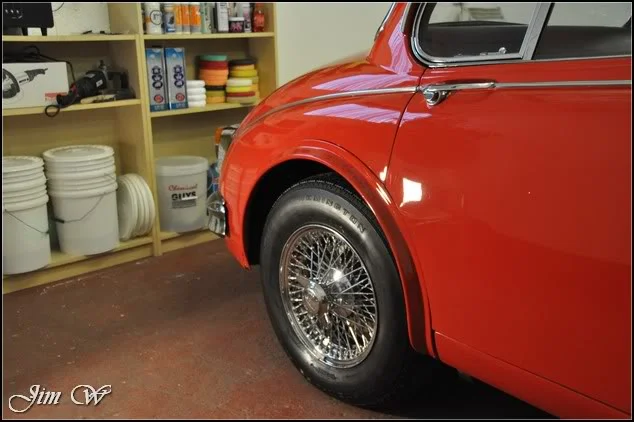
After cleaning the glass, applying two more coats of Jett Trigger and wiping down the paint, we're finished. Some 14 hour work time.
Enjoy.
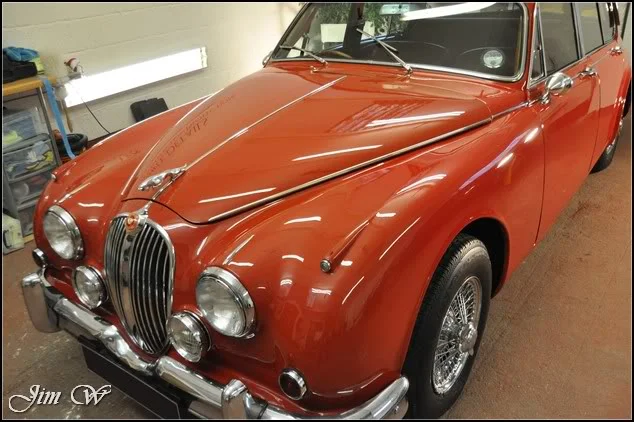
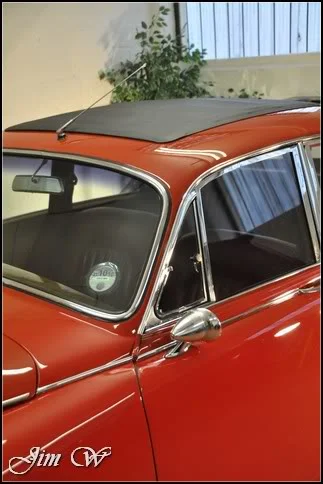
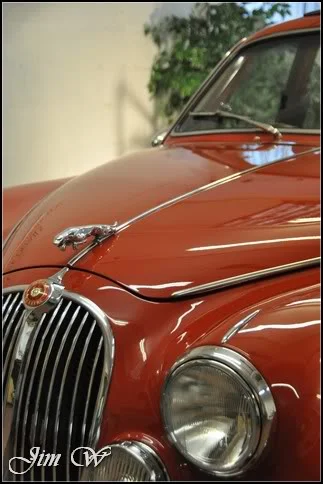
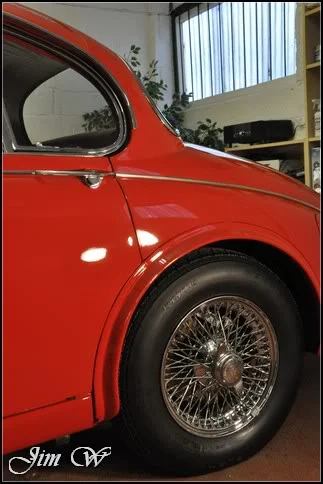
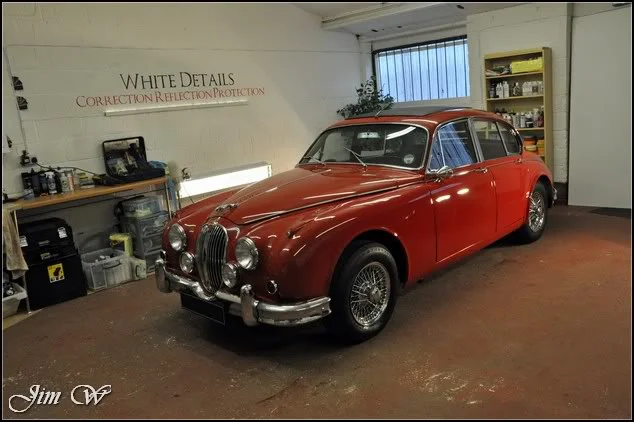
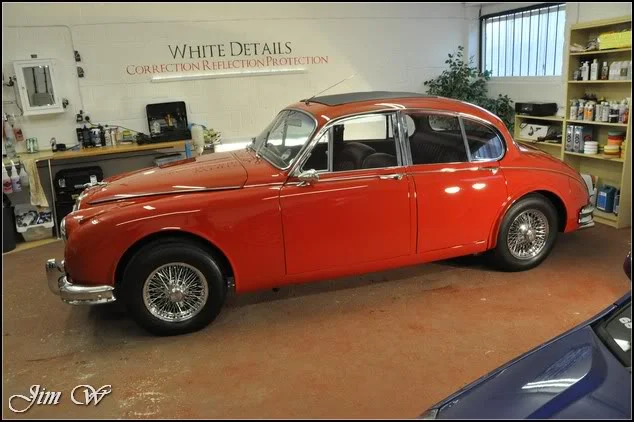
Thanks.
Jim.
From one extreme to the other! Harpham's brand firing Clio 200 Cup to this 50 year old cat. Enjoy...
Jaguar mk2 3.4 – 1961
A little bit of history on the mk2 Jag courtesy of Wikipedia.
“The Jaguar Mark 2 is a medium sized saloon car built from 1959 to 1967 by the Jaguar company in Coventry, England, as successors to the Jaguar 2.4 and 3.4 models, manufactured between 1957 and 1959. These retrospectively became known as the Jaguar Mark 1 following the release of the Mark 2 in 1959.”
The vehicle was booked in over two days for a mild paint enhancement and protection detail. As with most classics, the car had seen a fair bit of restoration work with filler, deep bodyshop sanding-scores and flat spots scattered all over the place. My job? To enhance the overall appearance and lay down some good protection.
Product
- 3M Glass Cleaner
- 3M Ultrafine
- 3M Ultrafina
- AutoSmart G101
- AutoSmart Tardis
- Belgom ALU
- Jeffs Werkstat Prime
- Jeffs Werkstat Jett Trigger
- Meguairs Super Degreaser
- ONR (optimum no rinse)
Vehicle inspection:
Wire wheels; these will prove to be good fun later on!
A few areas to be careful of:
Residues from previous polishing:
OK. First things first, let's get it washed. It isn't however the sort of vehicle you'd want to use a pressure washer/tons lots of water on... I could see the windows, seams, panel-gaps etc weren't all water tight so I had to think on...
Meanwhile, I turned my attention to the wheels. *”hmm!”* AutoSmart G101 used to clean with various brushes, mitts and tools.
I spot-cleaned a few greasy areas with AutoSmart G101 & Meguiars Super Degreaser. Areas such as the petrol filler housing, underneath the chrome bumpers, around the britework and panel gaps...
As the weather had turned and rain started to fall, I brought the Jag inside and performed an ONR wash (safe waterless wash system) to remove the light dusting/road-grime.
Vehicle was then clayed to remove surface contaminants but very little was seen.
Blown dry with the black baron vehicle dryer, it's time to check the paint condition:
As you can see, swirls, bodyshop buffertrails and oxidation stole the vehicles true shine!
With history and paint thickness’s in mind, I trod carefully.
Bonnet thickness readings,
There was no real pattern that I could see when it came to the respray and restoration work. Taking each panel as a new challenge, I had to adapt and change polish/pad combinations and also technique to find our desired results.
Before/After on the O/S front wing:
Further back on the O/S front wing, there were some nasty sanding marks spotted.
These unfortunately wouldn't budge on my first pass; requiring a slightly more aggressive approach and further refinement to make a difference.
However, get up close, and we're left with terrible orange peel and deep scratches from the bodyshop stages.
O/S drivers door correcting nicely with a single pass:
Before:
Process:
After:
Whilst I was working with the smaller spot-pad, a few of the tighter/difficult areas I'd previously skipped were revisited for a similar approach.
O/S rear wing before/after:
Boot-lid 50/50s:
N/S rear wing:
Front wing:
Wing-door 50/50:
High on the wing/bonnet:
and back down the N/S:
I don't think 100% correction would ever be possible here (I certainly wouldn't like to take it on anyway due to the pick'a'mix paint quality), happy with my progress though, I turned my attention to some hand polishing with Jeffs Prime.
All previously machined panels were cleansed by hand with Jeffs, but mainly, the tough awkward-to-reach areas and curves that the rotary polisher couldn't get to were dealt with here.
Shortly after, and still using Jeffs Prime, focus was then turned to the britework/chrome.
Grille before/after:
In-between finishing the britework and cleaning the glass, the first coat of Jeffs Werkstat Jett Trigger was applied to all exterior painted surfaces to protect.
Saving the best until last? The wheels...
Still using Jeffs Prime but armed with cotton buds, the Megs triple action duty brush, several microfibre pads and clothes but also achy fingers!
A bit of a before/after:
Some areas, my fat fingers just couldn't reach:
Finished:
~half an hour was spent on each wheel, rolling the car backwards and forwards, backwards and forwards, backwa...... *ugh*. They weren't perfect, but certainly much improved.
After cleaning the glass, applying two more coats of Jett Trigger and wiping down the paint, we're finished. Some 14 hour work time.
Enjoy.
Thanks.
Jim.
 some high readings on some parts there.