ClioSport.net

Register a free account today to become a member!
Once signed in, you'll be able to participate on this site by adding your own topics and posts, as well as connect with other members through your own private inbox!

  • When you purchase through links on our site, we may earn an affiliate commission. Read more here.

1986 Ford Fiesta XR2 1.7 VVT Turbo


  320td Daily XR2t Toy
Yer have a oil cooler fitted. Im gonna plumb back in the water cooling for the turbo but it was the map that melted the turbine.


Head has come back from the machine shop.


20140717_161202_zps9f0fd7f4.gif


Had a few hours after work so got it together and...


20140717_181949_zps1c1b991b.gif


One engine ready to go in bar a few bolt on bits.


I did end up getting stung for import duty bugger. still worked out quite cheap just slowing up delivery.
I shall make a start on getting the engine in the car next week. I am off to scotland this weekend for Downhill mtb race.


Im waiting on a new driveshaft to turn up from a puma. Hopefully gonna be able to change the outboard CV and get away without changing much else to go equal length shafts. so we will see how that pans out hopefully well that way tune out a bit of torque steer. My plan once the engine is mapped is to refine the suspension and and chassis to minimise the torque steer as much as possible before fitting a LSD.
 
  320td Daily XR2t Toy
New Turbo has arrived. Looks pretty good haven't compared it to the old one yet but it does look a bit bigger looking forward to getting it back together just waiting for my engine crane to come back from a friend then full steam ahead.

20140722_155843_zps5e49bf1a.gif
 
  320td Daily XR2t Toy
The engine is all in the fiesta now and I'm just waiting on a few things to get it back on the road.


Top of the list was this little thing.


20140826_093037_zps387058da.gif


I changed the CSC when I had the engine and box out as the old one was well quite old and crappy but what i didnt realise is that around 2008 ford changed the design of the quick connect and the line that I had piece together no longer fitted and take the engine out was way too much work to put the old CSC back in. So I got the drawing out and had this made to adapt it to An-3 fitting. Which is much better as i already have the hose just need to buy a couple of fittings.


Next is the driveshaft. I want to get rid of the long driveshaft as i think its one of the major sources of torque steer in the fiesta. Lucky the pumas a fitted with equal length driveshafts and the link shaft and bracket are easy to get hold of and the spline count on the puma IC shaft and the fiesta shafts is the same. I got hold of the Link shaft and measured that up. lucky the guy that sits next to me at work did use to work in the halfshafts department and was able to do the math for me and work out that i needed a a 325mm shaft clip to clip and puma shaft is 358mm clip to clip which would require sleeving to shorten which makes me nervous and would create a massive stiffness imbalance left to right and possible make the torque steer worse not achieve anything.


So i started looking thought the back catalog for ford to find the smallest shaft i could Ka come out at 342mm still too long then i took a look at the standard xr2 short shafts 335mm. They guy that does the machining for me is confident he can get 9mm out of the shafts installed length by cutting new clips seats and extending the splines slightly and taking a bit off the end. not ideal but better then sleeving the shaft and should give me pretty good balance and cure a good chuck of the torque steer.


My new shaft turned up the other day i just need to clean it up and then get it over to the machine shop.


I think the other major contributor to torque steer is the tie bar suspension system. I have got poly bushed tie bar bushes but i think that they are give and not to mention create a lot of hysteresis in system because they resist movement of the system unless the tie bar bush is in it natural position. Only solution for this is the rose jointed kustom karl type suspension arms.
 
  320td Daily XR2t Toy
Fitted up the Luk quick Connect to An-3 connector. Fits perfectly was a bit unsure on what thread the an-3 was supposed to have on it but got it spot on.


20140826_163701_zps6f8ea971.gif


I also played a bit of a gamble and bought the kustom karl type suspension kit.


20140916_172446_zps471f31b0.gif


its quite good quality. Im fairly happy with it. will see how well it goes onto the car once the driveshaft has been machined. Guy chanced it at just trying a normal bit of tool steel and there was more material coming off the tool than the driveshaft lol. Wasnt slightly expected but would have been nice for it to be simple. Gonna grind off the surface of it and give it another go but hes away this weekend so will have to wait.


Starting to get withdrawal symptoms from not having driving anything remotely exciting for a few months now. So need to crack on and get this shaft sorted as its the main block to me putting back on the road as i cant be bothered to do the rest when it wont move.
 

GiT

ClioSport Club Member
  Shit little Yaris...
Could that block of not been rescued with a slight bore out?
 
  320td Daily XR2t Toy
Na the 1.7s are nakisil lined. They are lightly servicalble but over boring isnt possible. Ive looked into having the linjng recoated which is possible for motorbike engines but nowhere ive found does it for auto engines.
 

NorthloopCup

ClioSport Moderator
Na the 1.7s are nakisil lined. They are lightly servicalble but over boring isnt possible. Ive looked into having the linjng recoated which is possible for motorbike engines but nowhere ive found does it for auto engines.
There is places in the uk mate that recoat nikasil liners on car blocks. Expensive though and you've got to know where to go.
 
  320td Daily XR2t Toy
Not without reducing the bore and ending up heavily under square. At them moment the most cost effective way it just a good condition block.
 
  320td Daily XR2t Toy
Engine is up and running. I have a water leak that I traced to fitting the wrong bolt in the thermostat housing and the injection pump wasn't running when it had 12v at the connector. Stuck it on the battery and the pump ran. Examined the connector more closely and one of the pins had become dislodged. Turned it over and it ran firsts time Although i haven't got round the reconnecting the exhaust yet so a bit noisy. The new engine is much smoother then the old one not sure if that's down to the different head or maybe the timing was slightly out before.


th_20140922_180530_zpsac0df017.gif
 
  320td Daily XR2t Toy
well it has been a long winter (into summer) of going some old steps but it has been worth it.

The sills on the xr2 are the original ones and i knew they maybe a bit frilly and as such had planned to replace them this winter. While Im at it i may as well replace the front floors because they have been replaced before (not me) and it annoys me as its not a good repair.

Got an opportunity for help from a friend with a good unit and a lot of experience.

started on the front inner wing as it wasn't great.

FB_IMG_1424458133962_zpsws2n8ylr.gif


cut back to good metal

FB_IMG_1424458130833_zpsl2vbahls.gif


FB_IMG_1424458130833_zpsl2vbahls.gif


part repair

20150224_195913_zpshux9ymcm.gif
 
  320td Daily XR2t Toy
20150224_195610_zps192dqbiw.gif


full repair

next was to take the sills off

20150225_170603_zps3exouwjn.gif


20150225_190853_zpscoy9jgxl.gif


the more we took off the worse it looked.

20150305_180409_zps0lwcmzae.gif


started going back together

FB_IMG_1424981151147_zpsc3yanrlq.gif


FB_IMG_1424981155091_zpse9ex1gnd.gif
 
  320td Daily XR2t Toy
Been a busy month getting the fiesta sorted. Not there yet but it wont be too much longer now. I hope.

Fitted a new bearing in the steering column as old one was virtually none existent.

20150324_193335_zpsjbaw5gms.jpg


That with the stiffened column bracket the wheel barely moves now.

Drivers side is now all welded.
FB_IMG_1426625213993_zpsgtmtv4ct.gif


FB_IMG_1426625241442_zps4wgljebd.gif


FB_IMG_1426625233045_zpsduunoq8p.gif
 
  320td Daily XR2t Toy
FB_IMG_1427316462428_zps8dmkfzcb.gif


FB_IMG_1427316459551_zpsehpqdke1.gif


FB_IMG_1426795685670_zpsdhnytgva.gif


FB_IMG_1426795689932_zpsqhdvhzes.gif


FB_IMG_1427316467499_zpsjpo2ecpw.gif


Fitted some seat rails.

FB_IMG_1428479901871_zpseebofuuz.gif


Put some hard fuel lines in that dont hug the exhaust or risk dragging on the ground.

FB_IMG_1428479912325_zpsu0uxxbrz.gif


FB_IMG_1428479908106_zpszkprwvum.gif
 
  320td Daily XR2t Toy
FB_IMG_1428479914454_zps1otweg9q.gif


Undersealed the car.

FB_IMG_1428479918994_zpskgymc0pz.gif


FB_IMG_1428479910343_zpslwmqzjgq.gif


New fuel tank as the old one had split on the seam. means it shouldnt be that bad on fuel now.

FB_IMG_1428479916686_zpscl73hgol.gif


Mounted the pedal box on a platform make it more comfortable on my feet and once the posts are made the heel plate will give me something to rest my feet on.

20150408_180916_zps4ouzygcv.jpg


Test fitted everything to make sure there isnt anything else i need to do before i start prepping for paint.

20150408_192726_zpsczk05ngd.jpg


20150408_192712_zpsc5bjkspi.jpg
 
  320td Daily XR2t Toy
Had a little sit in the car and made the customary brooooom pssst noises.

20150408_182423_zpsfyei599j.jpg


Might need to chop away some of the dash so i can change between the throttle and brake without issue.

The passenger seat was recovered badly before i bought it and it was starting to upset me. It is a Carbon shell seat and would be an arm and a leg to buy a new one the same so i set about recovering it myself. I think it came out really well.

20150405_120749_zps0xcwsgf5.jpg


20150406_154332_zps0xcxlgdr.jpg


Thats where i am up to now. i hope it wont be too much longer till it back to a driving state.
 
  320td Daily XR2t Toy
Managed to the gearstick tower finished

20150421_180708_zpsz7nnycd9.jpg


20150421_192354_zps8fy1pytk.jpg


Just the heel plate mounts to go and the inside can be prepped for paint.

Completed the fuel lines under the car.

20150421_184123_zpsvimugfyw.jpg


20150421_190256_zpsx8uz9vgy.jpg
[/quote]
 
  320td Daily XR2t Toy
The car is still coming along but work has been taking away time from my hobbies and its not racing season and so that has been taking a lot of time as well.

Plus it is at the point where i need to paint and it is so boring and time consuming that i really struggle for motivation but its getting there.

Engine bay is ready for paint.
IMG-20150616-WA0001_zpsaczcr7sn.jpg


IMG-20150616-WA0002_zpsrz3k3xkp.jpg


IMG-20150616-WA0003_zpsbwbkgwaj.jpg


i put a coat of primer on it last night before i put it away for the evening.

I think i'm going to us POR 15 for the interior and that just leaves me the bay and sills to sort out. should take too much longer i hope then the car can start coming back together so i can use it.
 
  320td Daily XR2t Toy
Finally making some good progress with the XR2 now.

I made up a small tent to spray the fiesta in.

20150721_172555_zpsq9v2li9m.jpg


Got cracking

20150721_185706_zpse9r63urp.jpg


20150721_185716_zpsvxc4carq.jpg


Left it for a few days to go off. Then rolled it out.

20150723_152042_zpsbagjspgm.jpg


20150723_152046_zpsfrn0reuc.jpg


20150723_152054_zpsg2p088fd.jpg


20150723_153400_zpsbylnmzbv.jpg


Painted the inside with POR15 as well and it came out really well. Not as good at 2k spray but on par with rattle cans.

20150724_180549_zpsvnqmhr4h.jpg
 
  320td Daily XR2t Toy
20150724_180554_zpsvr2wtot9.jpg

20150724_180600_zpswms1syzg.jpg


Although the stuff doesnt come off your hands. In the end i have to get baking soda and water soak my hands in that for 20mins then scrap it off.

There is a bit of wet sanding to do on the outside and then its time to reassemble it.
 
  • Like
Reactions: Gus

Ph1 Tom

ClioSport Club Member
Making good progress on the welding and you've done a great job on that seat you had off me. Are you still using the paint as well?

Wish I'd have been able to store my blue pop somewhere. That was such a mint shell.
 
  320td Daily XR2t Toy
Making good progress on the welding and you've done a great job on that seat you had off me. Are you still using the paint as well?

Wish I'd have been able to store my blue pop somewhere. That was such a mint shell.
No somewhere in the move from my parents shed to the unit i lost the paint. I got some mixed up to match by a coachworks near the unit.
Yer im well happy with how the seat came out. Makes the drives look really tatty now. Need to do the drivers seat but that can wait til its a car again.
 
  320td Daily XR2t Toy
Its been a while since i last updated the thread.

I have actually done a lot since but just haven't put it on to the site.

During the car going back together and digging out all the engine parts i noticed in what a bad state the exhaust manifold is in. I also noticed that there was bits of the internal weld missing presumed eat by the engine that shat itself last summer and prob the root cause of the failure.

20150731_170225_zpse8omripo.jpg


20150731_170233_zpsmjmbsoop.jpg


20150731_170309_zpslnrqlbsp.jpg


So out can the CAD software and general idea hatched.

20150804_212643_zpsurksg5vu.jpg


bit of fab

20150827_161235_zpscjn469p2.jpg


20150901_183548_zpsfqqbscwe.jpg
 
  320td Daily XR2t Toy
much messing around and head scratching later

20150904_183000_zpshcw7cxkk.jpg


Finally the fully welded product

20150911_150717_zpspshnmvfj.jpg


Fitted

20150912_153125_zpsyftzpdqz.jpg


20150912_153110_zpstkxqfv3n.jpg


My friend came by the unit for a 80s flash back picture

IMG-20150907-WA0007_zpshhoyptdr.jpg


Next up was a more robust turbo. The td04 has had a number of issues. Most being related to overheating and bit of a bit on the small side for the power output i want.

20151006_164952_zpspgciz1df.jpg


20151006_164944_zpsez51hli5.jpg


next us is a td05h. its a bit on the big side but it still responds quite well.
Whole car reassembled and running ok.

20151004_114627_zpsudbzdyvw.jpg


Next up i swapped the odd seats for a pair of corbeau club sport seats. 2 reason thy're brand new and they're xl and it will stop my passengers complaining about how tight the seat is.

as the new turbo has a 90 on that points at the bonnet i got a spare housing and cut it up.

20151207_191321_zpse7ebh4j8.jpg
 
  320td Daily XR2t Toy
so now it faces forward to give a good routing for the air filter hose.

Next up was the steering wheel that was close to the drivers window that to me.

20160105_192914_zpshc24mzwd.jpg


20160105_202733_zpsx8zoov9p.jpg


20160105_204959_zpsmnntb7lf.jpg


20160105_205006_zps1yuxtlya.jpg


There has been a lot in between all that as but as a quick summary that covers most of it. Nobody is really interested in wiring changes and p cliping bits to body.
 
  320td Daily XR2t Toy
I would have thought a td05 on a 1.7 would be laggy as hell. TD04HL would easily make more power than you could want.

Na not really. Td04 came on boost around 2.3k but would fade long before 7k rev limit and would make the power i want but it would be going be what it supposed to do and although it would make the numbers its wouldnt be as quick and would put more stain on the motor for the same power.

The td05 comes on a out 3k but just keeps going all the way to the rev limit and will make much more power for the same boost or less.

The td05 is also much more robust than the td04. The td05 has a much large water jacket and as it isnt being pushed pushed over passed the oem standard boost so should be nice and reliable
 
  320td Daily XR2t Toy
Trying to push on with getting the fiesta ready for trackdays when the weather improves.

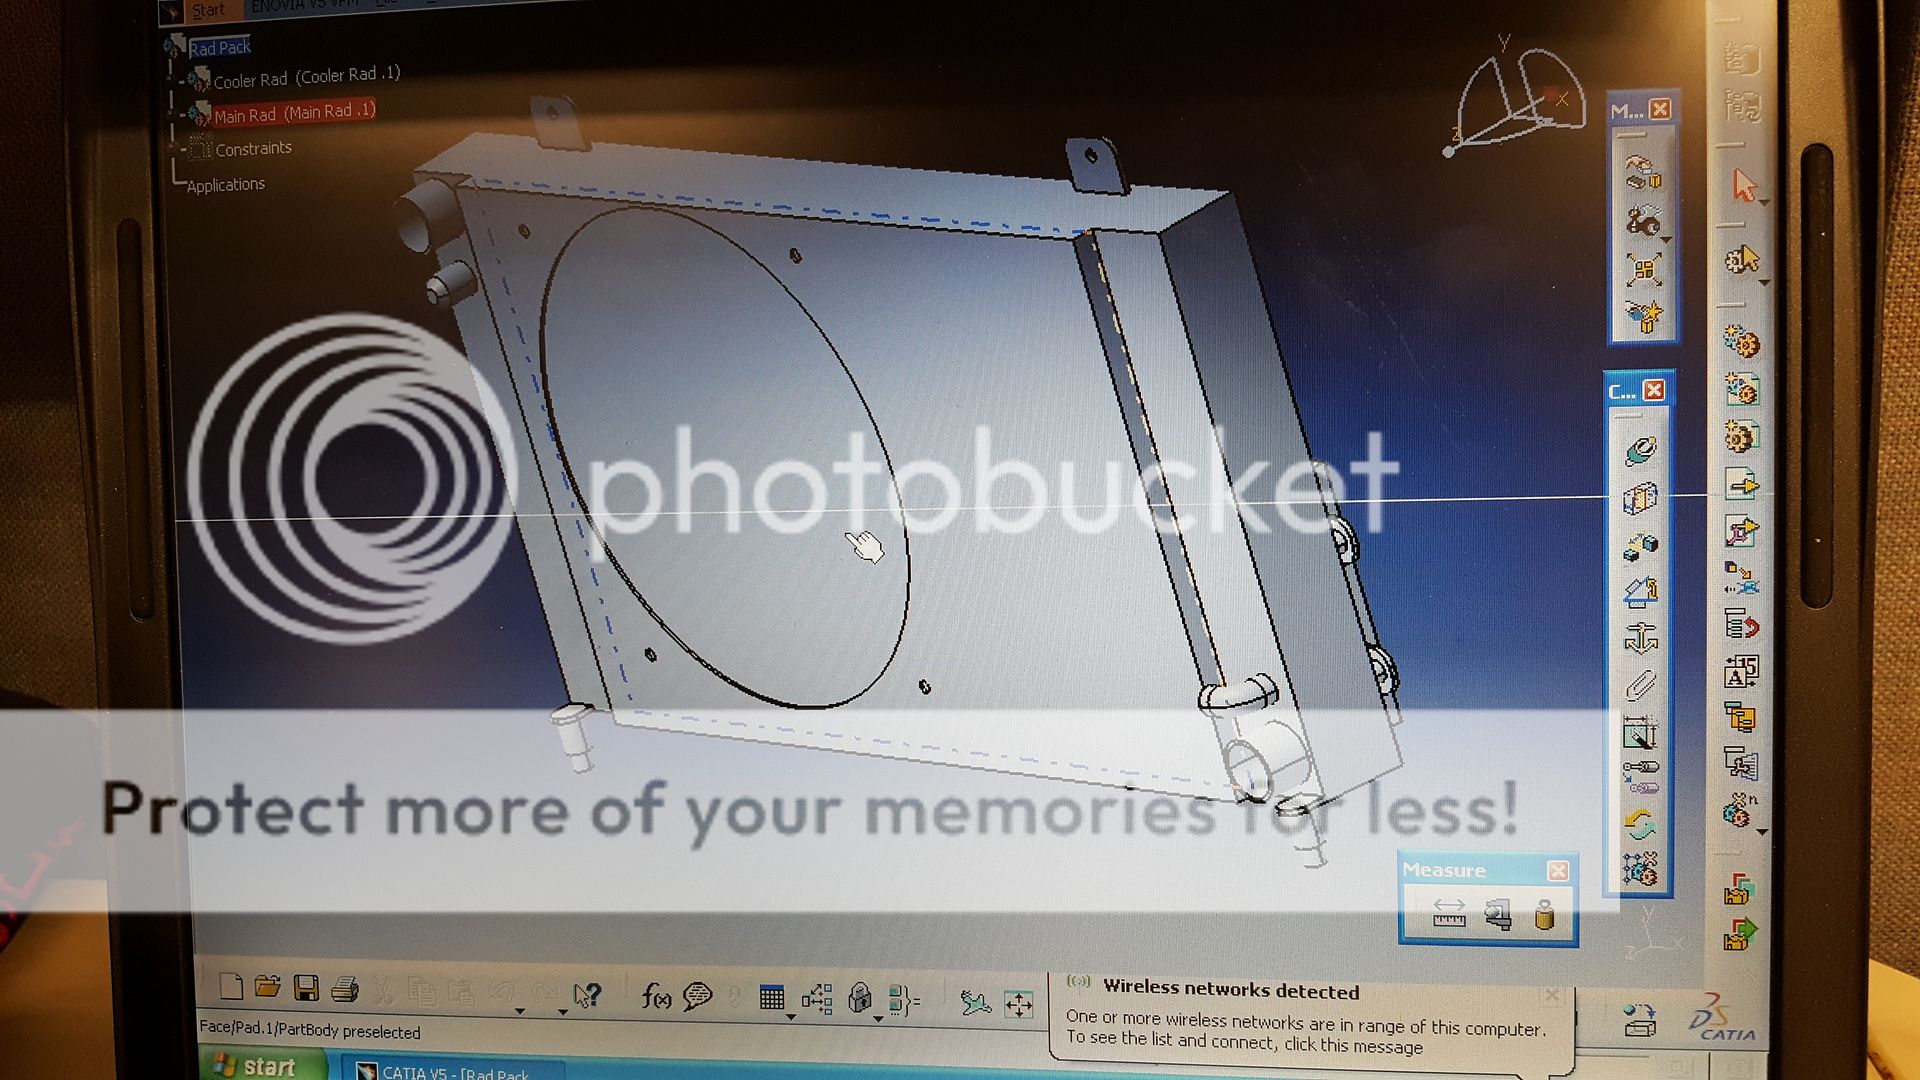
The main thing i want to get done is a better radiator and charge cooler rad set up. At the moment i have a Saxo VTS rad and i dont like it. It is really hard to bleed and the header tank mounted on the side well below the height of the turbo. With the new turbo is clears the space where the original header tank went.

The plan is to put an original header tank in and use a 'rad pack' with the new ally rad sitting in the standard mounts and the charge cooler rad bolting to the front of it. The rad will sit better into the front panel than the current one giving more space for a good fan cowling to help. Like below.


IMG-20160129-WA0002_zpsh1twytw7.jpg


I managed to get hold of a brand new fiesta header tank.

IMG-20160206-WA0000_zps51f0cna0.jpg


That looks like it made to be there. :)

20160209_165546_zpseprddafb.jpg


Im just waiting on a guy to make my new rads then its off to the mappers.

While im waiting for the rad i have been blasting my spare set of wheels ready for me to paint them. Ive done 4 of them now. Just need to paint them and then get the Avon ZZRs on them.

20160128_194926_zpsl66jiqt3.jpg


Top