ClioSport.net

This is a sample guest message. Register a free account today to become a member! Once signed in, you'll be able to participate on this site by adding your own topics and posts, as well as connect with other members through your own private inbox!

  • When you purchase through links on our site, we may earn an affiliate commission. Read more here.

A little eye candy

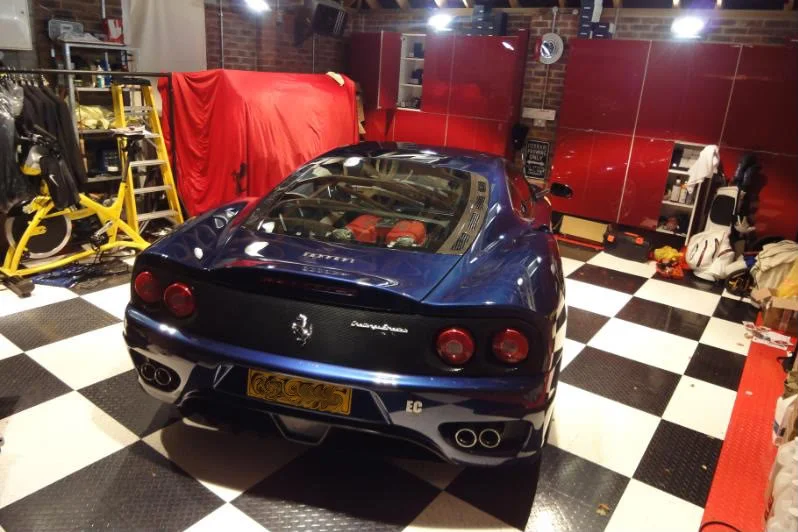
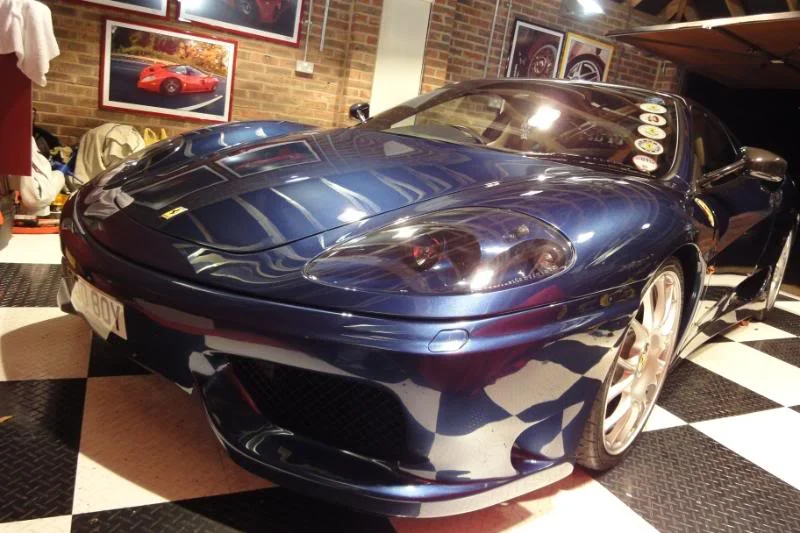
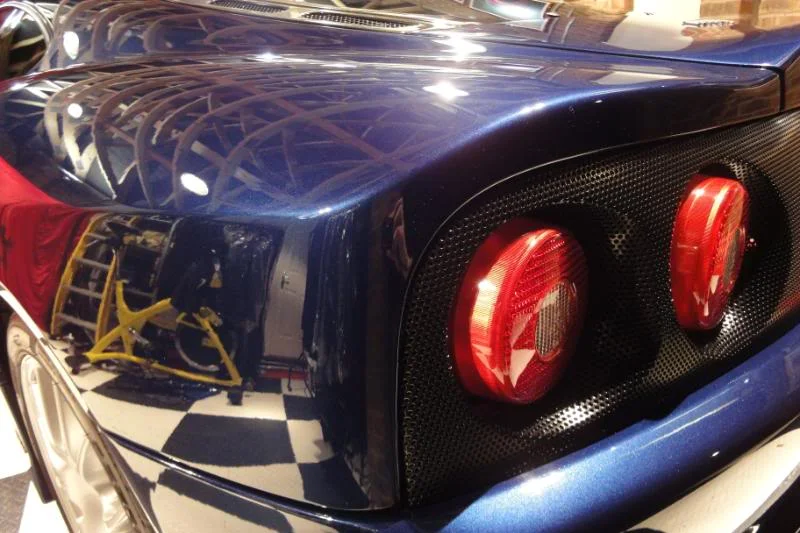
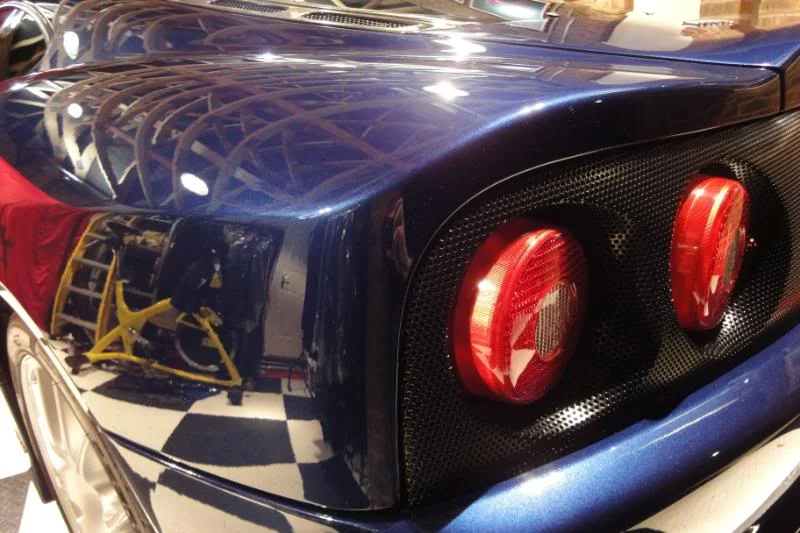
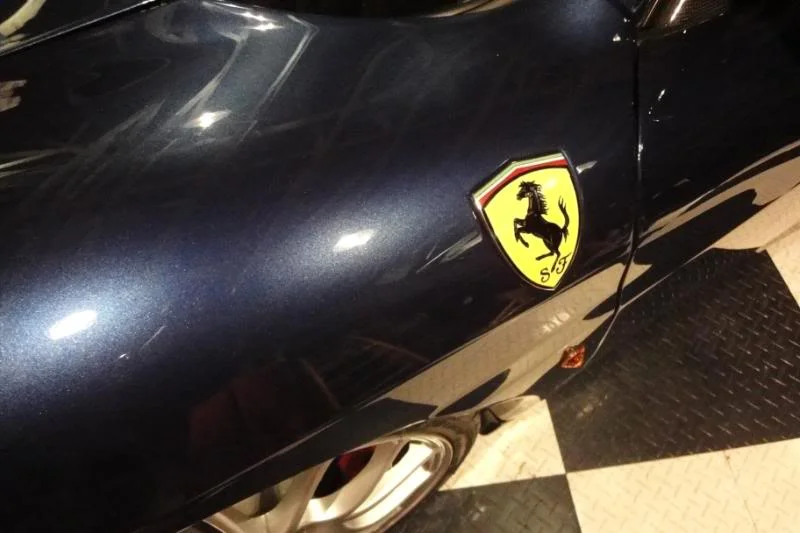
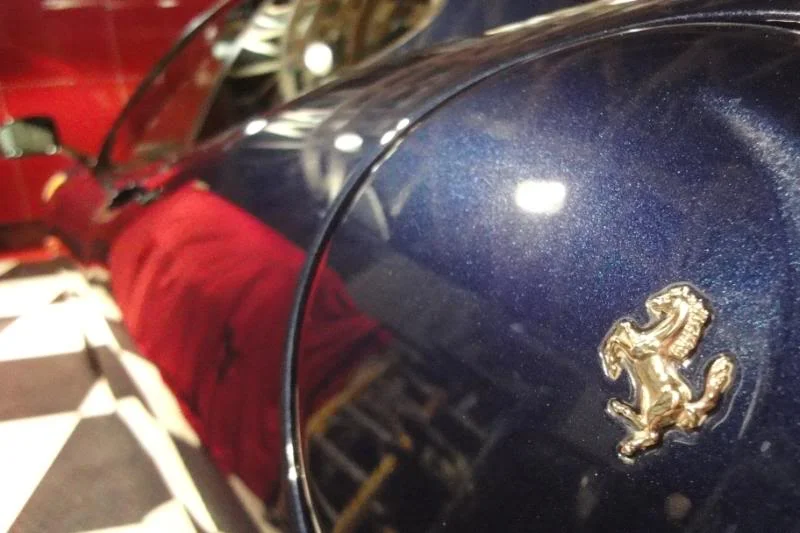
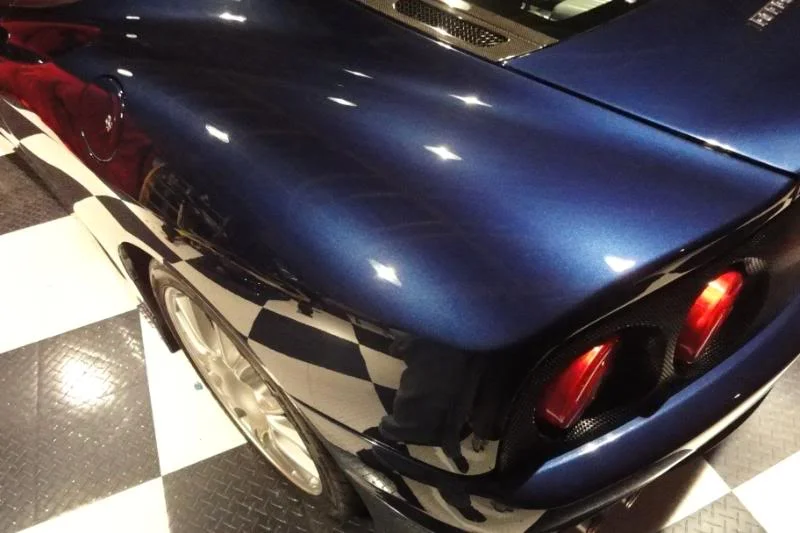
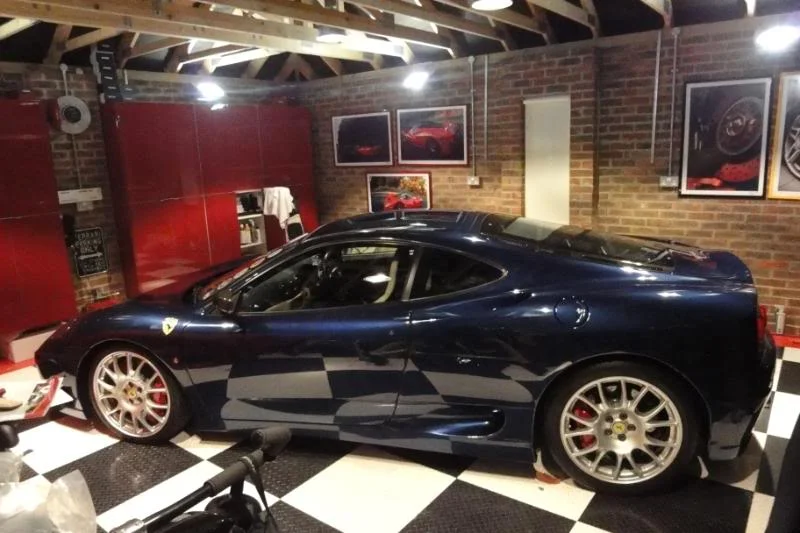
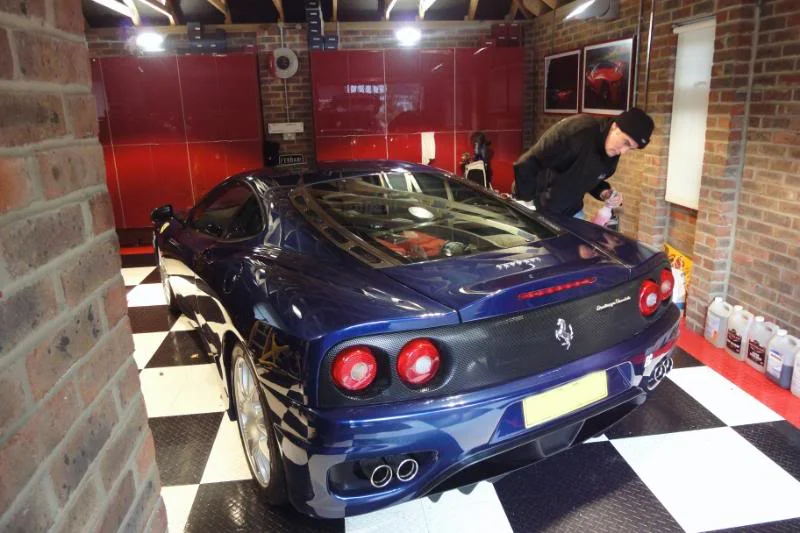
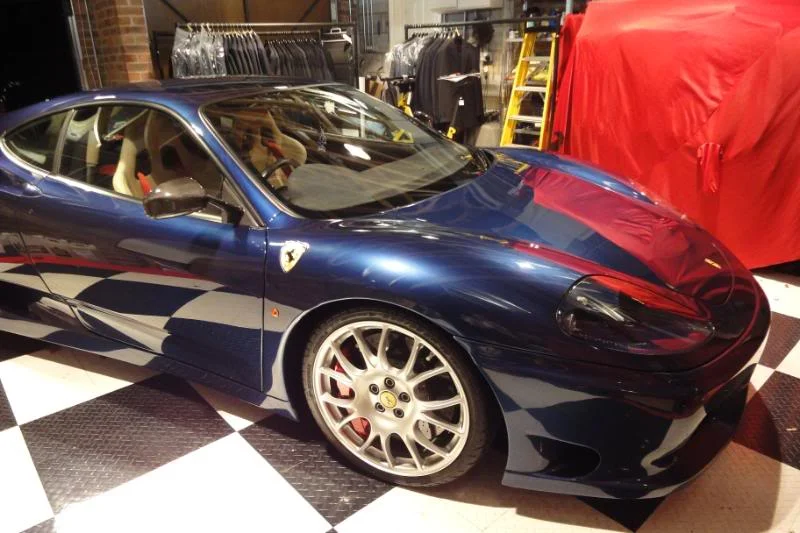
Dont think iv ever showen any of the cars iv detailed on here :( so thought i might share this one with you, this is my favorite Ferarri, model, colour, spec IMO its got it all:

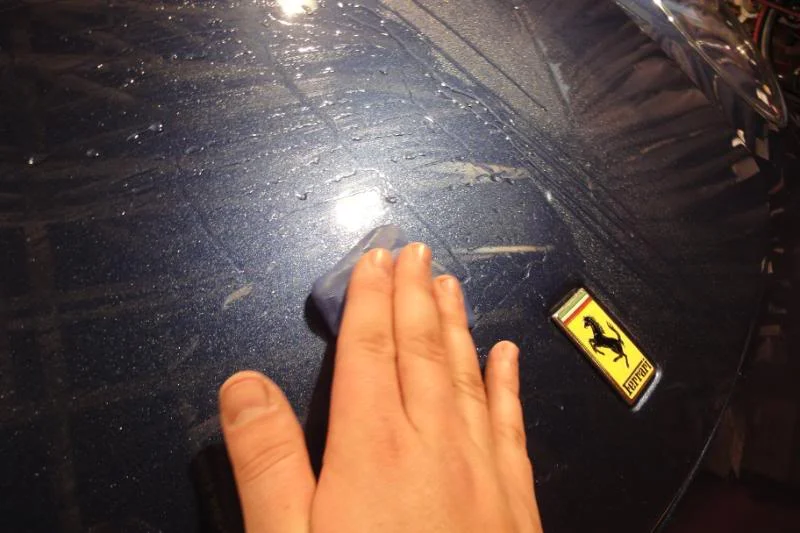
On arrival nice, clean and covered up from a wash earlier in the week by the owner (lucky really as i never fancied washing the car to much in that rain we had and it was hammering down when we got there), so all we needed to do is a wipe down and on we go with the clay work:
DSC02120-2.webp


DSC02124-1.webp


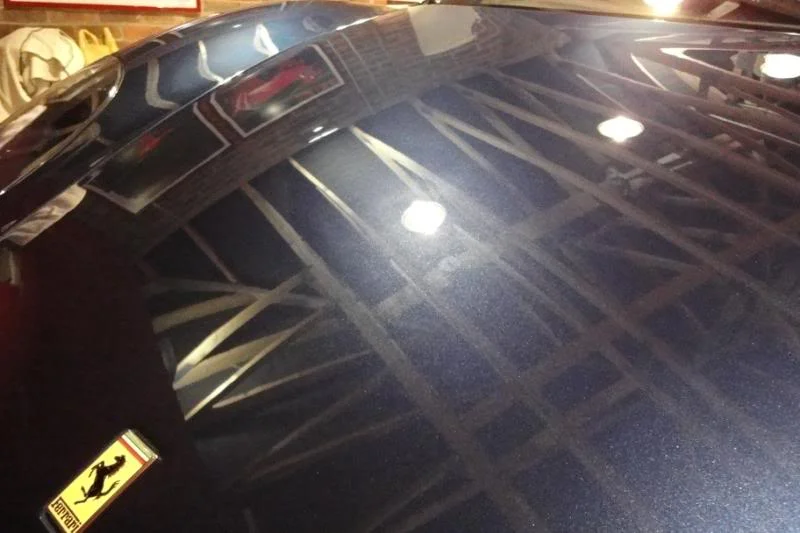
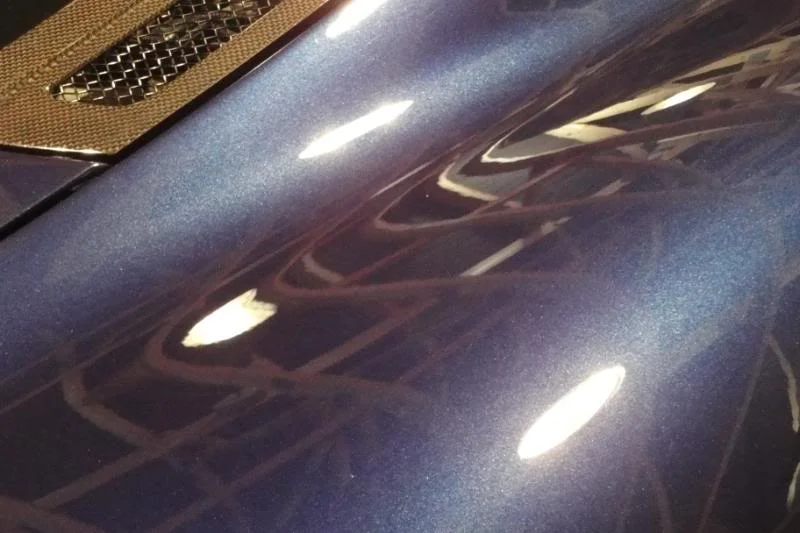
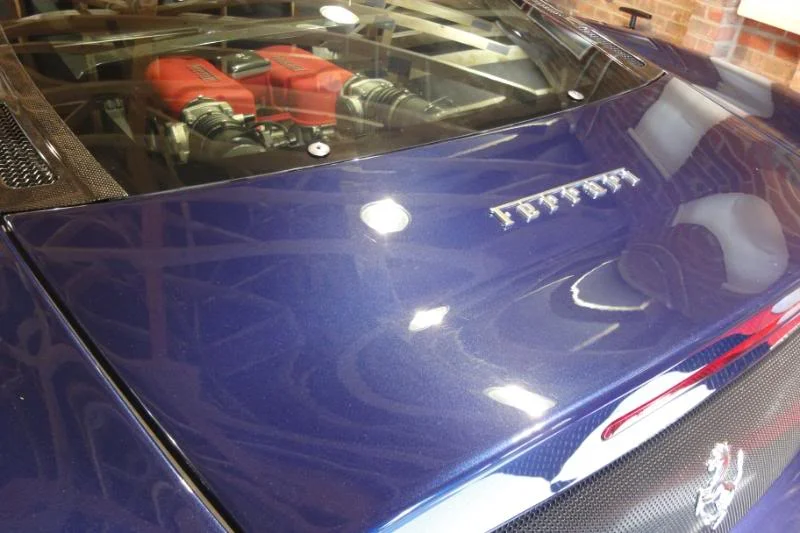
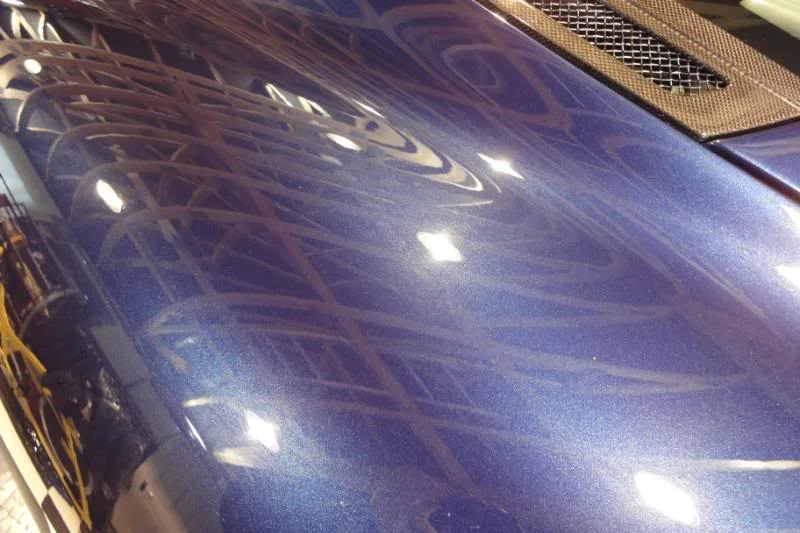
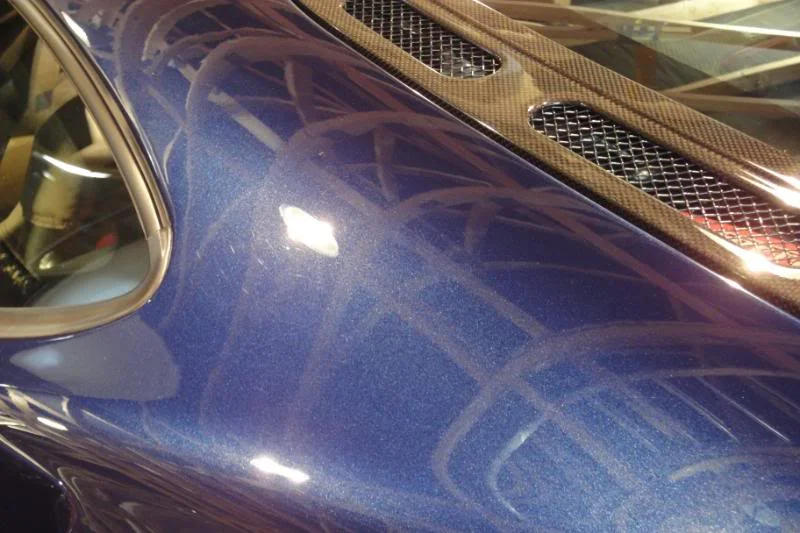
So on to do what the main aim of today was and thats light paint correction to remove some light swirling on the car for washing and remove the holograms from the recently resprayed front end, we had a closer look at the paintwork and took some PTG readings:
DSC02121-1.webp


DSC02122-1.webp


DSC02123-2.webp


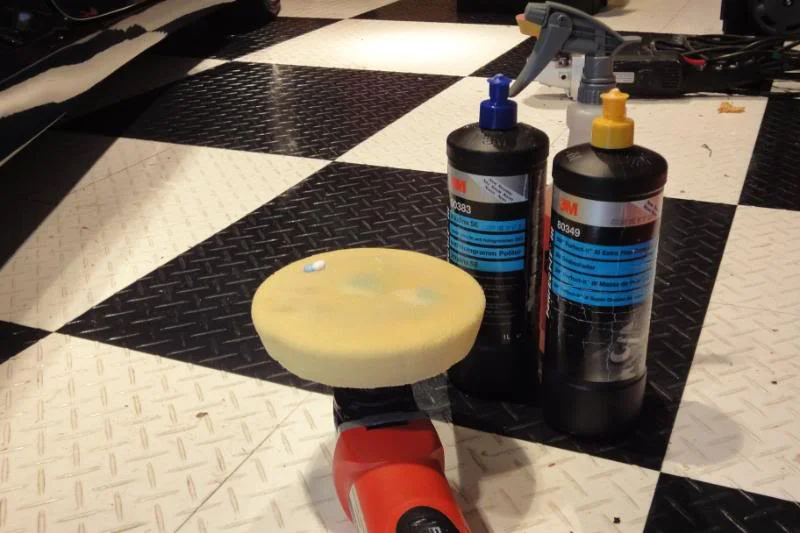
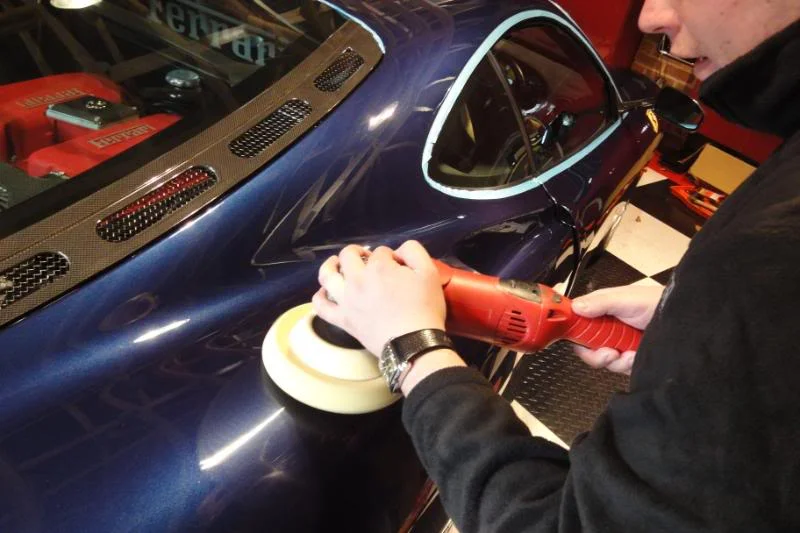
3M yellow top & ultrafina mix was the weapon of choice followed up by ultrafina on a blue finishing pad:
DSC02125.webp


DSC02128.webp


Before:

DSC02130-1.webp


After:

DSC02131-1.webp


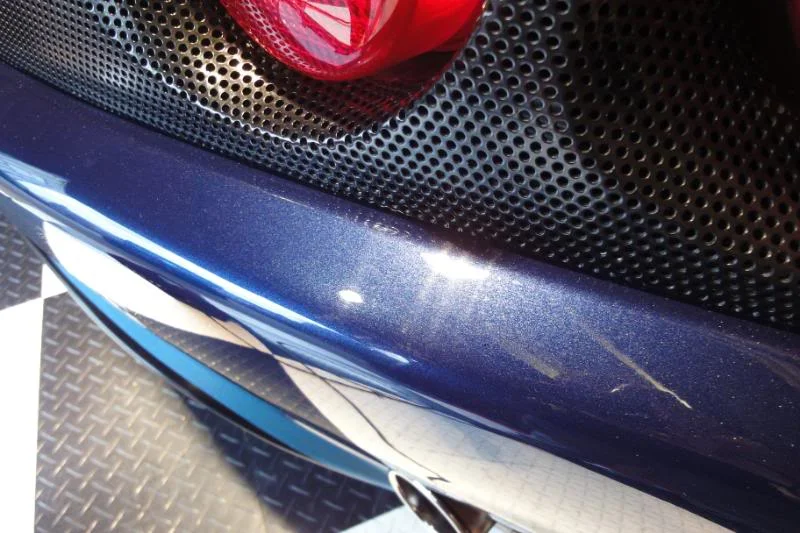
Hollograms :

DSC02132.webp


DSC02134-1.webp


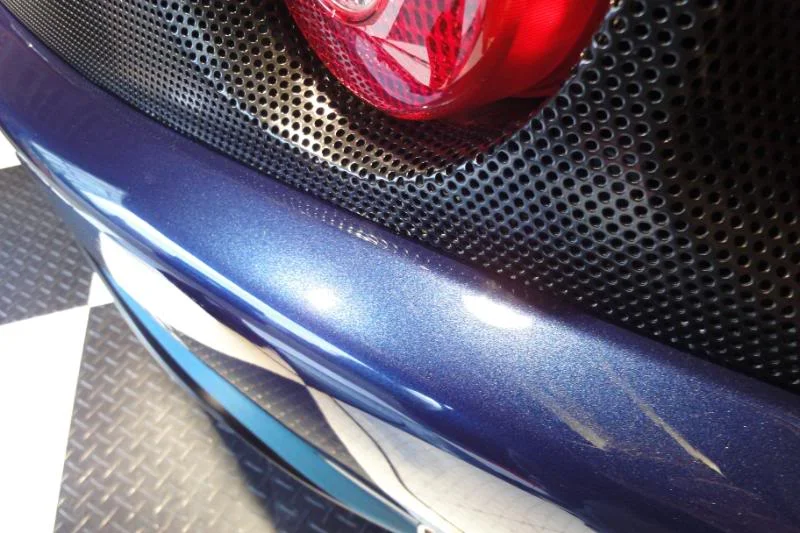
And corrected:

DSC02167.webp


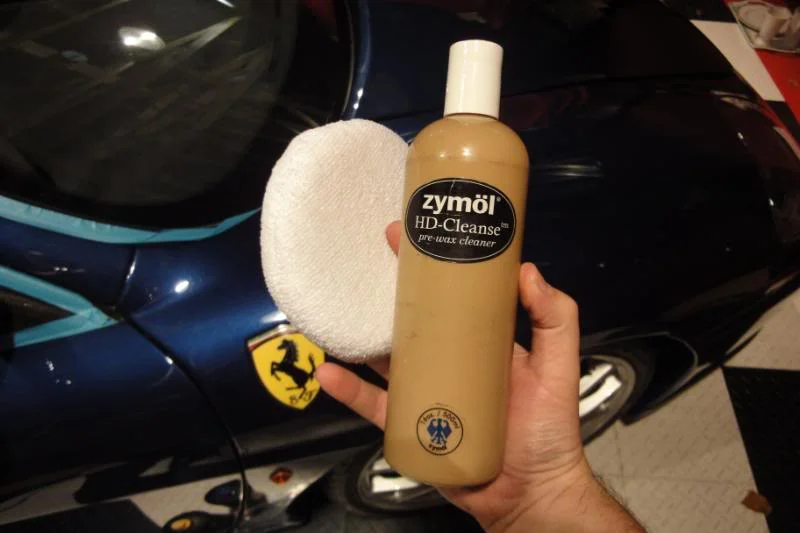
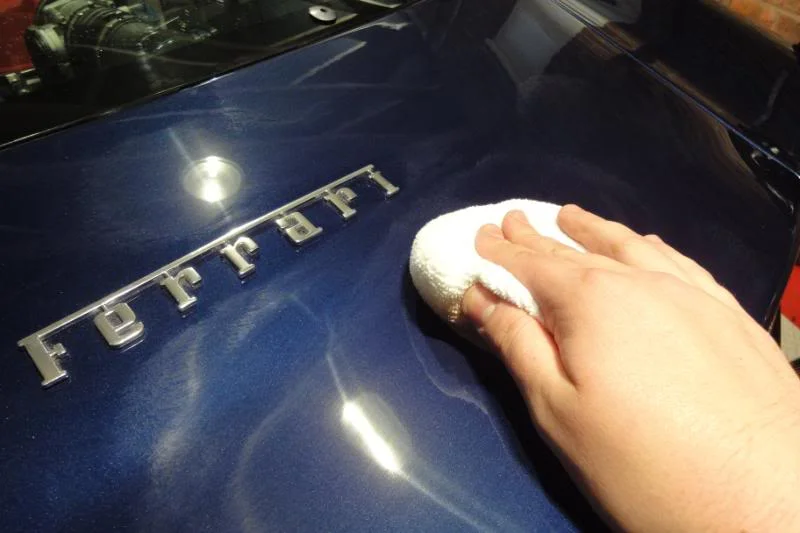
So once me and Mike had been around the car using this combo, it was time to prep the paint for the wax using Zymol HDC via MF applicator:
DSC02136.webp


DSC02144.webp


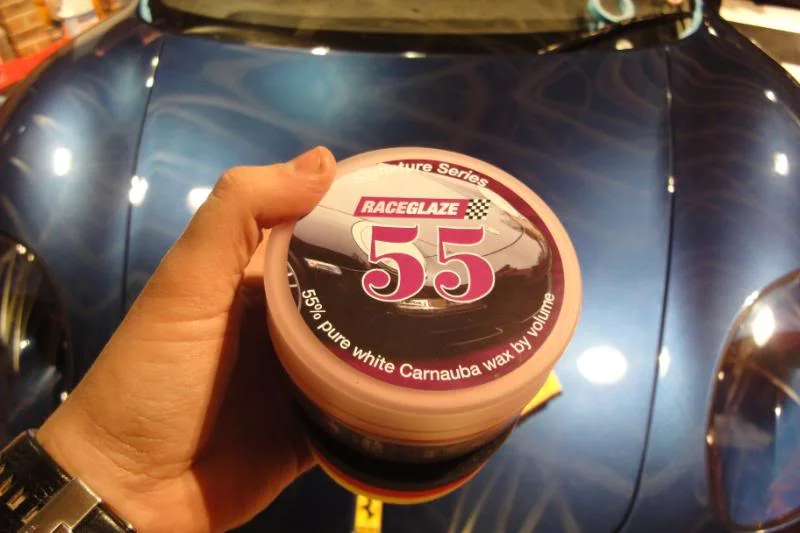
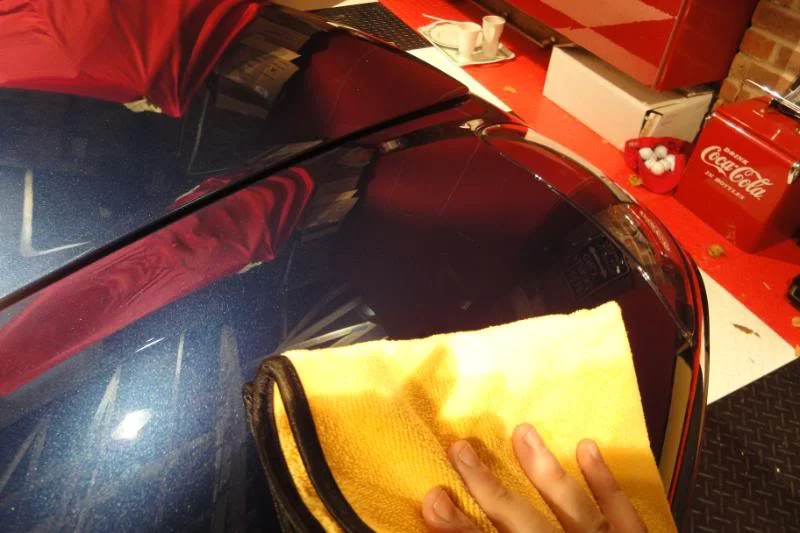
Before applying the owners own choice of wax, Race Glaze 55, this was the first time for me using this wax and my first impressions are very good, it looks, smells much like vic concourse wax, application is a a piece of cake and goes on very thin, went around the whole car left to cure then buffed off again very easy to use and left a nice finish :thumb:
DSC02139-1.webp


DSC02137.webp


Other little details taken car of such as exhausts polished with megs NXT, windows with megs glass cleaner, archs with megs hyper dressing 4:1, interior detailed, tyres dressed with wheel wax extreme and we are done.


Enjoy:
DSC02148-1.webp


DSC02146-1.webp


DSC02152-1.webp


DSC02163.webp


DSC02157.webp


DSC02157.webp


DSC02160-1.webp


DSC02169.webp


DSC02175-1.webp


DSC02193.webp


DSC02171-1.webp


Sorry for the short and sweet write up but we had to get on today, the next instalment will be this when i get the time to sort all the pics :thumb:
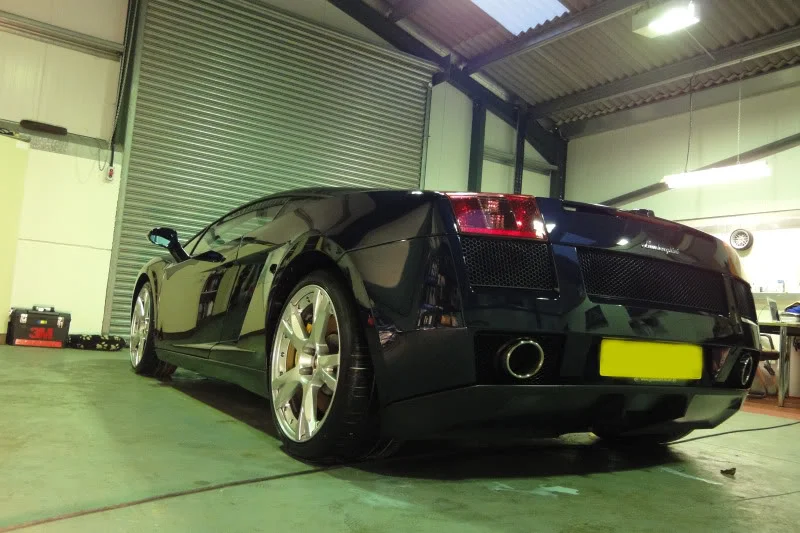
DSC02057.webp


Thanks for looking and if you have any questions on products or methods used, or just want to leave a comment there all welcome and appreciated.

James B
 
nice, make make is ya rotary, looks very similar to myne which i got from germany
 
^^ They are just point and clicks mate, had to get a wiggle on, on this job so just took a few snaps on my way around if you want some proper pics of ours see here:

First job was to clean the wheels, front back and inside with G101 mixed 6:1, a Daytona Brush, a detail brush for the faces, and a finger mitt for the backs of the spokes:

DSC_1047.webp


DSC_1049.webp


DSC_1054.webp


DSC_1061.webp


The whole car was thoroughly pressure rinsed down and a bug remover applied to the front end, wing mirrors, screen, bumper etc, lower parts and arches treated with a citrus degreaser including door shuts, then the entire vehicle was foamed with Bilit Hamber auto foam:

DSC_1075.webp


DSC_1085.webp


Whilst those products dwelled and done there thing, the panel gaps where cleaned with a small detail brush, door jambs with G101, and the wheel arches cleaned by hand with a mitt:

DSC_1091.webp


DSC_1093.webp


DSC_1095.webp


DSC_1097.webp


DSC_1099.webp


DSC_1106.webp


DSC_1109.webp


DSC_1114.webp


DSC_1116.webp


DSC_1137.webp


DSC_1140.webp


DSC_1145.webp


DSC_1124.webp


The foam etc was now rinsed off and the car washed by hand using two buckets, Dodo Juice BTBM and natural sea sponge, a final rinse and dried off with microfiber towels:

DSC_1179.webp


DSC_1183.webp


DSC_1158.webp


DSC_1189.webp


DSC_1198.webp


DSC_1206.webp


DSC_1207.webp


DSC_1219.webp


Now with the car clean and dry it was inside to clay the paint work using Sonus green and megs last touch as lube:

DSC_1235.webp


DSC_0007.webp


Not alot of contamination, but enough to make it worth while:

DSC_0006.webp


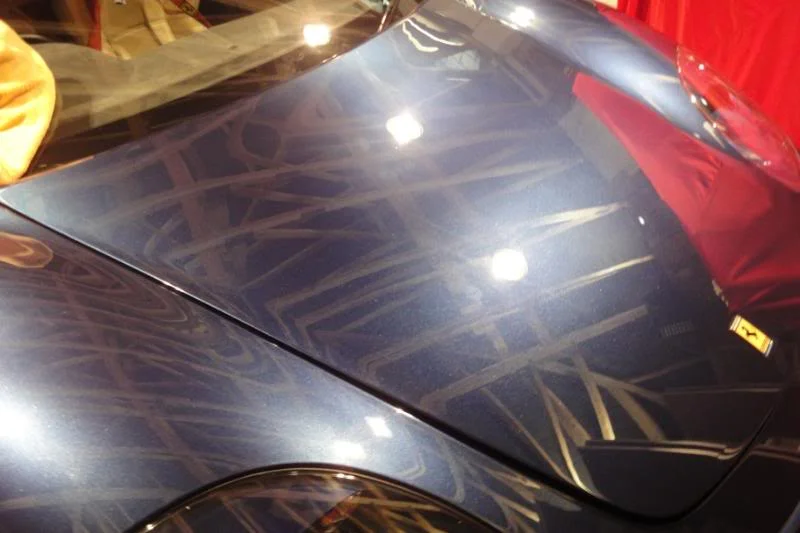
Now on to paint correction, after inspection we noticed lots of micro marring (not uncommon on ferraris, and some areas of what look like over spray (dry matt looking paint around edges) :

DSC_0016.webp


DSC_0023-1.webp


DSC_0030-1.webp


DSC_0034-1.webp


After taking PTG readings on all panels, we set about trying polish and pad combos, my latest one is Menz IP 3.02 with a drop of 3M UF, this works wonders on a polishing pad, it makes the menz a little bit more workable, so correction via IP+uf mix on a Megs polishing pad and finished with UF on a finishing pad:

DSC_0037.webp


DSC_0065-2.webp


Was leaving us a finish like this:

DSC_0074-2.webp


From this:

DSC_0084-2.webp


To this:

DSC_0086-2.webp


DSC_0095-2.webp


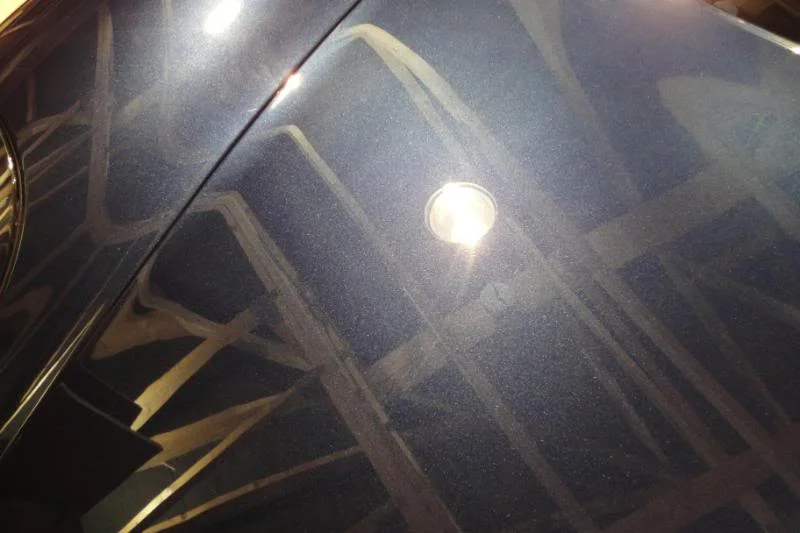
These are the strange over spray areas we came across on this car, i have seen them before on this model but this part here was one of the worst in the most prominent spot iv ever seen it in:

DSC_0099-2.webp


It took a wool pad and Some FCP to fully correct but we achived a perfect finish :

DSC_0108-2.webp


DSC_0126-2.webp


DSC_0155-1.webp


Some 4" pad work in some tighter areas:


Before:

DSC_0161-1.webp


DSC_0171-1.webp


DSC_0172-1.webp


DSC_0191-1.webp


The carbon fiber rear grill was also corrected with 4" on rotary with IP+UF as was the upper lip of the rear bumper:

DSC_0198-1.webp


DSC_0233.webp


And the lights with a finishing pad and UF:

DSC_0203.webp


DSC_0211.webp


Passenger door:

Before:

DSC_0243-1.webp


After:

DSC_0259.webp


Working all the way down to the front end, and tom still on his door whilst im nearly finished, any one would think i make him take alot of pictures :rolleyes::D

DSC_0276.webp


DSC_0302.webp


Once the paint work was fully corrected and refined, the LSP was applied, Zymo! vintage was used X two coats (more for even coverage than layering this will be done during the plan) :

DSC_0326.webp


Whilst this cured the wheels where sealed with Poor boys wheel sealant, face inner, the bolt holes with a megs detailing stick, caliper and all:

DSC_0328.webp


DSC_0334.webp


DSC_0335.webp


Engine bay CF and surround was polished with Jeffs acrylic prime (to clean and add some protection):

DSC_0342.webp


Exhaust box polishe with megs NXT:

DSC_0352.webp


DSC_0354.webp


First coat of wax buffed and it already looking pretty good:

DSC_0361.webp


So second applied while we did a few finishing touches, like:

Removed some glue deposits from rear reg plate:

DSC_0386.webp


Dressed the tyres with Megs Endurance:

DSC_0419.webp


Glass with AS glass cleaner:

DSC_0430.webp


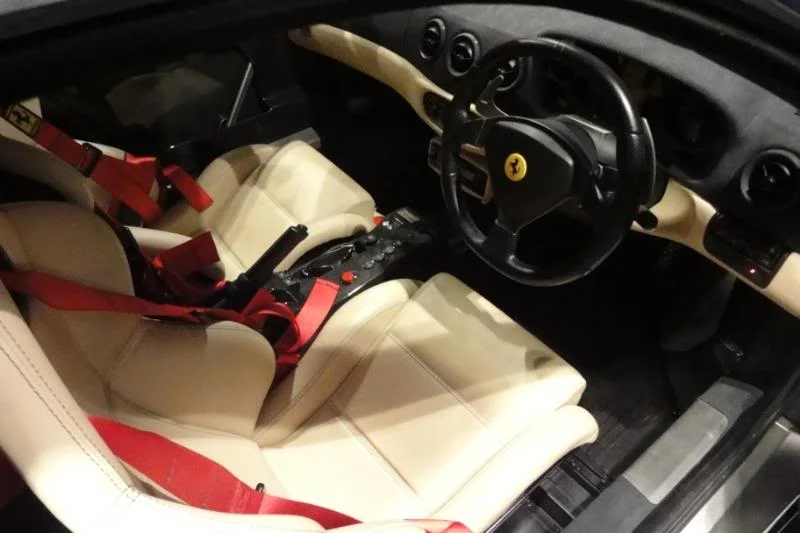
Interior vacuumed, and dusted, floors cleaned with Megs APC and the CF interior panels polished with Jeffs acrylic prime:

DSC_0447.webp


DSC_0452.webp


DSC_0454.webp


DSC_0456.webp


DSC_0450.webp


DSC_0458.webp


So after all this work a final buff and a wipe down with Finsh Kare detail spray here we have it.

The finished Shots:

DSC_0367.webp


DSC_0410.webp


DSC_0412.webp


DSC_0433.webp


DSC_0436.webp


DSC_0467.webp


DSC_0471.webp


DSC_0474.webp


DSC_0477.webp


As you can see it was pretty over cast and then started to rain for the final pics :rolleyes:

DSC_0482.webp


But we got a few nice ones in doors:

DSC_0489.webp


DSC_0491.webp


DSC_0495.webp


DSC_0497.webp


DSC_0439.webp
 
Sorry, didn't mean to sound like a t**t! LOL.

Seen your F430 write up on DW a while ago I think.. Pics are awesome!
 
Nice thread loving that blue! Really wishing I could detail as good as that I suck so much!!!! Lol
 
MUCH better pictures; only reason I say that is that it does your work justice!

Nice to see you on the site and posting actively.
 
Yes pics do make a big difference, the blue Farrari was kind of a mates deal ;) and done on a Sat, so setting up and taking loads of fancy pics was kind of out of the question, i just poped a few on the point and click due to it being a nice motor in a nice setting. i have someone come with us just to take the pics on some jobs if its a nice car, tom our photographer is very very good another just for the sake of it, best turnaround pics he ever caught on this BMW M3:


Before :

DSC_0051.webp


DSC_0052.webp


DSC_0053.webp


DSC_0054.webp


DSC_0055.webp


DSC_0058.webp


DSC_0059.webp


DSC_0060.webp


Paint work was flat dull and lacking depth, shine and clarity, not to mention the car park dents:

DSC_0056.webp


DSC_0057.webp


The first job was to clean the car, starting with the wheels, these where cleaned front back inside and behind with Auto Smart, Smart Wheels:

DSC_0061.webp


DSC_0062.webp


Door shuts & Engine bay with G101:

DSC_0063.webp


DSC_0065.webp


DSC_0067.webp


DSC_0068.webp


DSC_0070.webp


Lower sections of the vehicle treated with AG Power Max 3, then vehicle Foamed with PM3/BH Auto Foam:

DSC_0071.webp


Fabric roof Scrubbed:

DSC_0072.webp


Panel gaps and trim gaps cleaned:

DSC_0073.webp


DSC_0074.webp


DSC_0075.webp


DSC_0076.webp


After a good rinse down, two buckets some Dodo BTM and a LW mit was used to wash the rest of the vehicle down:

DSC_0077.webp


Dried off and clayed using Dodo Grey and Megs Last Touch as Lube:

DSC_0078.webp


DSC_0079.webp


Now on to the paint correction, Rock hard paint what looked to have been washed with a brush for most of its life caused me to test my way up quite a long way as the owner wanted it as perfect as was possible (dont get it wrong you wont ever get every last mark out there will always be a couple that are too deep or in a place thats not safe to go to hard on), PTG readings where very health all over and we ended up at 3M FCP on a Wool pad, followed by menz 3.02 on a megs polishing pad and finished down with 3M UF, so off we go:

Before:

DSC_0081.webp


DSC_0082.webp


DSC_0082.webp


DSC_0083.webp


50/50 on the bonnet:

DSC_0085.webp


DSC_0087.webp


Some action shots:

DSC_0088.webp


DSC_0089.webp


DSC_0092.webp


DSC_0093.webp


Door before and after:

DSC_0090.webp


DSC_0091.webp


After all that heavy compounding the car was looking a bit messy, so de taped and out for a rinse down:

DSC_0094.webp


DSC_0095.webp


DSC_0096.webp


Dried off and back in doors, the paint work was finished down with 3M UF, before the first of 3 coats of Dodo SN applied:

DSC_0097.webp


DSC_0098.webp


Door shuts with Jeffs Prime:

DSC_0099.webp


Trim and rubber treated with Smart wax dressing:

DSC_0100.webp


DSC_0101.webp


DSC_0102.webp


DSC_0103.webp


Seals with 1z gummi:

DSC_0104.webp


Then our old mate the dent man turned up to take care of those small dings (one he could not get to but still got 4-5 out:

DSC_0106.webp


Gaps, shuts and trim lines cleaned with detailing brushes, the interior was also lightly detailed :

DSC_0105.webp


DSC_0107.webp


New Plates fitted (old ones where tatty)

DSC_0108.webp


And there we have it, 4 days 2 detailers and a M3, time well spent? we think so and so did the owner when he saw it :lol:, Enjoy the afters:

DSC_0109.webp


DSC_0110.webp


DSC_0111.webp


Remember that bonnet?:

Before:

DSC_0081.webp


After:

DSC_0112.webp


DSC_0113.webp


DSC_0114.webp


DSC_0115.webp


A happy owner and a mint motor:

DSC_0117.webp
 
Last edited:
nice cars you get to work on..love to do that for a living! Getting into my detailing now need to get a pc and have a go on my dads car hah. Lucky boy!

Great turnaround on that M3..wtf was he washing it with? a yard brush and some washing up liquid?!
 
^^ the guy just brought it and thats how it was, he picked it up and dumped it at ours for a week.

Trust me this is not as much fun as it looks as a living, there is alot more to it as a business than just doing the cars and some times even that can get you down.
 
Can I ask why you don't take the wheels off and do the arches and inside of the wheels? Just because of the rest of the effort you go through.
 
Can I ask why you don't take the wheels off and do the arches and inside of the wheels? Just because of the rest of the effort you go through.

+1

Can't really argue with you're work. its fantastic and looks like you guys really are passionate about your work.

Great thread, will definitely be using some of those images as a detailing product reference for when the sun starts to shine again.....(will it ever?!)
:)
 
great work there! cars are stunning and you totally transformed that M3!

Can I ask why you don't take the wheels off and do the arches and inside of the wheels? Just because of the rest of the effort you go through.

It's so the detailer is not liable for any damage caused in the event of an accident caused by the the misfitting/tampering of wheels. Or so I've been told...
 
Back
Top