
BMW e60 525d M-Sport – Carbon Black. Major Paint Correction Detail.
Car has had four wheel refurbs (of which were a decent finish for once) and a resprayed rear bumper to the owners’ knowledge. The car had been sat for a few months whilst the owner was out of the Country, on his return, it was booked in for a three day Major to try restore some life to the exterior paintwork.
Vehicle inspection.
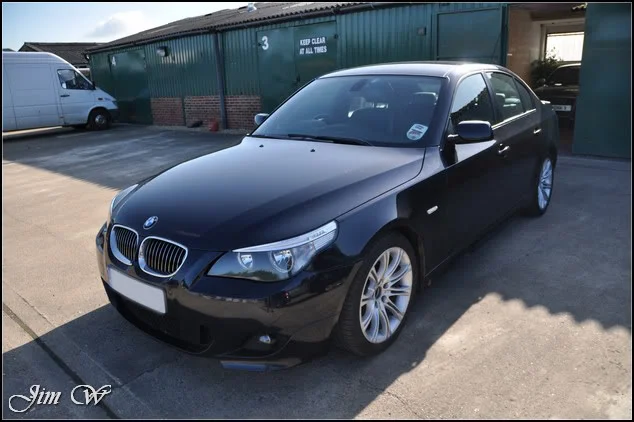
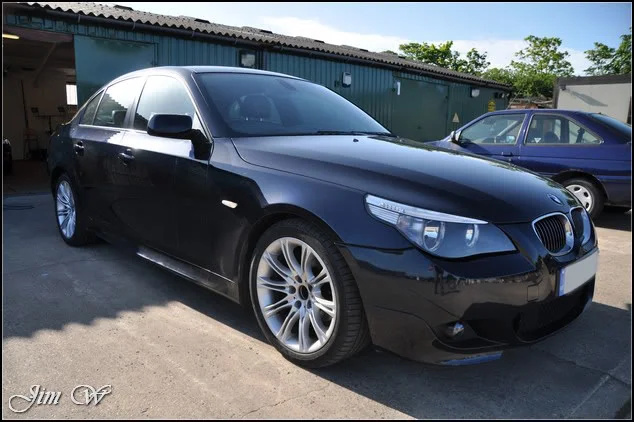
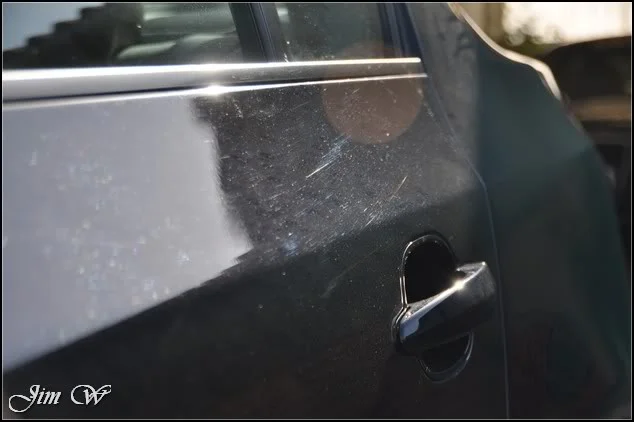
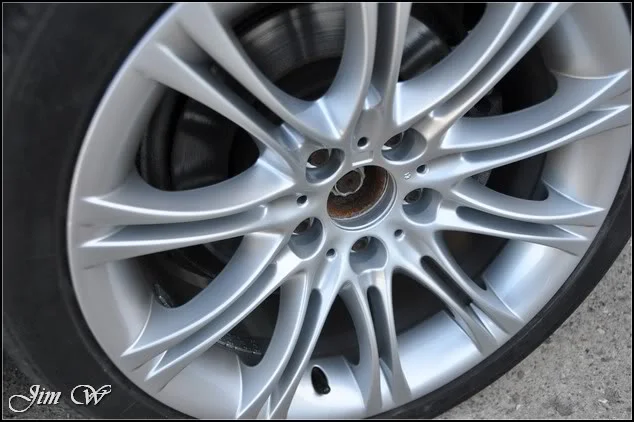
Decent wheel refurbs (albeit missing the centre-caps (which the owner is now sourcing a new set of))
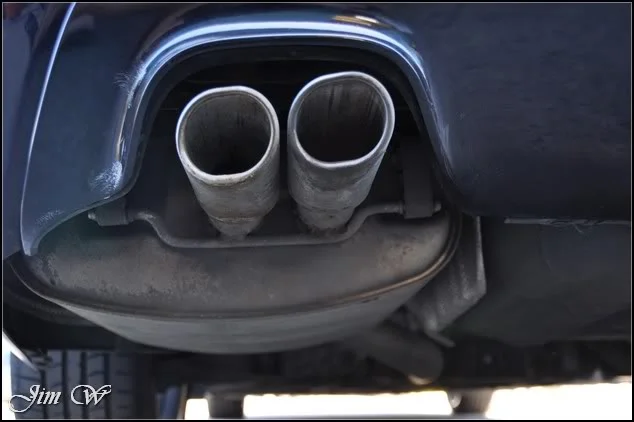
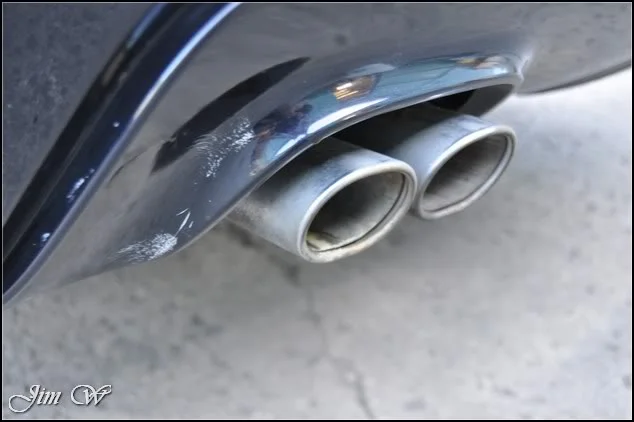
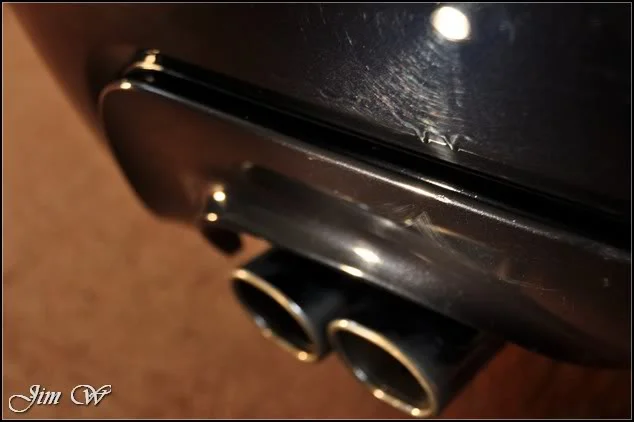
Exhaust (with added polish residues from previous sessions)
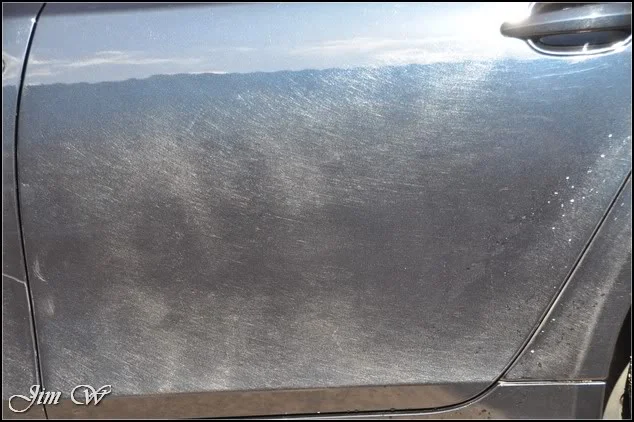
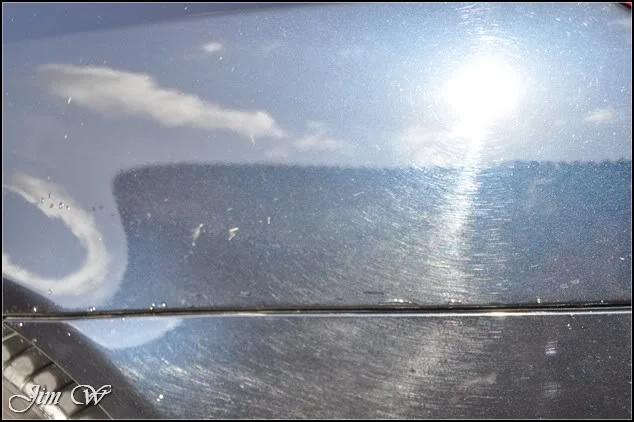
The N/S of the vehicle in the sun. eek!
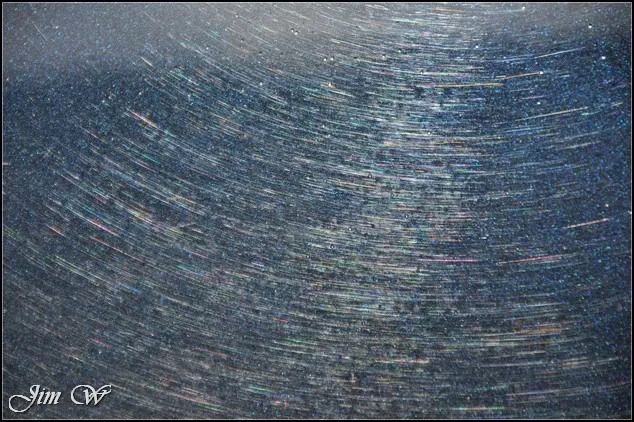
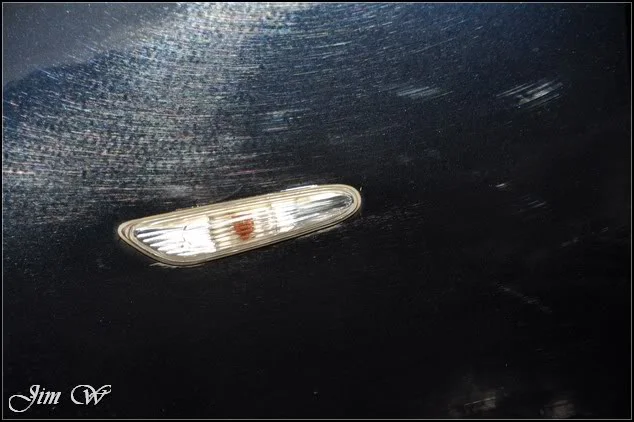
Video clip: http://youtu.be/zdPScTBfYP4?hd=1
Probably some of the worst swirling I have seen! At this stage, nothing looks too ‘serious’ (IE, deep random scratches) but the swirls were incredible; some impressive 50/50’s to follow no doubt in the polishing stages!
With the wheels and arches dealt with, the lower sills on the car were soaked with AutoSmart’s Haszsafe and followed with a foaming session with Bilt Hamber AutoFoam. In the dwell time (Autofoam quite a ‘wet’ foam so it doesn’t hang around for long), exterior trims, badges, window jams and grilles were cleansed with a soft brush and AutoSmart G101.
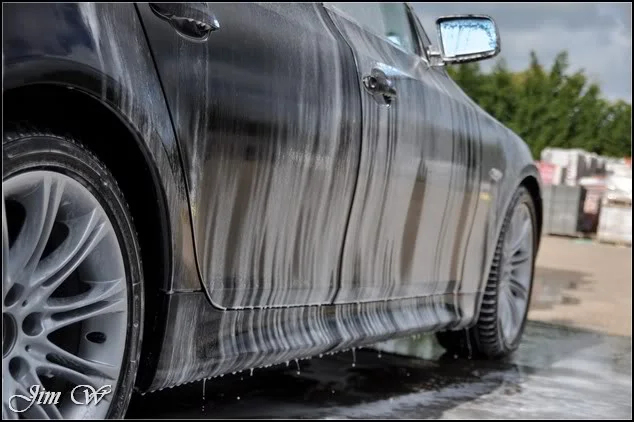
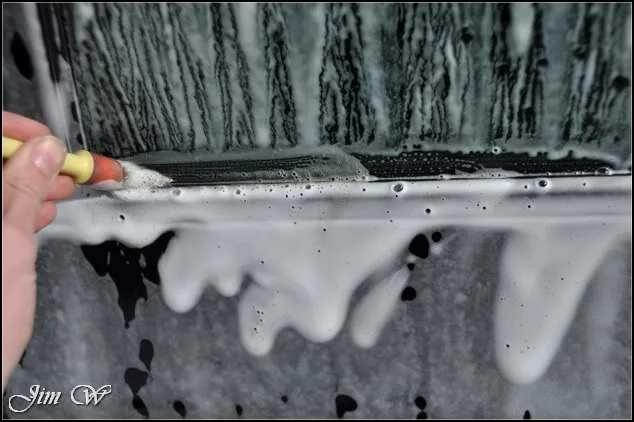
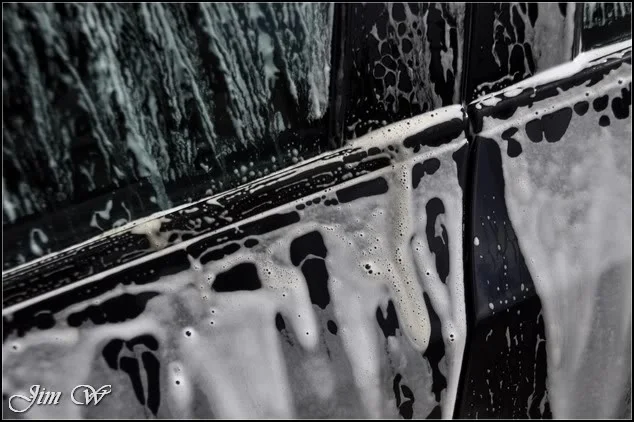
Washed with the usual WhiteDetails’ approach – brought inside for decontamination stage.
AutoSmart Tardis used to remove tar deposits and remaining bug splats.
Elite Car Care’s mild clay and AMDetails’ mild clay bar (pick a mix) were used alongside ONR (optimum no rinse) as lube.
Quite a lot of contaminants present:
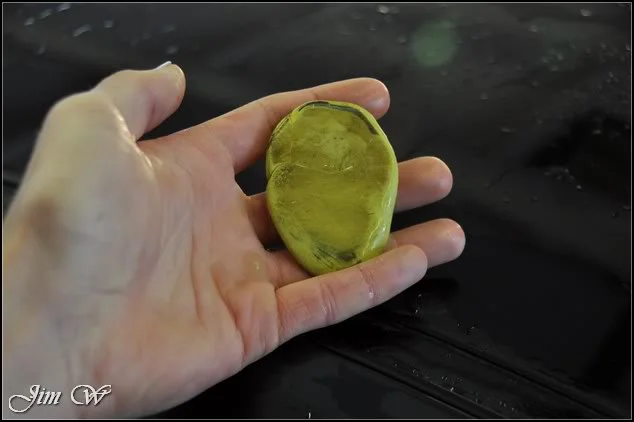
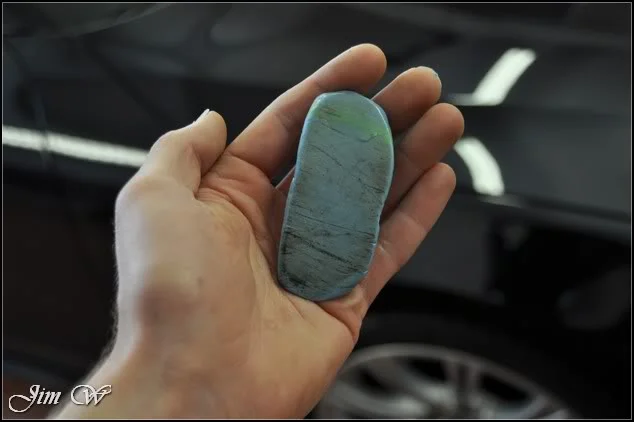
Popped back outside for a good rinse and time to inspect the paint.
Accessible exterior trim removed to allow greater correction in the tight/fiddly areas:
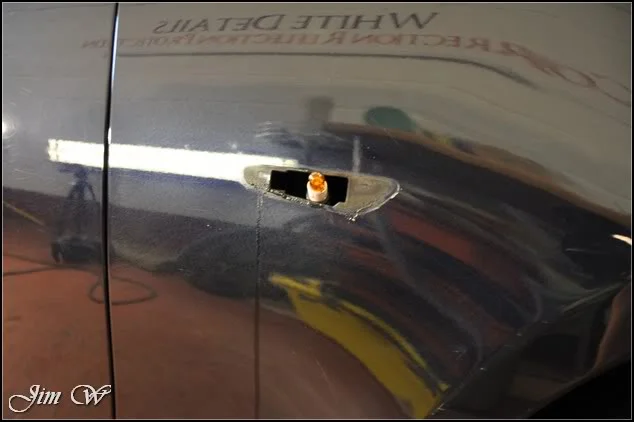
Defects down the N/S.
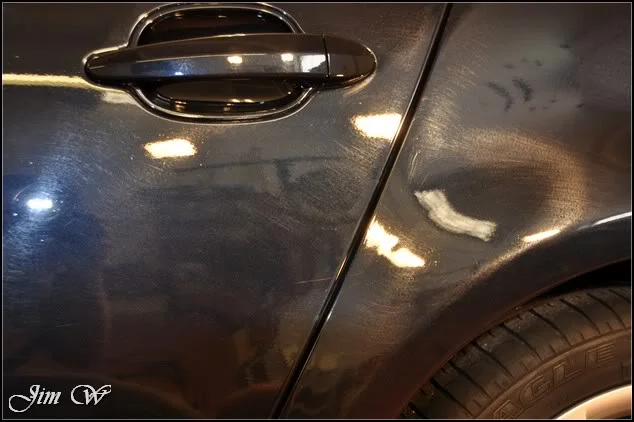
I spotted them earlier on whilst the car was in the sun, but, the complete N/S had been sprayed and literally hundreds of tiny ‘fish-eyes’ were left in the paint due to an awful respray.
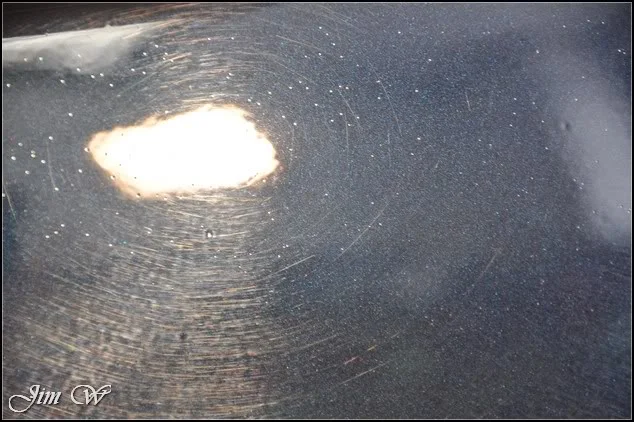
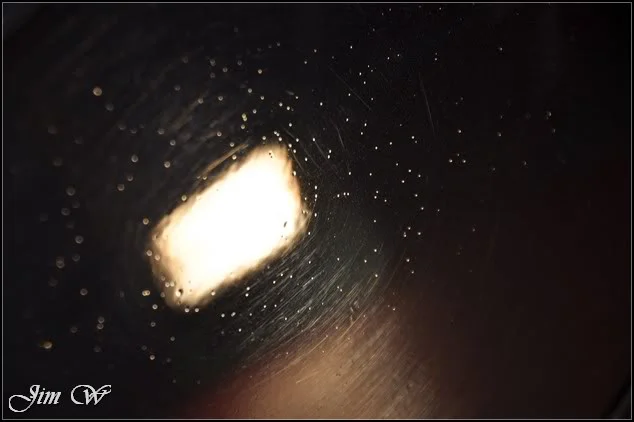
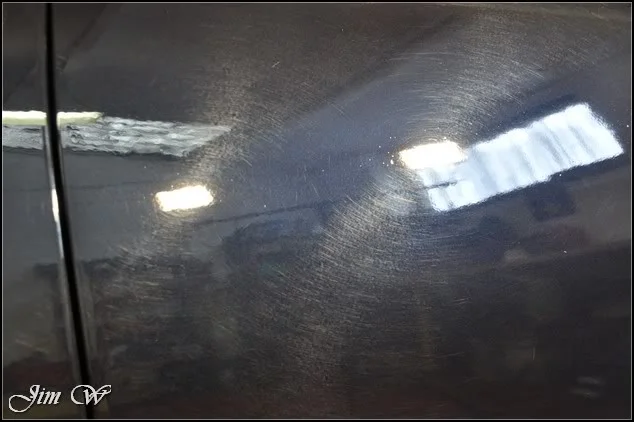
No polishing will fix this I’m afraid!
Both sides suffering from nasty water etchings from dripping down off of the wing mirror (a common issue on e60s?)
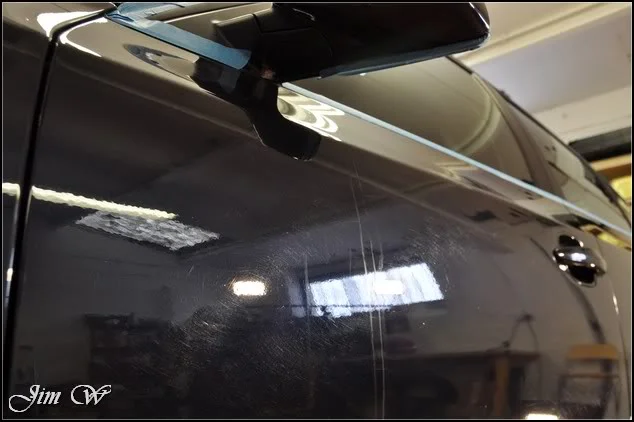
More defects:
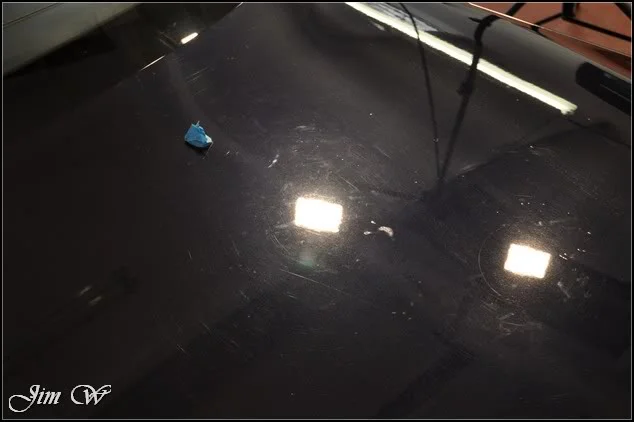
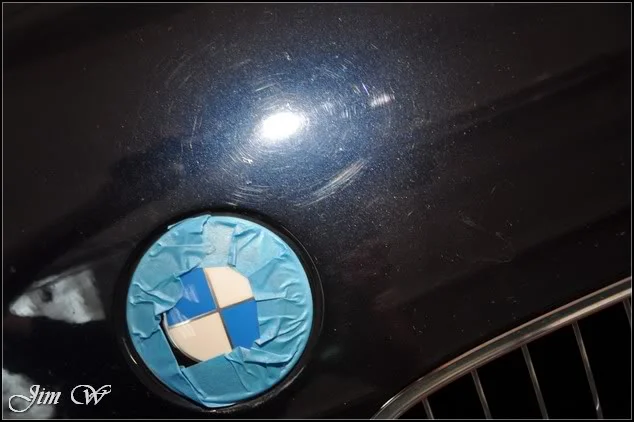
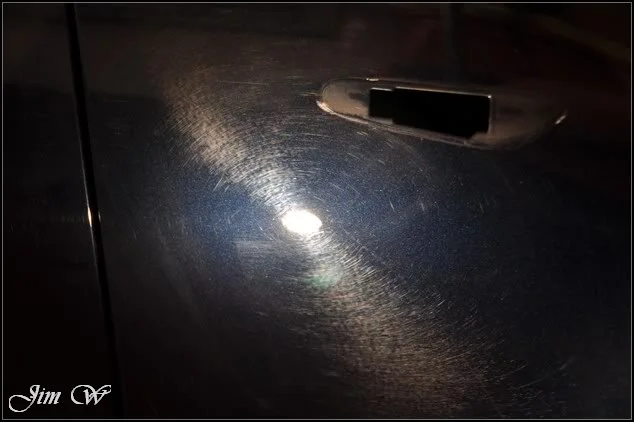
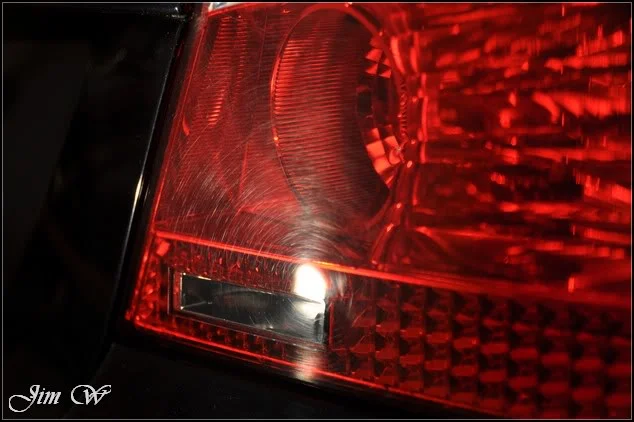
Buffertrails (poor machine polishing) spotted on the O/S of the vehicle:
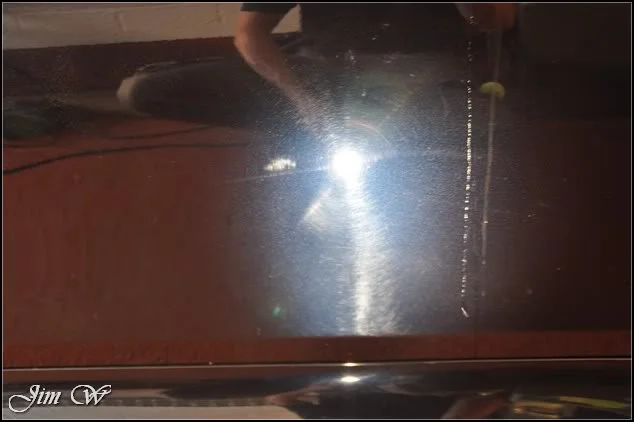
And the finish on the rear bumper from previous respray:
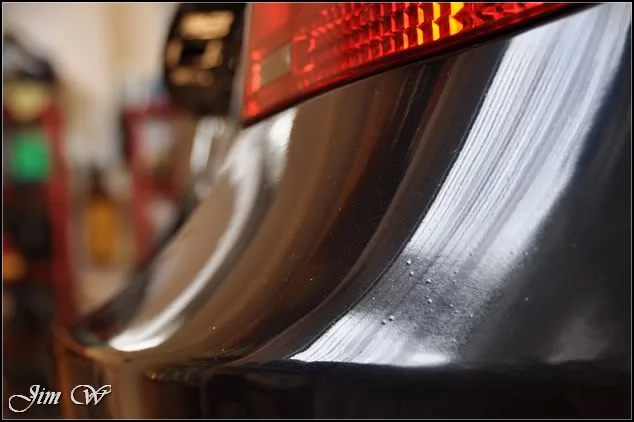
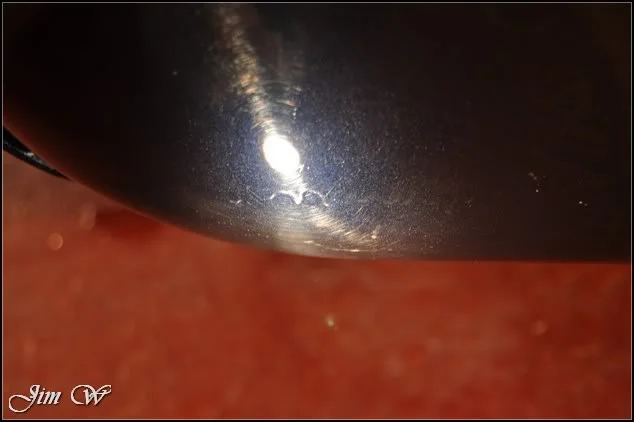
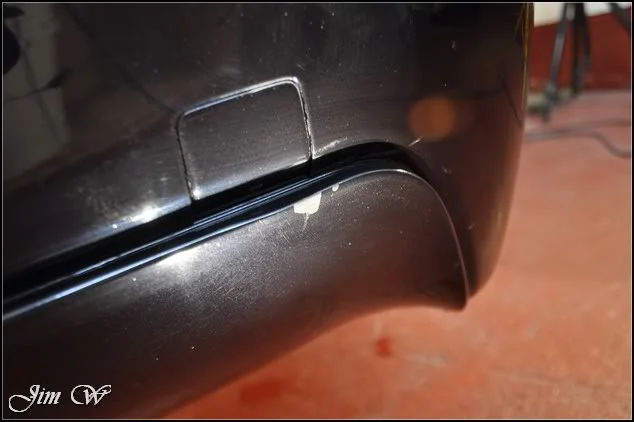
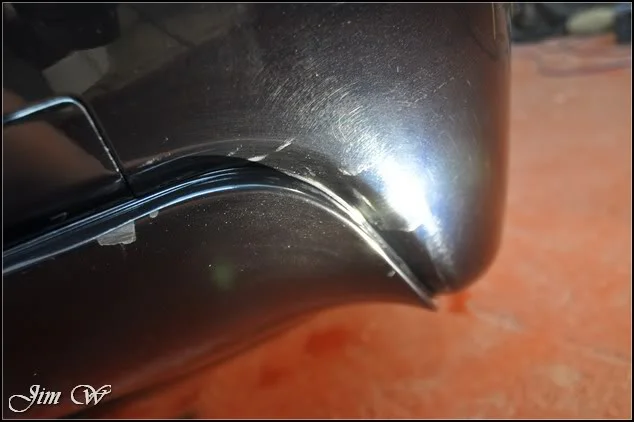
Plenty to get stuck into then! (No doubt with some troubles along the way due to the resprayed areas)
Starting and testing my first polishing set on the bonnet. Original paint, but, average paint thickness of mid 90’s which wasn’t ideal. Some areas indicating high 70 and low 80 microns – compromise going to have to be made here.
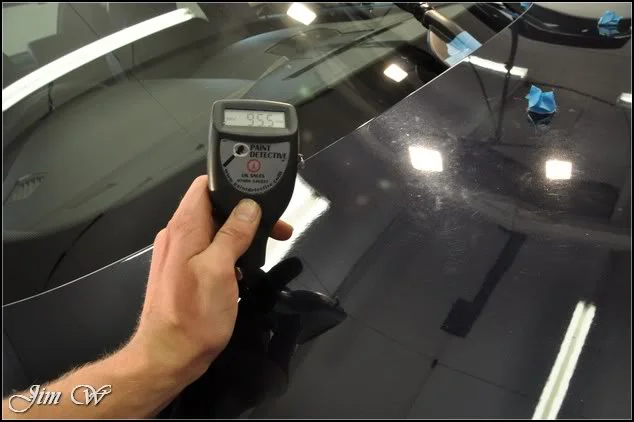
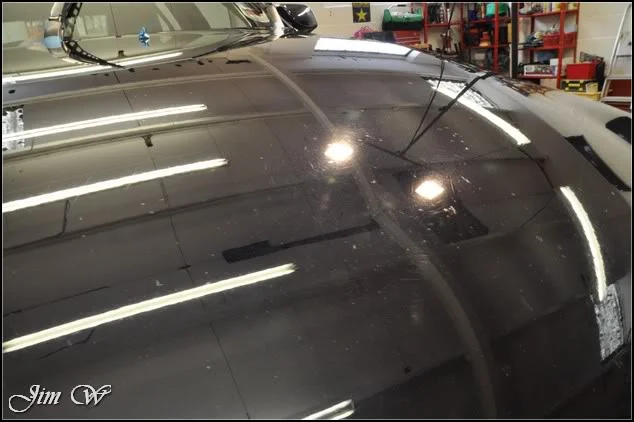
Most of the correctional work on the original BMW paint was dealt with with a 3M cutting pad and a mix of Menzerna 85RD 3.02, Meguiars 105 and 3M Fast Cut+.
Before/After:
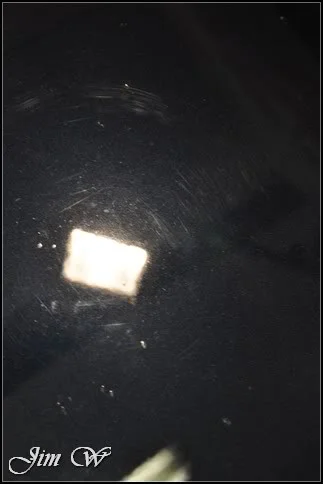
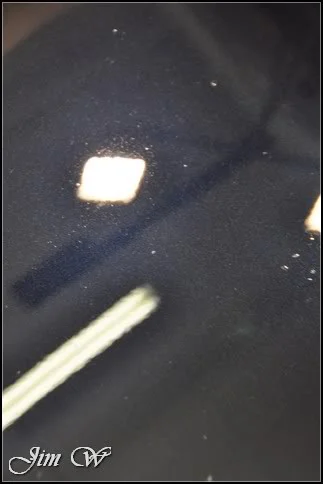
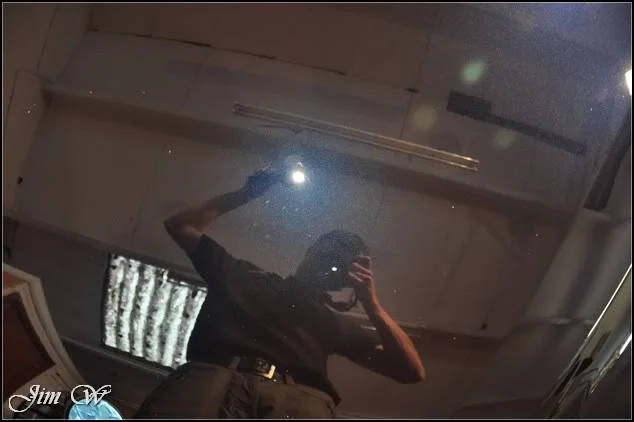
As you can see, bonnet also suffering quite badly from heavy stone chipping!
>80% correction made on the bonnet; compromise had to be made due to dangerously thin thickness readings. A single correctional hit followed by further refinement to remove compounding haze with a 3M polishing pad and mix of Extra Fine and Ultra Fina.
Up and on to the roof, much healthier readings to play with:
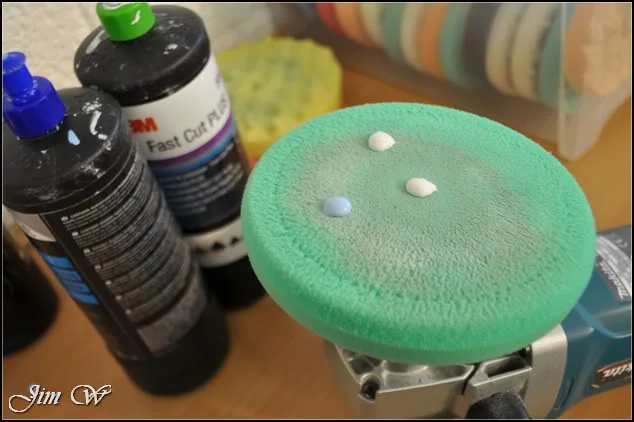
3M FastCut+ coupled with a blob of Ultrafina to extend the work time.
Before/After cutting stage.
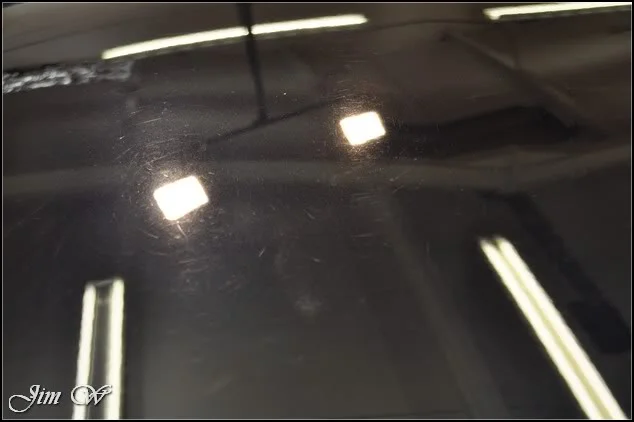
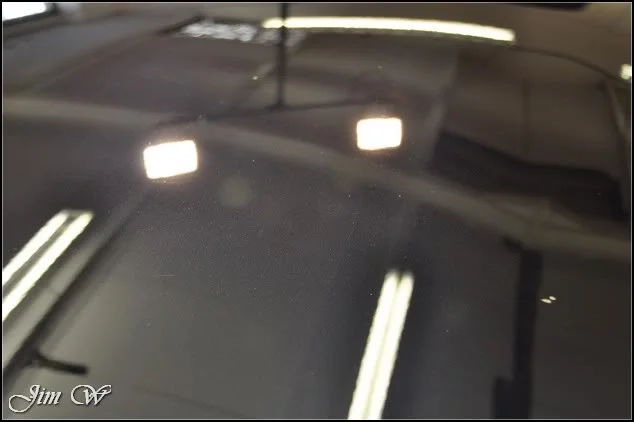
Multiple passes were made to chase desired results as this time, paint thickness allowed!
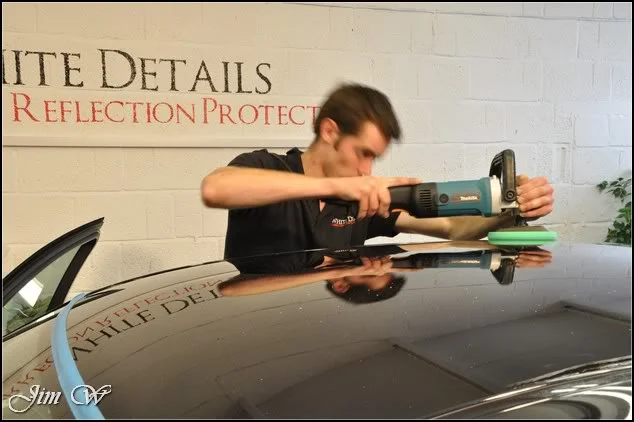
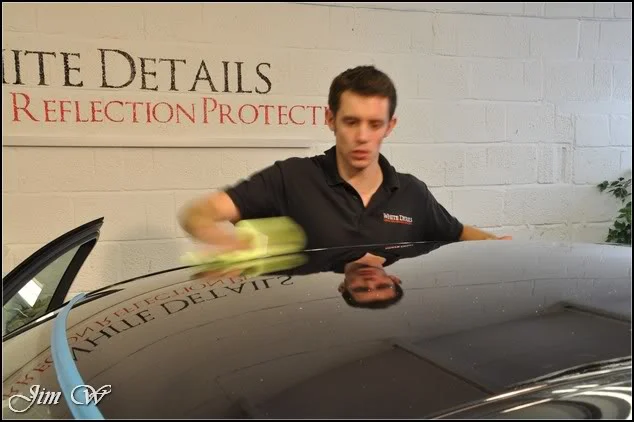
Finally refining down with the same 3M yellow and Extrafine + Ultrafine combo.
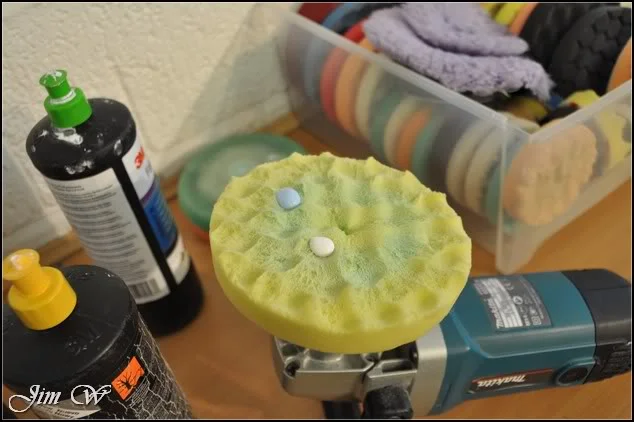
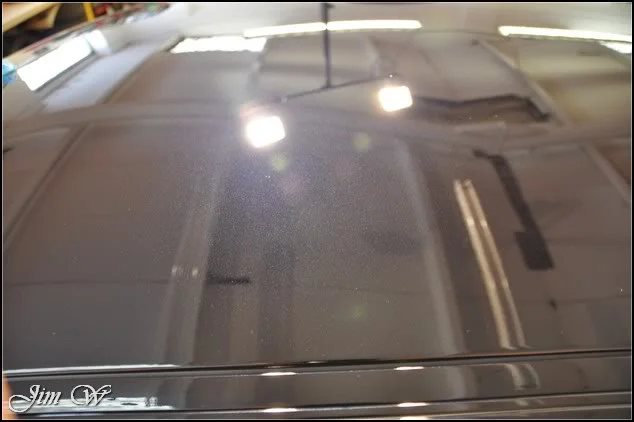
The roofline between the C / A pillar worked next. 3M’s green ‘cut’ spot pad used to shift the defects:
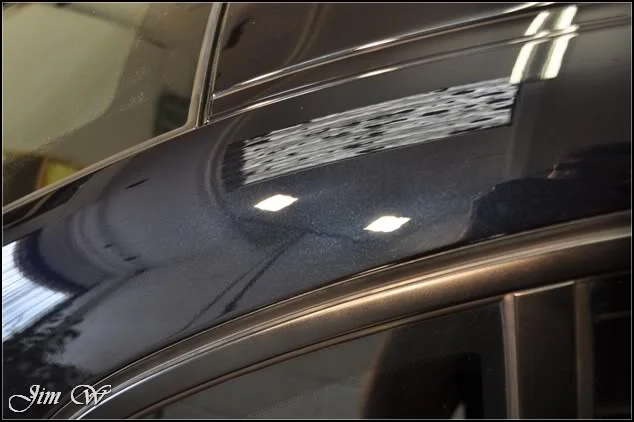
But as you can see, not the sharpest of finish due to aggressiveness of my compounding approach.
Further refined with 3M’s yellow (polishing) spot pad and Menz 203s.
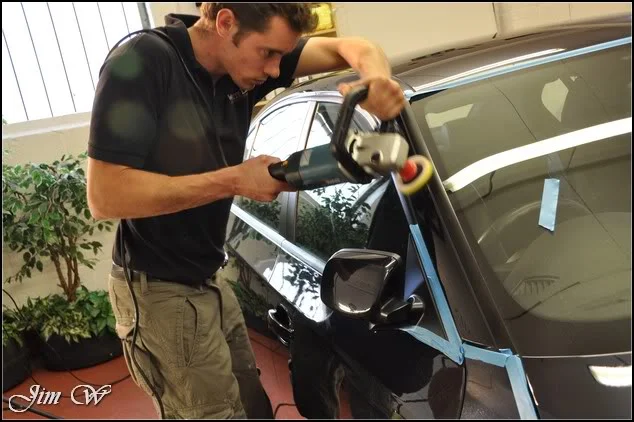
O/S/F wing. Original, but again, low thickness readings.
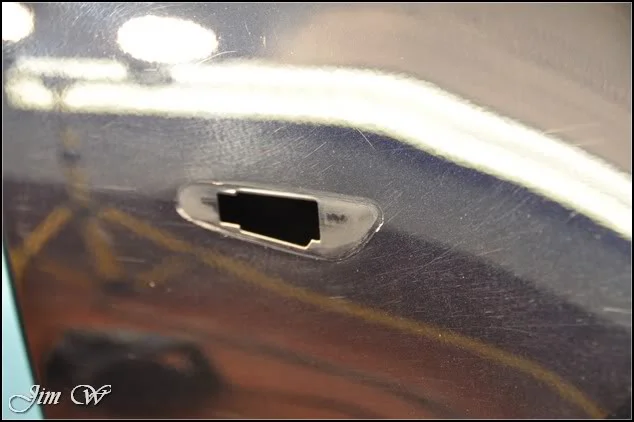
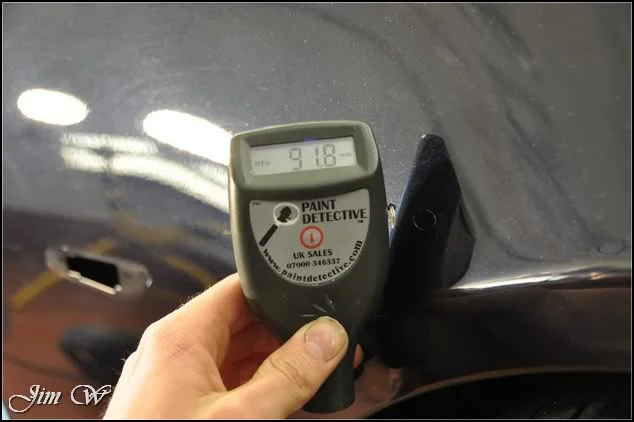
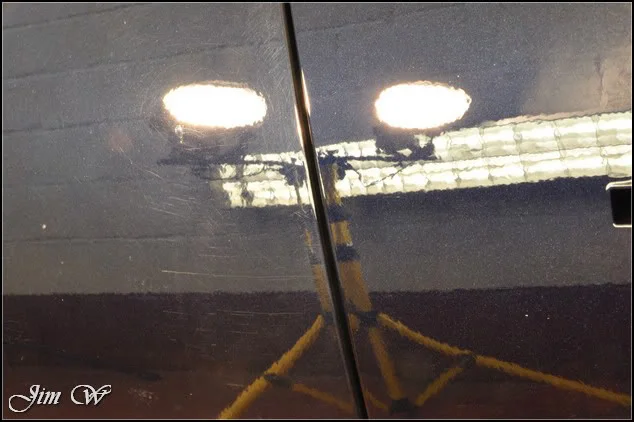
50/50 between the untouched O/S/F door and the wing.
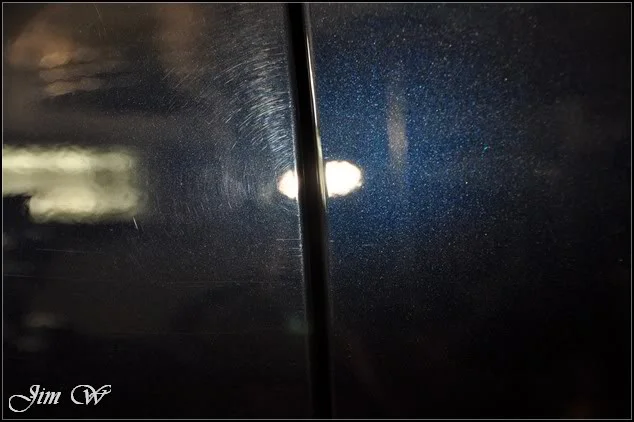
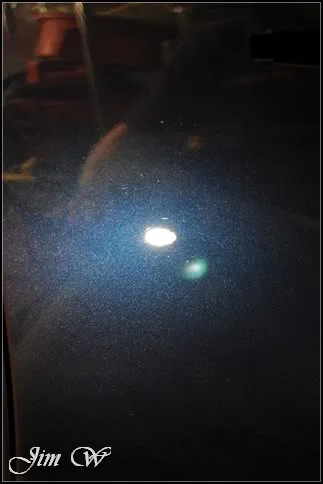
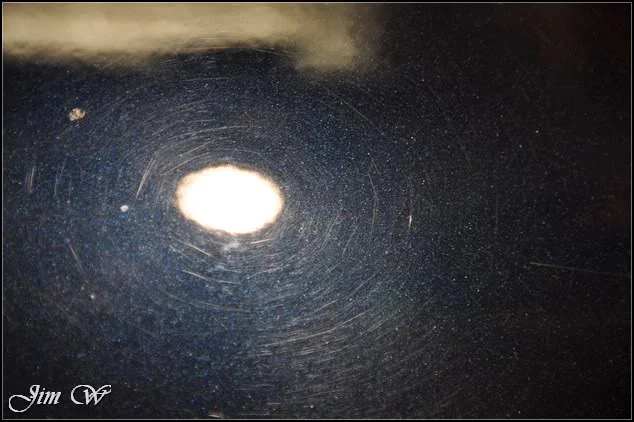
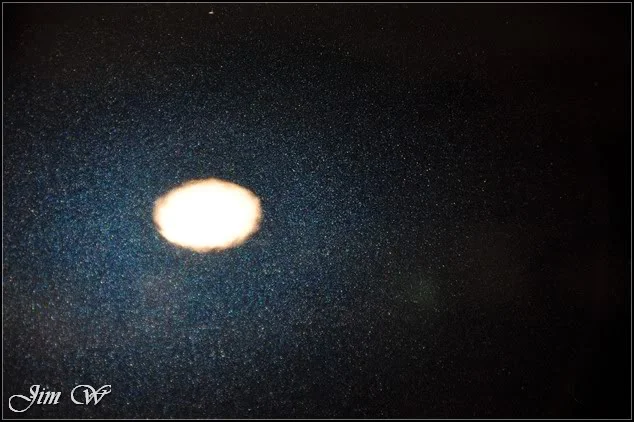
Before/After: (more buffertrails spotted)
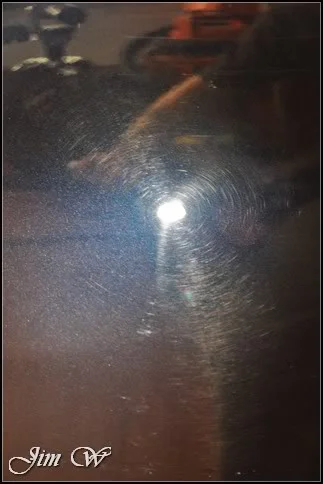
Working back, I tackle the smaller intricate ‘spot pad’ areas before the larger ‘open’ areas. Areas like behind the door handle here:
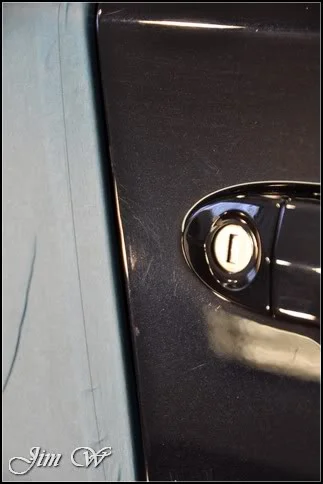
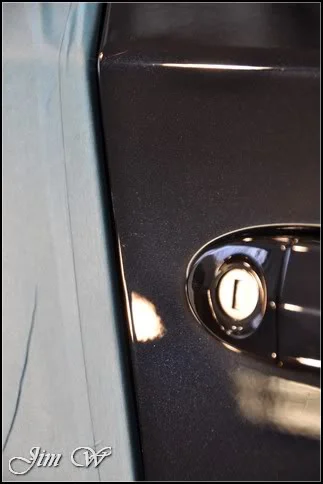
Rest of the door hit hard and then refined to a jewelled sharp finish.
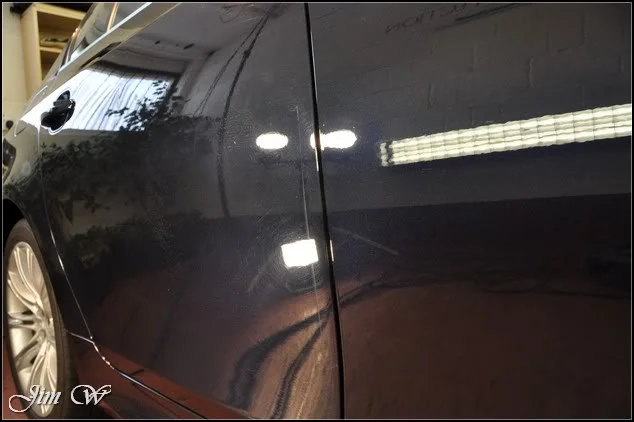
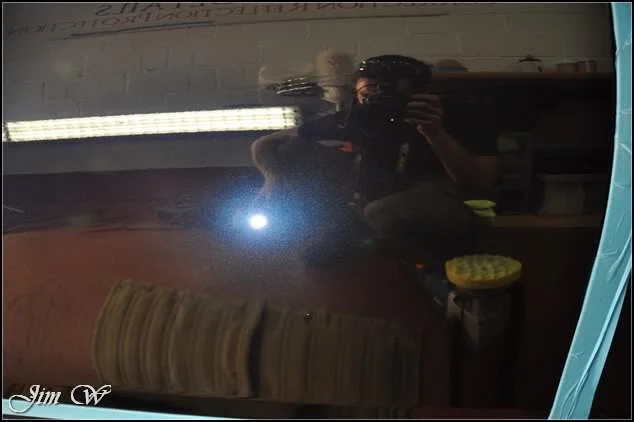
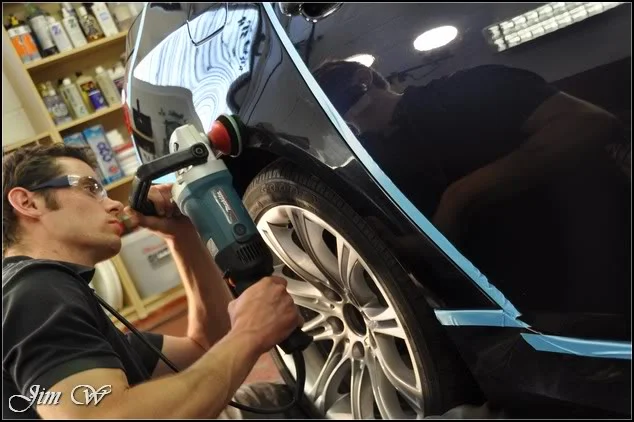
Much like the Mugello Blue RS4 I ticked off earlier this week, the arches on the e60 required an individual polishing set before moving on to the rest of the surrounding wing.
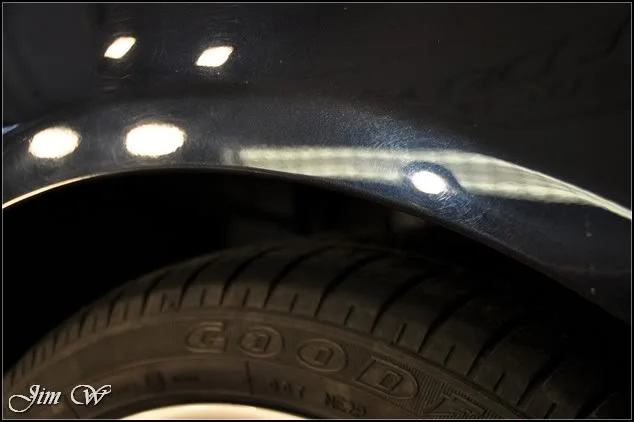
Small spot pad work.
Pre-refinement:
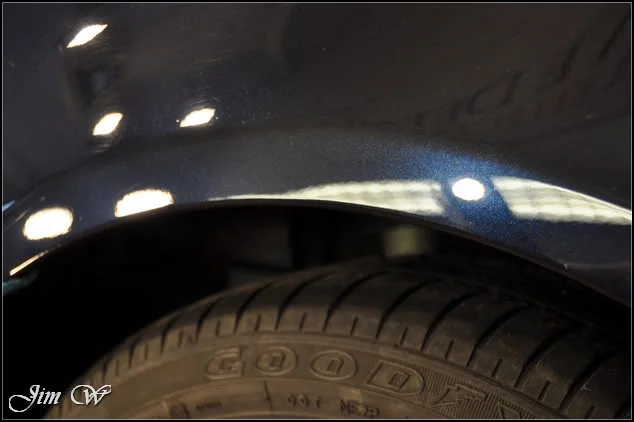
With the rest of the wing complete, the difference between the bumper and the wing was night and day!
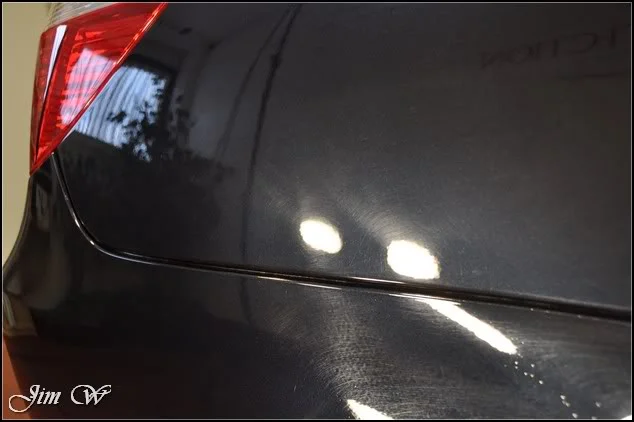
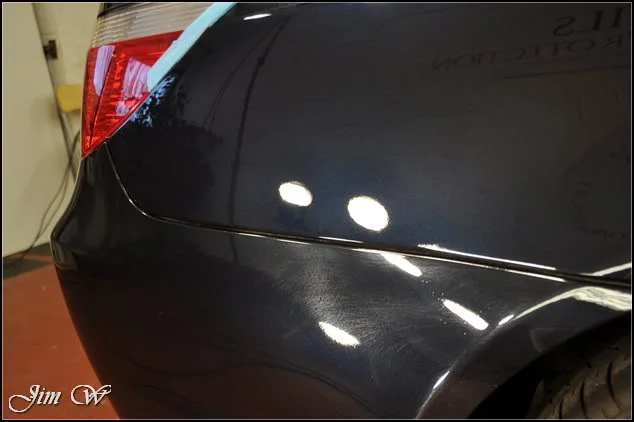
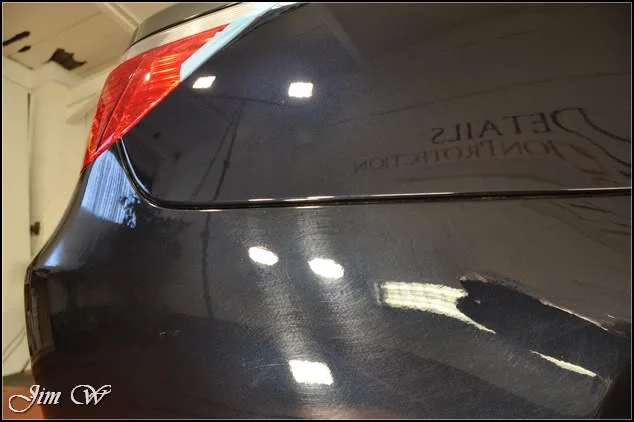
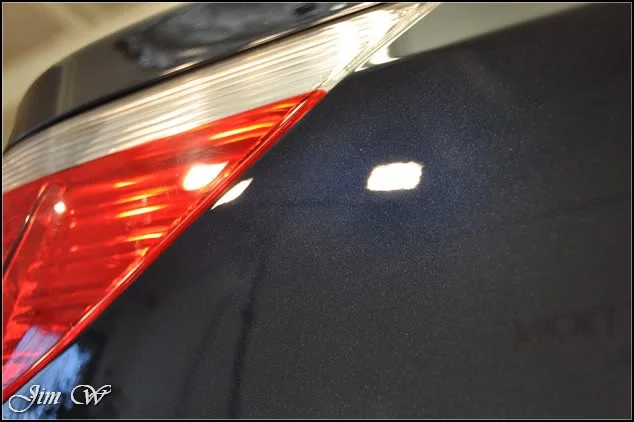
The bootlid (which was severely hammered) set up and ready for a 50/50. Paint thickness readings well into their 150’s which allowed many correctional passes to chase desired results.
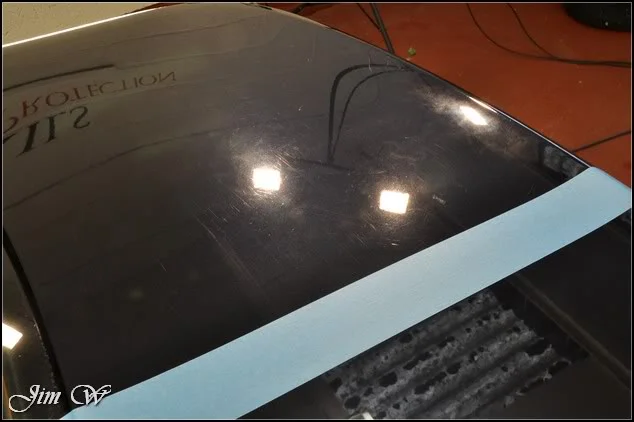
Under strip lighting:
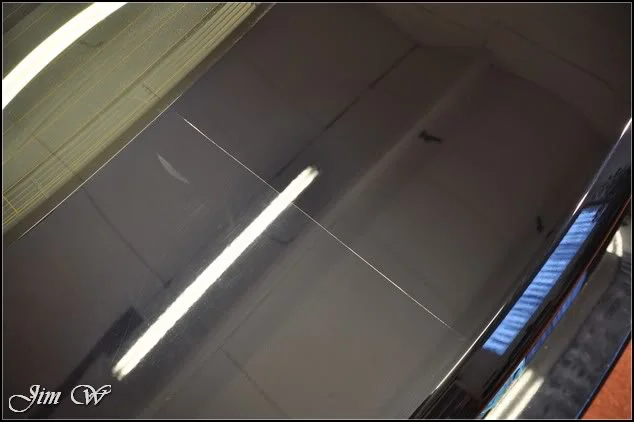
Halogen:
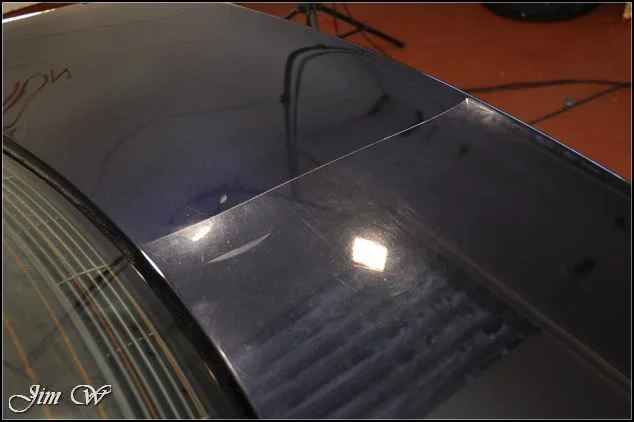
Forced LED with the Brinkmann:
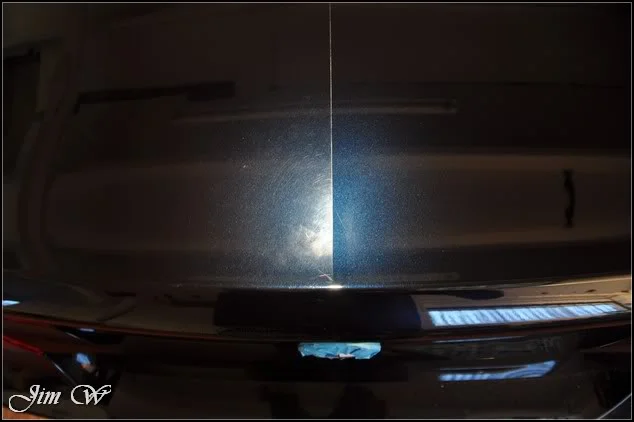
What’s going on here?
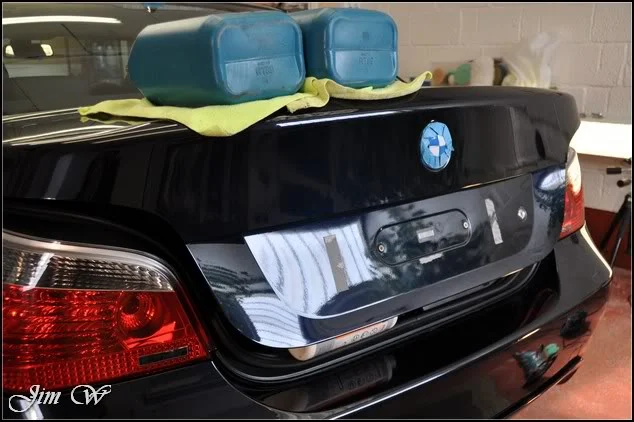
As the bootlid was kind of sprung loaded, accessing the lower-lip whilst closed was near on impossible (without running the risk of catching the upper-facing of the bumper below)
So, having only corrected half of the flat facing above, I countered the weight of the springs and continued with my polishing set.
Flat, hazed and scratched:
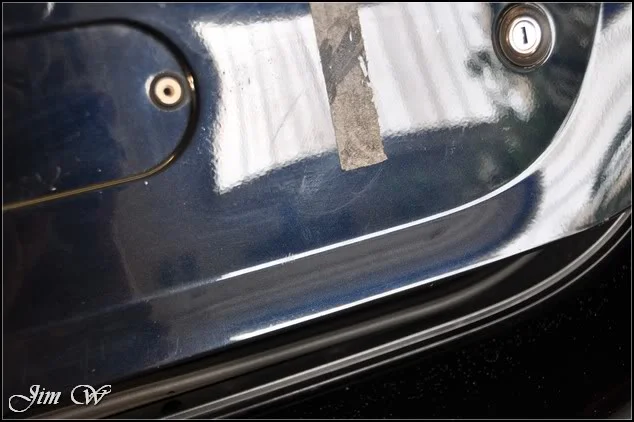
Easy now to run a spot pad across the lower lip and surrounding areas:
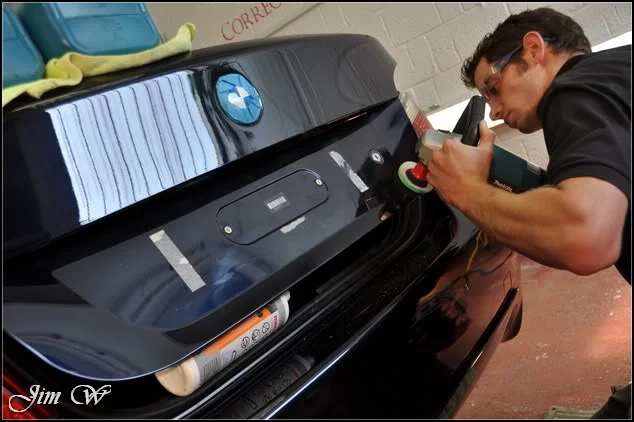
Before/After:
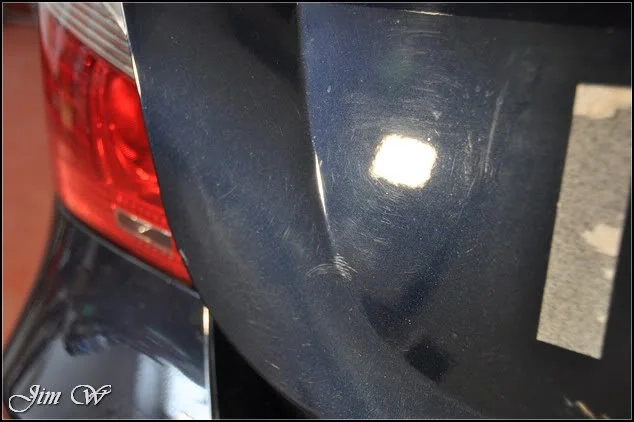
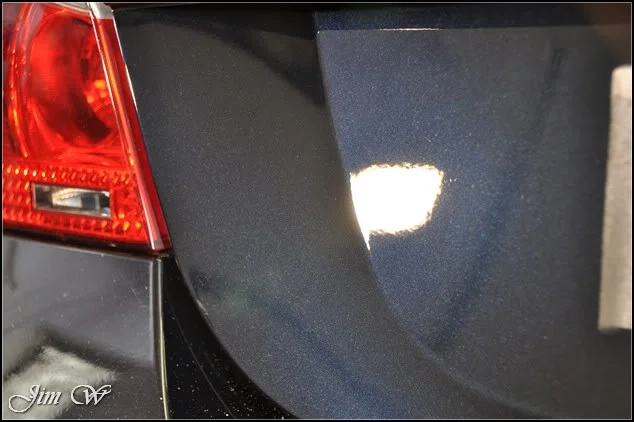
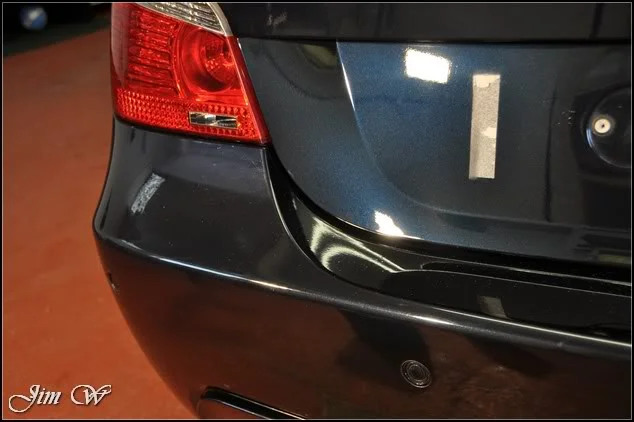
And yep, happy with that!
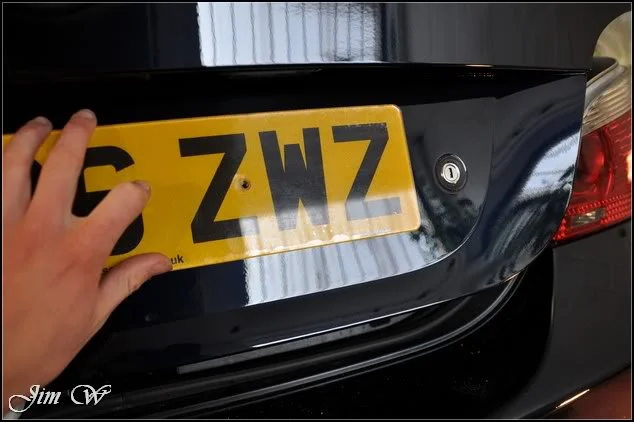
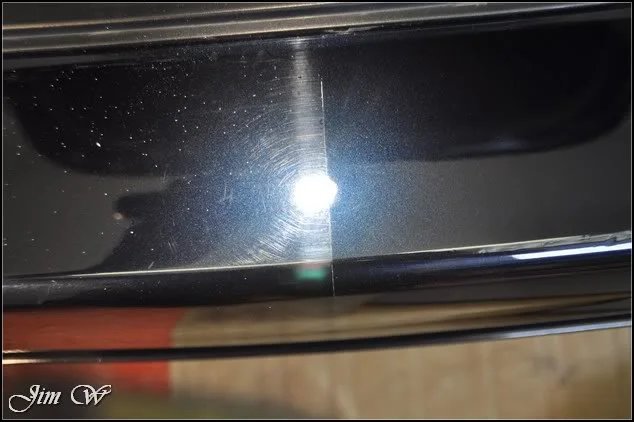
A little burn through spotted on the N/S corner of the rear bumper.
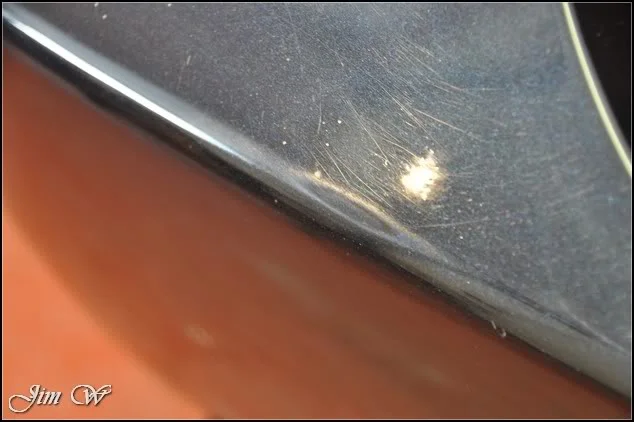
Starting with the upwards facing lip:
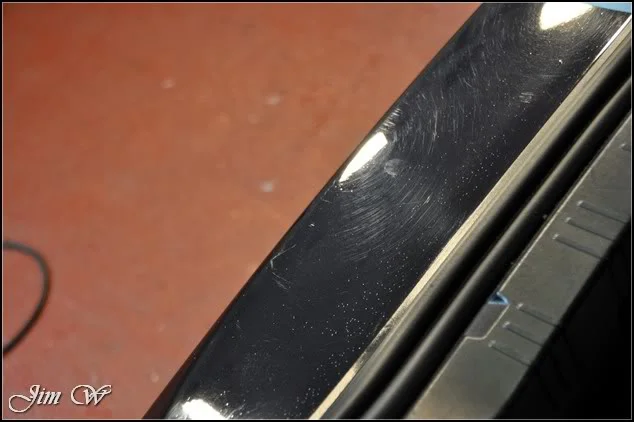
50/50s:
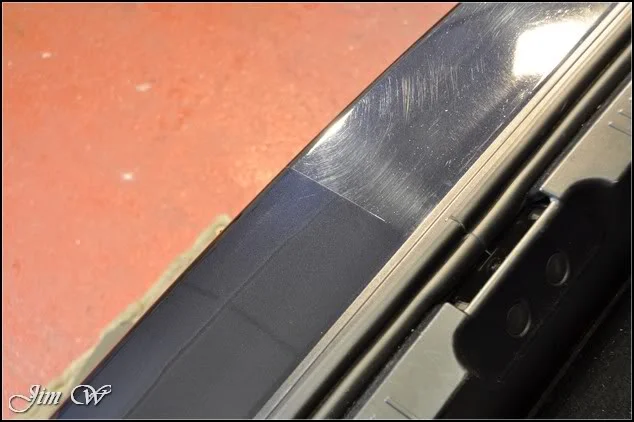
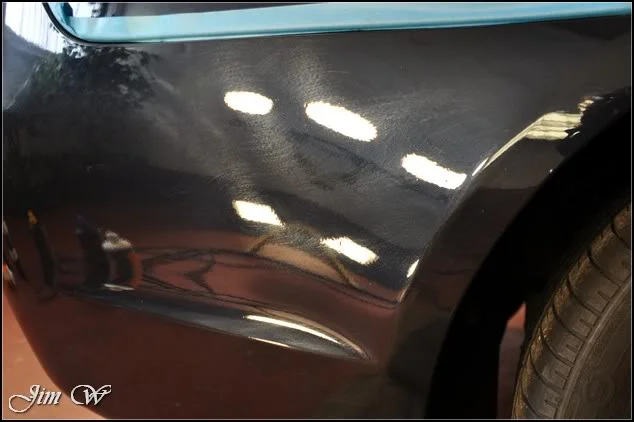
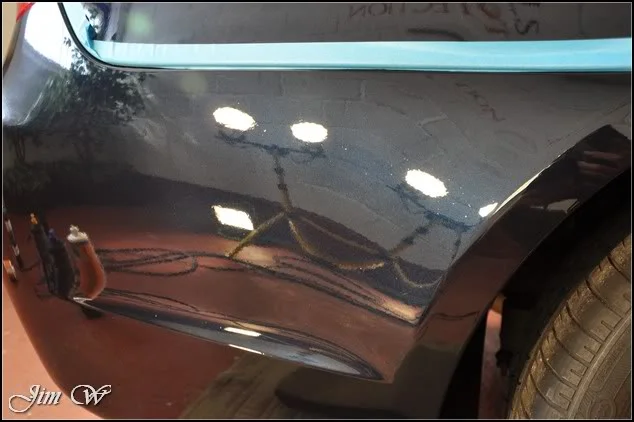
And the sides, before/after:
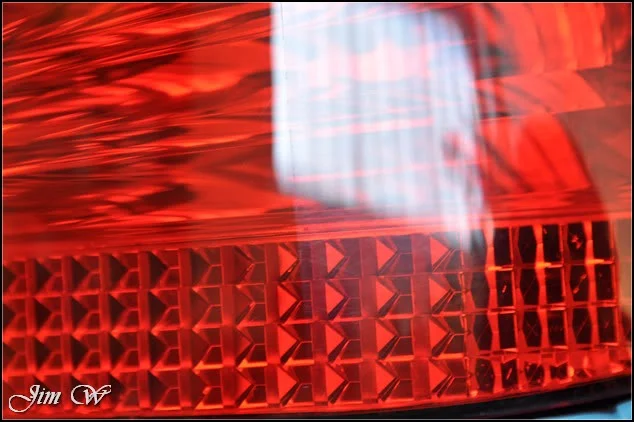
Usually, I struggle to capture any sort of correction, before/after photos on the rear clusters. Tried a 50/50 instead…
You can just make out the divide:
Rear end, inc. bumpers, bootlid and lights complete.
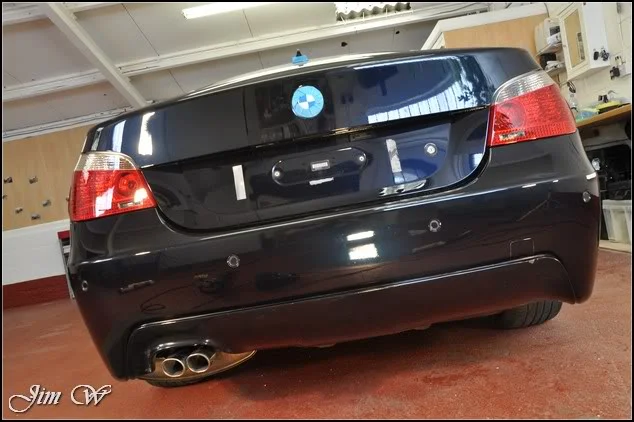
In spinning the car round, it was time to tackle the resprayed N/S and finish the roof & bootlid 50/50s.
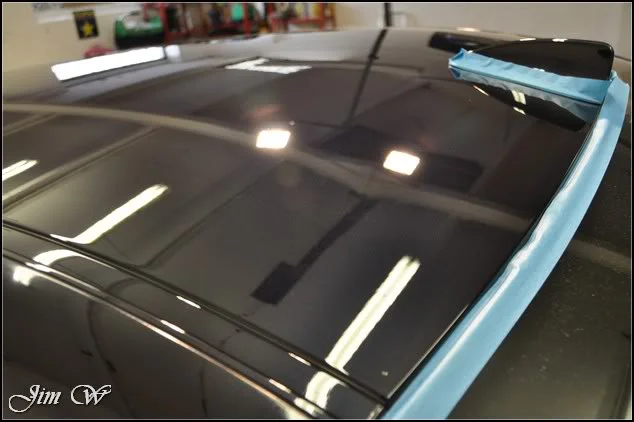
The roof came up very well indeed!
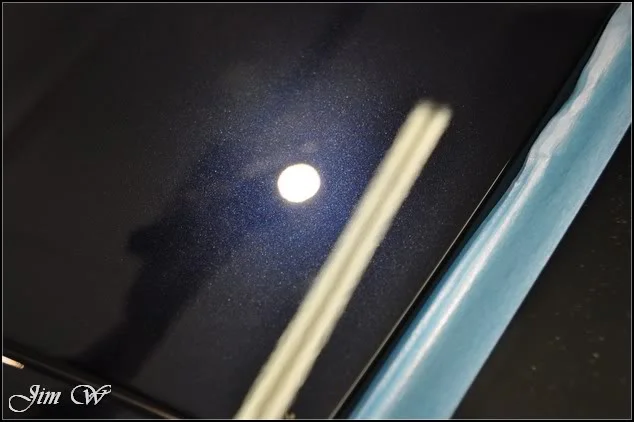
Boot lid wasn’t bad either:
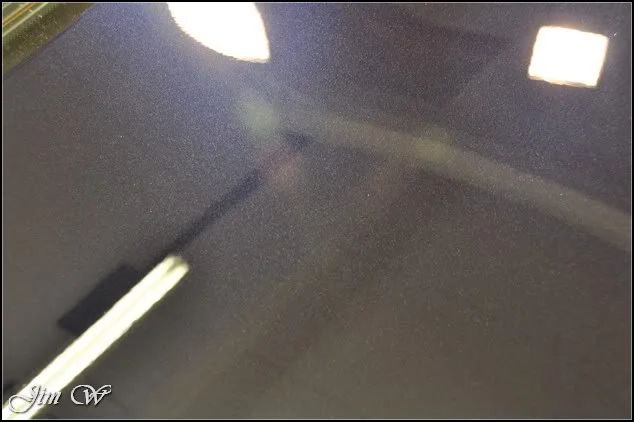
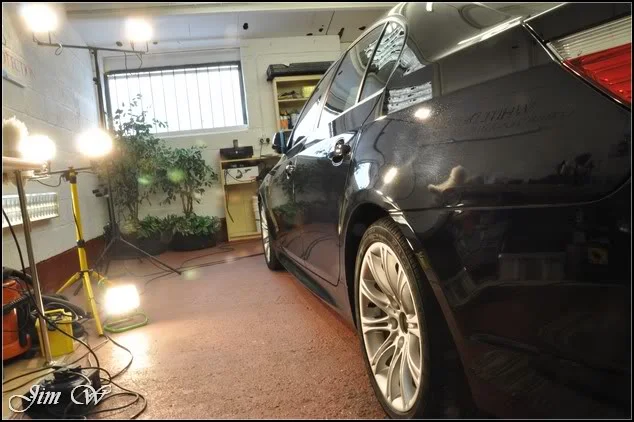
No wonder it gets hot in here, check out the lighting! (a must have though if you’re to be completing a thorough job)
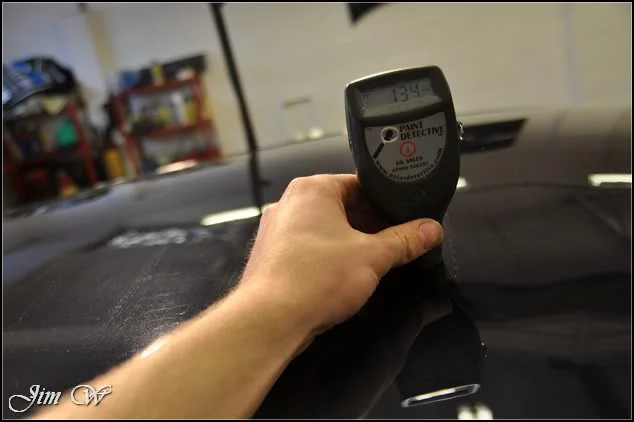
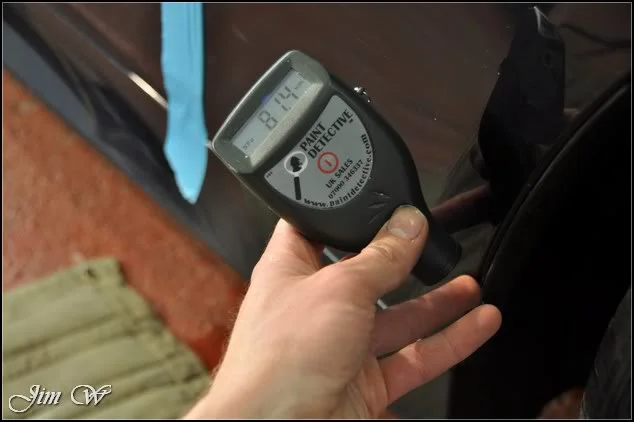
As if the visual signs weren’t enough, the PTG paint detective gadgie showing signs of resprayed areas.
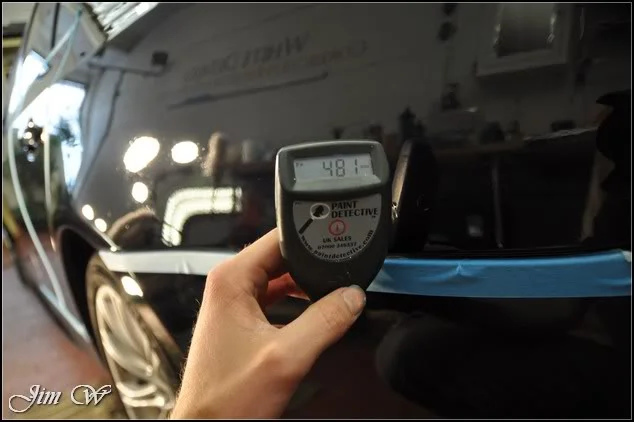
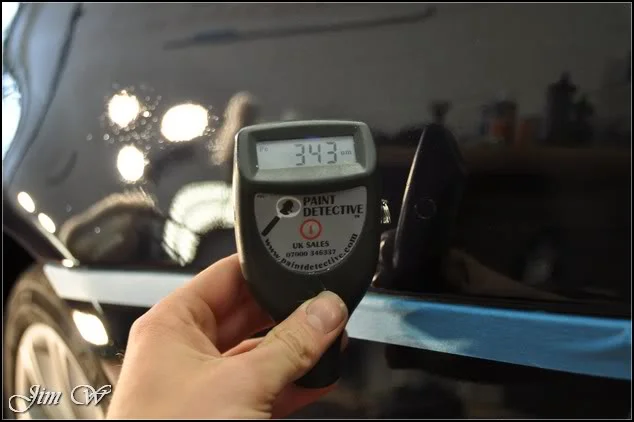
This side, the resprayed side, the paint was soft. A 3M yellow polishing pad with Menz 85RD 3.02 to correct and black 3M finishing pad with Ultrafina (3M blue top) to refine.
50/50s
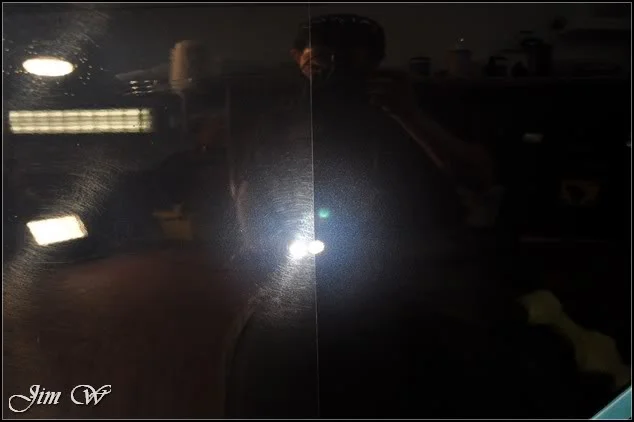
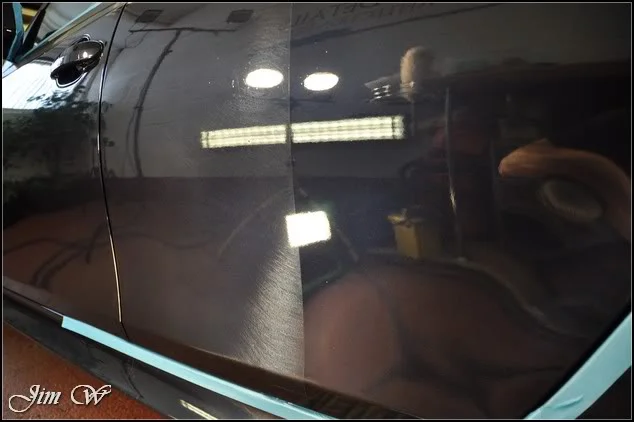
Even without the forced lighting, the difference is quite something!
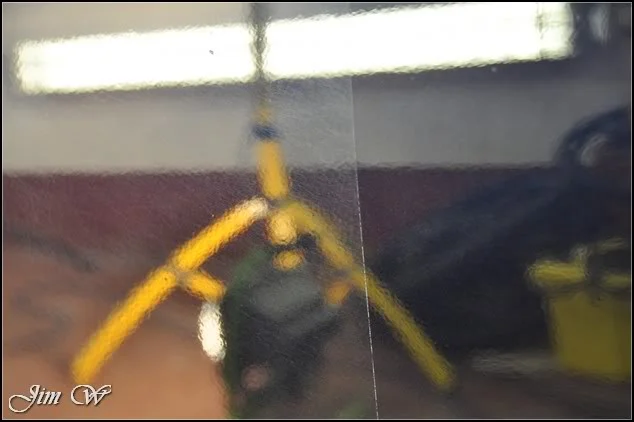
More of the water etchings from the wing mirror housing.
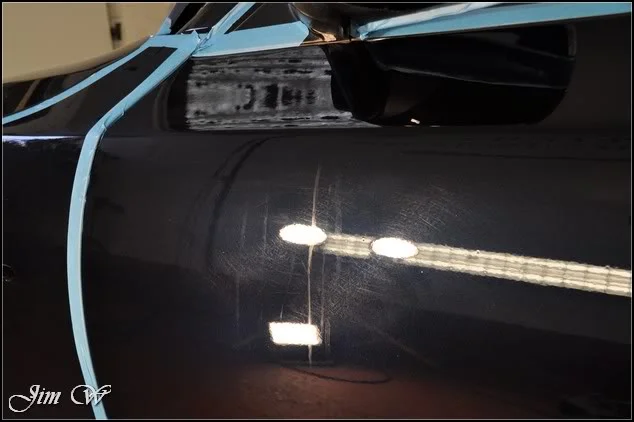
50/50 between N/S/F wing and the corrected door:
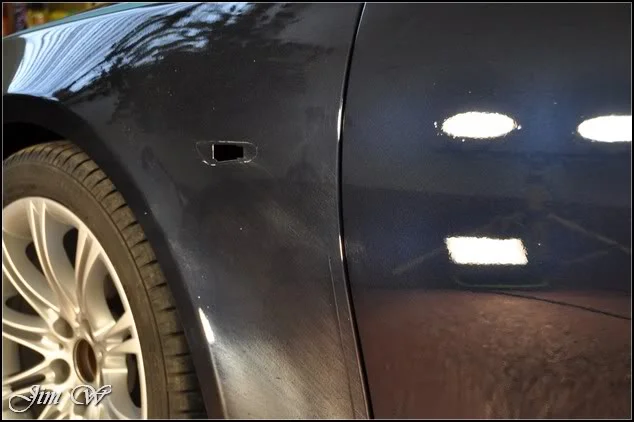
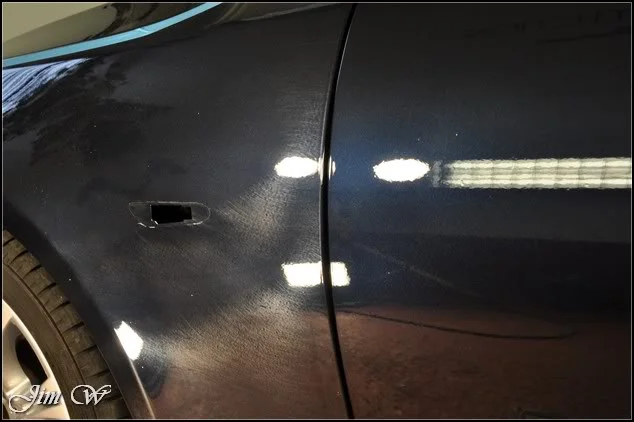
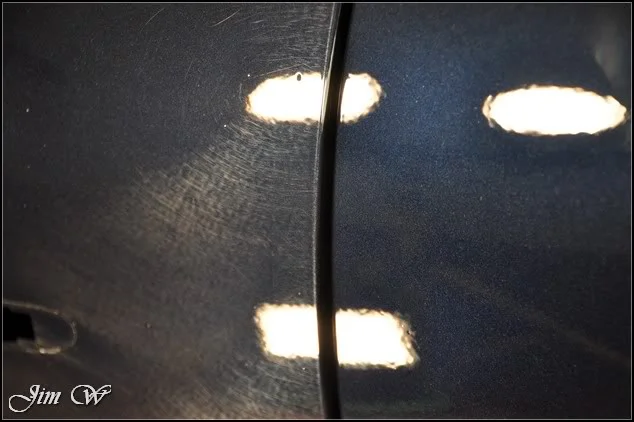
Video 50/50: http://youtu.be/YM5fPkFvfTQ?hd=1
Front bumper (resprayed signs also)
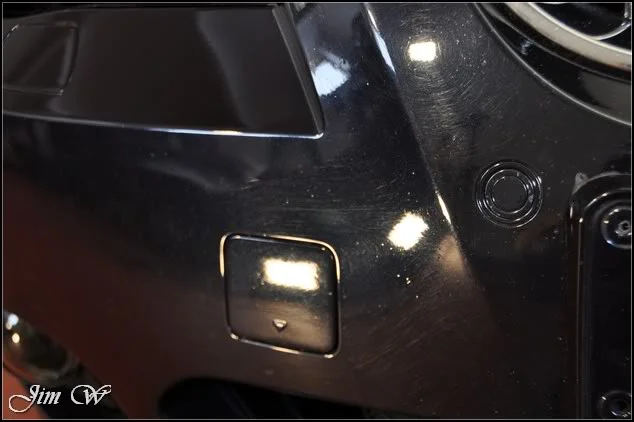
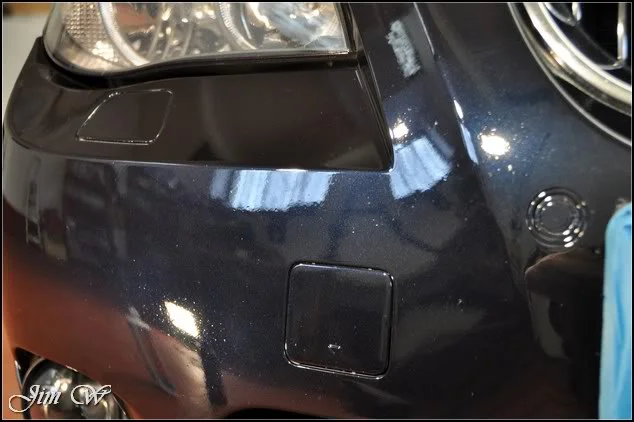
And then last but not least, the side skirts.
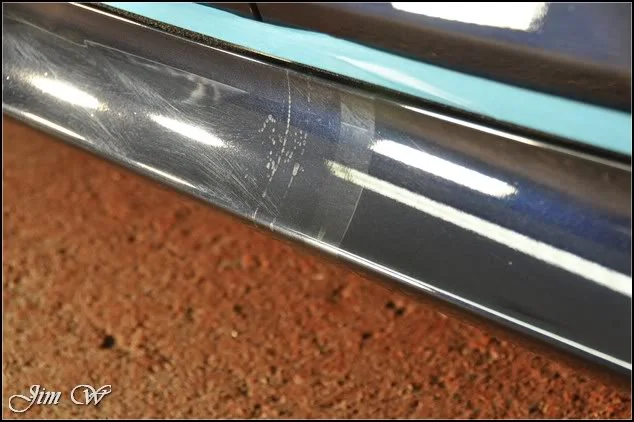
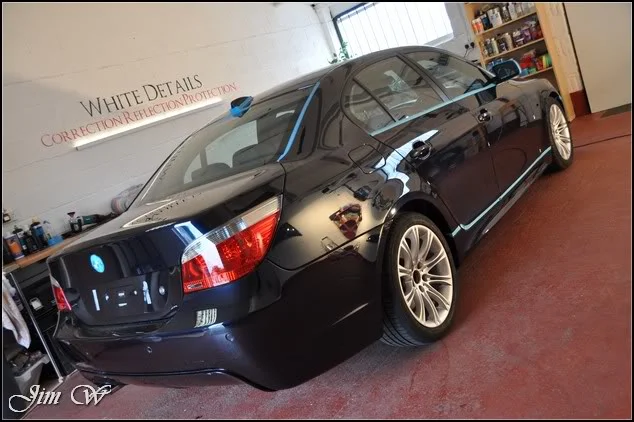
All this heavy correction leads to a pretty dusty car!
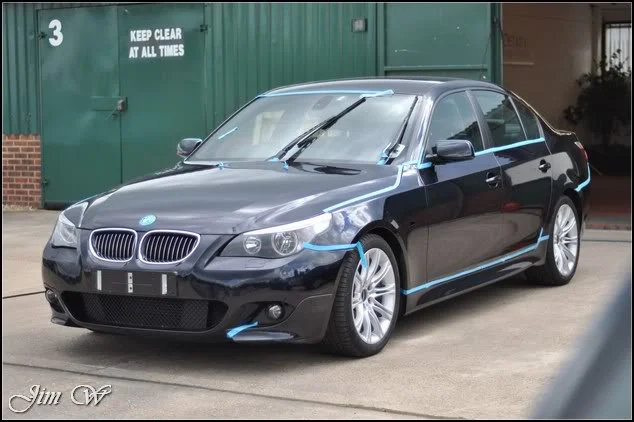
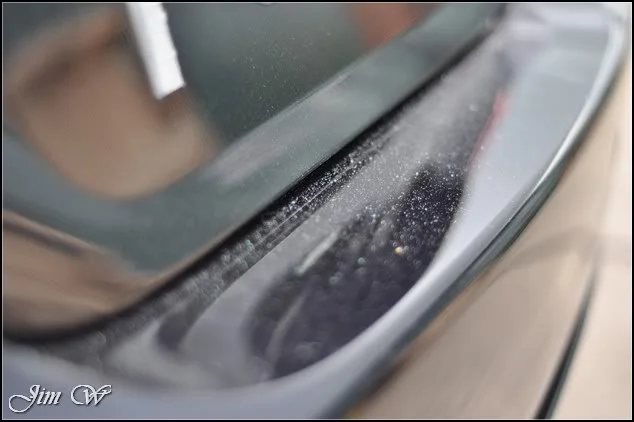
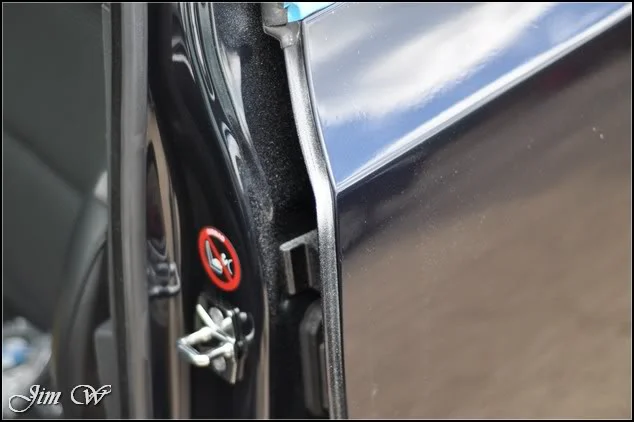
Rinsed down concentrating on panel gaps, crevices etc.
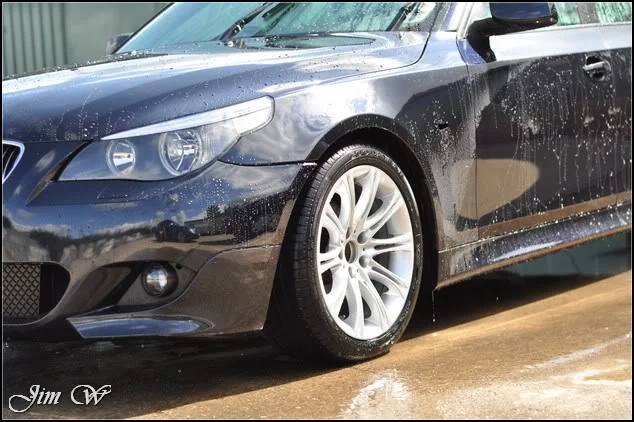
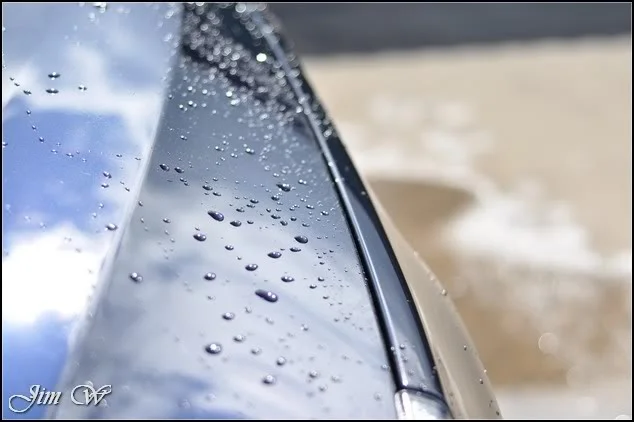
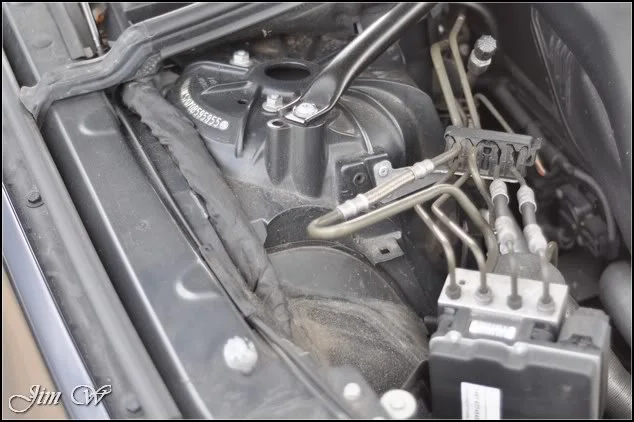
At this point, the engine bay was tackled.
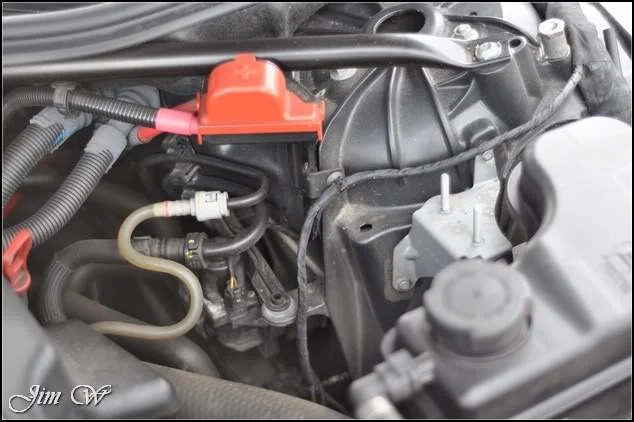
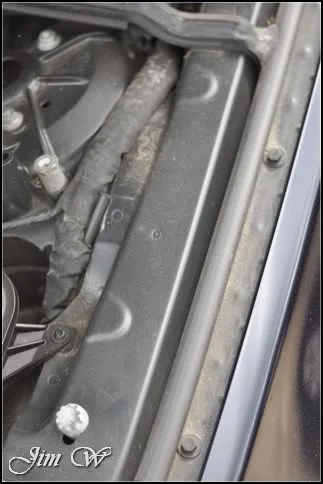
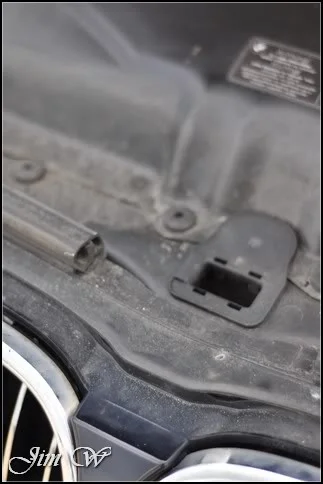
Once inside and dry, dressed and protected.
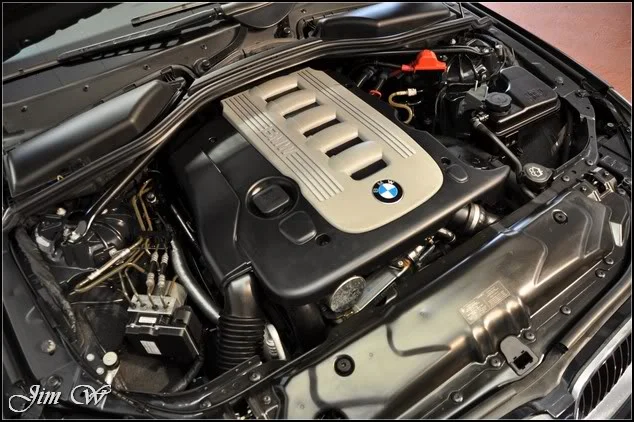
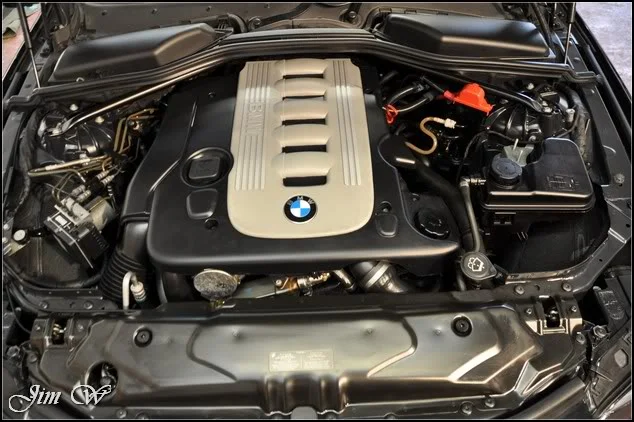
A thorough IPA wipedown (isopropyl alcohol) given to remove polishing oils ensuring a squeaky clean base for protection.
Exterior britework tidied with Jeffs Prime.
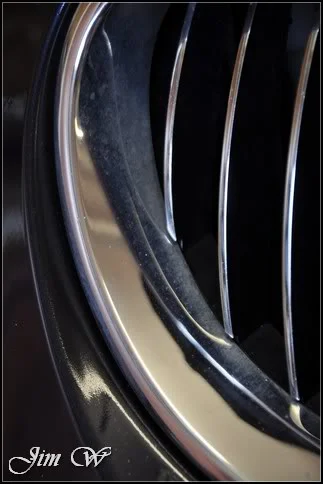
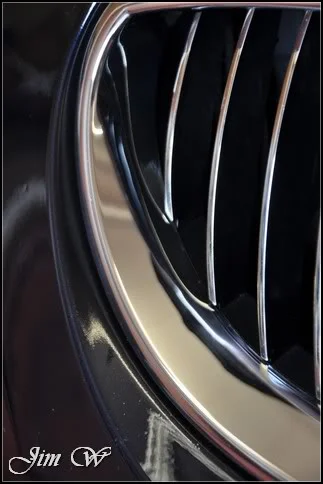
Toothpickery work followed by more Jeffs Prime used to sort this lock on the bootlid:
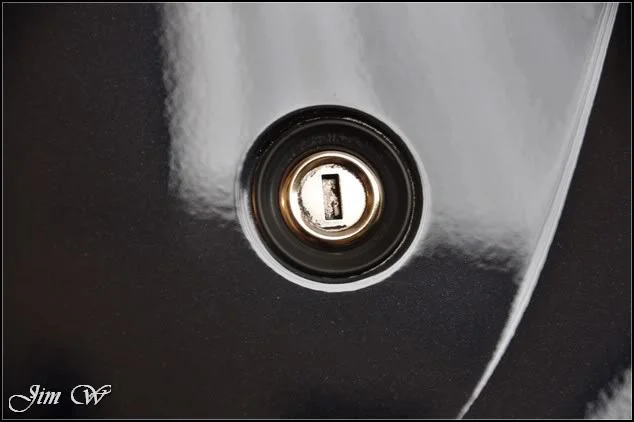
A few of the worst chips/scrapes tidied with a quick touch up.
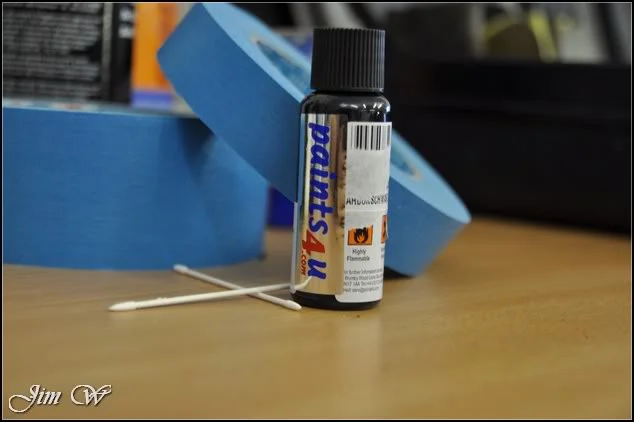
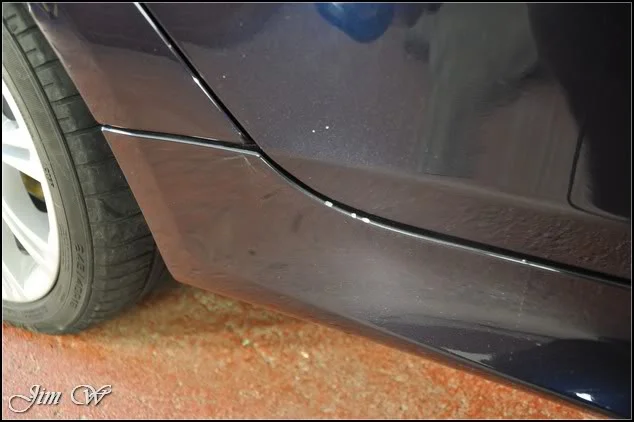
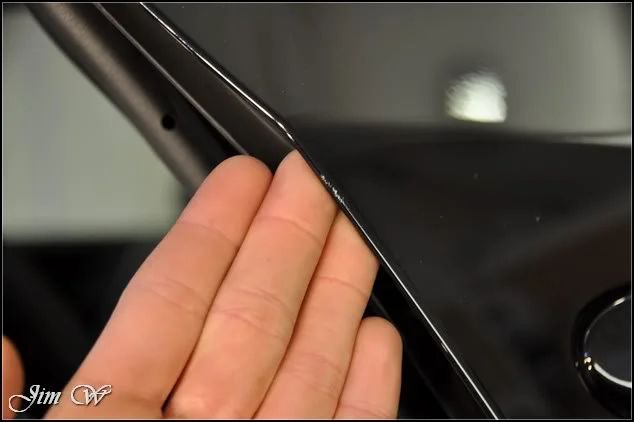
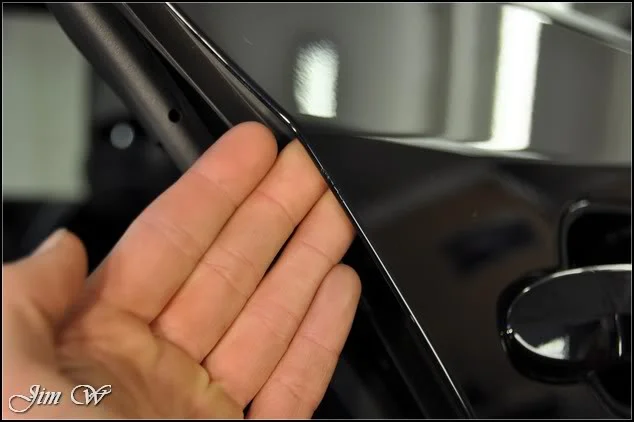
Exhausts tidied, glass cleaned throughout, Blackfire’s All Finish Paint Protection applied and tyres dressed.
A few afters:
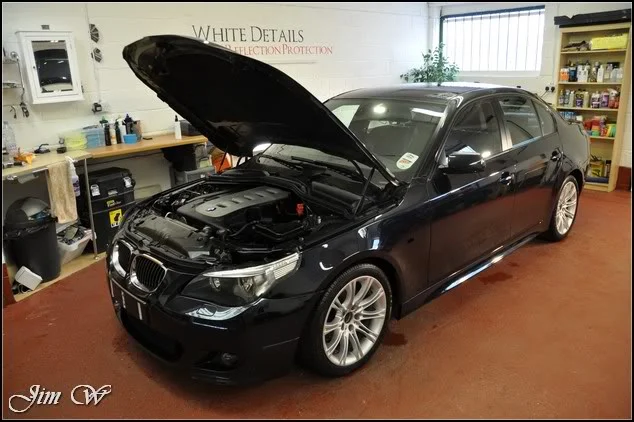
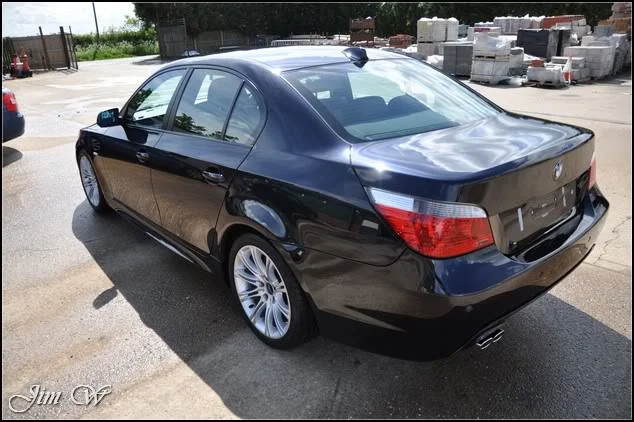
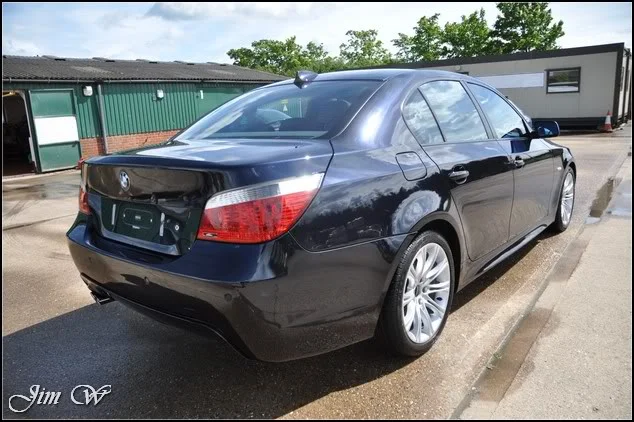
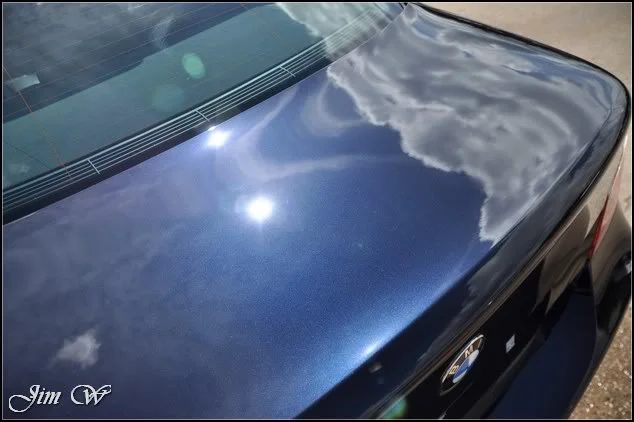
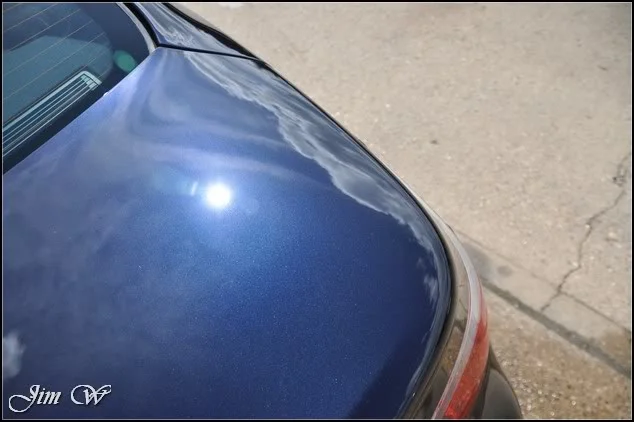
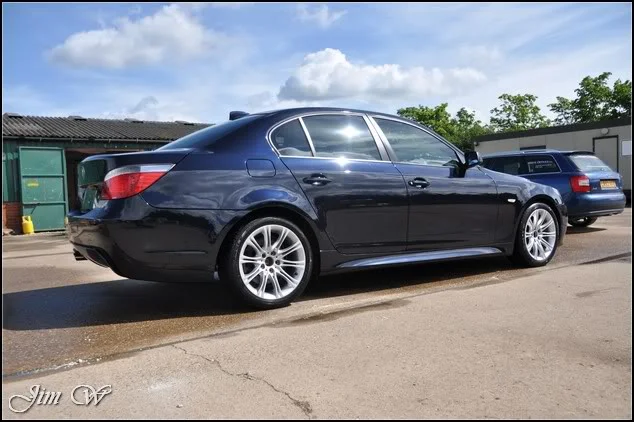
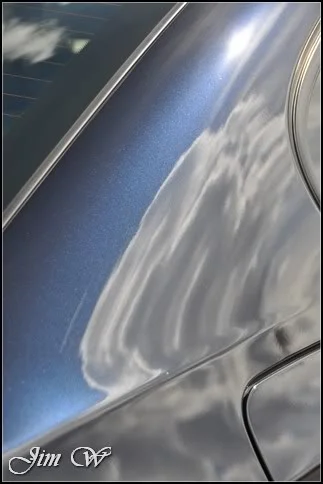
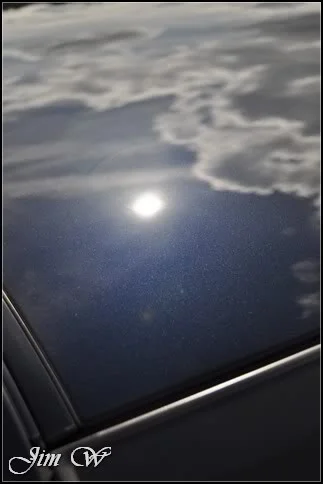
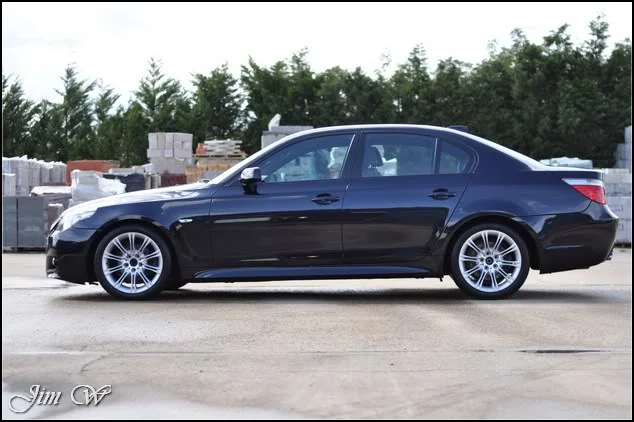
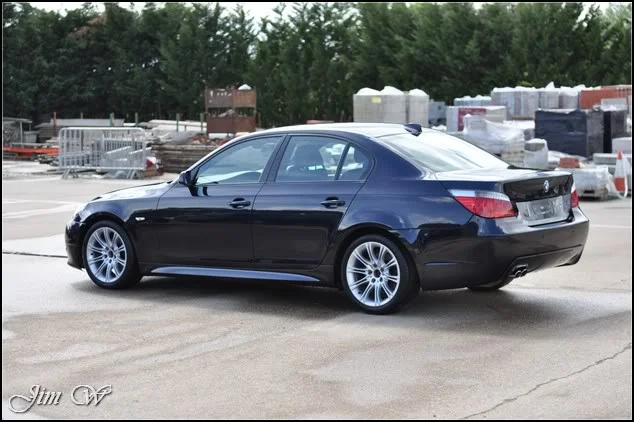
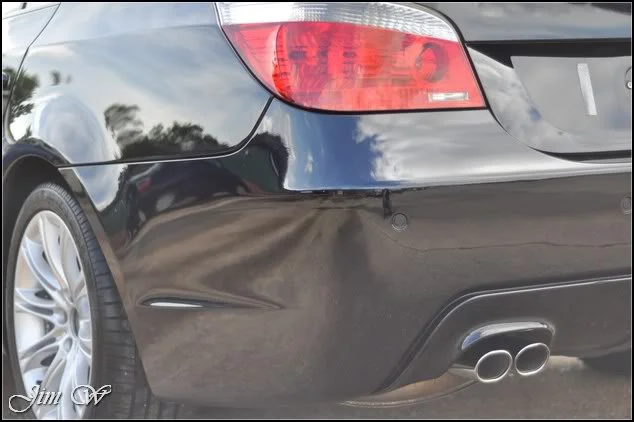
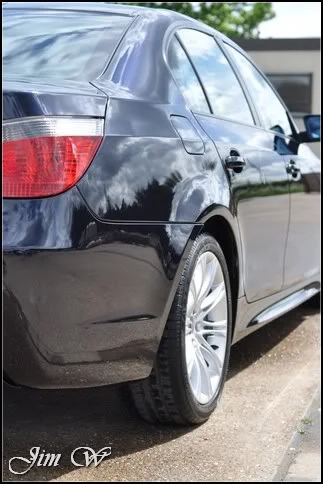
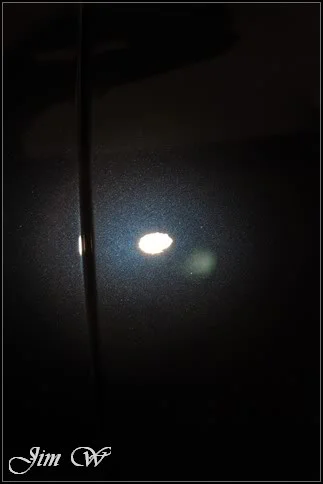
Three days after completion, the car was wiped down with Zaino’s Z6 in readiness for collection.
Final pics.
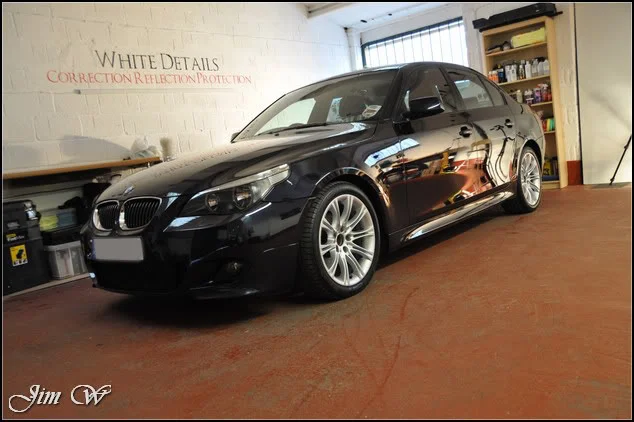
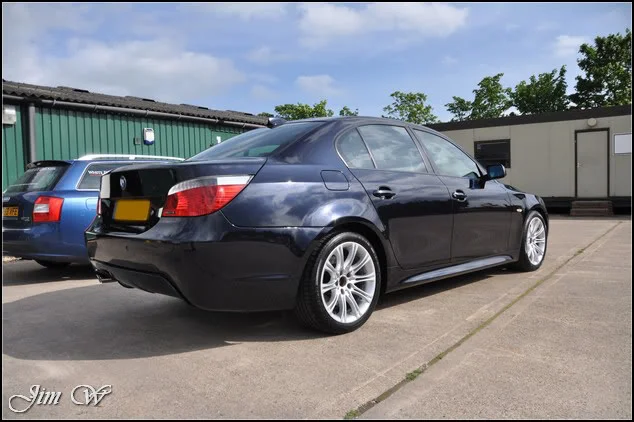
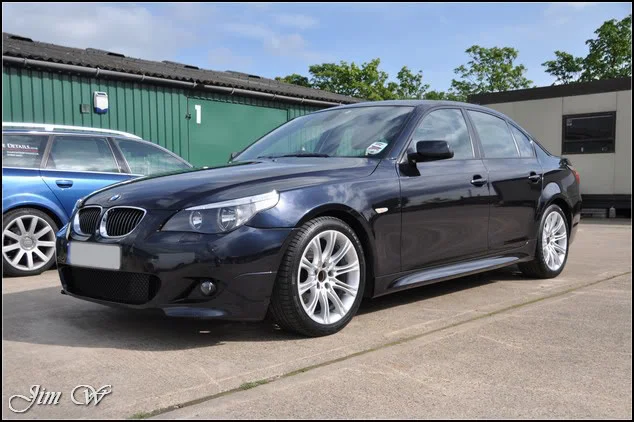
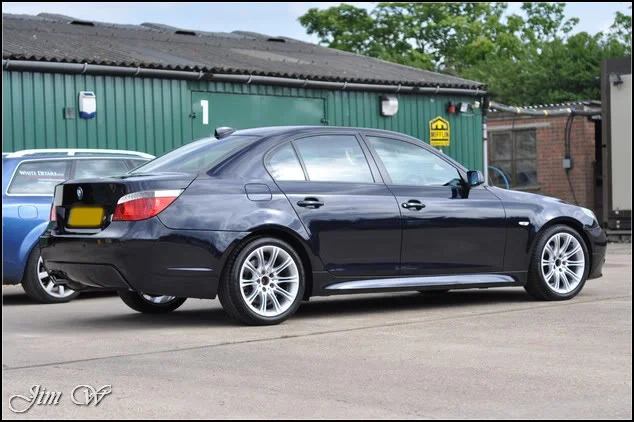
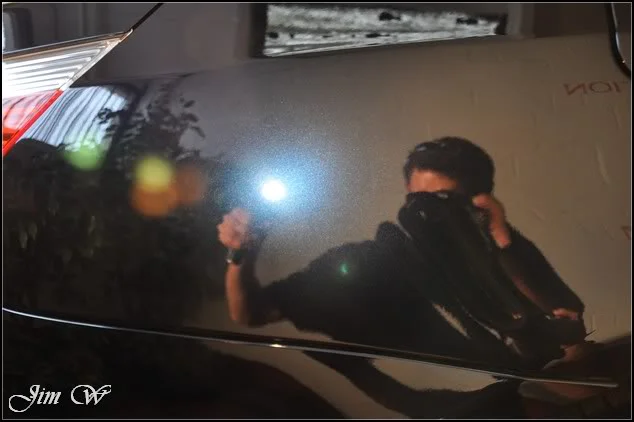
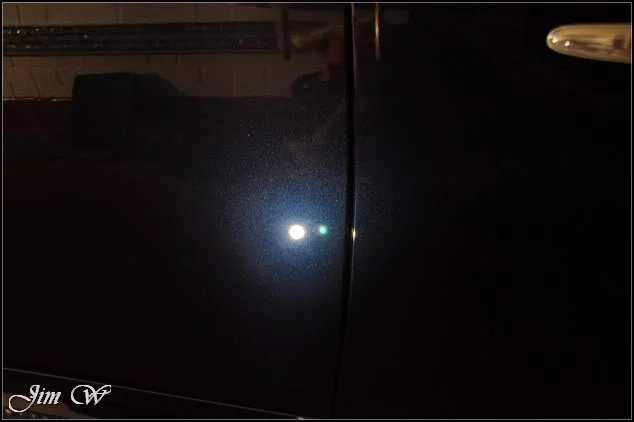
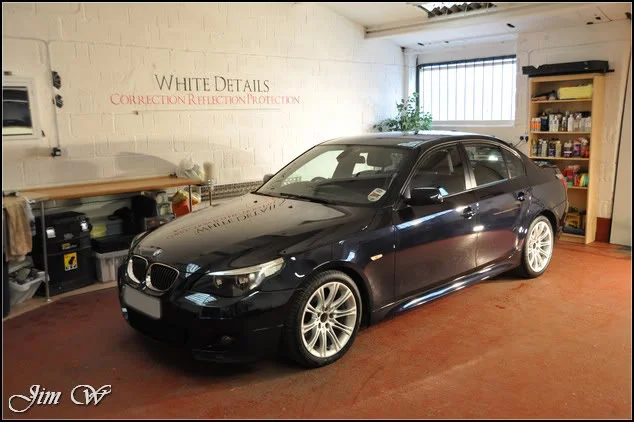
I’ve decided, Carbon Black is a stunning colour once fully prepped.
Take the 130i M-Sport that was ticked off late April after a similar detail; lovely!
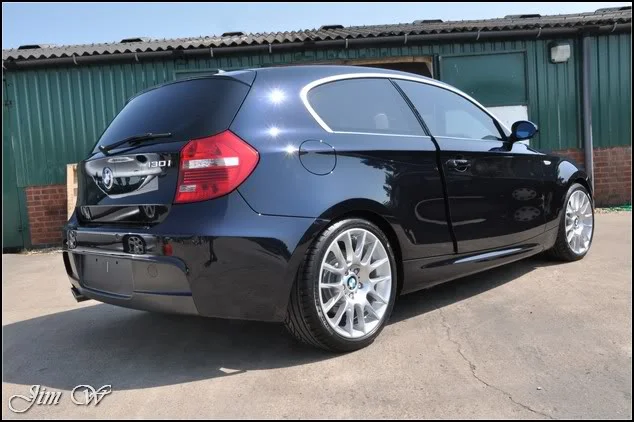
Overall, 25 hours put into this one over the three days. Again, quite the transformation (just a shame about those areas that I couldn’t fix (badly resprayed areas etc))
Thanks for reading.
Jim
Car has had four wheel refurbs (of which were a decent finish for once) and a resprayed rear bumper to the owners’ knowledge. The car had been sat for a few months whilst the owner was out of the Country, on his return, it was booked in for a three day Major to try restore some life to the exterior paintwork.
Vehicle inspection.
Decent wheel refurbs (albeit missing the centre-caps (which the owner is now sourcing a new set of))
Exhaust (with added polish residues from previous sessions)
The N/S of the vehicle in the sun. eek!
Video clip: http://youtu.be/zdPScTBfYP4?hd=1
Probably some of the worst swirling I have seen! At this stage, nothing looks too ‘serious’ (IE, deep random scratches) but the swirls were incredible; some impressive 50/50’s to follow no doubt in the polishing stages!
With the wheels and arches dealt with, the lower sills on the car were soaked with AutoSmart’s Haszsafe and followed with a foaming session with Bilt Hamber AutoFoam. In the dwell time (Autofoam quite a ‘wet’ foam so it doesn’t hang around for long), exterior trims, badges, window jams and grilles were cleansed with a soft brush and AutoSmart G101.
Washed with the usual WhiteDetails’ approach – brought inside for decontamination stage.
AutoSmart Tardis used to remove tar deposits and remaining bug splats.
Elite Car Care’s mild clay and AMDetails’ mild clay bar (pick a mix) were used alongside ONR (optimum no rinse) as lube.
Quite a lot of contaminants present:
Popped back outside for a good rinse and time to inspect the paint.
Accessible exterior trim removed to allow greater correction in the tight/fiddly areas:
Defects down the N/S.
I spotted them earlier on whilst the car was in the sun, but, the complete N/S had been sprayed and literally hundreds of tiny ‘fish-eyes’ were left in the paint due to an awful respray.
No polishing will fix this I’m afraid!
Both sides suffering from nasty water etchings from dripping down off of the wing mirror (a common issue on e60s?)
More defects:
Buffertrails (poor machine polishing) spotted on the O/S of the vehicle:
And the finish on the rear bumper from previous respray:
Plenty to get stuck into then! (No doubt with some troubles along the way due to the resprayed areas)
Starting and testing my first polishing set on the bonnet. Original paint, but, average paint thickness of mid 90’s which wasn’t ideal. Some areas indicating high 70 and low 80 microns – compromise going to have to be made here.
Most of the correctional work on the original BMW paint was dealt with with a 3M cutting pad and a mix of Menzerna 85RD 3.02, Meguiars 105 and 3M Fast Cut+.
Before/After:
As you can see, bonnet also suffering quite badly from heavy stone chipping!
>80% correction made on the bonnet; compromise had to be made due to dangerously thin thickness readings. A single correctional hit followed by further refinement to remove compounding haze with a 3M polishing pad and mix of Extra Fine and Ultra Fina.
Up and on to the roof, much healthier readings to play with:
3M FastCut+ coupled with a blob of Ultrafina to extend the work time.
Before/After cutting stage.
Multiple passes were made to chase desired results as this time, paint thickness allowed!
Finally refining down with the same 3M yellow and Extrafine + Ultrafine combo.
The roofline between the C / A pillar worked next. 3M’s green ‘cut’ spot pad used to shift the defects:
But as you can see, not the sharpest of finish due to aggressiveness of my compounding approach.
Further refined with 3M’s yellow (polishing) spot pad and Menz 203s.
O/S/F wing. Original, but again, low thickness readings.
50/50 between the untouched O/S/F door and the wing.
Before/After: (more buffertrails spotted)
Working back, I tackle the smaller intricate ‘spot pad’ areas before the larger ‘open’ areas. Areas like behind the door handle here:
Rest of the door hit hard and then refined to a jewelled sharp finish.
Much like the Mugello Blue RS4 I ticked off earlier this week, the arches on the e60 required an individual polishing set before moving on to the rest of the surrounding wing.
Small spot pad work.
Pre-refinement:
With the rest of the wing complete, the difference between the bumper and the wing was night and day!
The bootlid (which was severely hammered) set up and ready for a 50/50. Paint thickness readings well into their 150’s which allowed many correctional passes to chase desired results.
Under strip lighting:
Halogen:
Forced LED with the Brinkmann:
What’s going on here?
As the bootlid was kind of sprung loaded, accessing the lower-lip whilst closed was near on impossible (without running the risk of catching the upper-facing of the bumper below)
So, having only corrected half of the flat facing above, I countered the weight of the springs and continued with my polishing set.
Flat, hazed and scratched:
Easy now to run a spot pad across the lower lip and surrounding areas:
Before/After:
And yep, happy with that!
A little burn through spotted on the N/S corner of the rear bumper.
Starting with the upwards facing lip:
50/50s:
And the sides, before/after:
Usually, I struggle to capture any sort of correction, before/after photos on the rear clusters. Tried a 50/50 instead…
You can just make out the divide:
Rear end, inc. bumpers, bootlid and lights complete.
In spinning the car round, it was time to tackle the resprayed N/S and finish the roof & bootlid 50/50s.
The roof came up very well indeed!
Boot lid wasn’t bad either:
No wonder it gets hot in here, check out the lighting! (a must have though if you’re to be completing a thorough job)
As if the visual signs weren’t enough, the PTG paint detective gadgie showing signs of resprayed areas.
This side, the resprayed side, the paint was soft. A 3M yellow polishing pad with Menz 85RD 3.02 to correct and black 3M finishing pad with Ultrafina (3M blue top) to refine.
50/50s
Even without the forced lighting, the difference is quite something!
More of the water etchings from the wing mirror housing.
50/50 between N/S/F wing and the corrected door:
Video 50/50: http://youtu.be/YM5fPkFvfTQ?hd=1
Front bumper (resprayed signs also)
And then last but not least, the side skirts.
All this heavy correction leads to a pretty dusty car!
Rinsed down concentrating on panel gaps, crevices etc.
At this point, the engine bay was tackled.
Once inside and dry, dressed and protected.
A thorough IPA wipedown (isopropyl alcohol) given to remove polishing oils ensuring a squeaky clean base for protection.
Exterior britework tidied with Jeffs Prime.
Toothpickery work followed by more Jeffs Prime used to sort this lock on the bootlid:
A few of the worst chips/scrapes tidied with a quick touch up.
Exhausts tidied, glass cleaned throughout, Blackfire’s All Finish Paint Protection applied and tyres dressed.
A few afters:
Three days after completion, the car was wiped down with Zaino’s Z6 in readiness for collection.
Final pics.
I’ve decided, Carbon Black is a stunning colour once fully prepped.
Take the 130i M-Sport that was ticked off late April after a similar detail; lovely!
Overall, 25 hours put into this one over the three days. Again, quite the transformation (just a shame about those areas that I couldn’t fix (badly resprayed areas etc))
Thanks for reading.
Jim


 Thanks guys (n gals)


