ClioSport.net

This is a sample guest message. Register a free account today to become a member! Once signed in, you'll be able to participate on this site by adding your own topics and posts, as well as connect with other members through your own private inbox!

  • When you purchase through links on our site, we may earn an affiliate commission. Read more here.

Gris Eclipse Phase 1

_194238.thumb.jpg.23d99057d9f7353e2619866e65295d9f.jpg


_194245.thumb.jpg.c73503535dd0bf42bcbeeca47b1572df.jpg


_194251.thumb.jpg.cb9ea9a2c61e78c9e30660011e063712.jpg


Spark plug, 1 greasy because the vvt solenoid was leaking, the rest are as they are, I suspect water got in when washing the engine.

_194355.thumb.jpg.ba34fe9811789d55a7ffc34c7708d977.jpg


_194353.thumb.jpg.4e482381813590f10c1d106e0849f107.jpg


_194350.thumb.jpg.4ced8672f43a76765b207ac8d20f915e.jpg


_194344.thumb.jpg.013ec236dd7b20174eb591f4214f49c9.jpg


I need to check the timing when I get the right cam tool, but to my eye the engine looks out of phase.

_165047.thumb.jpg.440693b517d760419240075684ef6505.jpg


There is no shortage of silicone on the cam caps.. in fact, there is no shortage of silicone throughout the entire engine..

_170049.thumb.jpg.90fc23969fd5dc4ba1c61dbd018b756a.jpg


_170045.thumb.jpg.9f2a8e548fdfd9826624f8b63197ae59.jpg
 
_170039.thumb.jpg.05546bdd028c00cccf4dfa8b553e7401.jpg


The plan is to take the whole engine apart and measure and inspect everything. I also have some 197 pistons, although I didn't intend to put them in this engine.. Maybe when the opportunity arises, that will come in too.. I don't think there will be an engine update anytime soon..

Cheers from Croatia

p.s. shame that this cant be 1 big post, because of 10 pictures limit..
 
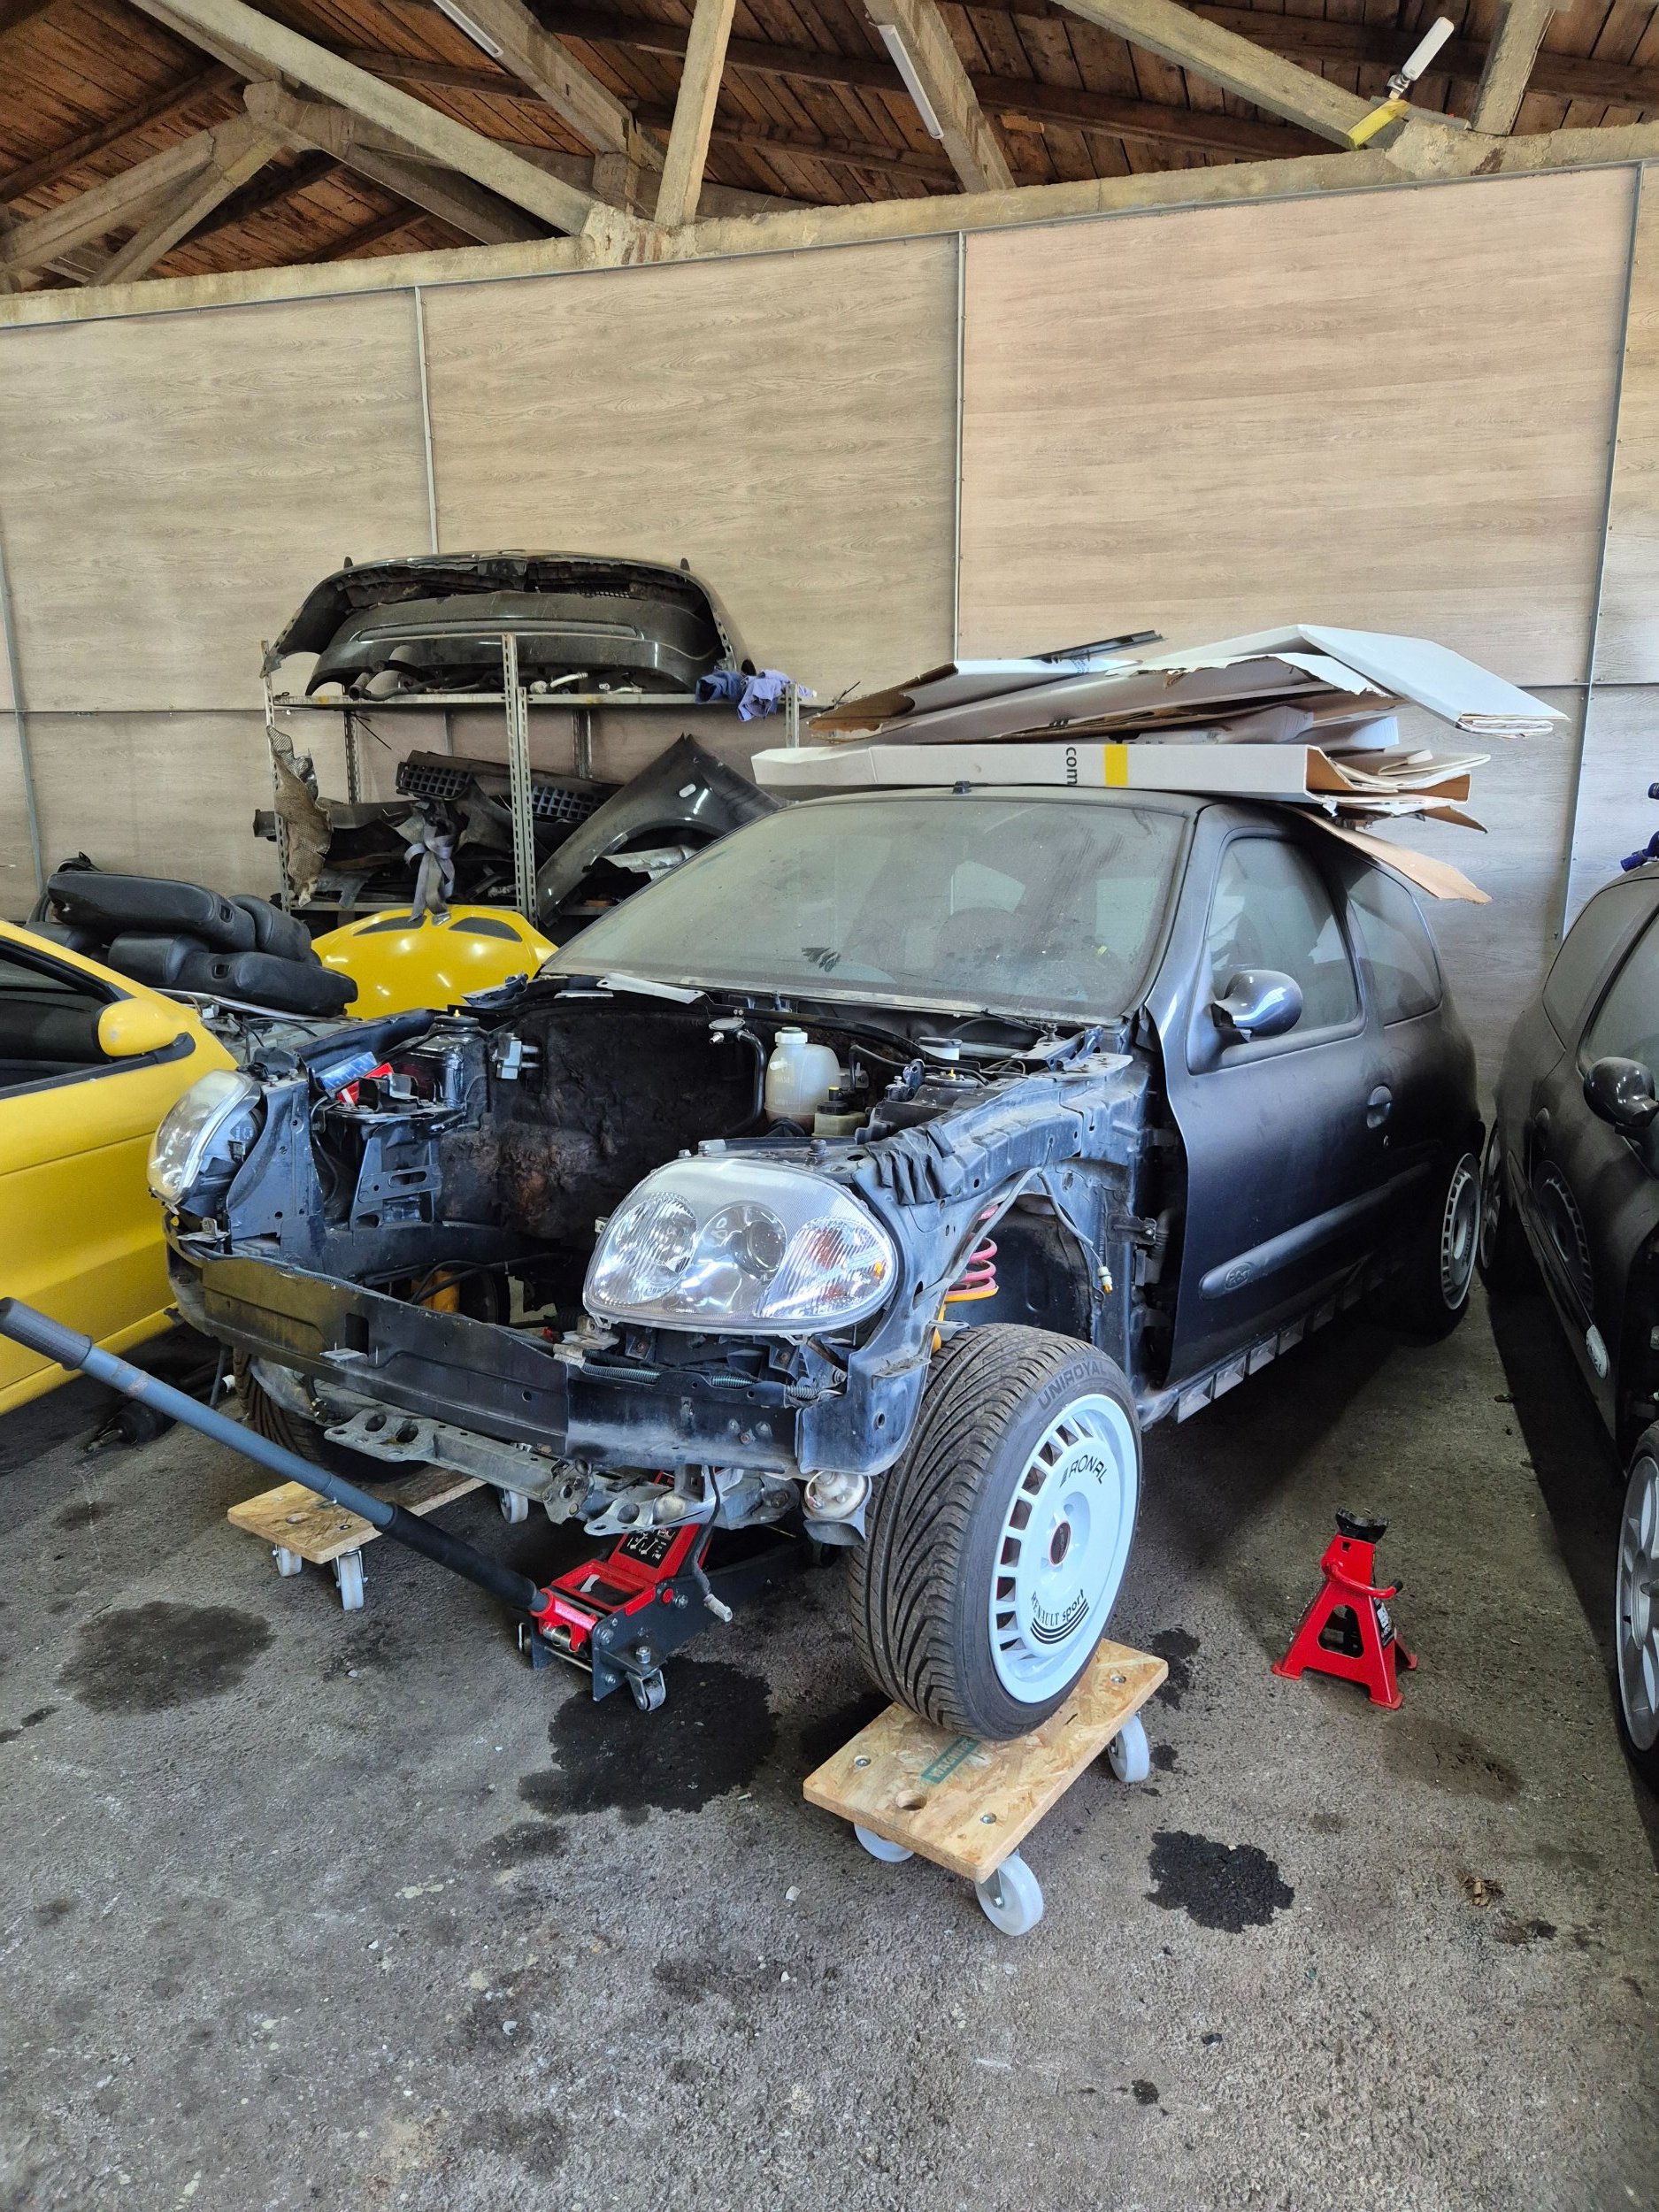
*dusting off this thread, long post warning*

Phew, a lot has happened in the year since my last post, but nothing regarding the Clio itself 🤣

It was patiently waiting for its moment, and that moment finally arrived...

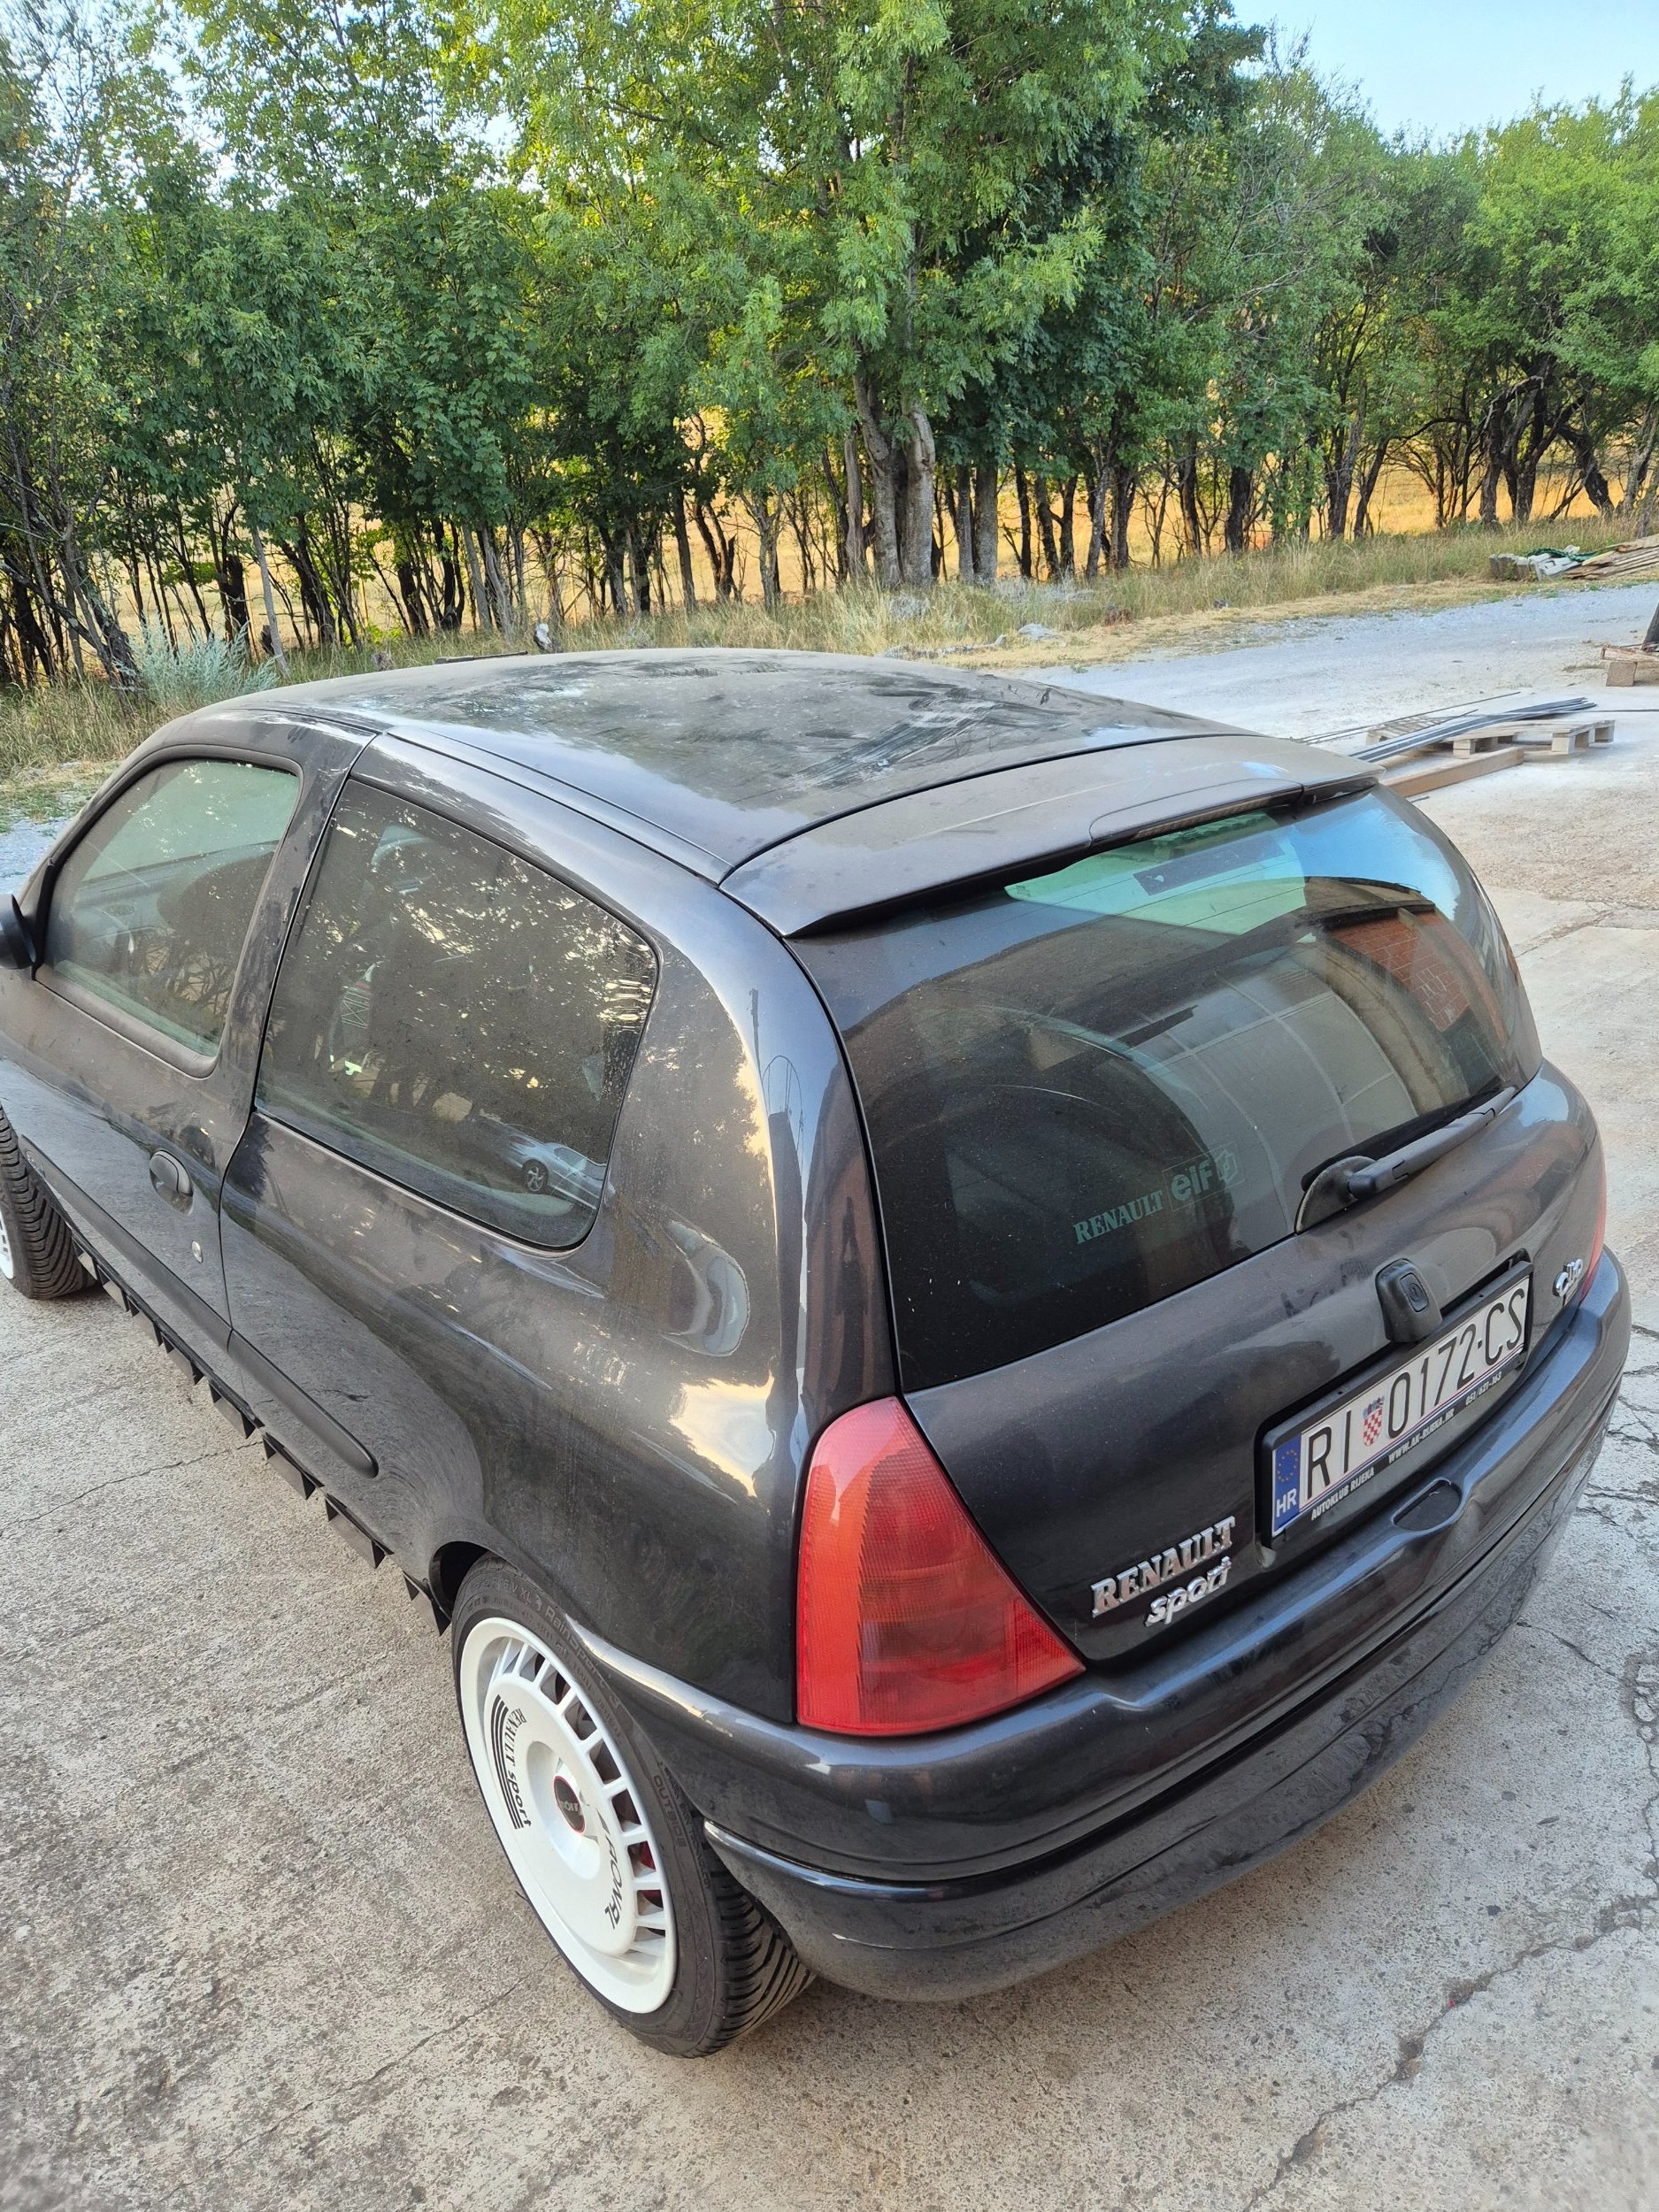
I don't have a photo, but the poor thing had gotten buried under all sorts of stuff in the corner and had gathered quite a bit of dust, so a good wash was the first order of business!


20260805_173150.jpg


20260805_193011.jpg


20260805_193019.jpg


20260805_193024.jpg


20260805_193037.jpg


20260805_194032.jpg


20260805_194035.jpg


20260805_194039.jpg


20260805_194044.jpg


20260805_194048.jpg
 
20260817_171424.jpg


20260817_171430.jpg


20260817_171436.jpg


20260817_171444.jpg


20260817_171454.jpg


20260817_171504.jpg


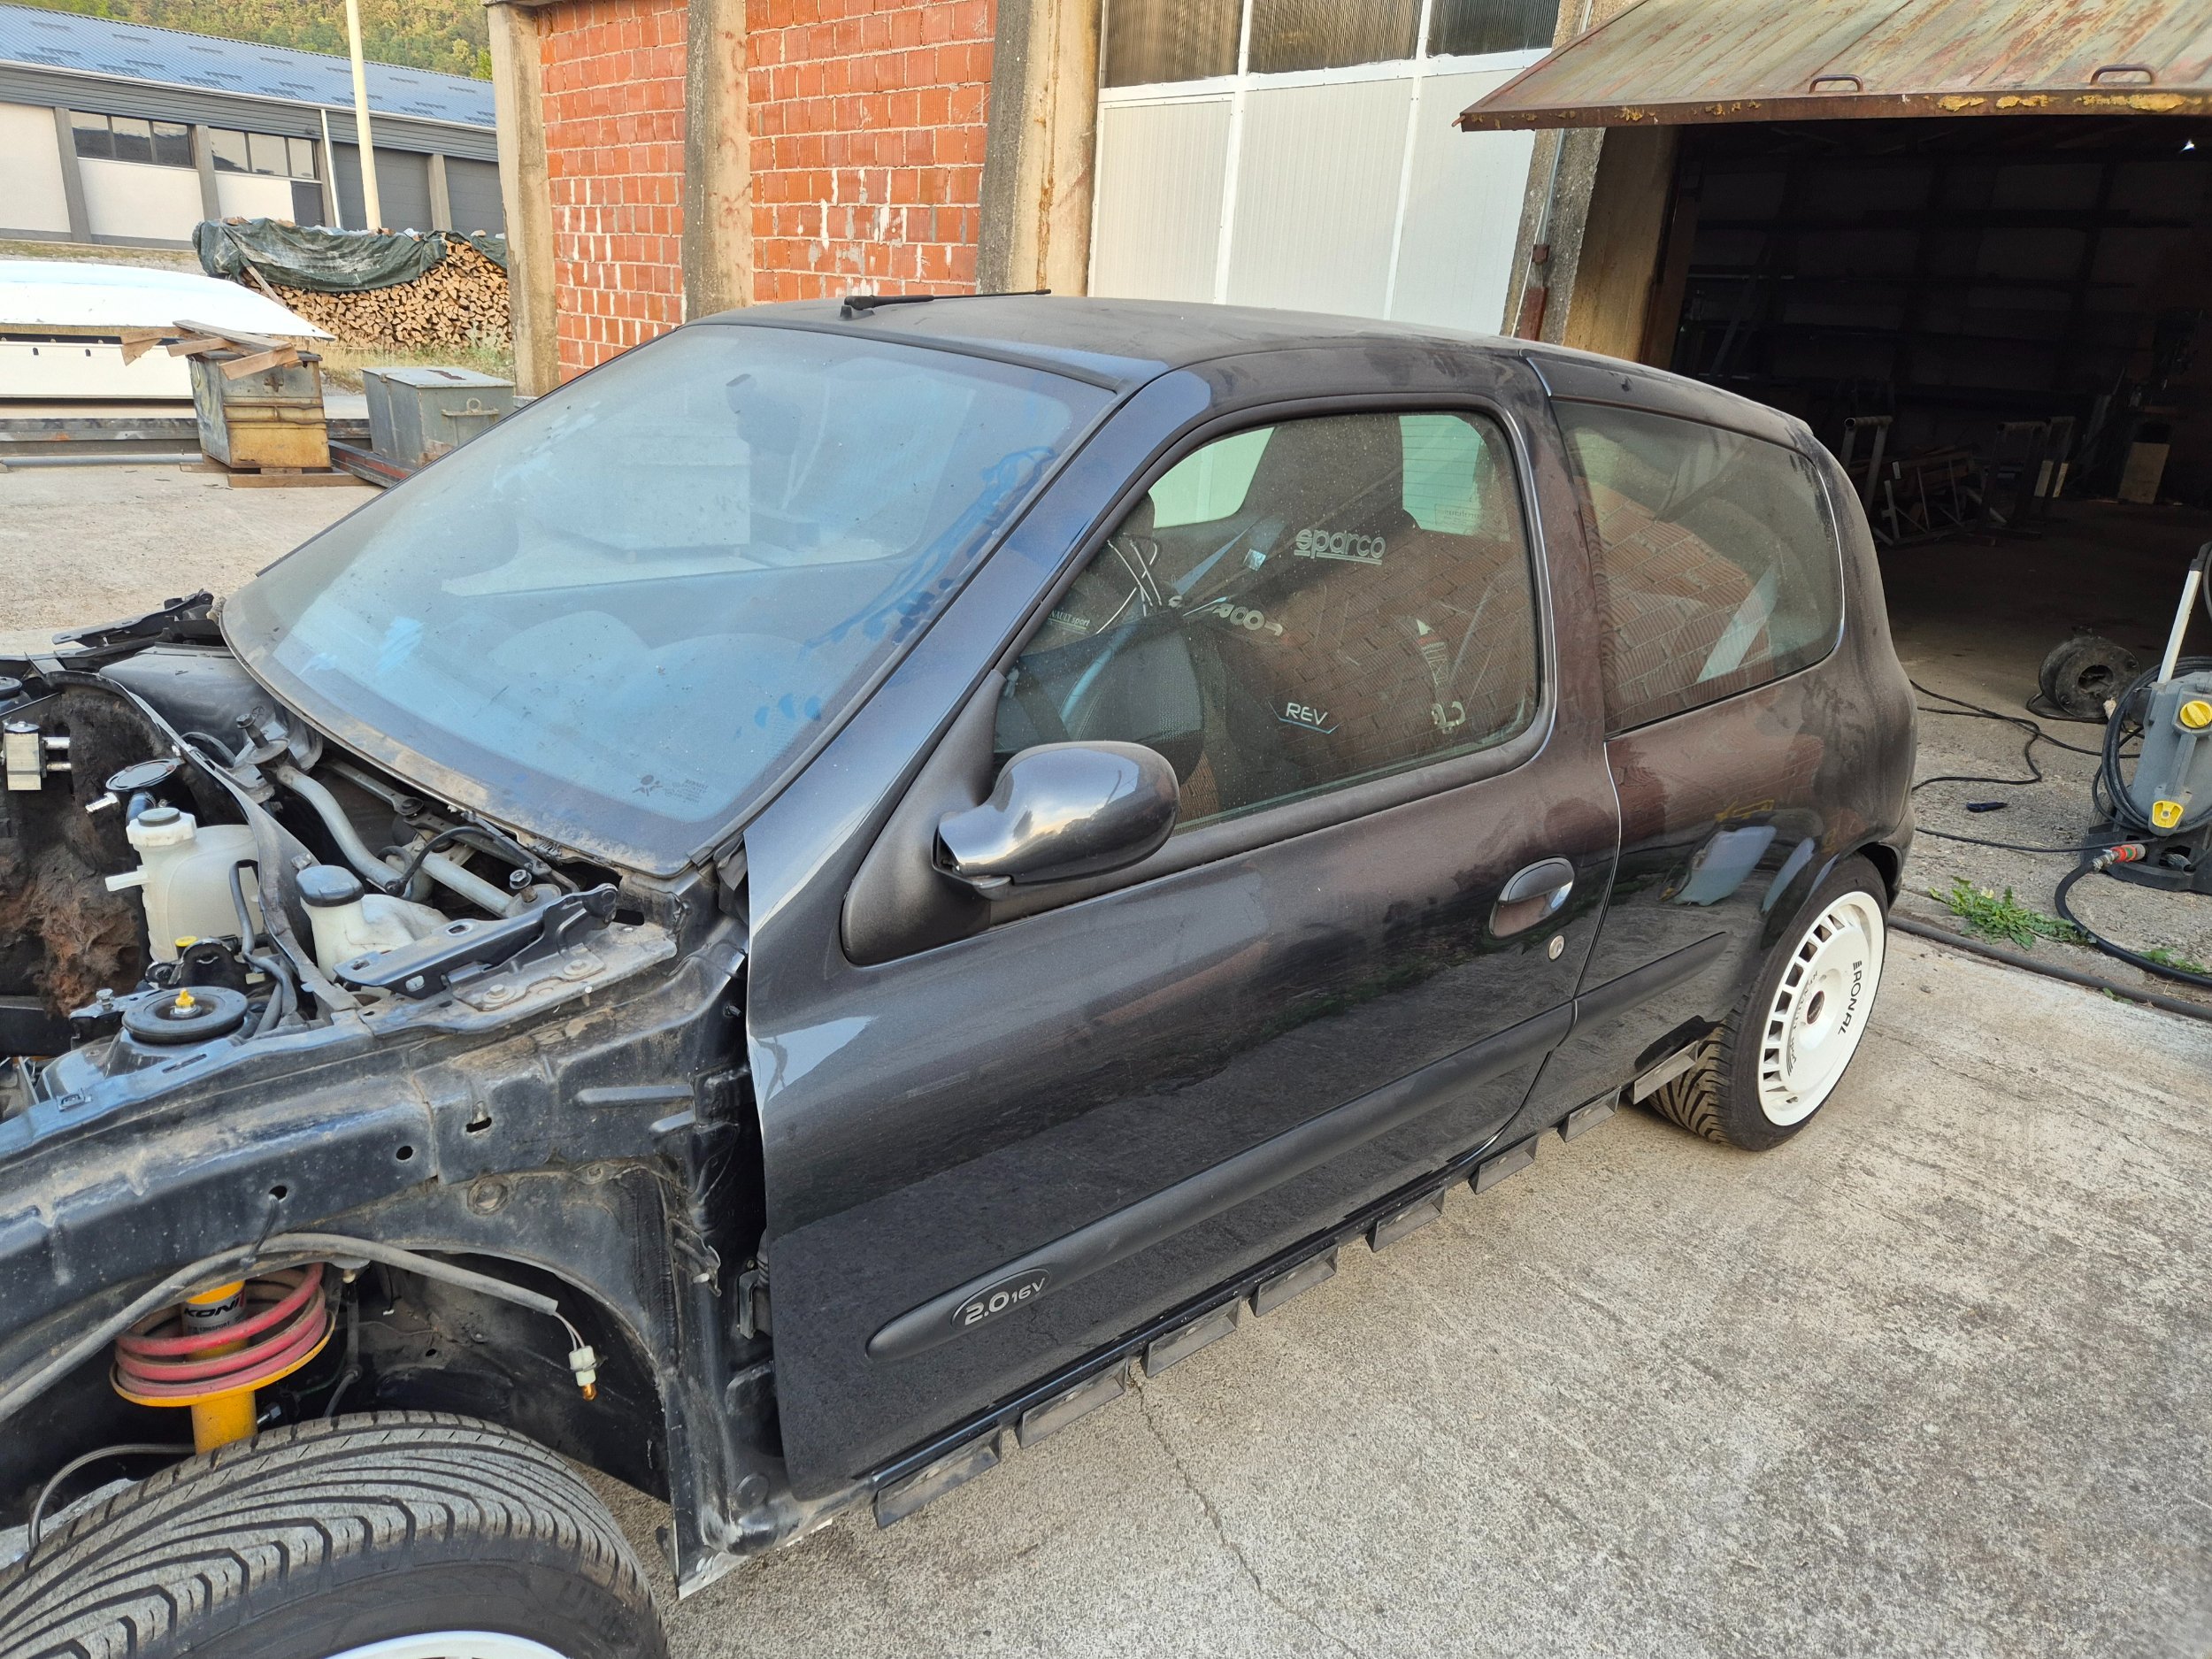
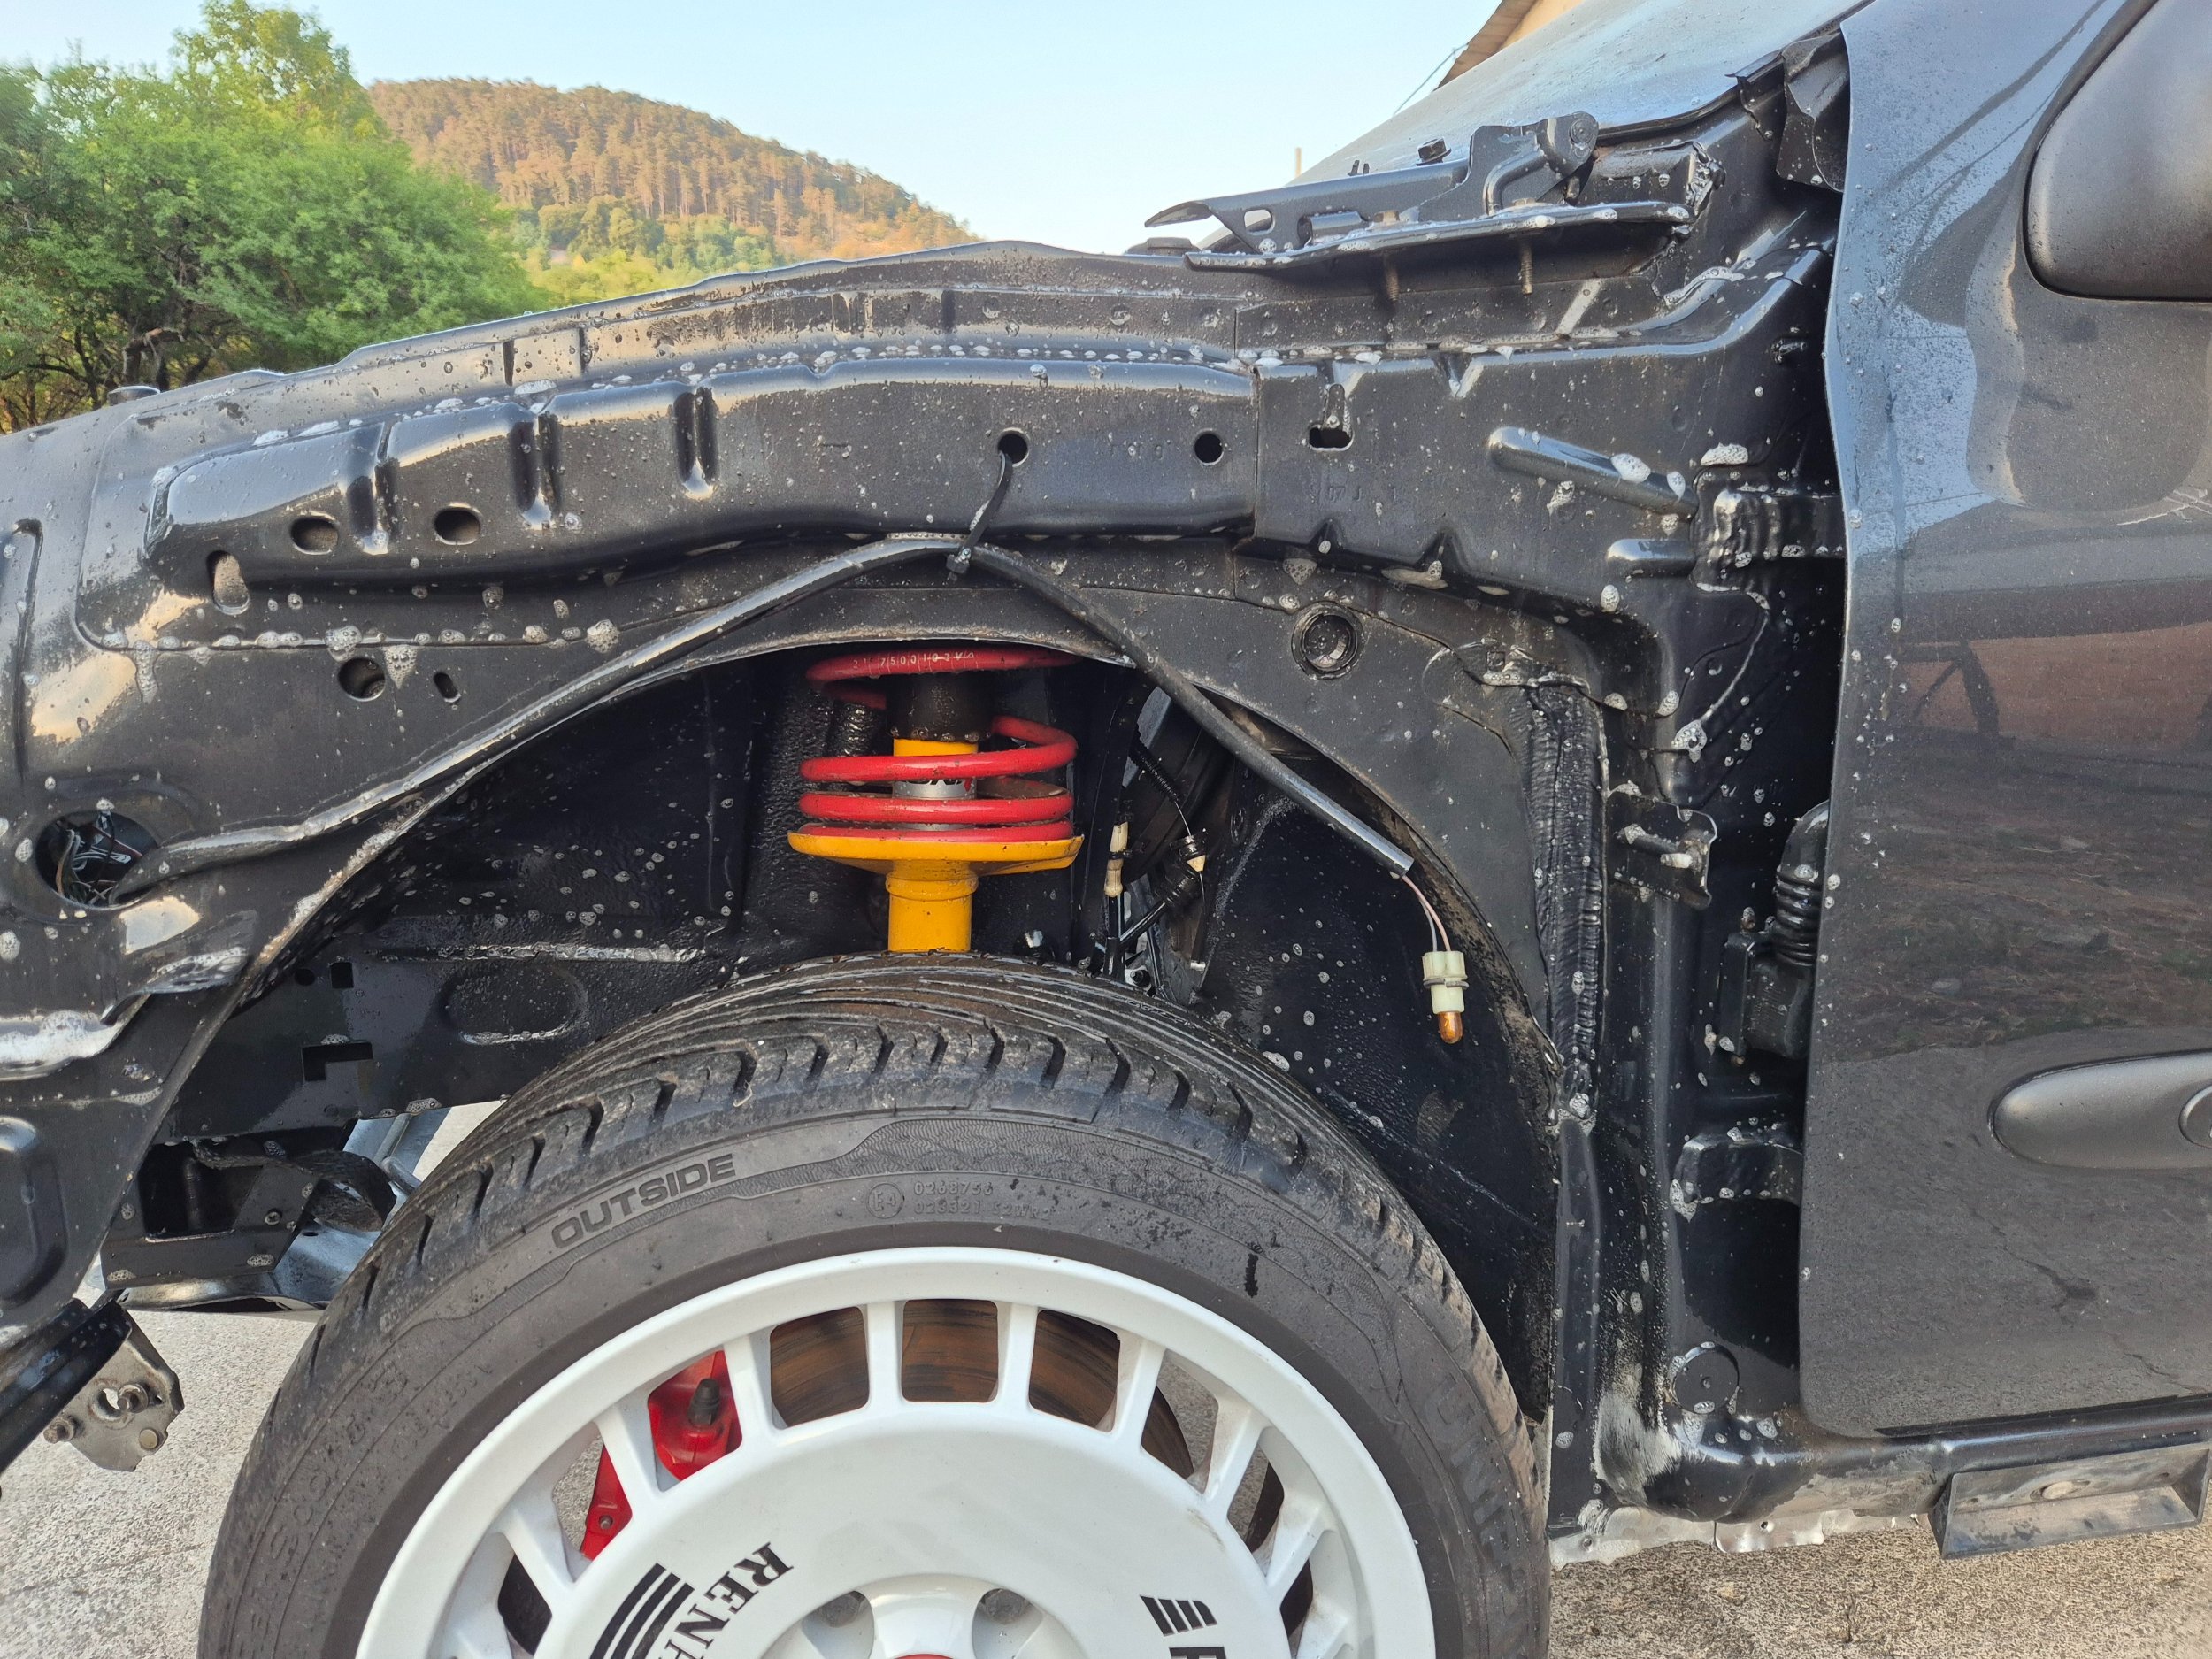
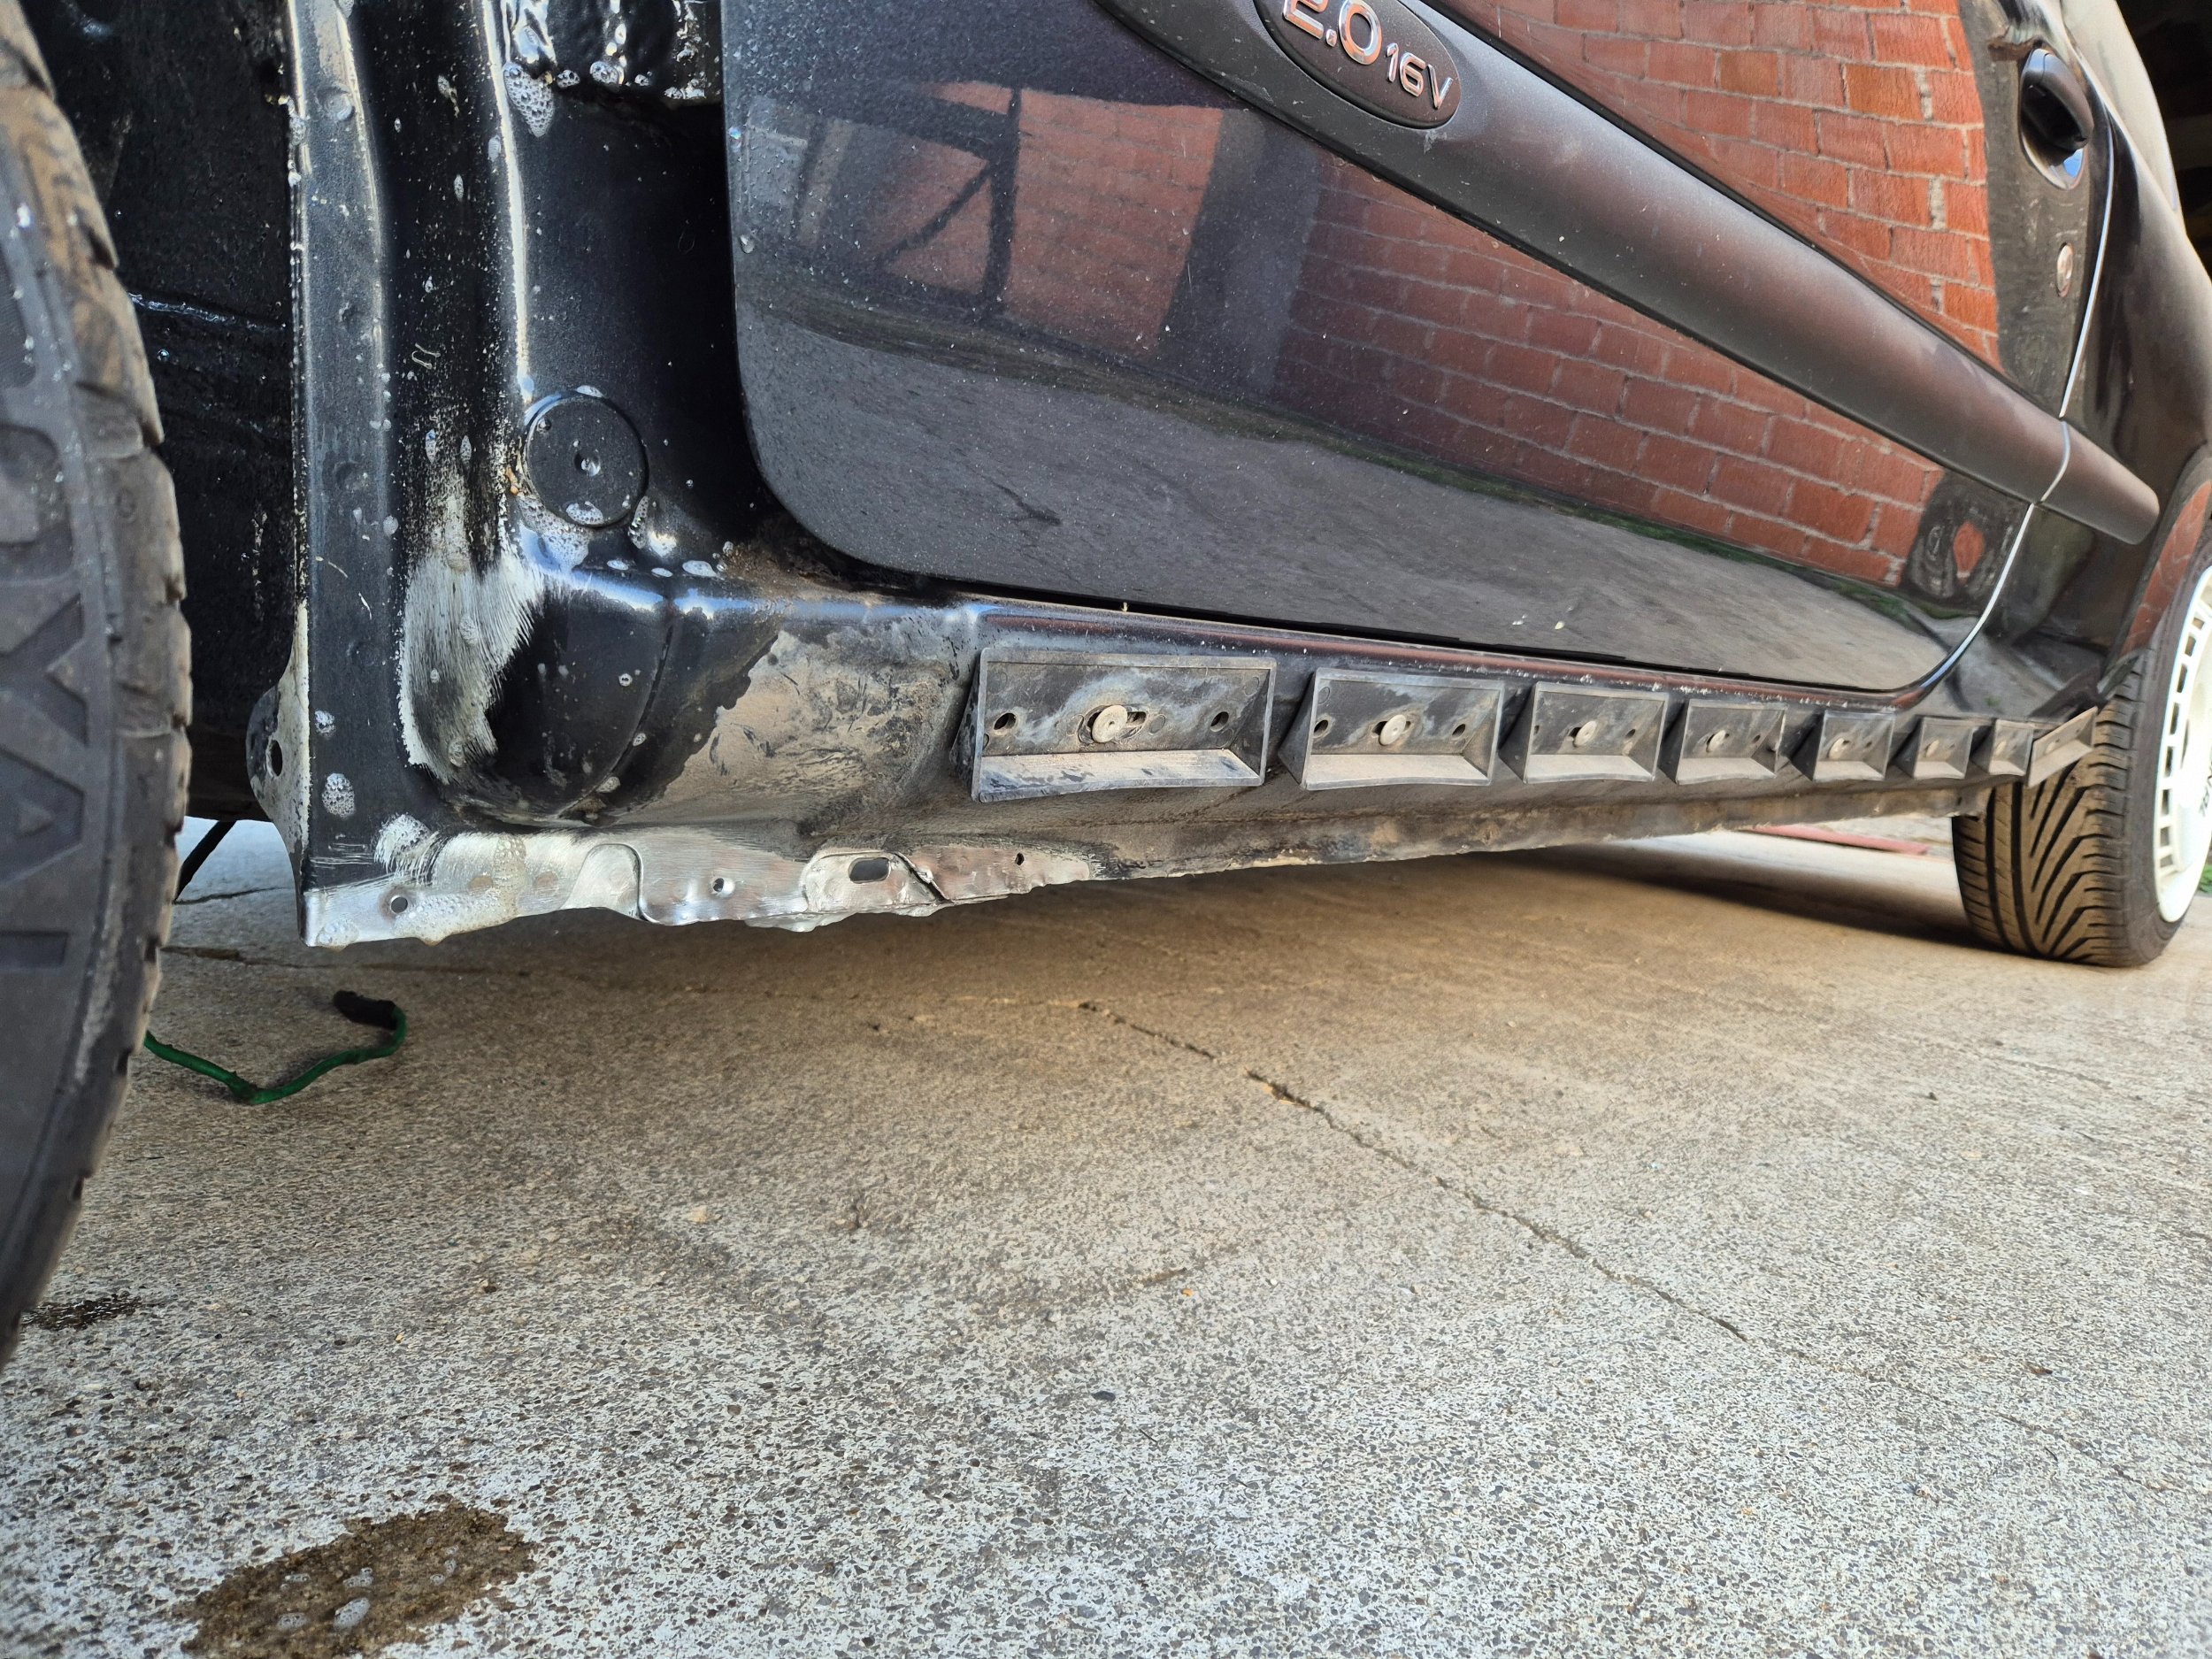
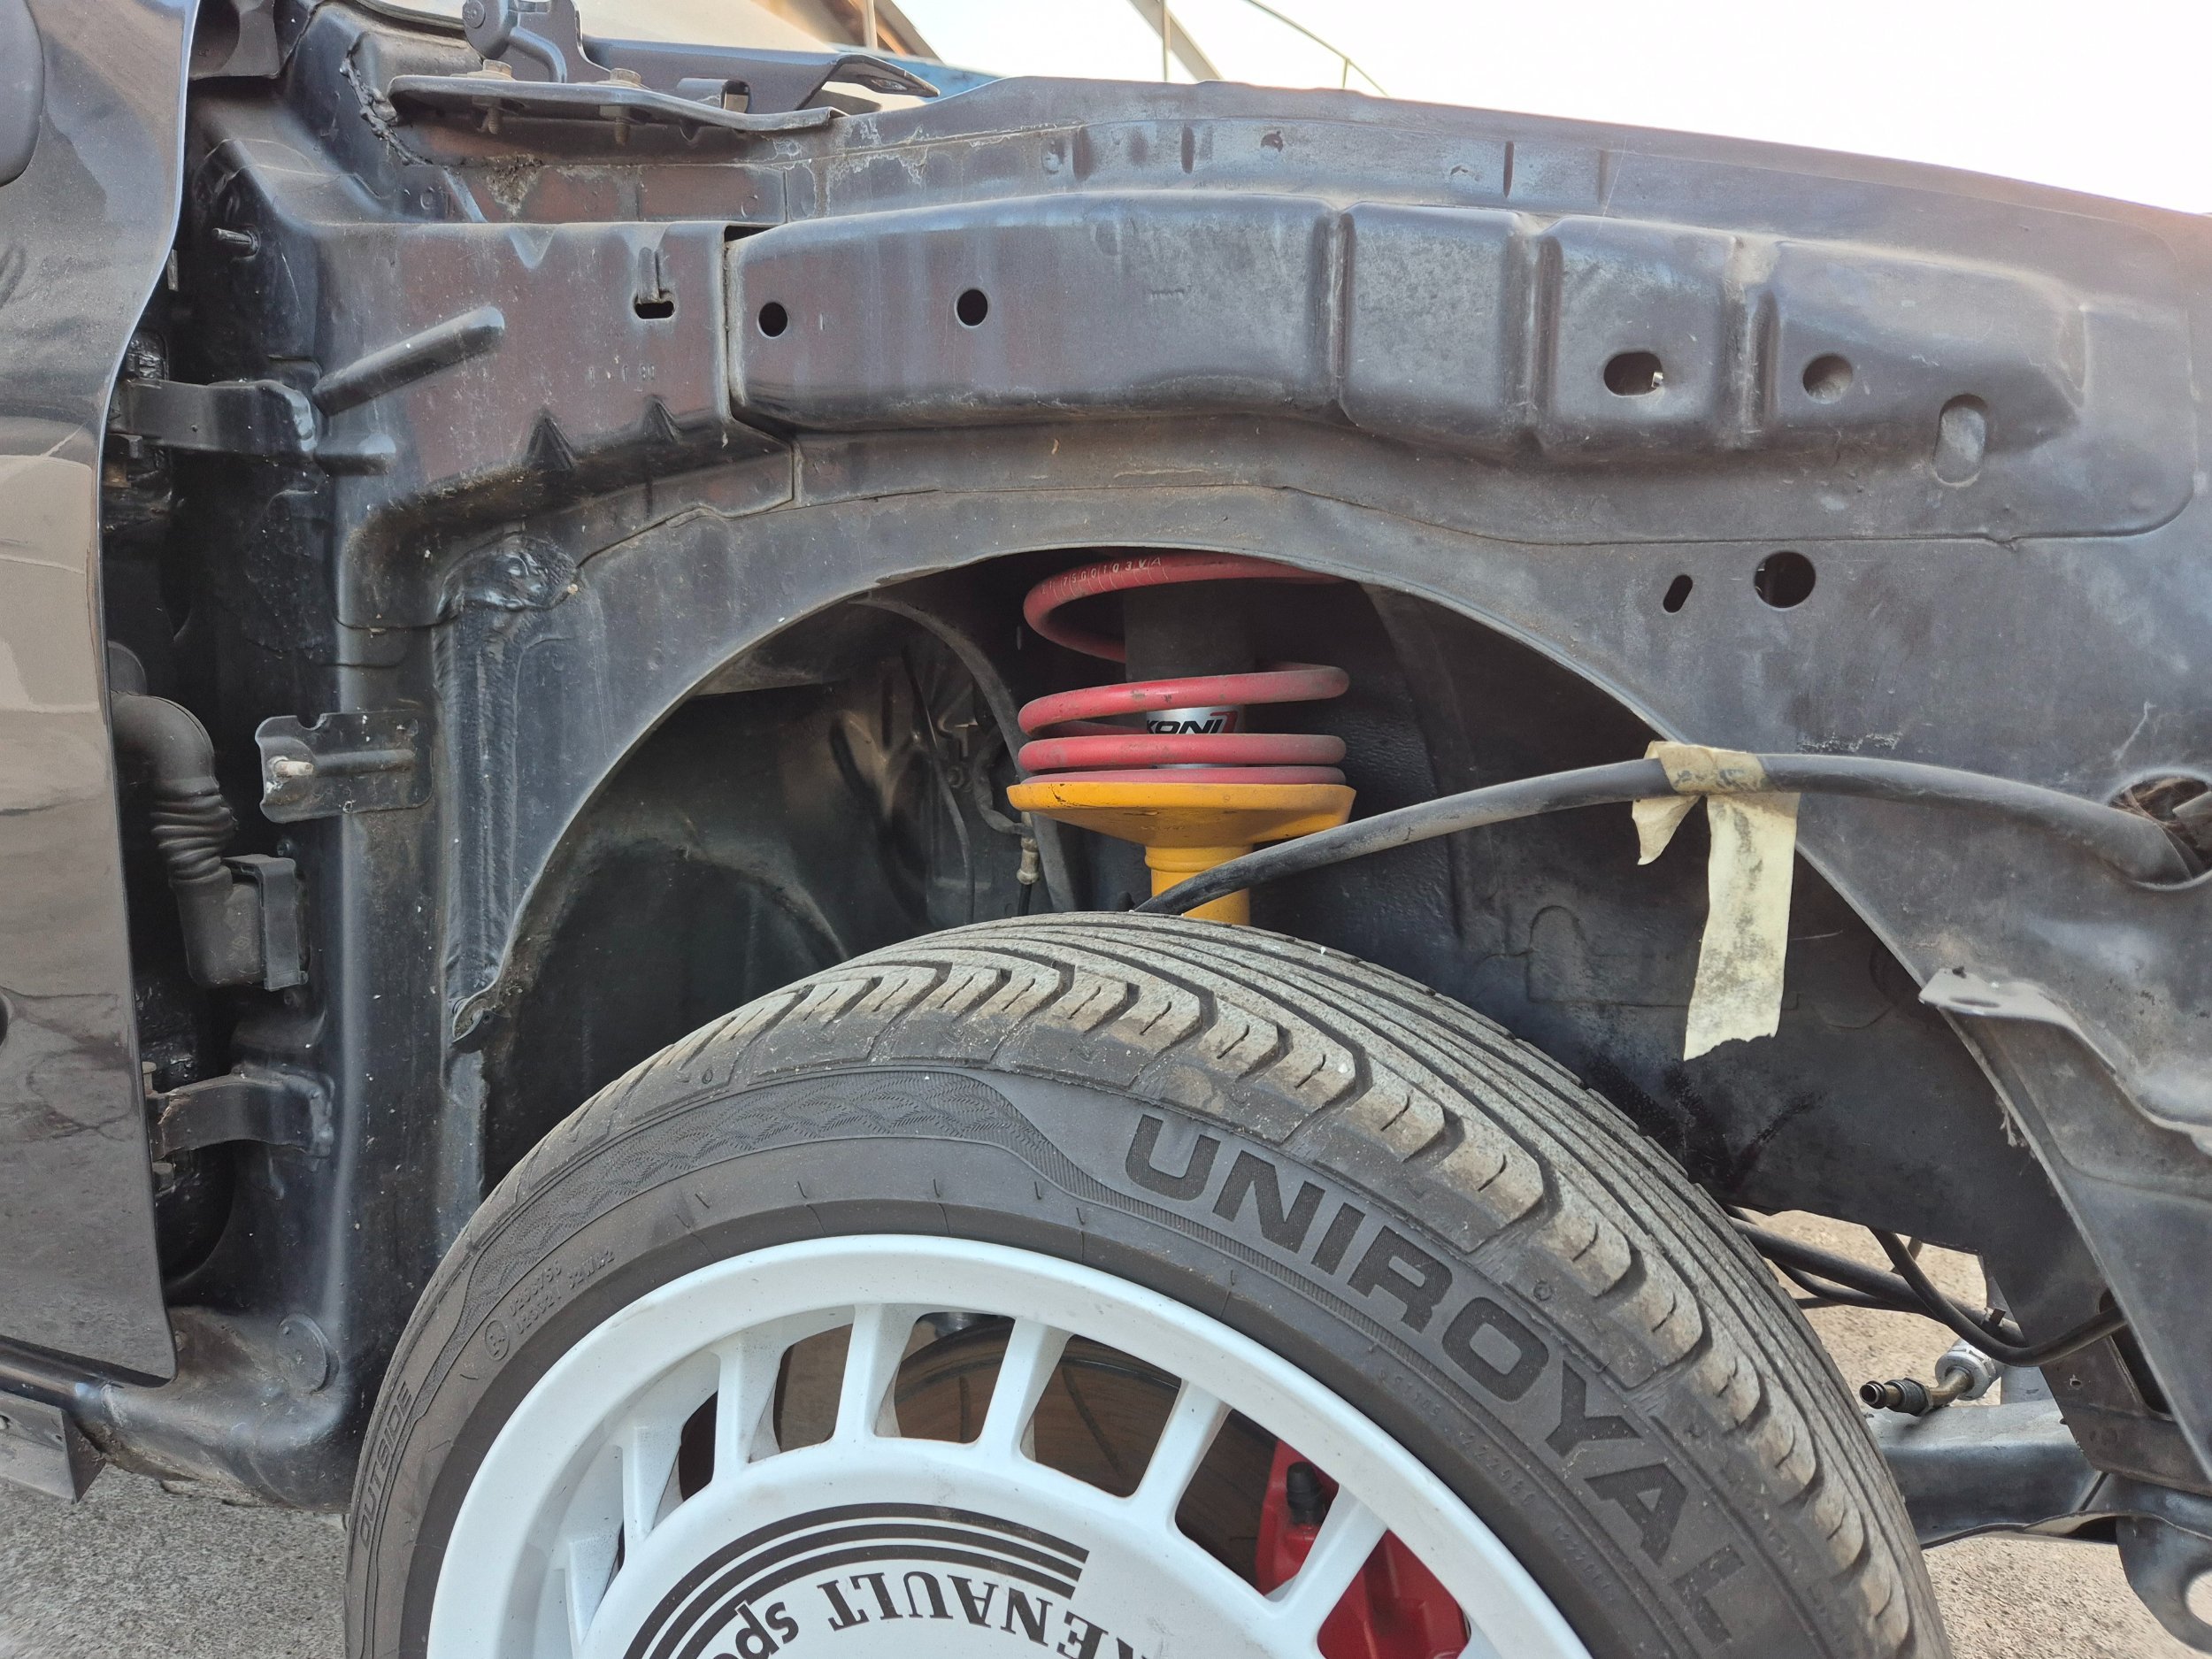
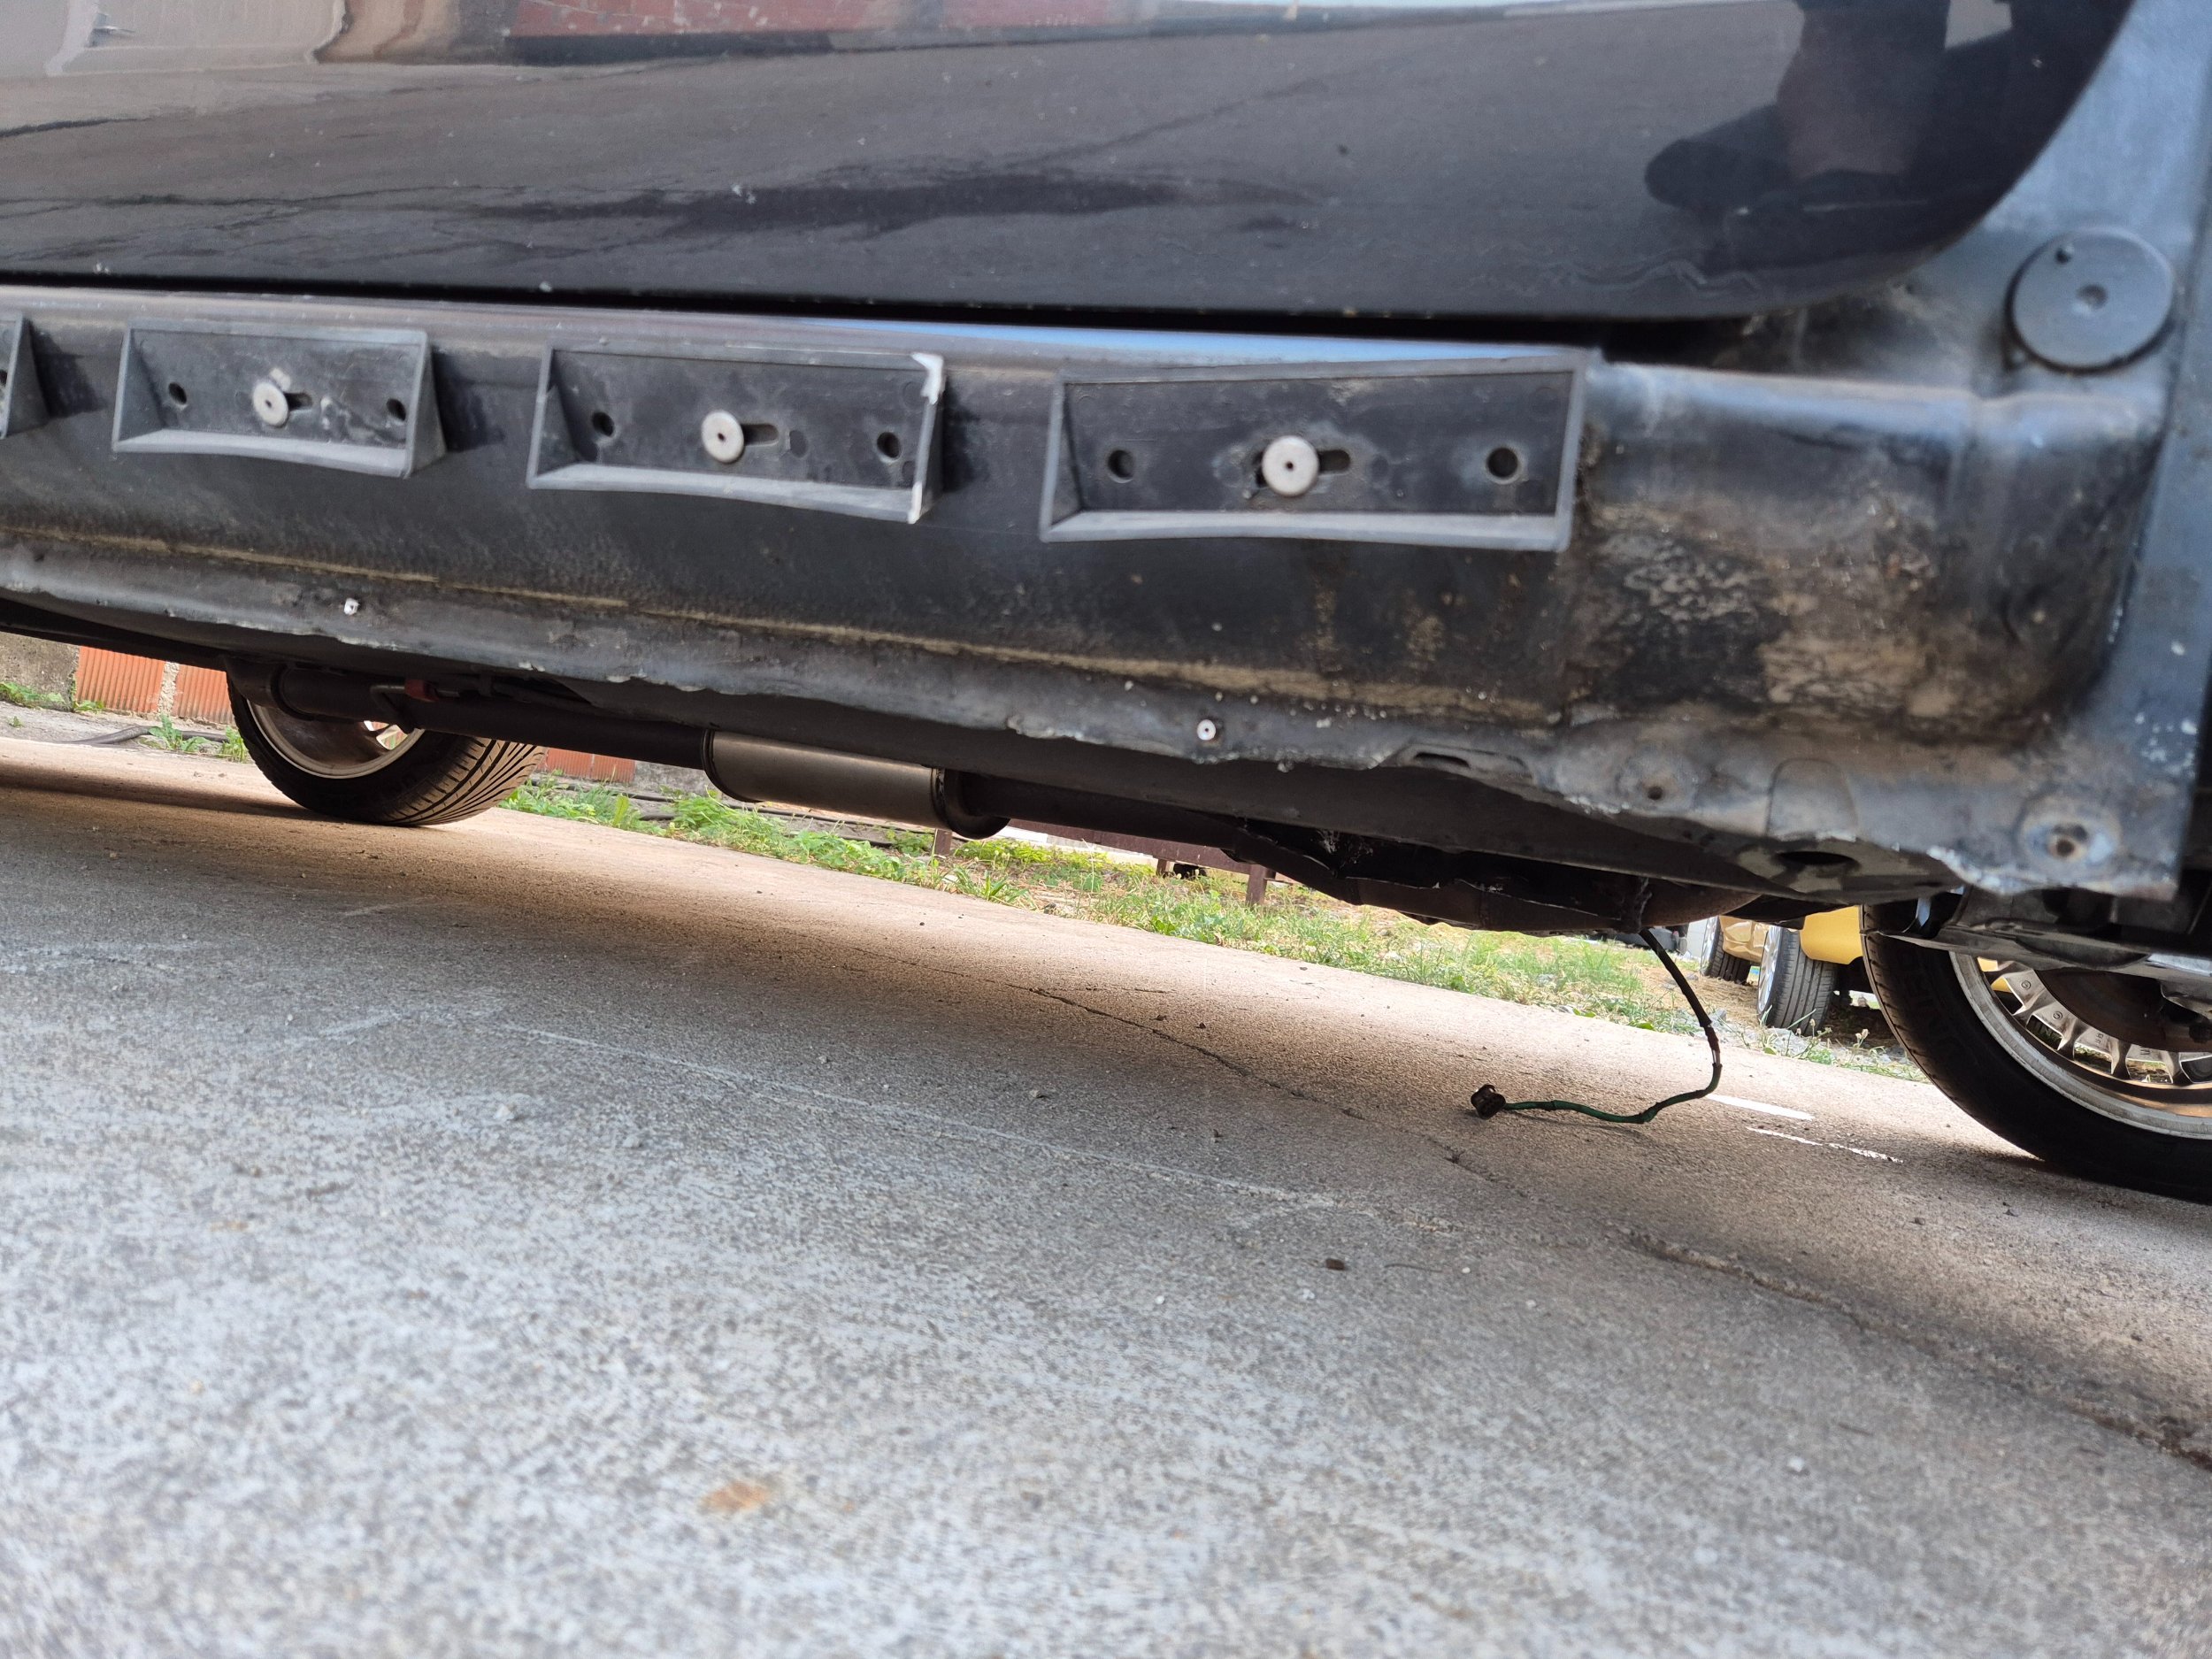
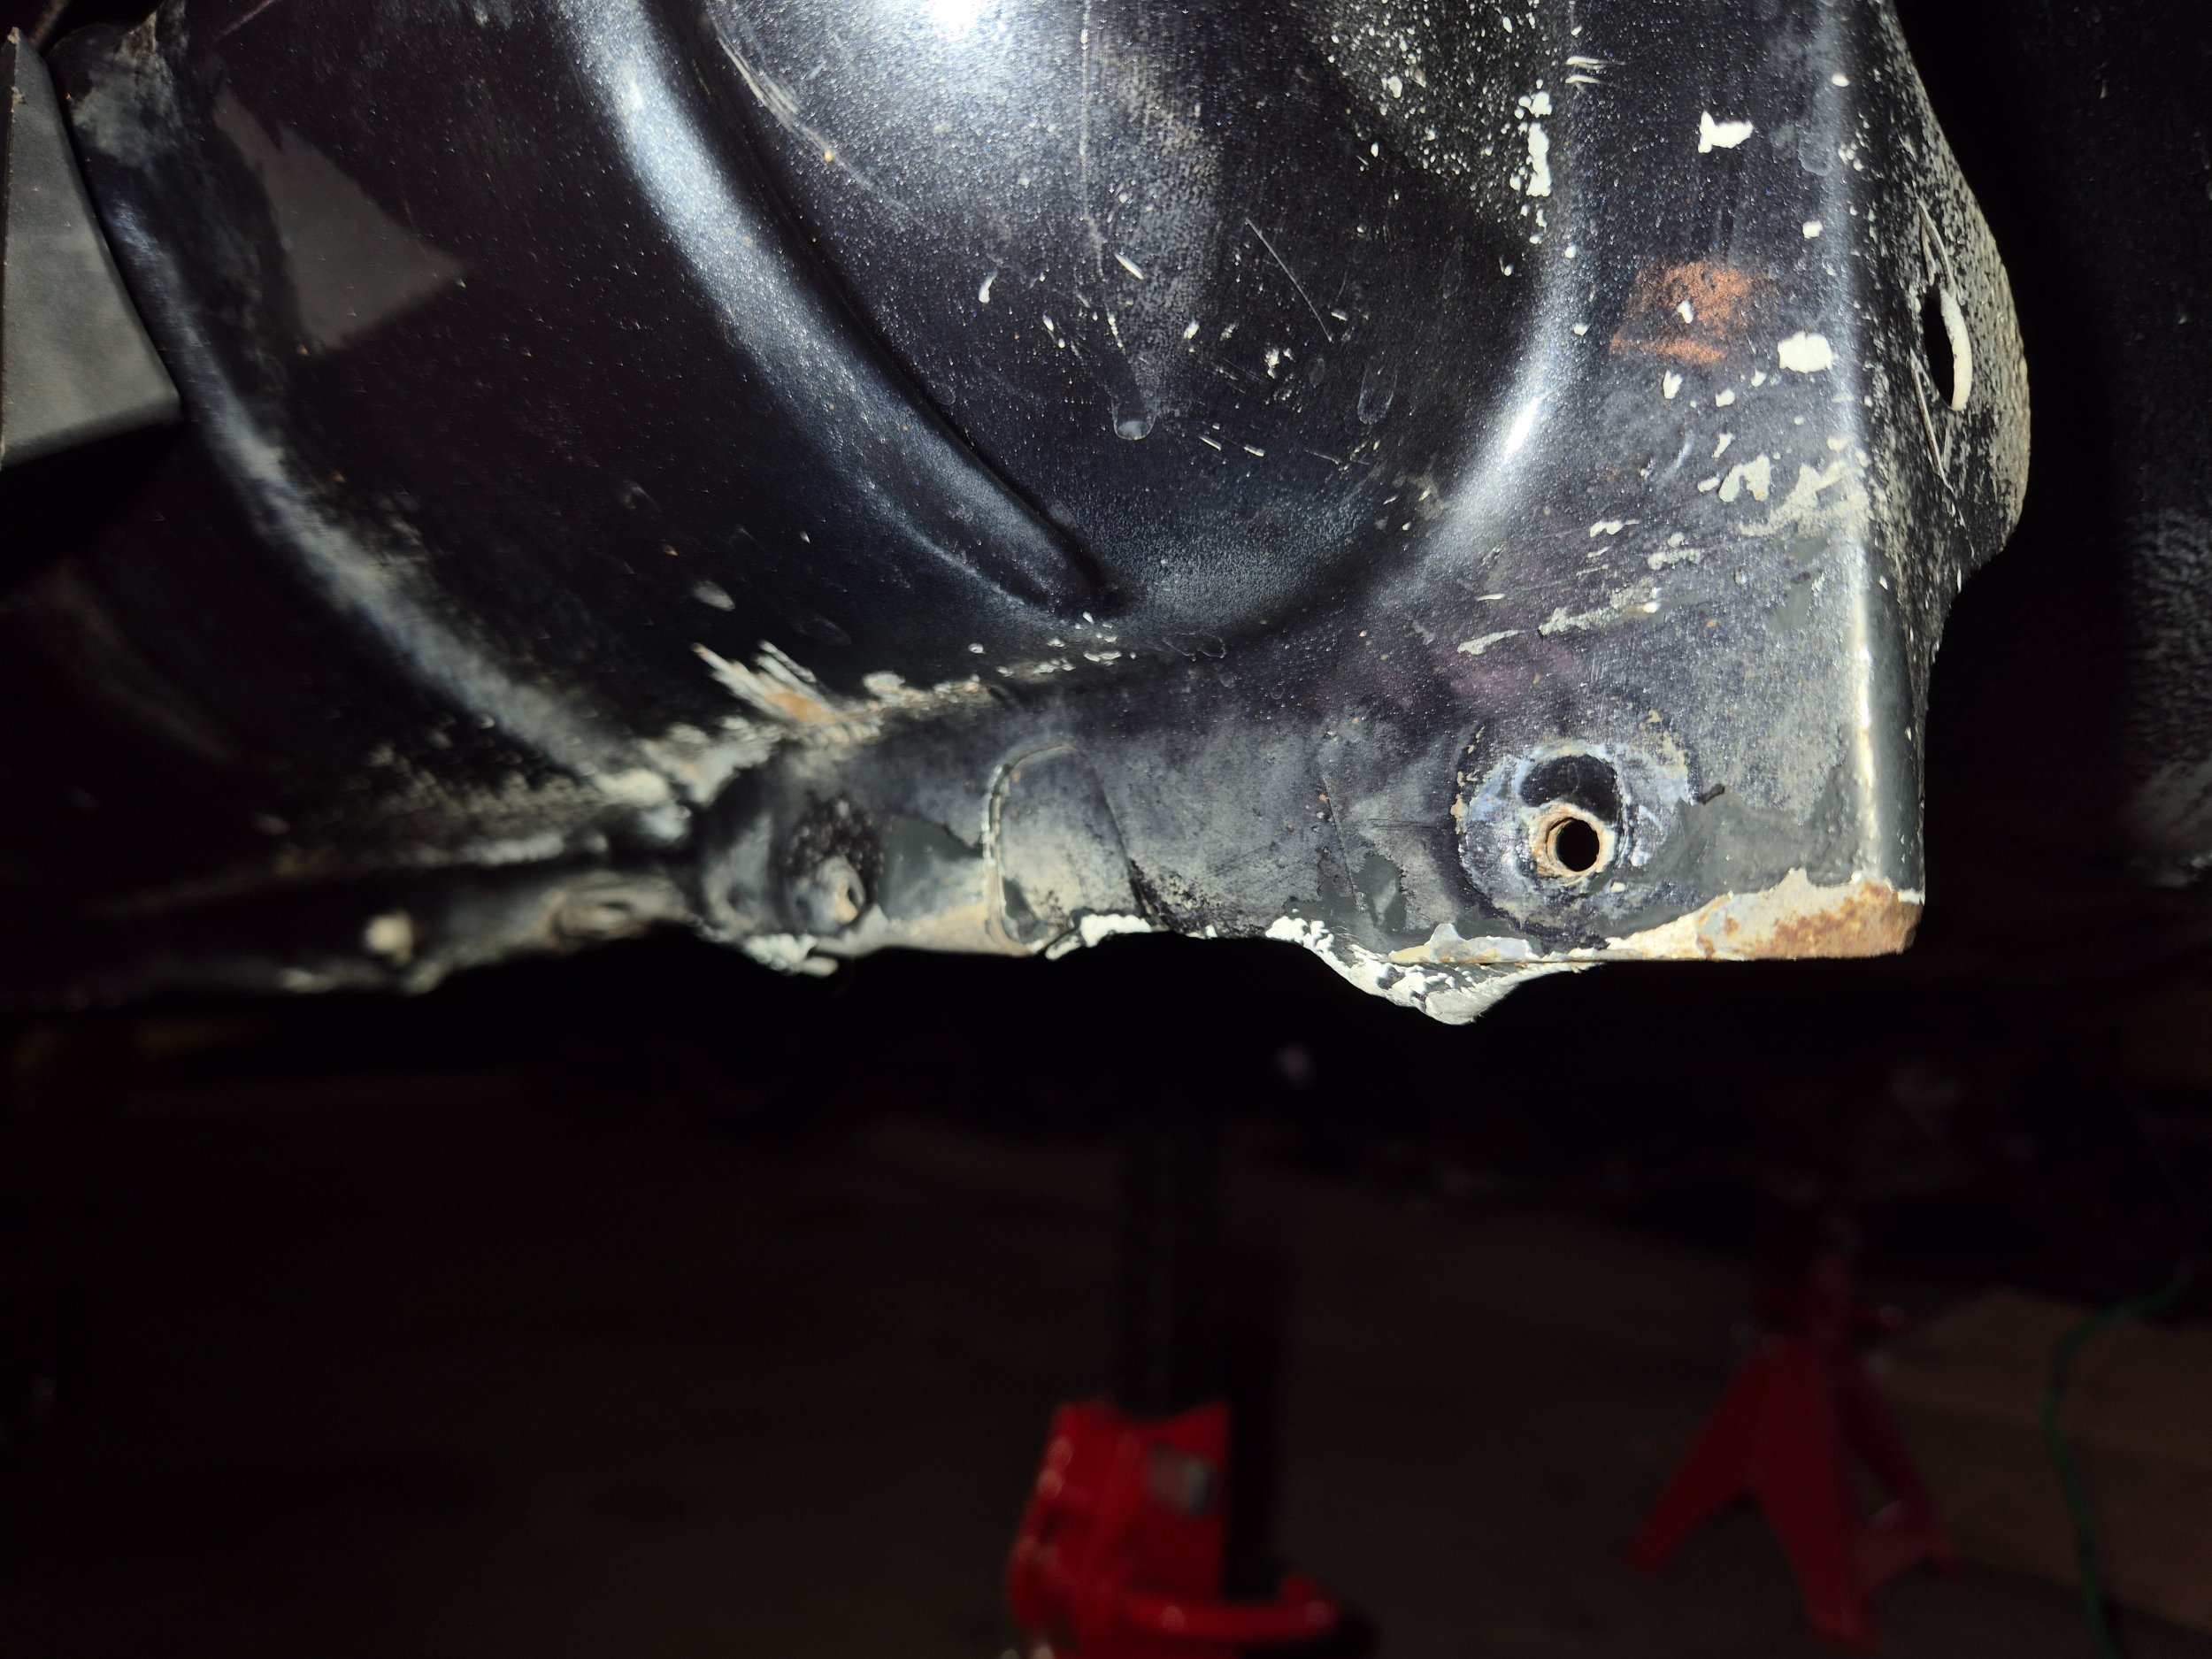
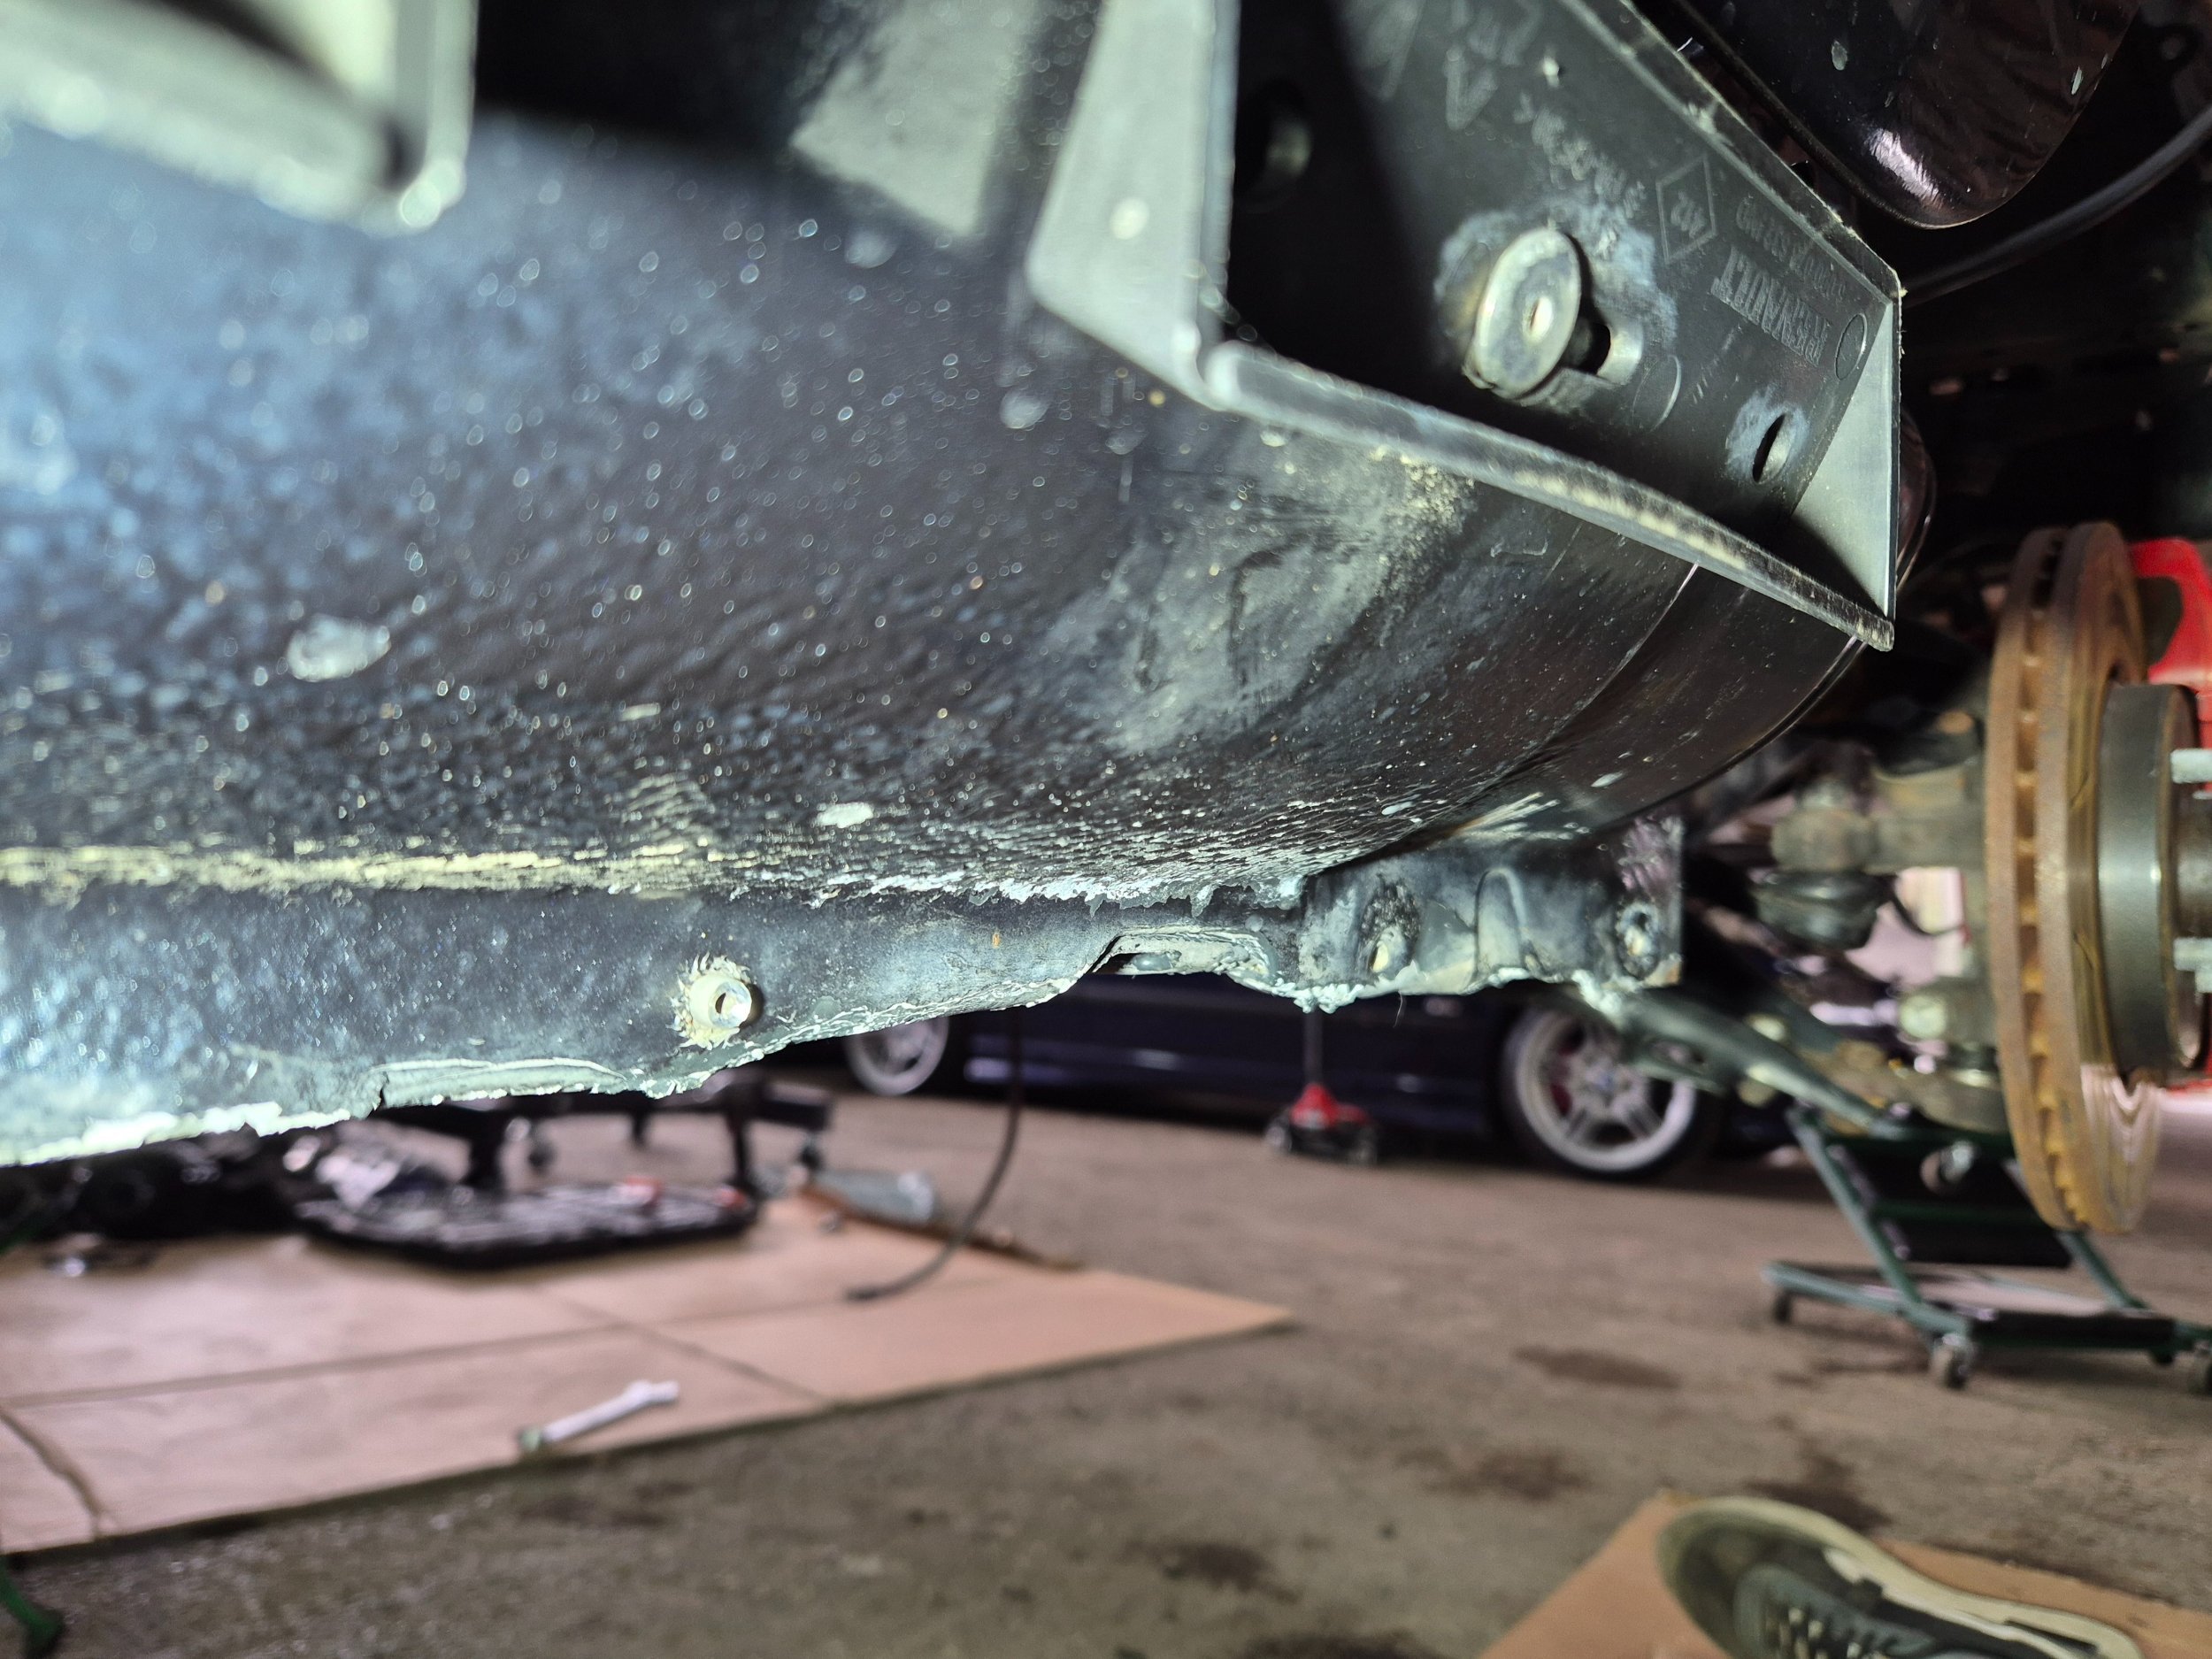
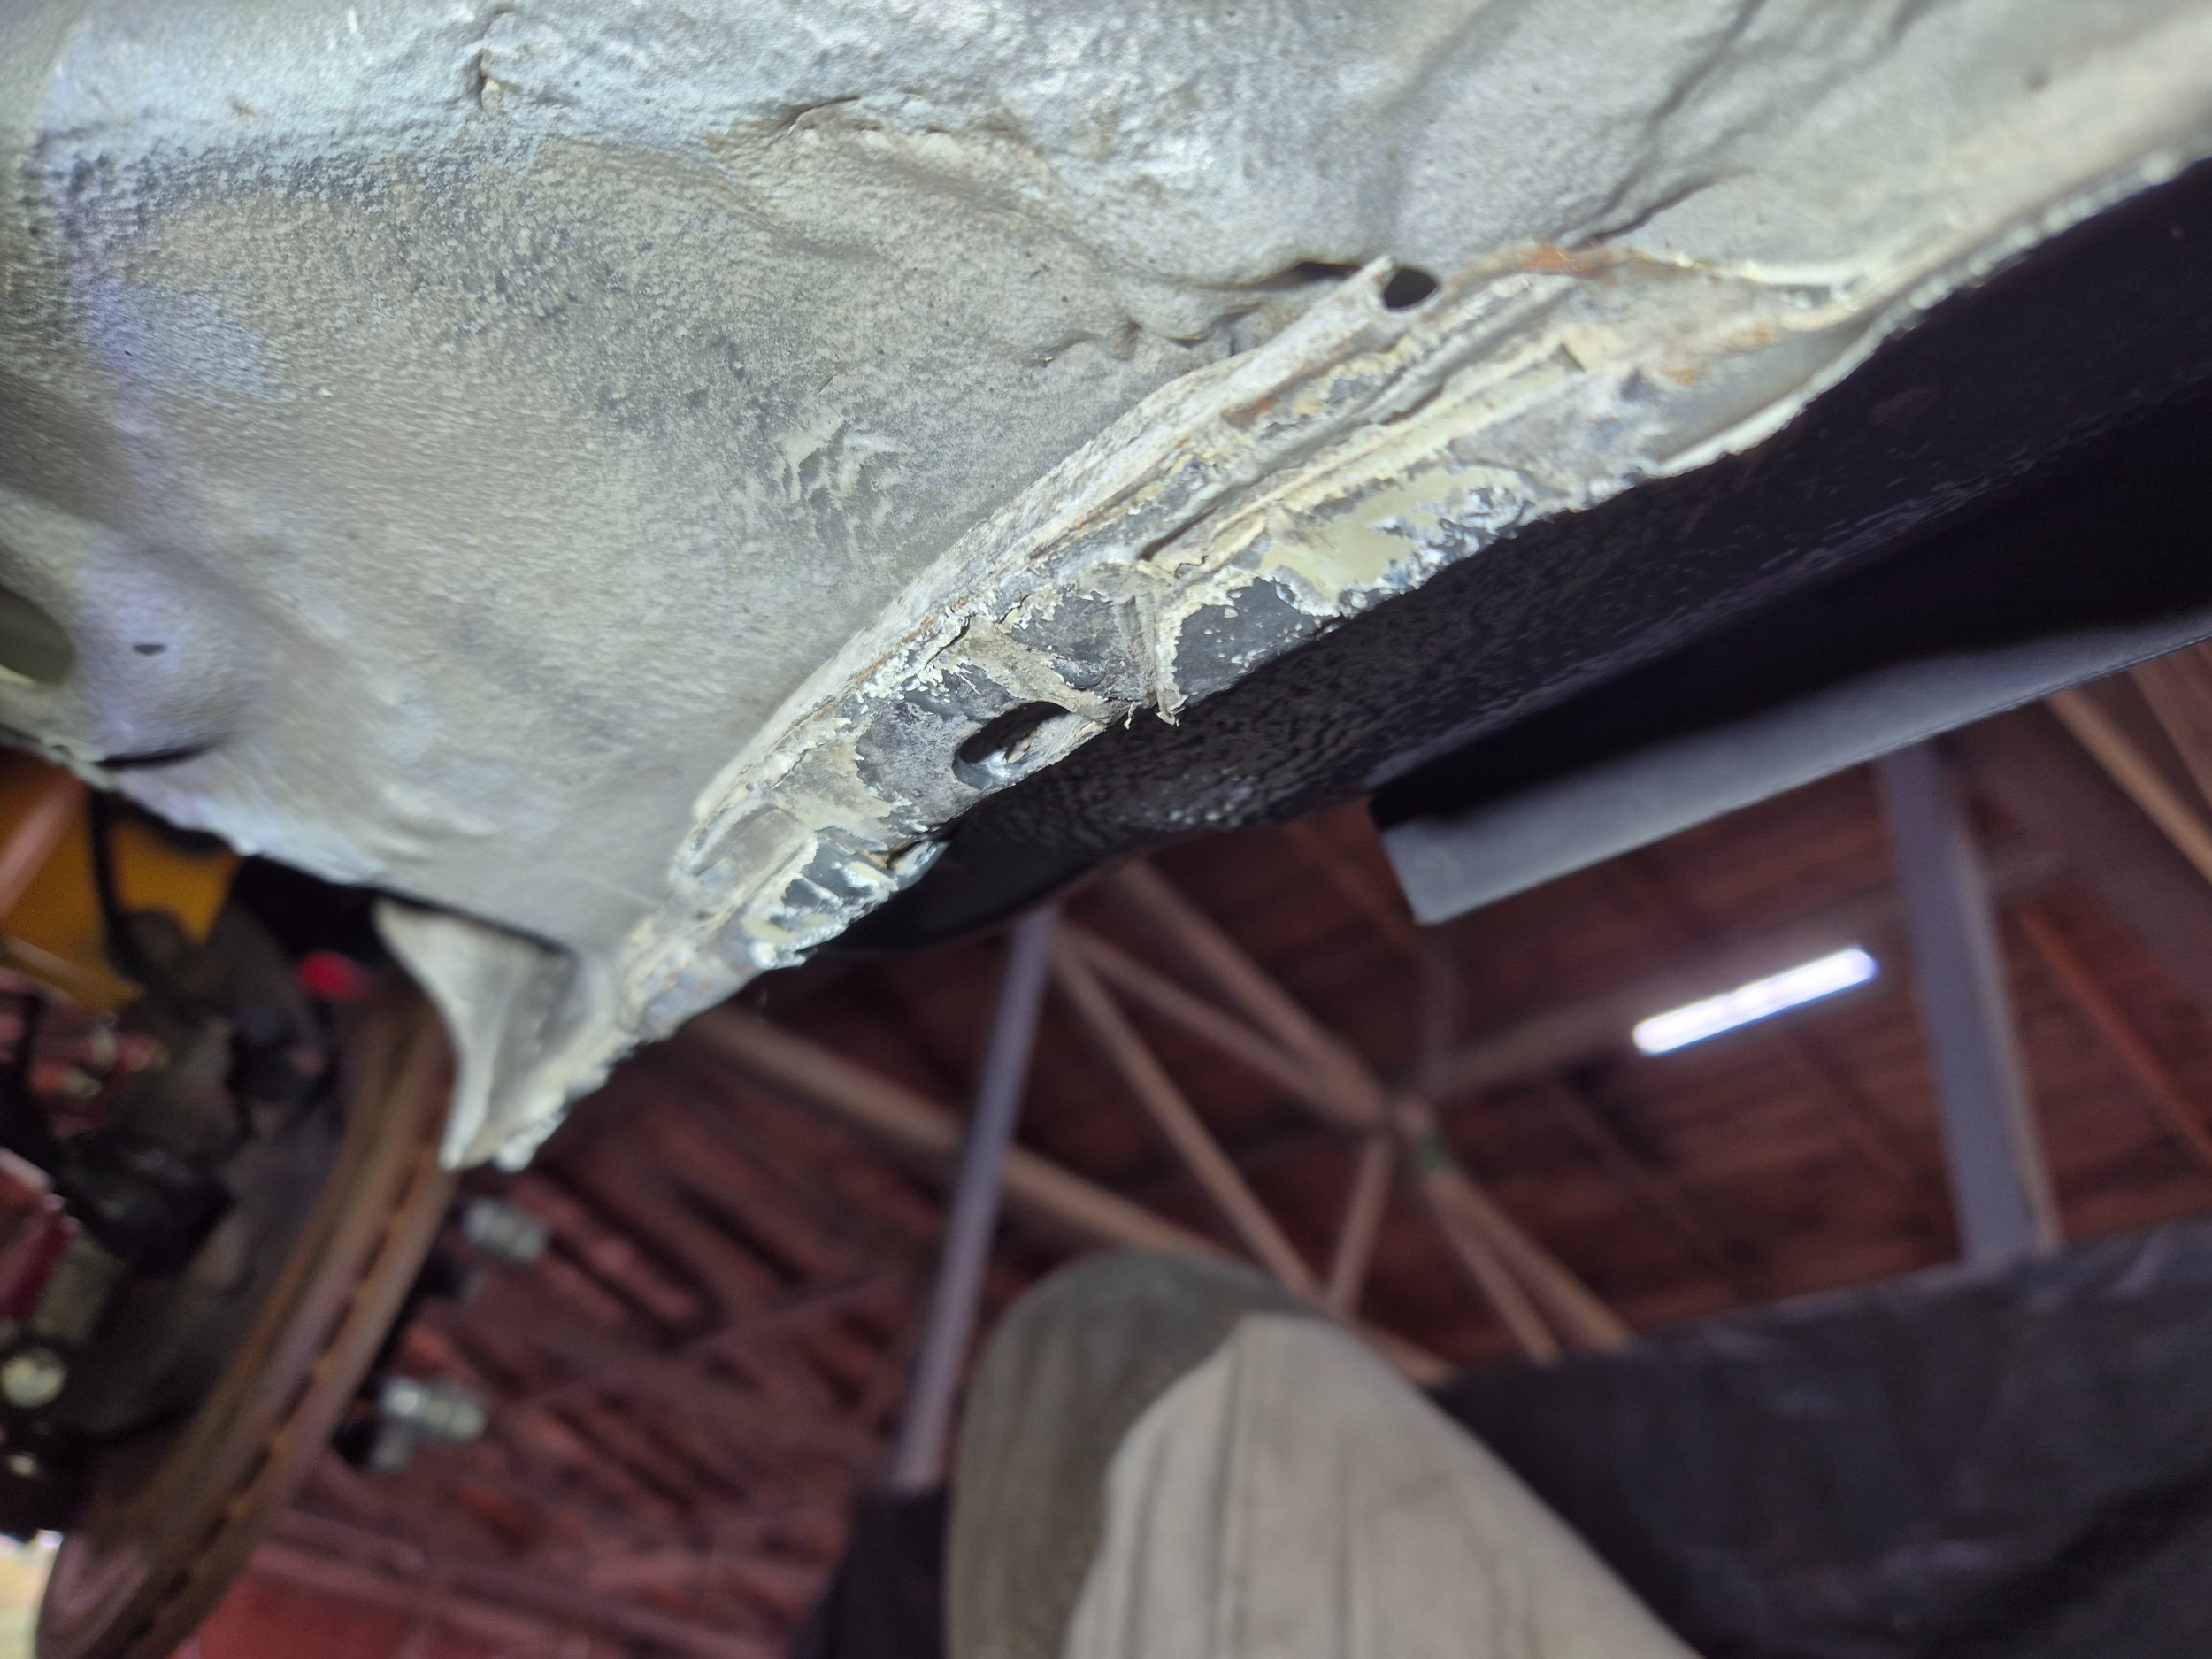
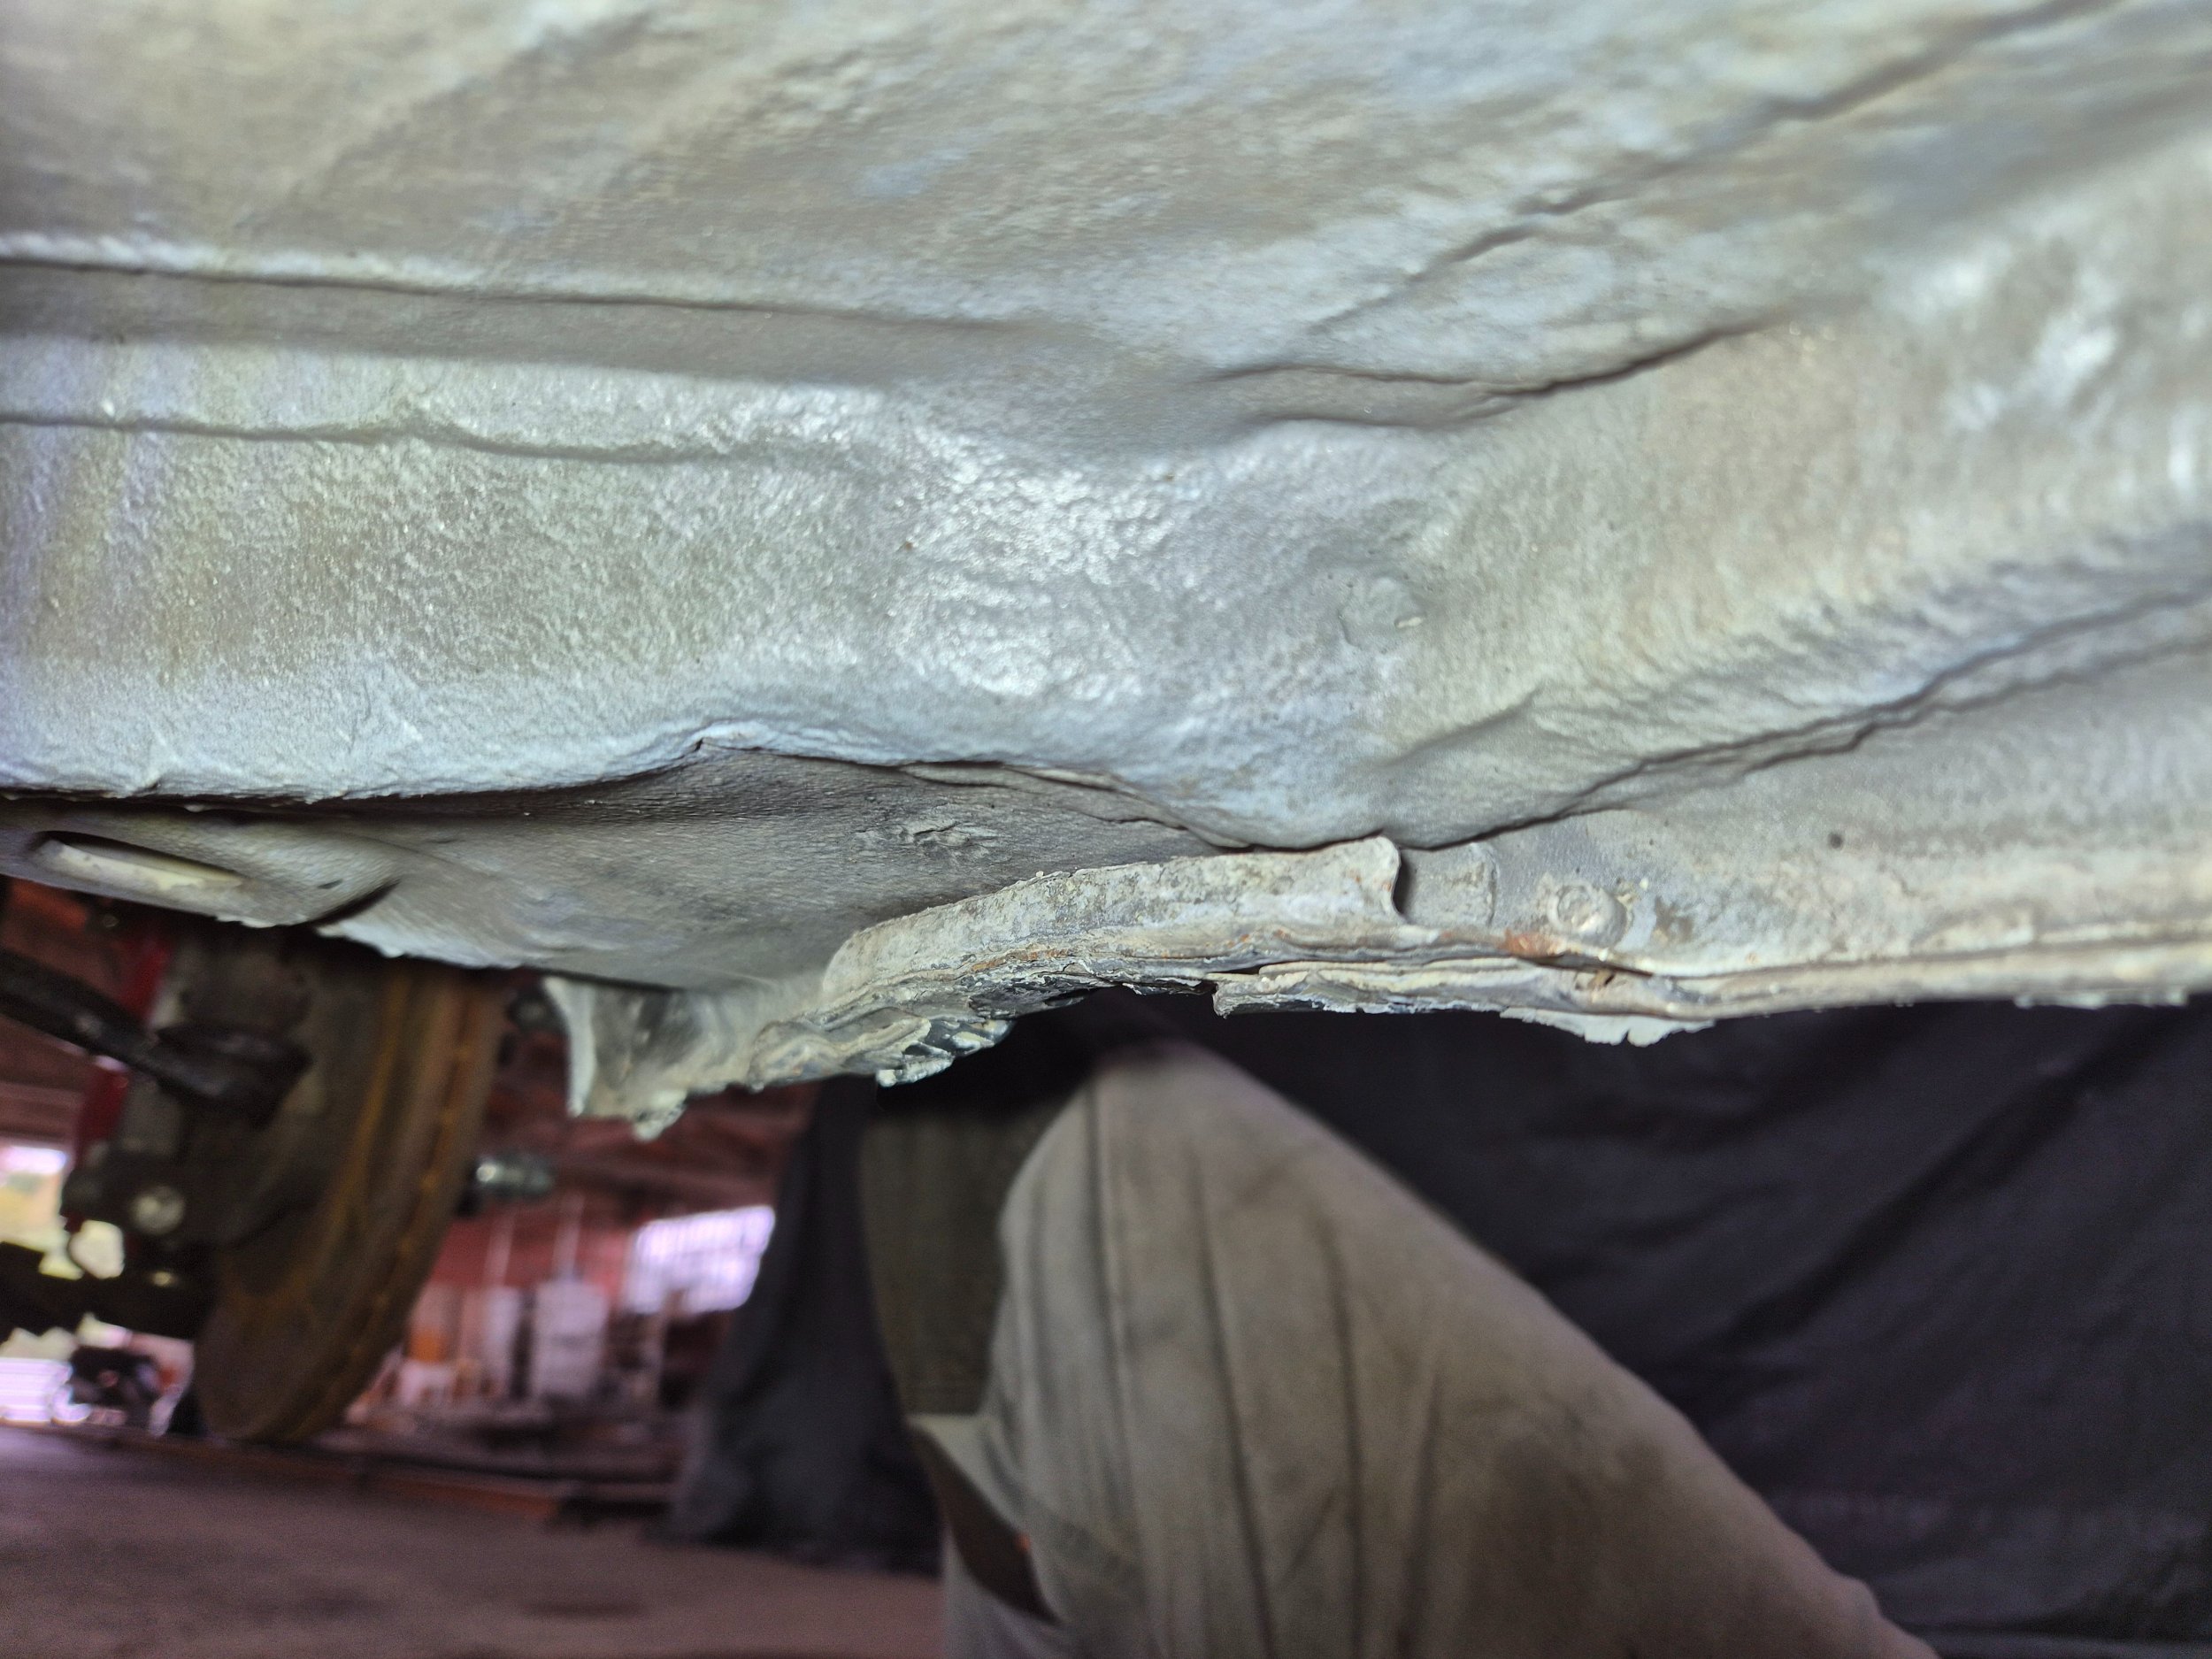
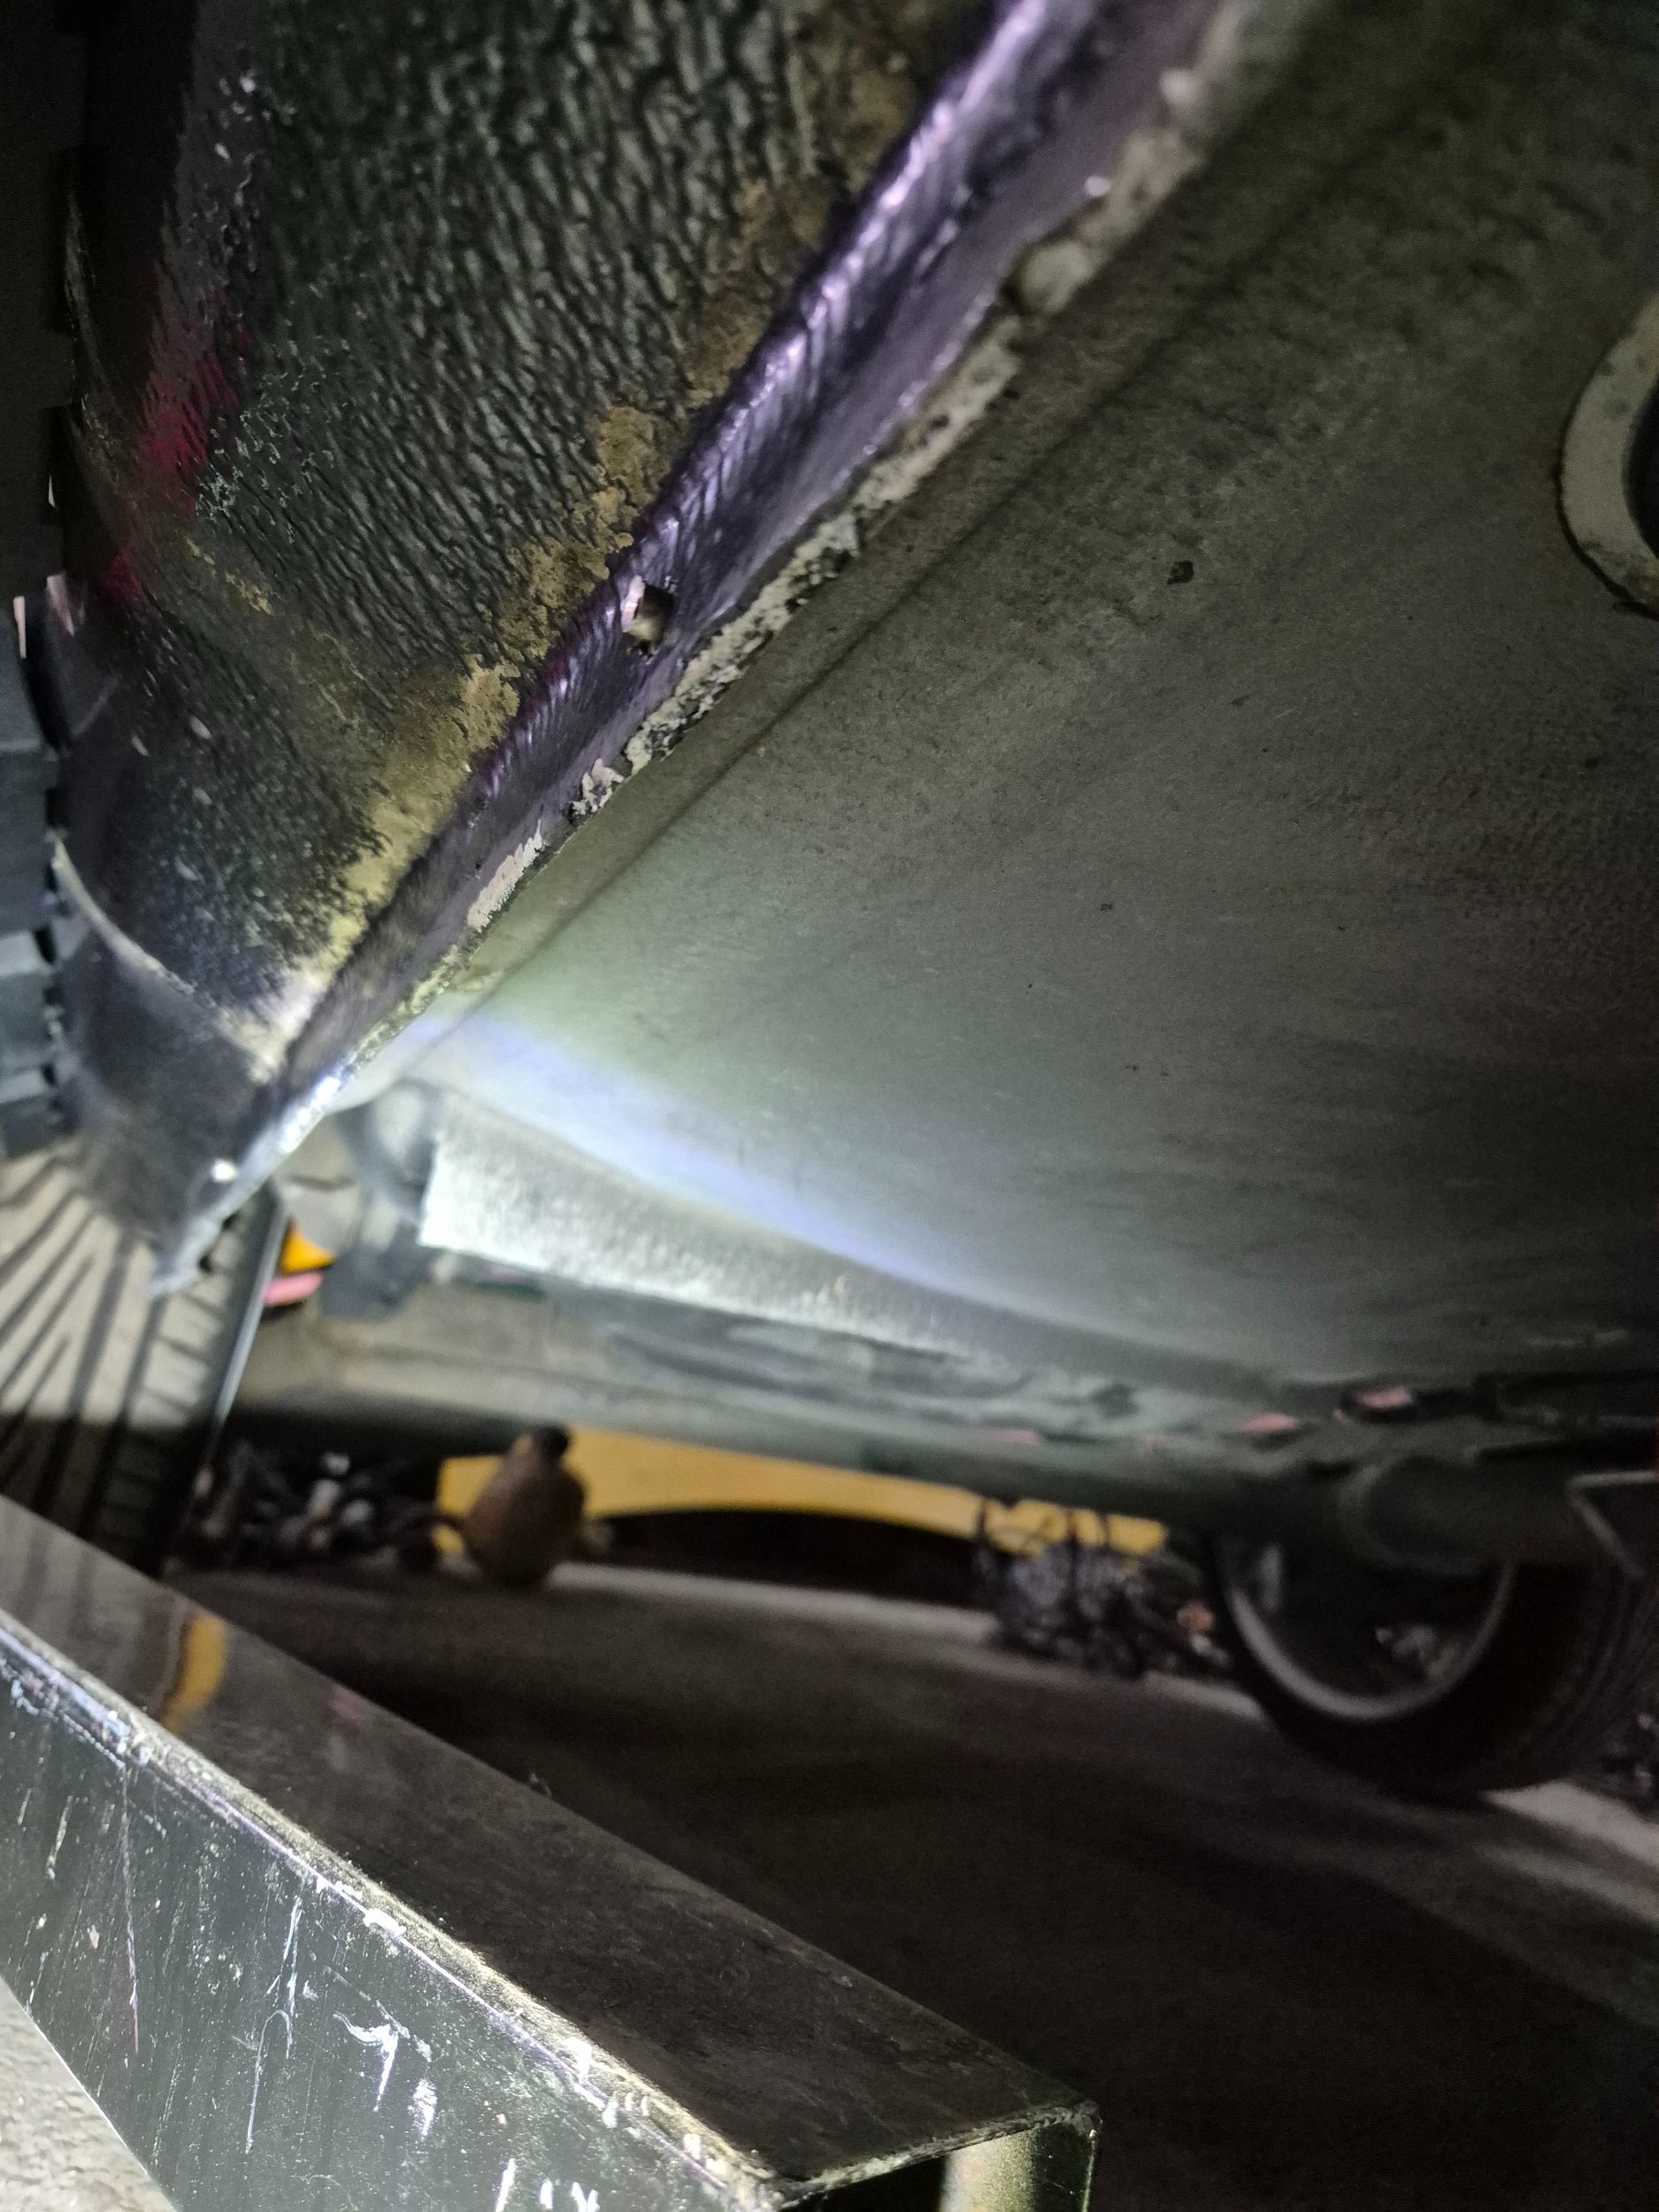
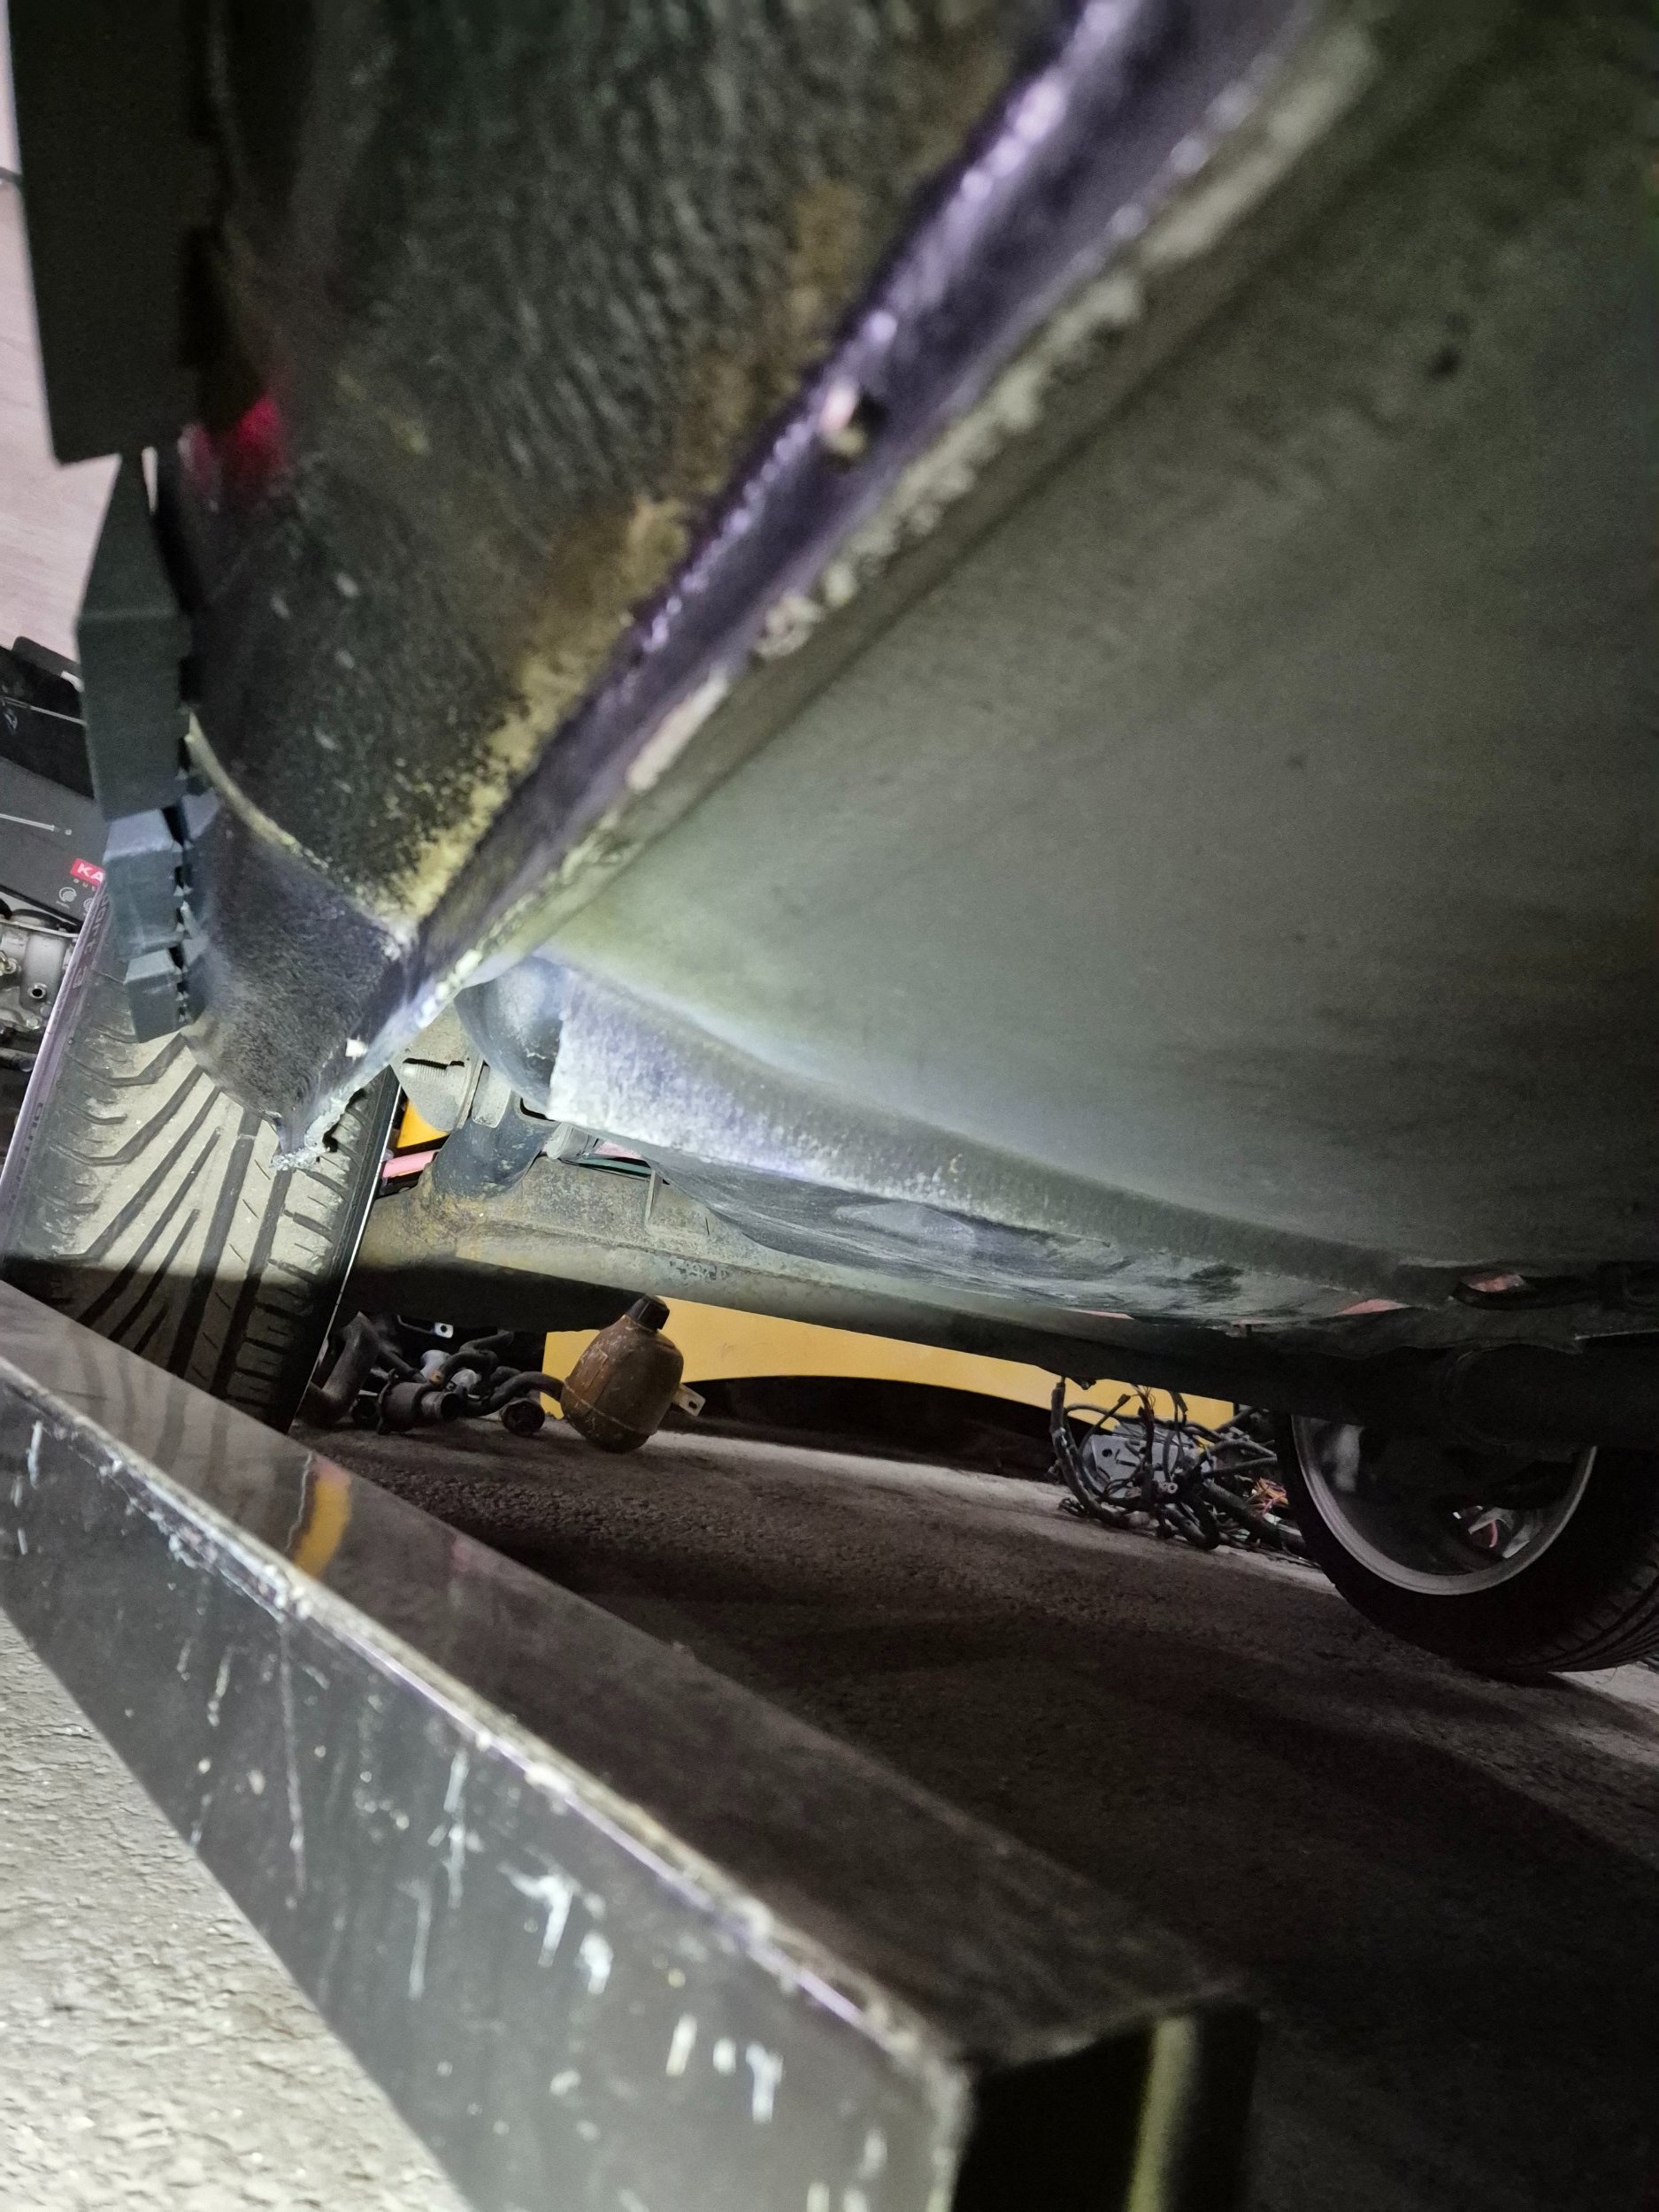
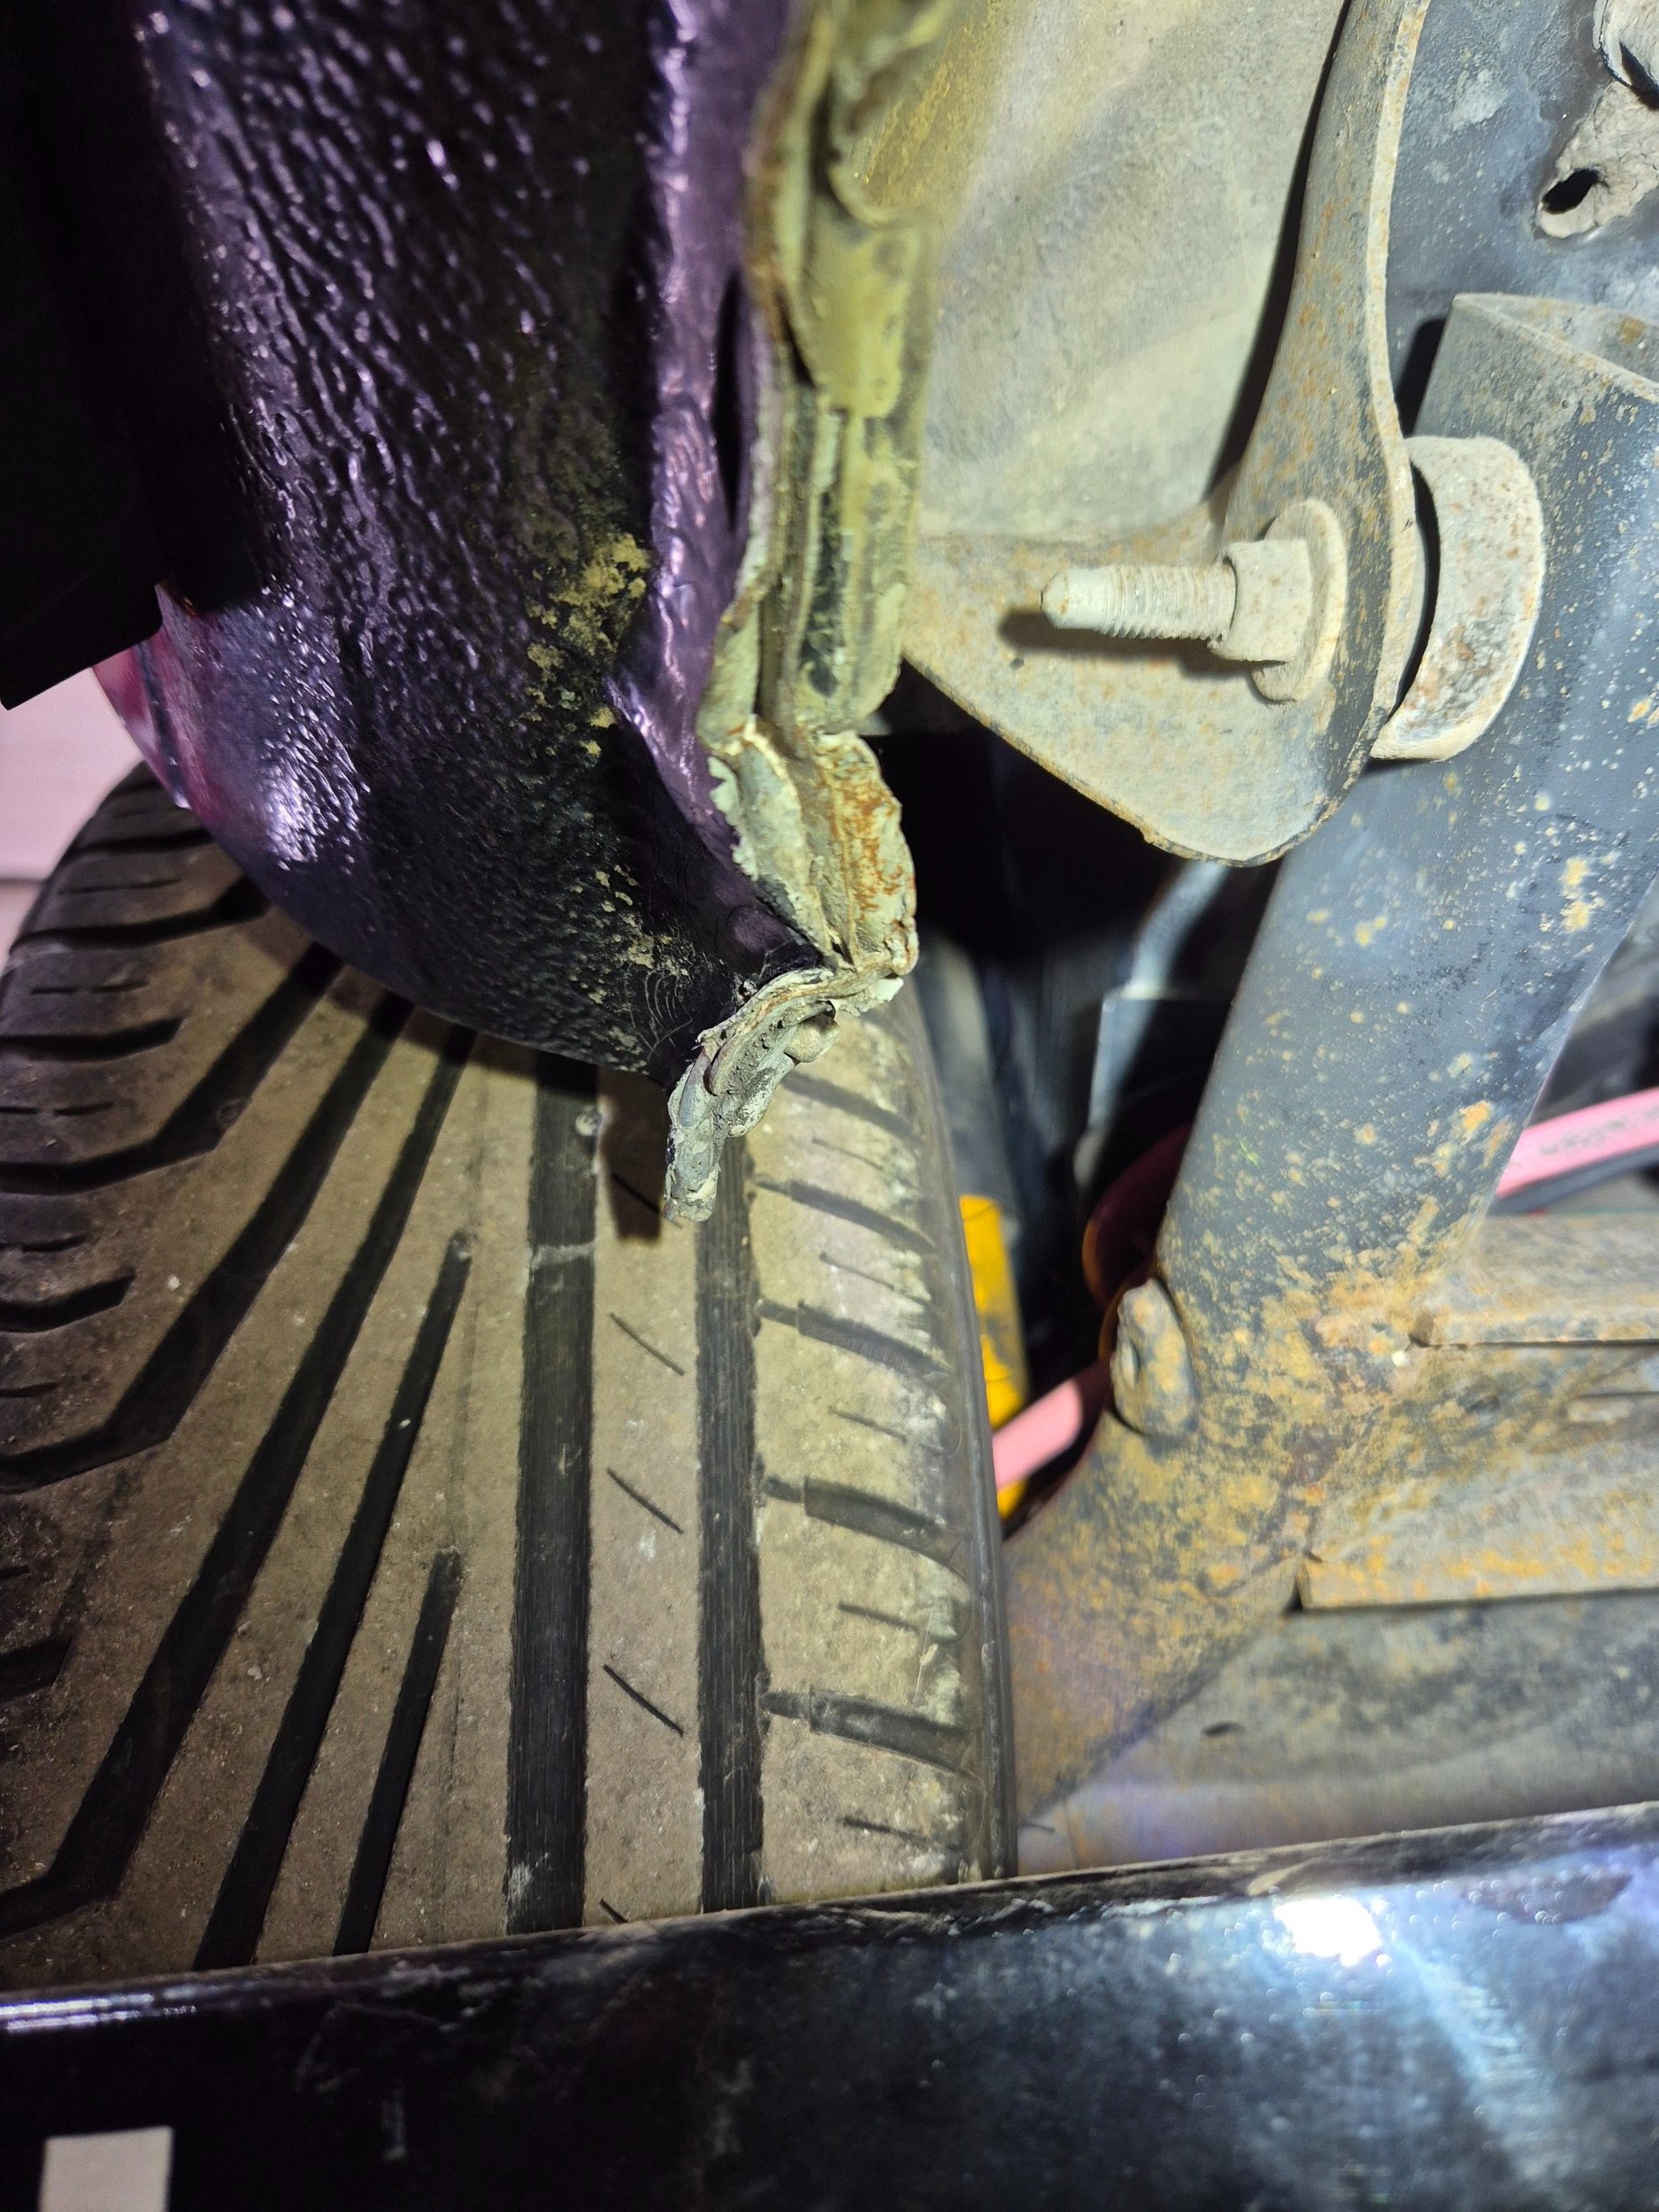
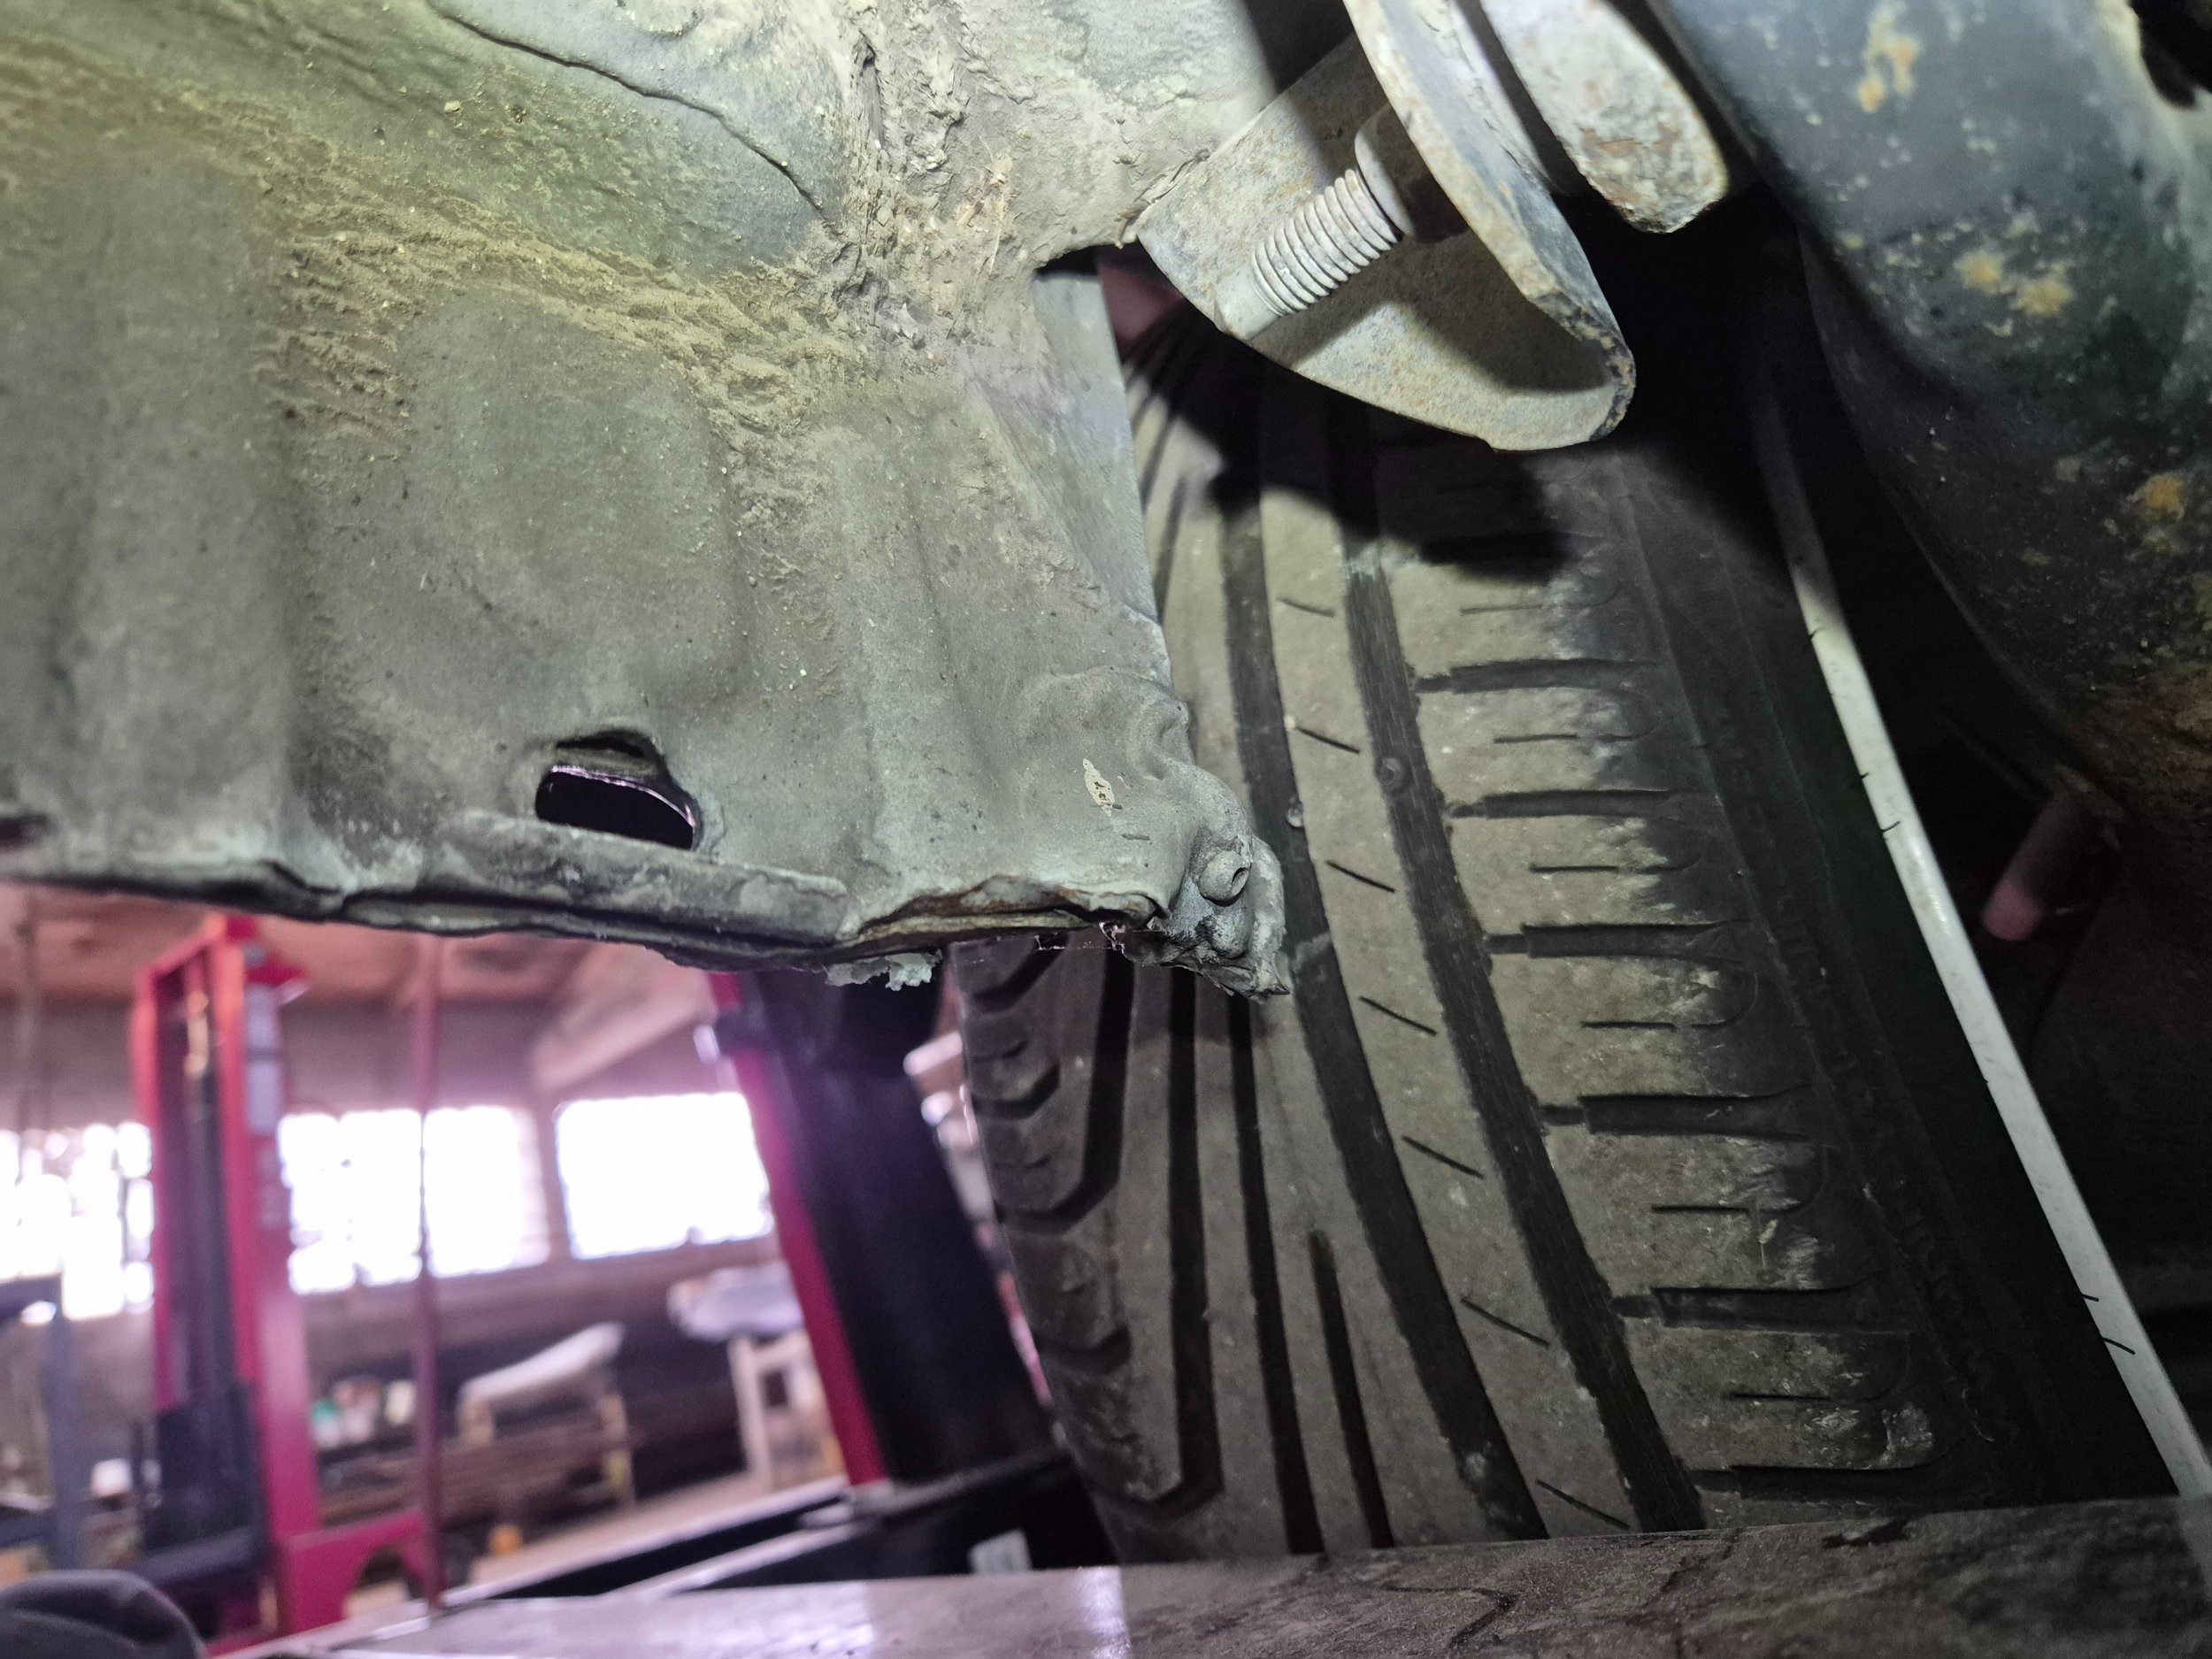
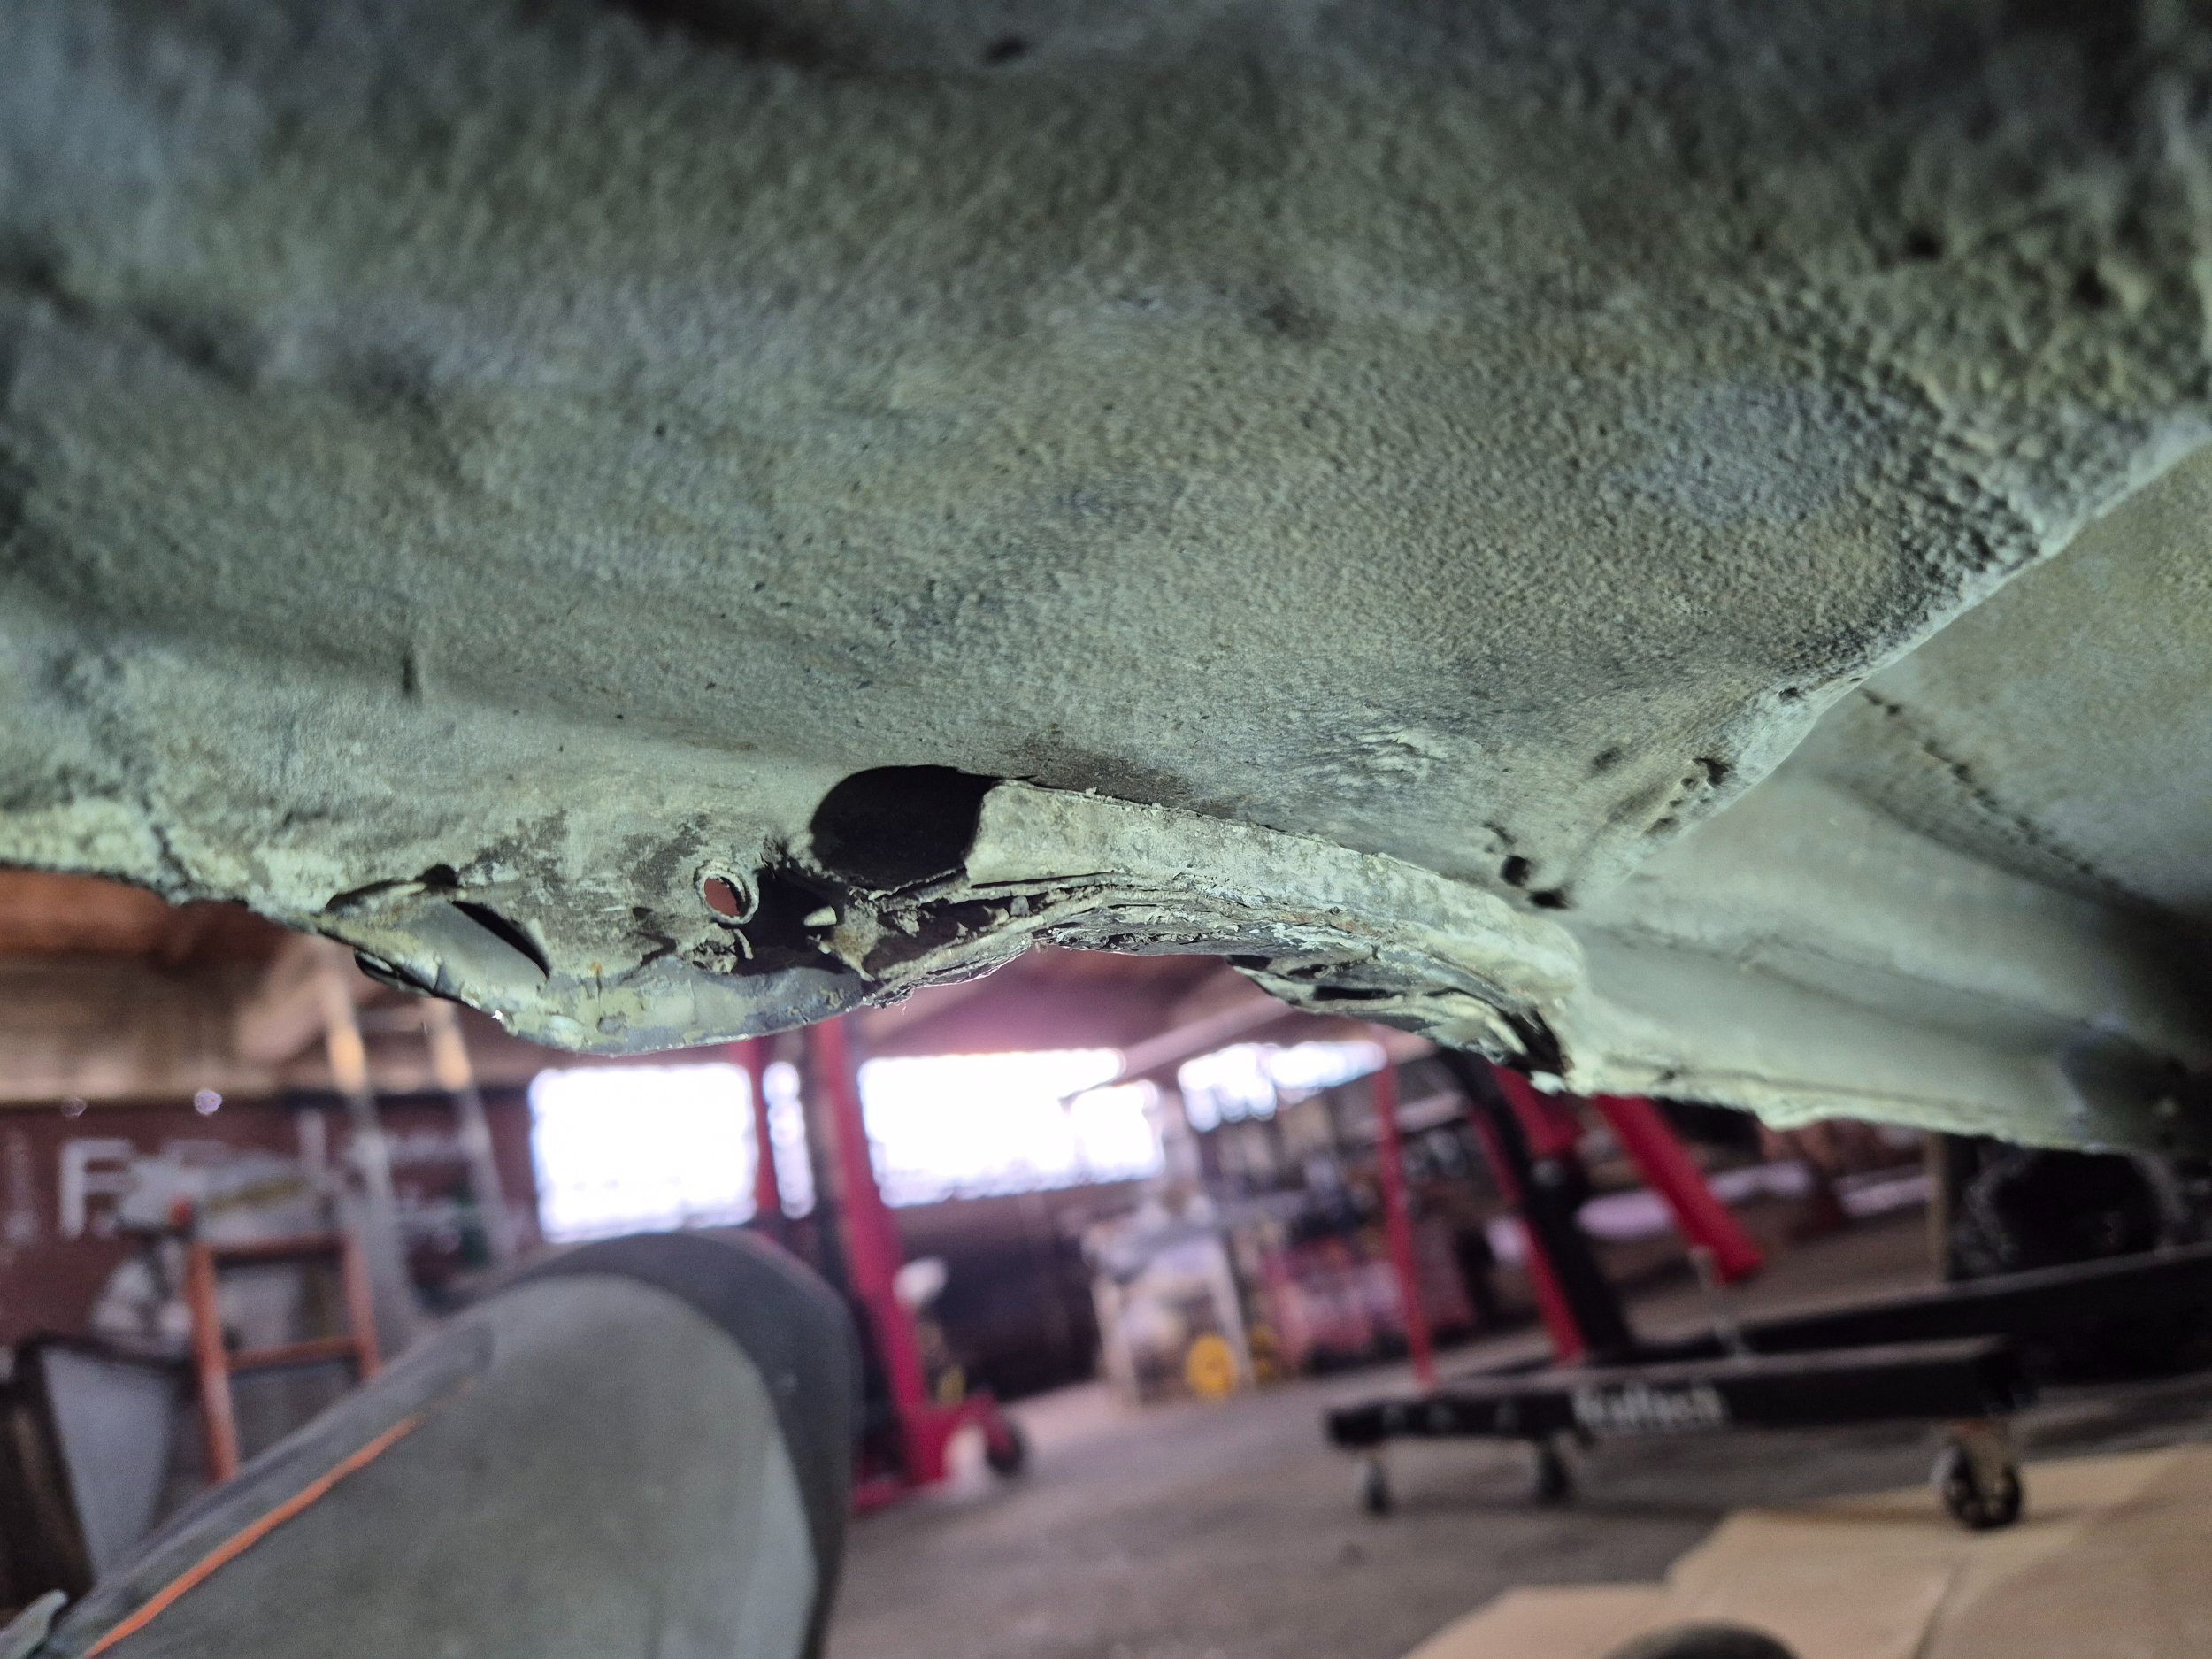
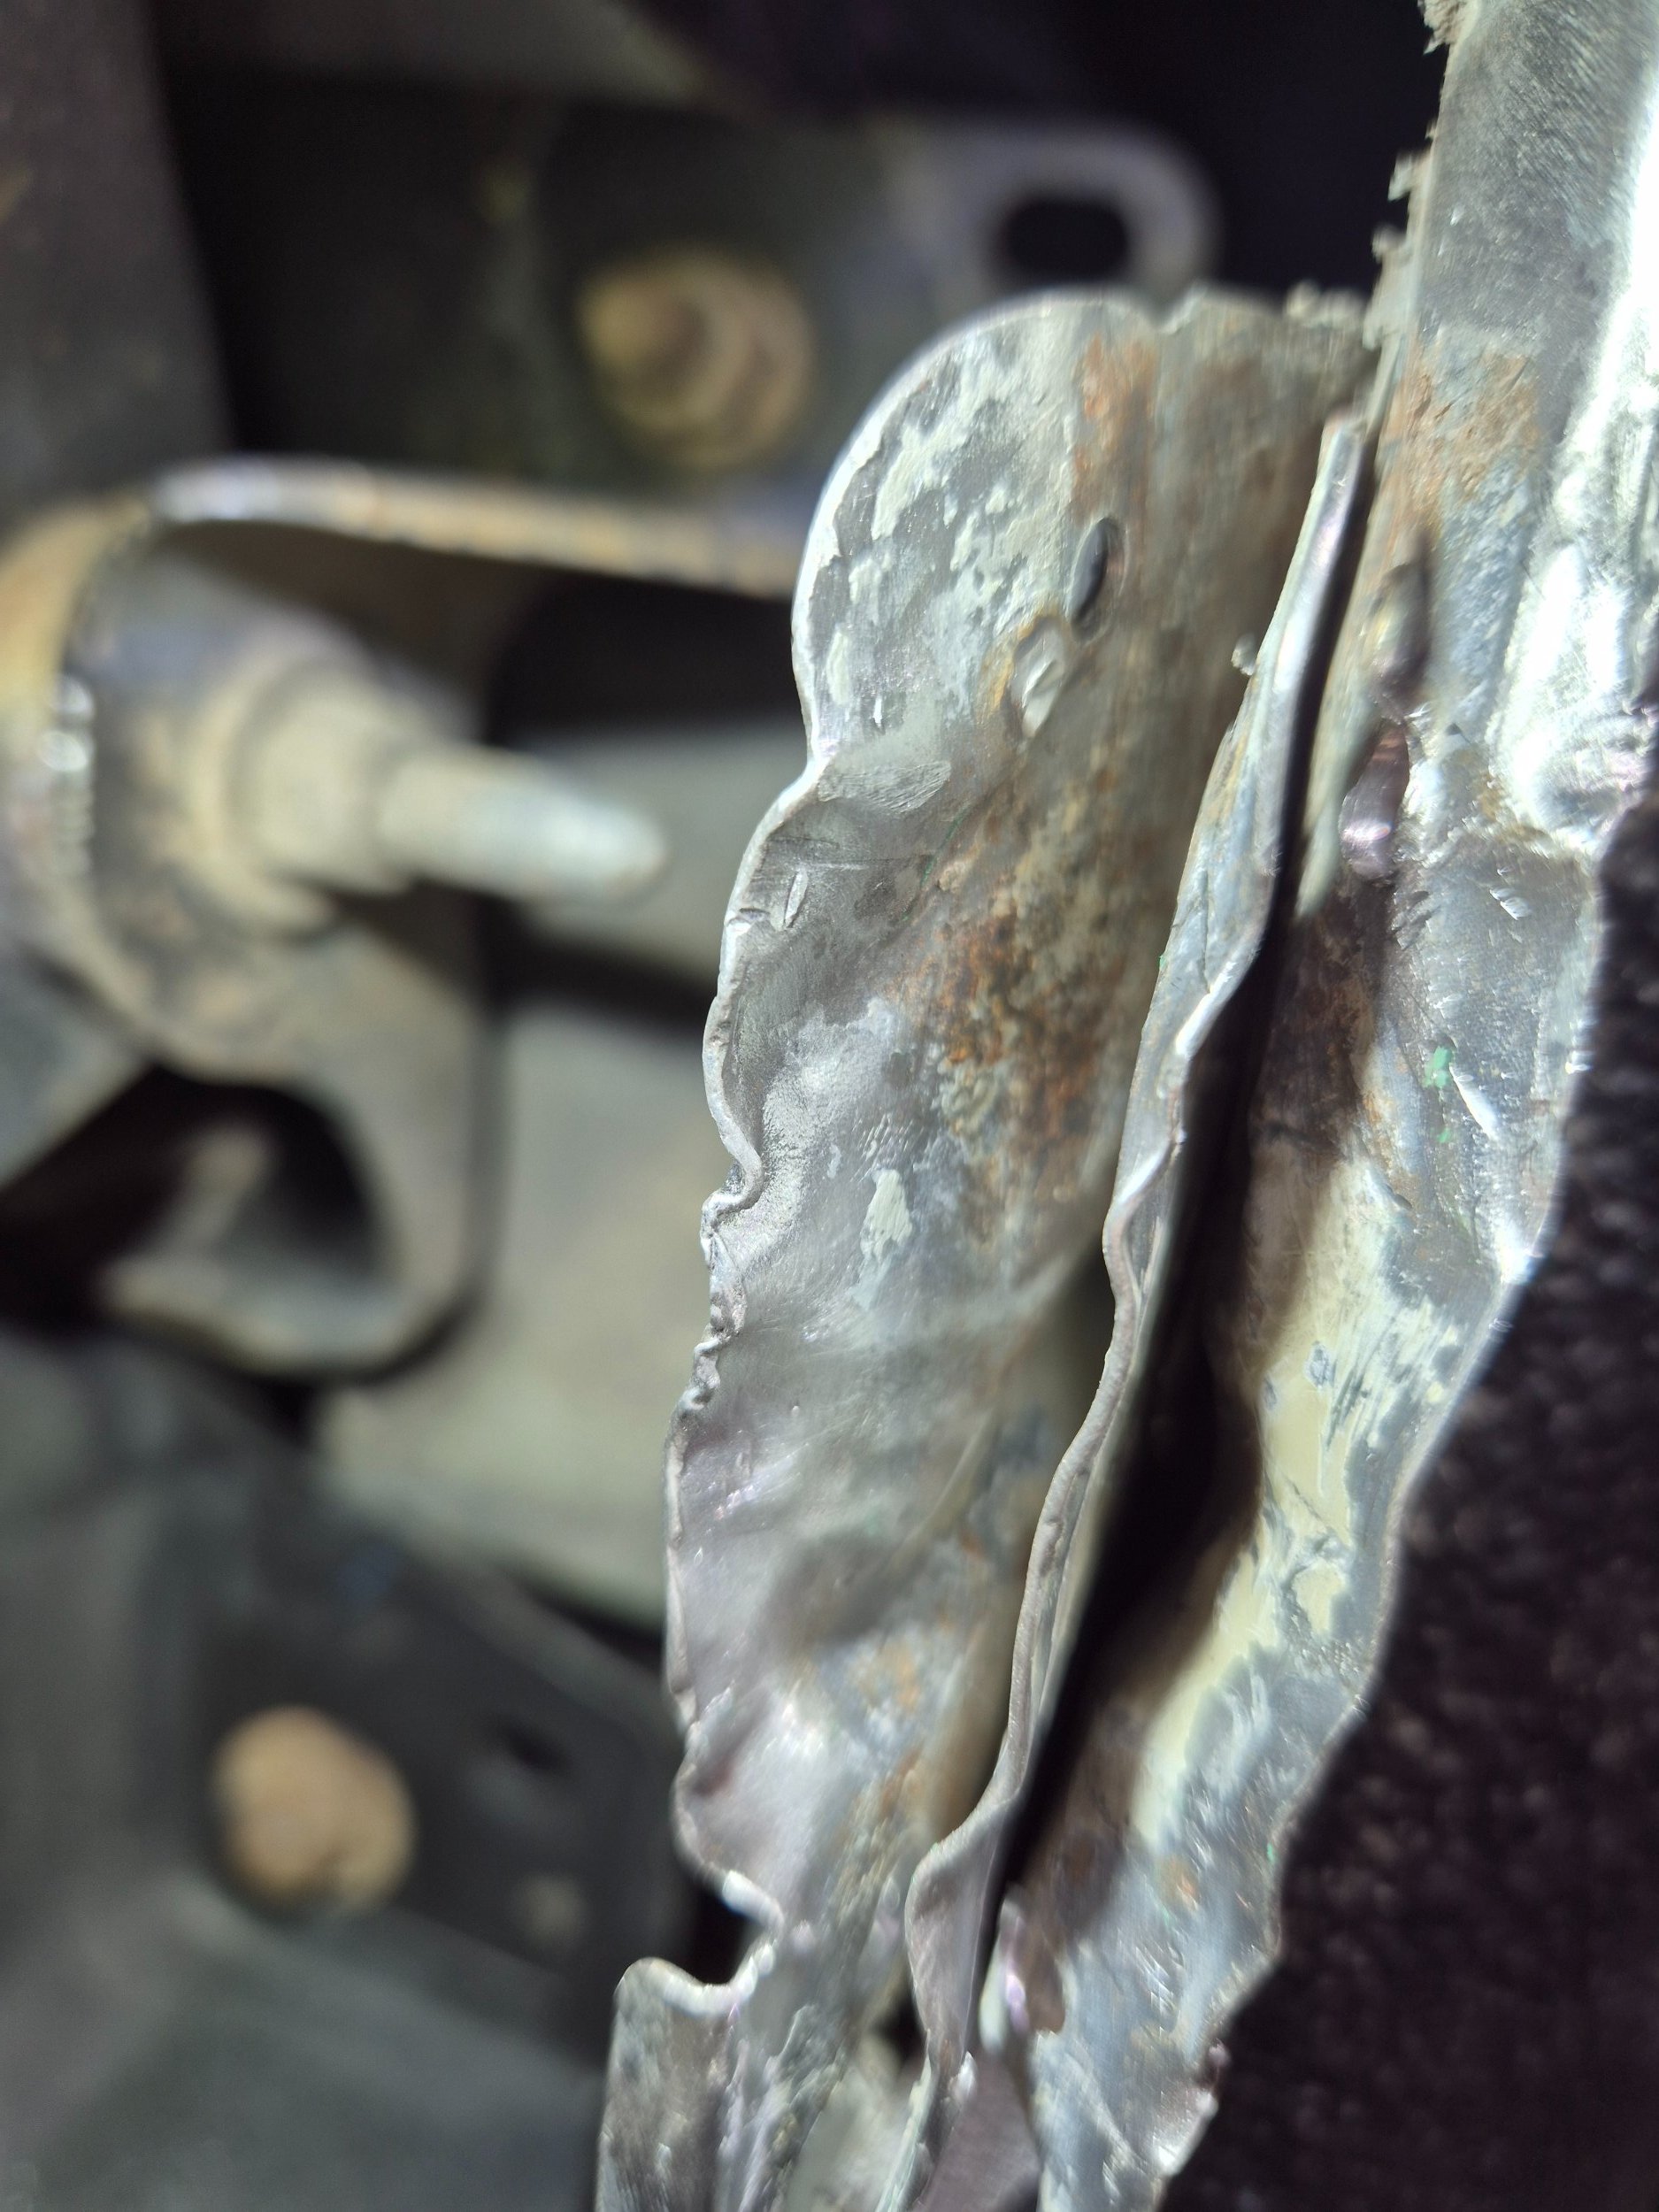
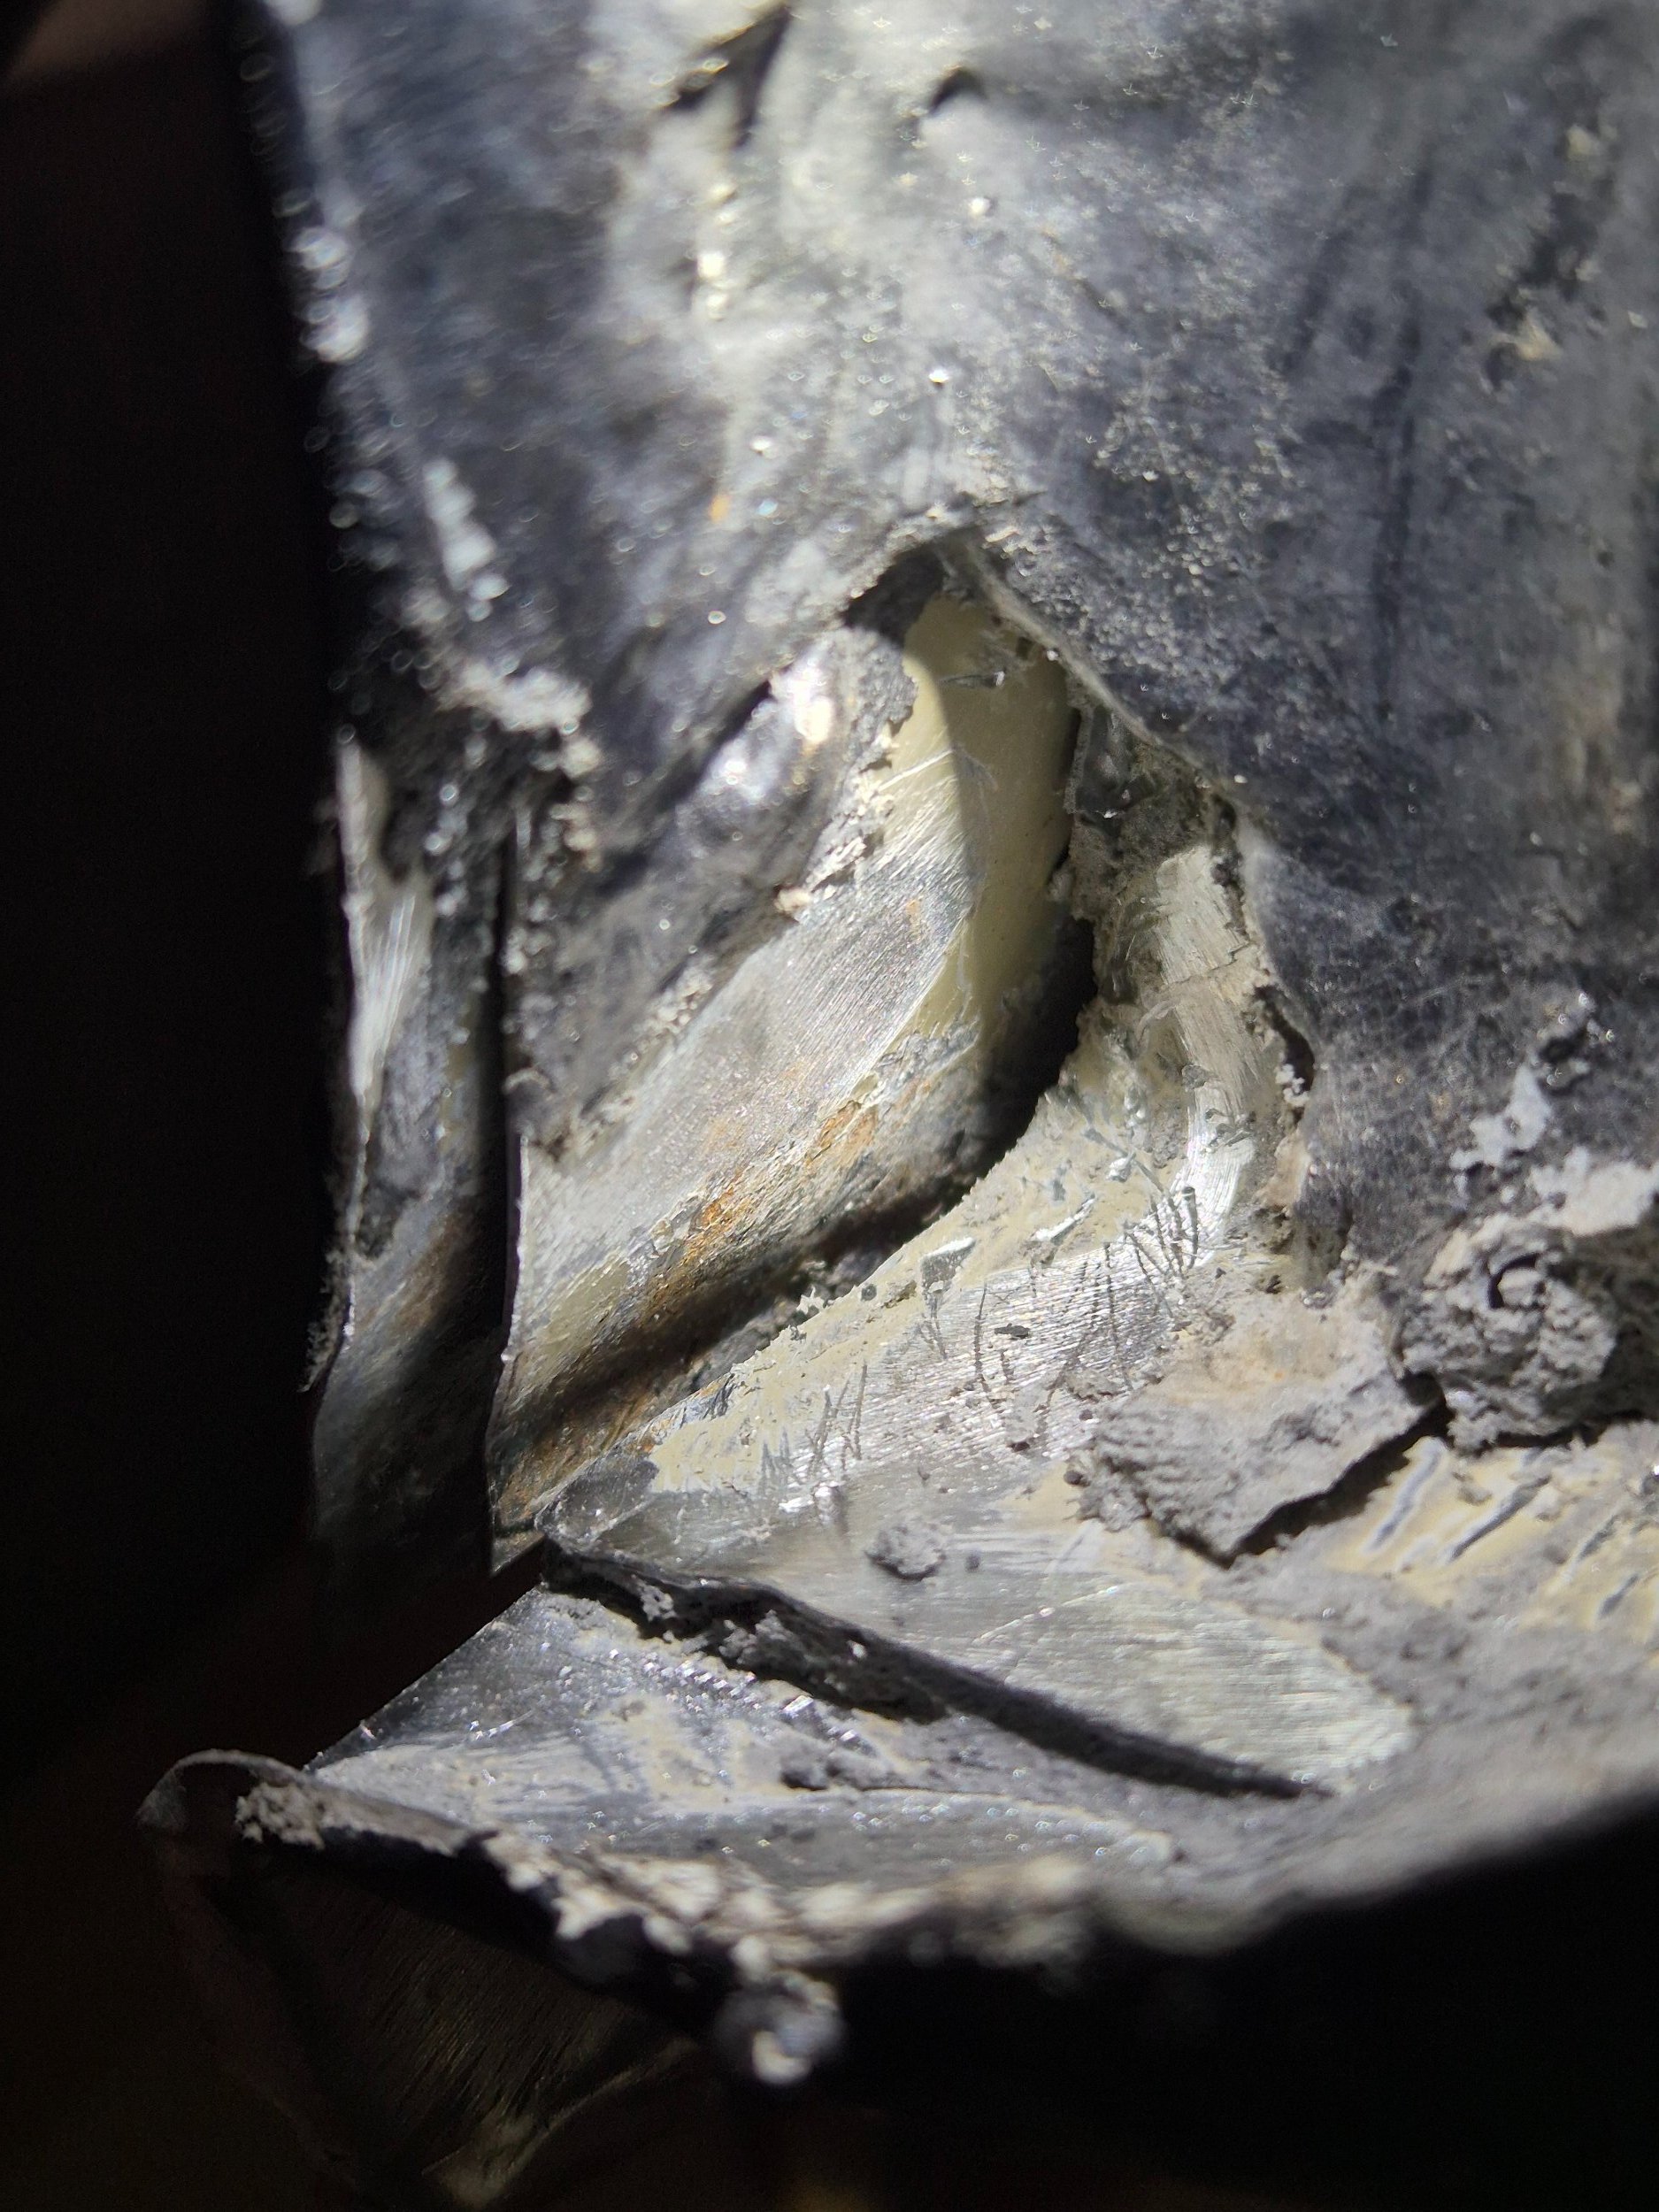
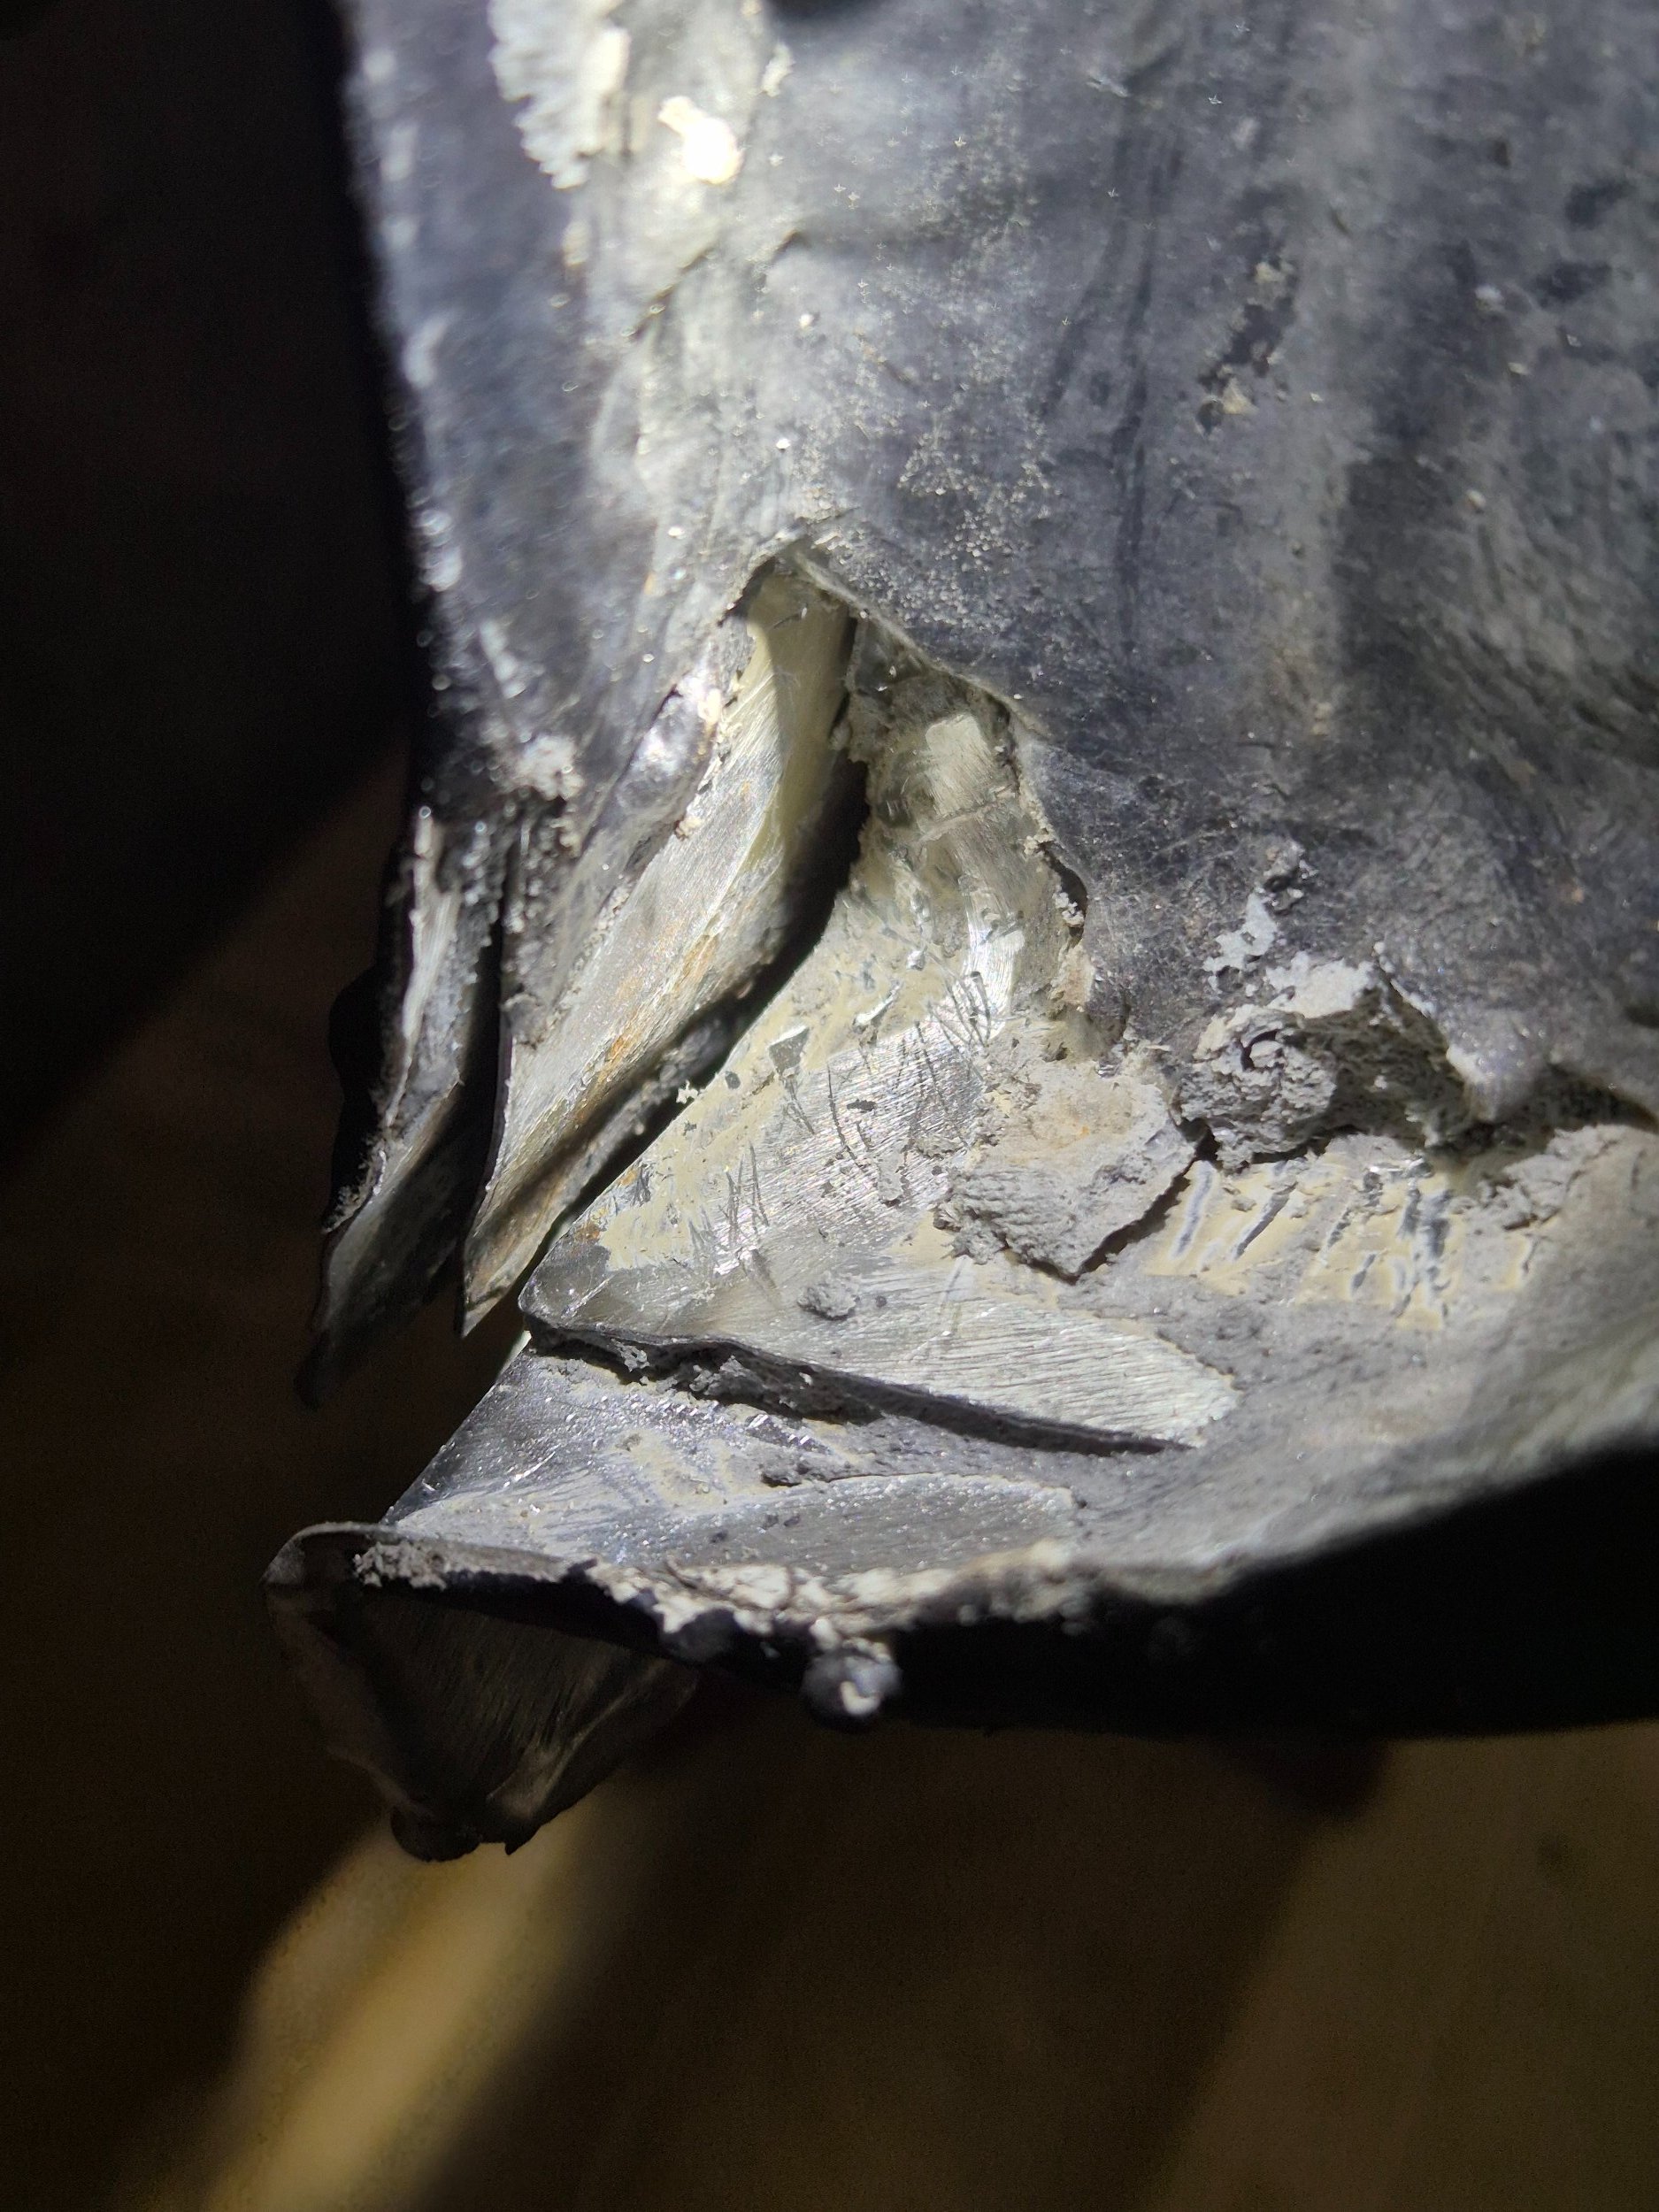
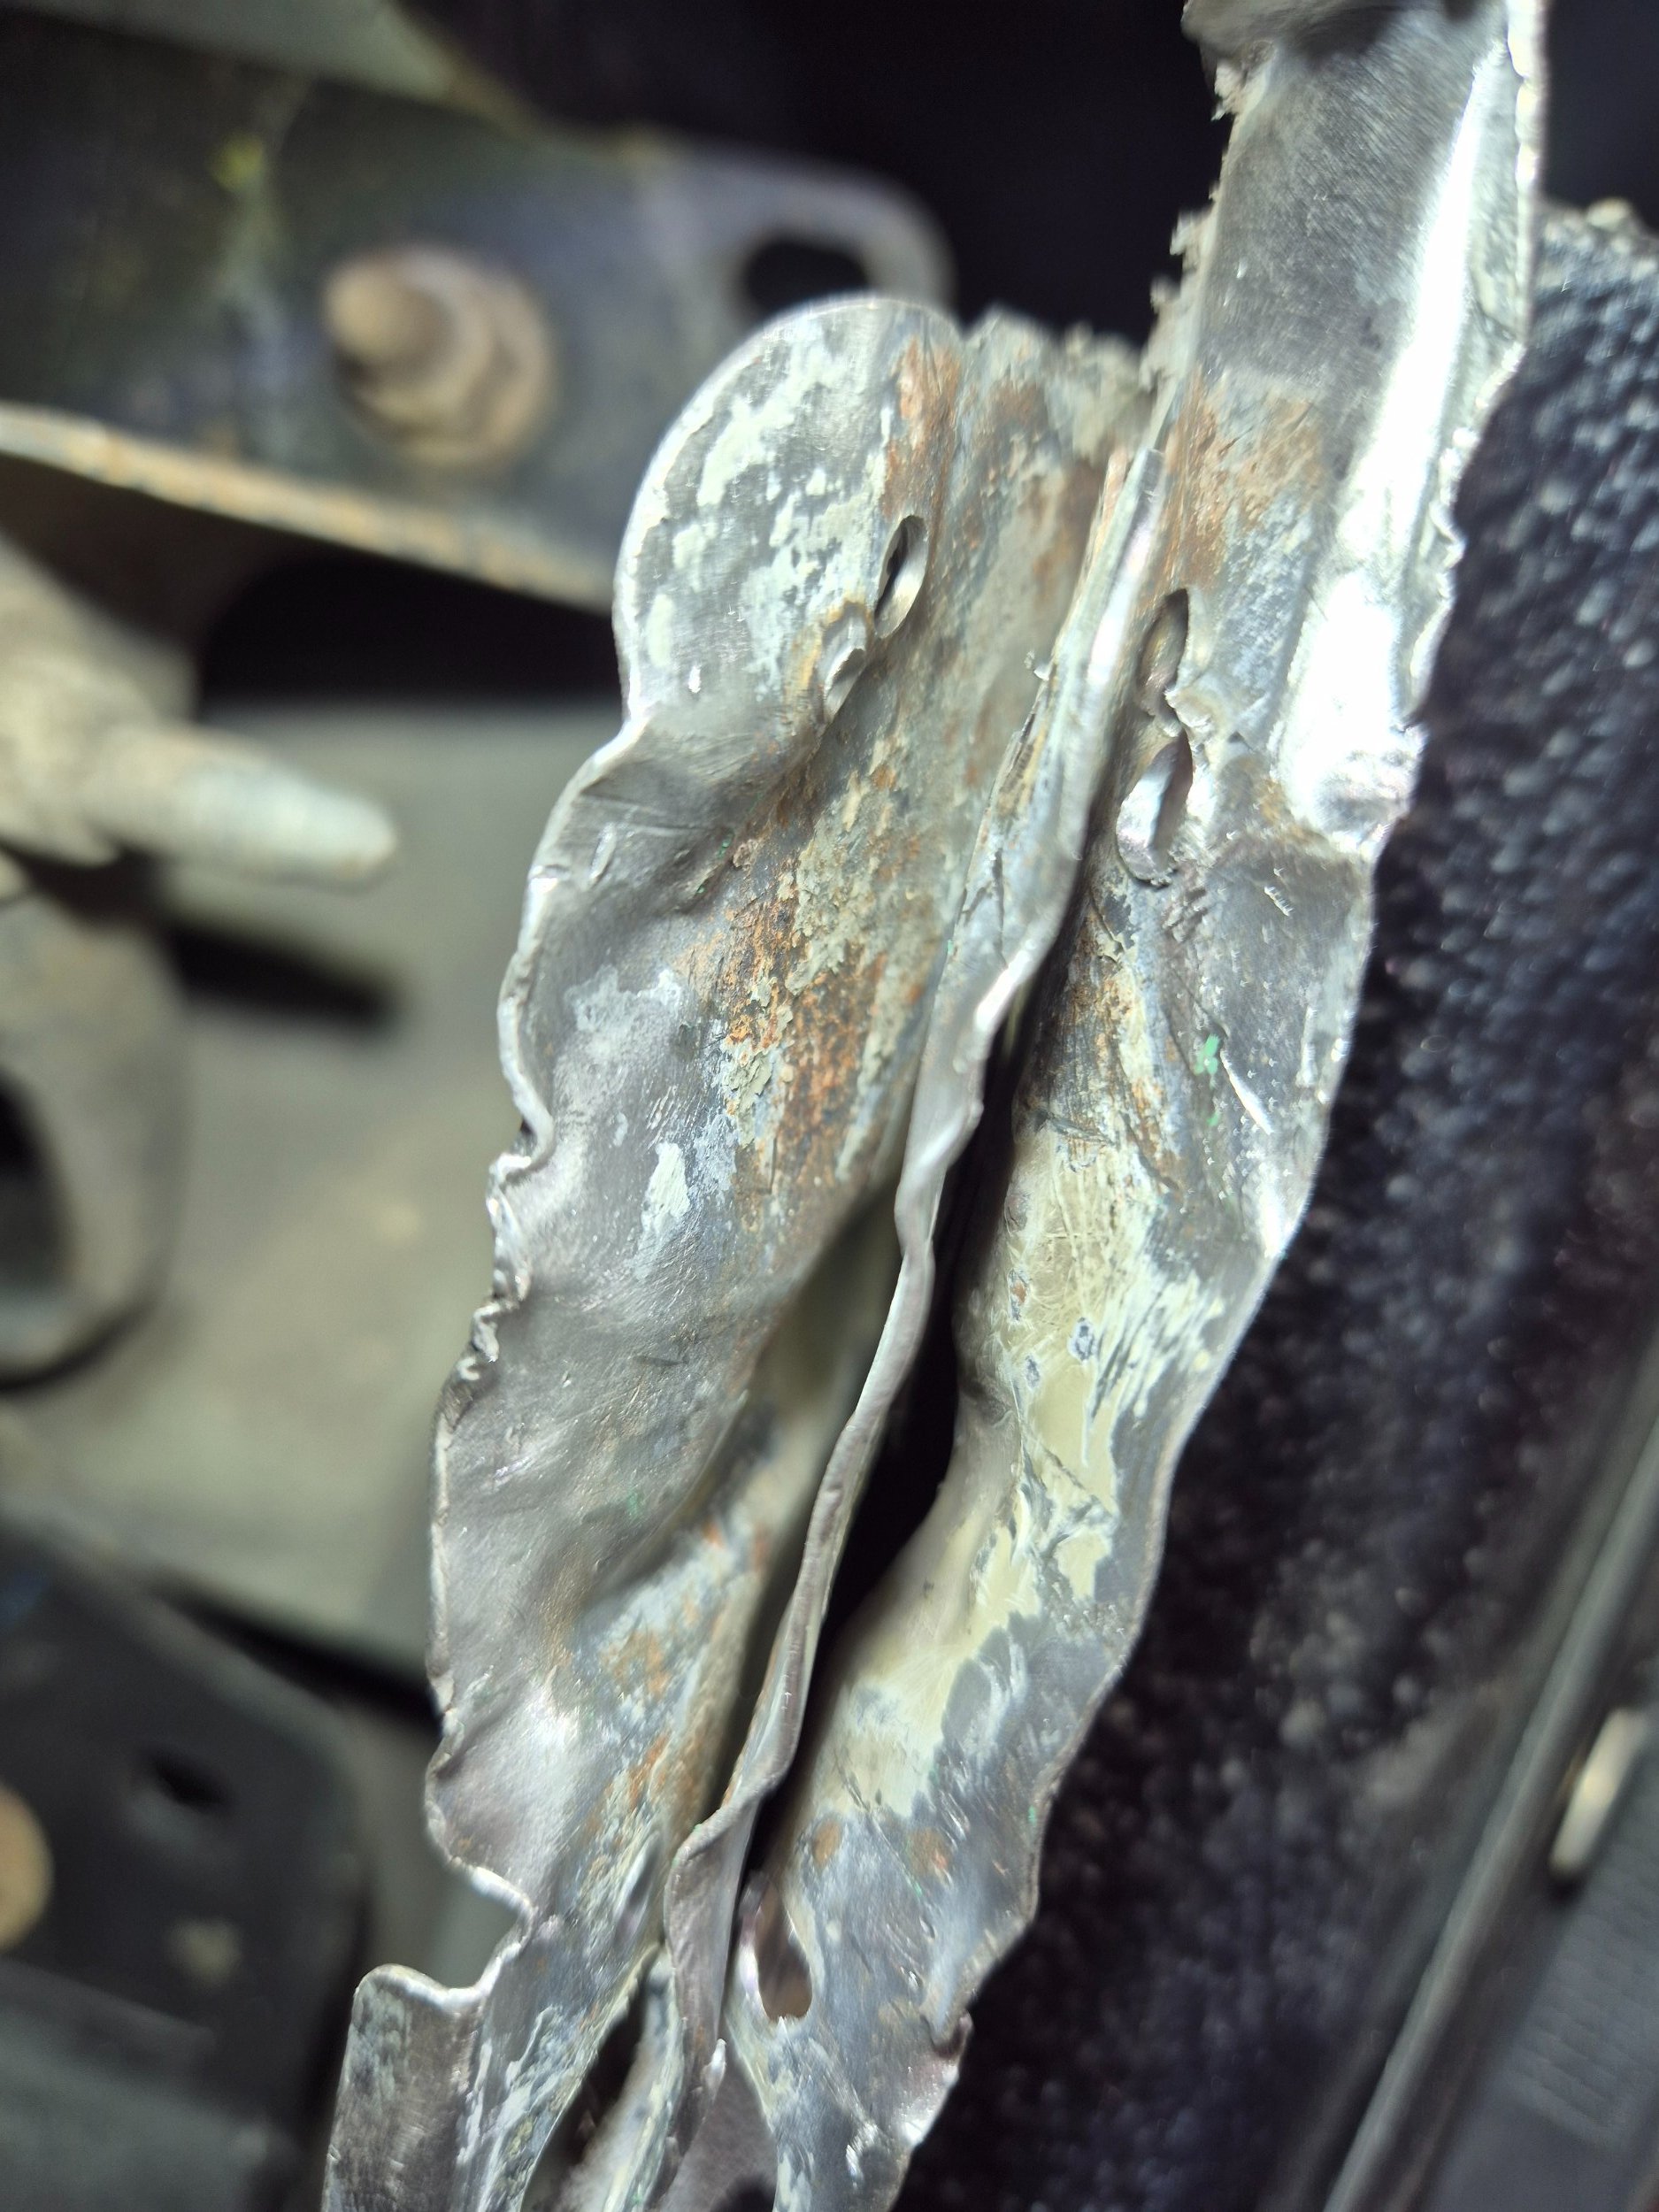
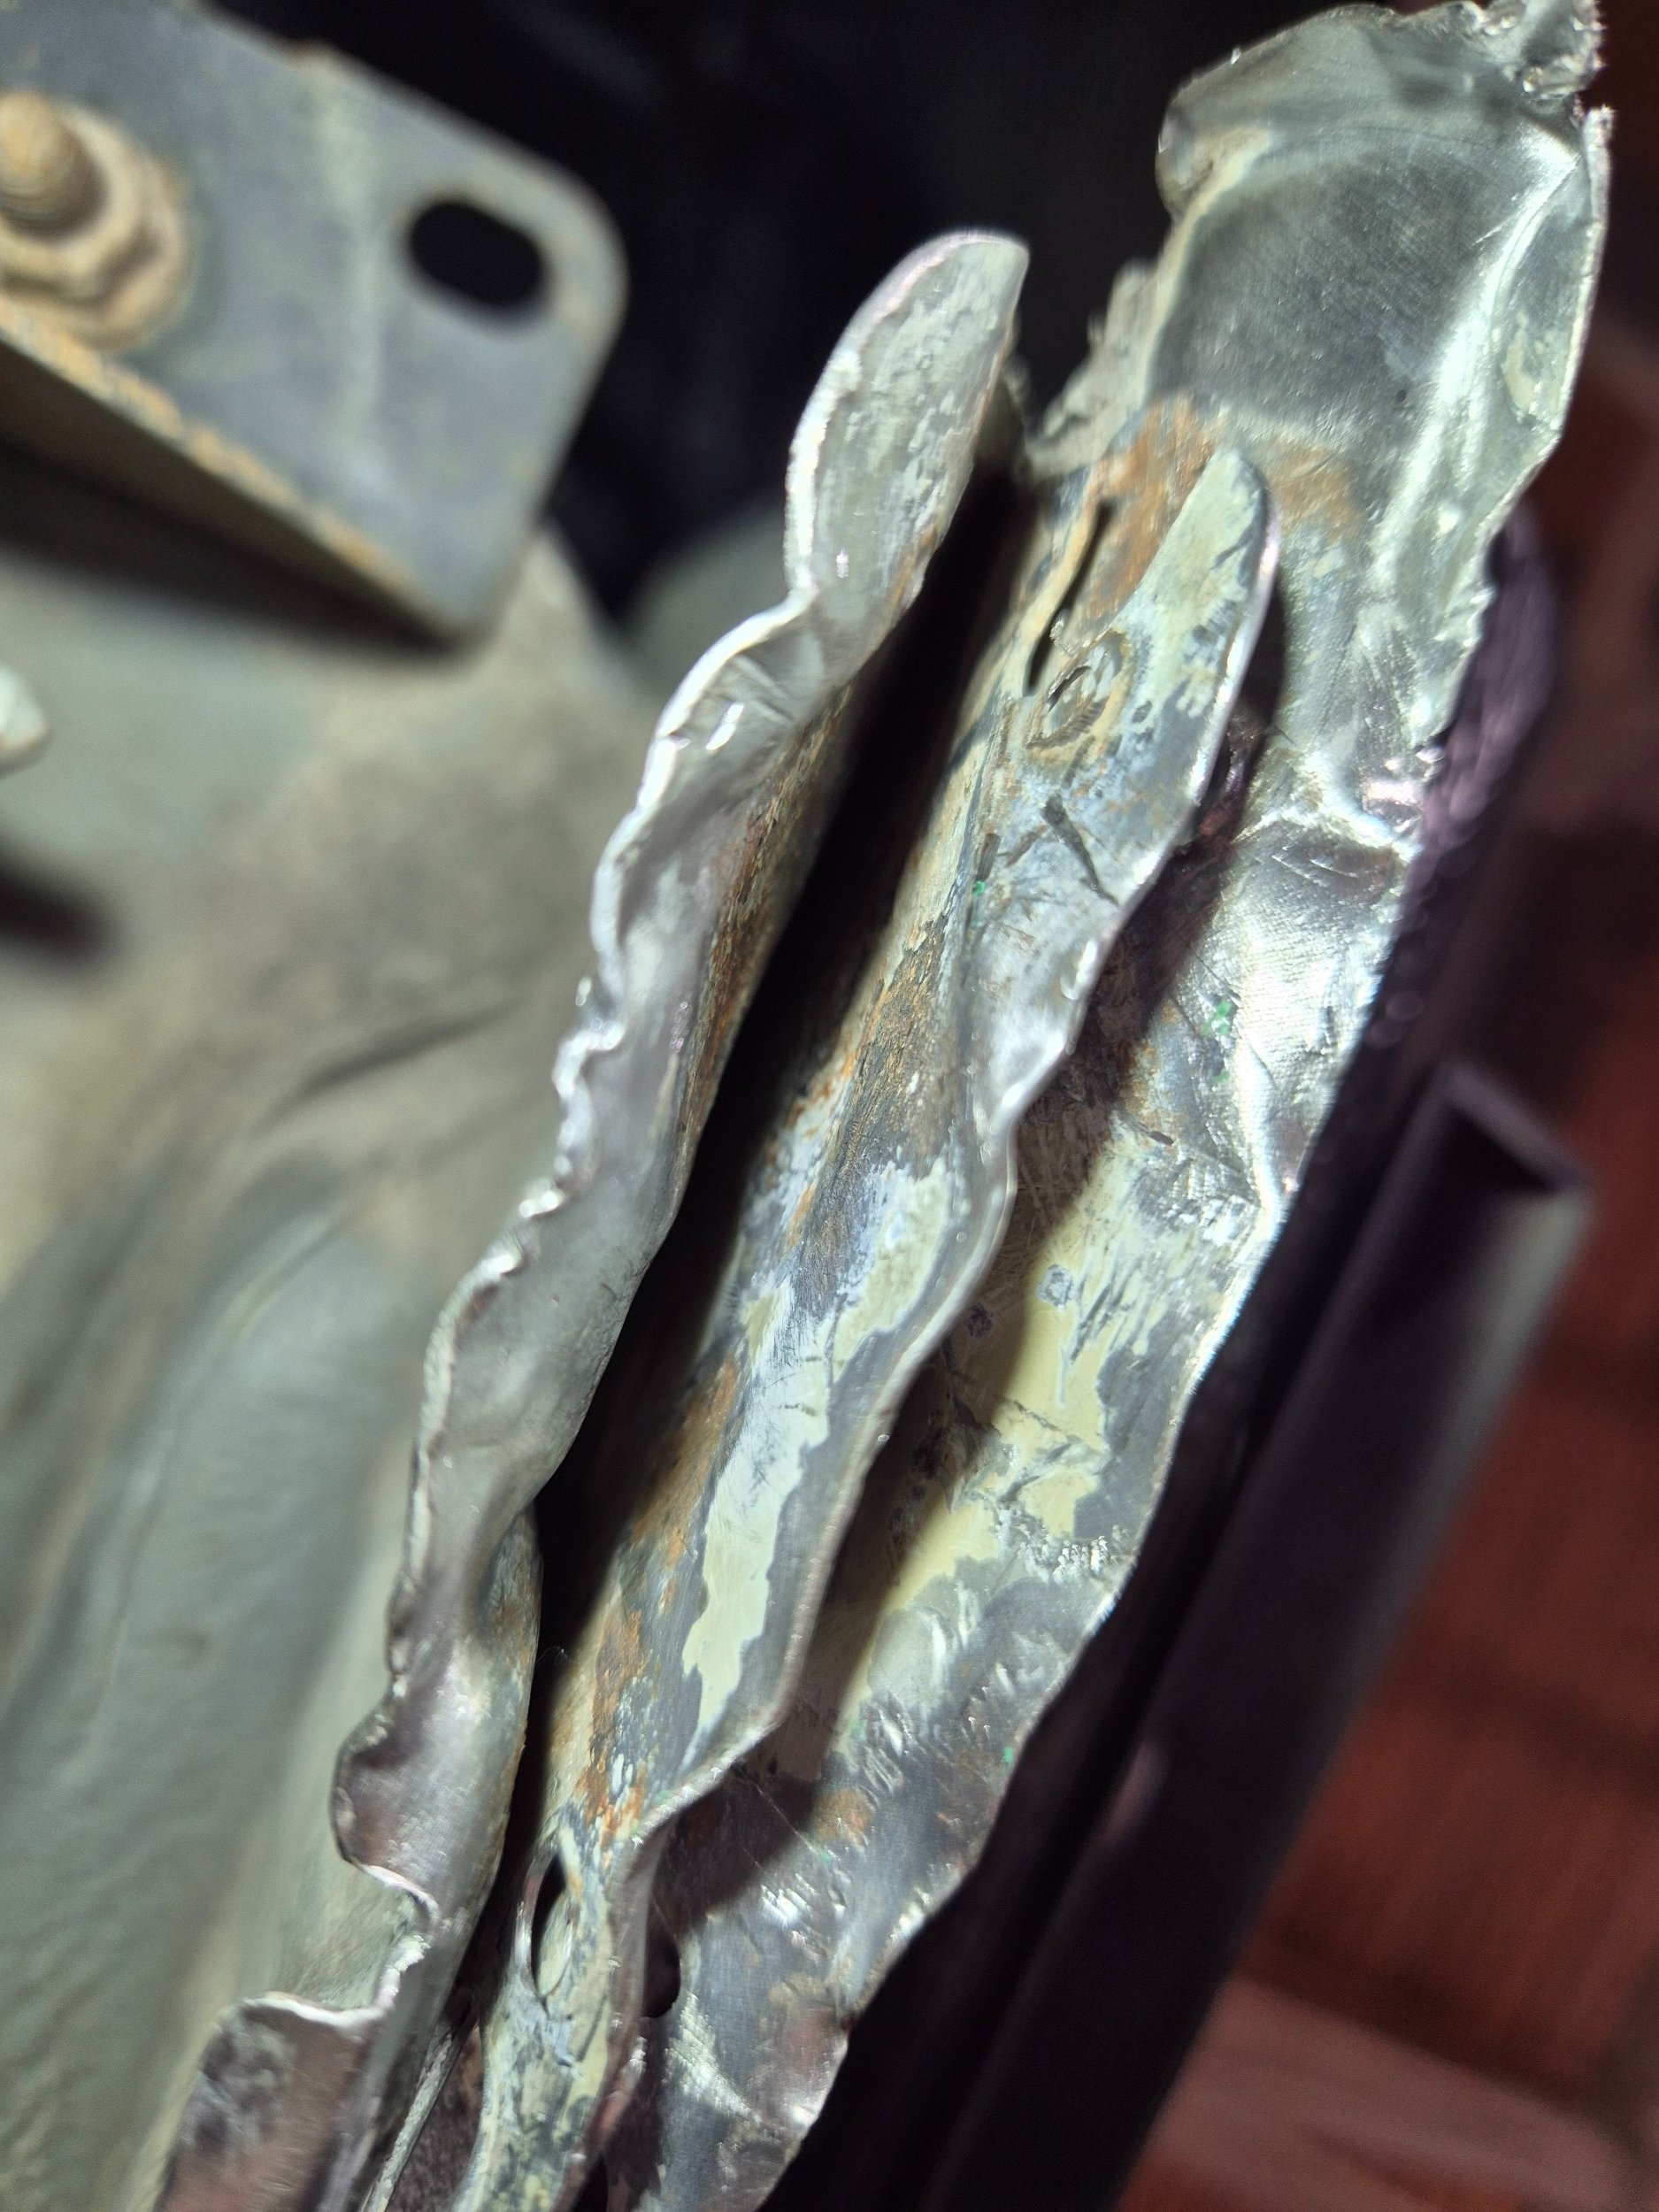
After the wash, I checked the passenger side sill panel to see how badly it was bent and what needed to be done... The area by the front wheel was bent—classic damage—but what really surprised me was the area by the rear wheel; it was twisted in a way that makes me wonder how anyone could even manage that...

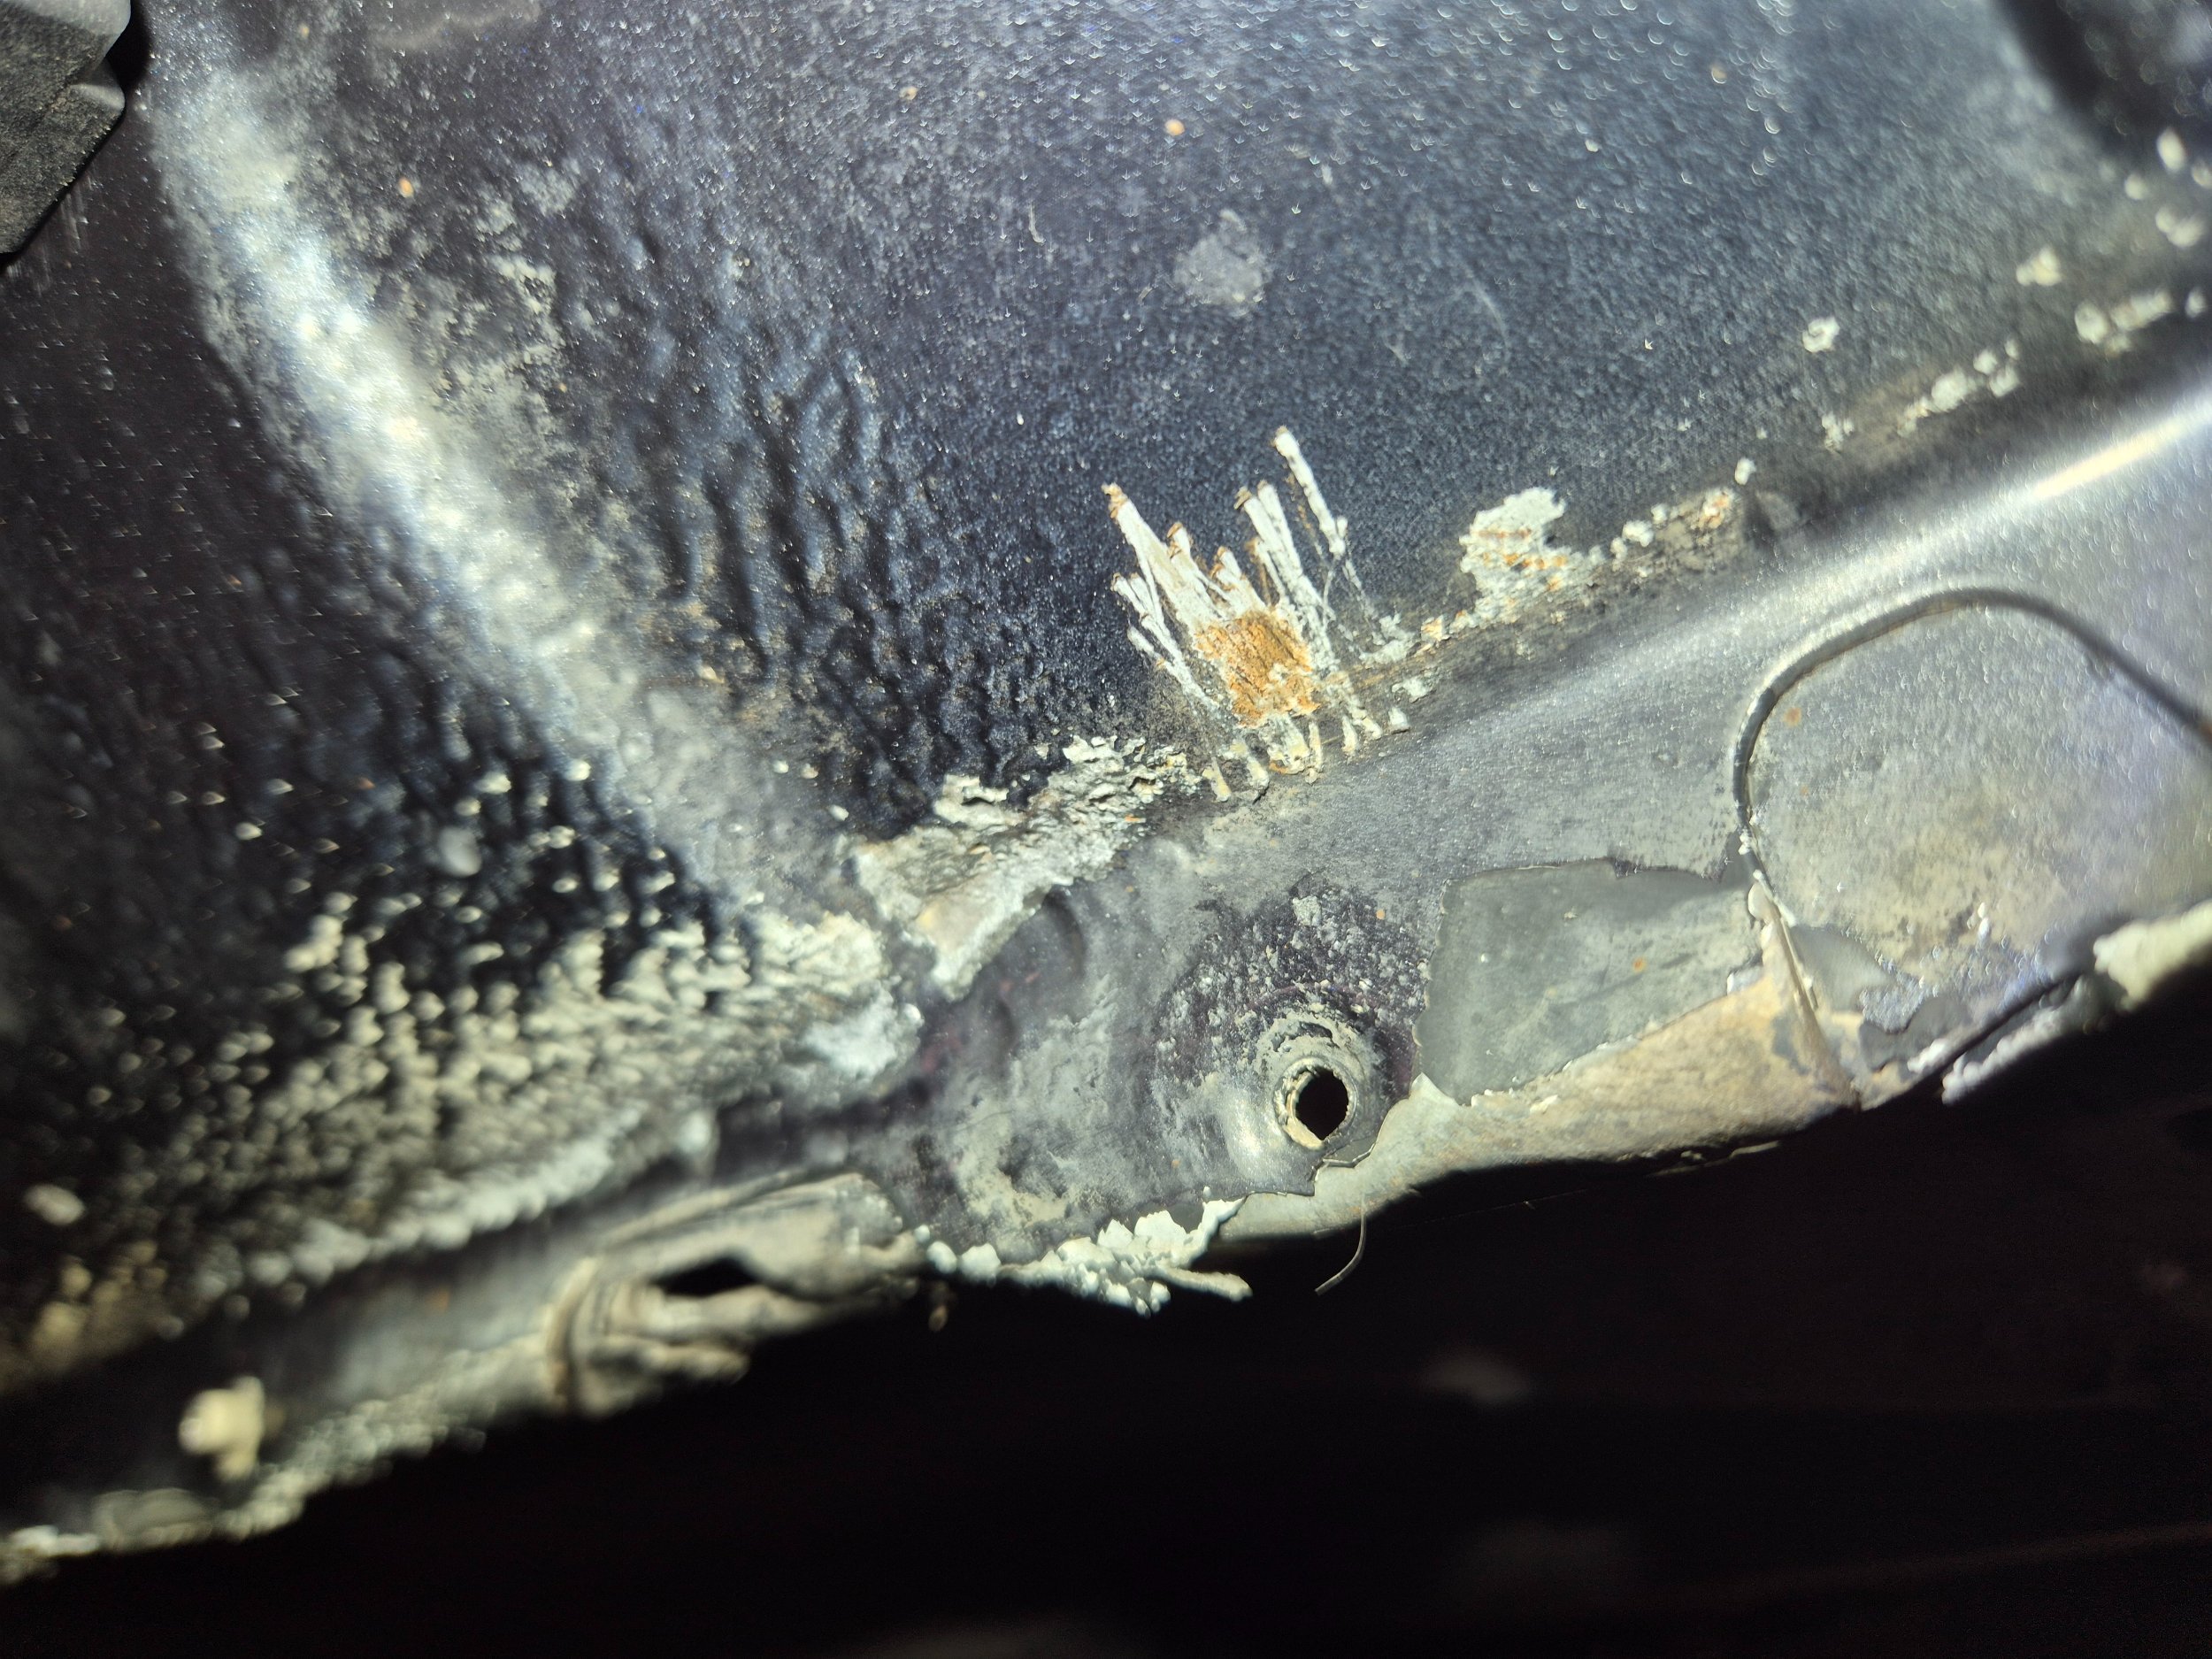
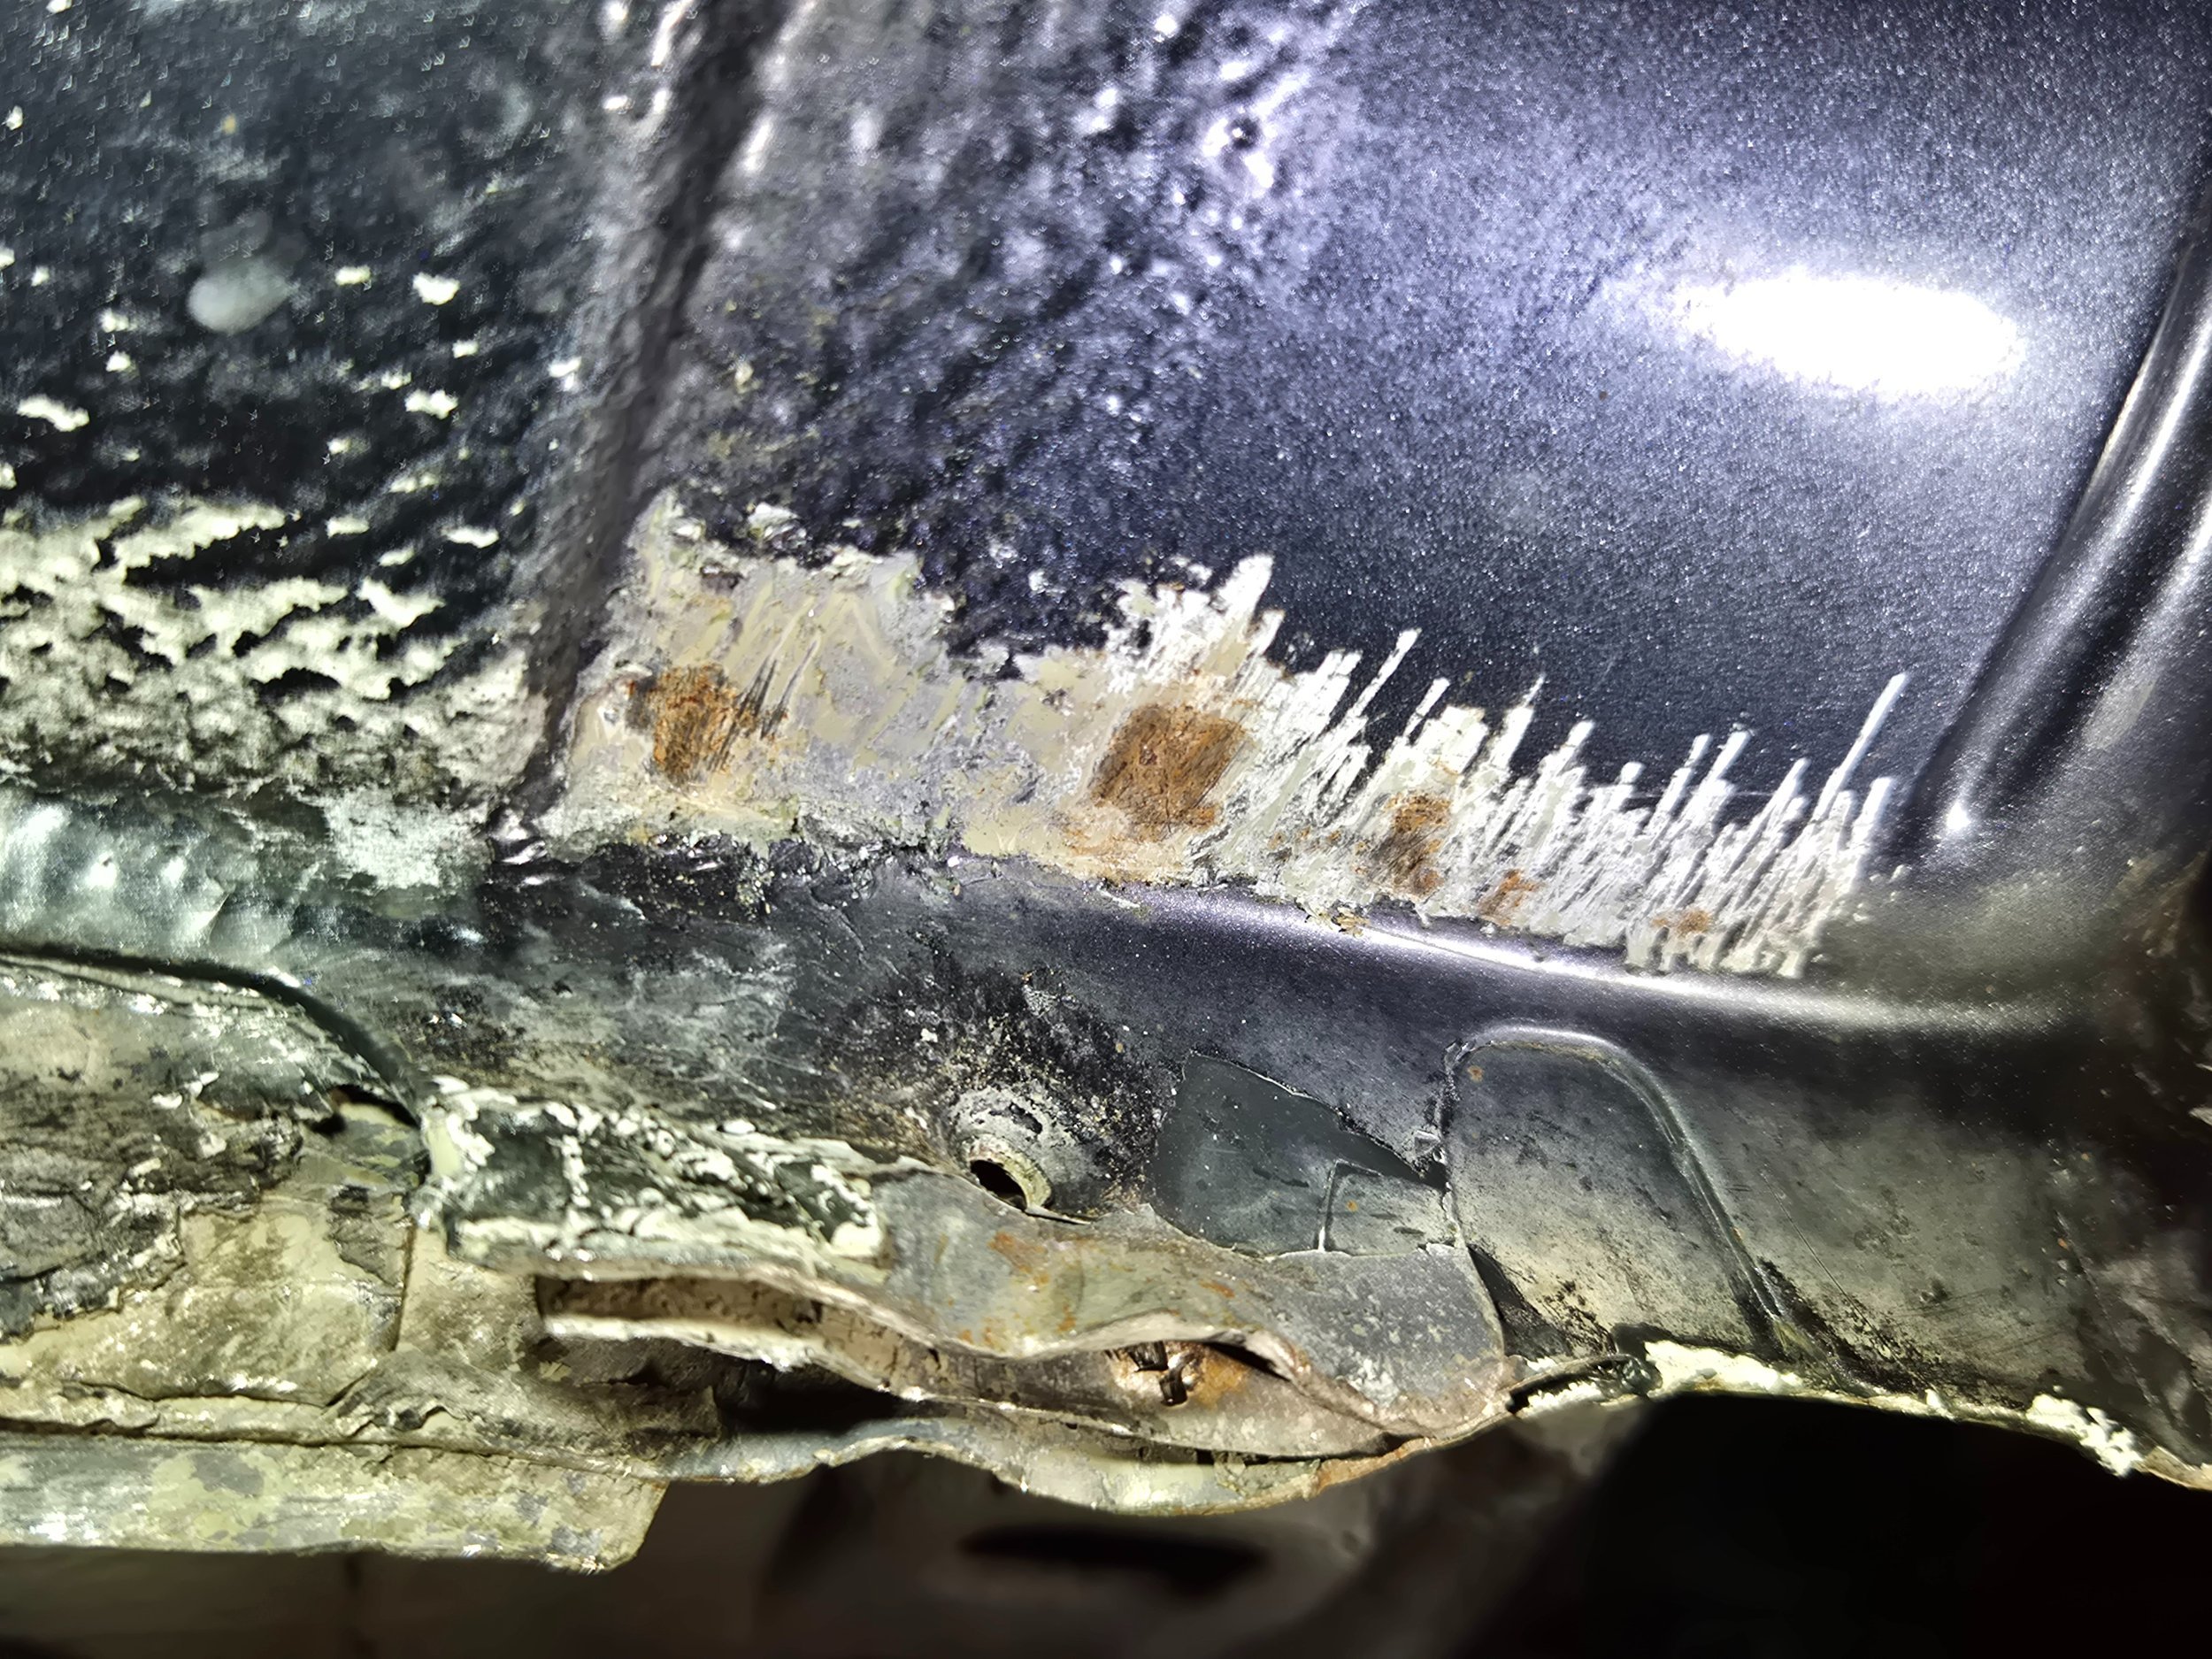
I also did a bit of hunting for rust; there was some hiding under the underseal on the sill near the front wheel...

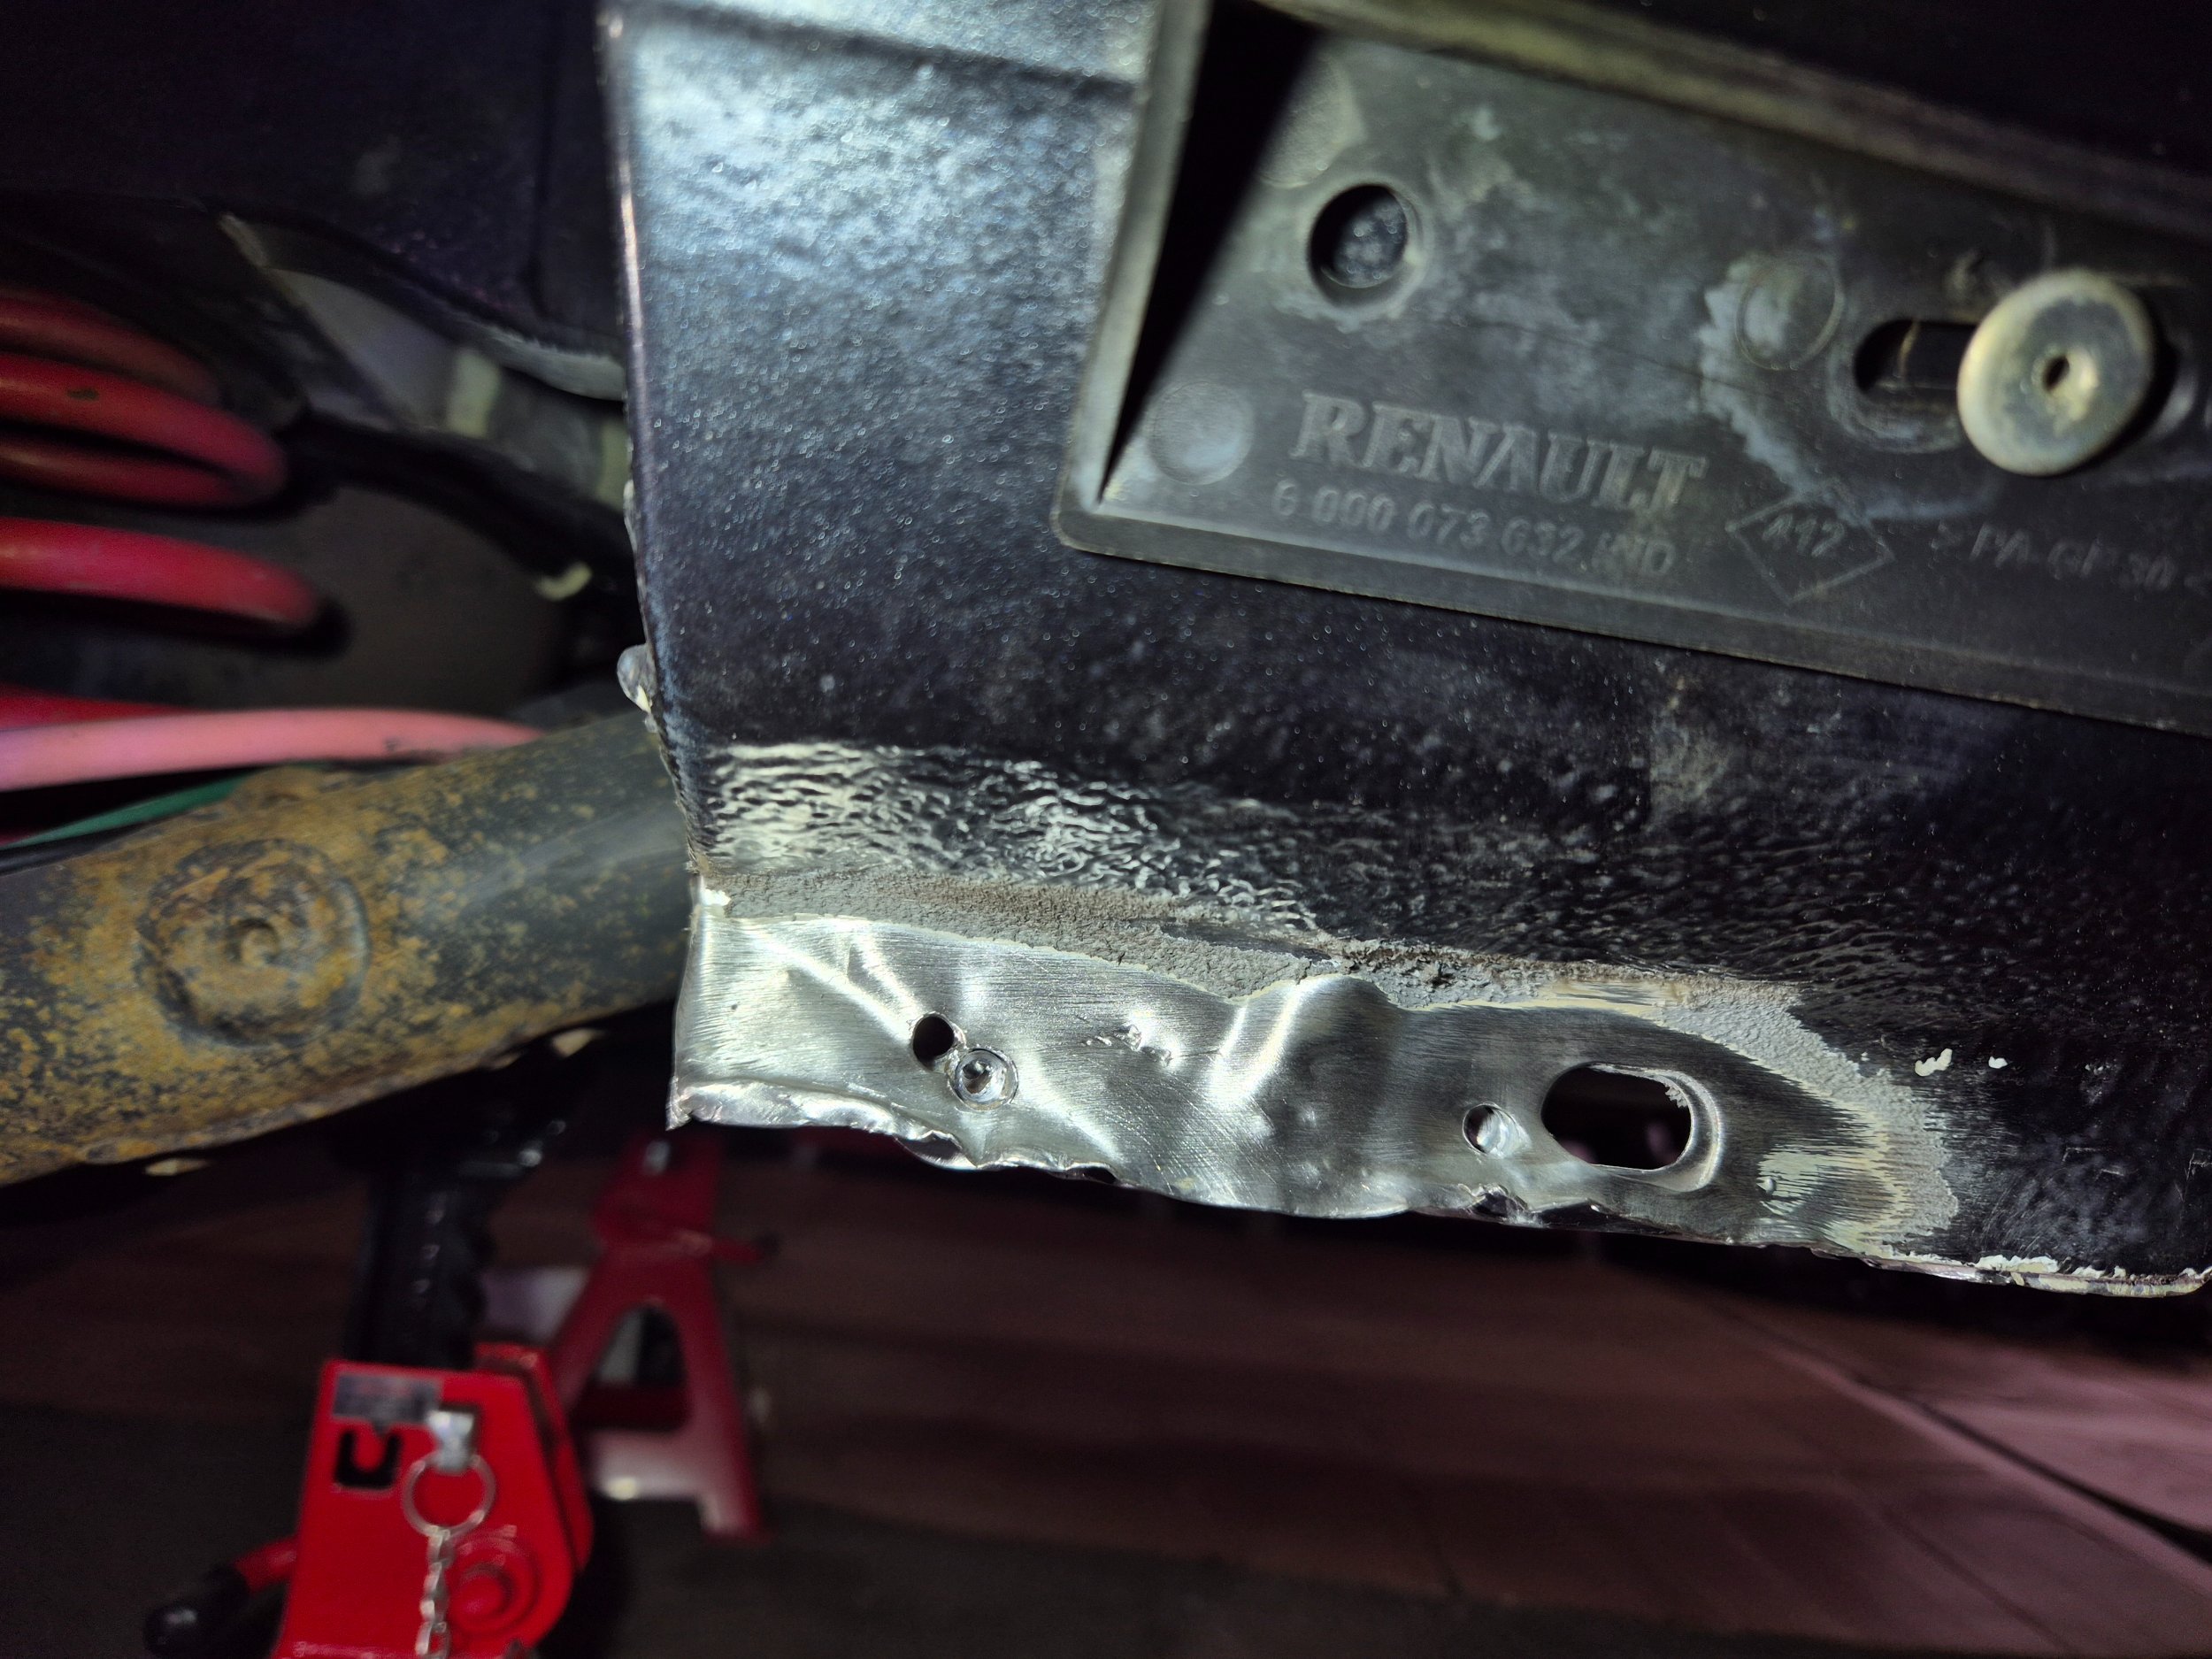
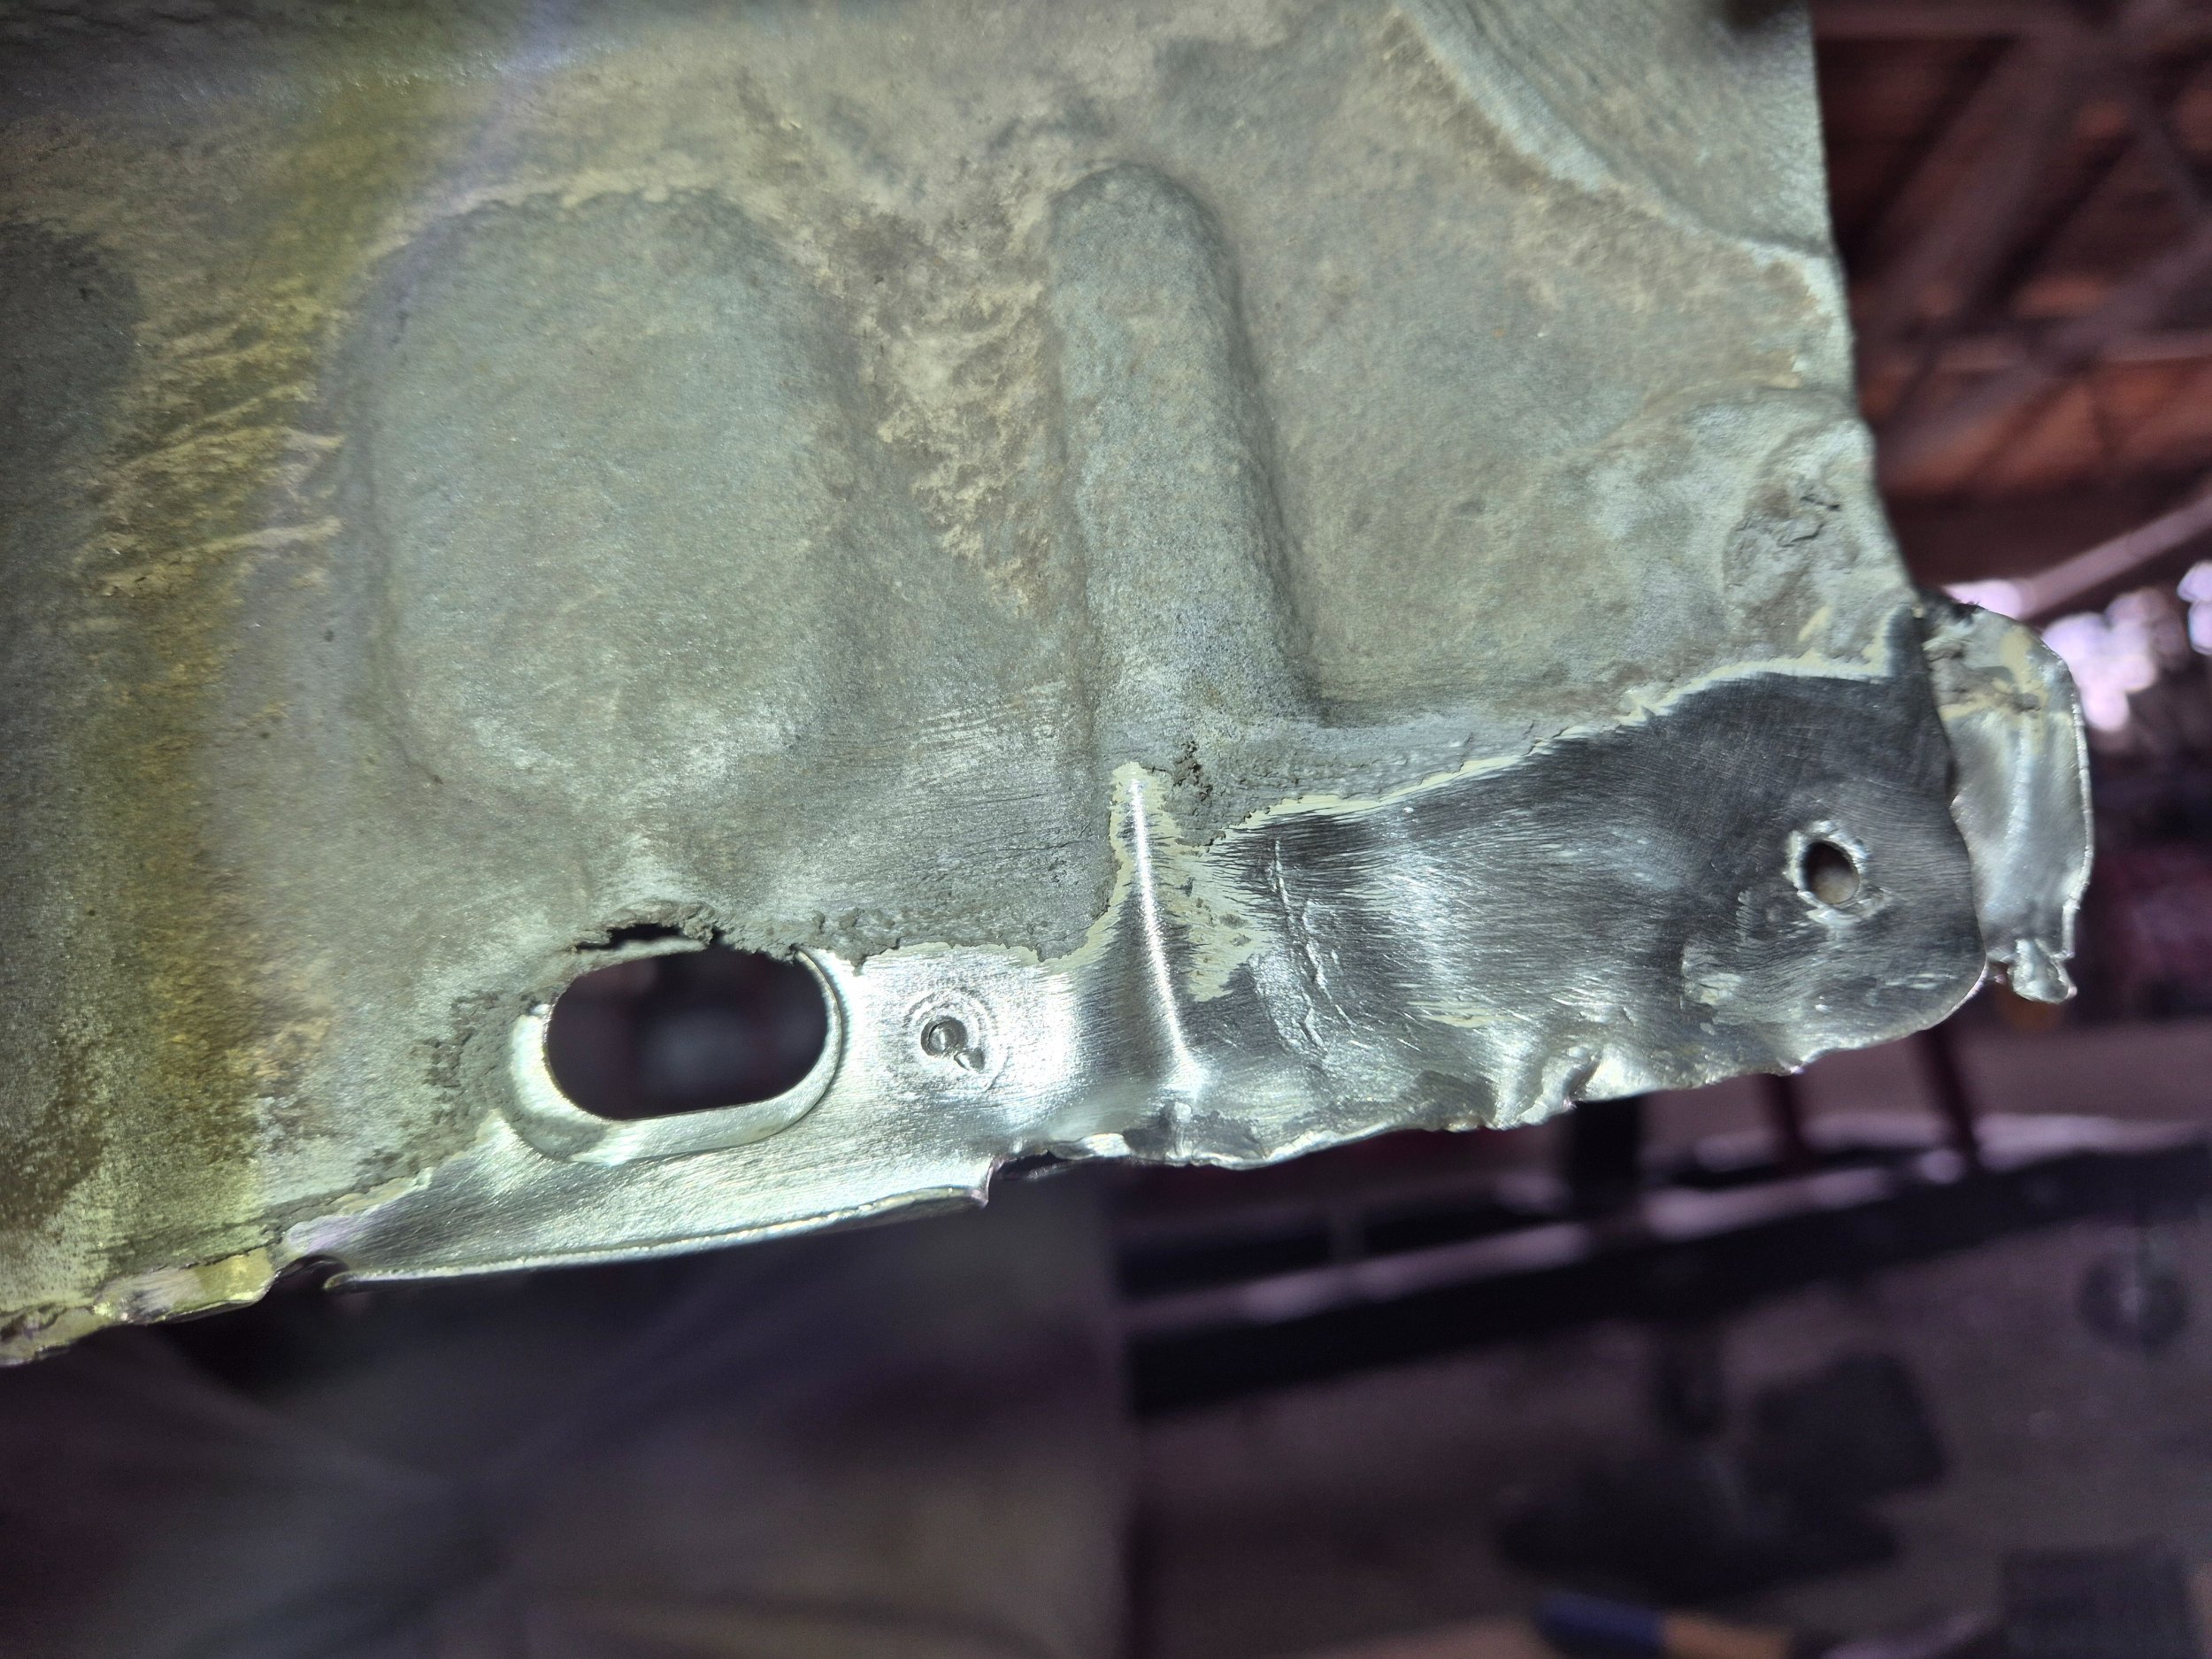
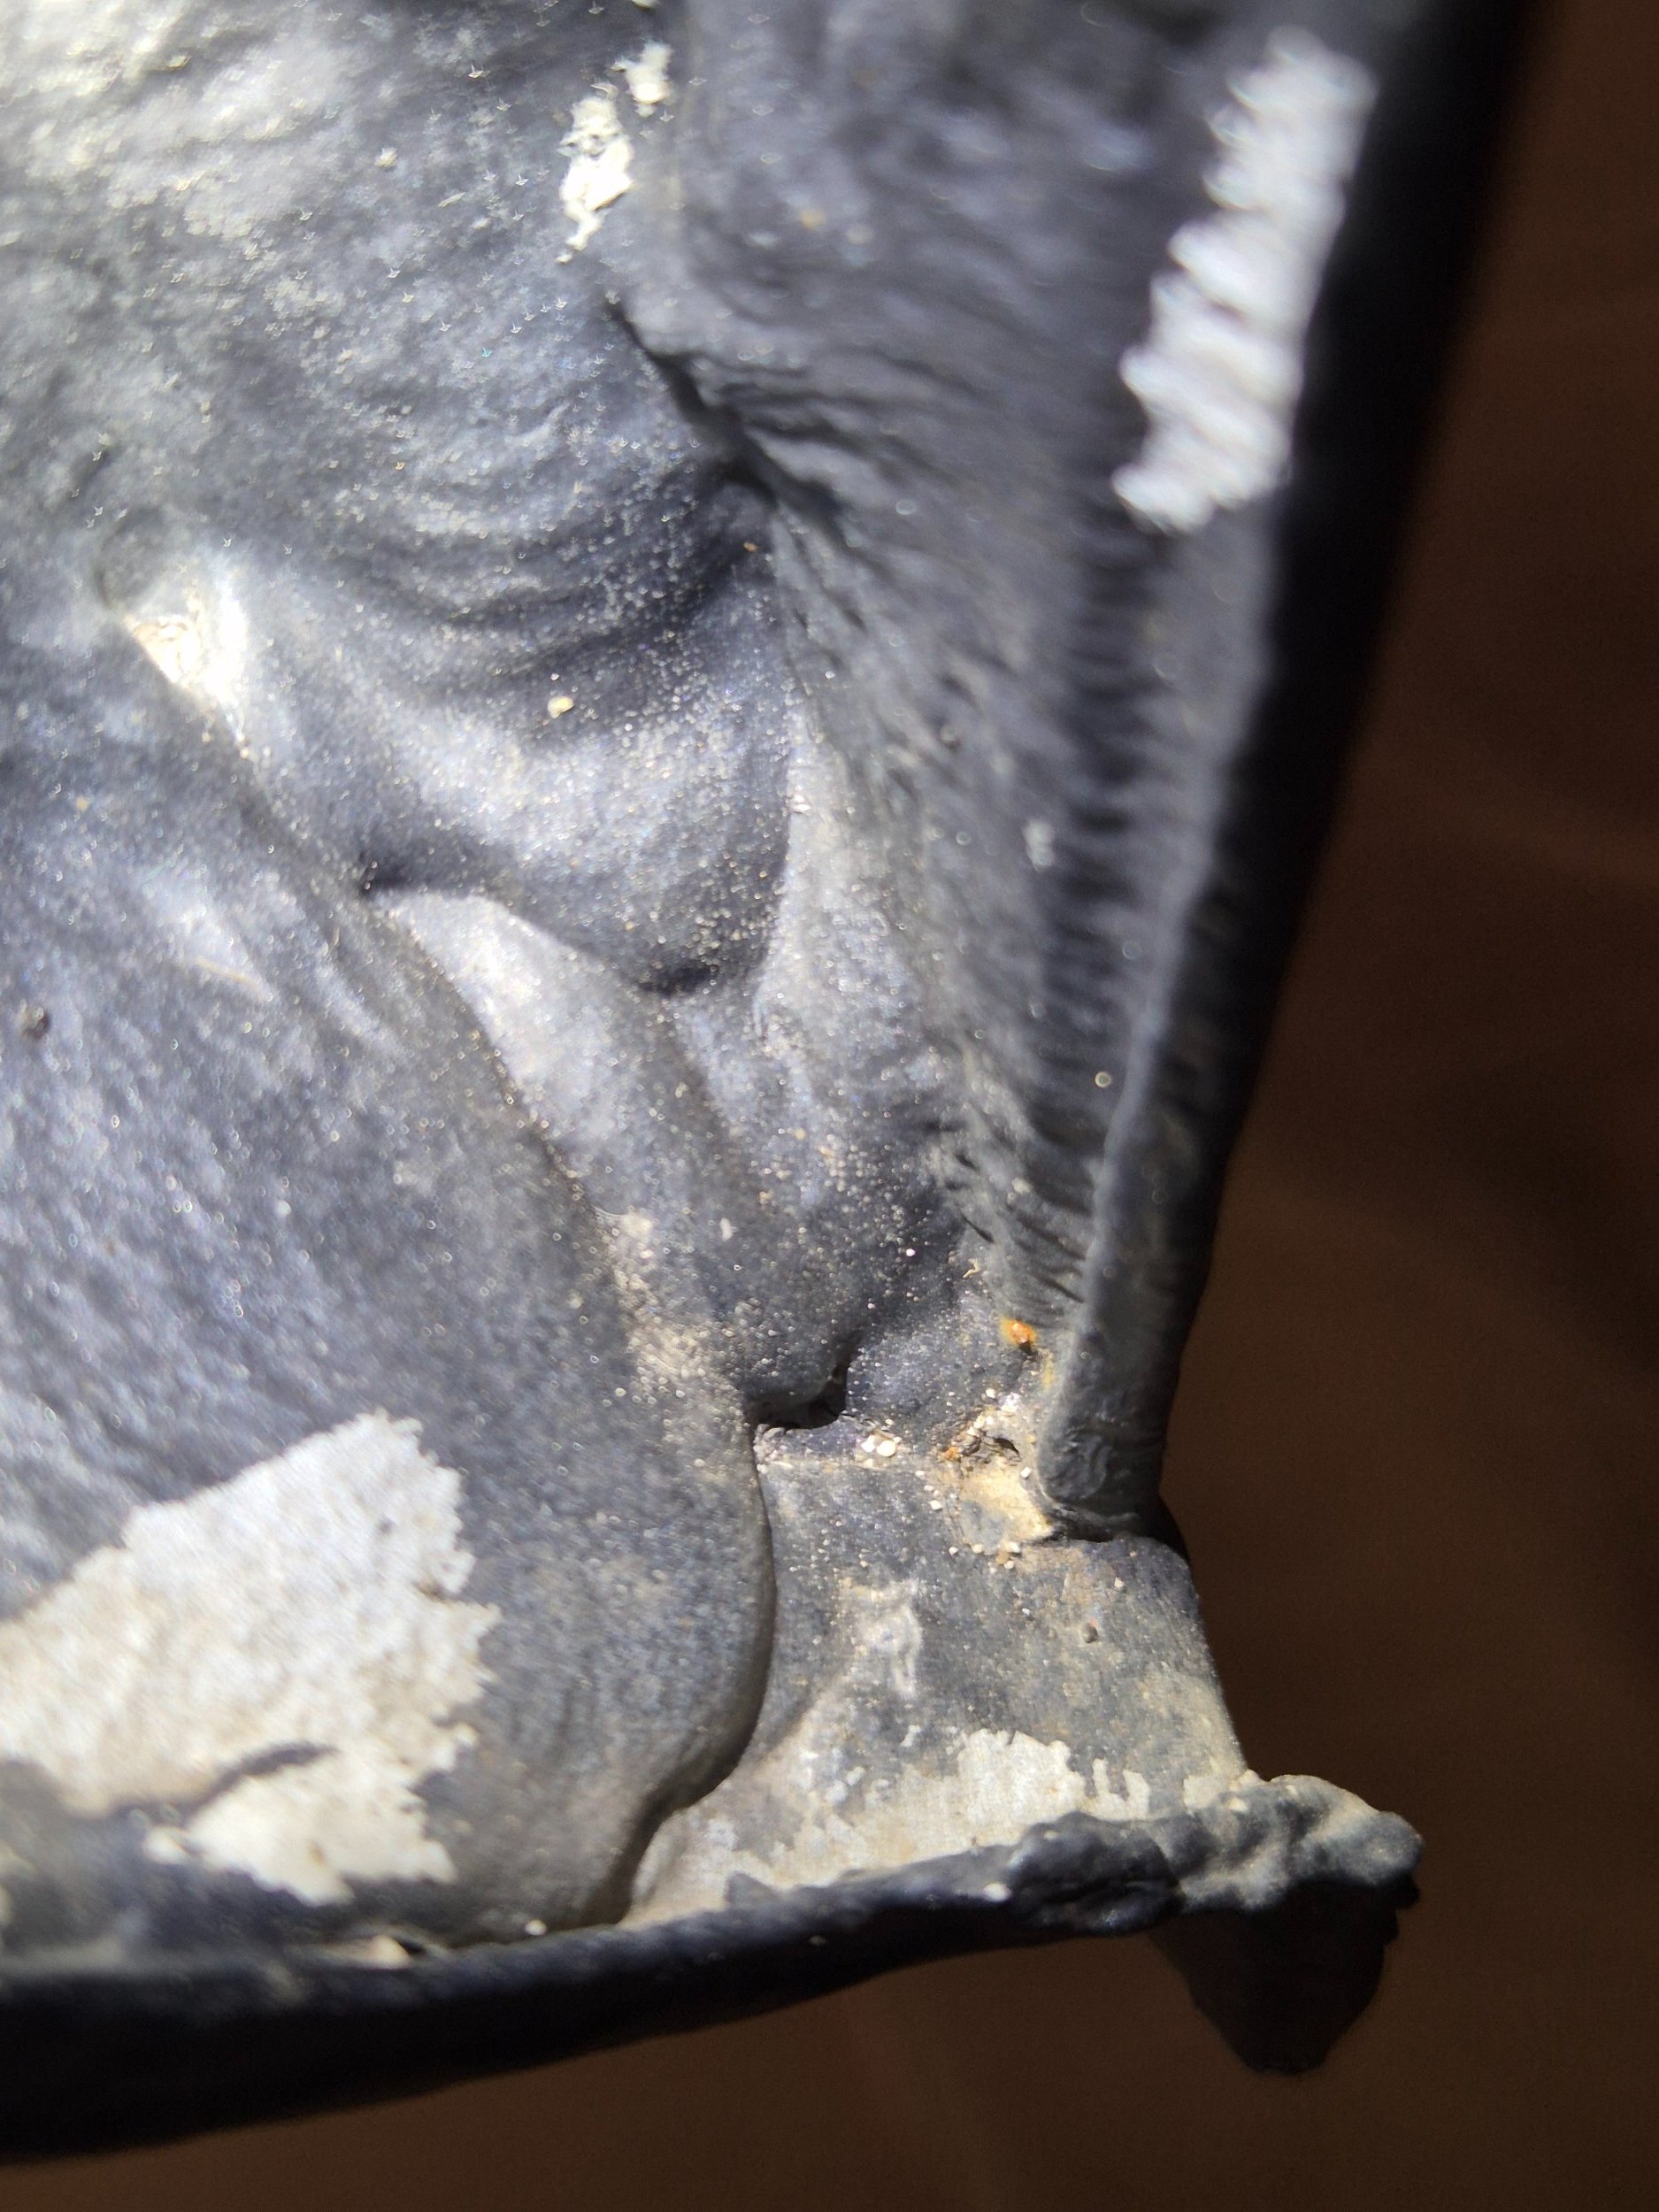
Next came straightening the sill near the rear wheel and opening it up, as there were signs of surface corrosion.

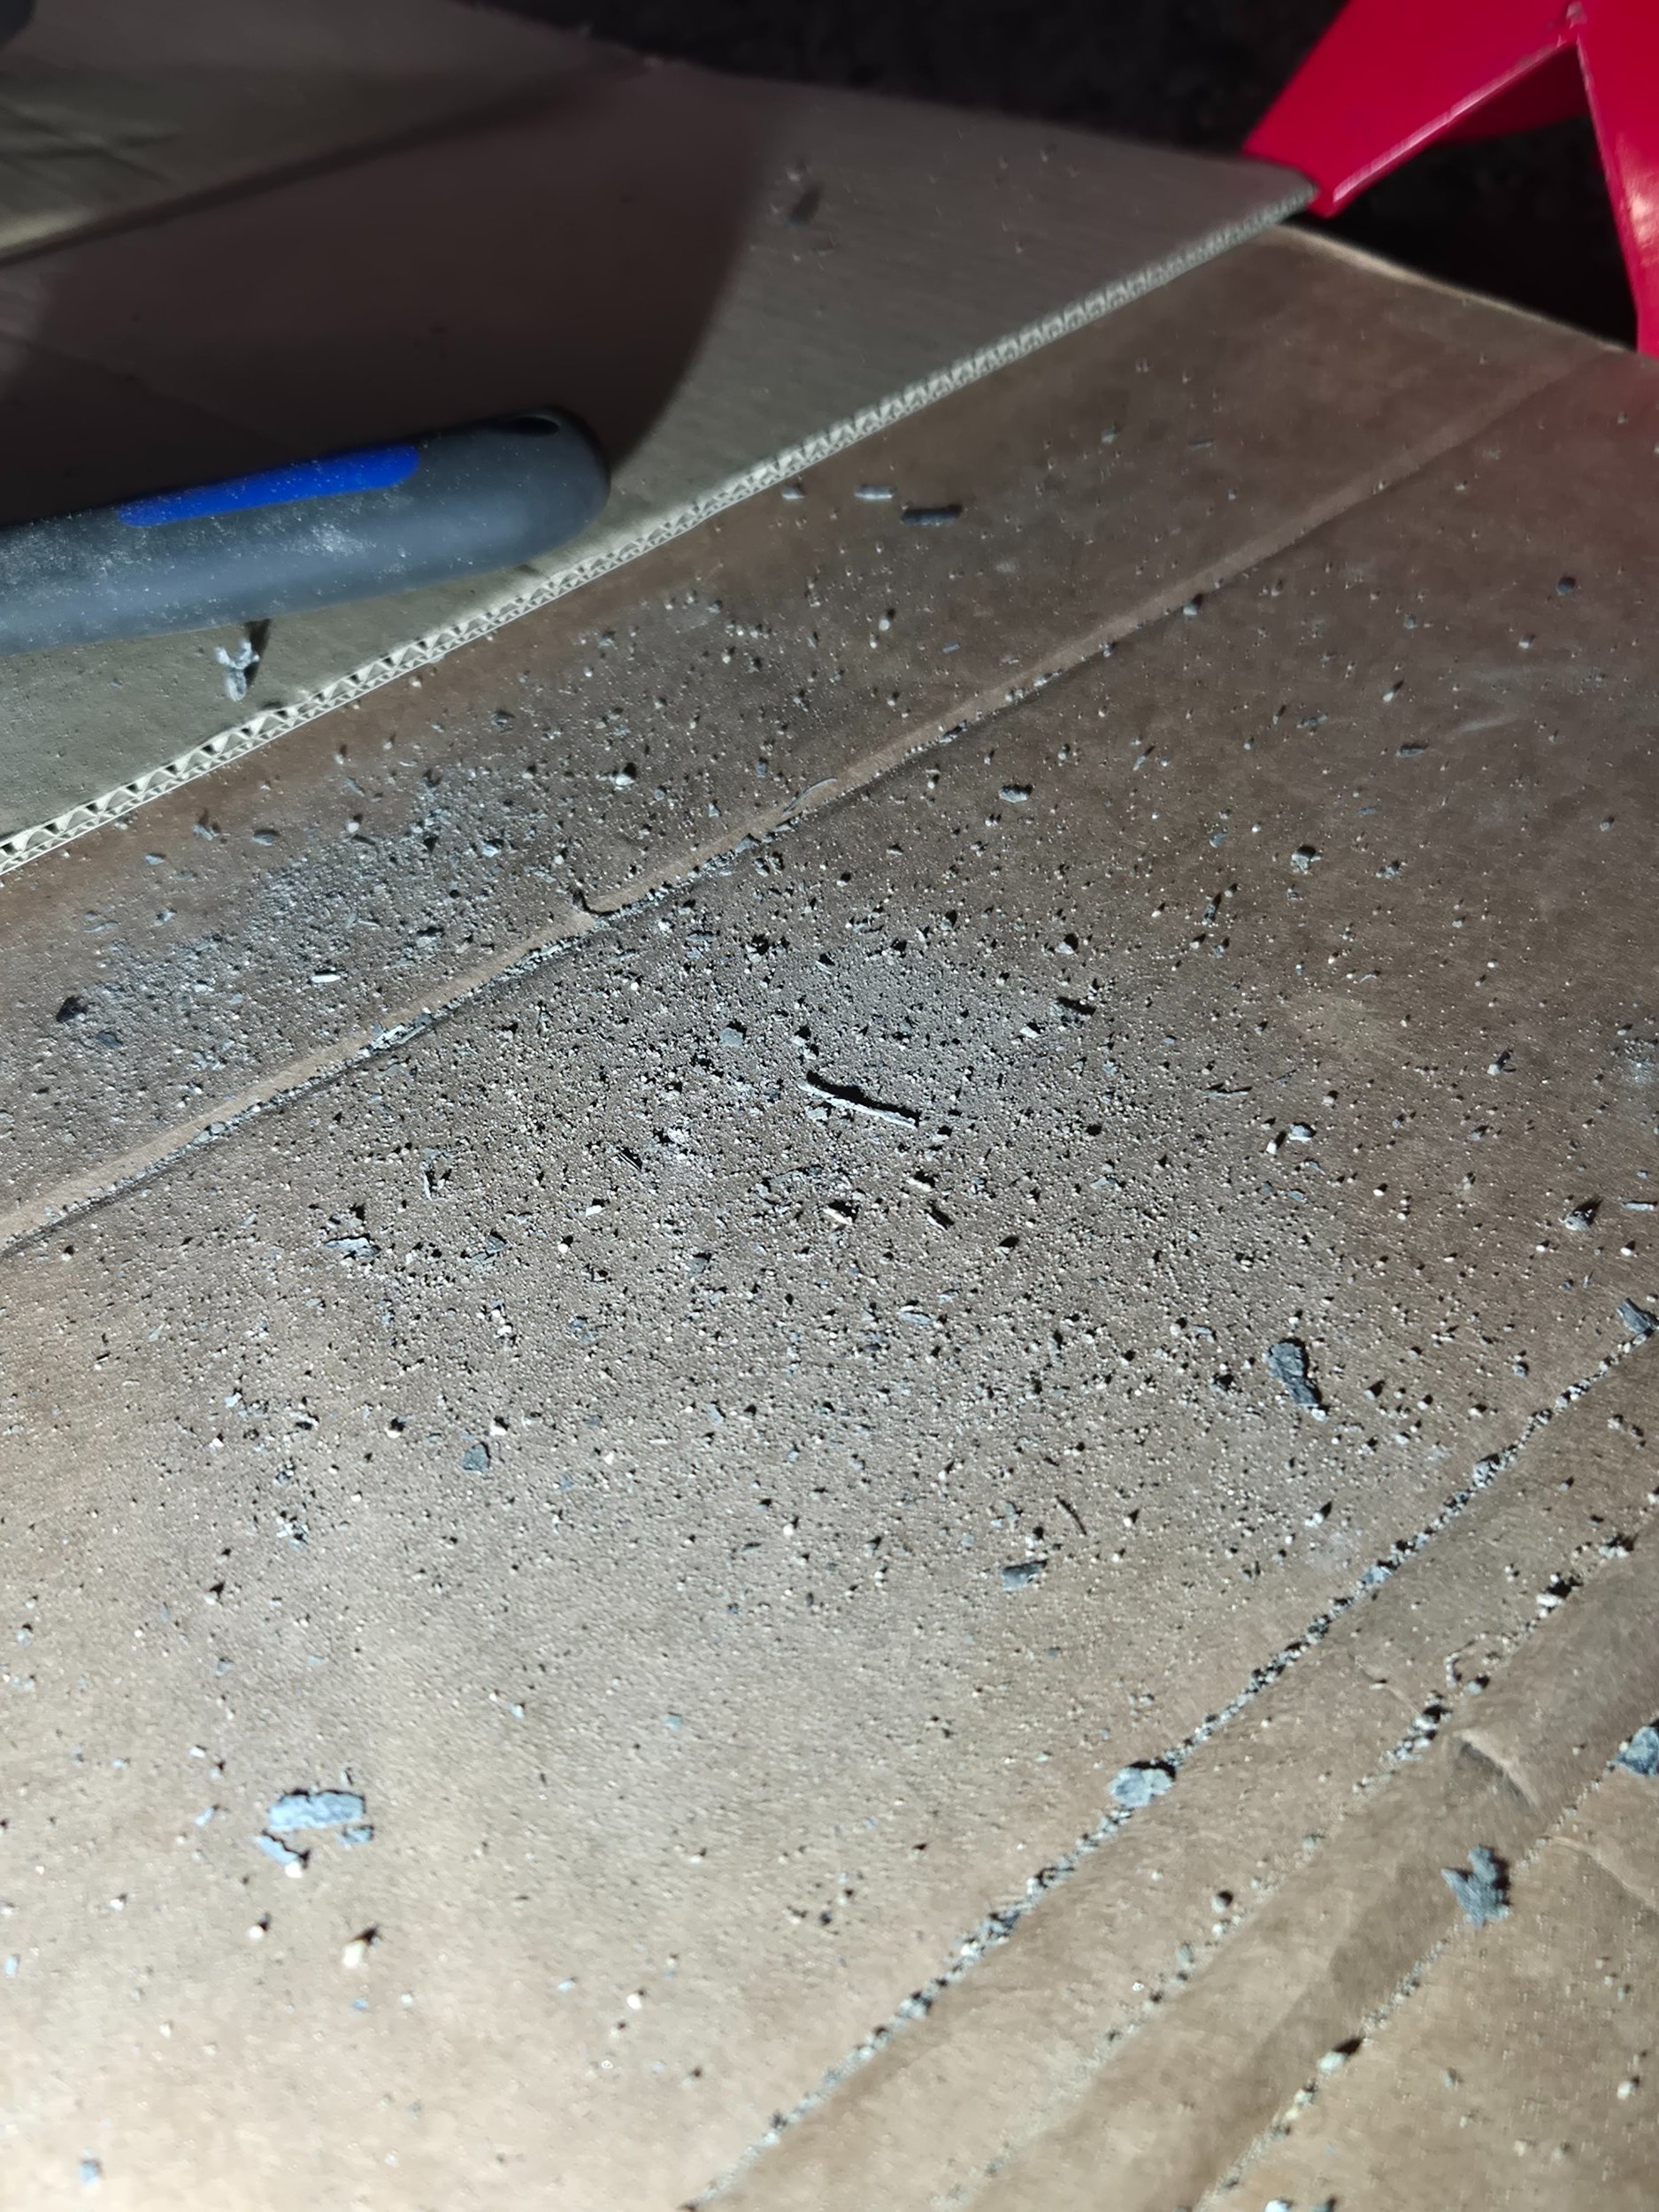
Not to mention the amount of dirt that kept coming out of the sill... an endless supply... even after the wash.

20260817_174322.jpg


20260817_174331.jpg


20260817_174349.jpg


20260817_174353.jpg
 
20260820_133615.jpg


20260820_133624.jpg


20260820_133655.jpg


20260820_133659.jpg


20260820_133715.jpg


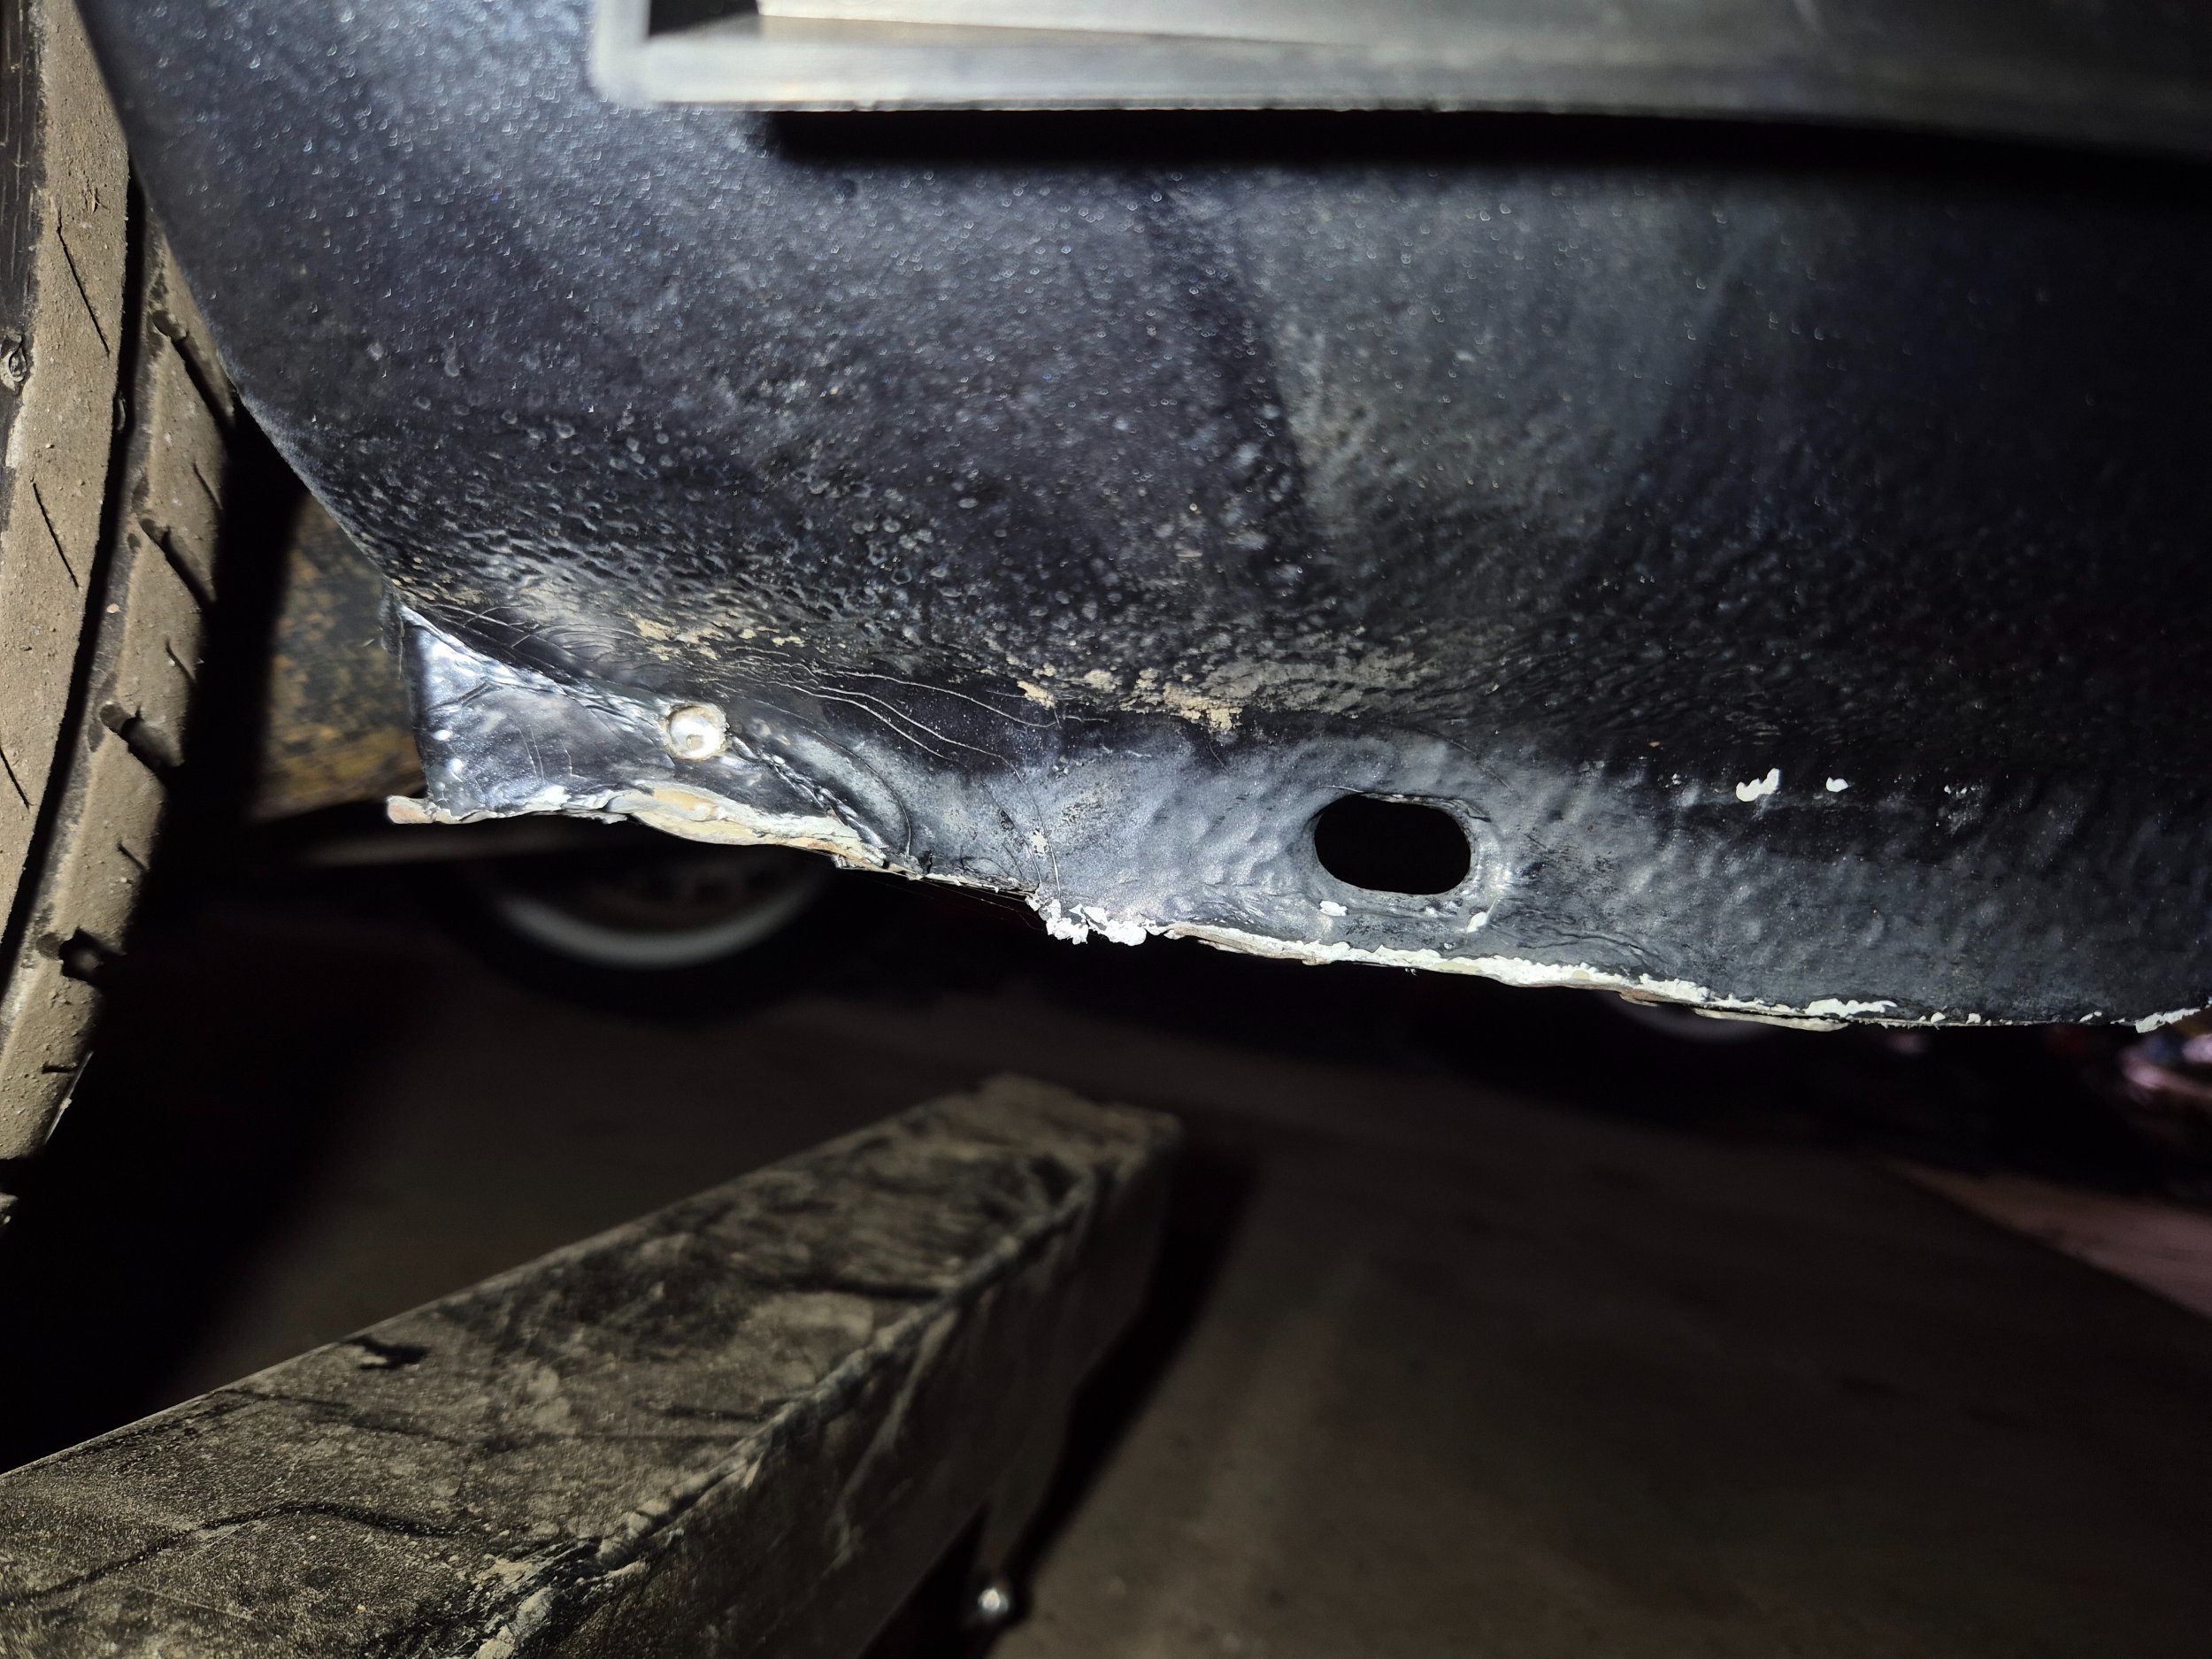
A view of the sill from the rear wheel side, inside the wheel well... I'm surprised no metal had been welded here; it was just slathered with underseal.


20260820_140546.jpg


20260820_140551.jpg


Driver's side... I think this little rust spot was caused by a piece of metal hitting it and starting the corrosion.


20260820_140626.jpg


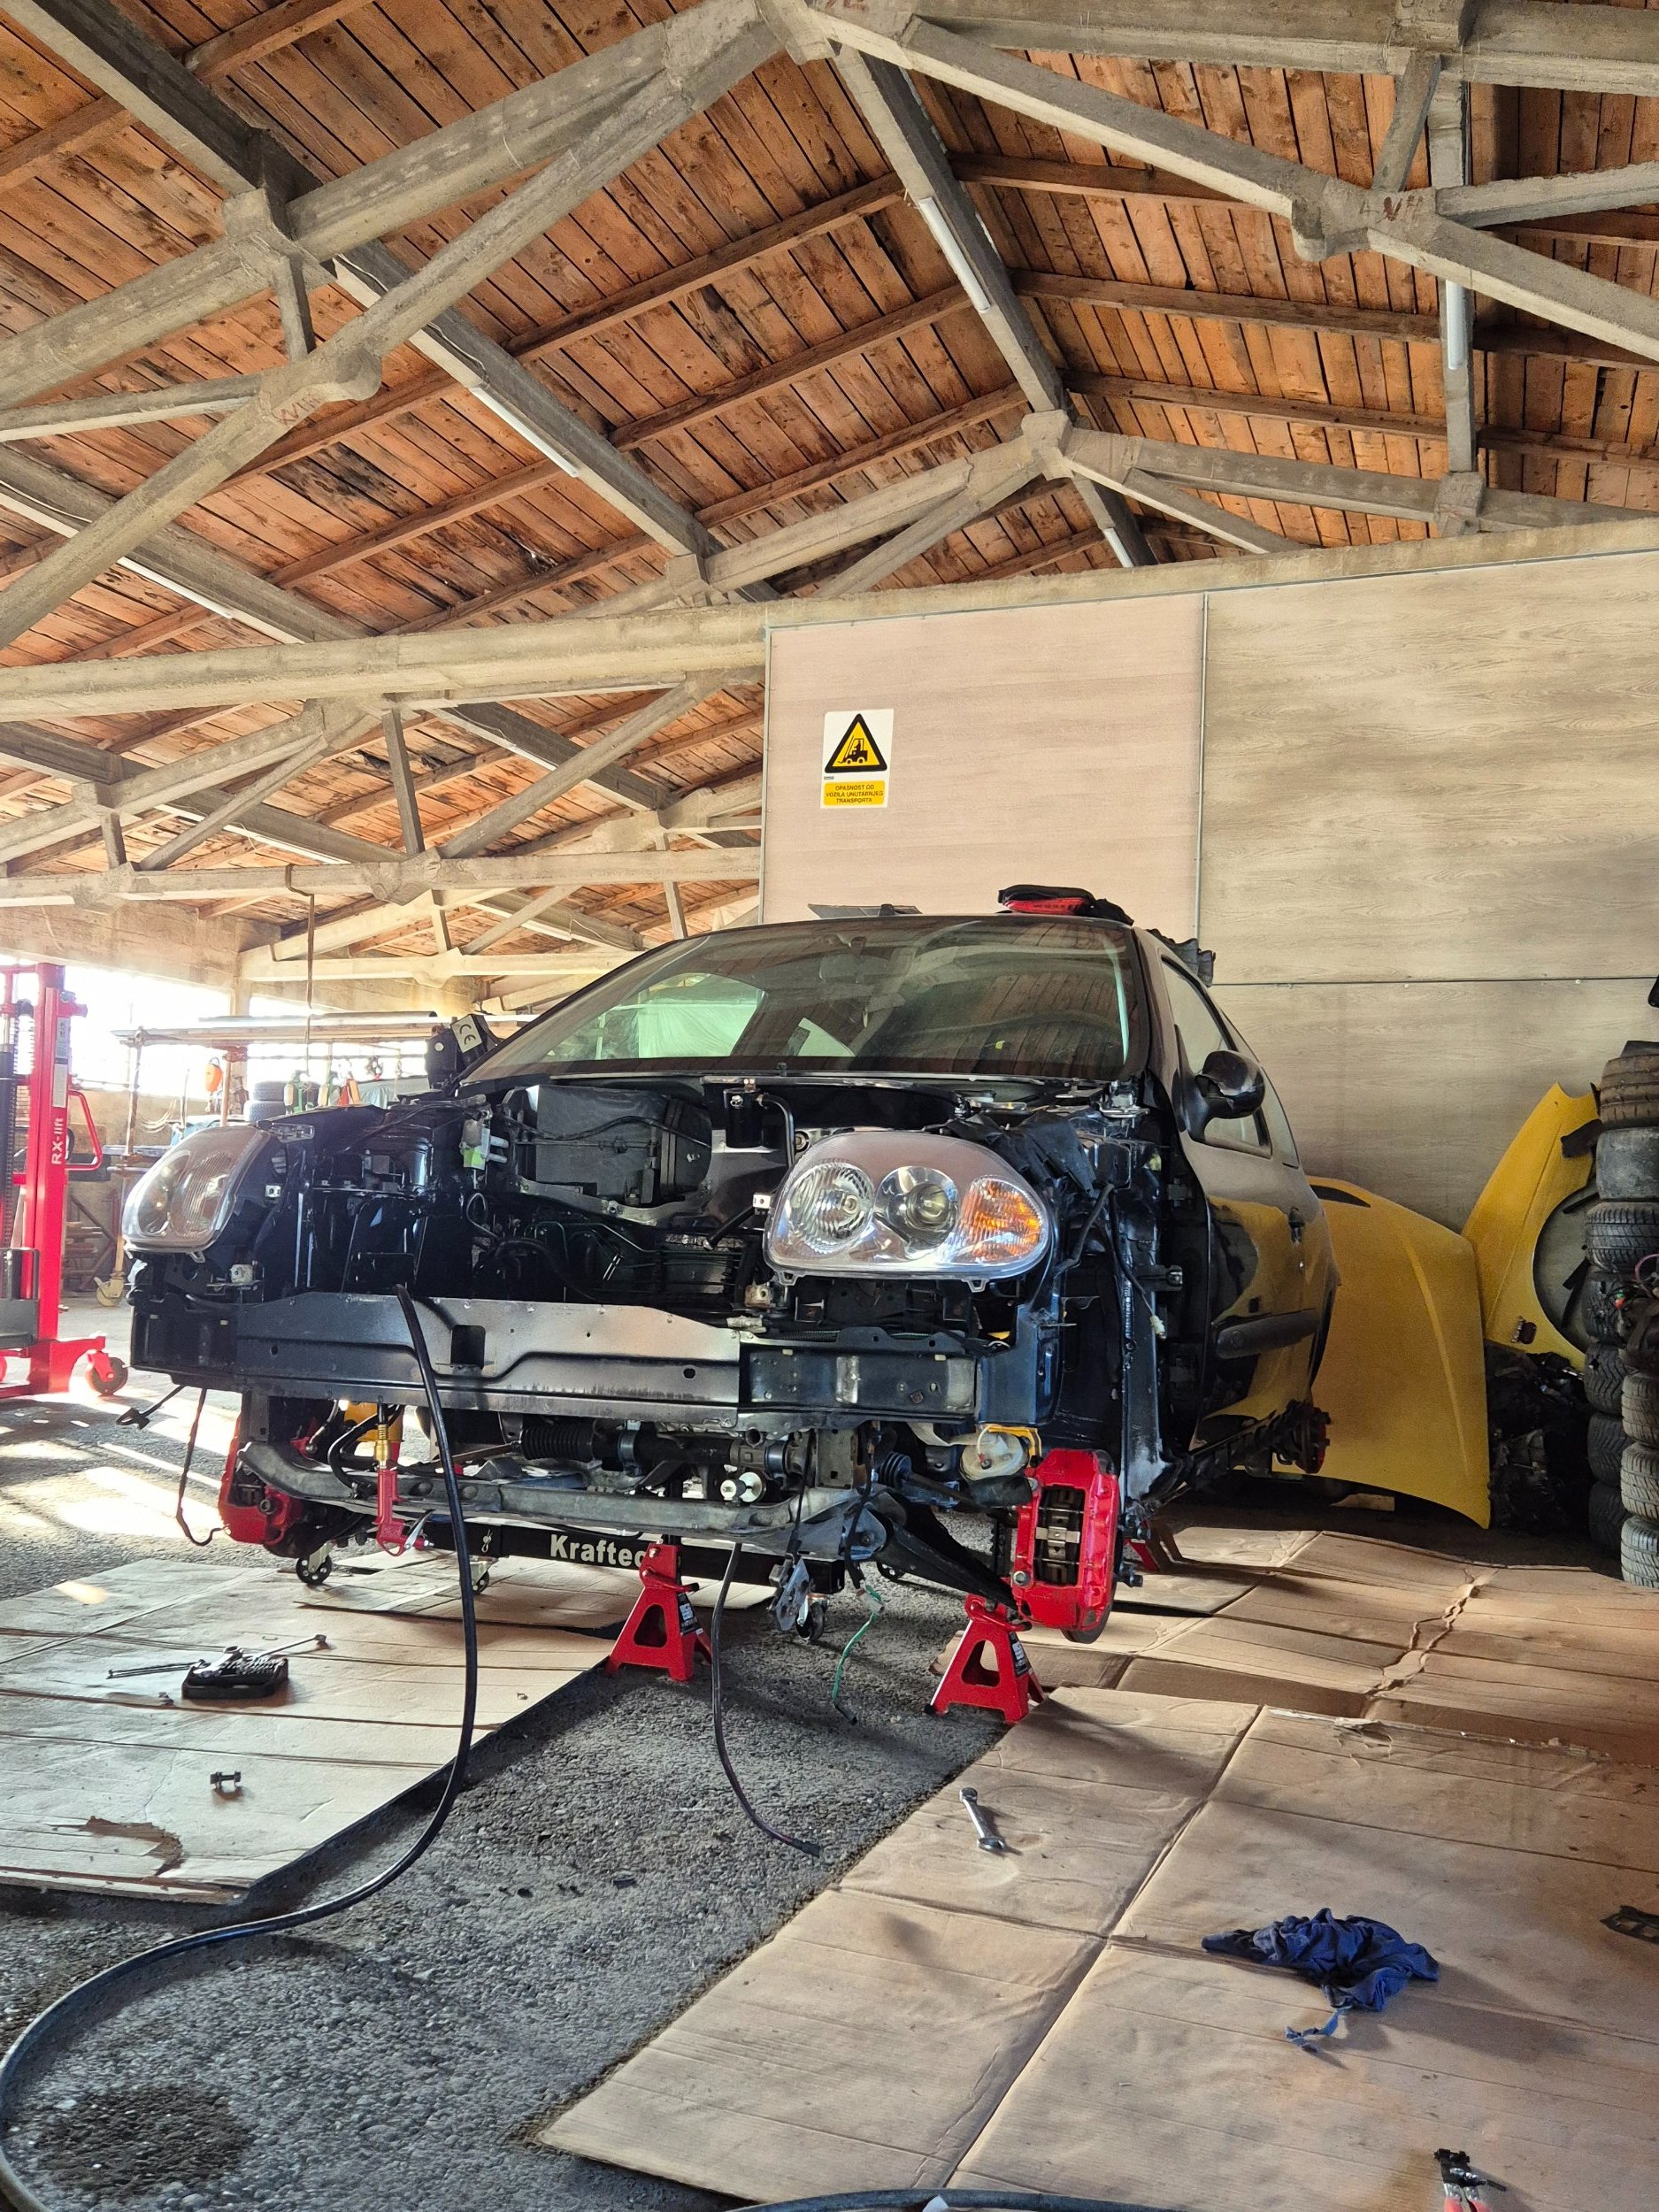
All this work was done in August, and the plan was to finish everything before the INA Track Day on September 10th—all while still having to tackle the very issue that caused the car to be taken apart in the first place (the engine's rod bearings), plus a whole bunch of other things I’ve already forgotten... you could say the plan was a bit ambitious.

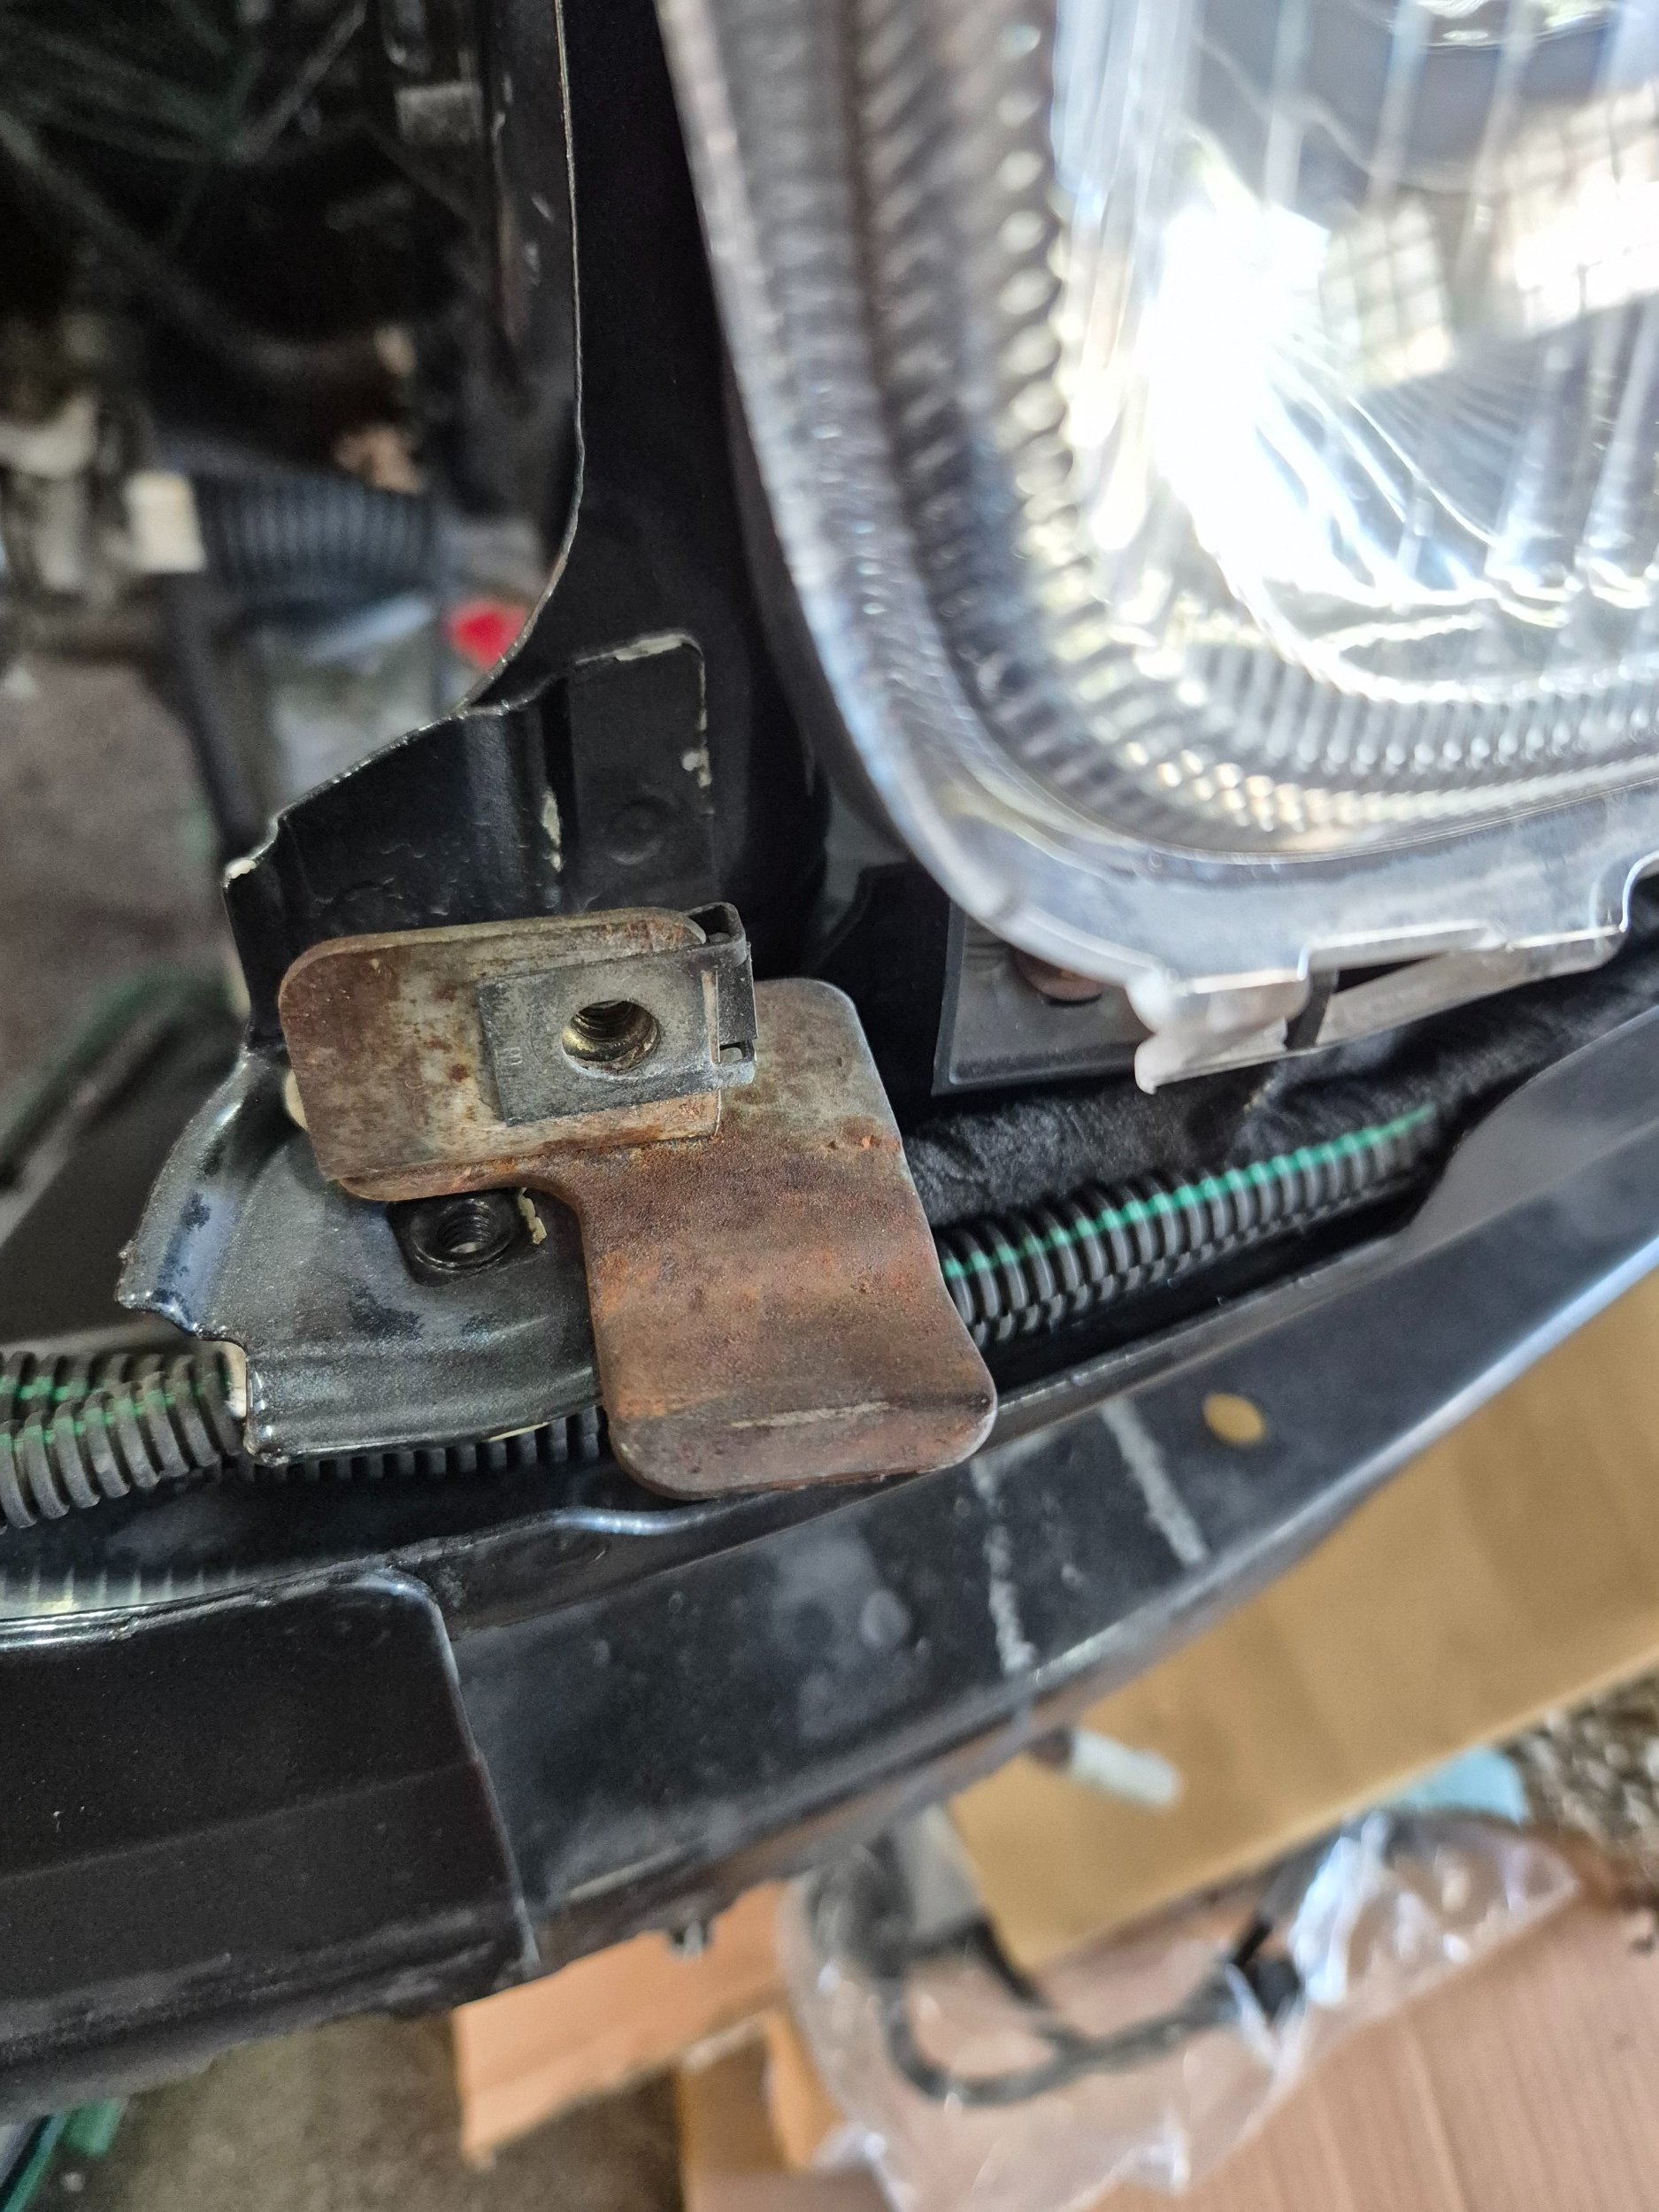
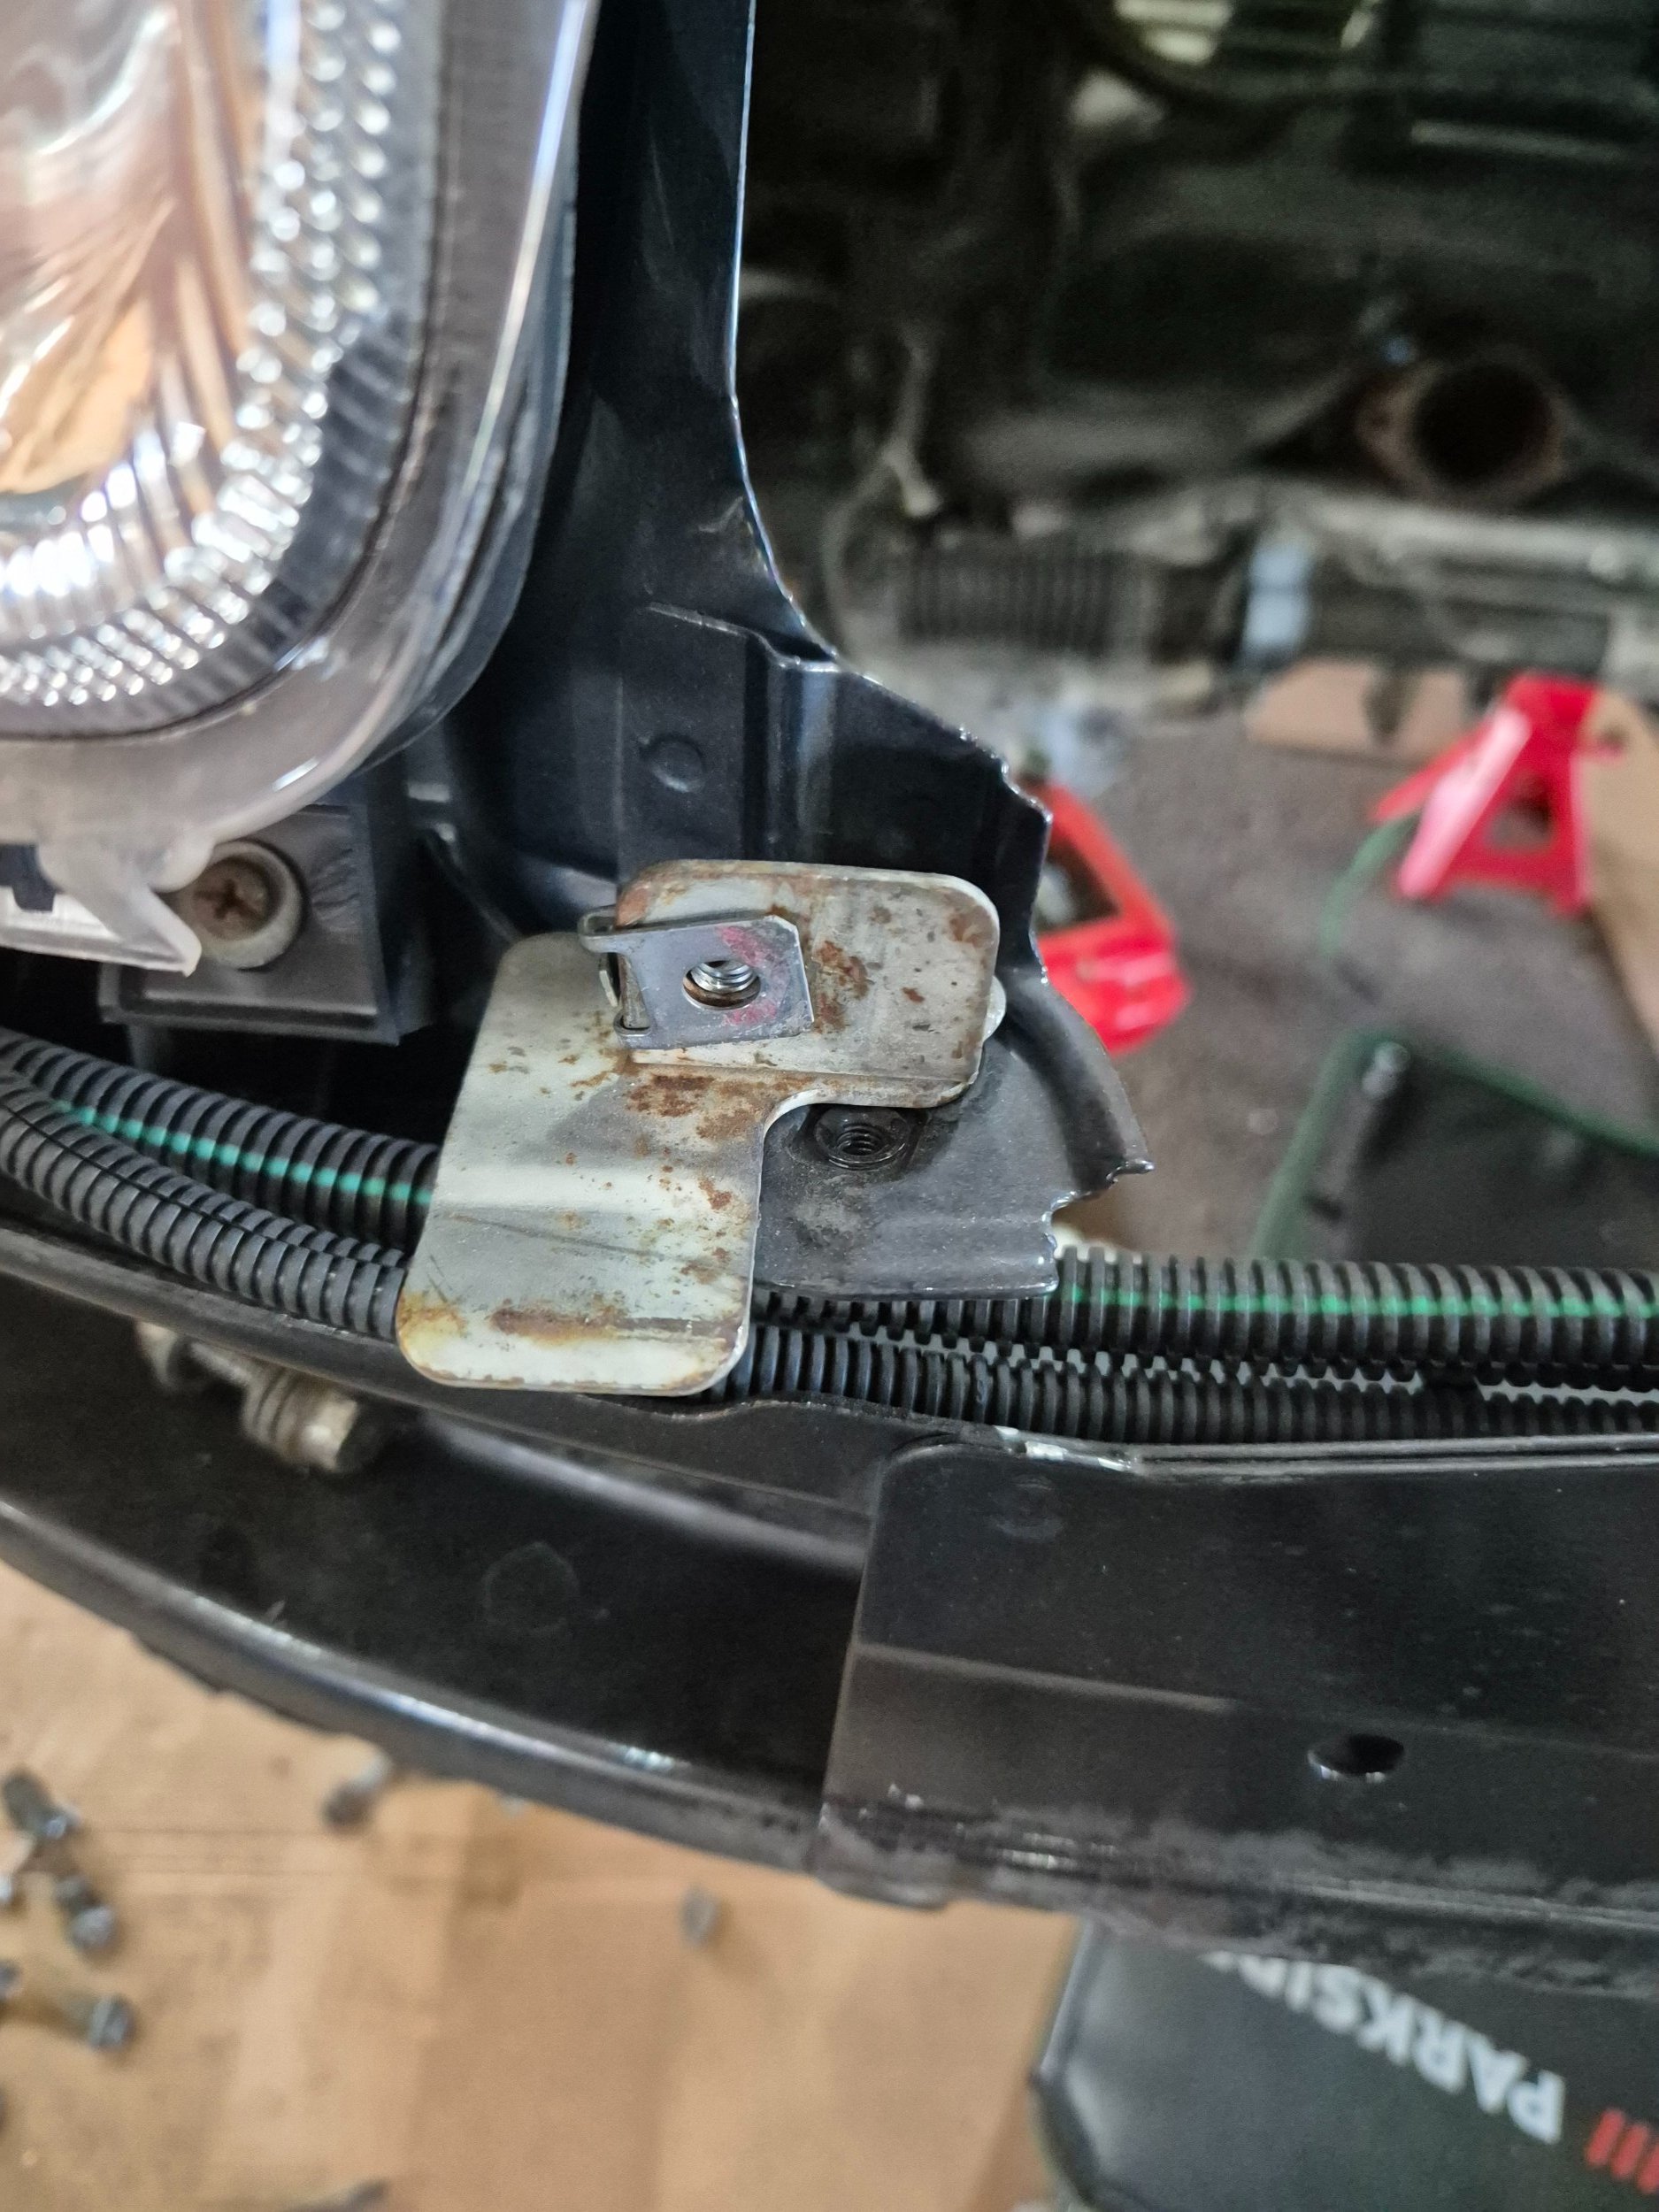
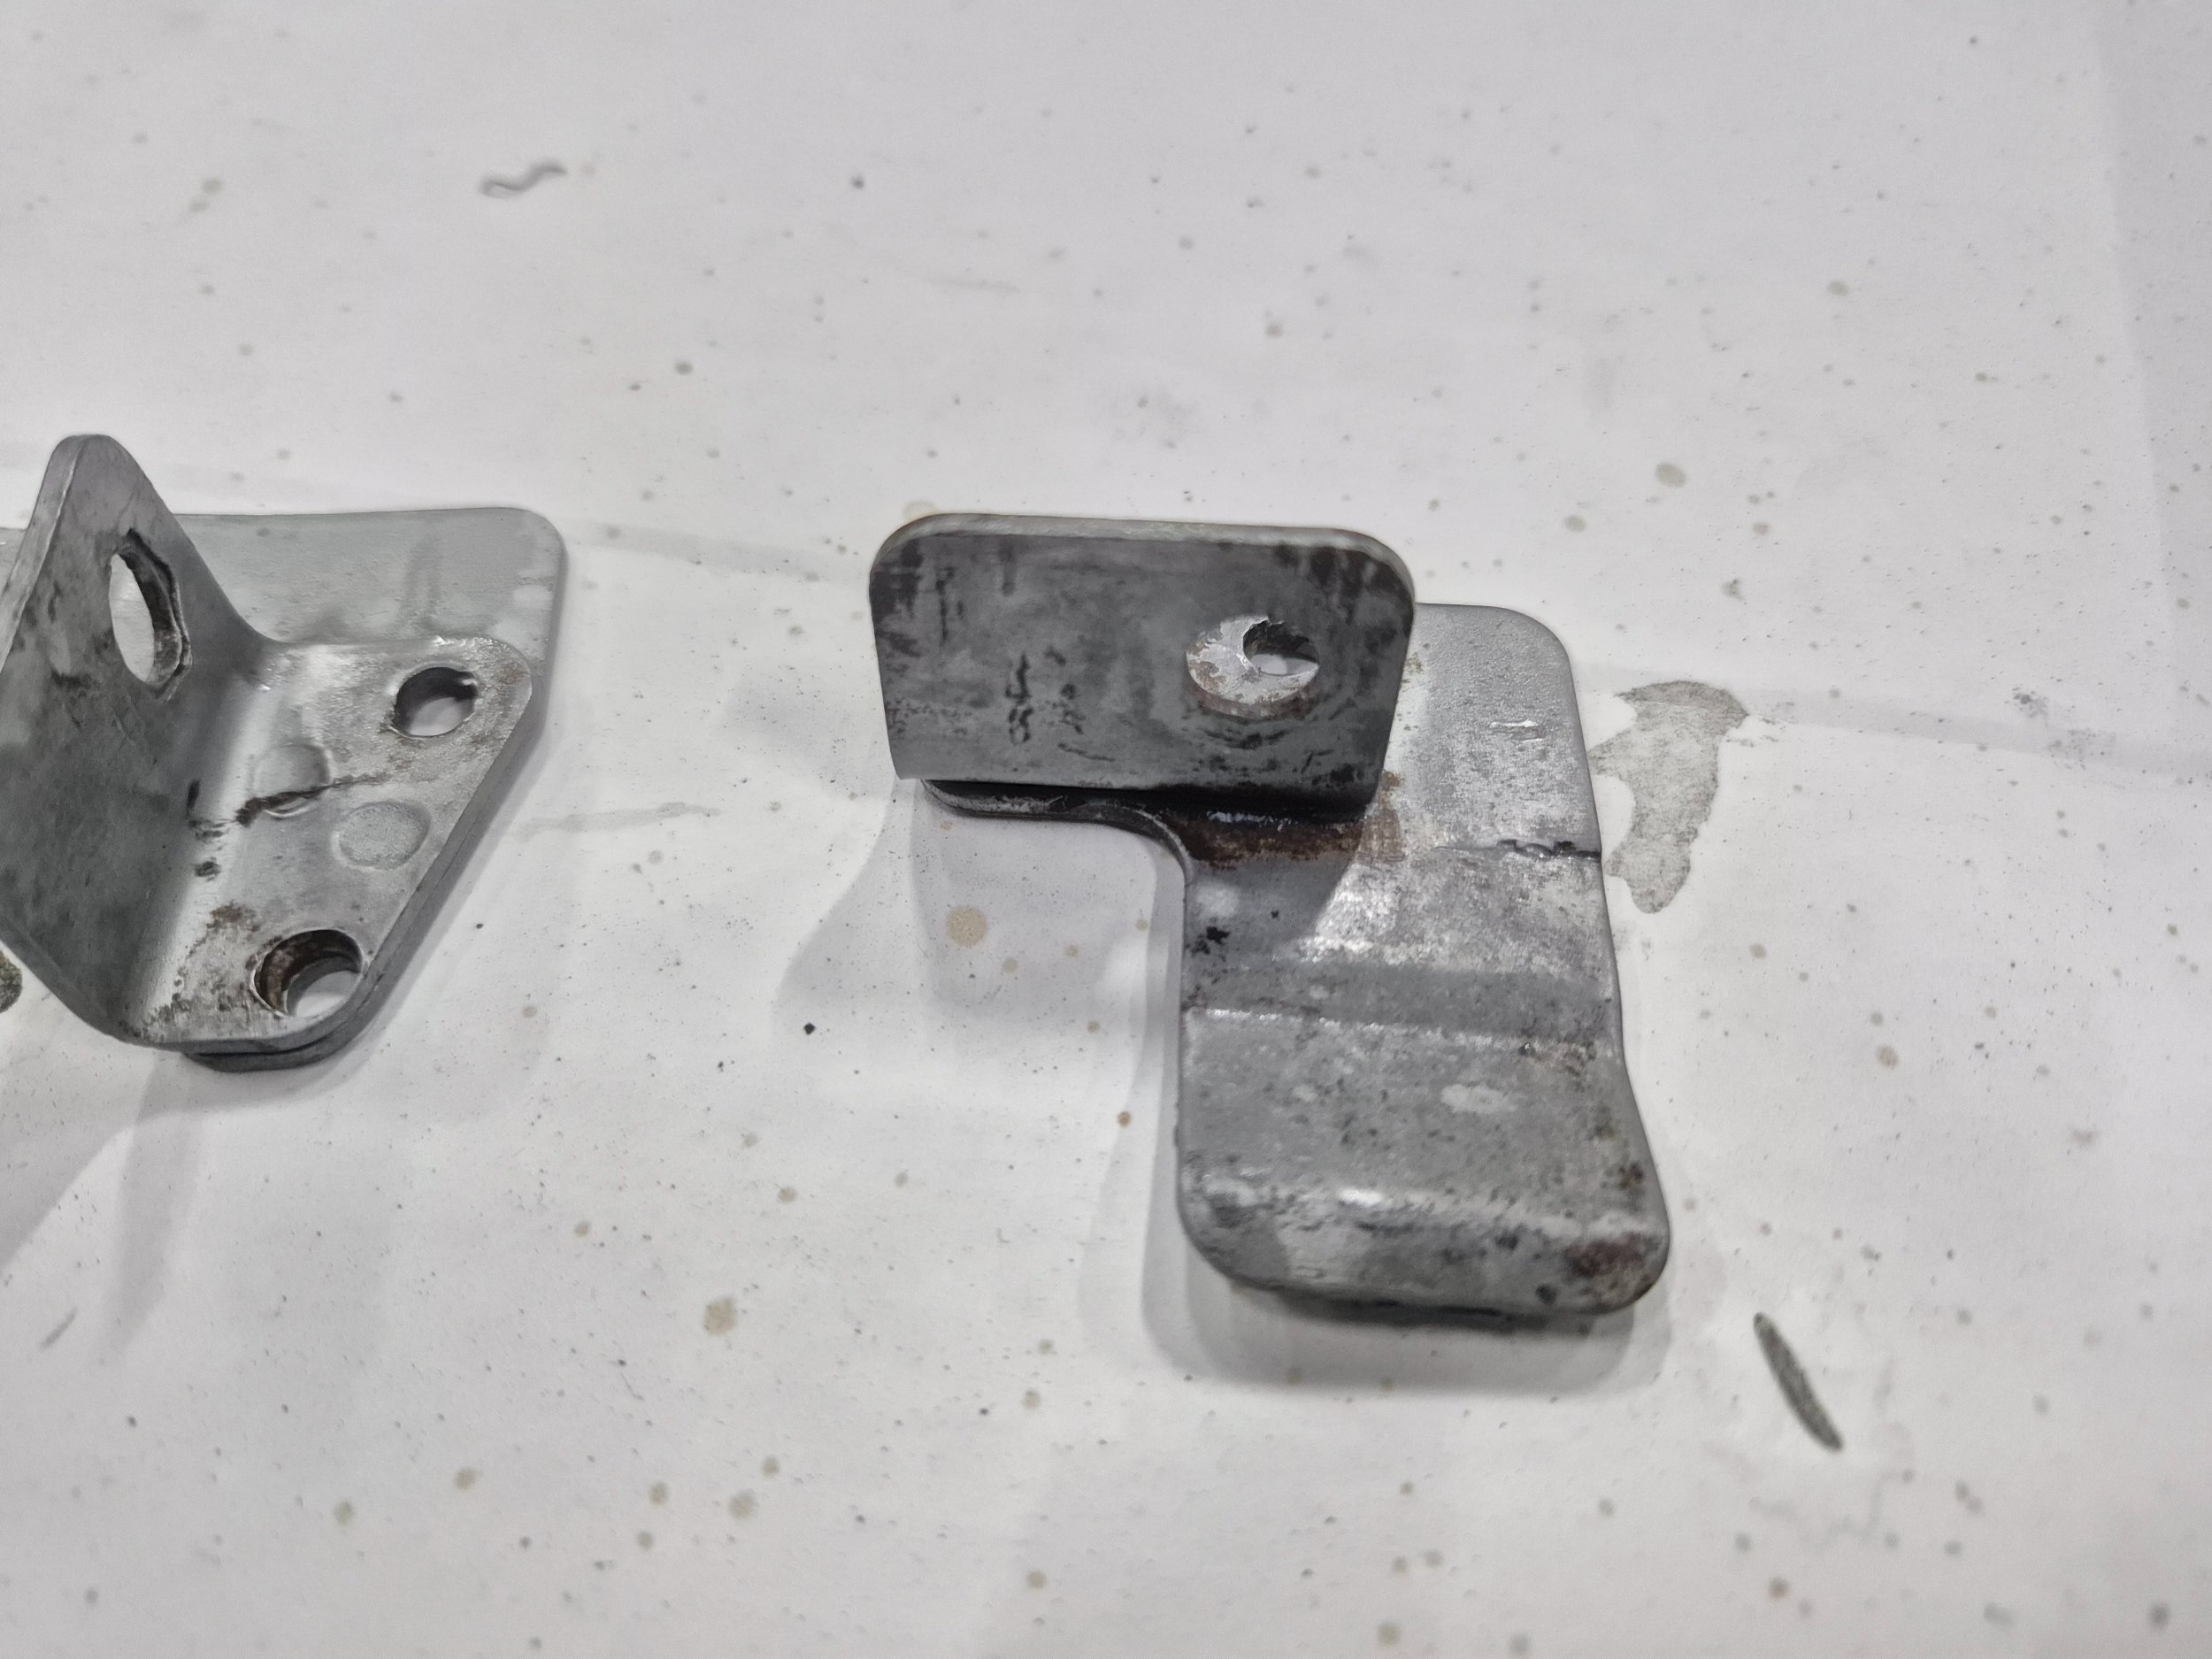
For the bodywork, the plan was to straighten everything out, restore it to its original condition, maybe reinforce the inner sills with some welds, and apply epoxy, underseal, and the car's body color—just like it was originally. Oh, and I also planned to add reinforcements to the sills near the front jack points to prevent the jacking points from flexing, just like I did on my previous Clio.

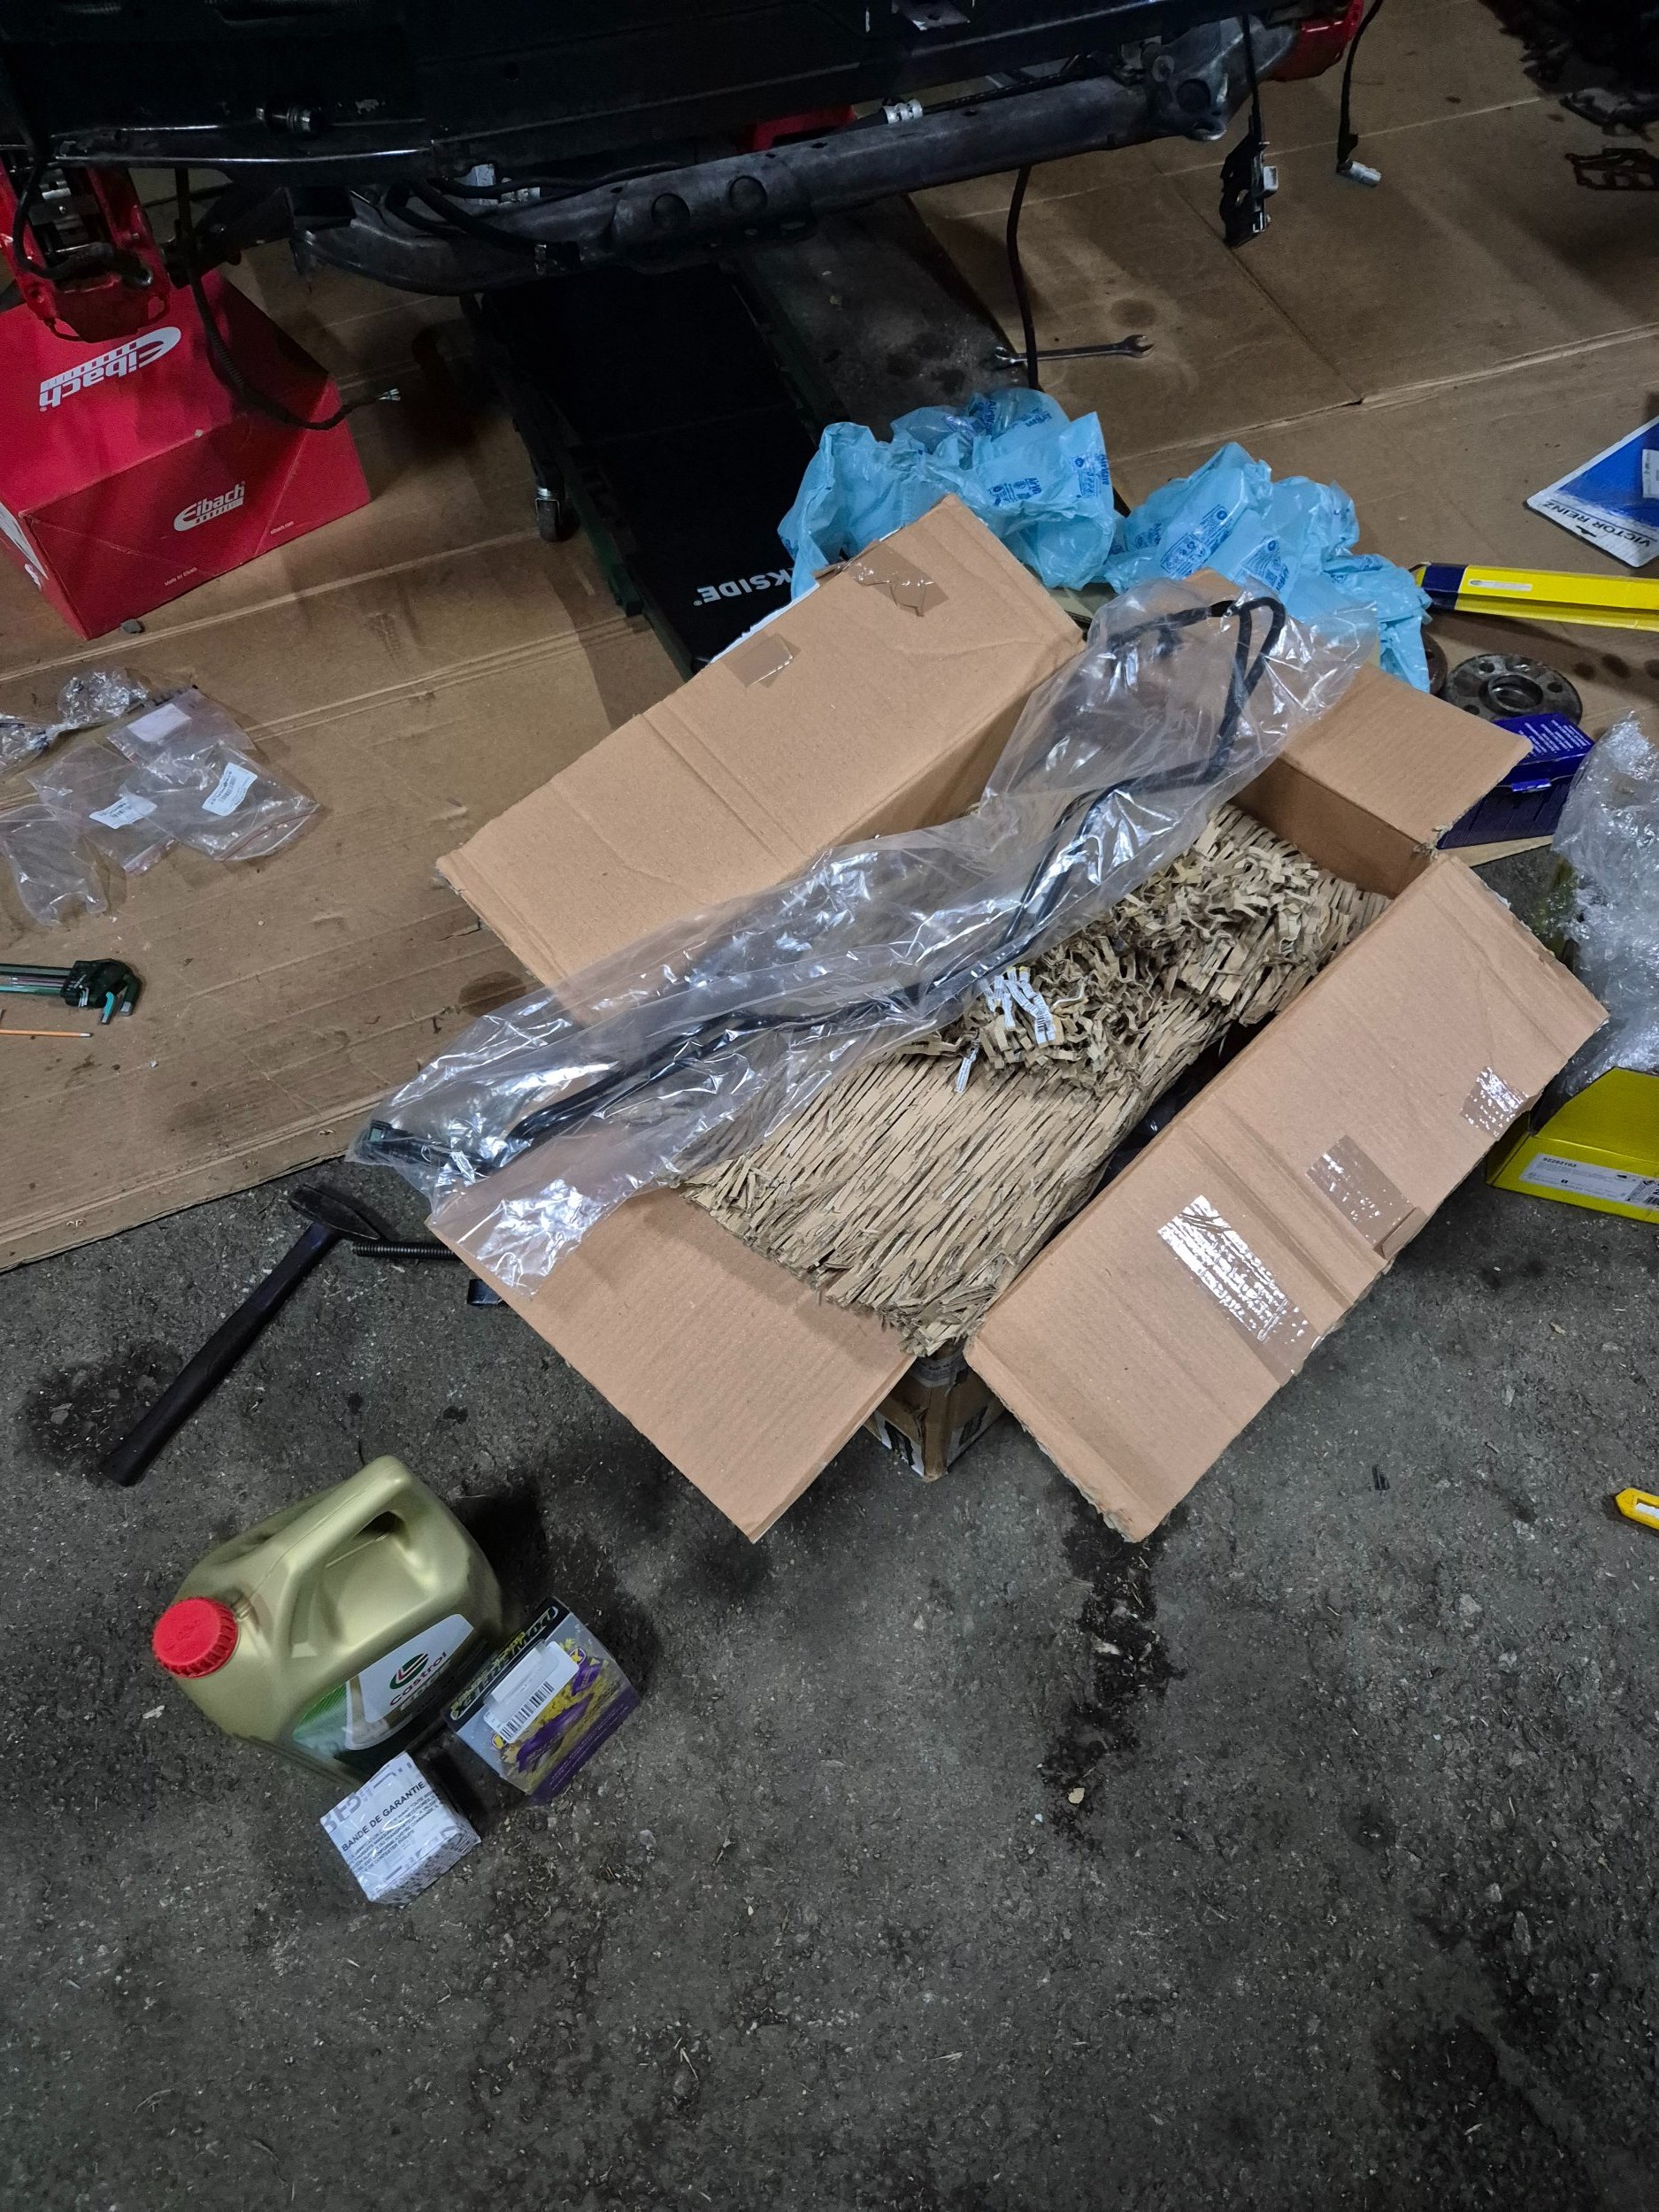
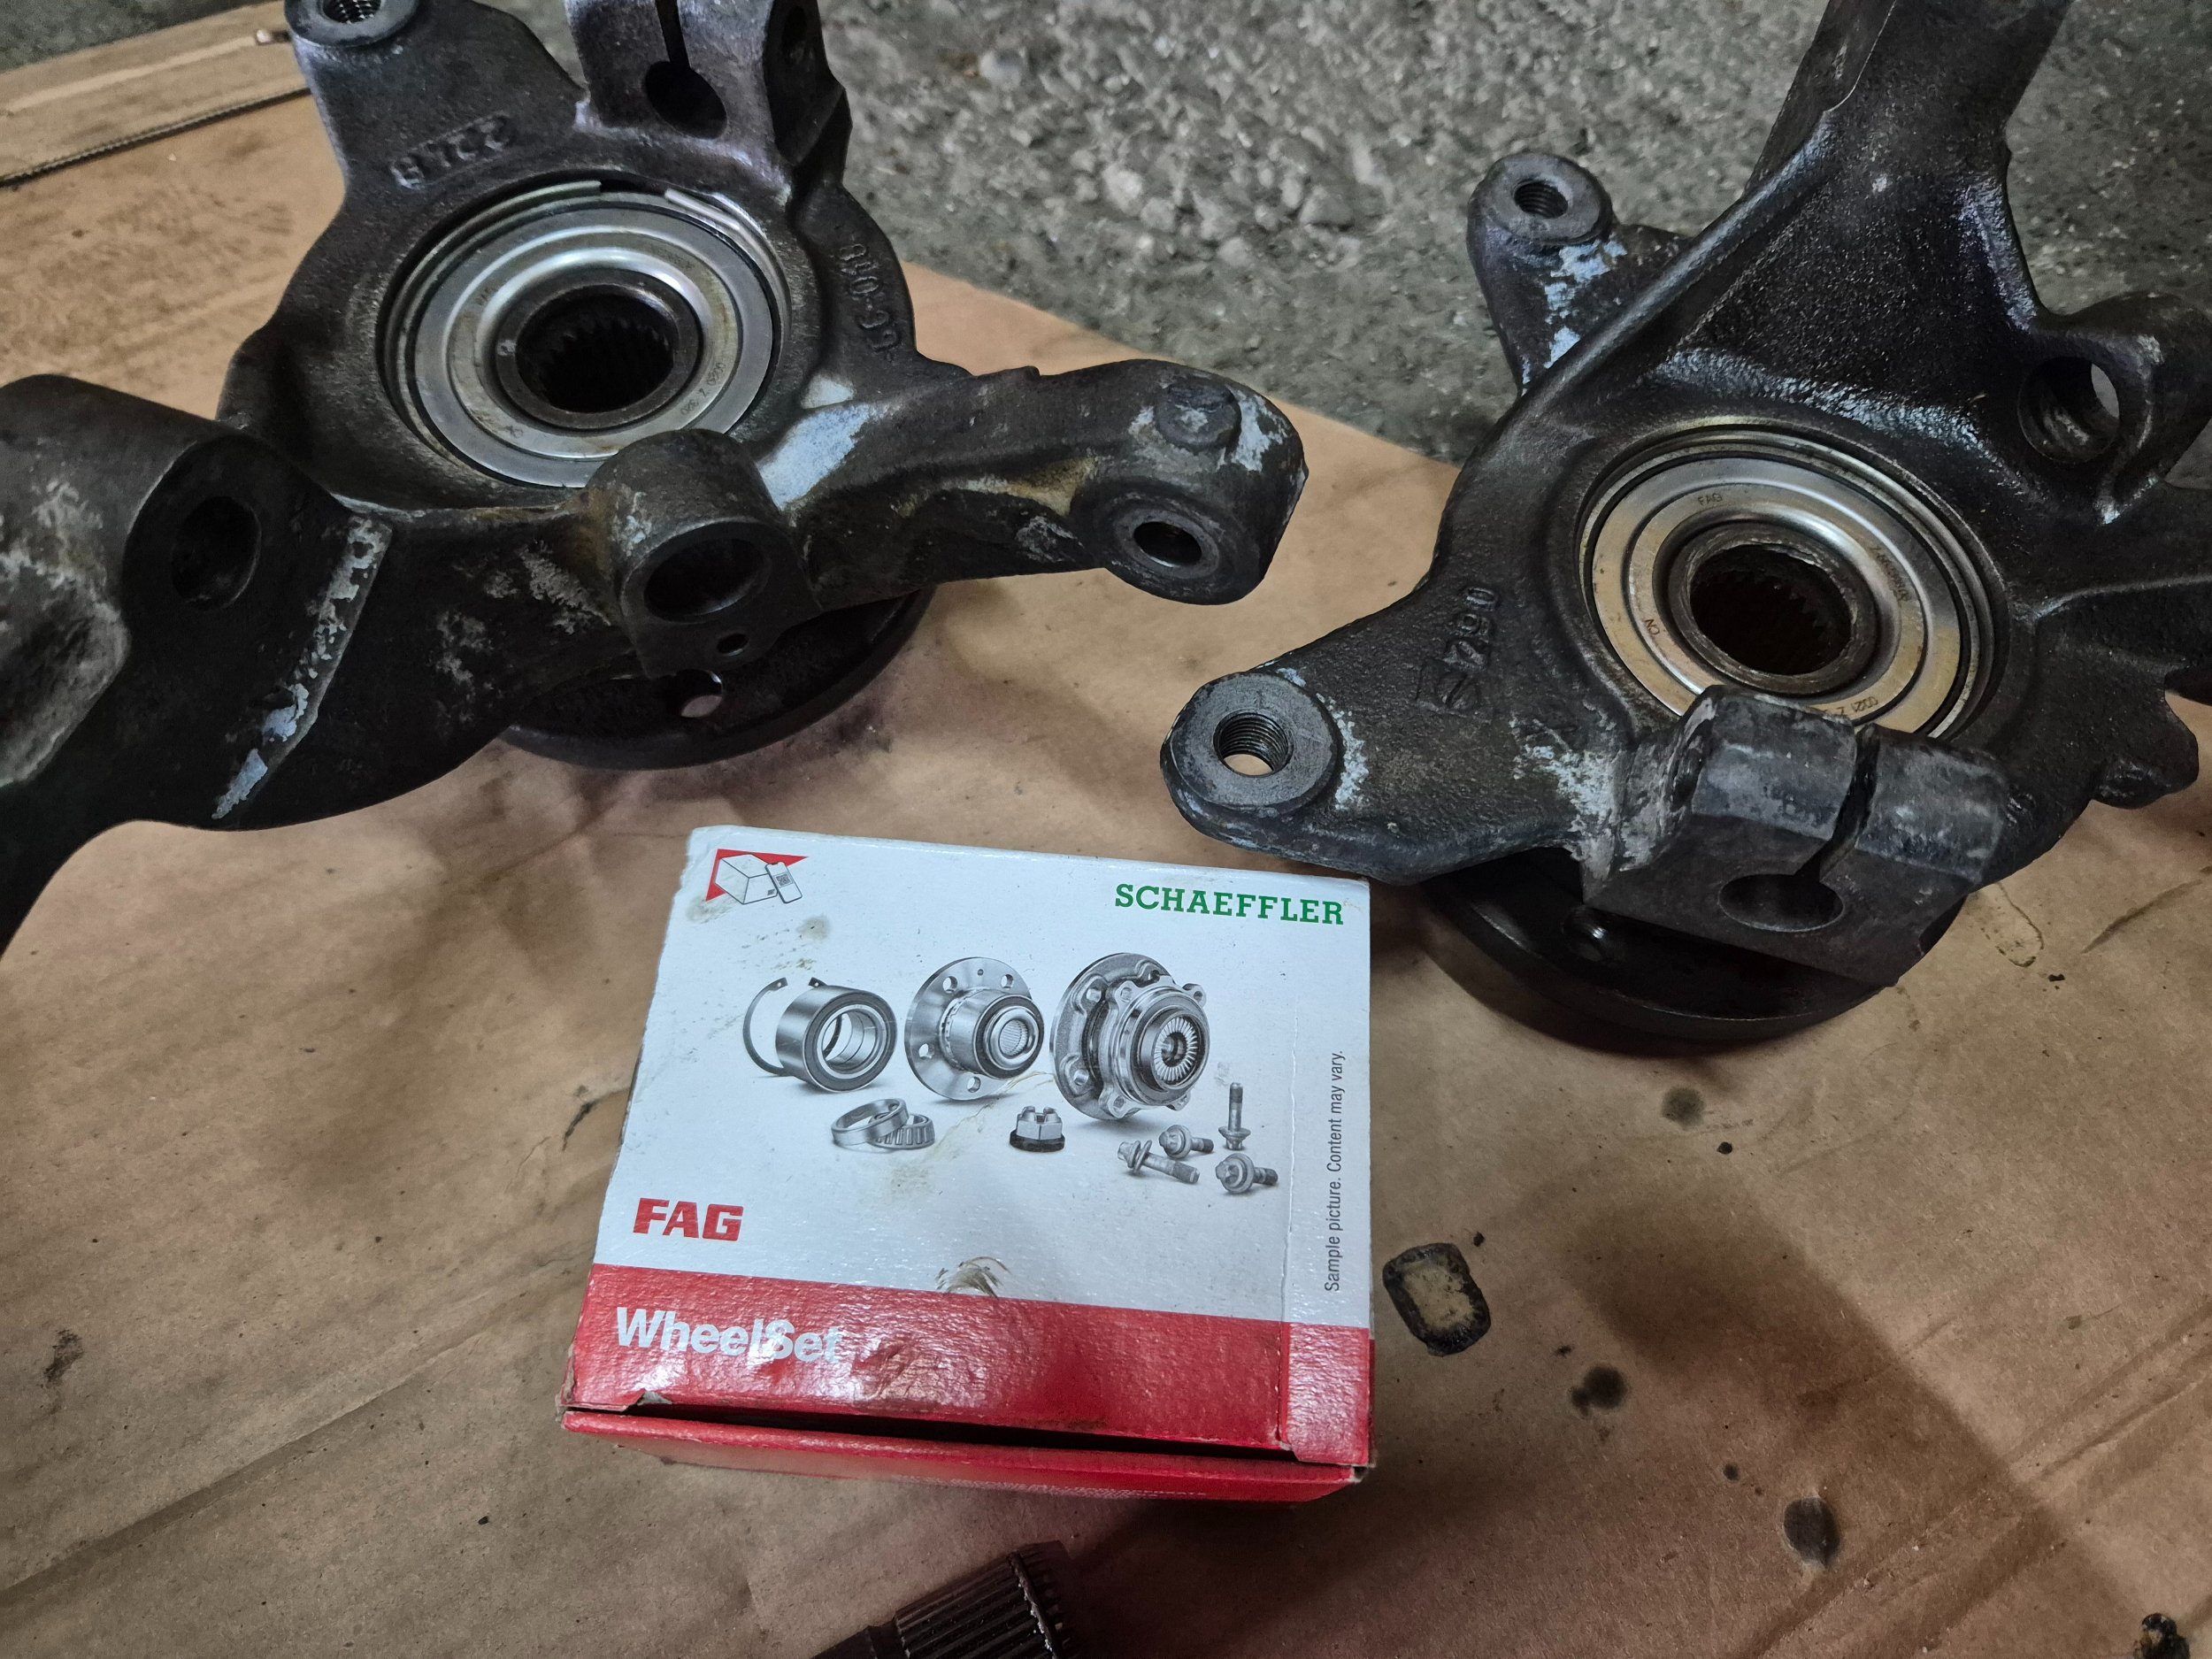
I ordered a lot of OEM parts from Optimiz access with two friends—some as preventive maintenance, others as replacements.

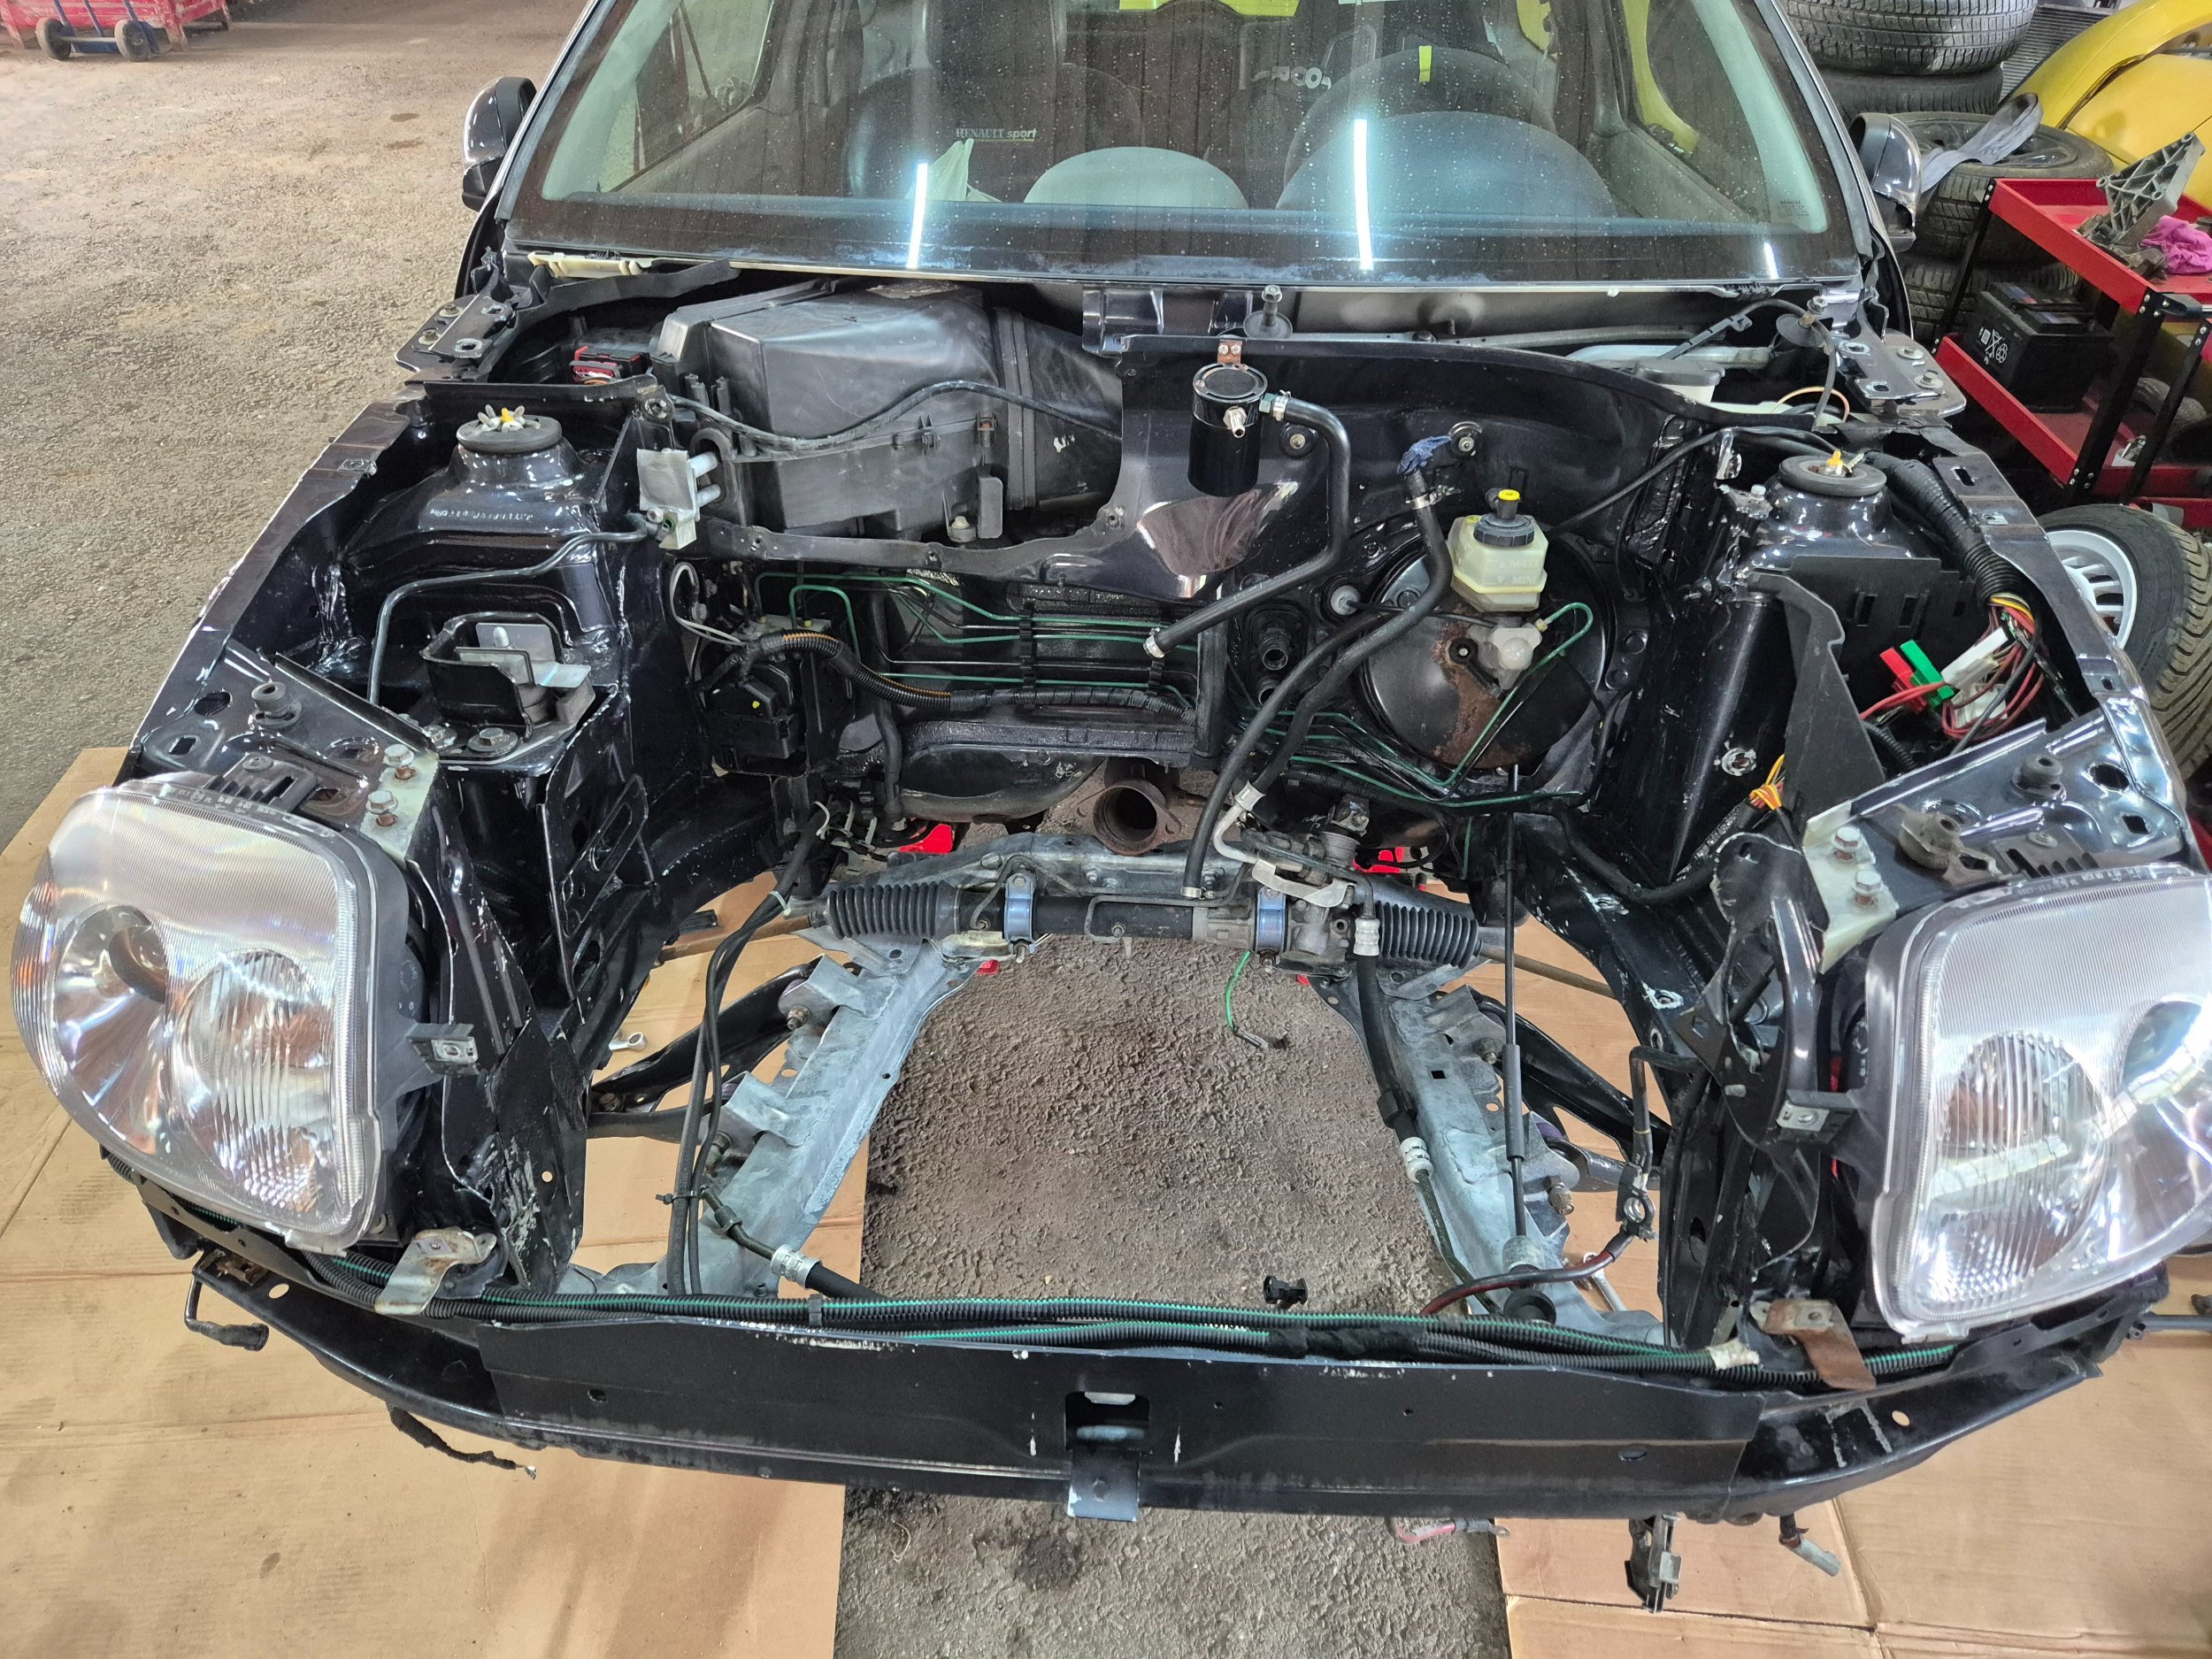
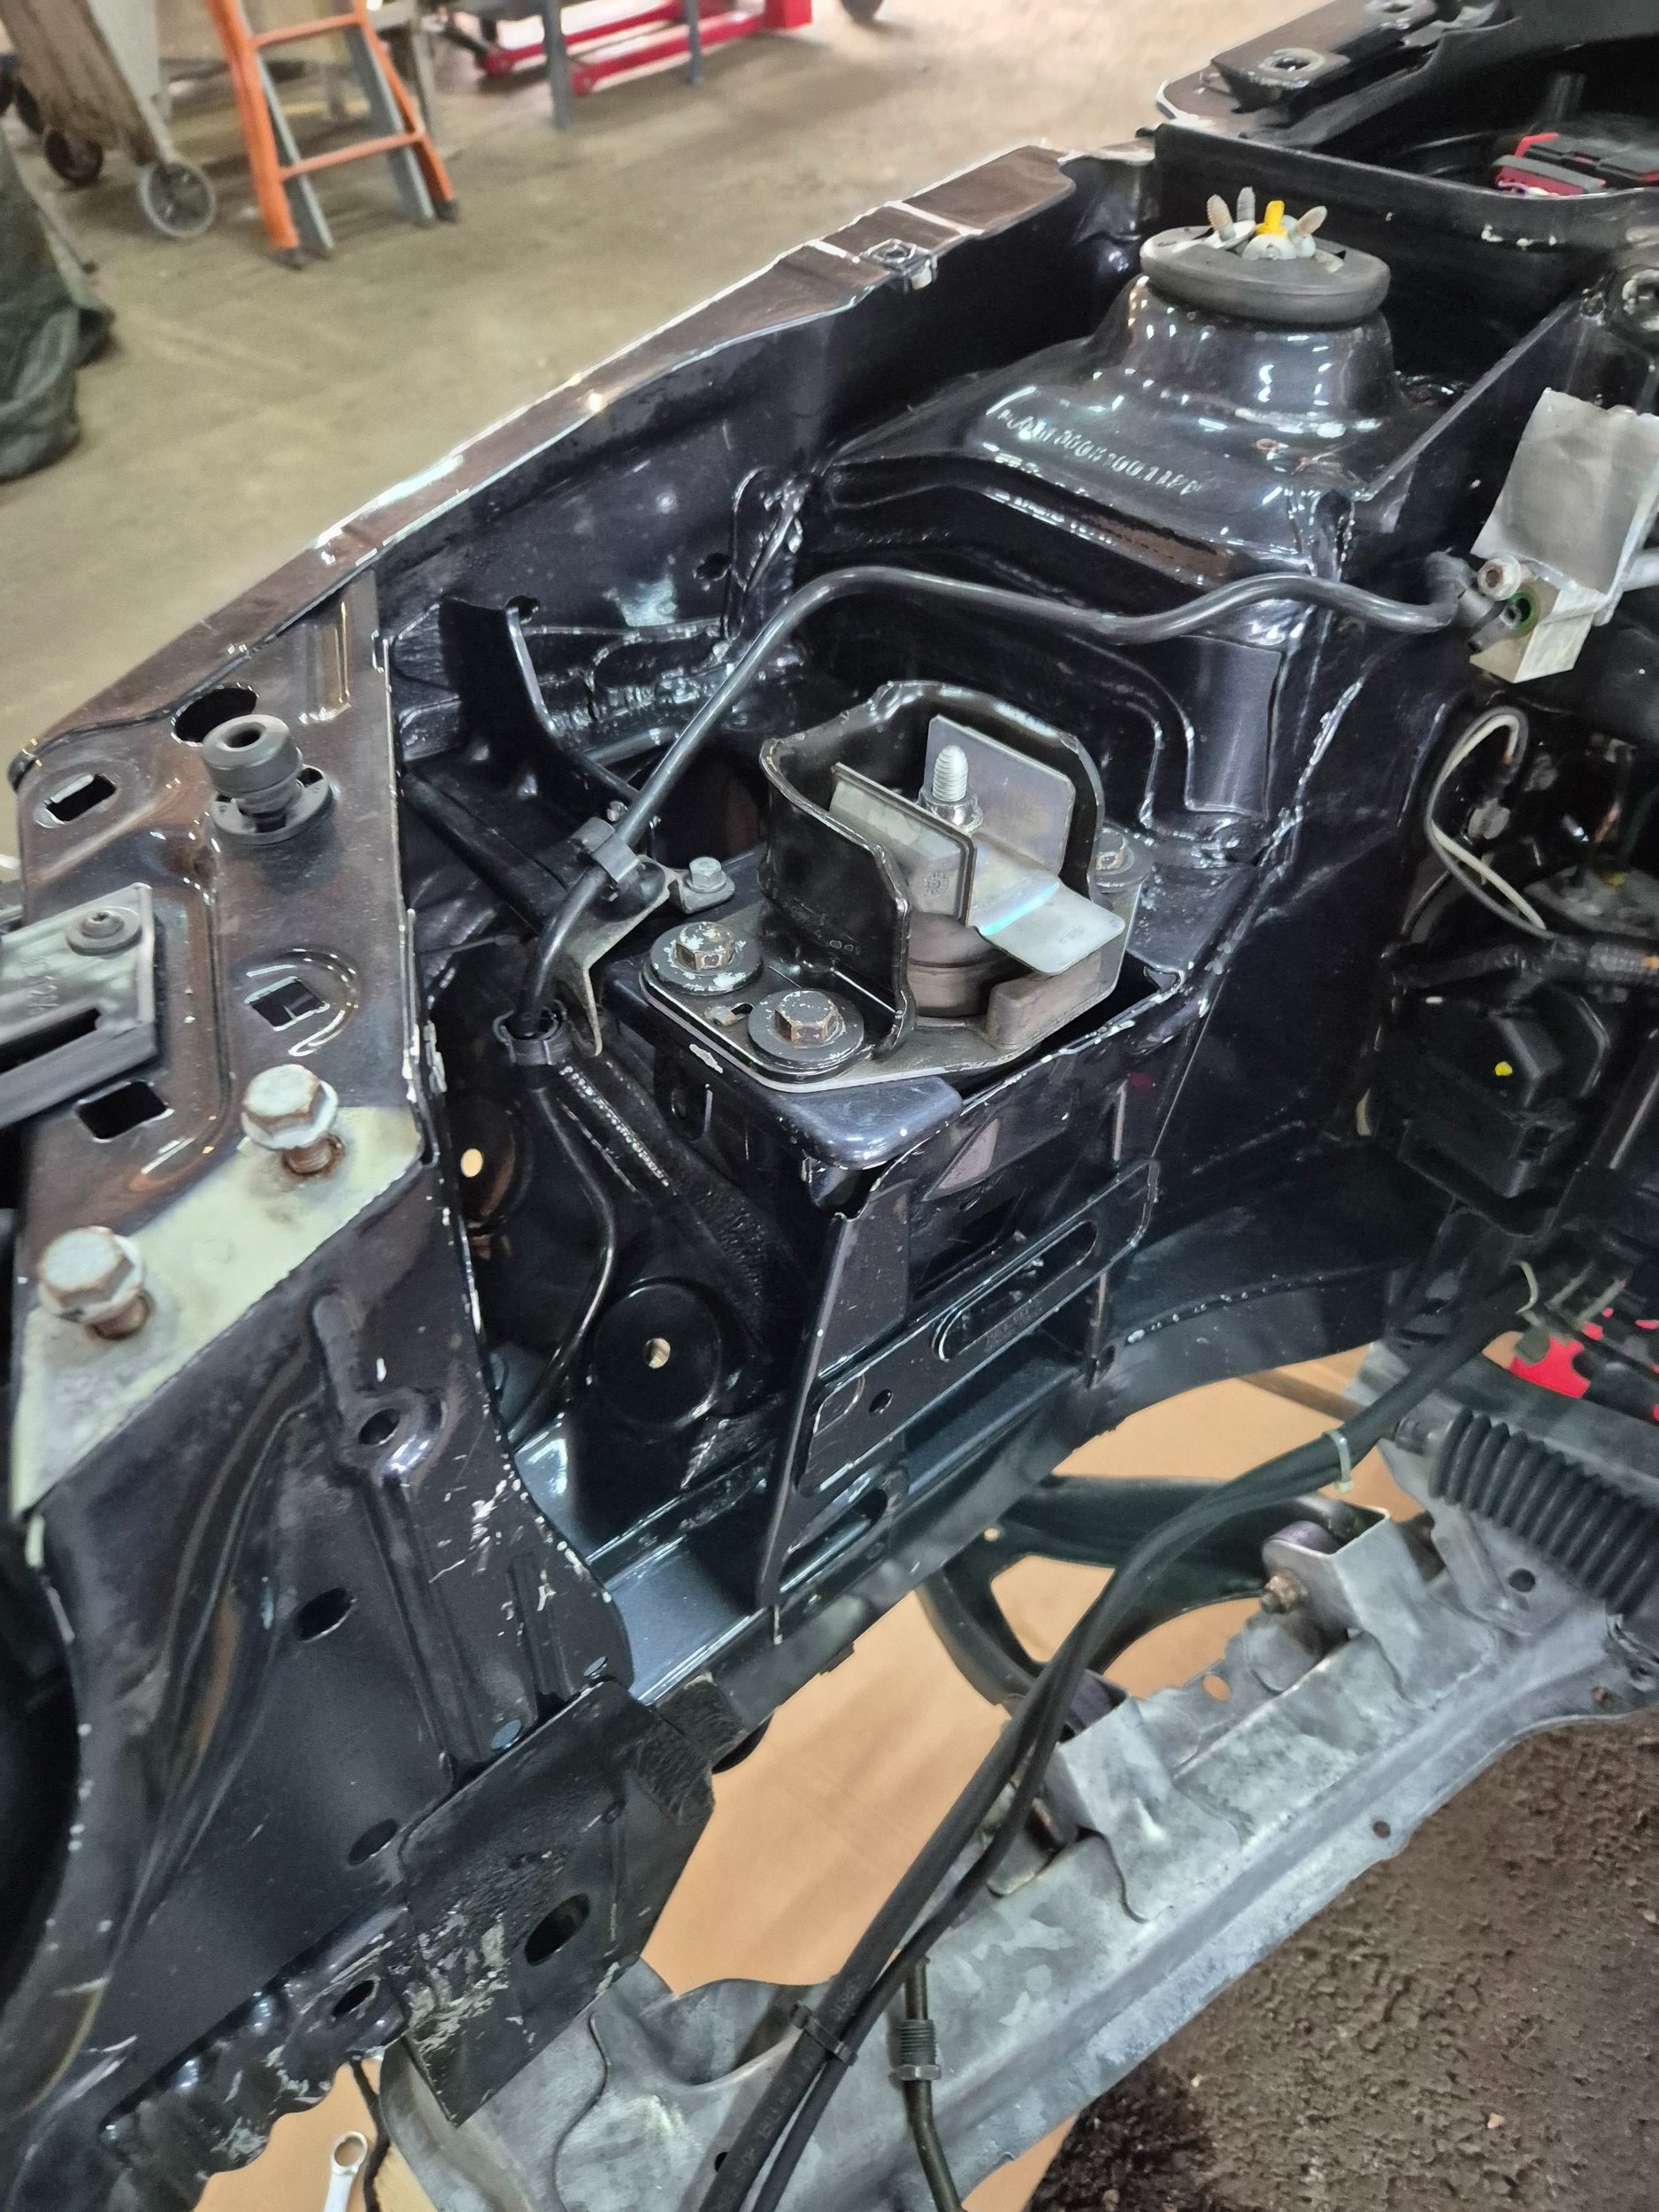
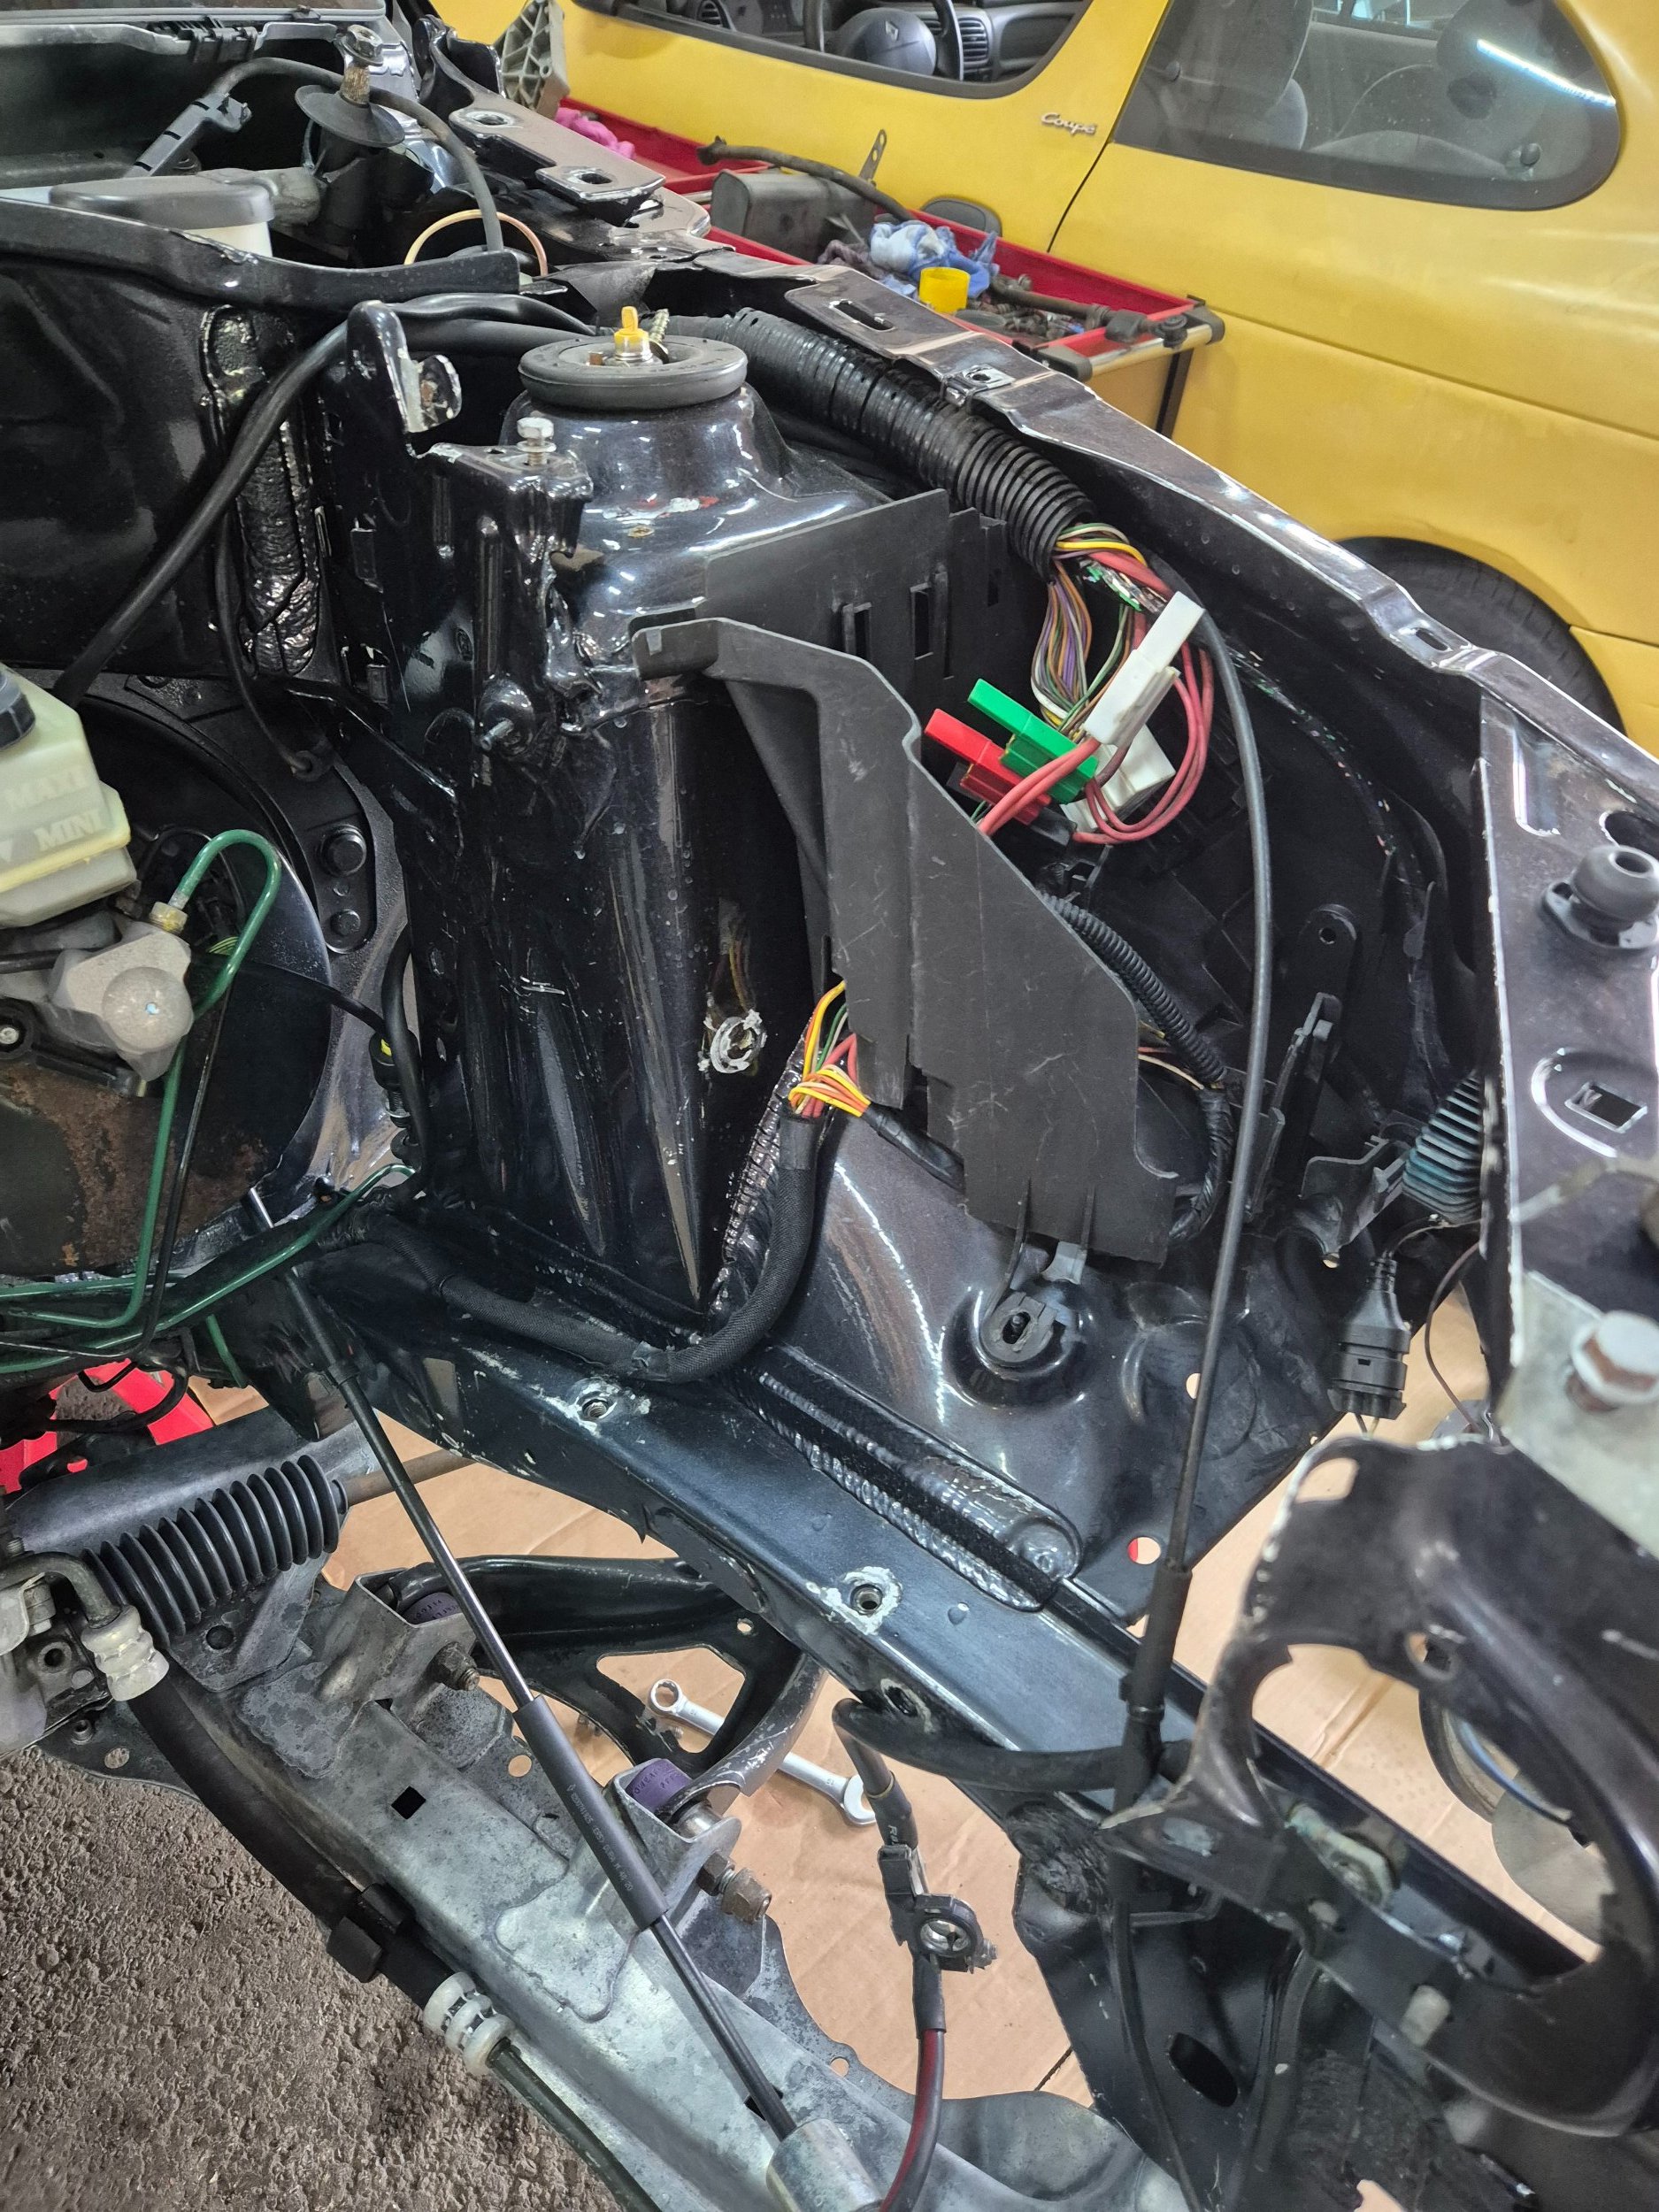
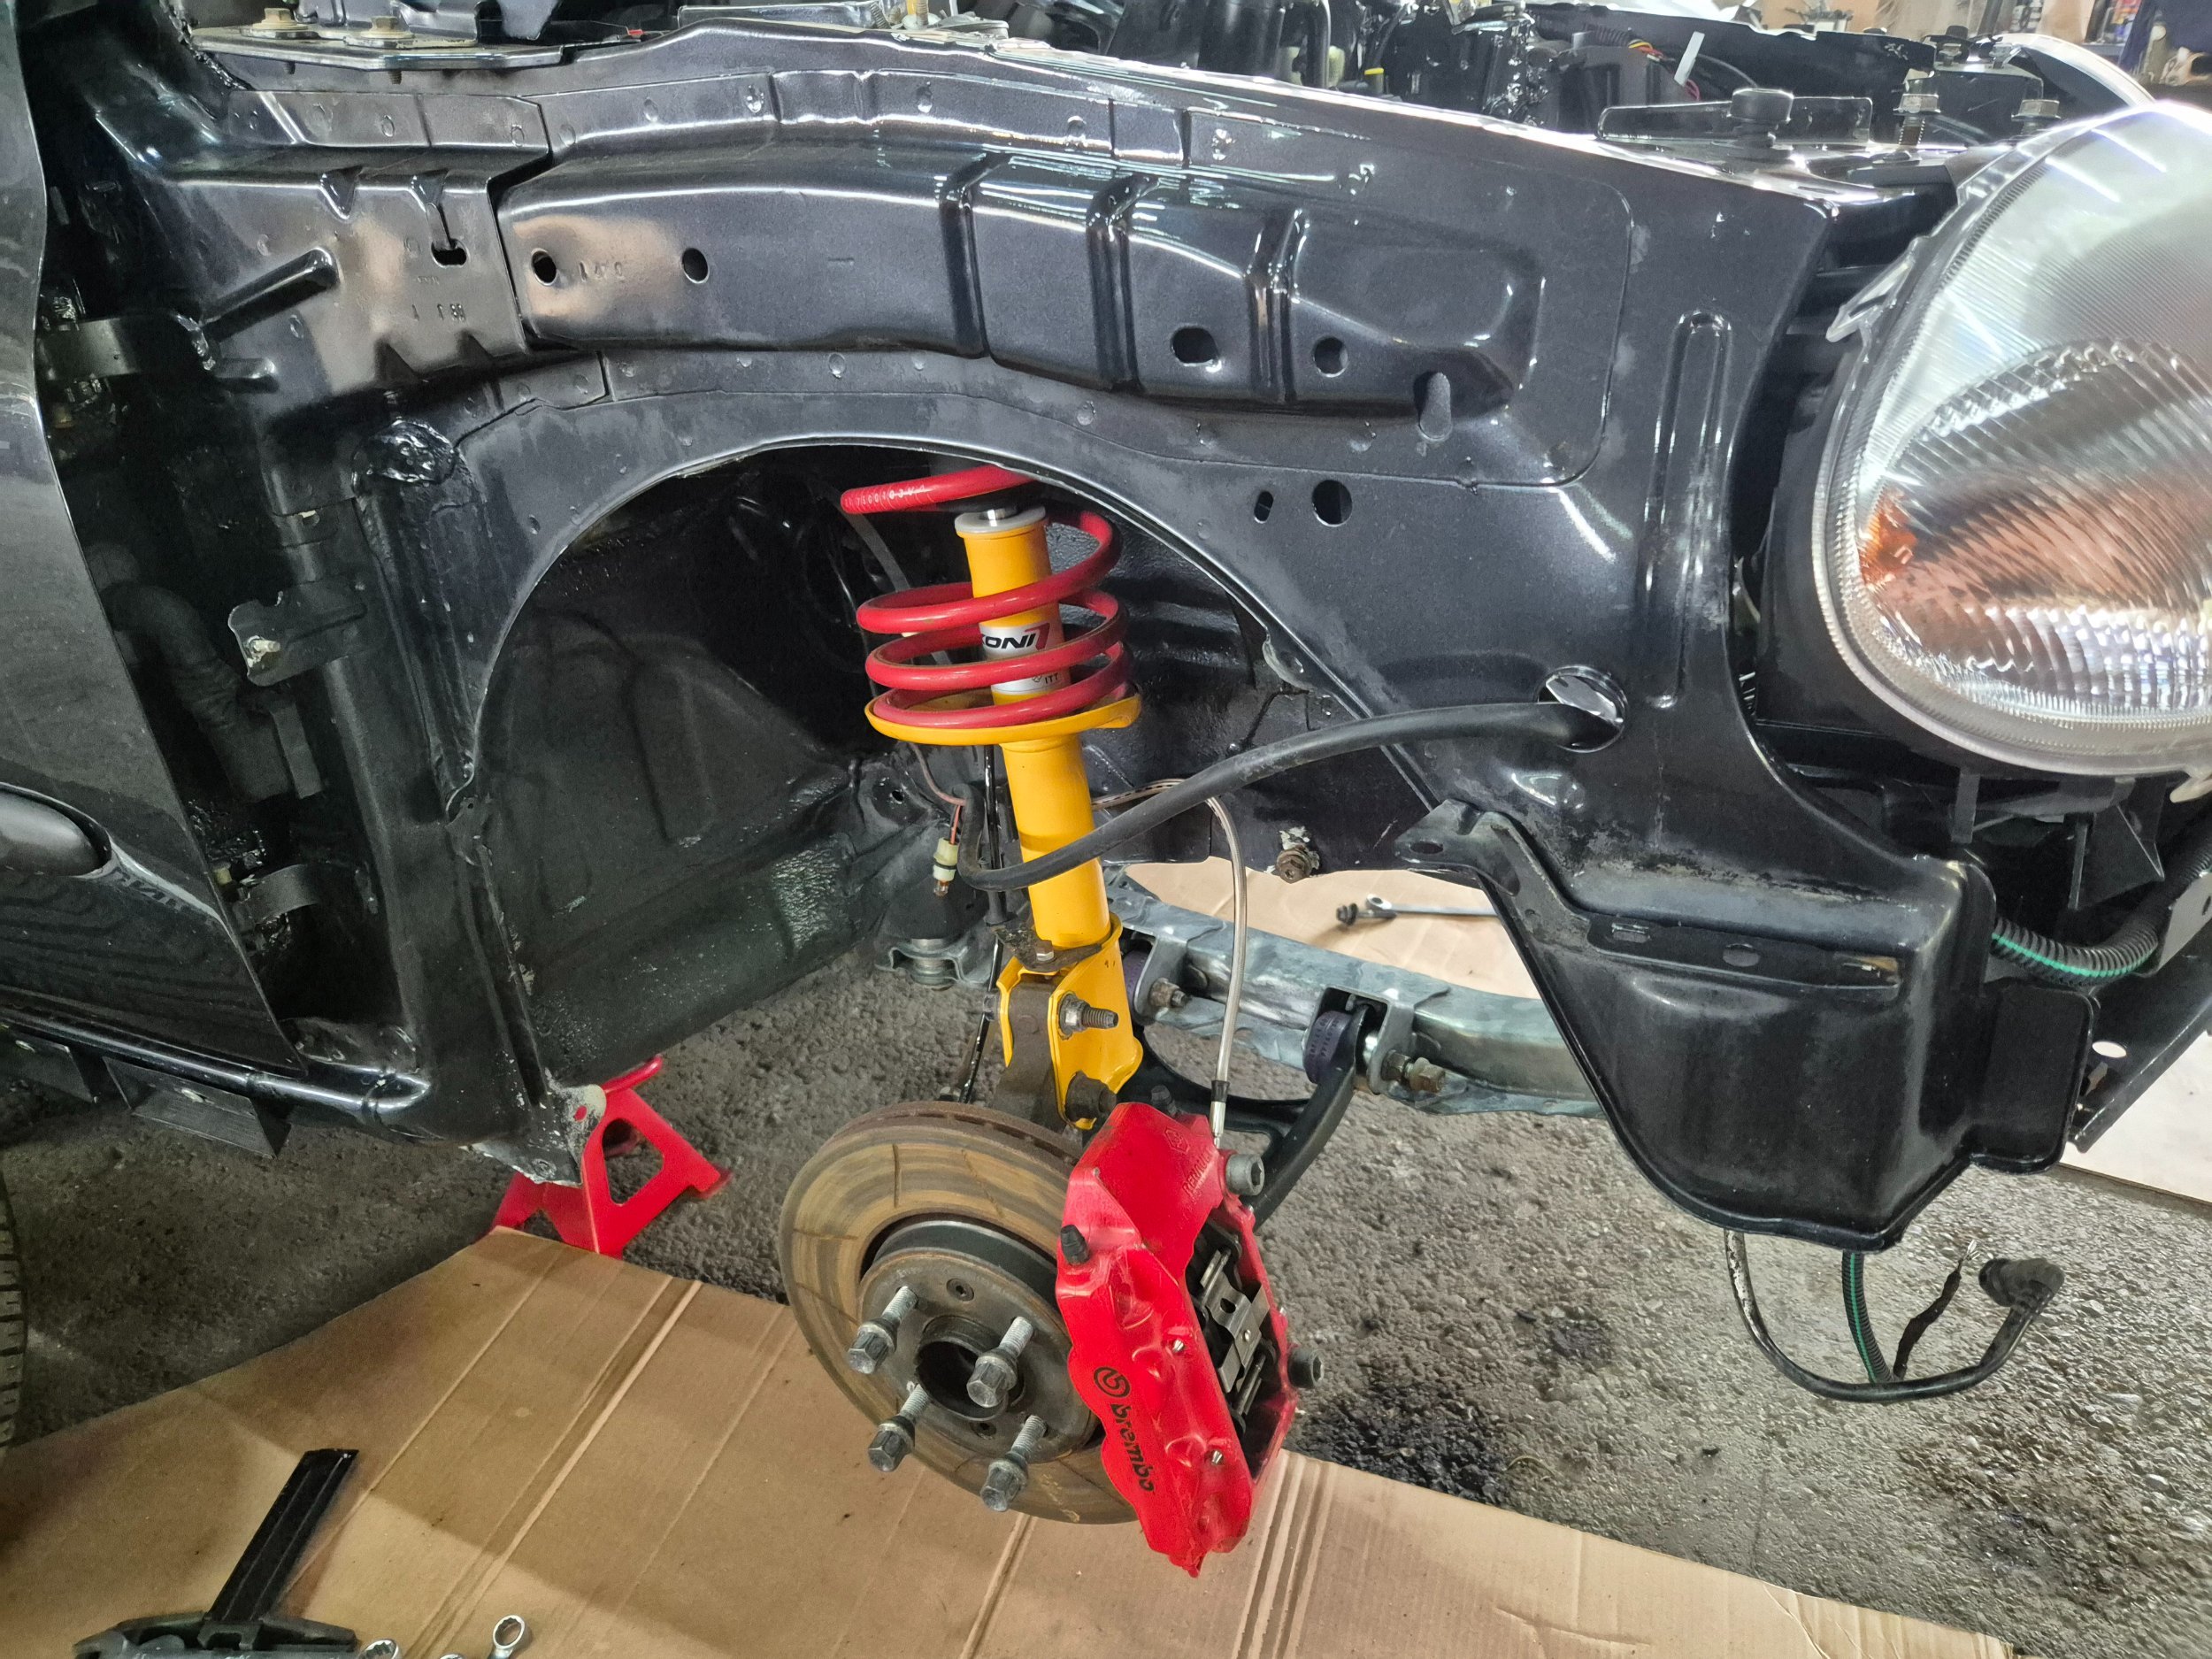
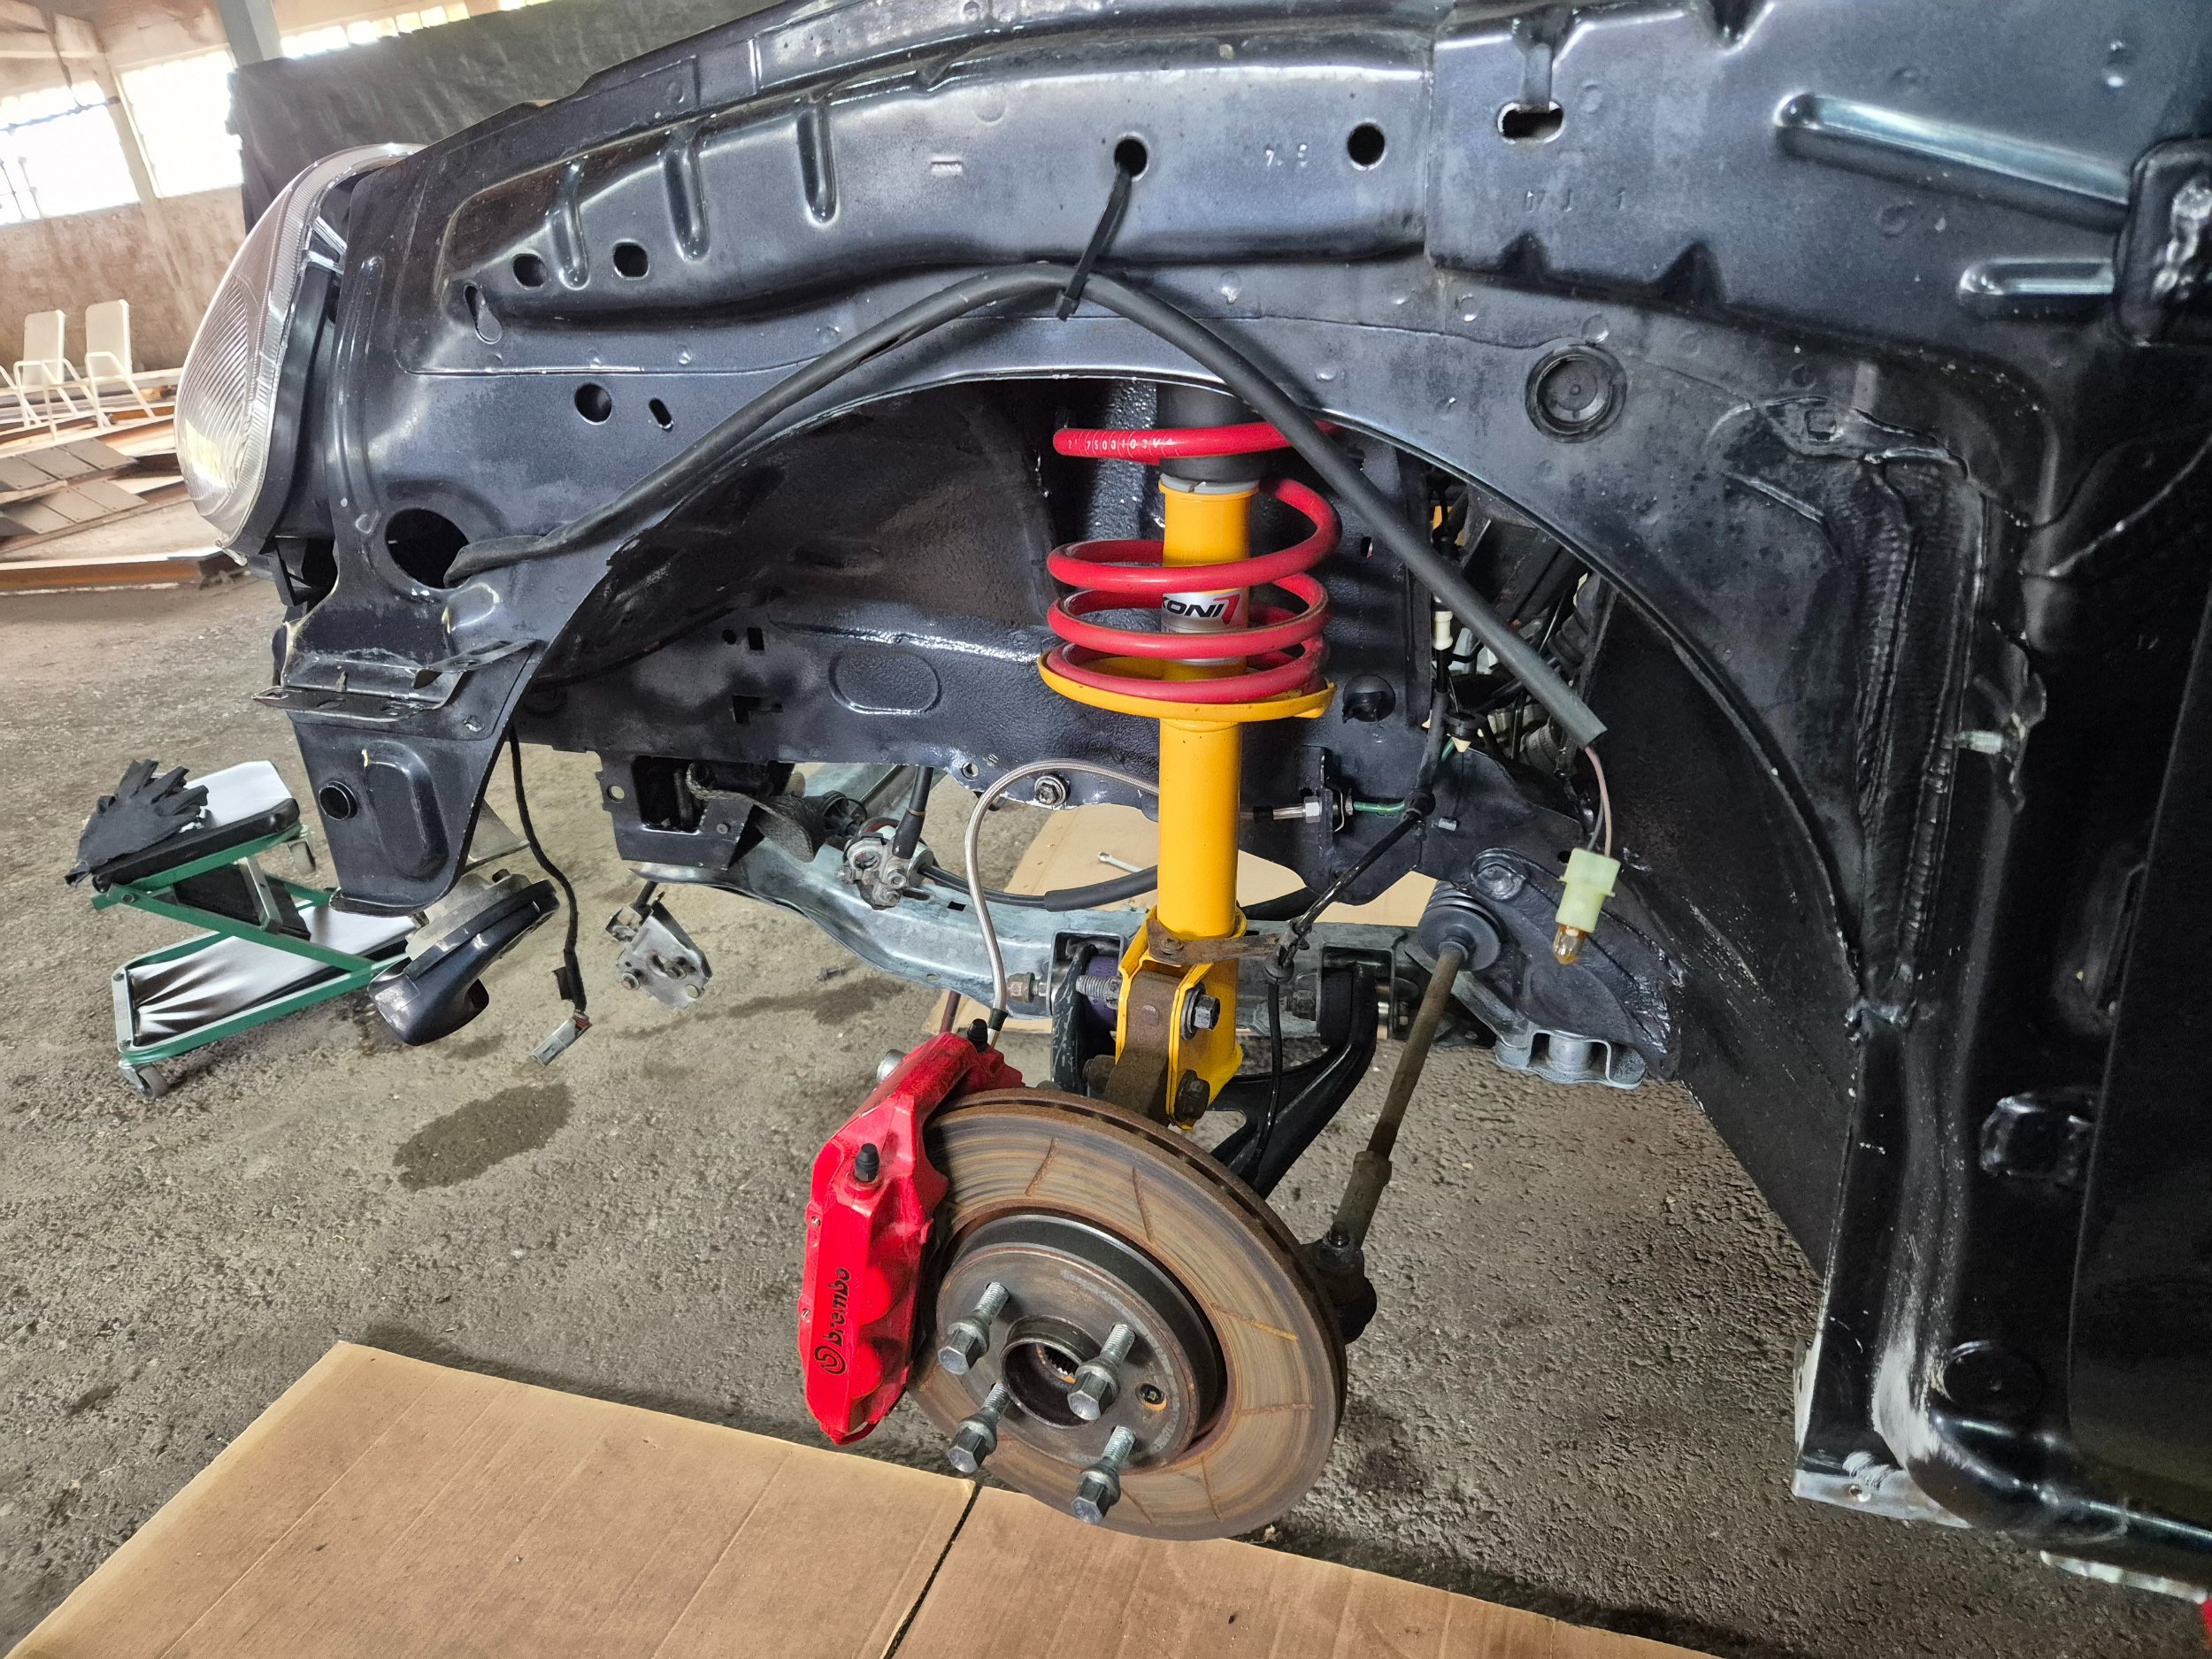
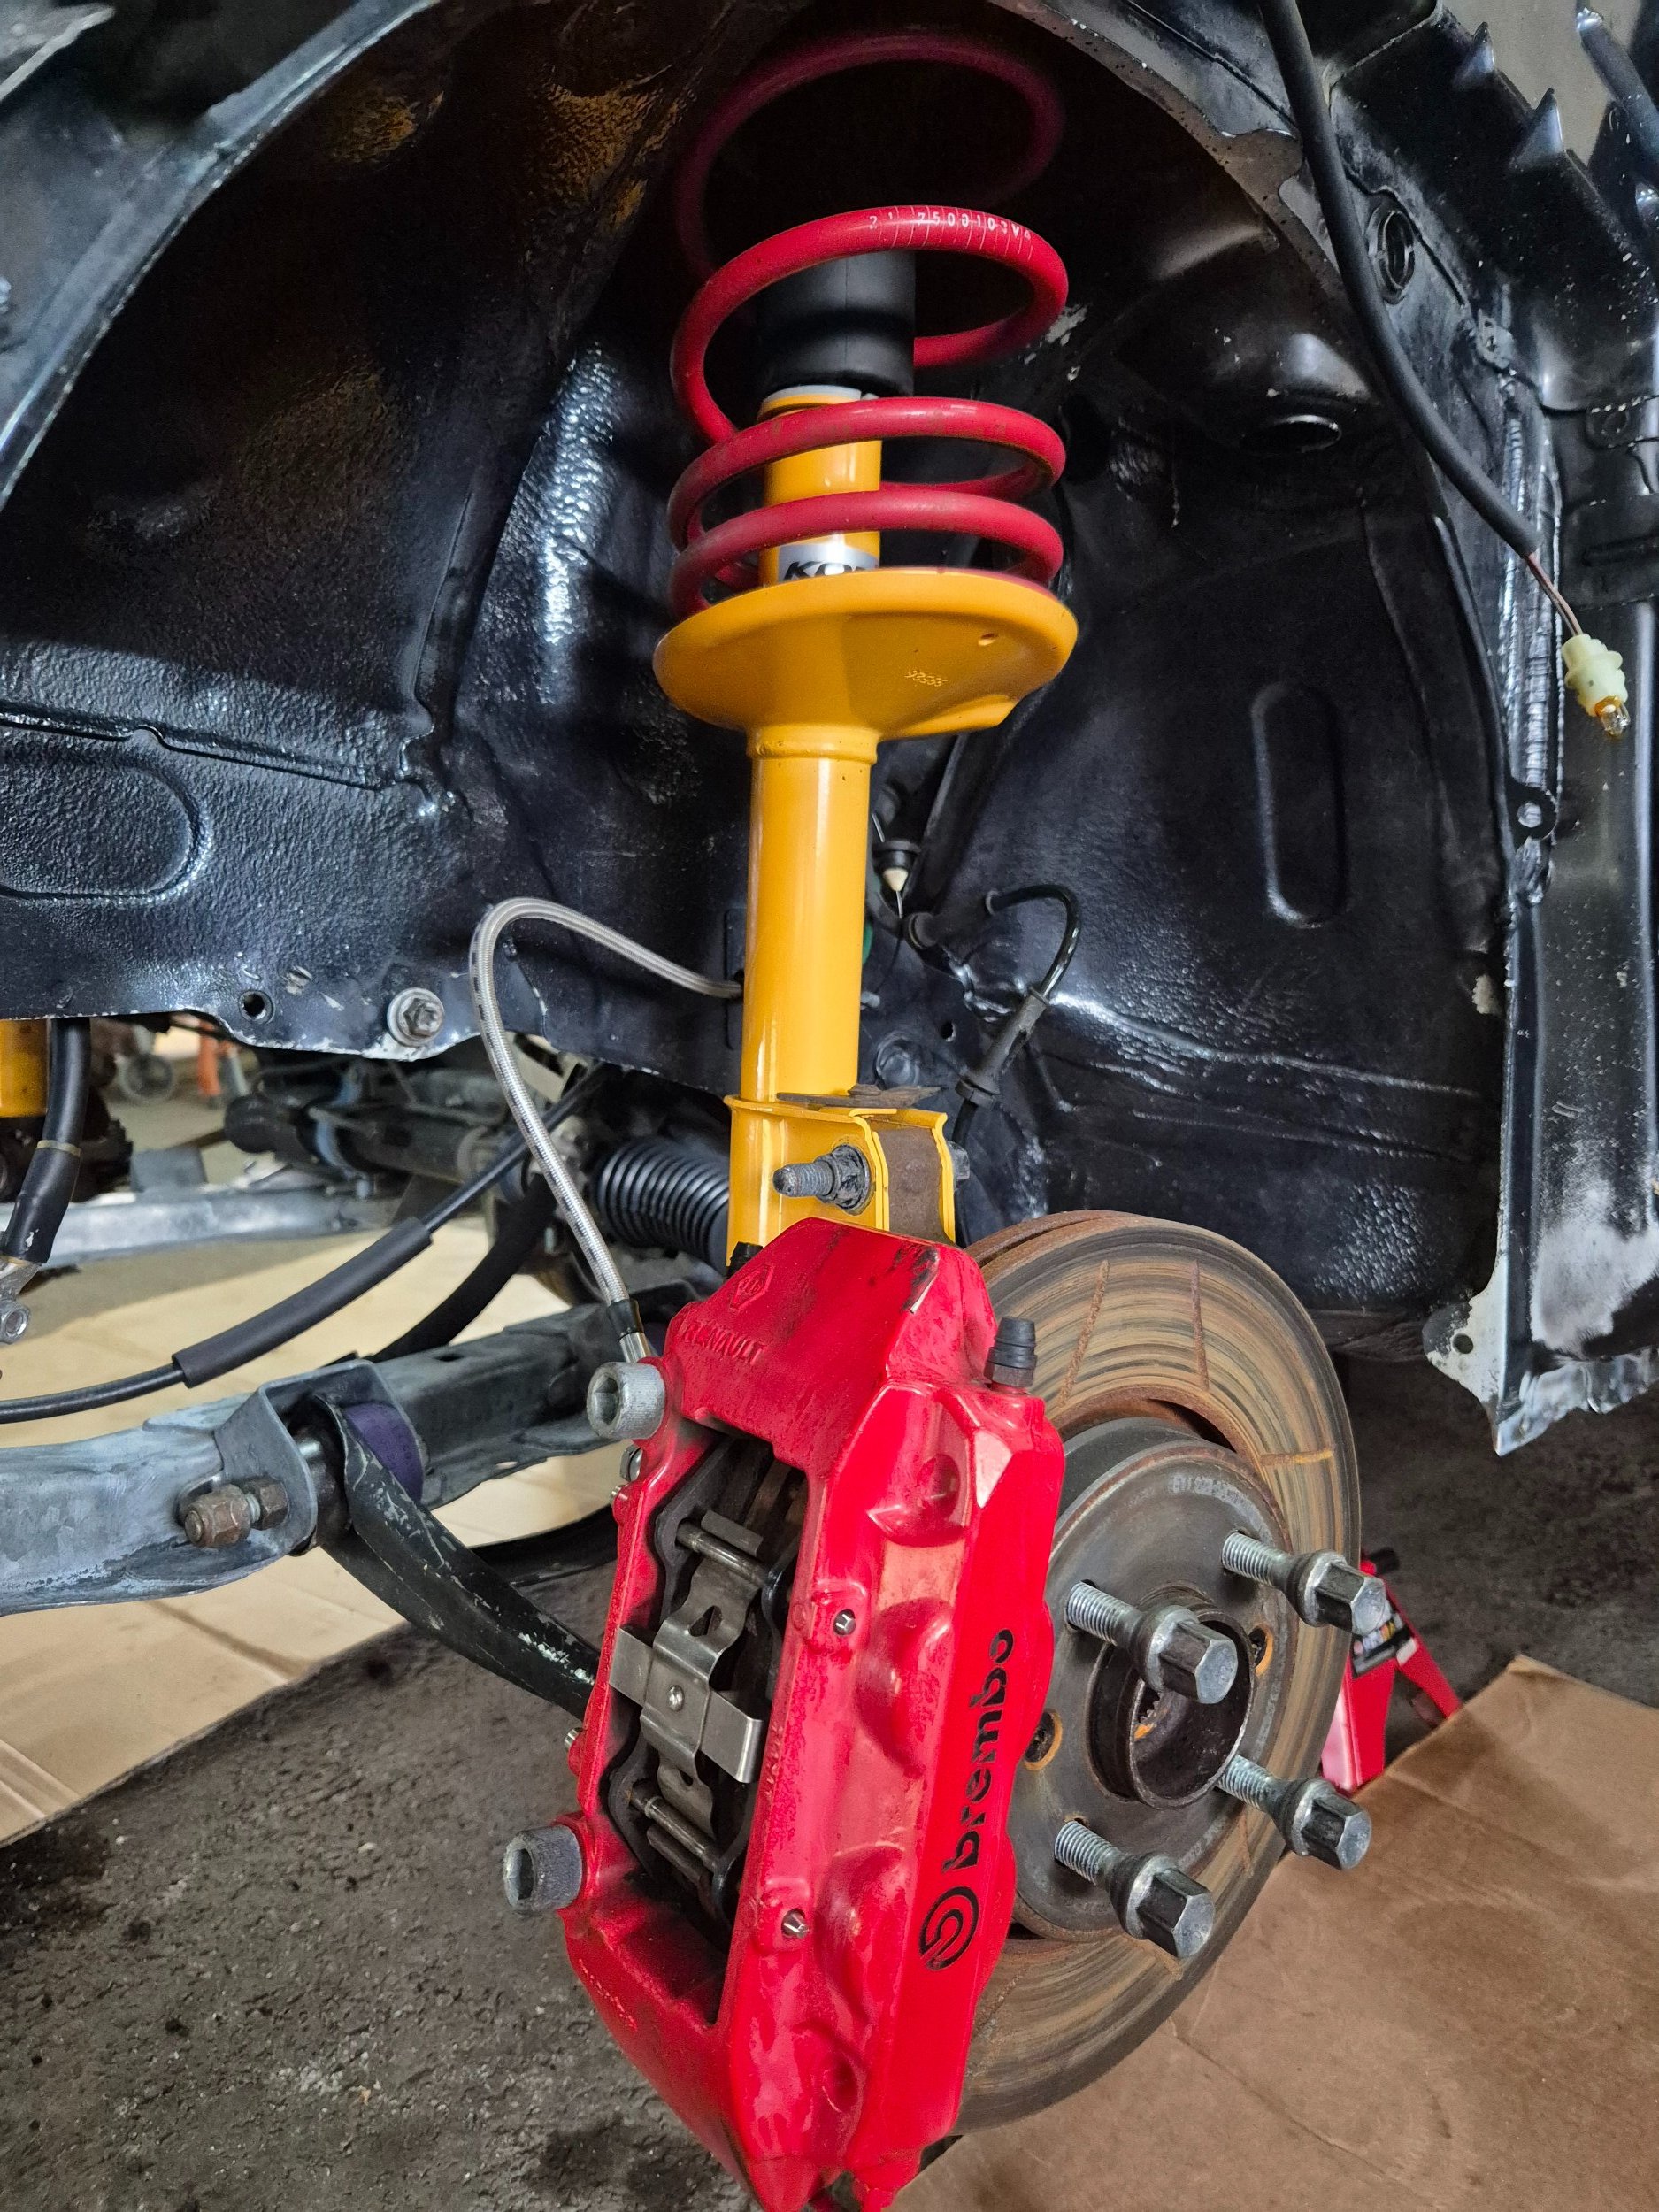
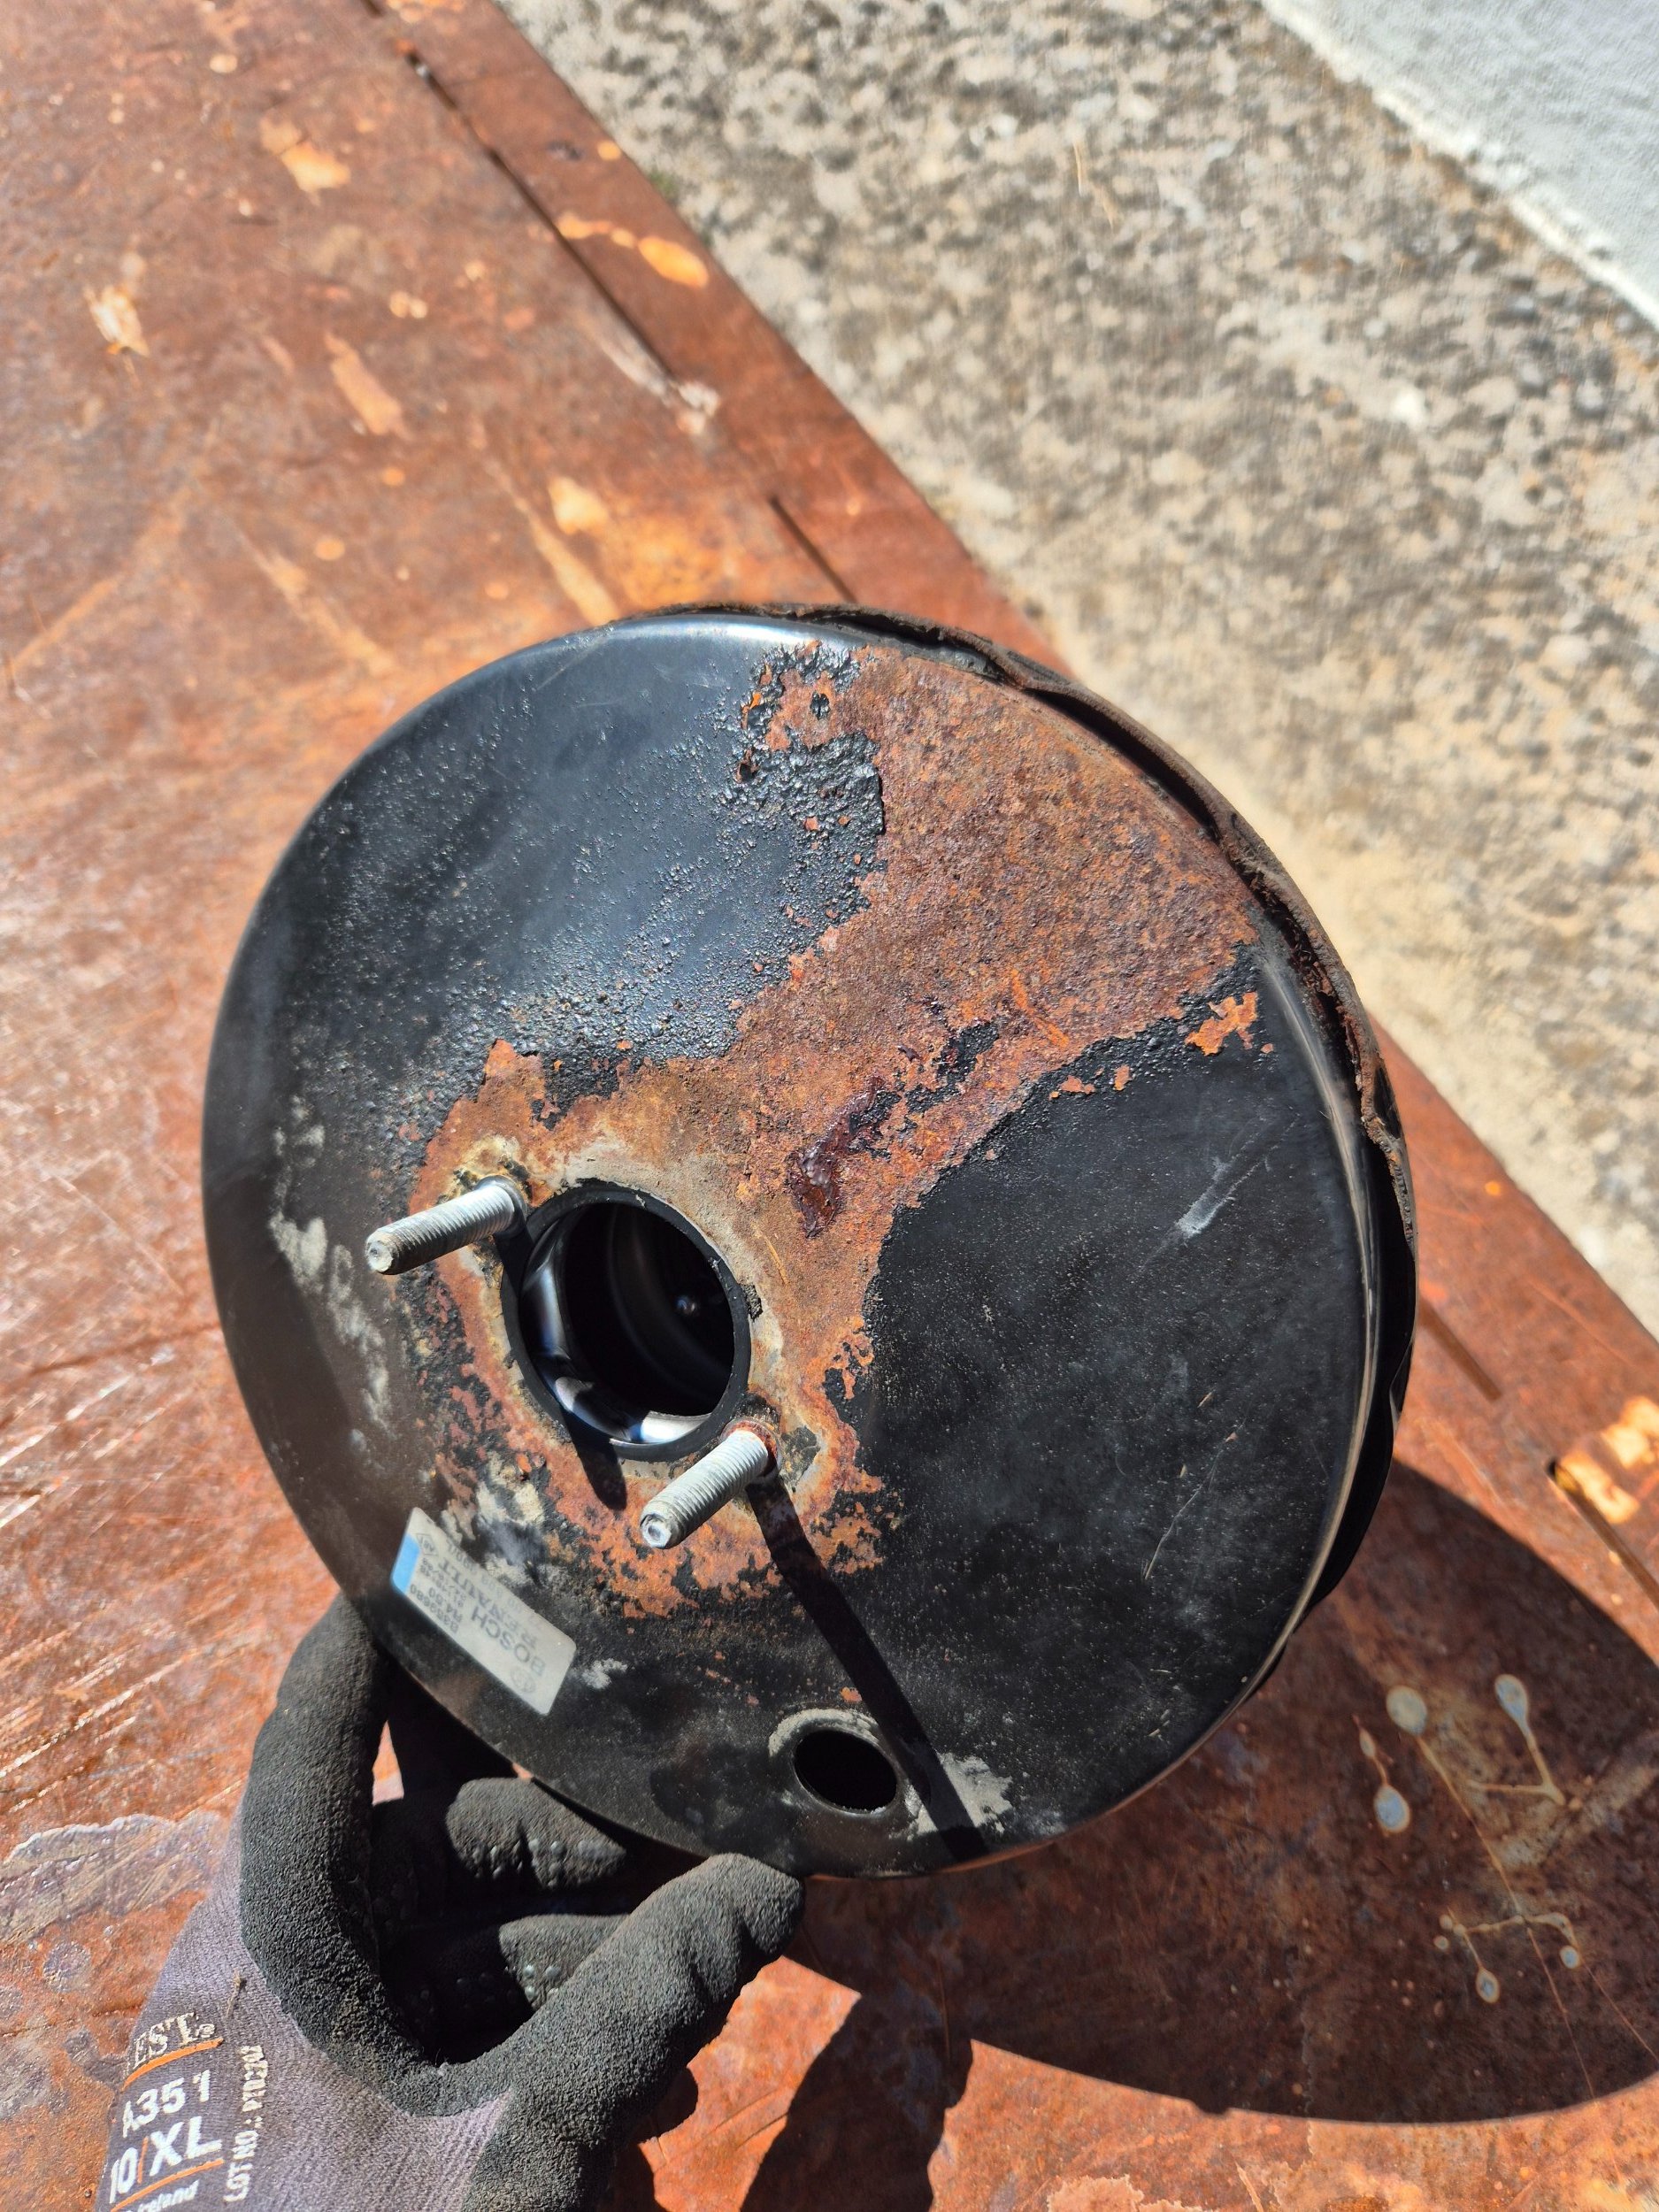
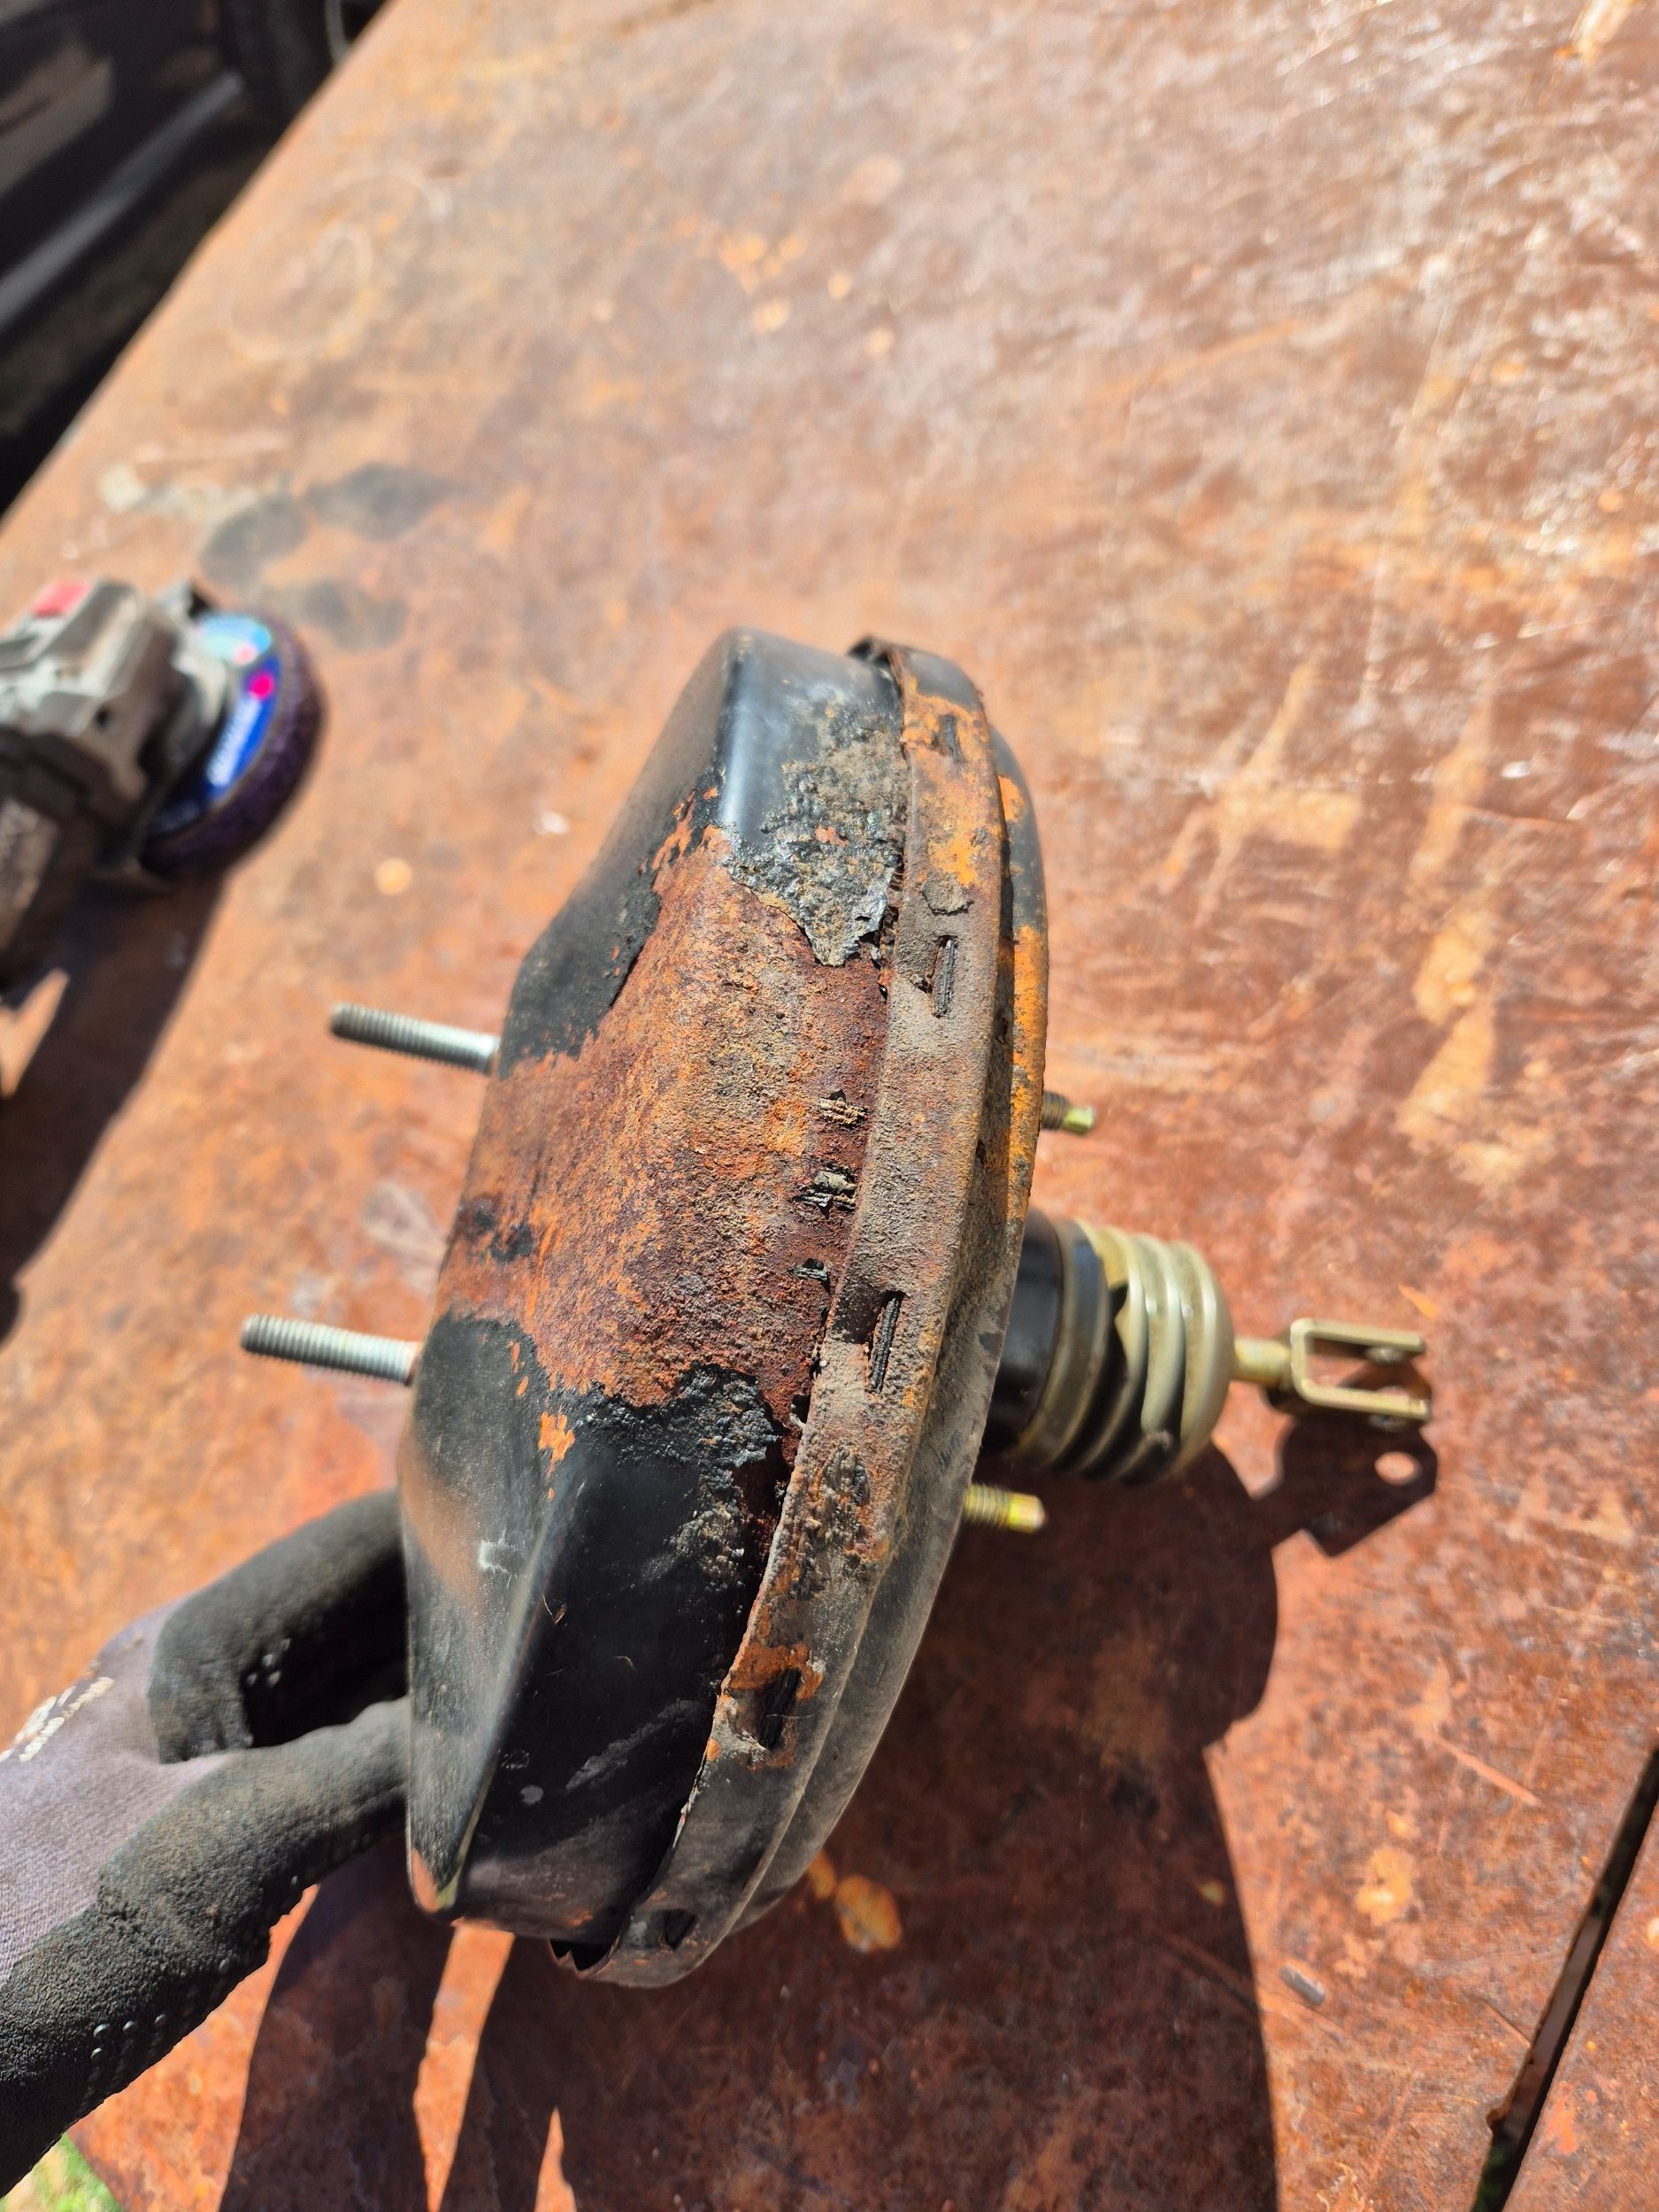
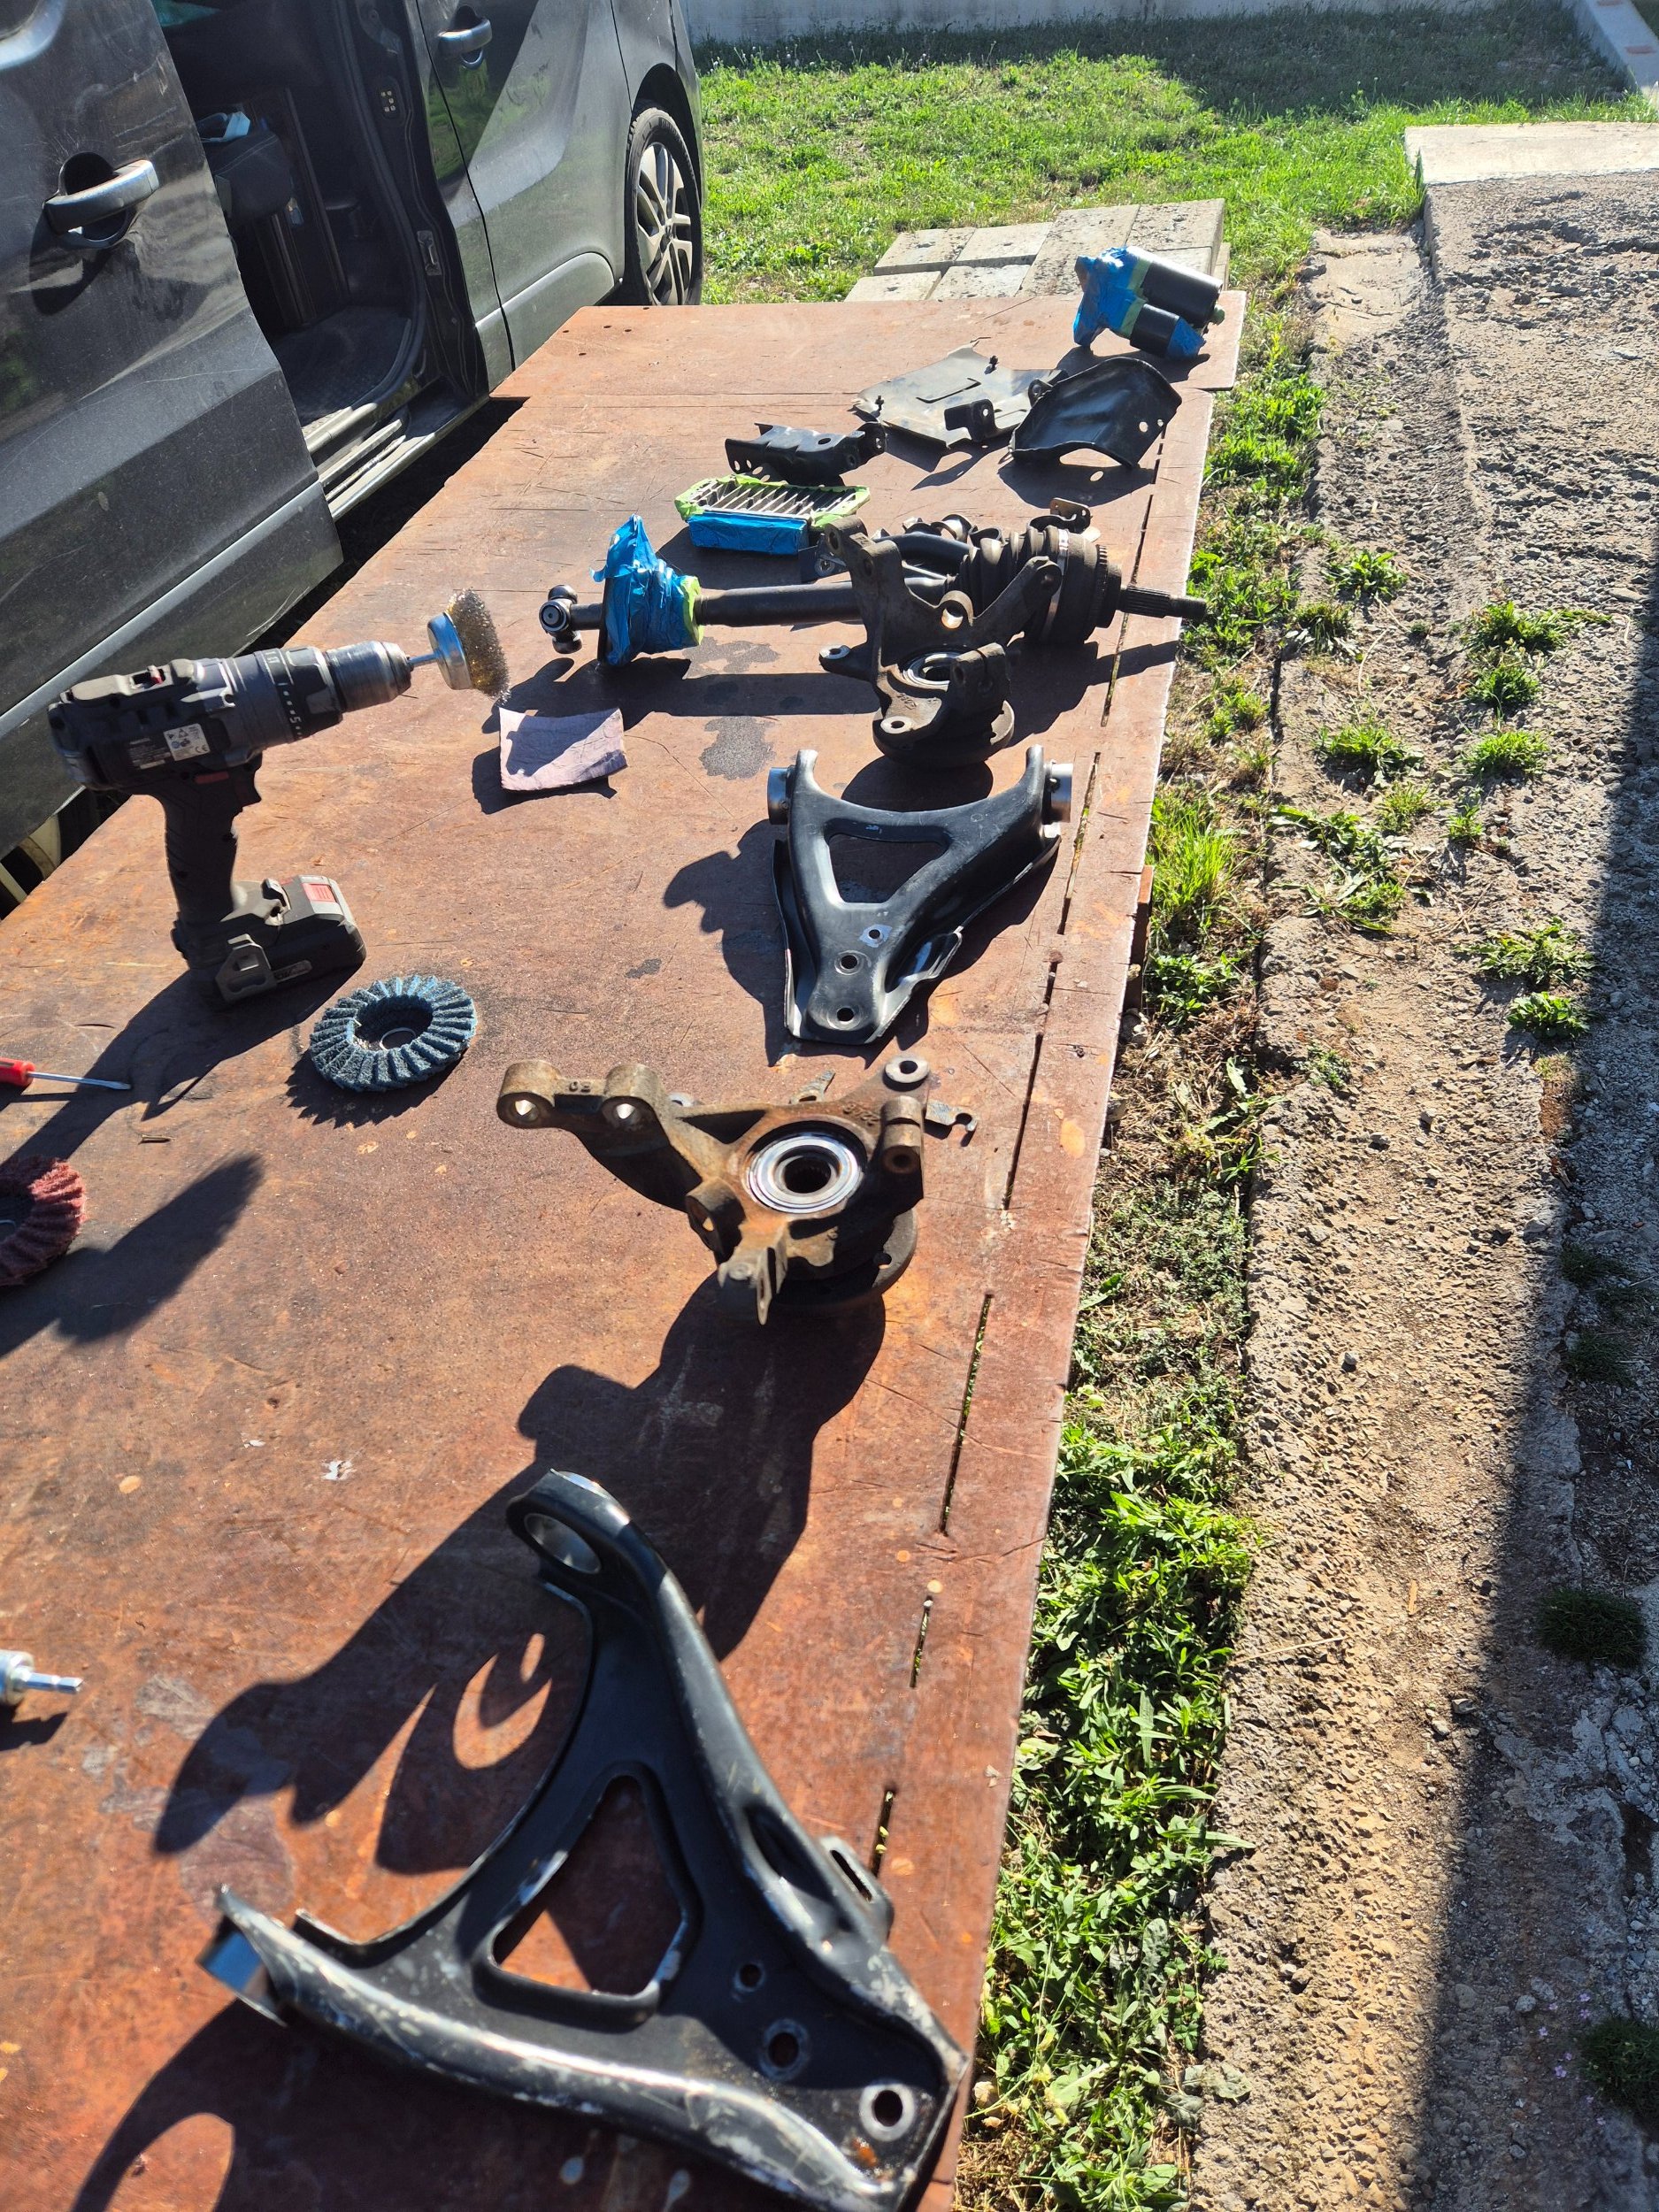
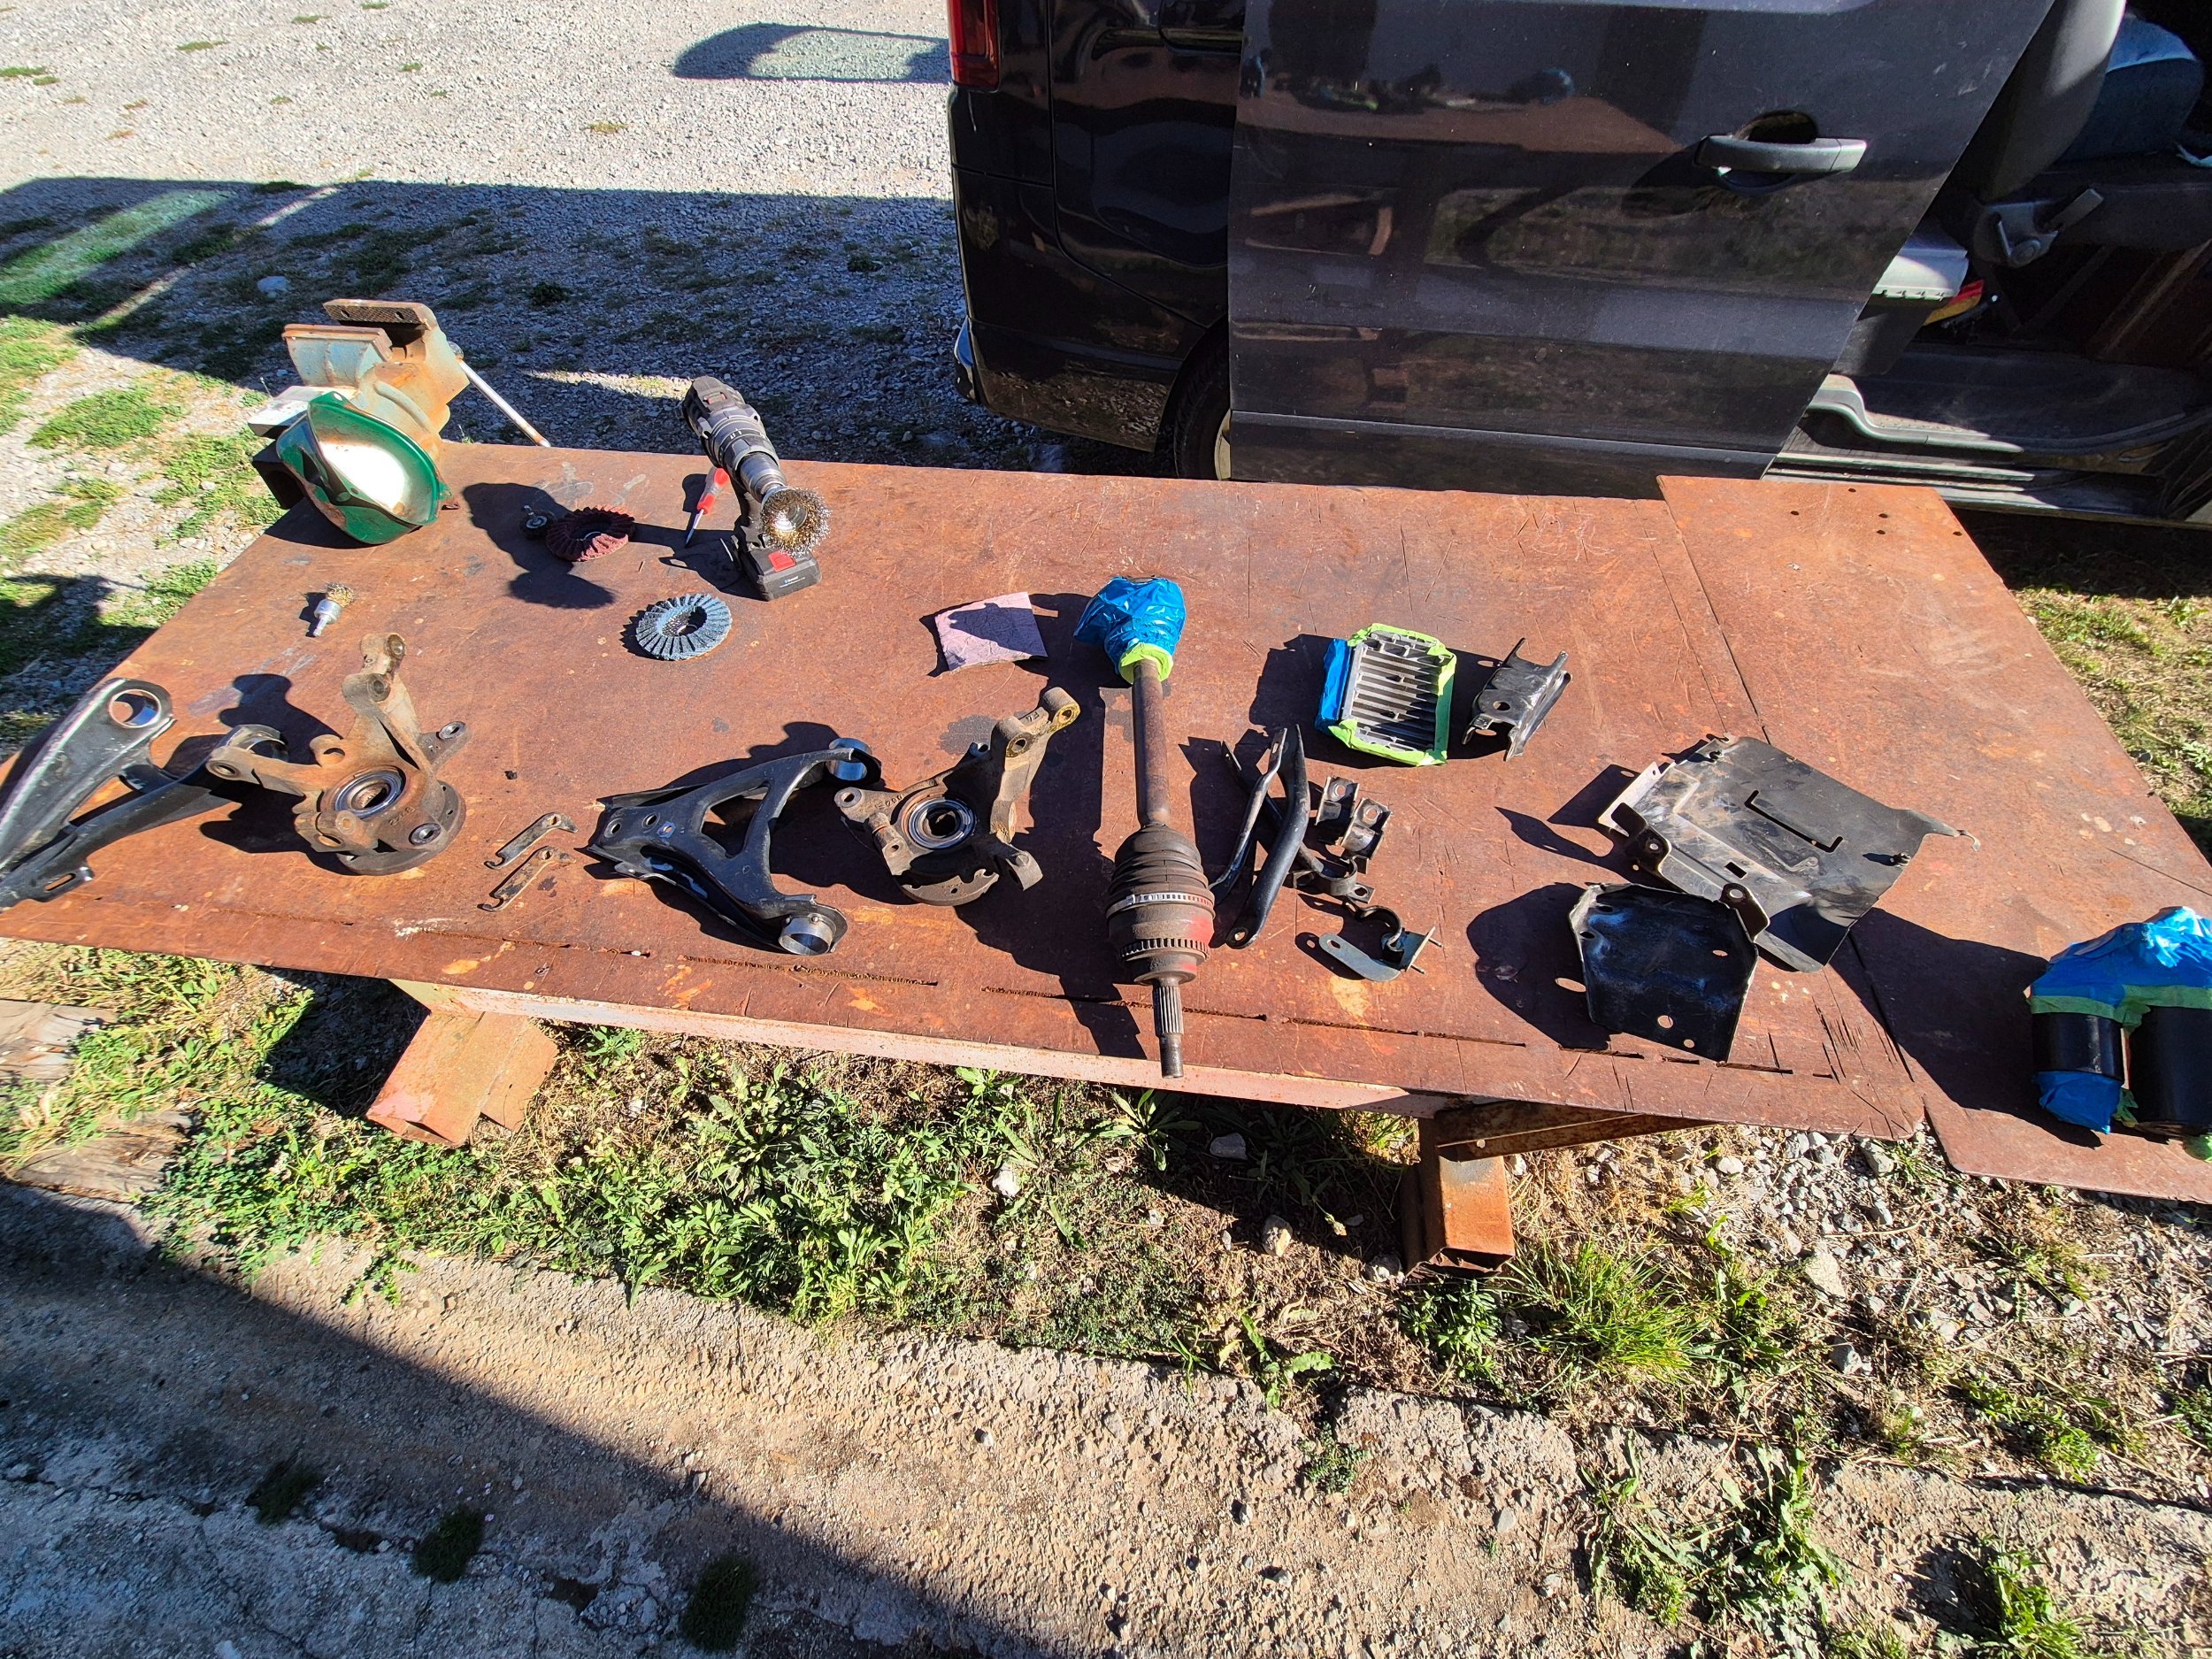
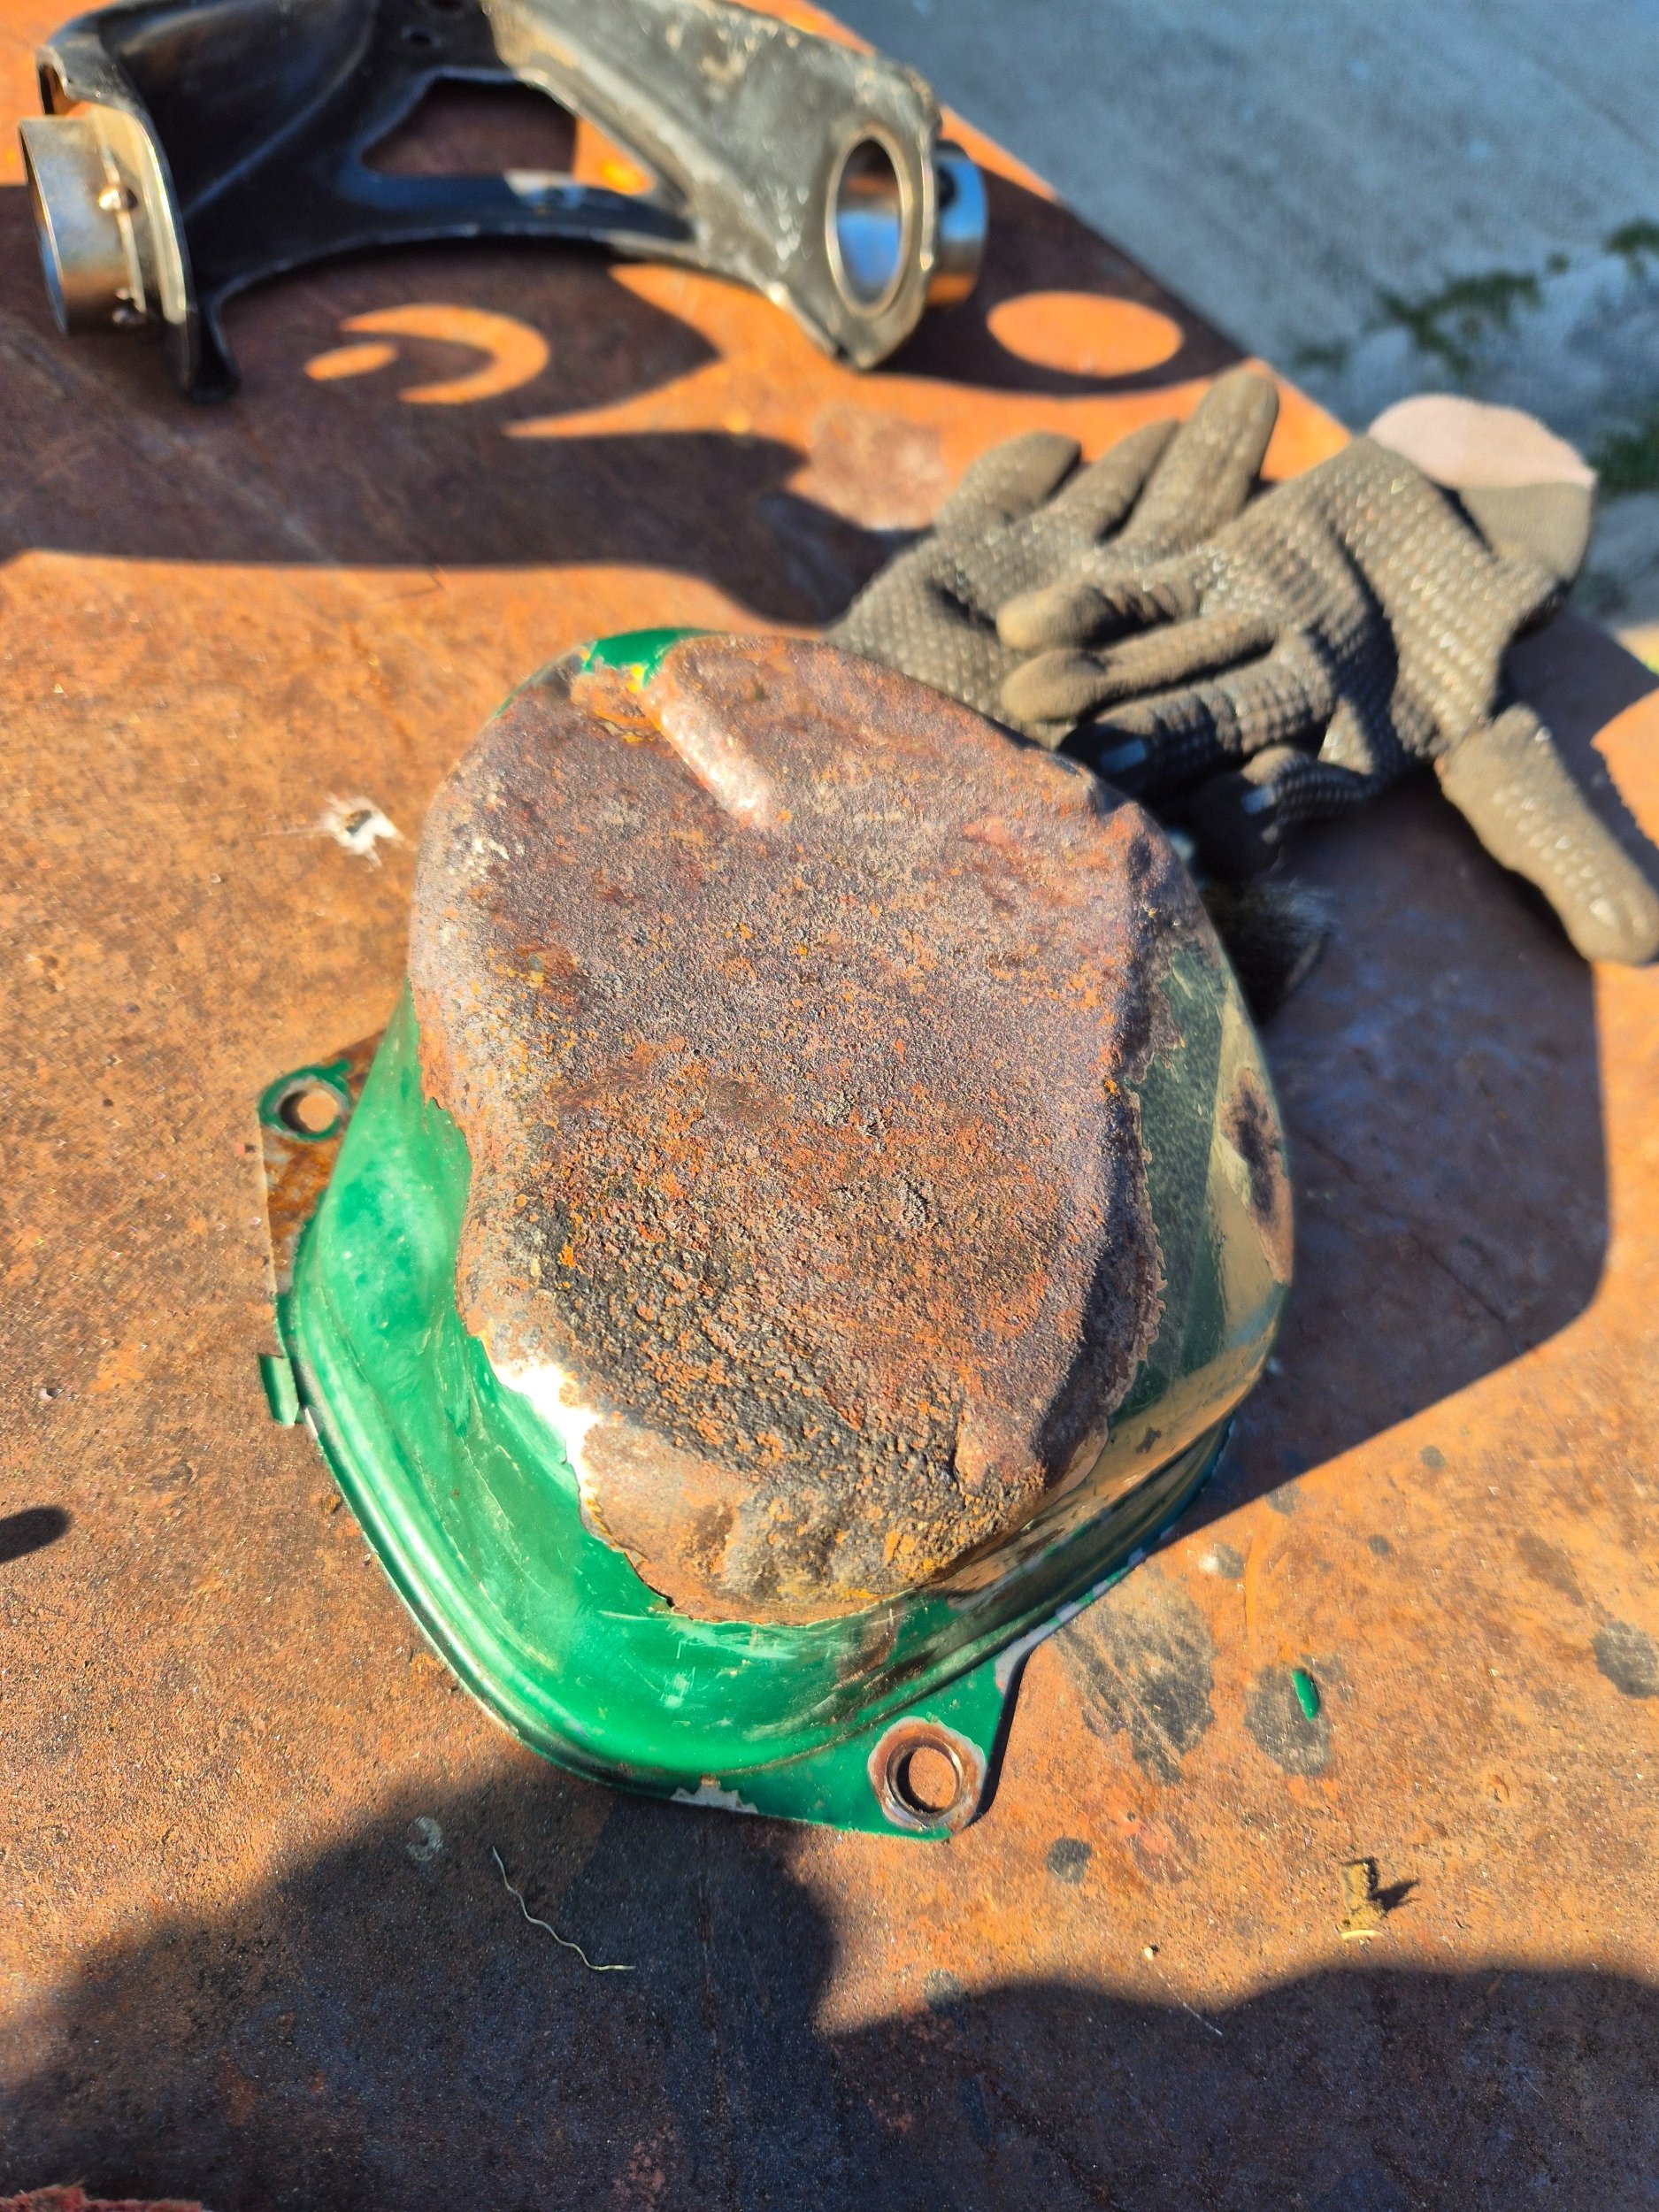
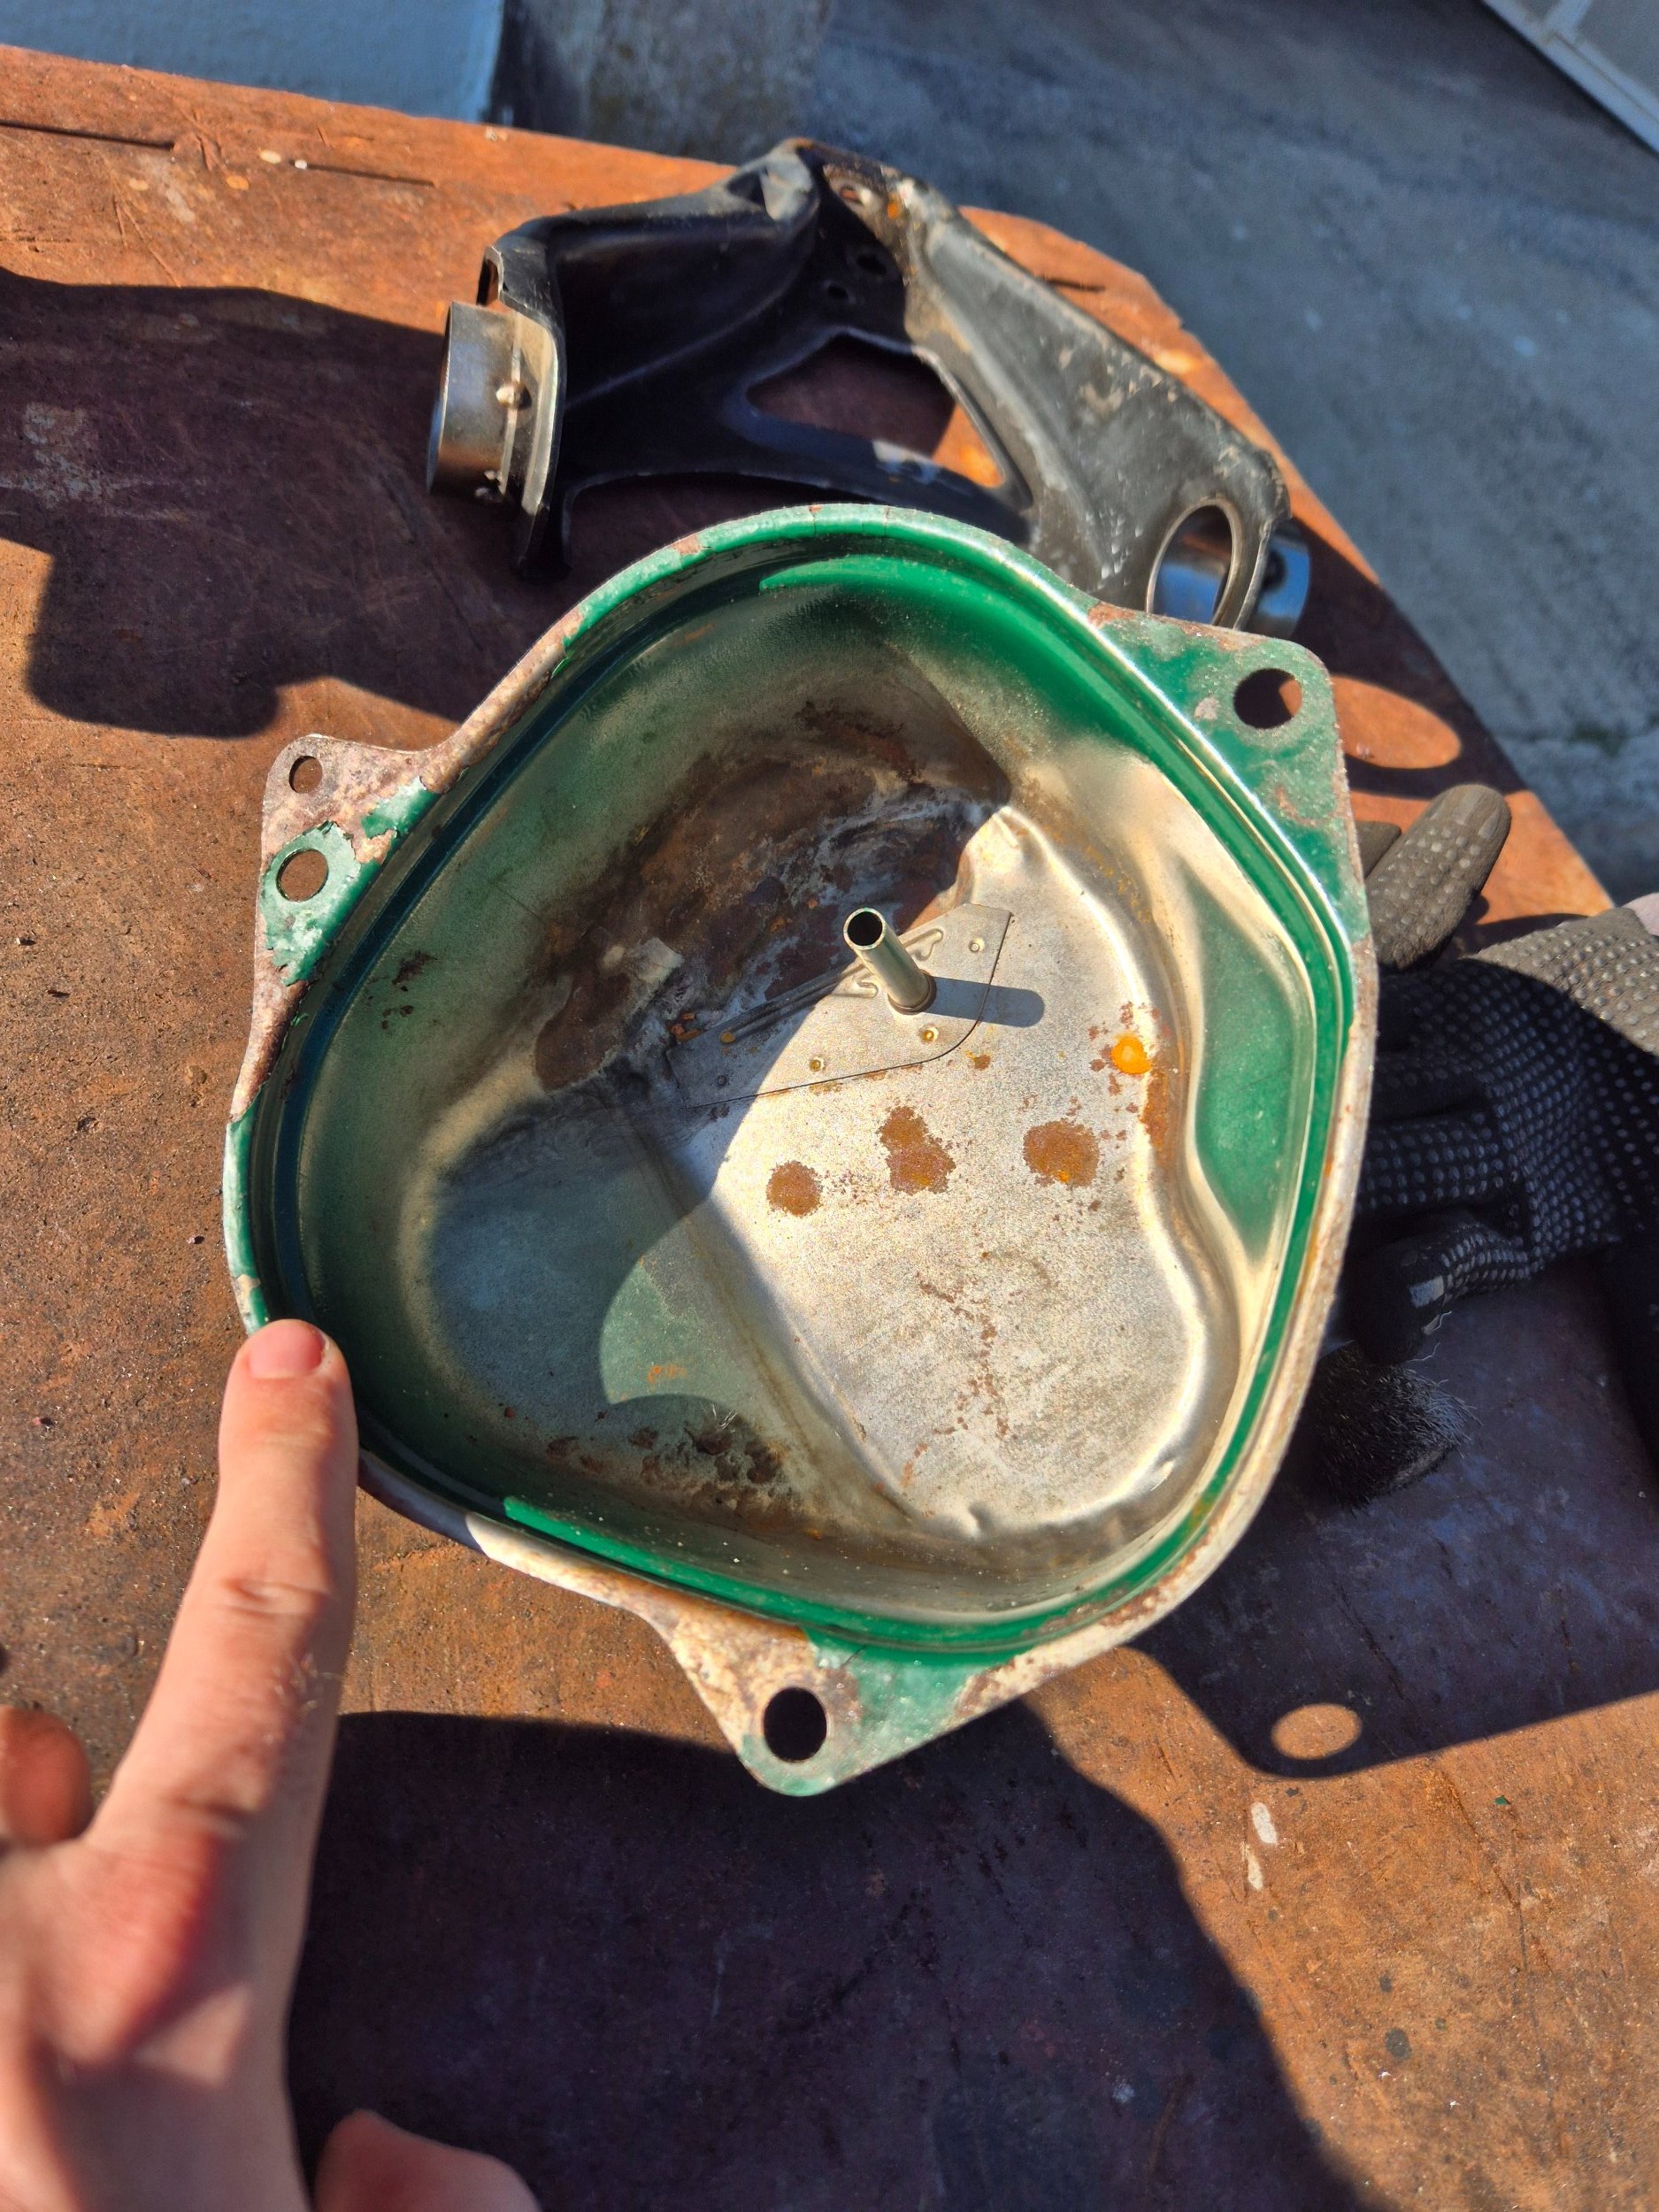
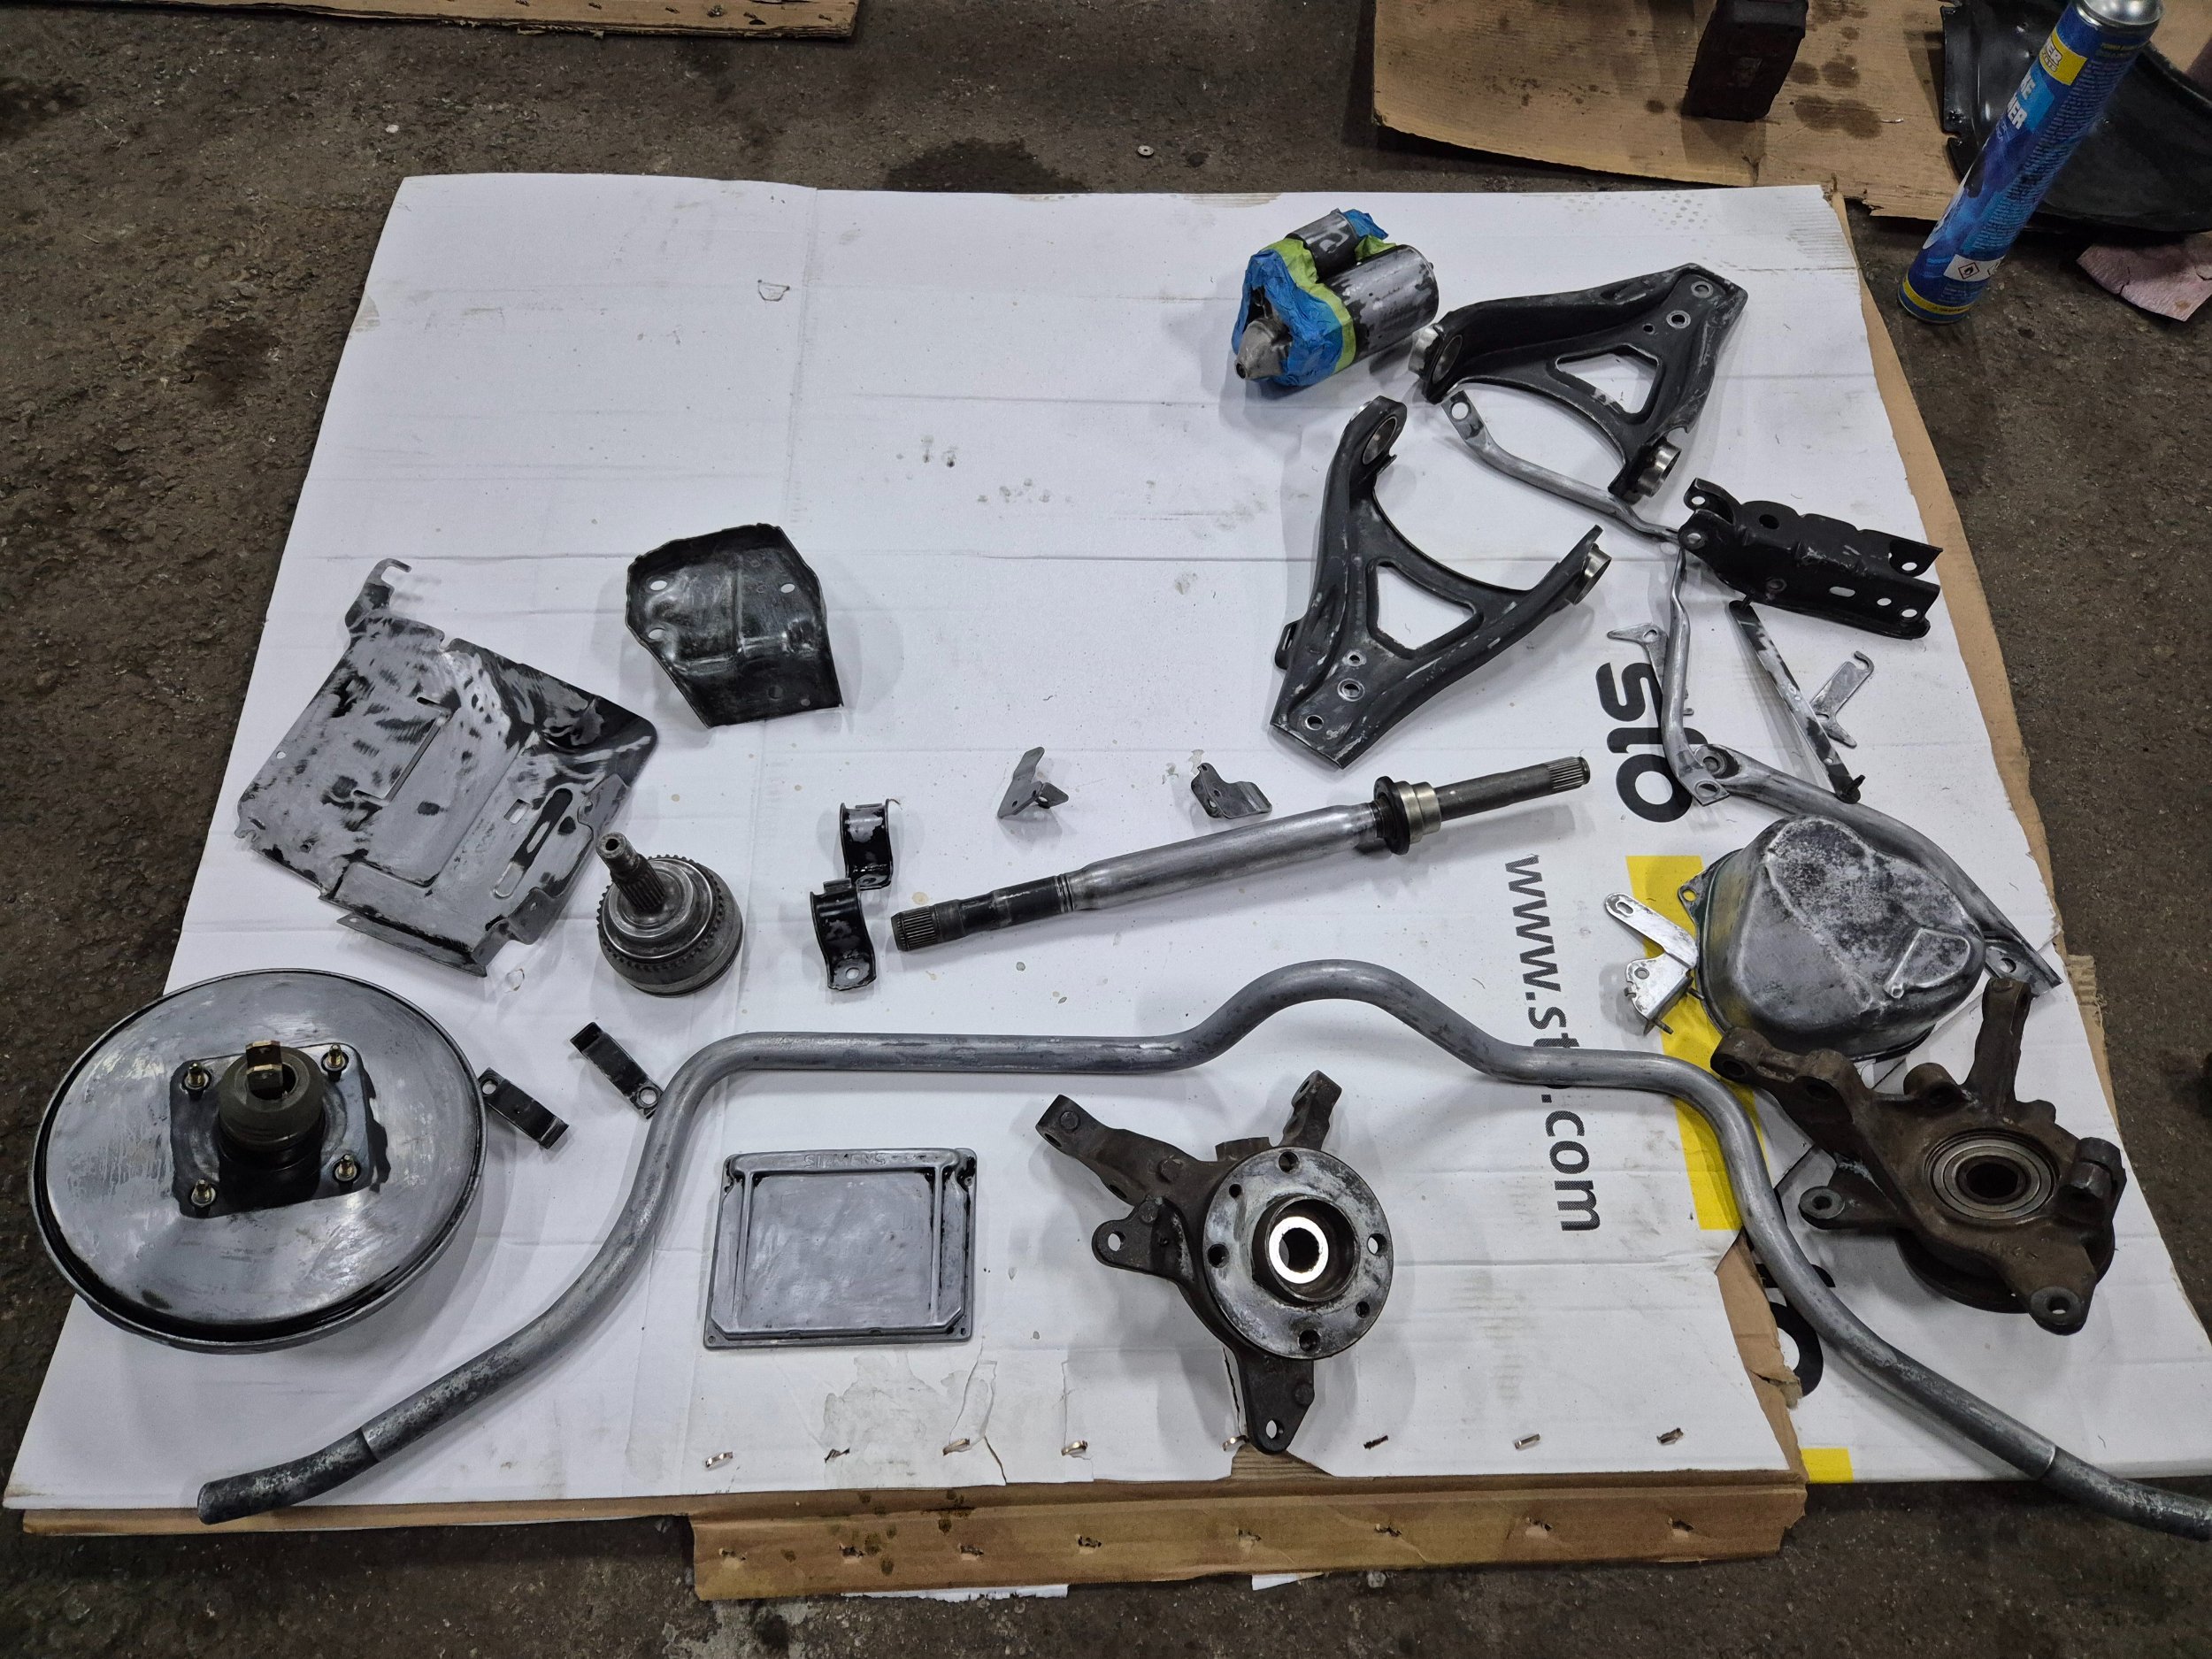
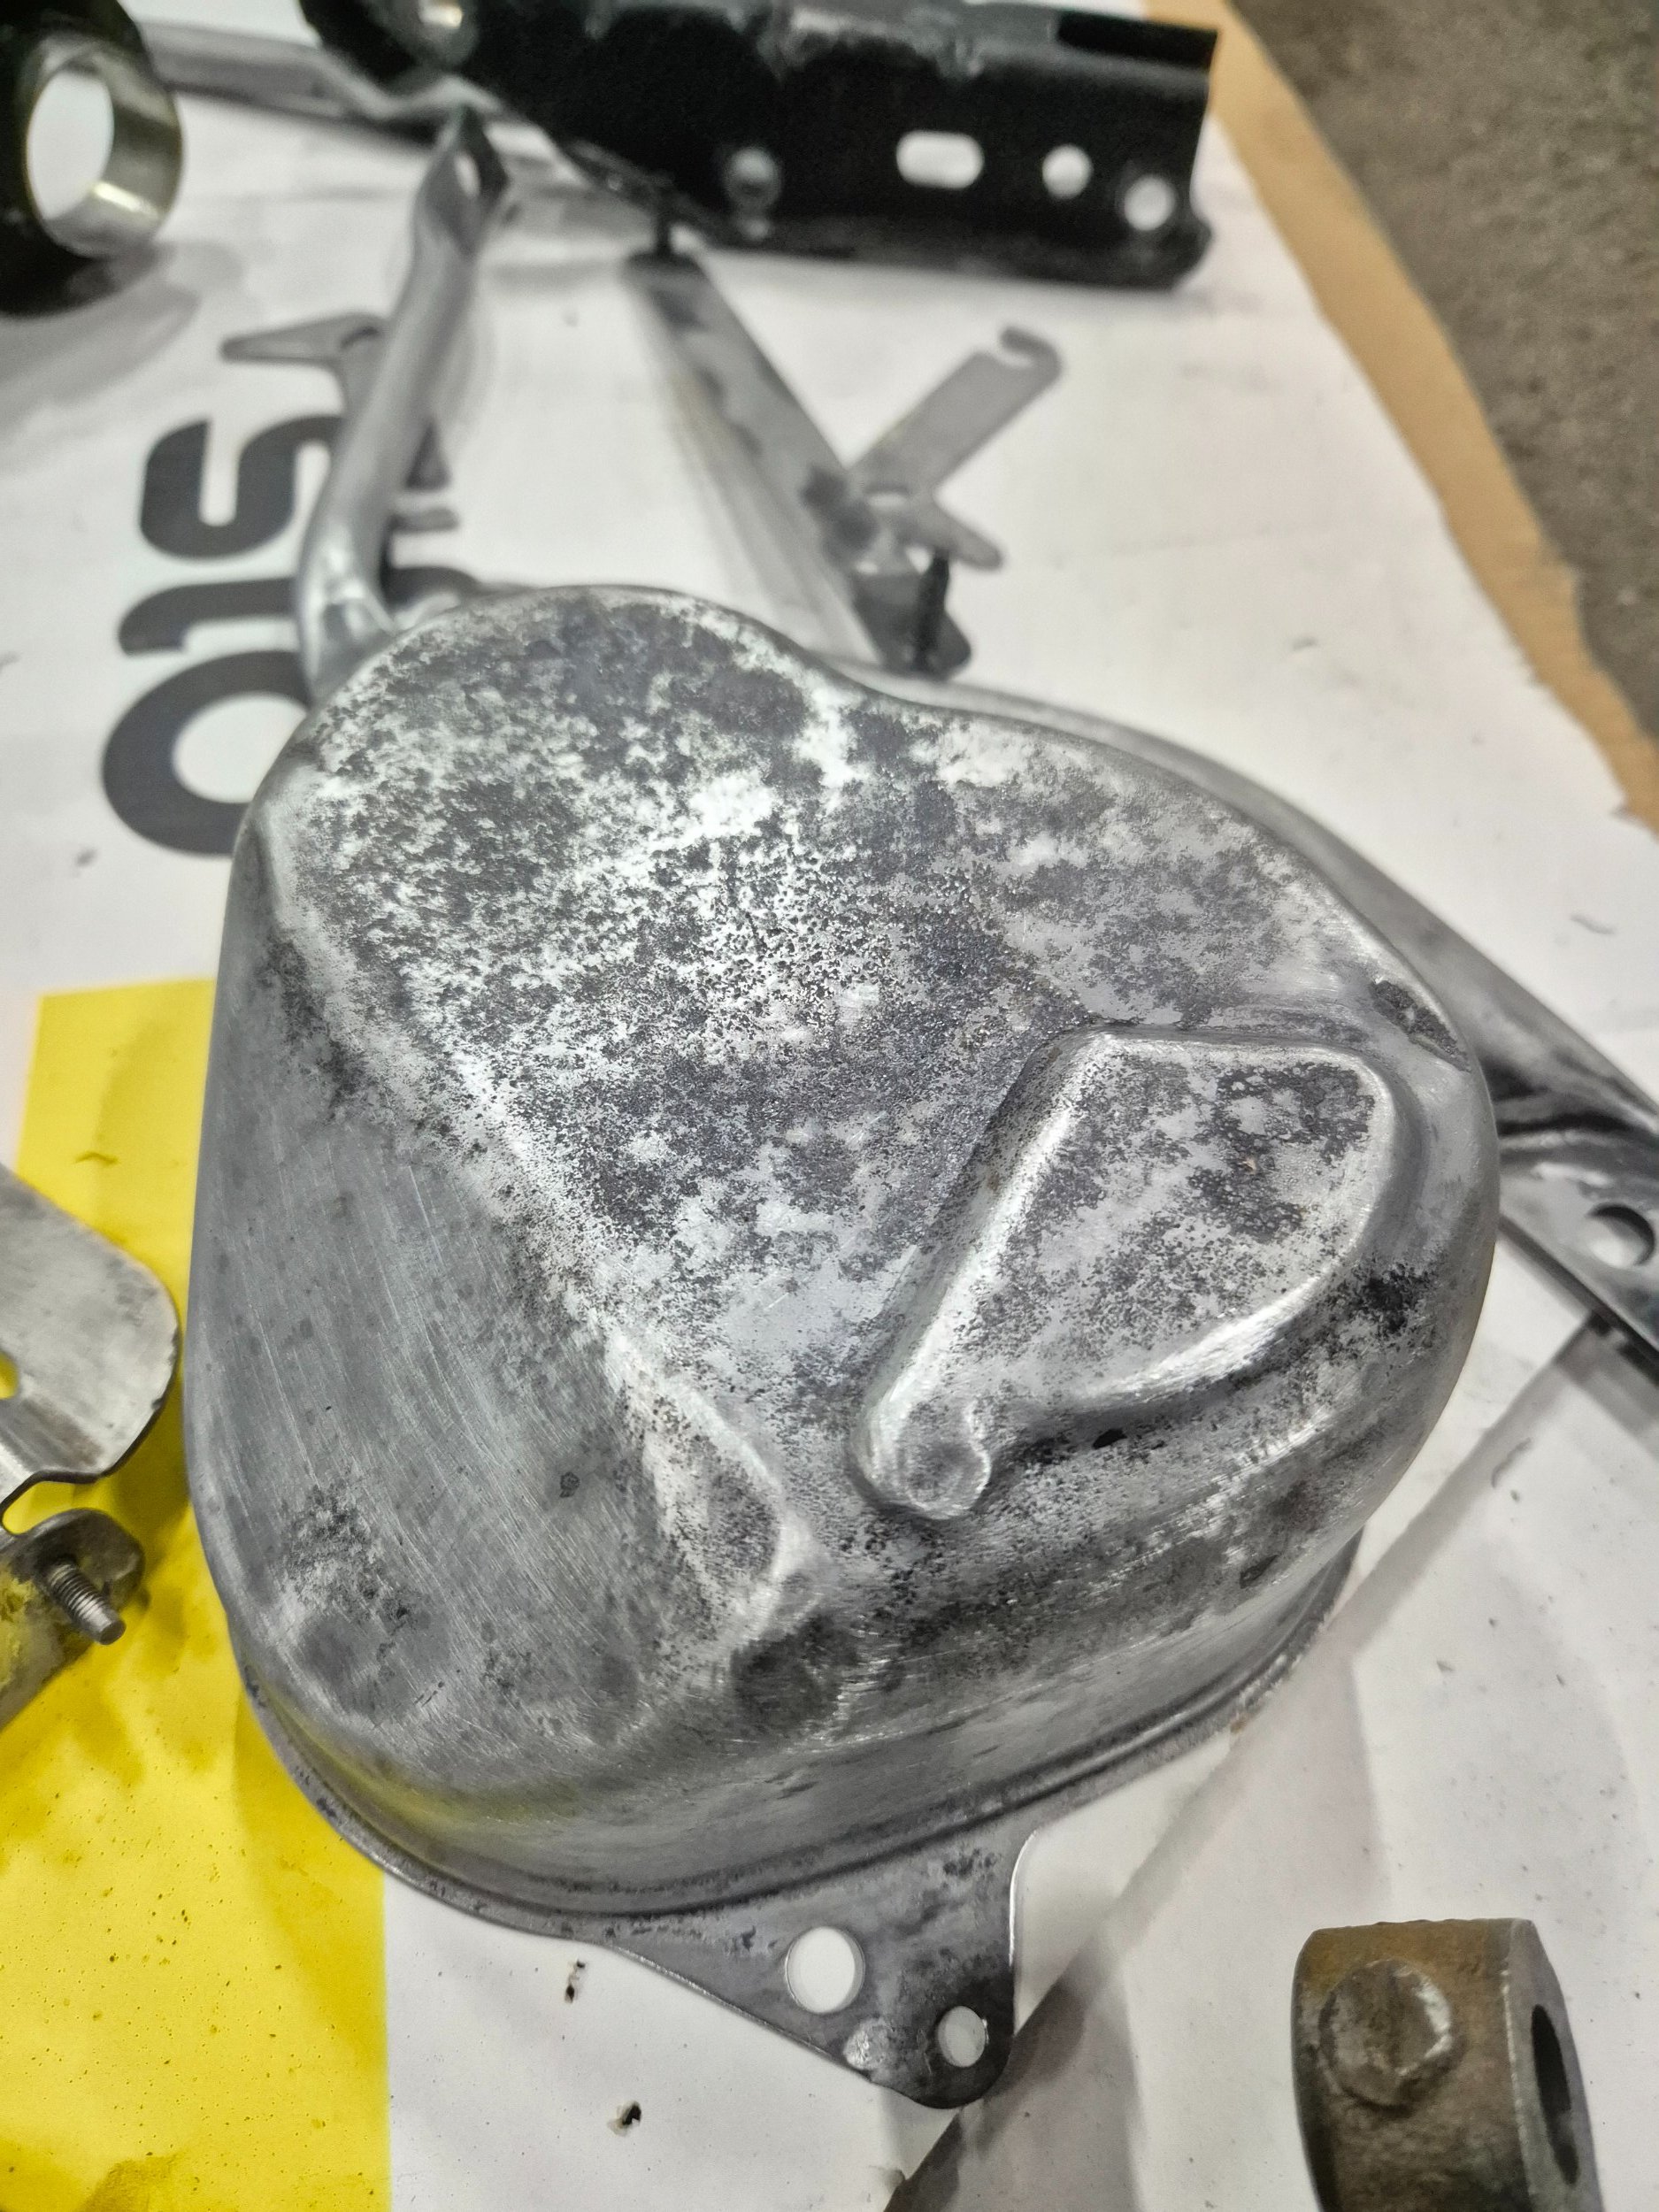
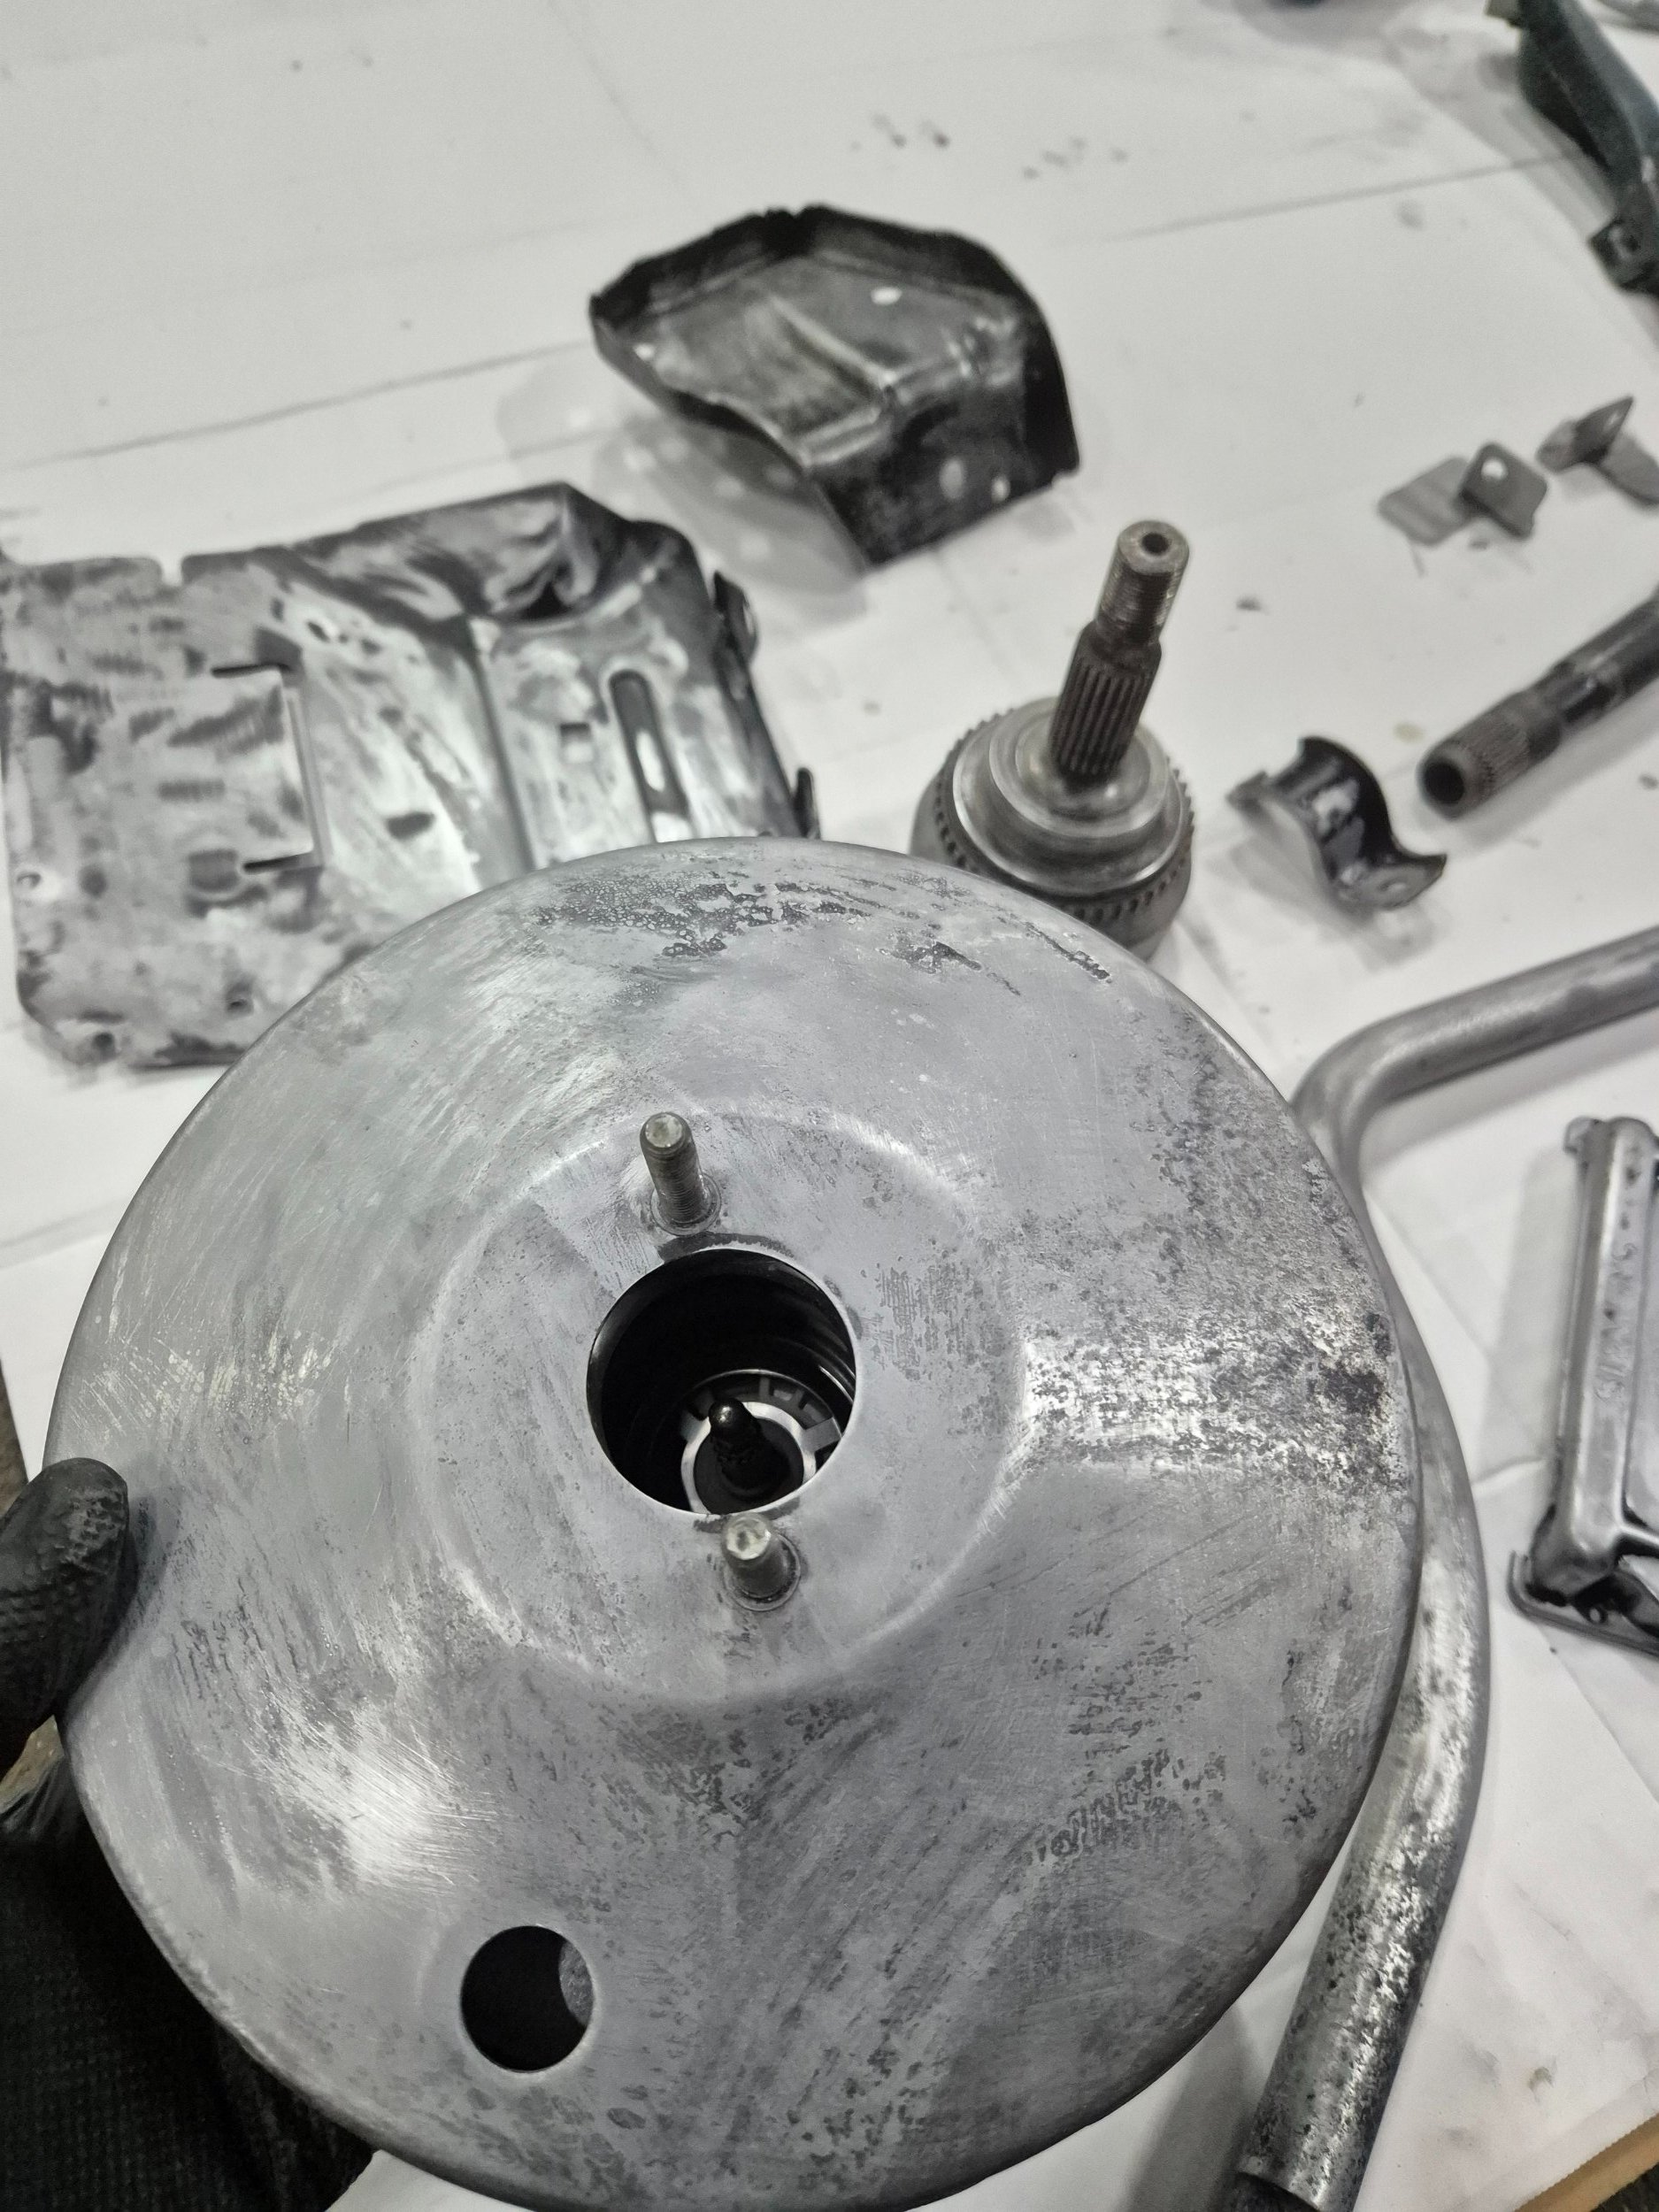
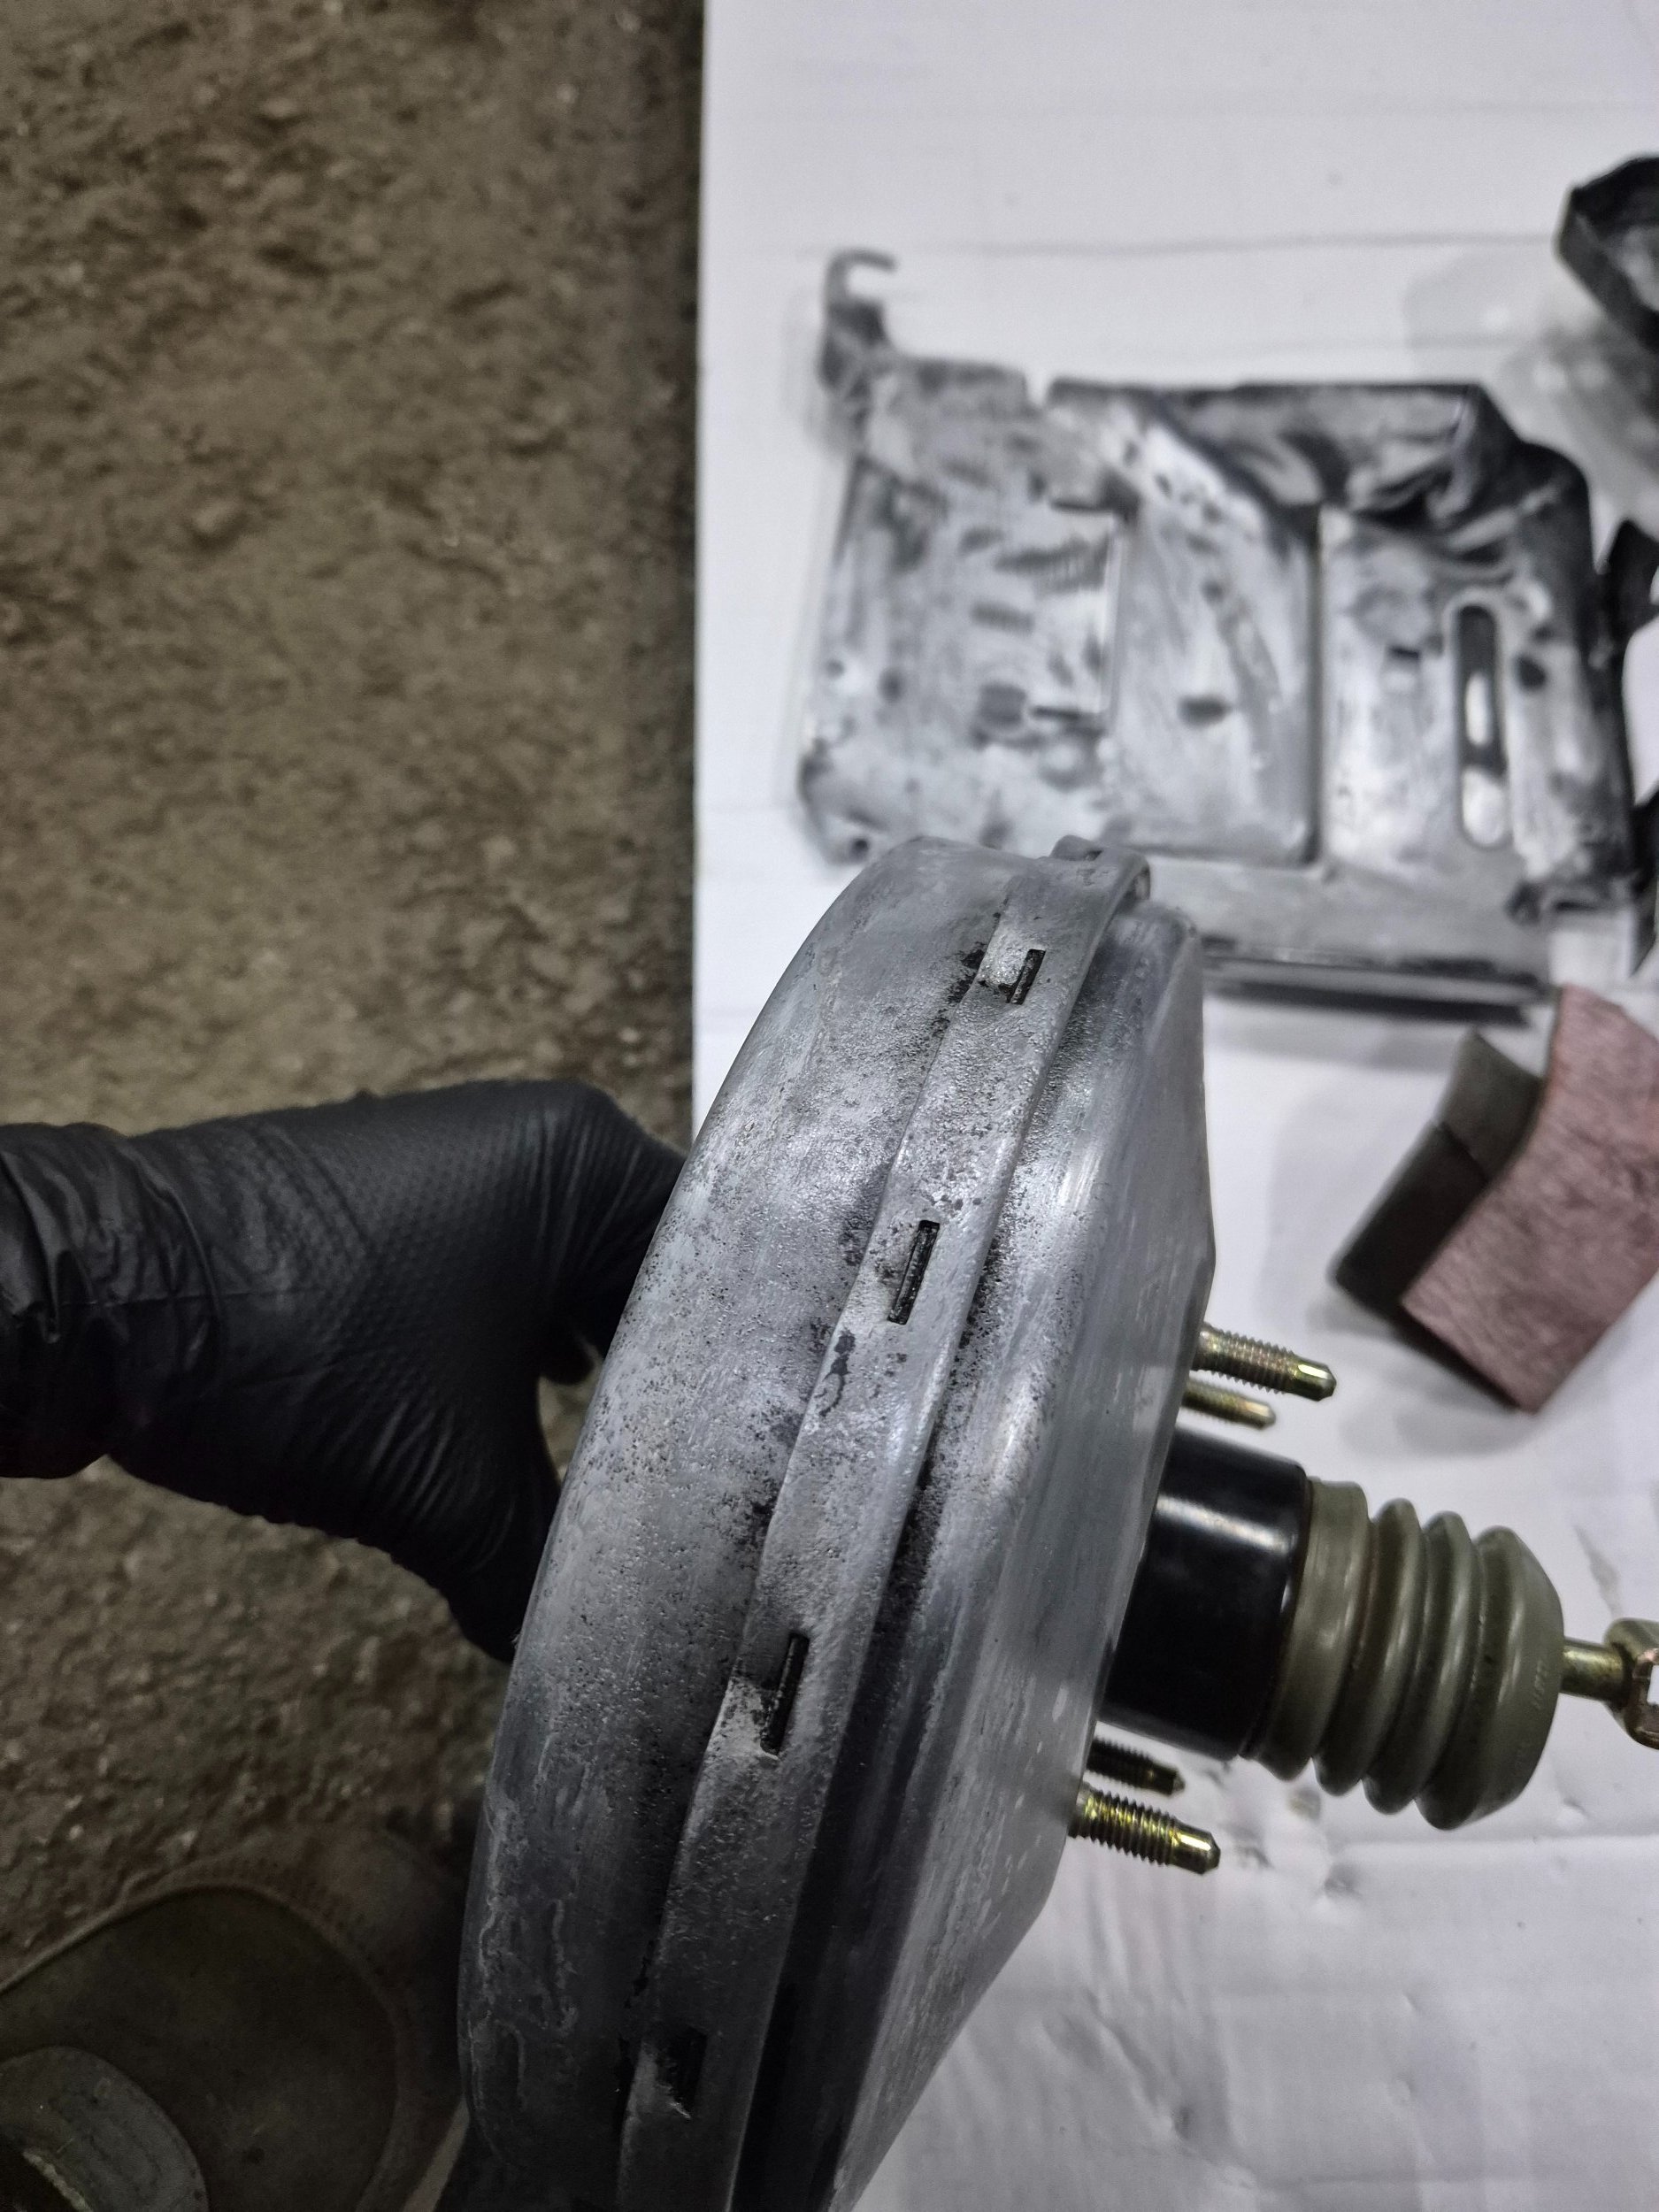
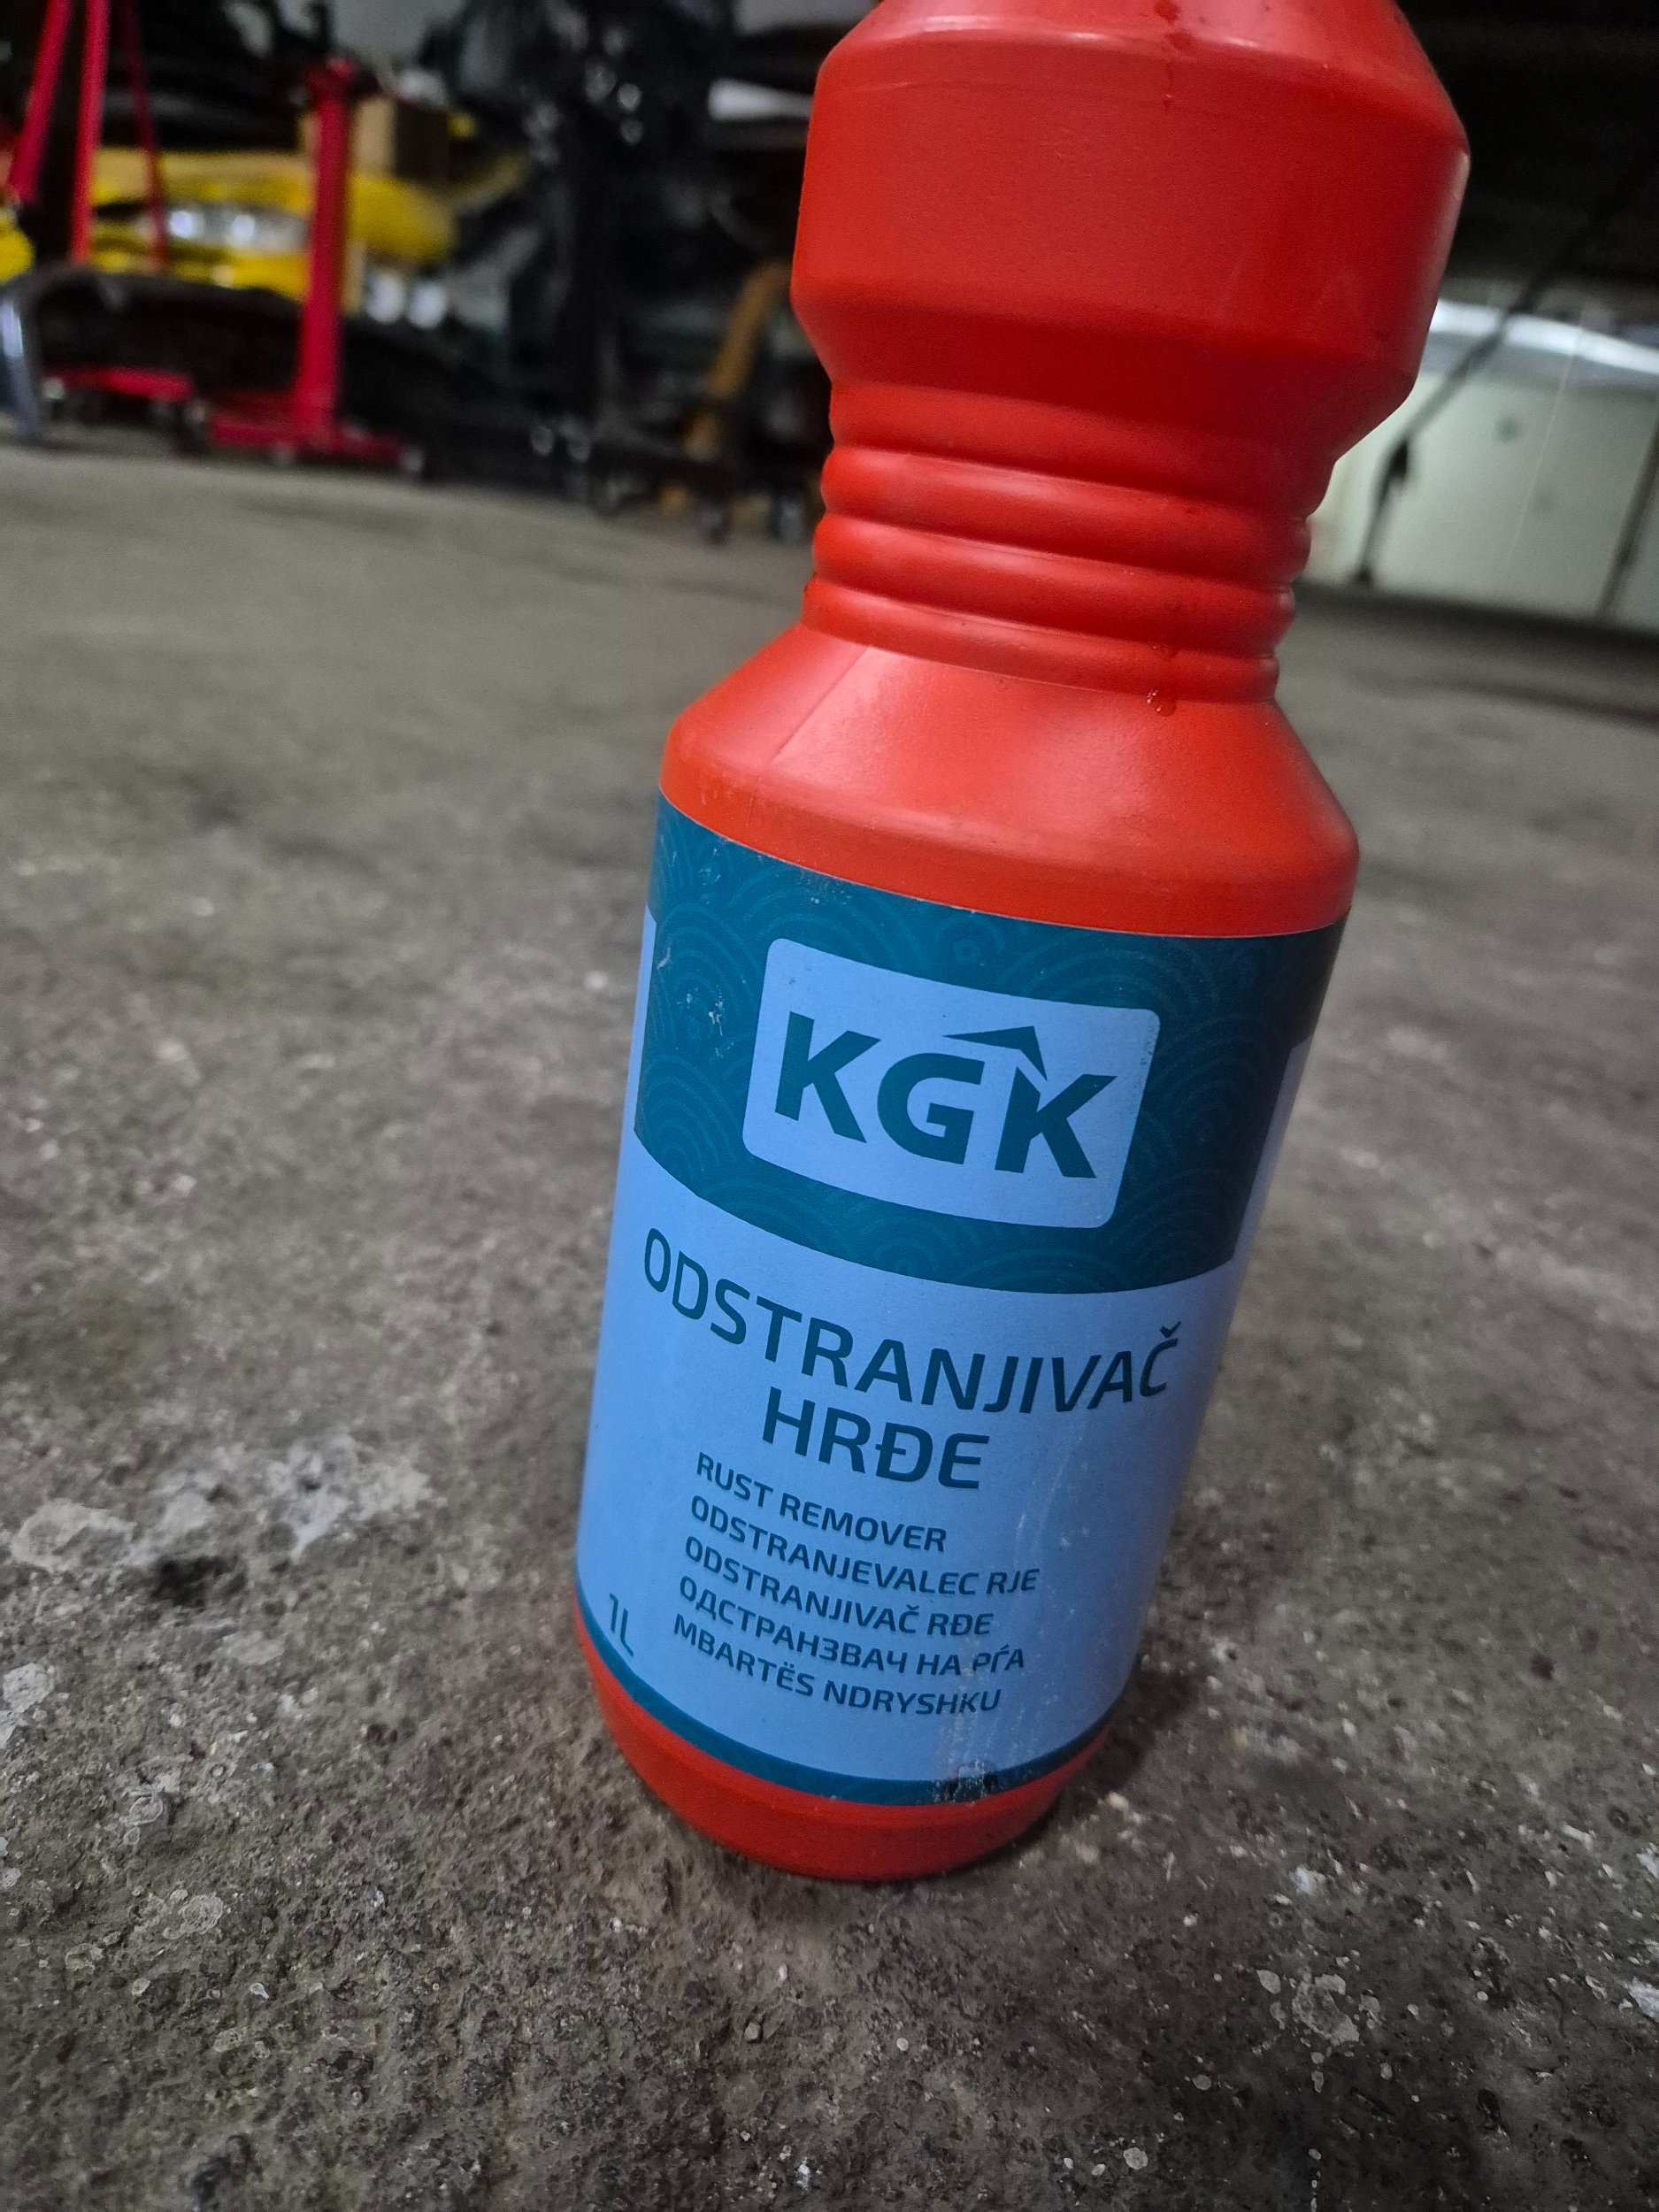
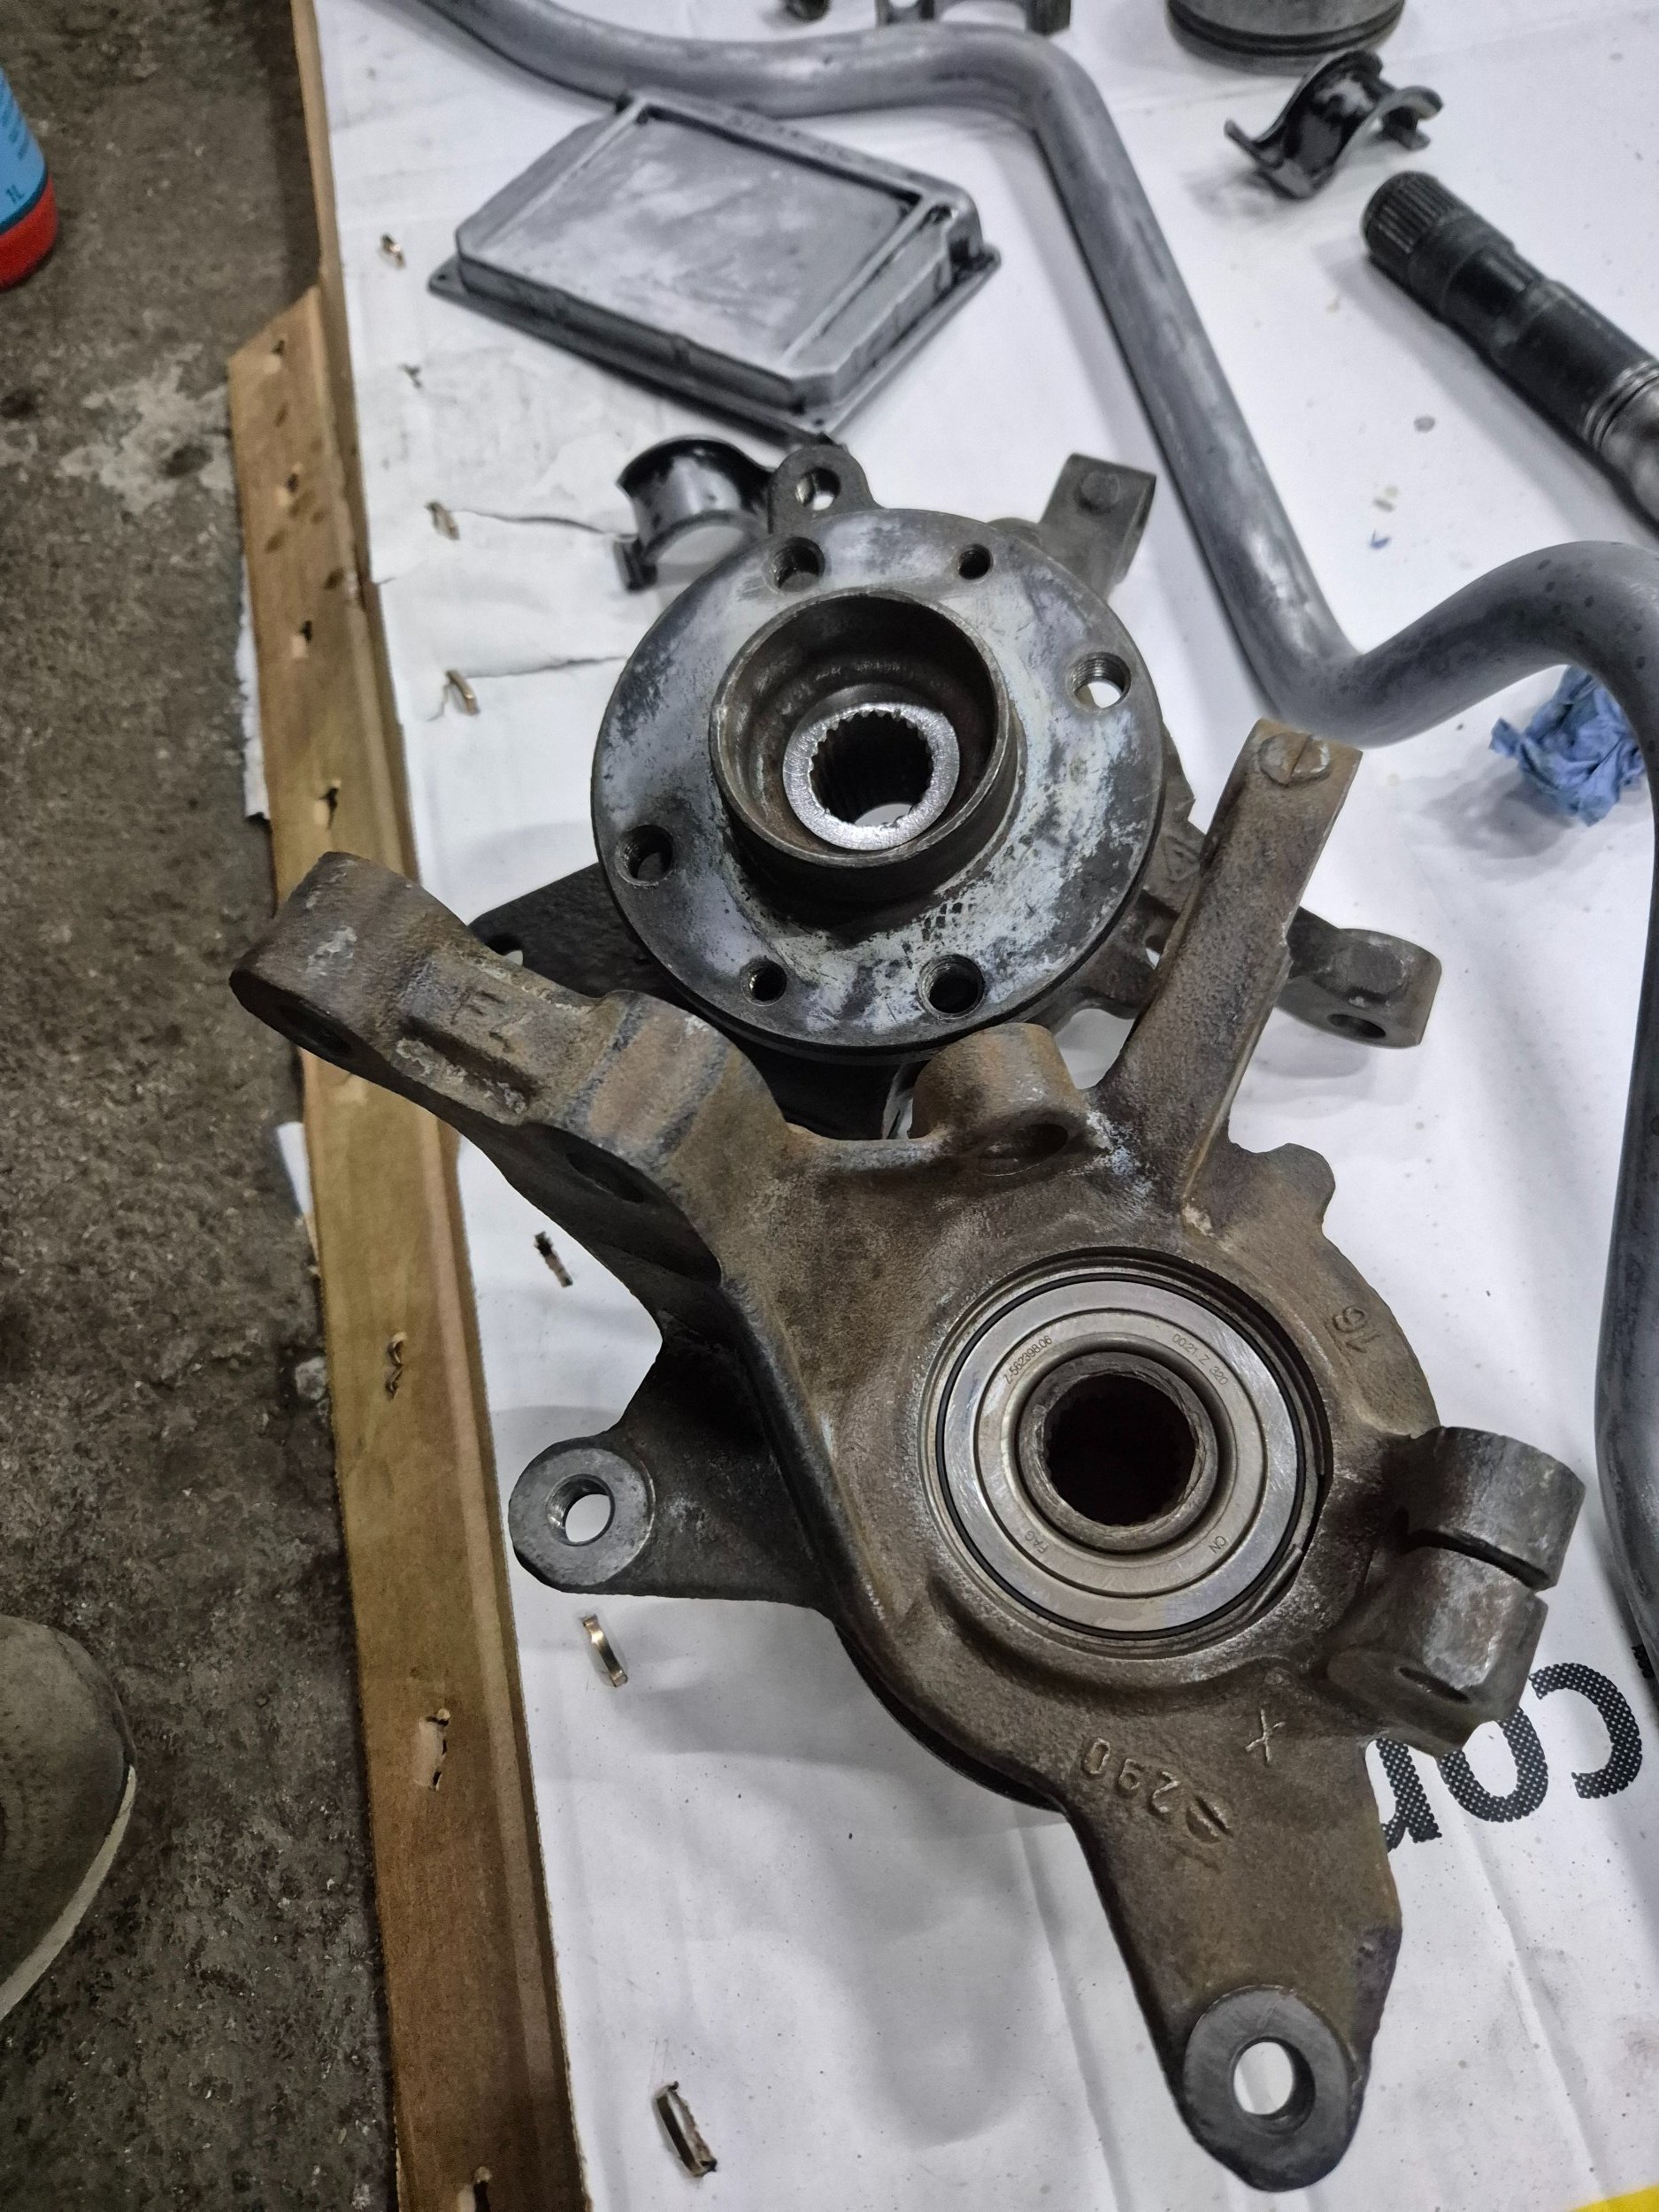
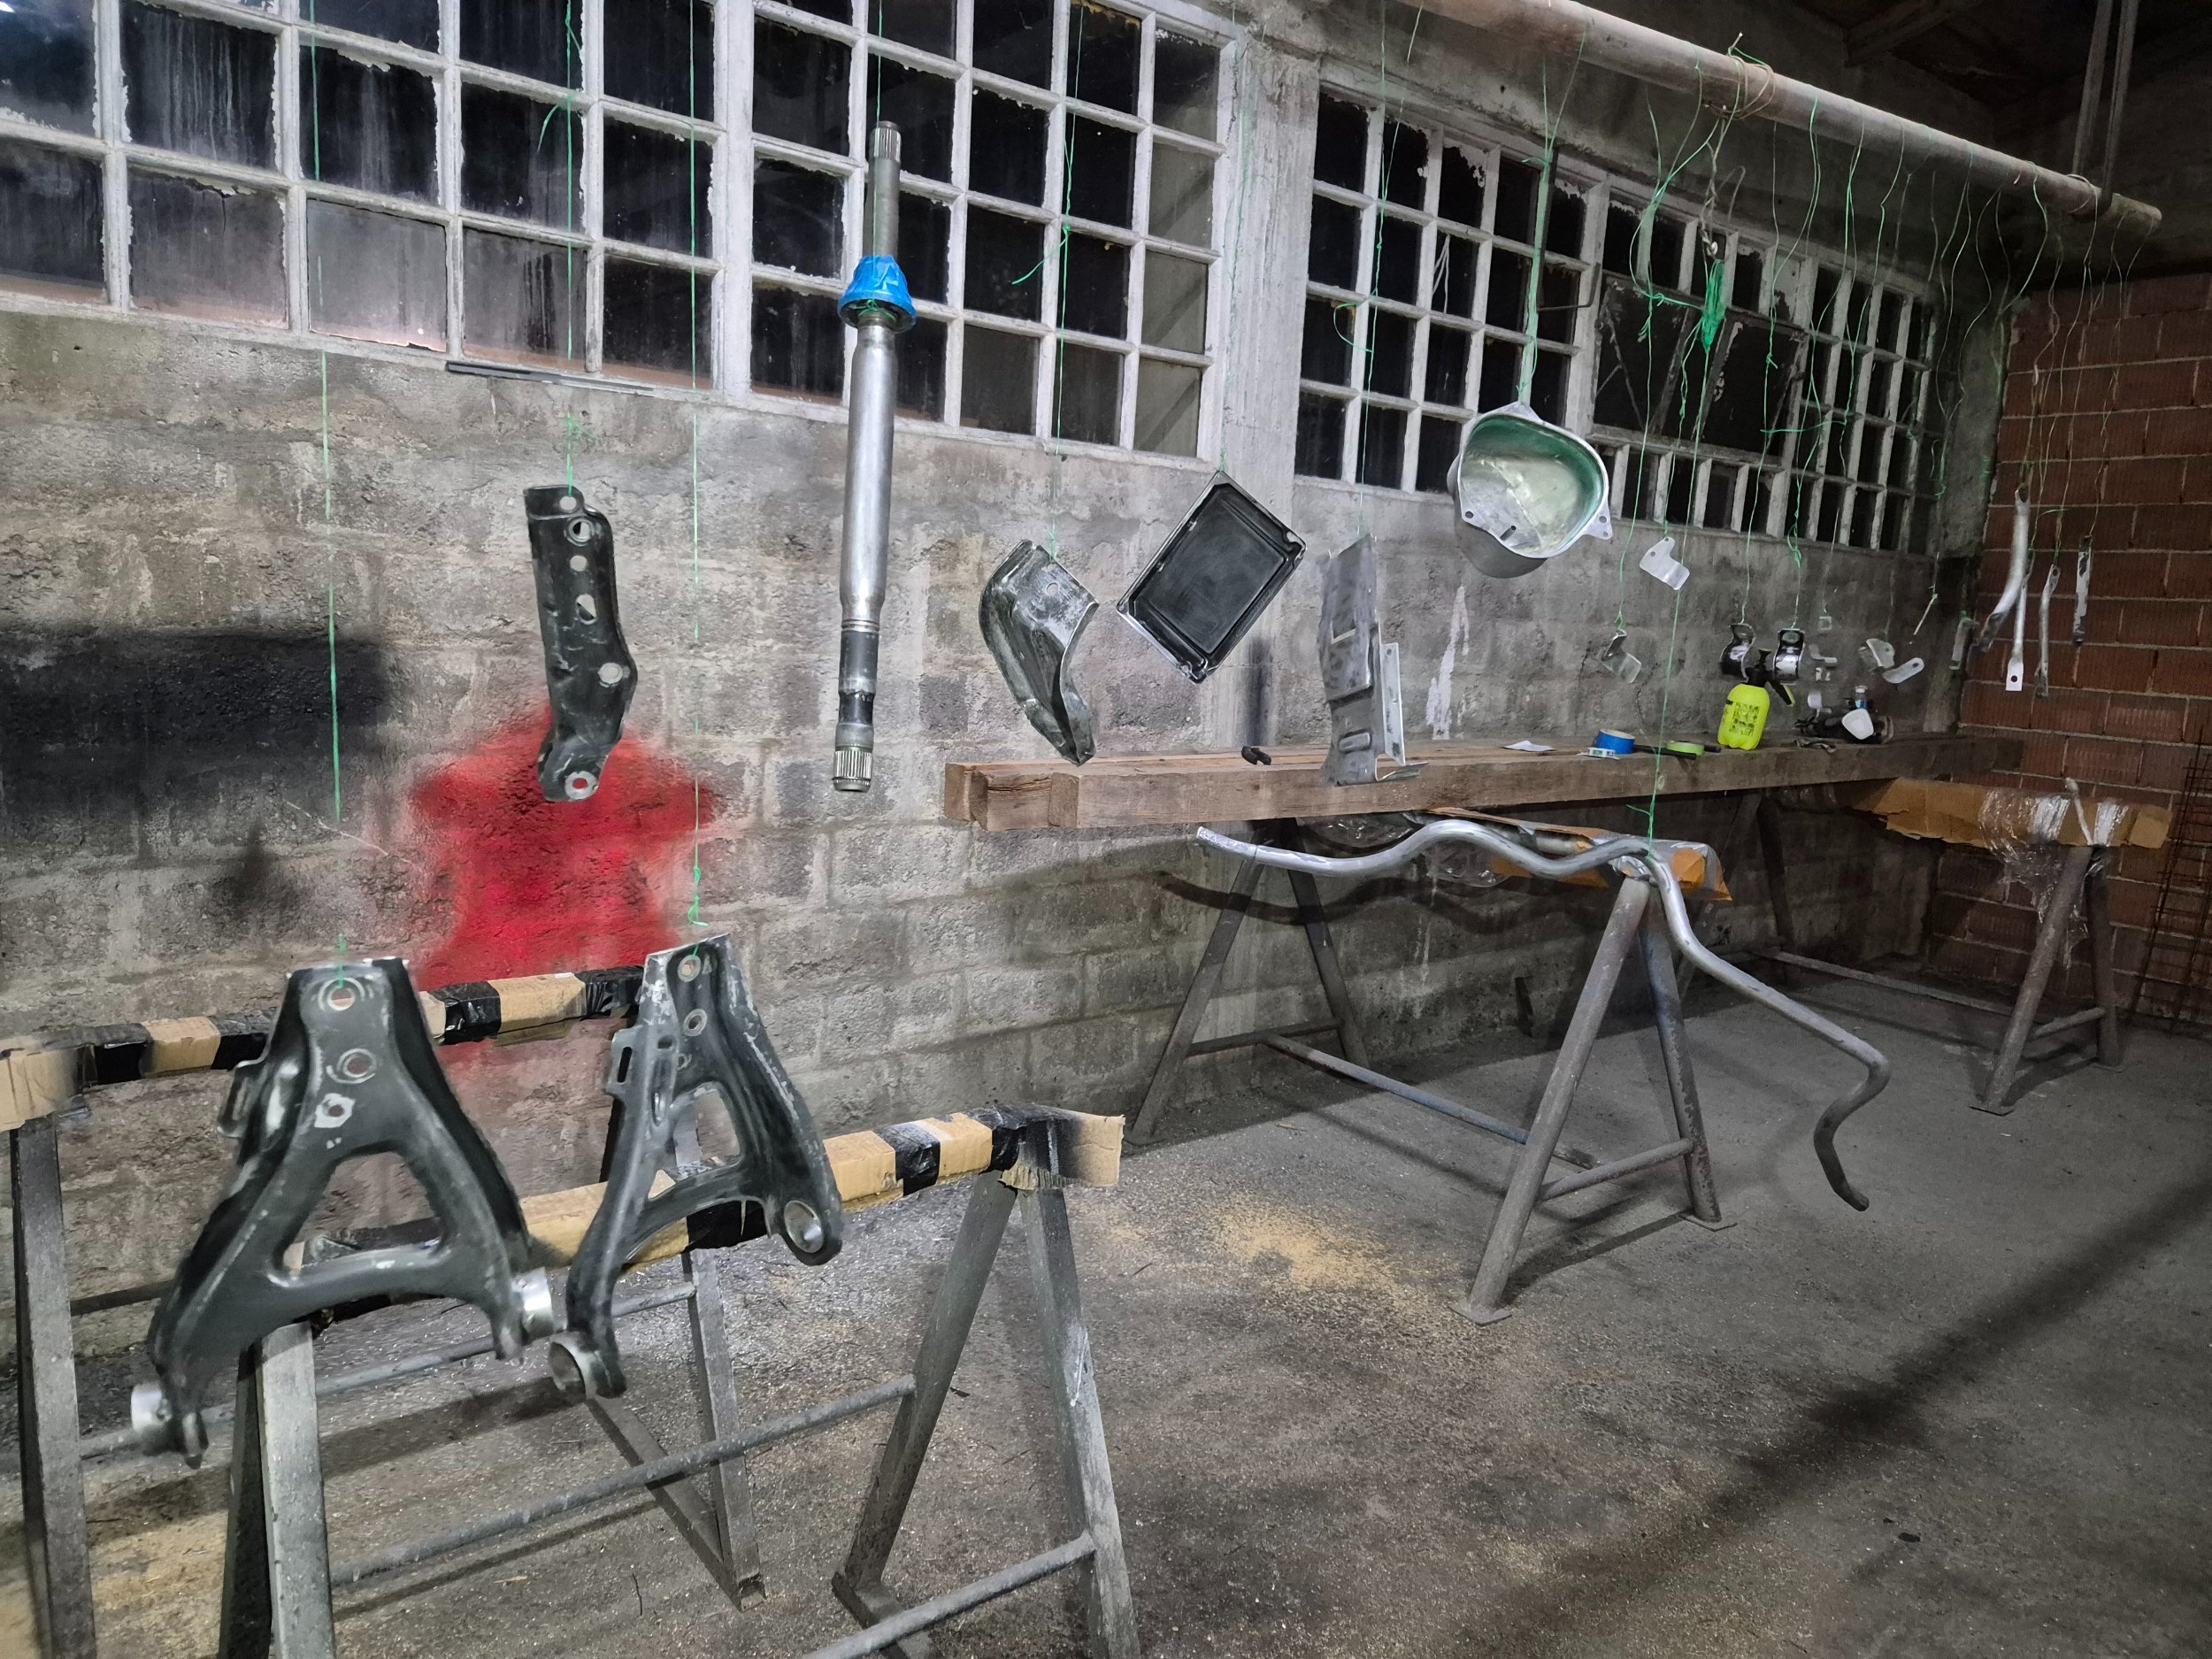
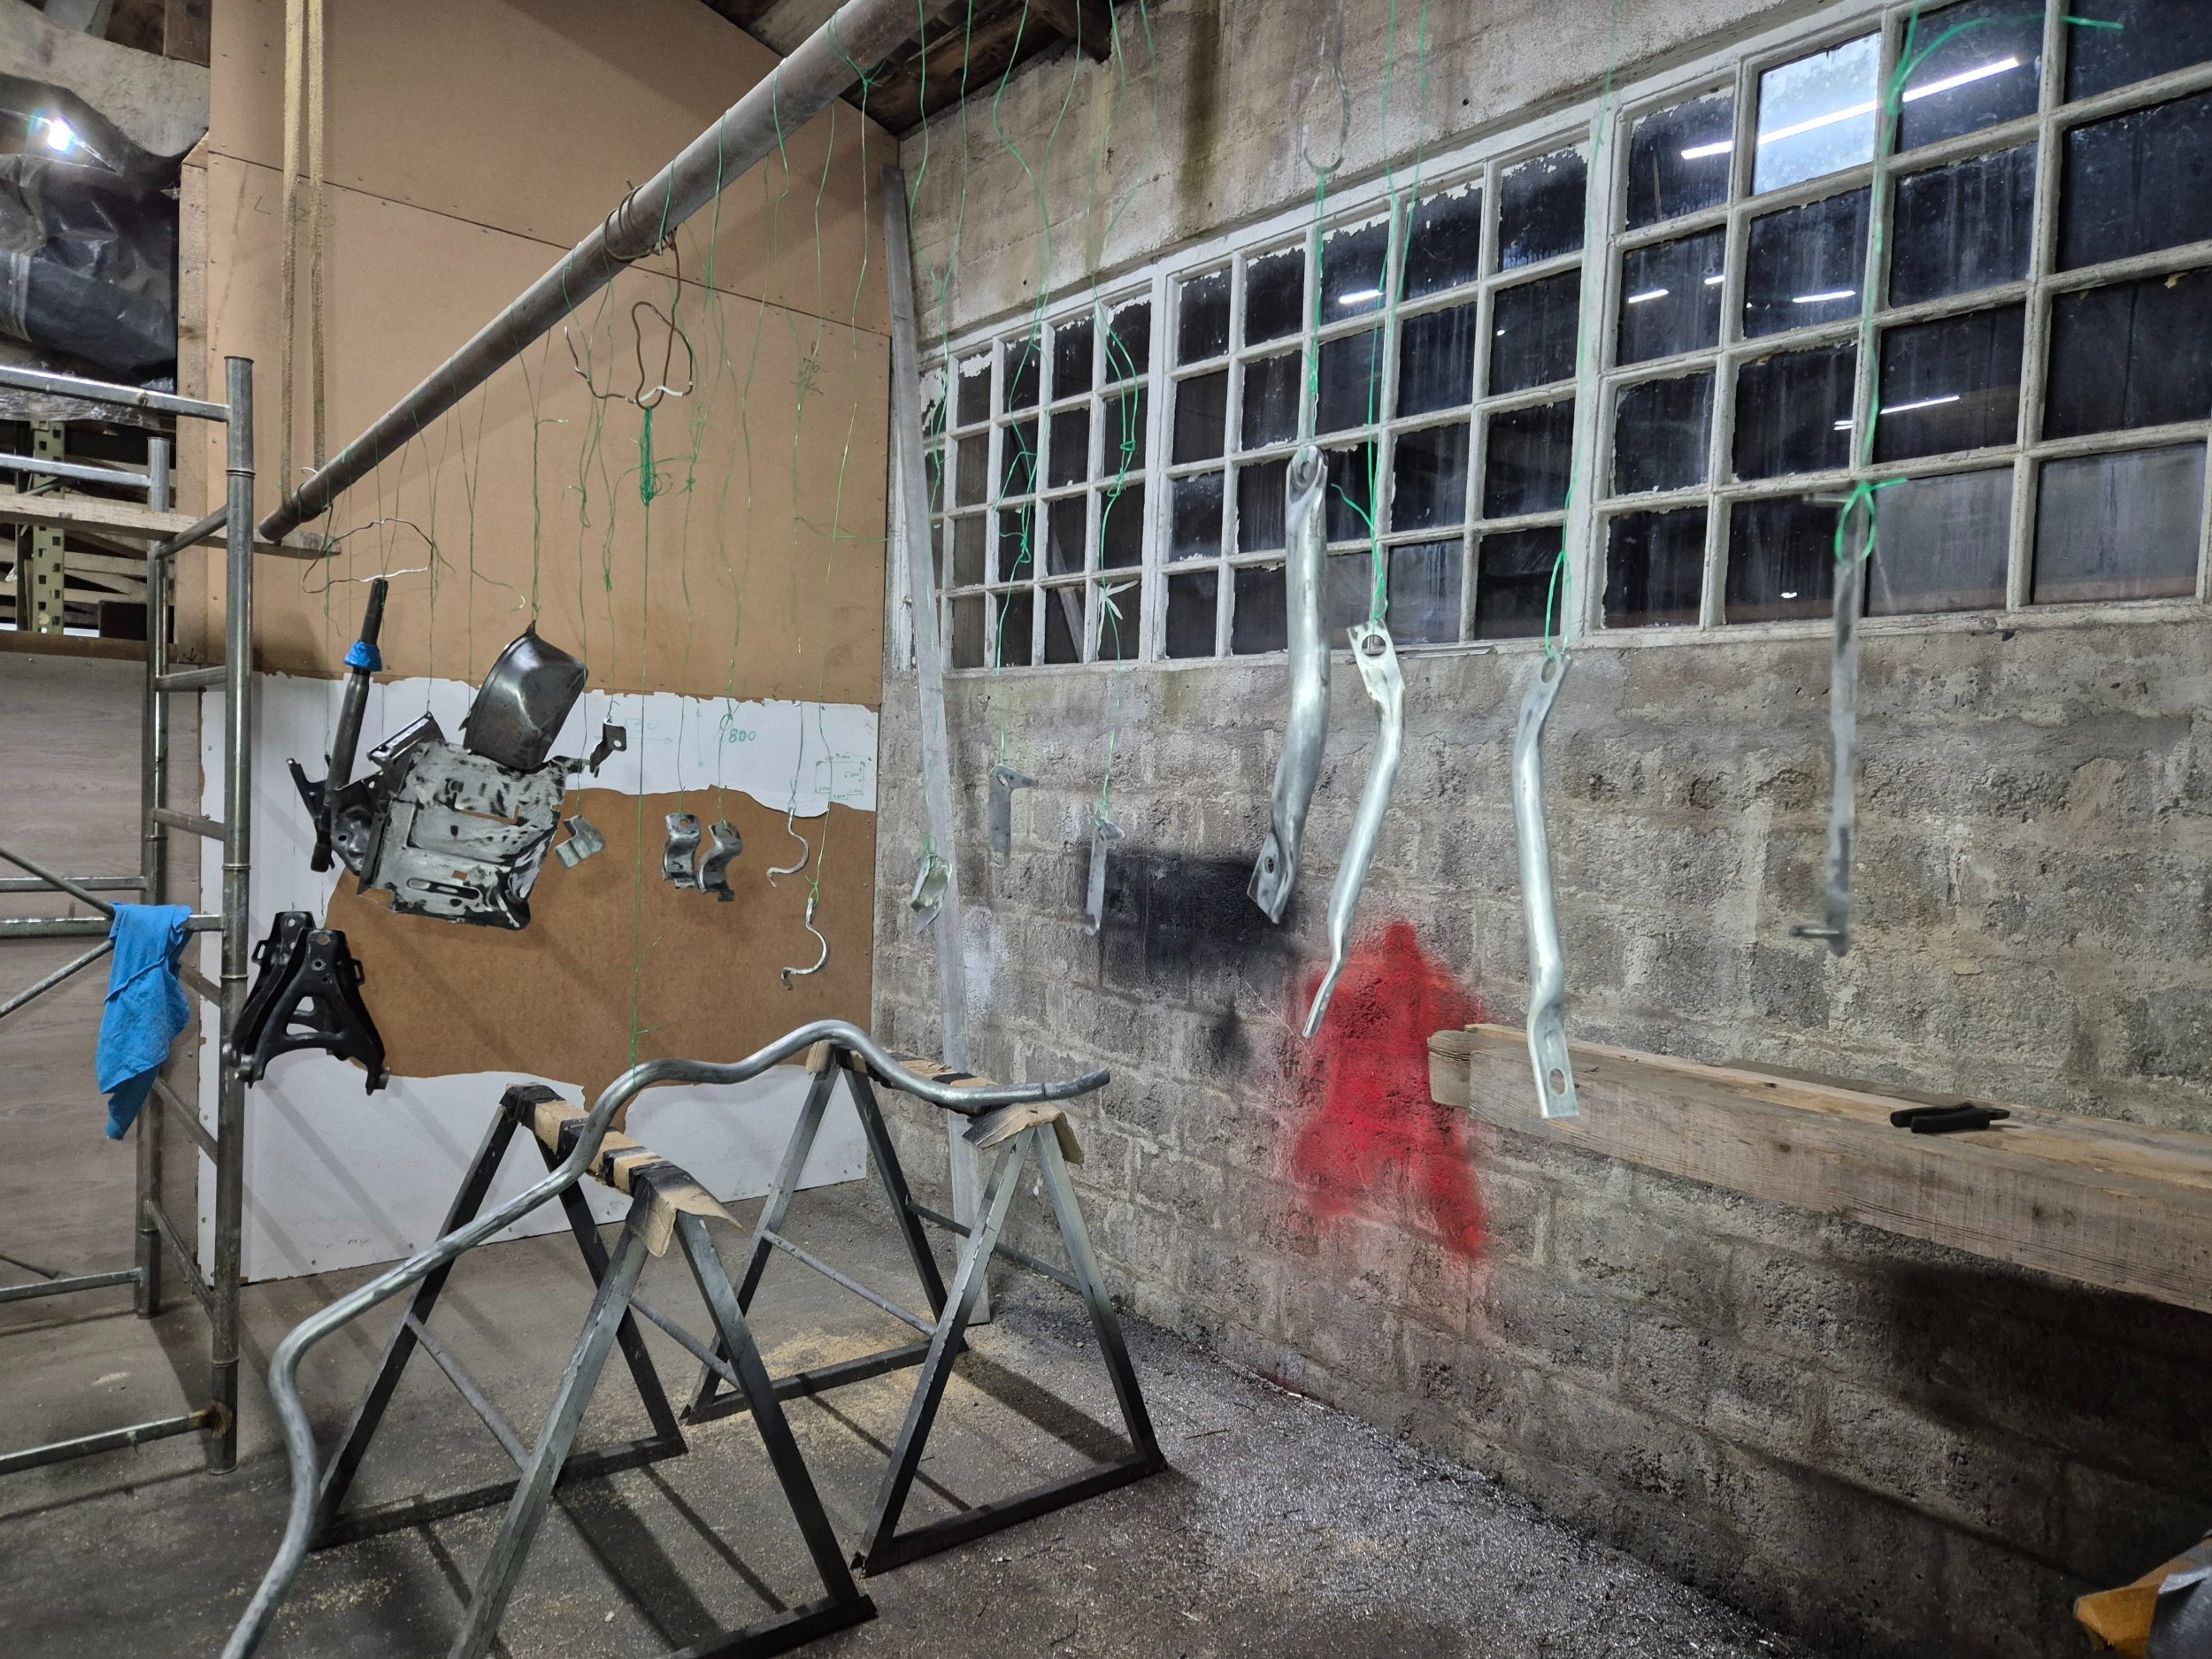
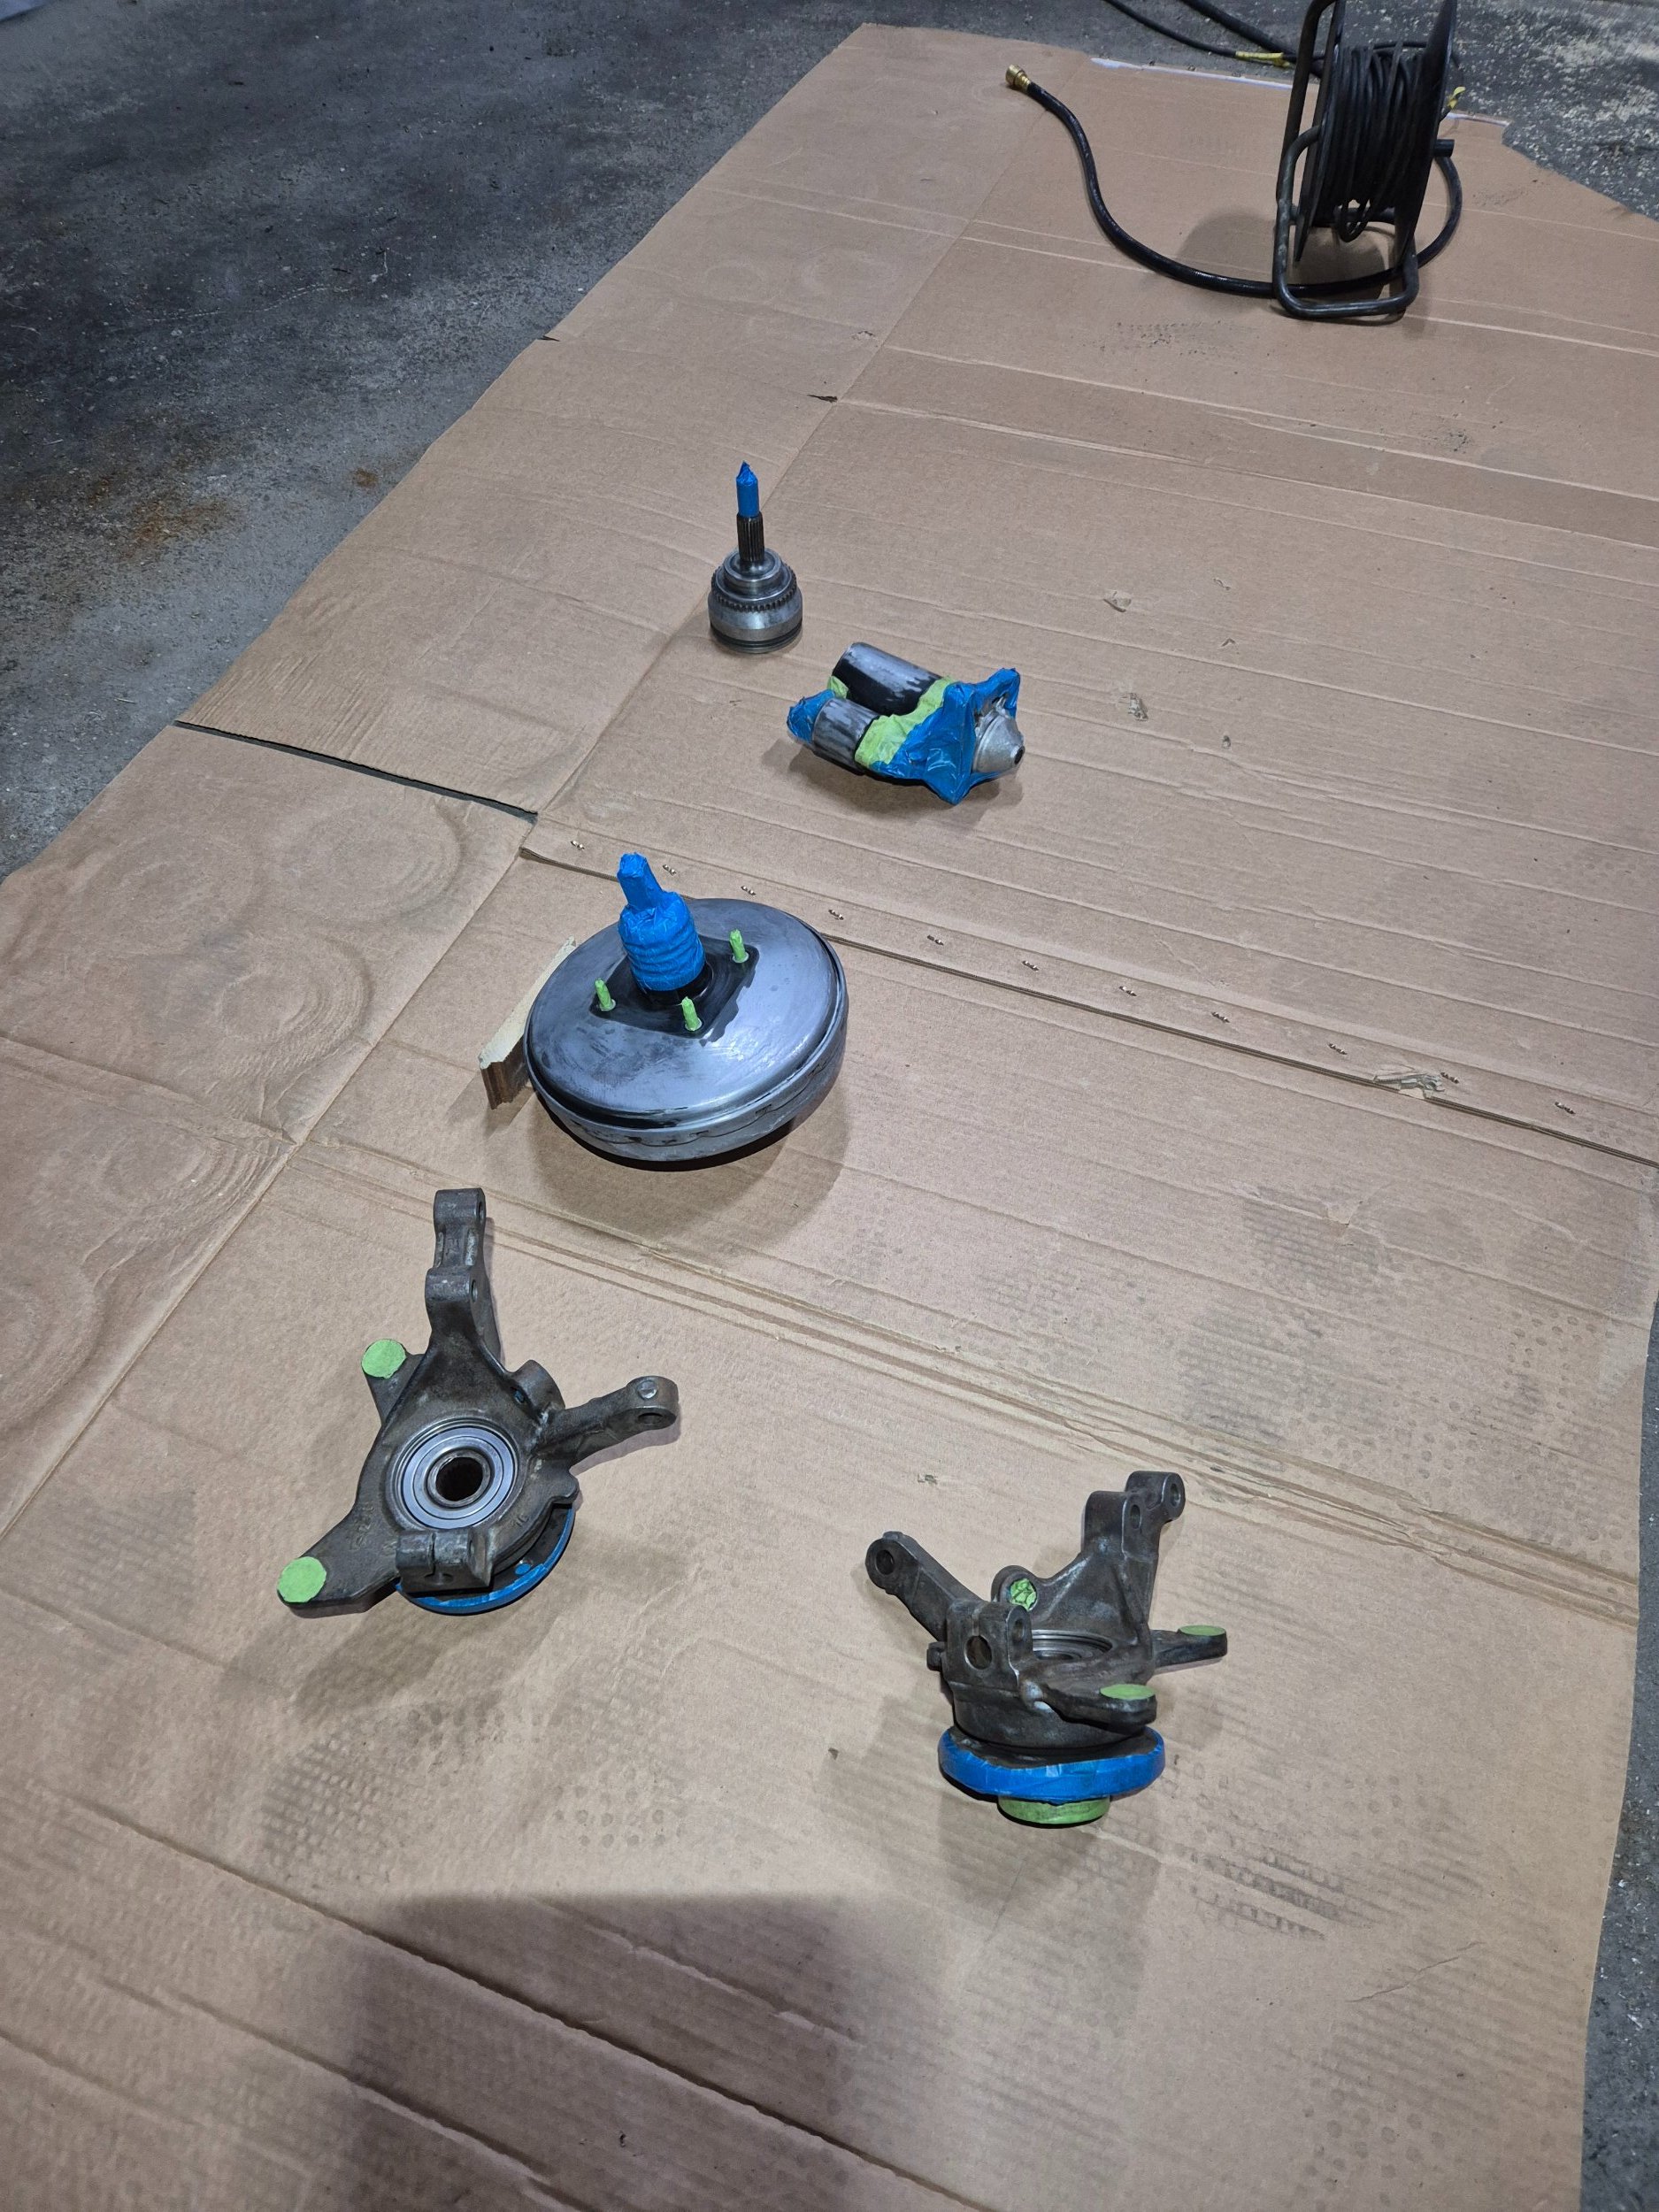
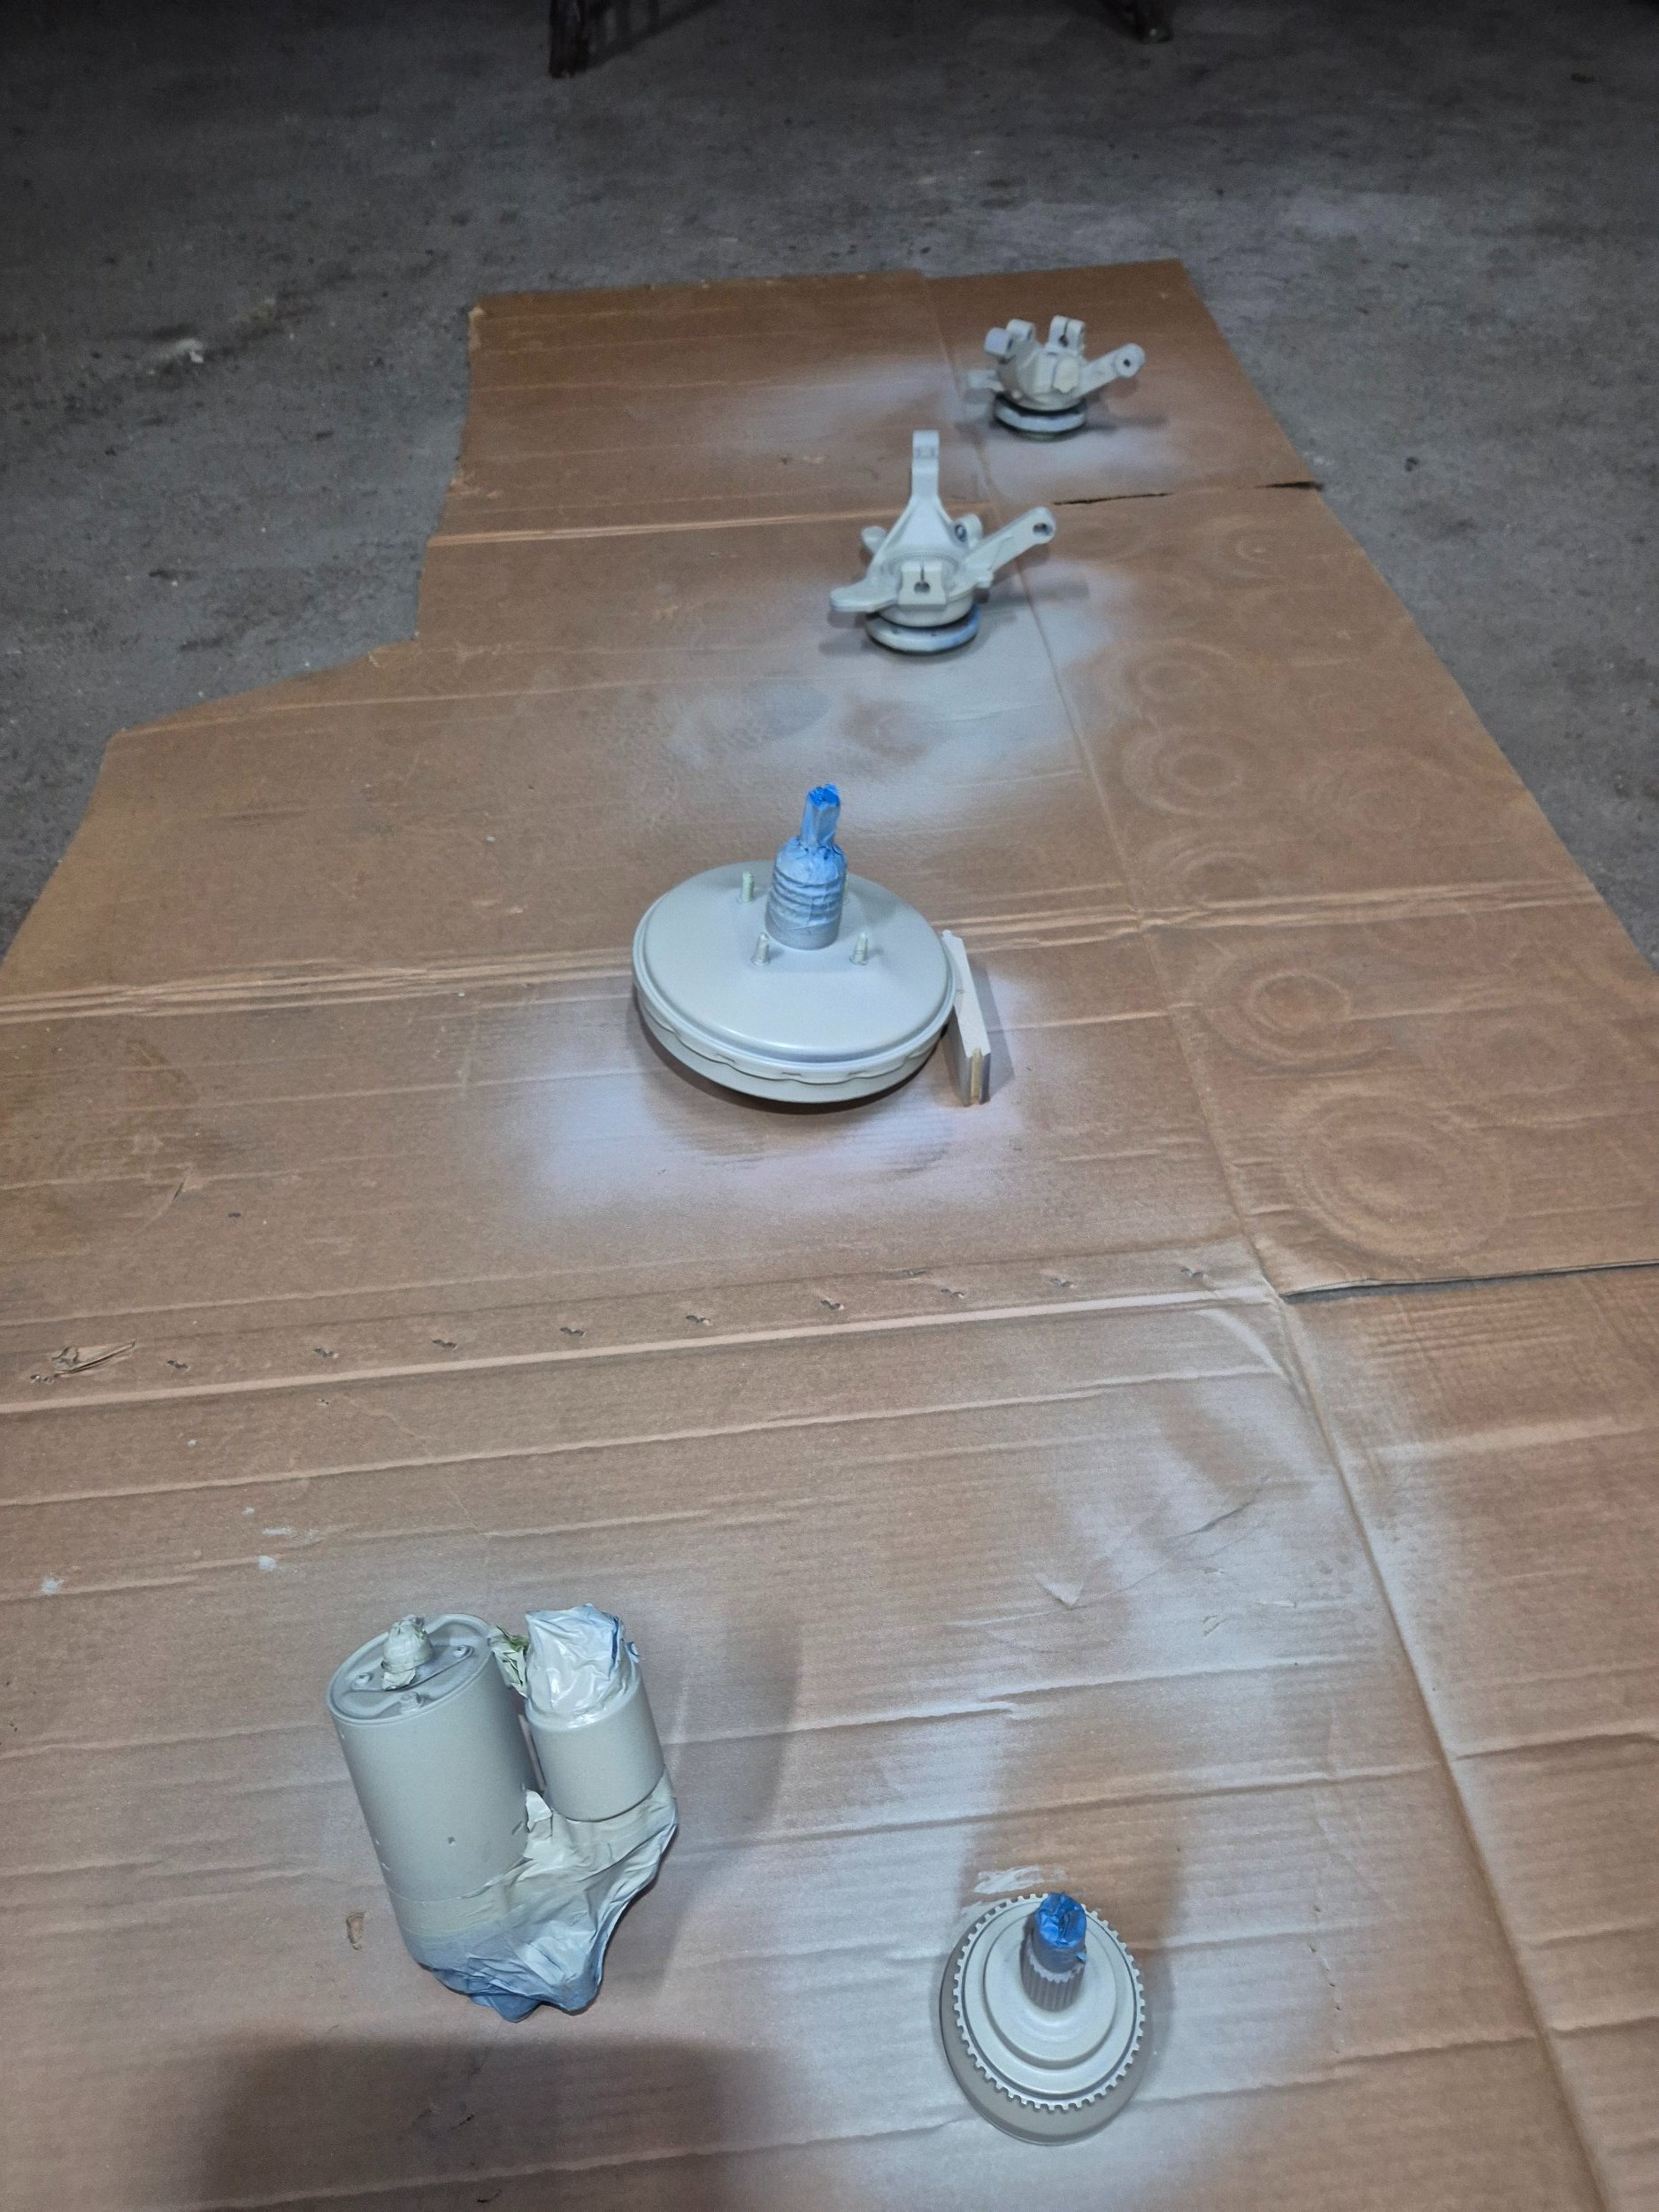
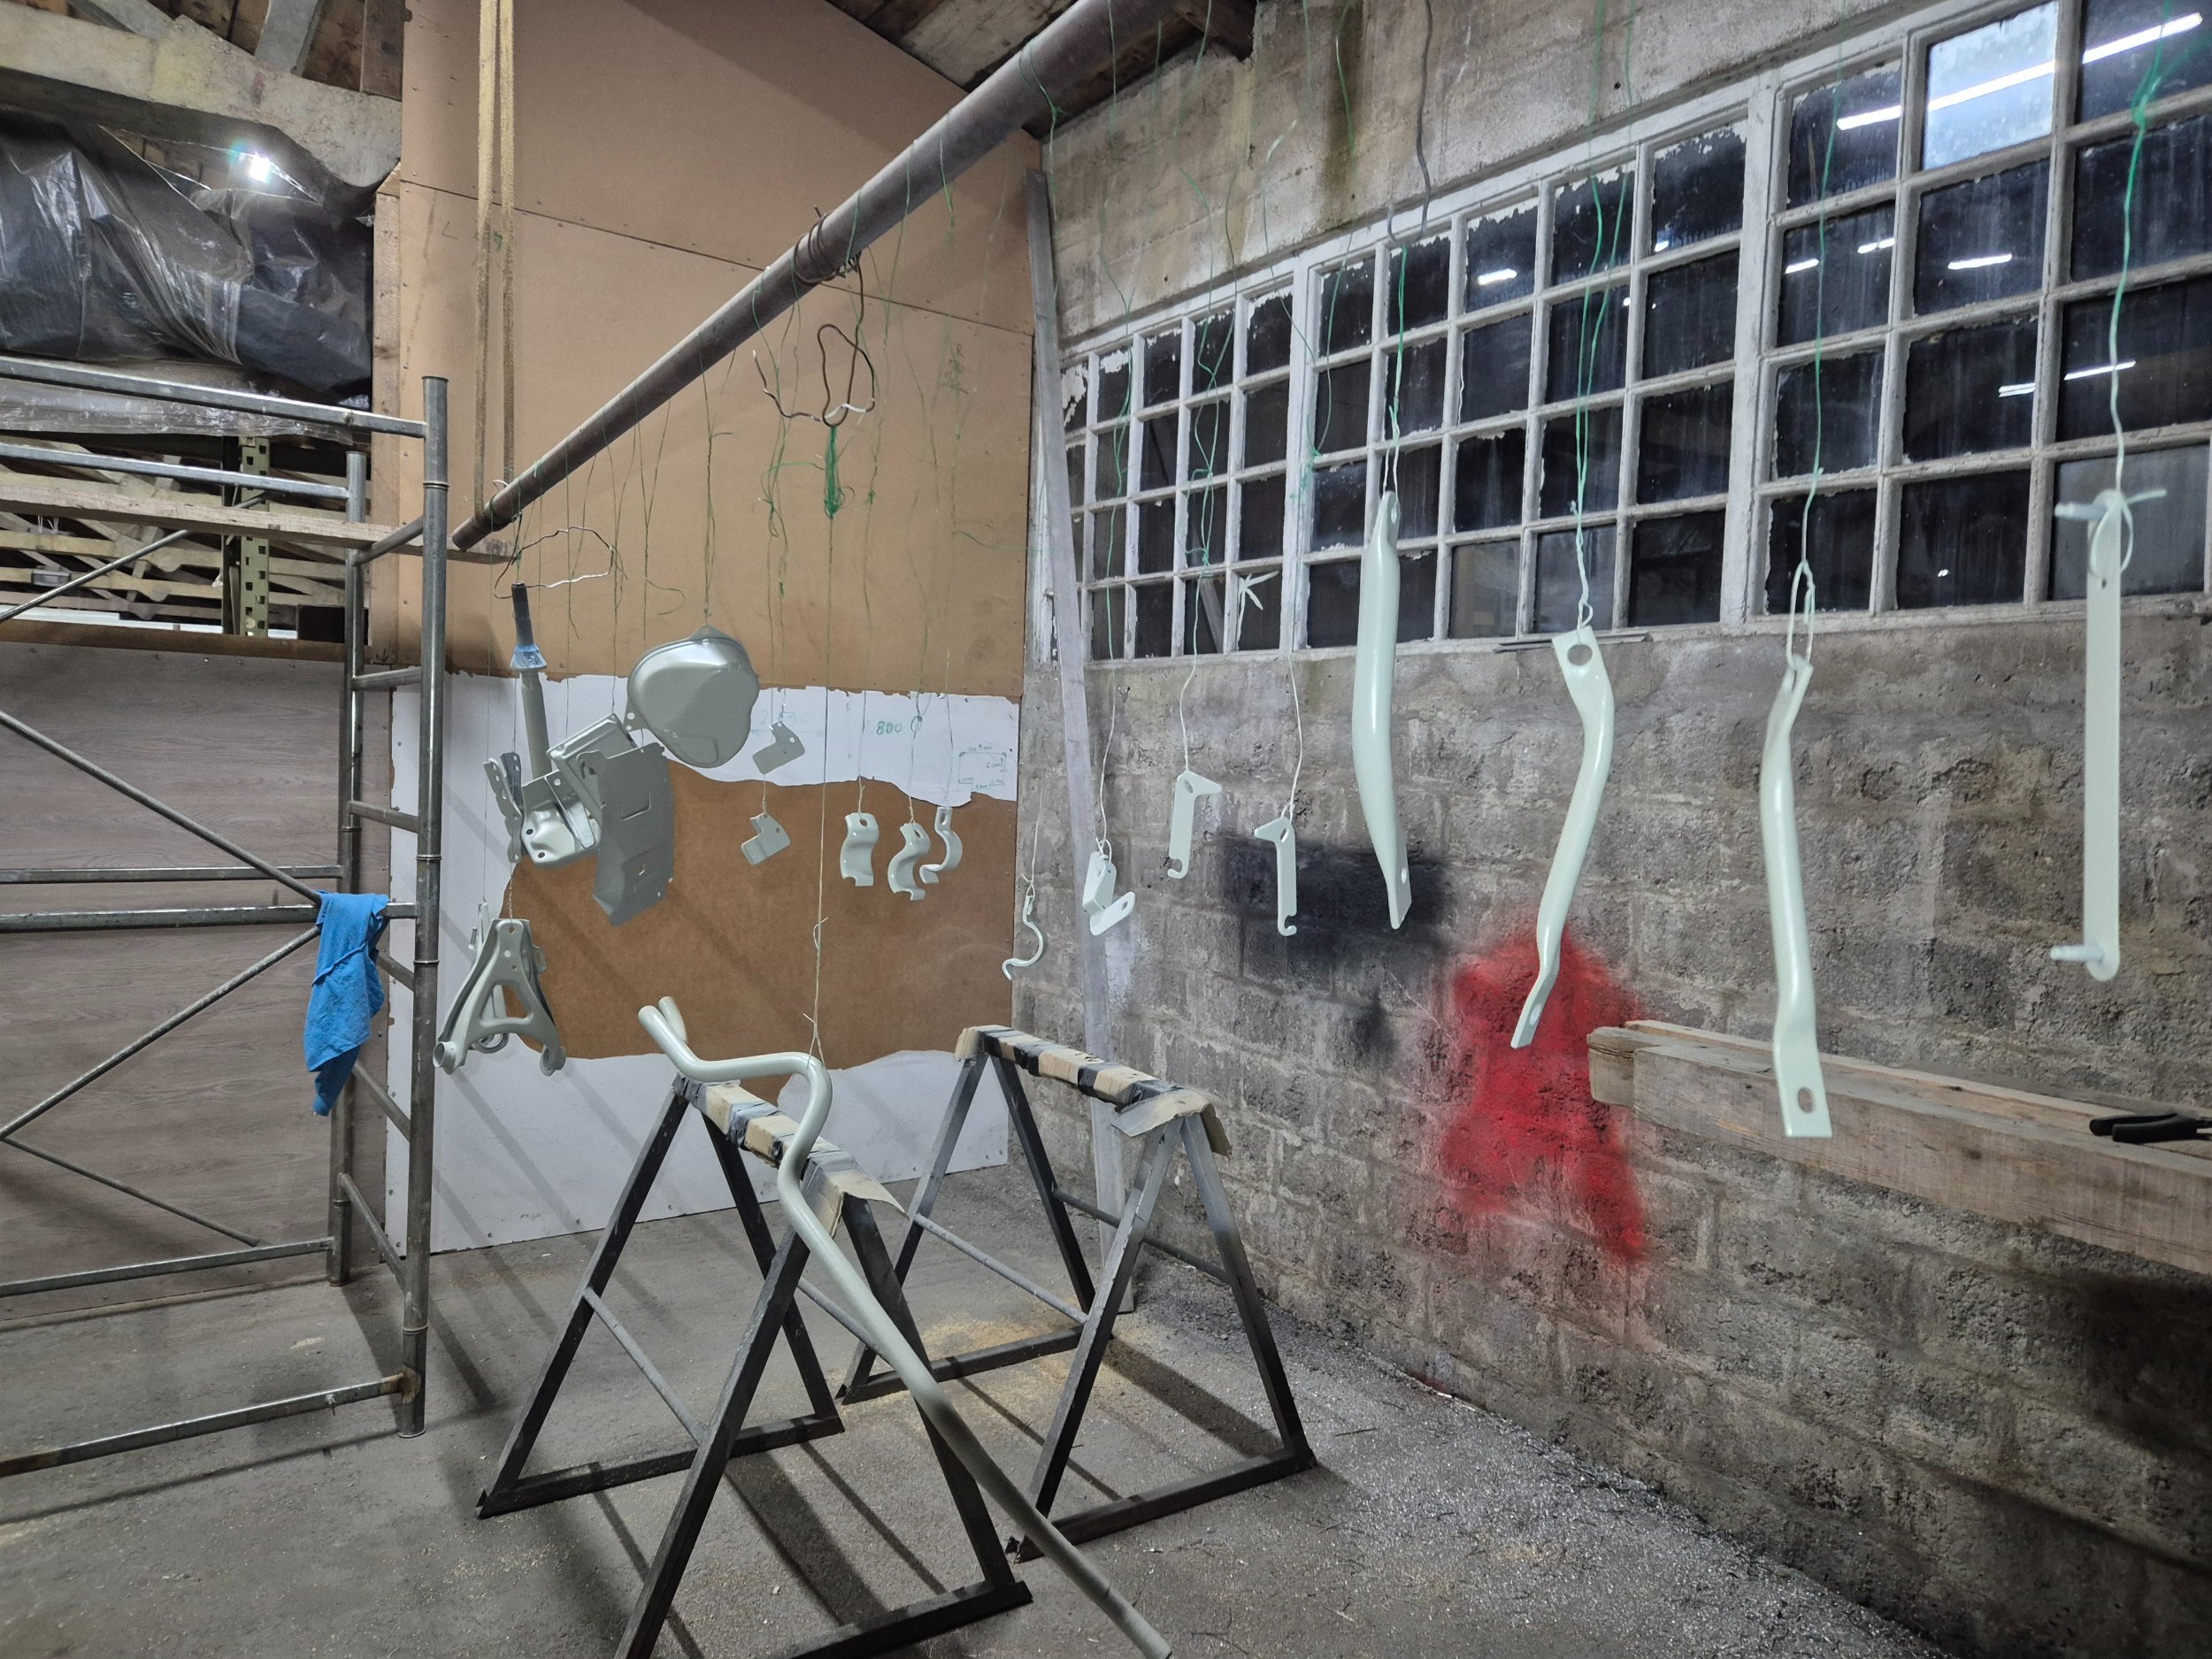
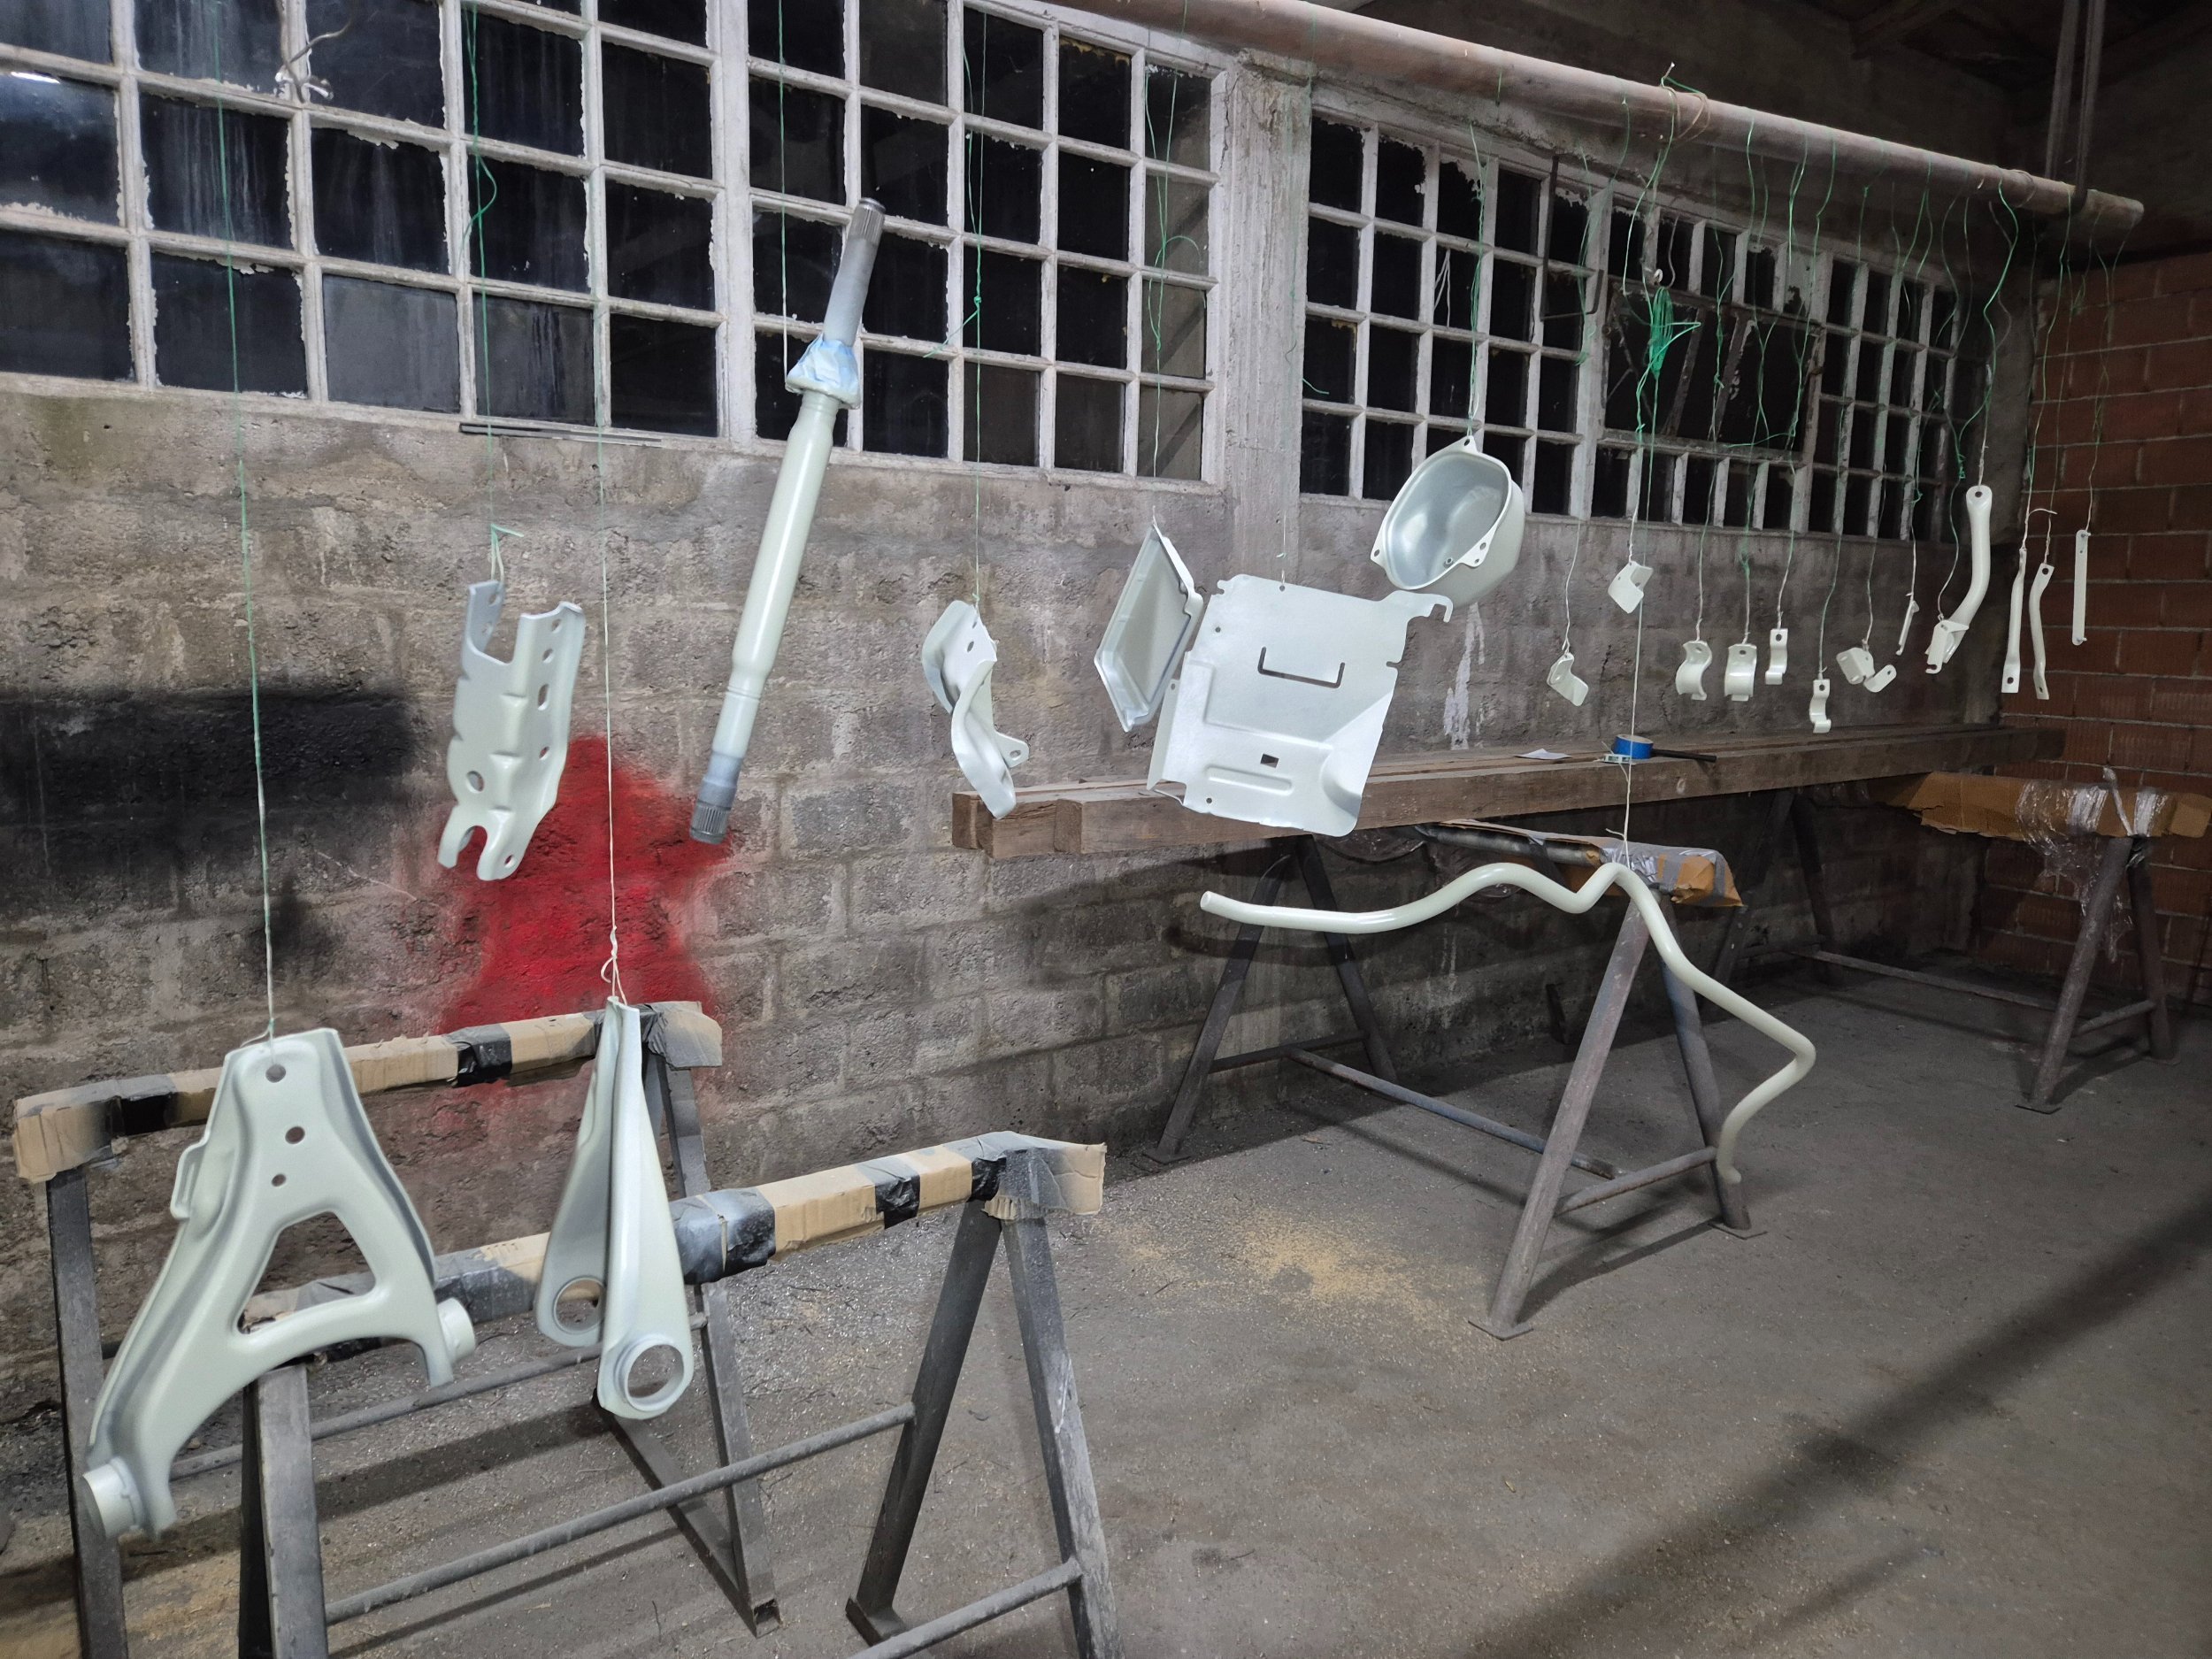
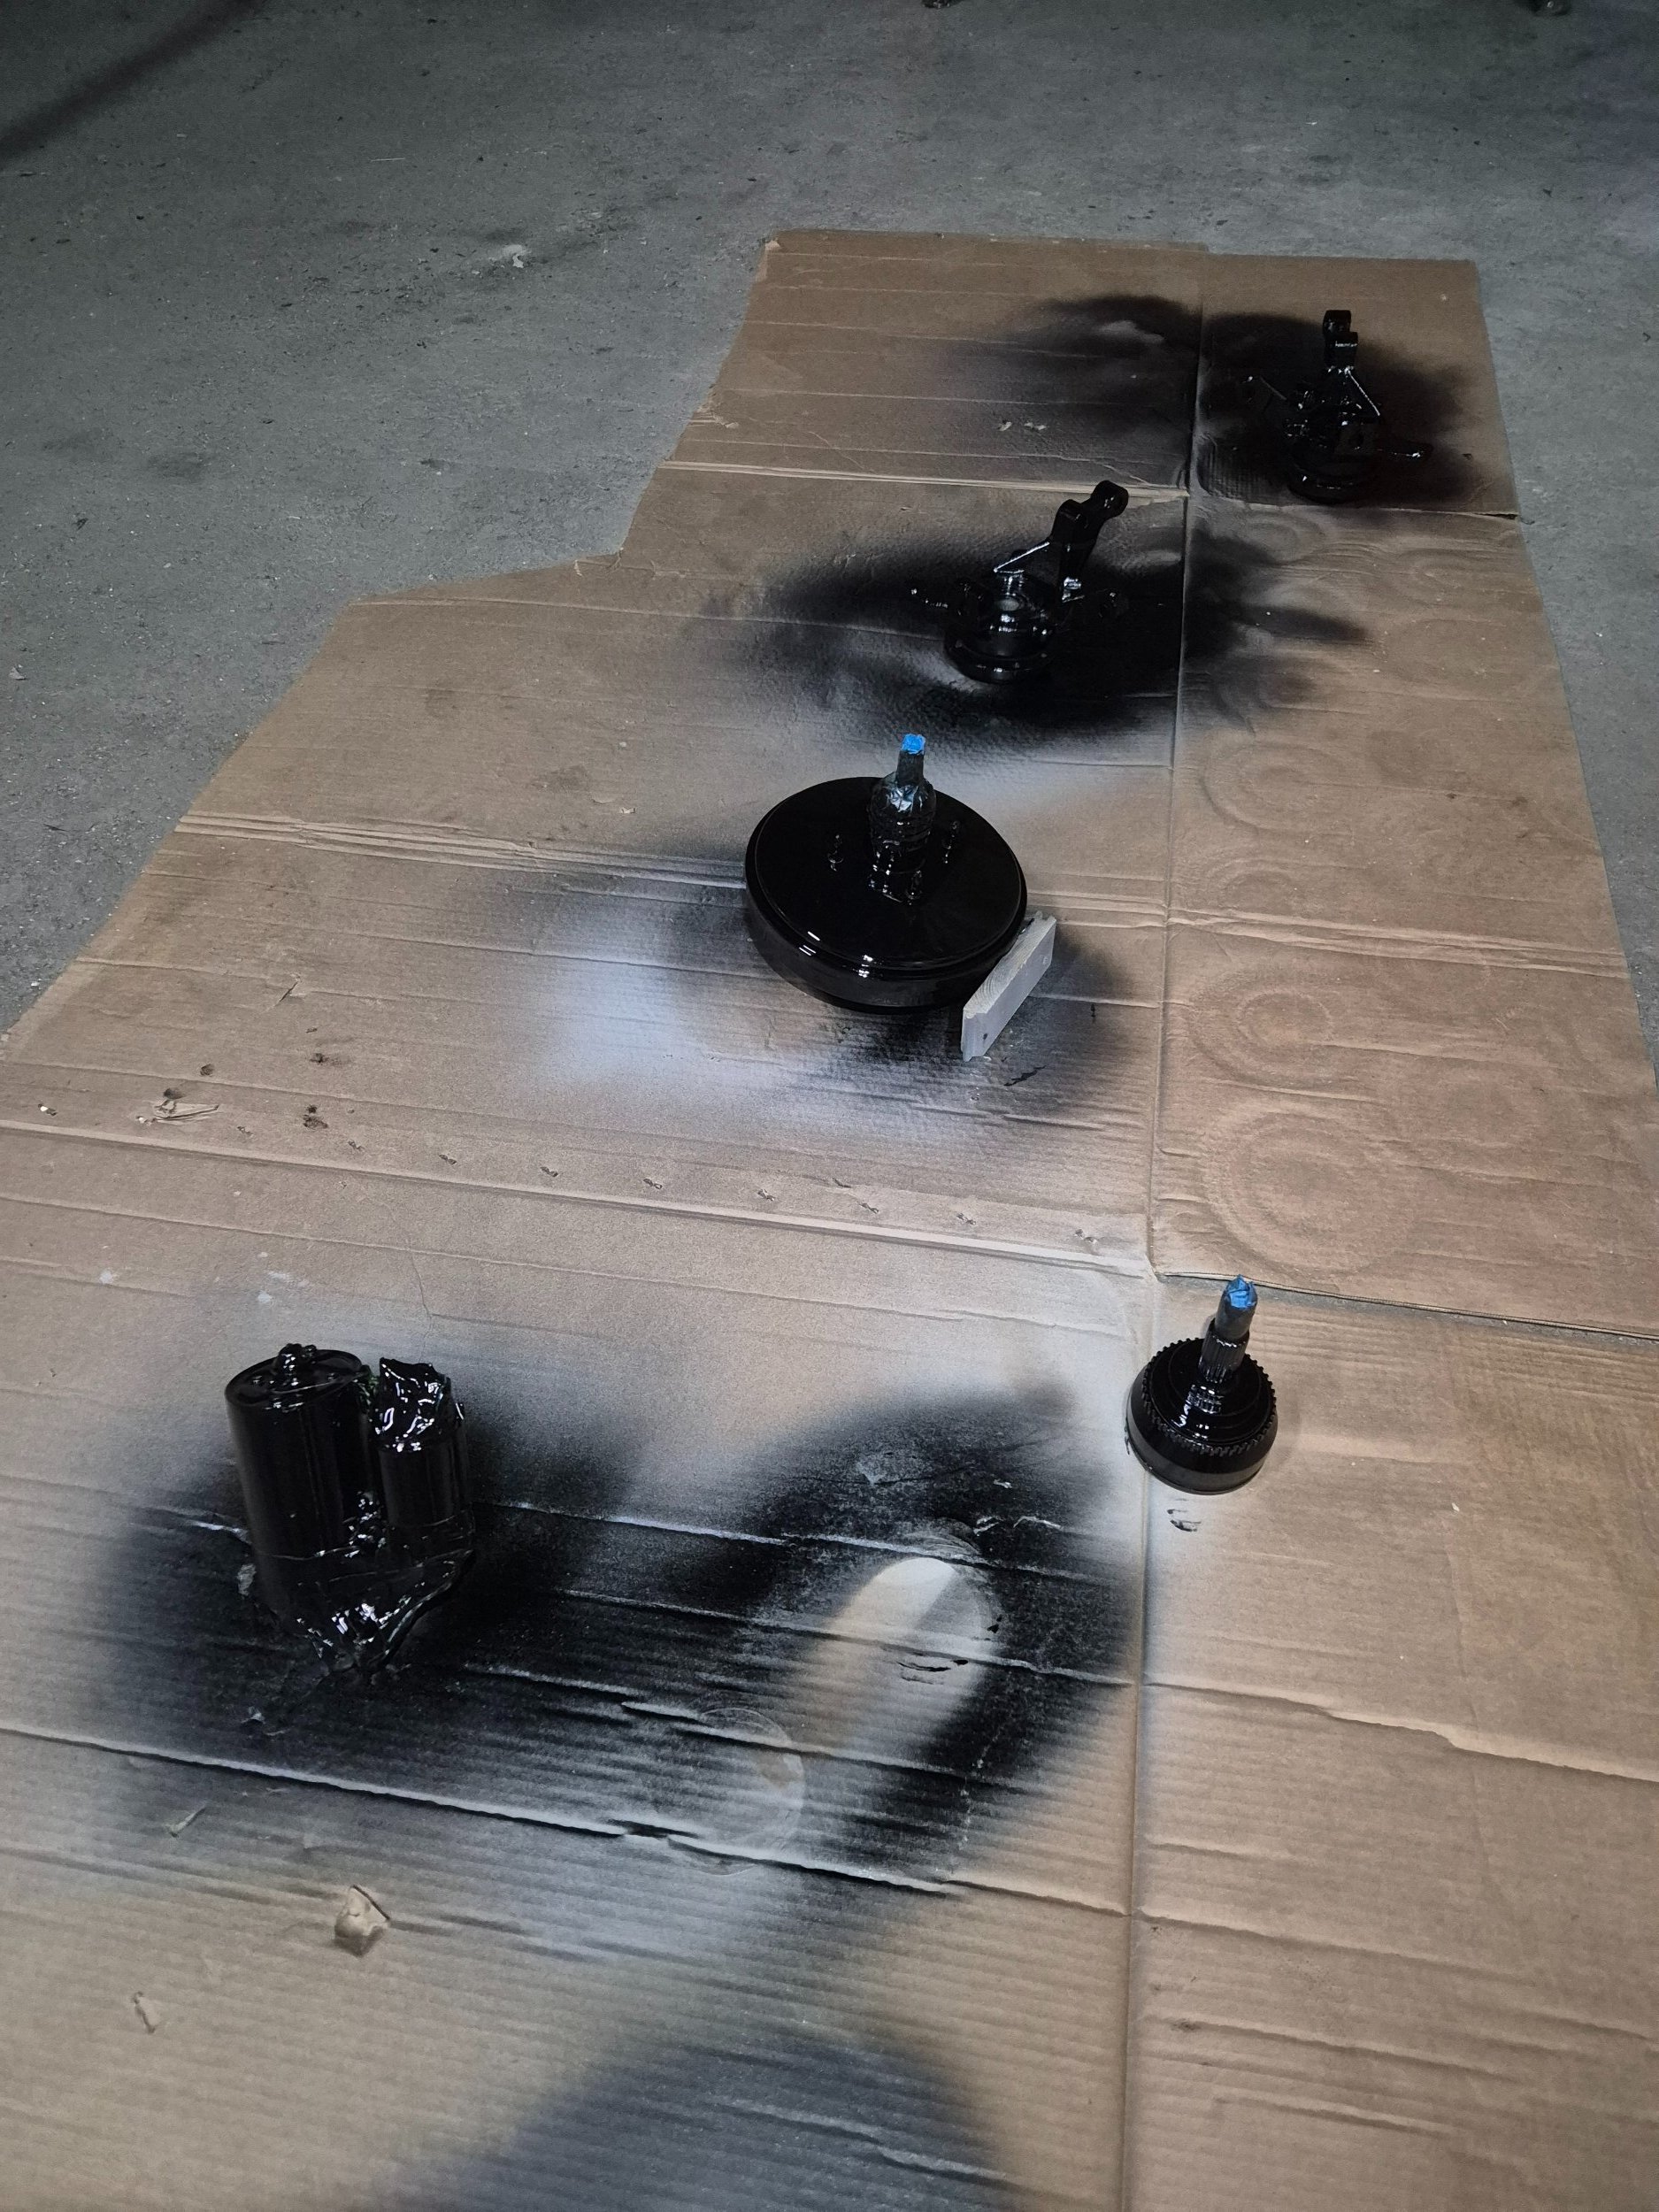
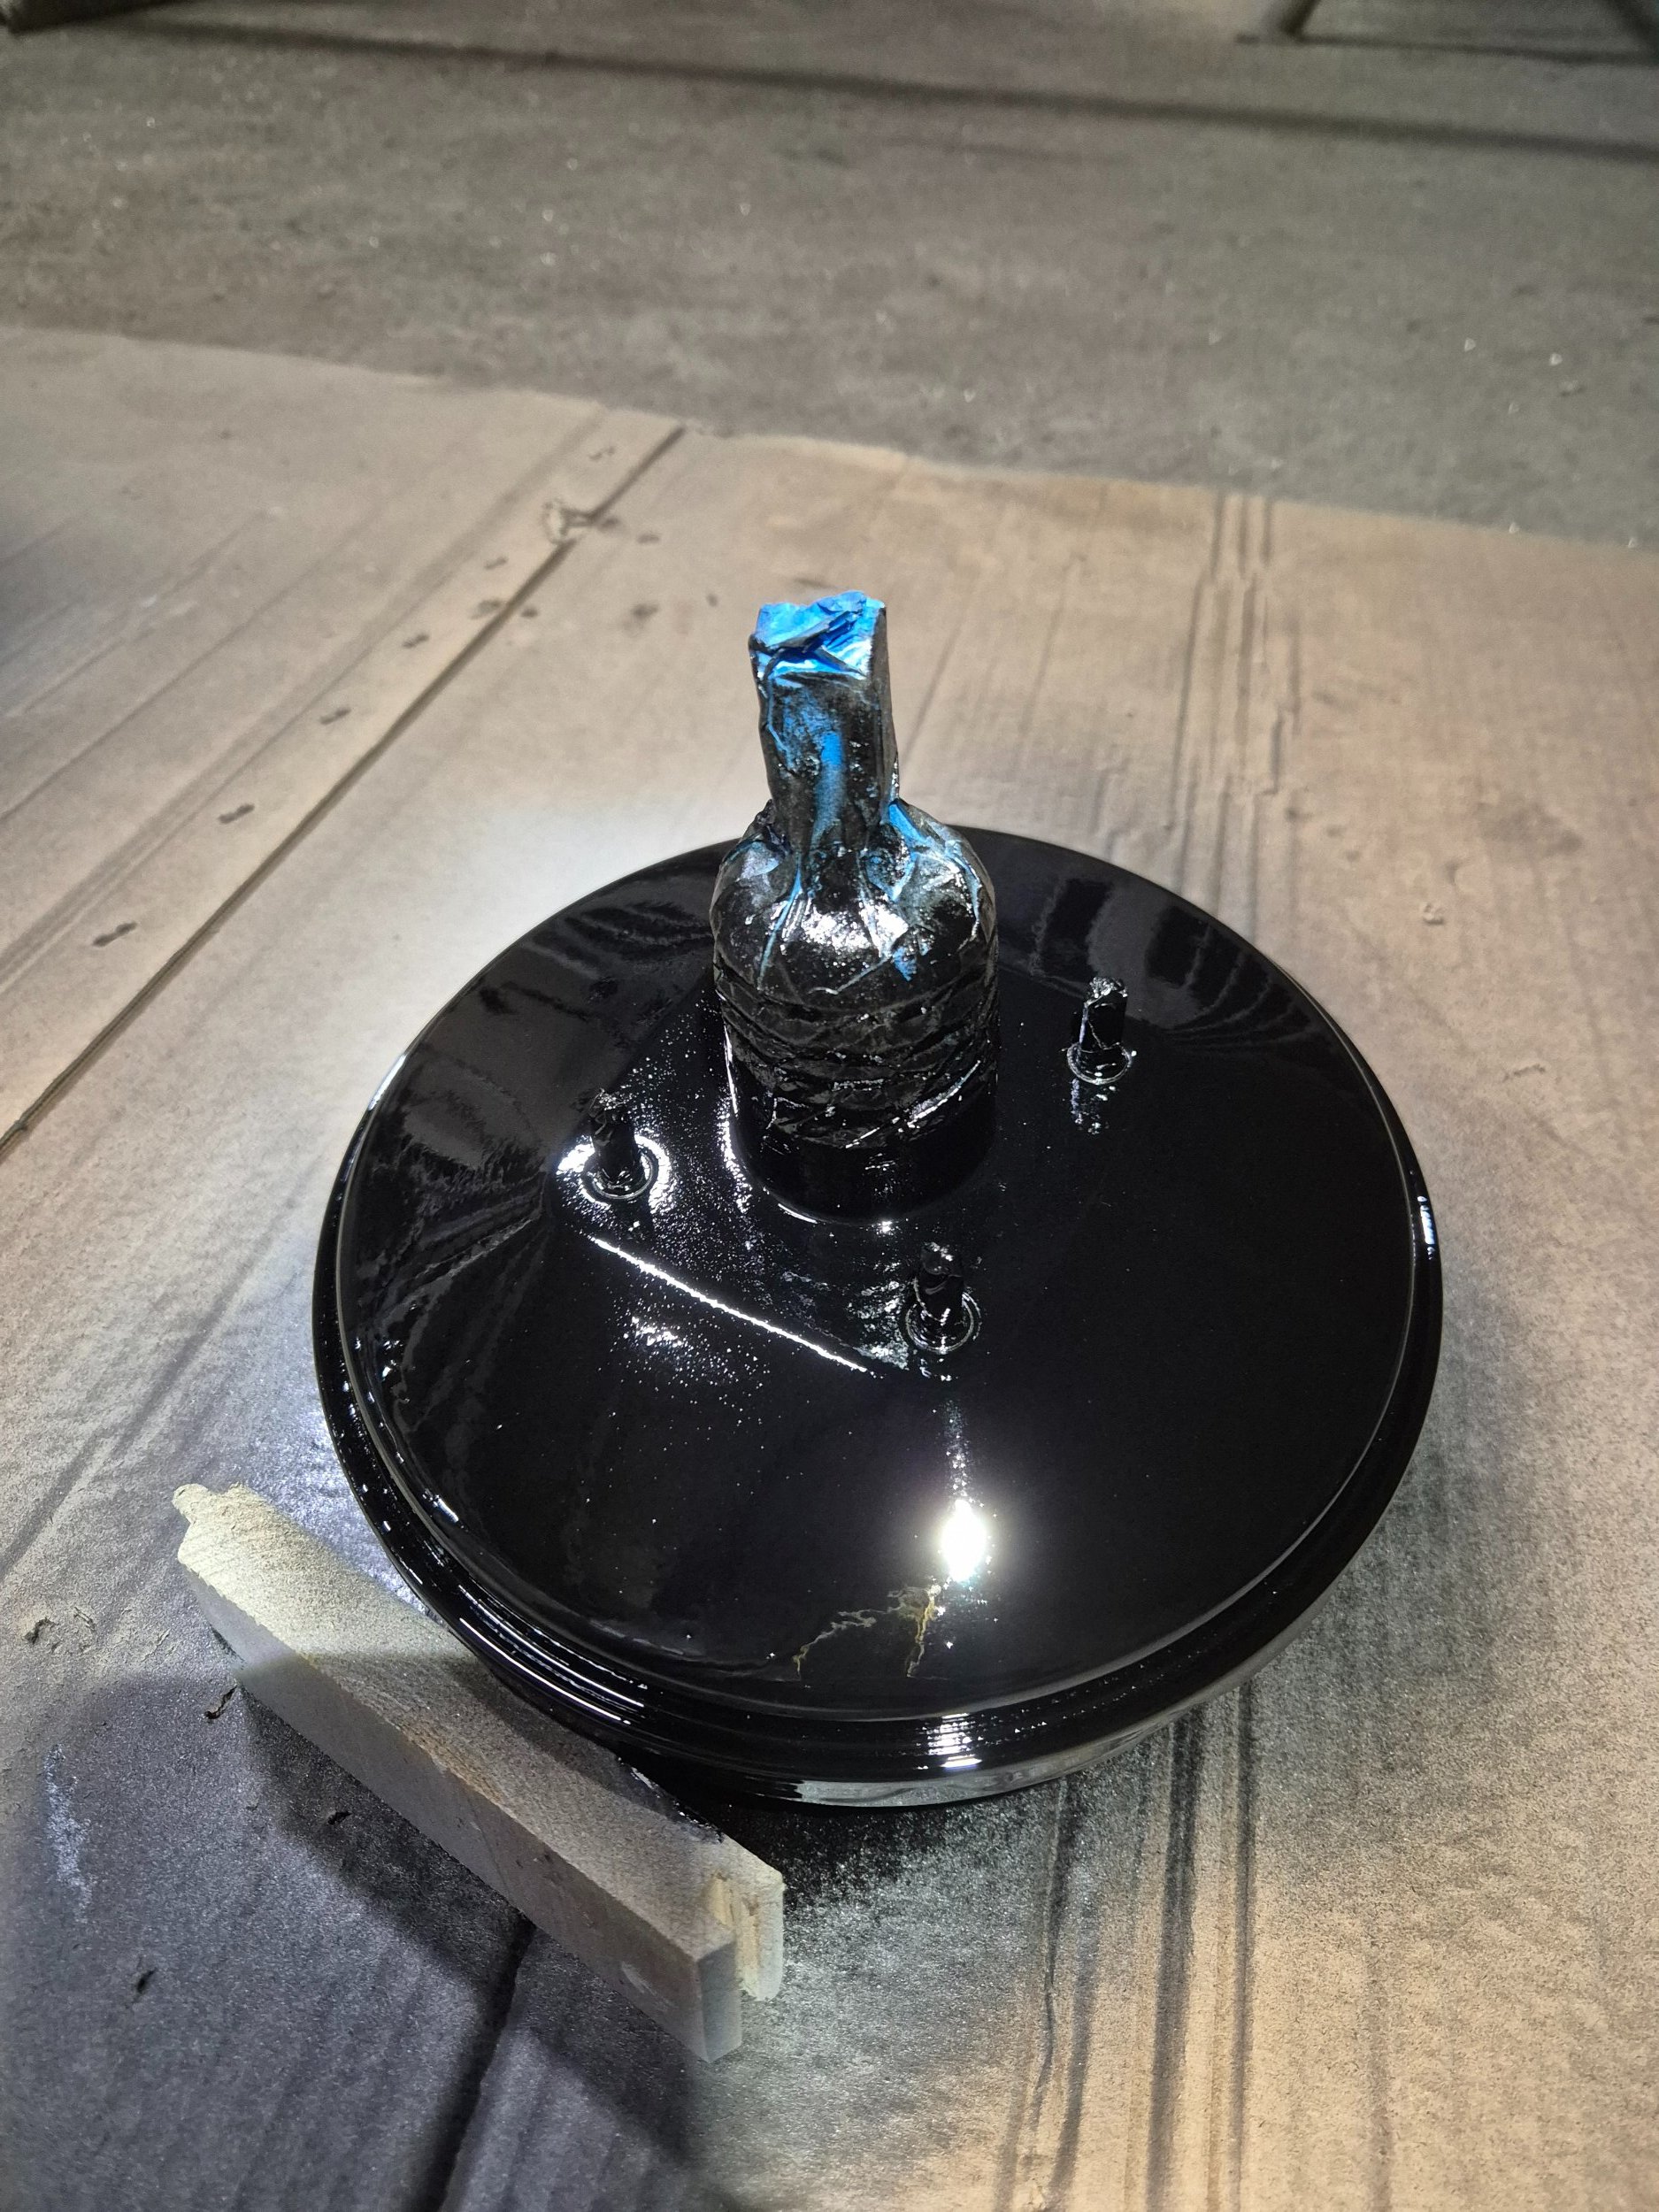
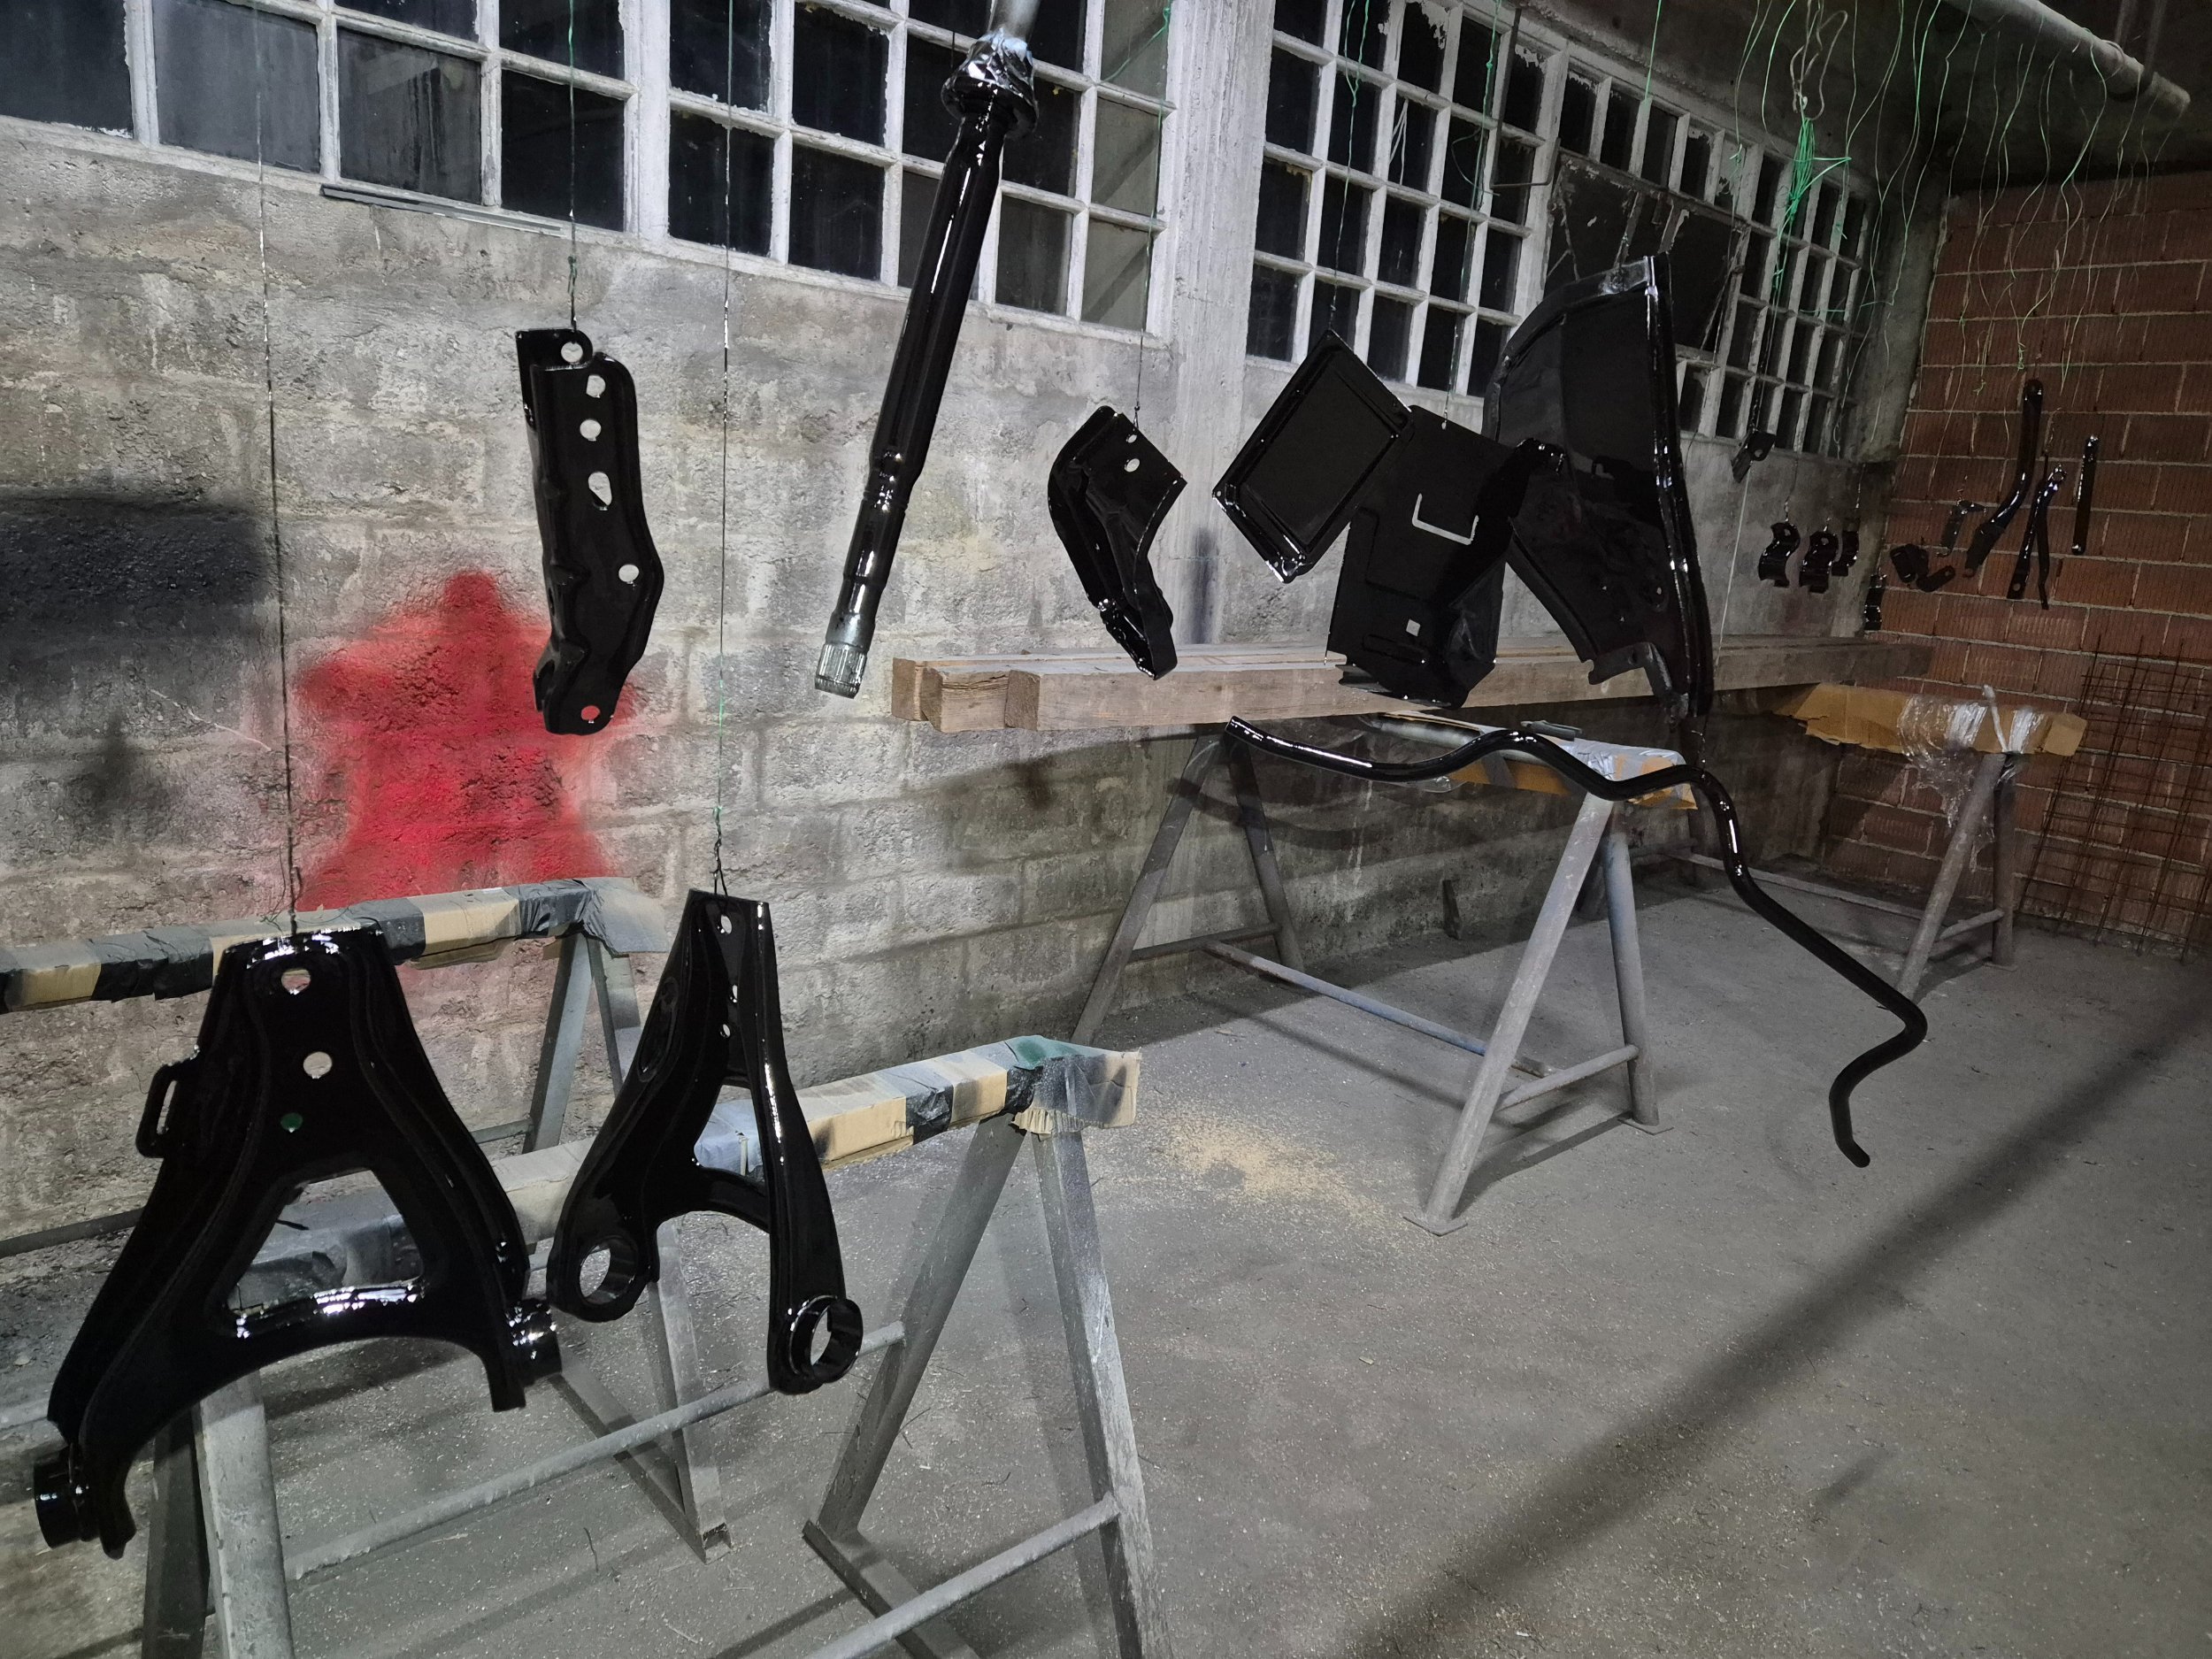
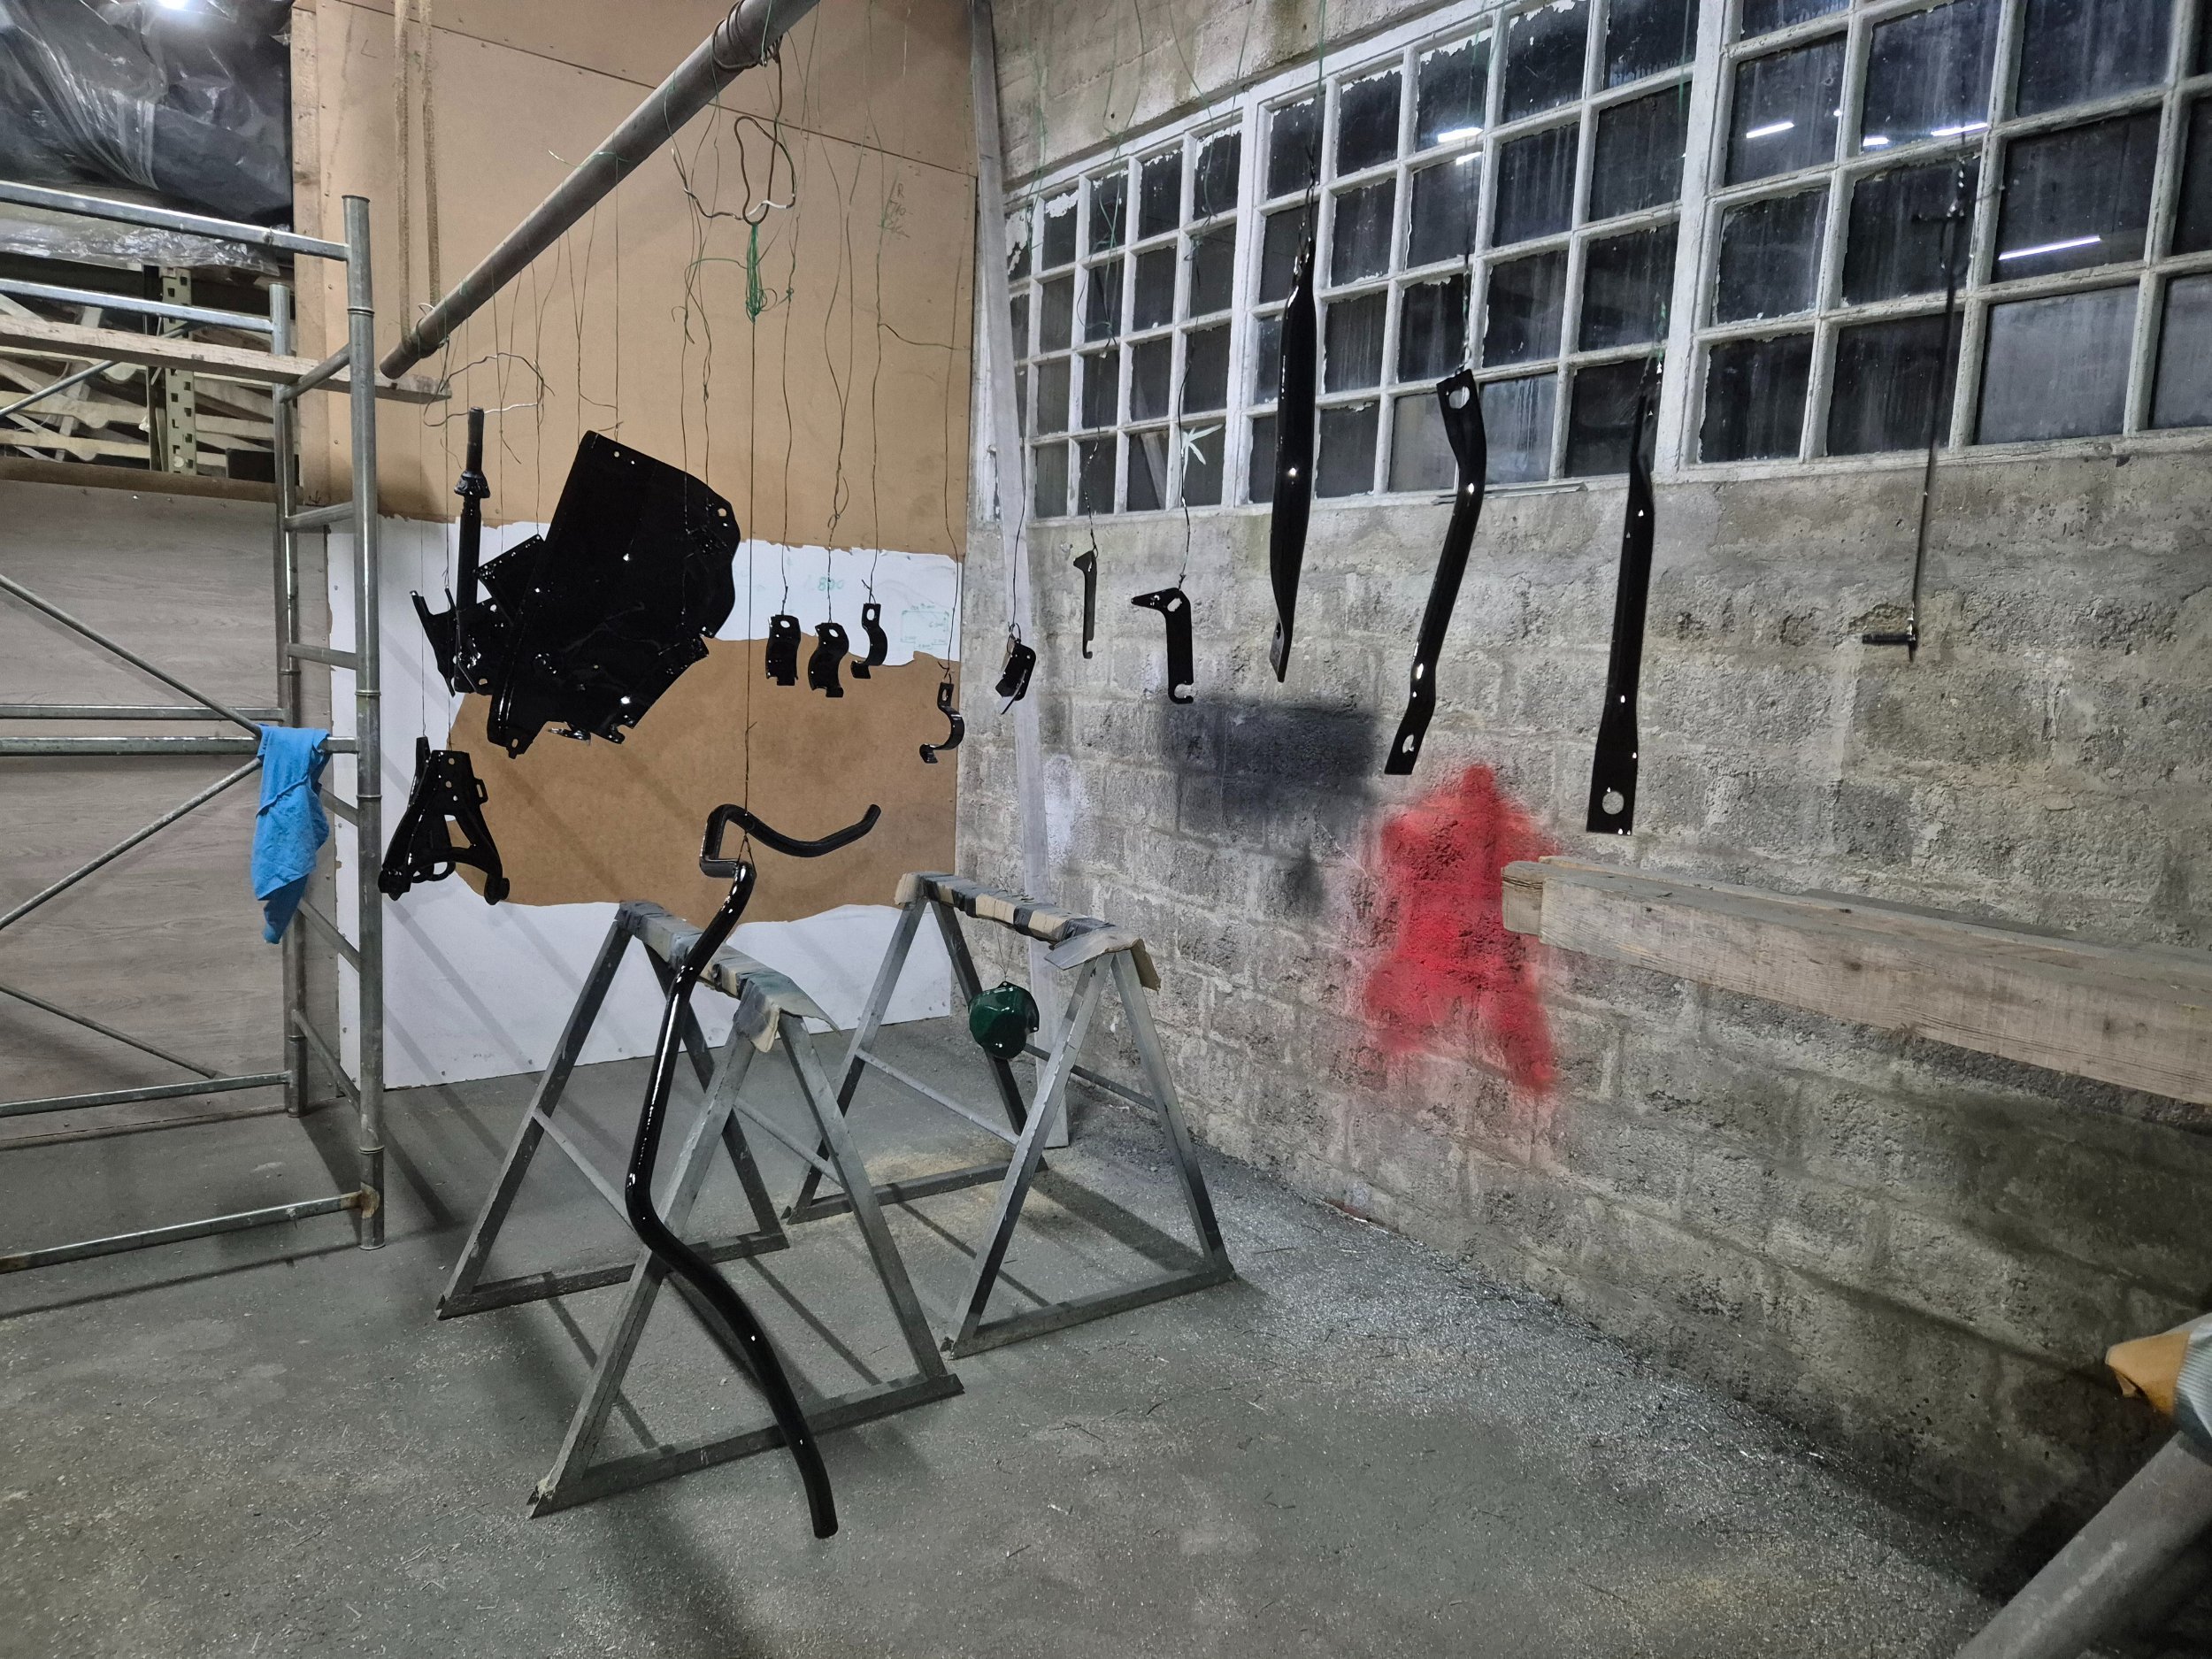
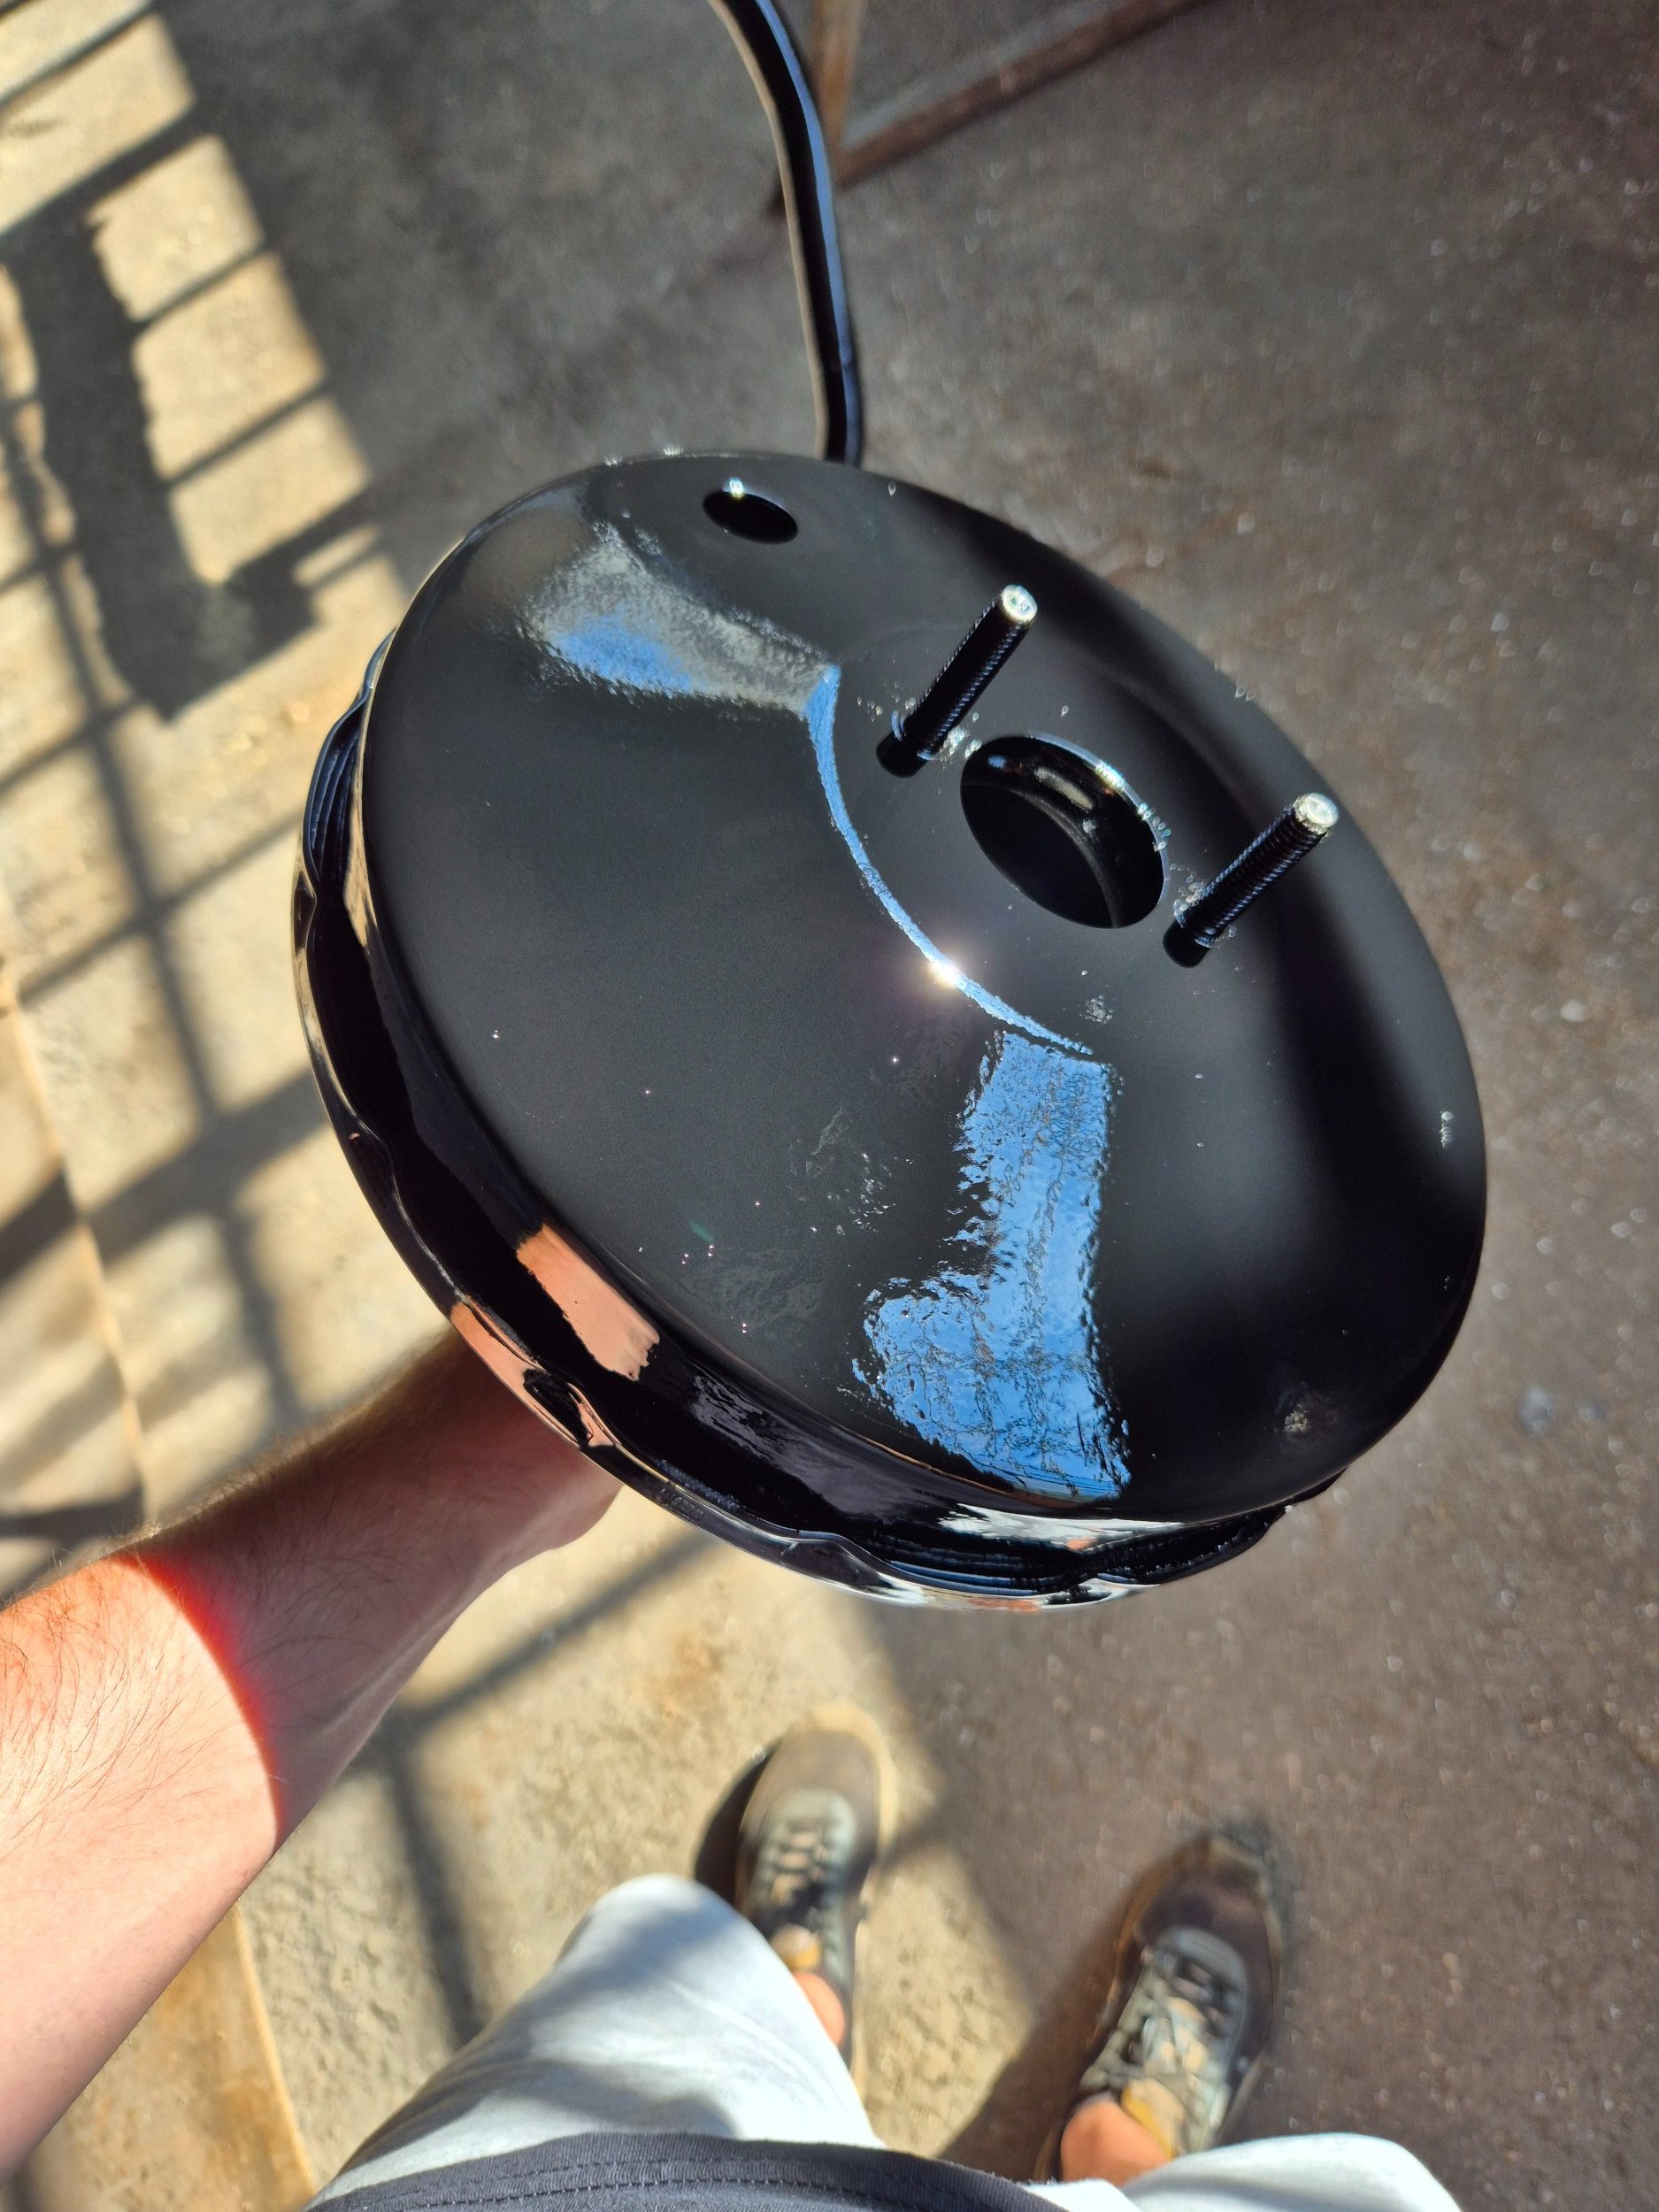
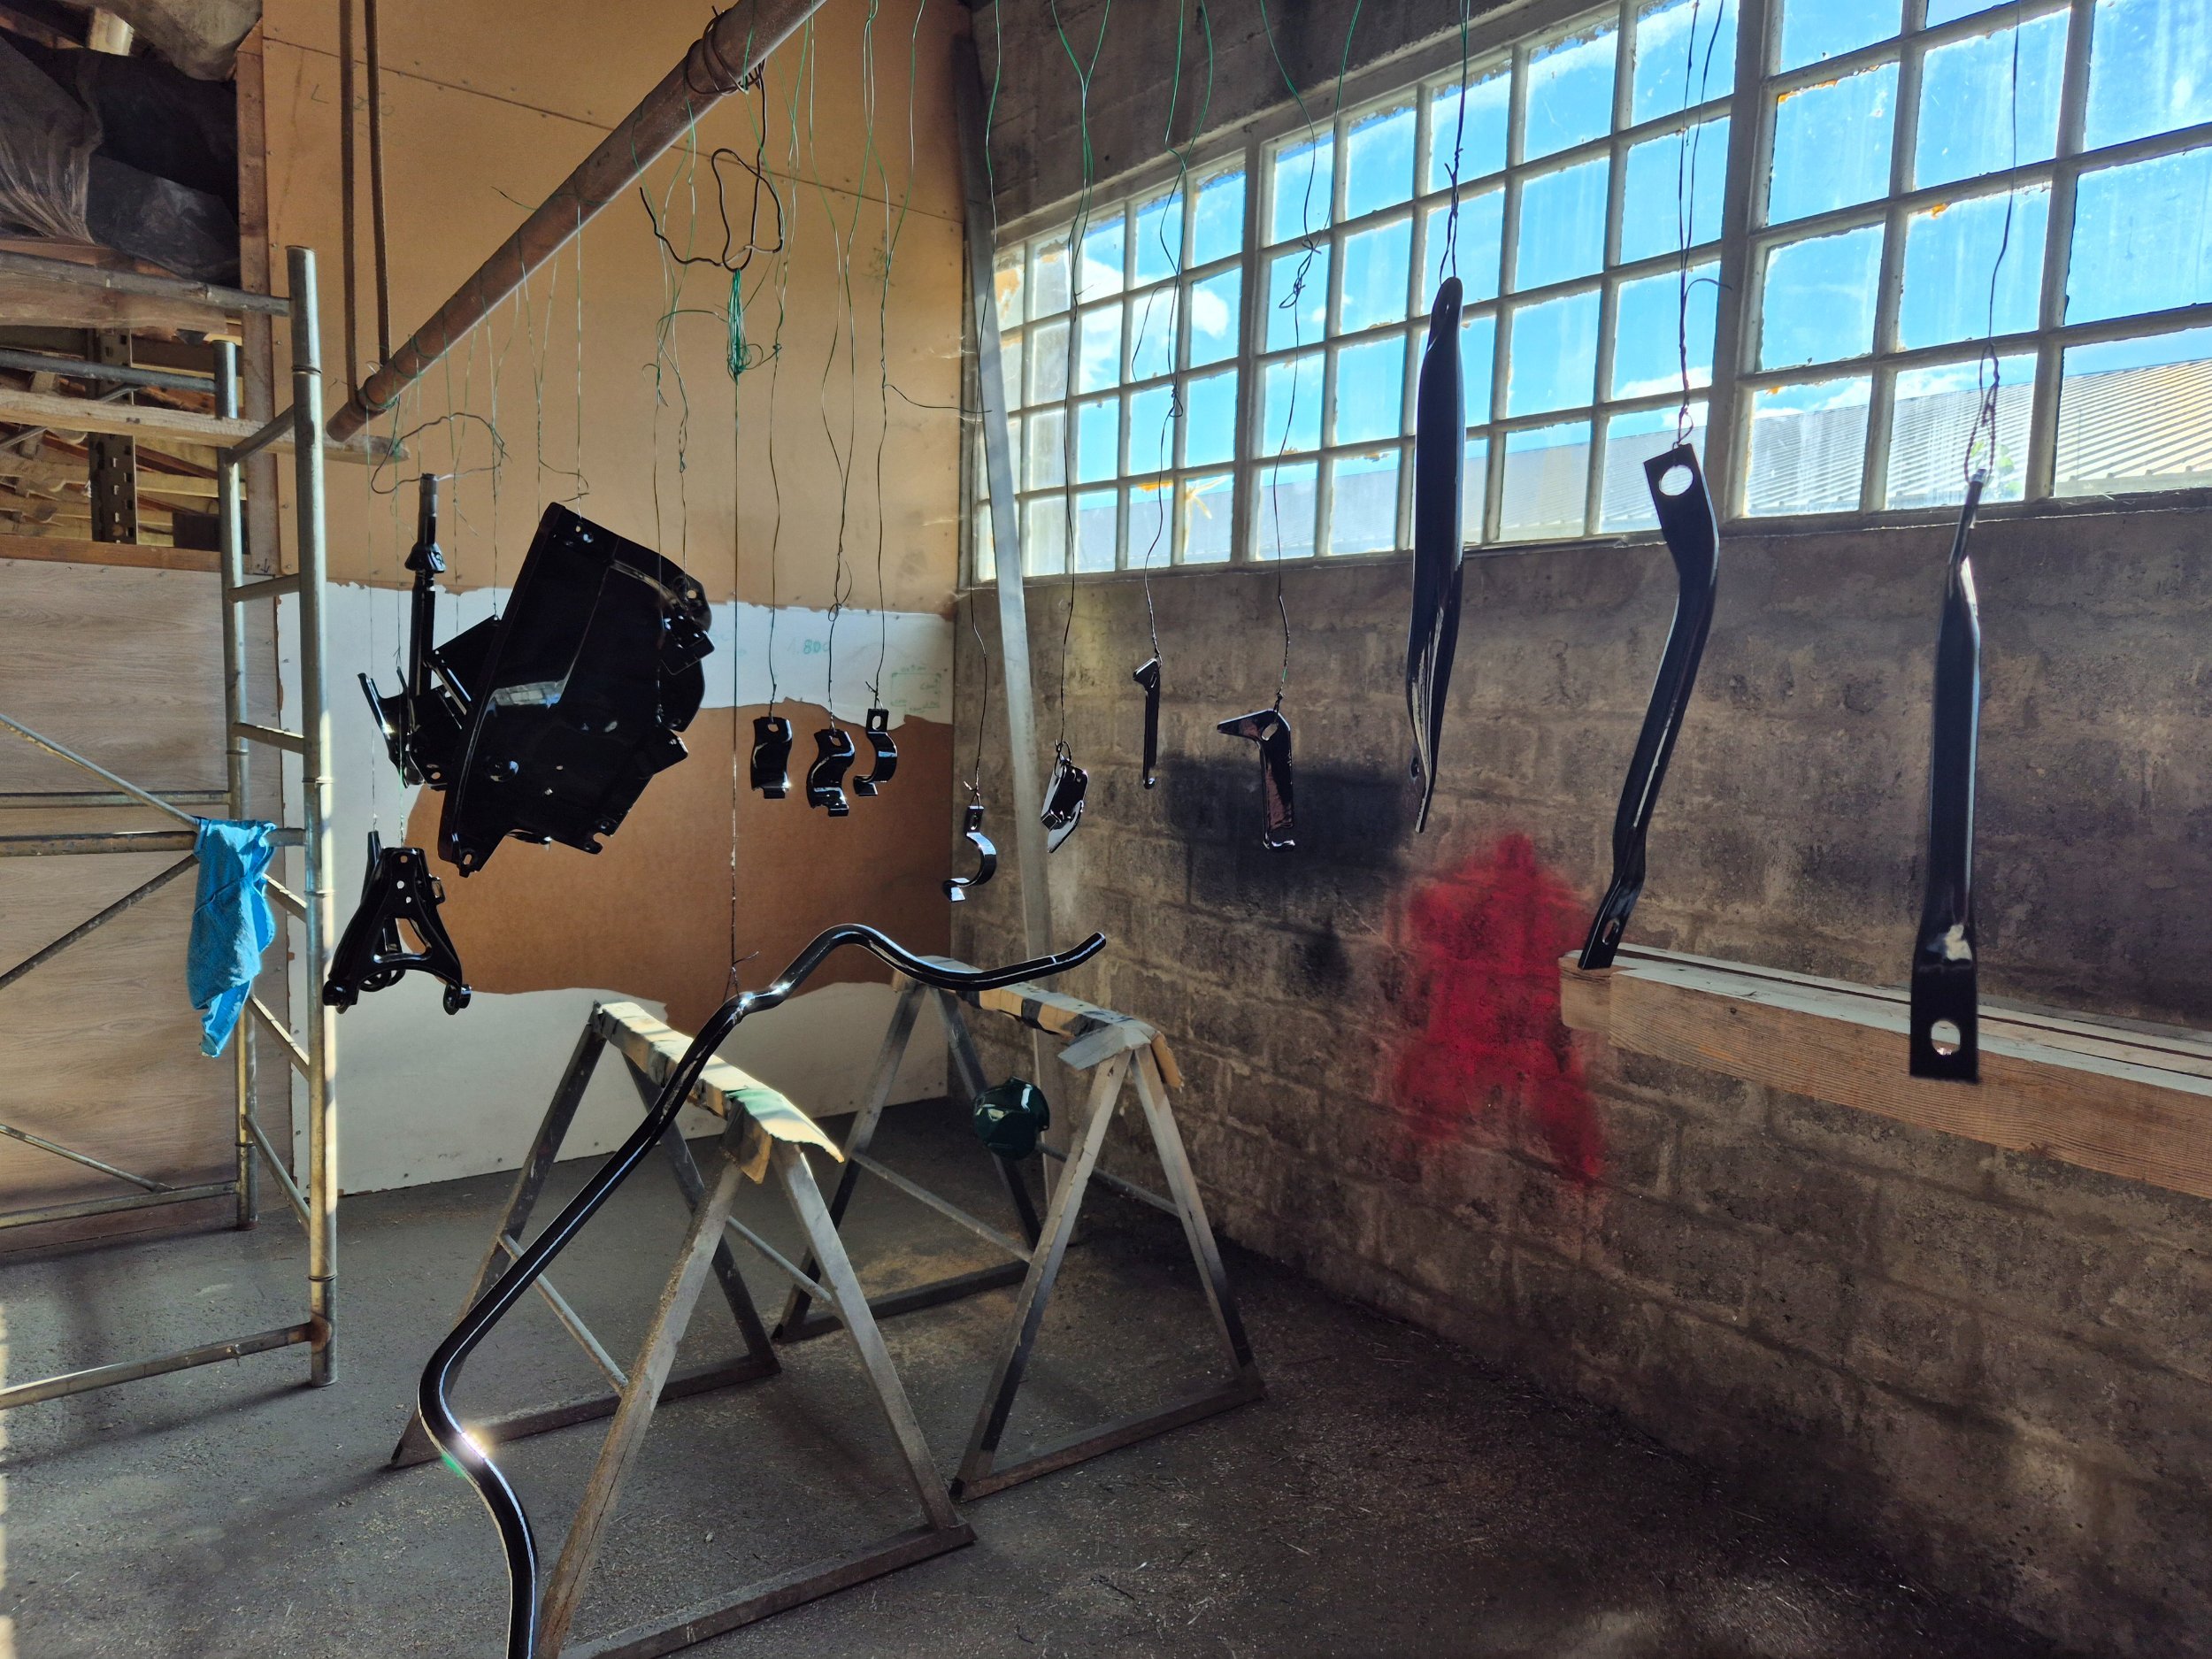
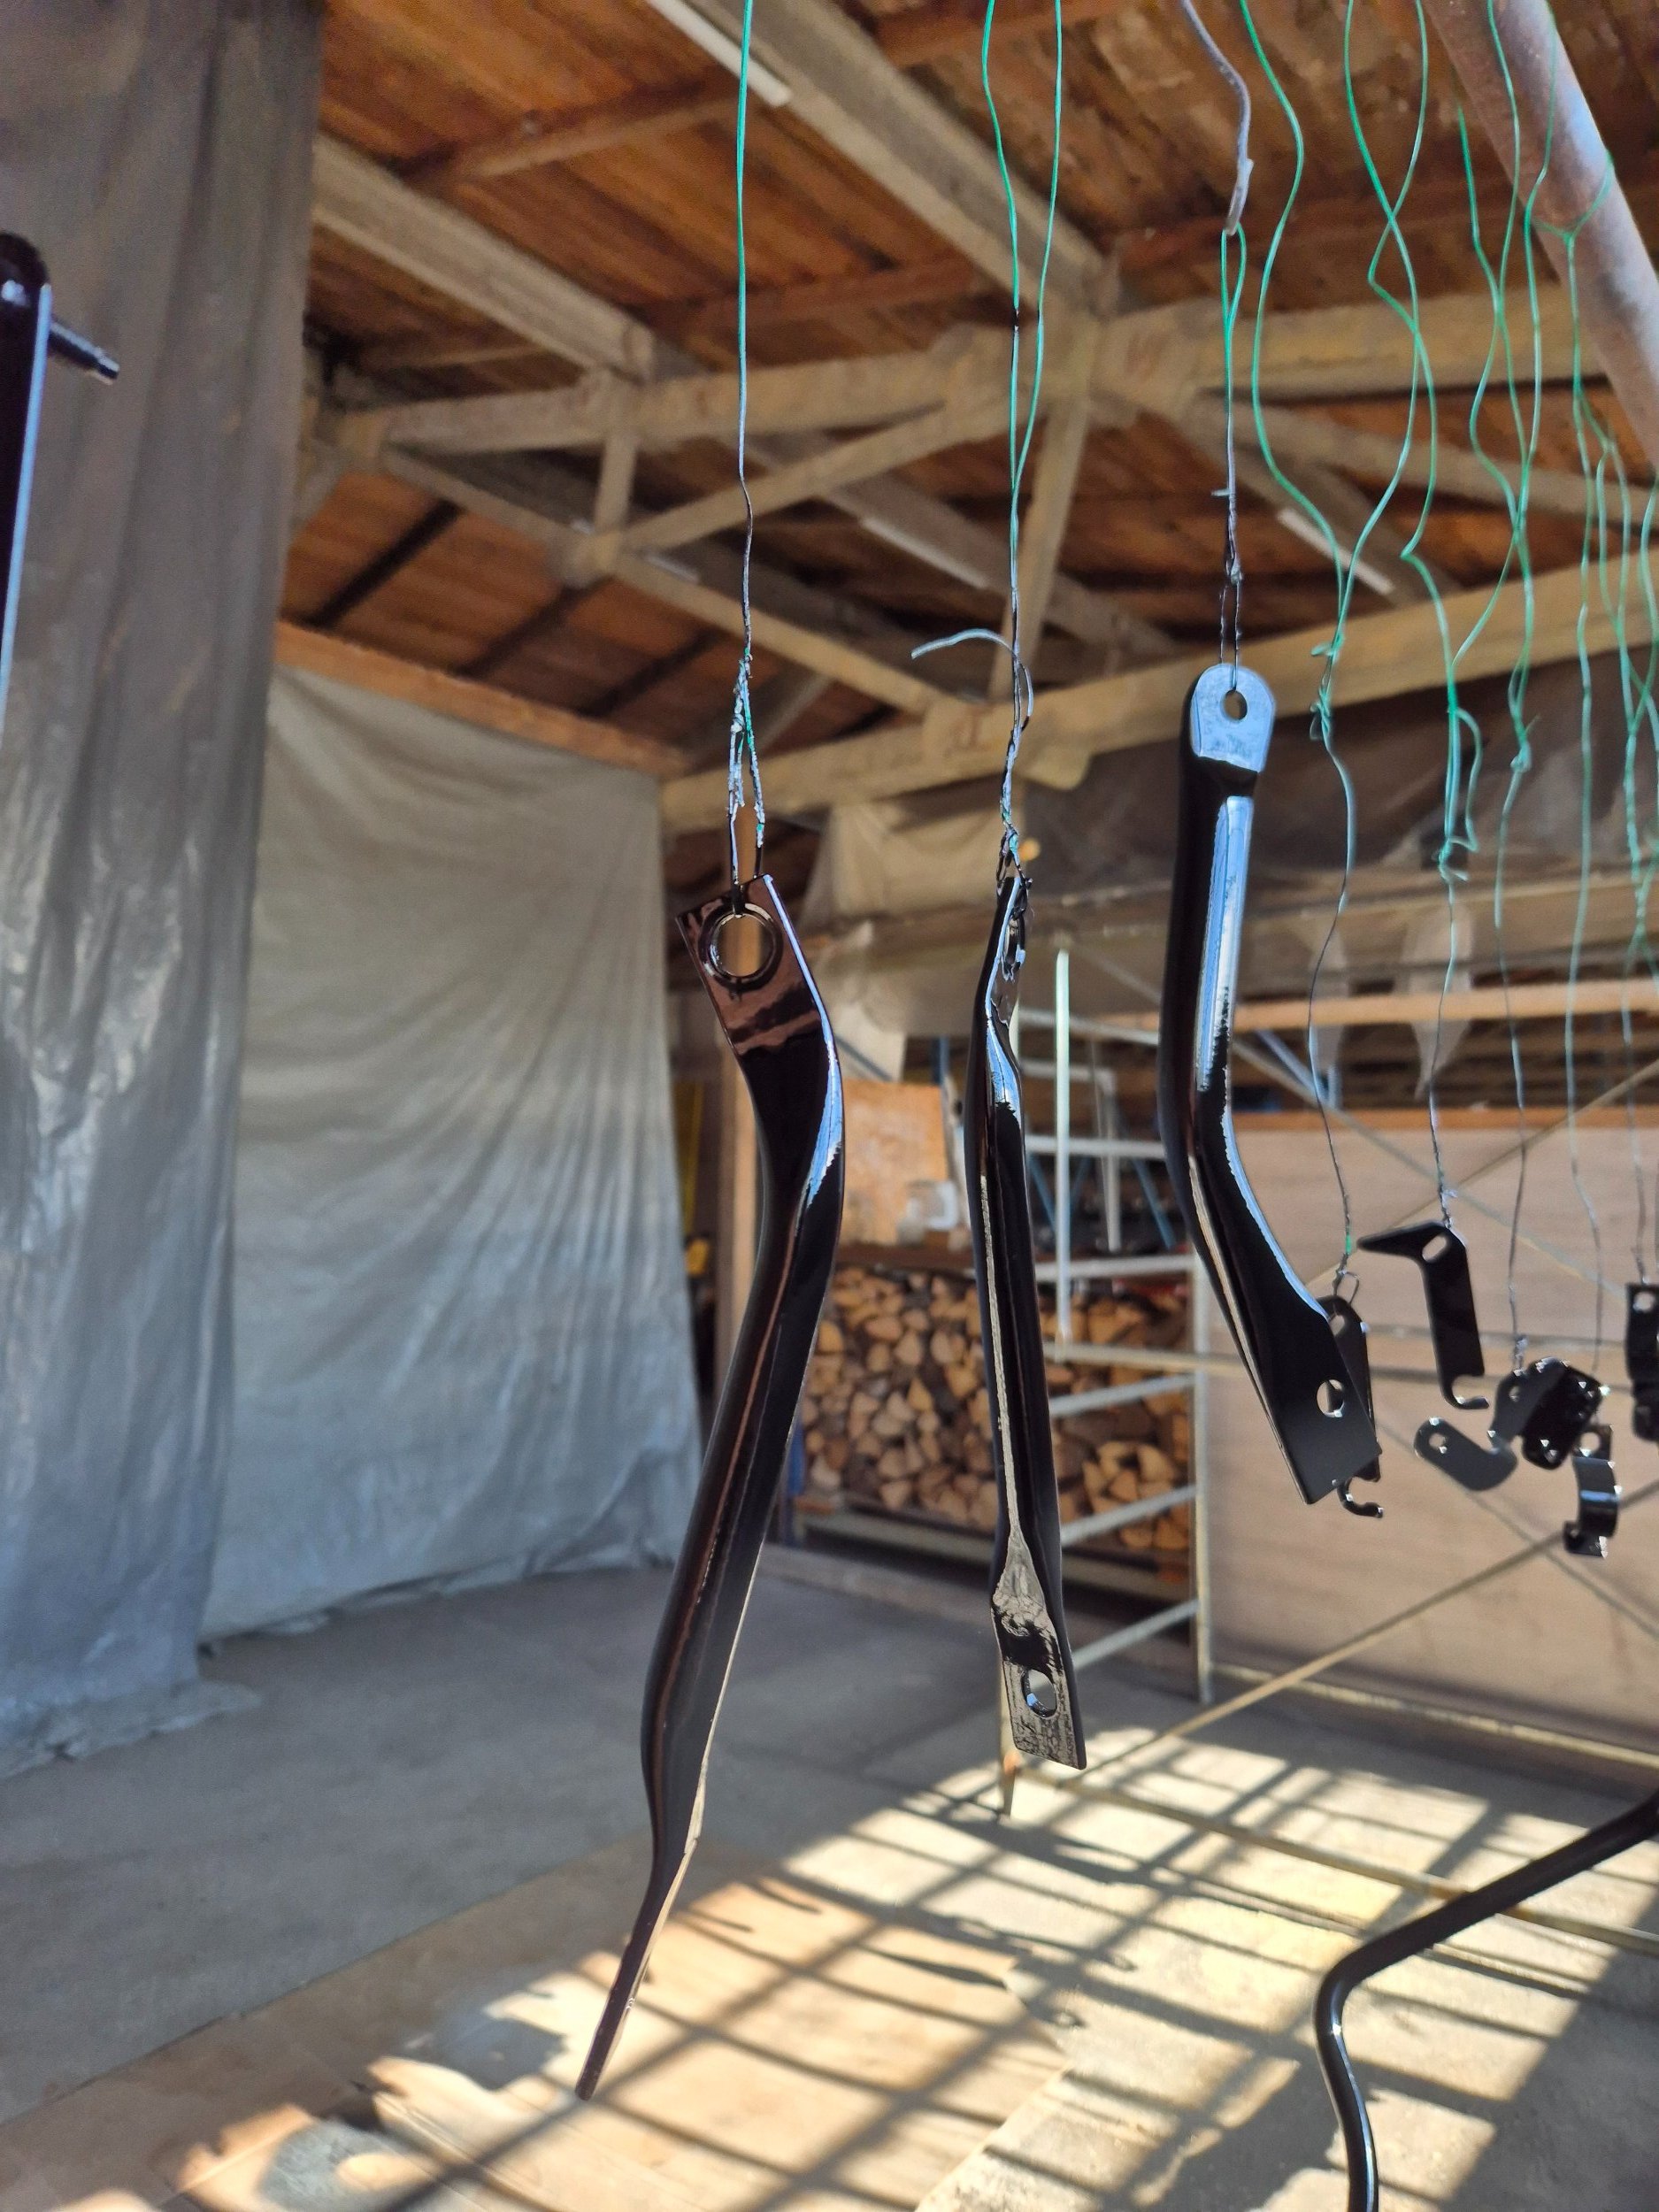
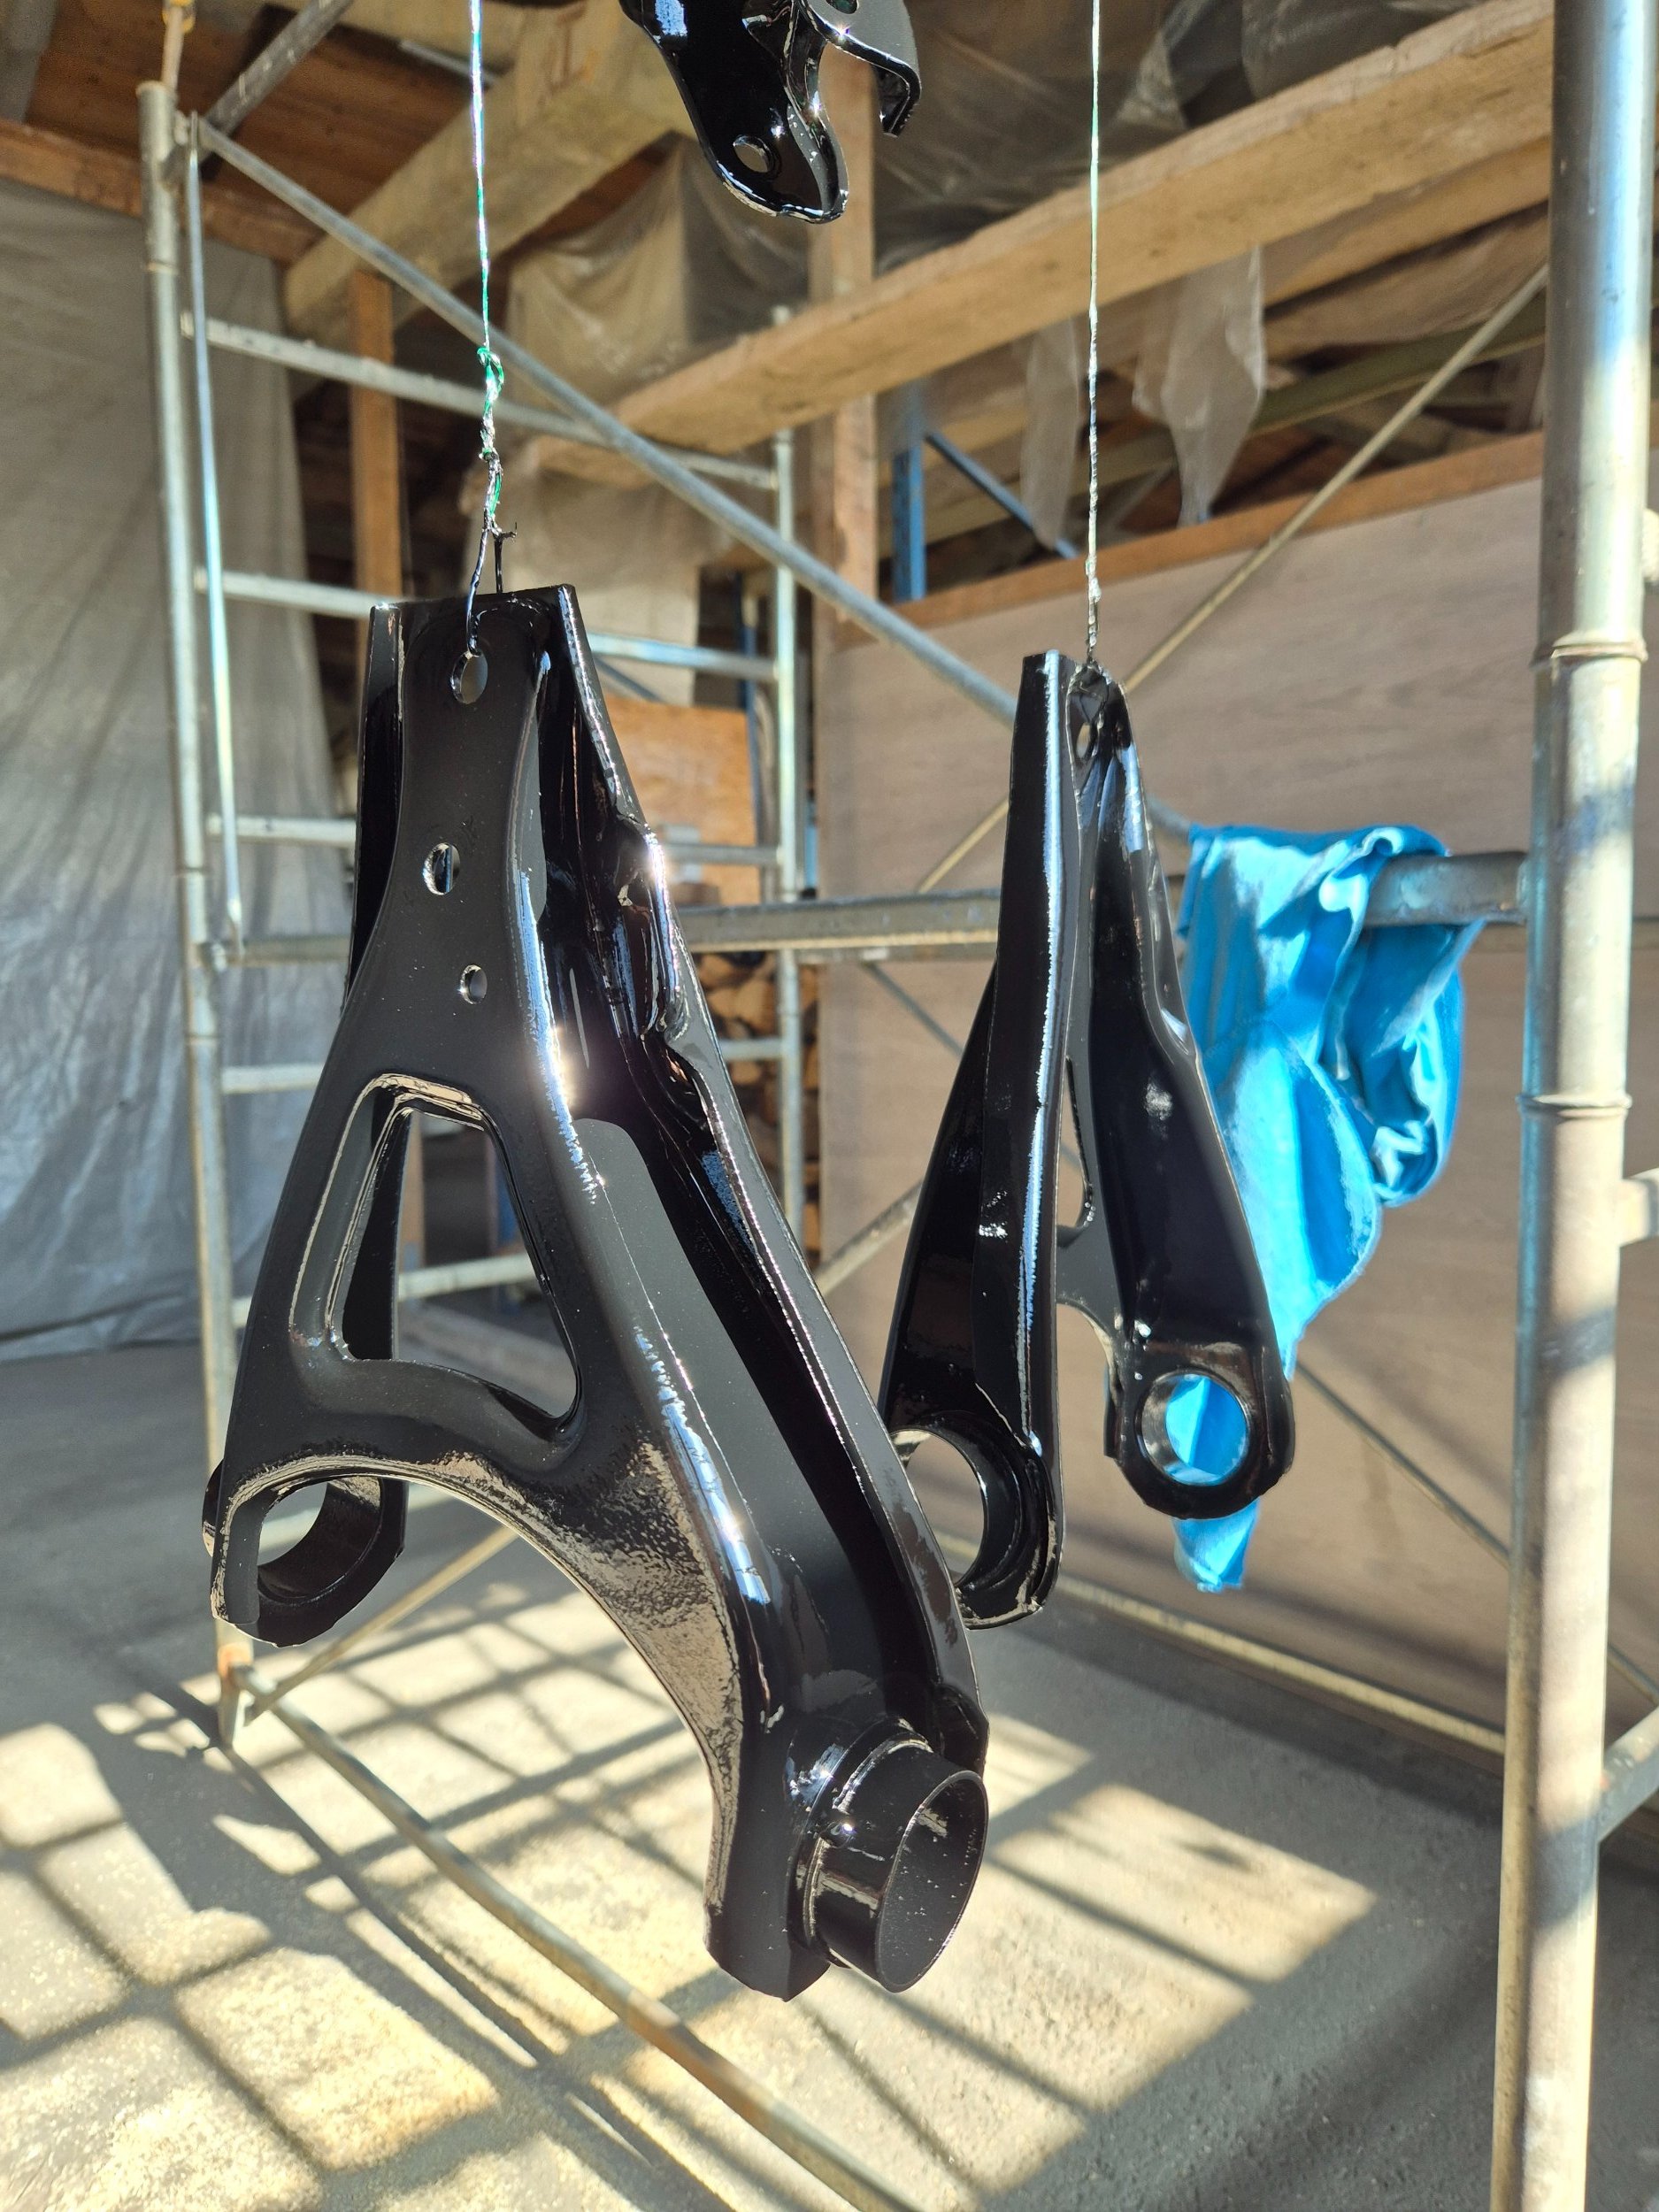
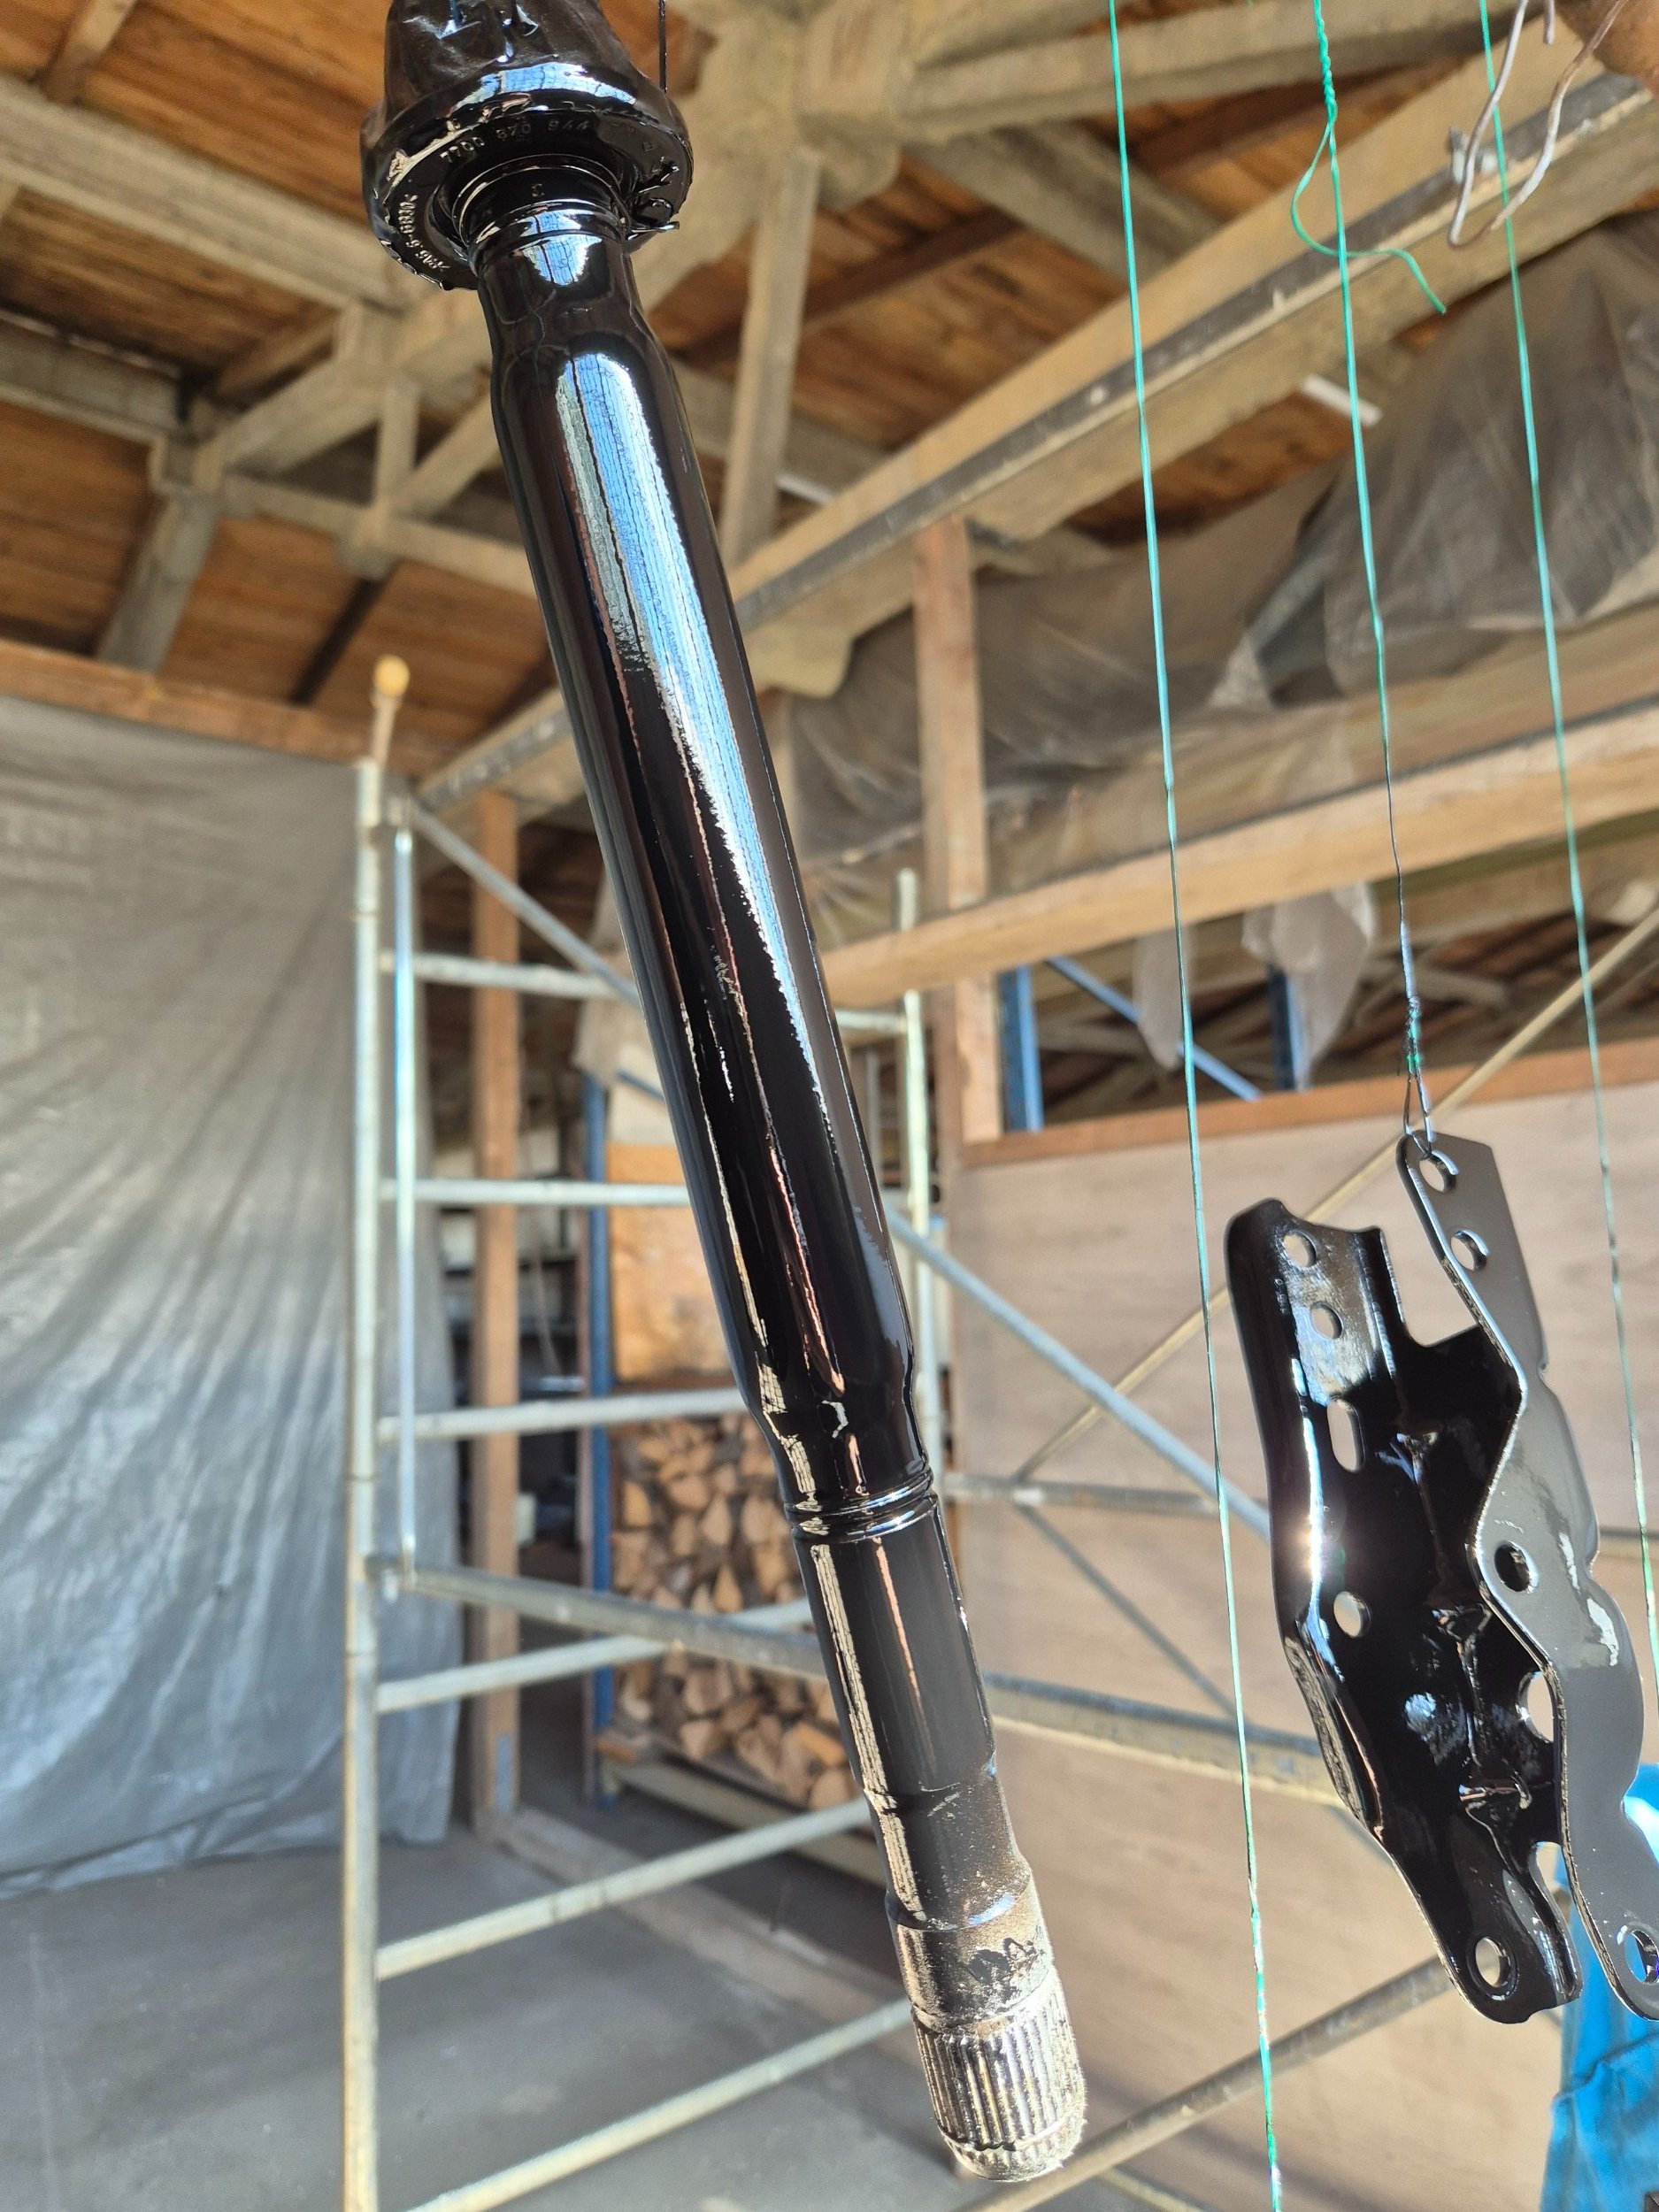
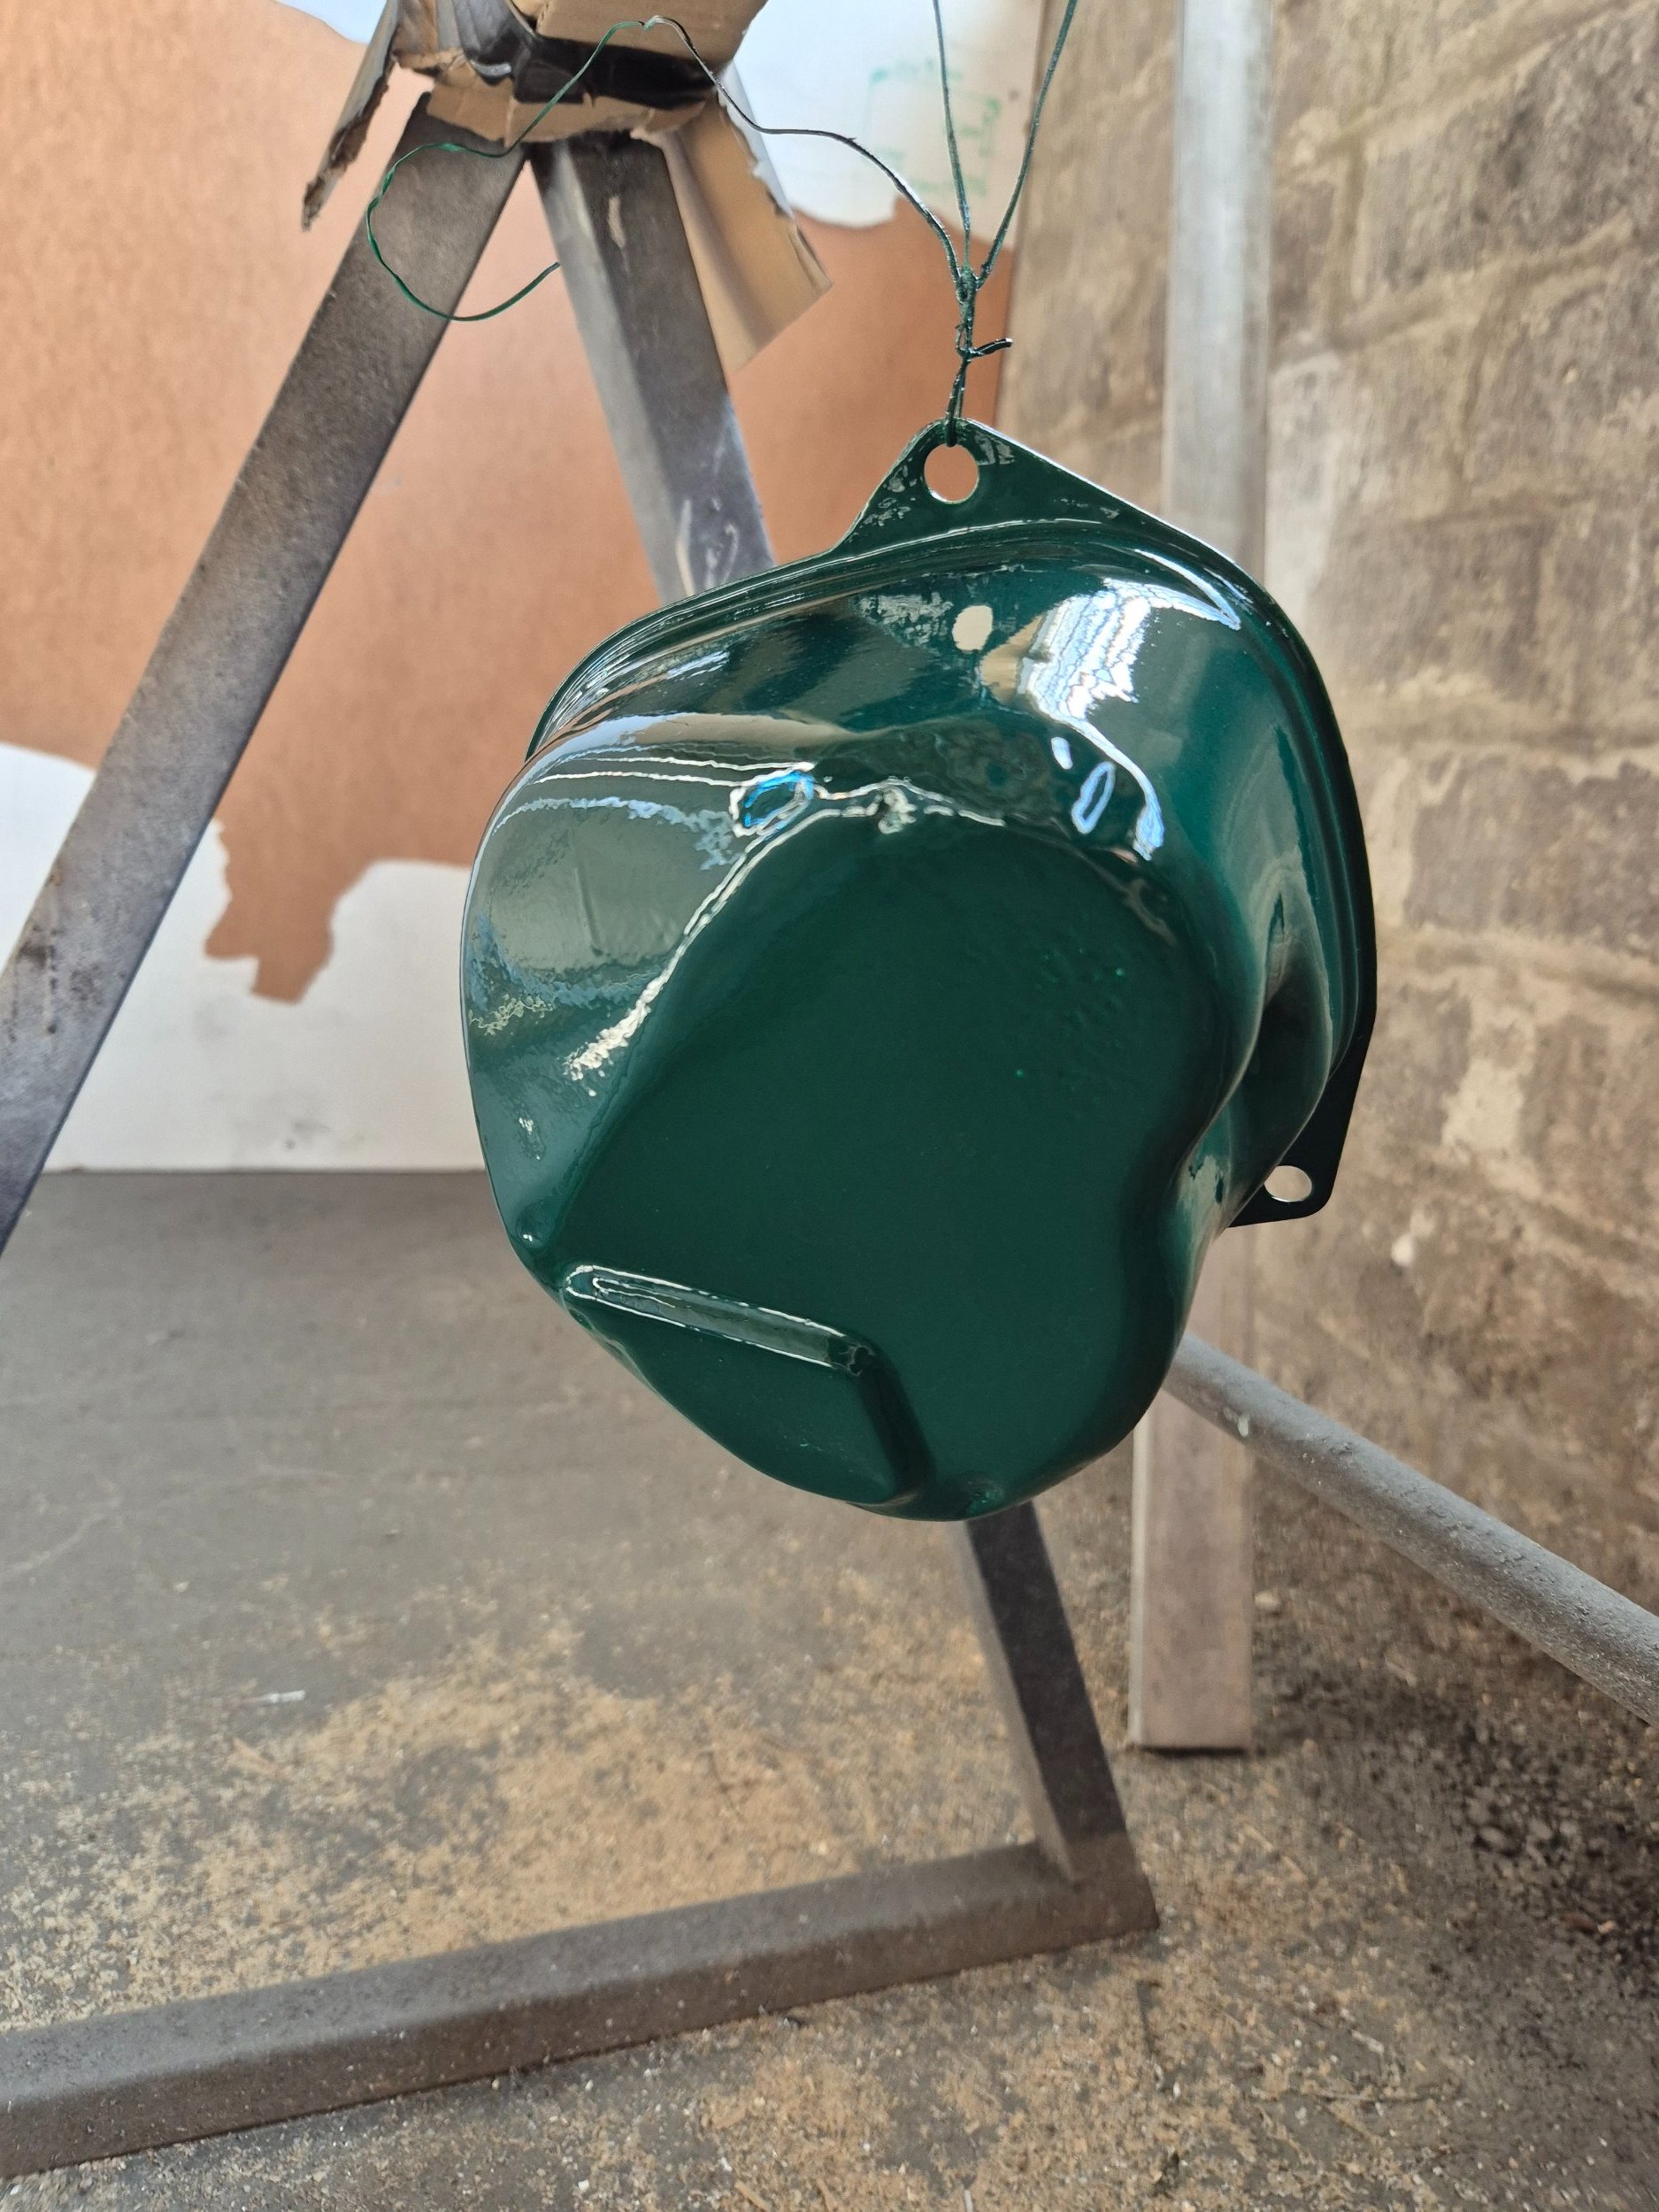
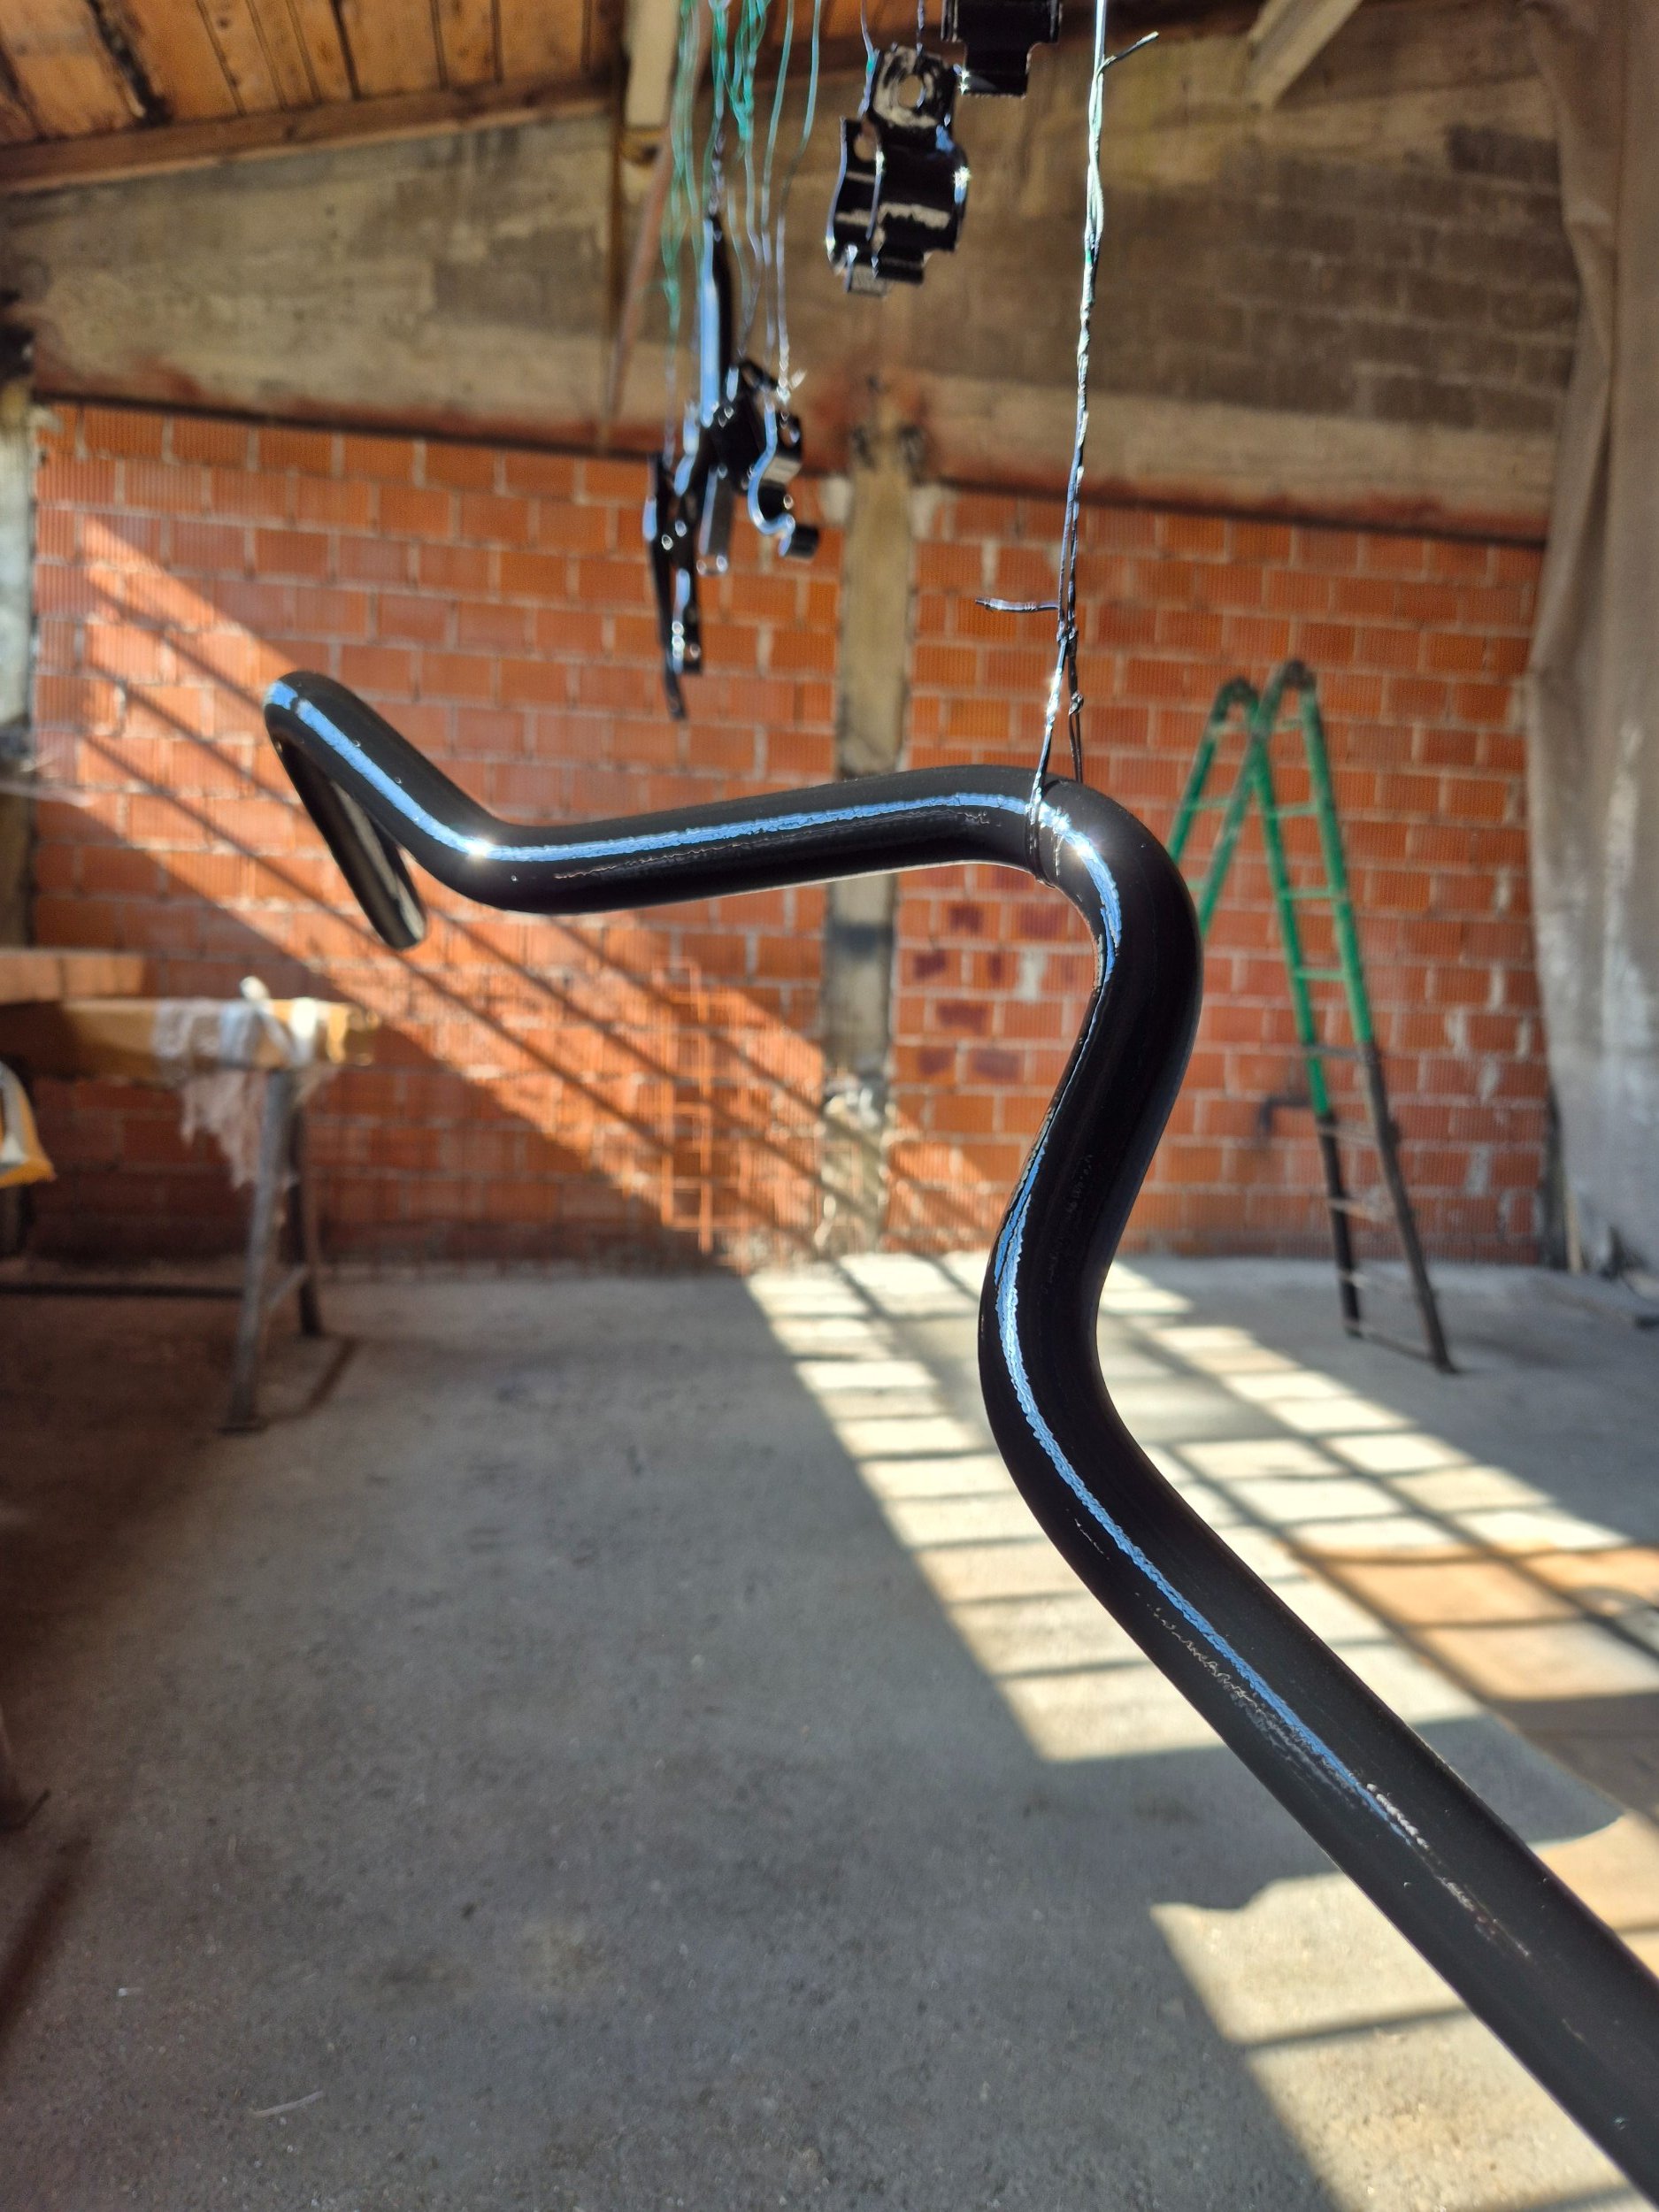
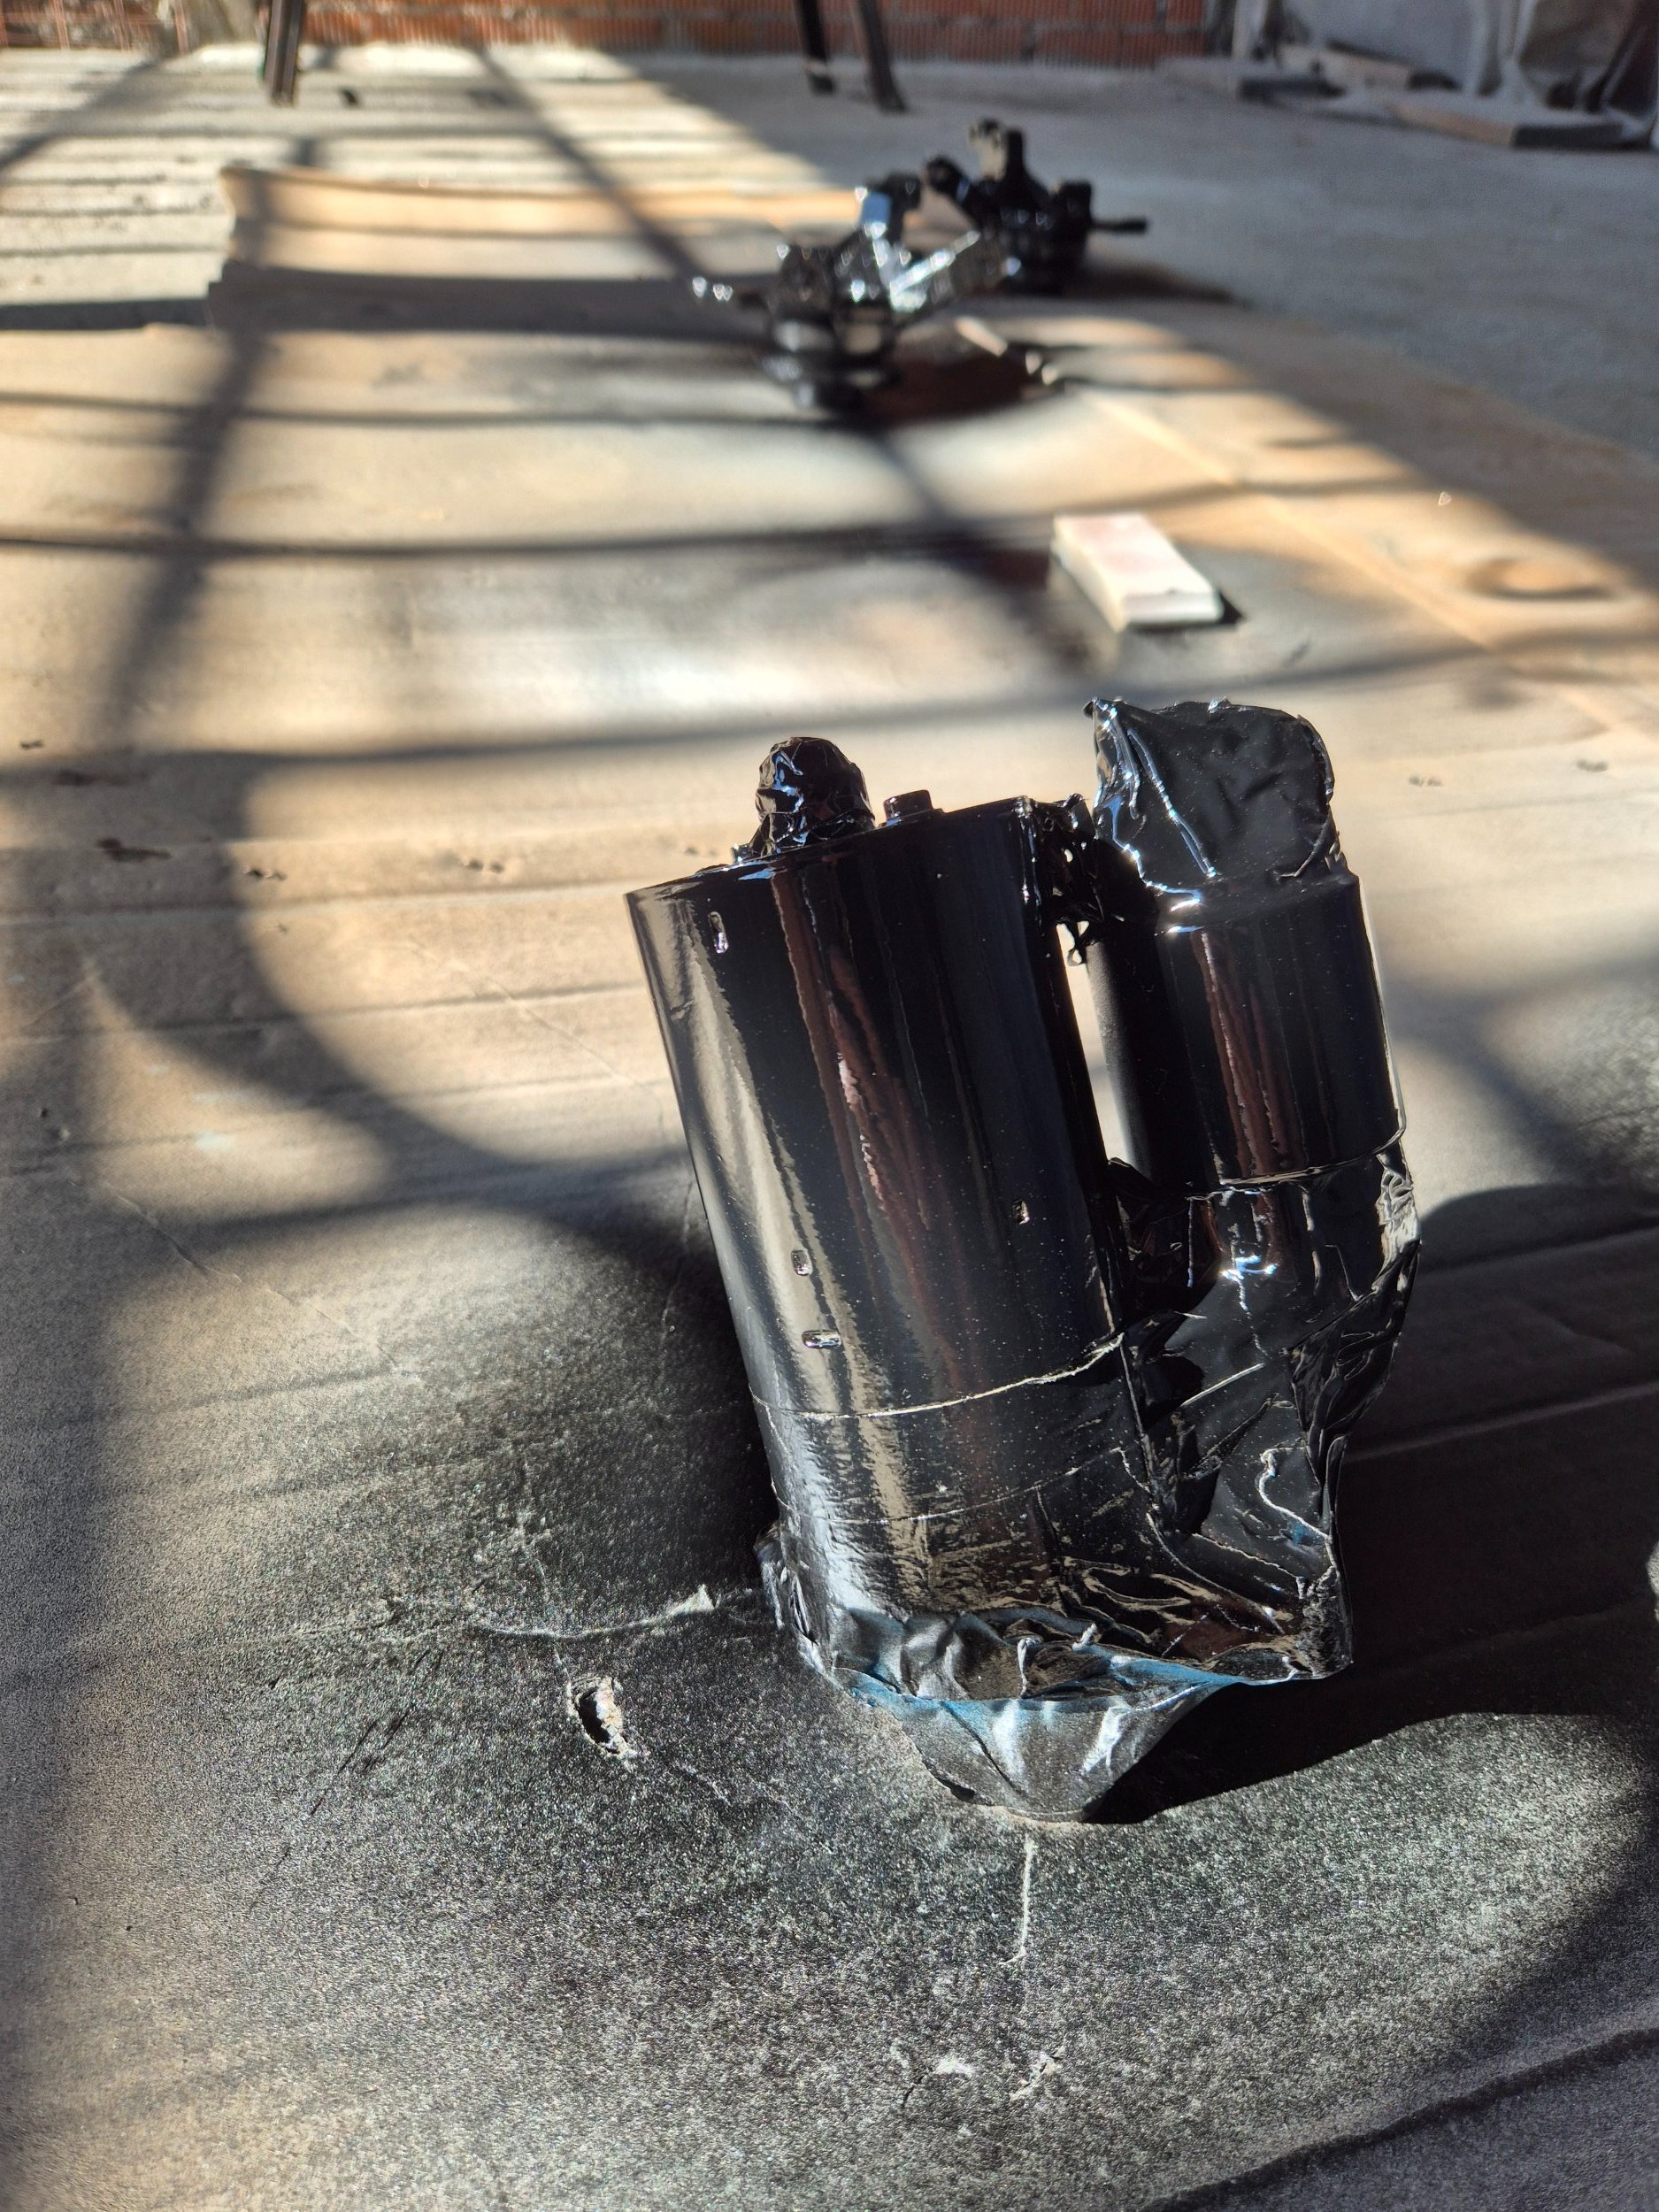
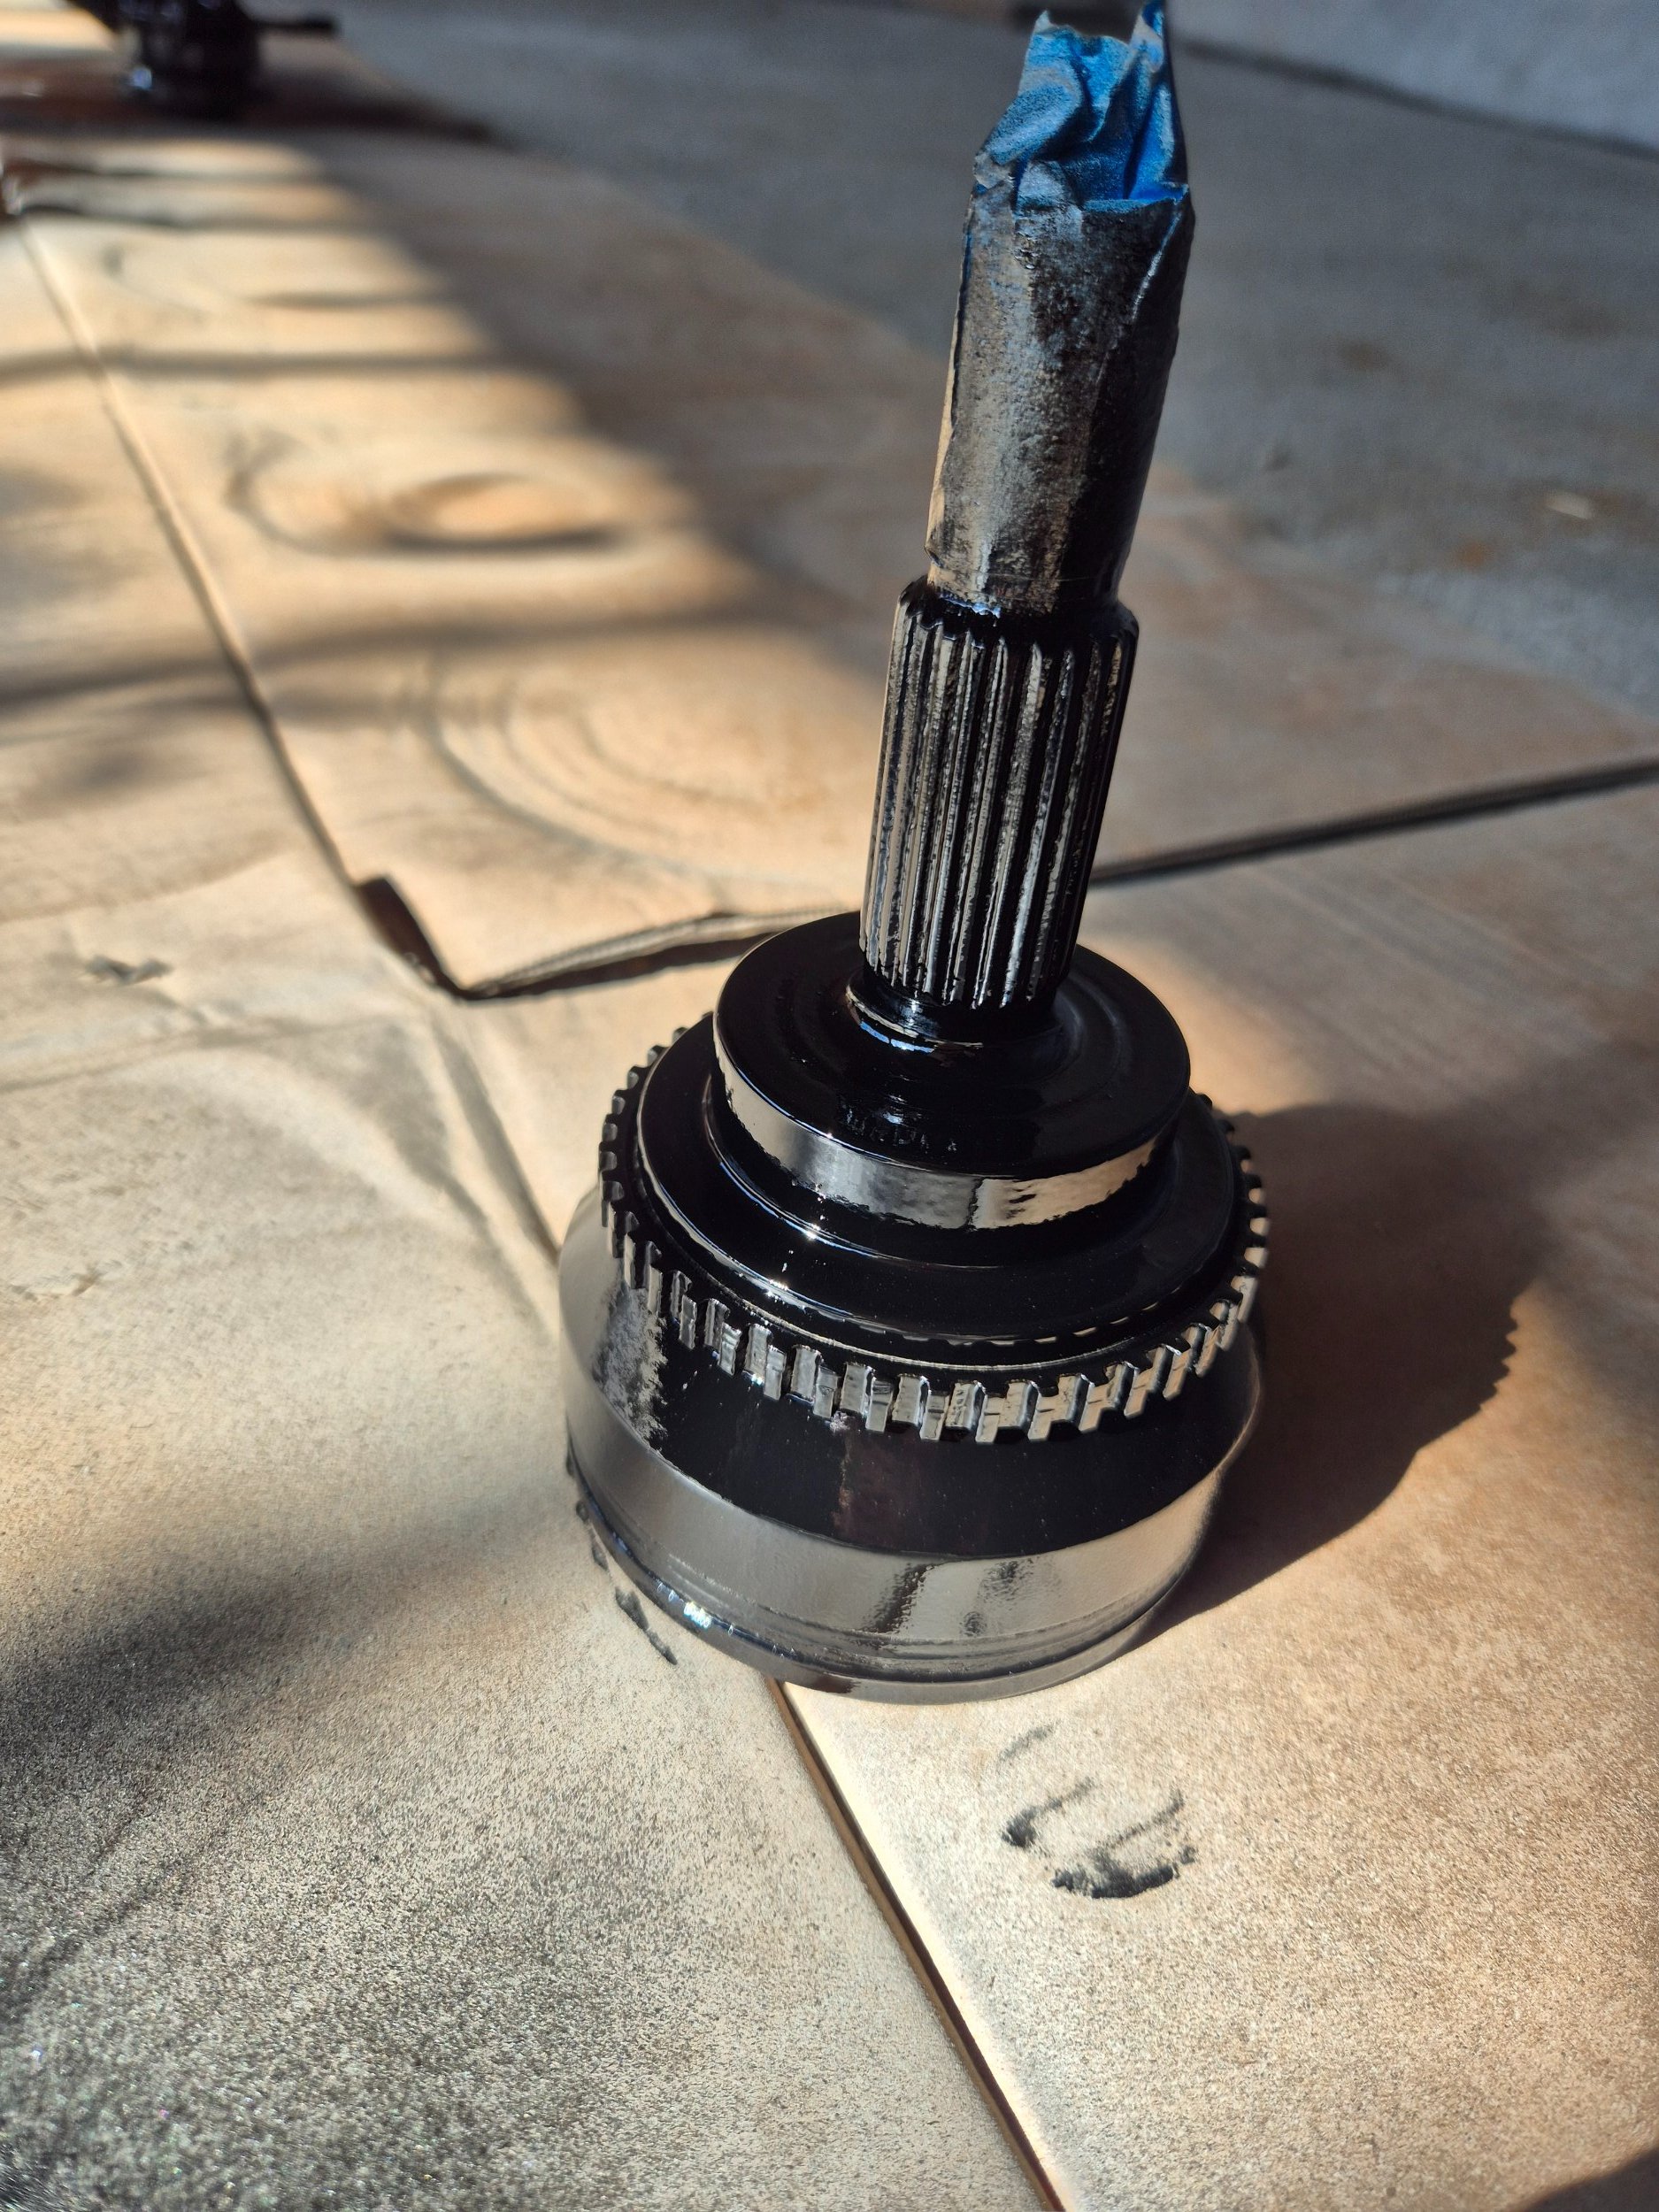
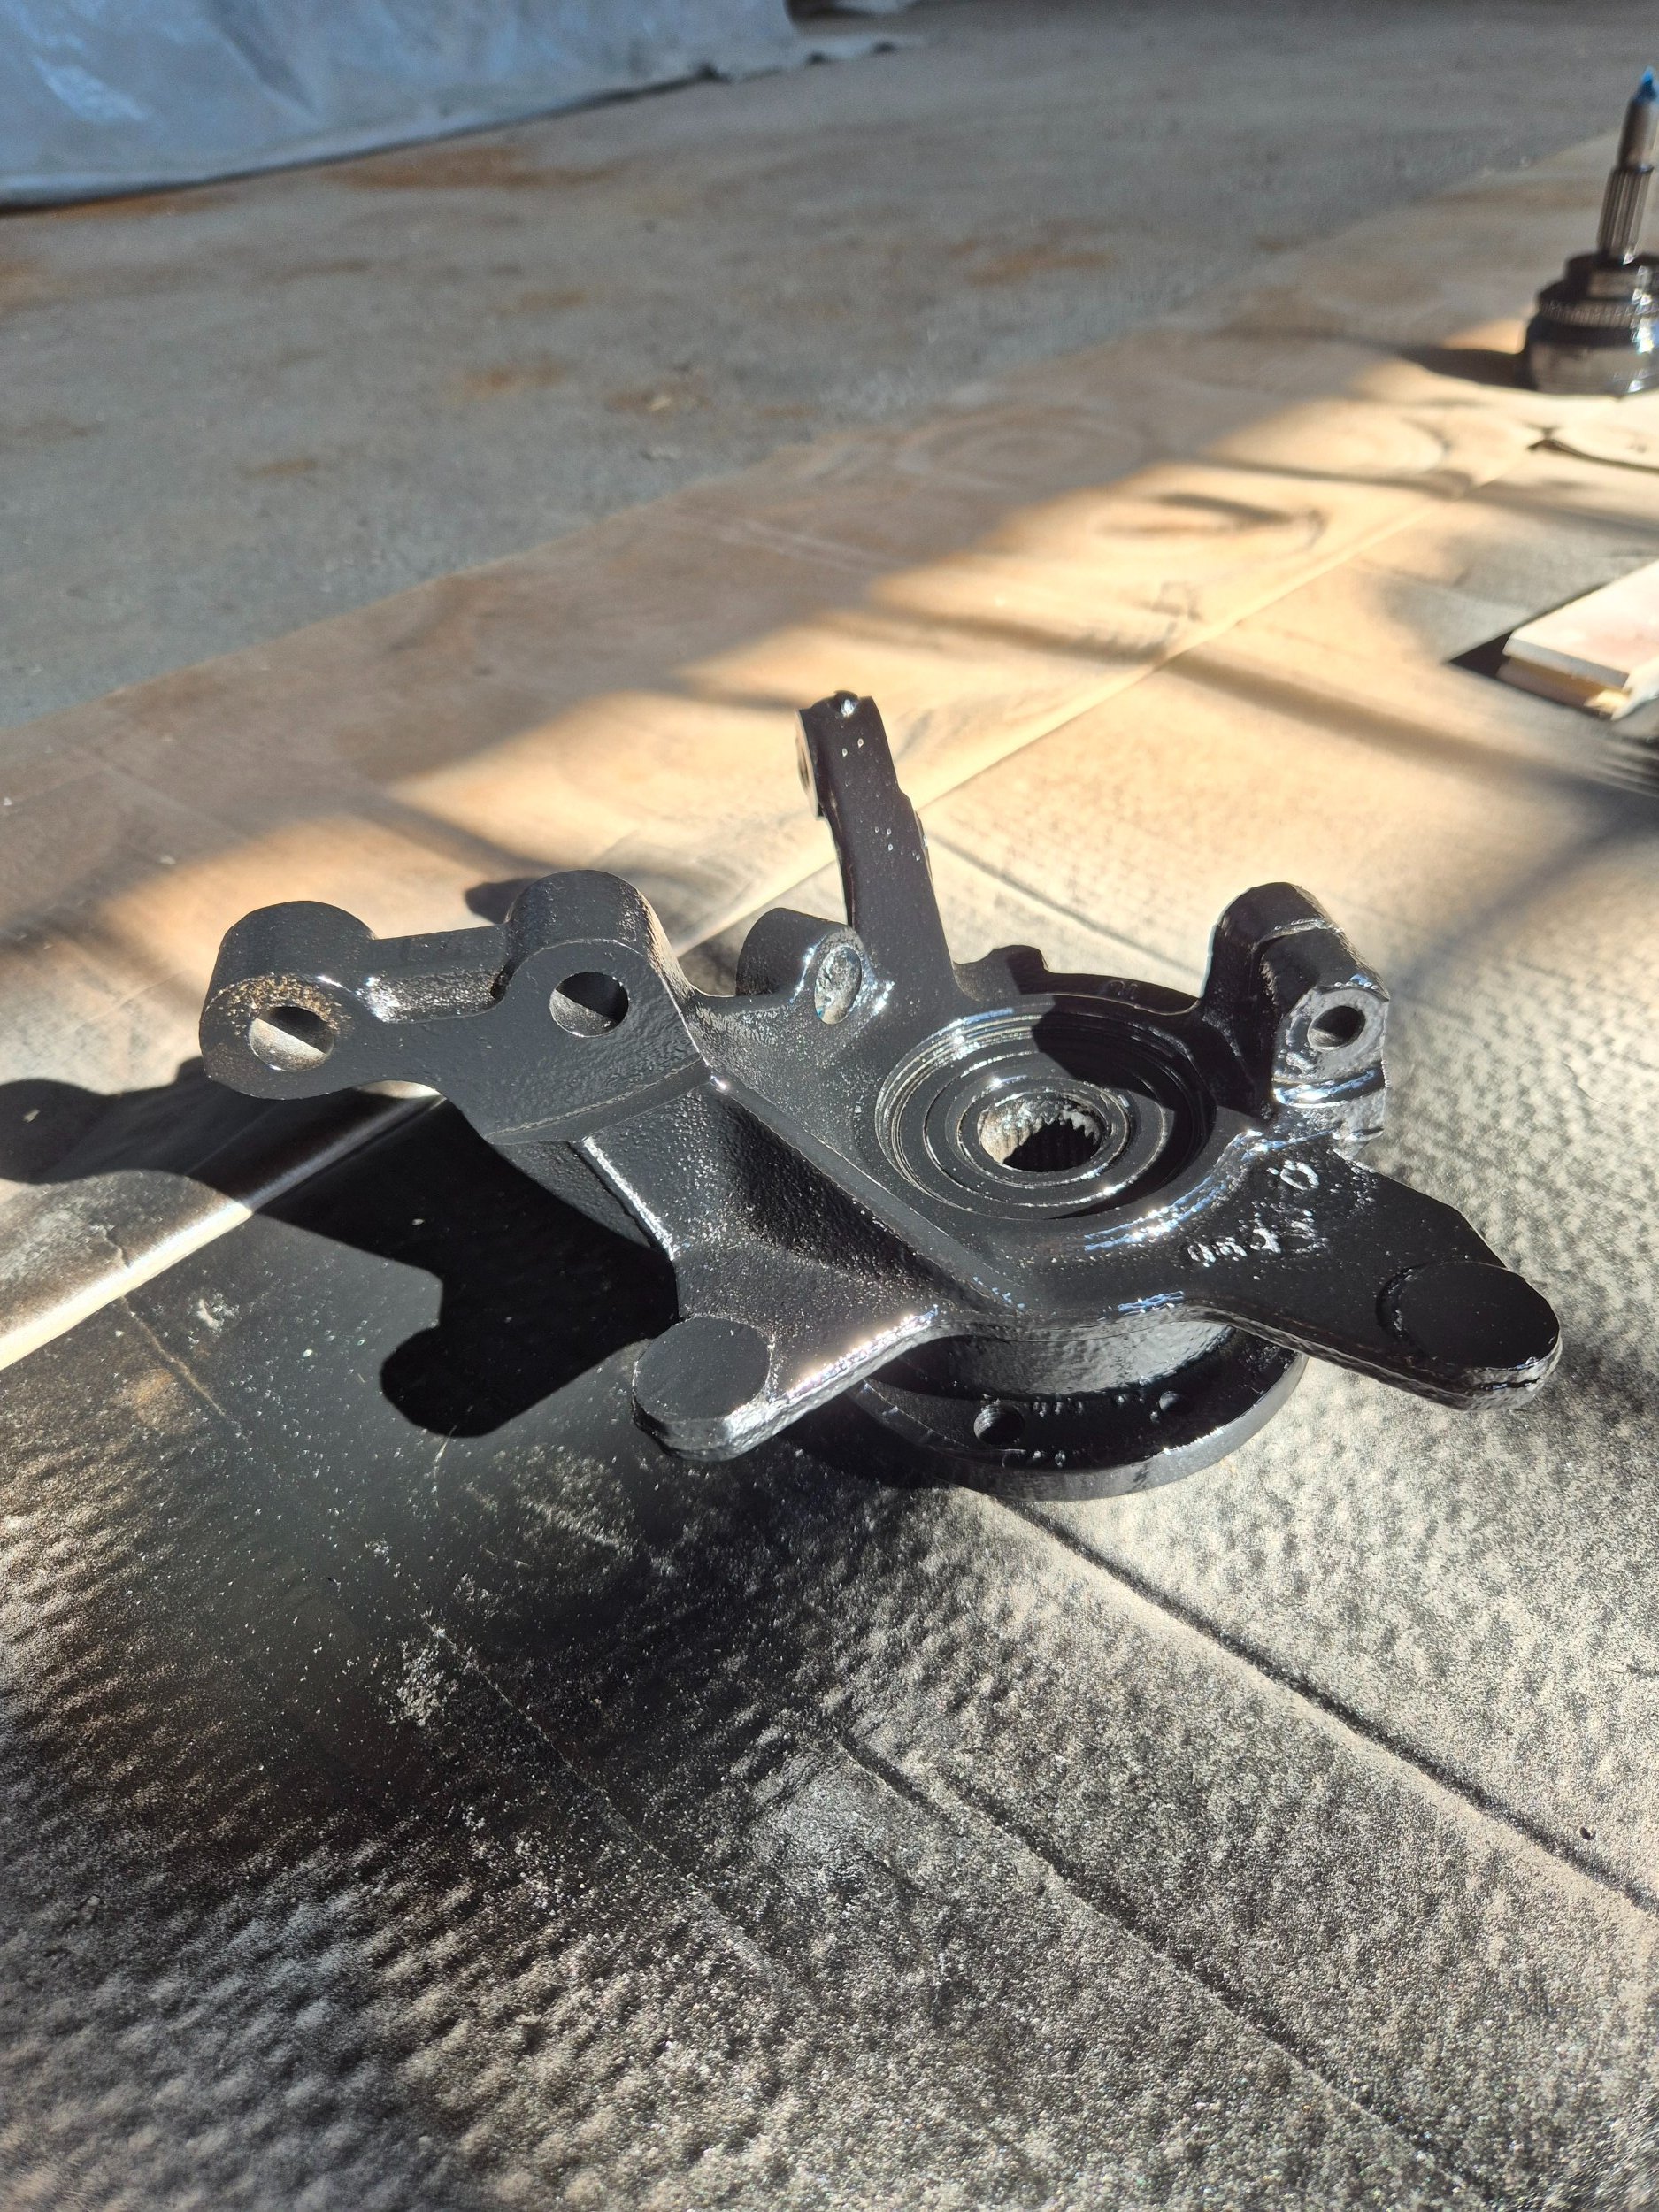
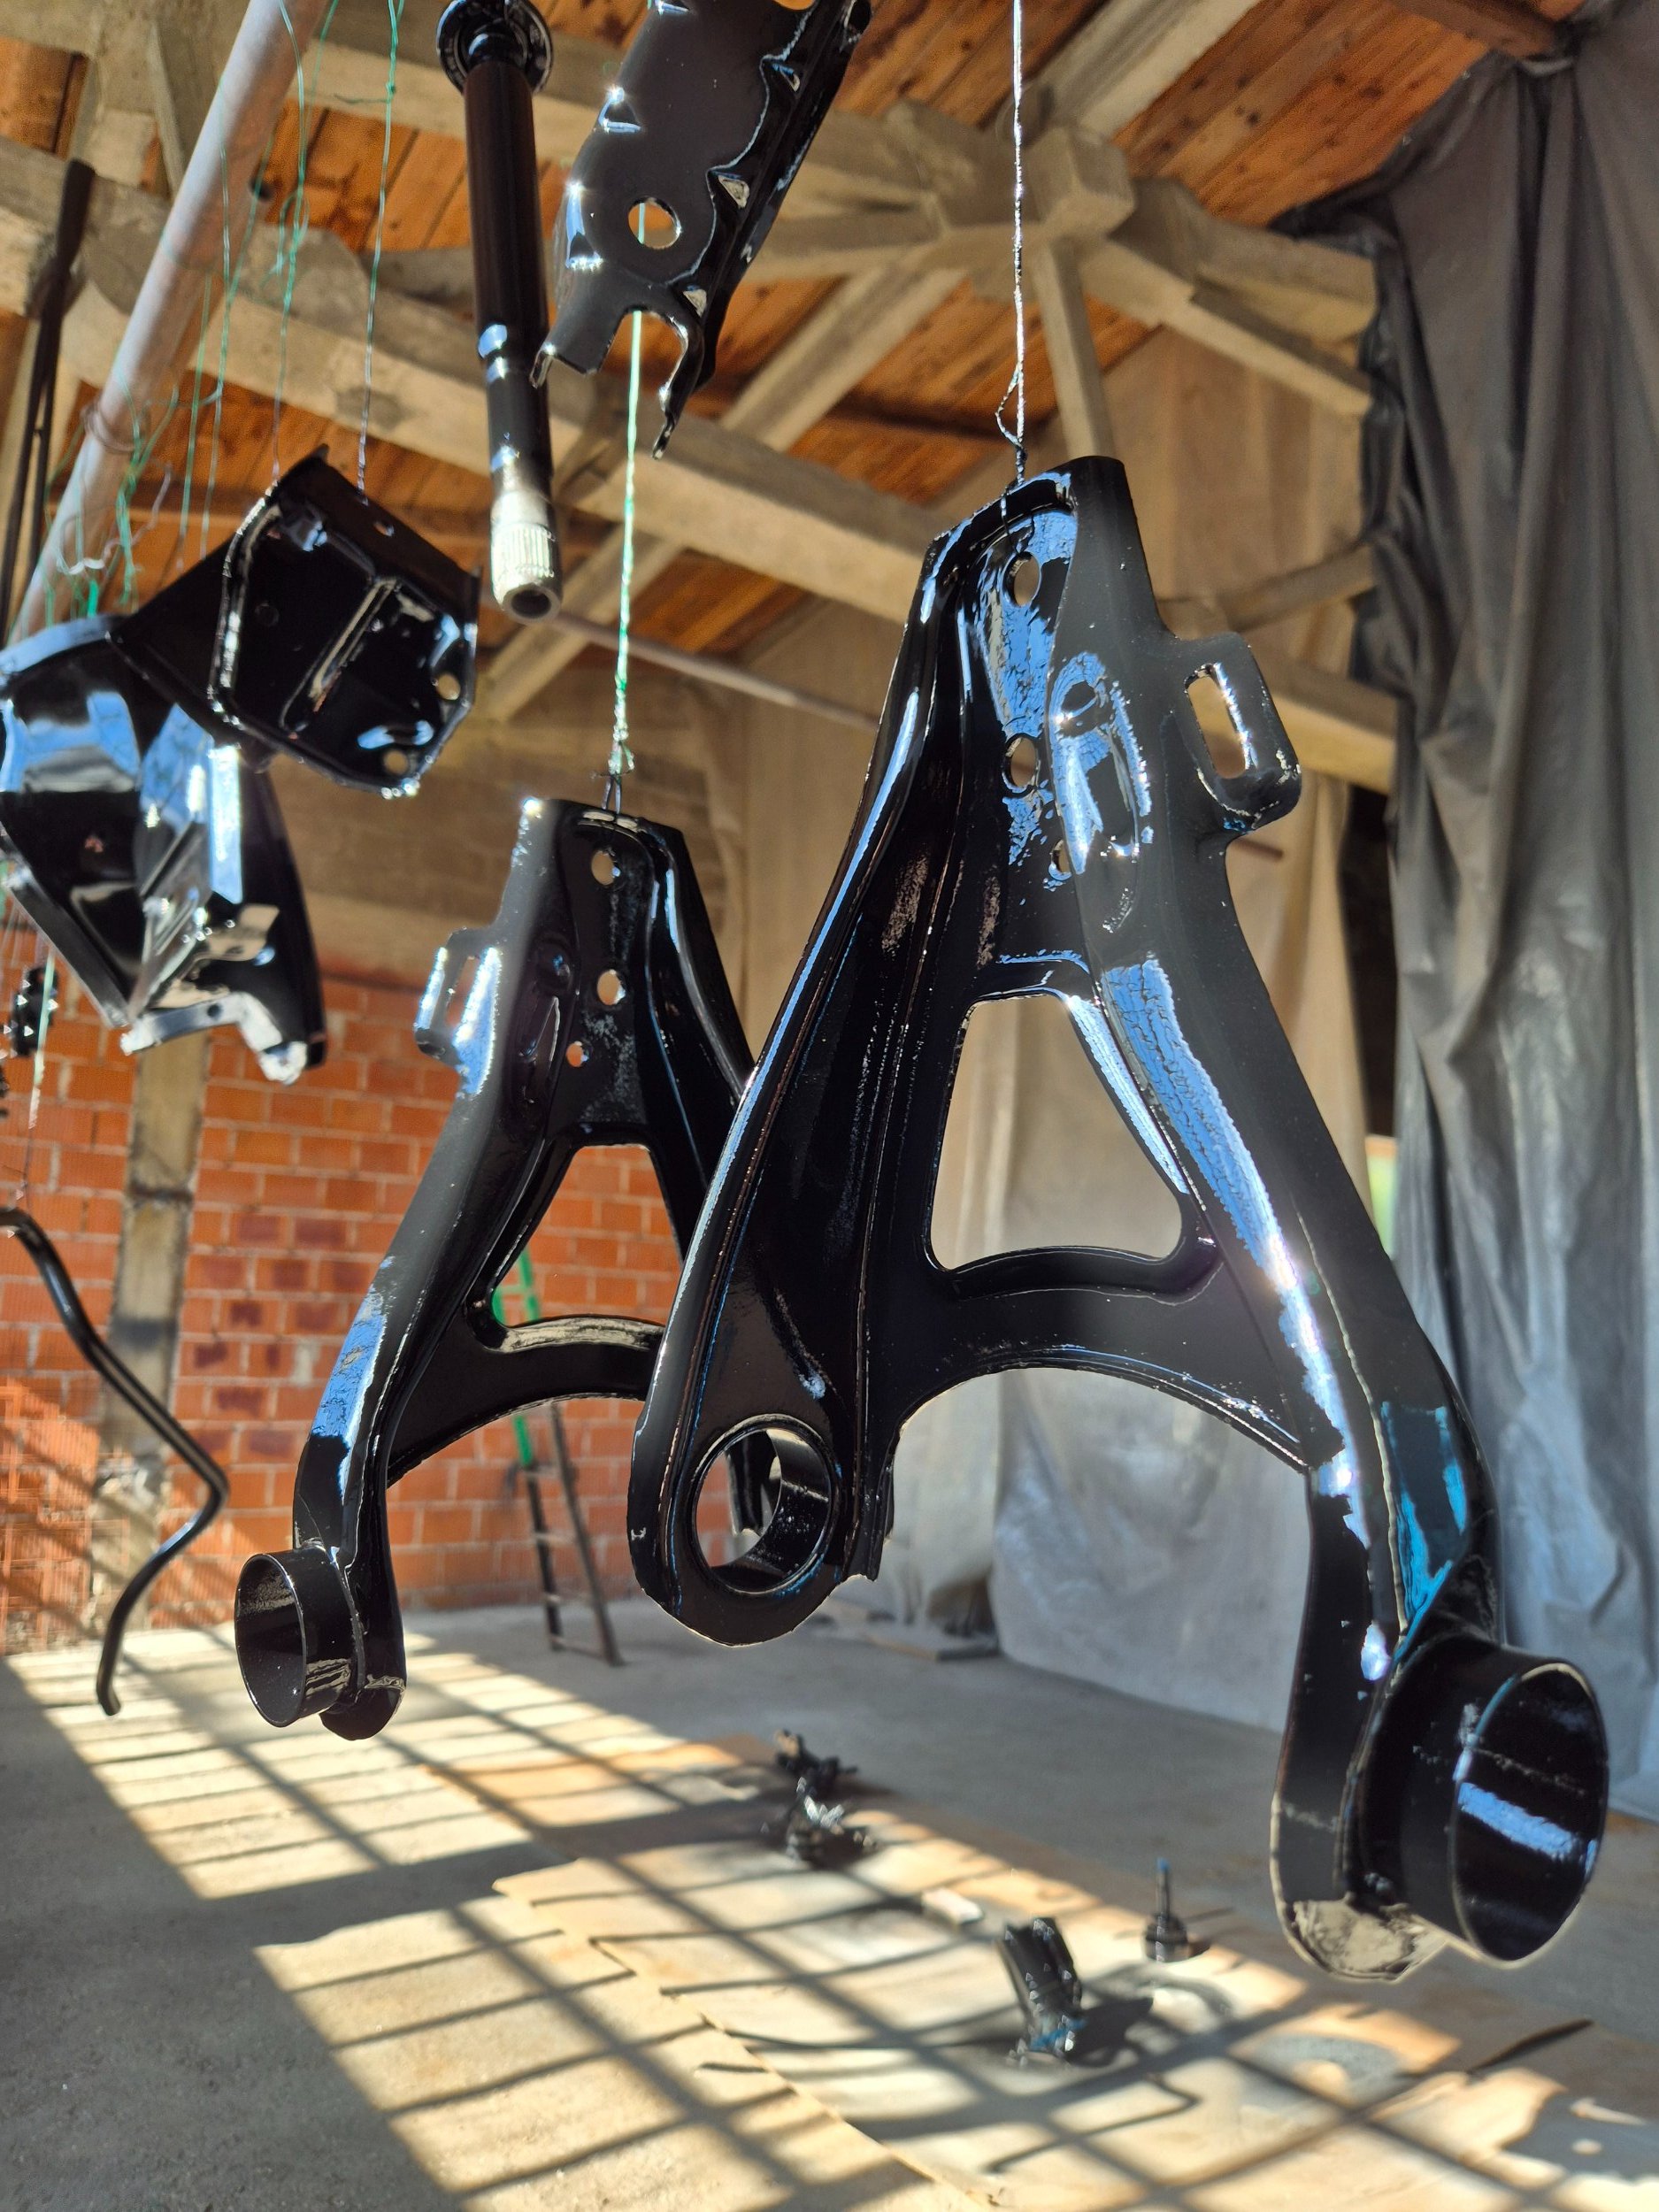
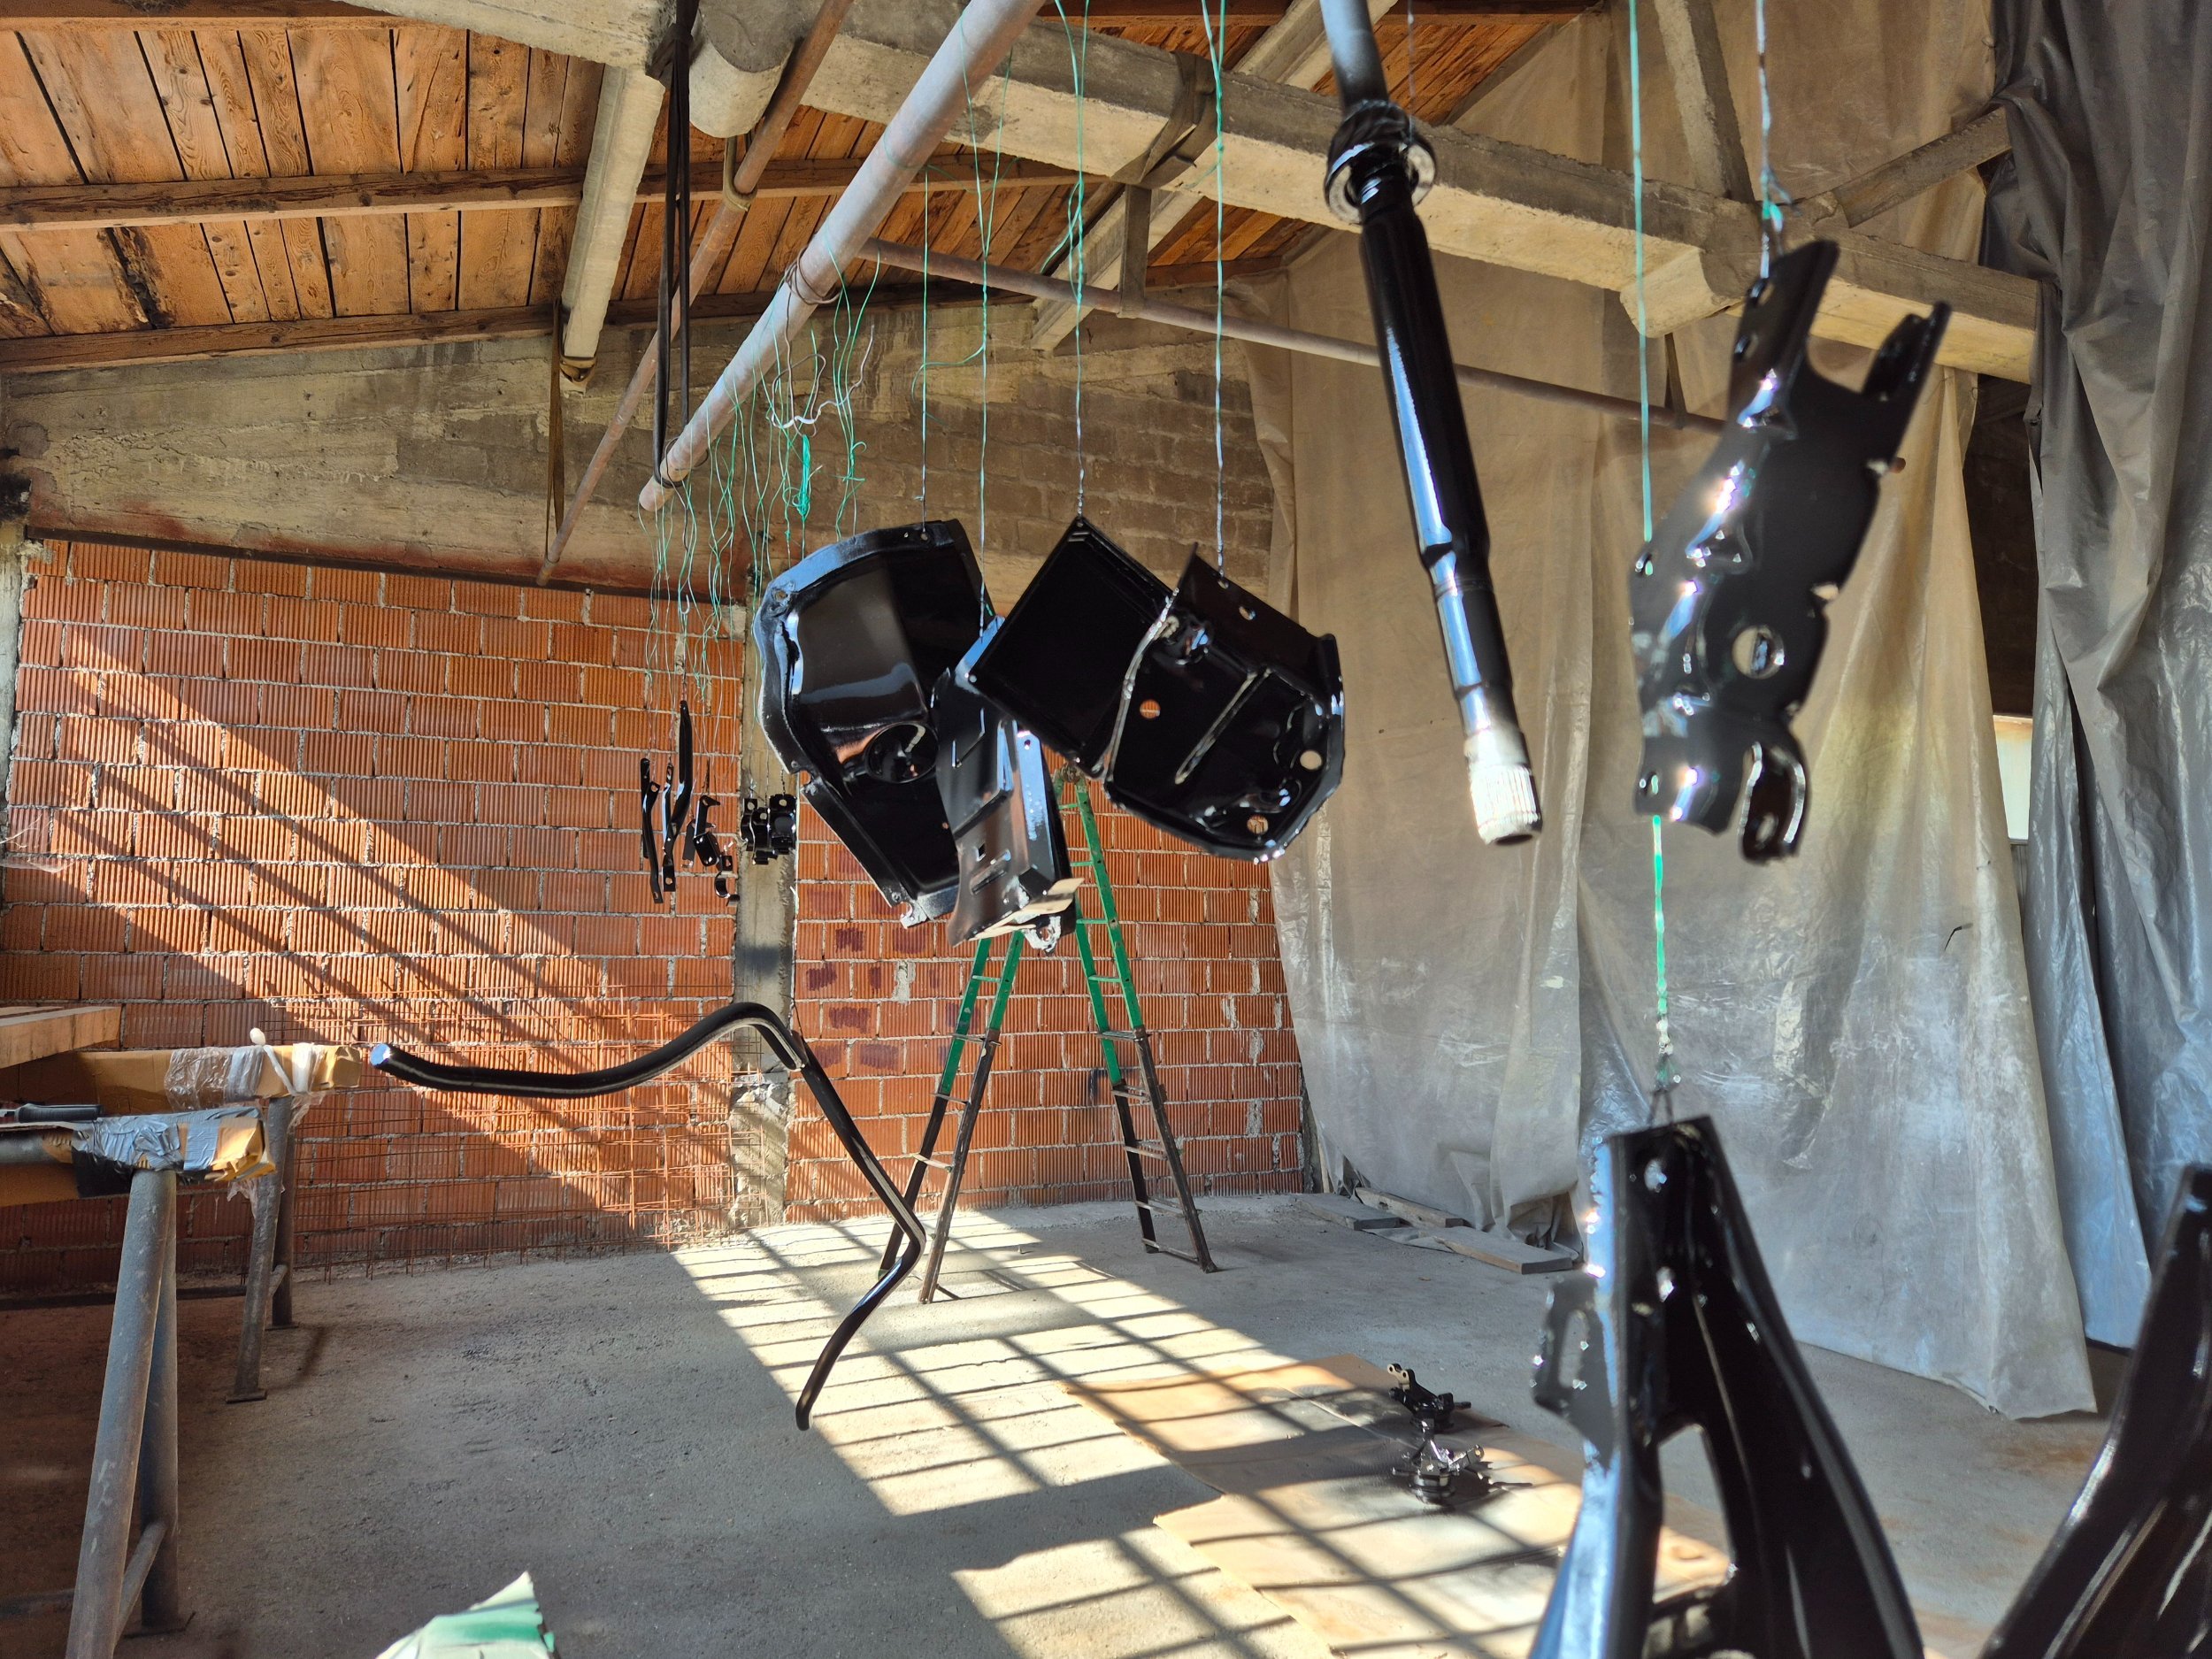
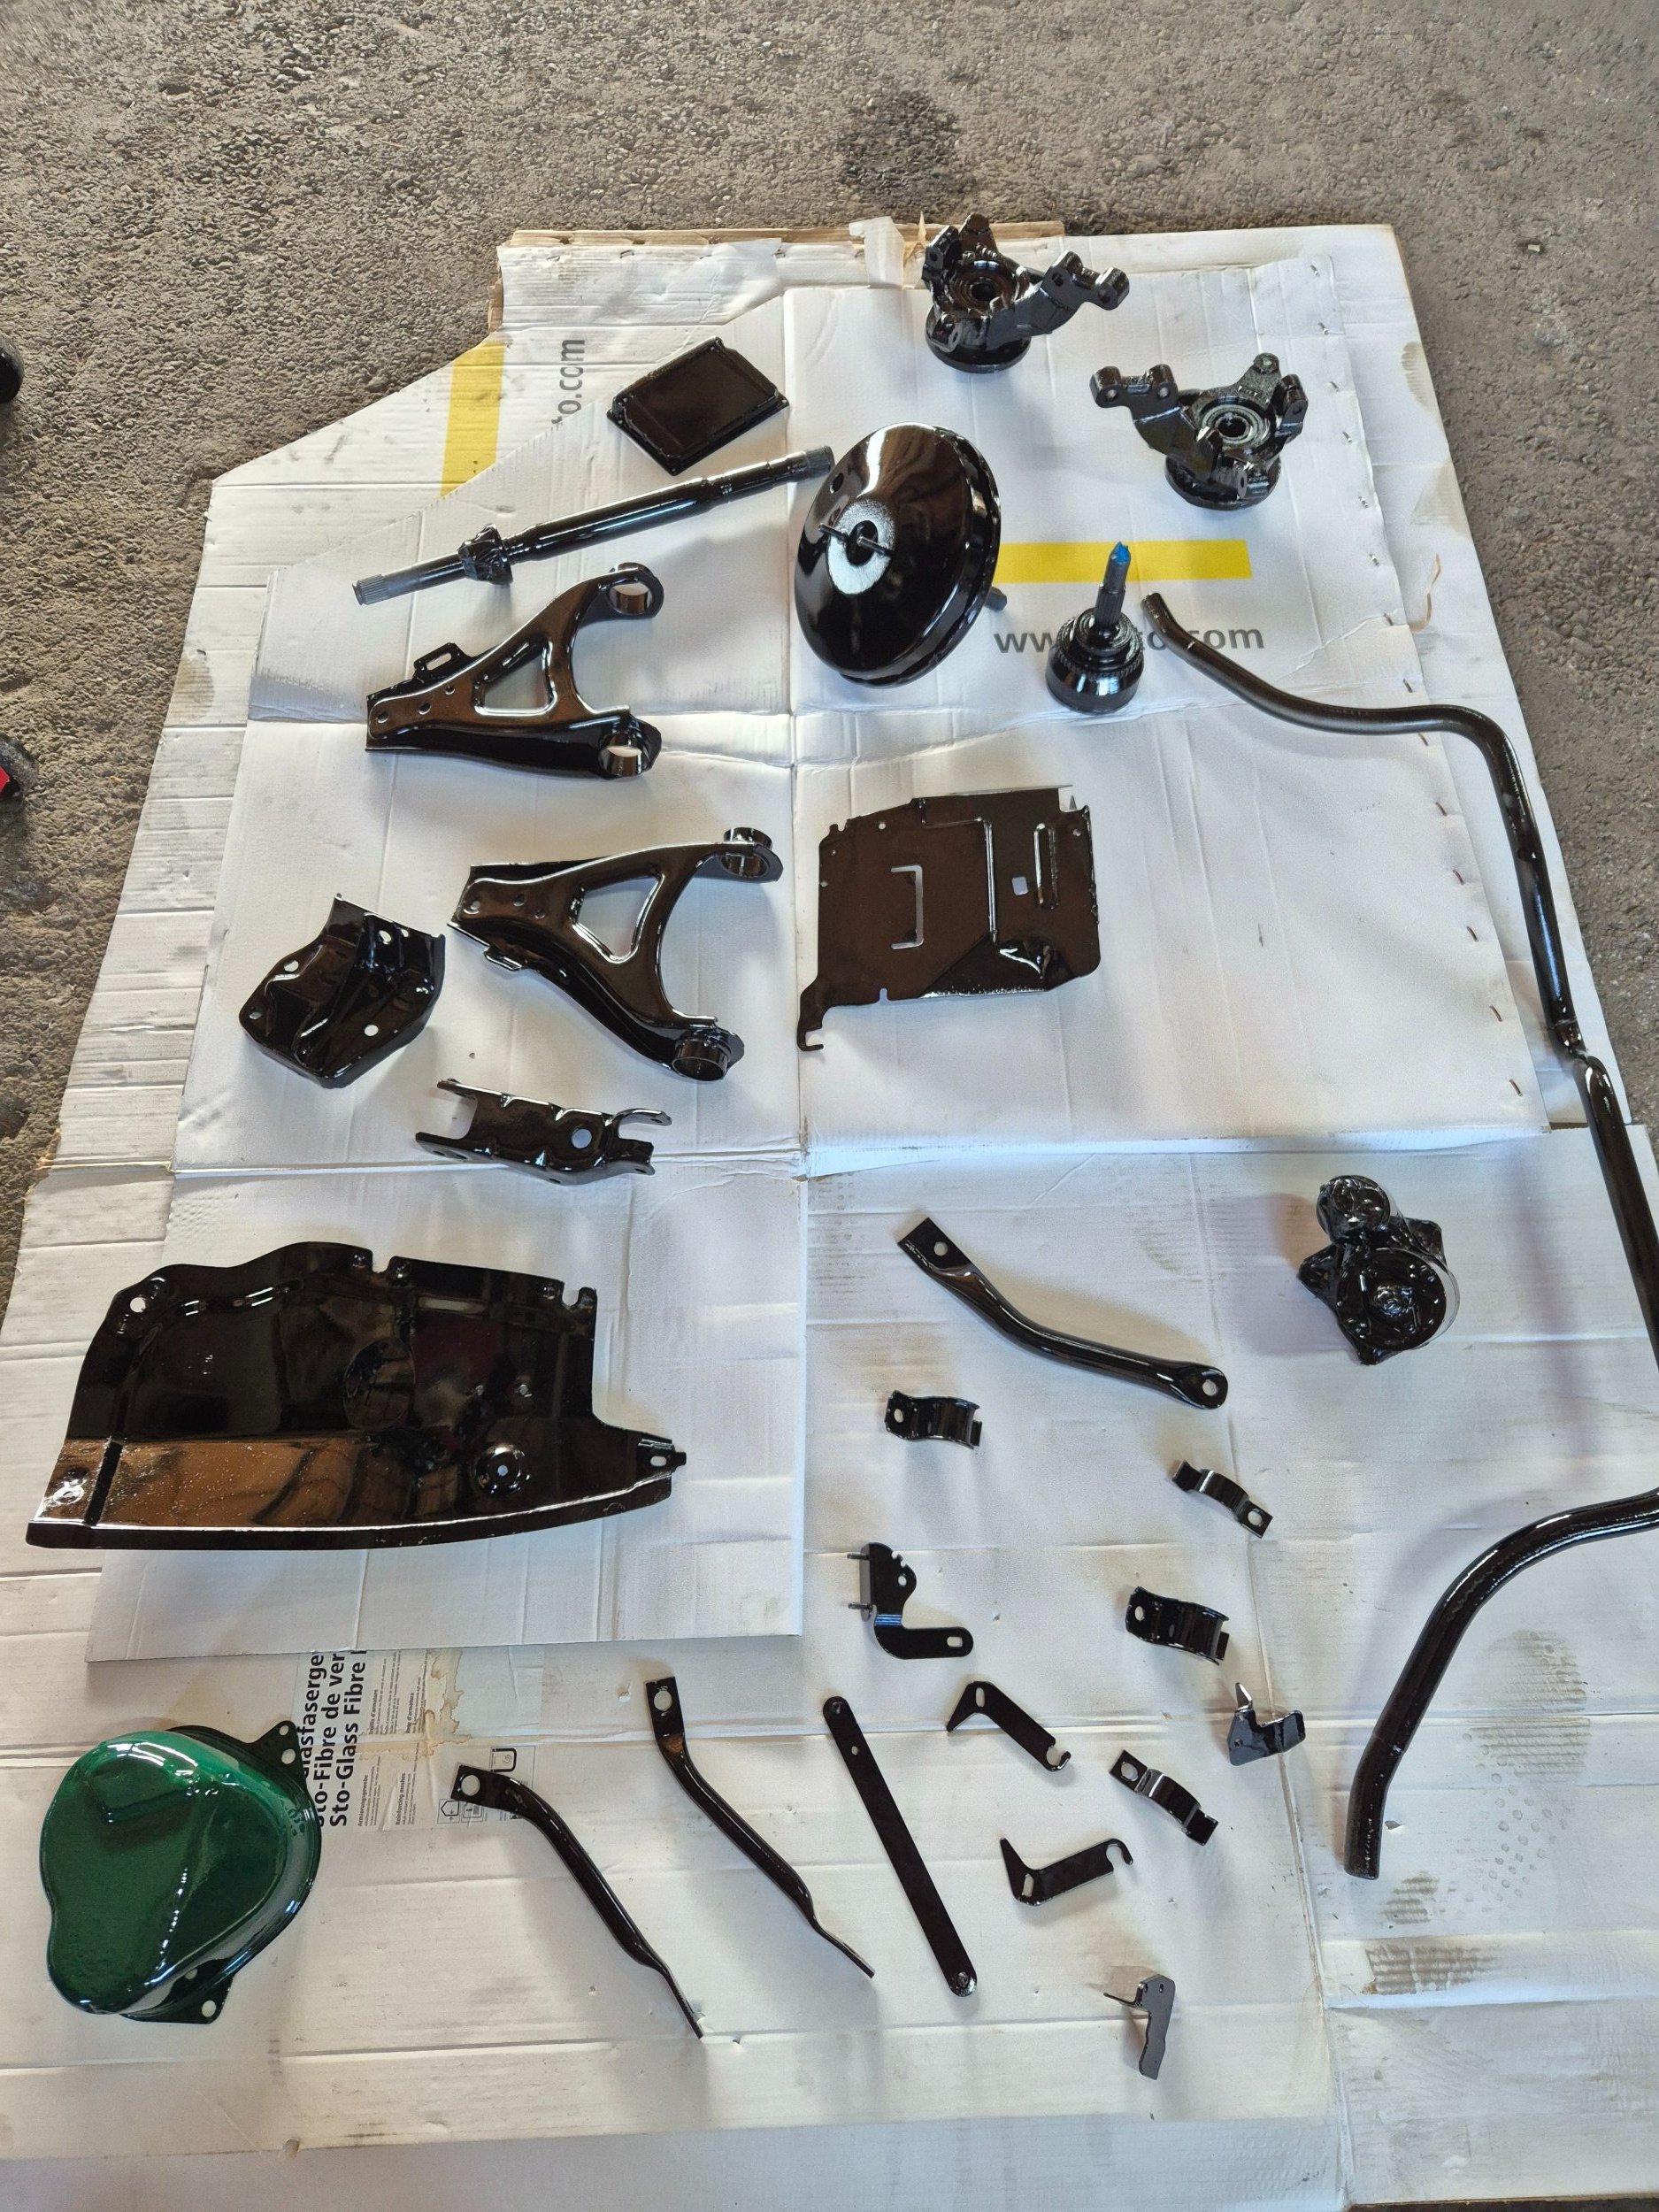
And then my OCD kicked in... I thought, "Since I'm already painting some things, why not add this too?" One thing led to another, and suddenly I was wire-brushing everything, treating it with rust remover (which worked great), and applying epoxy primer followed by a 2K gloss polyurethane topcoat. I ended up painting until 4 a.m. that day 🤣

Now I’m wondering if I made a mistake by not going with matte black, but it is what it is...


20260904_213043.jpg


20260906_144051.jpg
 
20260913_155137.jpg


20260913_155204.jpg


20260913_155212.jpg


20260913_155216.jpg


20260913_155232.jpg


20260913_155250.jpg


20260913_155255.jpg


20260913_162721.jpg

I'm satisfied with how everything turned out, considering that it's my first time painting with a paint gun after many years.

I will have to repair the ARB because it is specific for "hanging" for painting, so one part remained unpainted.

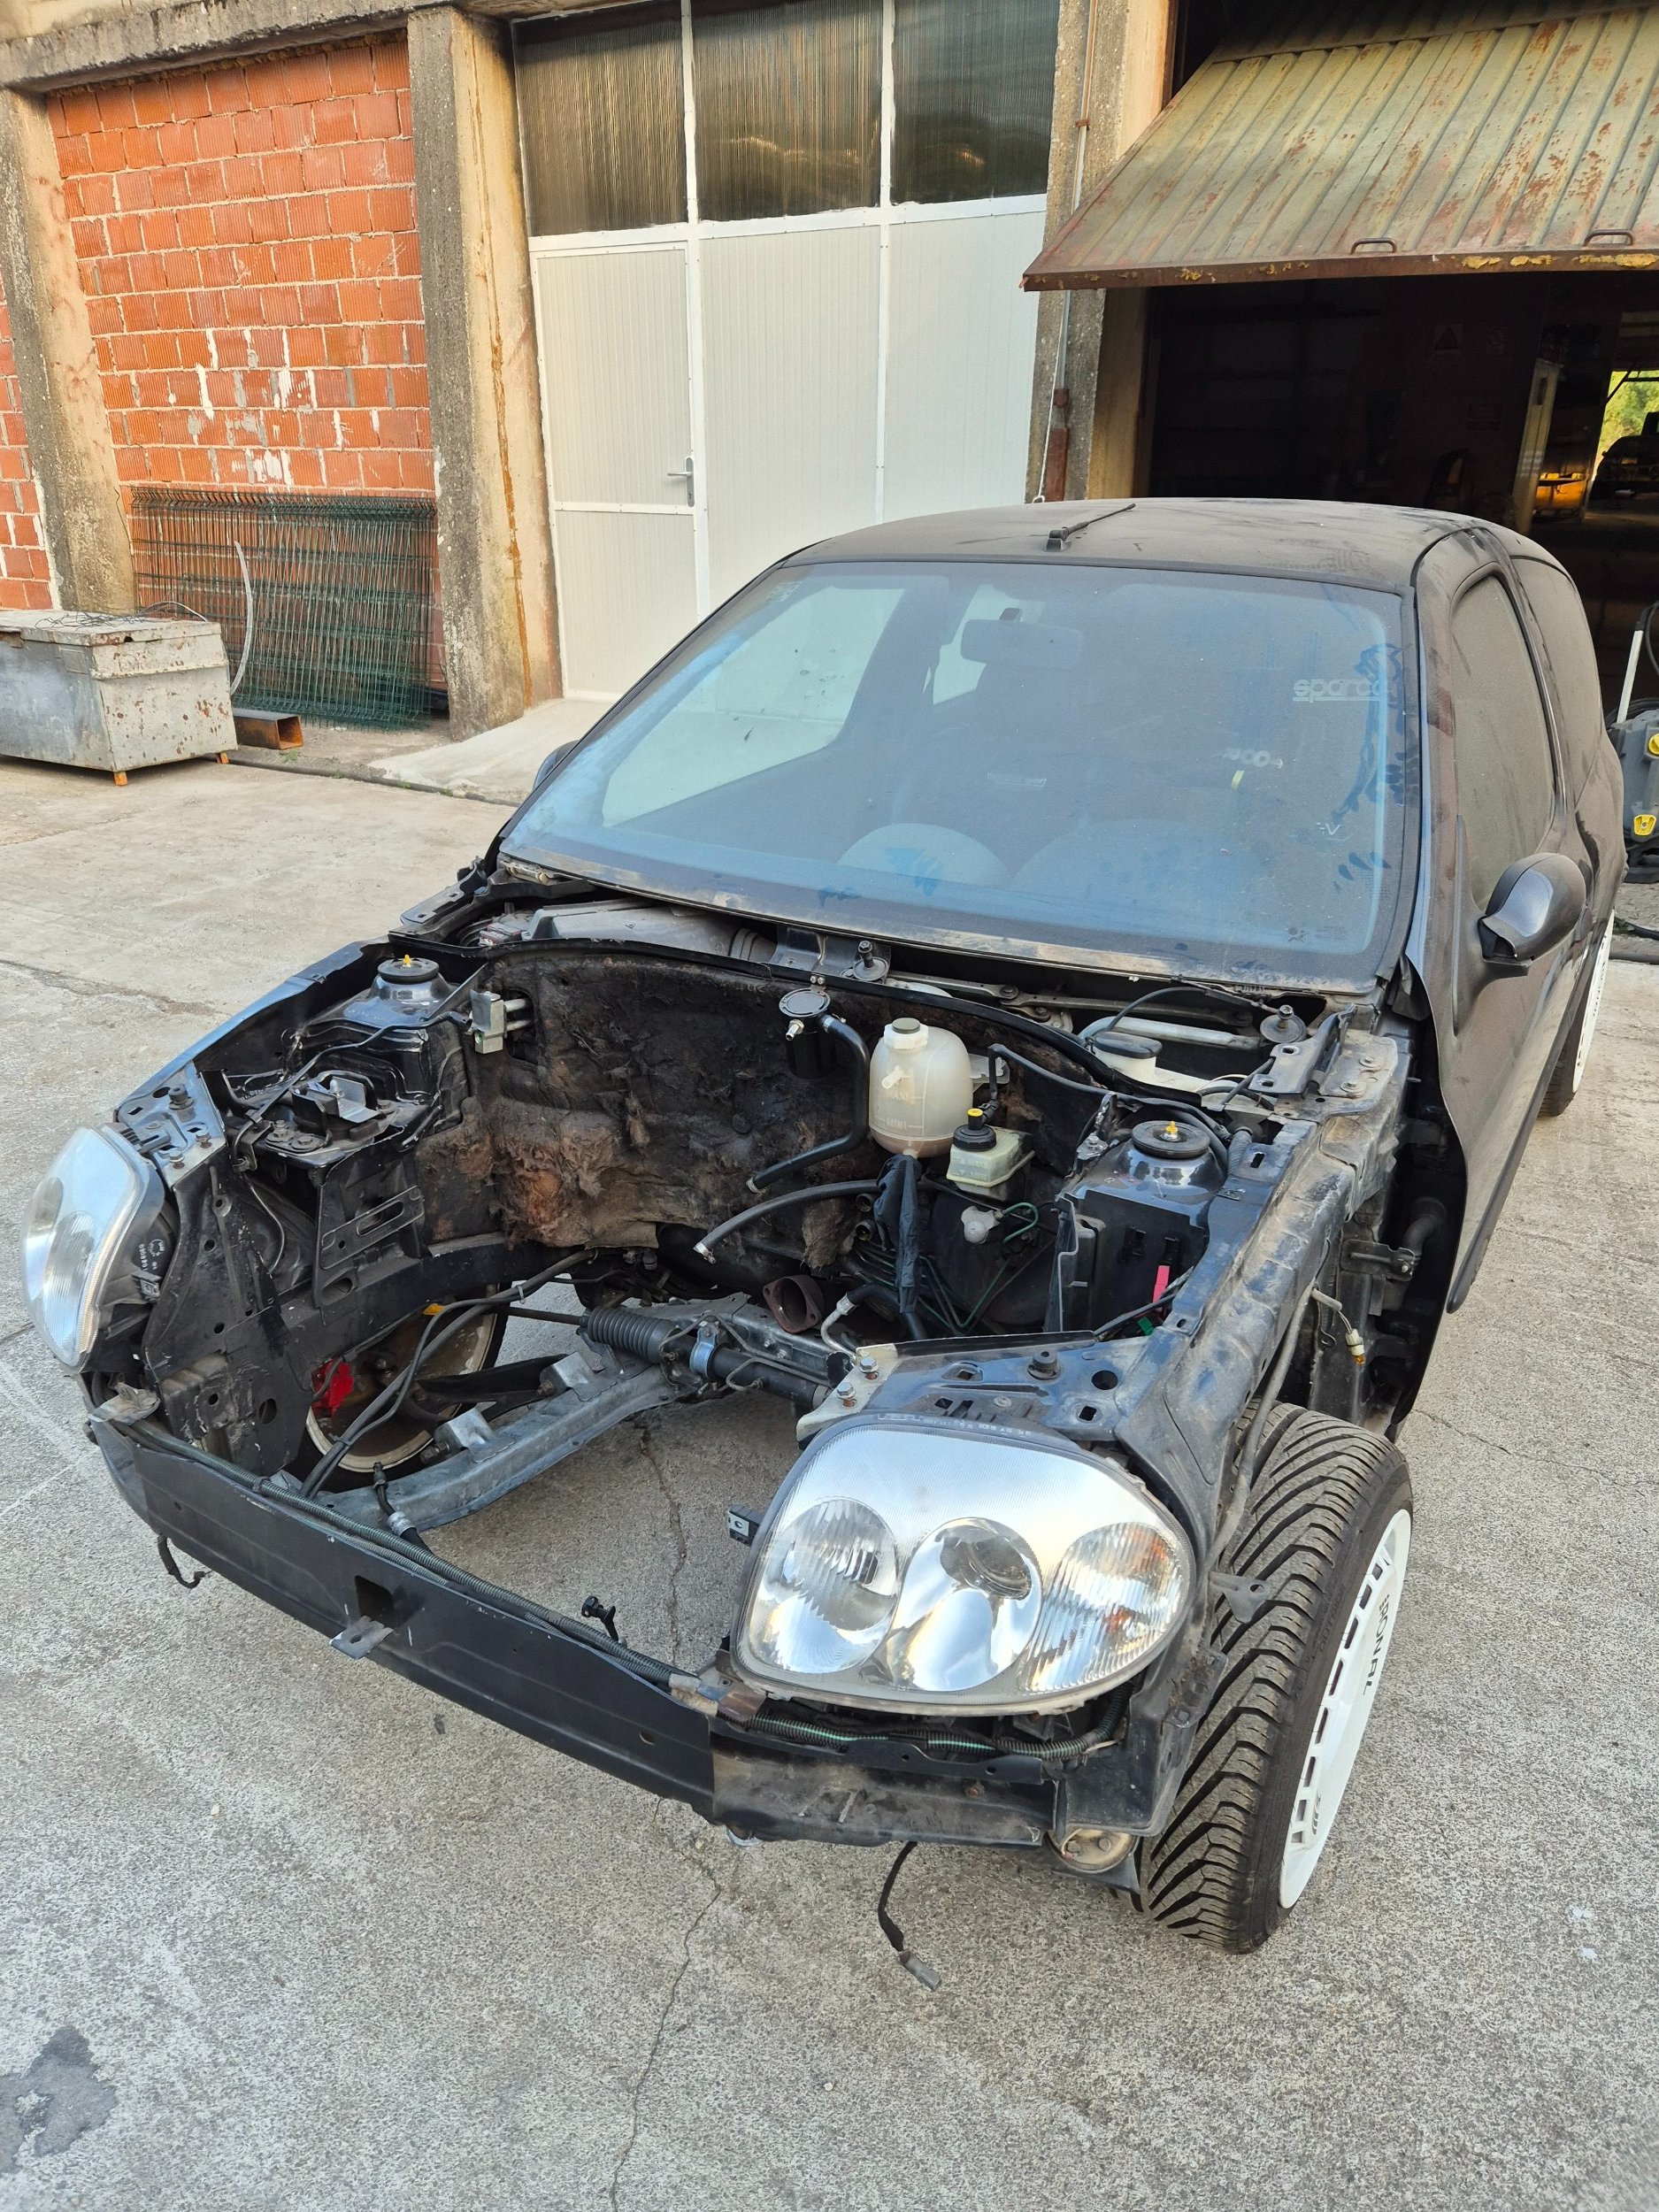
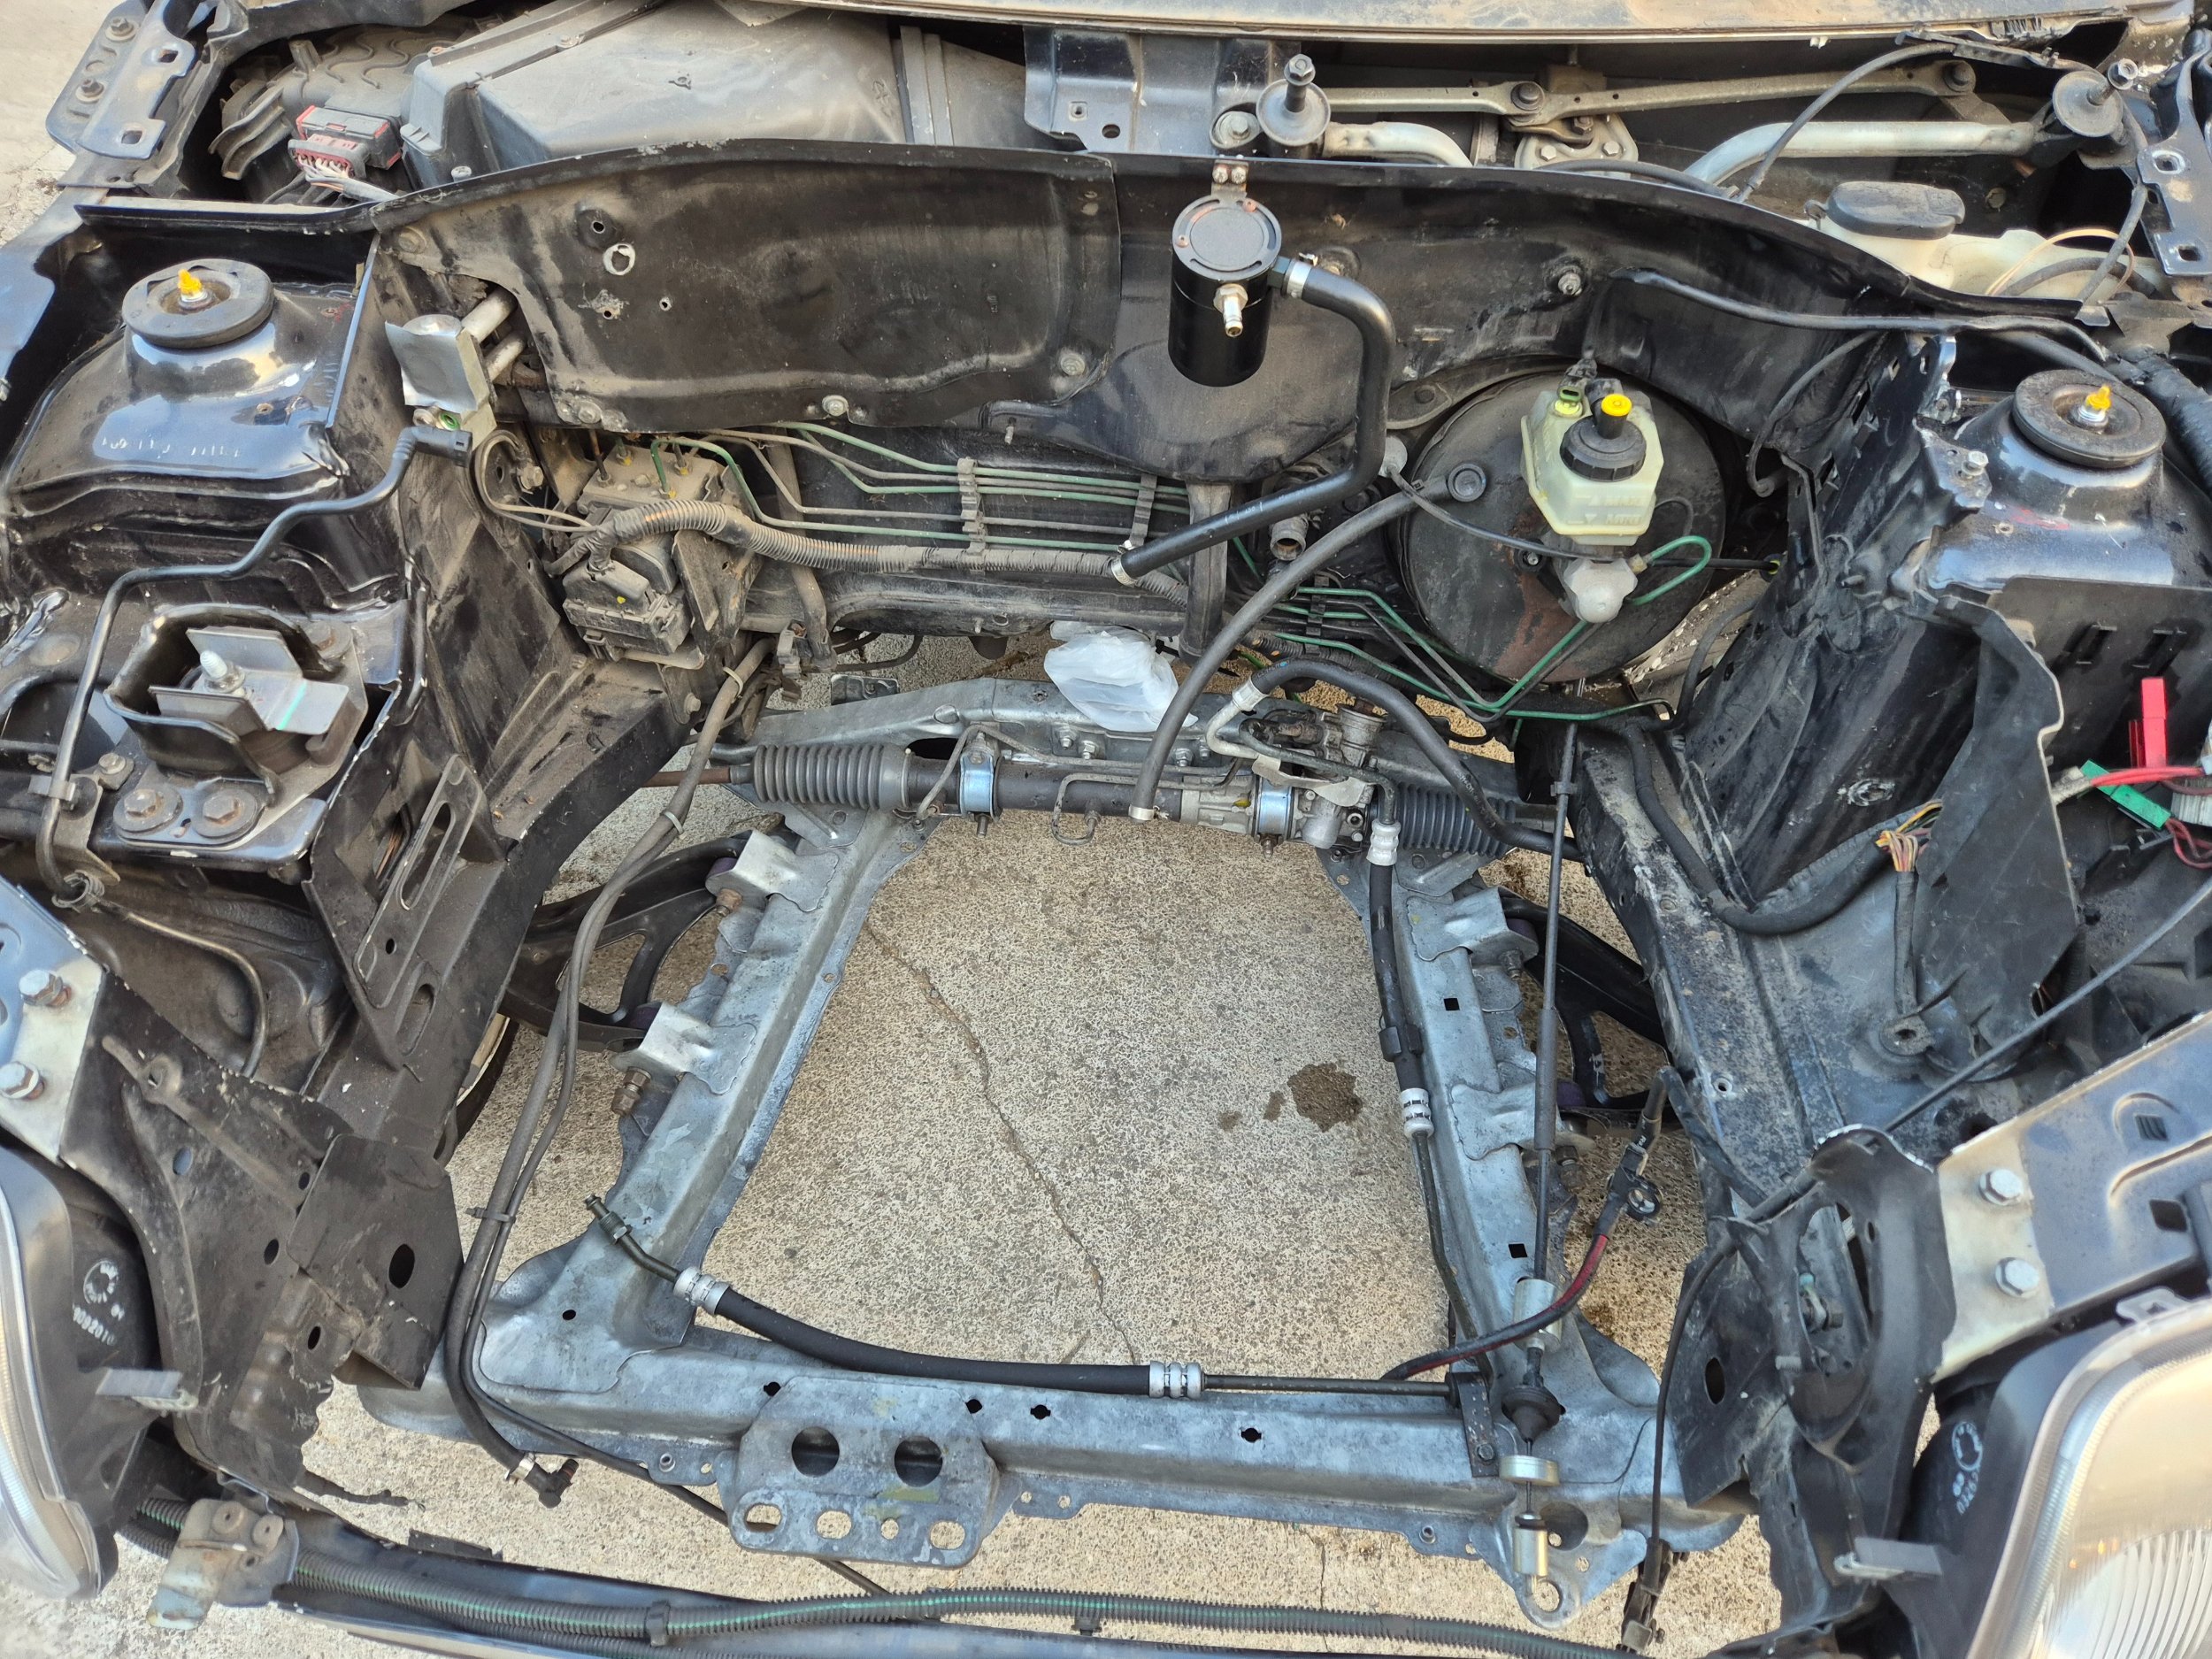
Since I'm not in a hurry, things will be done as they should. The plan is to remove the rear subframe and restore it, drill the holes on the turrets that were drilled for the omp strut bar, paint and freshen up the engine compartment, freshen up the engine, etc., etc.. step by step 😁
btw, i dont know why is there a restriction for 1 post to include max 10 photos.. shame that everything cant be in 1 post
 
Back
Top