

C16V_Adam
ClioSport Club Member
Clio 1.8 16v
Starting a thread to keep track of the work I am carrying out to my 1995 Naples Clio Valver. I bought this car as a roadworthy rolling project which is just what I wanted, I already have a long term project (started in 2012 and probably has another decade to go  ) so was determined to get a car that needed tidying up but I can use and enjoy now. I absolutley do not want or need another car that is going to be off the road for a long time.
Enter my valver
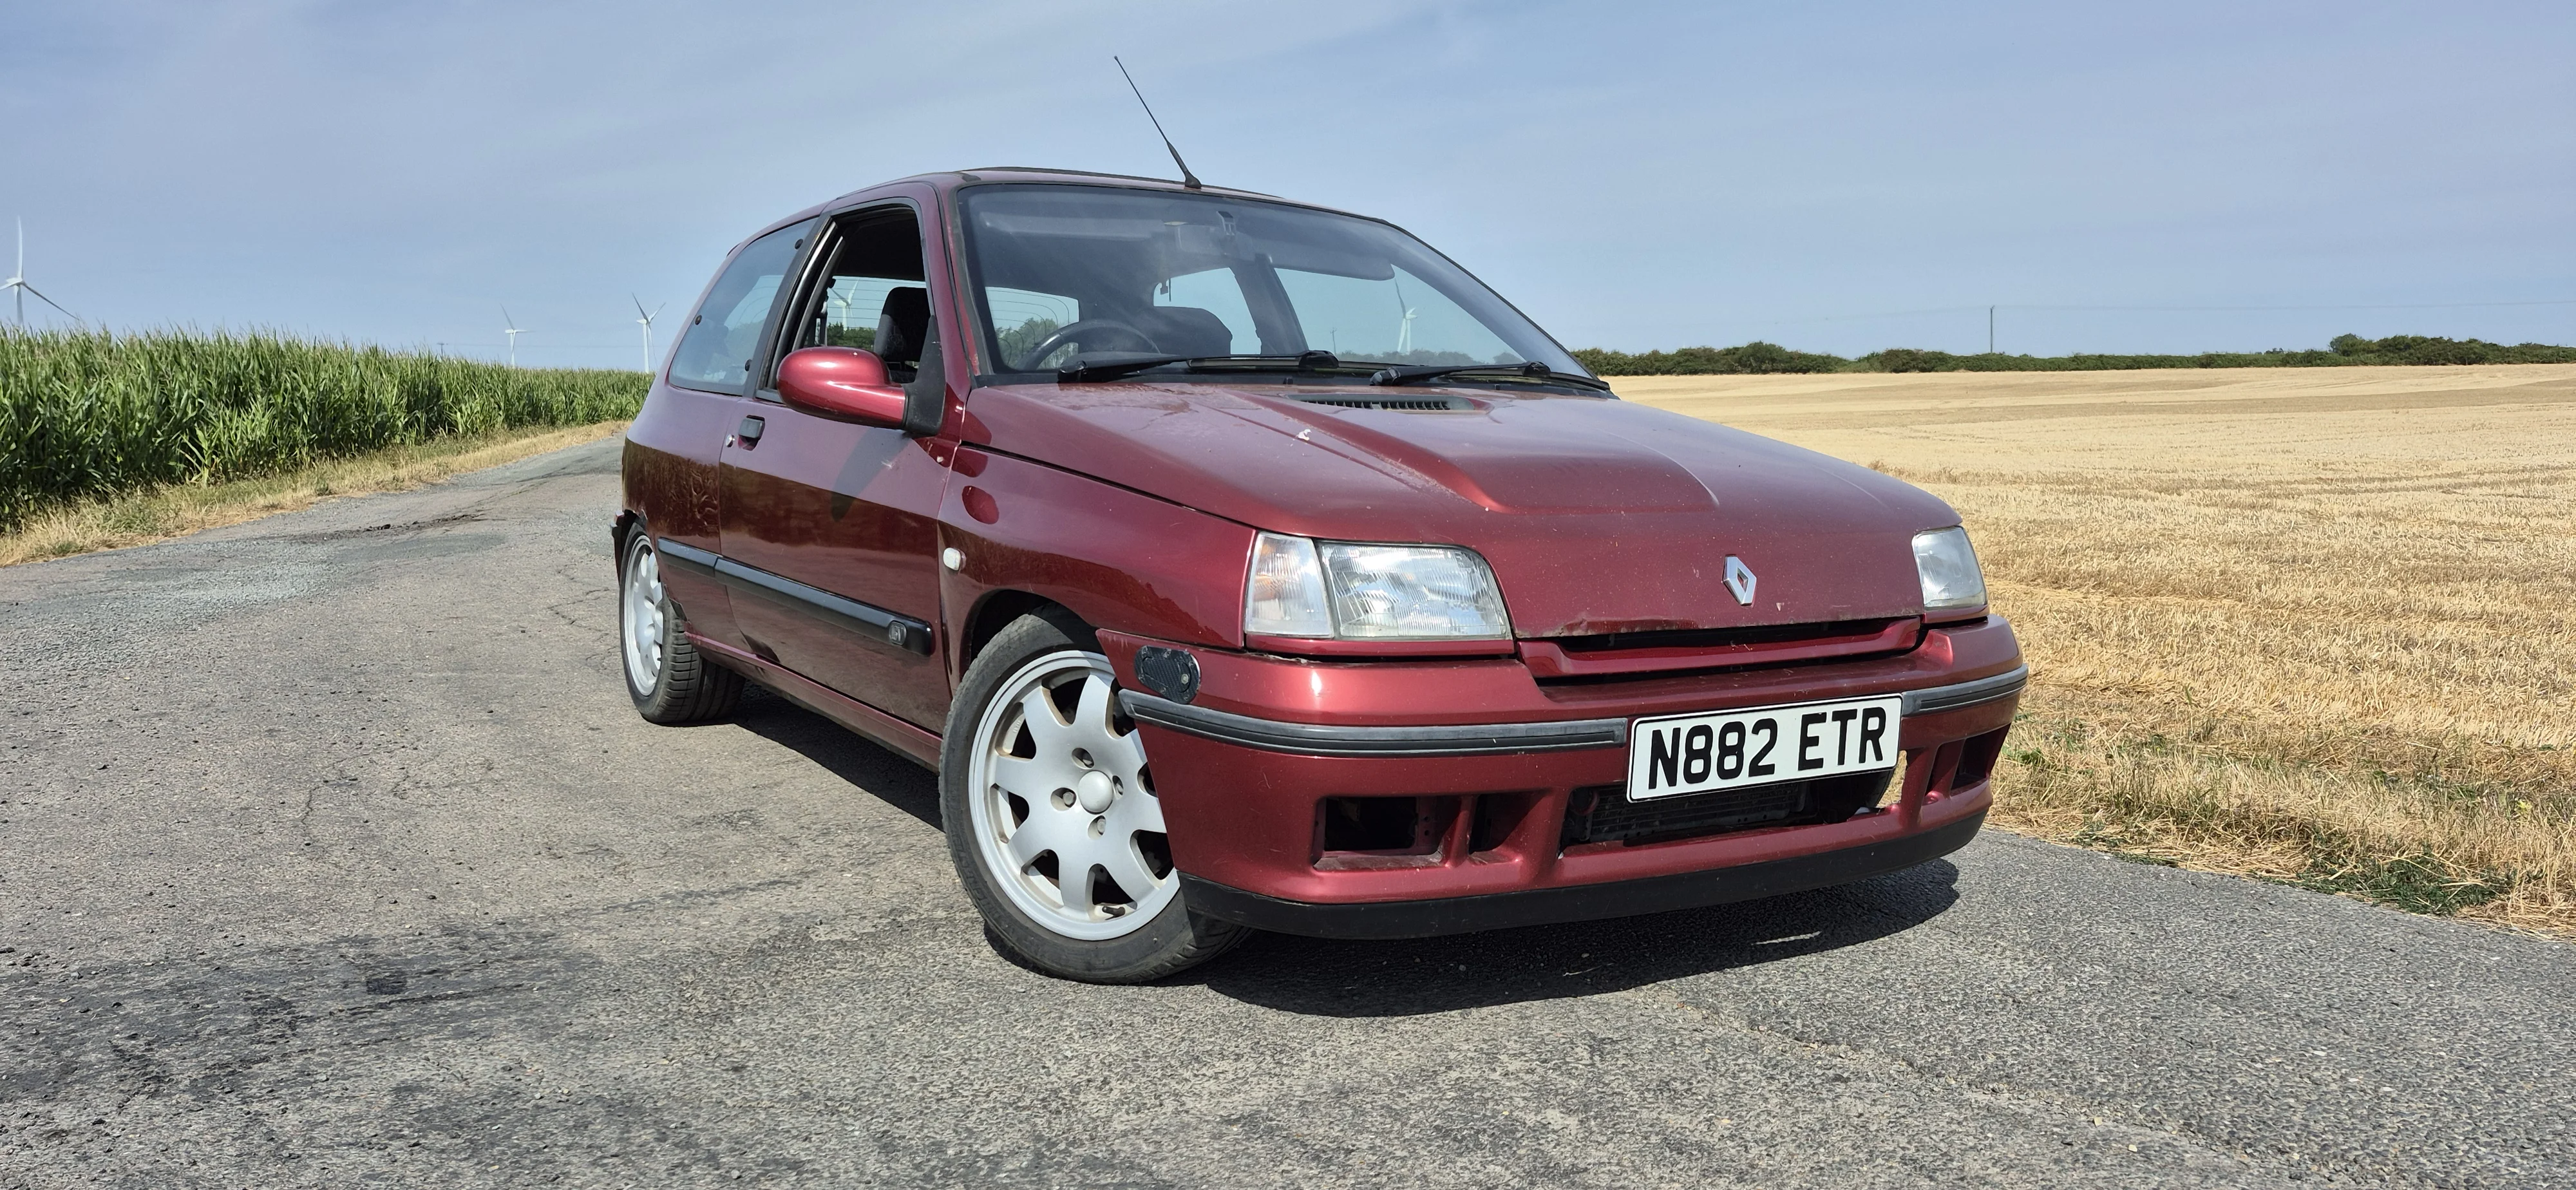
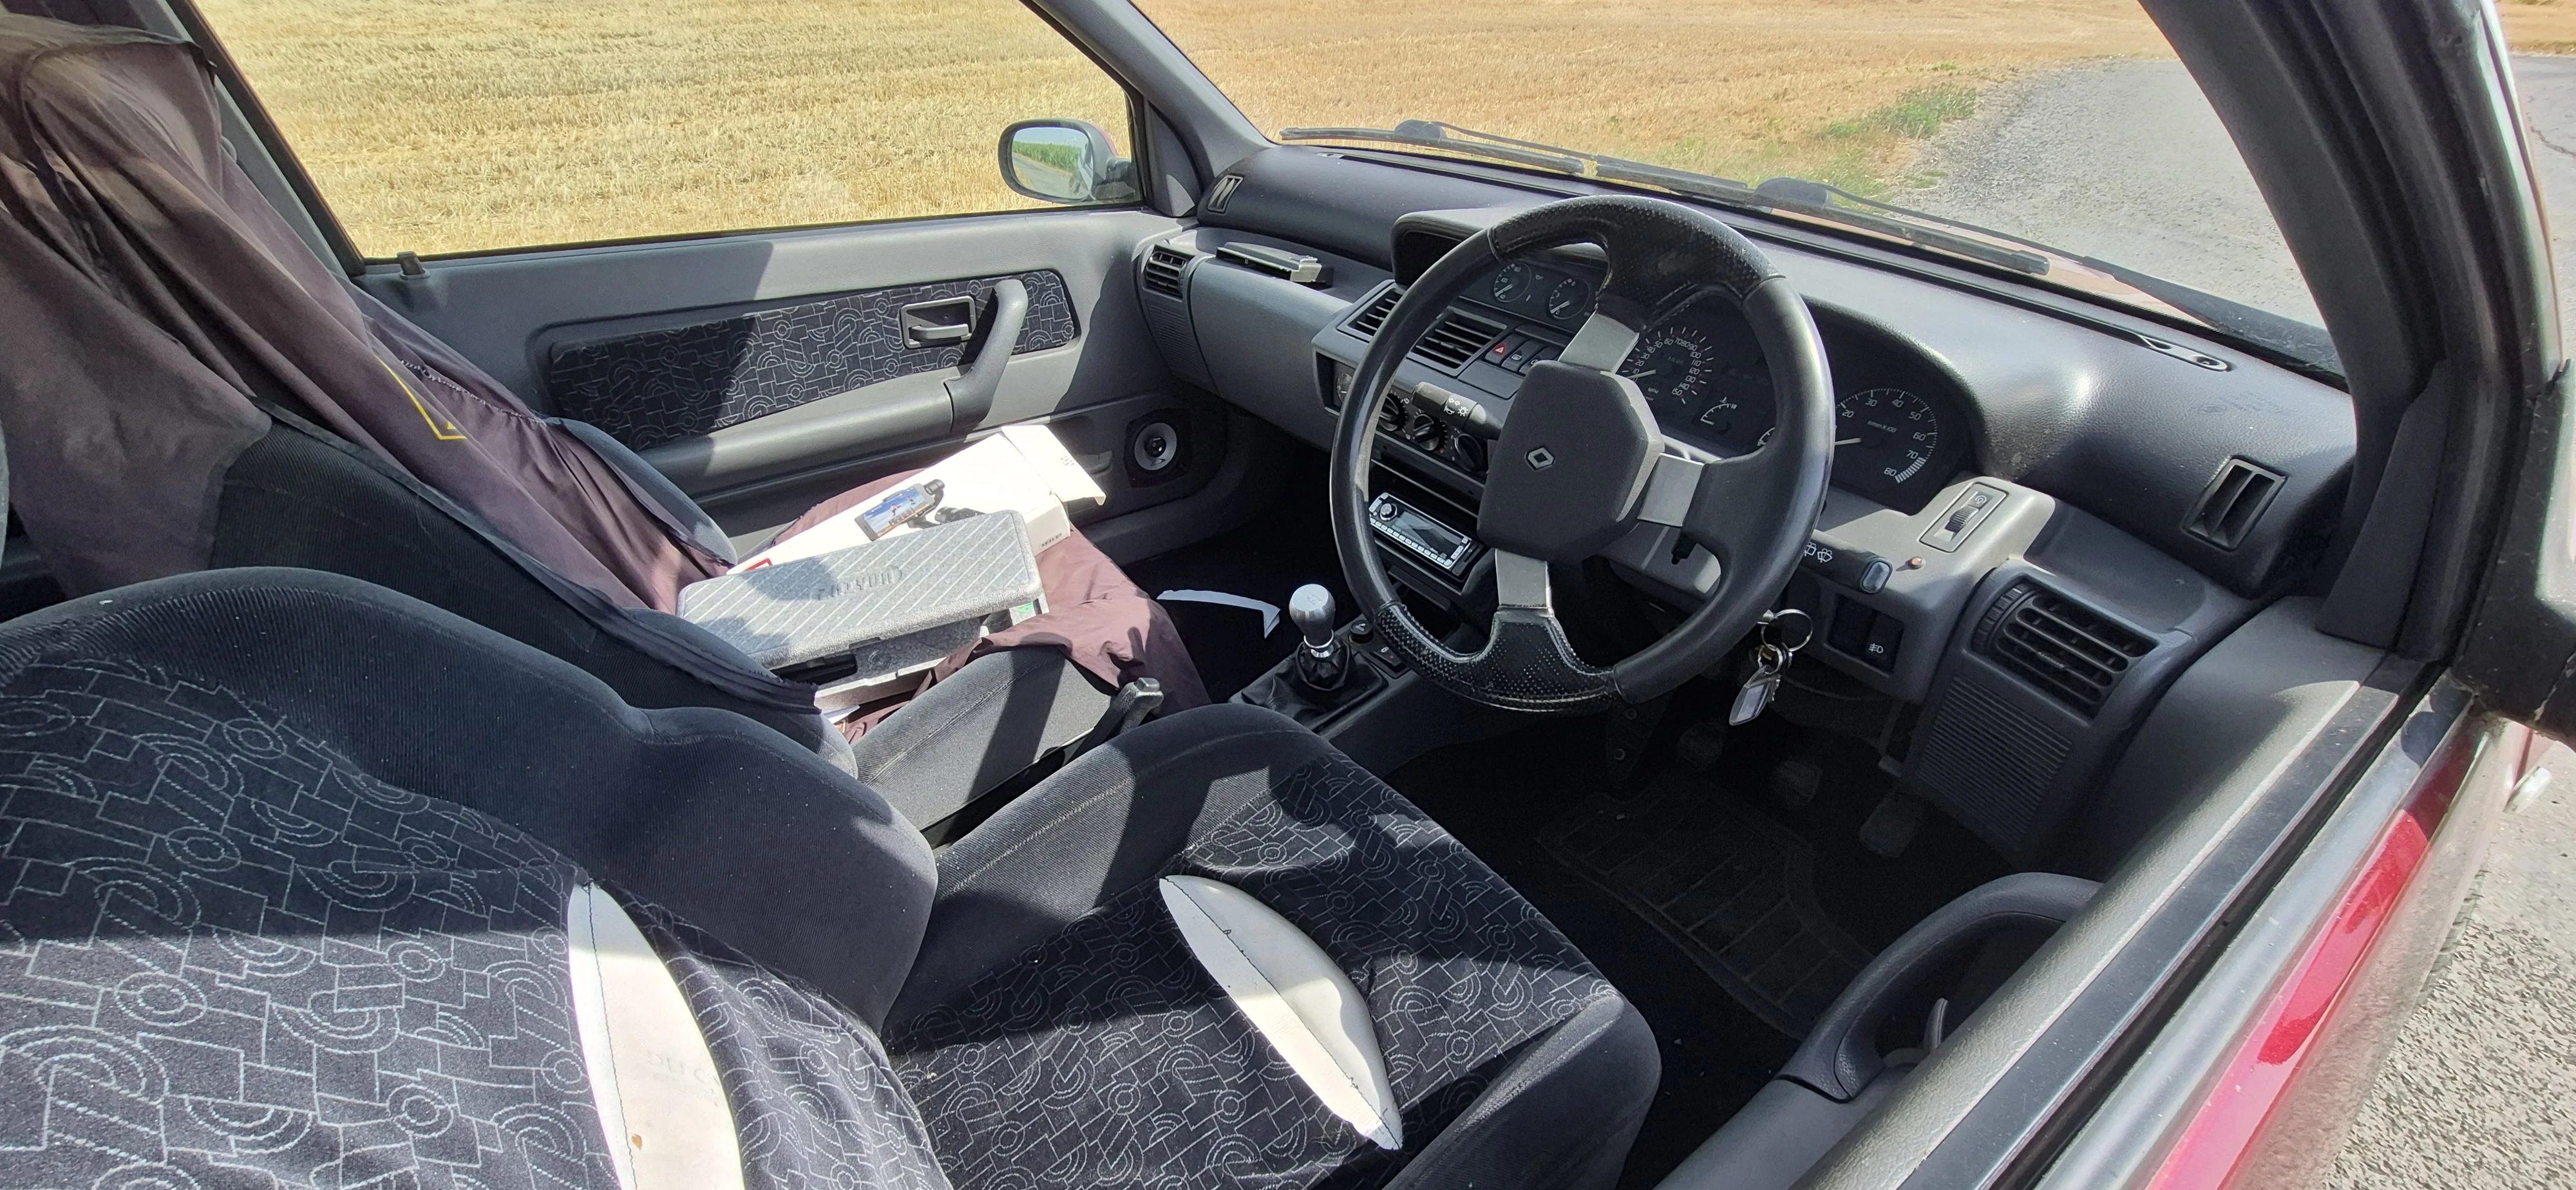
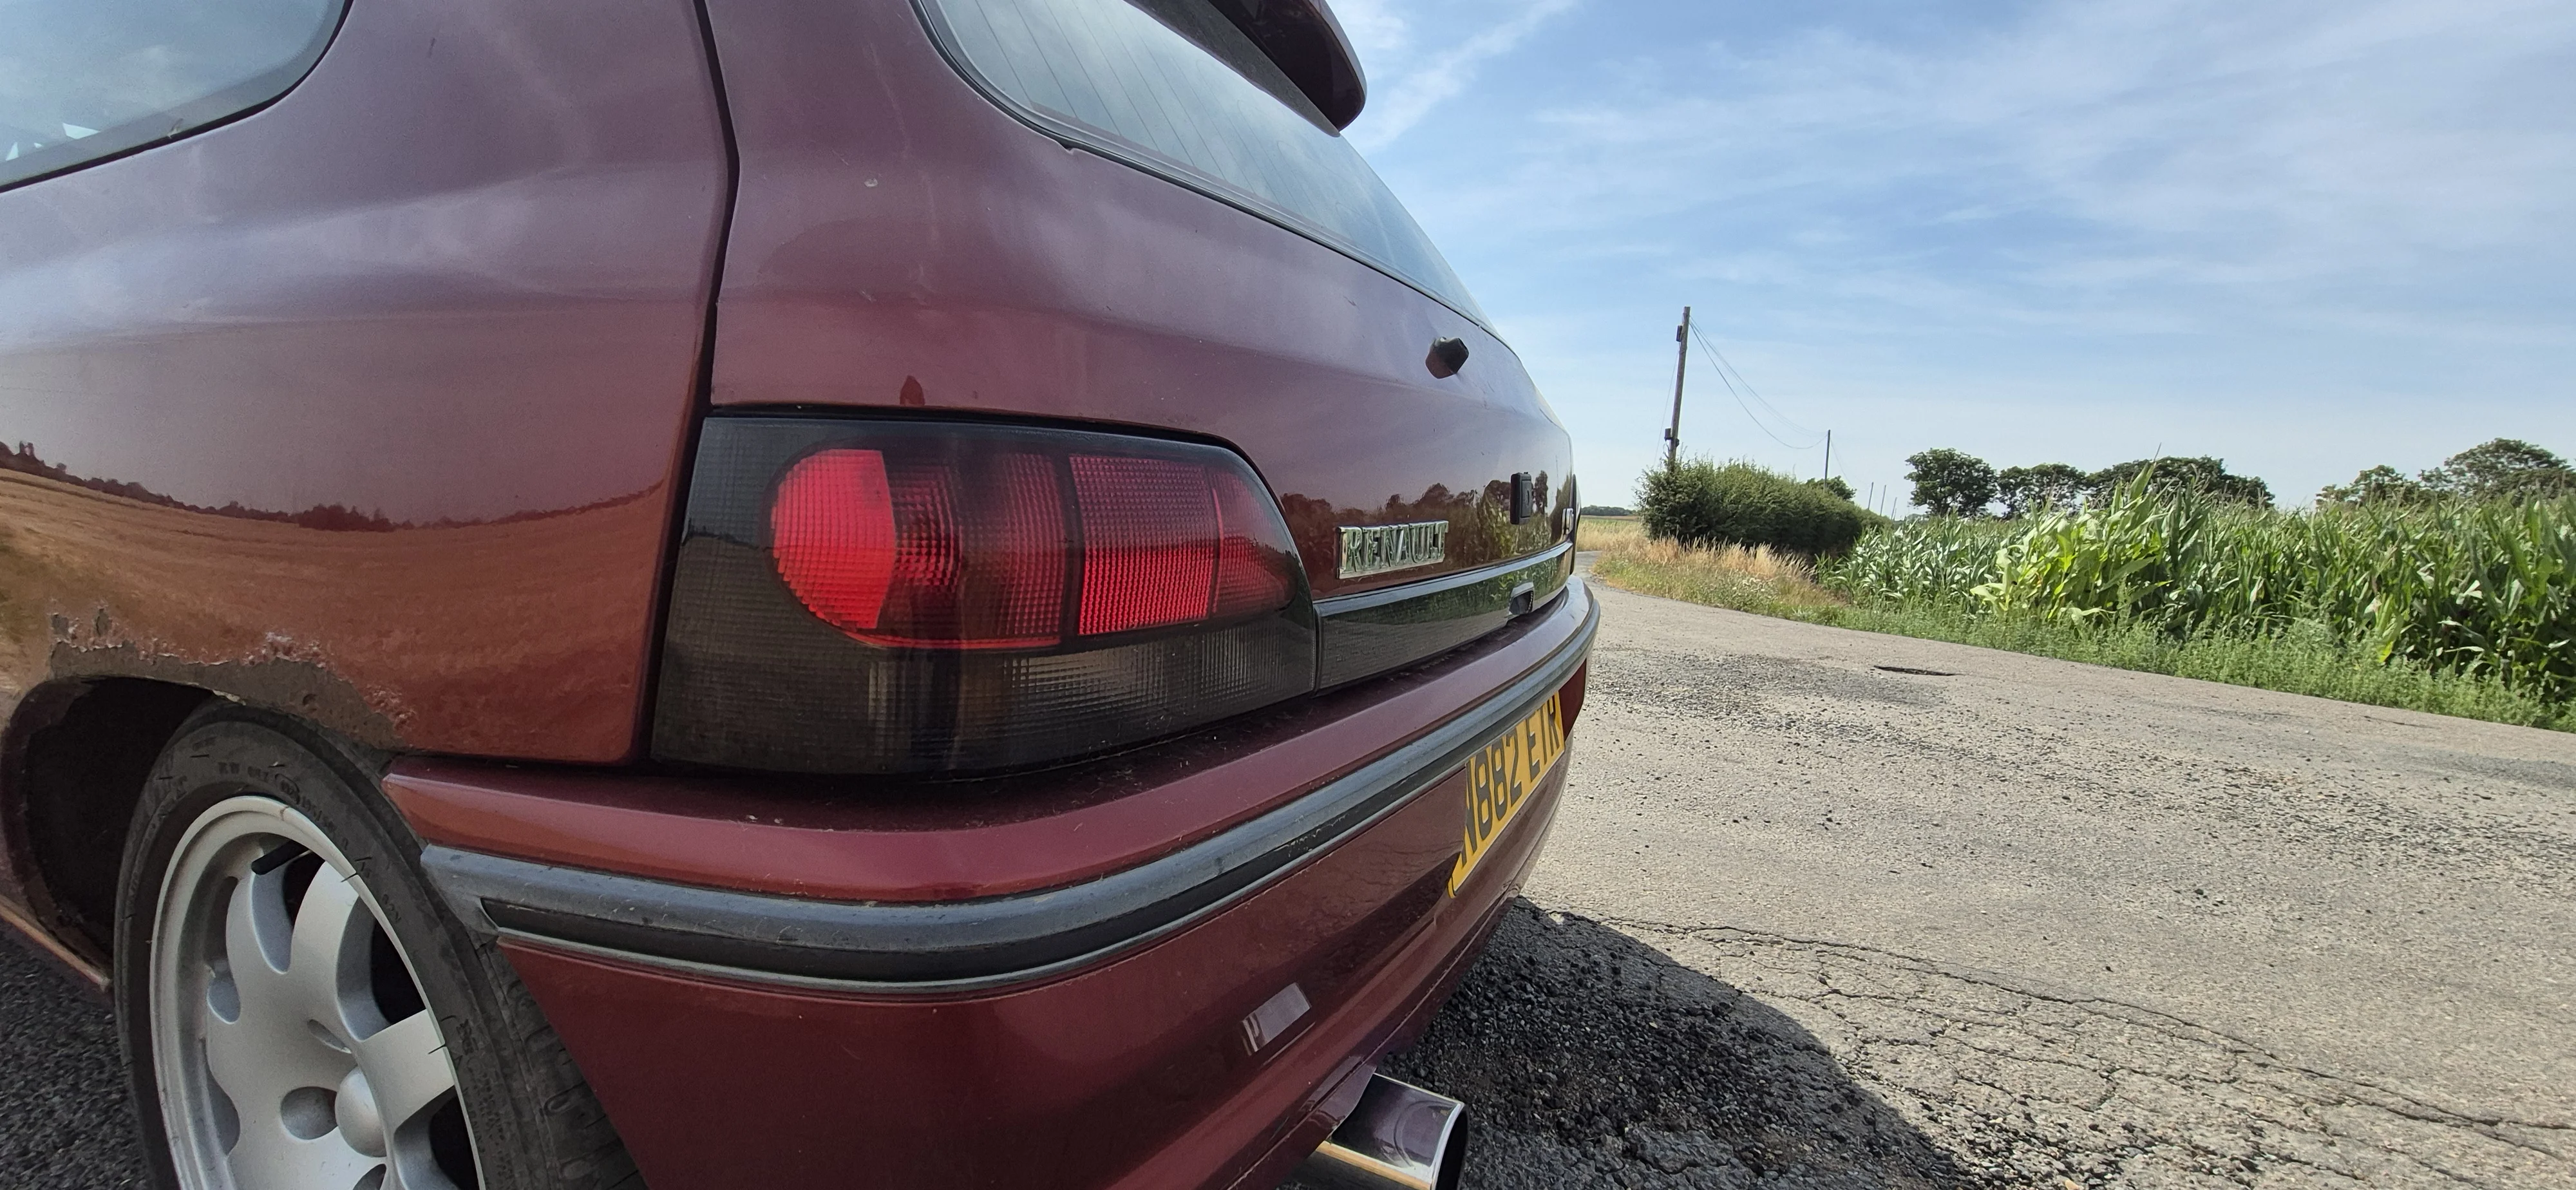
Now obviously the arches are shot, standard stuff. And the sills seemed a little bit...spongy... in places but generally reasonably solid. They should be fine until I can do a proper job on them next year, for now I can just drive and enjoy the car. It does however have some jobs that need doing.
-The roof is leaking and the IR reciever is bagged up
-There is a really irritating whistle coming from the engine
-The drivers door does not lock and unlock
-The passenger door window does not work
-The electric mirrors do not work
-The side repeaters do not work
-The horn does not work
-The seat fabric is unstitched on both seats
-The front bumper is barely attached and looks ugly due to being cut up for a previous FMIC
-The bonnet is rusty and dented
-The paintwork has lacquer peel all over
-1 tailgate hinge pin is broken
First job was to have a look at the leaky roof, and decided to have a look at the ariel first and aha! it is loose! So I remove the ariel and clean it up and stick it back on with some tiger seal.
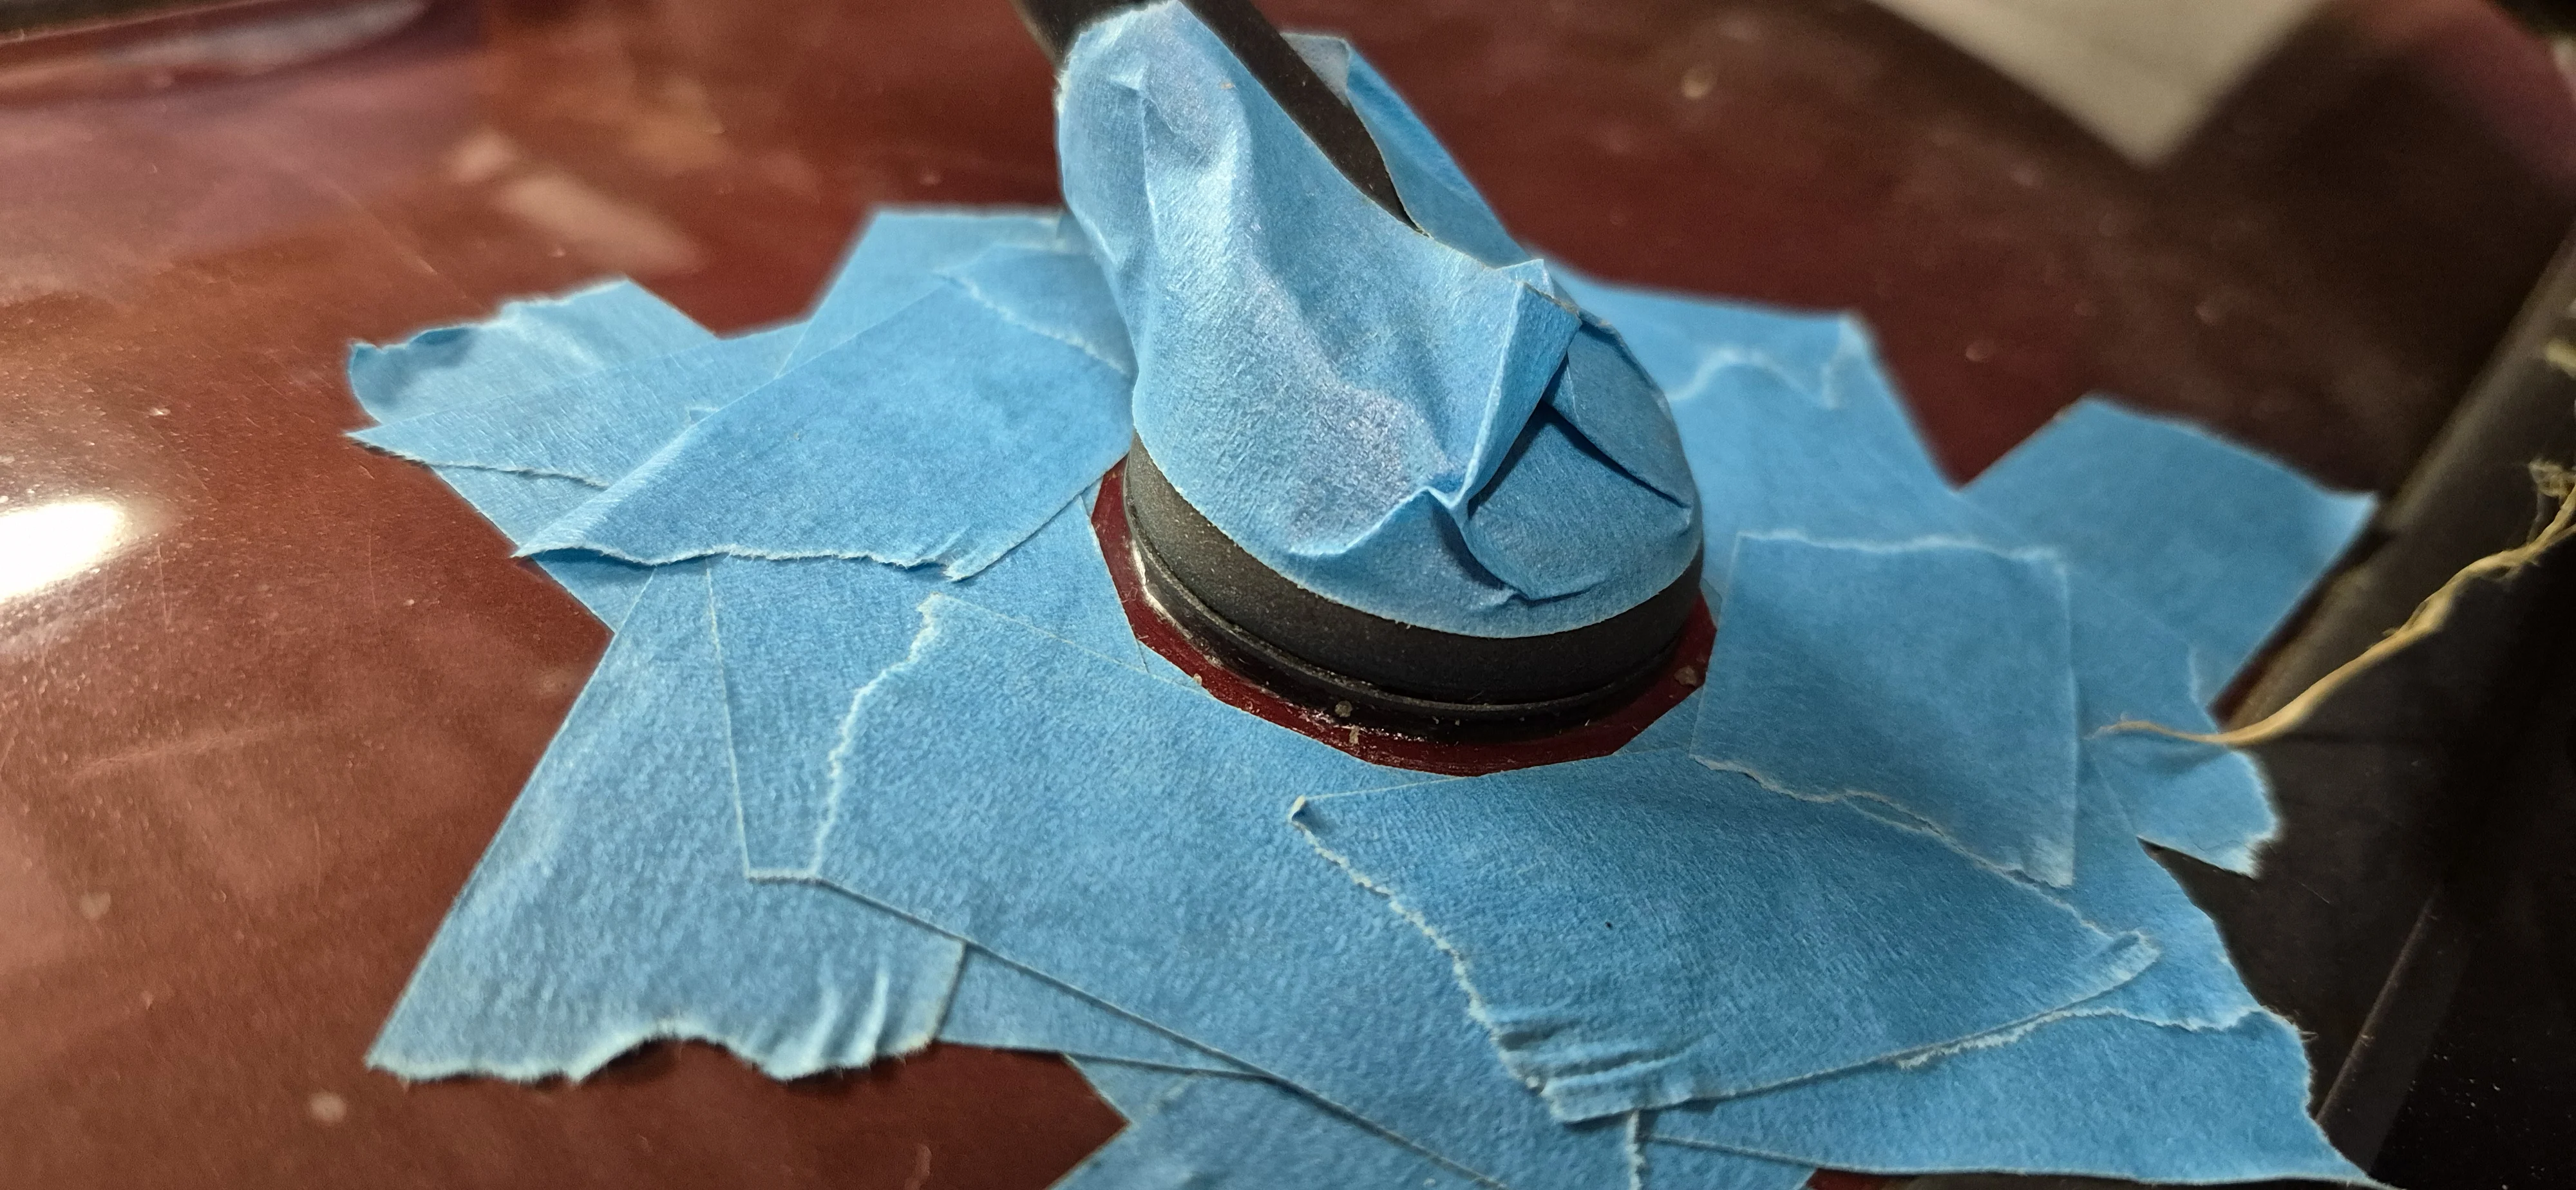
Then I build a little dam and check my work...
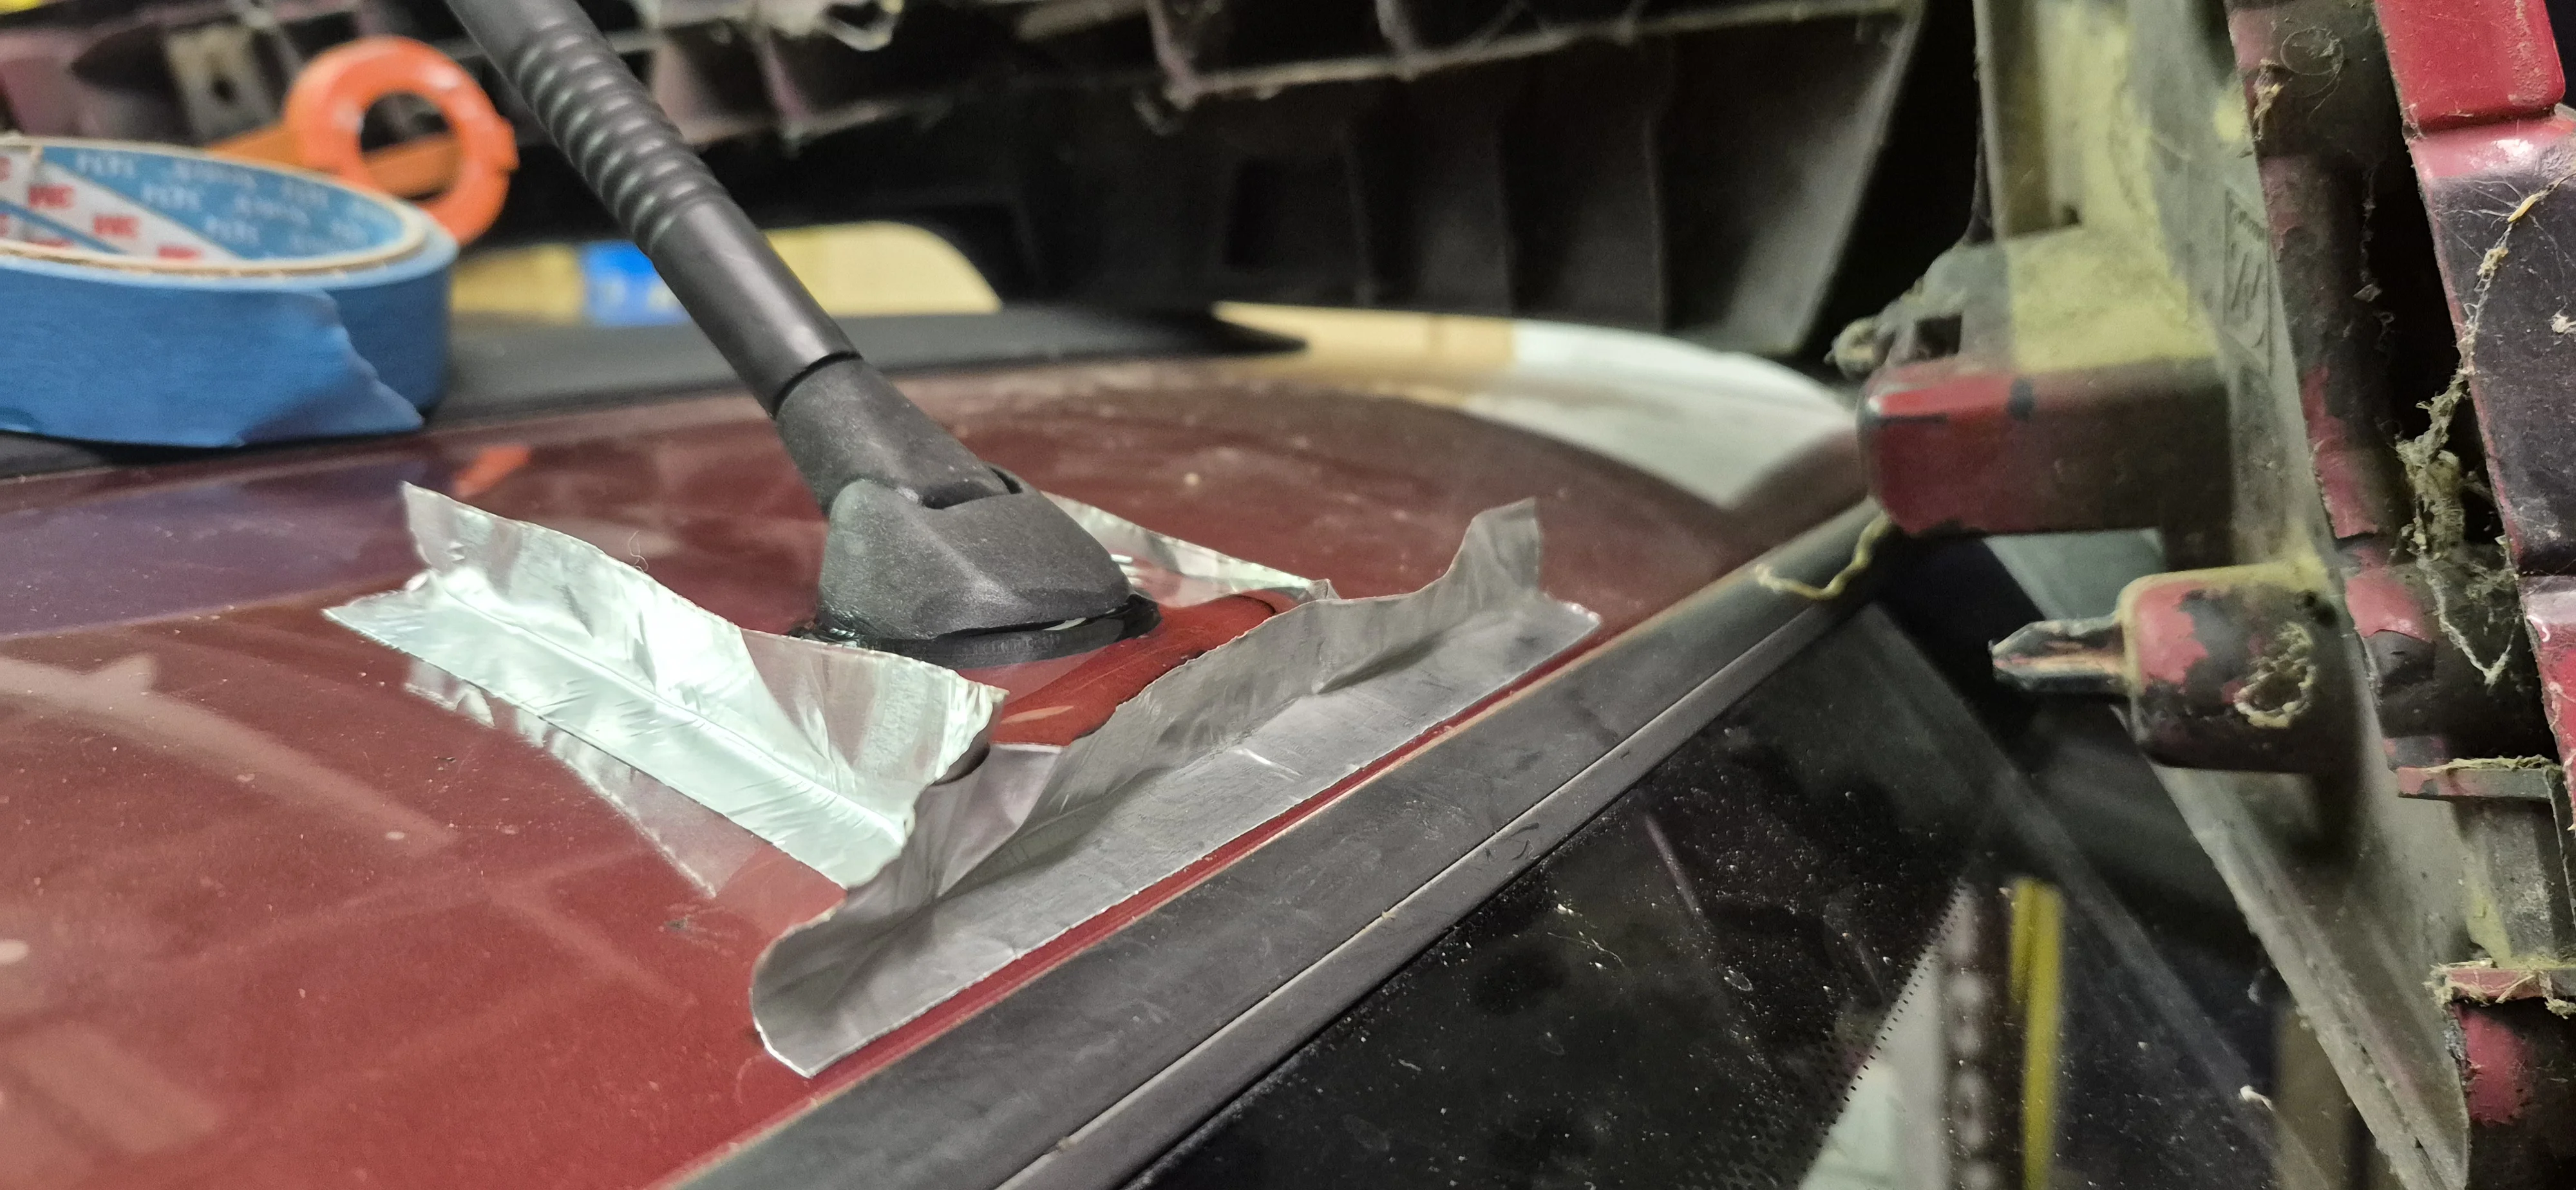
Perfect, it's not leaking. Job Done.
I had probably better check the sunroof though just to be sure
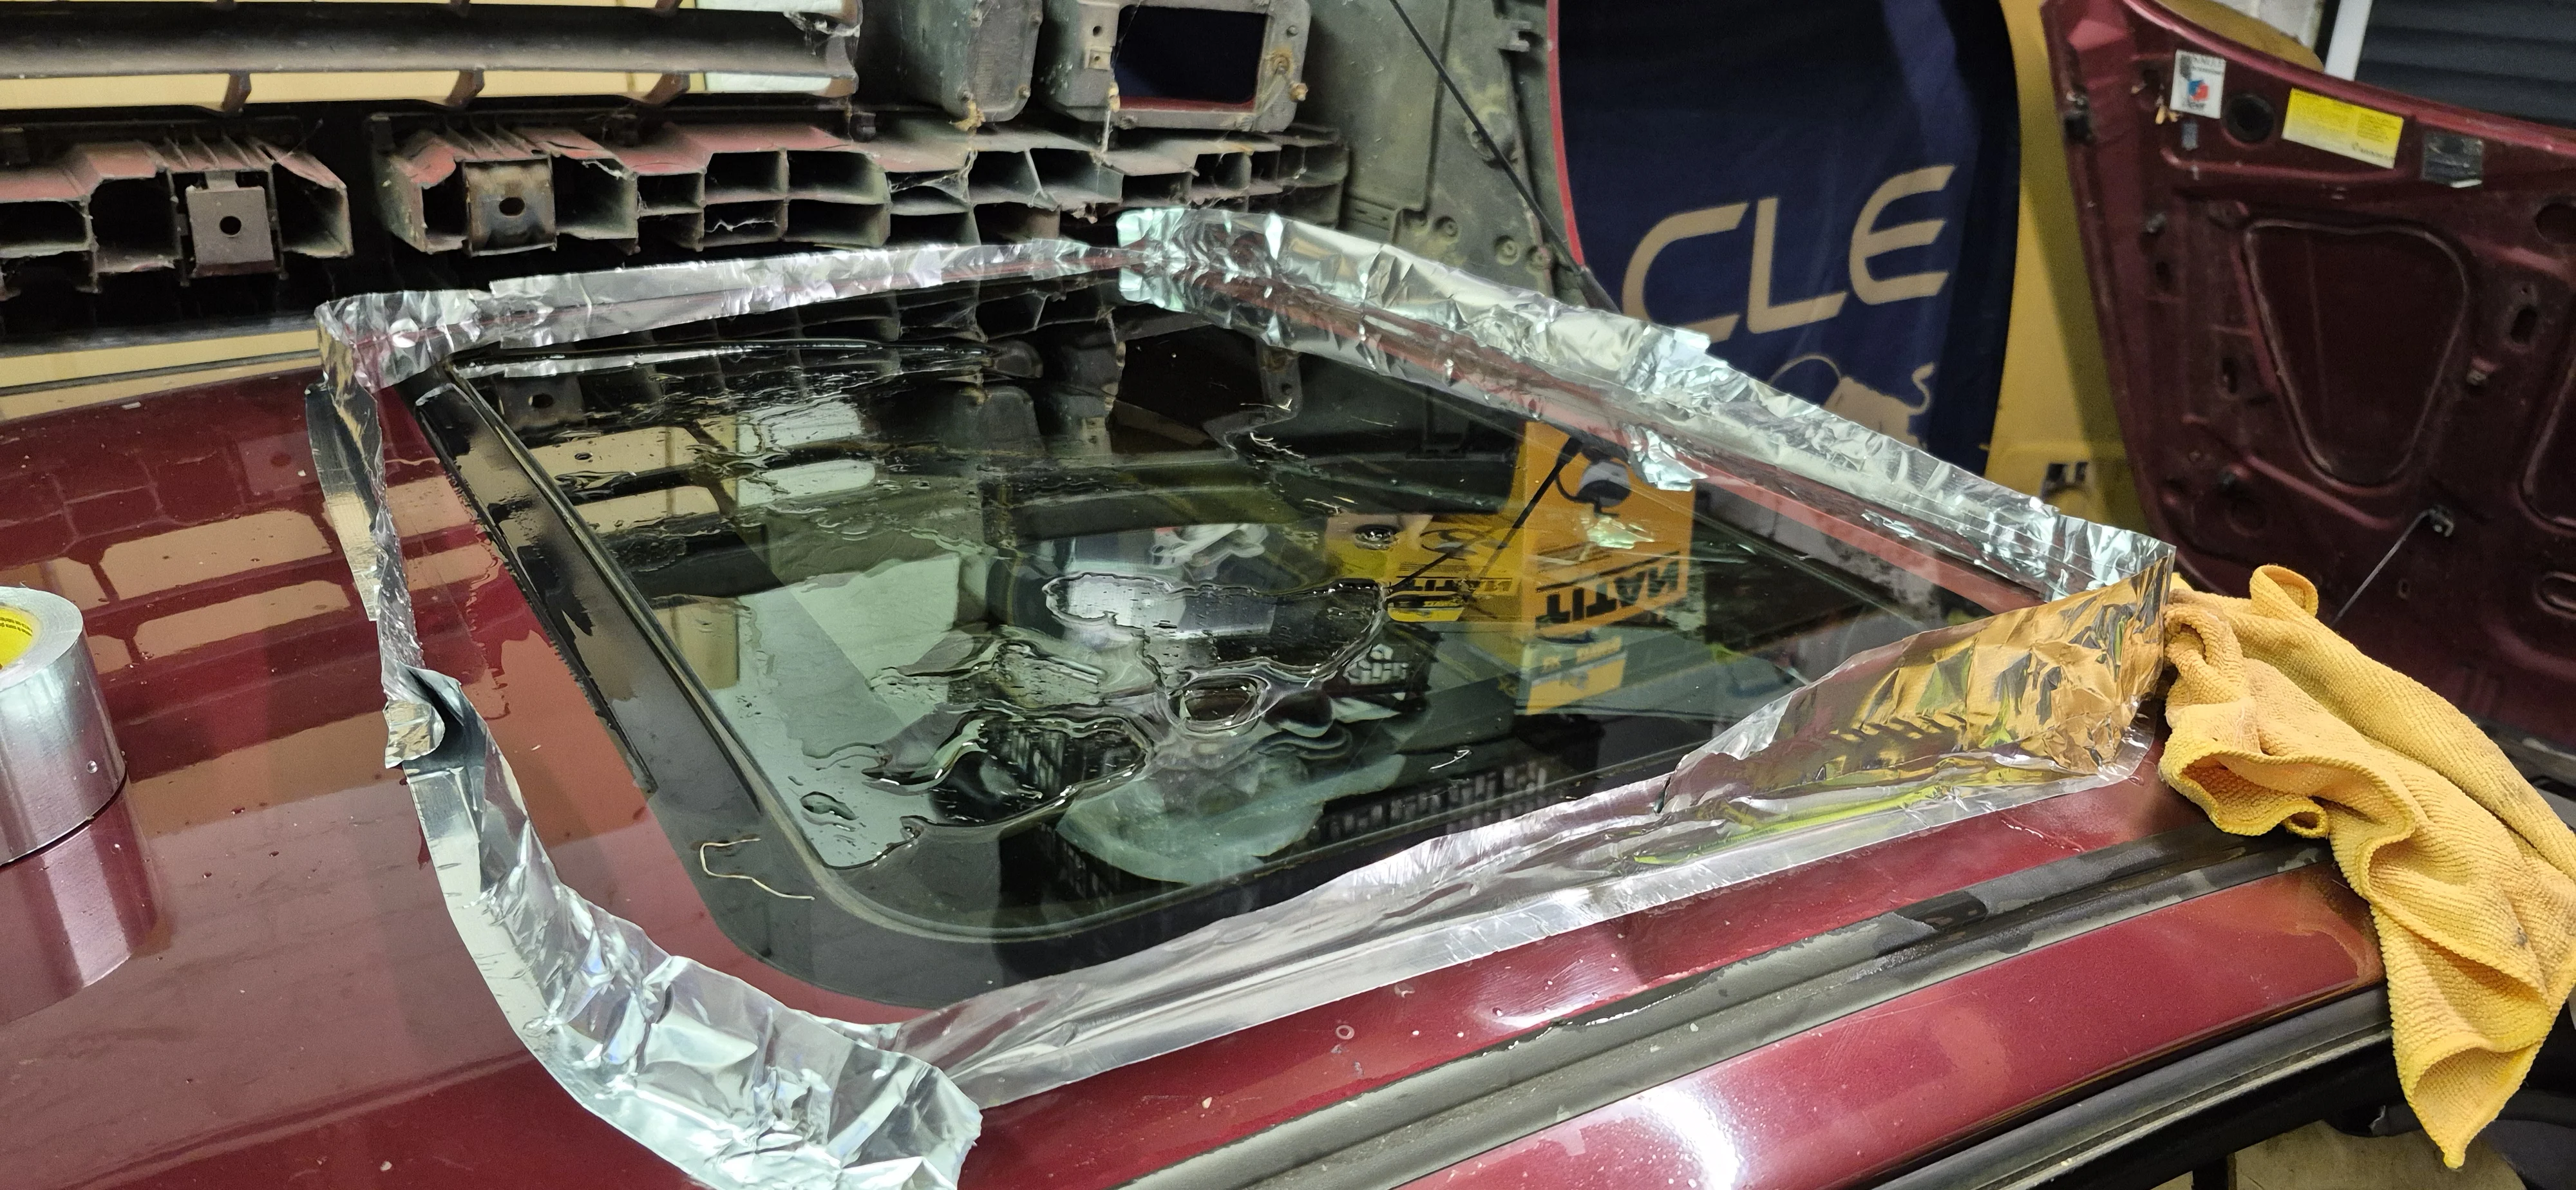
oh..
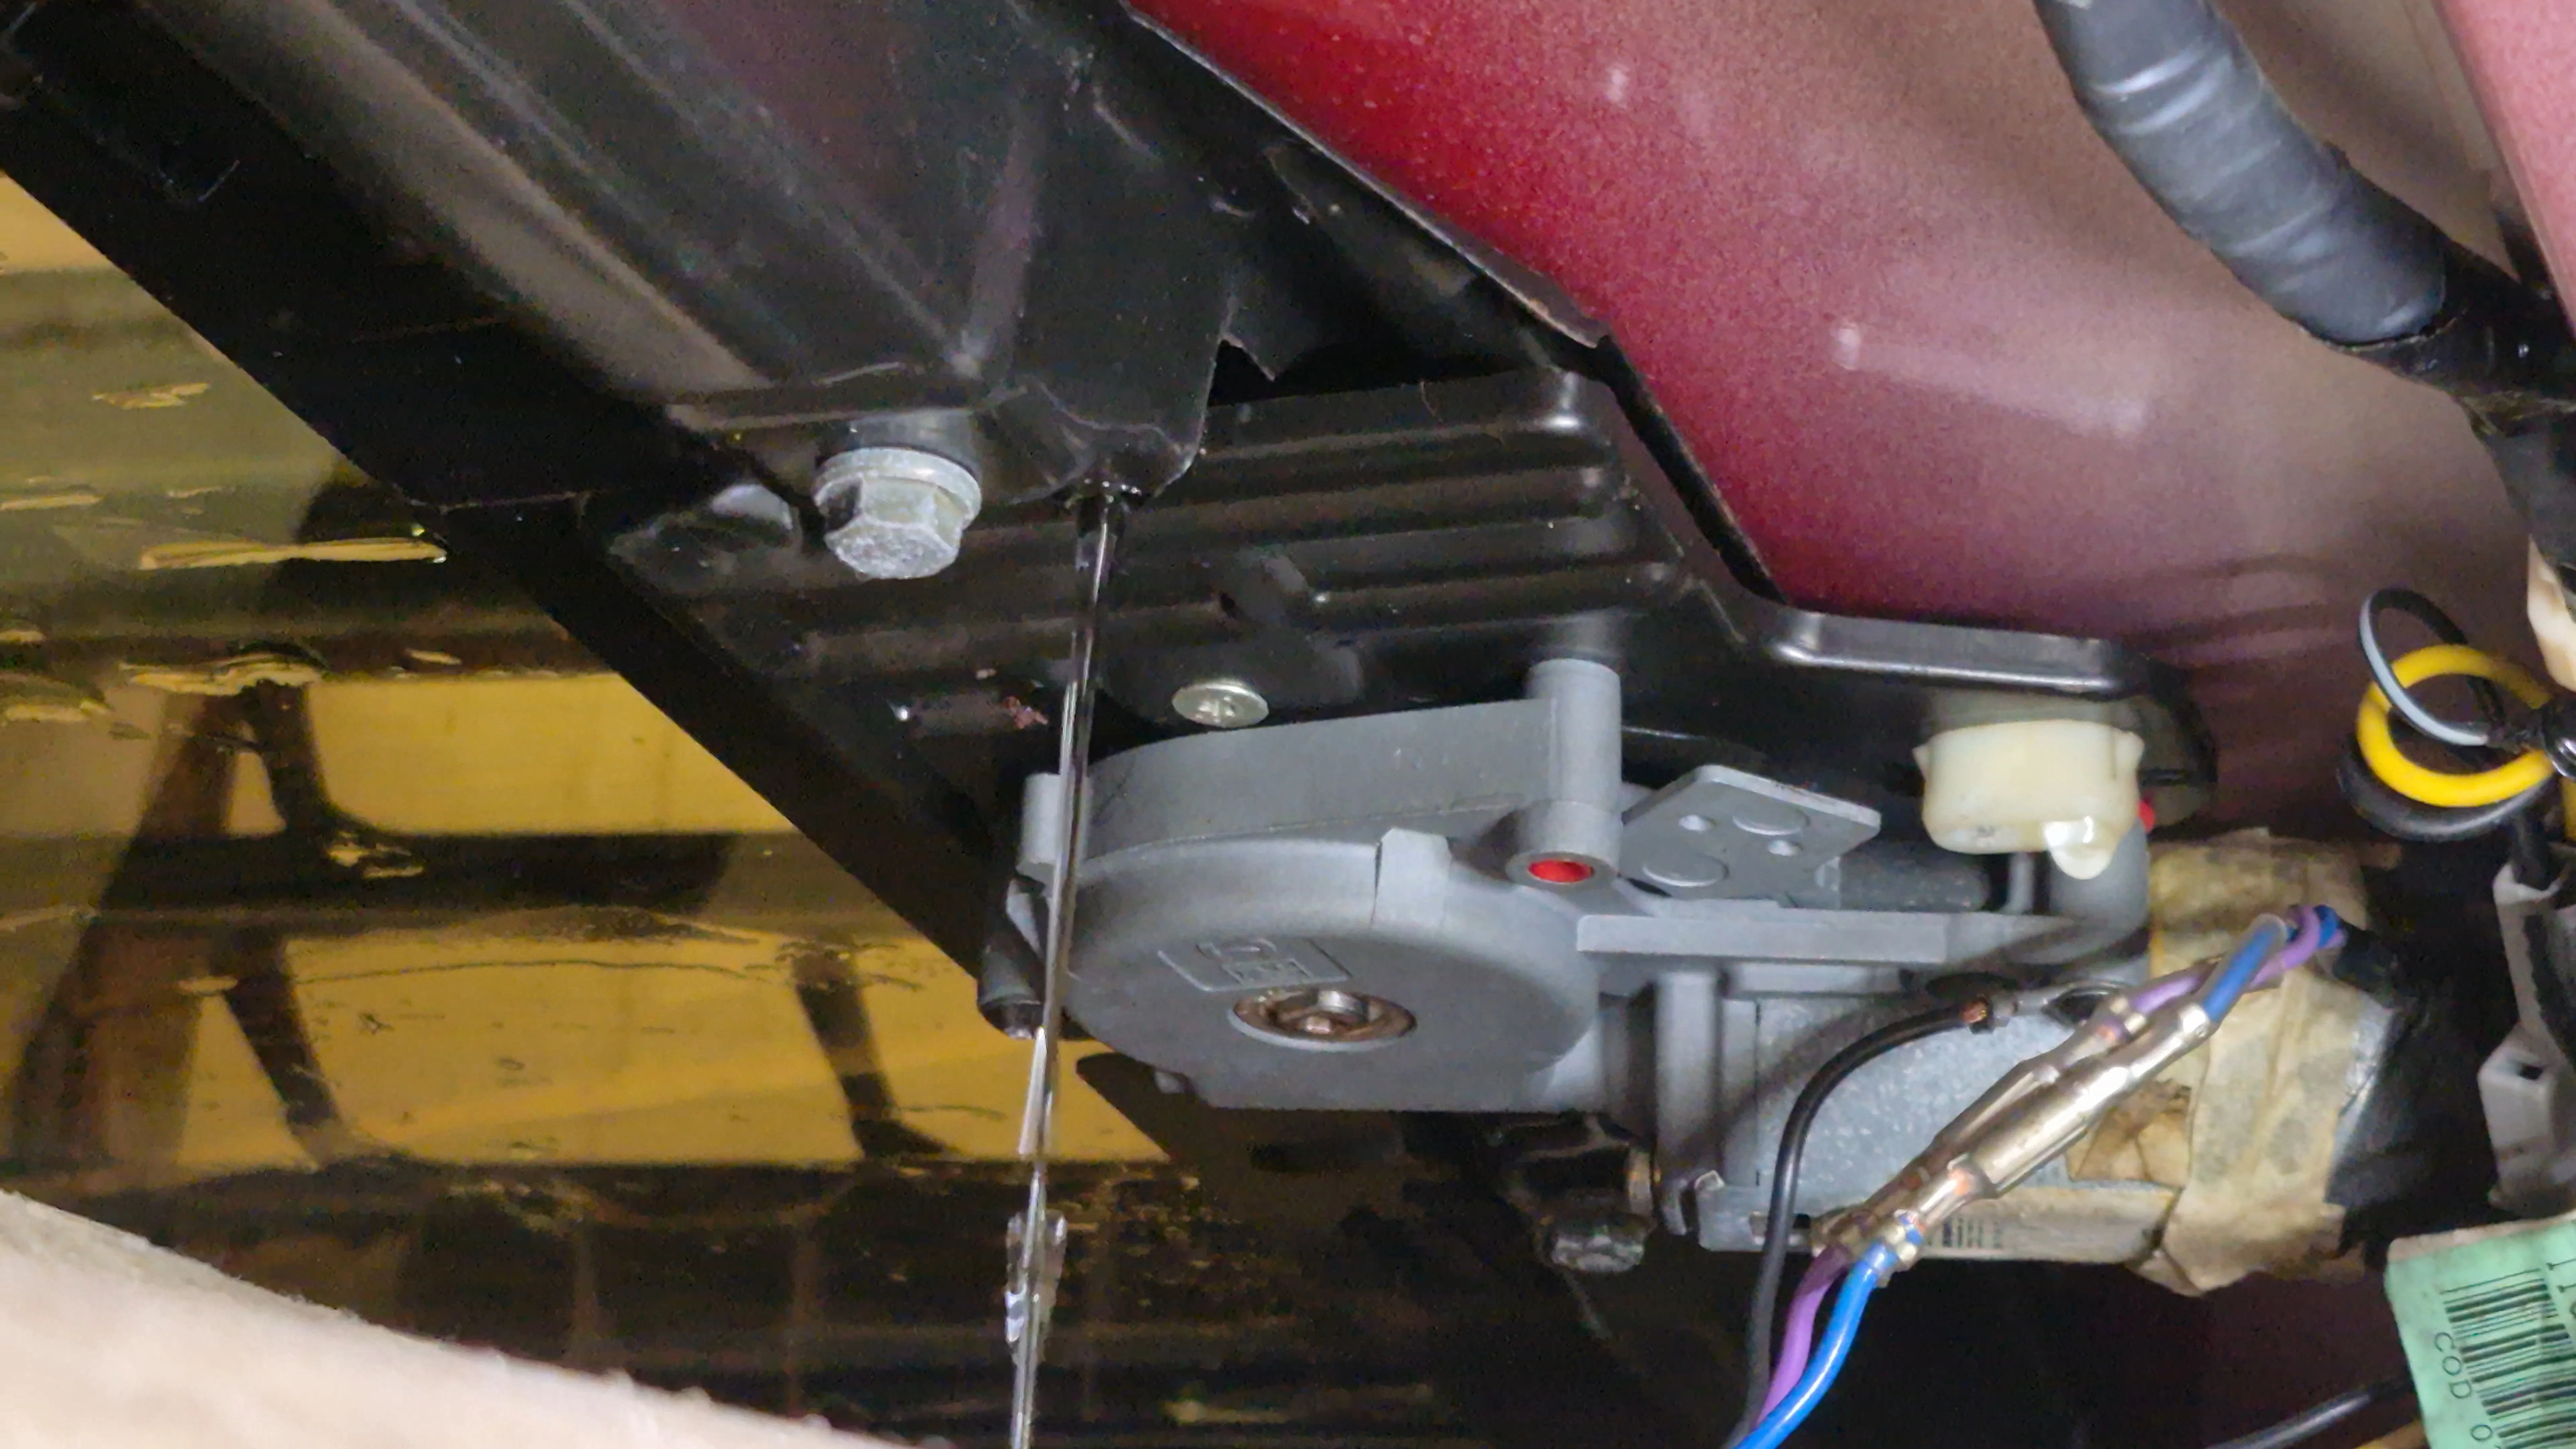
So out comes the sunroof, and I can see why it was leaking. There is not much in the way of original manufacturer seal. Somebody has been here before and there has been an attempt to seal it with silicone from the inside. I clean up the roof and sunroof frame throughly, mask them both up and use a whole tube of tiger seal before refitting the sunroof and cleaning up the bead.
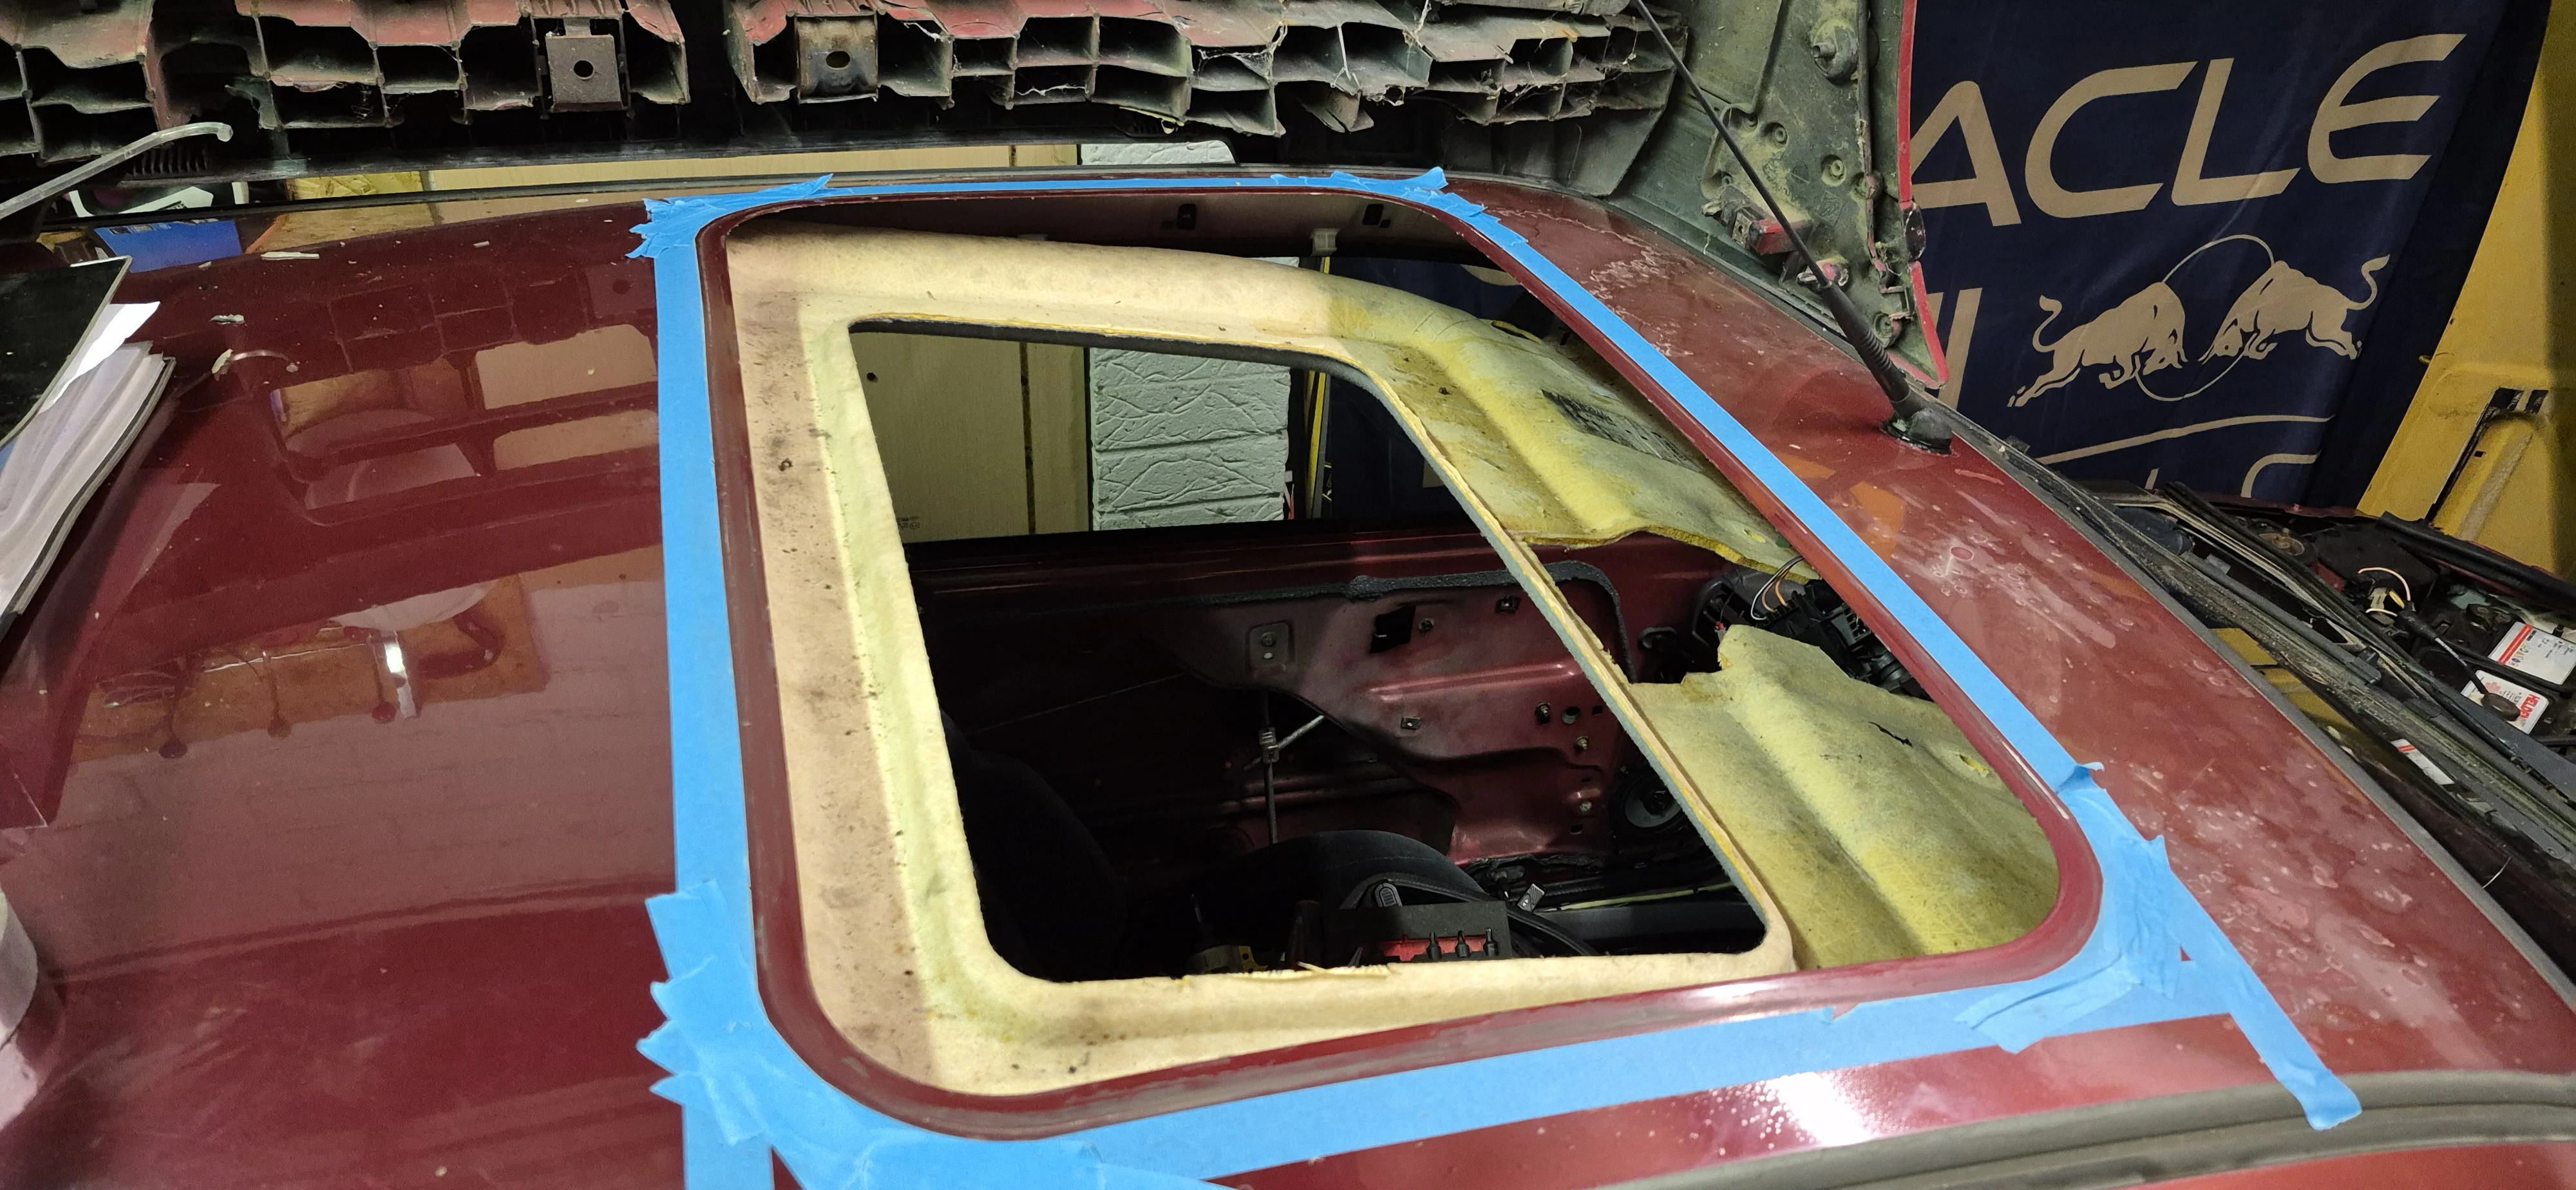
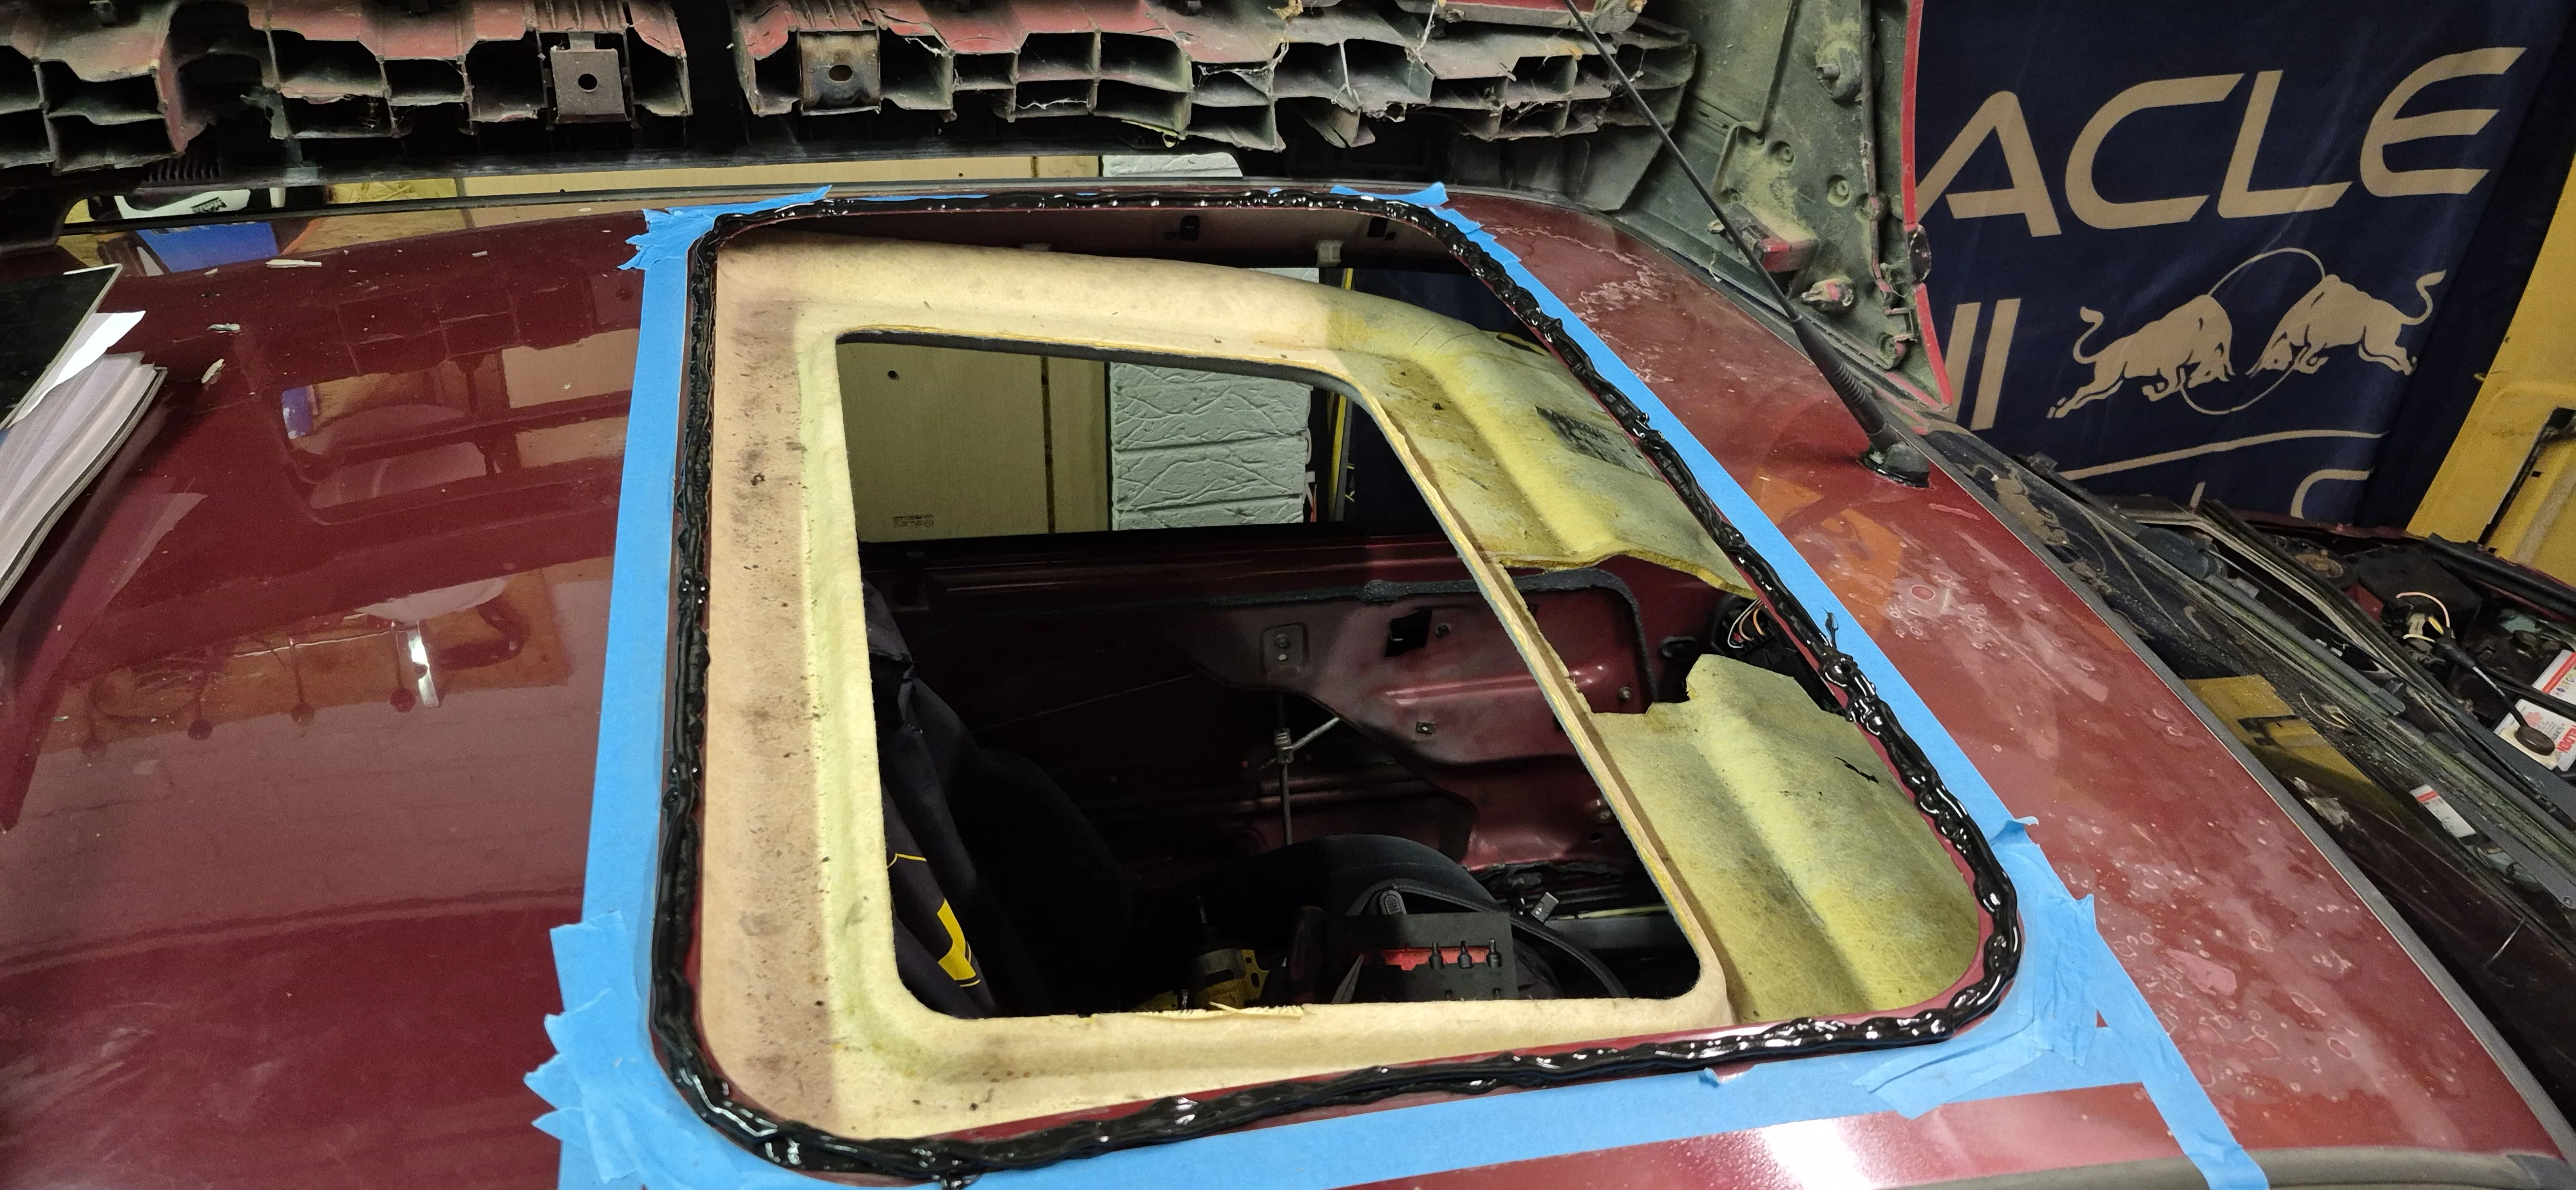
I put it on thick, taking no chances
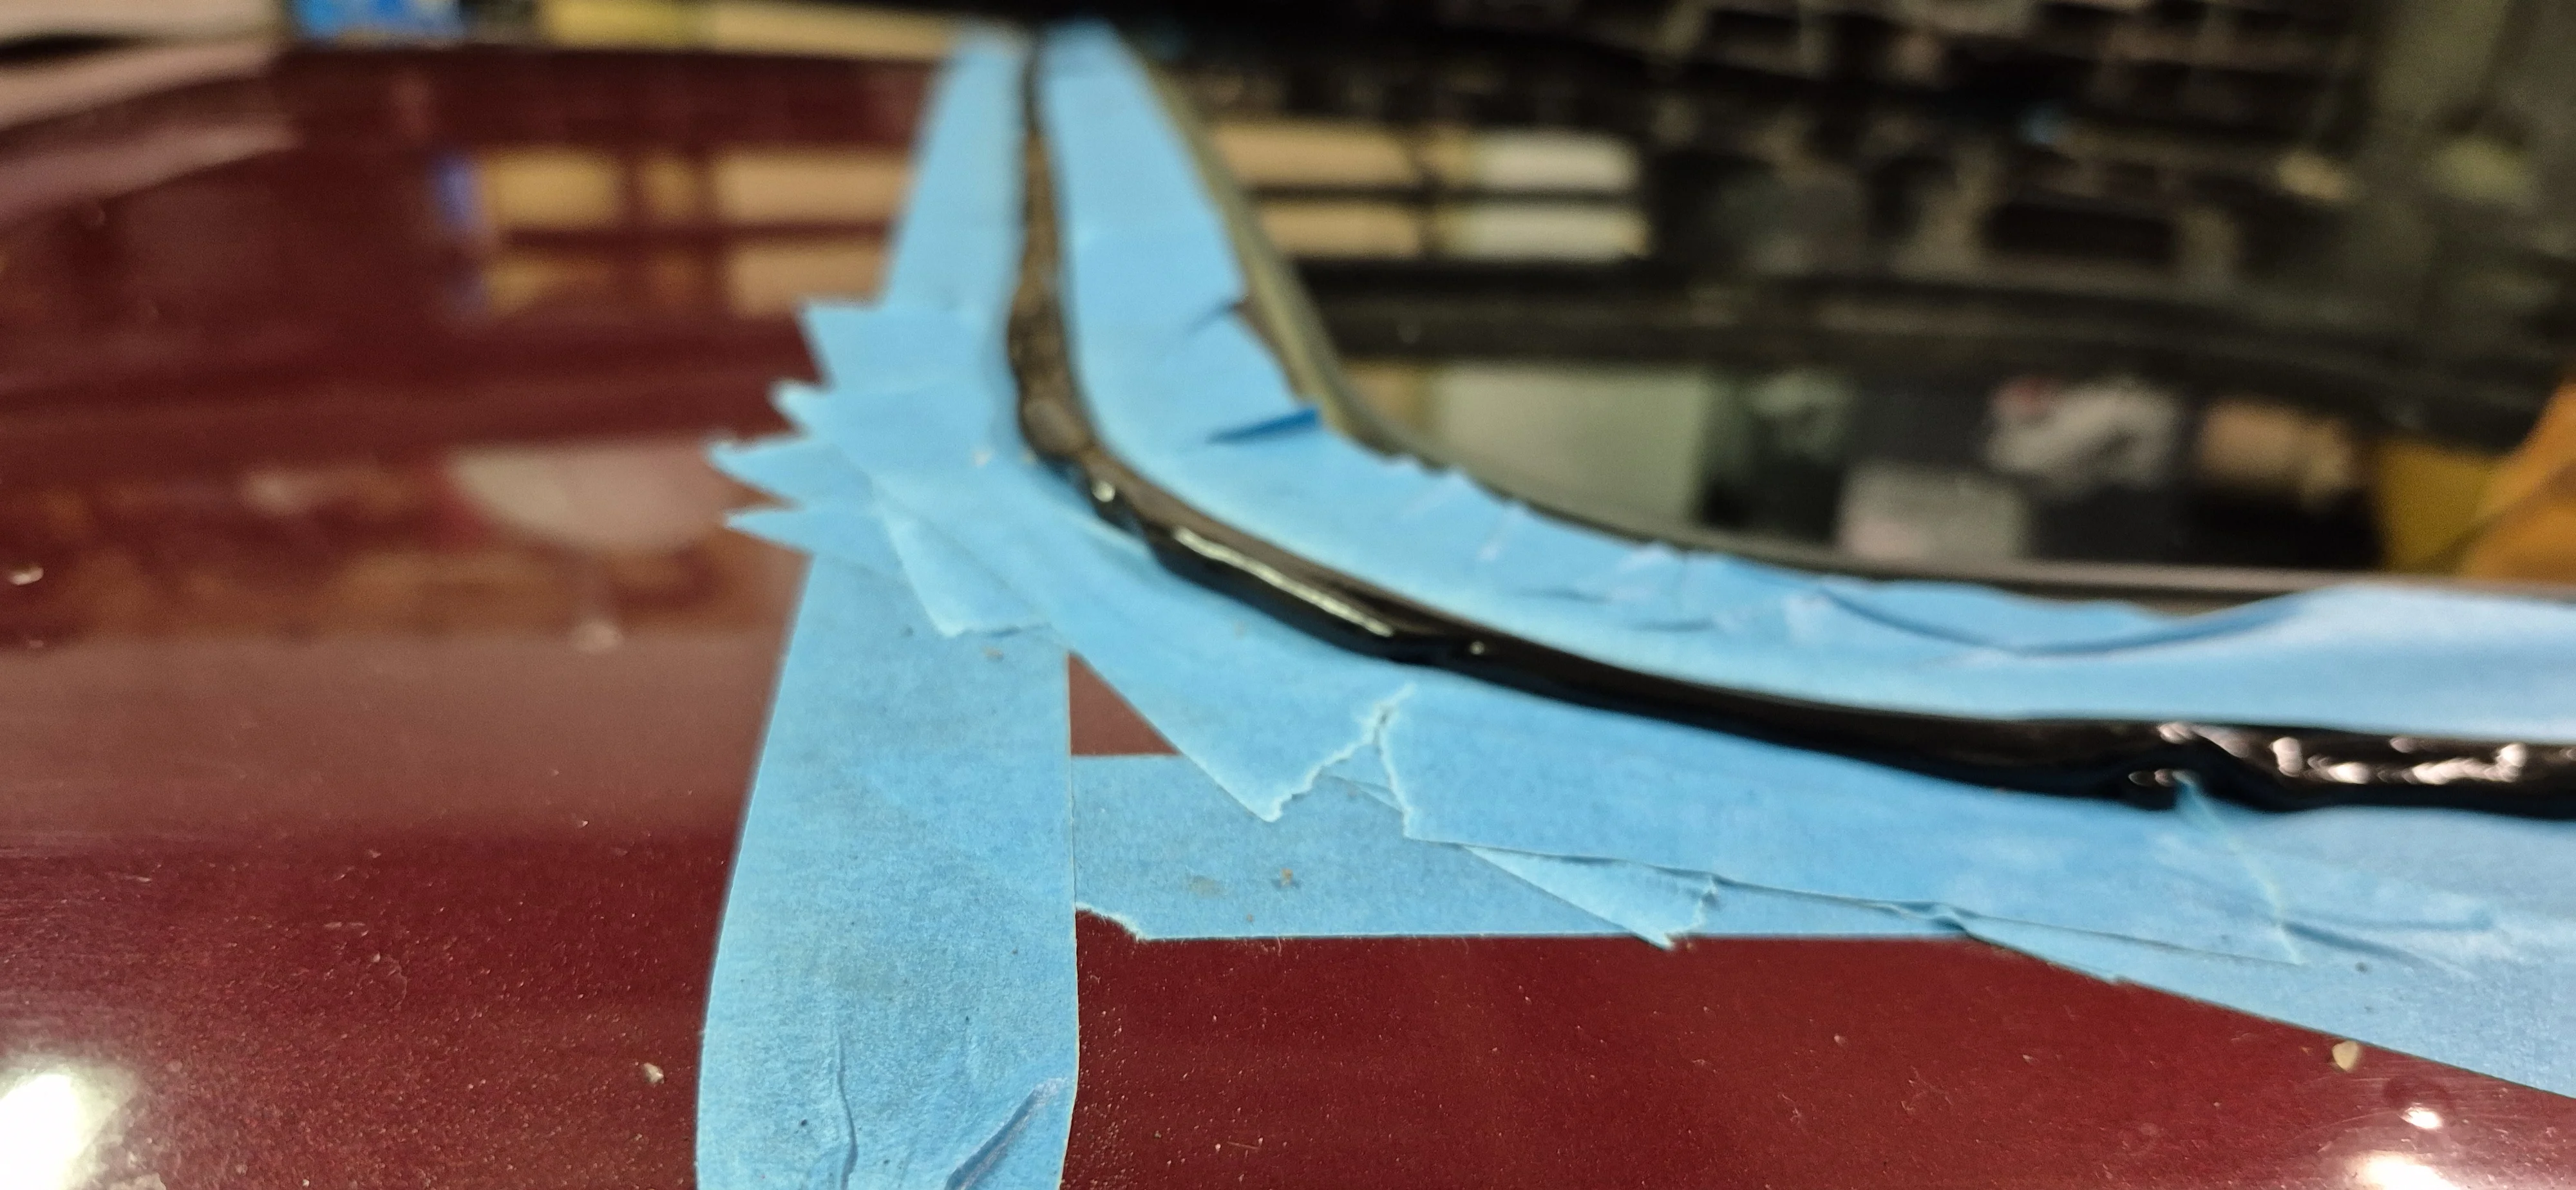
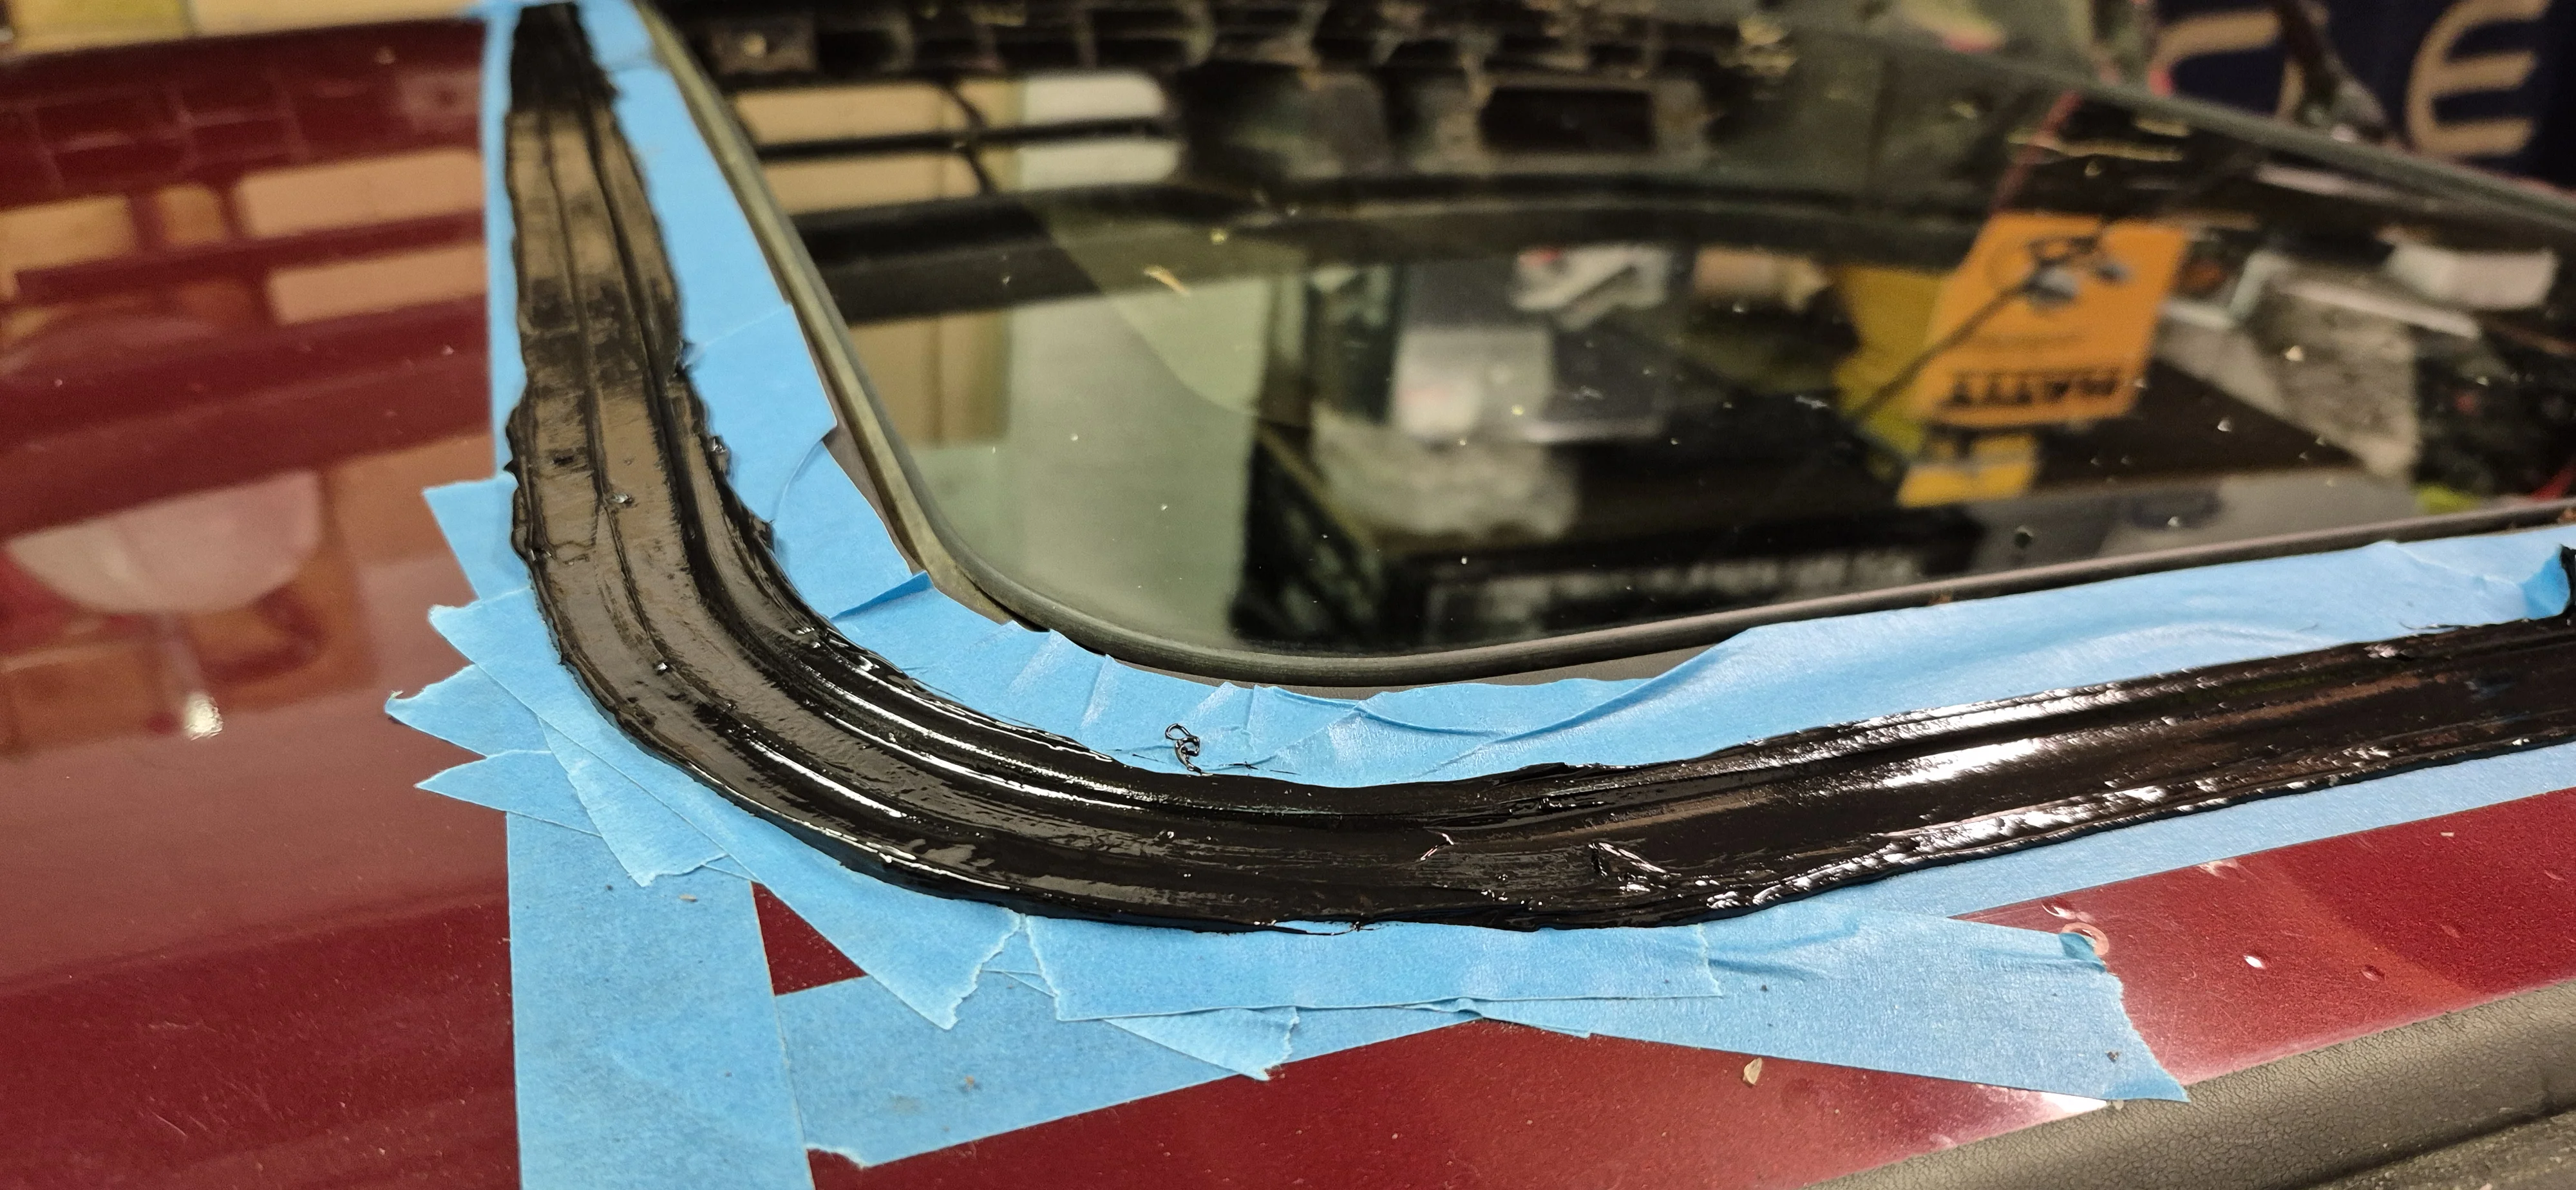
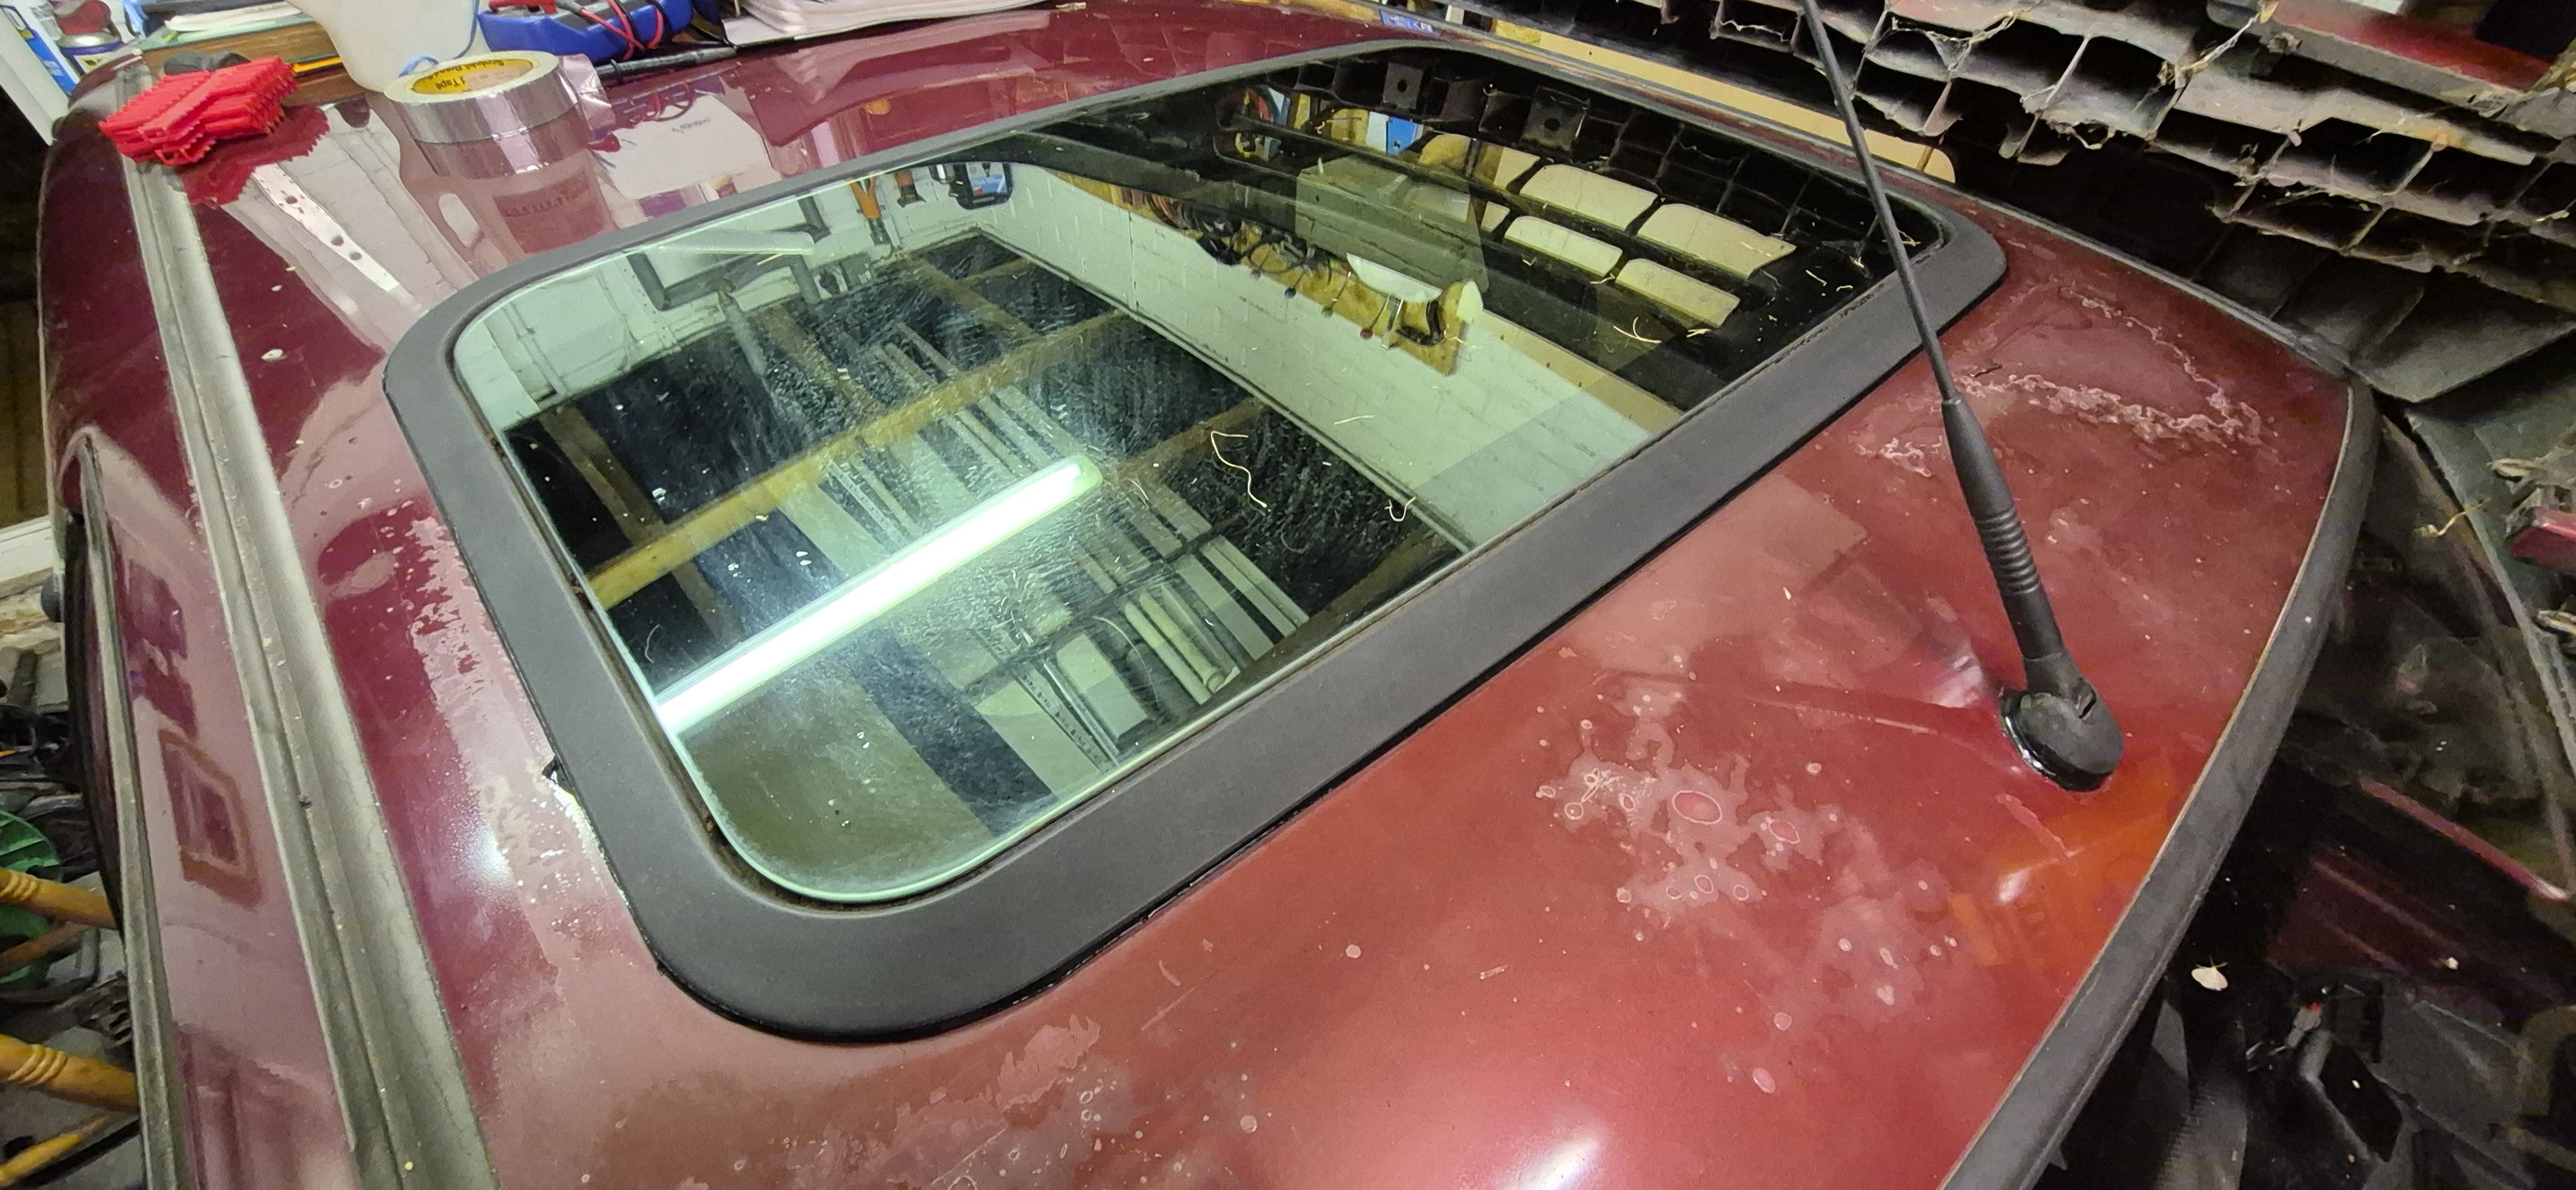
Another dam built, another leak check carried out. A vast improvment, no longer streaming in. There is a slight trickle that I can see it coming past the seal on the window glass. So i open up the sunroof manually (as the sunroof motor also doesn't work I forgot to put that on the list!). I clean the surround and seal thoroughly cleaning all the gunk out from underneath the lip of the seal. This seems to do the trick and it is holding the water at bay.
Next job was to have a look at why the passenger window wasn't working, I have no pictures of this because that turned out to just be a blown fuse. Replaced the fuse and jobs a good 'un, albeit it winds up and down very slowly.
I remove the door cars anyway to find out why the electric door mirrors aren't working and the drivers door lock and also lube up the window regulators at the same time. The mirrors aren't working because the aren't plugged in, and they aren't plugged in because someone has cut the plugs off the loom for some reason! So I managed to source 2 complete door looms from a top bloke on facebook who had them spare in his loft and posted them to me for no charge. Swapped the door looms and got the passenger mirror working, however the driver mirror still doesn't work. I need to do some more investigation into what the issue is, if it's the switch of the mirror itself.
I replaced the drivers door lock actuator also whilst the door cards are off, and that solved the problem of the door lock not working. Another job done.
Next job, investigate why the horn is not working. I find this is also not plugged in when I take the bumped off, easy fix then. But just plugging it back in doesn't help. The horn looks very corroded and connecting it direct to the battery produces no sound. So a generic 2 tone horn is ordered from ebay and fitted, and that is another job ticked off the list.
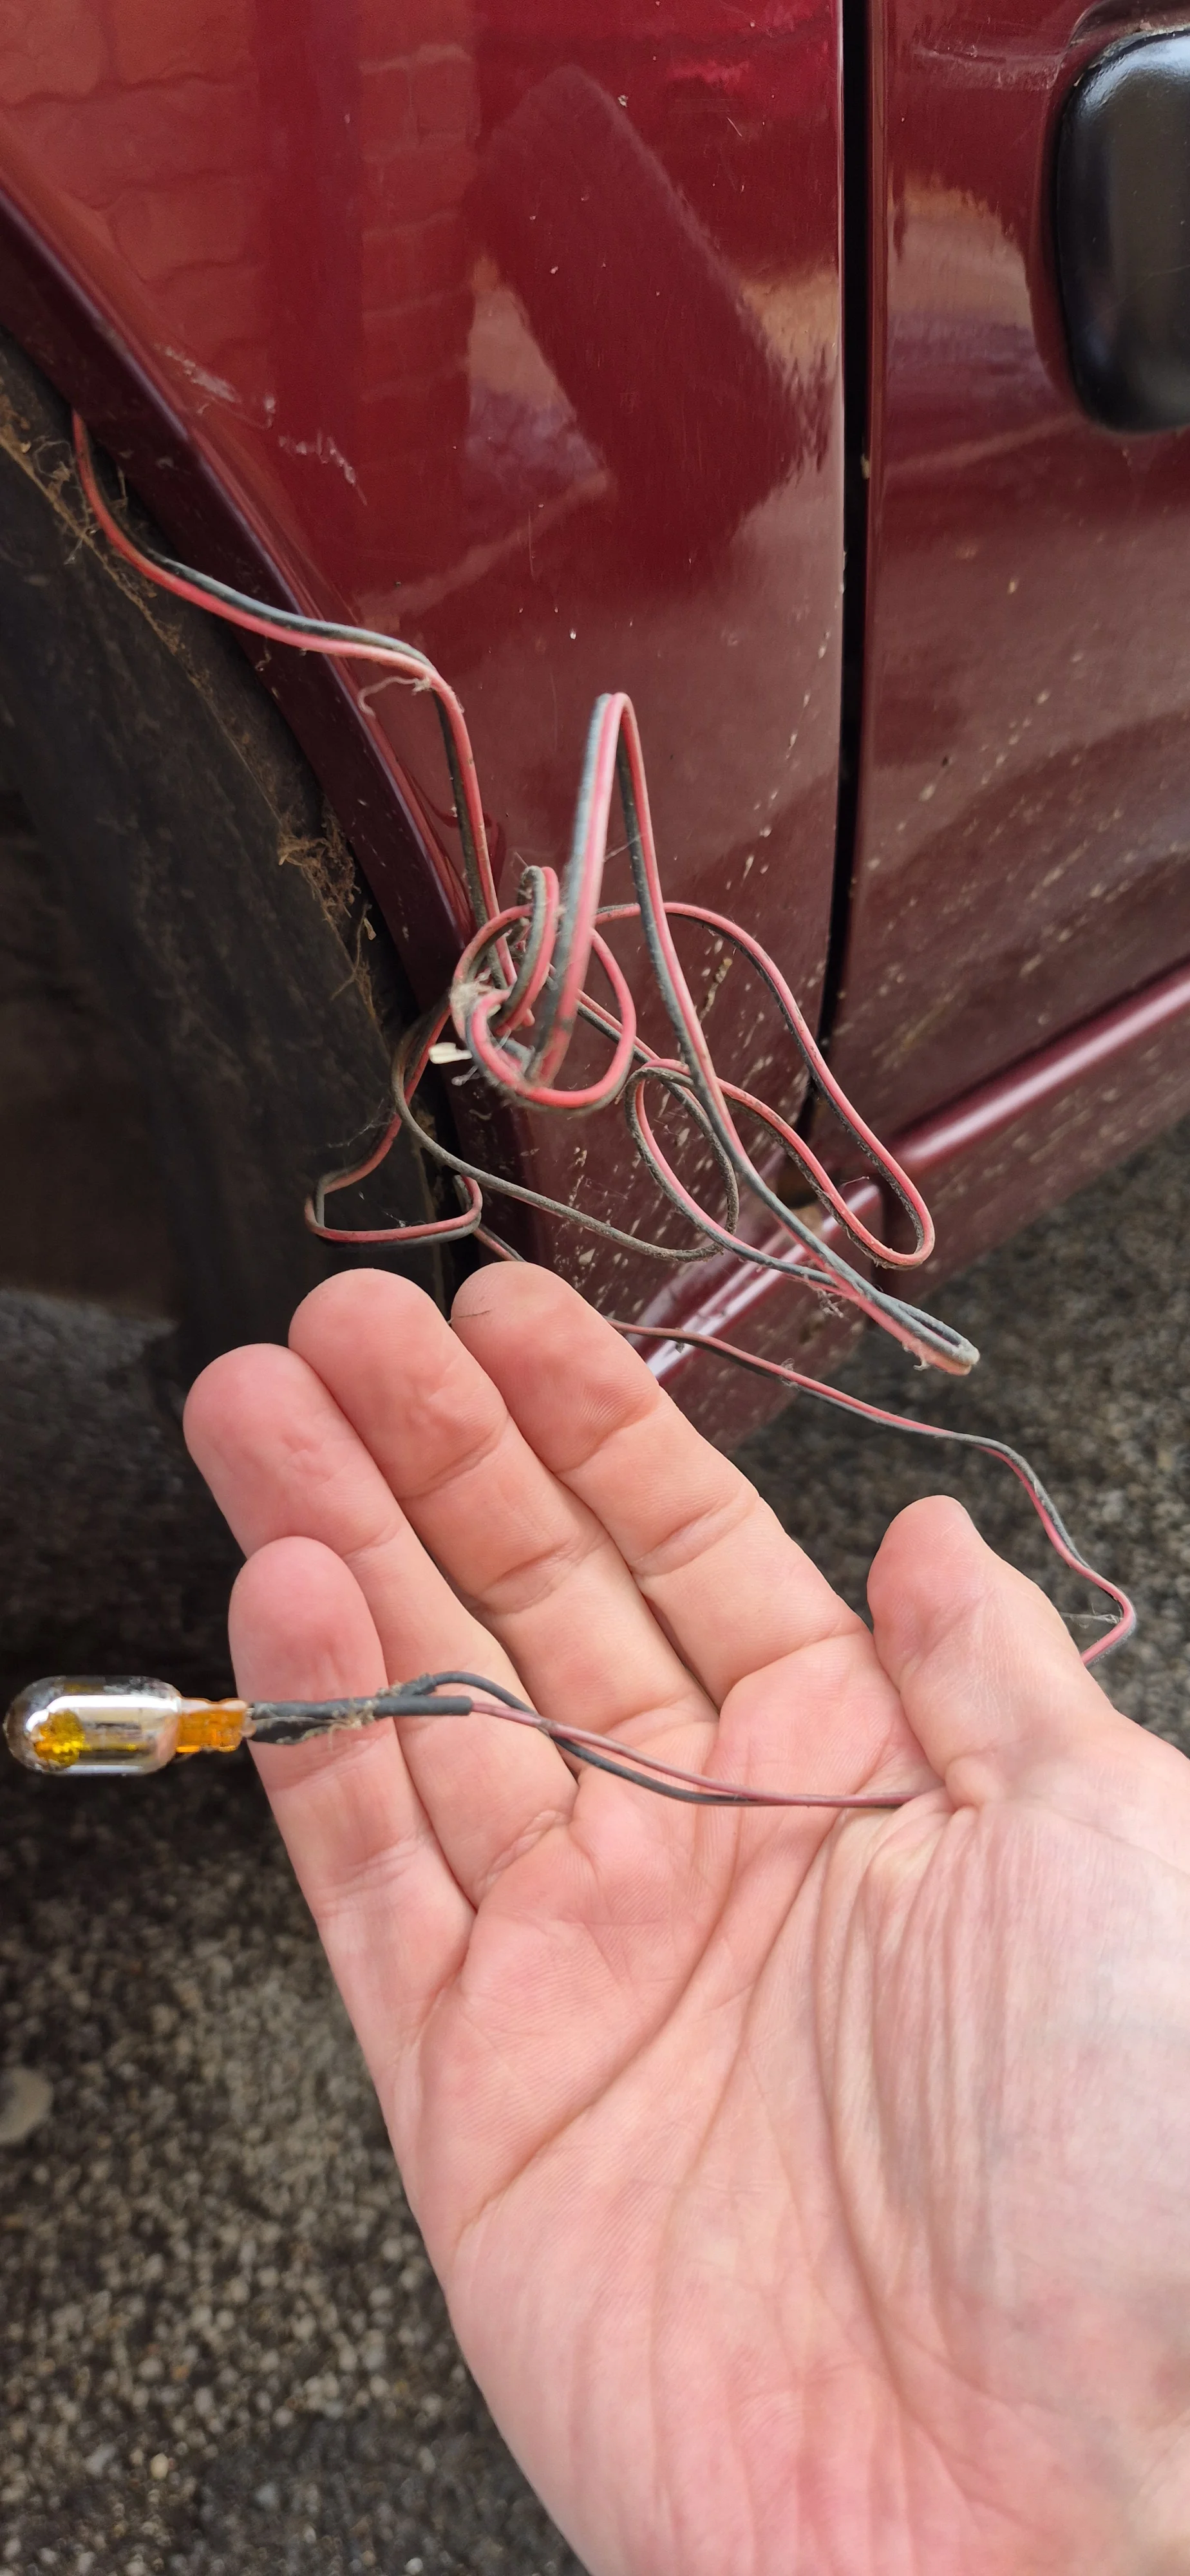
Next I look into the side repeaters, pop them out and find no bulb or bulb holder in there. So I take the arche liners out and dig around and find this set up, a bulb bodged into the look with what looks like speaker wire! Not sure what the plan was to hold it in the side repeater as it has no holder. And it doesn't work anyway, it the same on the other side.
I order and fit some generic LED side repeaters from ebay as a quick fix, they are smoked and are 'animated' style. I don't like them but are a quick solution, I will be ordering the correct parts for the original look down the line.
) so was determined to get a car that needed tidying up but I can use and enjoy now. I absolutley do not want or need another car that is going to be off the road for a long time.Enter my valver
Now obviously the arches are shot, standard stuff. And the sills seemed a little bit...spongy... in places but generally reasonably solid. They should be fine until I can do a proper job on them next year, for now I can just drive and enjoy the car. It does however have some jobs that need doing.
-The roof is leaking and the IR reciever is bagged up
-There is a really irritating whistle coming from the engine
-The drivers door does not lock and unlock
-The passenger door window does not work
-The electric mirrors do not work
-The side repeaters do not work
-The horn does not work
-The seat fabric is unstitched on both seats
-The front bumper is barely attached and looks ugly due to being cut up for a previous FMIC
-The bonnet is rusty and dented
-The paintwork has lacquer peel all over
-1 tailgate hinge pin is broken
First job was to have a look at the leaky roof, and decided to have a look at the ariel first and aha! it is loose! So I remove the ariel and clean it up and stick it back on with some tiger seal.
Then I build a little dam and check my work...
Perfect, it's not leaking. Job Done.
I had probably better check the sunroof though just to be sure
oh..
So out comes the sunroof, and I can see why it was leaking. There is not much in the way of original manufacturer seal. Somebody has been here before and there has been an attempt to seal it with silicone from the inside. I clean up the roof and sunroof frame throughly, mask them both up and use a whole tube of tiger seal before refitting the sunroof and cleaning up the bead.
I put it on thick, taking no chances
Another dam built, another leak check carried out. A vast improvment, no longer streaming in. There is a slight trickle that I can see it coming past the seal on the window glass. So i open up the sunroof manually (as the sunroof motor also doesn't work I forgot to put that on the list!). I clean the surround and seal thoroughly cleaning all the gunk out from underneath the lip of the seal. This seems to do the trick and it is holding the water at bay.
Next job was to have a look at why the passenger window wasn't working, I have no pictures of this because that turned out to just be a blown fuse. Replaced the fuse and jobs a good 'un, albeit it winds up and down very slowly.
I remove the door cars anyway to find out why the electric door mirrors aren't working and the drivers door lock and also lube up the window regulators at the same time. The mirrors aren't working because the aren't plugged in, and they aren't plugged in because someone has cut the plugs off the loom for some reason! So I managed to source 2 complete door looms from a top bloke on facebook who had them spare in his loft and posted them to me for no charge. Swapped the door looms and got the passenger mirror working, however the driver mirror still doesn't work. I need to do some more investigation into what the issue is, if it's the switch of the mirror itself.
I replaced the drivers door lock actuator also whilst the door cards are off, and that solved the problem of the door lock not working. Another job done.
Next job, investigate why the horn is not working. I find this is also not plugged in when I take the bumped off, easy fix then. But just plugging it back in doesn't help. The horn looks very corroded and connecting it direct to the battery produces no sound. So a generic 2 tone horn is ordered from ebay and fitted, and that is another job ticked off the list.
Next I look into the side repeaters, pop them out and find no bulb or bulb holder in there. So I take the arche liners out and dig around and find this set up, a bulb bodged into the look with what looks like speaker wire! Not sure what the plan was to hold it in the side repeater as it has no holder. And it doesn't work anyway, it the same on the other side.
I order and fit some generic LED side repeaters from ebay as a quick fix, they are smoked and are 'animated' style. I don't like them but are a quick solution, I will be ordering the correct parts for the original look down the line.
 )
)


