Aston Martin V8 Vantage – Tour de France Blue.
Aston was a new purchase for the owner. Back in December 09, I put their DB7 Volante through a Winter Protection Detail. This time, a V8 Vantage and a single day’s Minor Paint Correction Detail.
Product
Inspection.
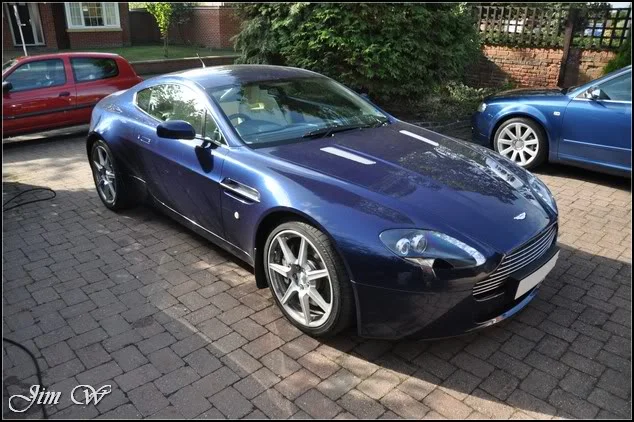
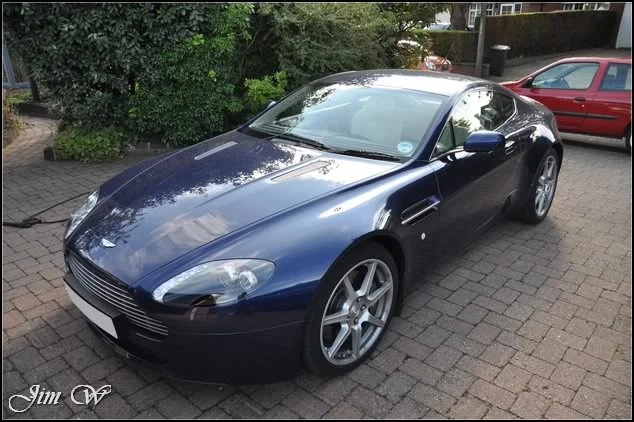
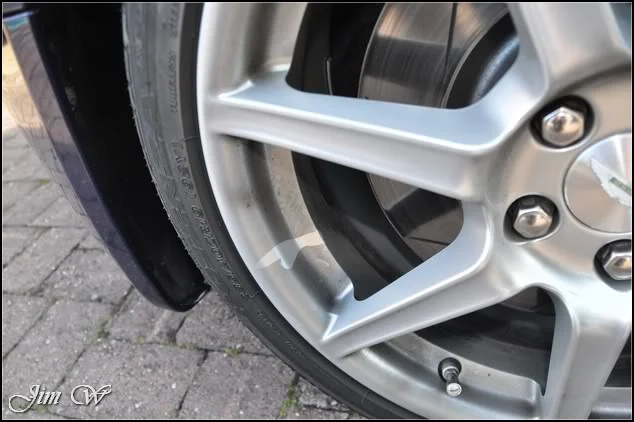
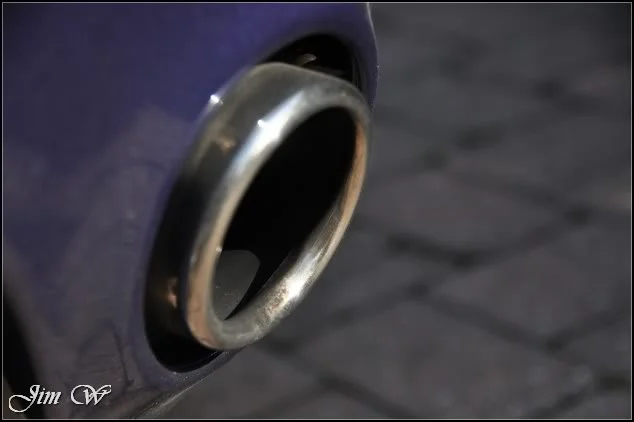
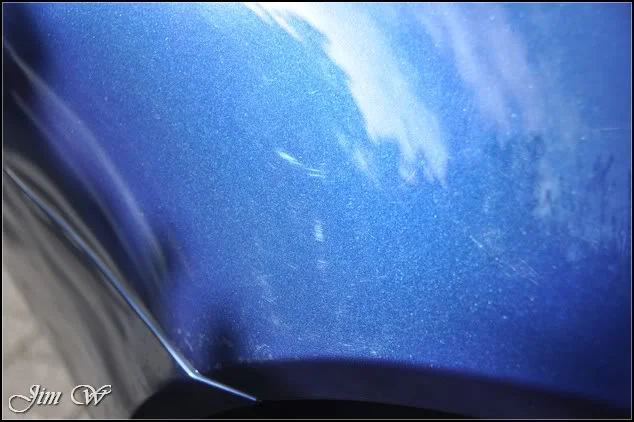
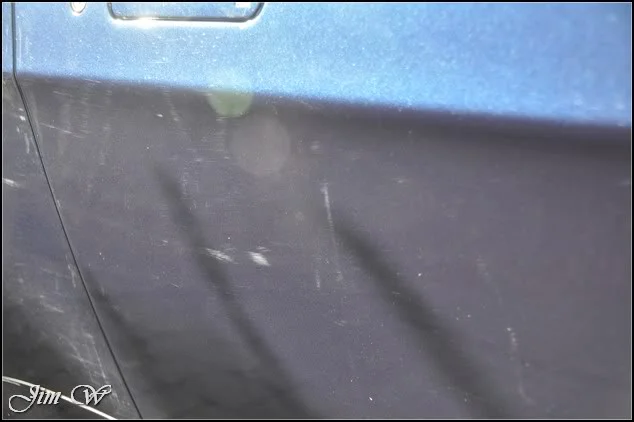
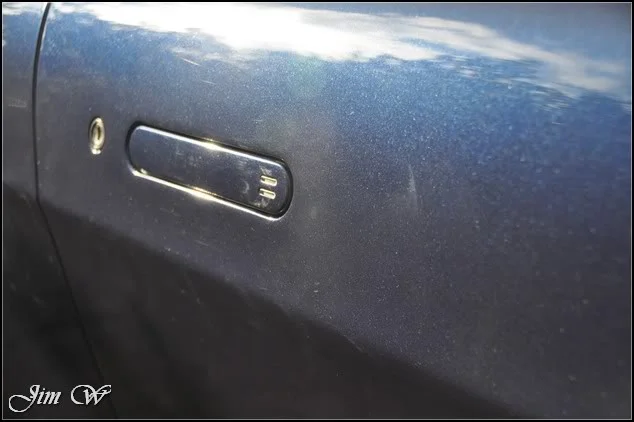
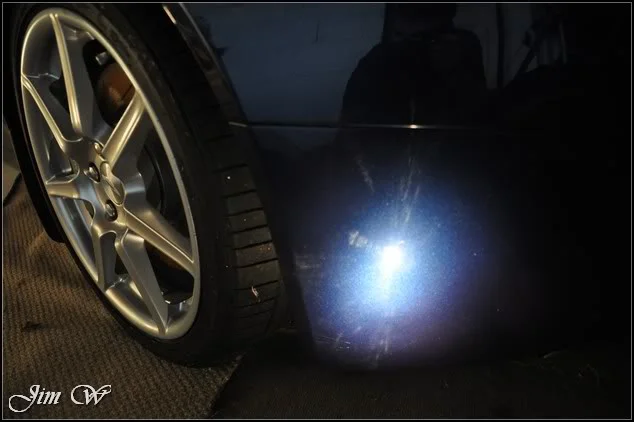
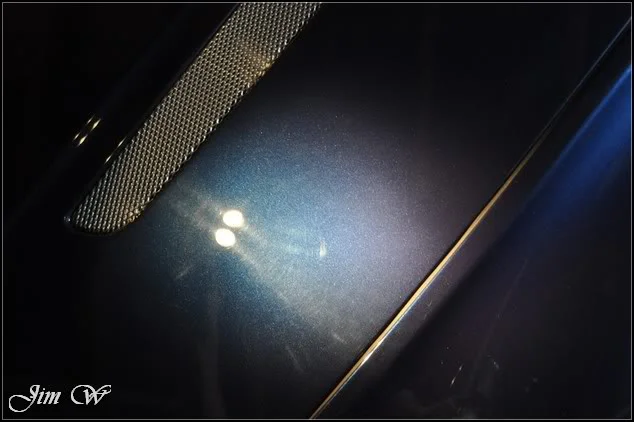
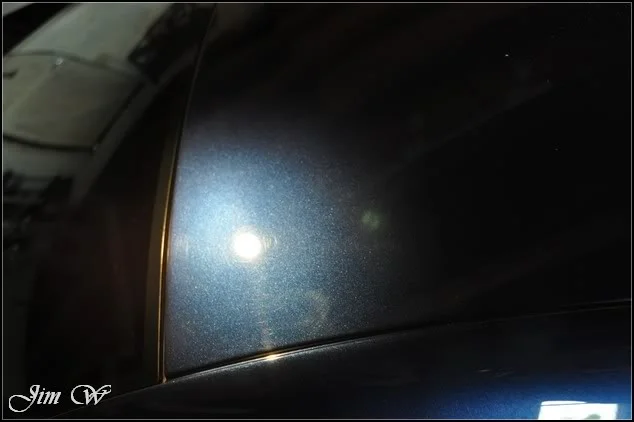
In terms of defects, just the usual wash marring and light swirls:
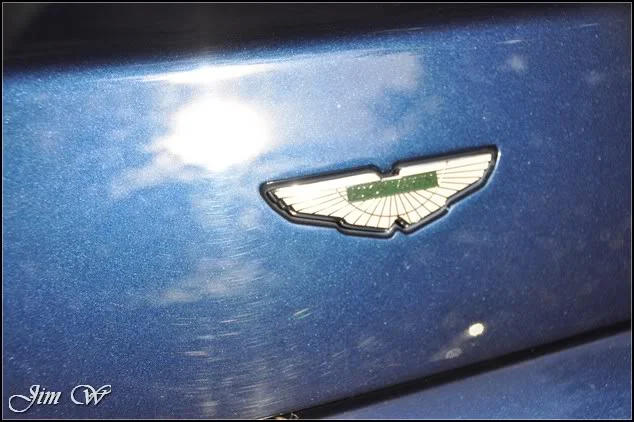
As always, starting with the wheels.
AMDetails new ‘safe wheel cleaner’ put to the test!
Firstly, tyres soaked and scrubbed with Megs Degreaser.
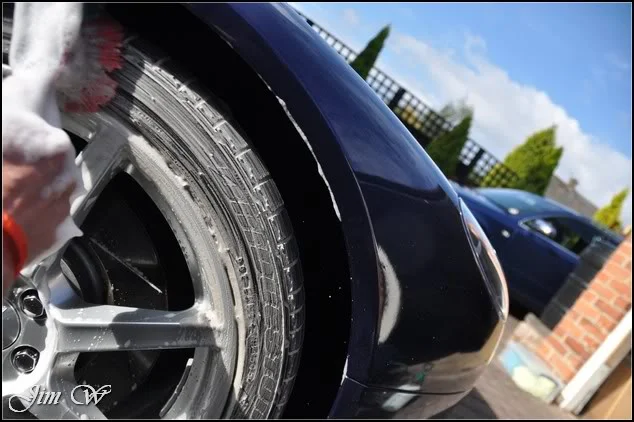
Wheel Cleaner applied to front-facing and into the inner rims. Agitated with various brushes and mitts:
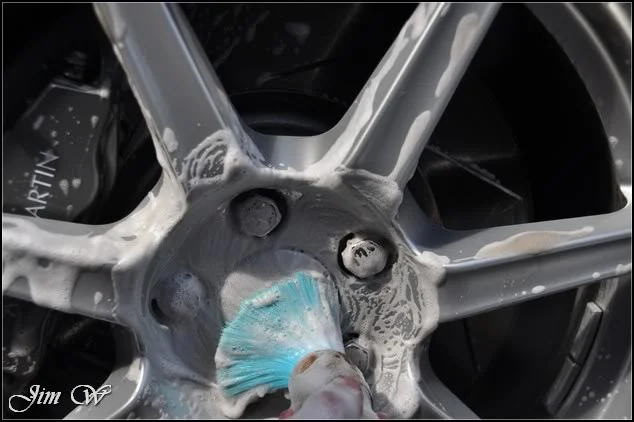
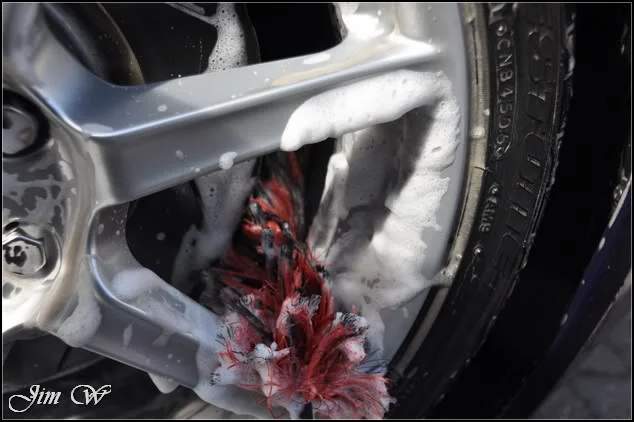
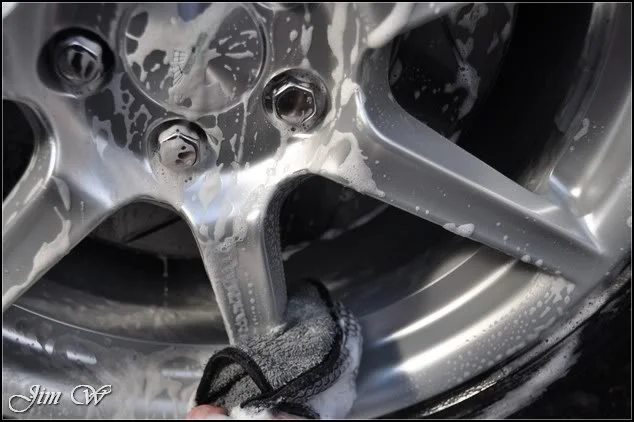
Initial testing of wheel cleaner is good! Smells nice, too.
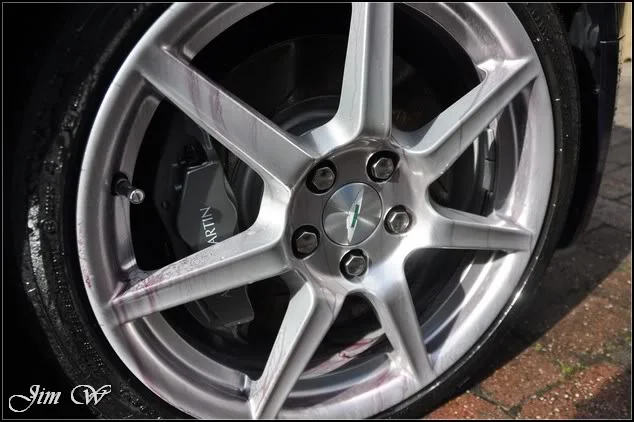
Remaining pitting on the wheels dealt with with Iron-X:
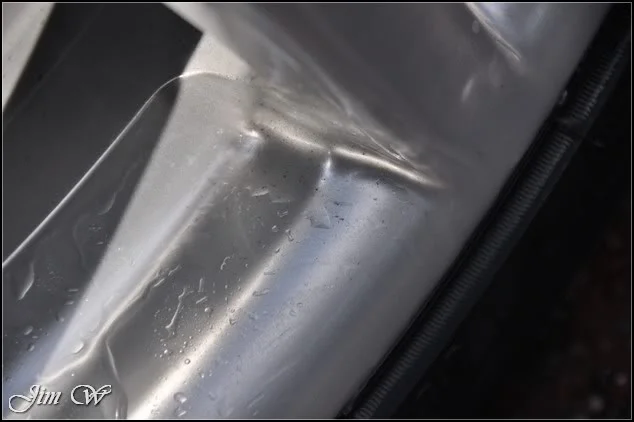
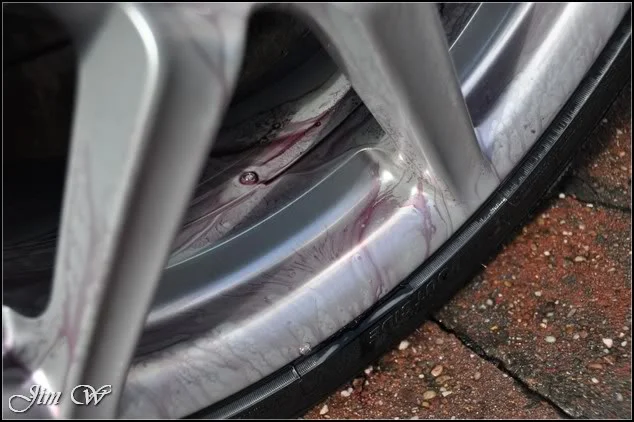
Before agitation and a rinse:
The lower panels, the front end and the wing-mirror housings were soaked in AutoSmart Hazsafe to soften/dissolve bug splats.
After a concentrated rinse with the pressure washer, AMDetails’ snow foam applied.
The idea here, the cleaner a vehicle can be made without physical 'touch', the better. The foam softens and lifts dirt away from the vehicle’s surface. Follow this with a thorough pressure rinse and you’re left with a ‘clean’ car ready for a safe ‘contact wash’.
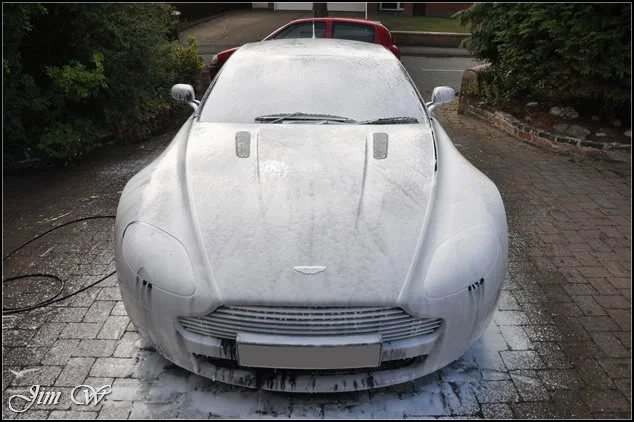
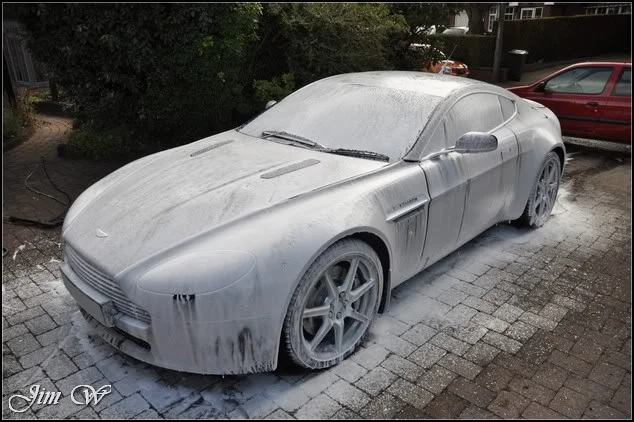
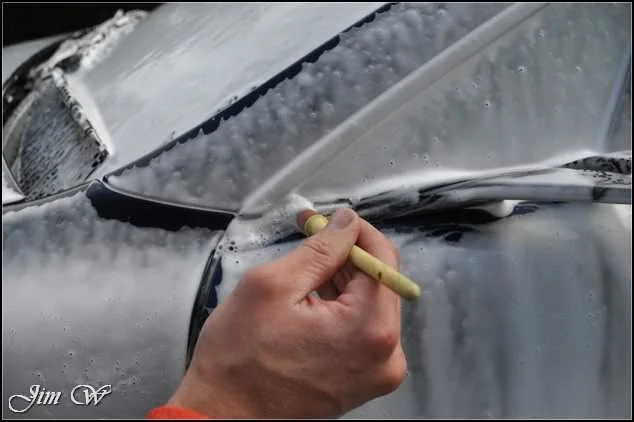
Intricate areas tackled with a few ‘detailing’ brushes: (areas that would otherwise be tricky to reach with a washmit alone)
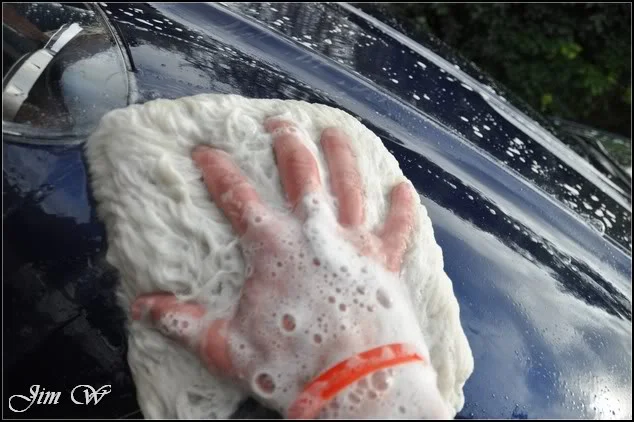
After rinsing, washmit introduced with AMDetails’ (slick (less ‘drag’)) shampoo:
At this point, just as I was about to start claying, it got a little tricky! The local council were digging, resurfacing and painting a car park around the back of the property.
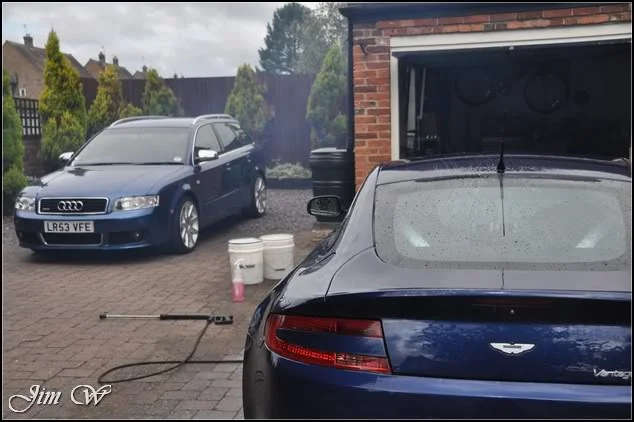
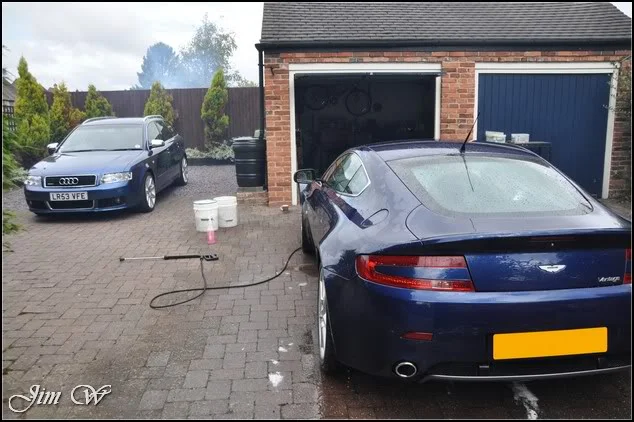
Airborne particles were landing on the car; there was no way I could continue to clay the car (not unless I wanted to induce some pretty serious scratches)
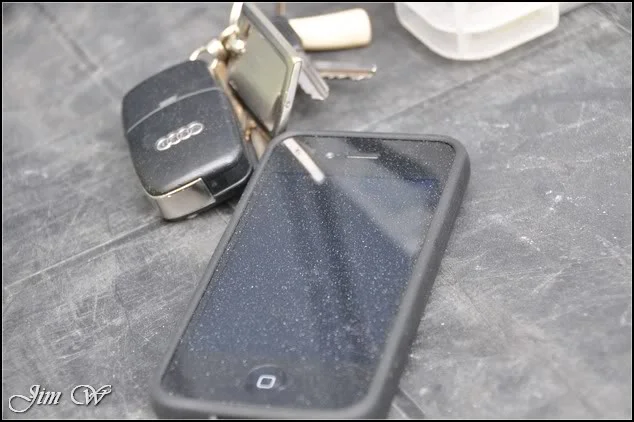
Waiting for them to stop, I re-rinsed the car top-to-bottom and moved indoors for decontamination (tar spots, tree sap, iron fillings etc)
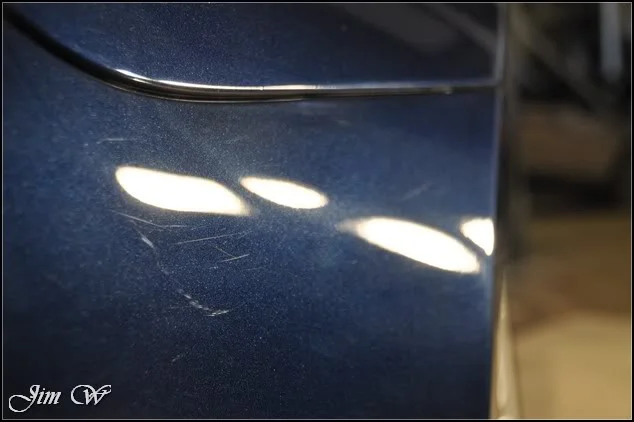
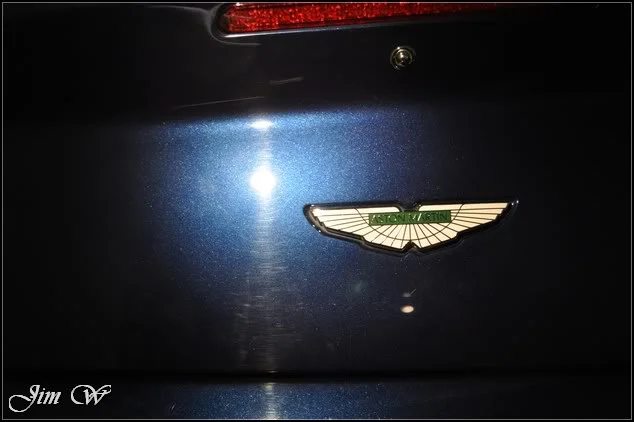
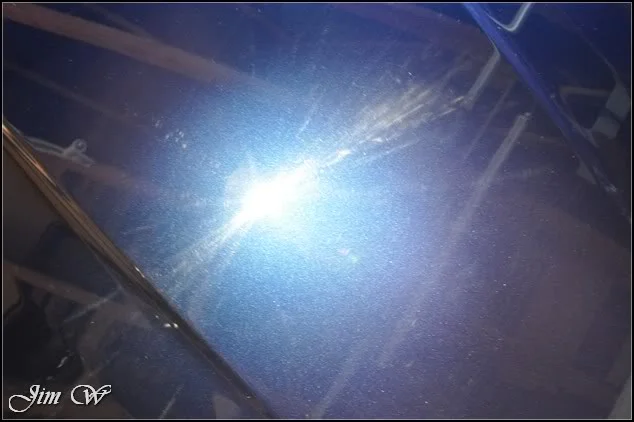
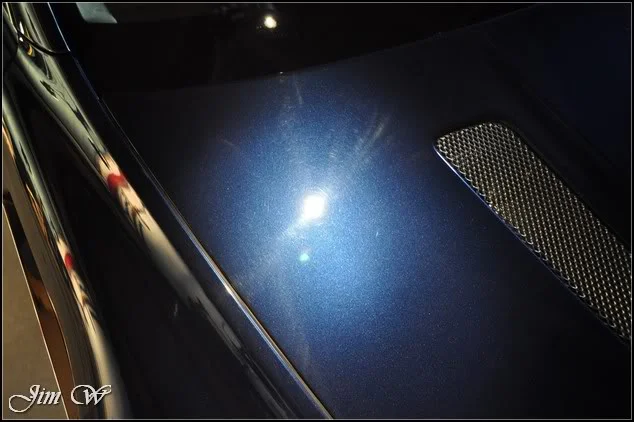
With the car now clean, contaminant free and dry, it’s time to have a closer look at the paintwork.
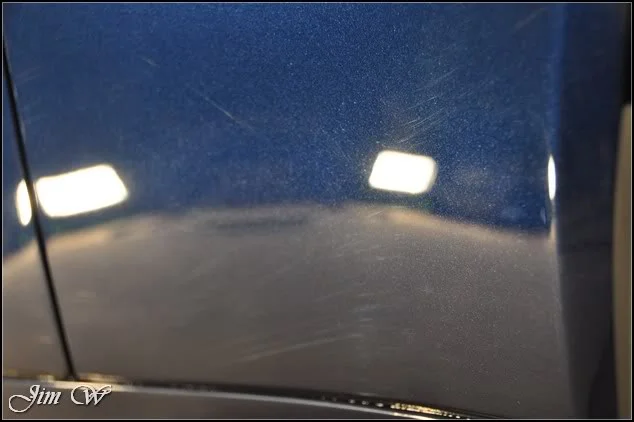
.
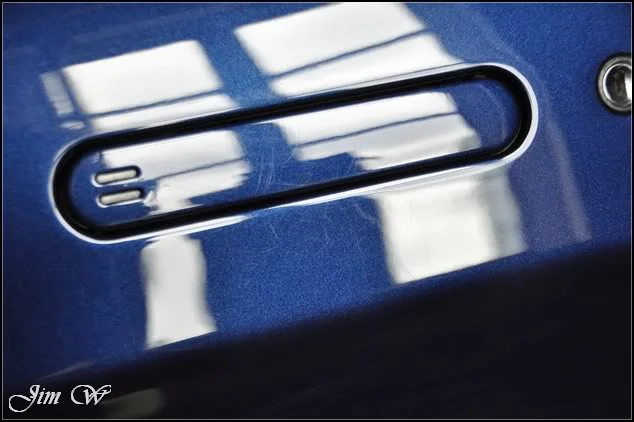
Passenger door handle clouted a few times by the looks of it:
Now, as with most Aston’s, the car suffered from DA sanding marks throughout. Poor prep in the final stages before leaving the factory…
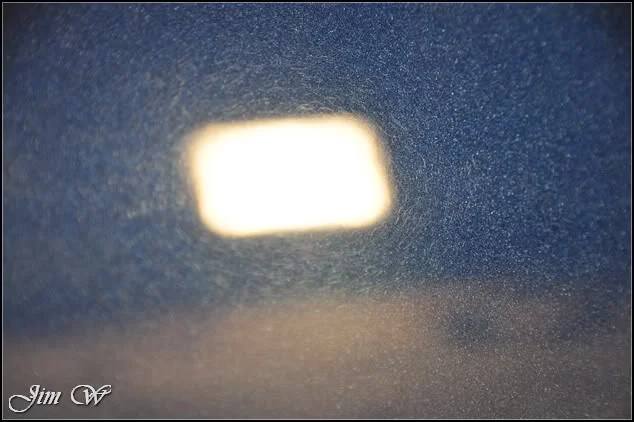
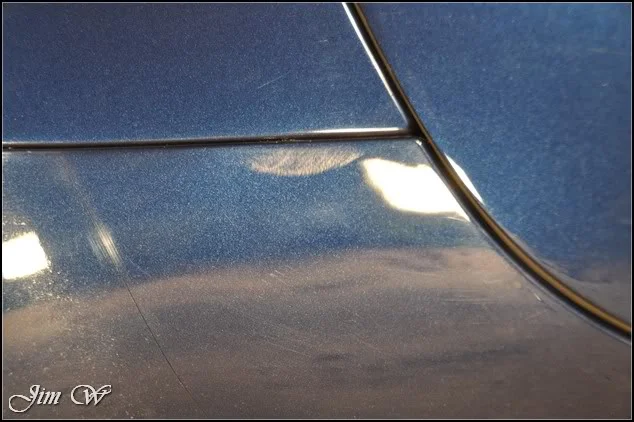
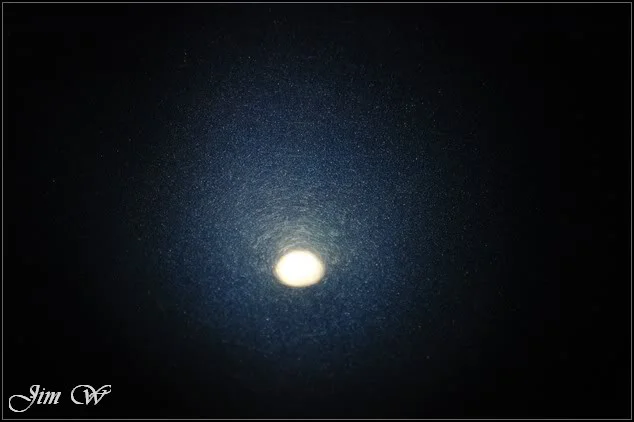
Couple that with buffertrails from previous machine polishing sessions:
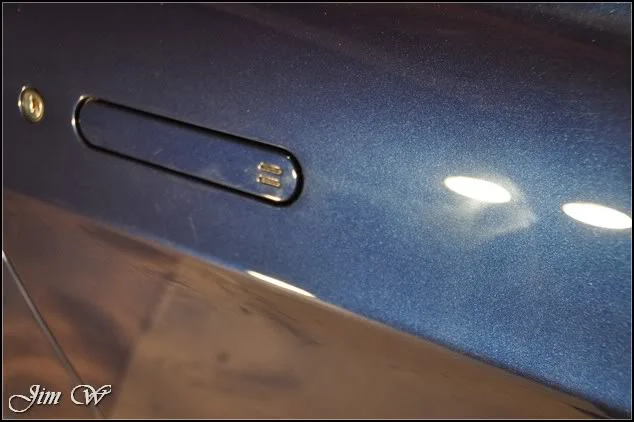
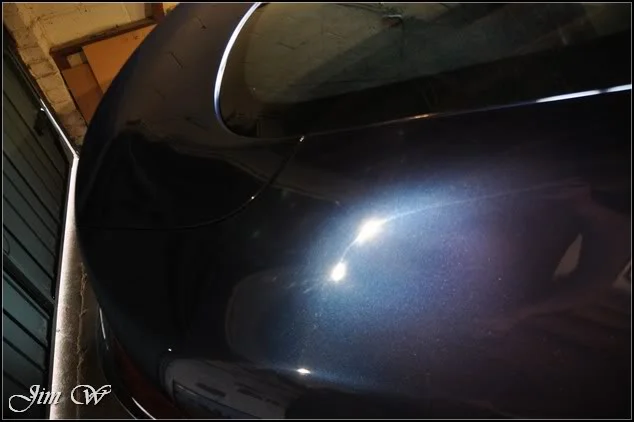
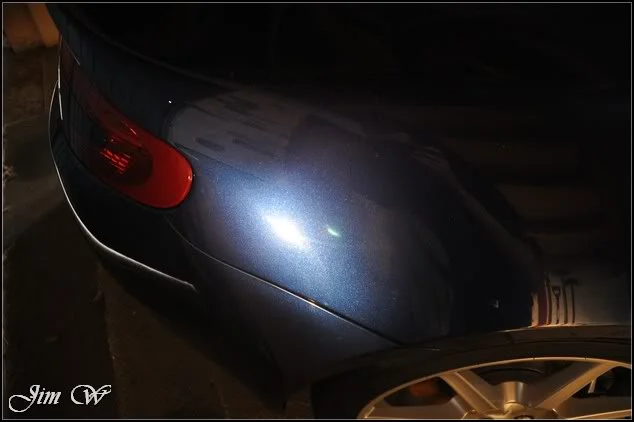
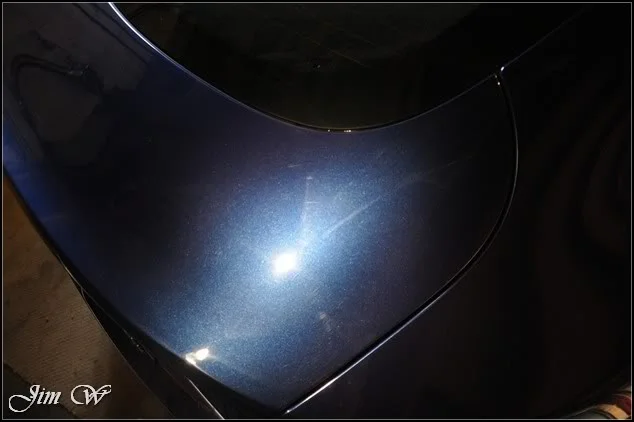
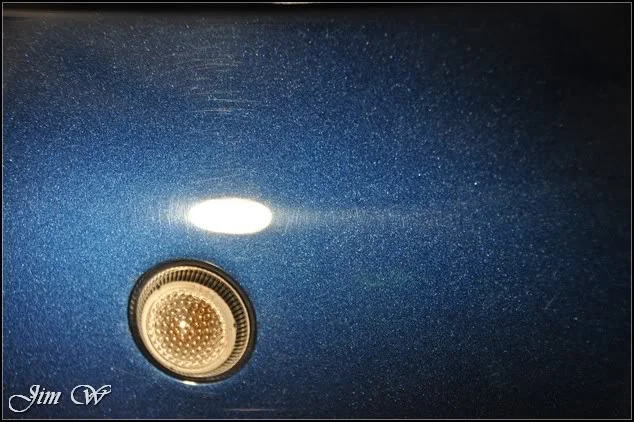
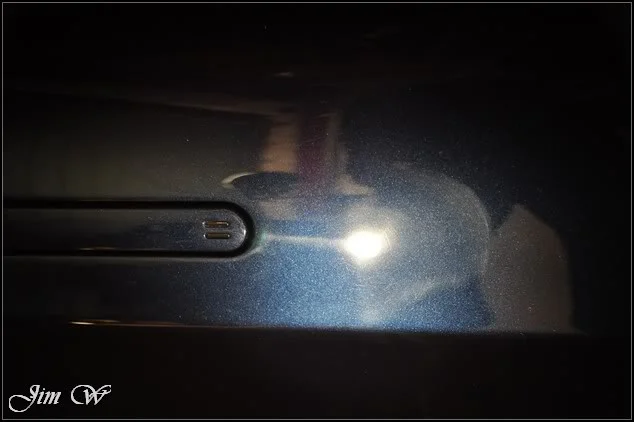
Aiming for >80% correction with a single stage machine polish today. To chase perfection, complete removal of the unsightly DA sanding marks and scratches, we’d have to look at a Major Paint Correction and a minimum of a two day booking.
Armed with an Elite Red Finishing pad and Menz 203s & 106FA, I got stuck in.
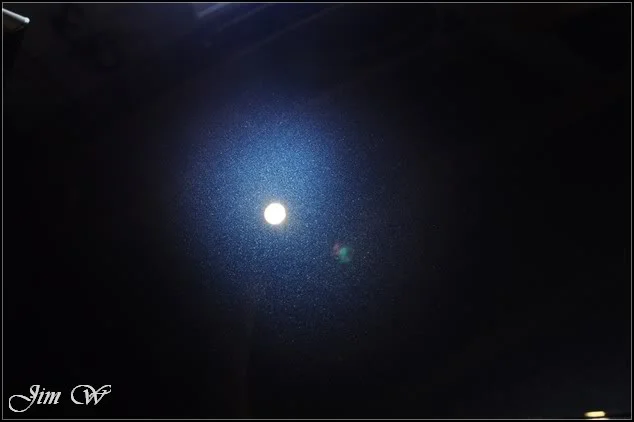
DA ‘pigtails’ before/after a single pass:
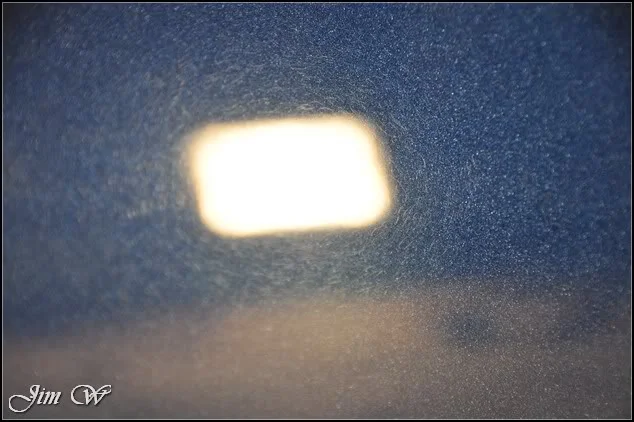
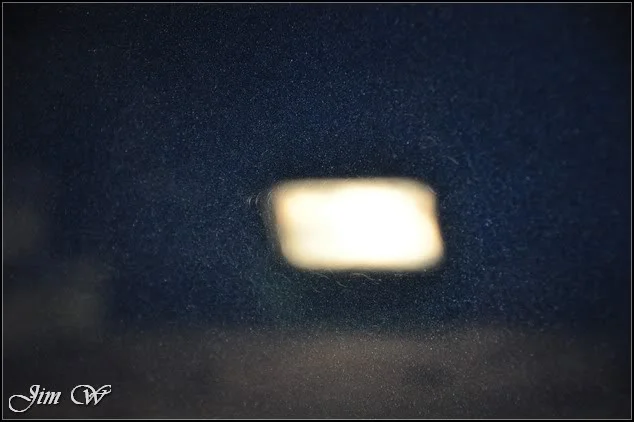
Almost got’em!
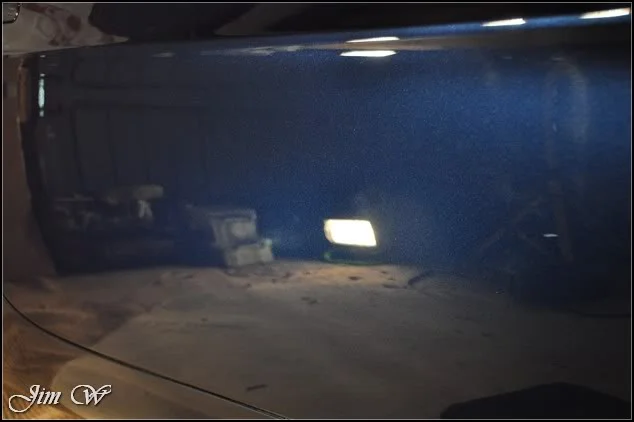
O/S/R arch before/after:
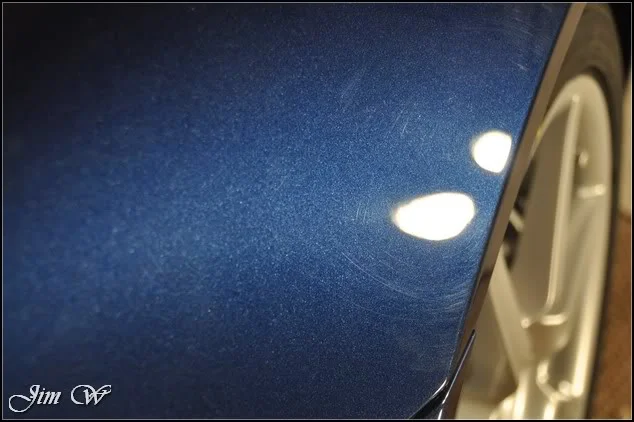
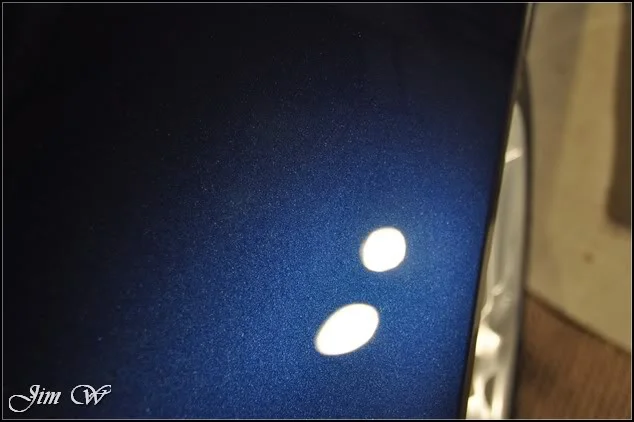
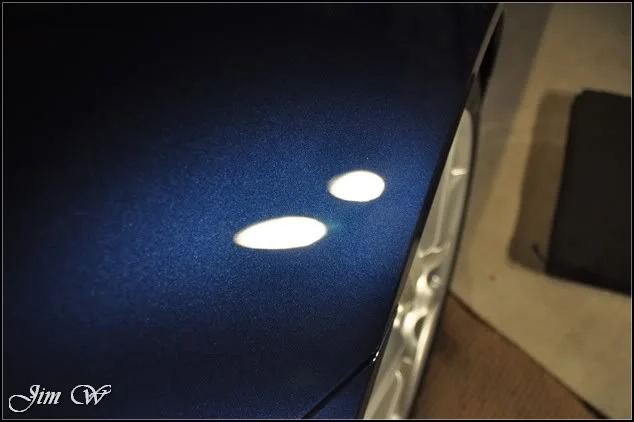
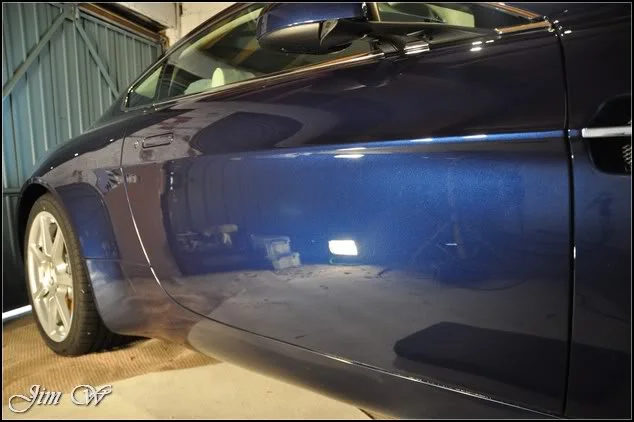
‘Tour De France’ blue really shining through now – an amazing colour!
O/S/F wing before/after:
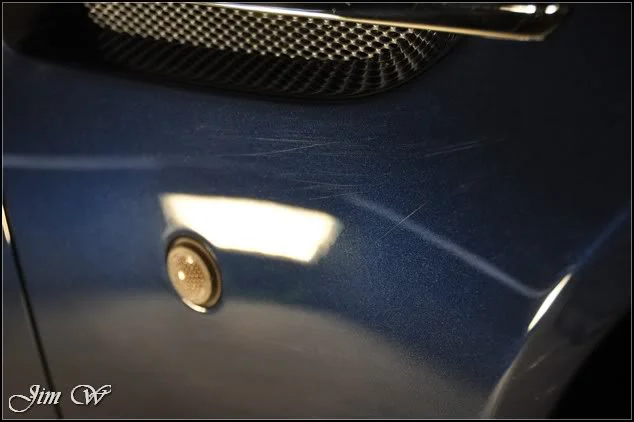
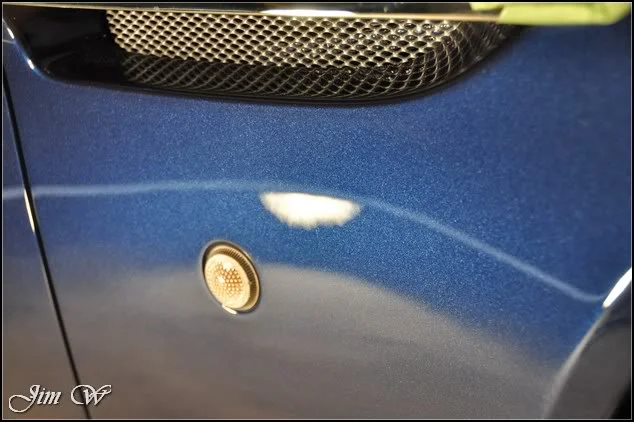
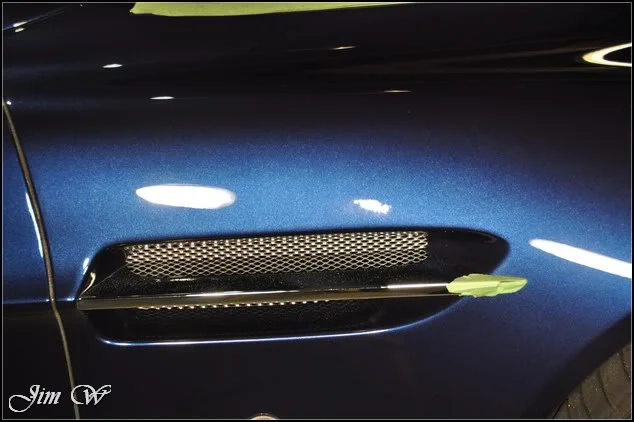
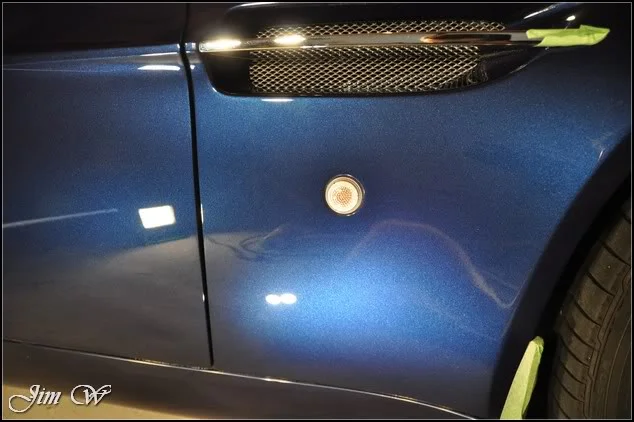
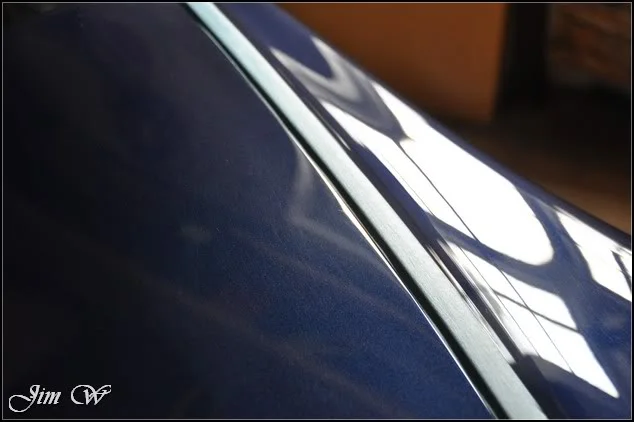
With natural light pouring in the garage window, you can just about make out the ‘haze’ caused by the swirls and scratches on the bonnet:
Before:
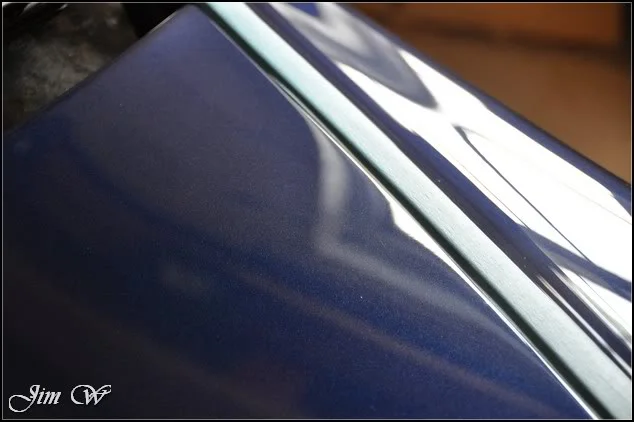
After:
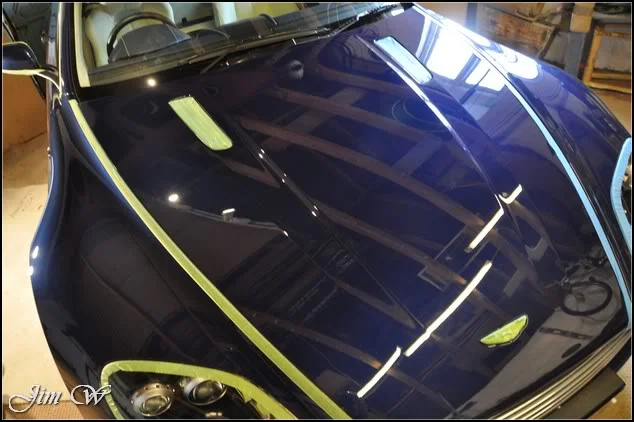
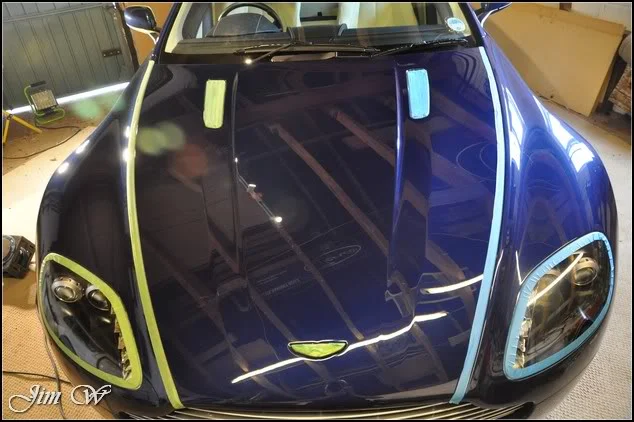
Bonnet complete: (…I ran out of green tape!)
Moving down the N/S, there were some horrific trails on the rear quarter.
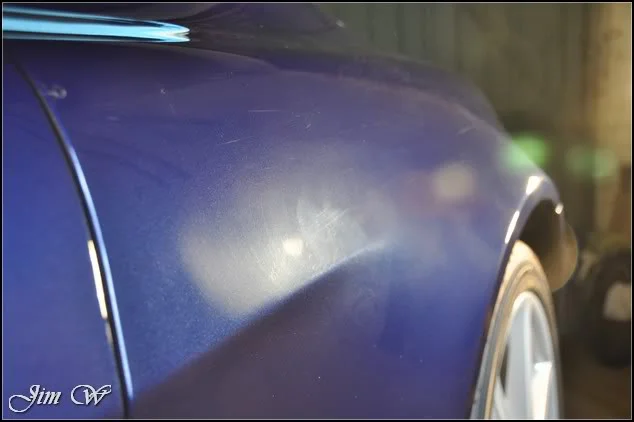
Looking through the haze, you can see some more DA sanding marks.
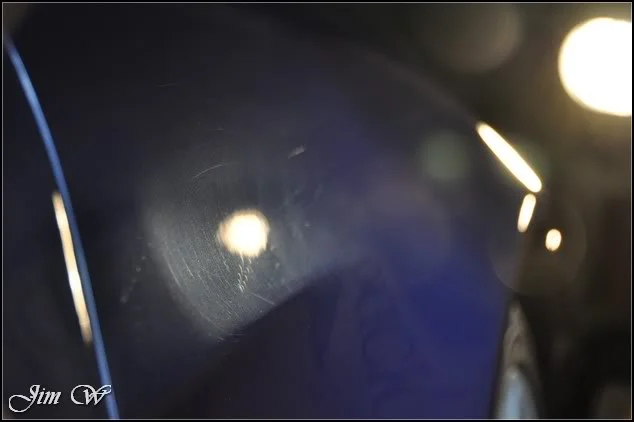
After:
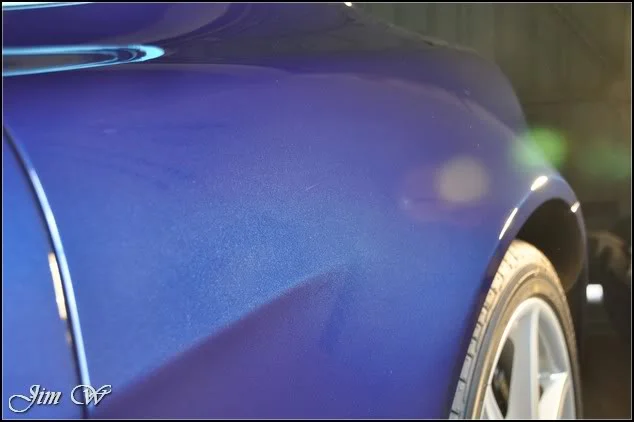
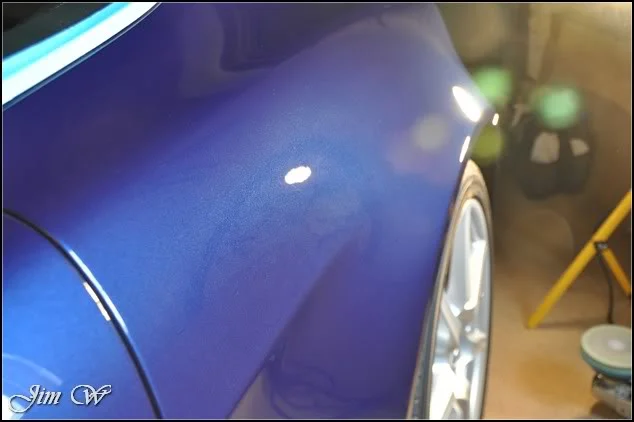
Look at it from this angle though, and…
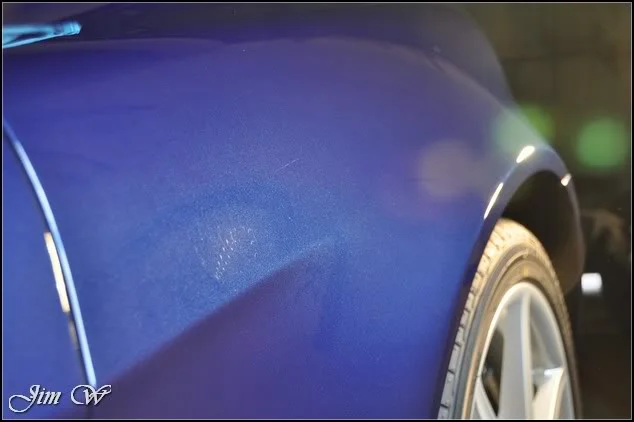
(…the importance of a decent lighting setup whilst detailing!)
Overspray spotted on the rear end(?)
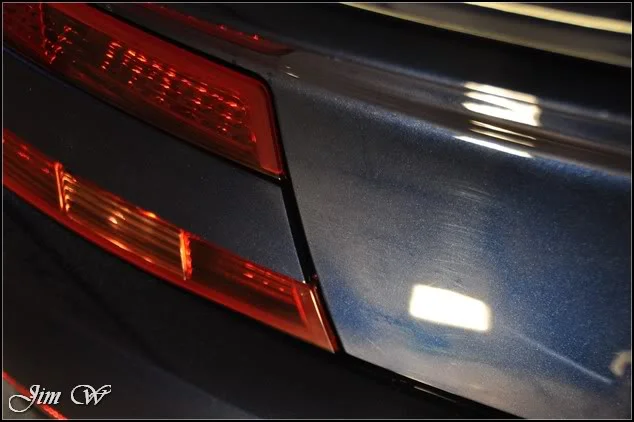
Must be careful when closing the boot; scratches from ‘hand contact’:
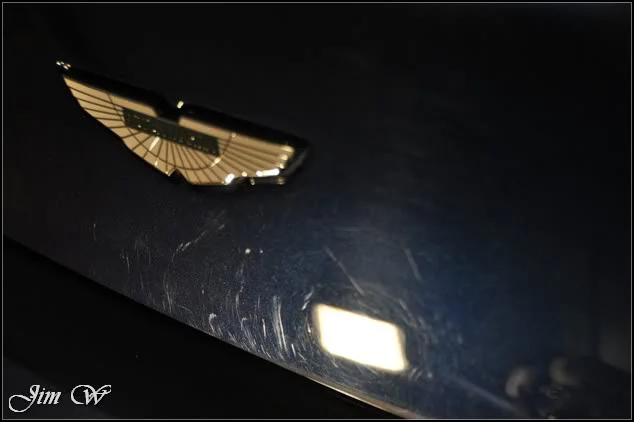
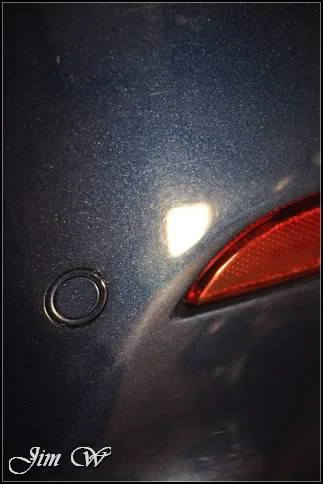
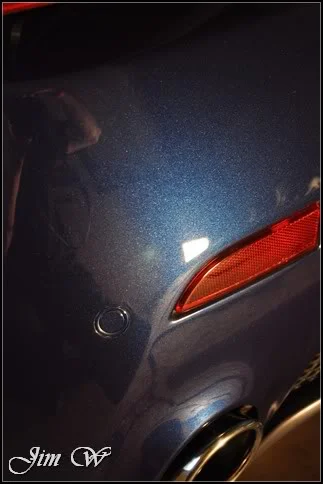
A few more DA marks on the rear bumper:
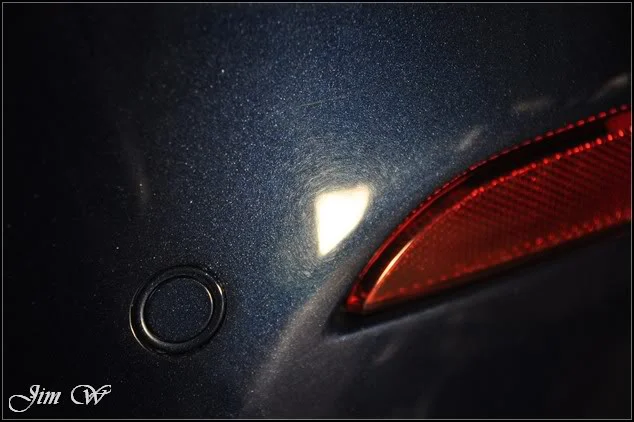
Before/after:
This made me chuckle…
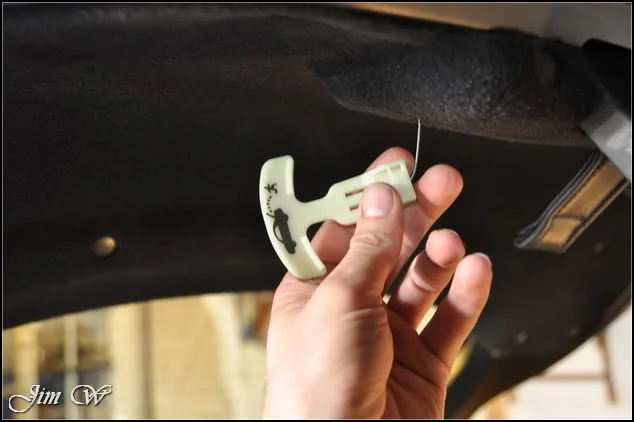
Just incase you get locked in the boot!
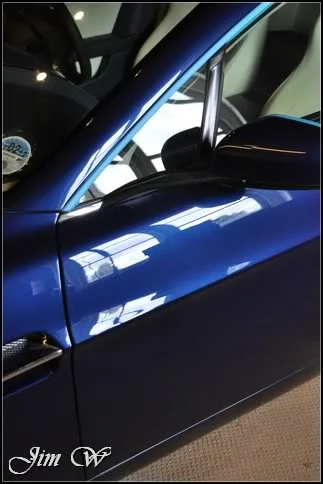
Machine polishing near completion – looking smart now:
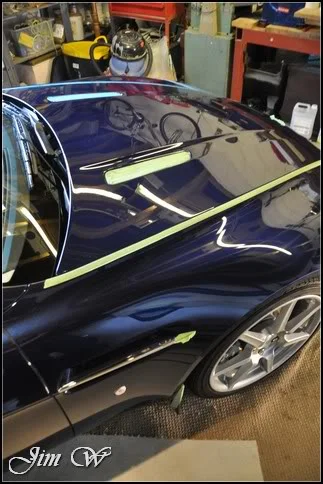
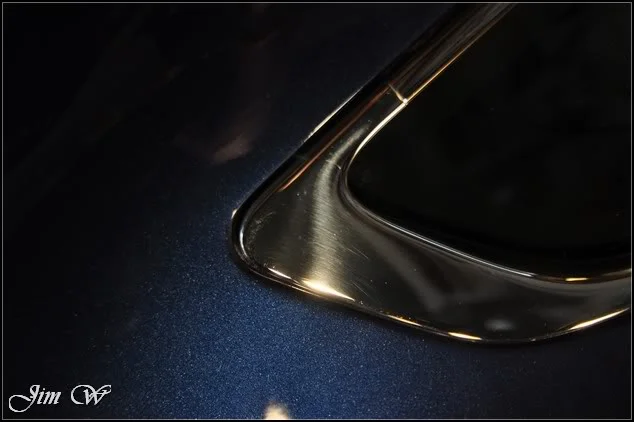
When it comes to machine polishing, it’s important to tape up and mask delicate areas. (Trim, badges, rubbers etc...)
See the photo below for an example. Previously caught whilst being ‘mopped’ resulting in a nice unsightly buffertrail!
With the paintwork IPA’d (isopropyl alcohol) to remove any remaining polishing oils Blackfire Wet Diamond was layed down to protect.
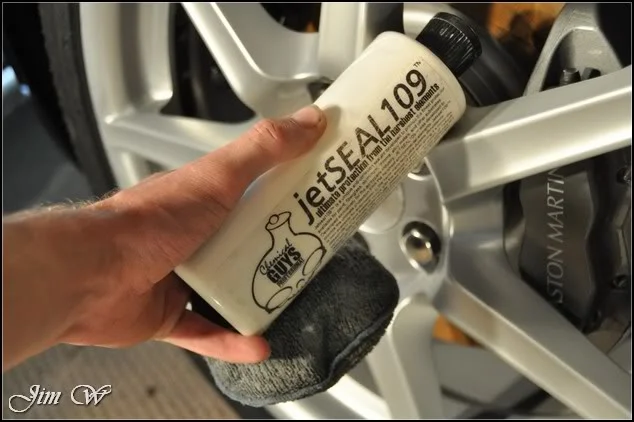
JetSEAL109 onto the alloys:
Jeffs Prime on the alu grille and other exterior britework: (the haze on the bodywork here is the sealant curing)
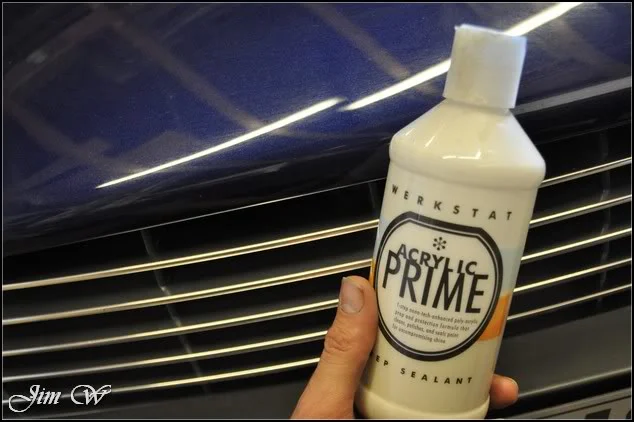
Glass, tyres and trim ticked off followed by a concluding wipedown of the paint. Leaving this:
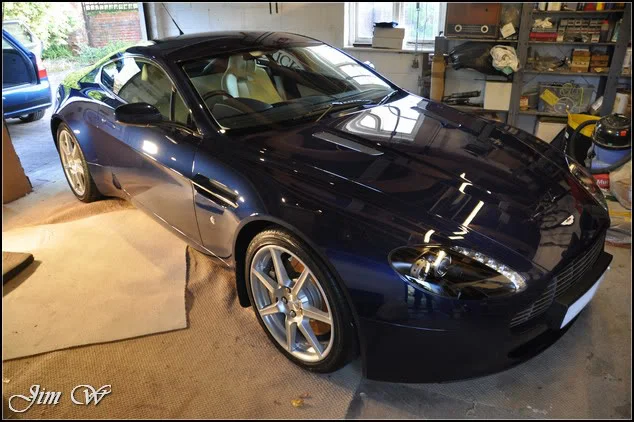
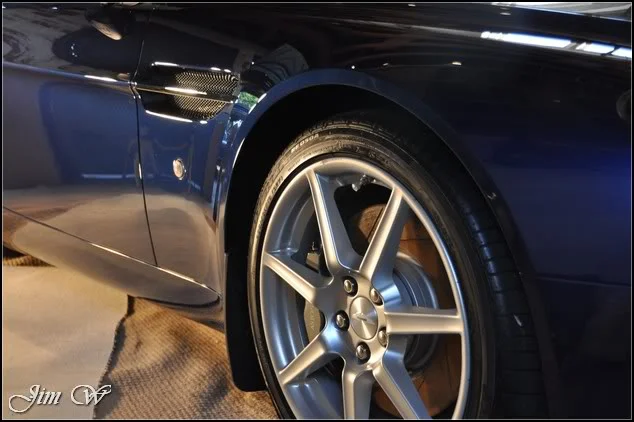
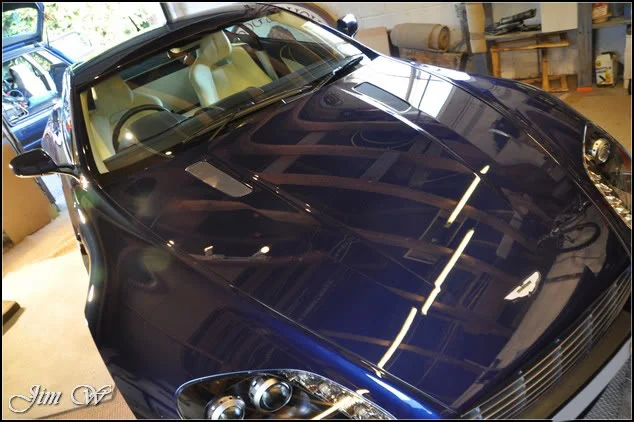
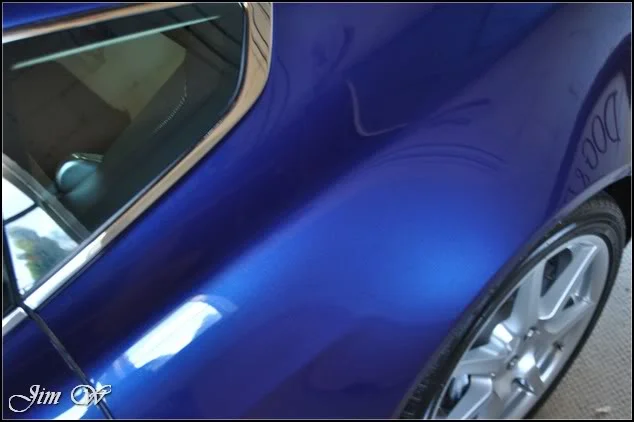
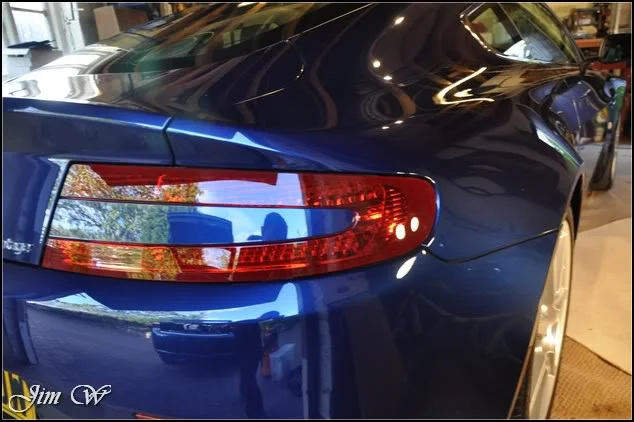
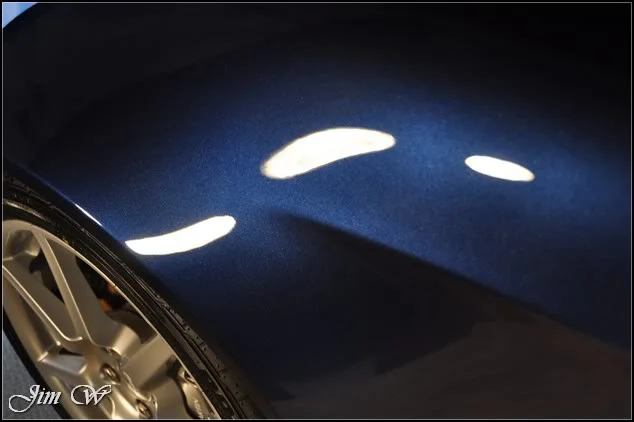
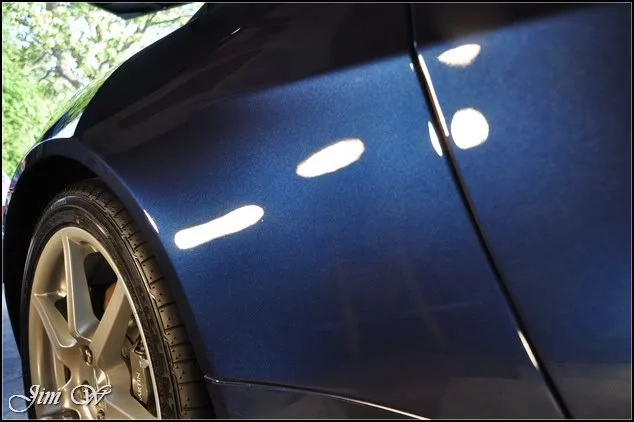
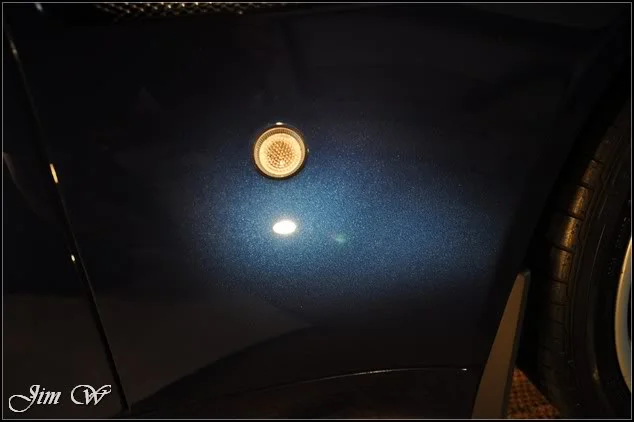
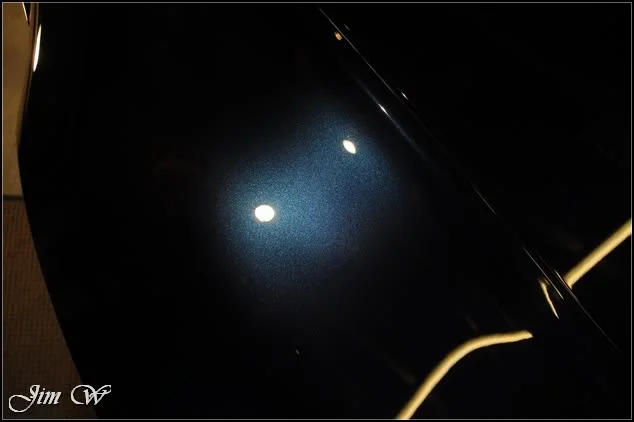
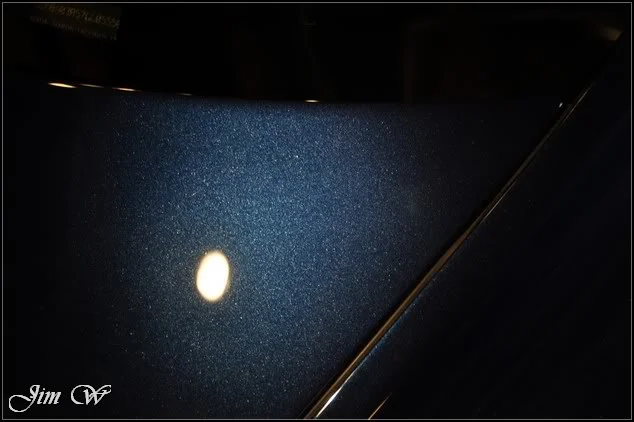
Correction levels:
Outside and in to the evening sun:
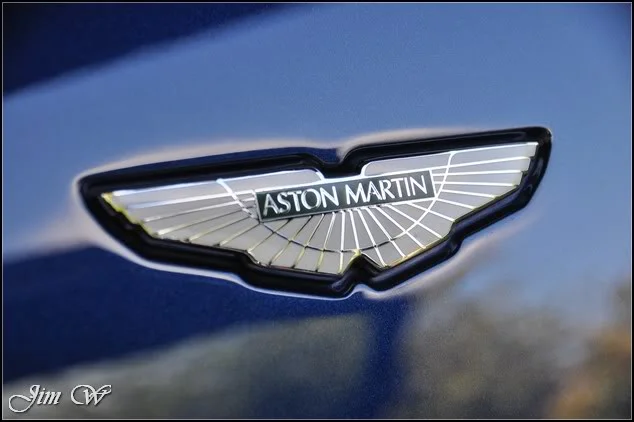
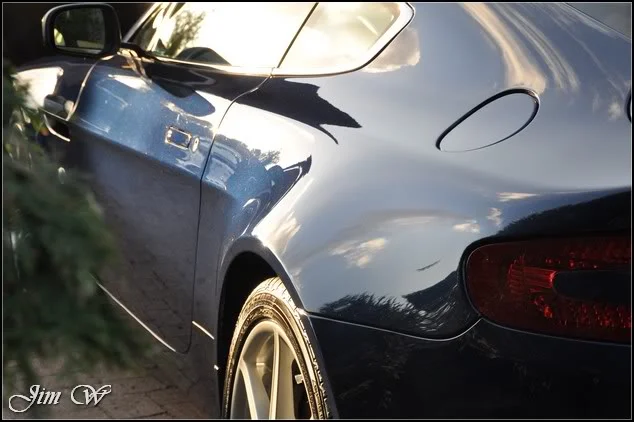
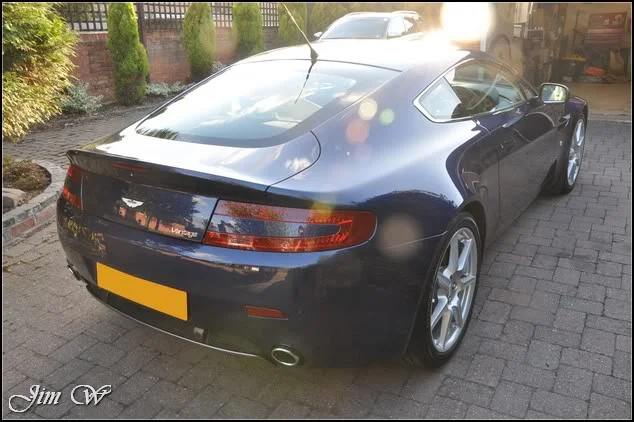
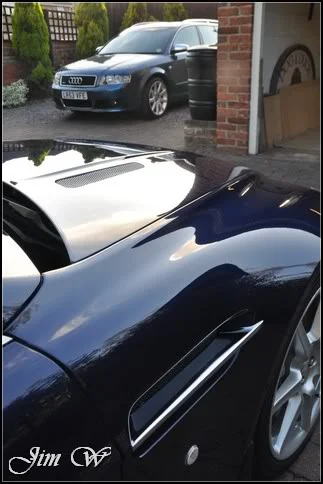
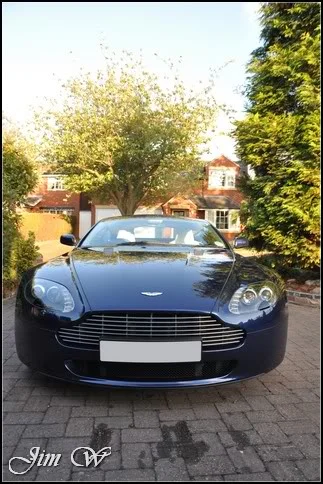
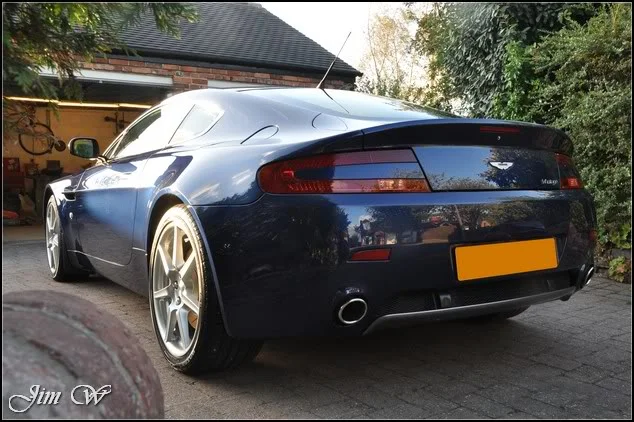
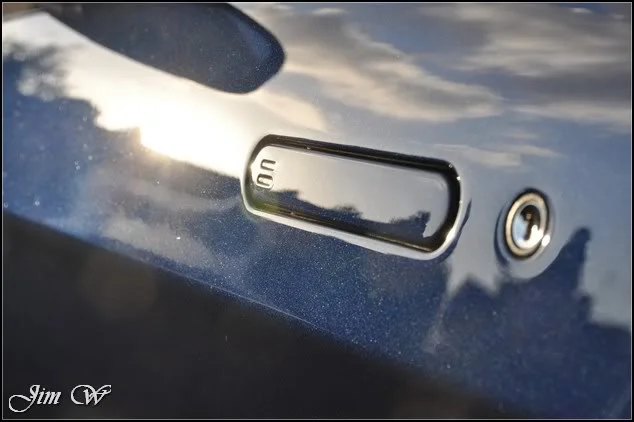
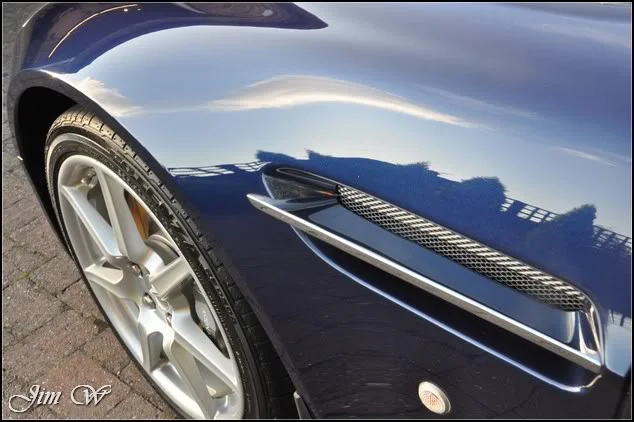
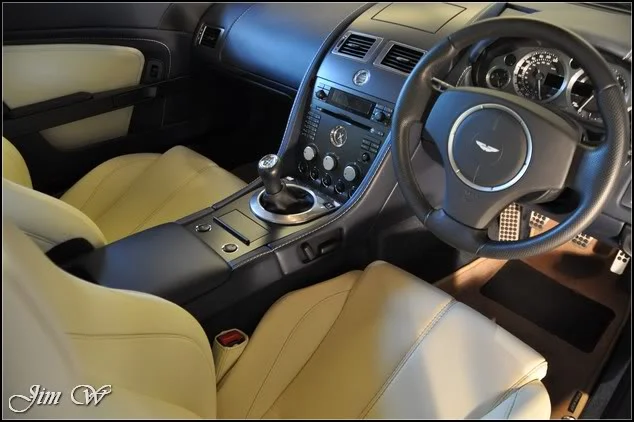
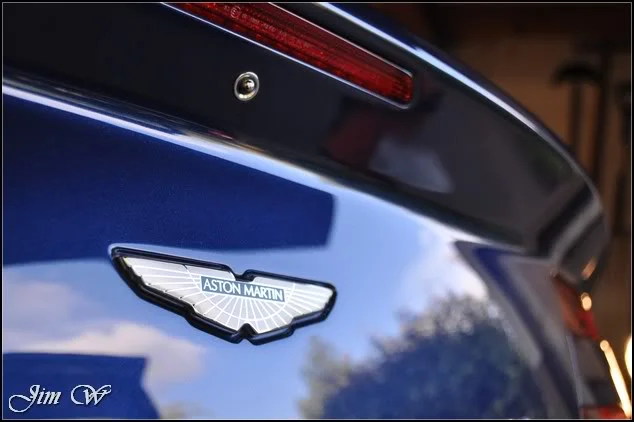
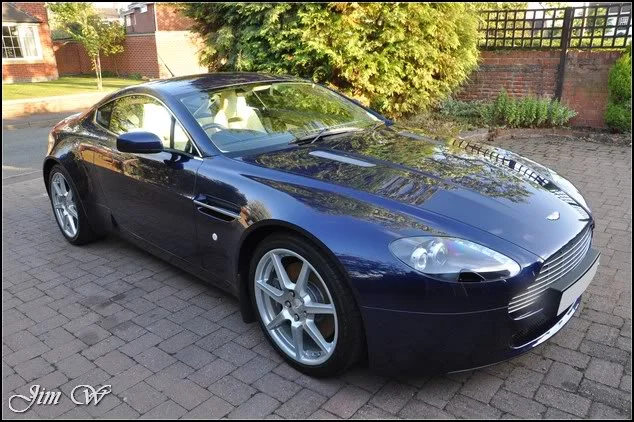
Much better. A stunning model!
Thanks for reading.
Jim
Aston was a new purchase for the owner. Back in December 09, I put their DB7 Volante through a Winter Protection Detail. This time, a V8 Vantage and a single day’s Minor Paint Correction Detail.
Product
- 3M Glass Cleaner
- AMDetails mild clay bar
- AMDetails wheel clean
- AMDetails neutral shampoo
- AMDetails snow foam
- AutoSmart G101
- AutoSmart Tardis
- AutoSmart Hazsafe
- AutoSmart Reglaze
- Blackfire ‘Wet Diamond’ All Finish Paint Protection
- Chemical guys JetSEAL109
- Iron-X
- Jeffs Werkstat Prime
- Meguiars Super Degreaser
- Menzerna 203s Power Finish
- Menzerna 106FA Final Finish
Inspection.
In terms of defects, just the usual wash marring and light swirls:
As always, starting with the wheels.
AMDetails new ‘safe wheel cleaner’ put to the test!
Firstly, tyres soaked and scrubbed with Megs Degreaser.
Wheel Cleaner applied to front-facing and into the inner rims. Agitated with various brushes and mitts:
Initial testing of wheel cleaner is good! Smells nice, too.
Remaining pitting on the wheels dealt with with Iron-X:
Before agitation and a rinse:
The lower panels, the front end and the wing-mirror housings were soaked in AutoSmart Hazsafe to soften/dissolve bug splats.
After a concentrated rinse with the pressure washer, AMDetails’ snow foam applied.
The idea here, the cleaner a vehicle can be made without physical 'touch', the better. The foam softens and lifts dirt away from the vehicle’s surface. Follow this with a thorough pressure rinse and you’re left with a ‘clean’ car ready for a safe ‘contact wash’.
Intricate areas tackled with a few ‘detailing’ brushes: (areas that would otherwise be tricky to reach with a washmit alone)
After rinsing, washmit introduced with AMDetails’ (slick (less ‘drag’)) shampoo:
At this point, just as I was about to start claying, it got a little tricky! The local council were digging, resurfacing and painting a car park around the back of the property.
Airborne particles were landing on the car; there was no way I could continue to clay the car (not unless I wanted to induce some pretty serious scratches)
Waiting for them to stop, I re-rinsed the car top-to-bottom and moved indoors for decontamination (tar spots, tree sap, iron fillings etc)
With the car now clean, contaminant free and dry, it’s time to have a closer look at the paintwork.
.
Passenger door handle clouted a few times by the looks of it:
Now, as with most Aston’s, the car suffered from DA sanding marks throughout. Poor prep in the final stages before leaving the factory…
Couple that with buffertrails from previous machine polishing sessions:
Aiming for >80% correction with a single stage machine polish today. To chase perfection, complete removal of the unsightly DA sanding marks and scratches, we’d have to look at a Major Paint Correction and a minimum of a two day booking.
Armed with an Elite Red Finishing pad and Menz 203s & 106FA, I got stuck in.
DA ‘pigtails’ before/after a single pass:
Almost got’em!
O/S/R arch before/after:
‘Tour De France’ blue really shining through now – an amazing colour!
O/S/F wing before/after:
With natural light pouring in the garage window, you can just about make out the ‘haze’ caused by the swirls and scratches on the bonnet:
Before:
After:
Bonnet complete: (…I ran out of green tape!)
Moving down the N/S, there were some horrific trails on the rear quarter.
Looking through the haze, you can see some more DA sanding marks.
After:
Look at it from this angle though, and…
(…the importance of a decent lighting setup whilst detailing!)
Overspray spotted on the rear end(?)
Must be careful when closing the boot; scratches from ‘hand contact’:
A few more DA marks on the rear bumper:
Before/after:
This made me chuckle…
Just incase you get locked in the boot!
Machine polishing near completion – looking smart now:
When it comes to machine polishing, it’s important to tape up and mask delicate areas. (Trim, badges, rubbers etc...)
See the photo below for an example. Previously caught whilst being ‘mopped’ resulting in a nice unsightly buffertrail!
With the paintwork IPA’d (isopropyl alcohol) to remove any remaining polishing oils Blackfire Wet Diamond was layed down to protect.
JetSEAL109 onto the alloys:
Jeffs Prime on the alu grille and other exterior britework: (the haze on the bodywork here is the sealant curing)
Glass, tyres and trim ticked off followed by a concluding wipedown of the paint. Leaving this:
Correction levels:
Outside and in to the evening sun:
Much better. A stunning model!
Thanks for reading.
Jim


 is this what you do for a living or a hobby?