Ford Fiesta ST – Performance Blue. Major Correction.
Product
· 3M Glass Cleaner
· 3M UltraFina
· 3M UltraFine
· 3M Fast Cut+
· AutoGlym Vinyl and Rubber Care
· AutoSmart G101
· AutoSmart Tardis
· Collinite 915 Marque D'Elegance
· Elite Car Care Mild Grade Clay bar
· Meguiars Last Touch
· Meguiars All-Season Dressing
· Meguiars Super Degreaser
· Menzerna 85RD 3.02
· Menzerna 203s
After a couple of trips to the bodyshop for some spray work the Fiesta looked a little ‘rough of the edges’. Some of the scratches were fairly bad though so it was booked in over a two day slot for a paint correction detail.
Please forgive me here as I got very trigger-happy with the photos!!
Inspection…
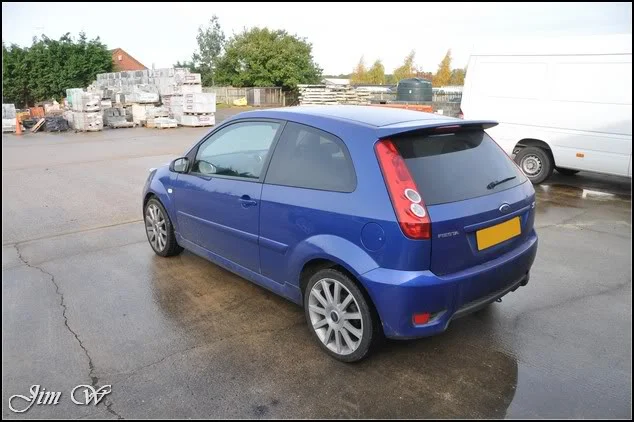
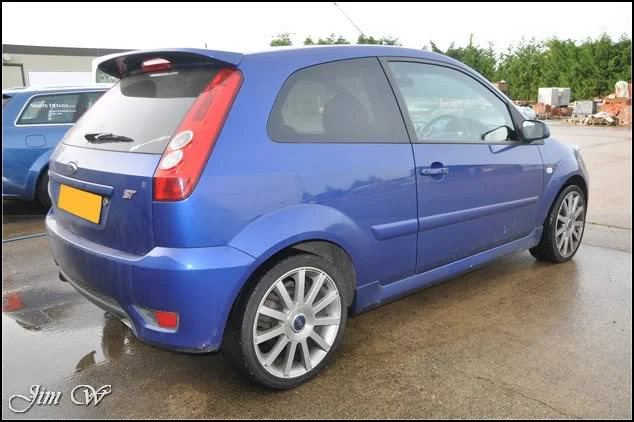
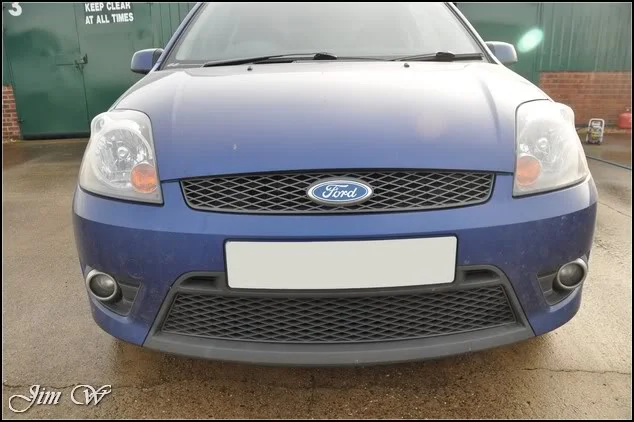
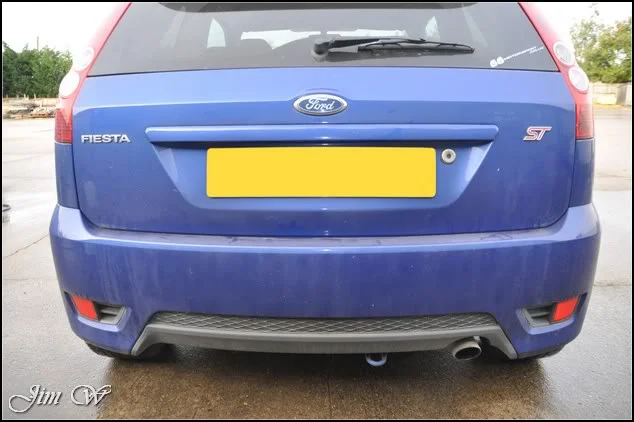
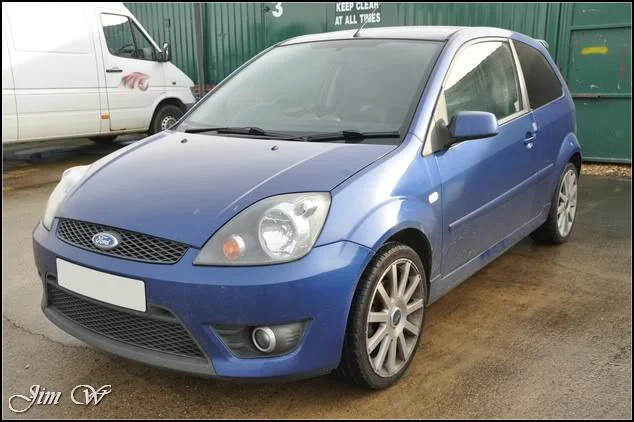
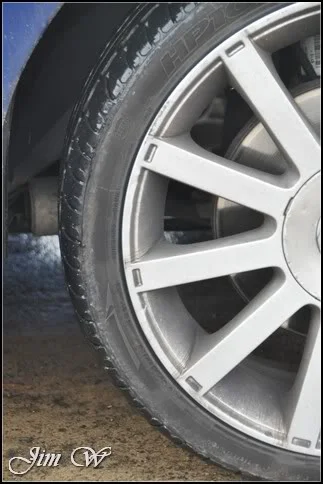
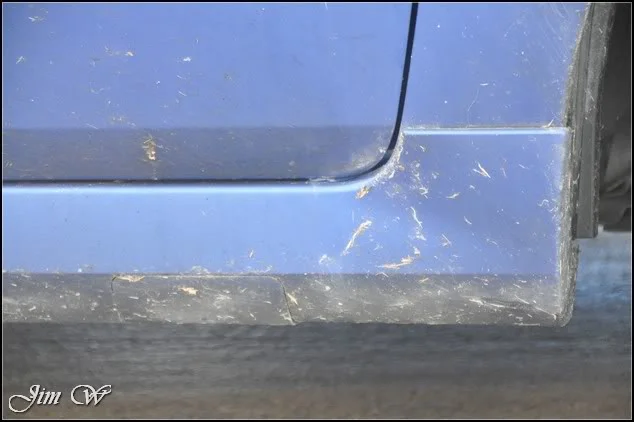
Clarity and depth lost due to the sea of swirls covering the car:
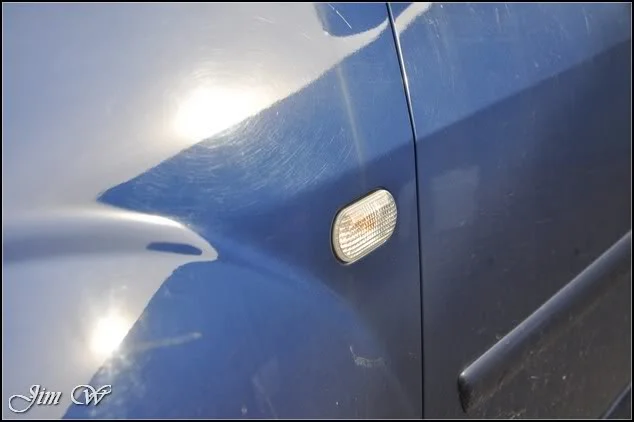
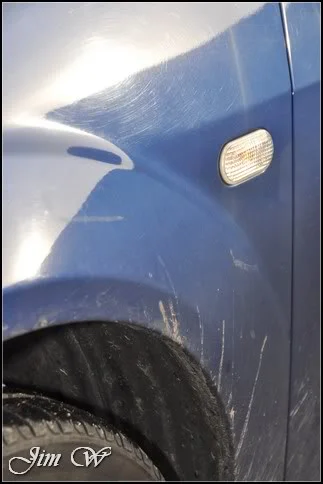
An example of some of the bad scratches:
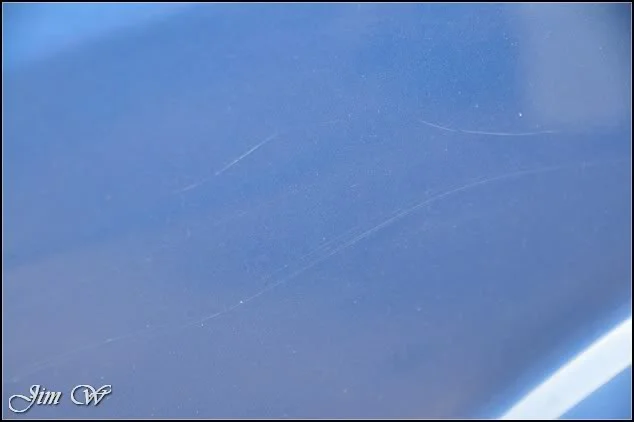
Although not yet complete, the interior was due an overhaul too:
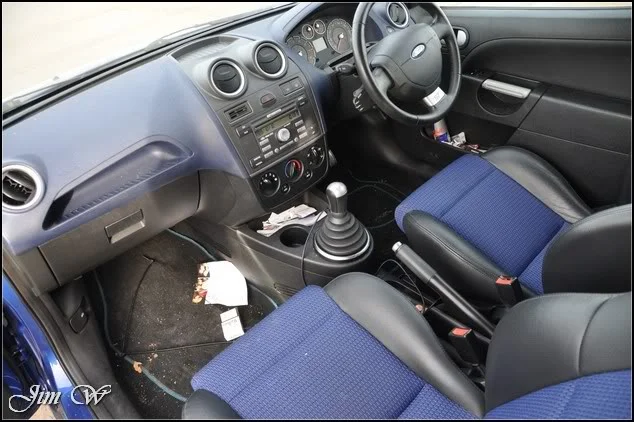
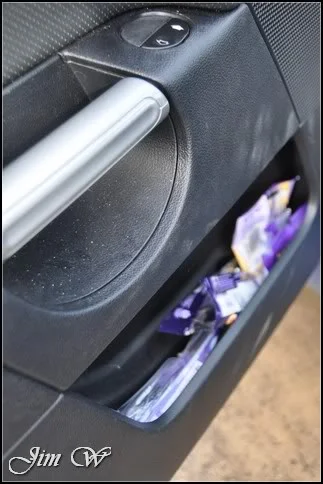
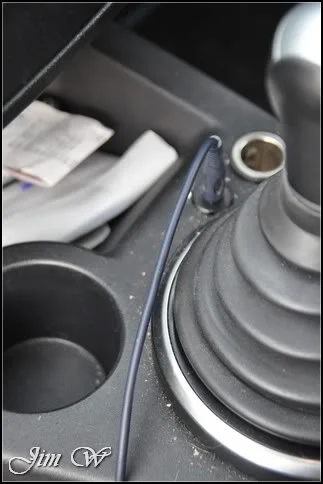
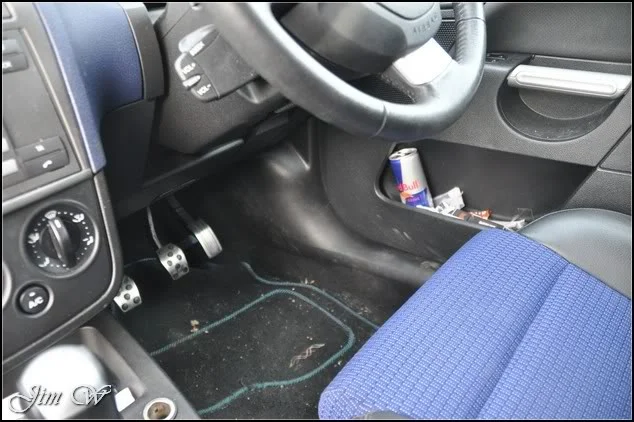
It wasn’t that long ago that the engine was last cleaned, so, nice and straight forward for me to be honest!
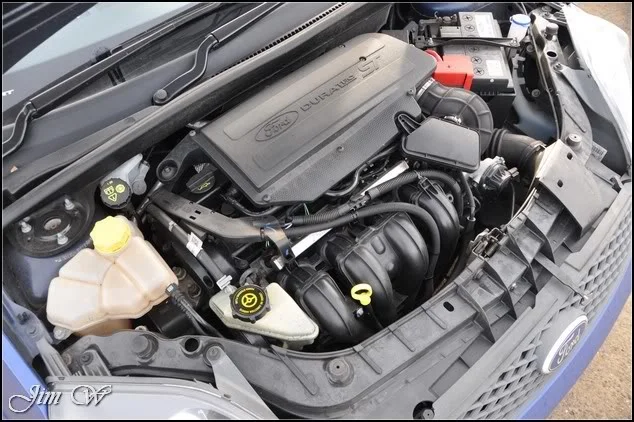
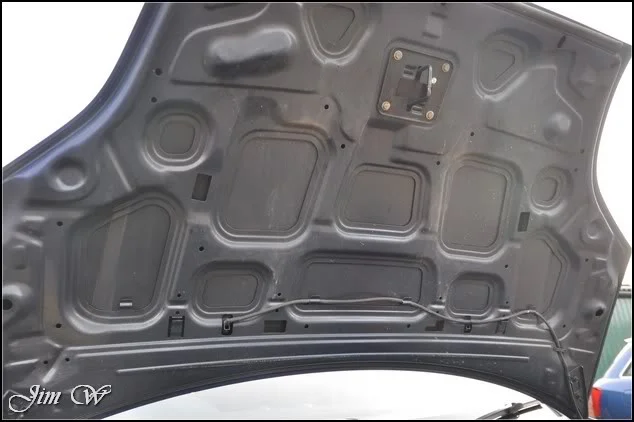
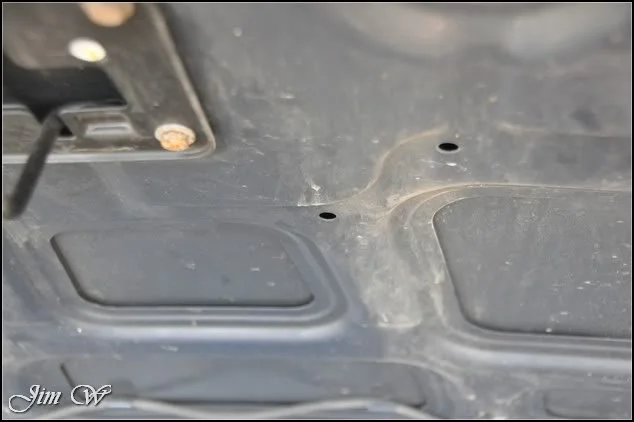
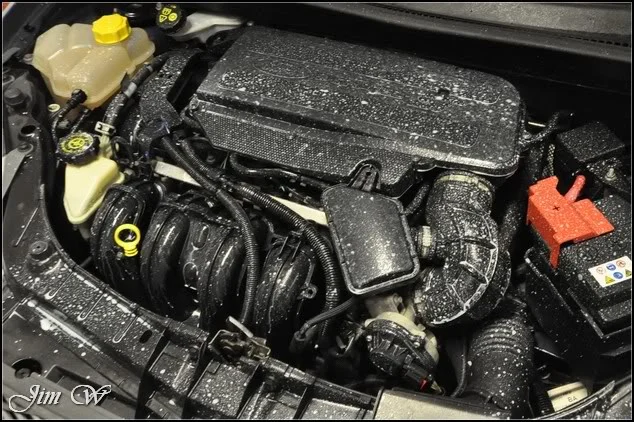
I started with the engine, Megs Super Degreaser applied and agitated before a light rinse.
Next? The wheels, tyres and arches.
AutoSmart G101, Megs Wheel Brightener, AutoSmart Tardis and Iron Cut used to clean and shift all the foreign contaminants.
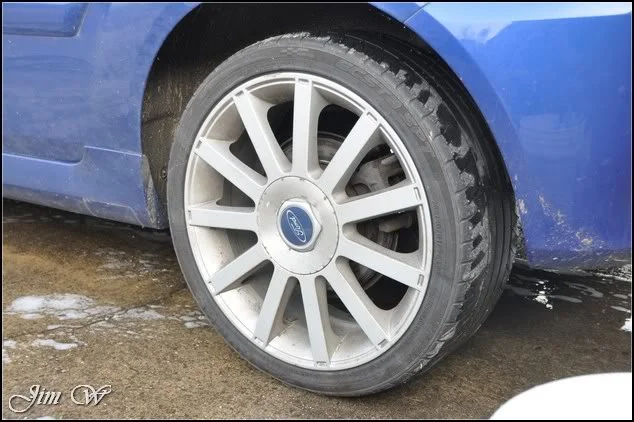
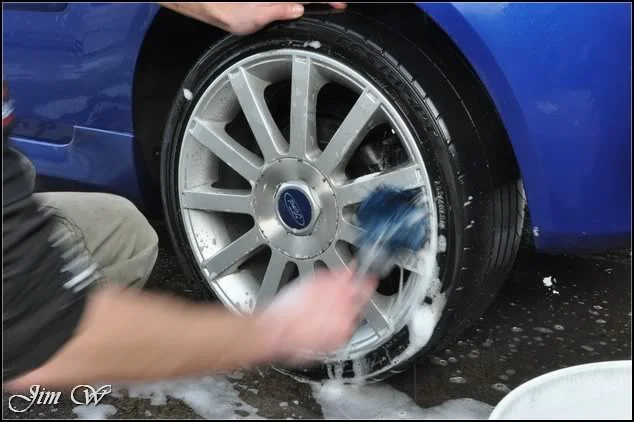
Tardis and Iron Cut in action:
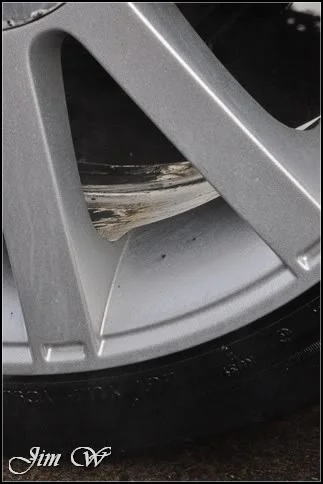
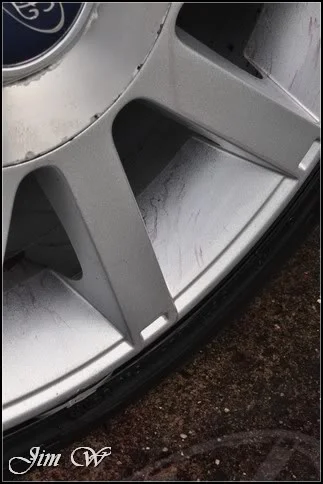
After the wash stage was complete, AutoSmart’s Tardis was once again put to the test.
Ample amounts of tar to remove:
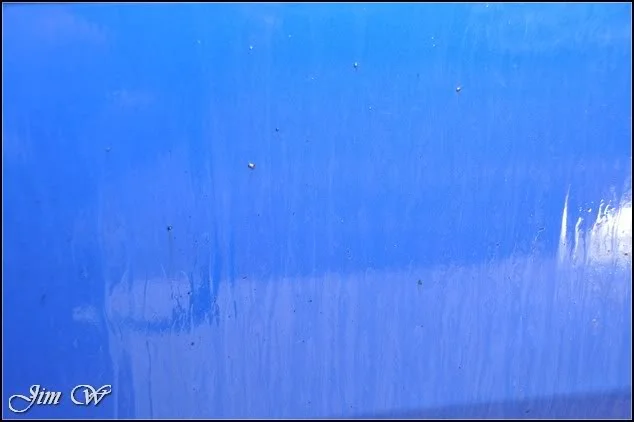
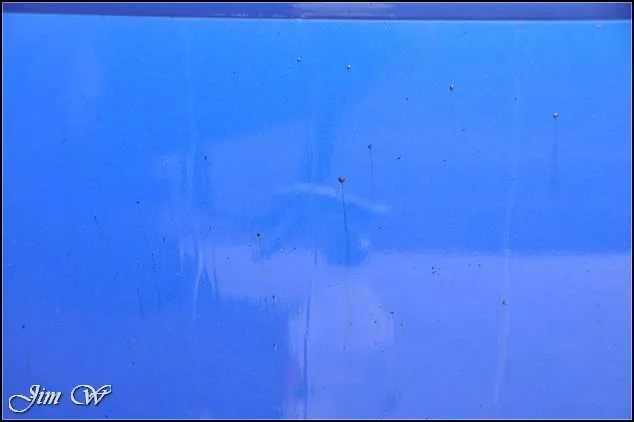
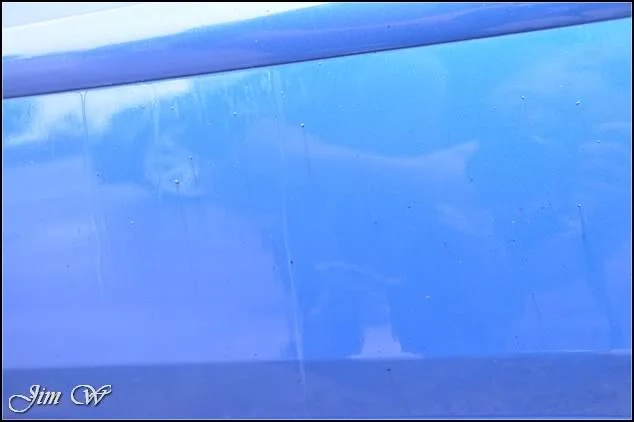
A timely process to remove every last spec! The car was literally covered. (I later noticed that there were a few stone chips on the lower leading edge of both doors (above the side-skirts); must get lots of kick-up off the tyre which is surely a design floor?)
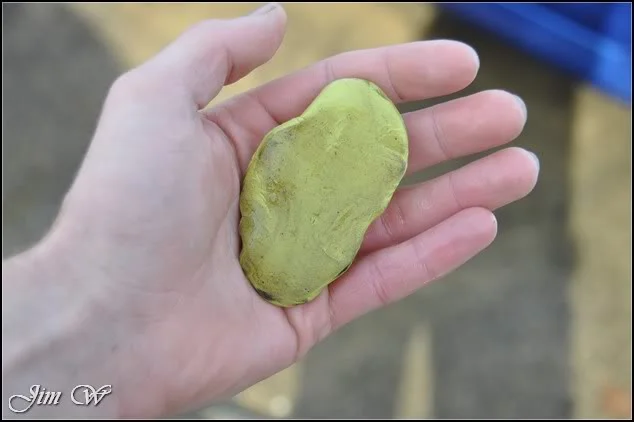
Elite Mild Clay used to remove embedded contaminants:
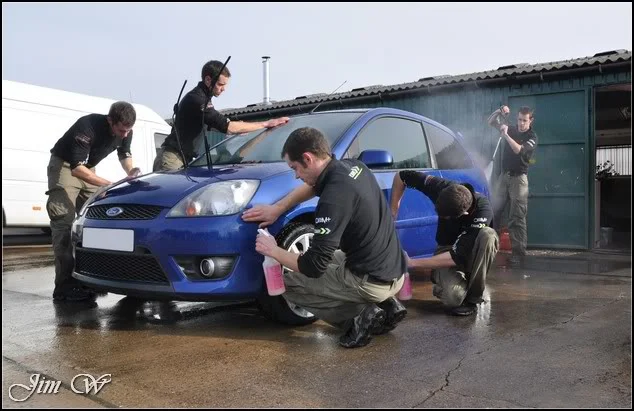
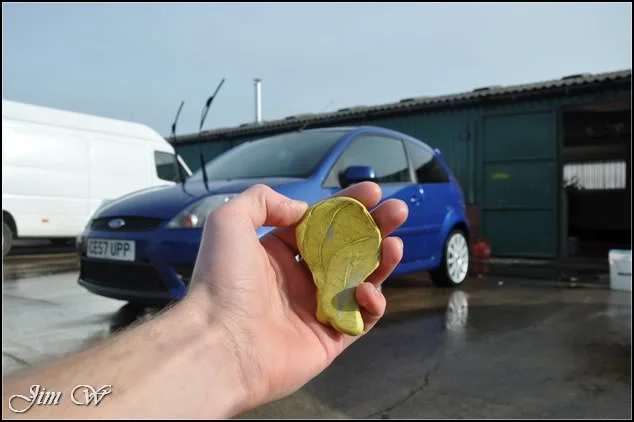
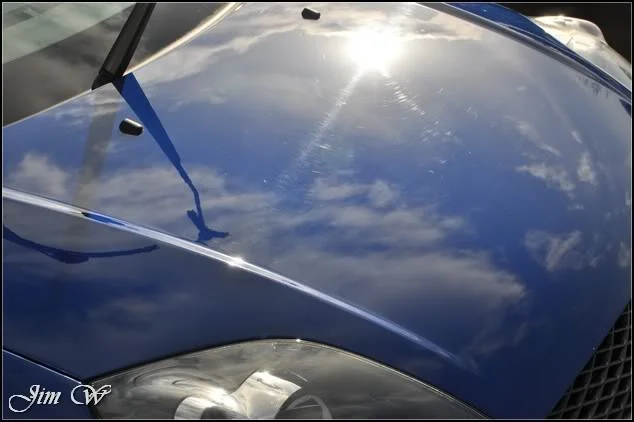
Defects starting to show through now:
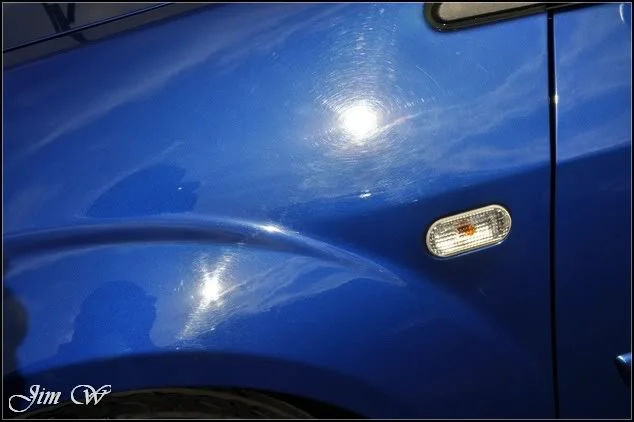
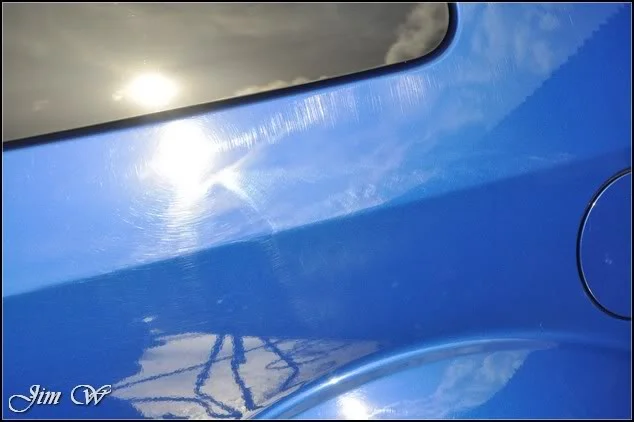
Bodyshop ‘doings’:
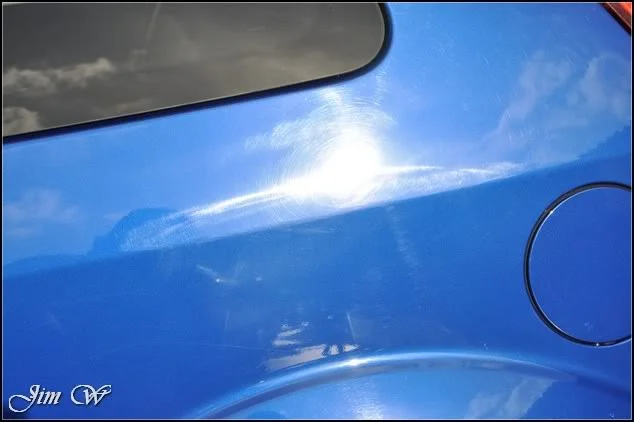
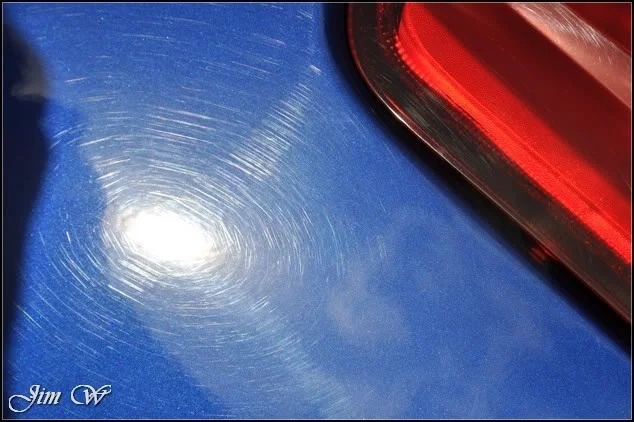
Fiesta was brought inside and blown dry with the Black Baron to shift trapped water in panel-gaps, crevices, trim and badges etc…
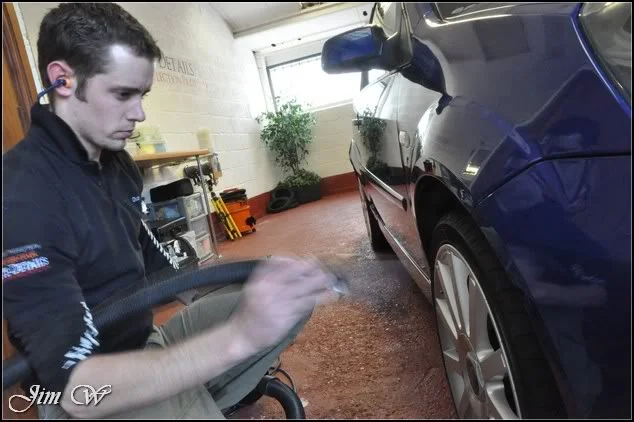
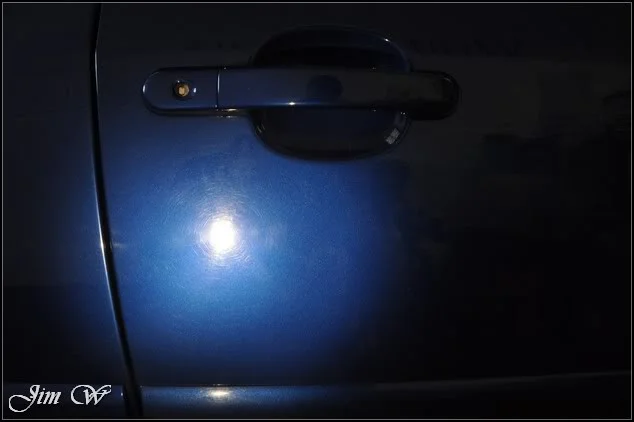
Very little depth to the paint because of the amount of swirls ‘hazing’ the finish:
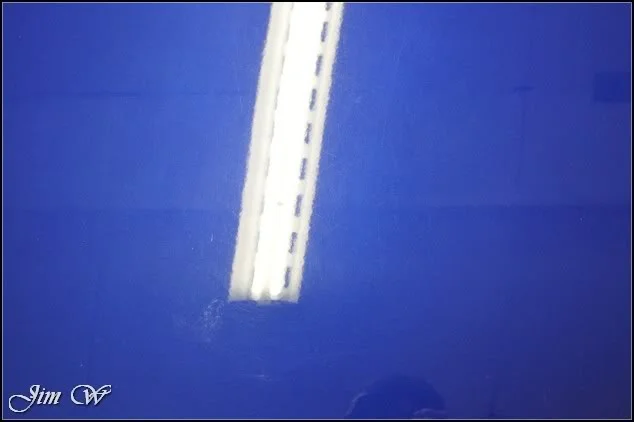
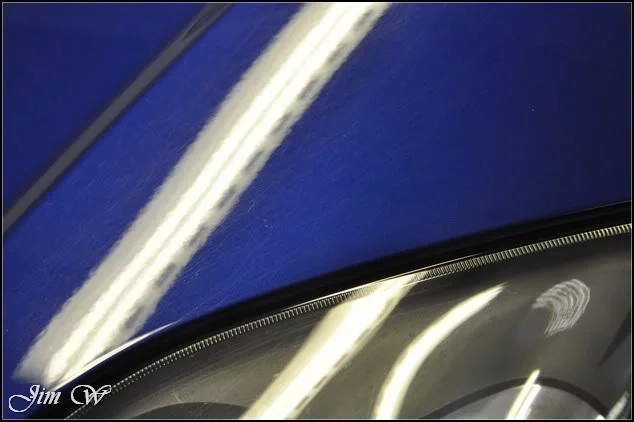
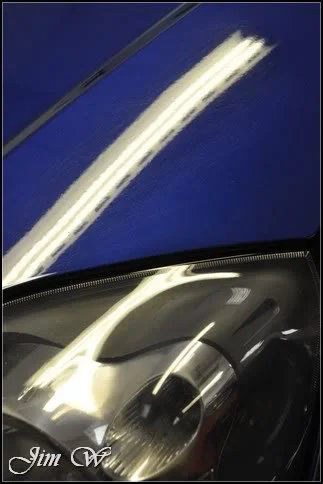
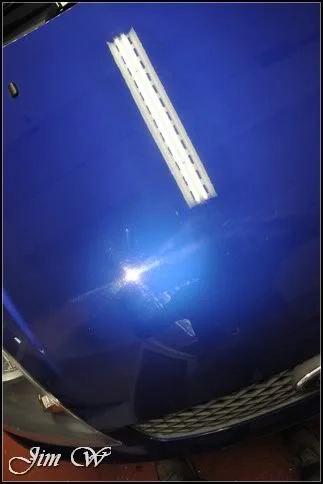
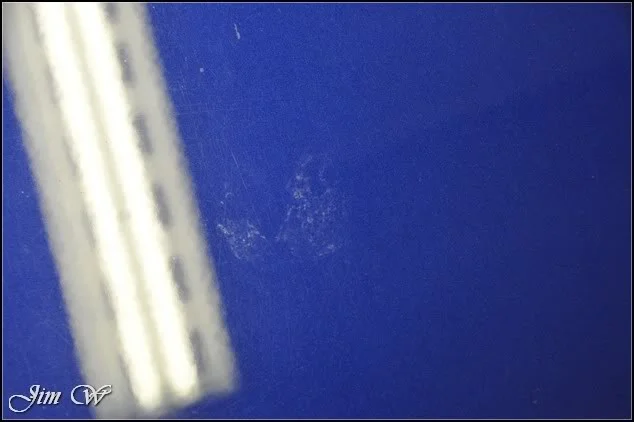
Deeper marks and a bird etching on the bonnet:
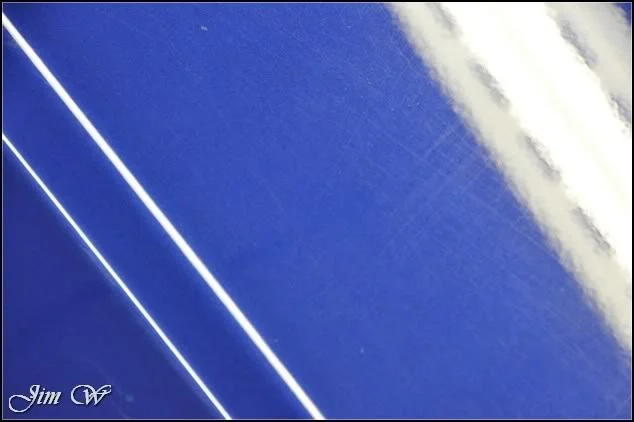
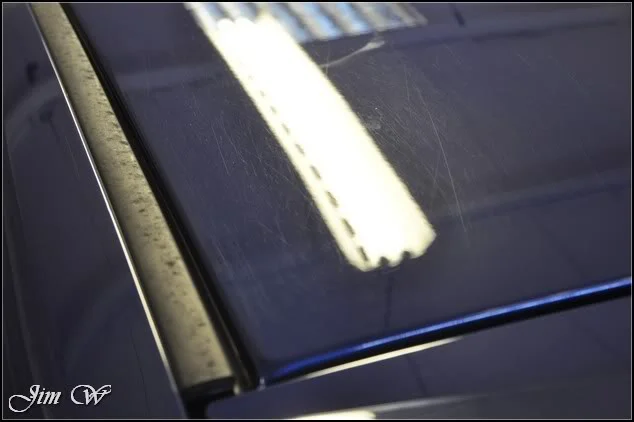
Ceiling strip-light highlighting the scratches on the roof:
And more of the mess left by the bodyshop:
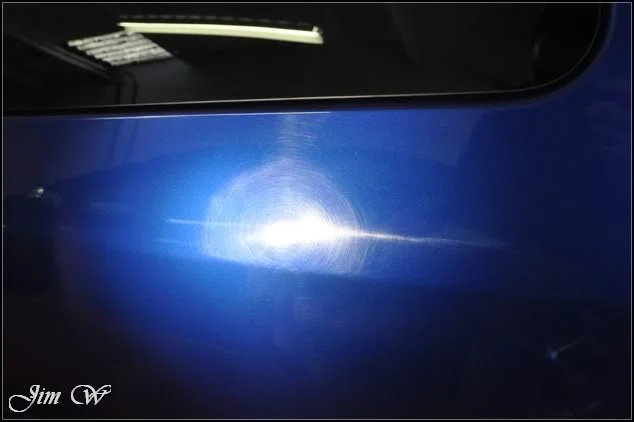
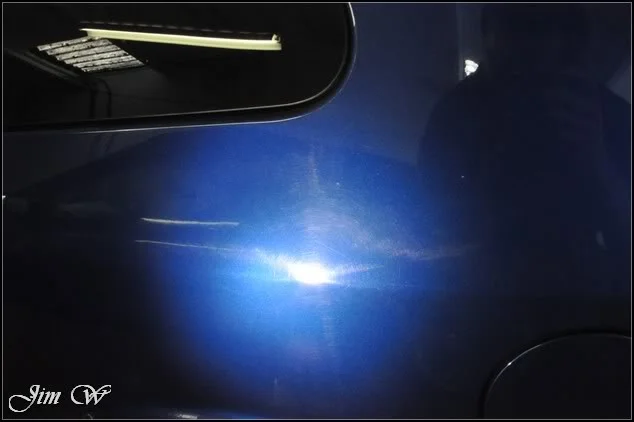
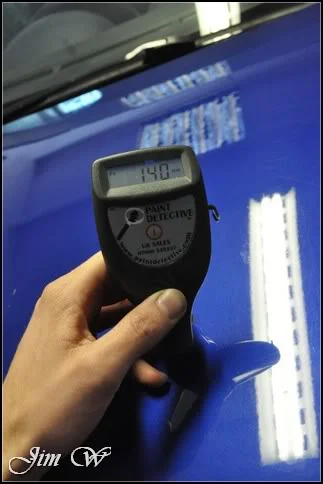
Initial paint readings looked good:
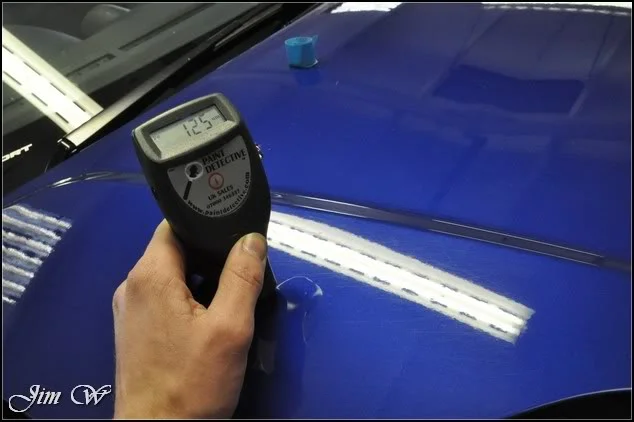
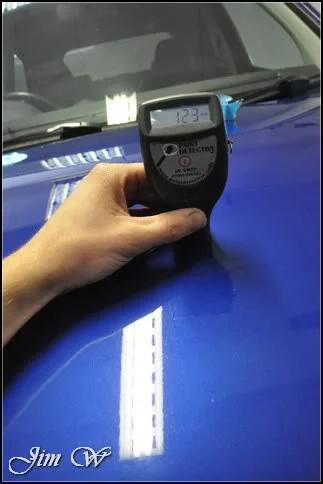
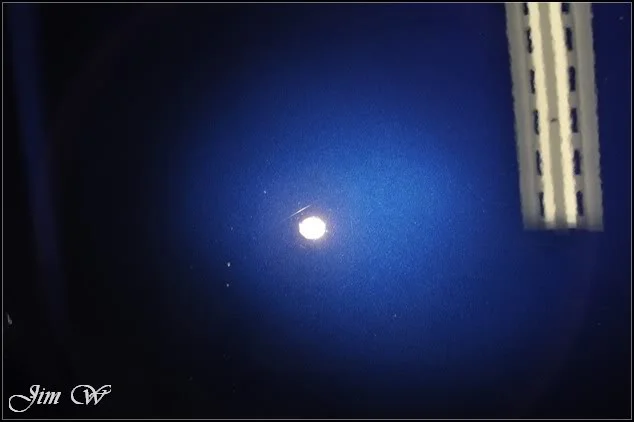
First pad and polish combo was Menz 203s on a 3M yellow polishing pad. The swirls were knocked back, but, lots remained. Stepping up to Menz 85RD 3.02 was better but still room for improvement it we’re talking about a ‘major’ paint correction detail!
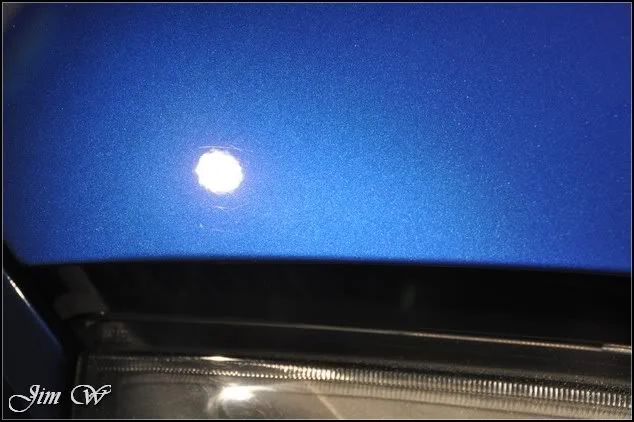
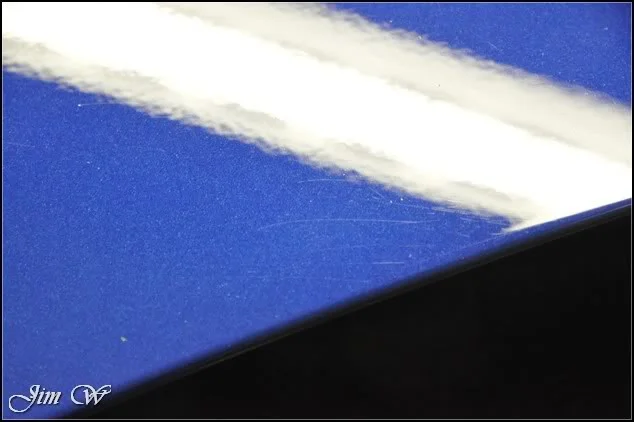
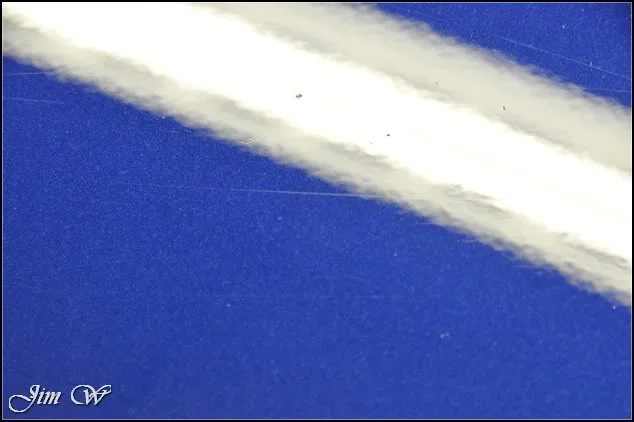
Elite Car Care’s orange polishing pad was trailed at this point; still a few marks left behind so I upped to Fast Cut+.
Bonnet 50/50s:
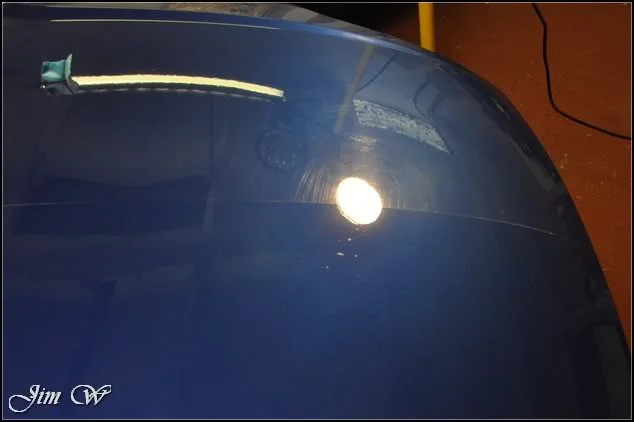
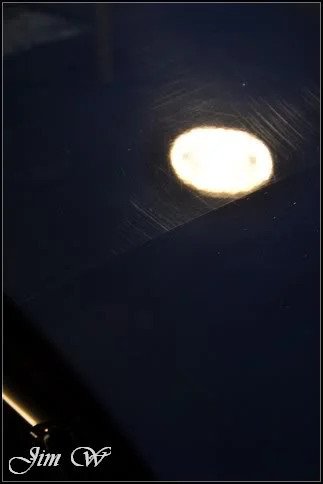
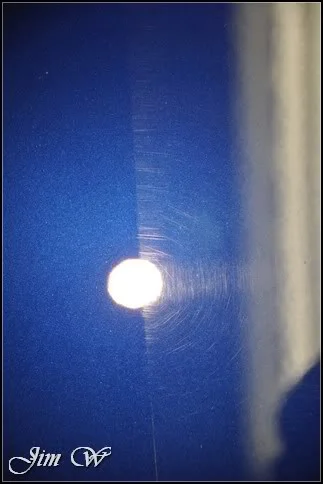
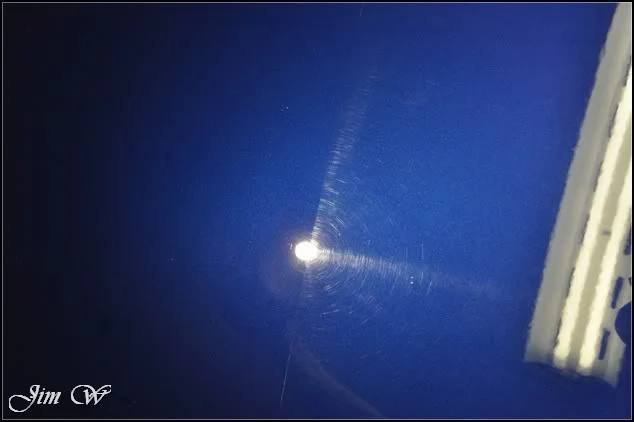
Strip-light showing the difference in depth between the polished and unpolished area:
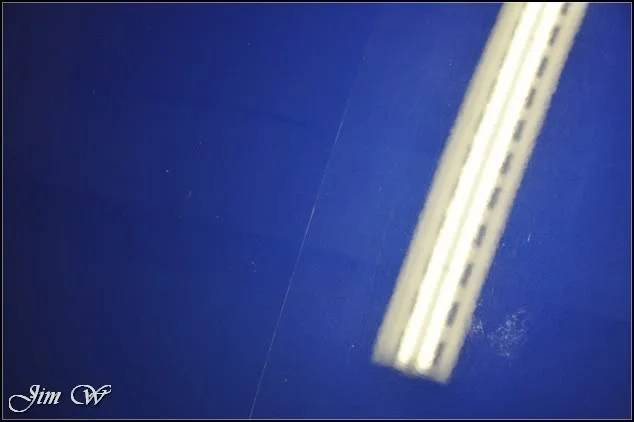
Before/After:
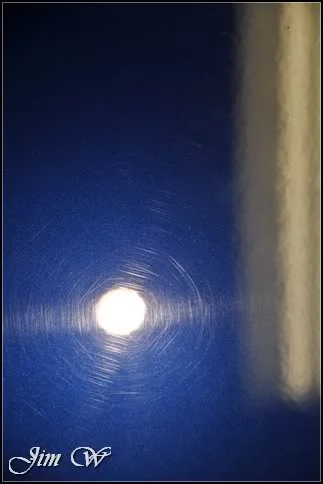
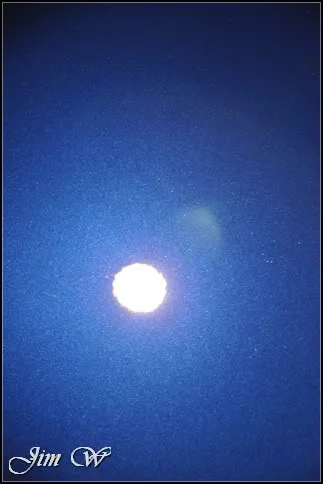
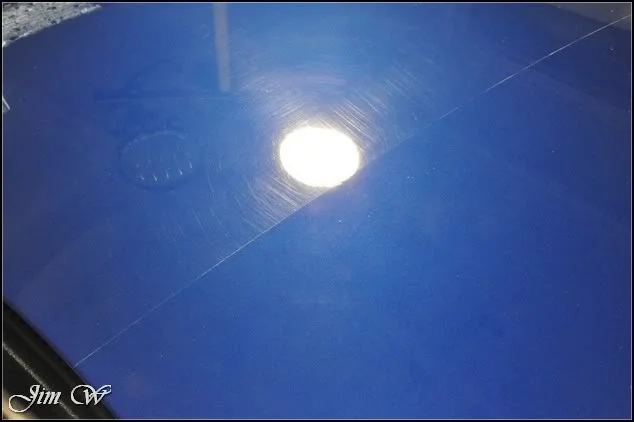
Happy with this combo, I continued to work around the car.
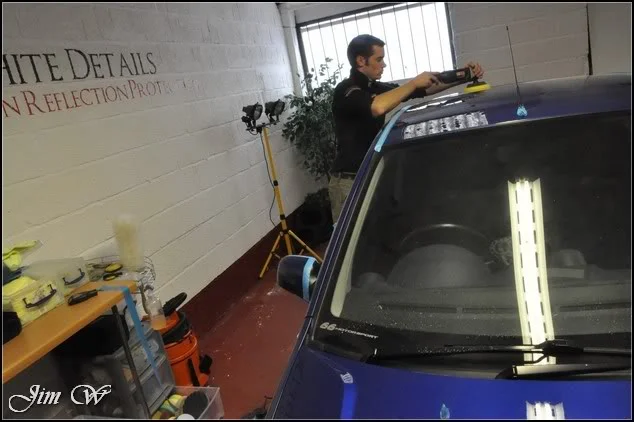
Roof line before:
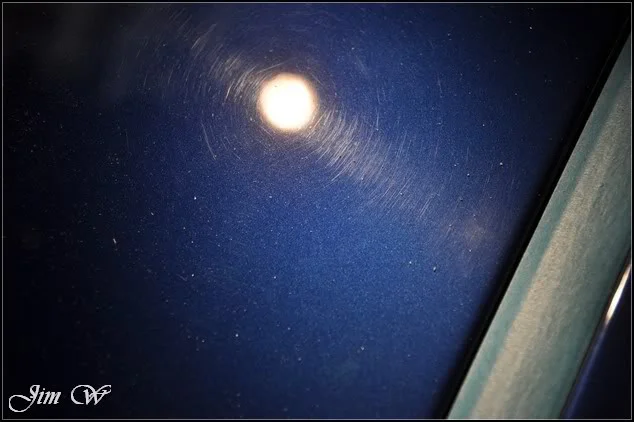
And after:
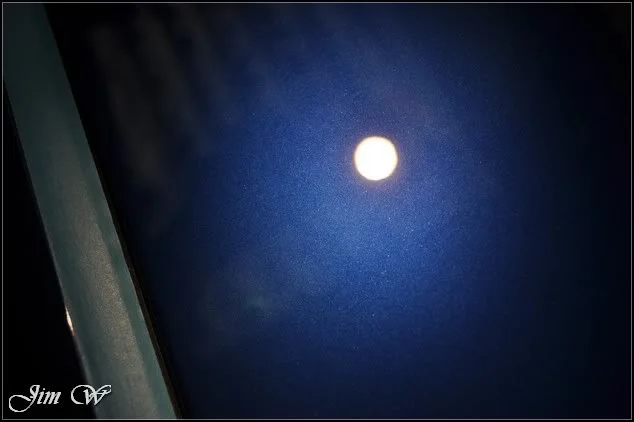
Before and after:
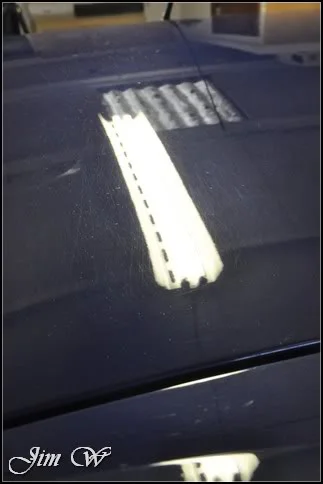
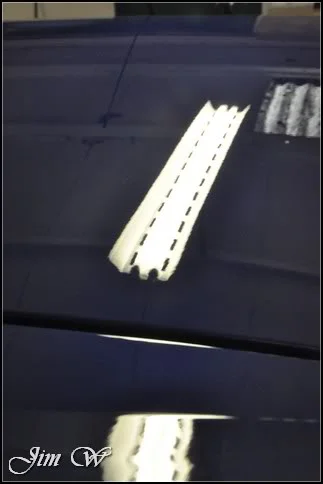
Before and after:
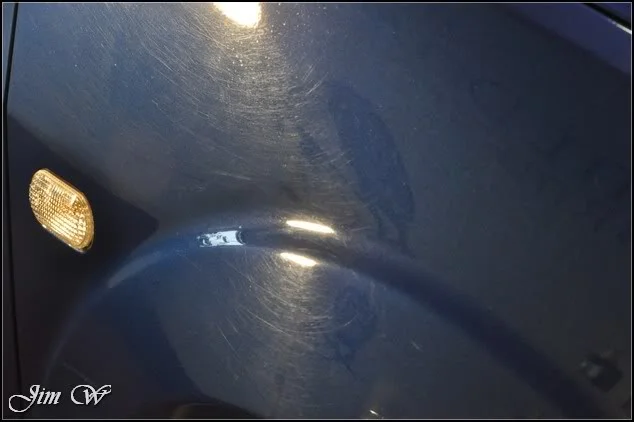
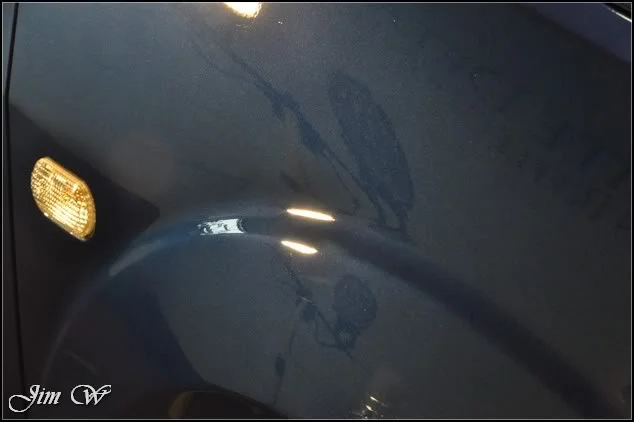
O/S door suffering heavily from DA sanding marks
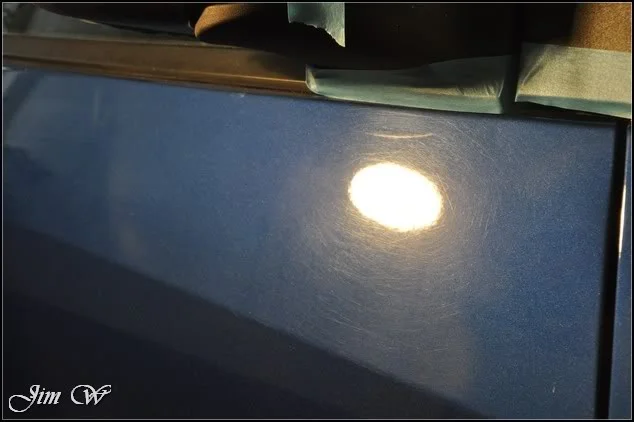
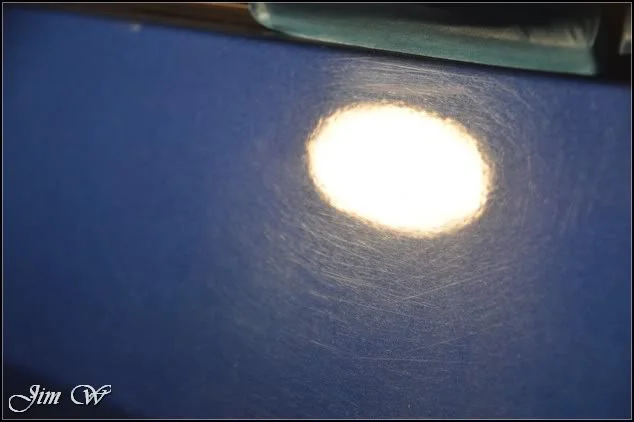
Cleaned up nicely and requiring refinement:
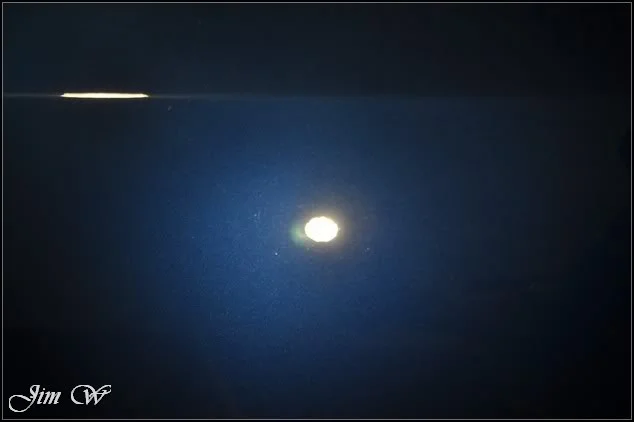
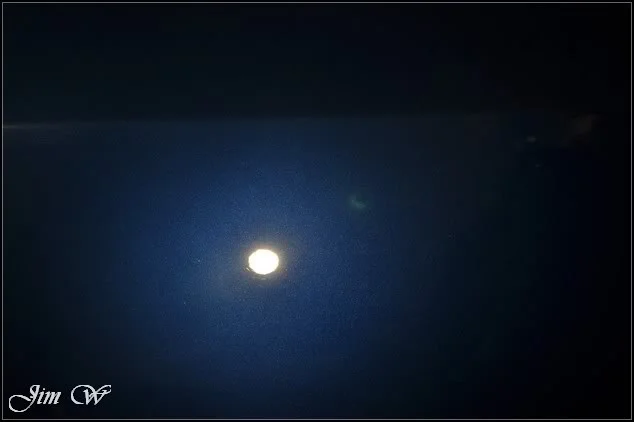
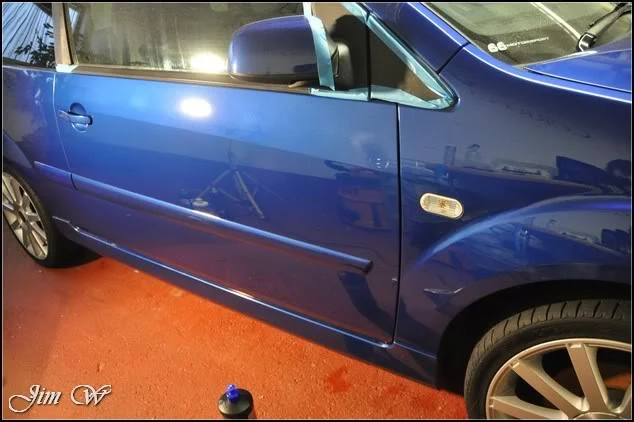
50/50 on O/S door:
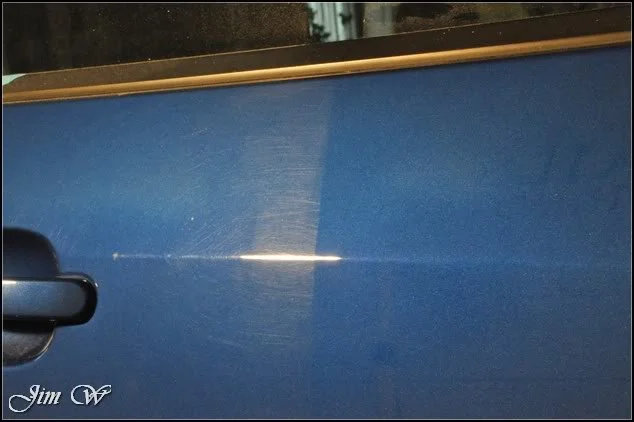
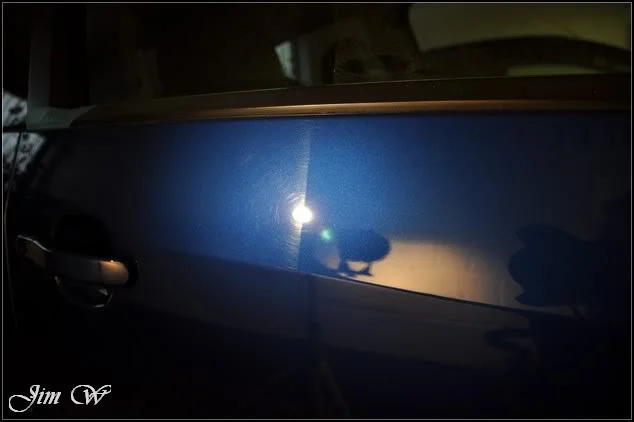
Before/After:
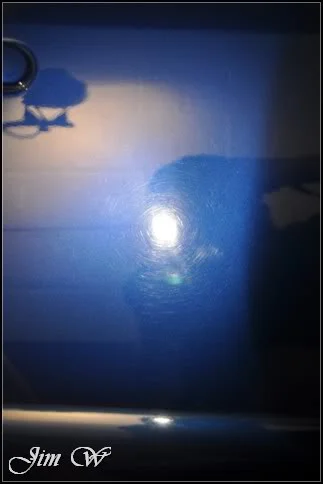
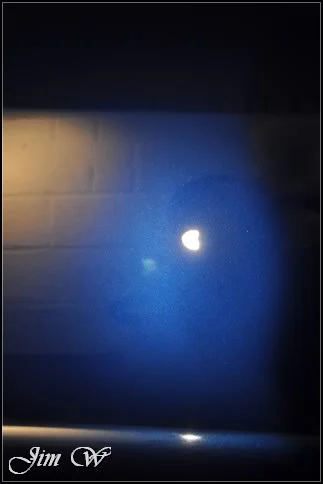
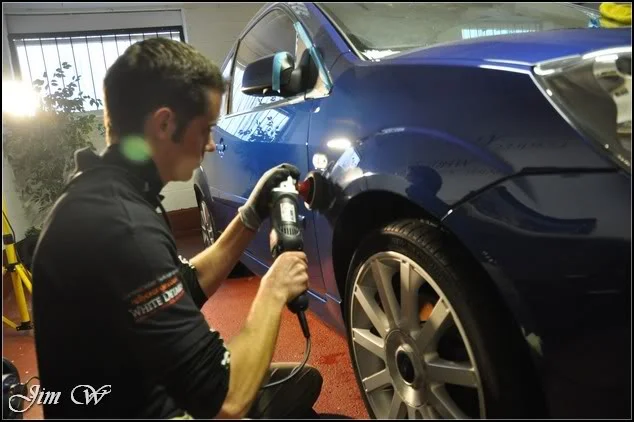
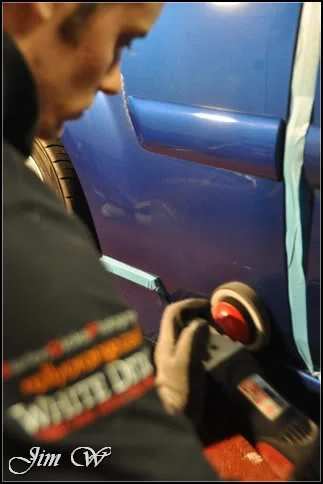
Refinement on O/S taking place…
A few nasties found on the edge of the tailgate:
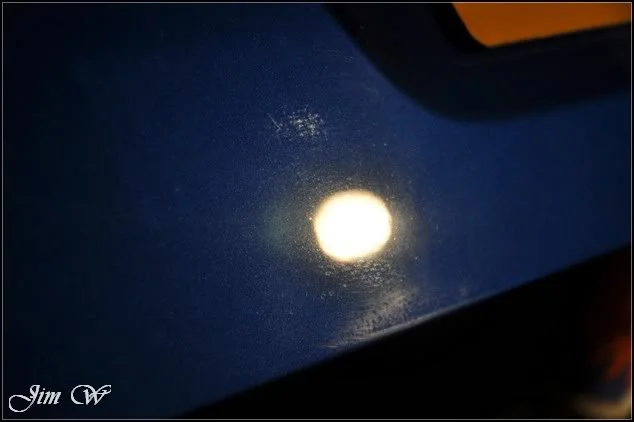
Before/After:
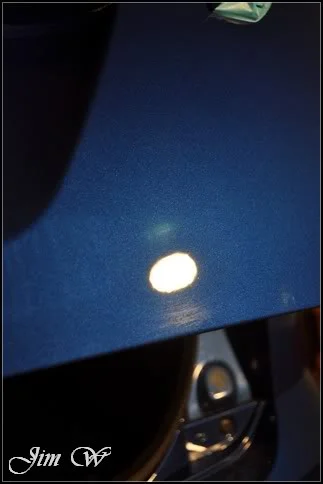
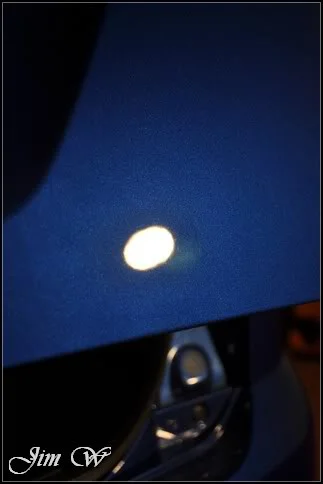
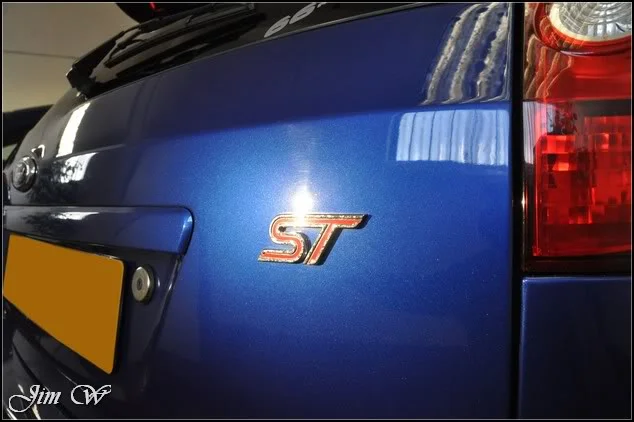
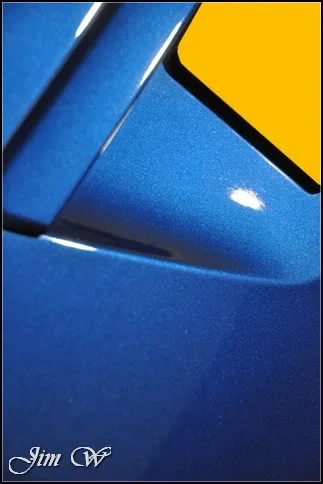
…what a colour!
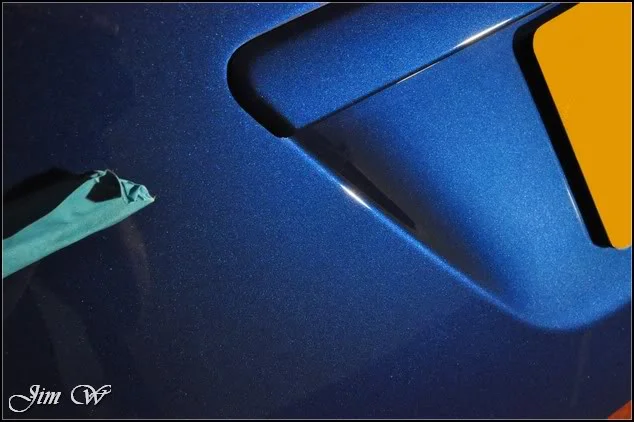
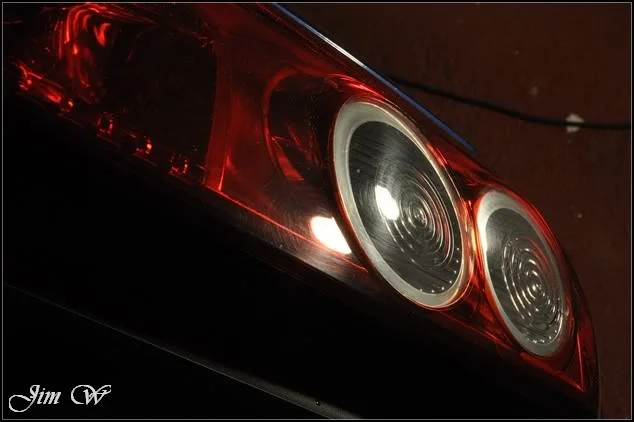
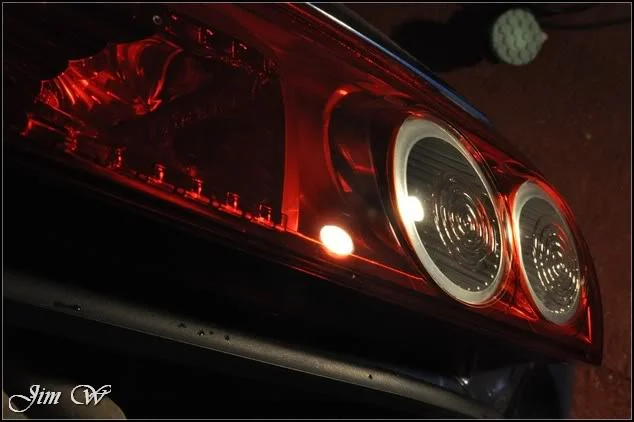
Rear light clusters cleaned with a 3M yellow spot pad and Menz 3.02 (Correction, in looking at the picture, I can now see it was a green light cut Hexlogic pad, not a yellow 3M!)
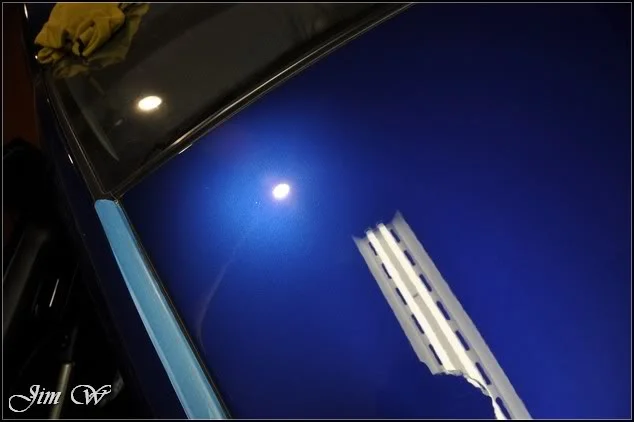
Roof after refinement:
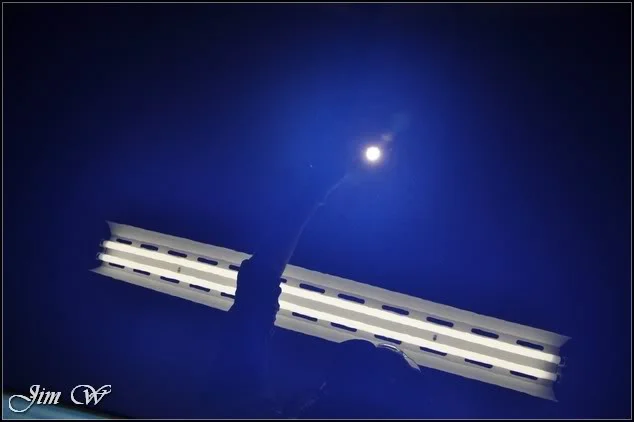
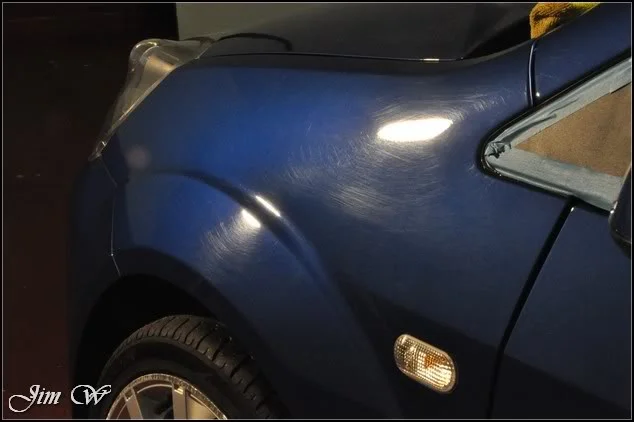
Before:
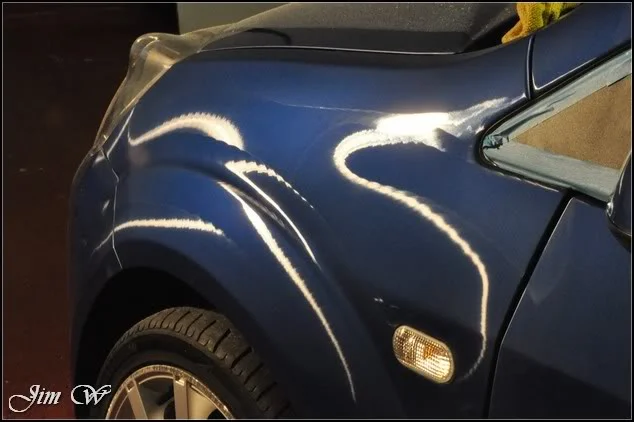
During:
After:
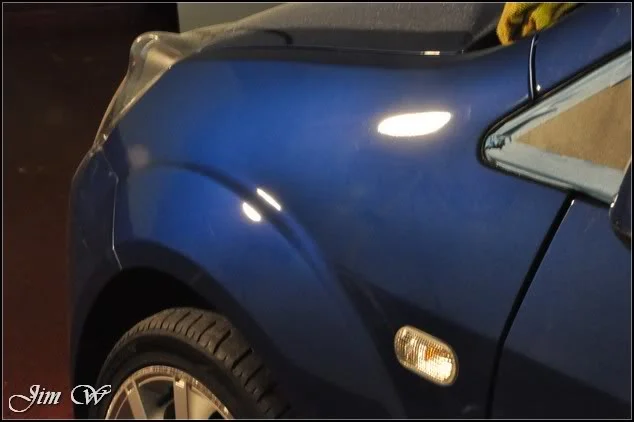
Not a bad 50/50 on the N/S door however compromise had to be made on the deep scratches as multiple hits with an aggressive approach were barely making a difference.
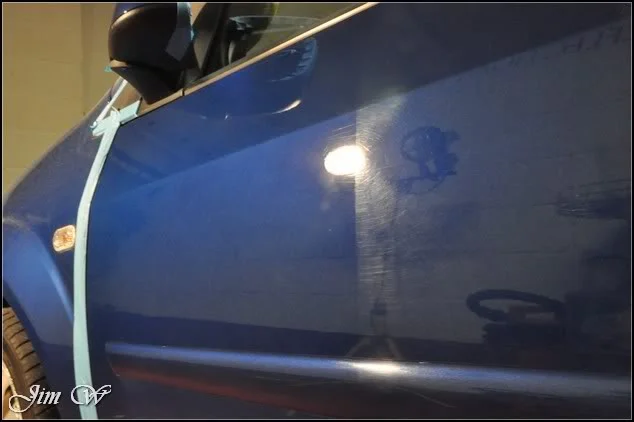
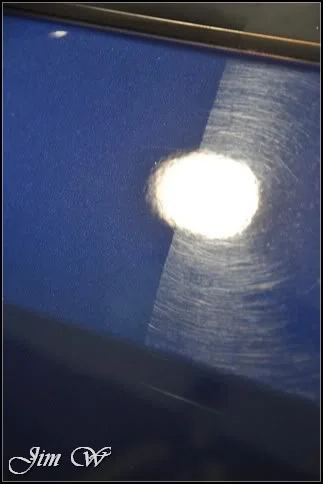
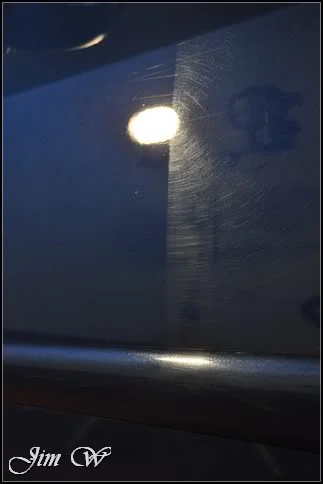
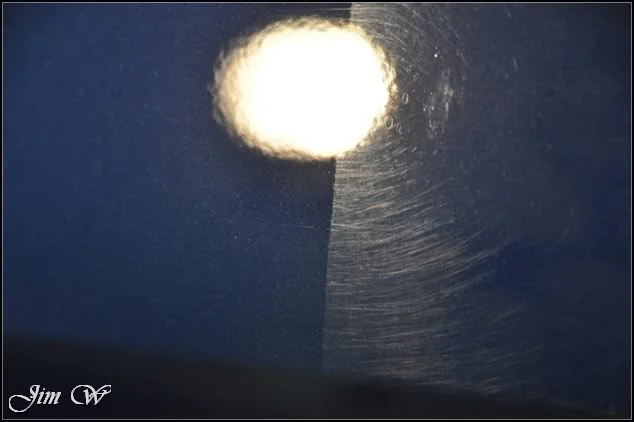
And refined:
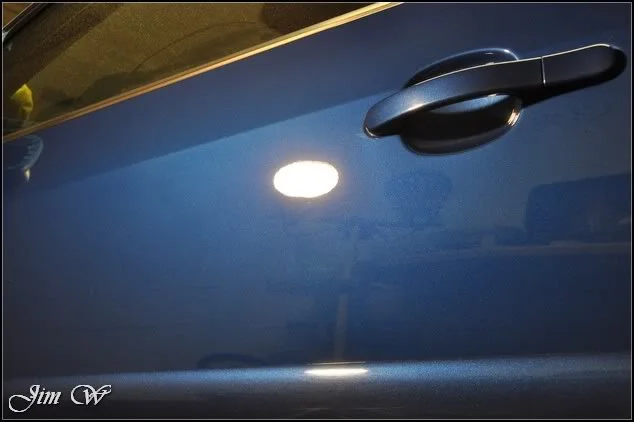
Before:
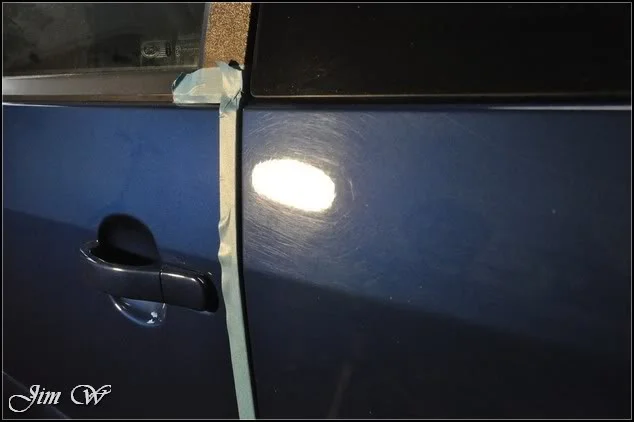
After:
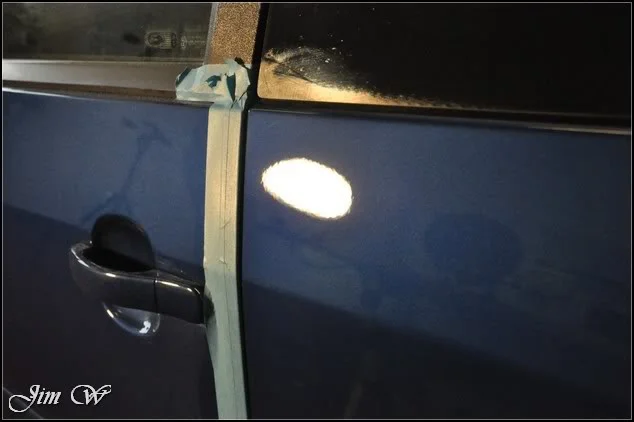
Before/After:
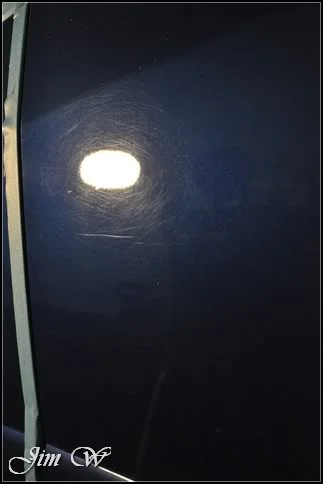
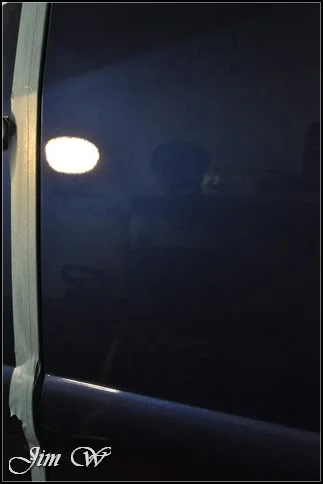
Thickness readings on the N/S rear were a little varied. This was one of the areas that had been subjected to the bodyshop work (and, the area seen earlier with the pretty buffertrails!) A milder approach was taken here so one or two deeper marks had to remain.
Before/After:
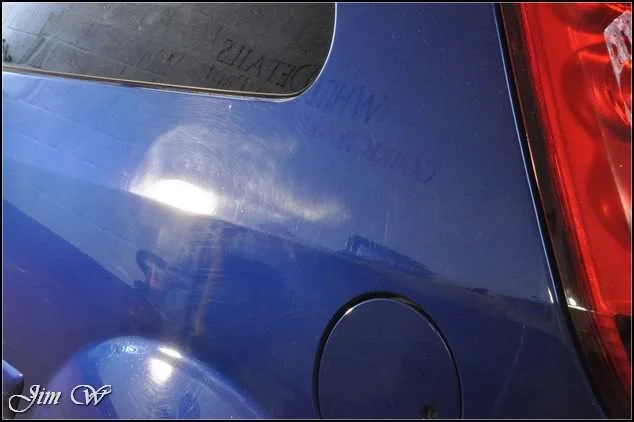
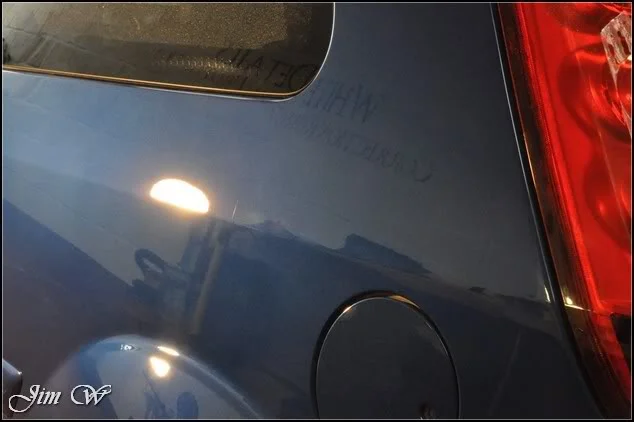
Finalising work on the bonnet but leaving a couple marks which are too deep to chase completely:
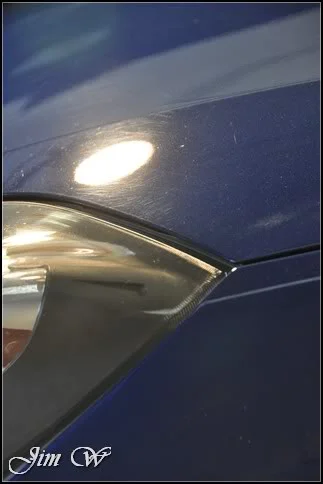
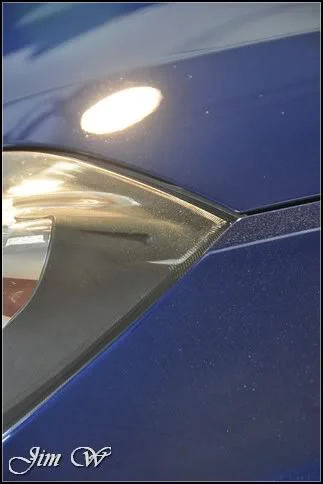
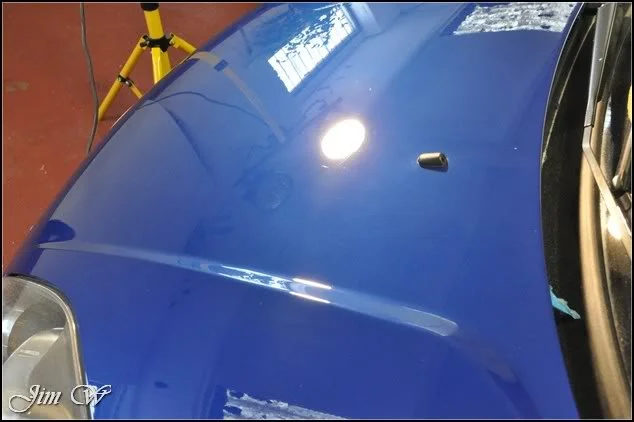
A little bit of bumper work:
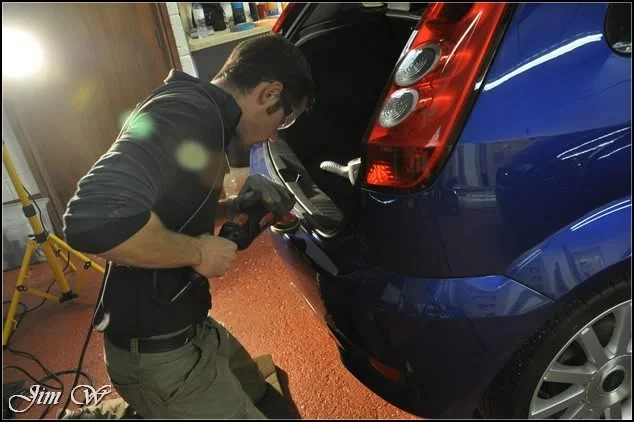
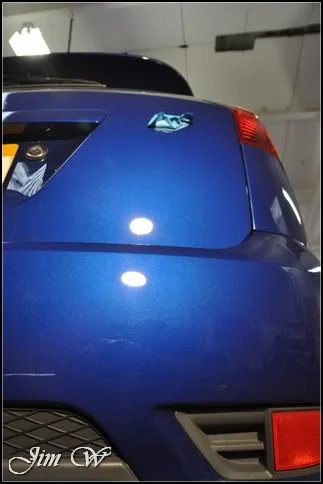
Machine work complete! Lots of dust though..
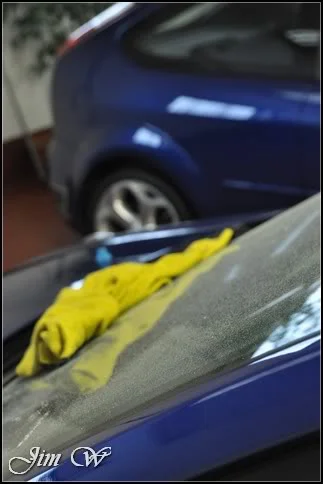
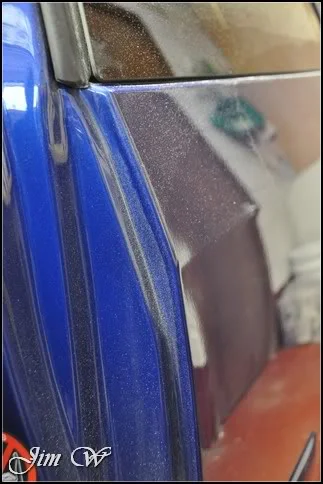
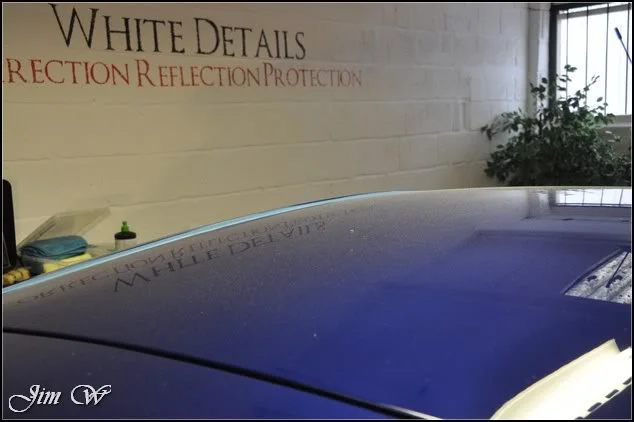
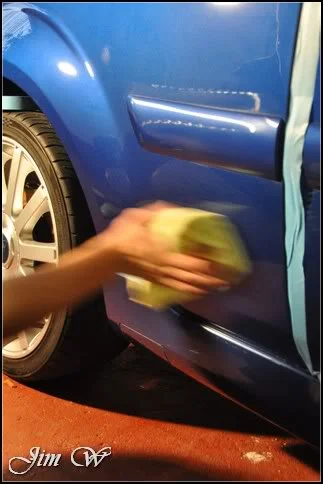
Once all the tape was removed and the vehicle was outside, the doorshuts were tidied with AutoSmart G101 and various brushes. Dust was removed from crevices and panel gaps and then water was ‘sheeted’ over the body to remove the mass amount of water beading:
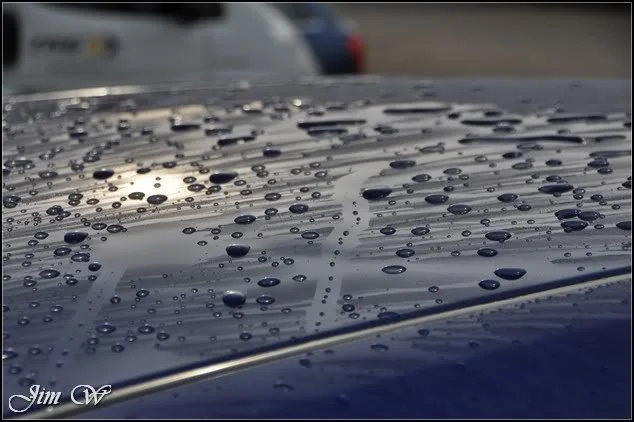
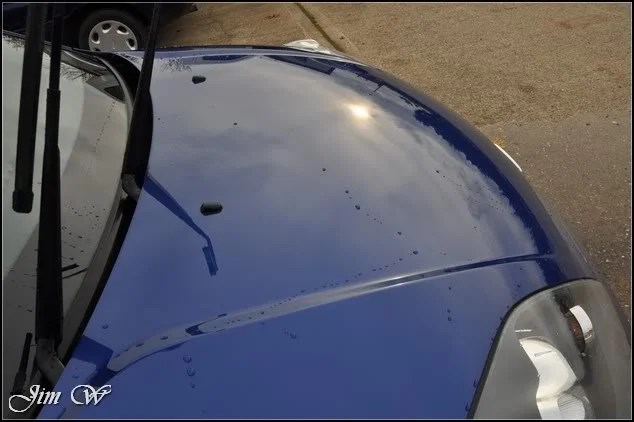
Easier to dry, yes?
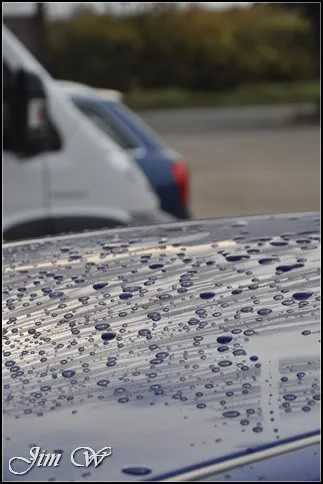
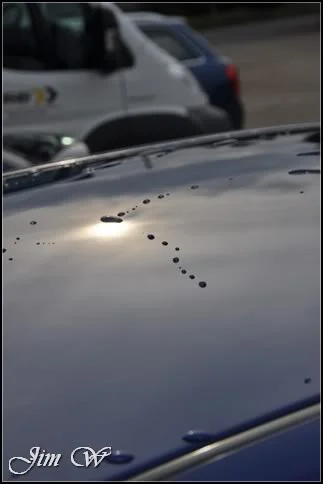
Back inside, the Black Baron made a second appearance and every areas of the car was hit to remove any trapped water.
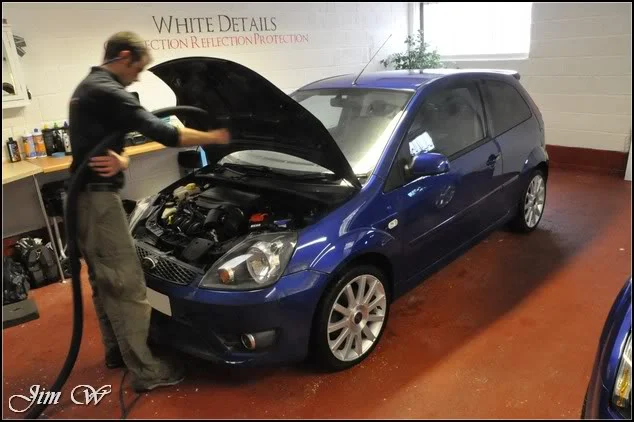
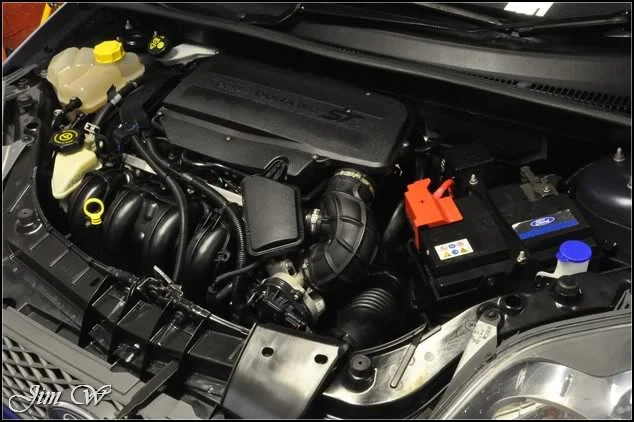
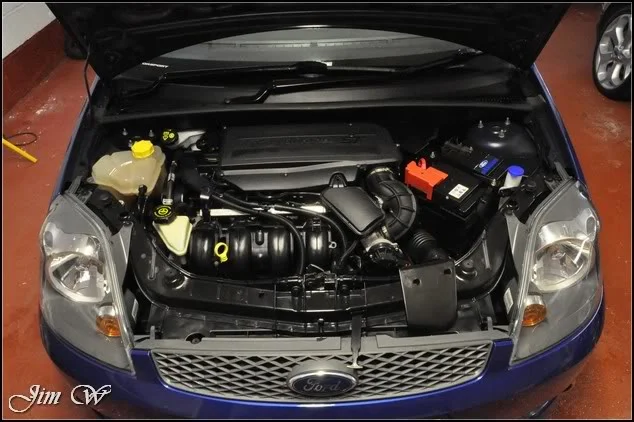
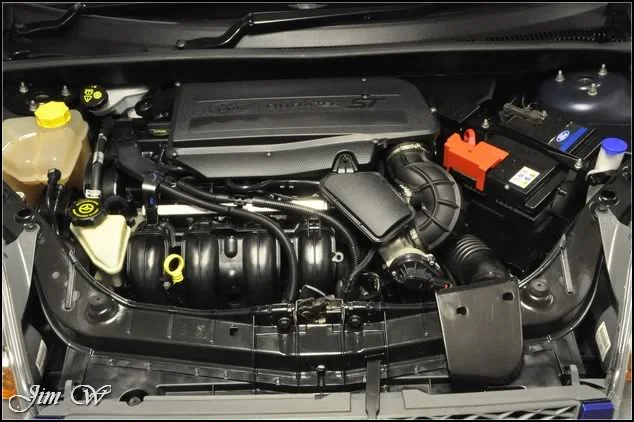
AutoGlym Vinyl and Rubber Care used to dress engine plastics:
IPA wipedown given to remove any further polishing oils and wax of choice (Colli 915) applied:
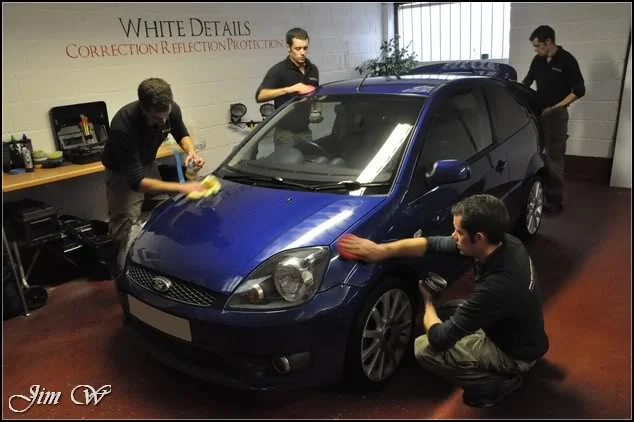
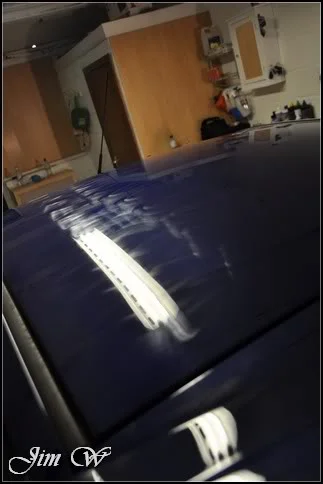
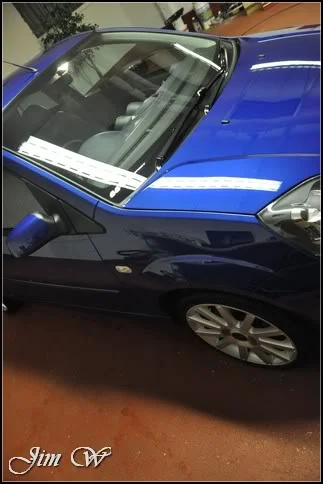
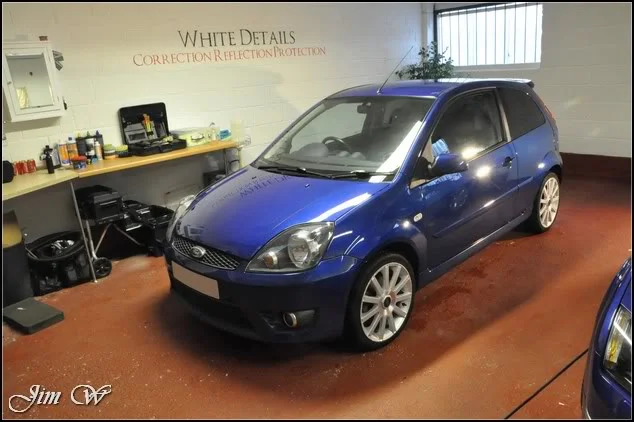
Glass sorted inside and out:
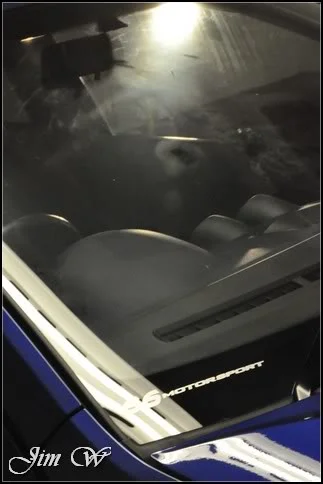
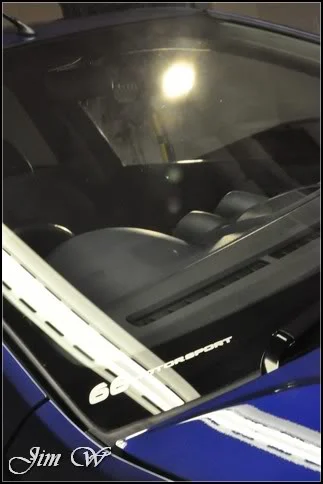
Alloys protected & tyres dressed. A final buff and 17 hours later we’re finished.
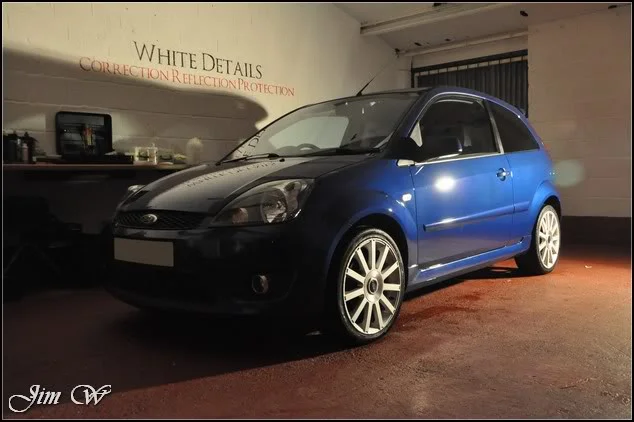
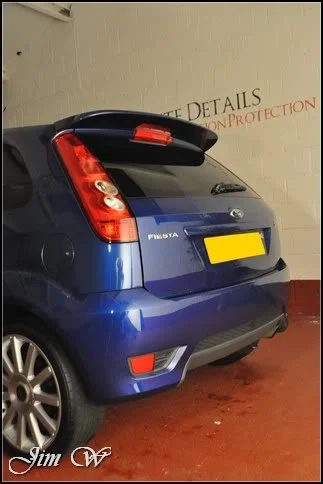
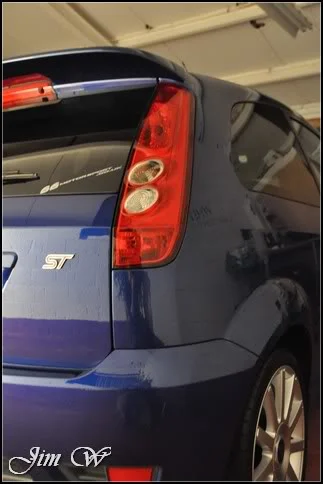
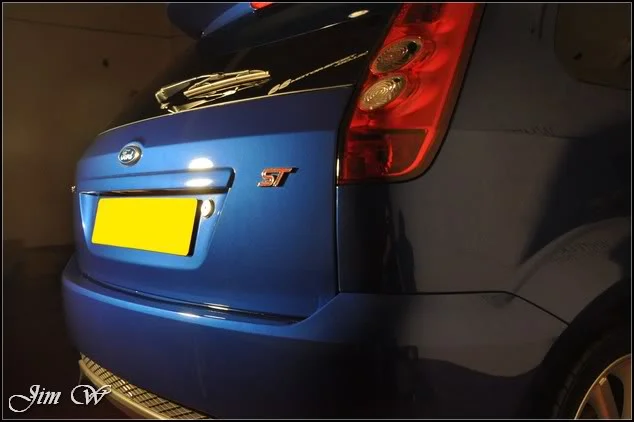
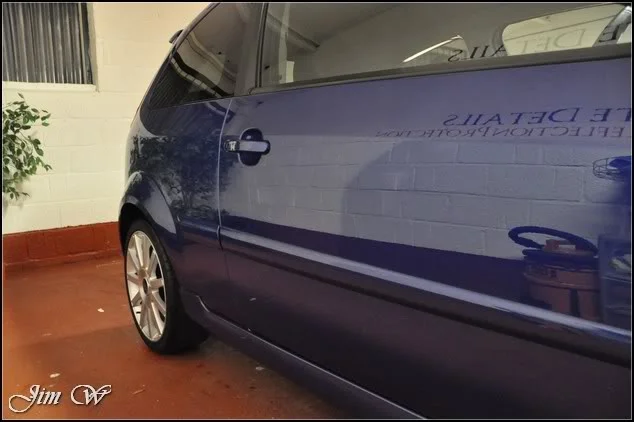
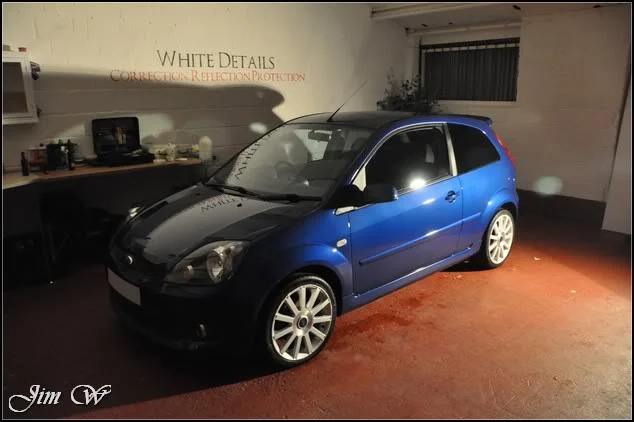
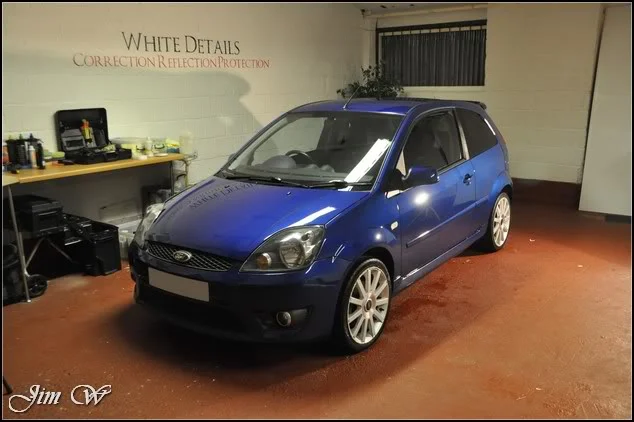
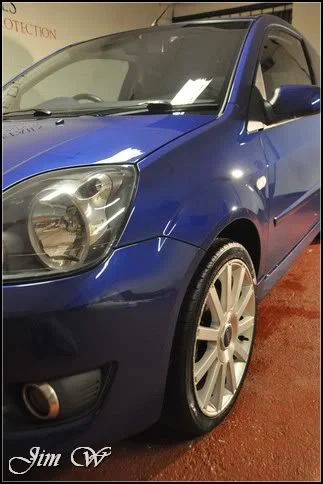
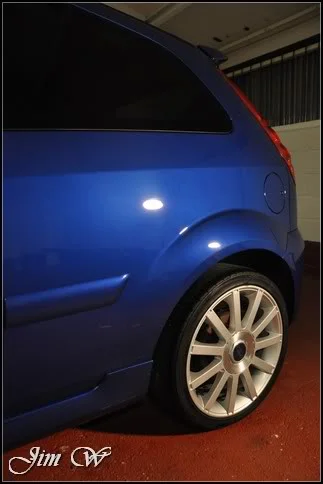
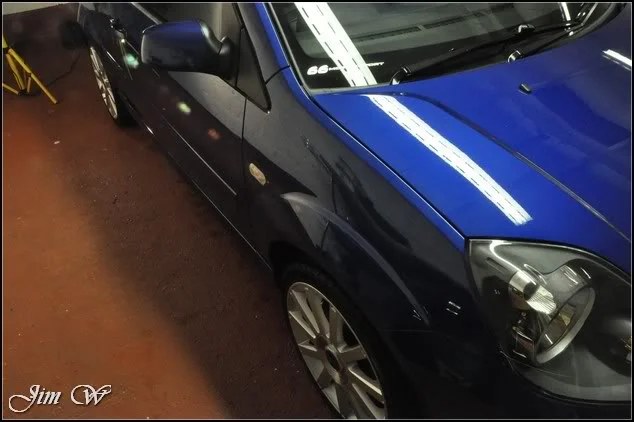
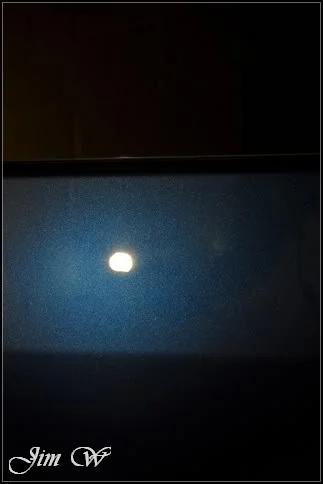
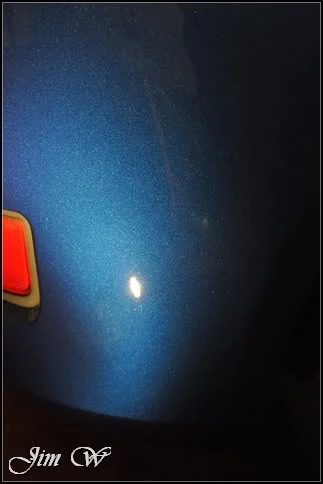
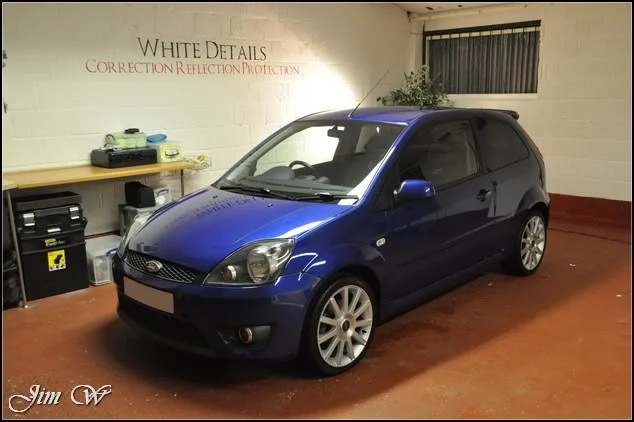
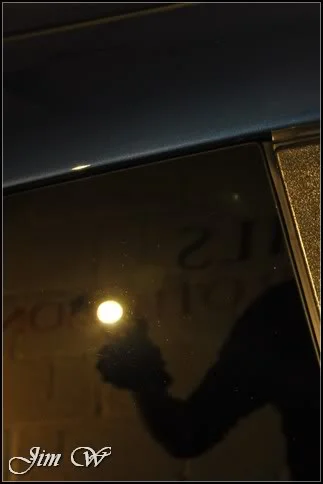
A few direct light shots showing correction levels:
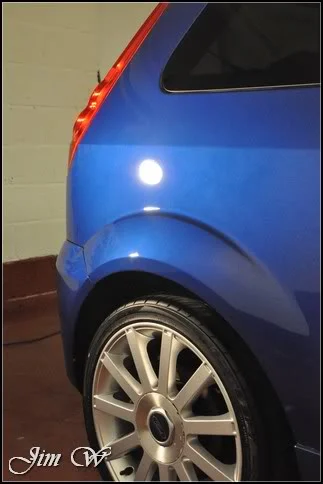
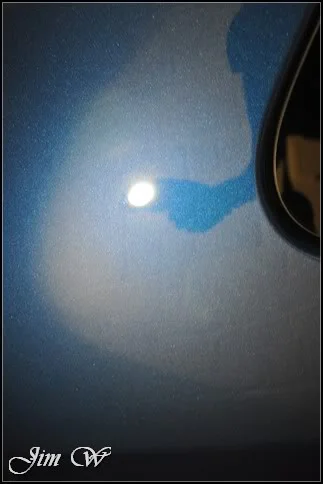
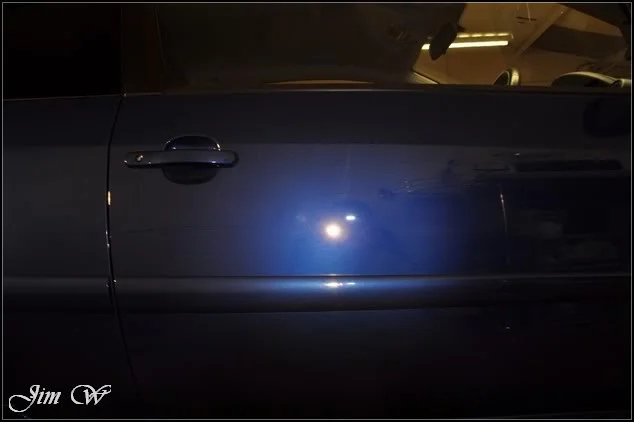
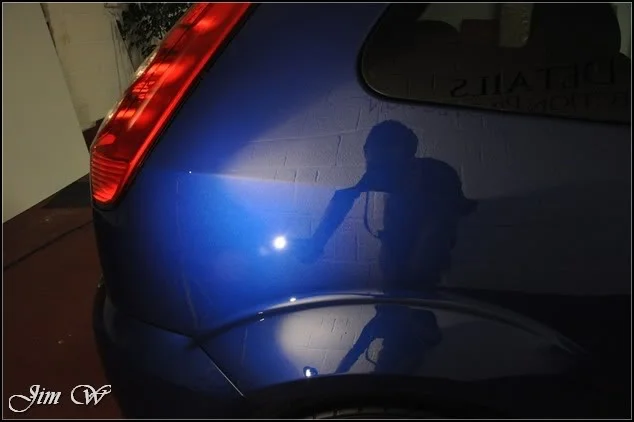
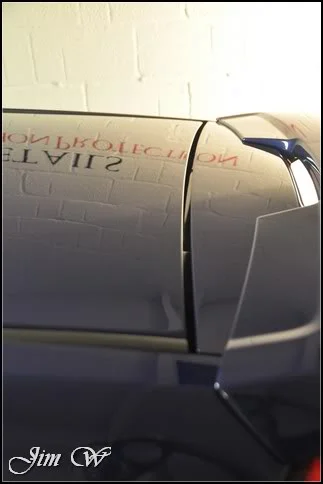
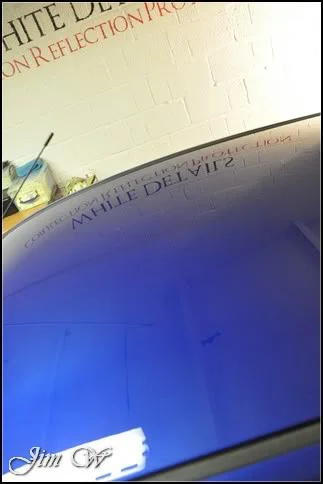
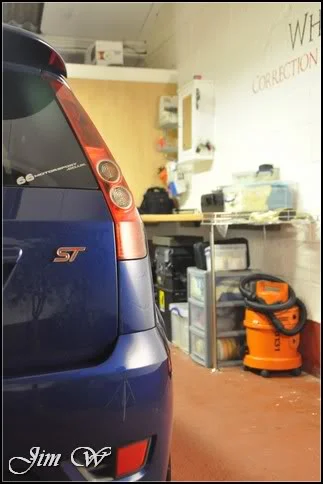
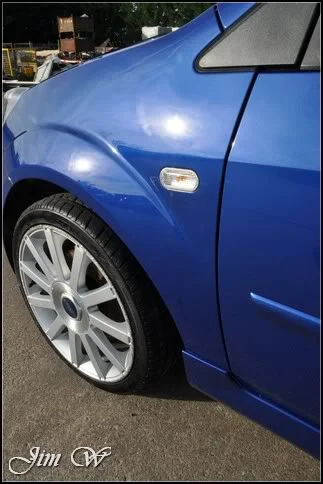
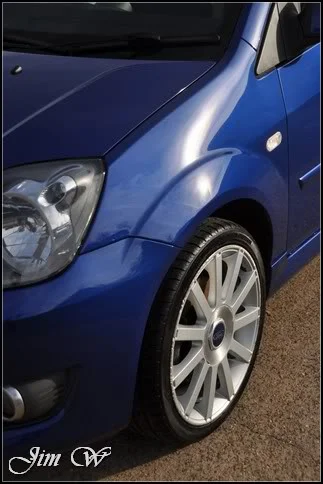
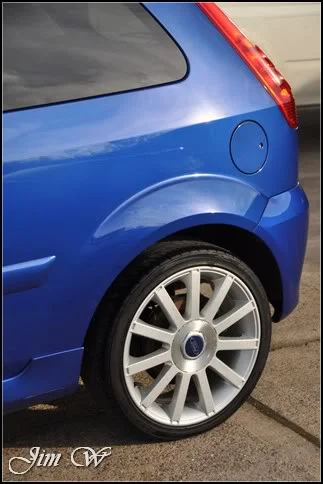
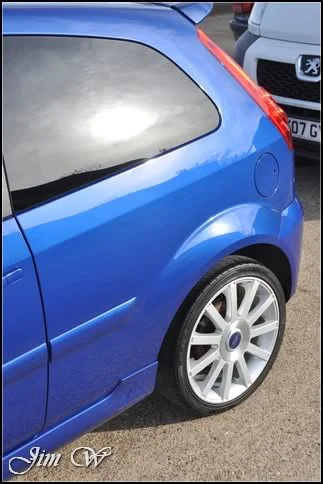
The following day I had an Interior job to deal with, and, seeing as though the Fiesta was still with me, I thought it’d be rude not to get some direct sun ‘after’ photos:
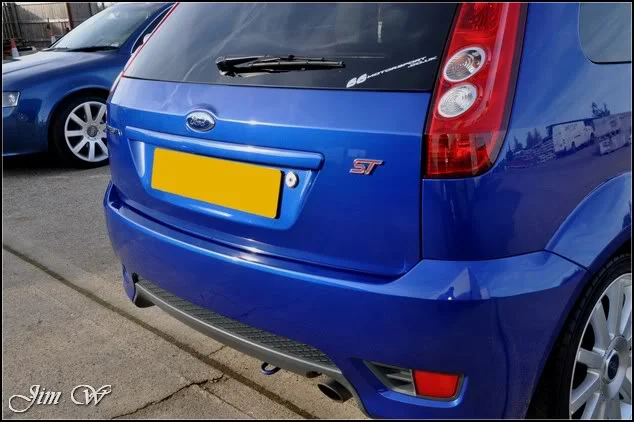
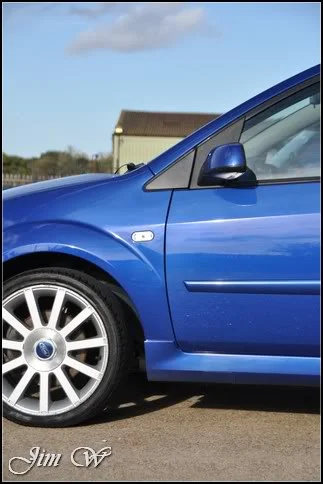
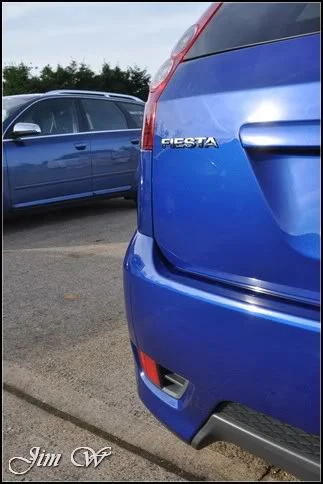
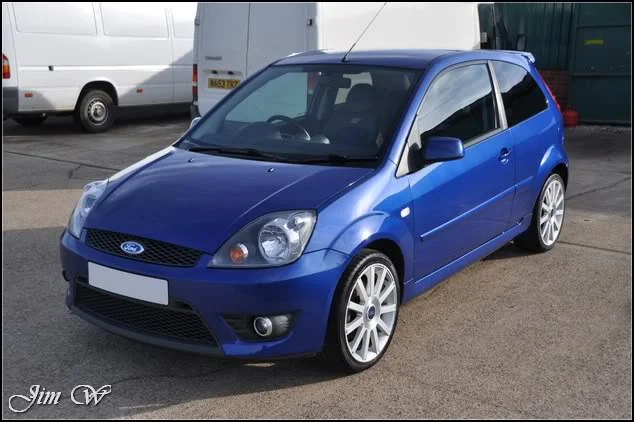
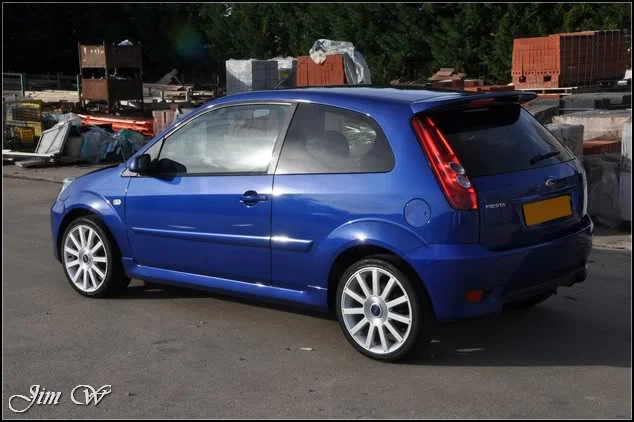
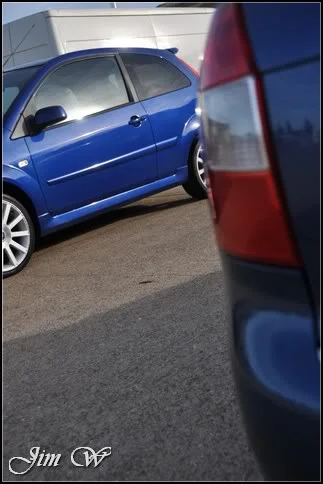
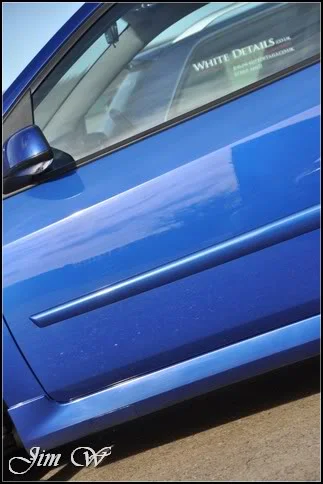
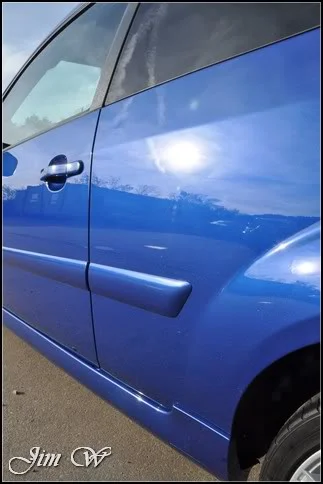
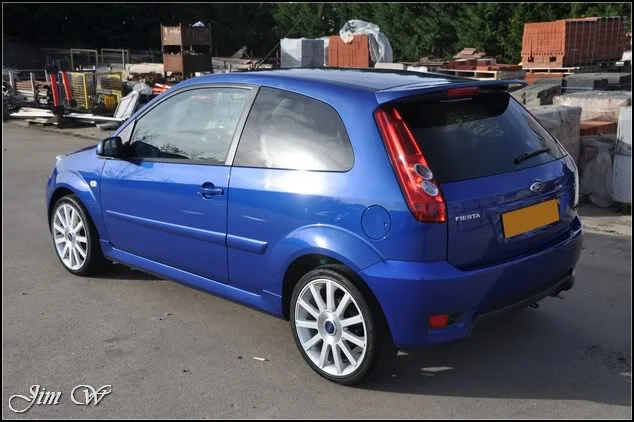
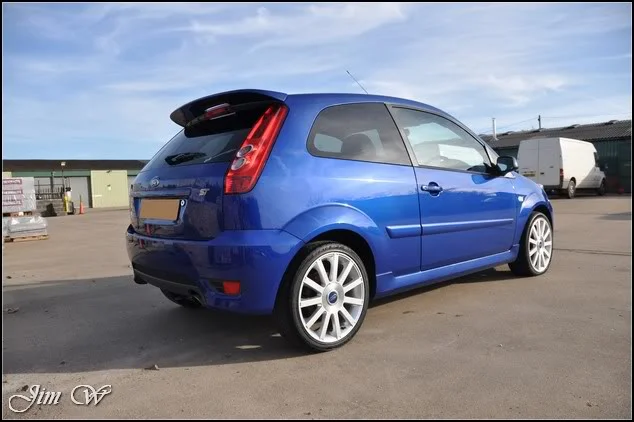
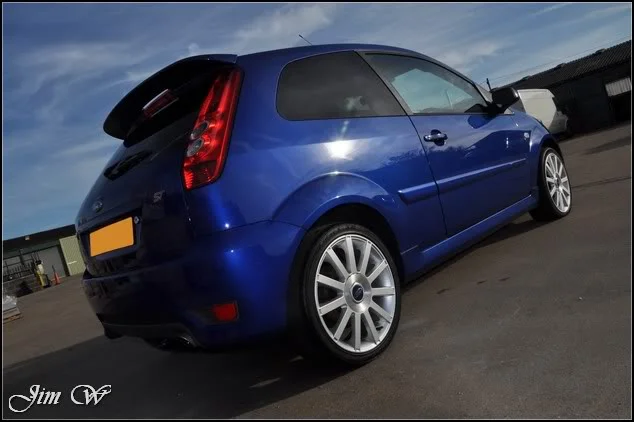
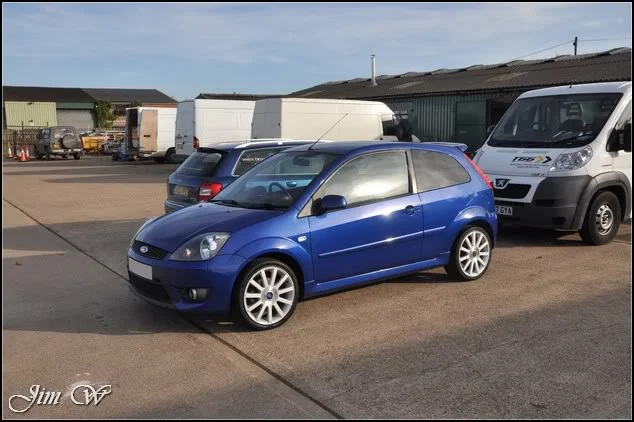
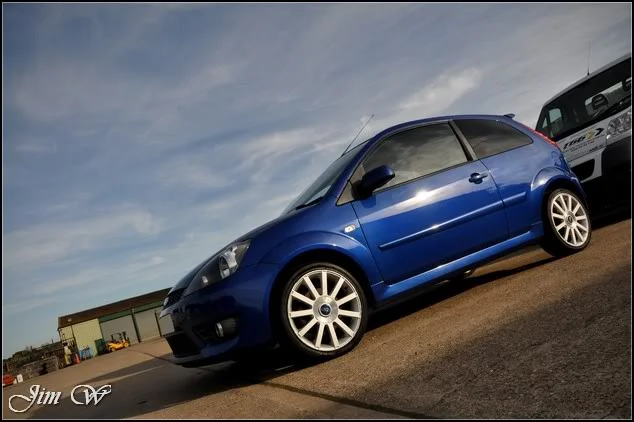
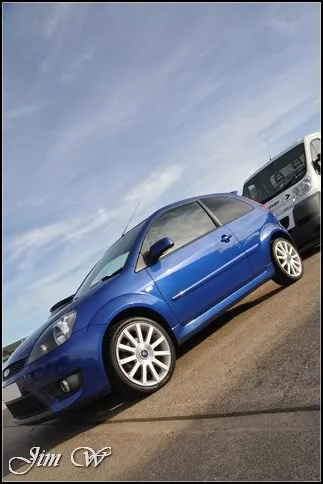
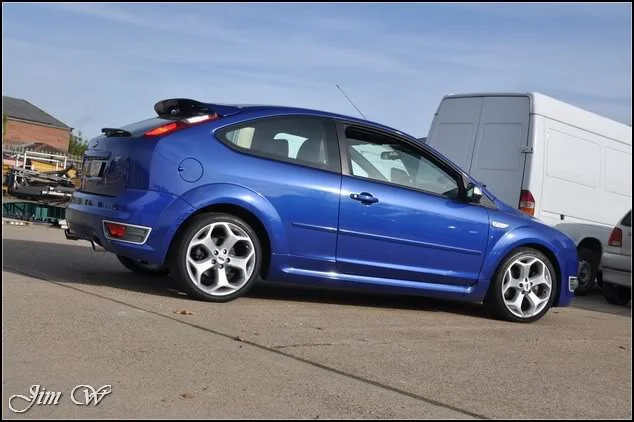
At this point, an old friend payed a visit to see the Performance Blue Fiesta! (looks like its still holding up well too)
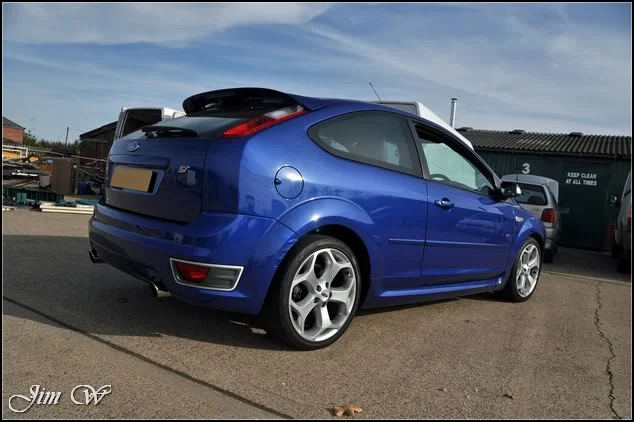
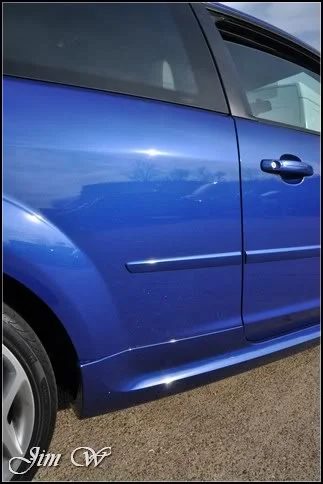
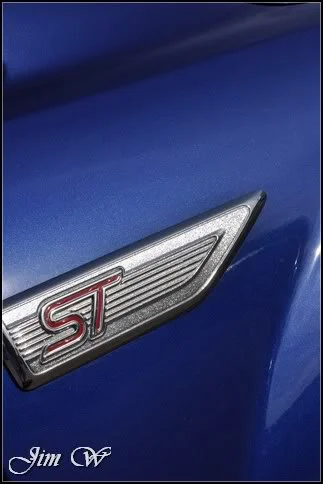
That is all for now. A few interior photos may follow when the time comes, but, for now, thanks for reading!
Really enjoyed this one.
Jim.
Product
· 3M Glass Cleaner
· 3M UltraFina
· 3M UltraFine
· 3M Fast Cut+
· AutoGlym Vinyl and Rubber Care
· AutoSmart G101
· AutoSmart Tardis
· Collinite 915 Marque D'Elegance
· Elite Car Care Mild Grade Clay bar
· Meguiars Last Touch
· Meguiars All-Season Dressing
· Meguiars Super Degreaser
· Menzerna 85RD 3.02
· Menzerna 203s
After a couple of trips to the bodyshop for some spray work the Fiesta looked a little ‘rough of the edges’. Some of the scratches were fairly bad though so it was booked in over a two day slot for a paint correction detail.
Please forgive me here as I got very trigger-happy with the photos!!
Inspection…
Clarity and depth lost due to the sea of swirls covering the car:
An example of some of the bad scratches:
Although not yet complete, the interior was due an overhaul too:
It wasn’t that long ago that the engine was last cleaned, so, nice and straight forward for me to be honest!
I started with the engine, Megs Super Degreaser applied and agitated before a light rinse.
Next? The wheels, tyres and arches.
AutoSmart G101, Megs Wheel Brightener, AutoSmart Tardis and Iron Cut used to clean and shift all the foreign contaminants.
Tardis and Iron Cut in action:
After the wash stage was complete, AutoSmart’s Tardis was once again put to the test.
Ample amounts of tar to remove:
A timely process to remove every last spec! The car was literally covered. (I later noticed that there were a few stone chips on the lower leading edge of both doors (above the side-skirts); must get lots of kick-up off the tyre which is surely a design floor?)
Elite Mild Clay used to remove embedded contaminants:
Defects starting to show through now:
Bodyshop ‘doings’:
Fiesta was brought inside and blown dry with the Black Baron to shift trapped water in panel-gaps, crevices, trim and badges etc…
Very little depth to the paint because of the amount of swirls ‘hazing’ the finish:
Deeper marks and a bird etching on the bonnet:
Ceiling strip-light highlighting the scratches on the roof:
And more of the mess left by the bodyshop:
Initial paint readings looked good:
First pad and polish combo was Menz 203s on a 3M yellow polishing pad. The swirls were knocked back, but, lots remained. Stepping up to Menz 85RD 3.02 was better but still room for improvement it we’re talking about a ‘major’ paint correction detail!
Elite Car Care’s orange polishing pad was trailed at this point; still a few marks left behind so I upped to Fast Cut+.
Bonnet 50/50s:
Strip-light showing the difference in depth between the polished and unpolished area:
Before/After:
Happy with this combo, I continued to work around the car.
Roof line before:
And after:
Before and after:
Before and after:
O/S door suffering heavily from DA sanding marks
Cleaned up nicely and requiring refinement:
50/50 on O/S door:
Before/After:
Refinement on O/S taking place…
A few nasties found on the edge of the tailgate:
Before/After:
…what a colour!
Rear light clusters cleaned with a 3M yellow spot pad and Menz 3.02 (Correction, in looking at the picture, I can now see it was a green light cut Hexlogic pad, not a yellow 3M!)
Roof after refinement:
Before:
During:
After:
Not a bad 50/50 on the N/S door however compromise had to be made on the deep scratches as multiple hits with an aggressive approach were barely making a difference.
And refined:
Before:
After:
Before/After:
Thickness readings on the N/S rear were a little varied. This was one of the areas that had been subjected to the bodyshop work (and, the area seen earlier with the pretty buffertrails!) A milder approach was taken here so one or two deeper marks had to remain.
Before/After:
Finalising work on the bonnet but leaving a couple marks which are too deep to chase completely:
A little bit of bumper work:
Machine work complete! Lots of dust though..
Once all the tape was removed and the vehicle was outside, the doorshuts were tidied with AutoSmart G101 and various brushes. Dust was removed from crevices and panel gaps and then water was ‘sheeted’ over the body to remove the mass amount of water beading:
Easier to dry, yes?
Back inside, the Black Baron made a second appearance and every areas of the car was hit to remove any trapped water.
AutoGlym Vinyl and Rubber Care used to dress engine plastics:
IPA wipedown given to remove any further polishing oils and wax of choice (Colli 915) applied:
Glass sorted inside and out:
Alloys protected & tyres dressed. A final buff and 17 hours later we’re finished.
A few direct light shots showing correction levels:
The following day I had an Interior job to deal with, and, seeing as though the Fiesta was still with me, I thought it’d be rude not to get some direct sun ‘after’ photos:
At this point, an old friend payed a visit to see the Performance Blue Fiesta! (looks like its still holding up well too)
That is all for now. A few interior photos may follow when the time comes, but, for now, thanks for reading!
Really enjoyed this one.
Jim.