As it's been such a while since my last post; I thought I'd start off again with a bang!
As always, comments welcome.
~*~*~**~*~*~*~*~*~*~*~*~*~*~*~*~**~*~*~*~*~*~*~*~*~*~*
Volvo V70 D5 – a 40+ hour “White Detail” with full G-Techniq all surface protection.
Having owned the car from new, the owner made contact enquiring about the best way to get the V70 back to better than showroom condition. Throughout.
After a quick browse of the portfolio (particularly the Volvo XC90 that went through similar treatments: http://www.whitedetails.co.uk/index.php?id=181) the owner was sold.
Product
Vehicle picked up on Sunday night, work commenced Monday morning.
Inspection.
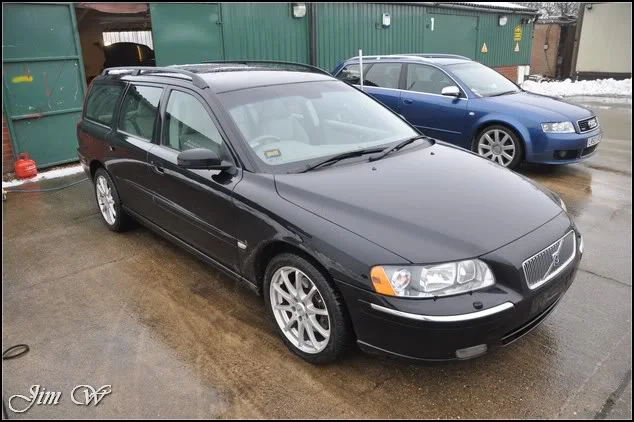
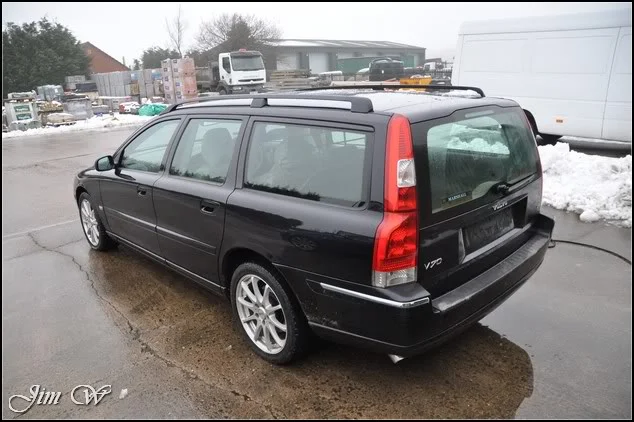
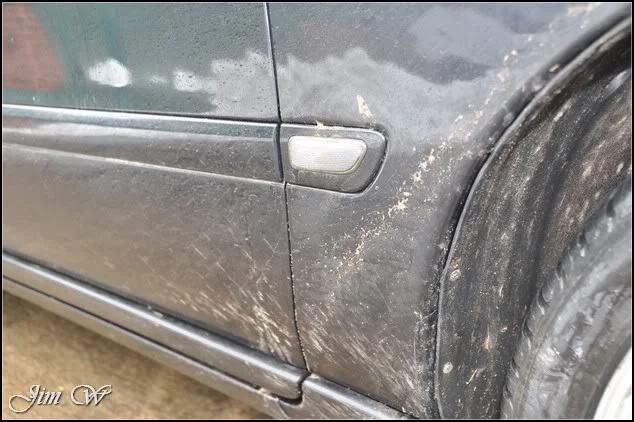
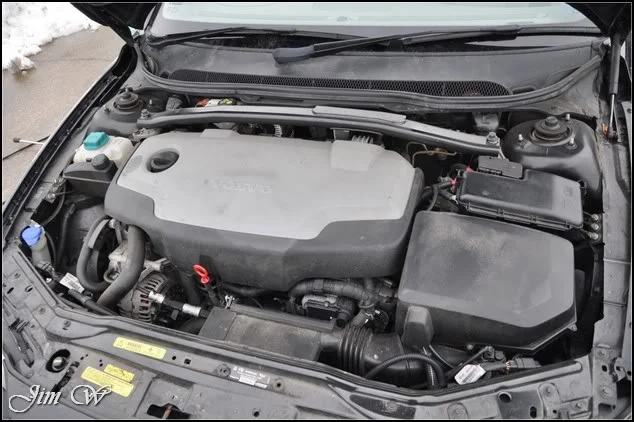
Early signs that there’s a dog in the family:
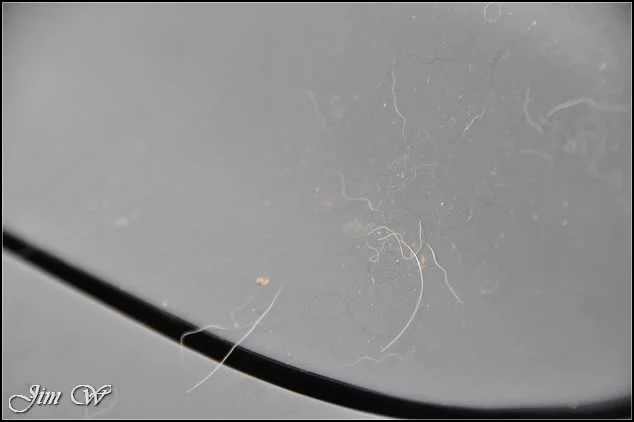
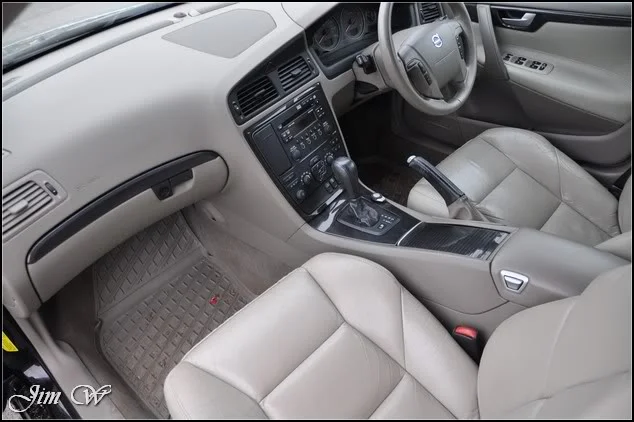
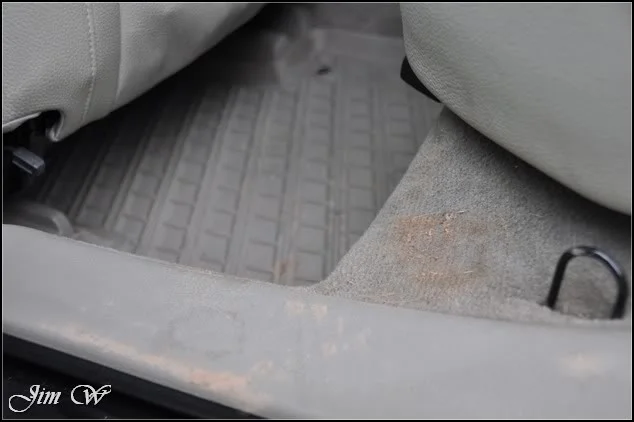
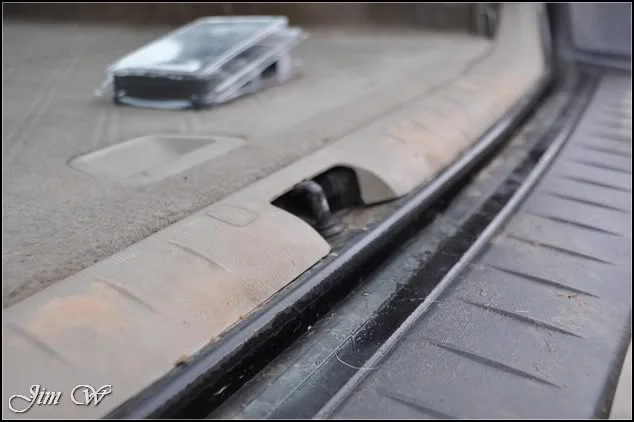
Dog confirmed!
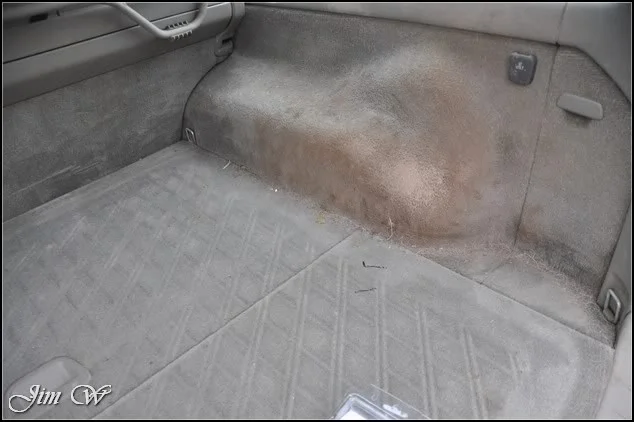
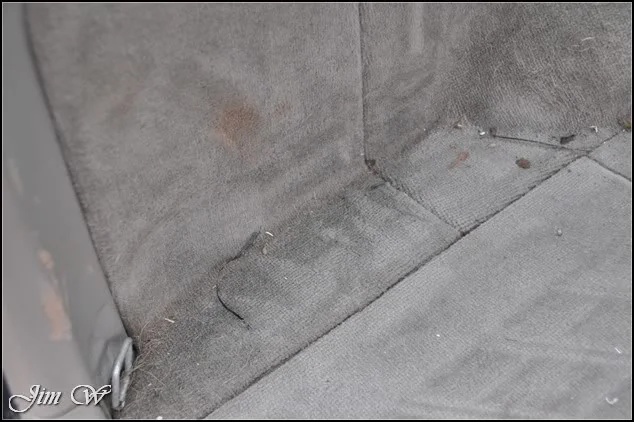
Wet muddy dog shaking in the car = a big mess:
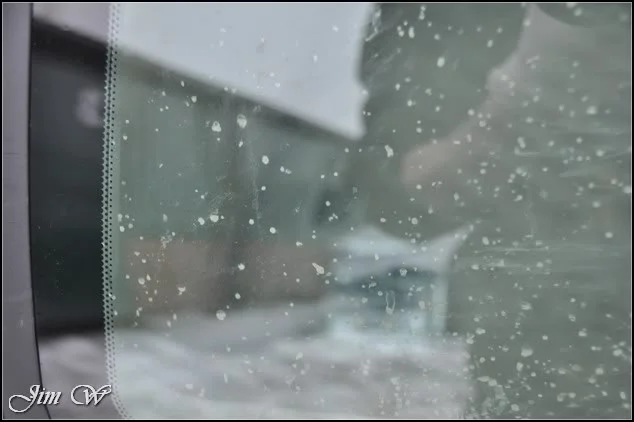
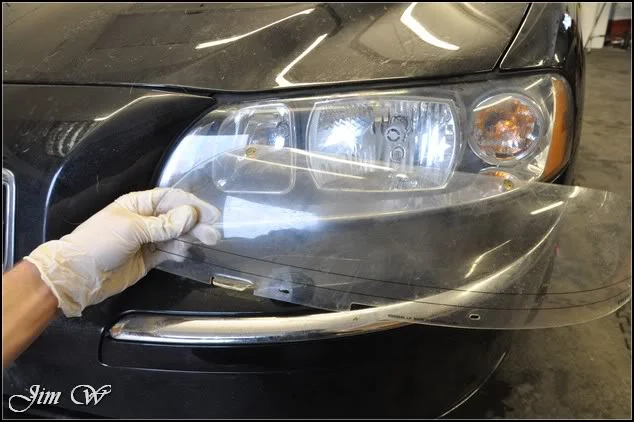
First job was to start stripping the car down. Headlight protectors and registration plates first off.
With the wheels off, the were cleaned with Megs Wheels Brightener, AutoSmart Tardis used to remove tar spots and finally Wolfs Decon Gel to help shift the stubborn pitting that had formed. (Inbetween all this, all previous wheel weight glue was removed and arches were deep cleaned throughout)
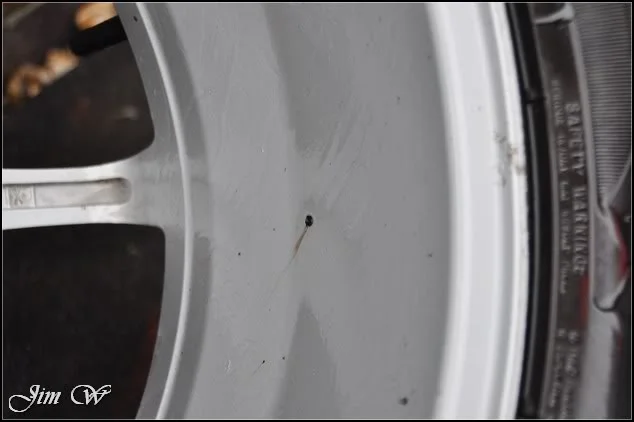
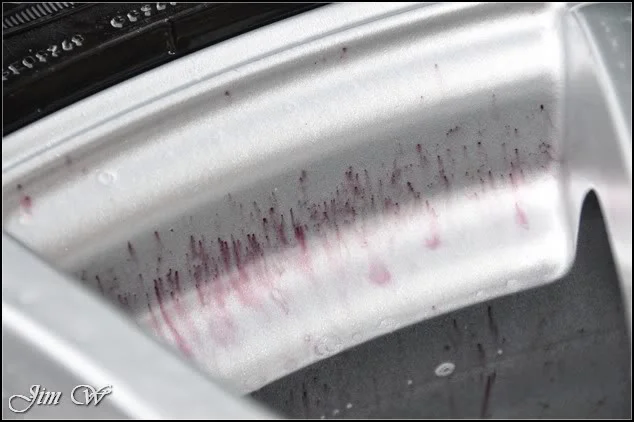
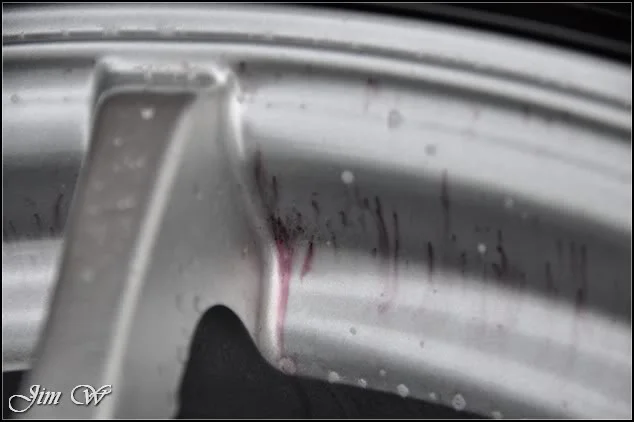
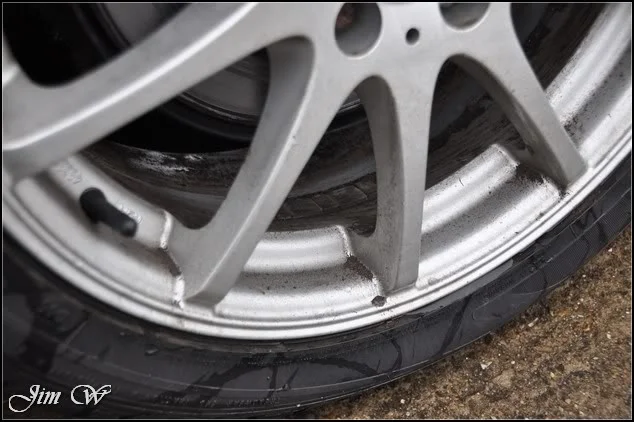
Last but not least, the N/S/F wheel is removed. *ooft!* ouch.
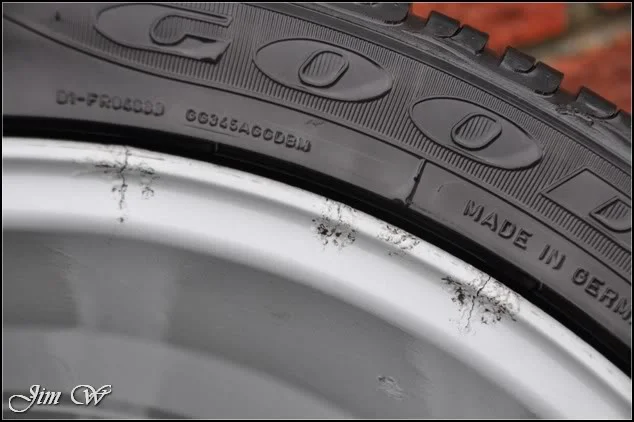
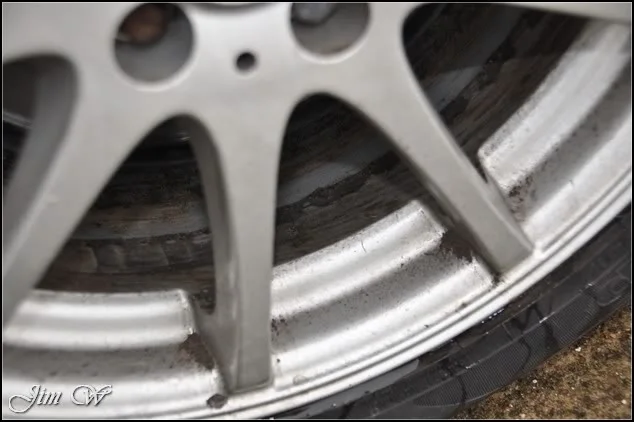
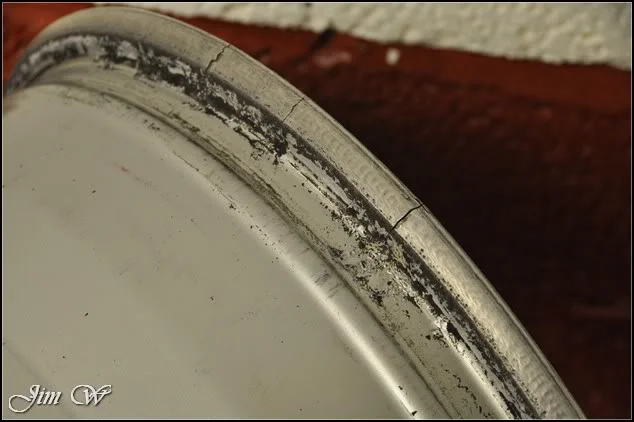
^Problem. Two hairline cracks on the inner rim. Will look into this later.
It’s Avant/Tourer/Estate central today at WD HQ:
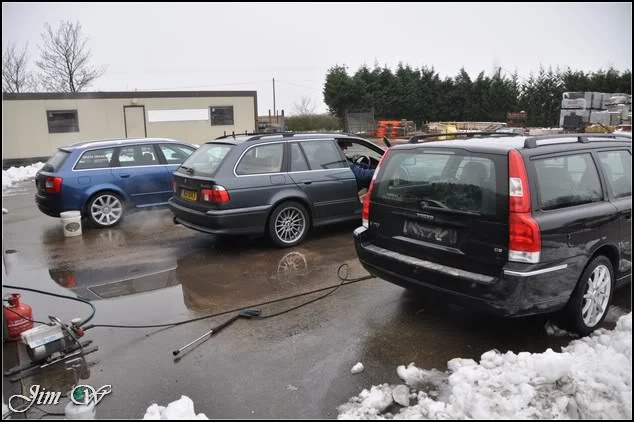
Moving onto the bodywork. AS Hazsafe applied through HD Foam Lance to help soften surface grime.
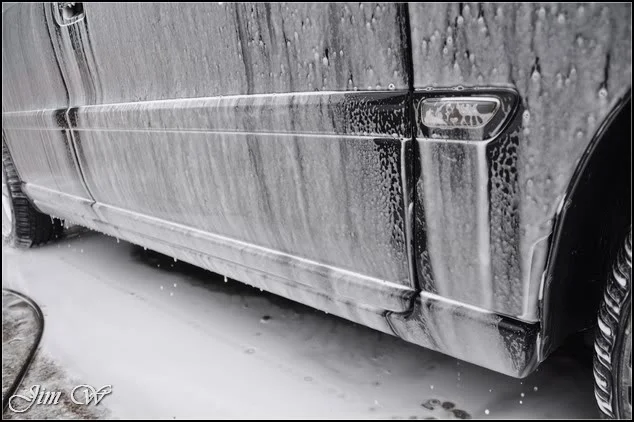
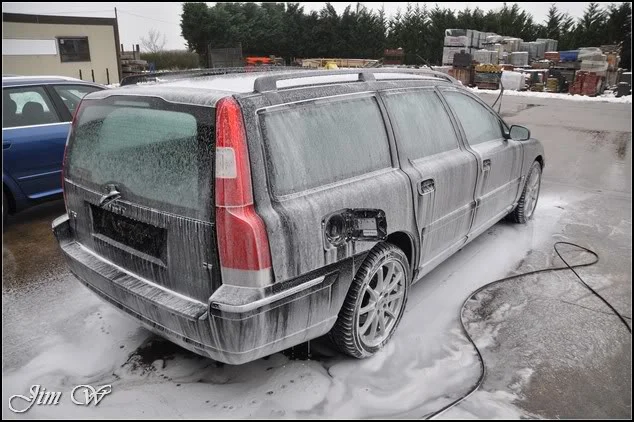
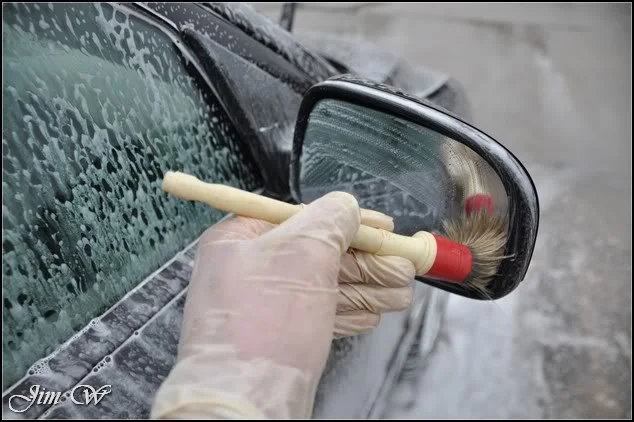
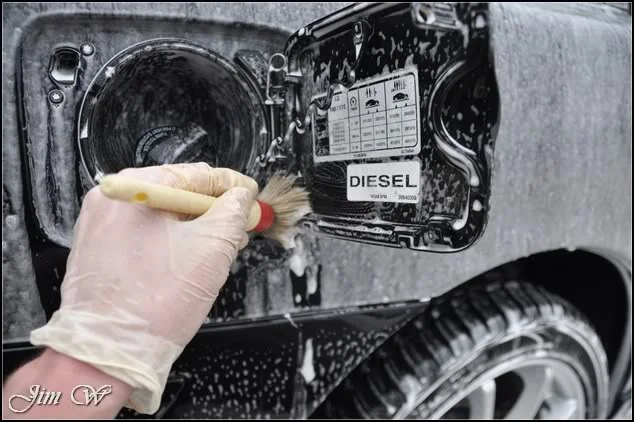
Intricate areas tickled with a soft bristled brush before a thorough rinse and moving on to the two bucket wash:
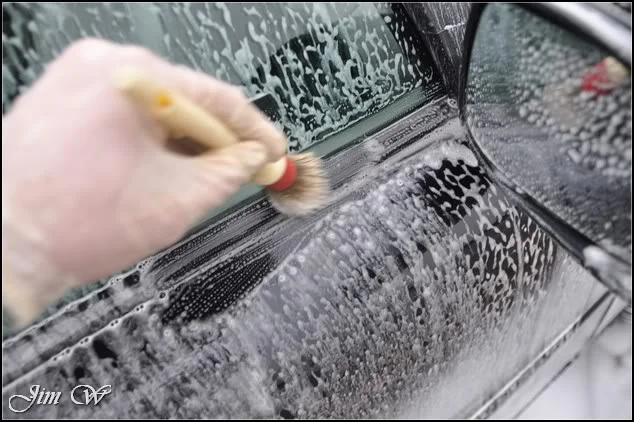
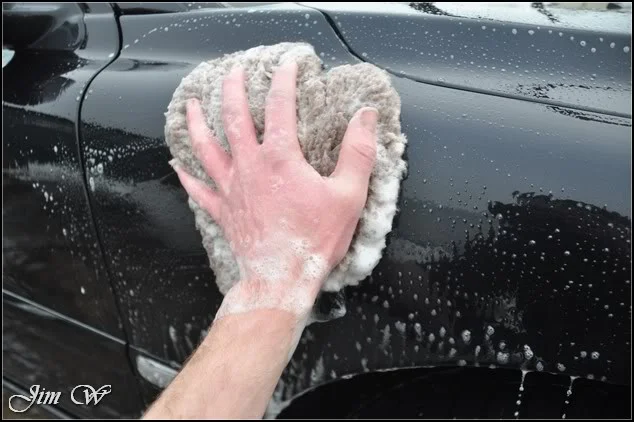
AutoSmart Tardis applied generously before finally claying the vehicle to remove other bonded contaminants (surprisingly clean)
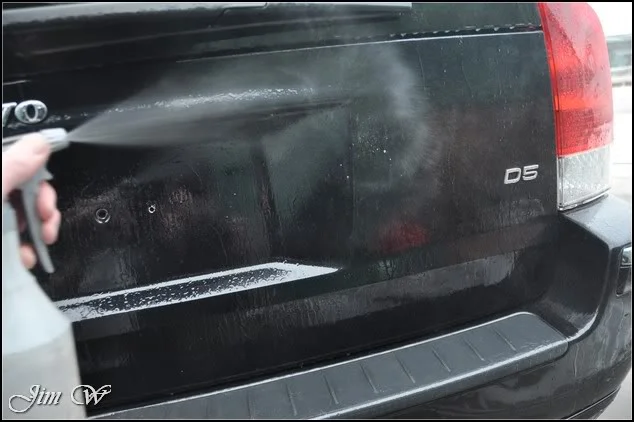
Inside and blown dry, we can start to take a look at the paintwork.
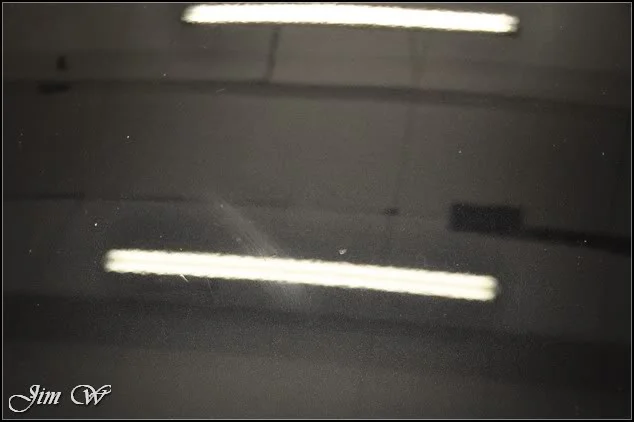
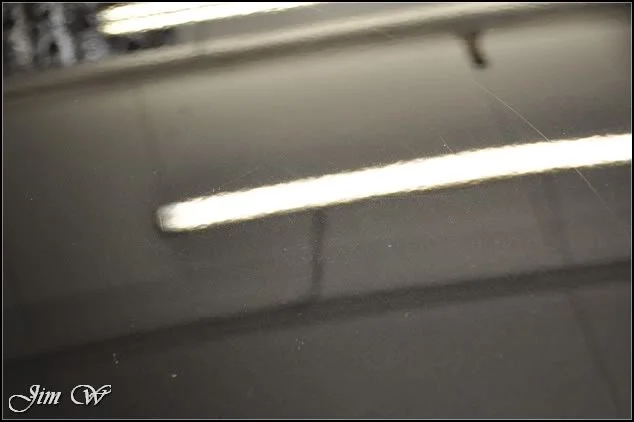
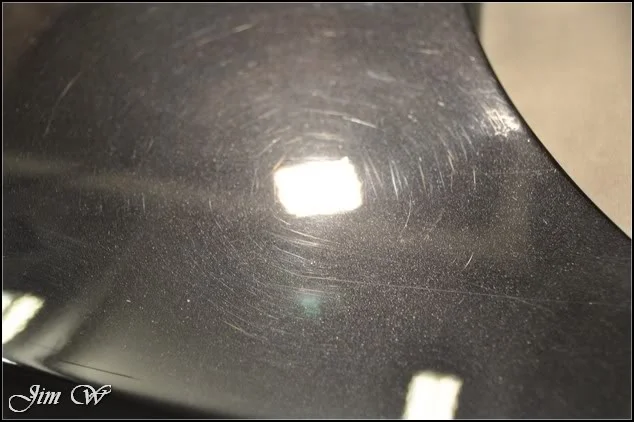
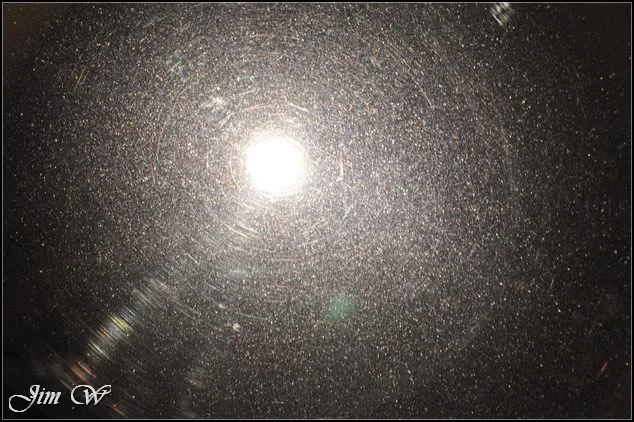
Some areas were worse than others. The N/S was covered in long deep scratches running the length of the vehicle; possibly induced by a close encounter with a hedgerow or similar.
Starting my polishing set on the bonnet, I test various polish and pad combinations and set to work.
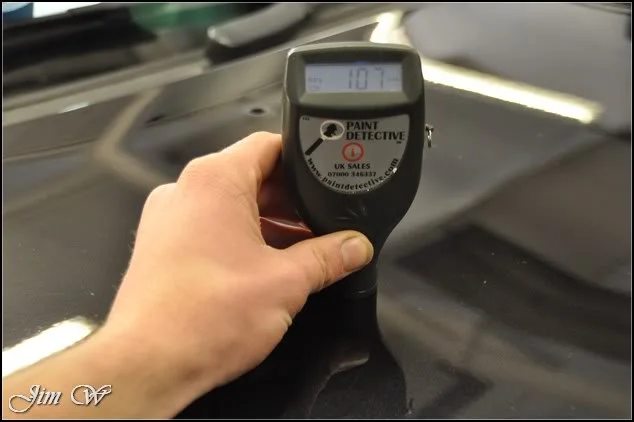
Before/After:
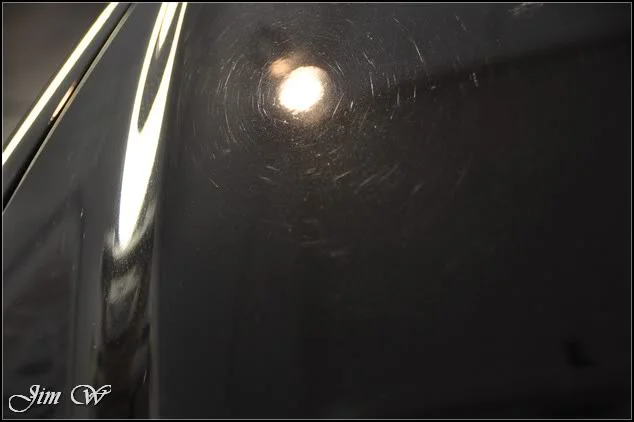
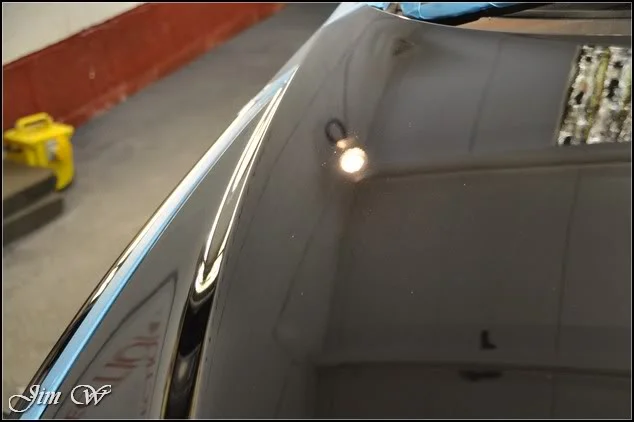
There were lots of deeper marks to tackle.
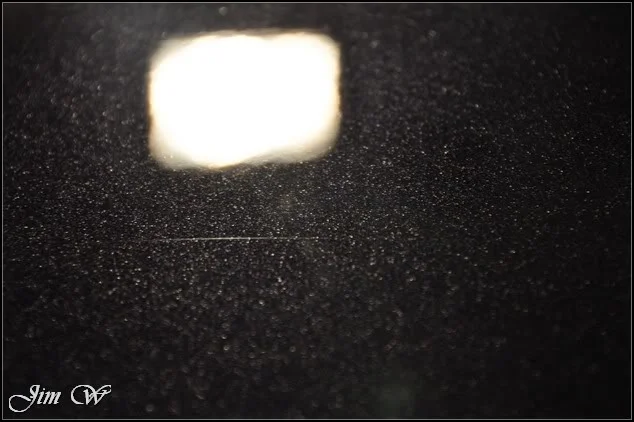
Overlapping passes with multiple hits were required to pull these out to a level of correction I was happy with (with the low paint thickness readings in mind…)
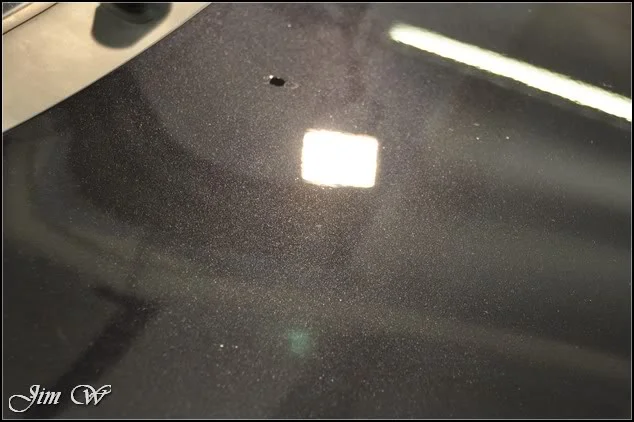
Moving high up onto the roof.
Before:
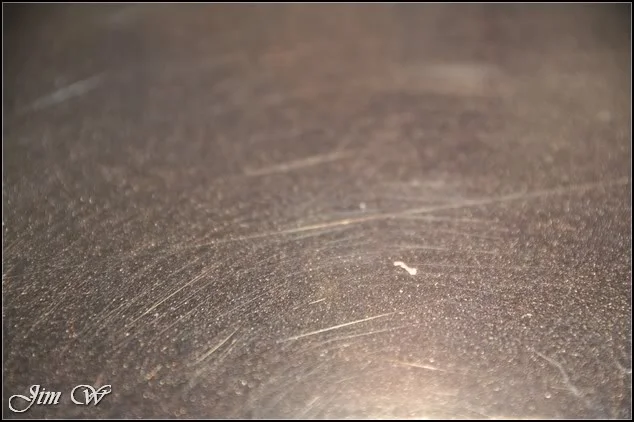
During:
(Again, more scratches that required 3/4 hits to safely remove)
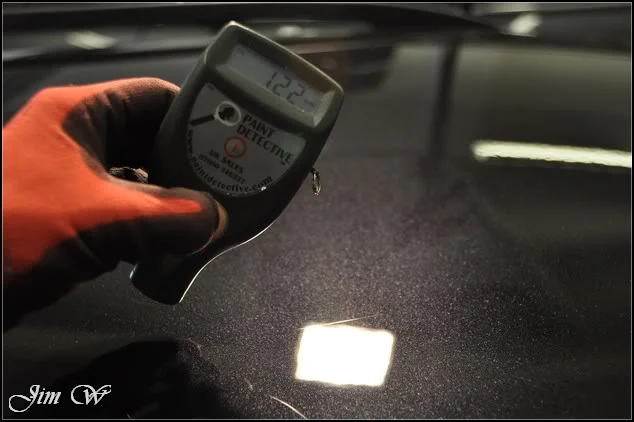
And after:
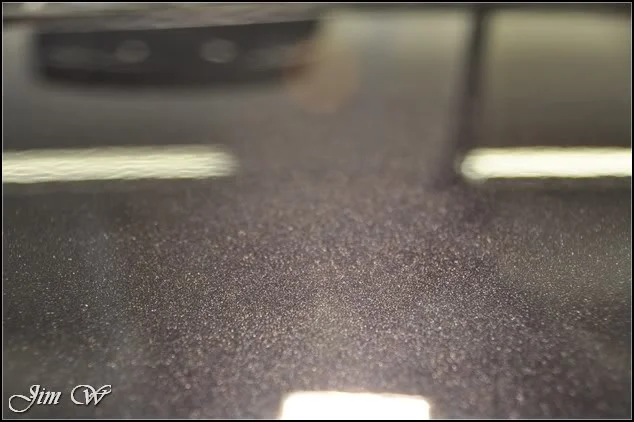
An IPA wipedown to confirm correction levels:
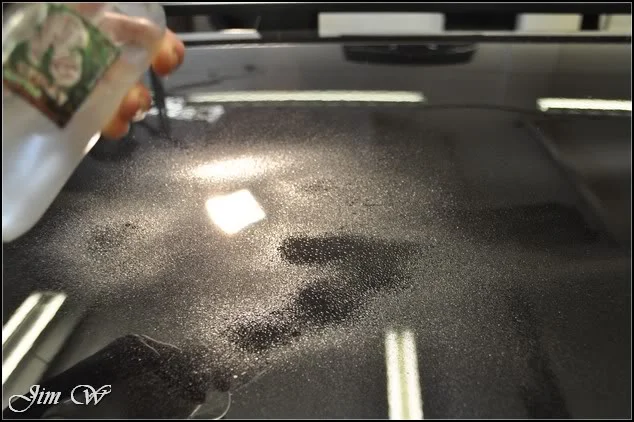
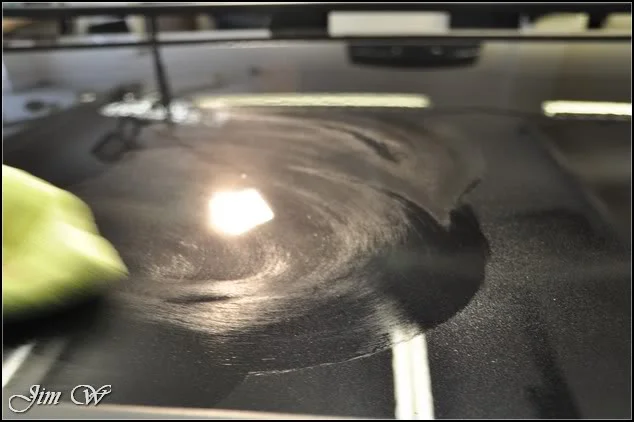
and I’m happy…
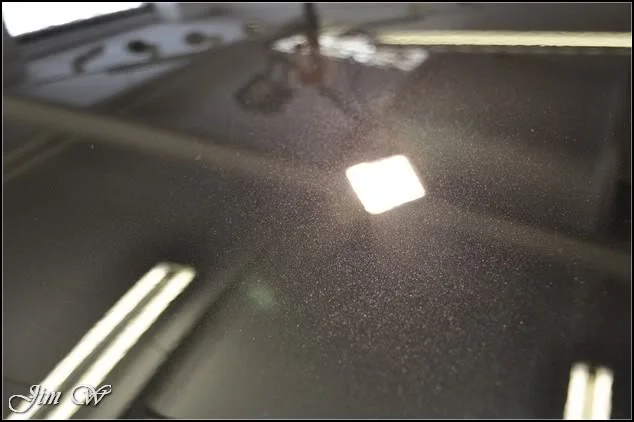
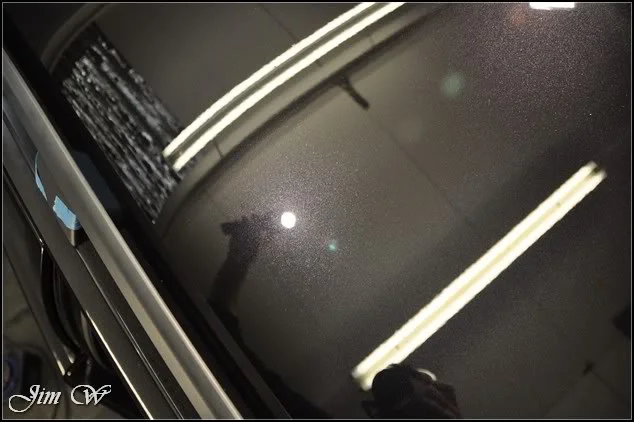
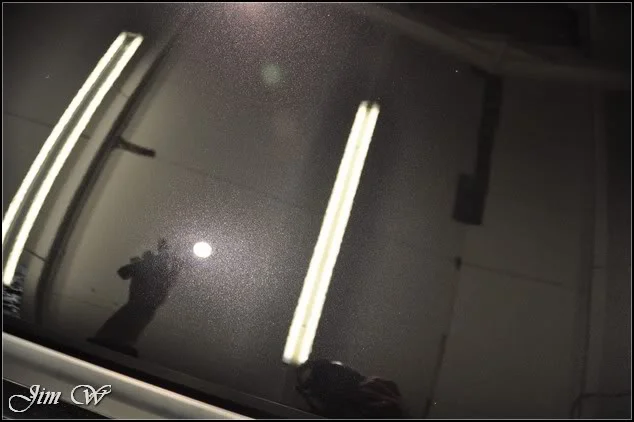
Lots of door pillars on this car. Quite a timely process!
A-pillar:
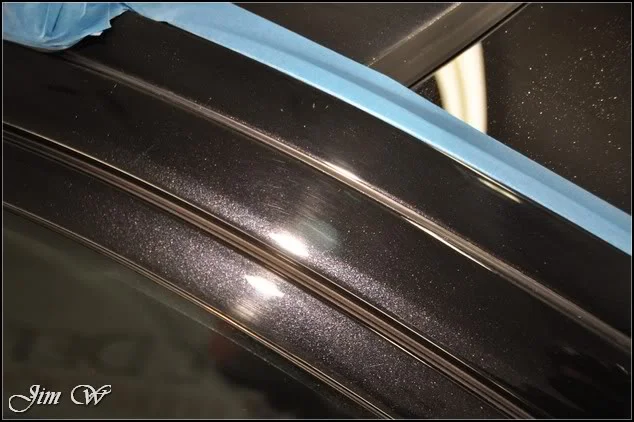
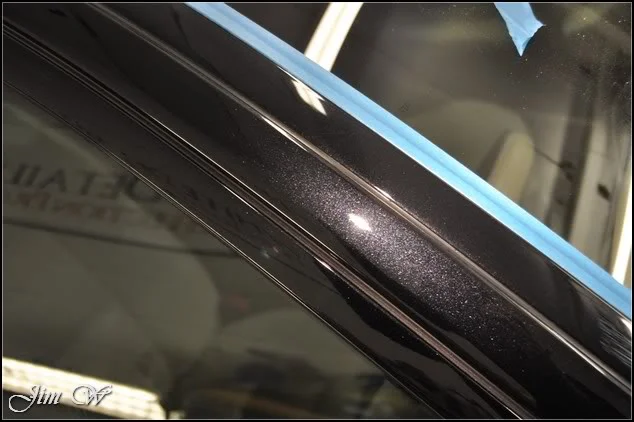
roofline:
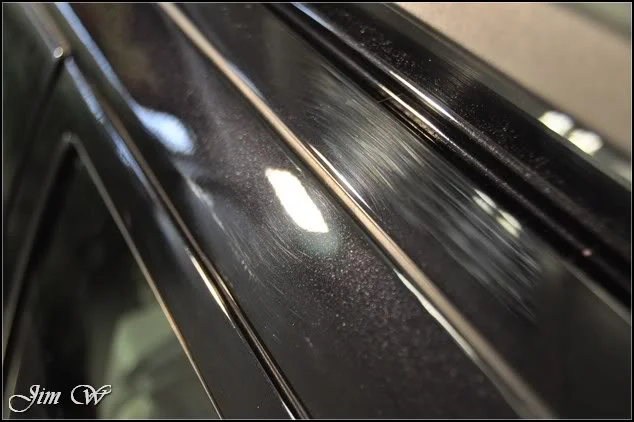
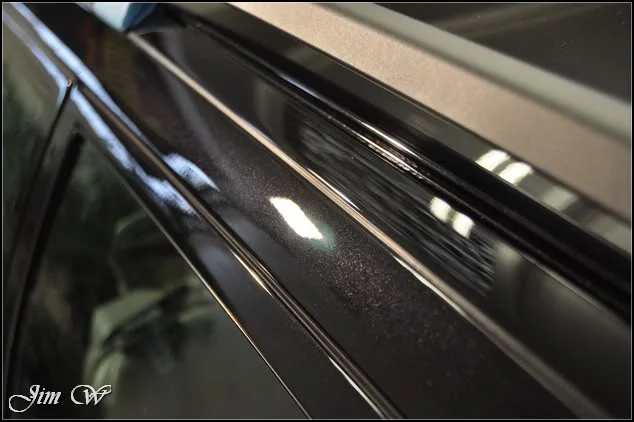
And some other ‘general’ afters (B & C pillars)
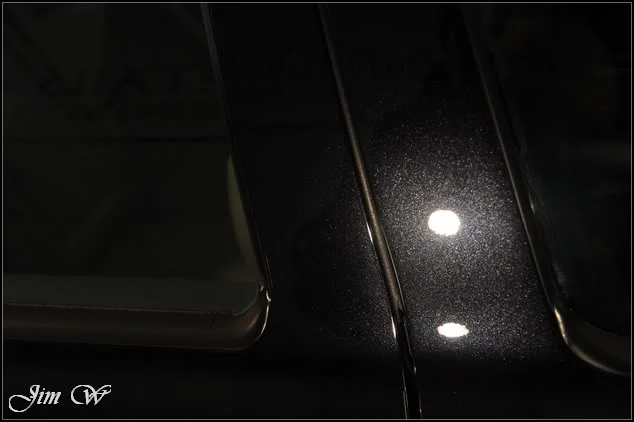
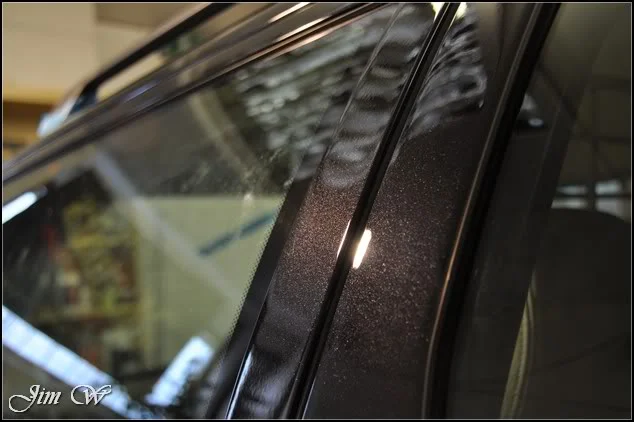
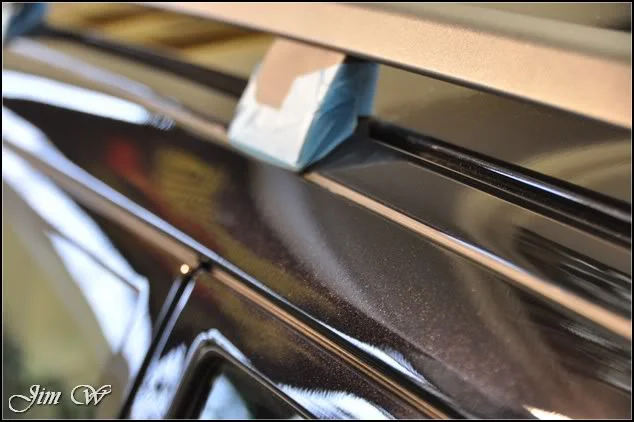
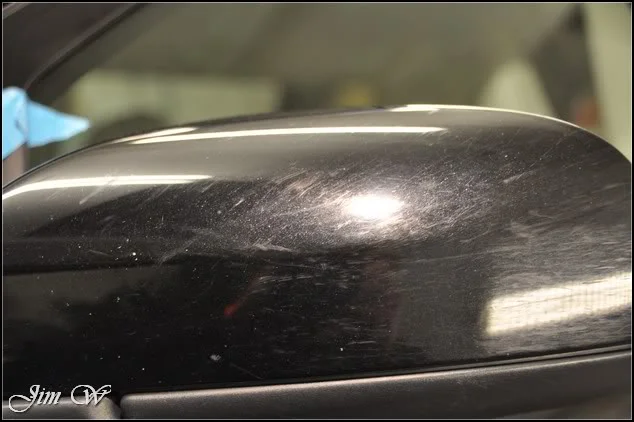
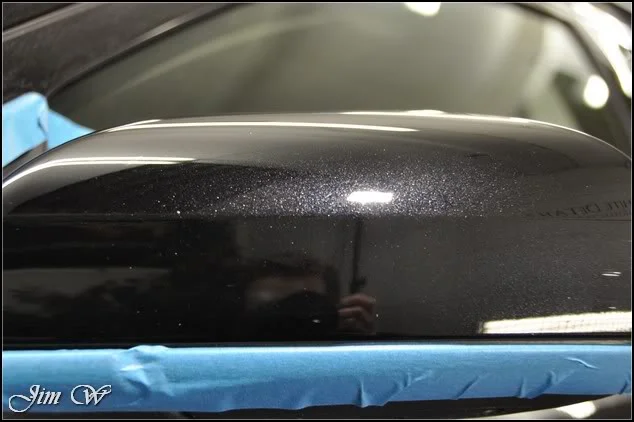
A nasty scratch on the wing mirror housing had to remain; through to the plastics.
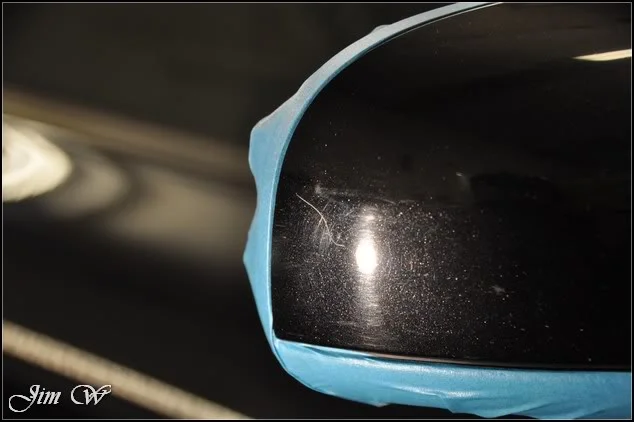
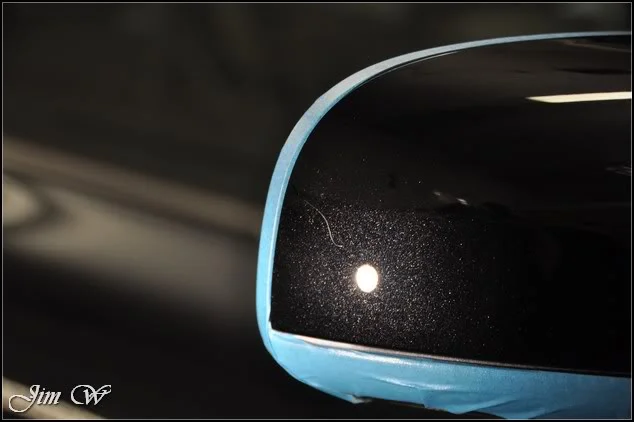
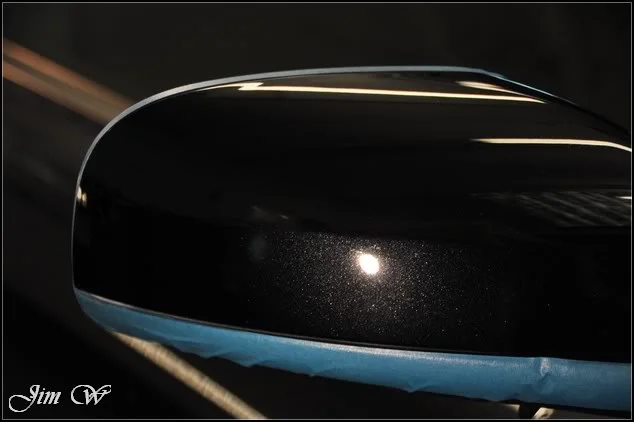
This is some seriously heavy metallic paint!
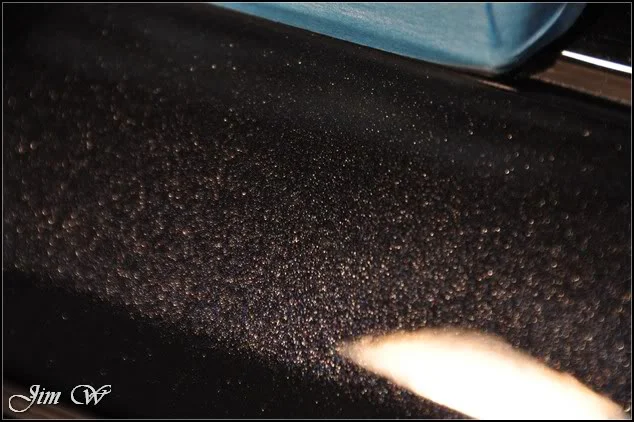
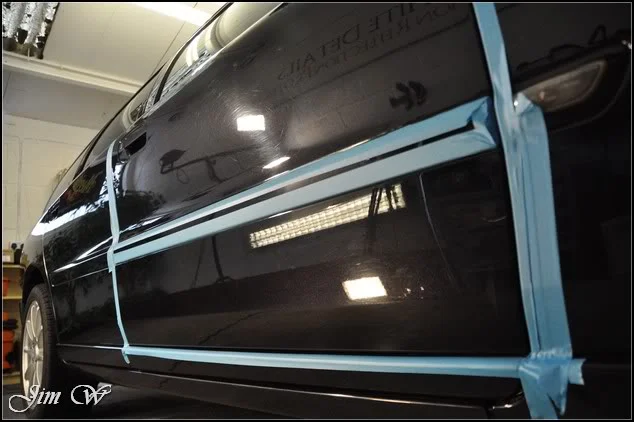
Before moving onto the bulk of the doors, the bump-strip running the length of the car was corrected first with spot pads and then taped up to allow correction to progress safely.
Before/After:
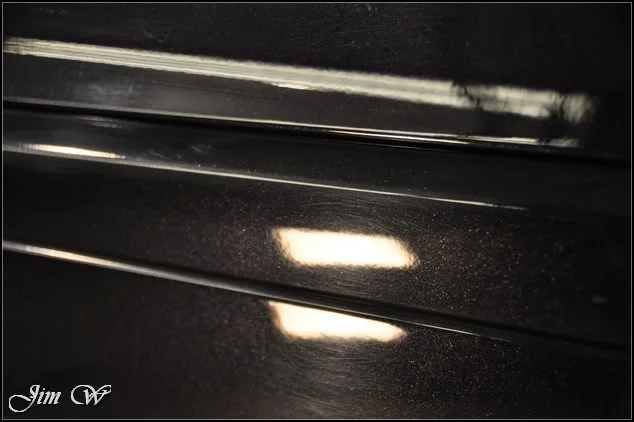
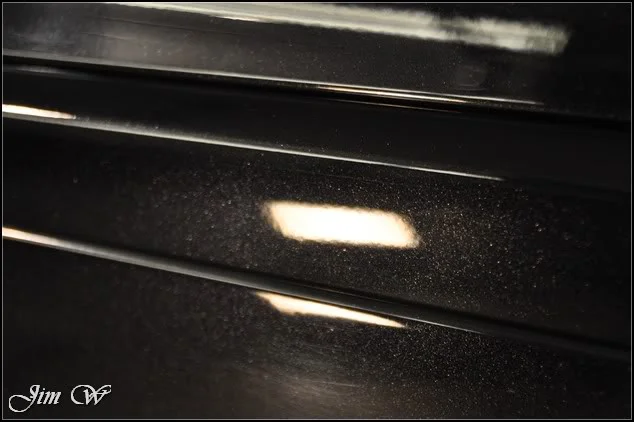
Door good to go.
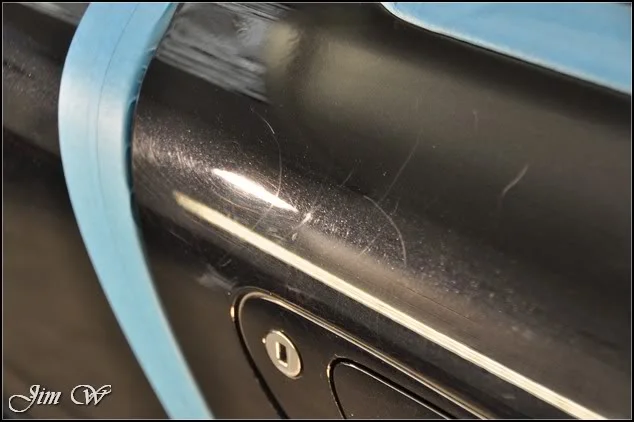
Scratches above drivers door handle. Before/After:
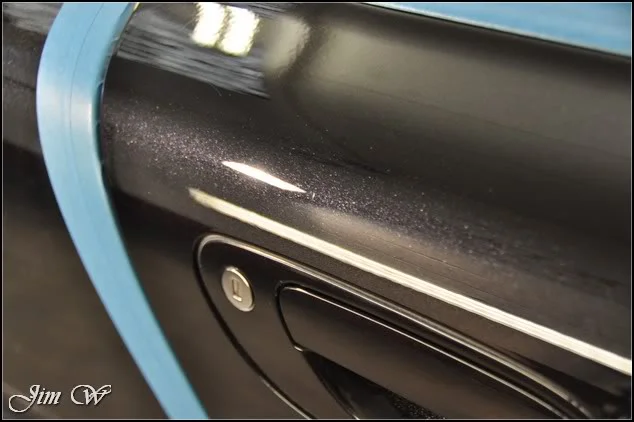
Corrected, refined and finished:
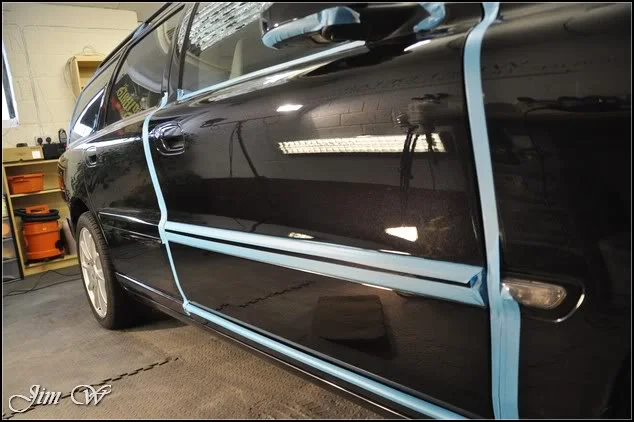
More scratches that require special attention:
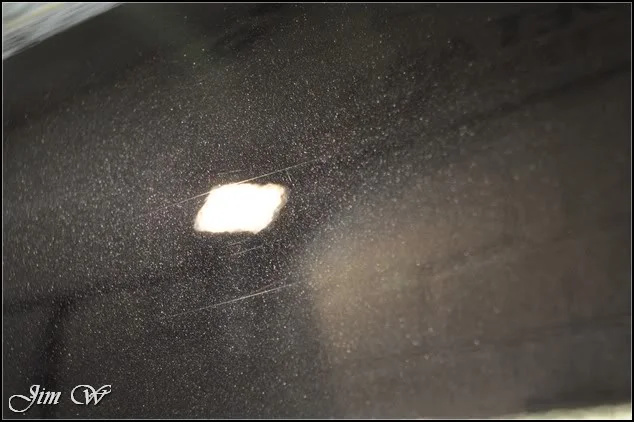
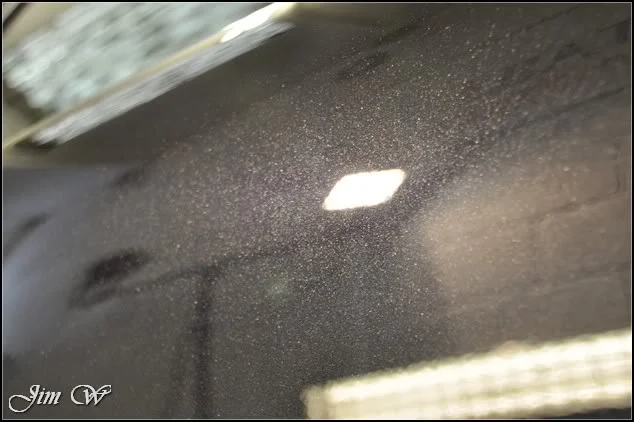
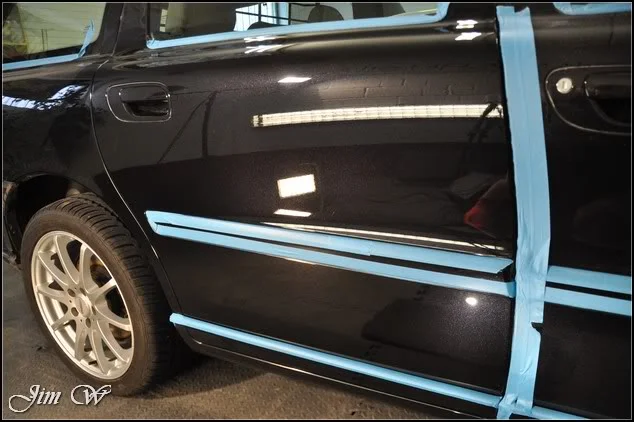
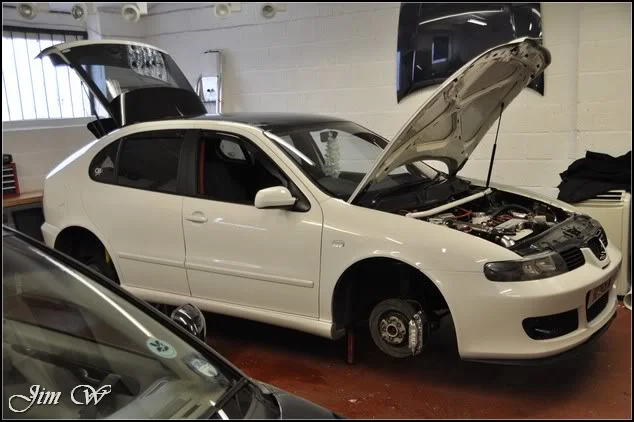
Meanwhile, one of the OEM+ club cars was dropped off for a full wheel refurb:
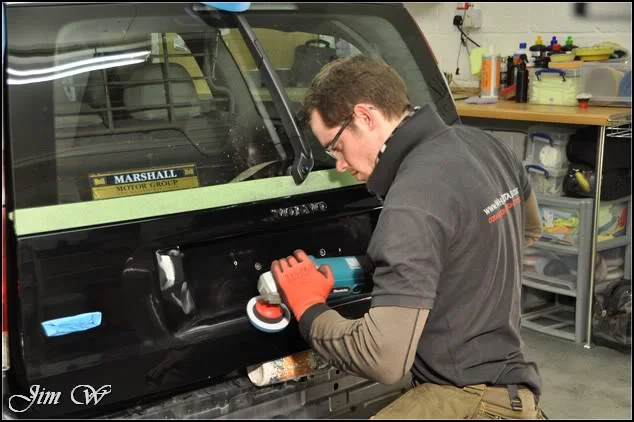
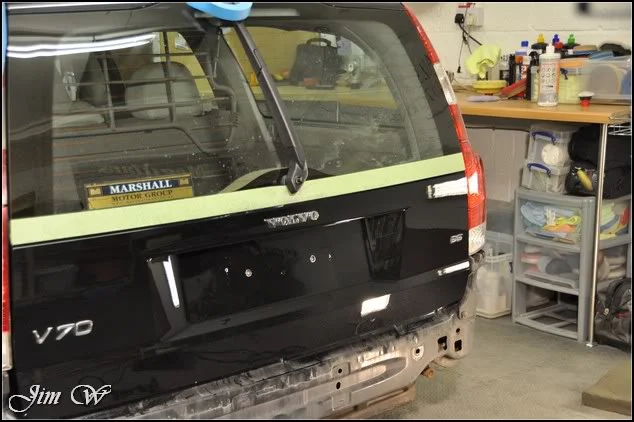
Tailgate. Now excuse the clay marring here; there’s lots of it! (Being ‘minus penguins’ at the time of the wash stage doesn’t help the matter)
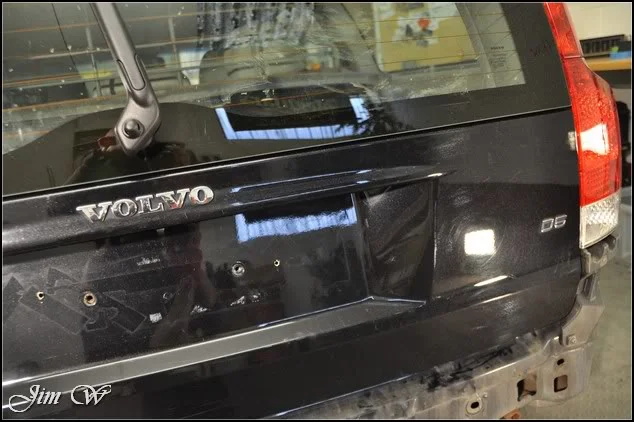
As you can see, a little overkill with the double sided tape that had been previously used! (this was all removed throughout the wash stages)
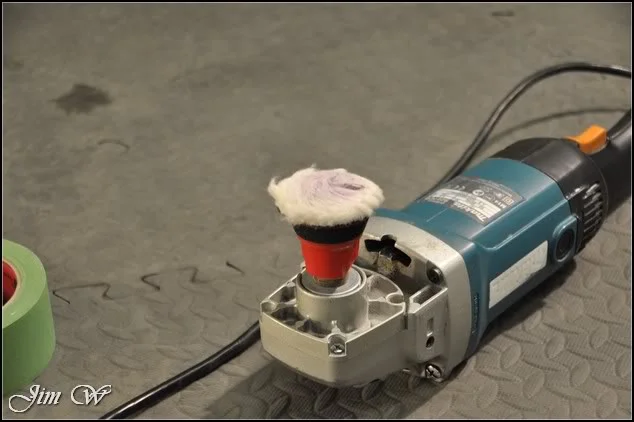
Using a tiny Dodo Juice wool spot pad, I was able to correct even the tightest of areas:
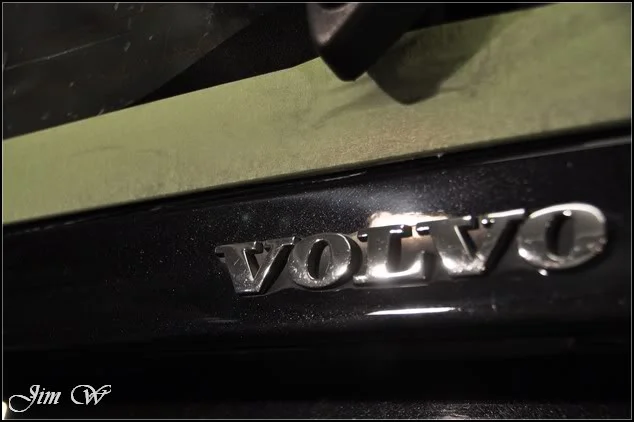
(Albeit heavily marred and in desperate need of refining!)
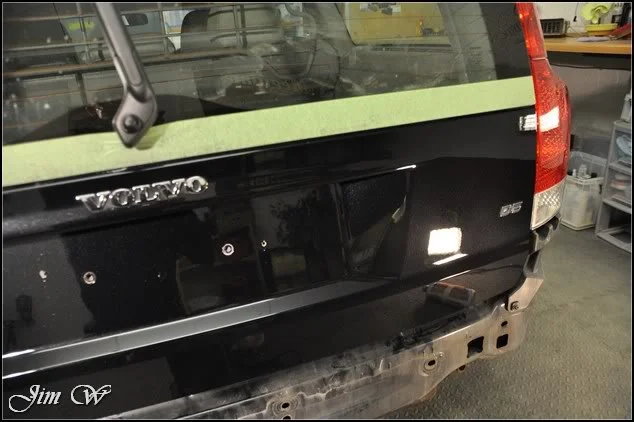
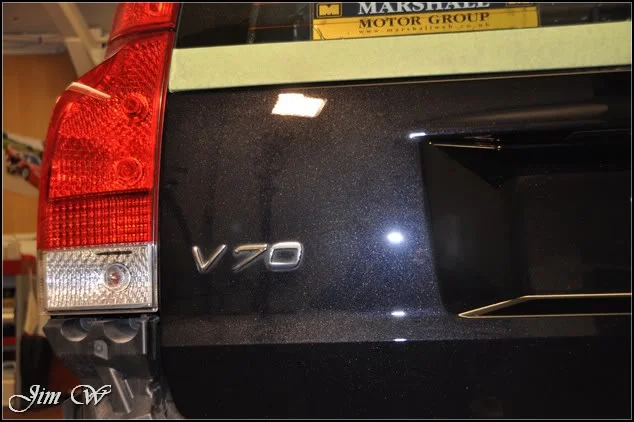
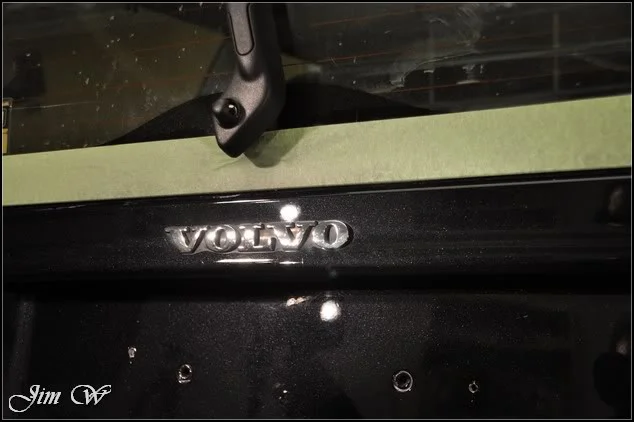
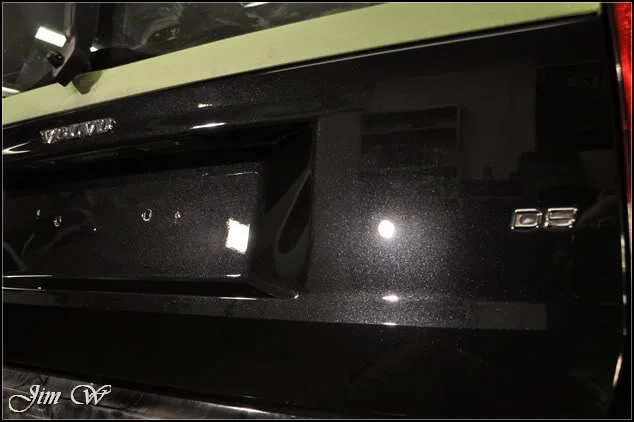
^much better.
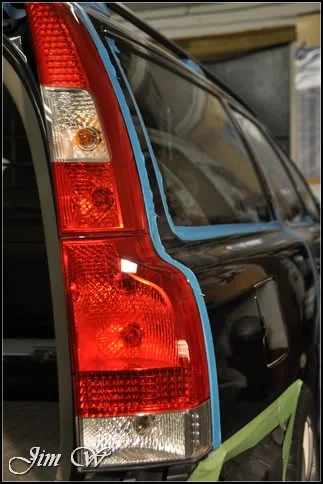
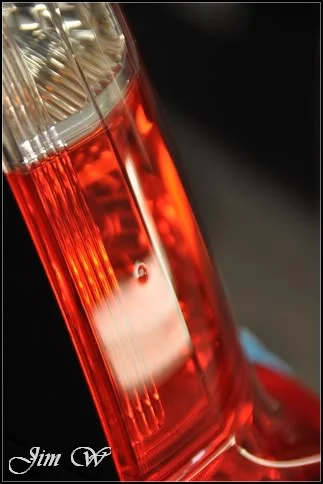
Light clusters also requiring a little attention.
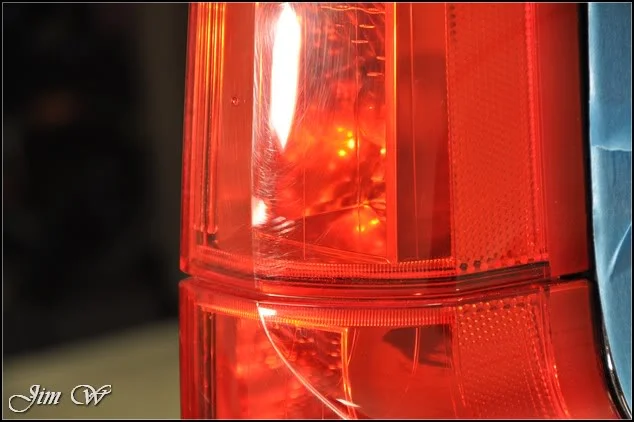
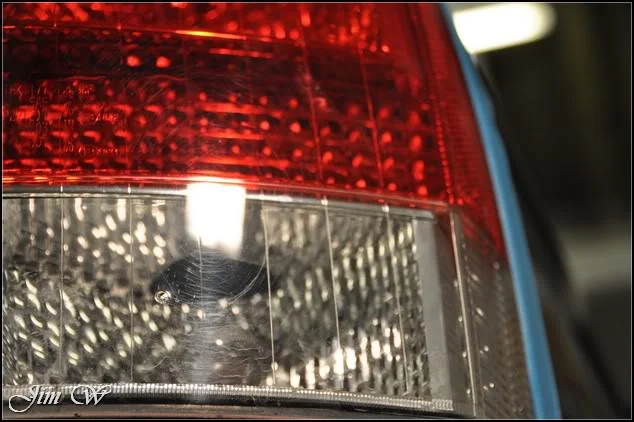
Before/After:
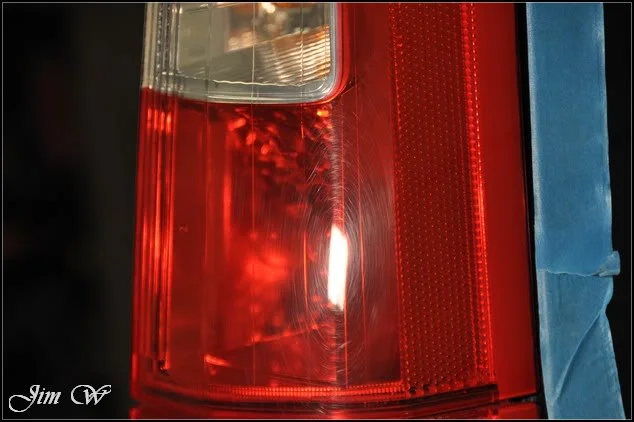
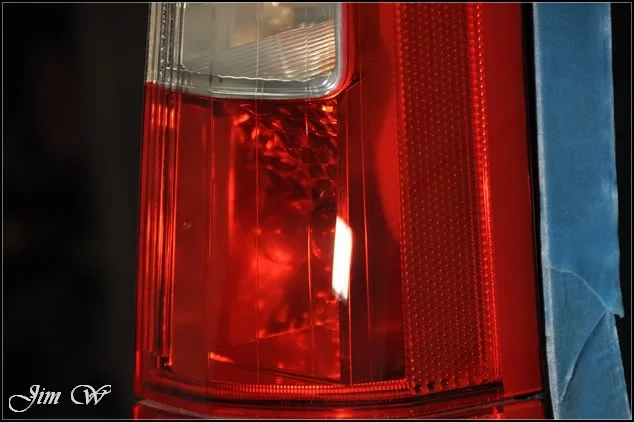
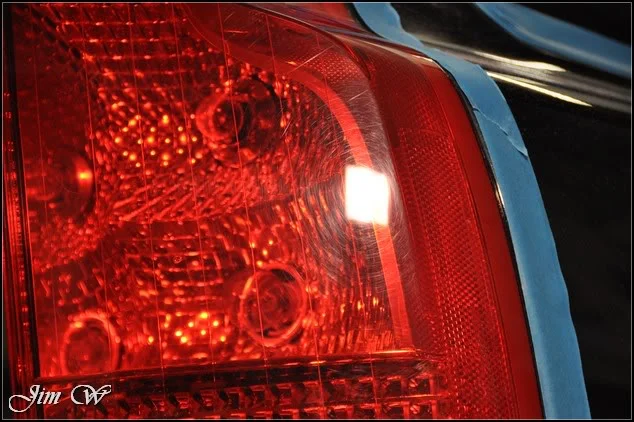
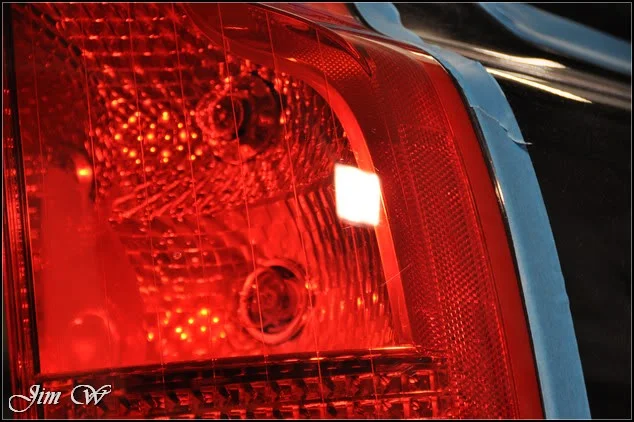
Half way. Repeat steps down the N/S.
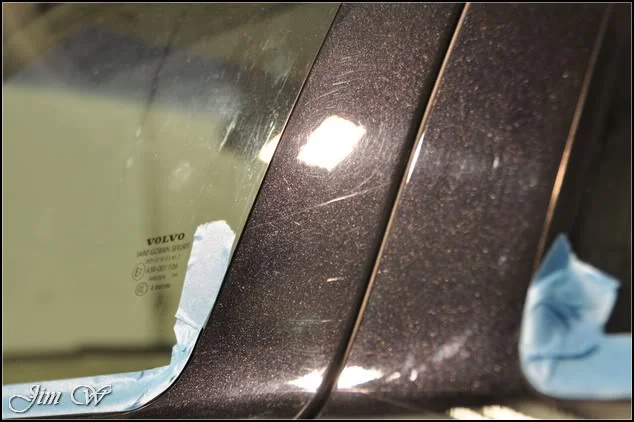
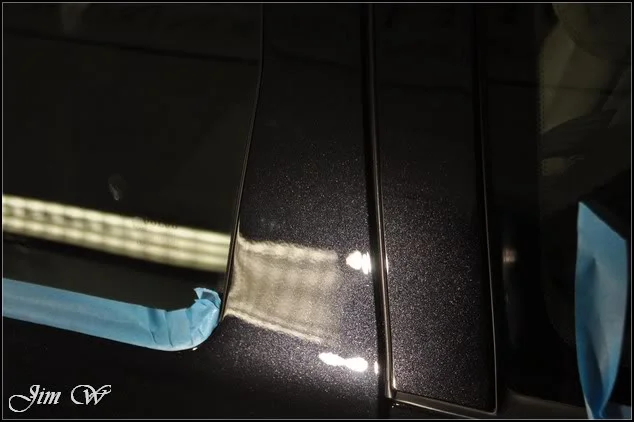
B-Pillars:
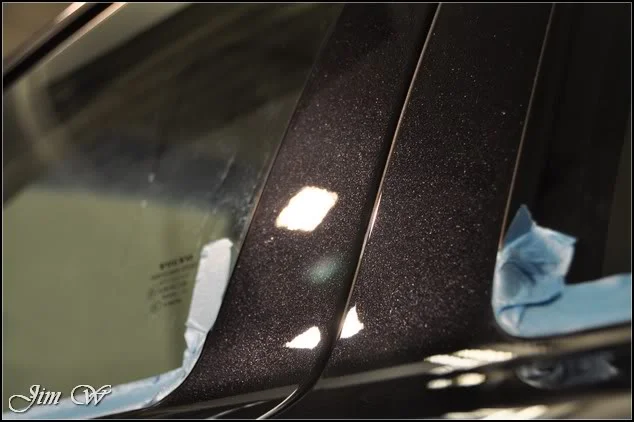
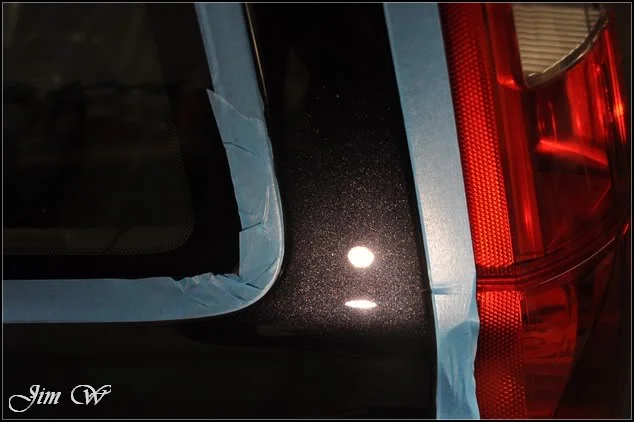
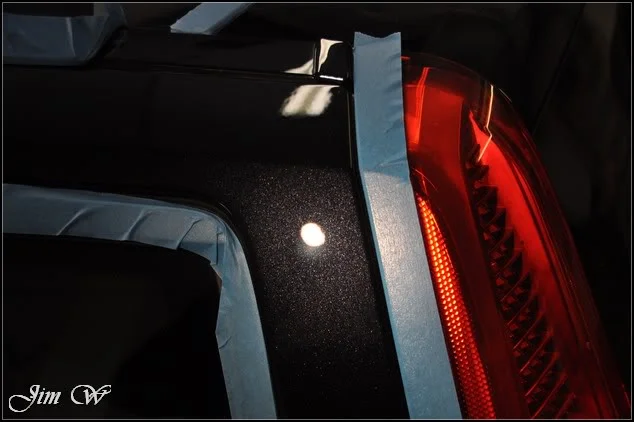
C and D pillars after:
Wing mirror:
N/S half of the roof:
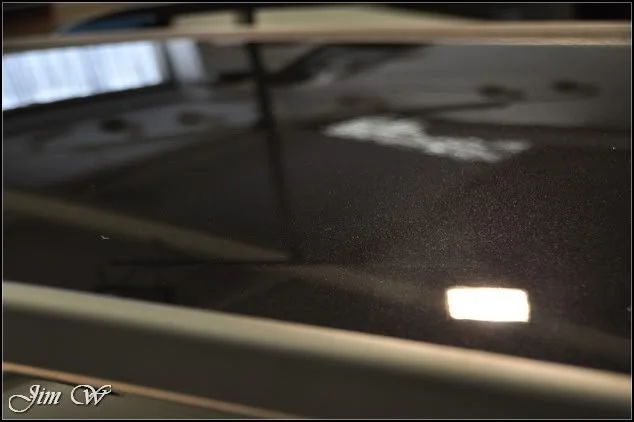
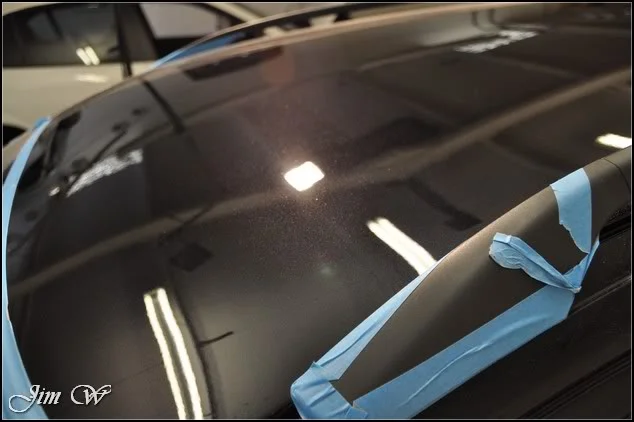
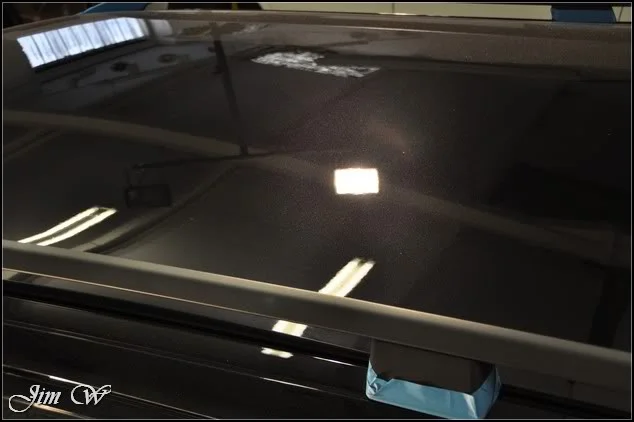
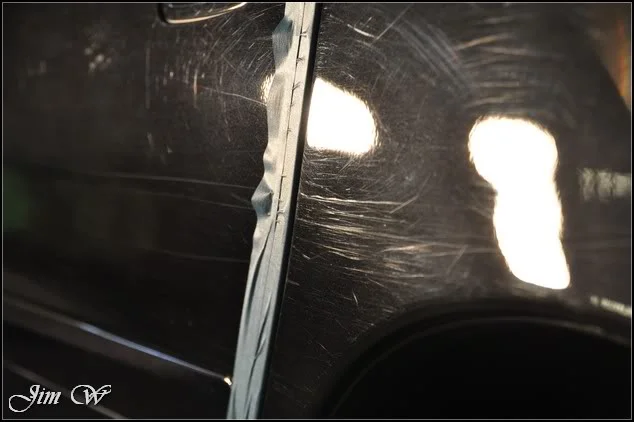
Remember I spoke about the hedgerow scratches down the N/S? Boom:
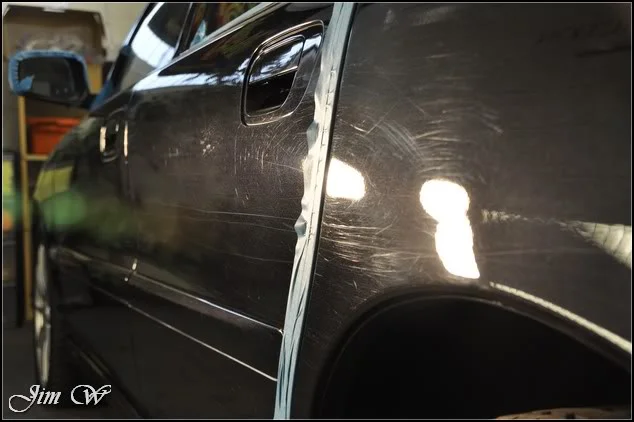
Before/After:
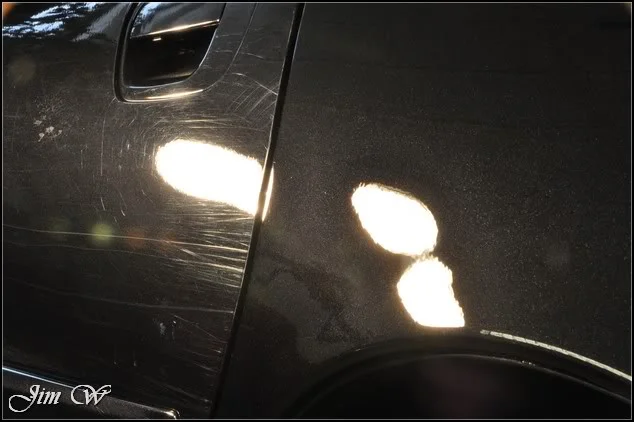
N/S/R door.
Before/After:
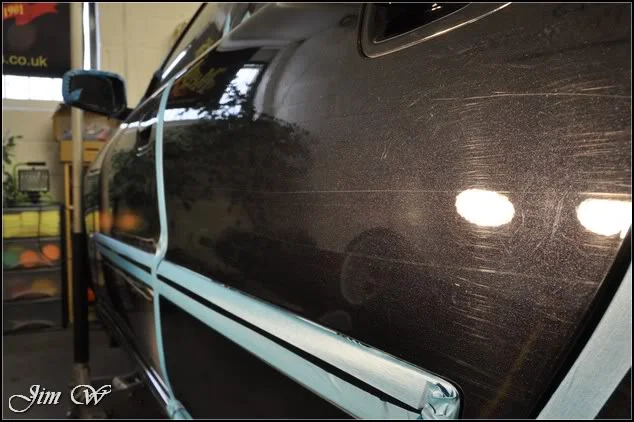
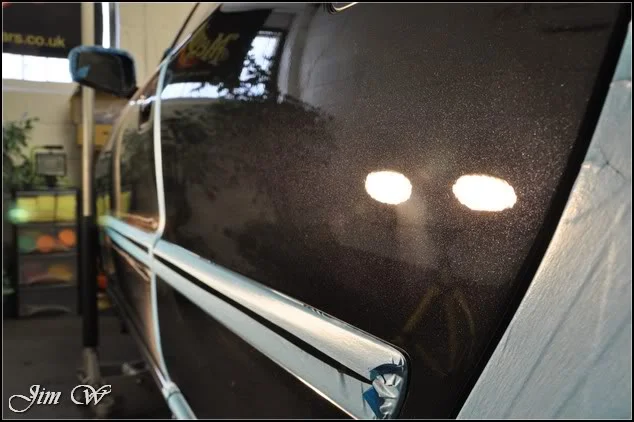
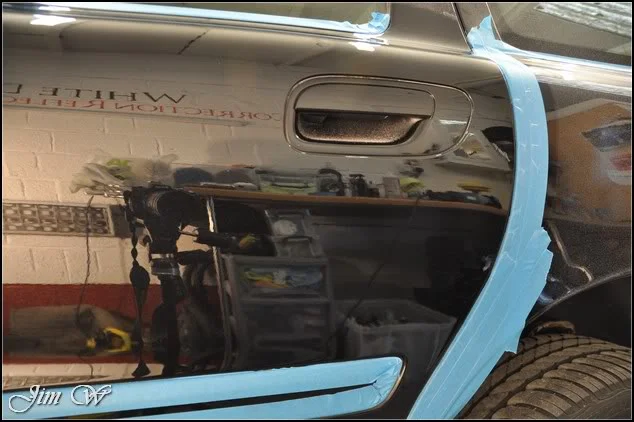
In action (refining):
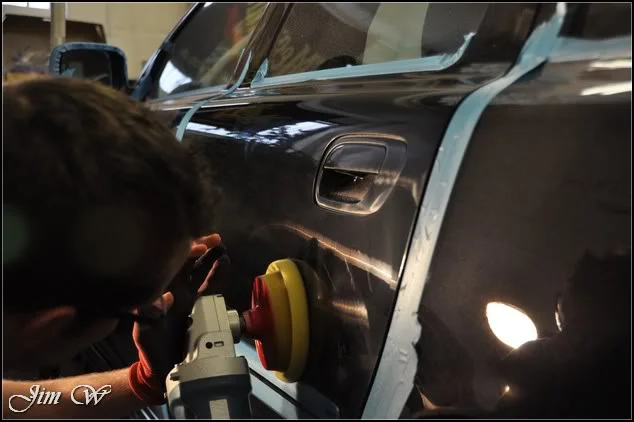
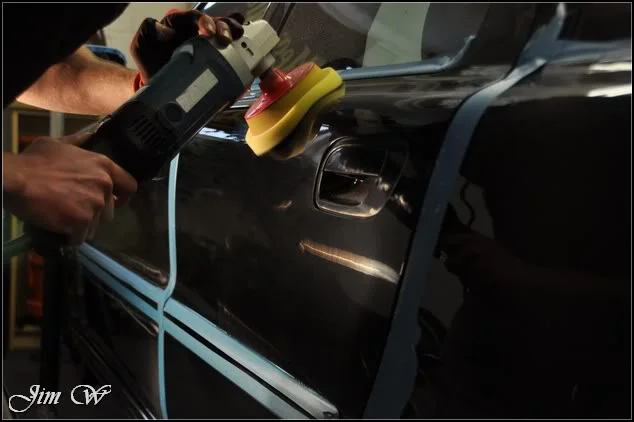
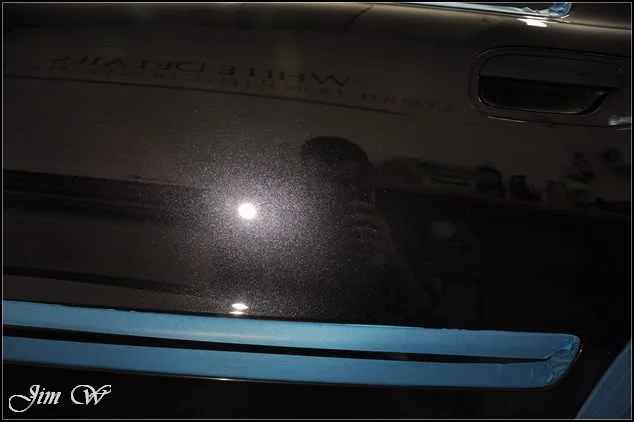
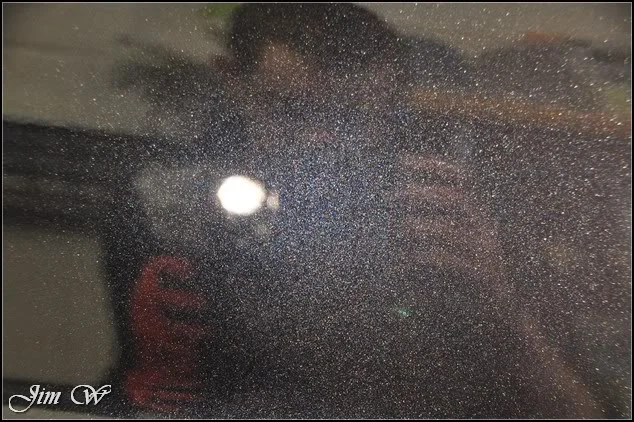
Correction levels:
It’s at this point Mr. Tyre Man arrived with my replacement wheel. I presented the options to my customer after discovering the cracked rim and we both decided it was best to replace the whole unit as opposed to go down the alloy-weld route and repair it.
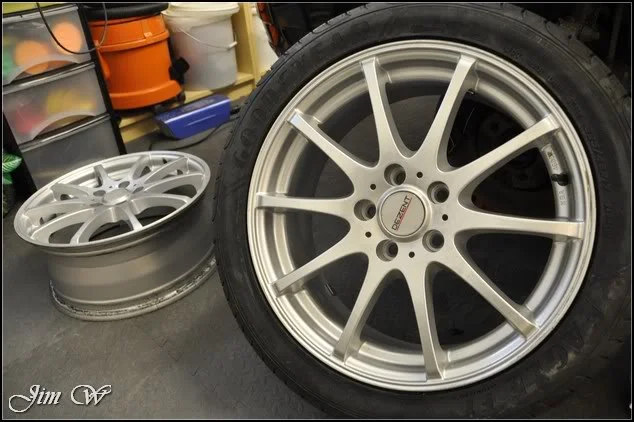
The crack:
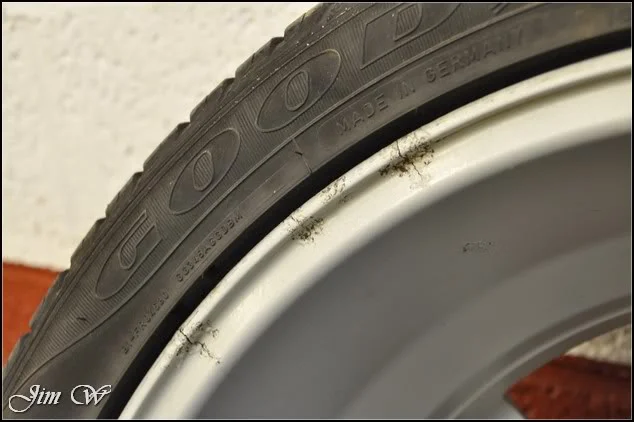
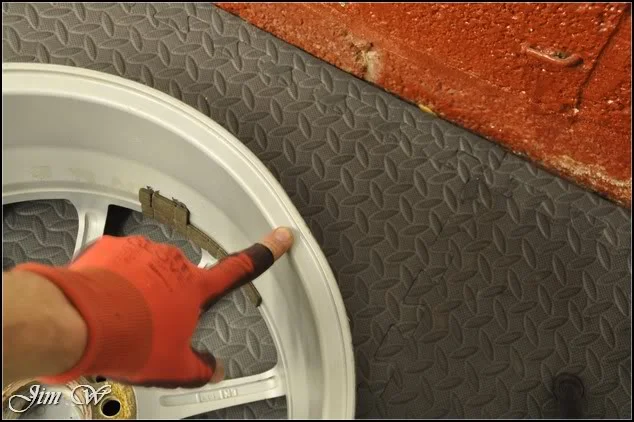
The first thing I noticed about this particular wheel though was the buckle it had! (Seen better days!)
On that note, the eagle eyed amongst you will have also noticed the Volvo is missing its rear bumper. “For why?”
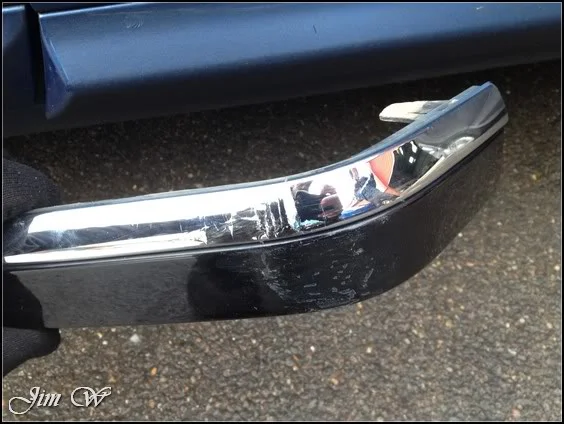
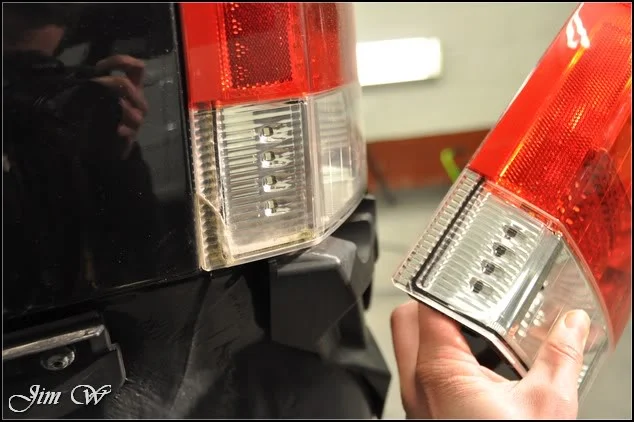
In the enquiry process, it was pointed out the N/S corner of the rear bumper had been scuffed quite badly. Not only damaging the paintwork, but also ruining the chrome trim insert and also cracking the N/S rear lamp. All of which, beyond my repair…
The scuffed trim section:
and the replacement lamp ready to be fitted:
Anyway, that’s that. Time to finish the paint correction:
Bonnet, sorted:
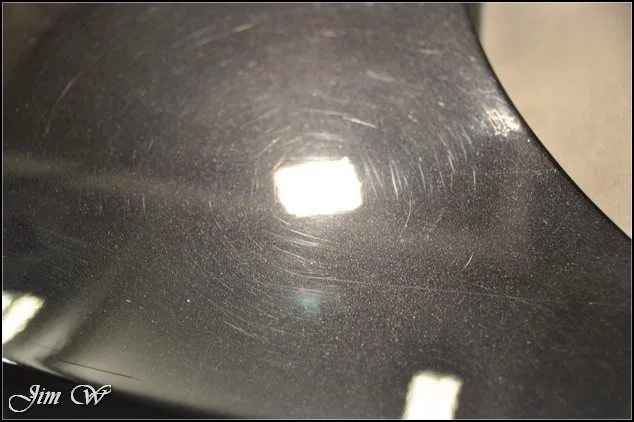
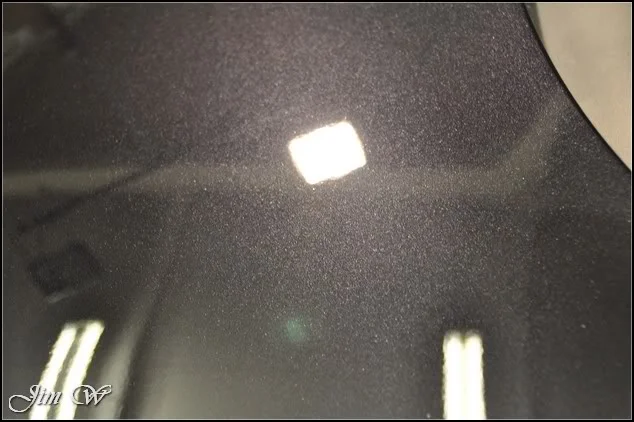
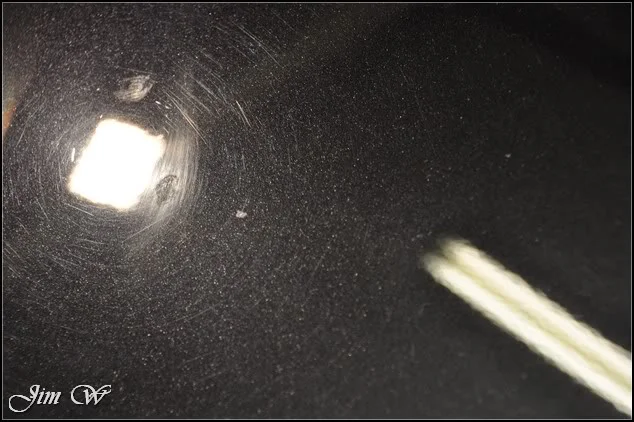
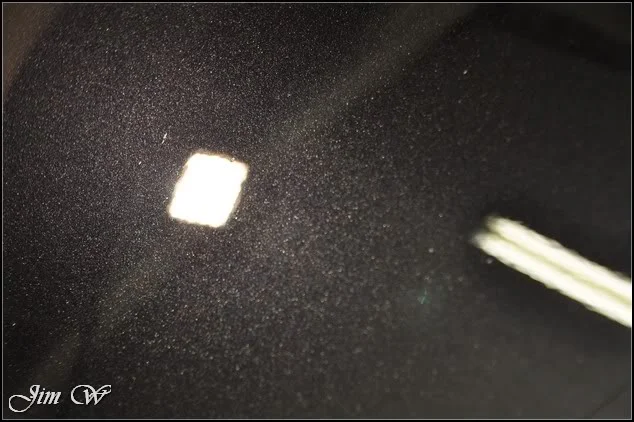
After:
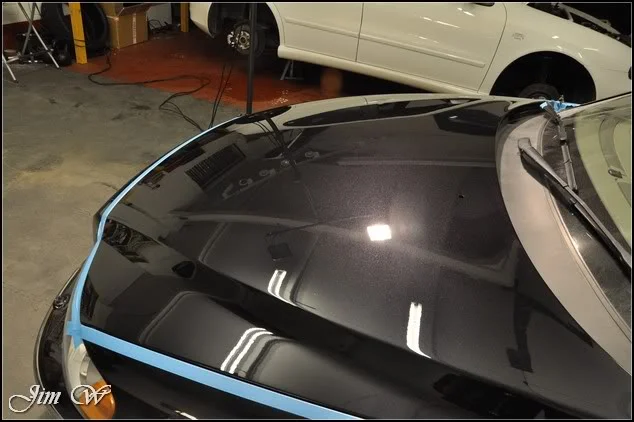
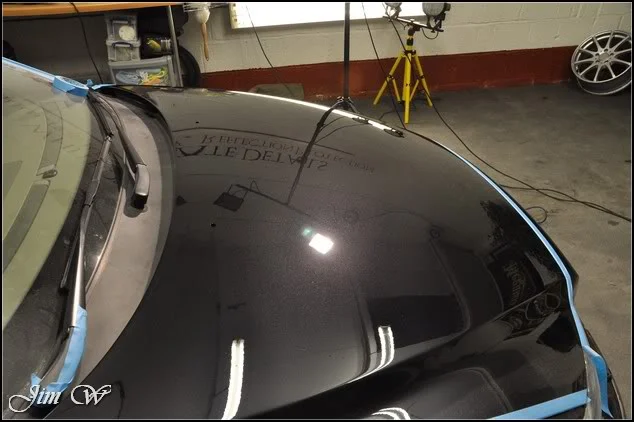
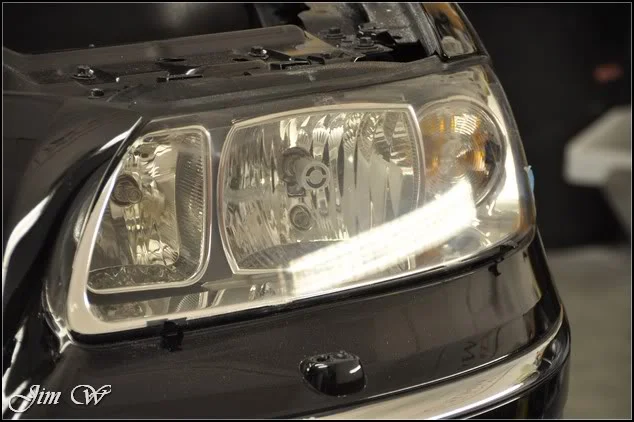
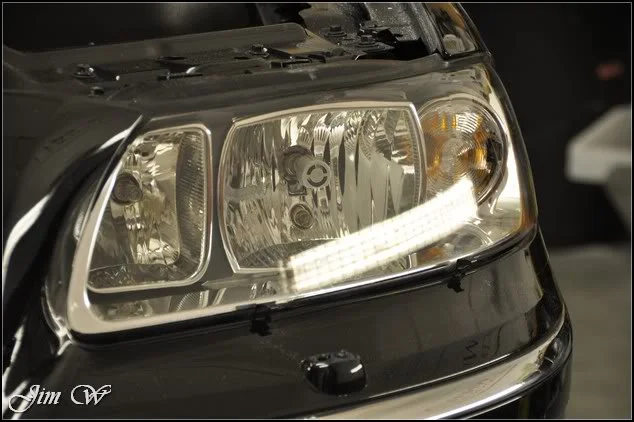
Sills, bumpers and headlights polished bringing the machine polishing to an end.
Before/After:
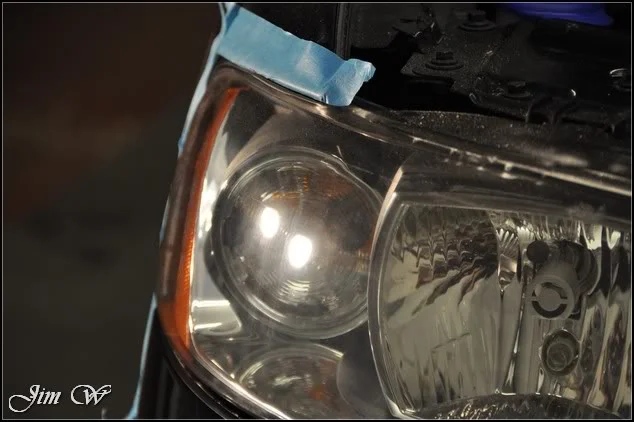
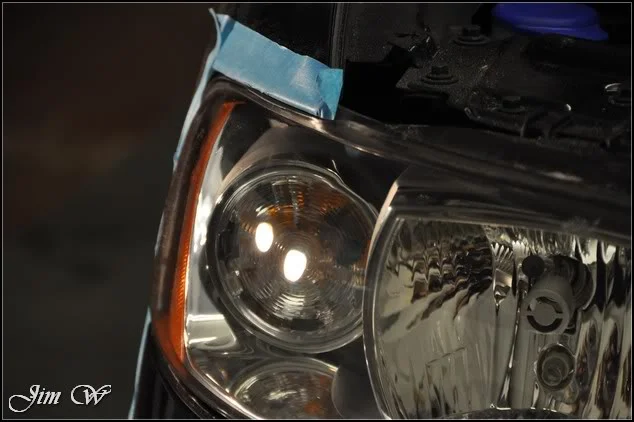
Before/After:
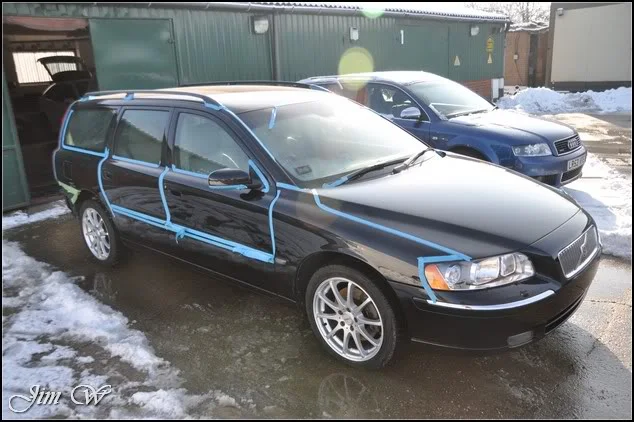
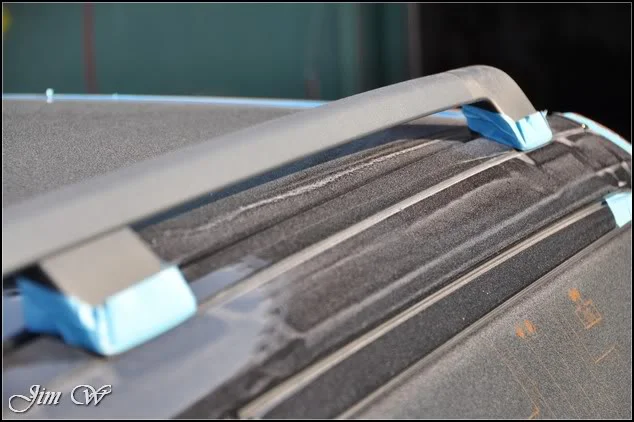
With such heavy correction, comes lots of dusting. (Testing the new 3M wool pad on the Volvo; it’s good, but.. *ooffft!* the dust!)
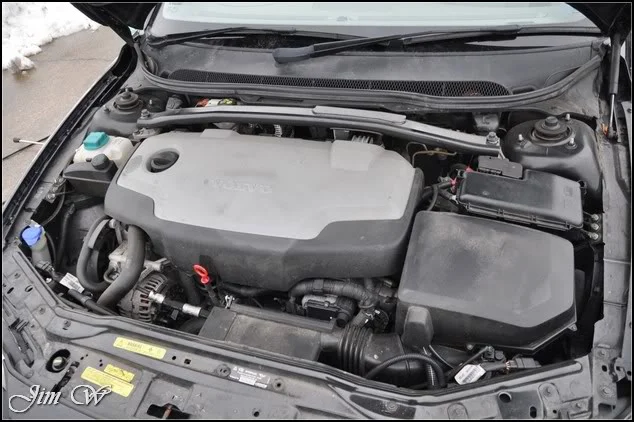
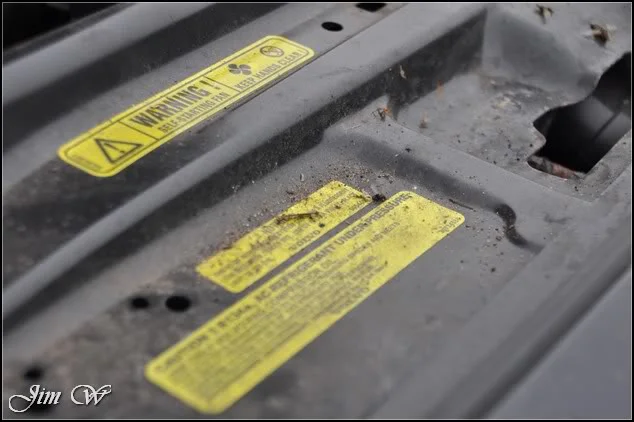
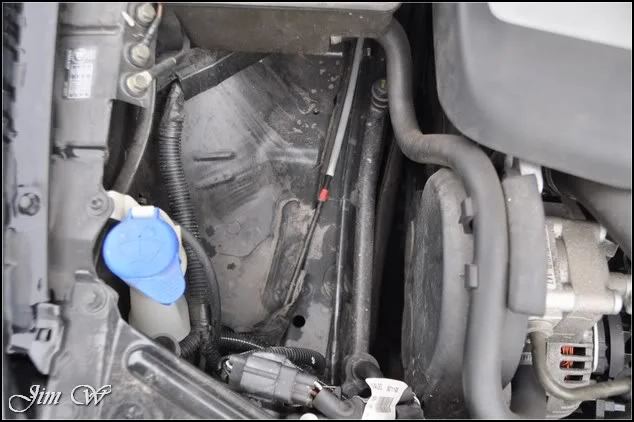
Brought outside for a good jet down and for the engine to be tidied.
As a final drying aid, water was sheeted over the bodywork to remove the standing water:
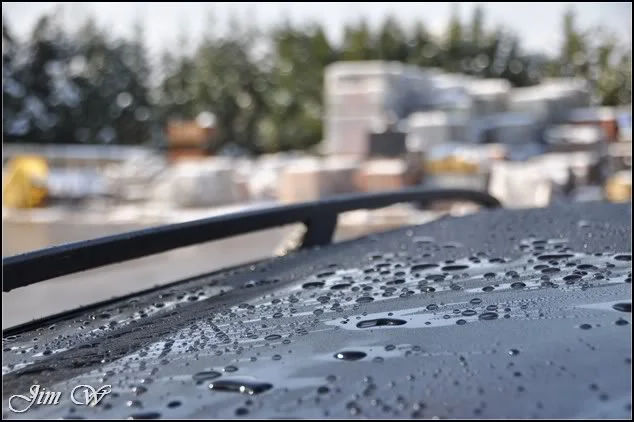
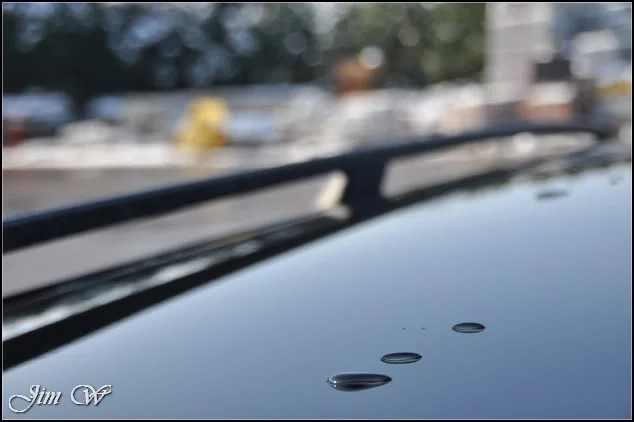
Once again blown dry with the black baron vehicle dryer.
Engine polished and protected where applicable:
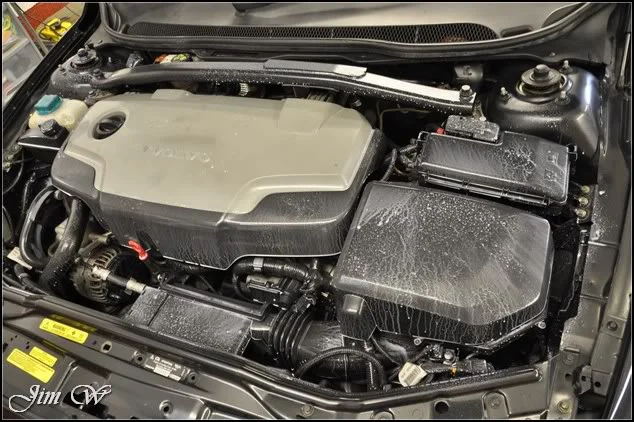
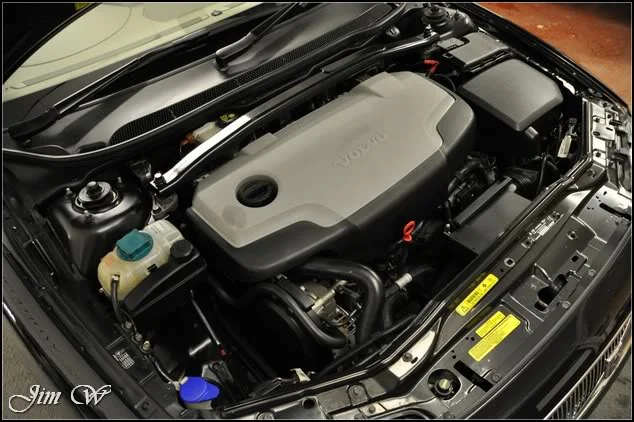
(^bad oil patch on the engine cover that nothing would shift…)
The paintwork received a further deep cleanse with AutoFinnesse’s Rejuvenate applied by DA:
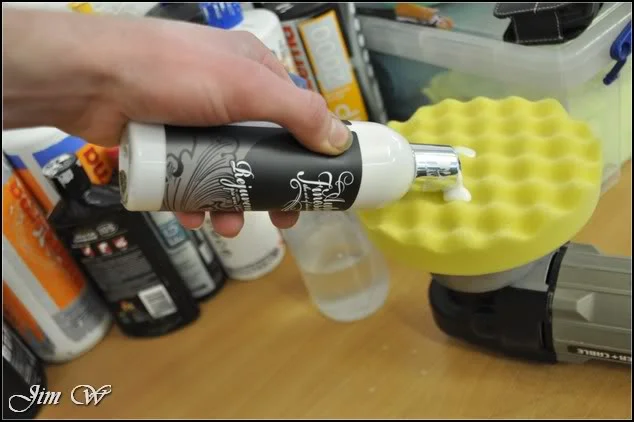
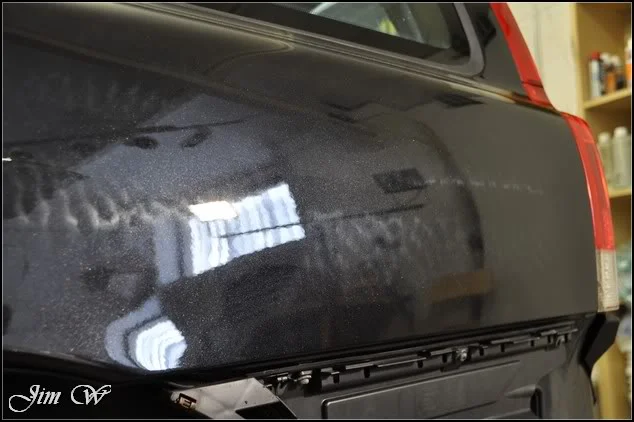
Buffed:
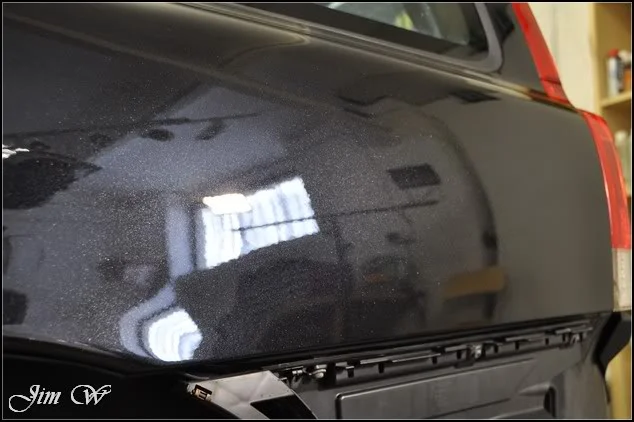
One or two touch ups to tackle.
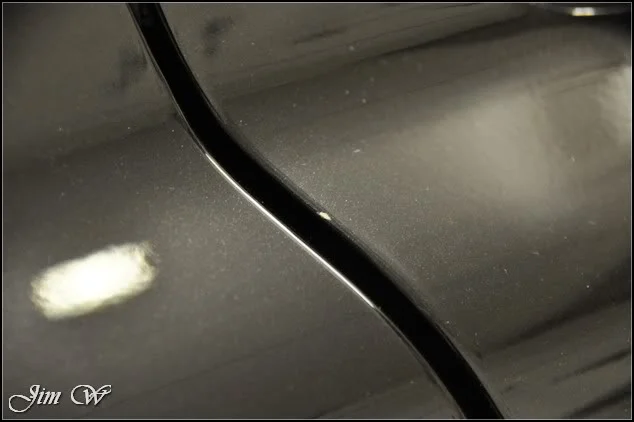
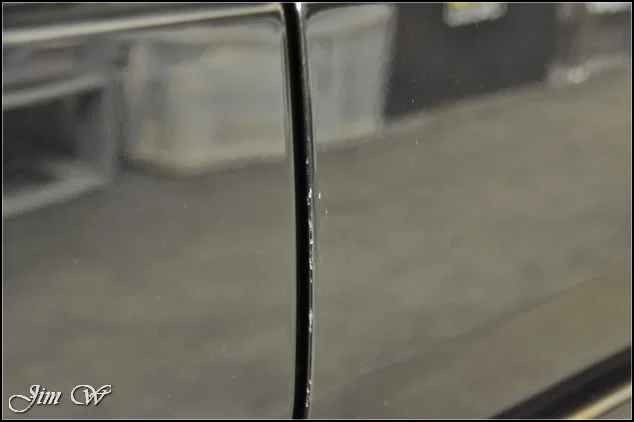
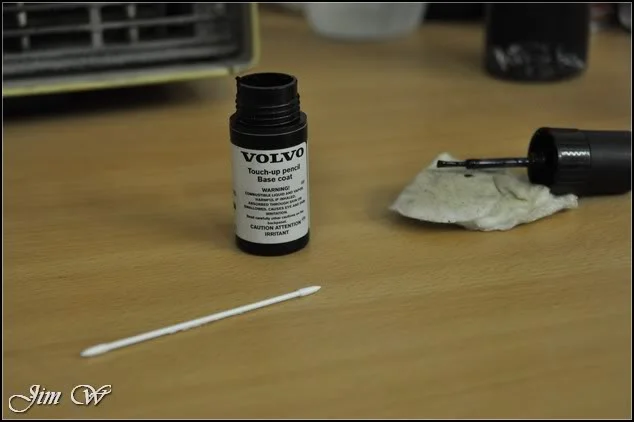
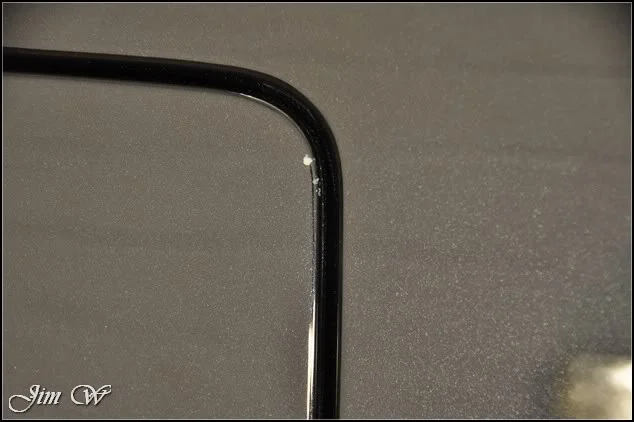
After a concluding IPA wipedown to ensure paintwork is squeaky squeaky clean, it’s time to break out the G-Techniq.
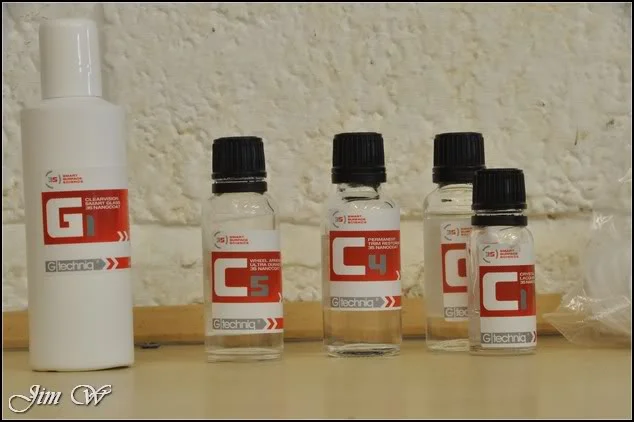
C1 Crystal Lacquer applied to paintwork throughout:
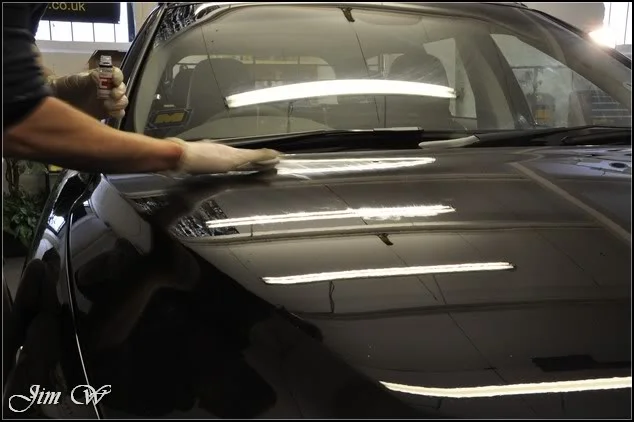
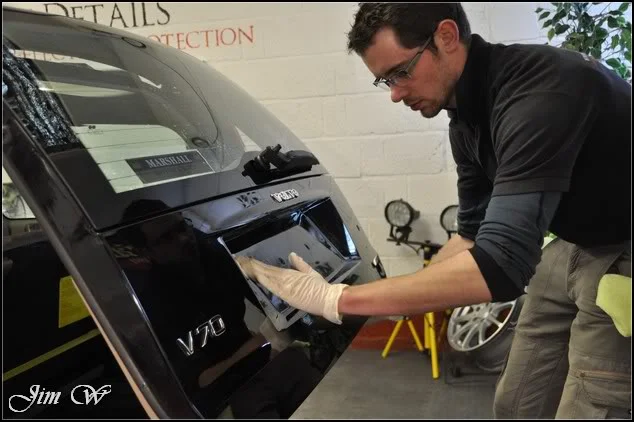
Before glass sealant was applied, windows cleaned inside/out with 3M’s cleaner.
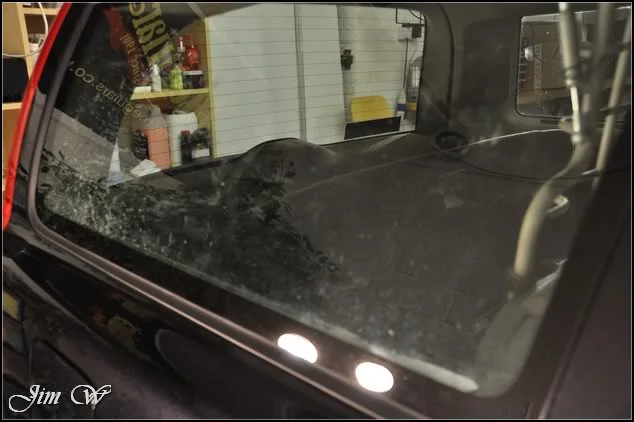
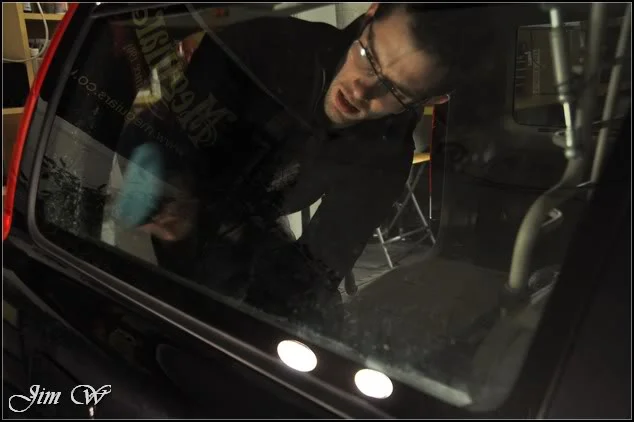
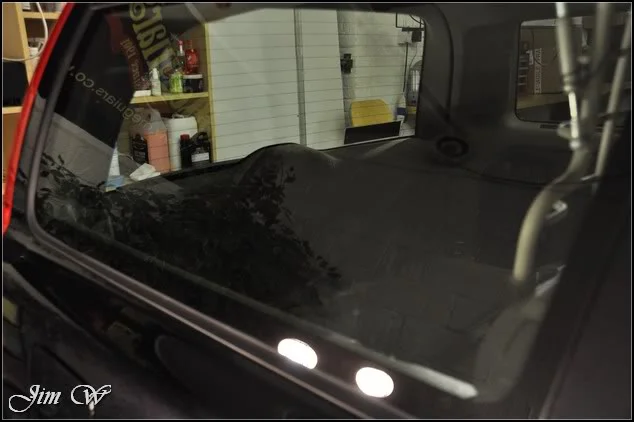
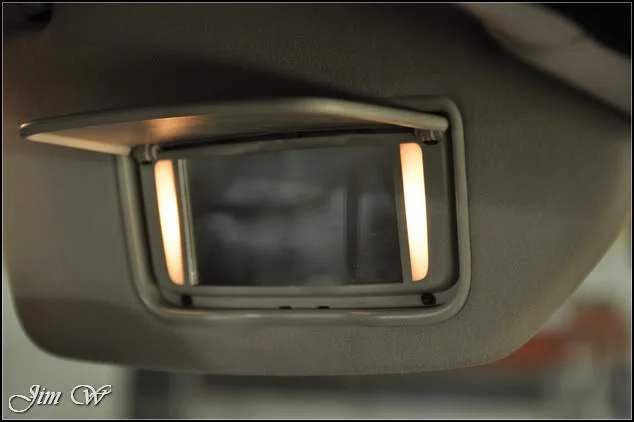
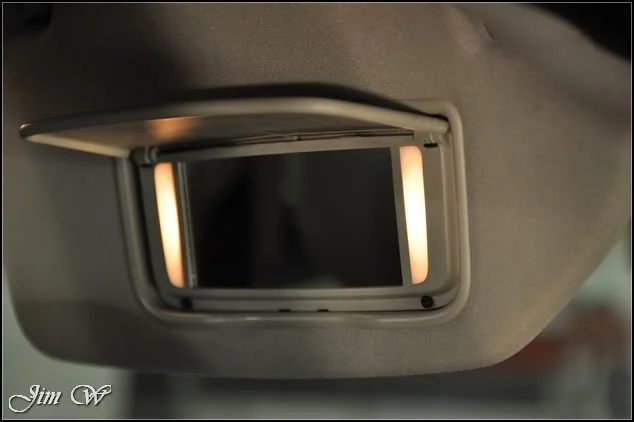
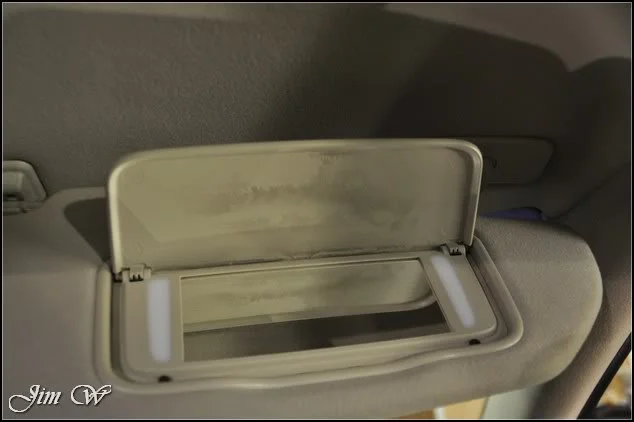
Vanity mirrors a bit dirty!
Before/After:
Back to the G.
G1 Clear Vision. Single coat applied on the sides and rear. Three coats, as recommended, on the front.
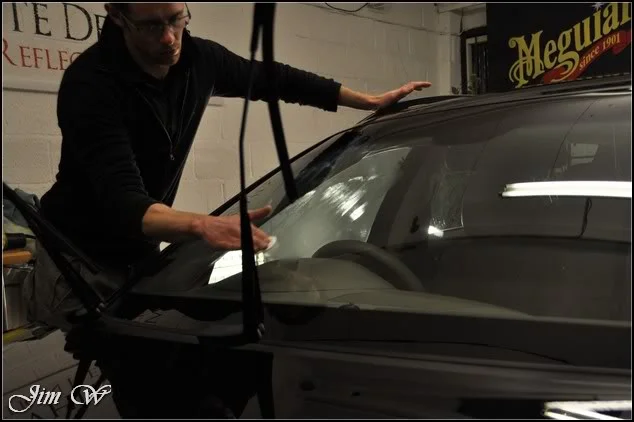
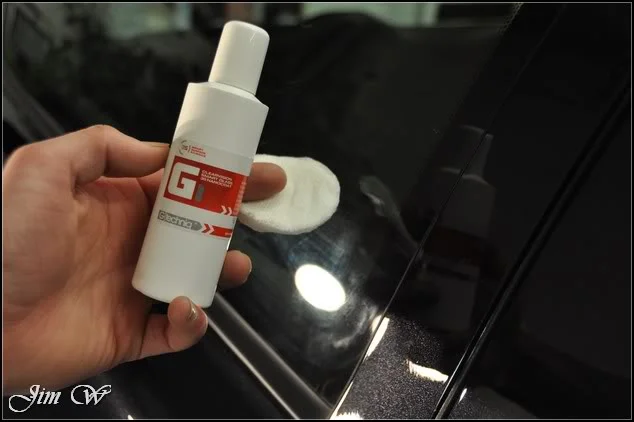
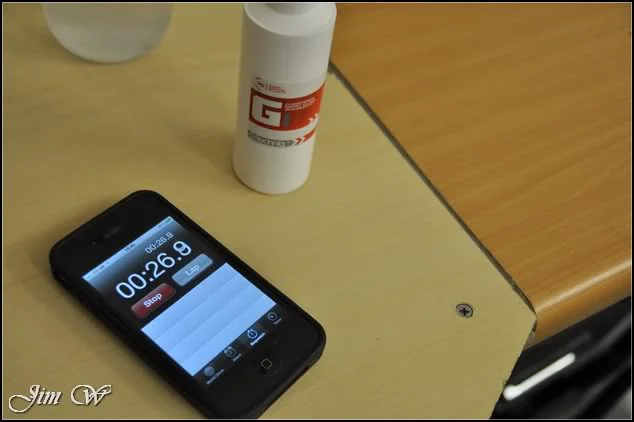
Timer set for 15 minutes; G1’s curing time.
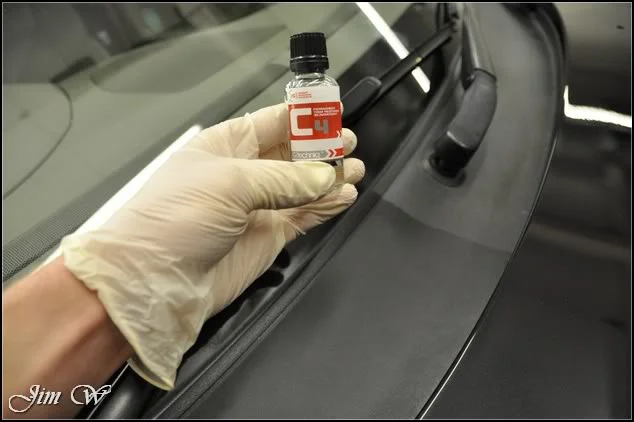
Meanwhile, all exterior plastics were treated to C4 Permanent Trim Restorer.
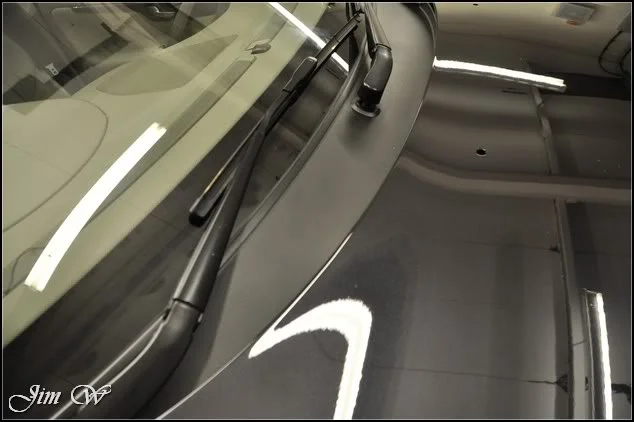
50/50 on scuttle panel:
As new: (You can expect approximately 2 years durability from a single application)
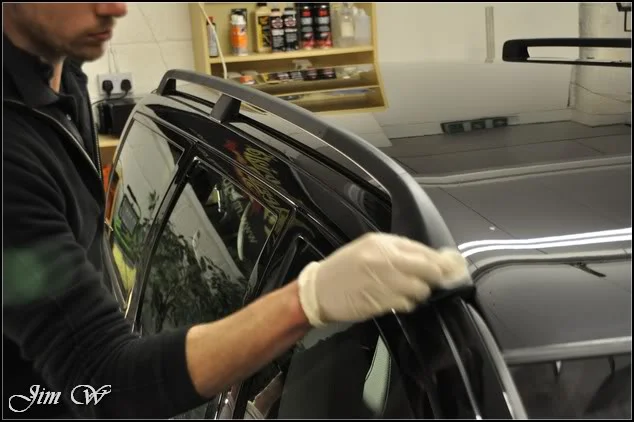
Roof rails, also C4’d…
Before fitting the freshly painted rear bumper, the exhaust was tidied:
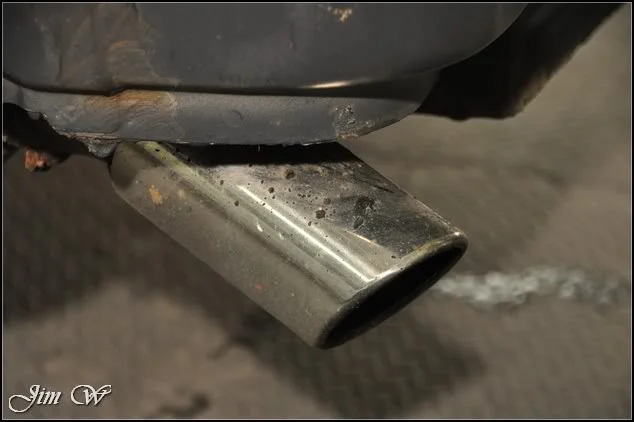
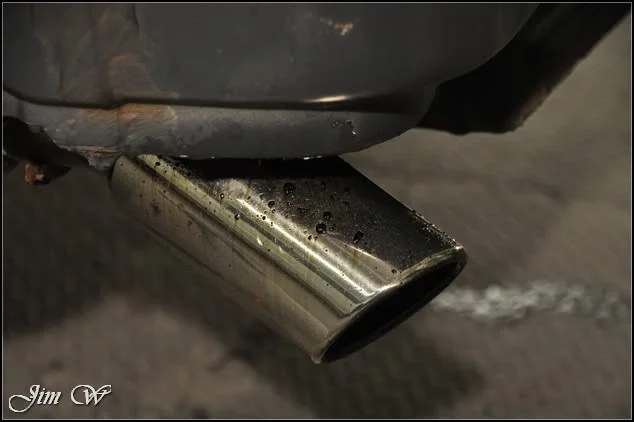
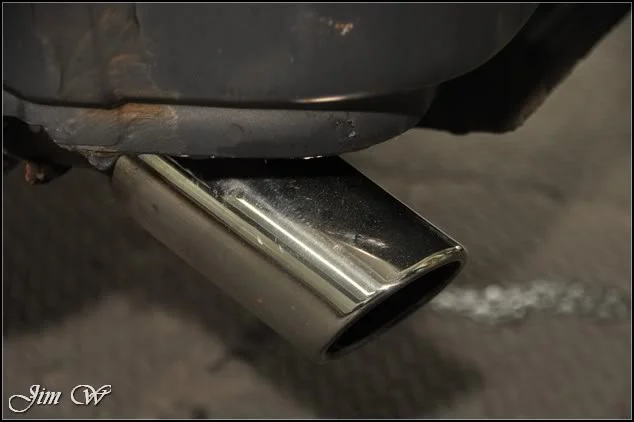
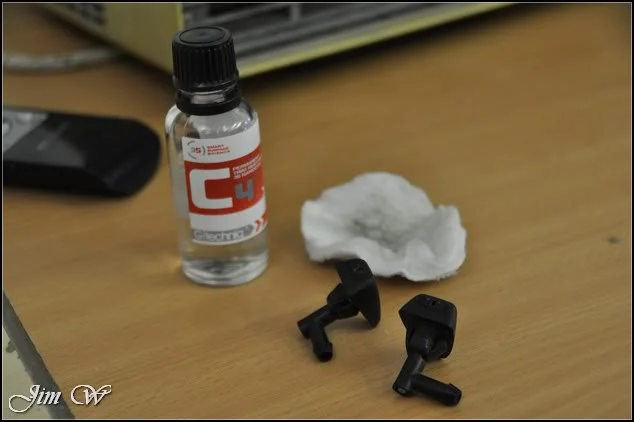
C4’d the washer jet’s before fitting:
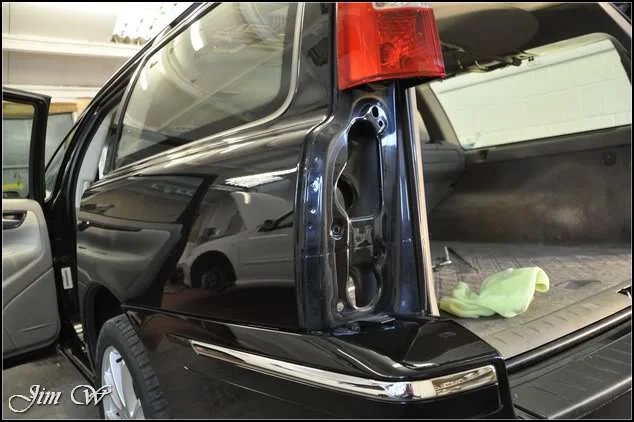
New light cluster installed:
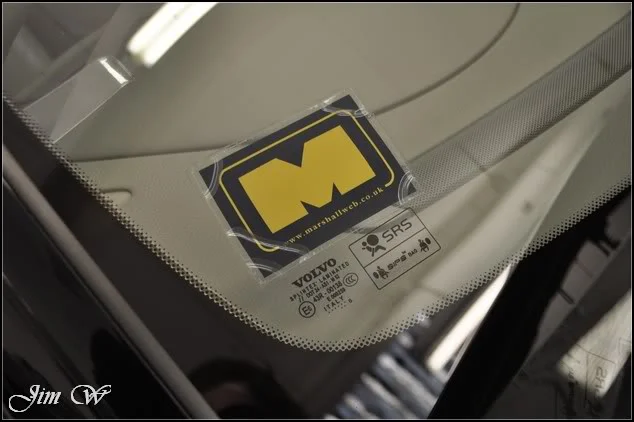
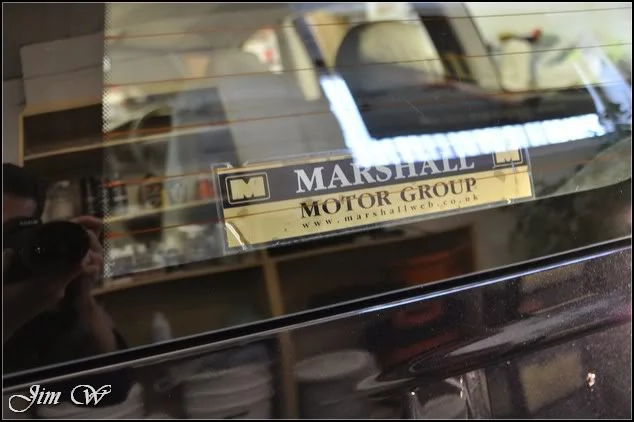
Dealer stickers removed (upon request)
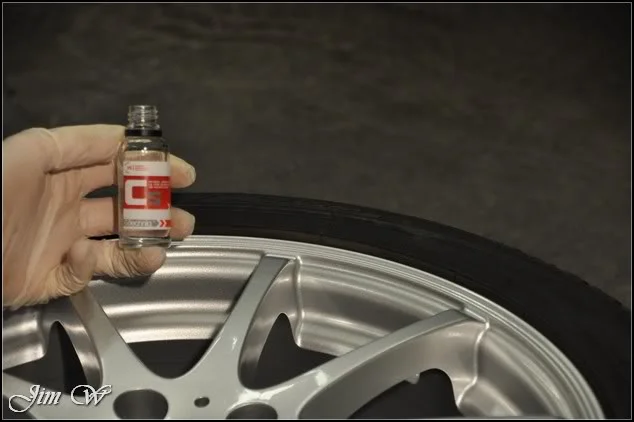
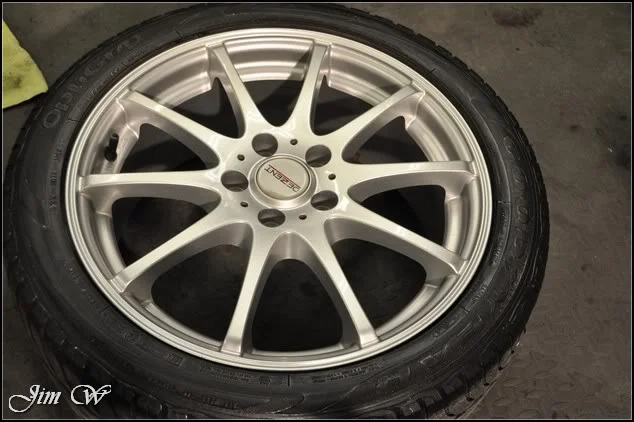
Wheels coated in G-Techniq C5 Wheel Armour.
One last final push to complete the interior.
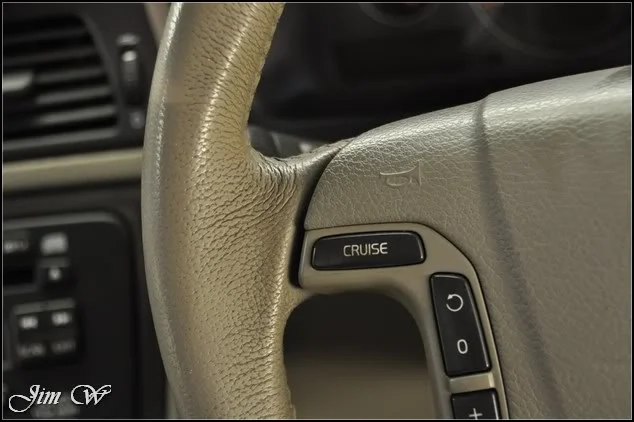
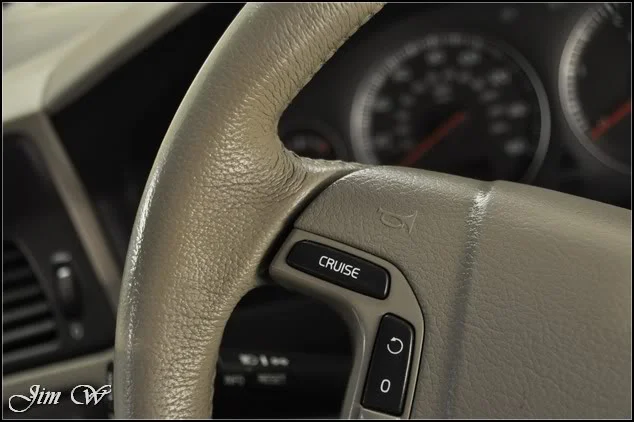
Steering wheel before/after:
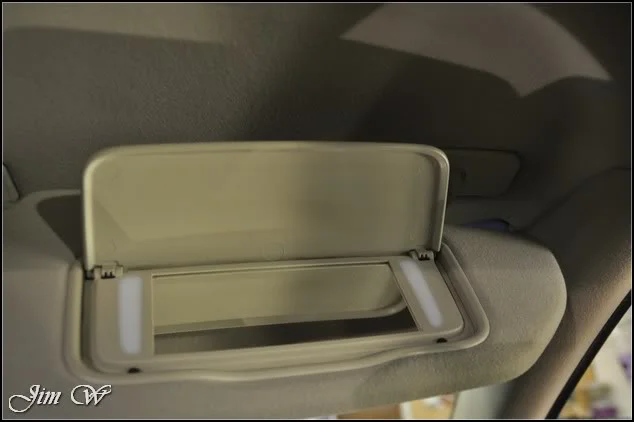
Visors:
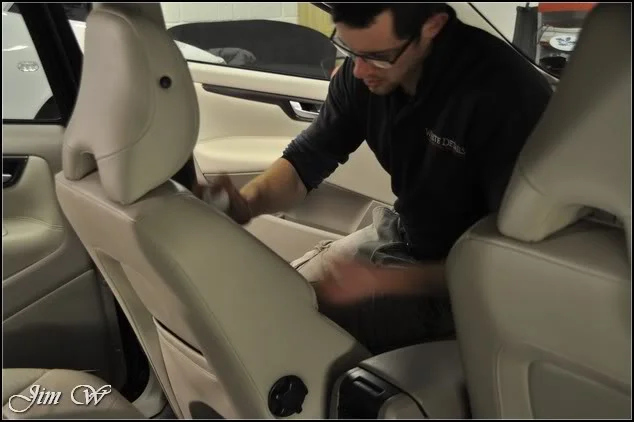
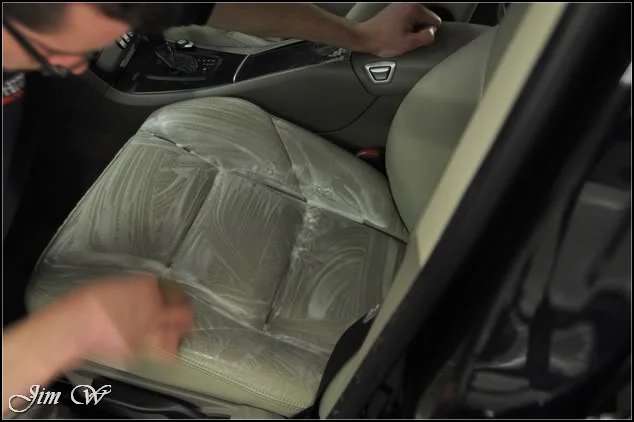
Leather:
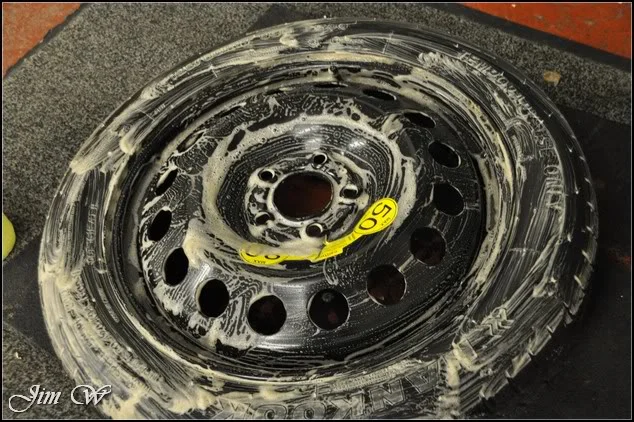
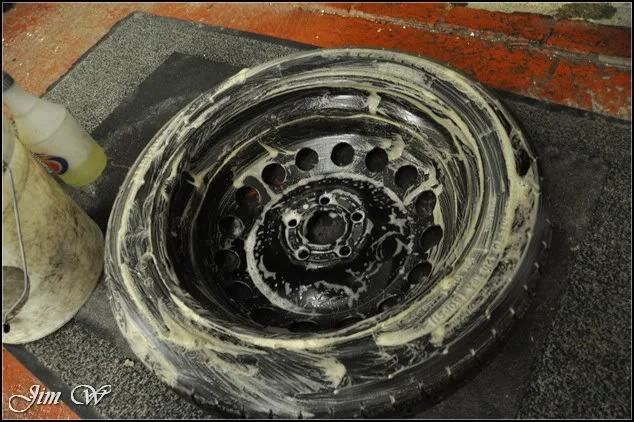
Spare wheel well:
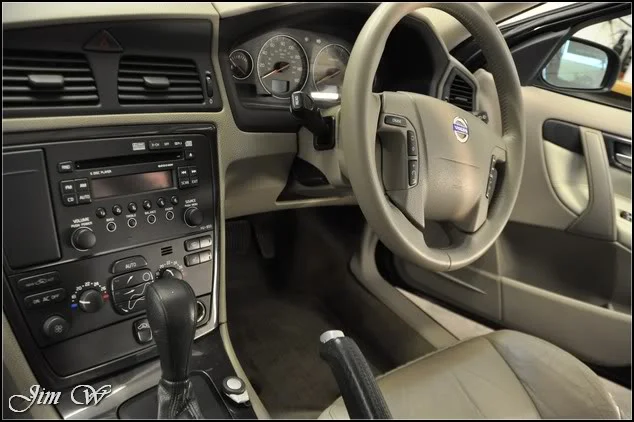
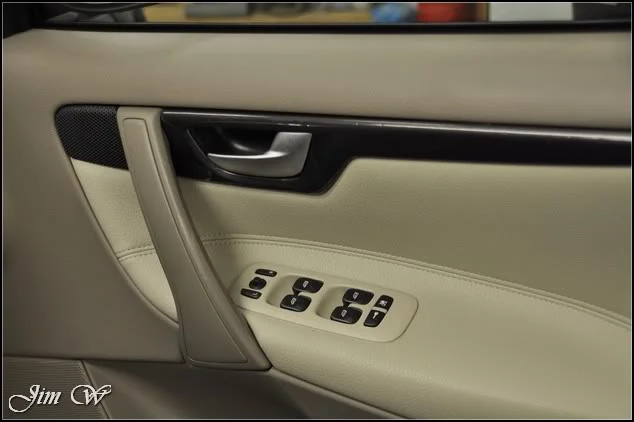
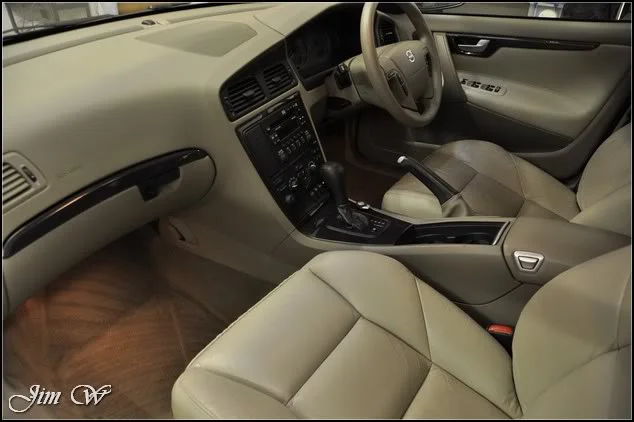
Interior complete.
One or two final exterior touches and we’re about finished.
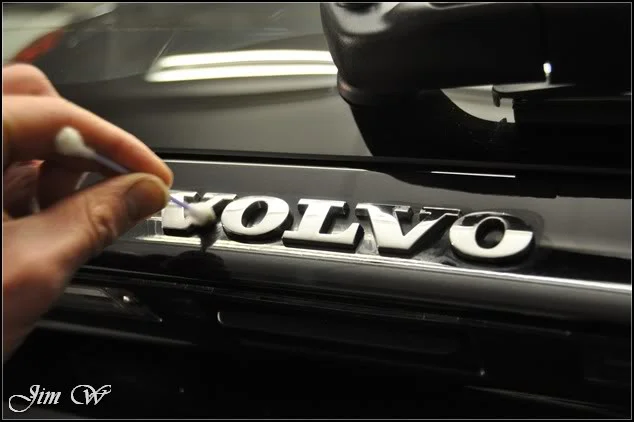
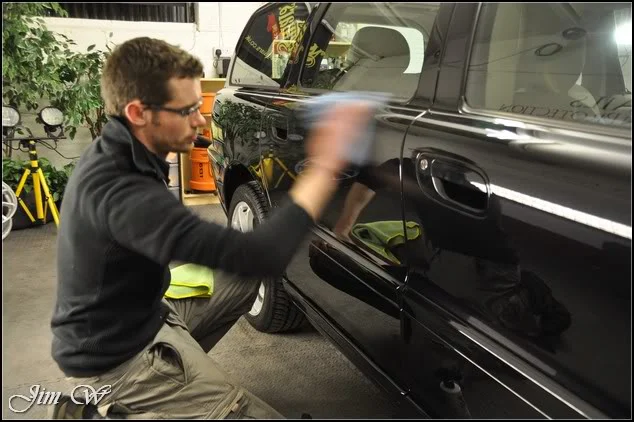
After all that hard work, there’s no chance these are going back on:
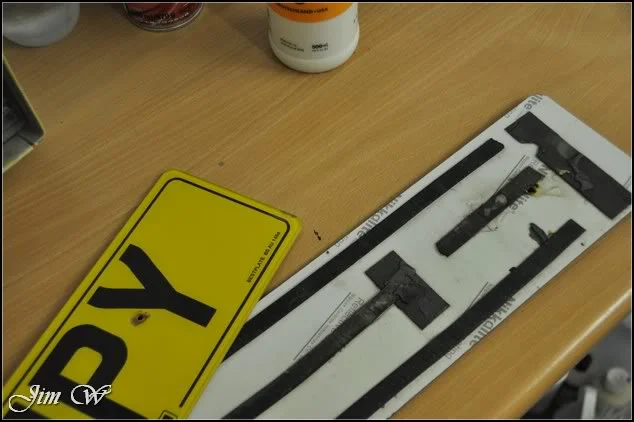
New plates will be fitted on day of collection.
“Really….? Did you C4 the key!!??”
“…..maybe?”
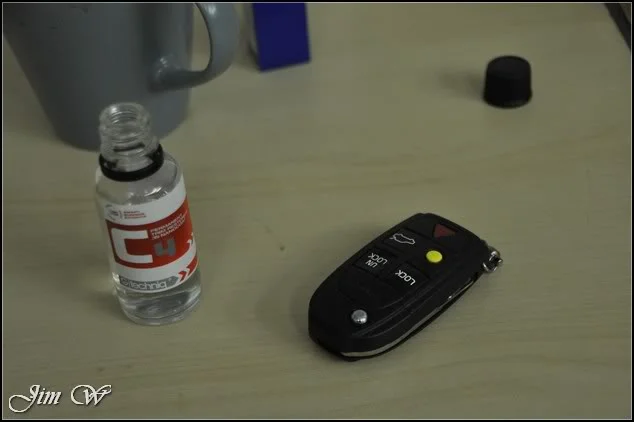
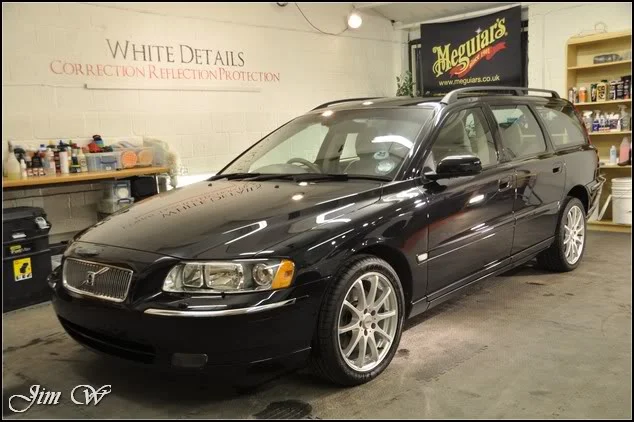
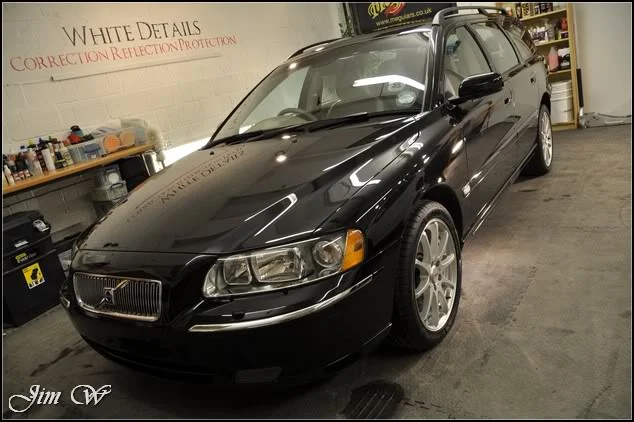
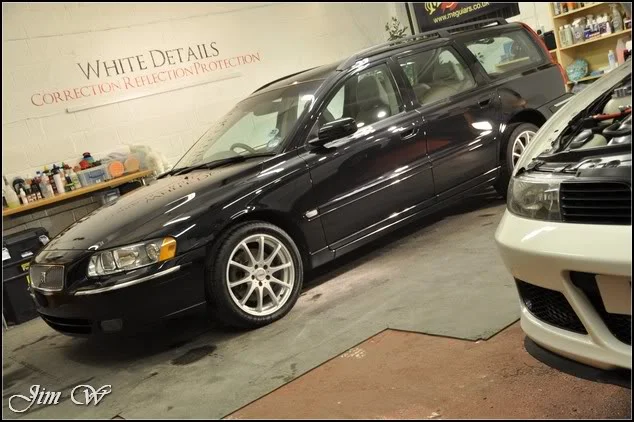
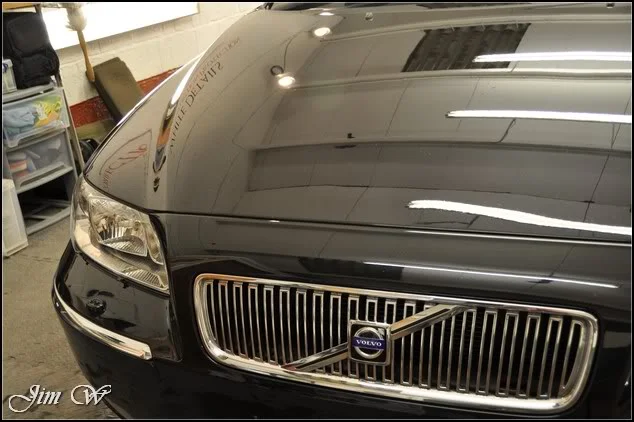
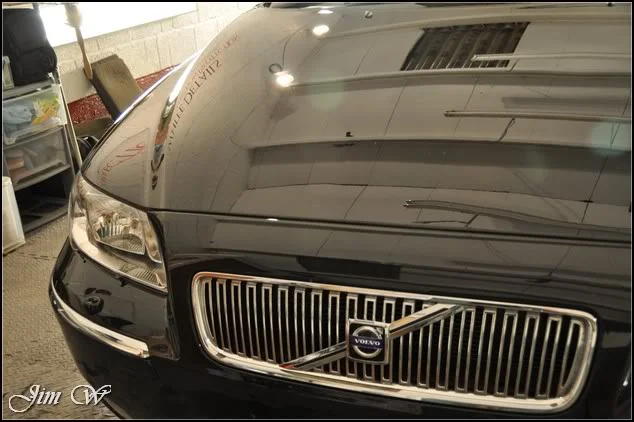
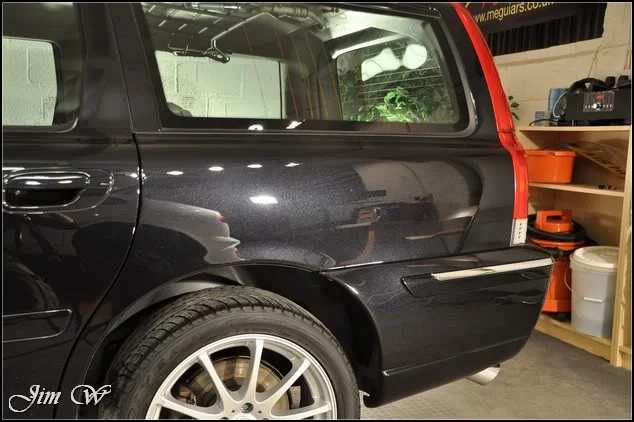
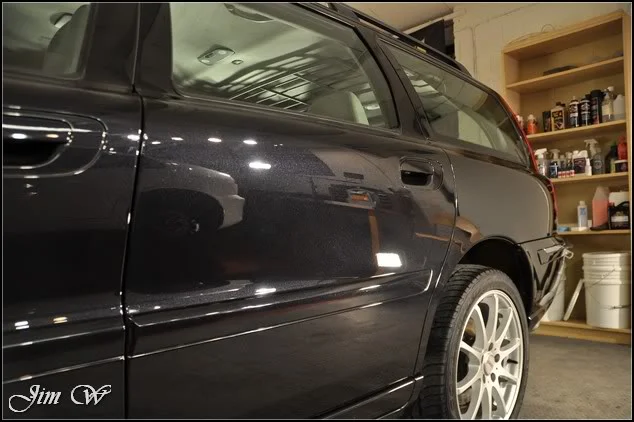
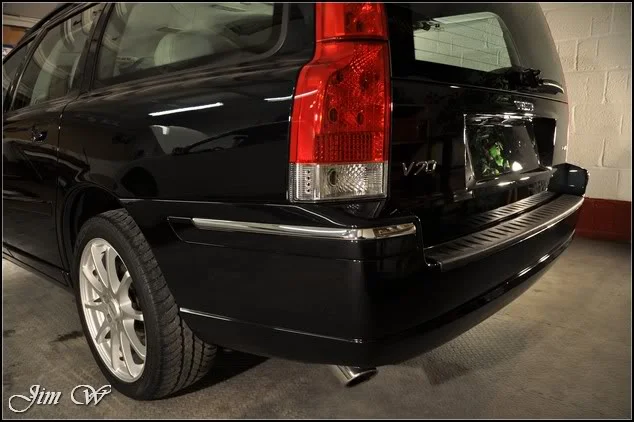
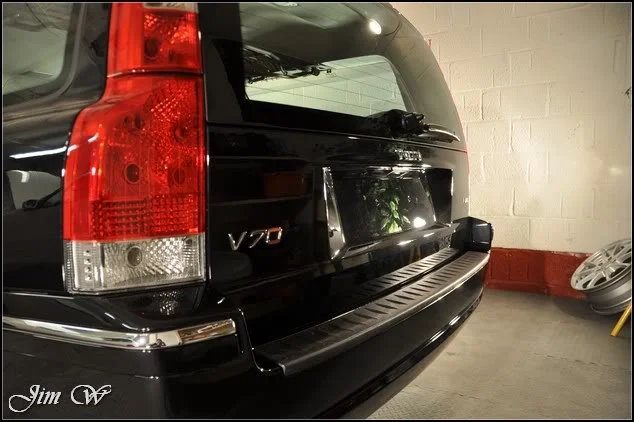
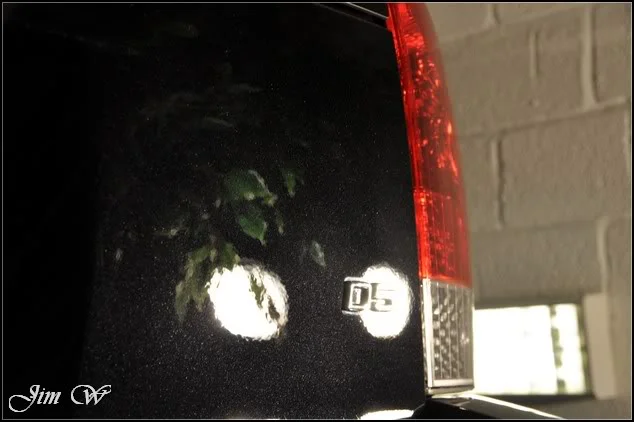
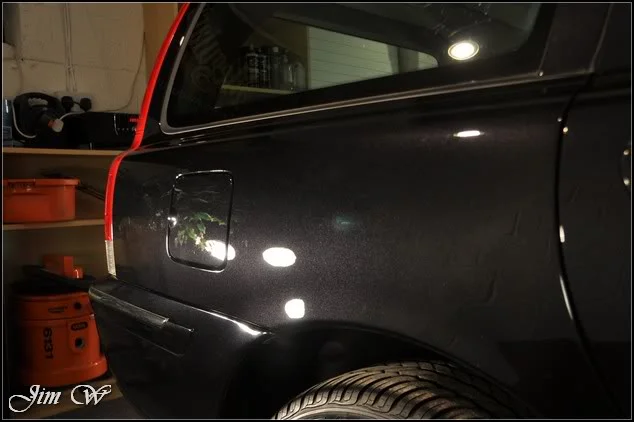
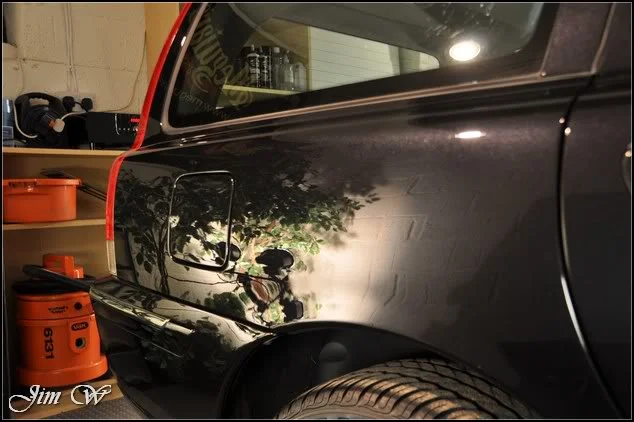
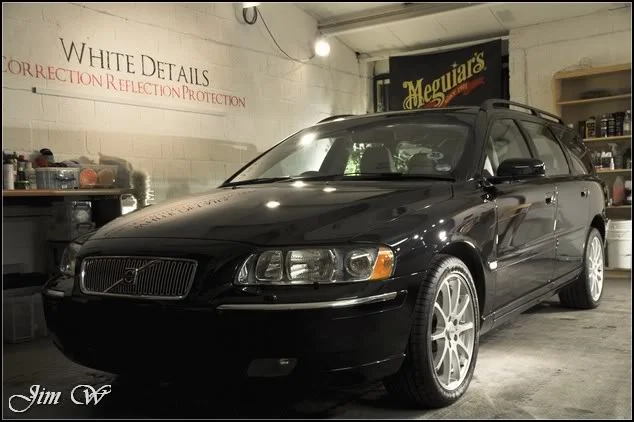
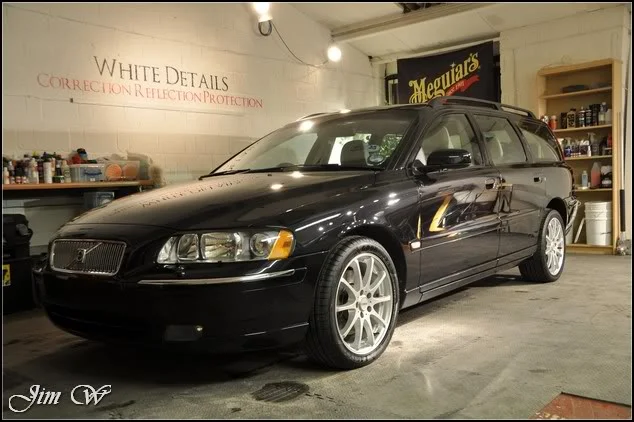
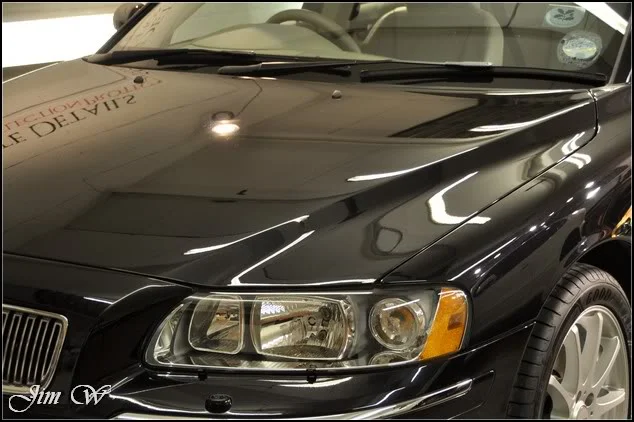
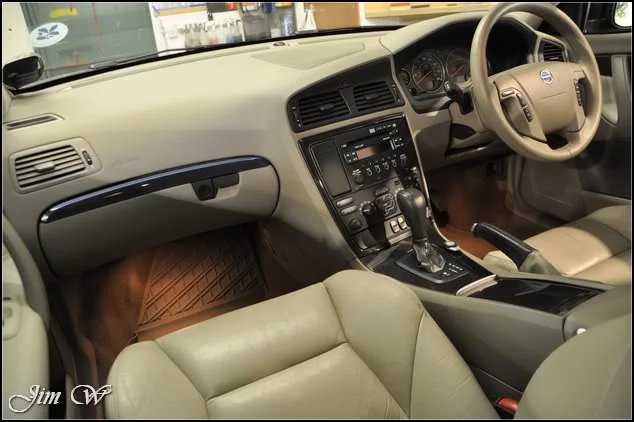
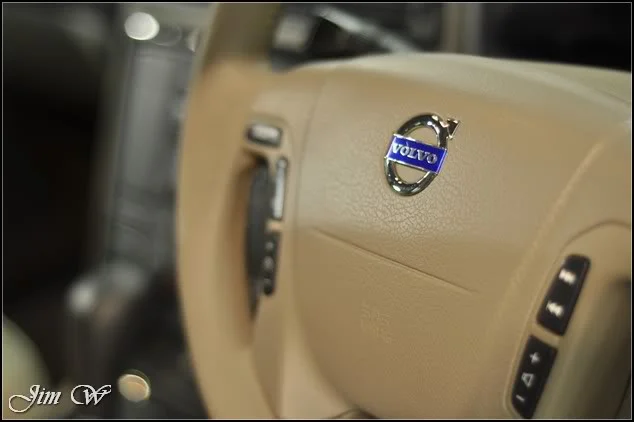
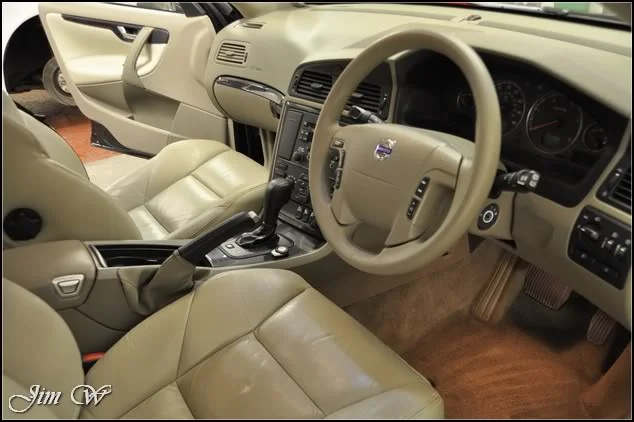
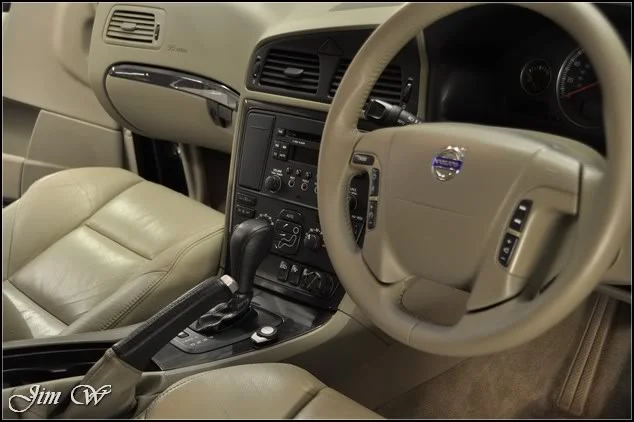
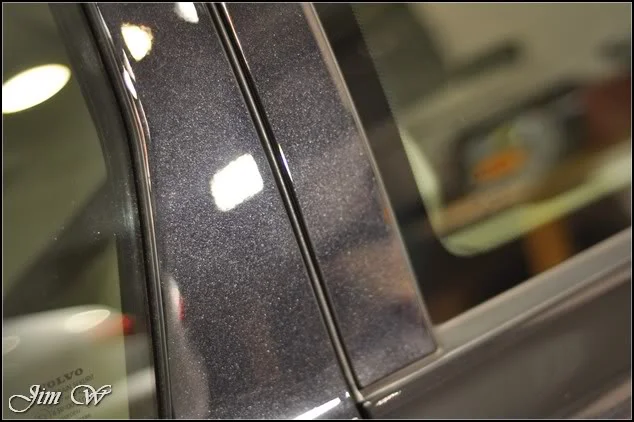
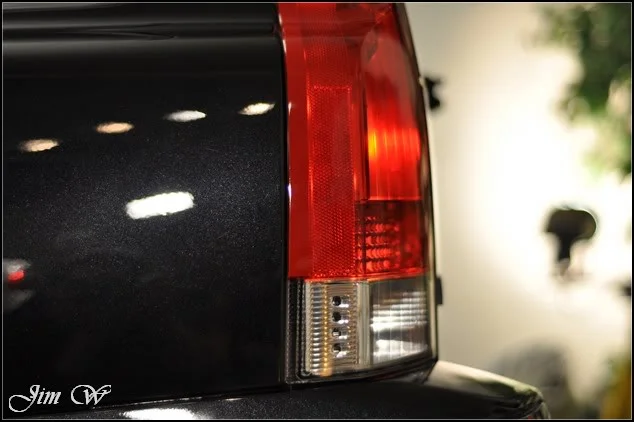
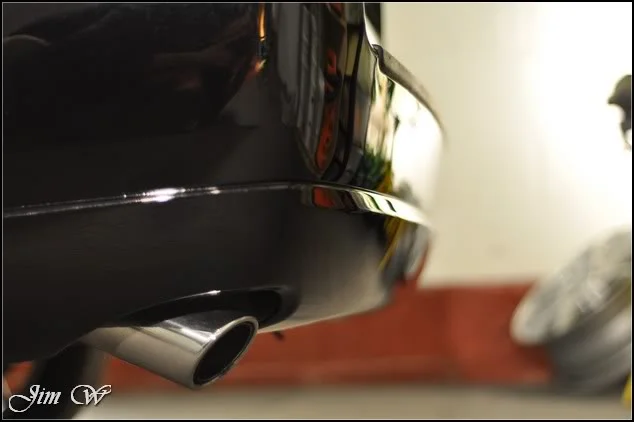
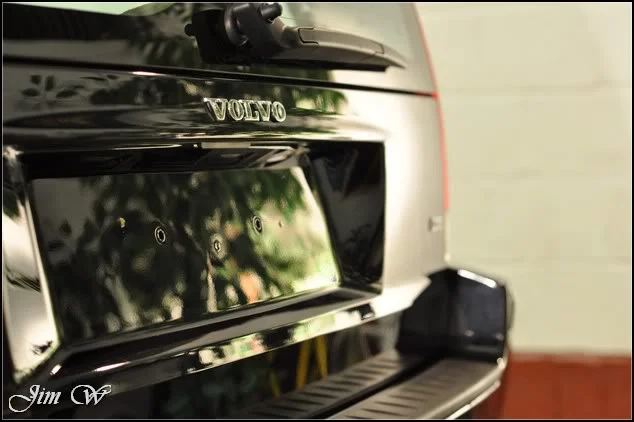
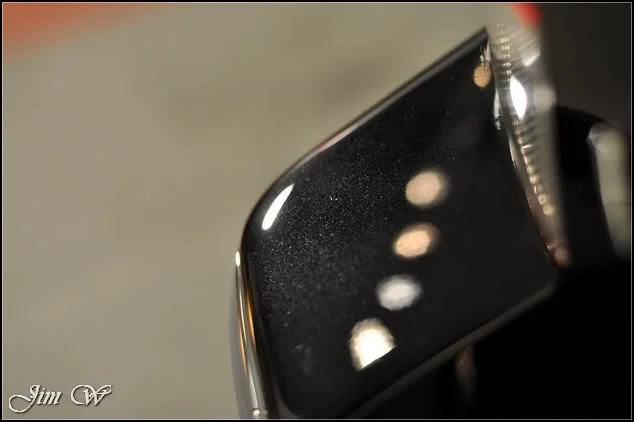
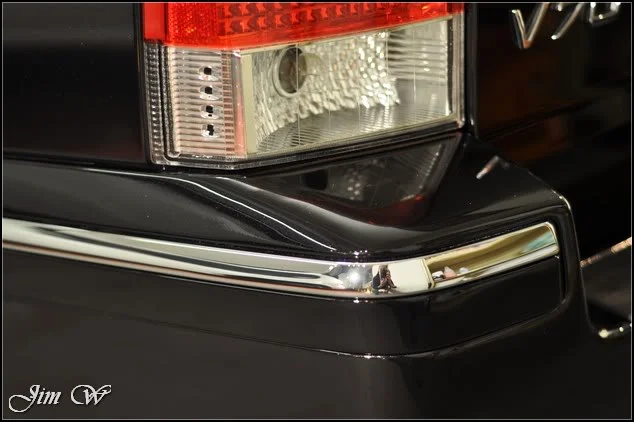
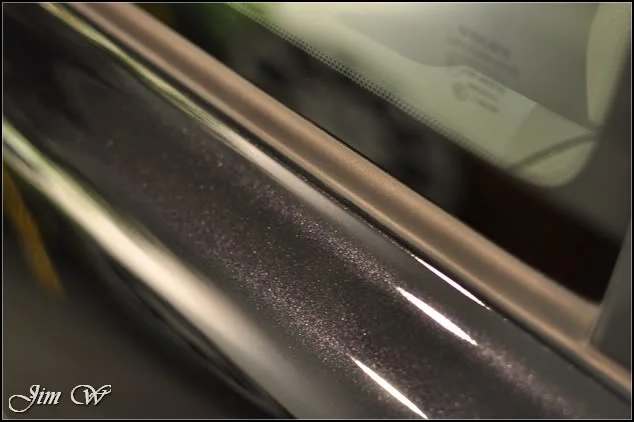
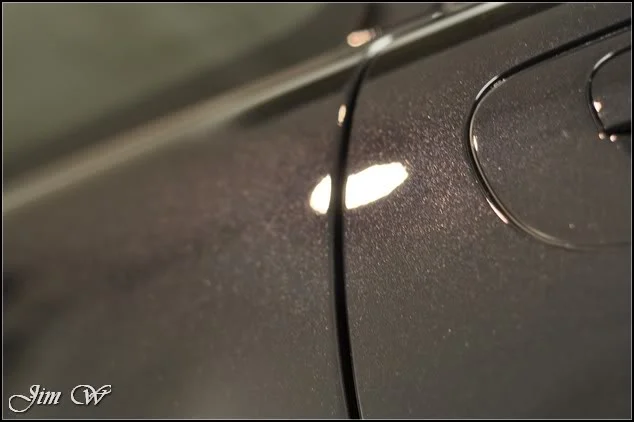
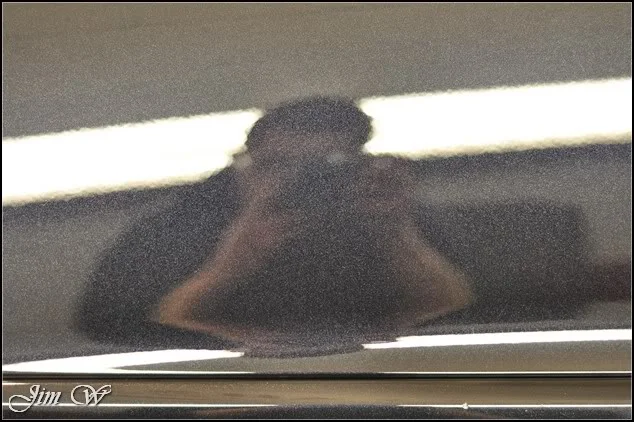
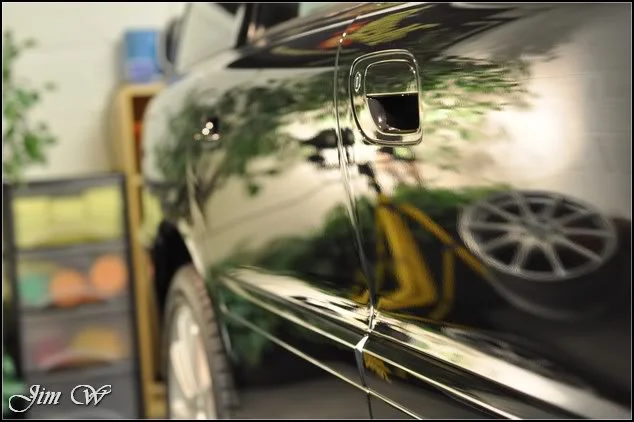
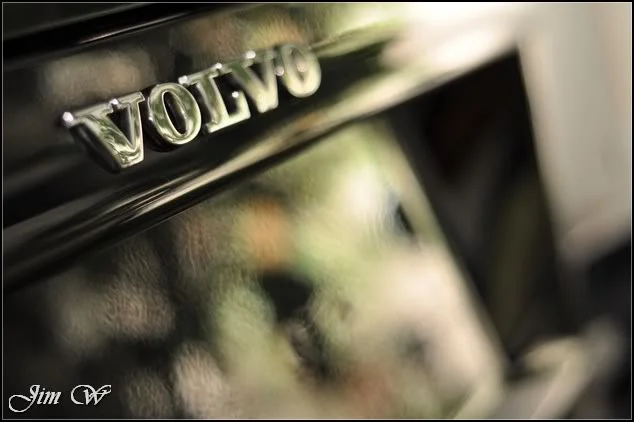
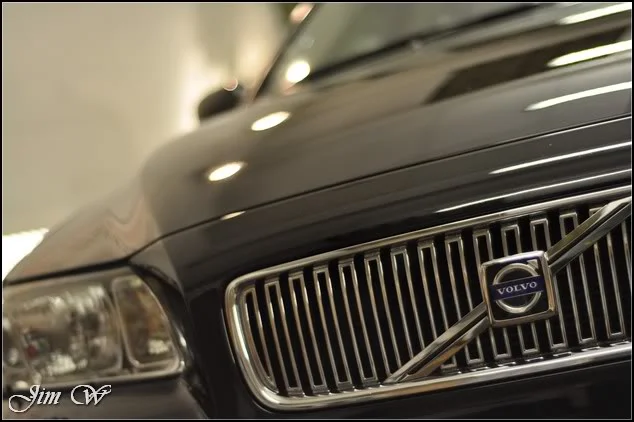
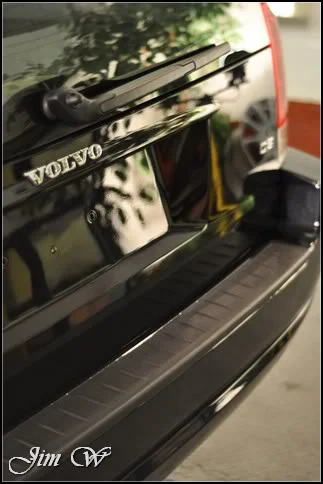
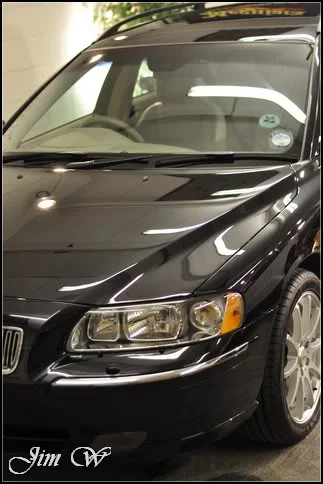
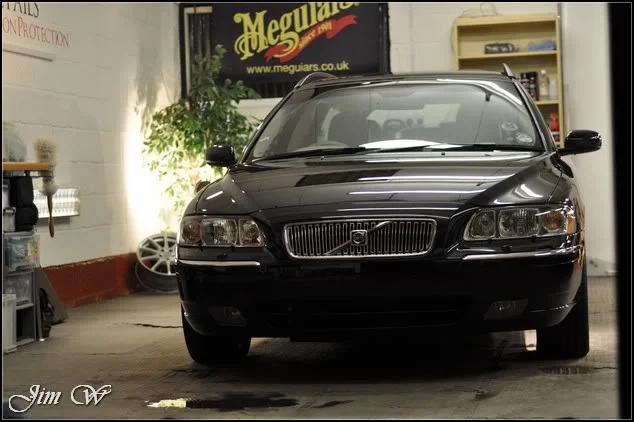
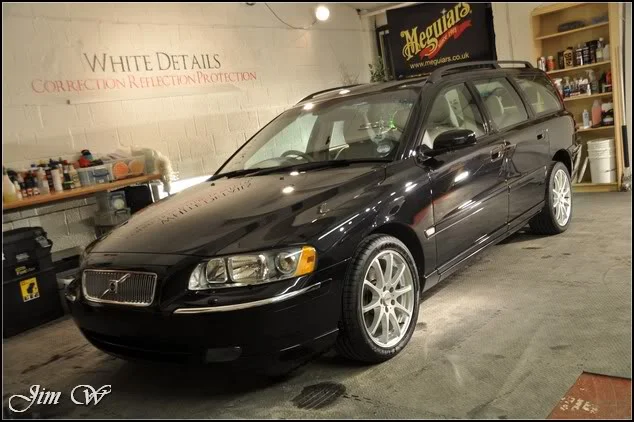
Fini. Here’s what 43 hours of work looks like:
Thanks for reading.
Jim
As always, comments welcome.
~*~*~**~*~*~*~*~*~*~*~*~*~*~*~*~**~*~*~*~*~*~*~*~*~*~*
Volvo V70 D5 – a 40+ hour “White Detail” with full G-Techniq all surface protection.
Having owned the car from new, the owner made contact enquiring about the best way to get the V70 back to better than showroom condition. Throughout.
After a quick browse of the portfolio (particularly the Volvo XC90 that went through similar treatments: http://www.whitedetails.co.uk/index.php?id=181) the owner was sold.
Product
- 303 Aerospace Protectant
- 3M Glass Cleaner
- AutoSmart G101
- AutoSmart Tardis
- AutoSmart Hazsafe
- Auto Finesse Rejuvenate
- AMDetails Bubbles
- AMDetails Mild Clay
- G-Techniq C1 Crystal Lacquer
- G-Techniq G1 Clear Vision
- G-Techniq C4 Trim Restore
- G-Techniq C5 Wheel Armour
- IPA (isopropyl alcohol)
- Jeffs Werkstat Acrylic Prime
- LTT Auto Ultra Foam
- Meguiars Last Touch
- Meguiars Wheel Brightener
- Meguiars NXT Metal Polish
- Meguiars Super Degreaser
- Menzerna 203s
- Menzerna 85RD
- Menzerna 85RD 3.02
- Scholl Concepts S17+
- Wolfs Chemicals Decon Gel
- Zaino Z6 Ultra Clean Gloss Enhancer
- Zaino Z-16 tyre dressing
Vehicle picked up on Sunday night, work commenced Monday morning.
Inspection.
Early signs that there’s a dog in the family:
Dog confirmed!
Wet muddy dog shaking in the car = a big mess:
First job was to start stripping the car down. Headlight protectors and registration plates first off.
With the wheels off, the were cleaned with Megs Wheels Brightener, AutoSmart Tardis used to remove tar spots and finally Wolfs Decon Gel to help shift the stubborn pitting that had formed. (Inbetween all this, all previous wheel weight glue was removed and arches were deep cleaned throughout)
Last but not least, the N/S/F wheel is removed. *ooft!* ouch.
^Problem. Two hairline cracks on the inner rim. Will look into this later.
It’s Avant/Tourer/Estate central today at WD HQ:
Moving onto the bodywork. AS Hazsafe applied through HD Foam Lance to help soften surface grime.
Intricate areas tickled with a soft bristled brush before a thorough rinse and moving on to the two bucket wash:
AutoSmart Tardis applied generously before finally claying the vehicle to remove other bonded contaminants (surprisingly clean)
Inside and blown dry, we can start to take a look at the paintwork.
Some areas were worse than others. The N/S was covered in long deep scratches running the length of the vehicle; possibly induced by a close encounter with a hedgerow or similar.
Starting my polishing set on the bonnet, I test various polish and pad combinations and set to work.
Before/After:
There were lots of deeper marks to tackle.
Overlapping passes with multiple hits were required to pull these out to a level of correction I was happy with (with the low paint thickness readings in mind…)
Moving high up onto the roof.
Before:
During:
(Again, more scratches that required 3/4 hits to safely remove)
And after:
An IPA wipedown to confirm correction levels:
and I’m happy…
Lots of door pillars on this car. Quite a timely process!
A-pillar:
roofline:
And some other ‘general’ afters (B & C pillars)
A nasty scratch on the wing mirror housing had to remain; through to the plastics.
This is some seriously heavy metallic paint!
Before moving onto the bulk of the doors, the bump-strip running the length of the car was corrected first with spot pads and then taped up to allow correction to progress safely.
Before/After:
Door good to go.
Scratches above drivers door handle. Before/After:
Corrected, refined and finished:
More scratches that require special attention:
Meanwhile, one of the OEM+ club cars was dropped off for a full wheel refurb:
Tailgate. Now excuse the clay marring here; there’s lots of it! (Being ‘minus penguins’ at the time of the wash stage doesn’t help the matter)
As you can see, a little overkill with the double sided tape that had been previously used! (this was all removed throughout the wash stages)
Using a tiny Dodo Juice wool spot pad, I was able to correct even the tightest of areas:
(Albeit heavily marred and in desperate need of refining!)
^much better.
Light clusters also requiring a little attention.
Before/After:
Half way. Repeat steps down the N/S.
B-Pillars:
C and D pillars after:
Wing mirror:
N/S half of the roof:
Remember I spoke about the hedgerow scratches down the N/S? Boom:
Before/After:
N/S/R door.
Before/After:
In action (refining):
Correction levels:
It’s at this point Mr. Tyre Man arrived with my replacement wheel. I presented the options to my customer after discovering the cracked rim and we both decided it was best to replace the whole unit as opposed to go down the alloy-weld route and repair it.
The crack:
The first thing I noticed about this particular wheel though was the buckle it had! (Seen better days!)
On that note, the eagle eyed amongst you will have also noticed the Volvo is missing its rear bumper. “For why?”
In the enquiry process, it was pointed out the N/S corner of the rear bumper had been scuffed quite badly. Not only damaging the paintwork, but also ruining the chrome trim insert and also cracking the N/S rear lamp. All of which, beyond my repair…
- The bumper was removed and booked in with Lincoln’s Ultimate Car Care (http://www.ultimate-carcare.co.uk/) for a full respray.
- A replacement rear lamp and trim section were ordered from John Darkle Volvo, Lincoln.
The scuffed trim section:
and the replacement lamp ready to be fitted:
Anyway, that’s that. Time to finish the paint correction:
Bonnet, sorted:
After:
Sills, bumpers and headlights polished bringing the machine polishing to an end.
Before/After:
Before/After:
With such heavy correction, comes lots of dusting. (Testing the new 3M wool pad on the Volvo; it’s good, but.. *ooffft!* the dust!)
Brought outside for a good jet down and for the engine to be tidied.
As a final drying aid, water was sheeted over the bodywork to remove the standing water:
Once again blown dry with the black baron vehicle dryer.
Engine polished and protected where applicable:
(^bad oil patch on the engine cover that nothing would shift…)
The paintwork received a further deep cleanse with AutoFinnesse’s Rejuvenate applied by DA:
Buffed:
One or two touch ups to tackle.
After a concluding IPA wipedown to ensure paintwork is squeaky squeaky clean, it’s time to break out the G-Techniq.
C1 Crystal Lacquer applied to paintwork throughout:
Before glass sealant was applied, windows cleaned inside/out with 3M’s cleaner.
Vanity mirrors a bit dirty!
Before/After:
Back to the G.
G1 Clear Vision. Single coat applied on the sides and rear. Three coats, as recommended, on the front.
Timer set for 15 minutes; G1’s curing time.
Meanwhile, all exterior plastics were treated to C4 Permanent Trim Restorer.
50/50 on scuttle panel:
As new: (You can expect approximately 2 years durability from a single application)
Roof rails, also C4’d…
Before fitting the freshly painted rear bumper, the exhaust was tidied:
C4’d the washer jet’s before fitting:
New light cluster installed:
Dealer stickers removed (upon request)
Wheels coated in G-Techniq C5 Wheel Armour.
One last final push to complete the interior.
Steering wheel before/after:
Visors:
Leather:
Spare wheel well:
Interior complete.
One or two final exterior touches and we’re about finished.
After all that hard work, there’s no chance these are going back on:
New plates will be fitted on day of collection.
“Really….? Did you C4 the key!!??”
“…..maybe?”
Fini. Here’s what 43 hours of work looks like:
Thanks for reading.
Jim



 .
.