
Hi all - nothing worth posting as of late; just maintenance and Protection work on the go..
Thought I'd share this one though.
Audi A4 b7 2.0T Quattro
I was contacted a while back now for this one. Main area of concern was the mass amount of paint spots that had found their way onto the Audi’s bodywork… Possible White Line markings from a freshly laid road?!
21 hours spent here over three days.
Product
· 3M FastCut+
· 3M Glass Cleaner
· AutoSol
· AutoGlym Vinyl and Rubber Care
· AutoSmart Tardis
· AutoSmart G101
· Blackfire All Paint Protection
· Chemical Guys JetSEAL109
· Dodo Juice Born To Be Mild
· Elite Fine Grade Poly Clay
· Elite Medium Grade Poly Clay
· Jeffs Werkstat Prime
· Menzerna 203s
· Menzerna 85RD 3.02
· Meguiars Endurance Tyre Gel
· ONR
Inspection:
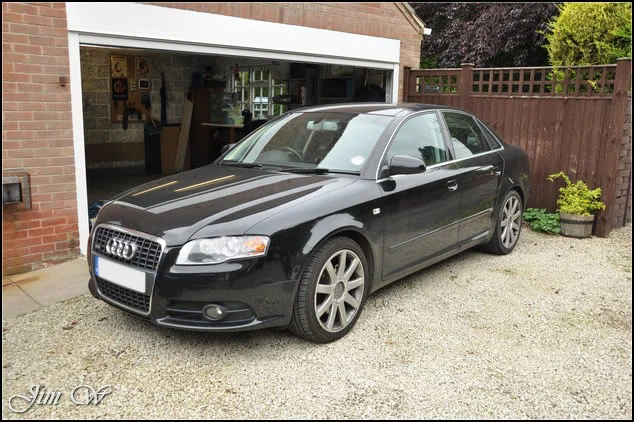
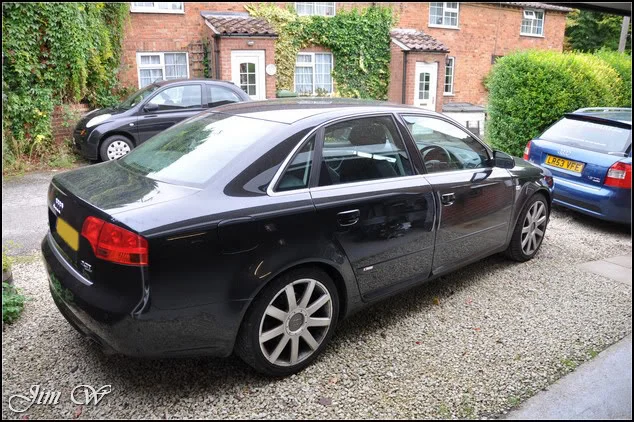
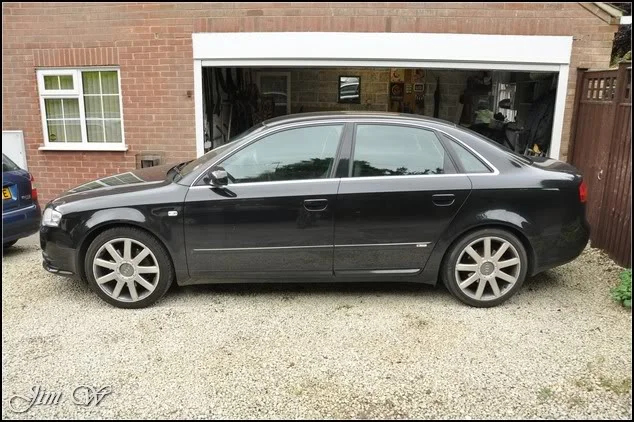
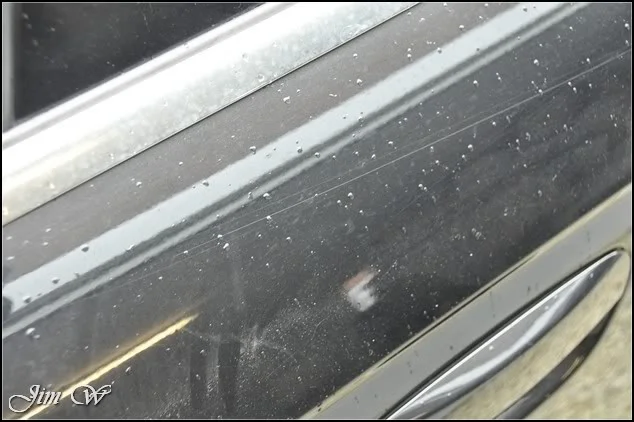
Some nasty scratches to look at:
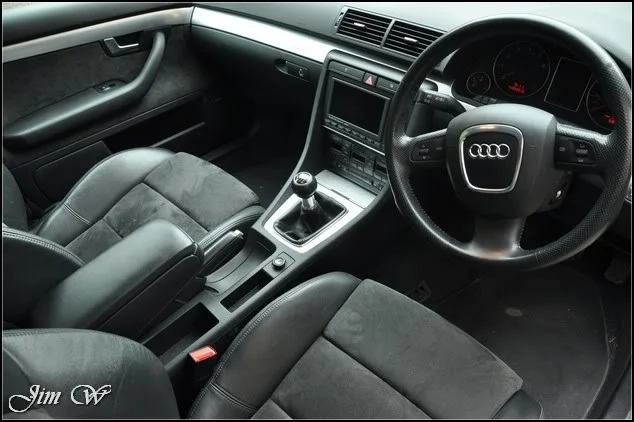
Interior already nice and tidy; just requires a wipe around and a hoover:
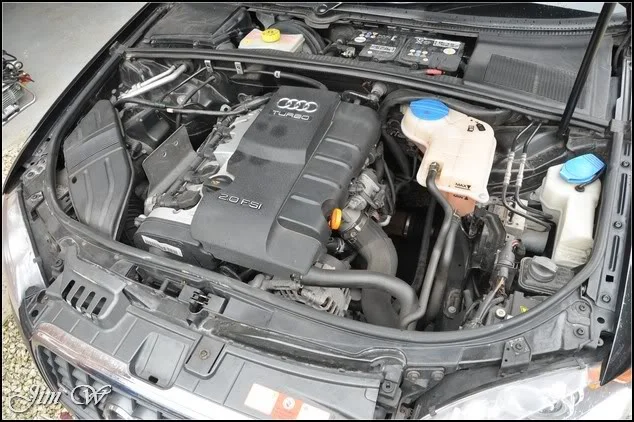
Engine-bay ready for a good clean:
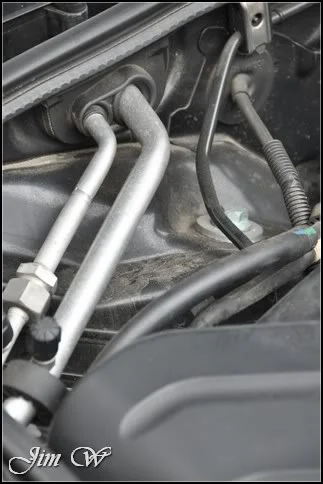
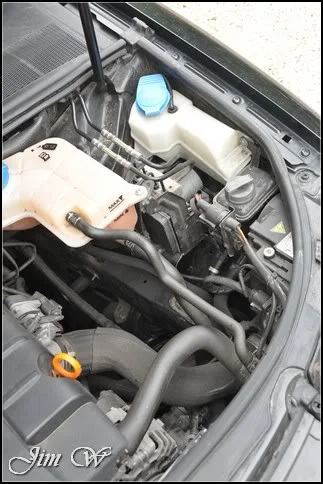
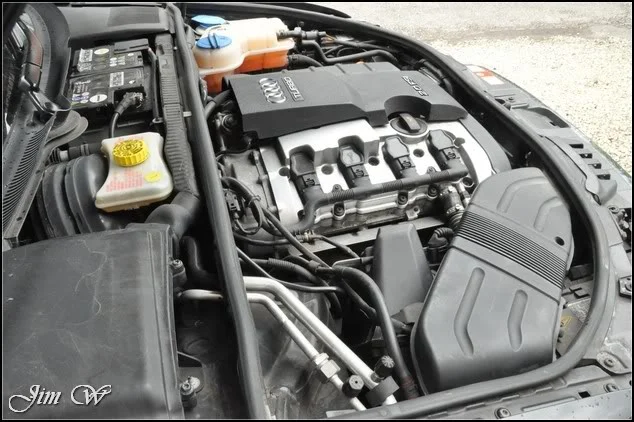
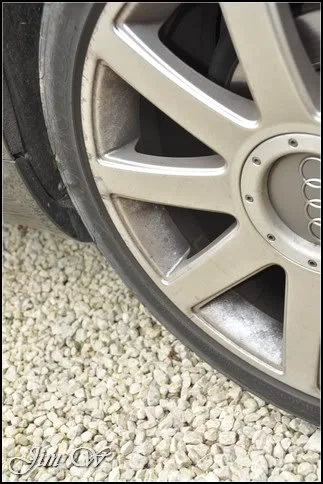
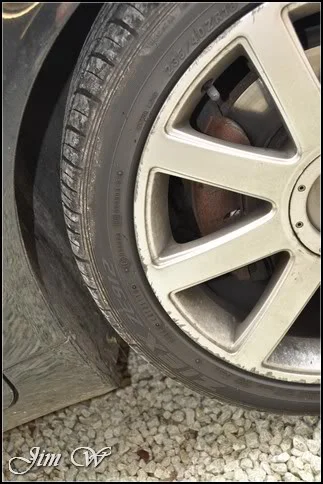
First off, the wheels were hit with a pretty strong Wheel Brightener mix. In an ideal world (and as far as I understand they will be soon…) all four wheels would be refurbed. Only visual let down for this car as it stands.
Once fully washed and de-tarred, it was time to take a look at those Paint specs.
Although Elite’s Fine Grade Clay Bar removed surface contaminants, it barely touched the paint.
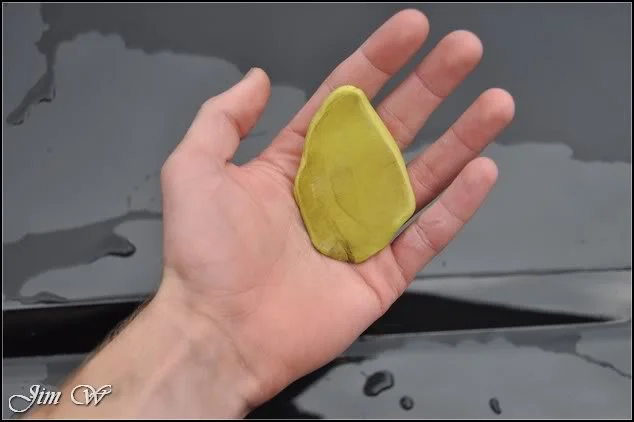
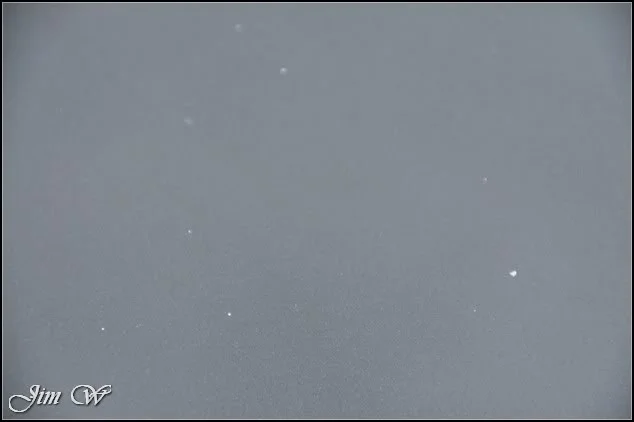
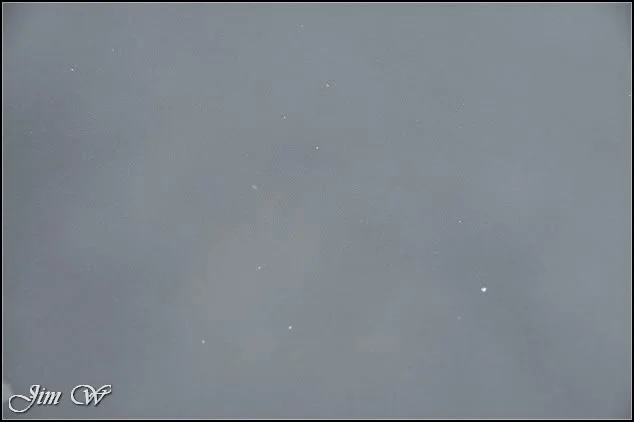
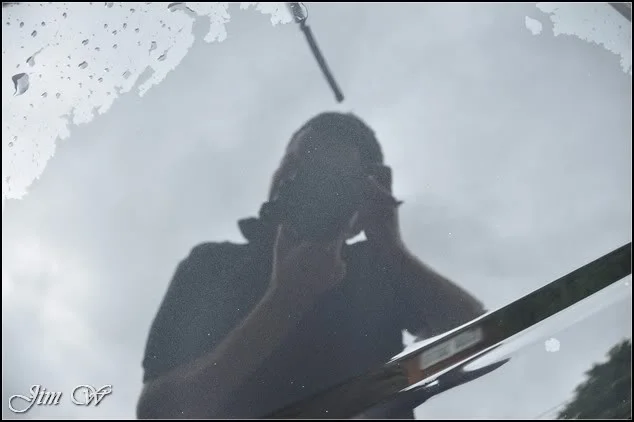
Literally the whole car was covered. Even spotted bits on the roof line!
Stepping up to a Medium Grade Clay Bar seemed to help. Very tedious and time consuming! (but, it was doing the job) 2 litres of ONR mix was used here as a lube. Of course, the downside of an aggressive clay bar is the way it can mar the paint. Sure enough, it did!
Once inside, dried and taped up, polish and pad tests were carried out on the bonnet.
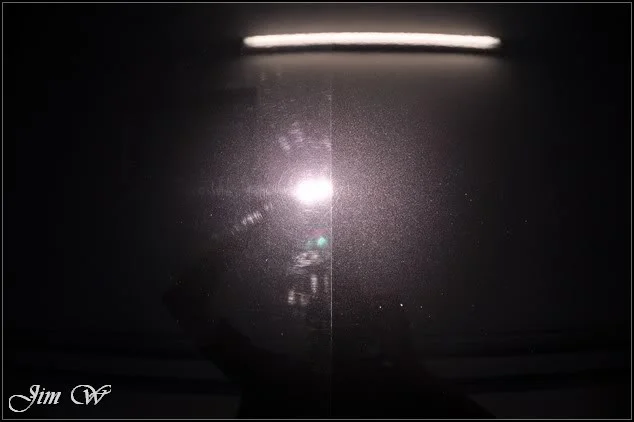
But up close you can see a fair bit was left (lots of random deeper scratches)
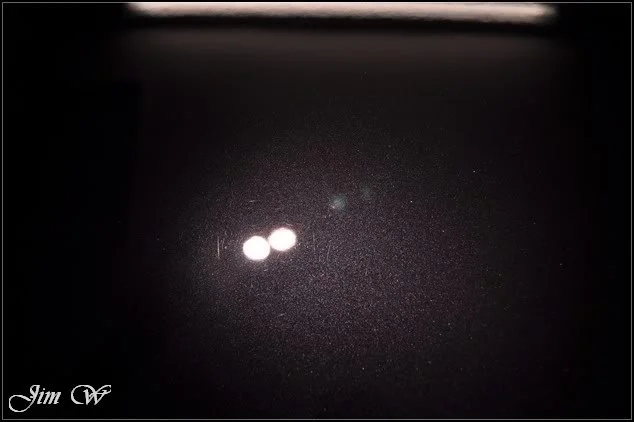
I was hoping to polish/refine the car in a single hit. However, I’d been asked to pay particular attention to the deep marks so multiple passes would be needed after all.
With this in mind, Menz 85RD 3.02 was used on a light cutting pad but still, room for improvement. Breaking out Fast Cut+ gave near 100% correction first time. Some areas required a second or third hit but some others were left at the one (thinner paint on the N/S rear quarter and tailgate)
Before:
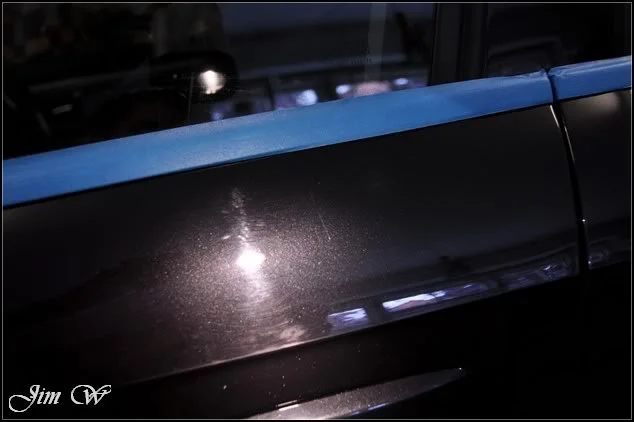
After:
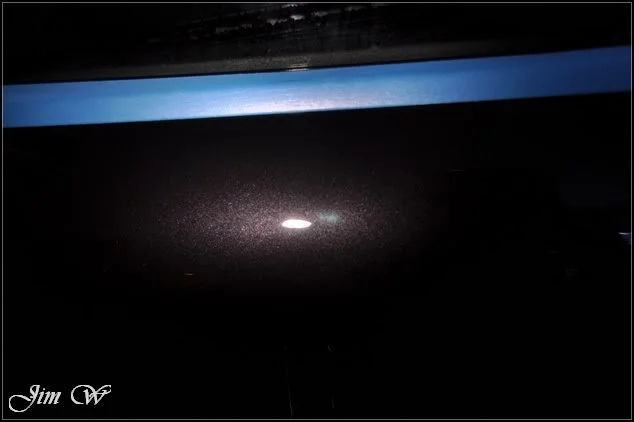
Before:
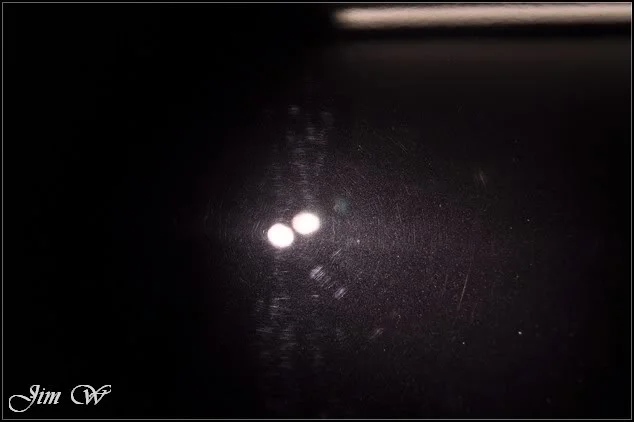
50/50:
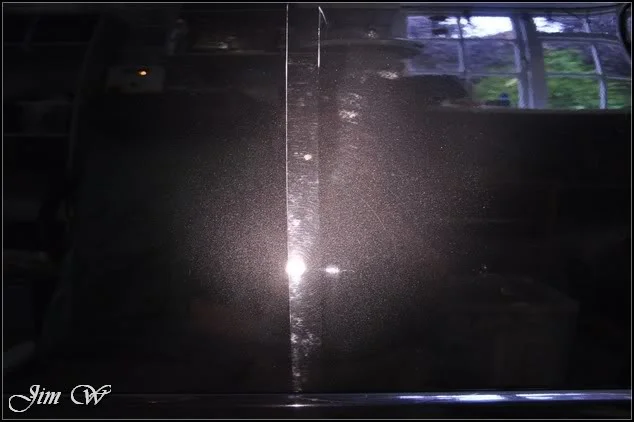
Before:
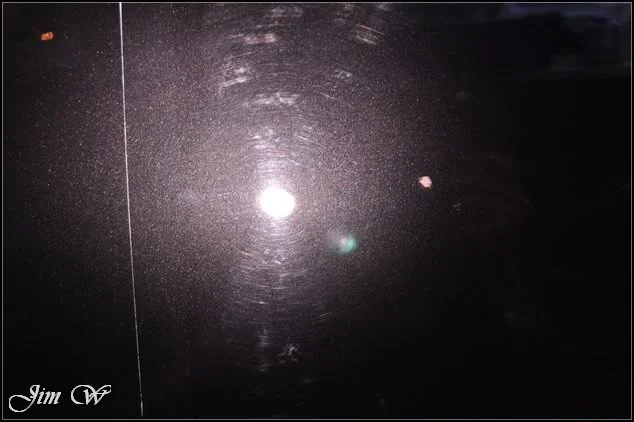
After:
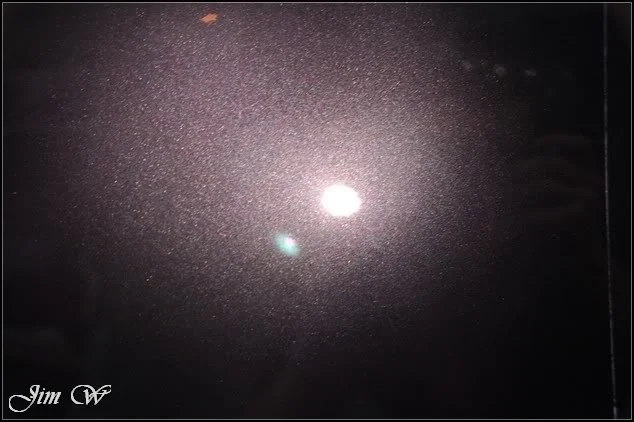
Before:
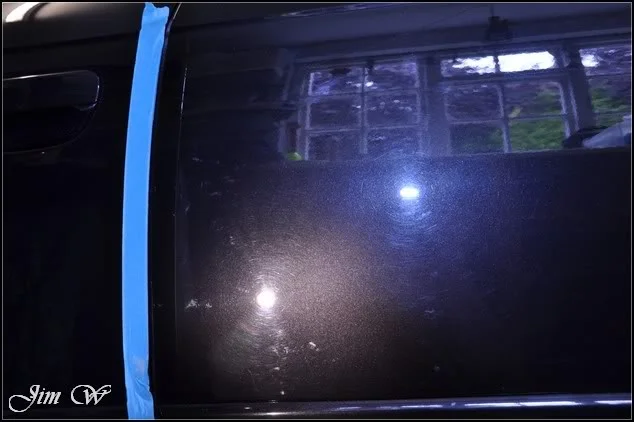
After:
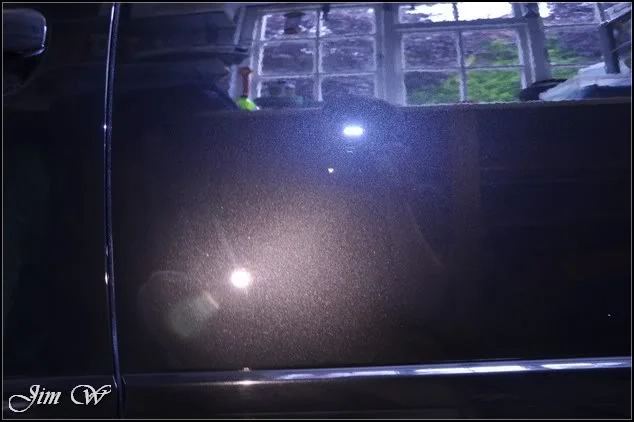
Progress was good. A heavy cut spot pad was used for the tighter spots and a 3M Cutting Pad used for the larger open areas.
As each panel was selectively worked, refinement followed soon after with Menz 203s on a light cut pad.
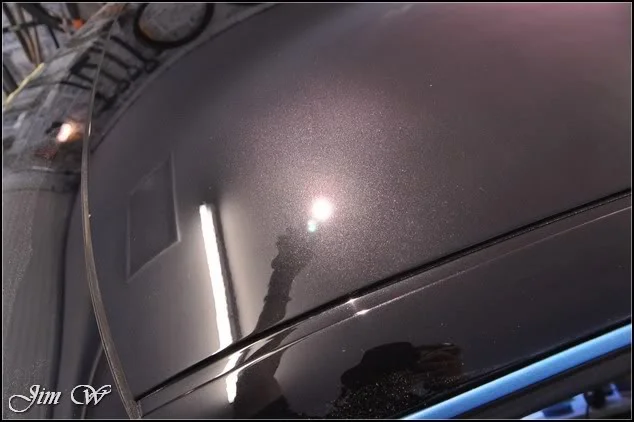
N/S edge of the roof line looking good:
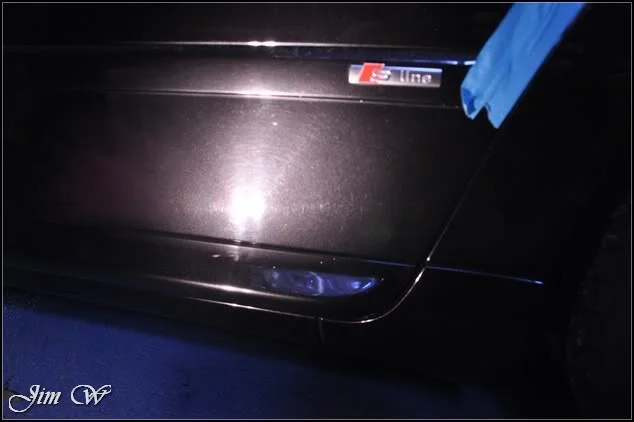
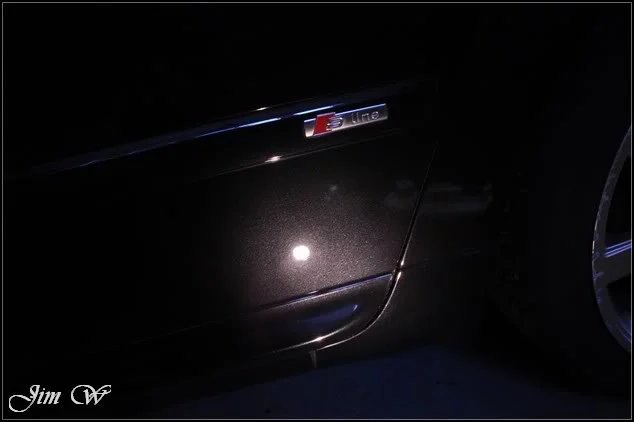
Some sill work with the spot pads:
Bonnet before, afters and 50/50s:
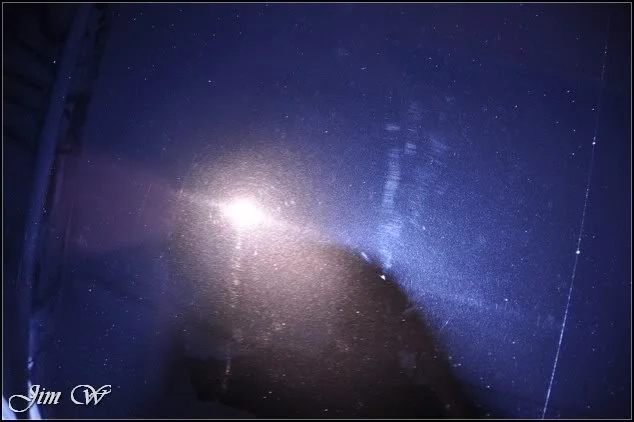
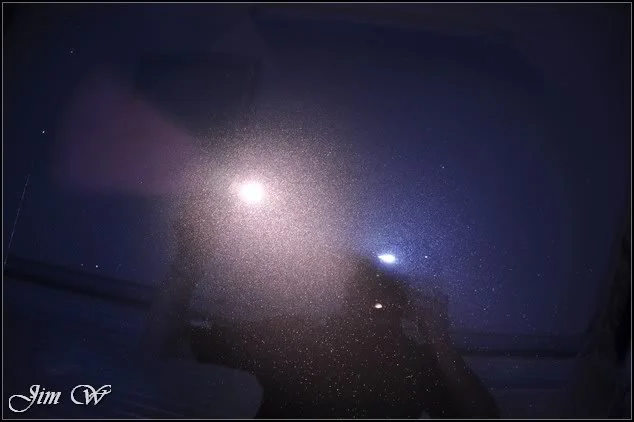
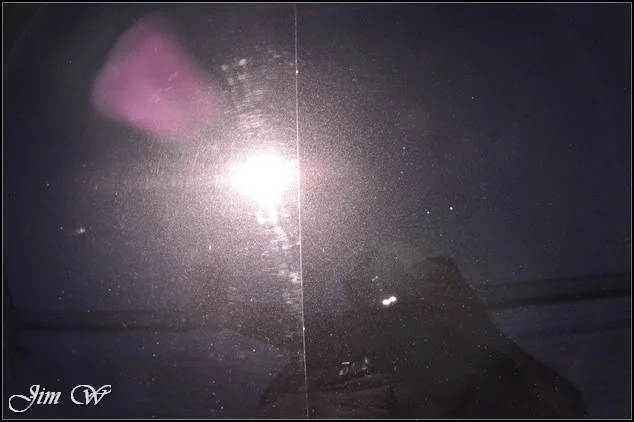
Initial polish and pad tests were carried out on the bonnet with a light cut pad and Menz 203s. This area was hit again with the heavy cut approach and further refined later in the day.
Finishing off for Day 1, I made a start to the boot lid. (Paint readings throughout were pushing the 140 mark which made a nice change. The boot and O/S rear quarter however were down to the 90’s in places. Because of this only as single cut/refine approach was given)
Before:
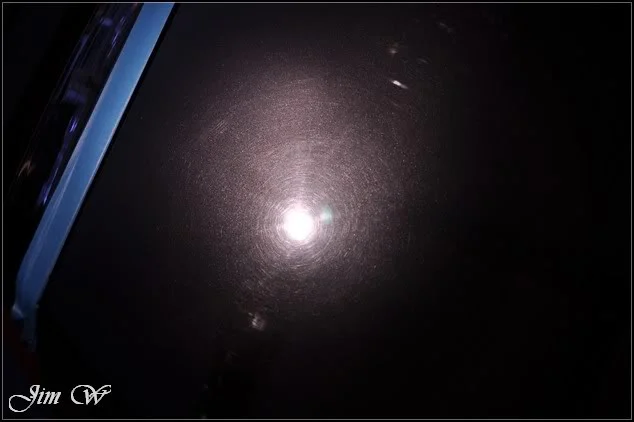
After:
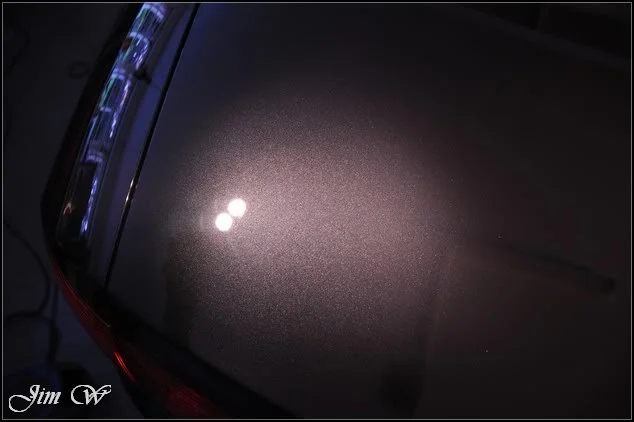
Before:
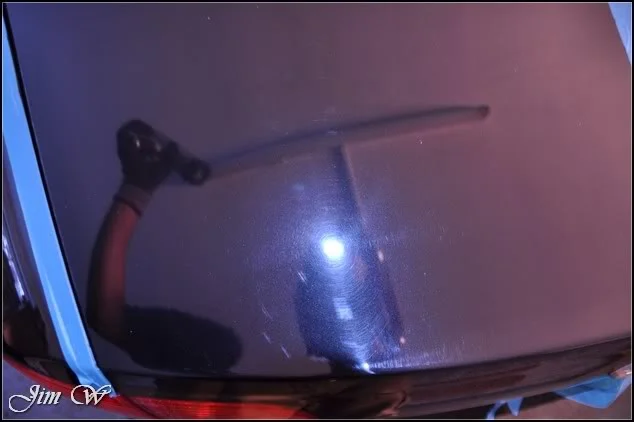
After:
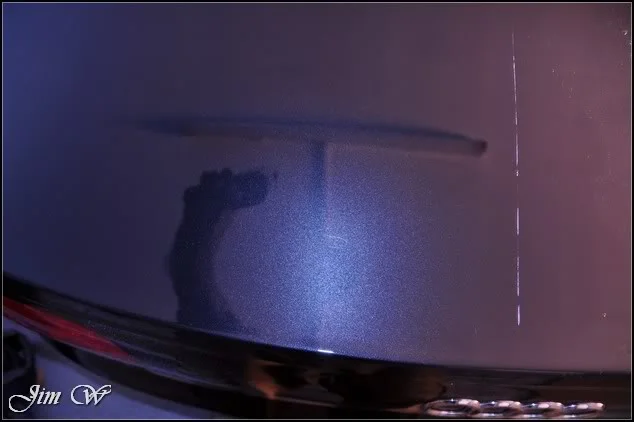
Day 2, 9am… Back to work.
The top quarter of the doors were hit as one with spot pads. Two passes whilst cutting and a third refinement stage given.
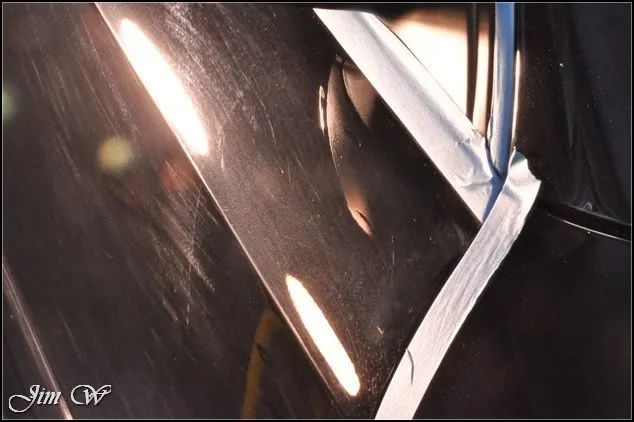
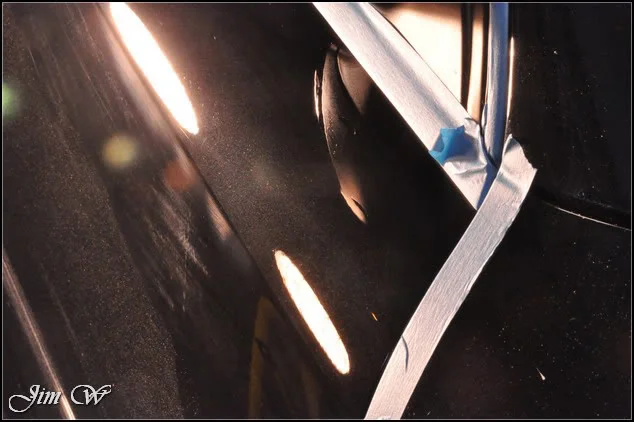
(See what I mean about the clay marring?)
Tight areas around the handle were hit first with spot pads. The rest of the door received the 3M Cut Pad.
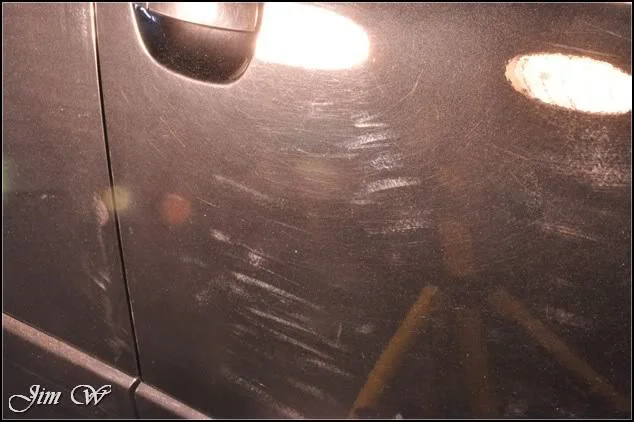
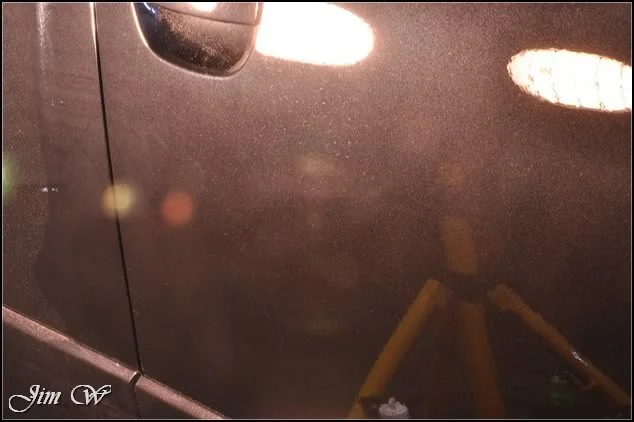
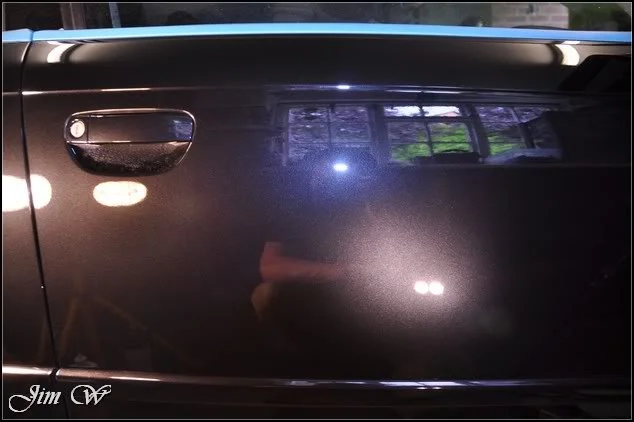
O/S rear door with the scratch that was photographed at the start of this report.
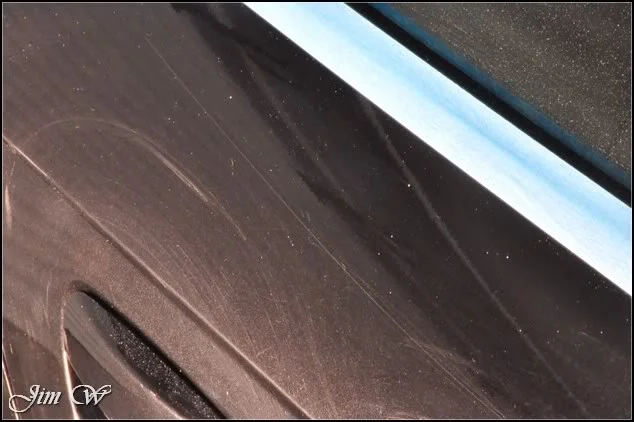
After the first hit:
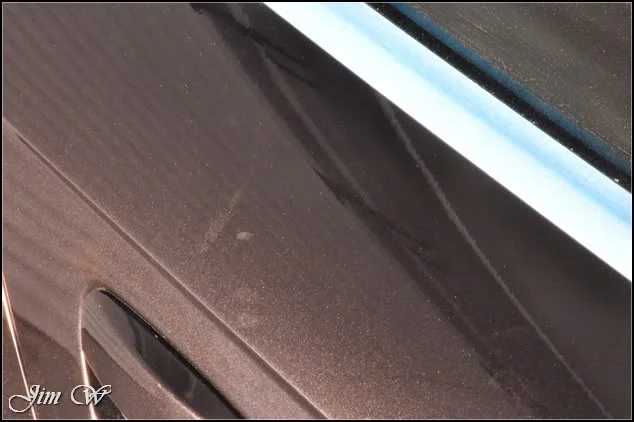
But up close under intense light it’s still there:
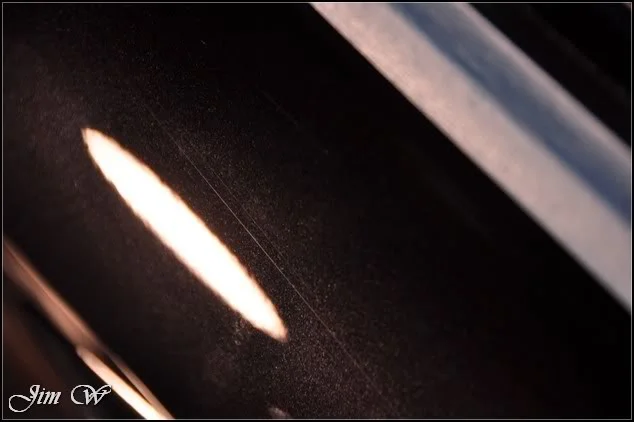
With paint to play with, a further second pass was made:
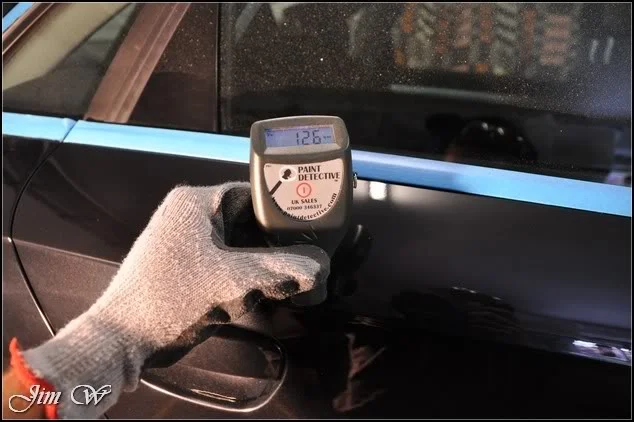
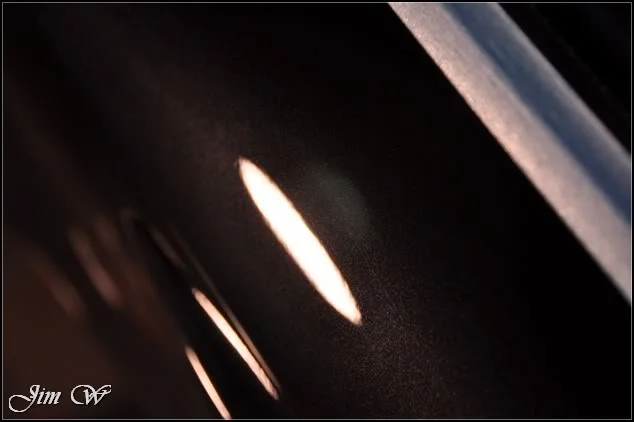
Much better.
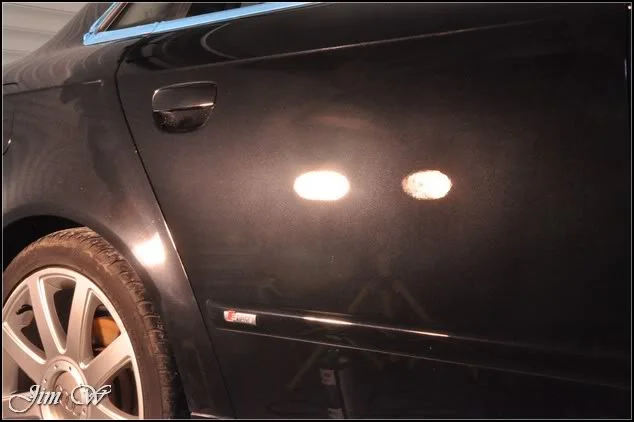
Working down onto the rest of the door:
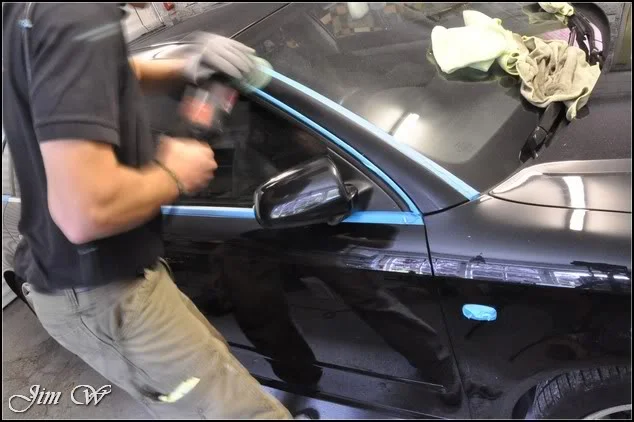
And then back higher up on the small pad work:
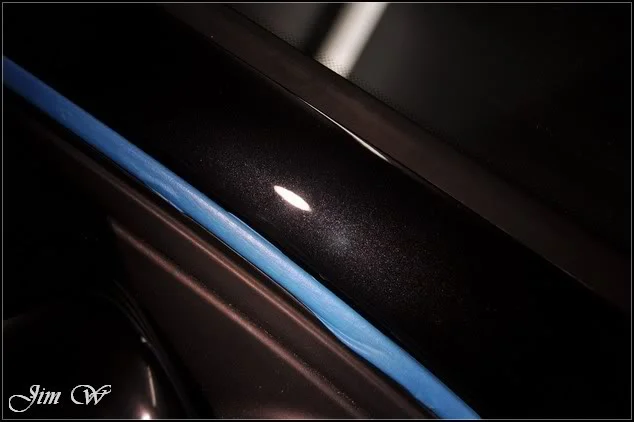
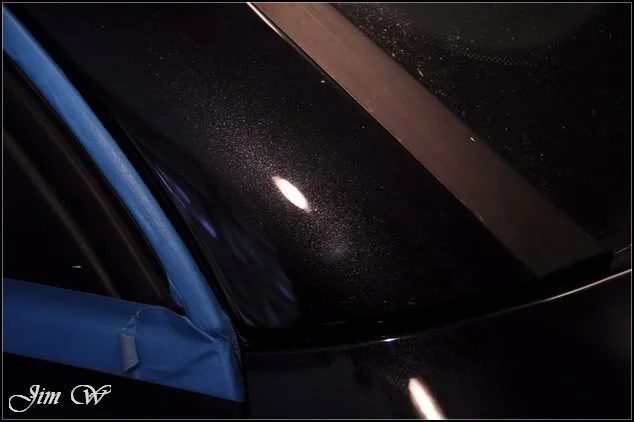
Menz 203s residues ready to be removed after minutes of burnishing:
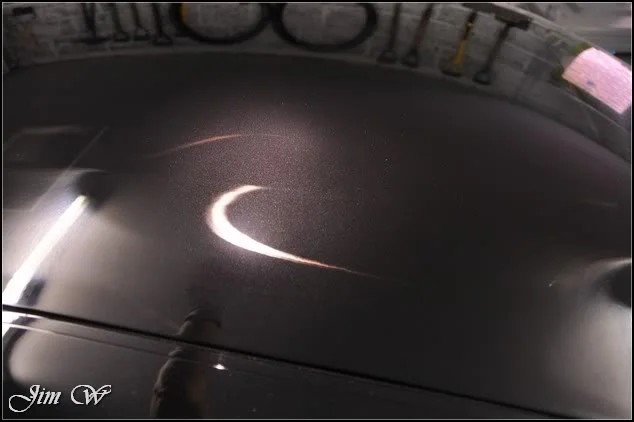
Et voila:
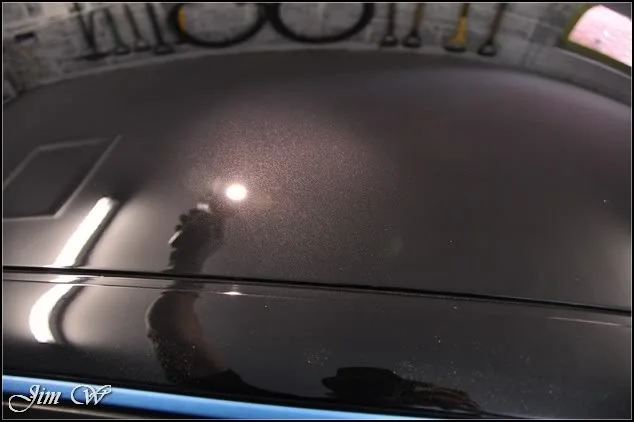
The rest of the bonnet was finalised:
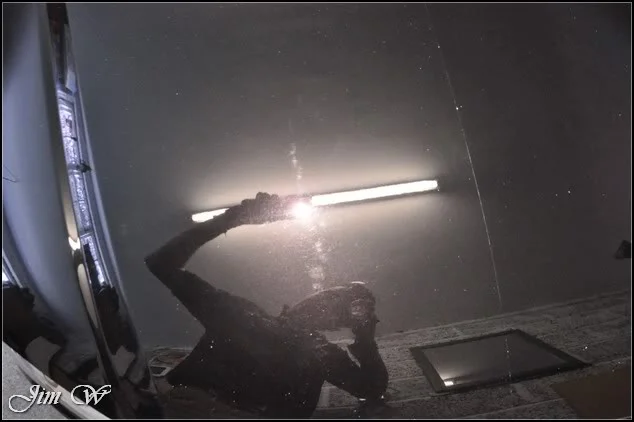
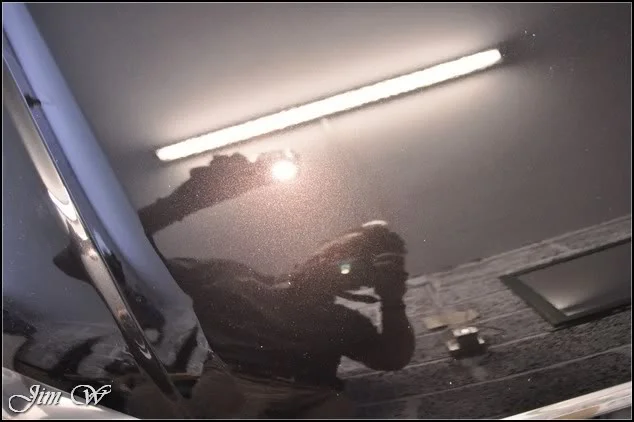
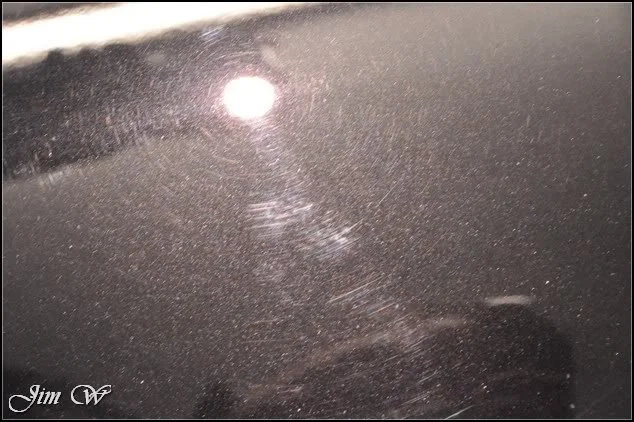
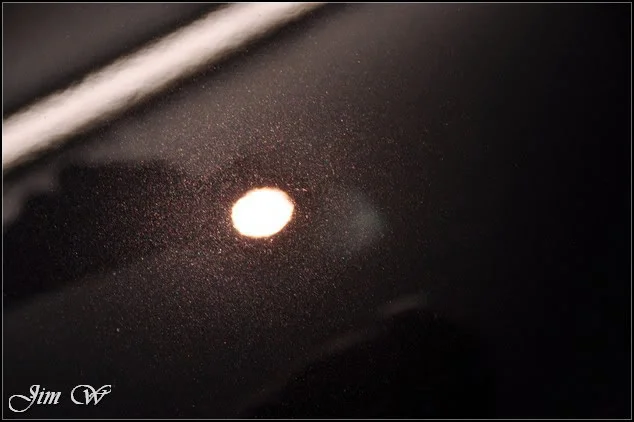
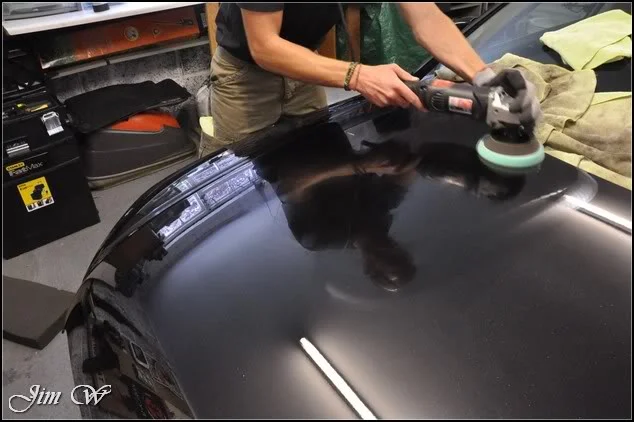
Nasty bird etching on the N/S edge:
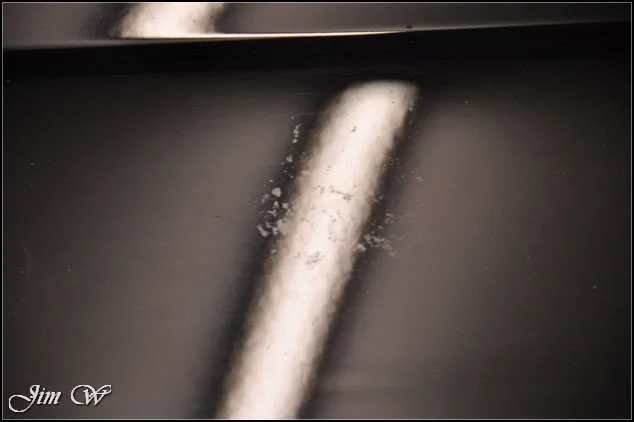
Machine work coming to an end... 9 hours solid on the second day.
Bumpers, mirrors, B & C-Pillars and light clusters remain.
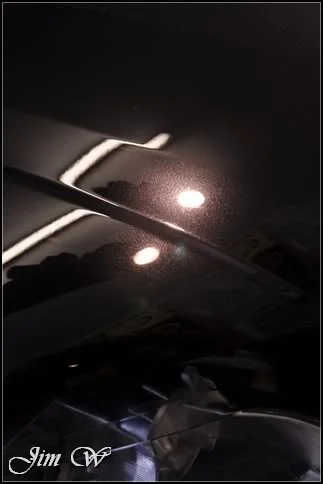
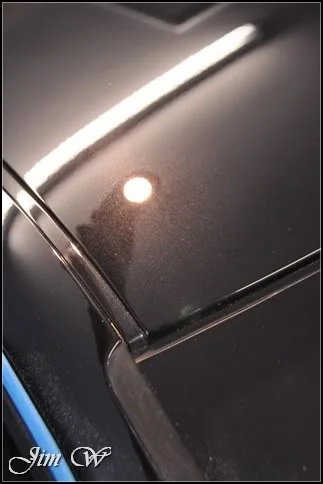
A bit of a miss match on the colour here no?
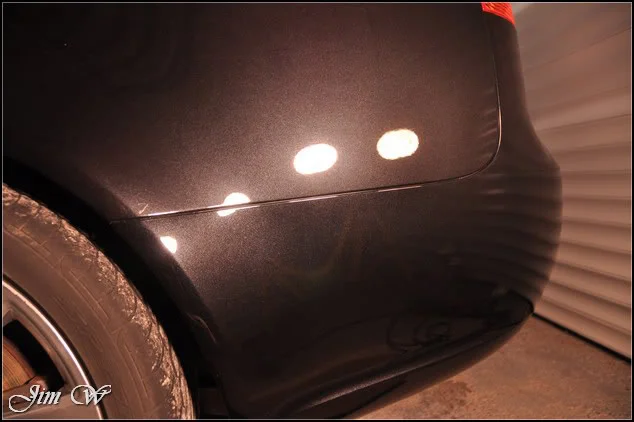
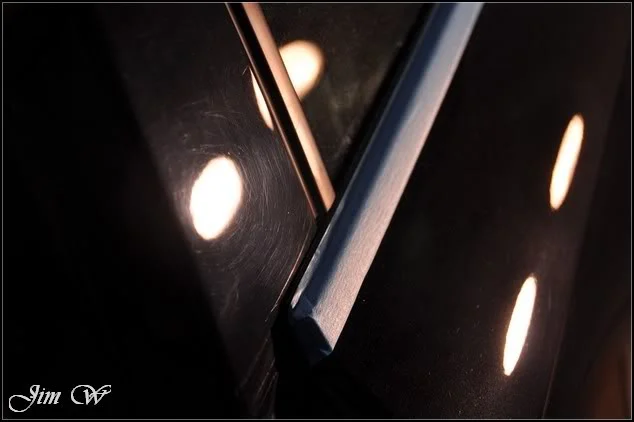
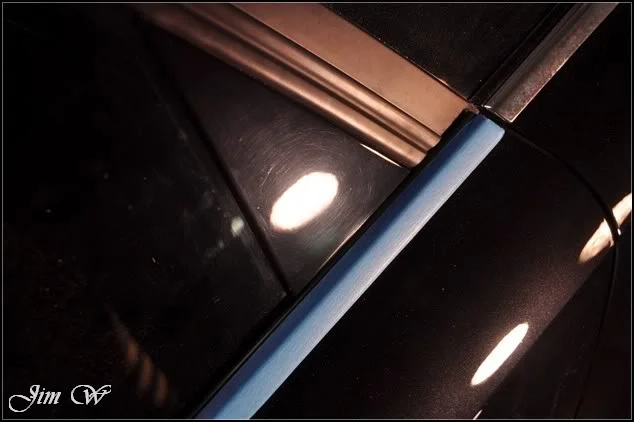
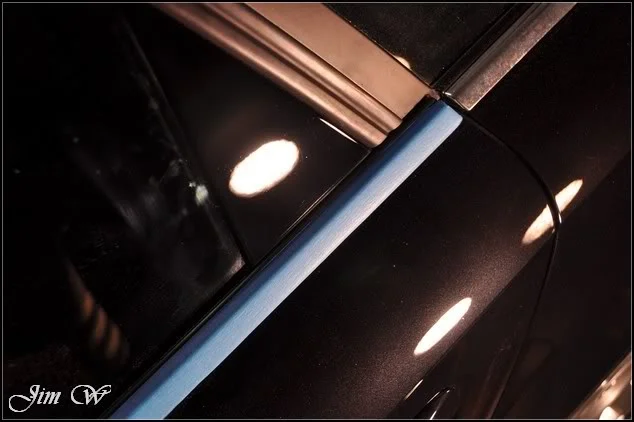
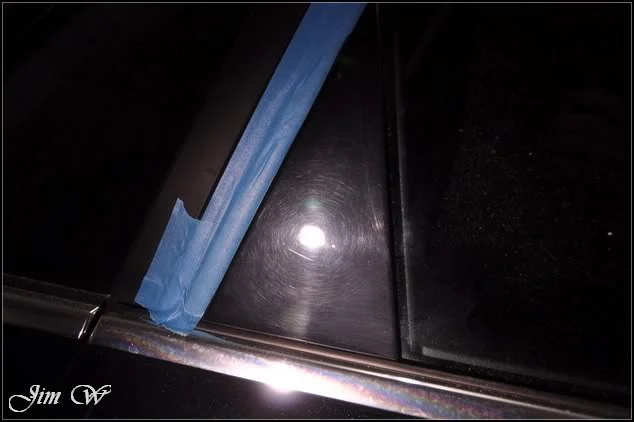
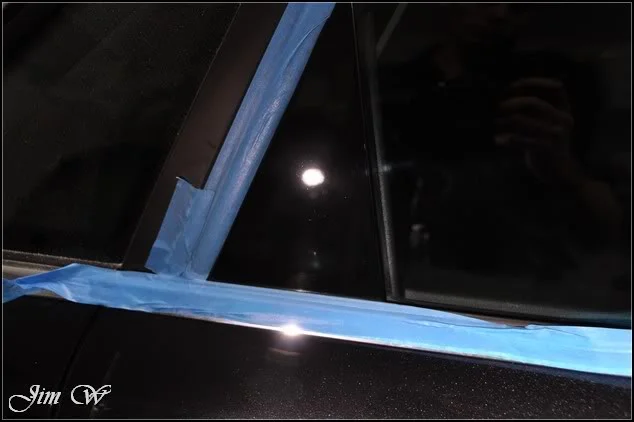
And bringing Day 2 to an end, the engine bay was dressed.
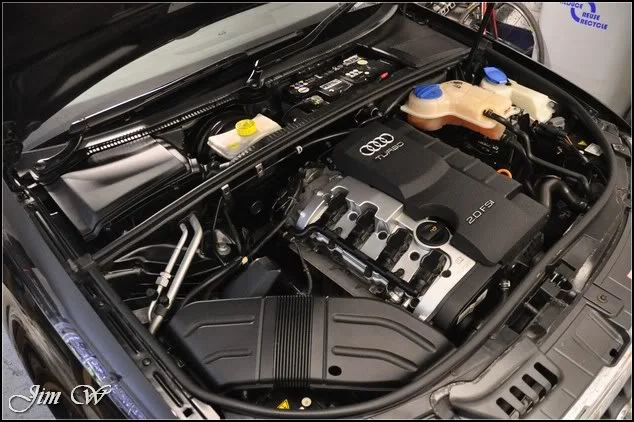
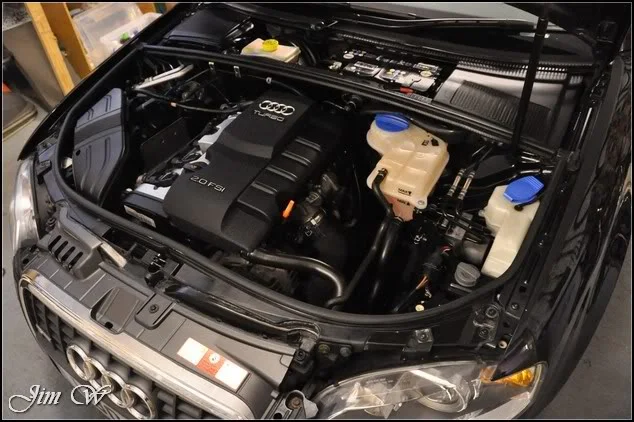
The morning after and of course, we have polishing dust:
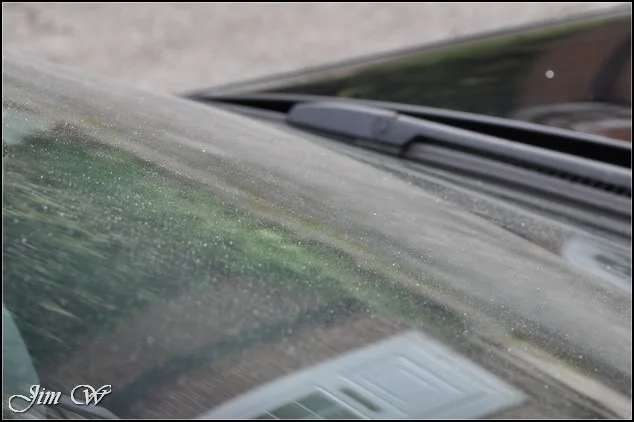
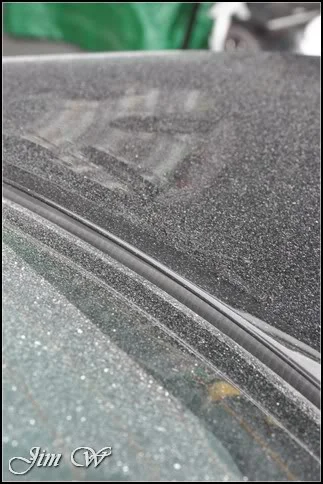
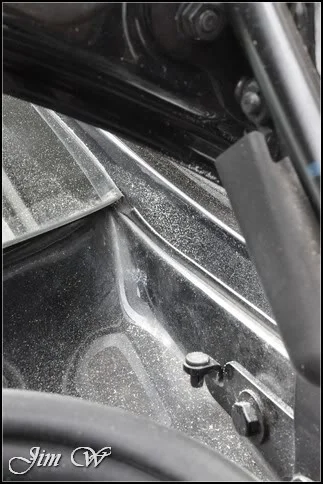
After a thorough pressure wash of all shuts/crevices/sills/joins and gaps, water was sheeted over the panels and then pat dried.
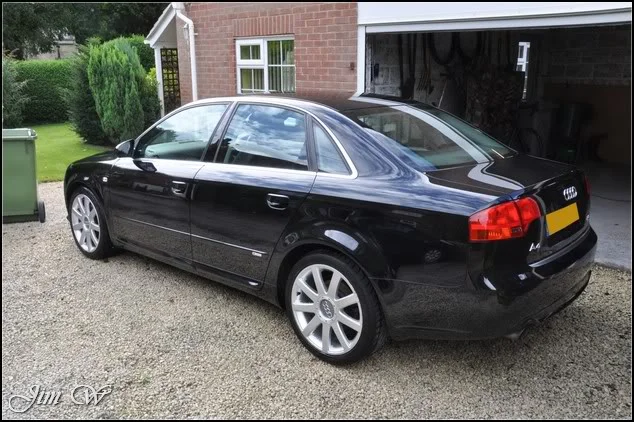
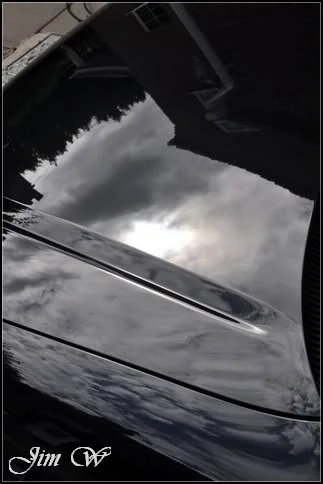
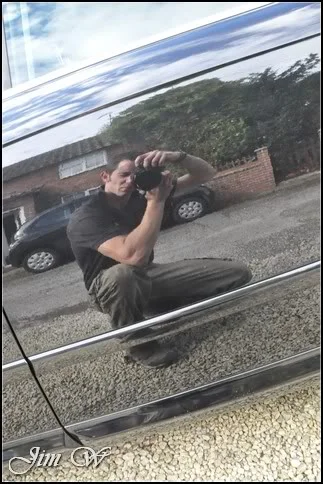
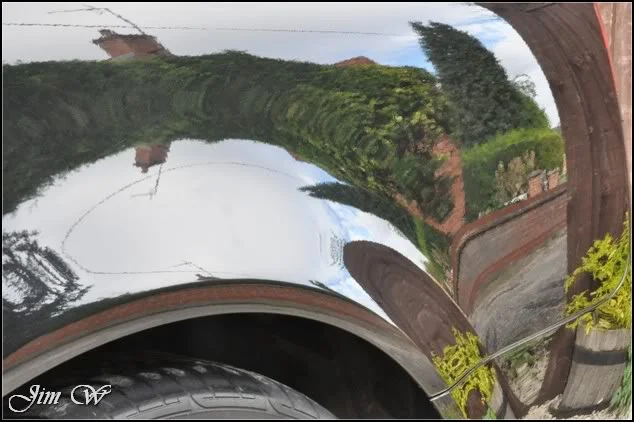
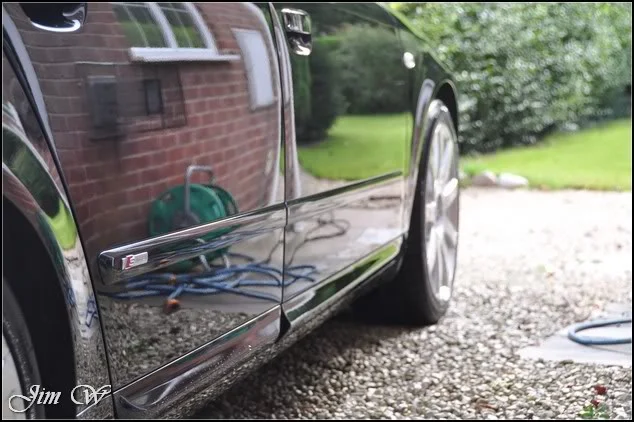
Back inside, blown bone dry with the Black Baron Vehicle Dryer and then wiped with AutoPerfection’s IPA.
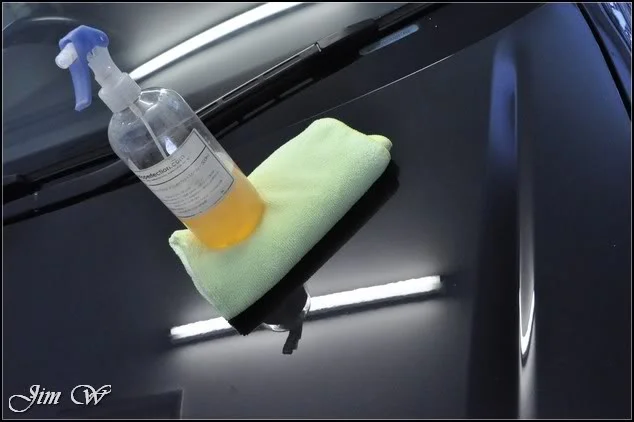
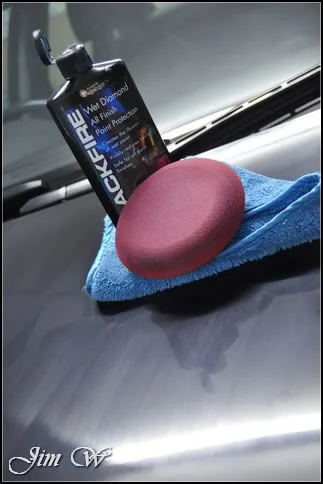
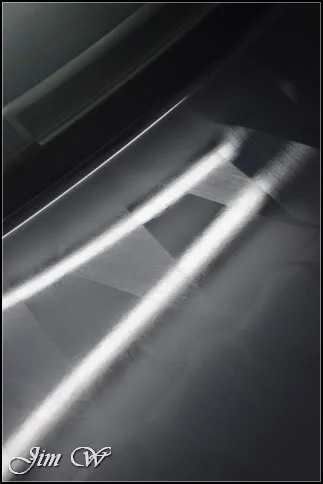
Paintwork looks amazing already. Time however for Blackfire:
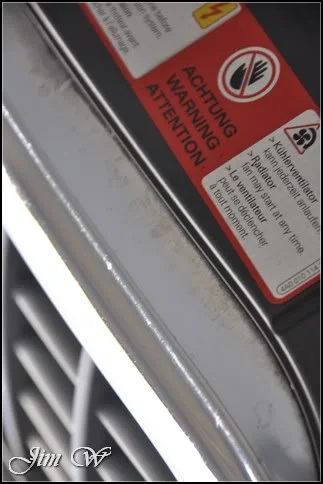
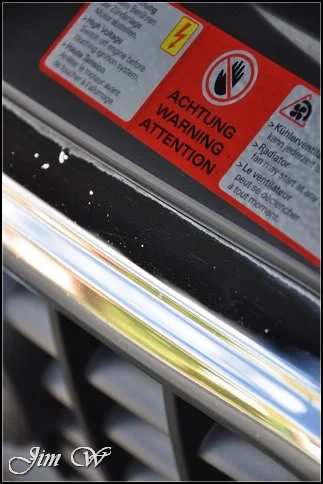
Britework attended to with Jeffs Prime:
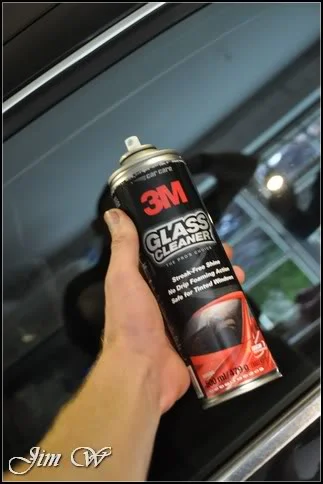
Alloys sealed with JetSEAL109. Tyres with Endurance Gel. Glass with 3M’s Glass Cleaner:
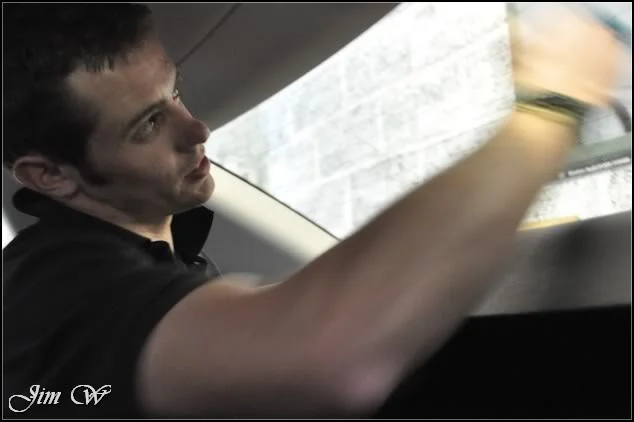
A quick wipe, tickle and tidy of the interior and its time to chase the sun.
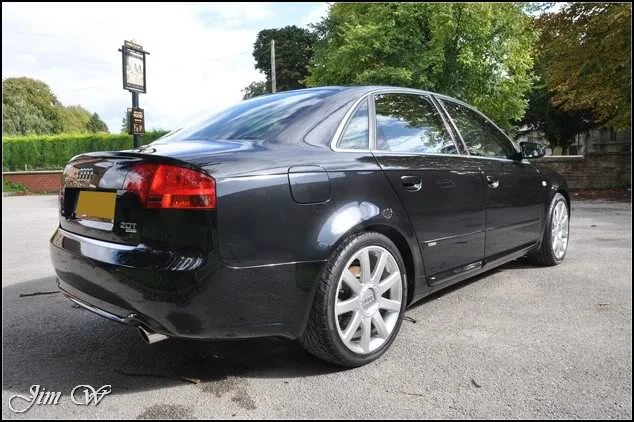
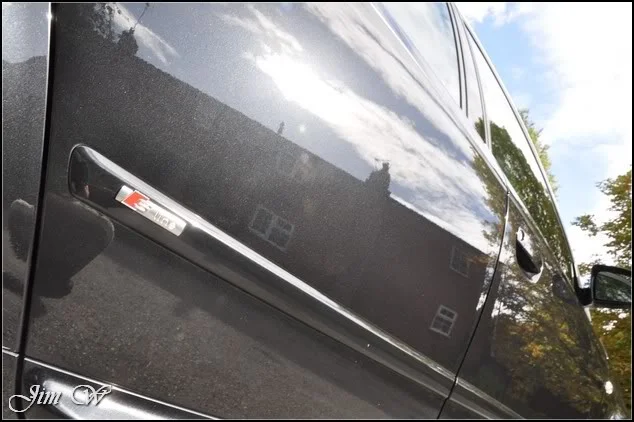
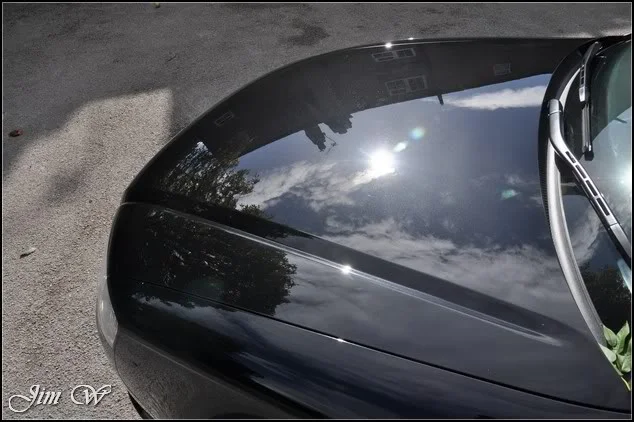
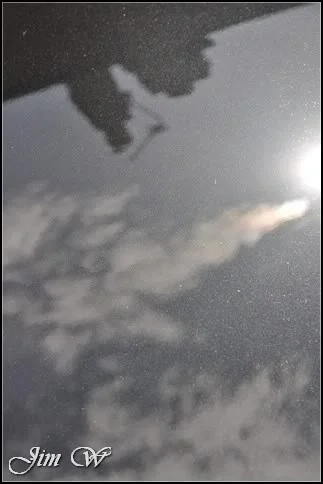
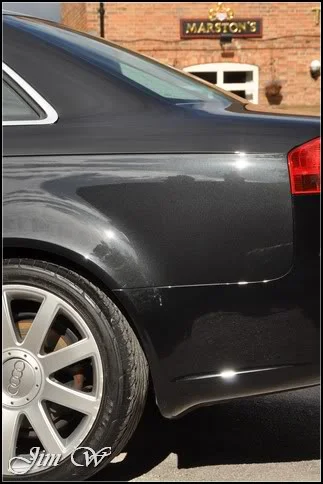
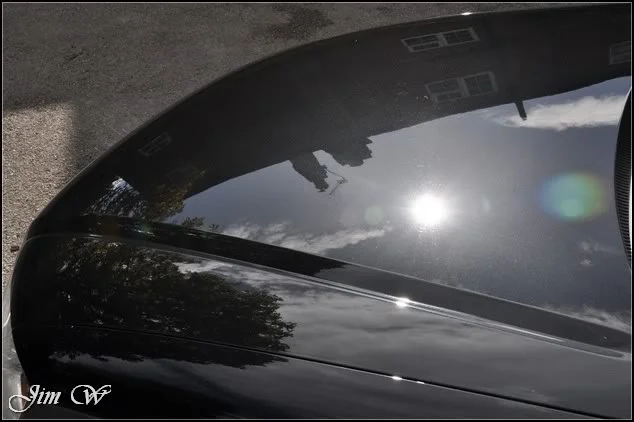
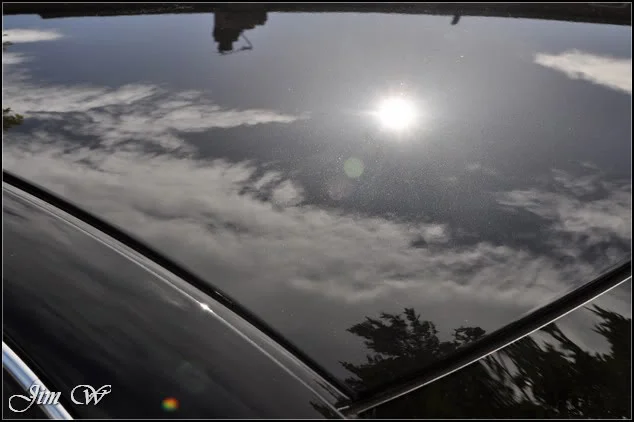
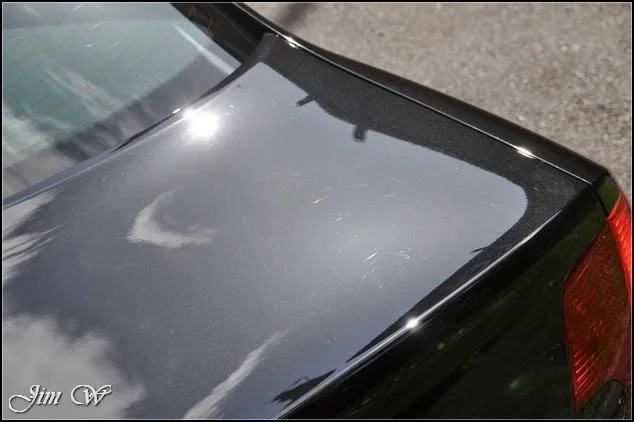
Here you can still see the deep bits on the boot lid:
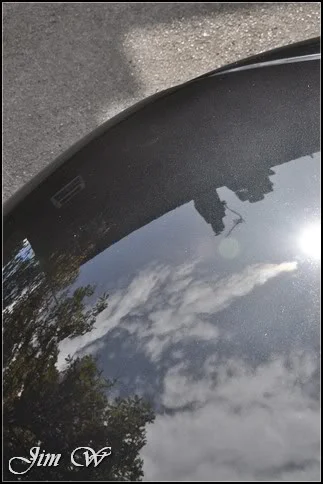
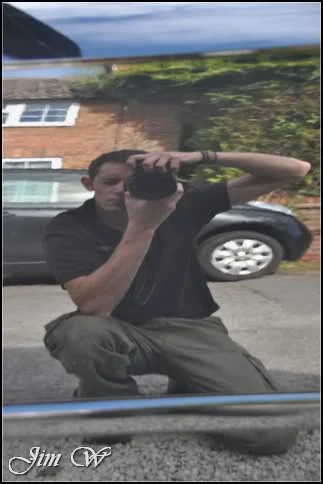
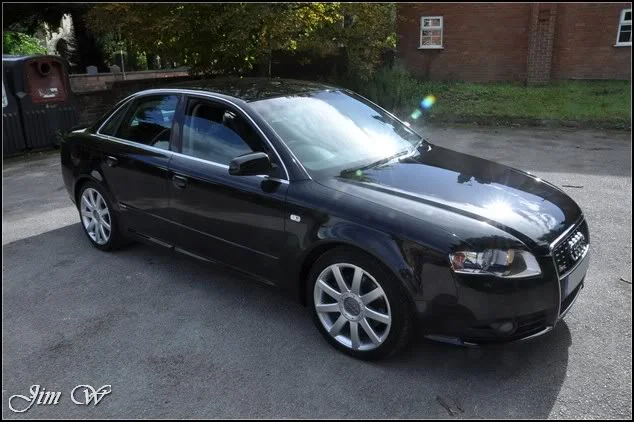
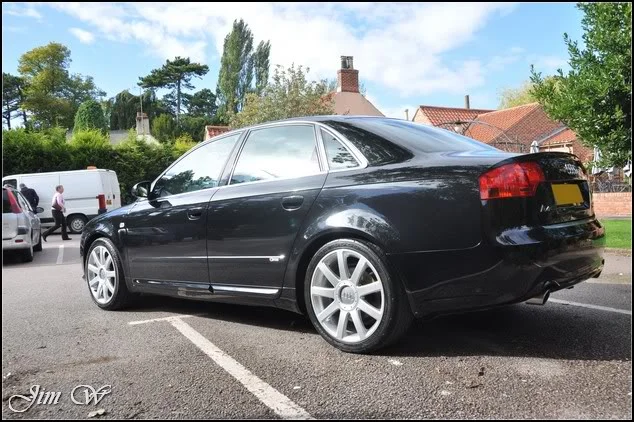
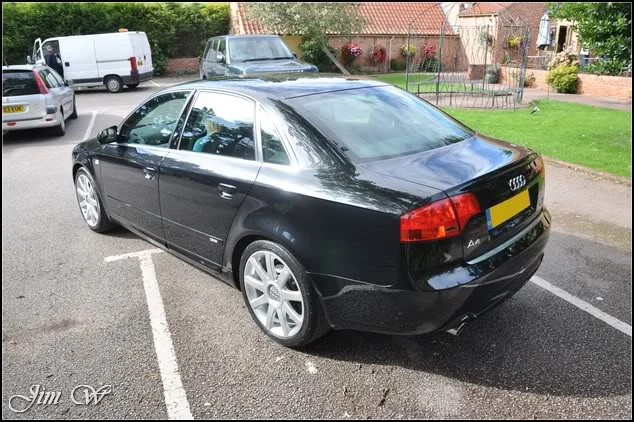
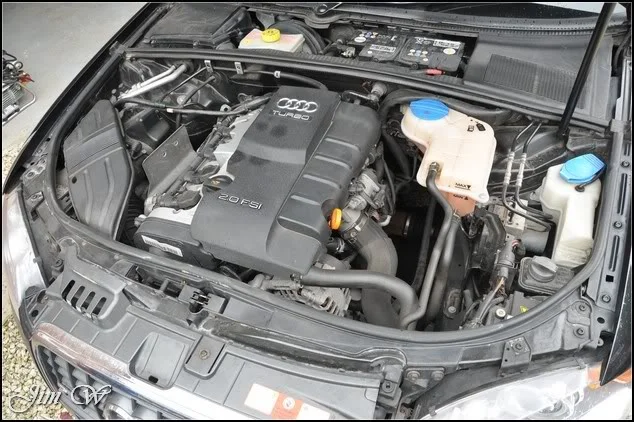
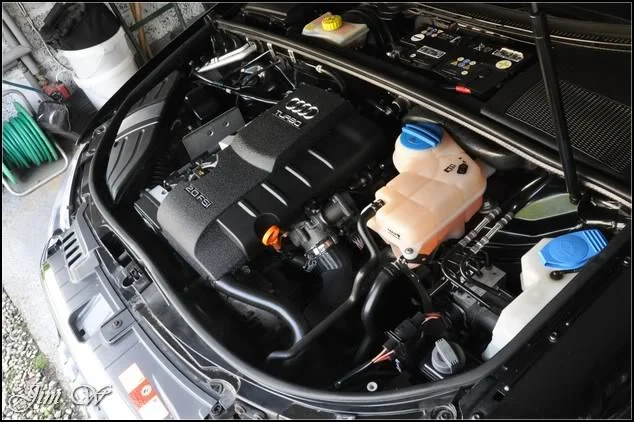
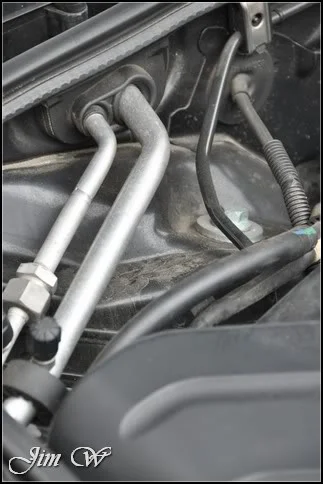
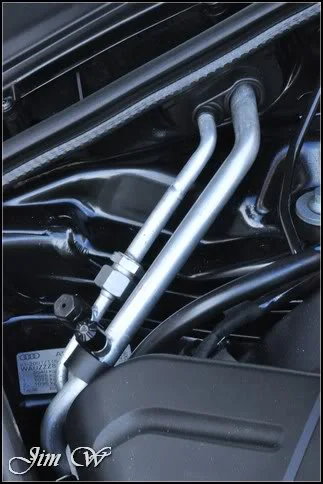
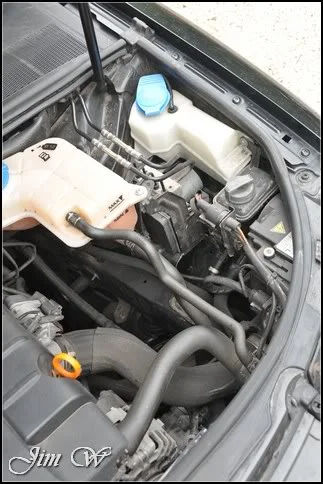
Engine before and afters:
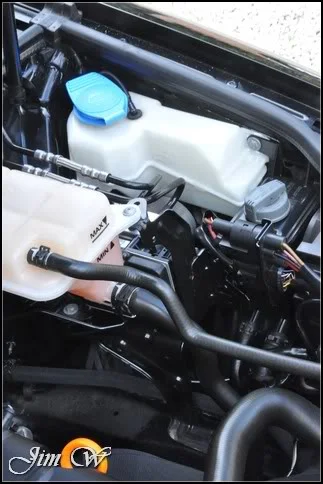
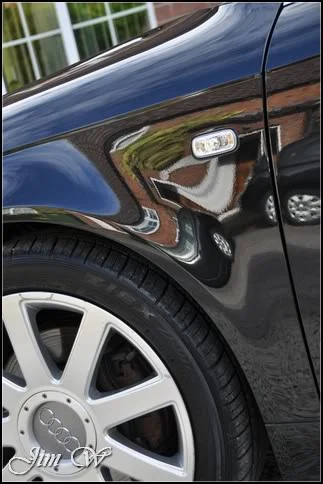
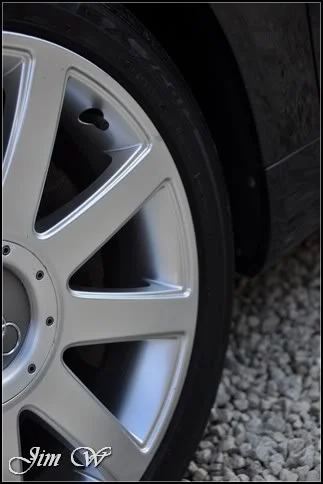
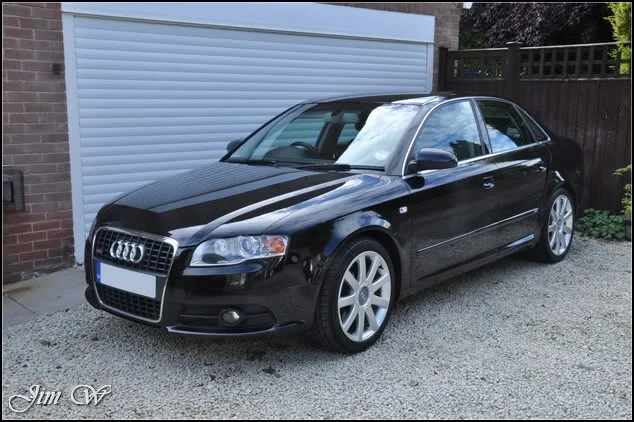
A most enjoyable 2.5 days spent here on this one. A very nice (well spec’d!) car and a massive transformation.
Thanks for reading.
Jim
Thought I'd share this one though.
Audi A4 b7 2.0T Quattro
I was contacted a while back now for this one. Main area of concern was the mass amount of paint spots that had found their way onto the Audi’s bodywork… Possible White Line markings from a freshly laid road?!
21 hours spent here over three days.
Product
· 3M FastCut+
· 3M Glass Cleaner
· AutoSol
· AutoGlym Vinyl and Rubber Care
· AutoSmart Tardis
· AutoSmart G101
· Blackfire All Paint Protection
· Chemical Guys JetSEAL109
· Dodo Juice Born To Be Mild
· Elite Fine Grade Poly Clay
· Elite Medium Grade Poly Clay
· Jeffs Werkstat Prime
· Menzerna 203s
· Menzerna 85RD 3.02
· Meguiars Endurance Tyre Gel
· ONR
Inspection:
Some nasty scratches to look at:
Interior already nice and tidy; just requires a wipe around and a hoover:
Engine-bay ready for a good clean:
First off, the wheels were hit with a pretty strong Wheel Brightener mix. In an ideal world (and as far as I understand they will be soon…) all four wheels would be refurbed. Only visual let down for this car as it stands.
Once fully washed and de-tarred, it was time to take a look at those Paint specs.
Although Elite’s Fine Grade Clay Bar removed surface contaminants, it barely touched the paint.
Literally the whole car was covered. Even spotted bits on the roof line!
Stepping up to a Medium Grade Clay Bar seemed to help. Very tedious and time consuming! (but, it was doing the job) 2 litres of ONR mix was used here as a lube. Of course, the downside of an aggressive clay bar is the way it can mar the paint. Sure enough, it did!
Once inside, dried and taped up, polish and pad tests were carried out on the bonnet.
But up close you can see a fair bit was left (lots of random deeper scratches)
I was hoping to polish/refine the car in a single hit. However, I’d been asked to pay particular attention to the deep marks so multiple passes would be needed after all.
With this in mind, Menz 85RD 3.02 was used on a light cutting pad but still, room for improvement. Breaking out Fast Cut+ gave near 100% correction first time. Some areas required a second or third hit but some others were left at the one (thinner paint on the N/S rear quarter and tailgate)
Before:
After:
Before:
50/50:
Before:
After:
Before:
After:
Progress was good. A heavy cut spot pad was used for the tighter spots and a 3M Cutting Pad used for the larger open areas.
As each panel was selectively worked, refinement followed soon after with Menz 203s on a light cut pad.
N/S edge of the roof line looking good:
Some sill work with the spot pads:
Bonnet before, afters and 50/50s:
Initial polish and pad tests were carried out on the bonnet with a light cut pad and Menz 203s. This area was hit again with the heavy cut approach and further refined later in the day.
Finishing off for Day 1, I made a start to the boot lid. (Paint readings throughout were pushing the 140 mark which made a nice change. The boot and O/S rear quarter however were down to the 90’s in places. Because of this only as single cut/refine approach was given)
Before:
After:
Before:
After:
Day 2, 9am… Back to work.
The top quarter of the doors were hit as one with spot pads. Two passes whilst cutting and a third refinement stage given.
(See what I mean about the clay marring?)
Tight areas around the handle were hit first with spot pads. The rest of the door received the 3M Cut Pad.
O/S rear door with the scratch that was photographed at the start of this report.
After the first hit:
But up close under intense light it’s still there:
With paint to play with, a further second pass was made:
Much better.
Working down onto the rest of the door:
And then back higher up on the small pad work:
Menz 203s residues ready to be removed after minutes of burnishing:
Et voila:
The rest of the bonnet was finalised:
Nasty bird etching on the N/S edge:
Machine work coming to an end... 9 hours solid on the second day.
Bumpers, mirrors, B & C-Pillars and light clusters remain.
A bit of a miss match on the colour here no?
And bringing Day 2 to an end, the engine bay was dressed.
The morning after and of course, we have polishing dust:
After a thorough pressure wash of all shuts/crevices/sills/joins and gaps, water was sheeted over the panels and then pat dried.
Back inside, blown bone dry with the Black Baron Vehicle Dryer and then wiped with AutoPerfection’s IPA.
Paintwork looks amazing already. Time however for Blackfire:
Britework attended to with Jeffs Prime:
Alloys sealed with JetSEAL109. Tyres with Endurance Gel. Glass with 3M’s Glass Cleaner:
A quick wipe, tickle and tidy of the interior and its time to chase the sun.
Here you can still see the deep bits on the boot lid:
Engine before and afters:
A most enjoyable 2.5 days spent here on this one. A very nice (well spec’d!) car and a massive transformation.
Thanks for reading.
Jim
 Just takes a little time and patience.


