BMW e92 320d M-Sport Tourer
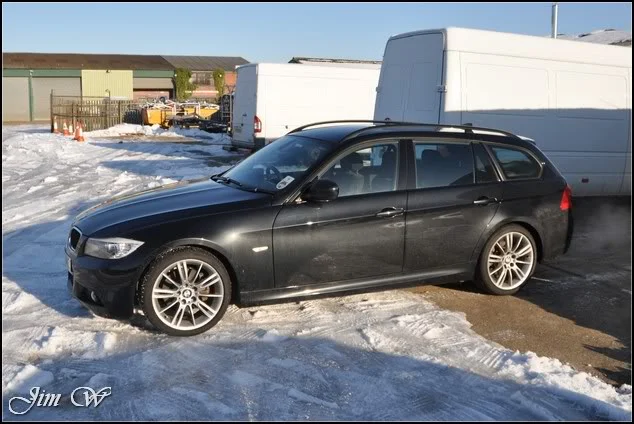
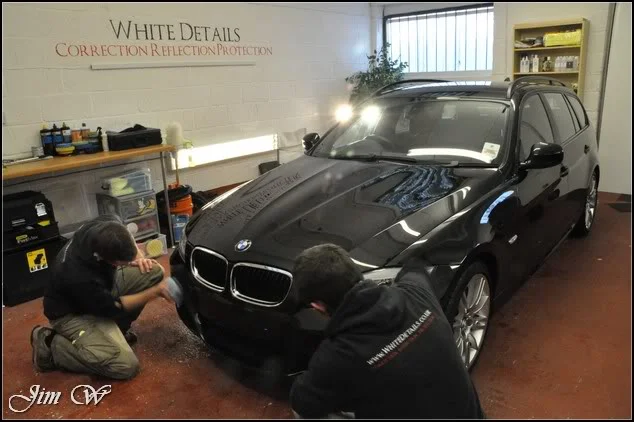
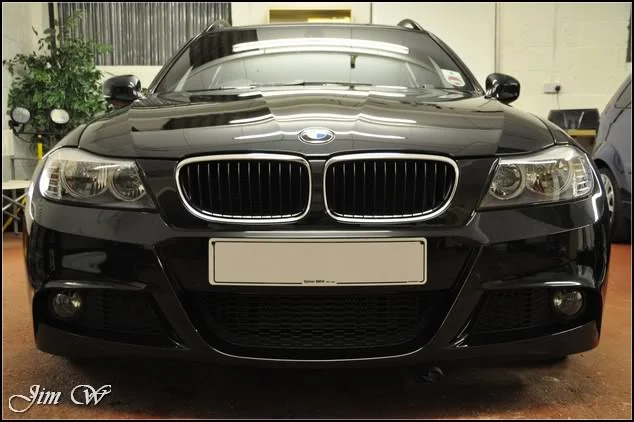
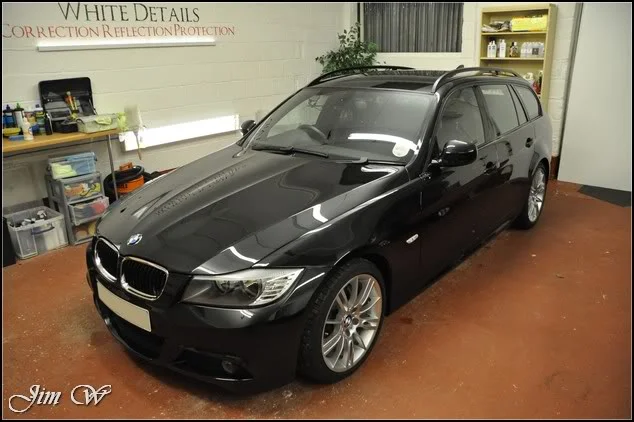
Thursday 2nd December, my customer collects his new car (a 2008 e92 320d M-Sport Tourer with 25k on the clocks) from the BMW dealership.
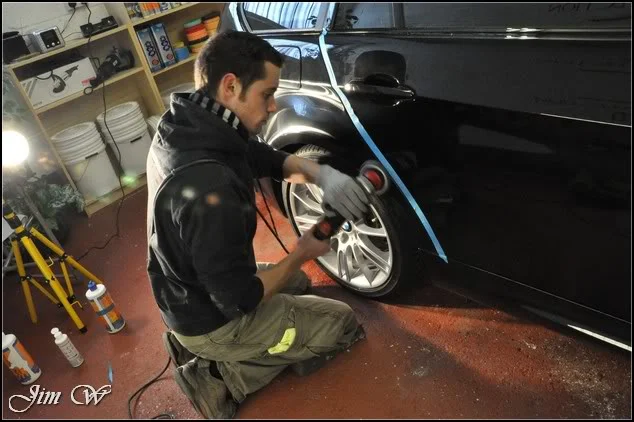
Monday 6th December, the car is handed over to WhiteDetails to give it that ‘like new’ feeling.
Arrangements were made so that whilst the customer was in Europe on a work visit, the car would be left with me for a week and on their arrival back in the Country I’d offer a pick-up service from the airport to take them straight back to the fully prepped car
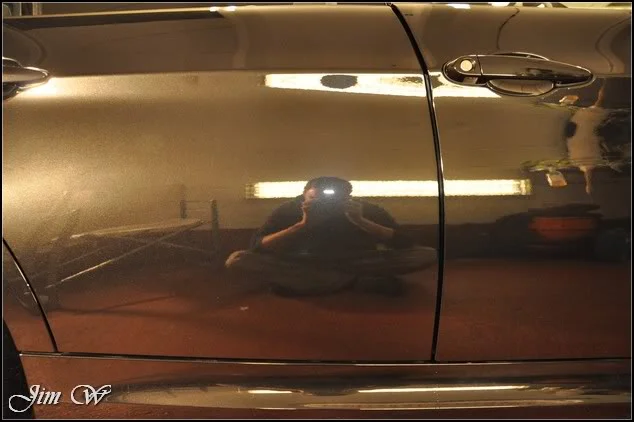
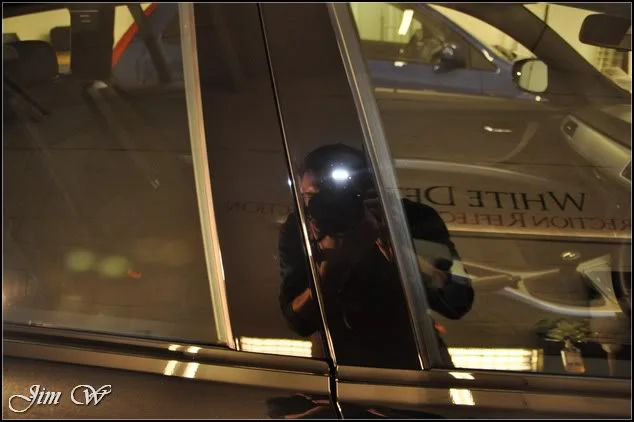
It’s going to be a big report this, some 200 photos; I will try to summarise the job in a handful of images before going on to write the usual in-depth report.
Summary
After collection from the BMW dealer, the car was garage until the 5th and then driven direct to WhiteDetails.
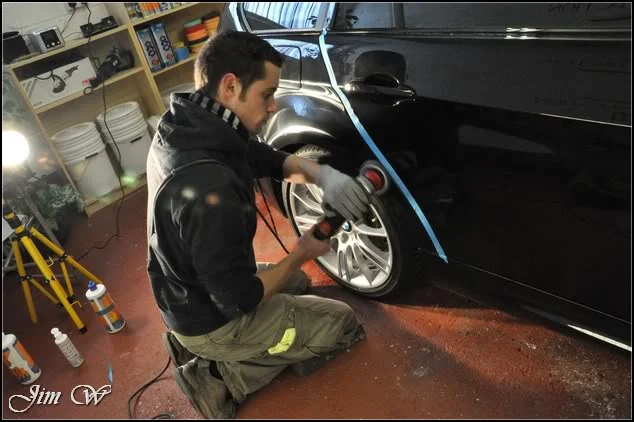
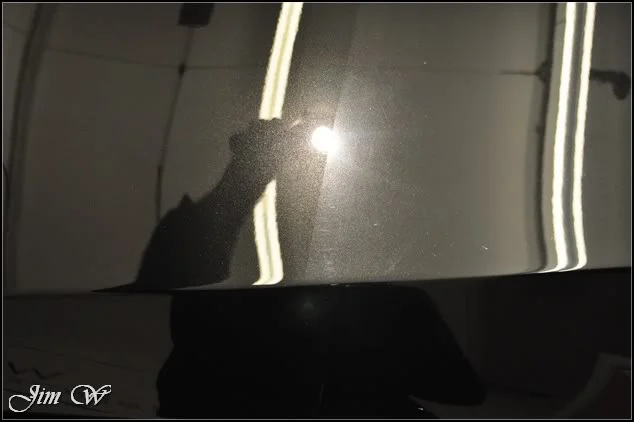
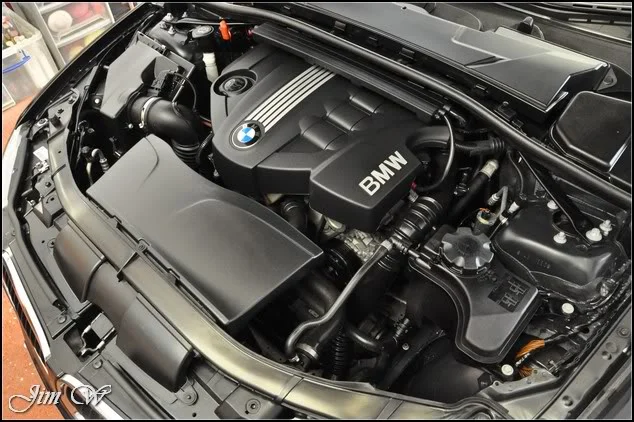
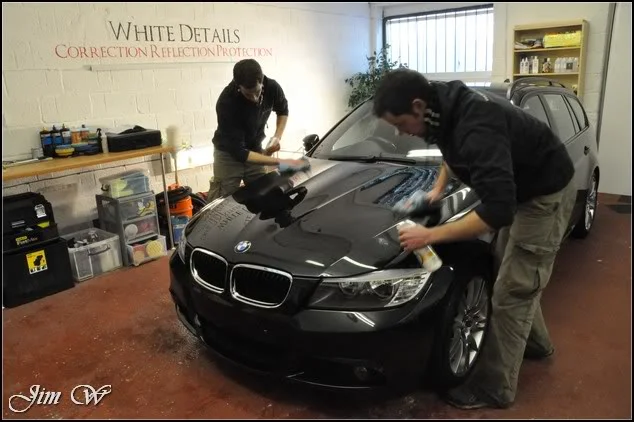
Inspection/Processes/After:
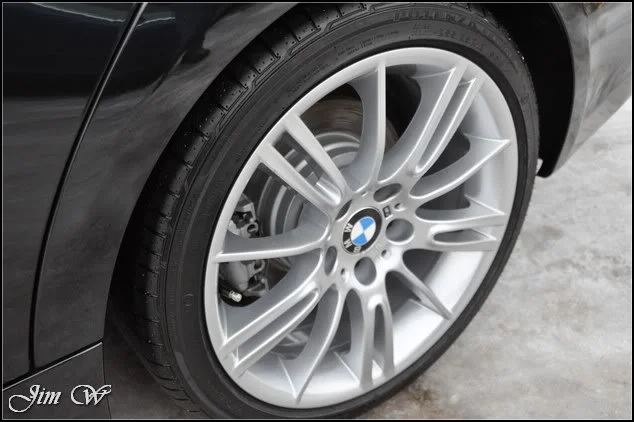
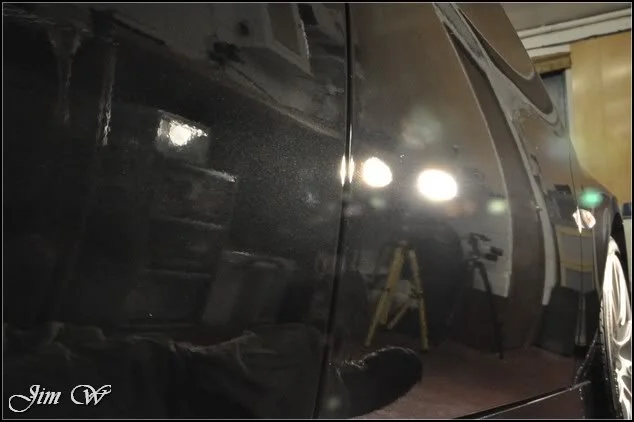
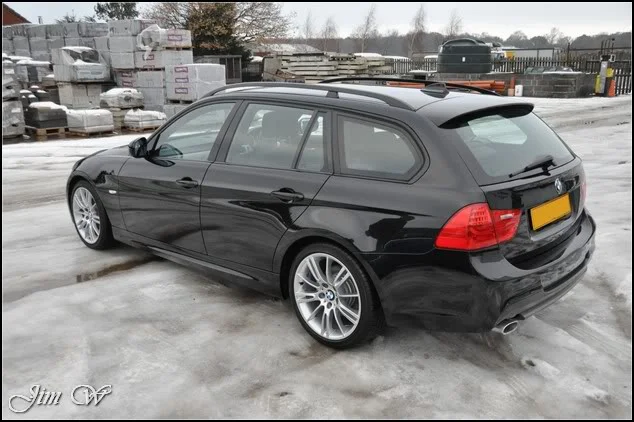
In-depth…
Product
· 3M Glass Cleaner
· 3M Ultrafina
· 3M Fast Cut+
· AutoGlym Vinyl and Rubber Care
· AutoSmart G101
· AutoSmart Tardis
· Autosol
· Brake Cleaner
· Belgom ALU
· Chemical Guys JetSEAL 109
· Dodo Juice Born To Be Mild
· Elite Mild Grade Clay Bar
· G-Techniq G1 & G2 Glass Sealant
· Hammerite Smooth Silver high-temp paint
· Iron-X
· Jeffs Werkstat Jett Trigger
· Jeffs Werkstat GLOS
· Meguiars Last Touch
· Meguiars Super Degreaser
· Meguiars All Season Dressing
· Menzerna 85 RD 3.02 Power Finish
· Menzerna 106FA
· Optimum No Rinse
Full inspection:
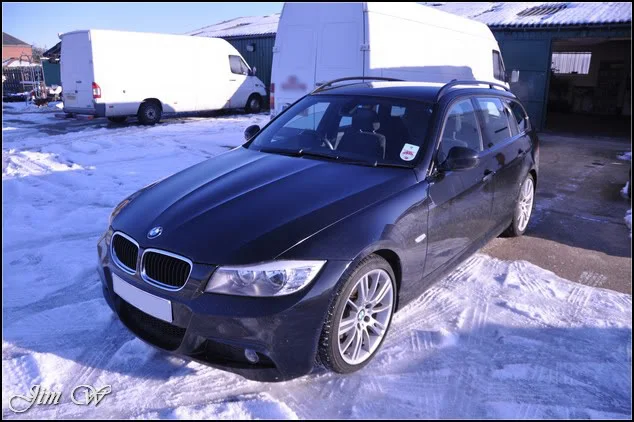
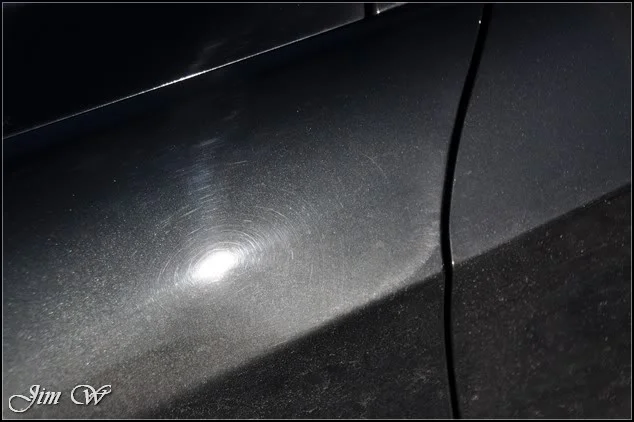
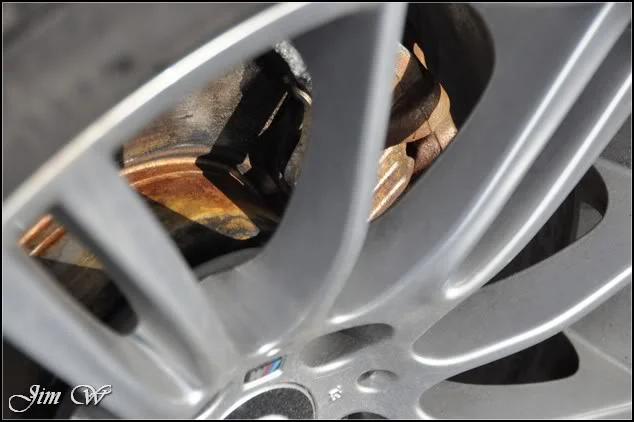
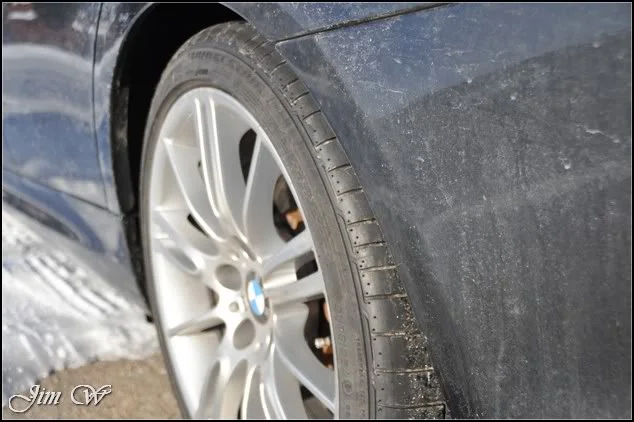
Renowned for their corroded brake assembly, this BMW was no different.
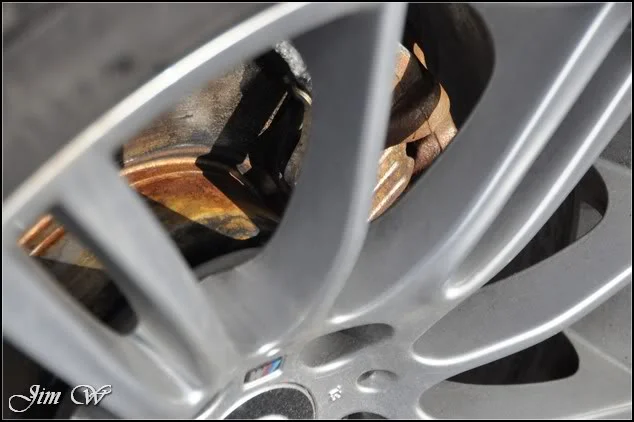
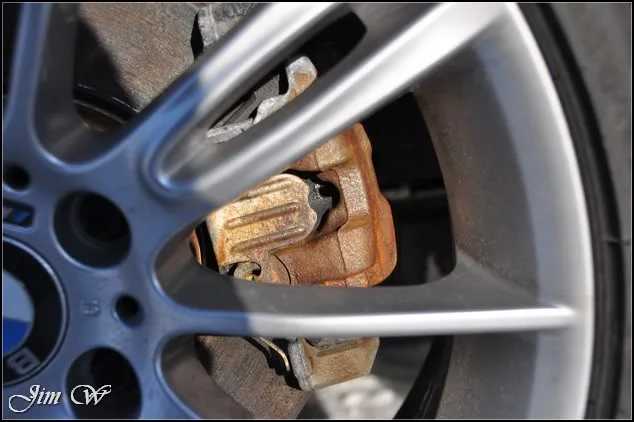
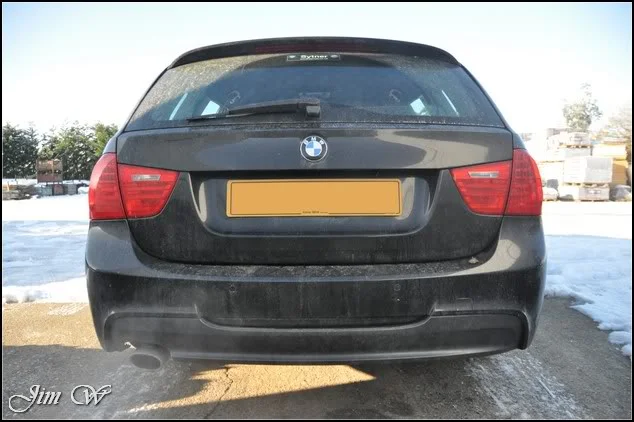
For the wash stages the camera took a back seat; it was well into minus double-figures out there and my fingers could barely operate the pressure washer nevermind a fiddly camera.
See here, the pre-foam that was delivered to help safely remove any surface dirt froze pretty much straight away!
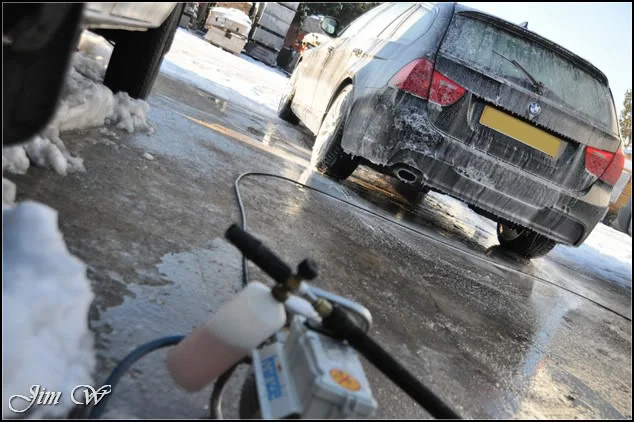
All wheels, arches, the engine-bay and bodywork were washed with the usual safe methods.
Bringing the car inside to clay, I found there was very little in way of contamination. One or two tough areas on the roof and the rear quarters but overall, a ‘clean’ car.
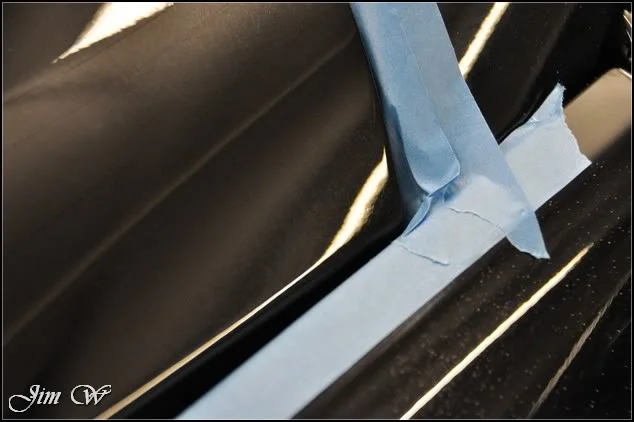
After covering a few pieces of trim to protect them from the rotary pads, it was time to take a better look at the paint condition:
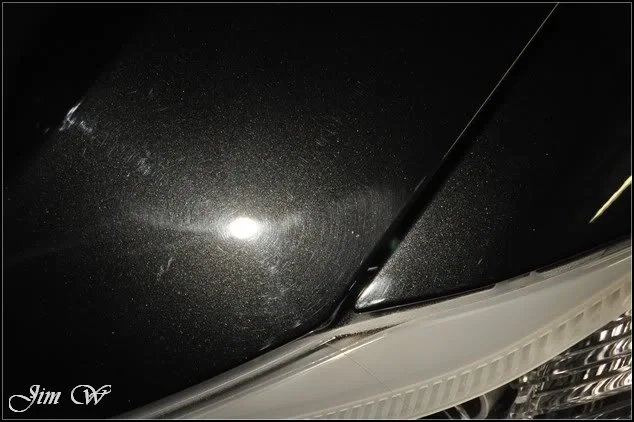
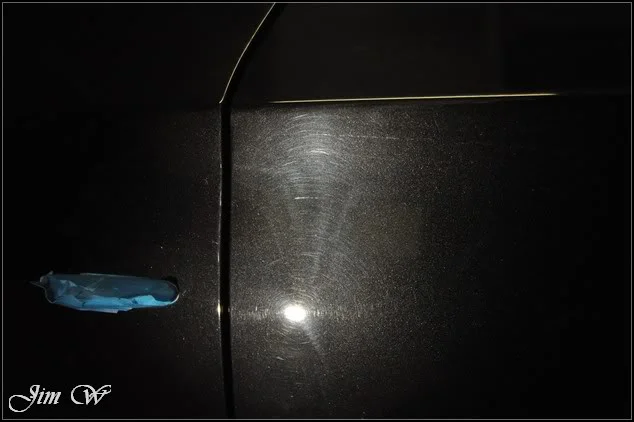
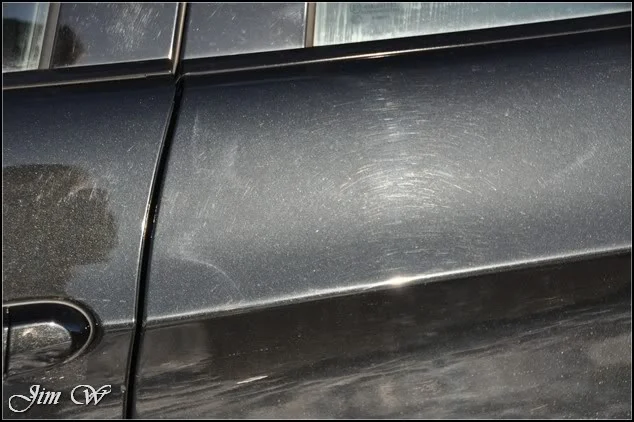
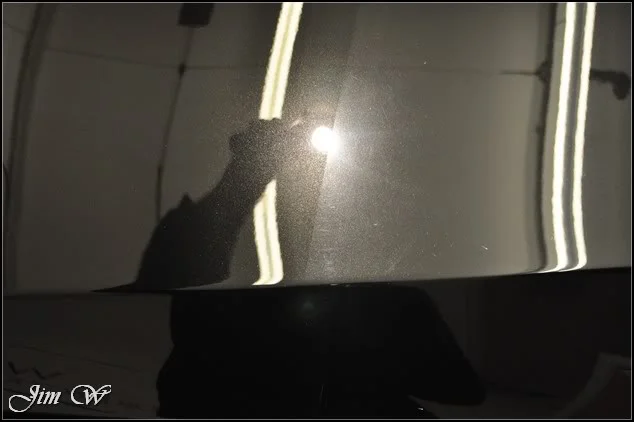
Several areas suffered badly from hazing and micro-marring caused by previous machine polishing/bodyshop work.
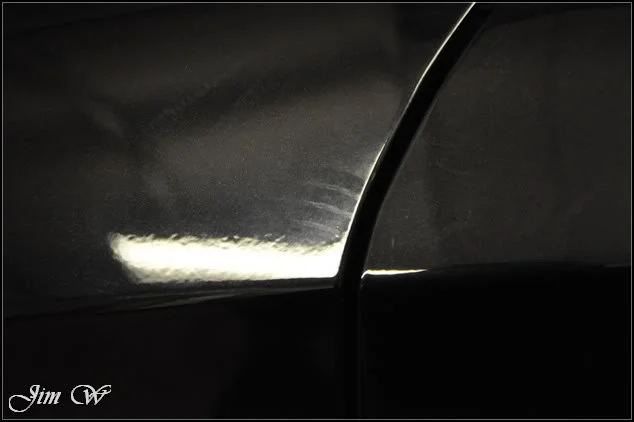
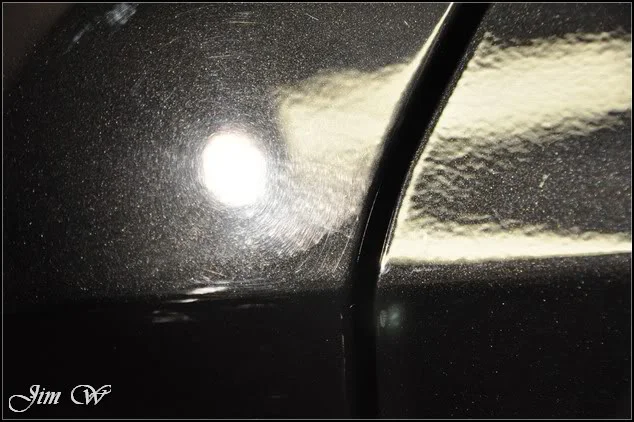
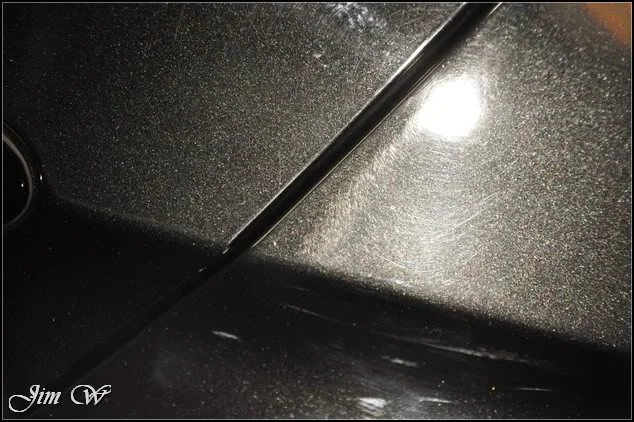
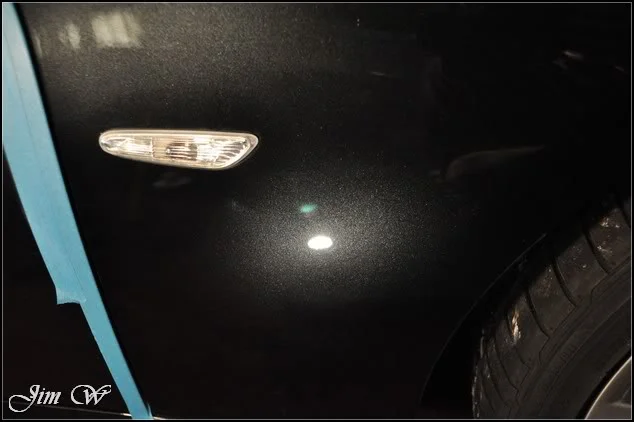
Two strange dull patches just above and below the camera flash:
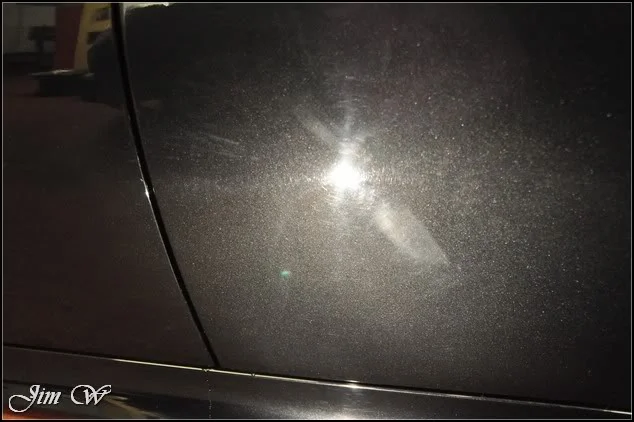
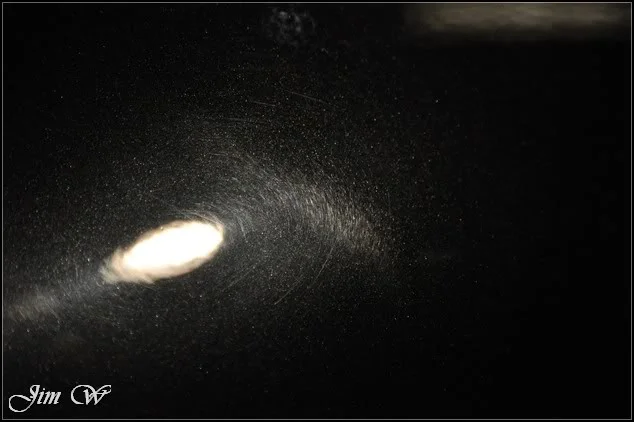
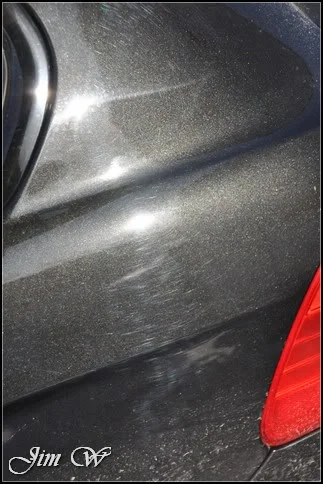
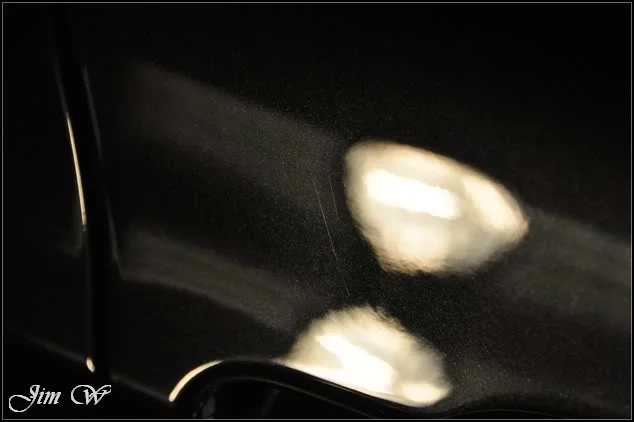
Buffer trails from previous machine polishing:
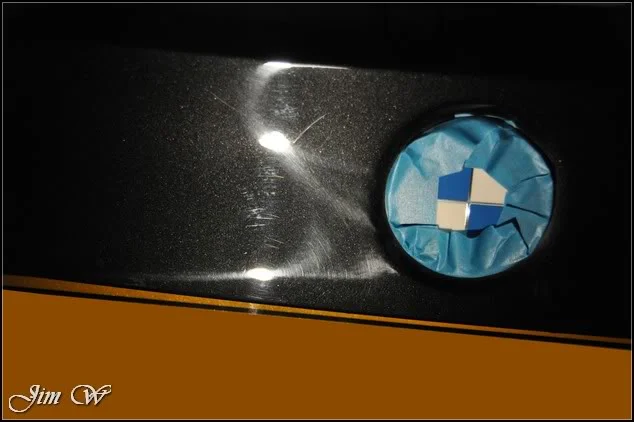
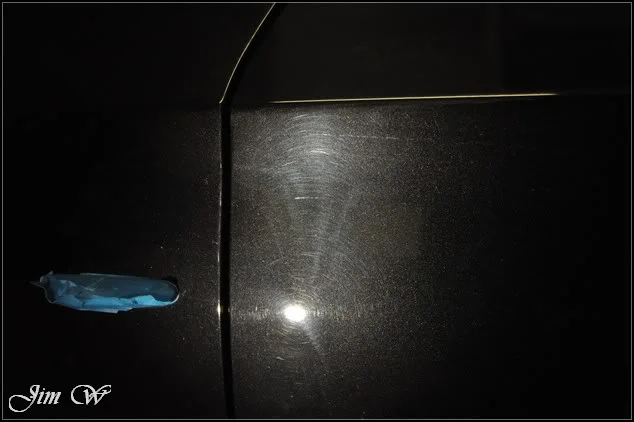
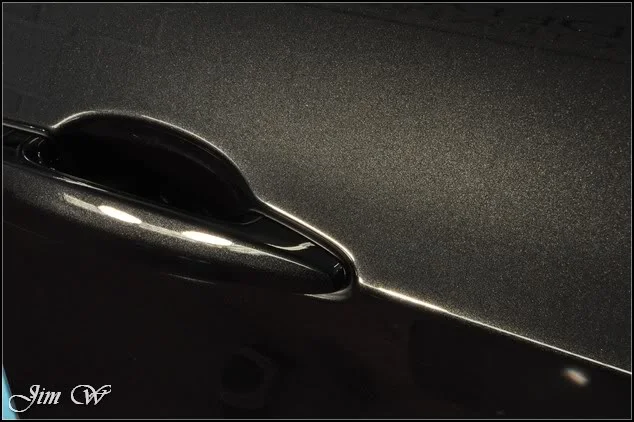
More nasty defects around the drivers’ door handle:
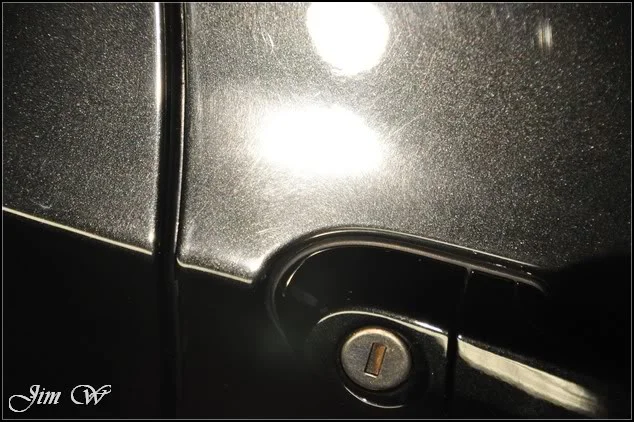
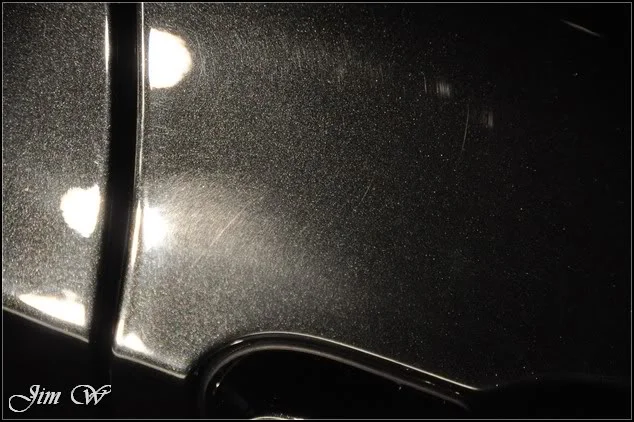
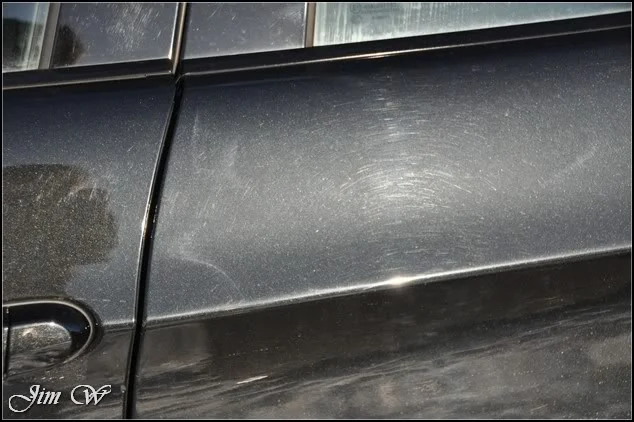
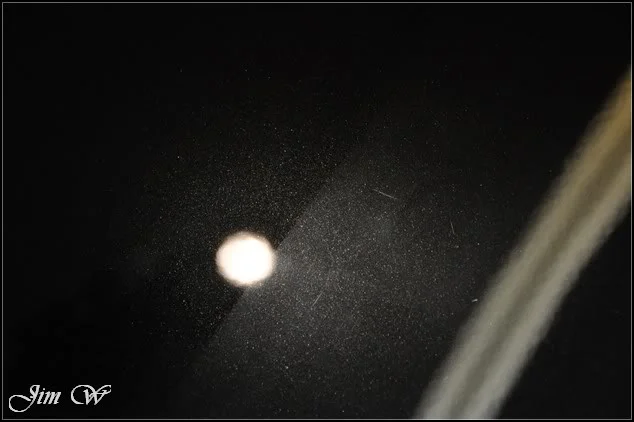
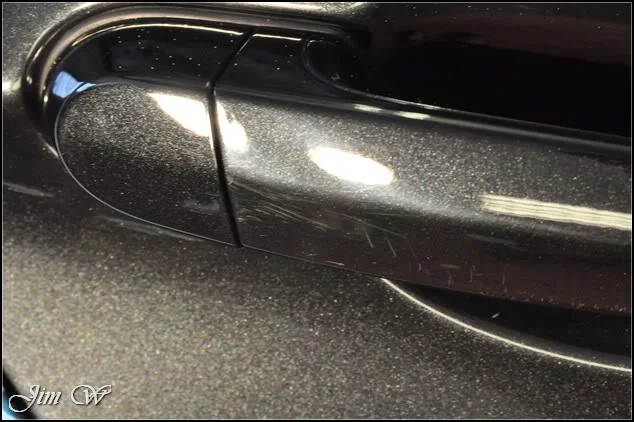
And this, I can’t quite work out what’s caused it… A semi-circle of pig-tails/micro-marring (tiny scratches possibly caused by sanding/repair work) also on the driver’s door:
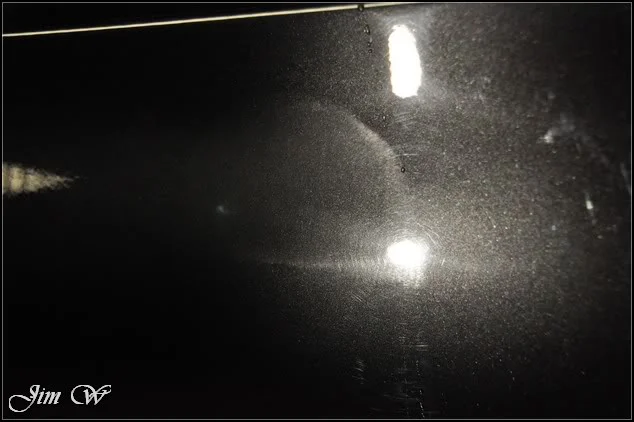
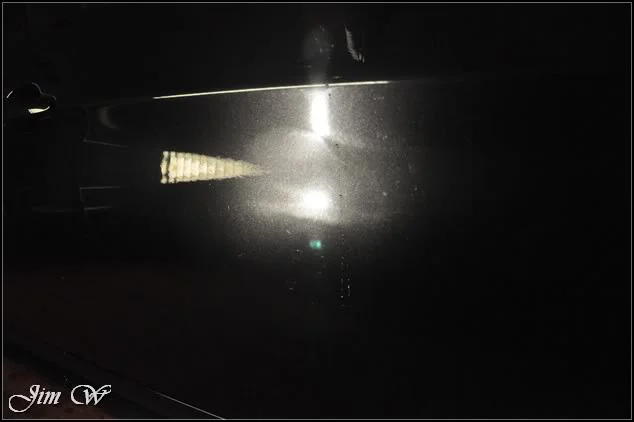
(Remember, this car had only left the BMW showroom just four days ago)
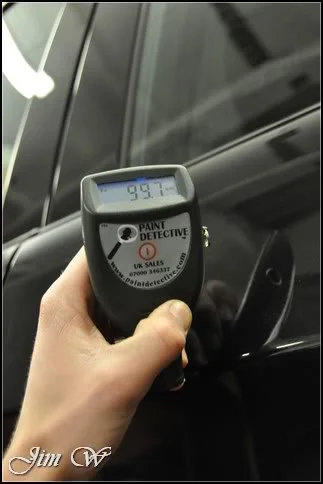
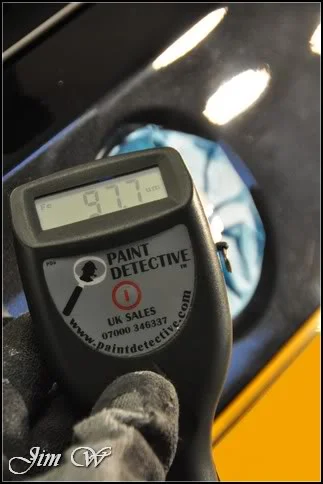
On to the paint thickness readings starting with the bonnet:
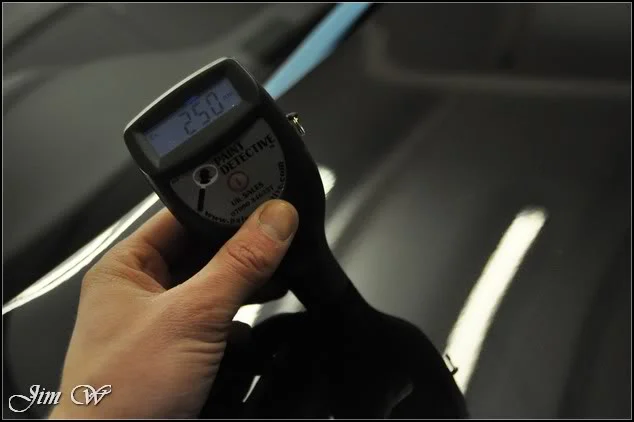
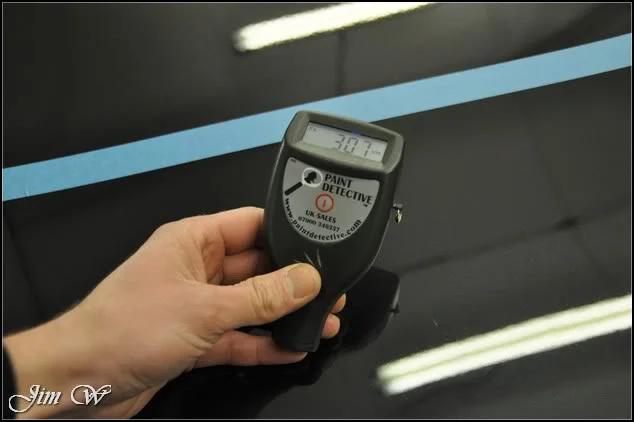
Right, so the bonnet has had fresh paint then! And just to confirm this, these ‘fish-eyes’ in the paint were spotted on the N/S upper edge – poor prep work on the spray stages:
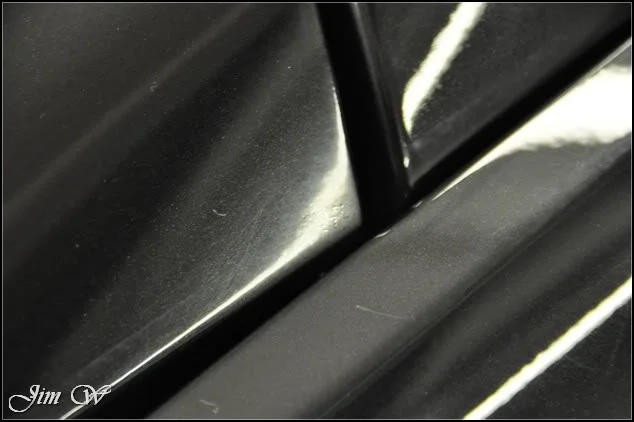
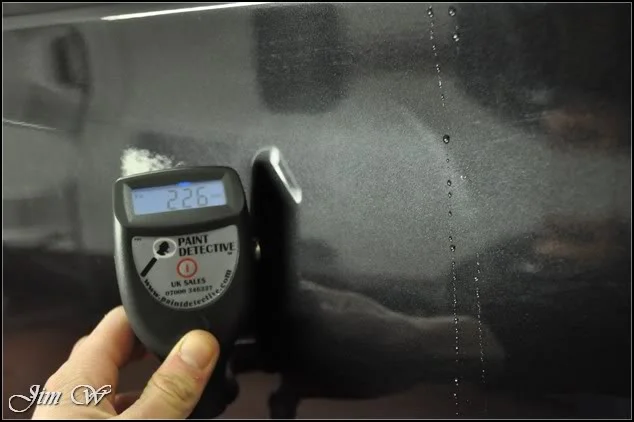
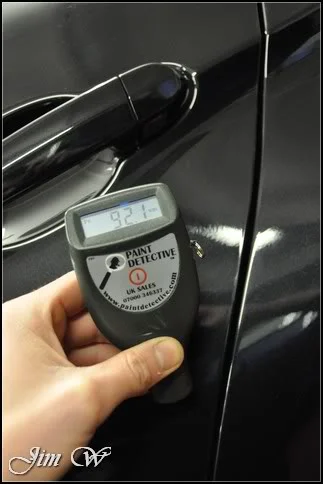
As expected, both doors on the driver’s side (O/S) were showing high paint thickness readings.
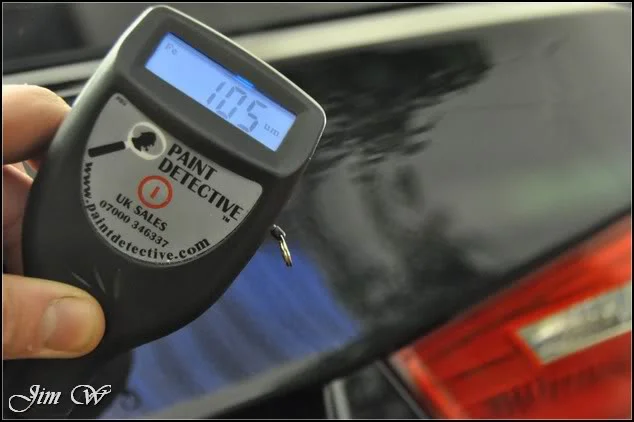
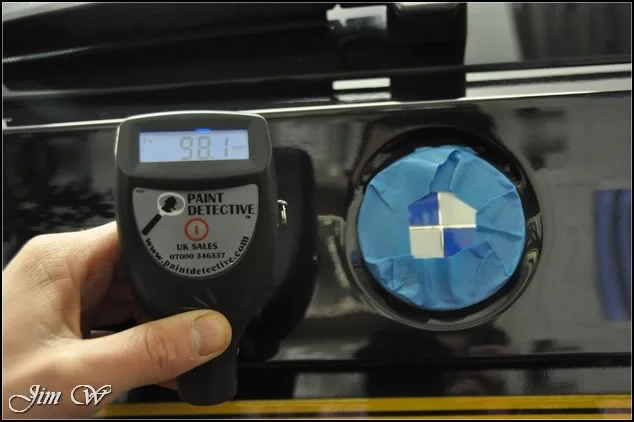
The tailgate and passenger side (N/S) however were a little low in places:
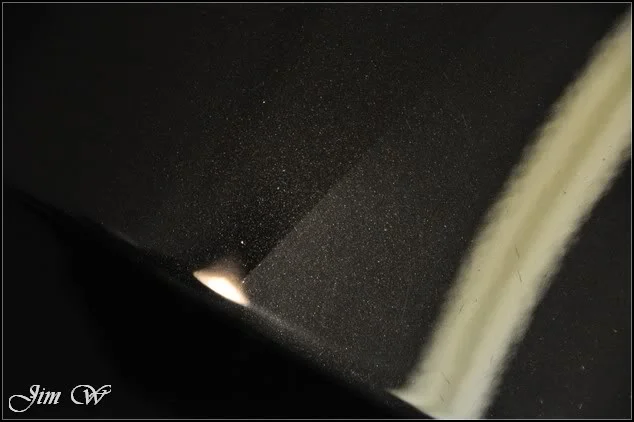
Starting my polishing set on the bonnet with a yellow 3M polishing pad and Menzerna 203s … The results were good but a higher percent of correction was needed. Stepping up to Menzerna 85 RD 3.02 gave better results but a couple of areas still required multiple hits and or the addition of 3M Fast Cut + to give the extra bite.
Bonnet 50/50s:
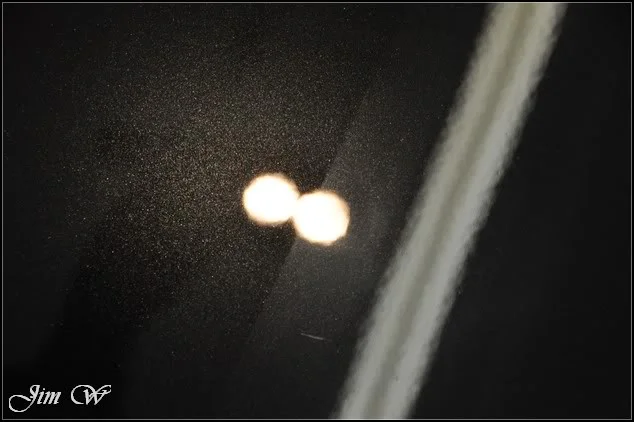
Before:
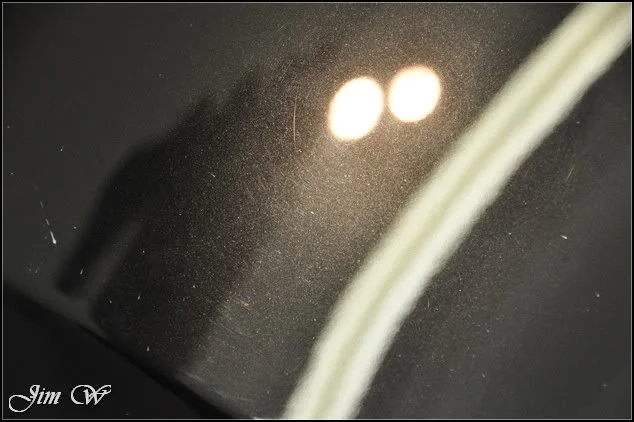
After:
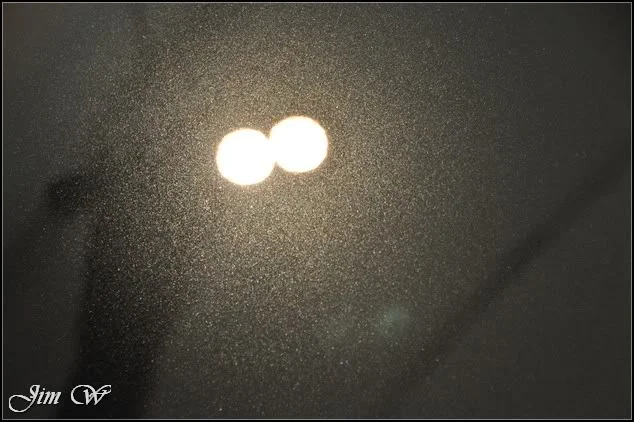
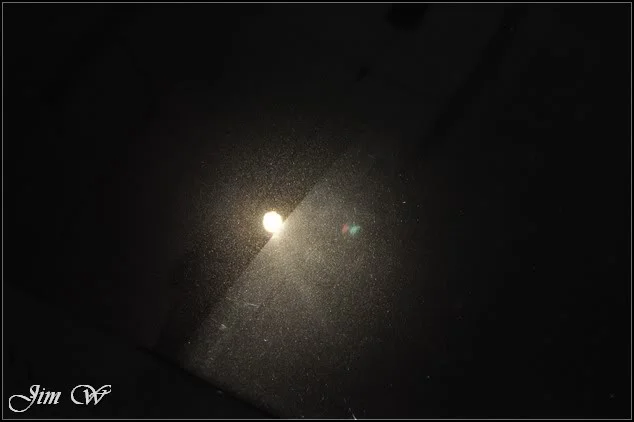
Before:
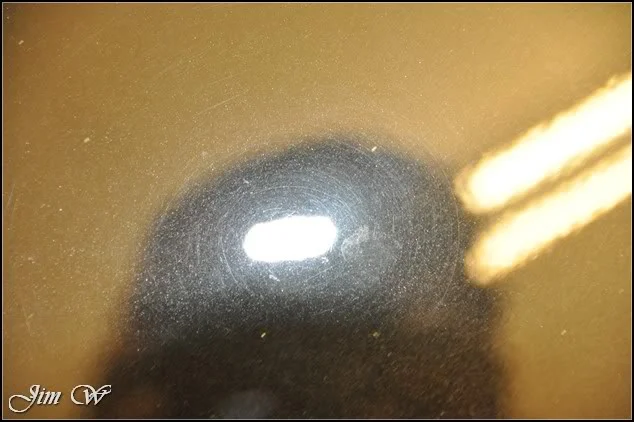
After:
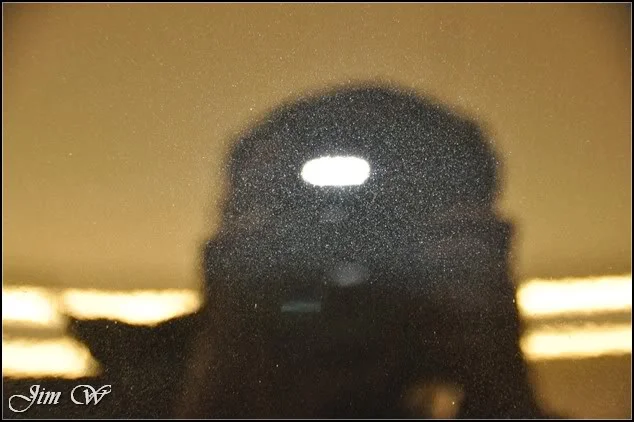
Remember the grey-haze and dimples on the upper edge of the bonnet?
Before/After:
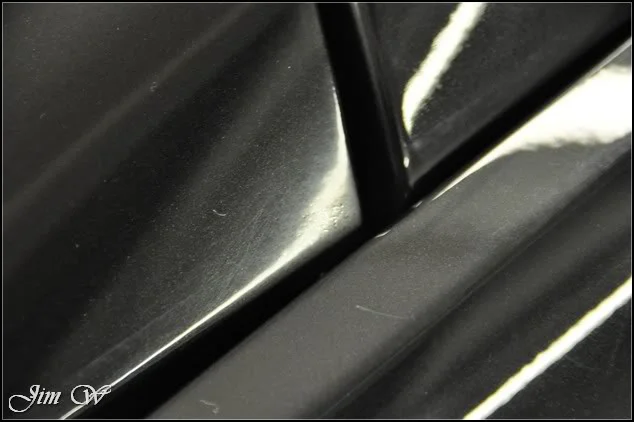
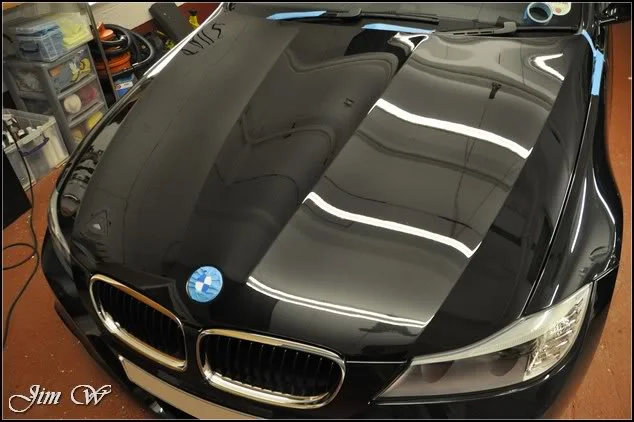
Bonnet after:
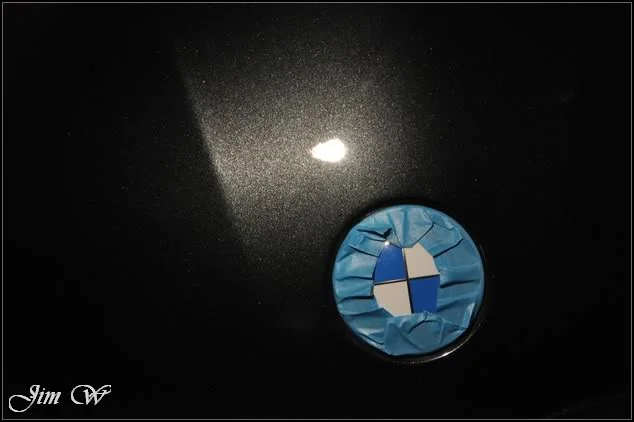
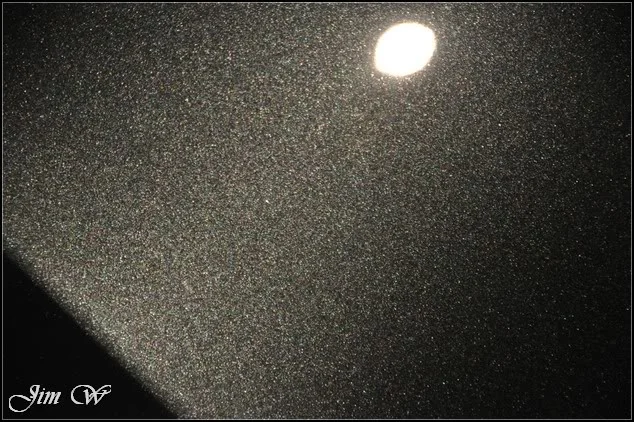
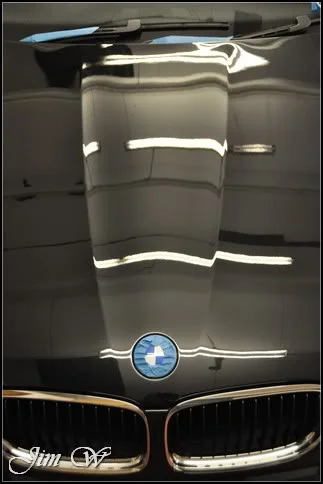
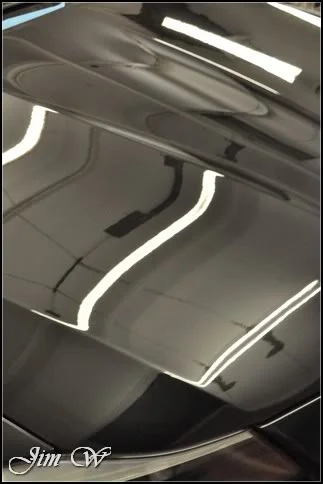
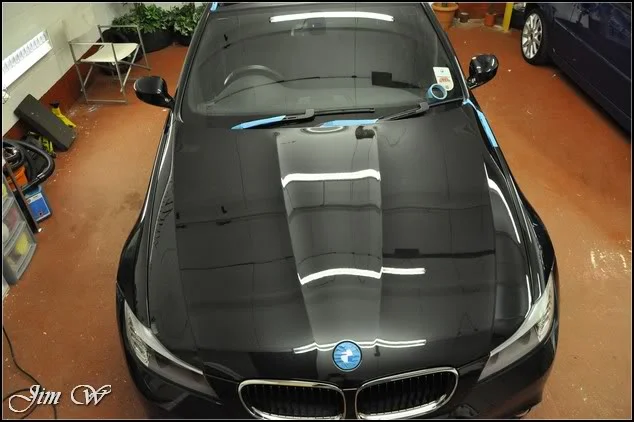
Continuing to work down the O/S of the car with a similar approach:
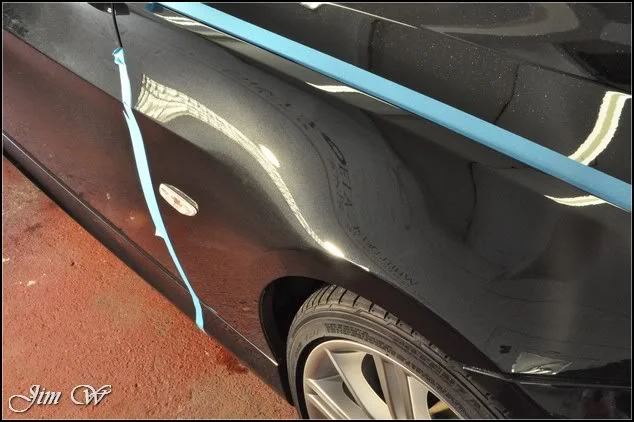
Results were good but this one was a little too deep to comfortable chase out completely:
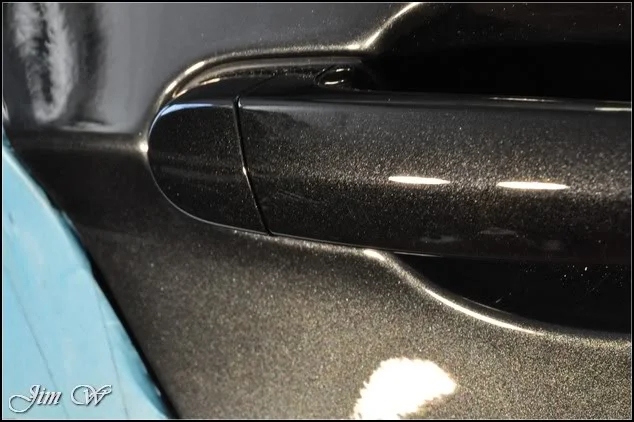
Likewise, these fingernail/key scratches on the door handle could only be improved:
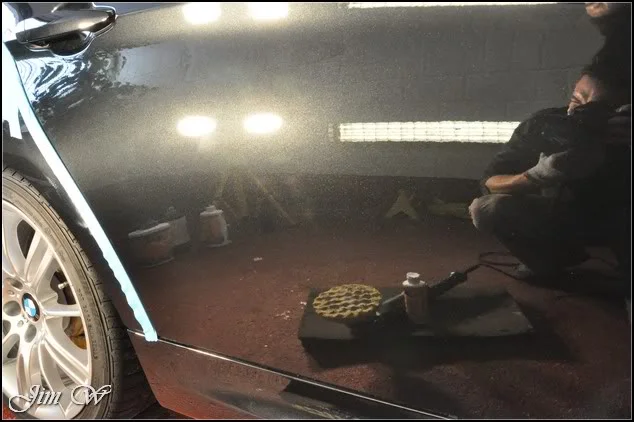
O/S rear door after correction:
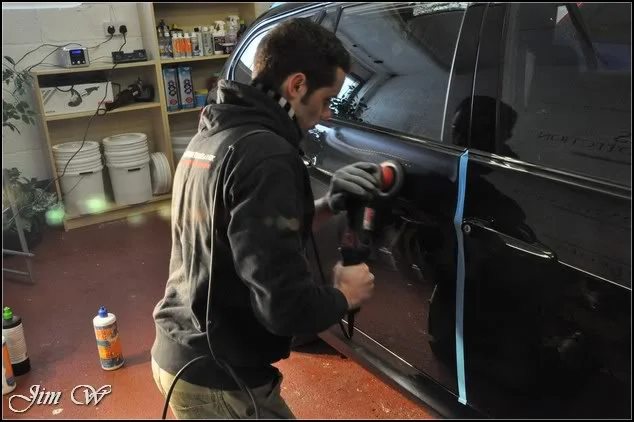
During refinement:
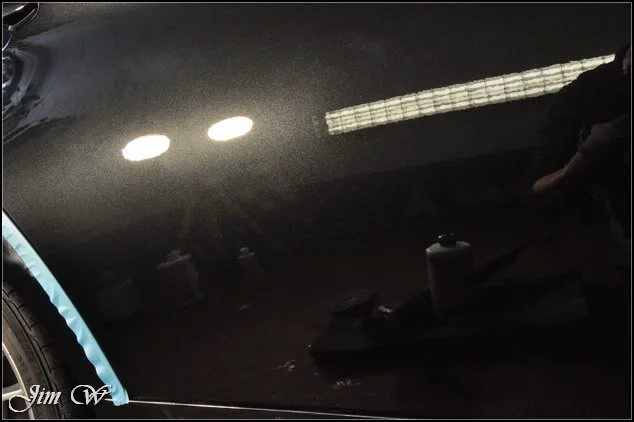
After refinement:
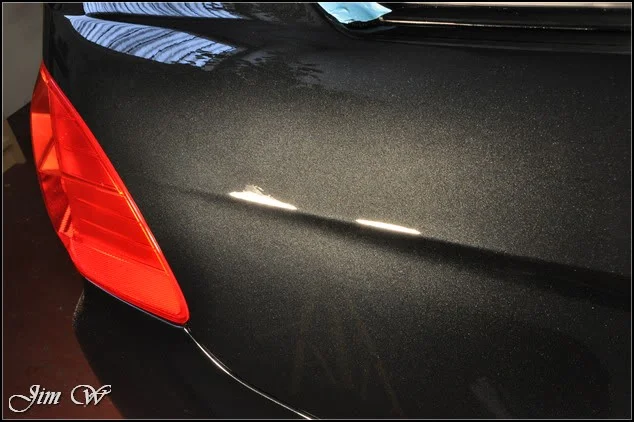
O/S rear quarter before/after:
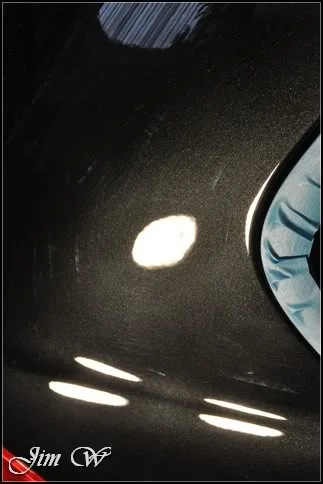
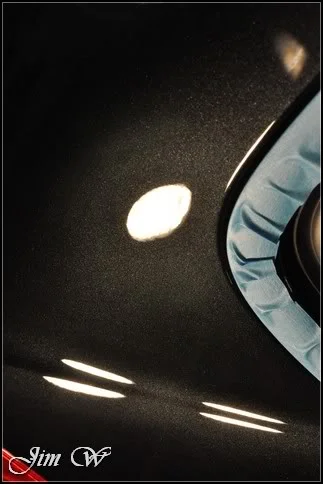
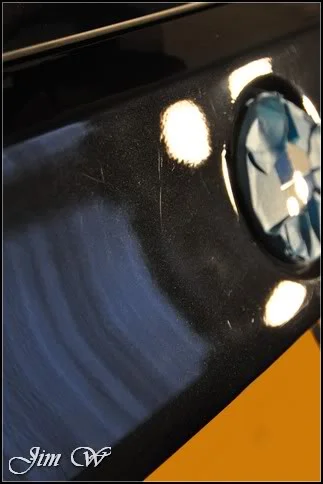
Tailgate face before:
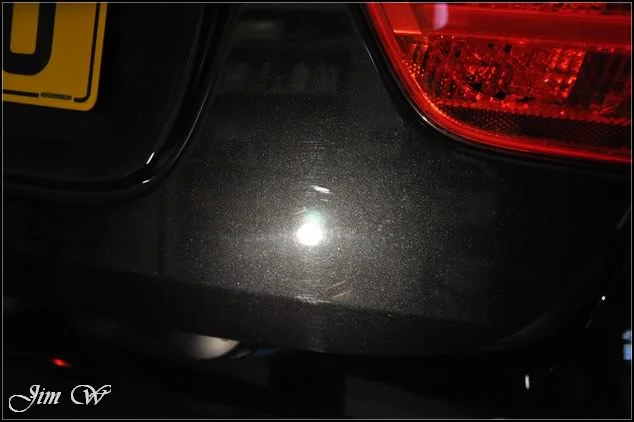
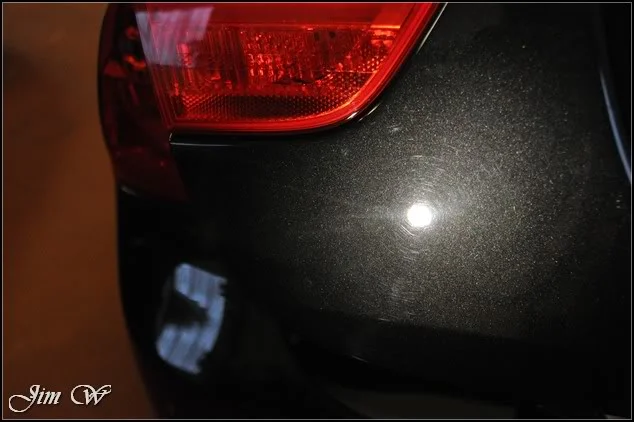
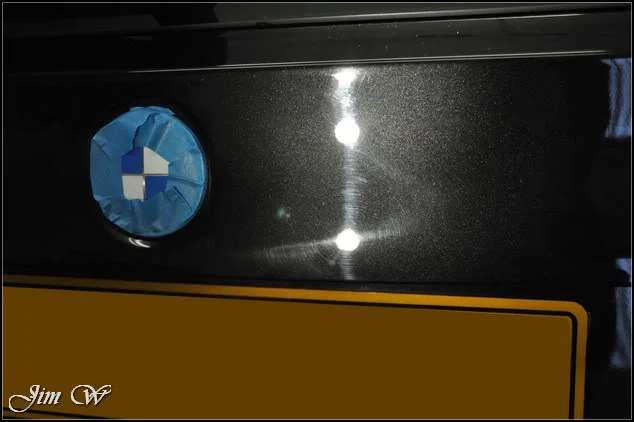
And after correction and refinement:
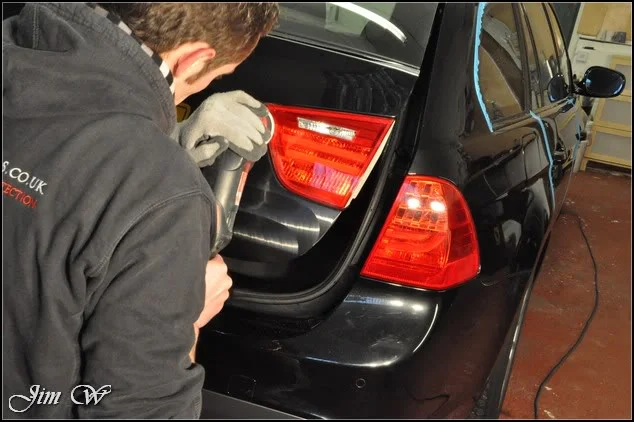
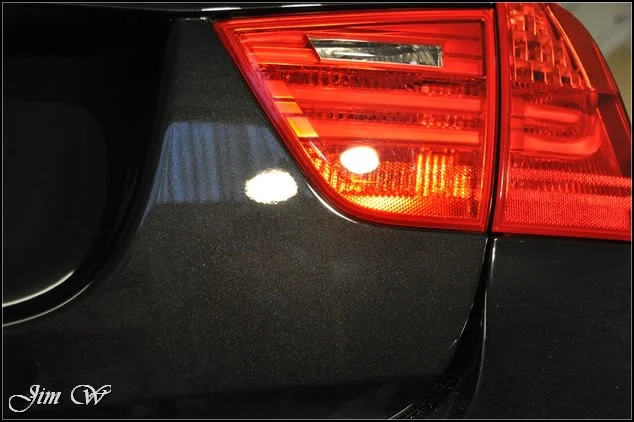
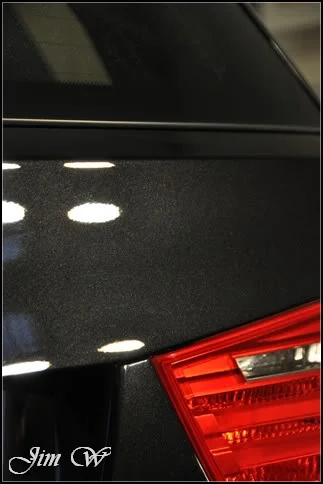
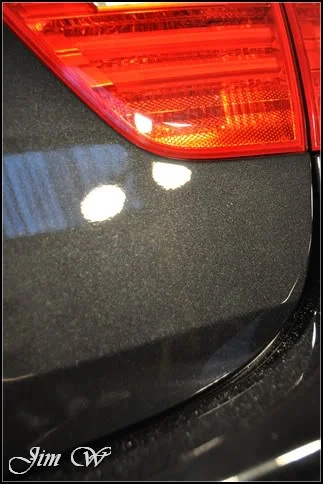
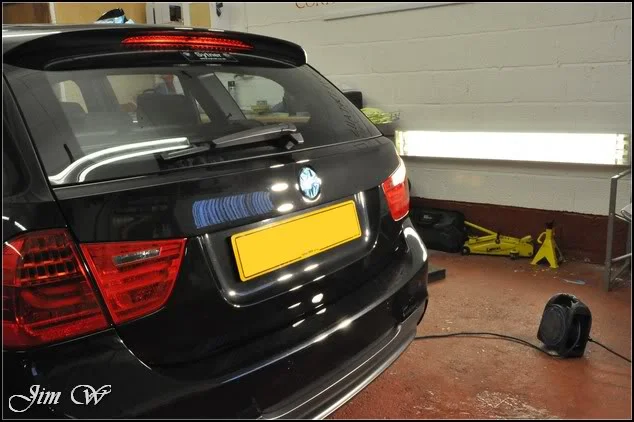
Compromise had to be made however; full correction was not obtainable due to the lower paint thickness readings. Sacrificing already thin paint for the sake of one or two hairline scratches wasn’t on the agenda.
Bonnet, tailgate and O/S complete:
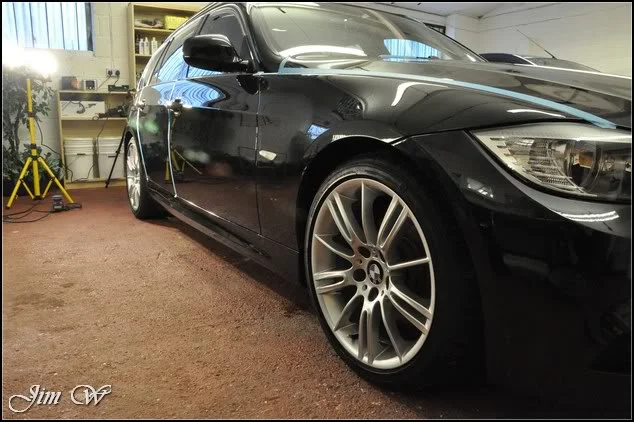
Spinning the car round, it was time to start the N/S.
Low down on the front passenger door, more bodyshop marks were spotted. How can a dealer/bodyshop let a car leave in this condition?
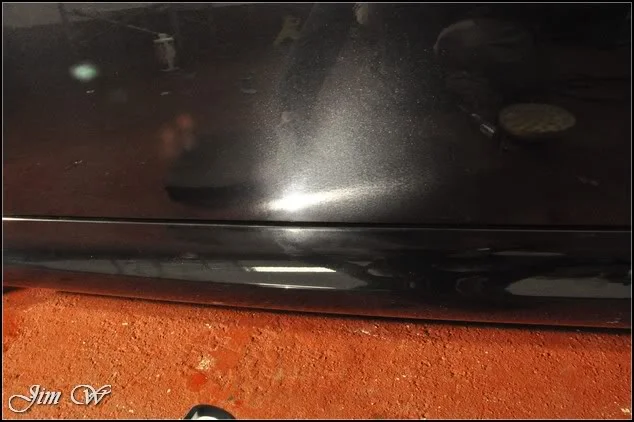
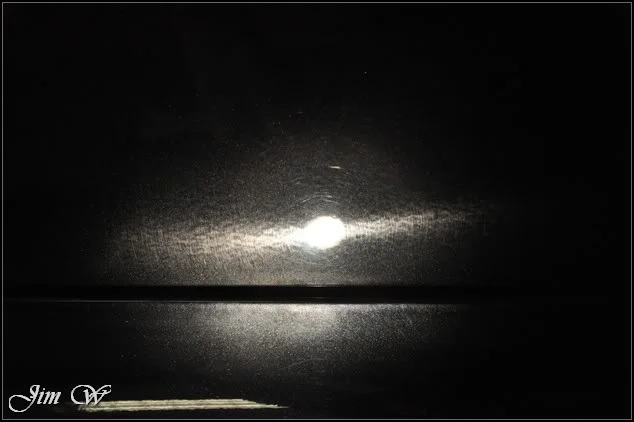
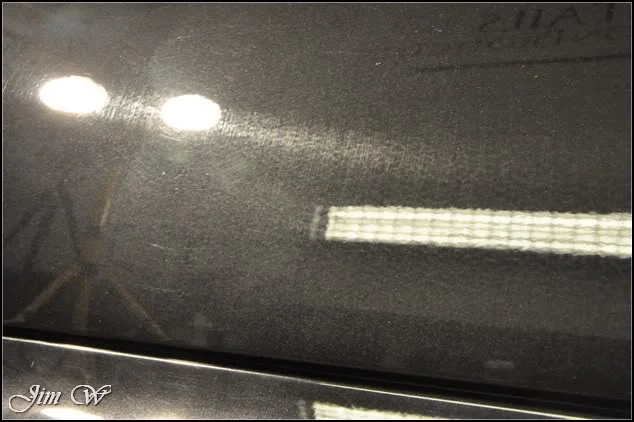
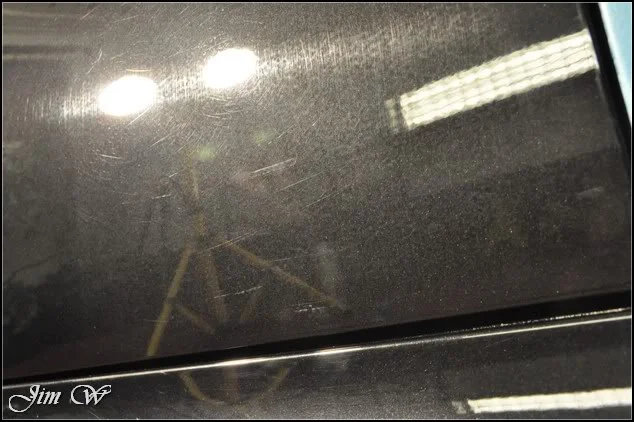
The combination used elsewhere on the car barely made a difference:
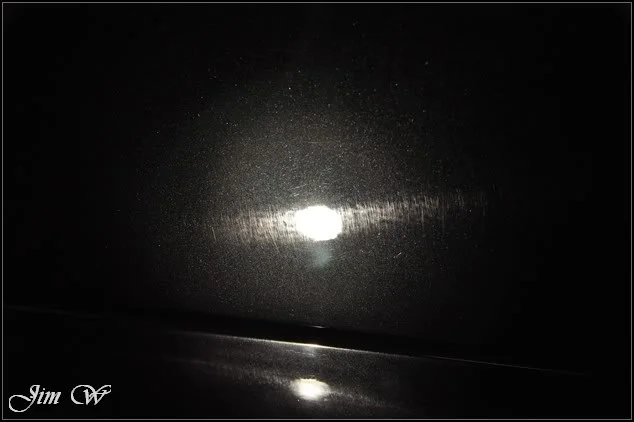
Requiring multiple hits and an aggressive approach, I was able to correct >80% of the defects. As mentioned above however, the N/S paint thickness readings were low so compromise had to be made yet again!
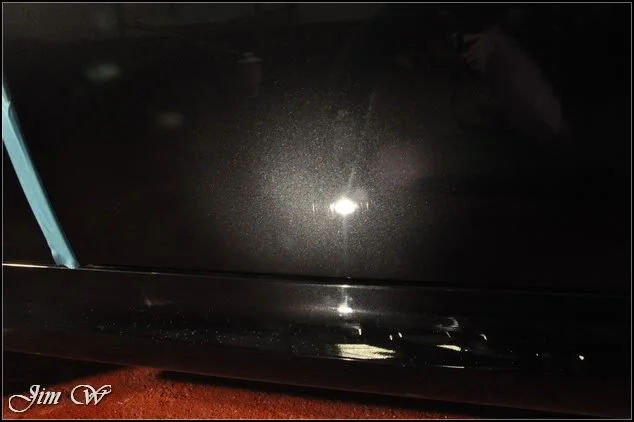
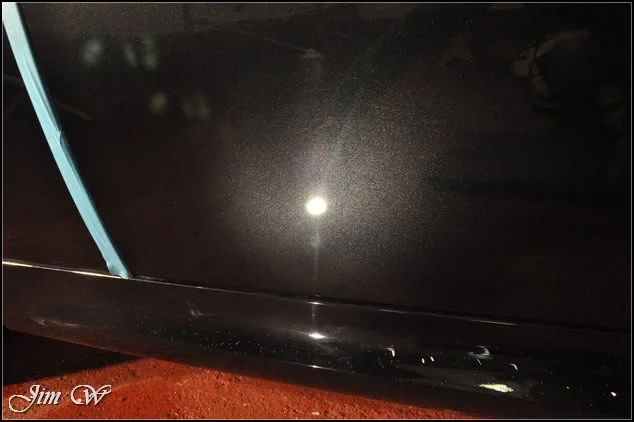
Before/After:
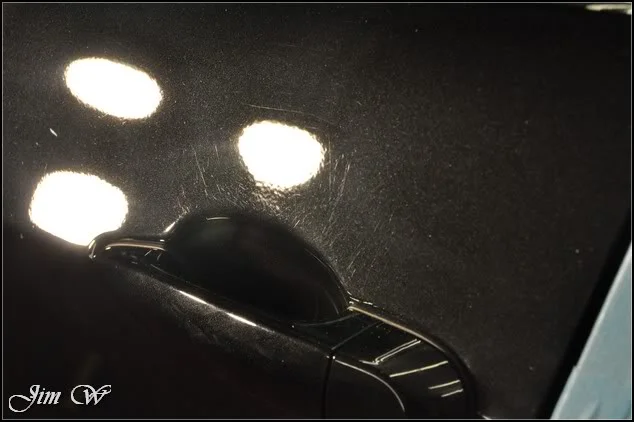
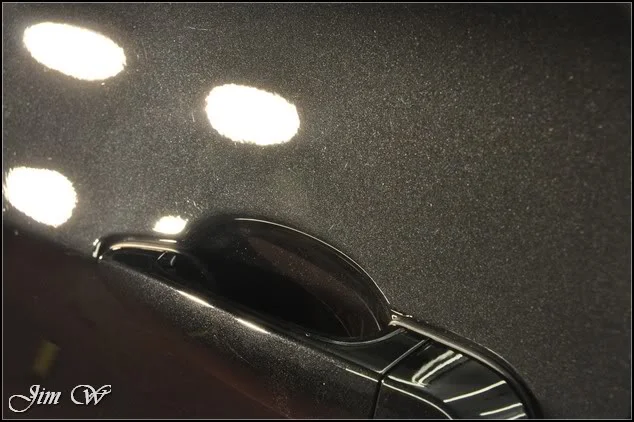
Before/After:
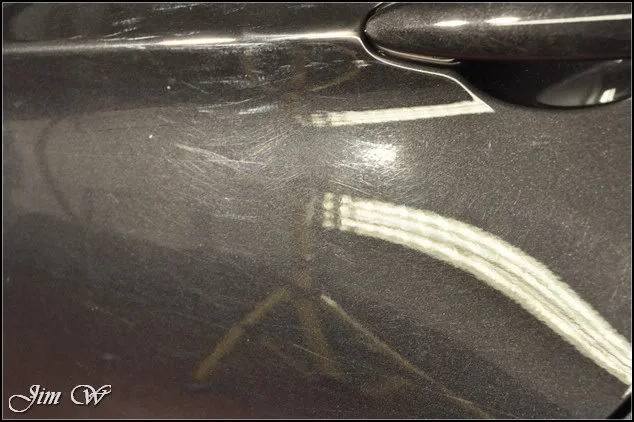
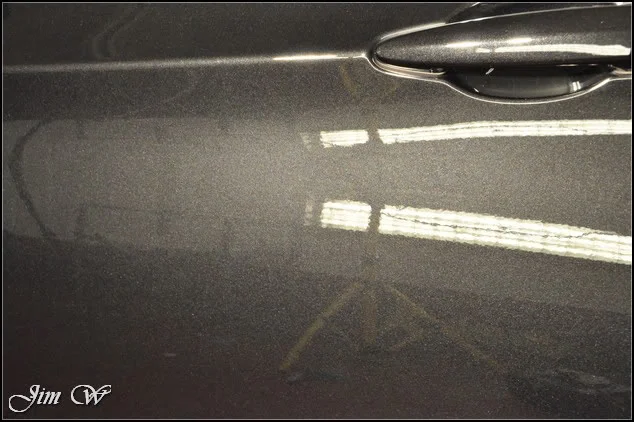
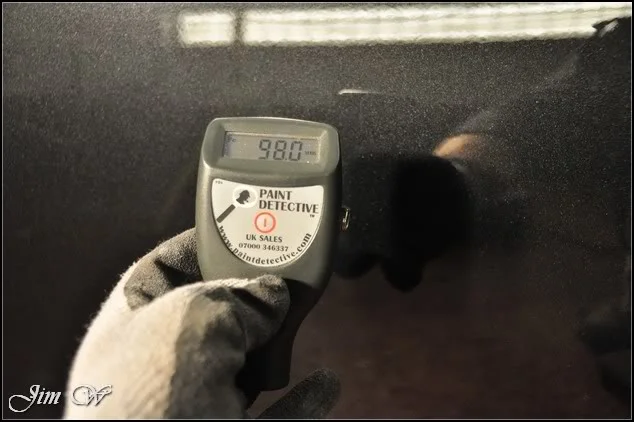
Before/After:
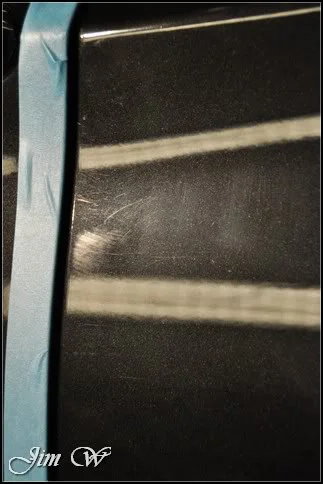
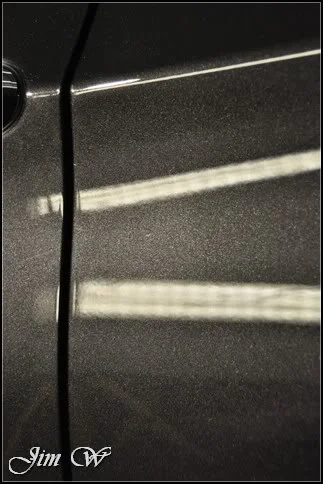
Oops, a little burn through spotted:
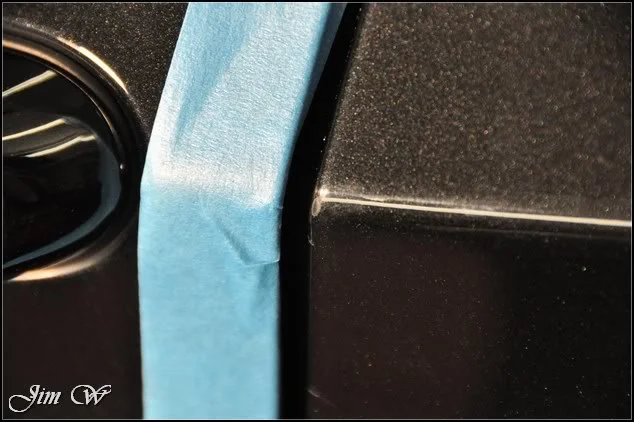
Moving onto the gloss black B/C pillars.
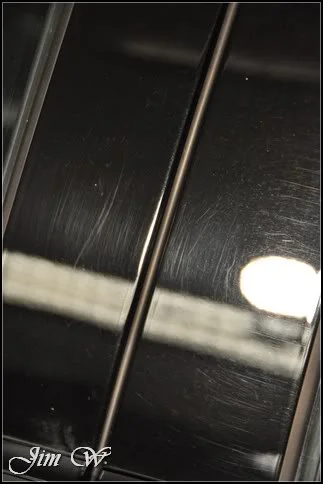
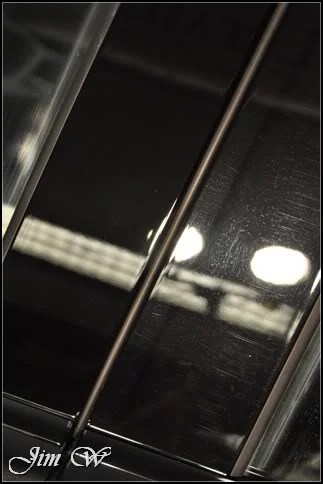
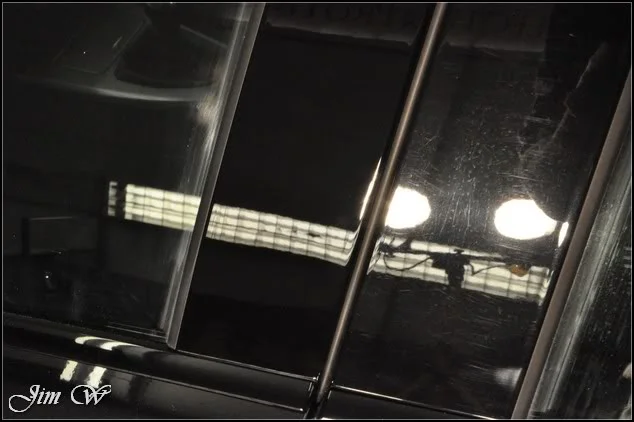
Before/After:
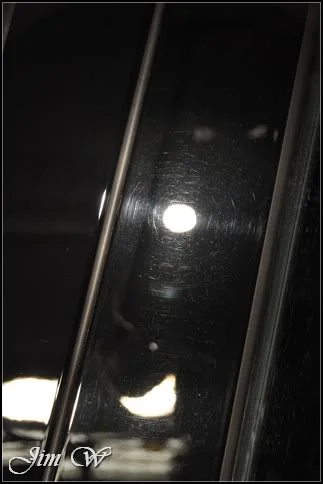
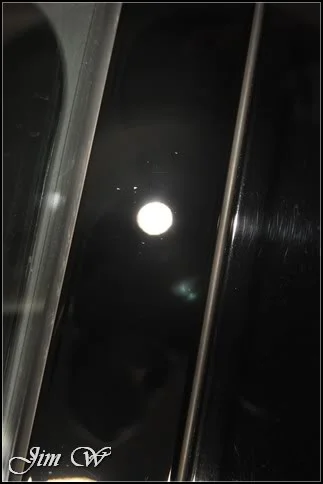
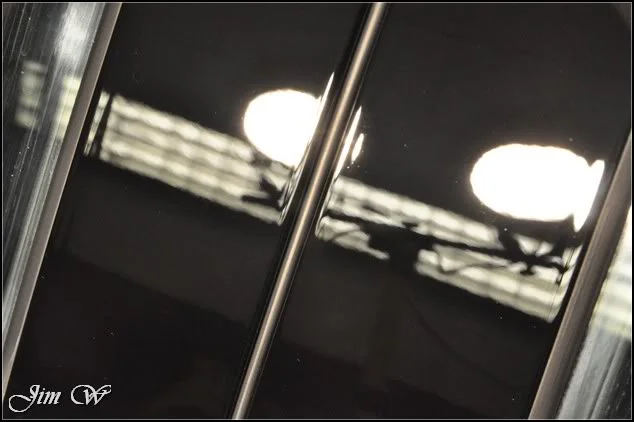
And with the brinkman:
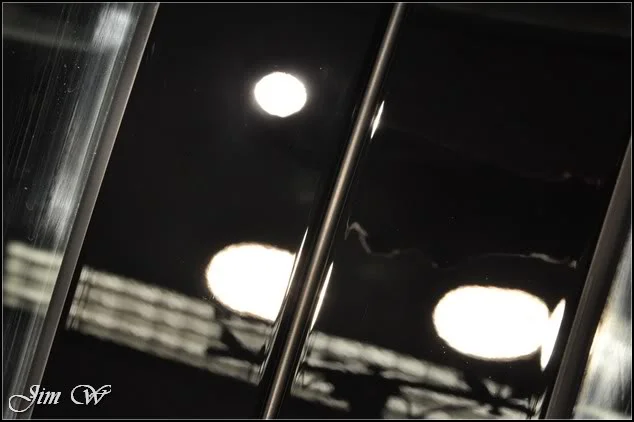
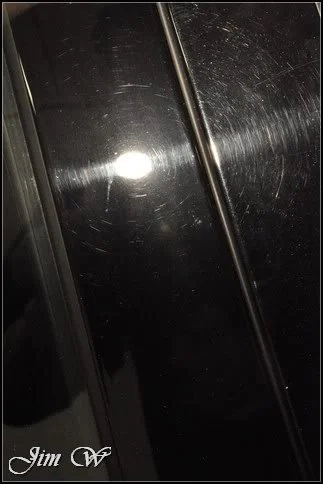
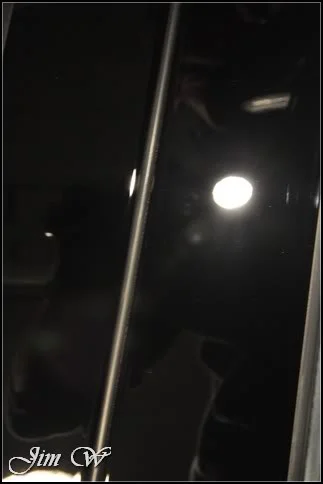
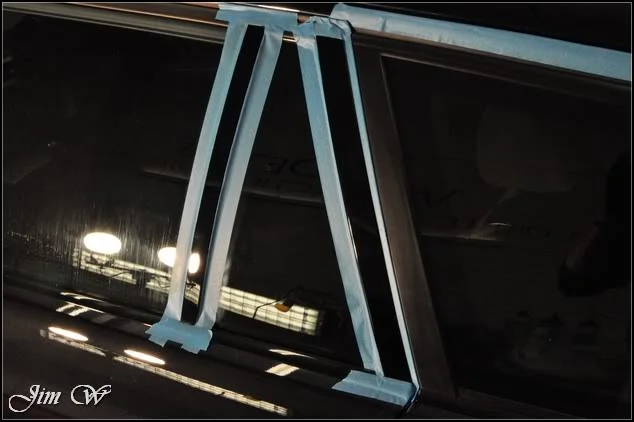
Before/After:
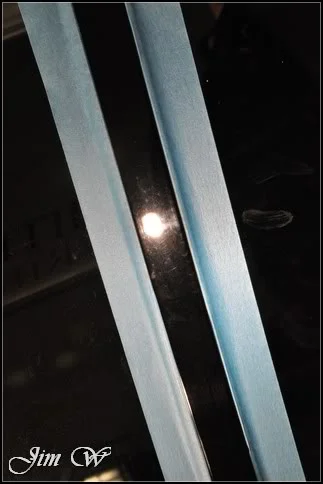
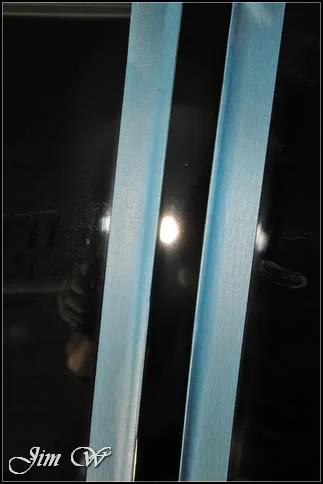
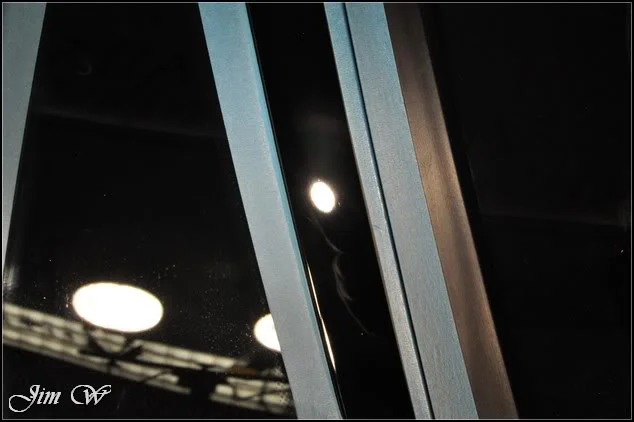
Nearside now complete.
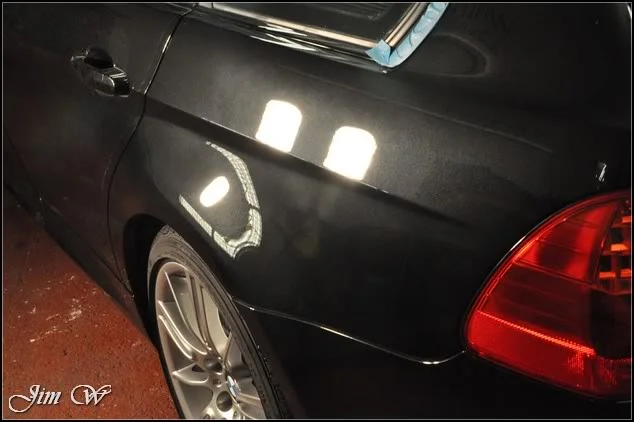
Checking my work as I spin the car back around:
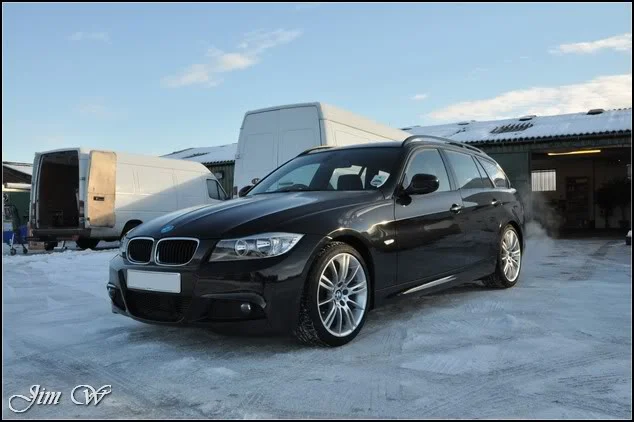
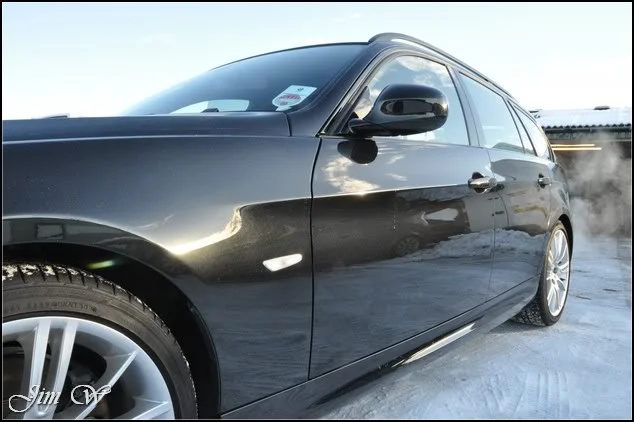
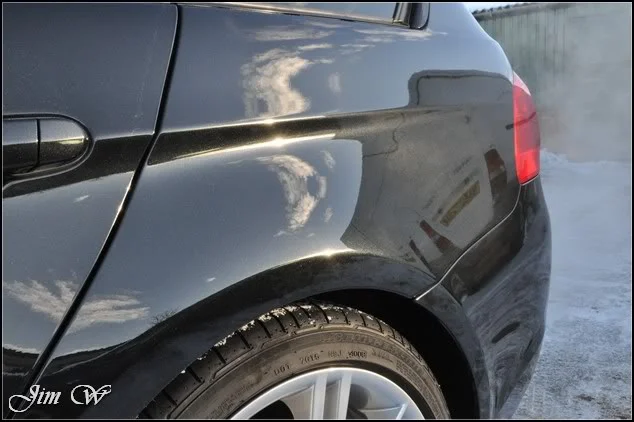
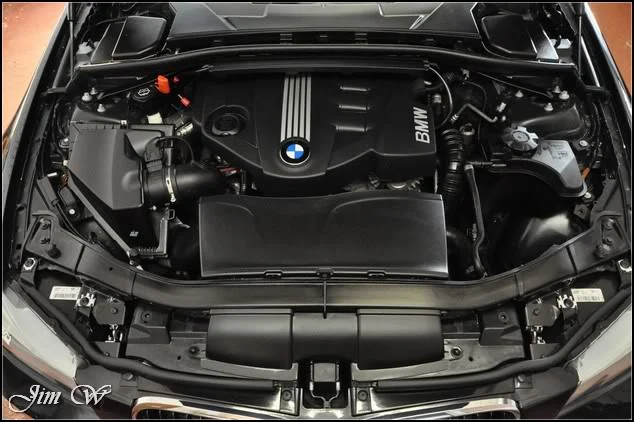
Engine bay dressed at this point with AutoGlym Vinyl and Rubber Care:
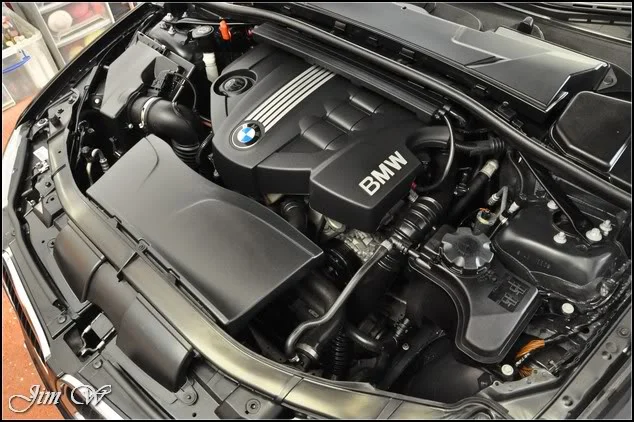
To finalise the machine polishing work, I had both the front and rear bumper to complete.
Another burn through spotted:
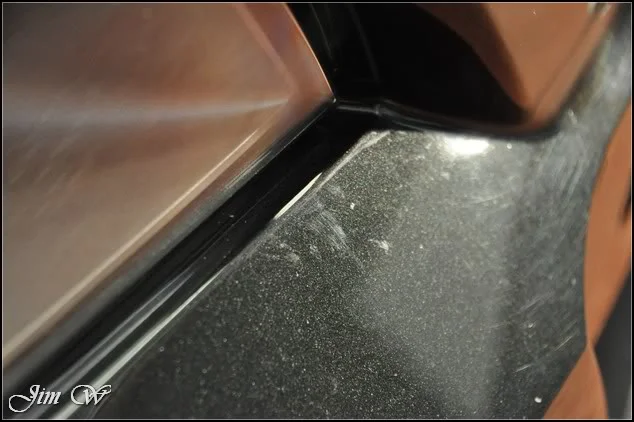
Befores:
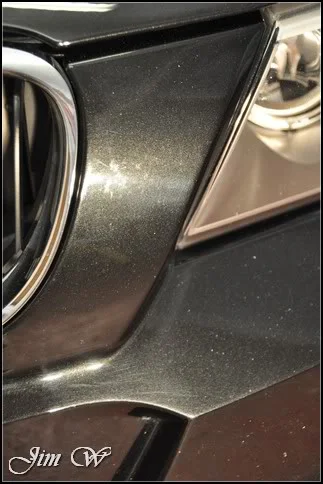
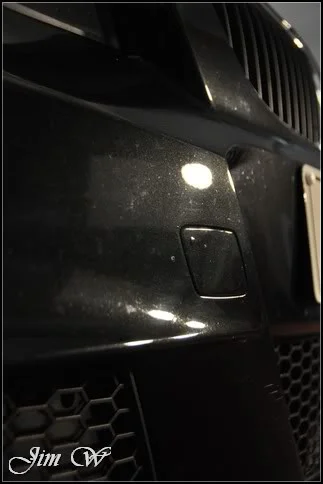
Before/After:
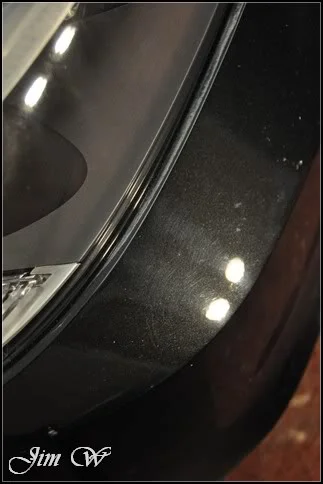
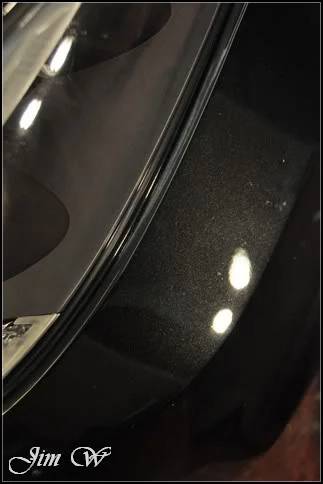
A tricky bumper to work with this…
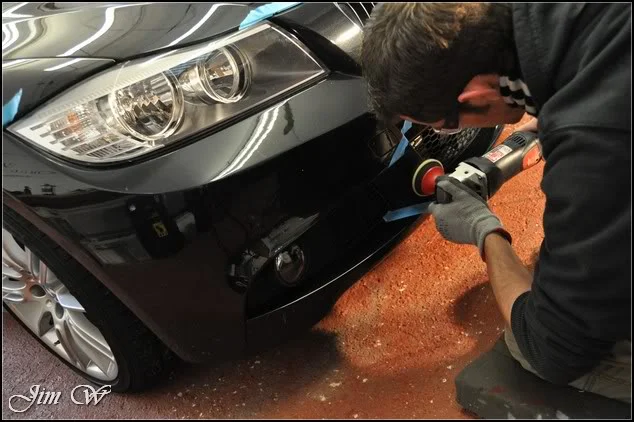
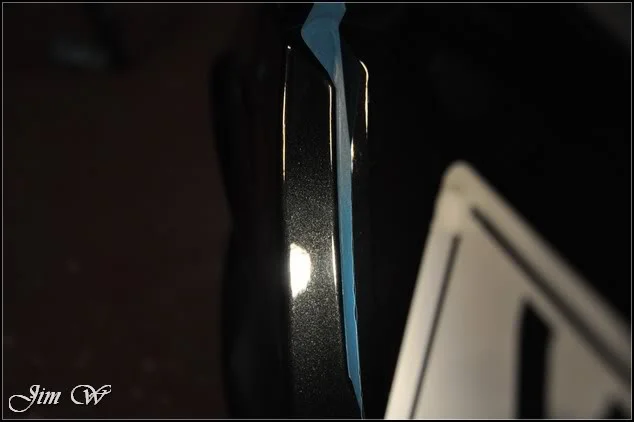
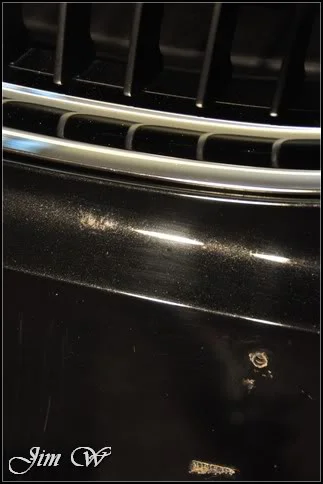
Registration plate removed to gain access to the lip below the chrome grille:
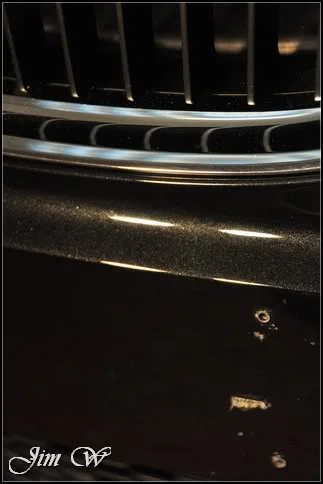
Caution on the O/S corner of the rear bumper; a little ding with stress marks in the paint:
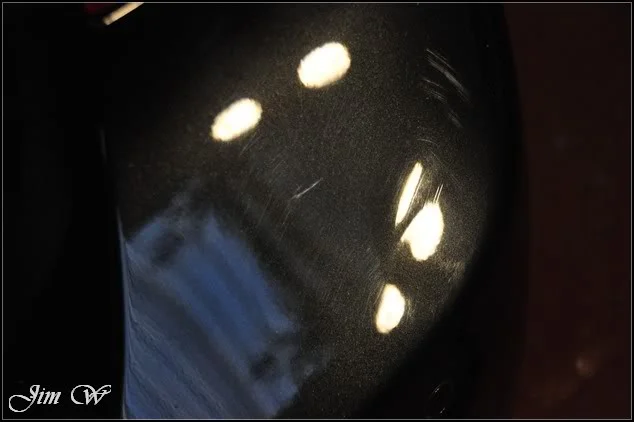
Before/After on bumper lip:
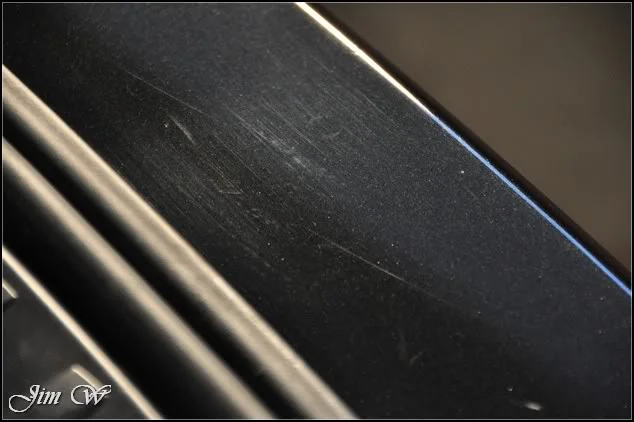
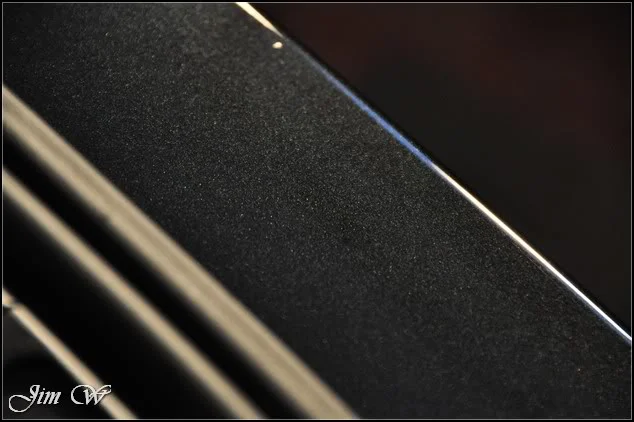
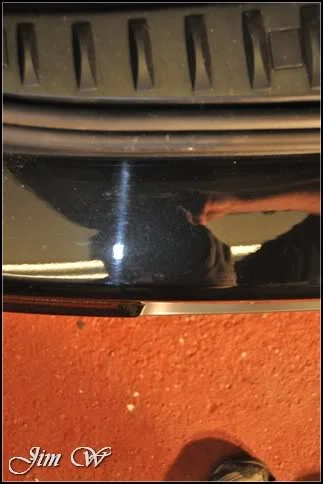
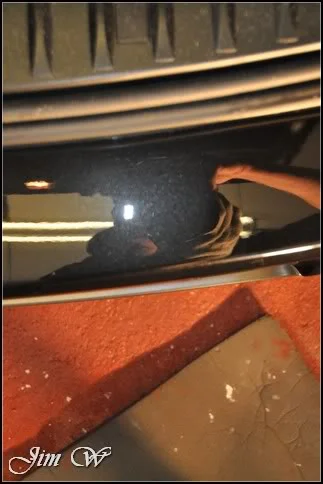
Machine work complete. We’re on Day 3 now.
Car was taken outside and given a thorough rinse to remove polishing dust and the odd bit of splatter etc..
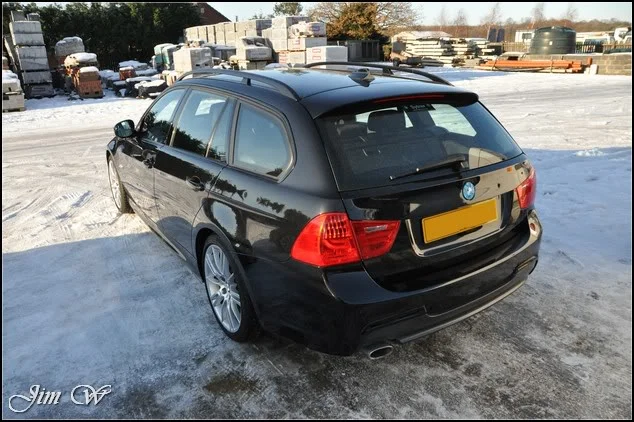
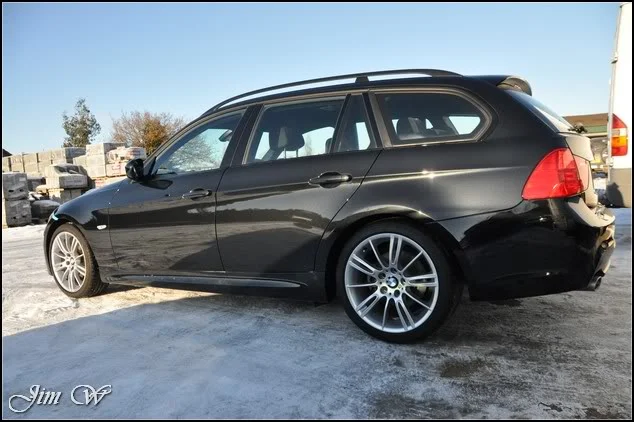
Rinsed with an open-hose to aid drying (sheeting the water over body panels effectively makes the car self-drying! Much less standing water to pick up with the drying towel)
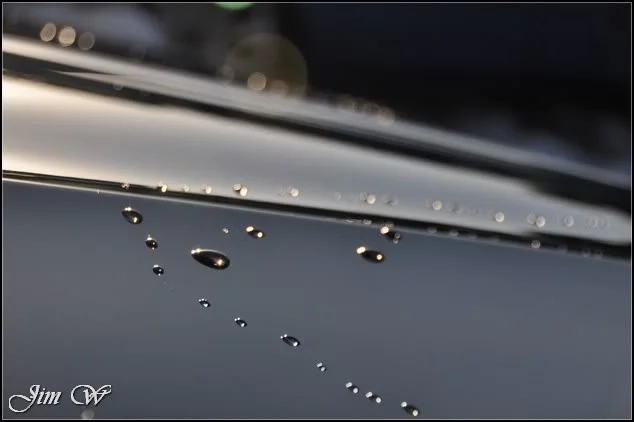
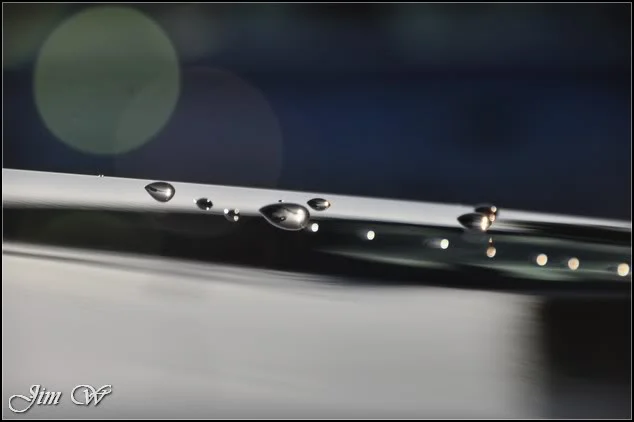
After twenty minutes spent drying the car with the Black Baron Vehicle Dryer, the paintwork was wiped with IPA to remove polishing oils.
The first of three layers of Jeffs Werkstat Jett Trigger applied:
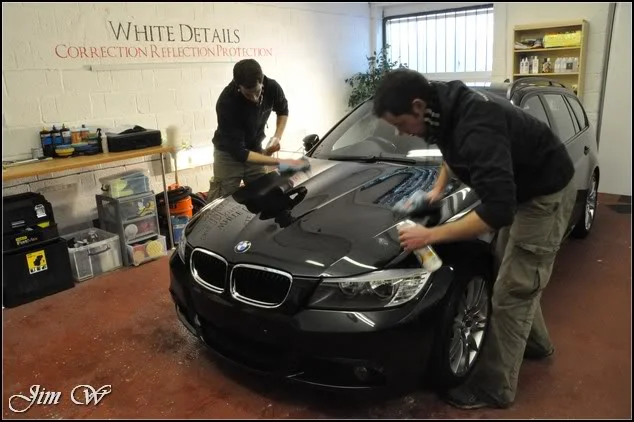
Whilst allowing the first coat of Jeffs to settle, I was asked to see if I could improve the finish on this Fender Stratocaster guitar.
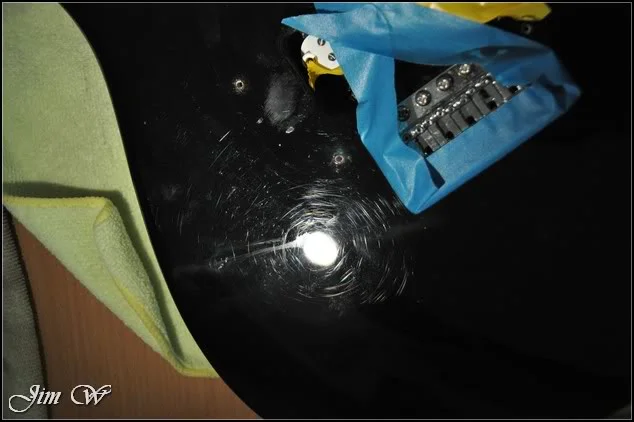
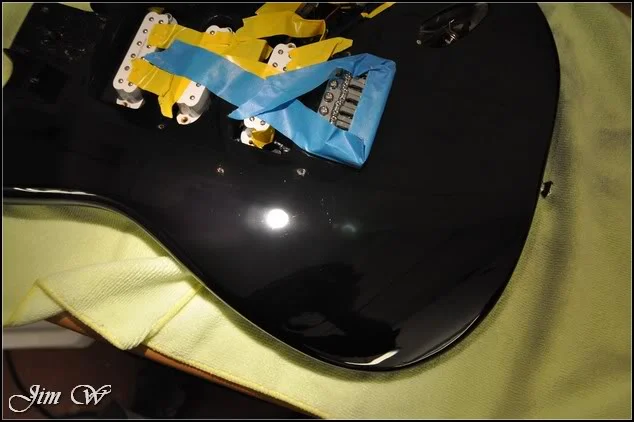
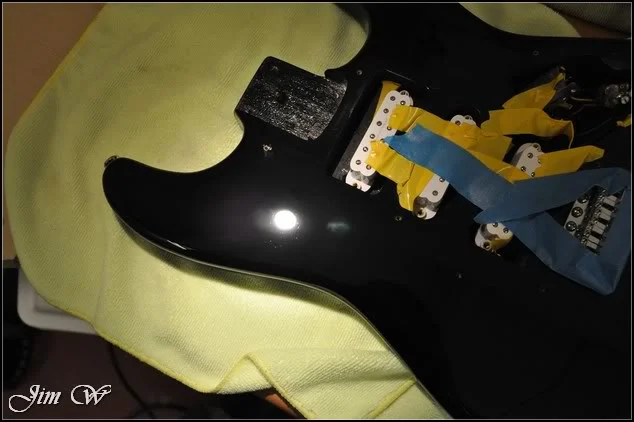
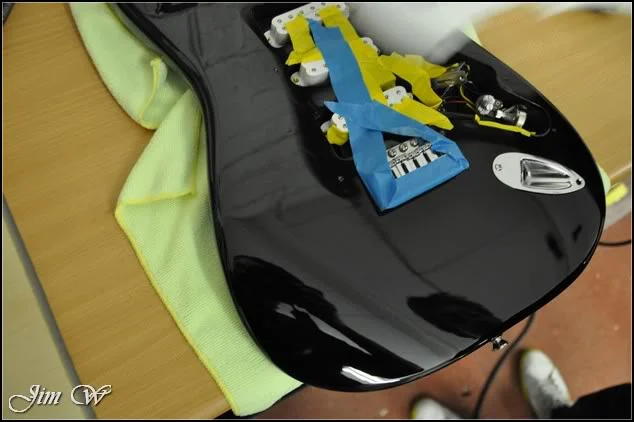
Quite pleased! Looks much better.
Giving the Jeffs sealant a few more minutes to cure before I follow up with the second coat, I treated all the exterior trim/britework to Jeffs Acrylic Prime.
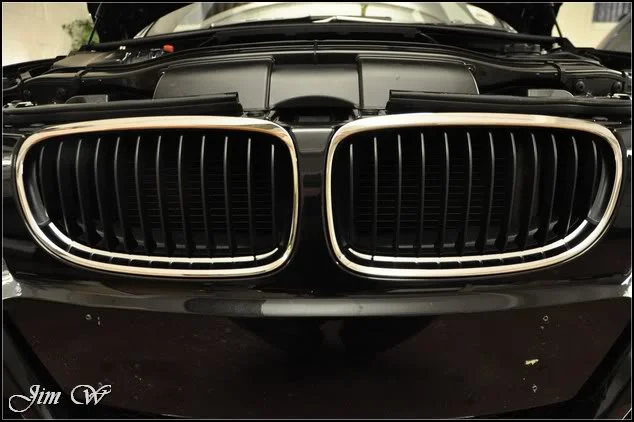
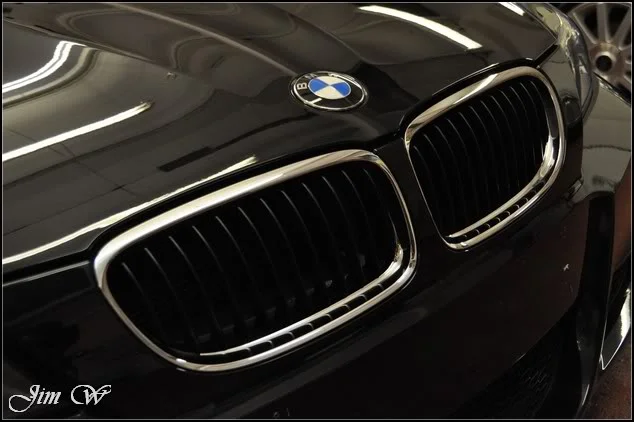
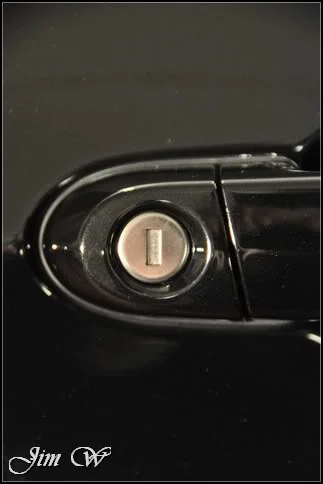
‘Toothpickery’ work:
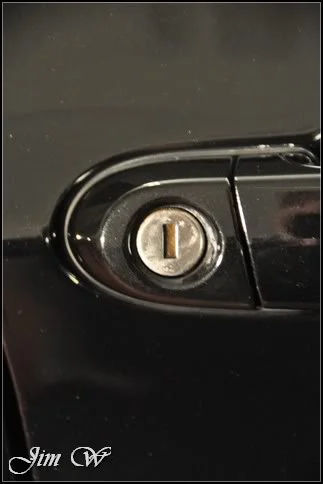
Exhaust cleaned with Autosol:
Before:
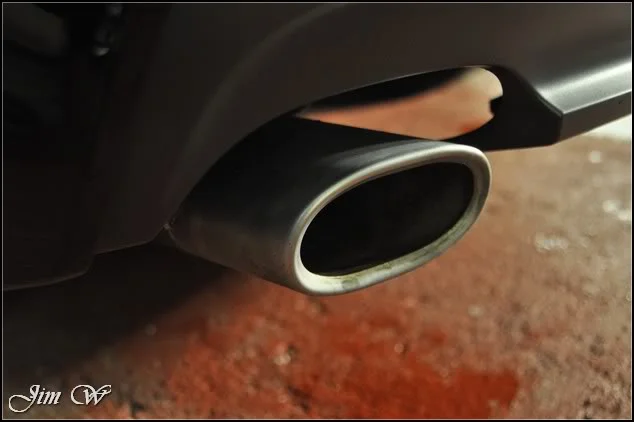
After:
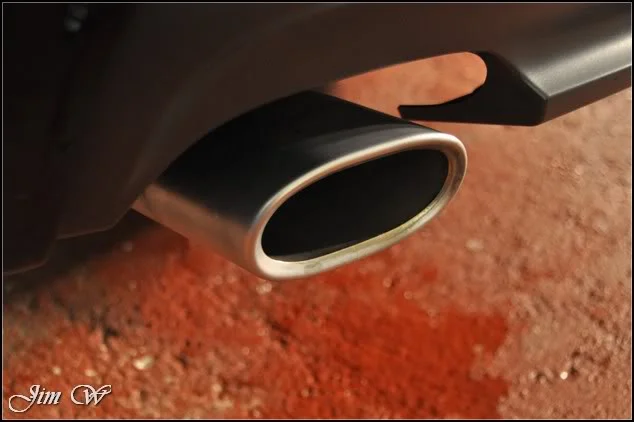
Before:
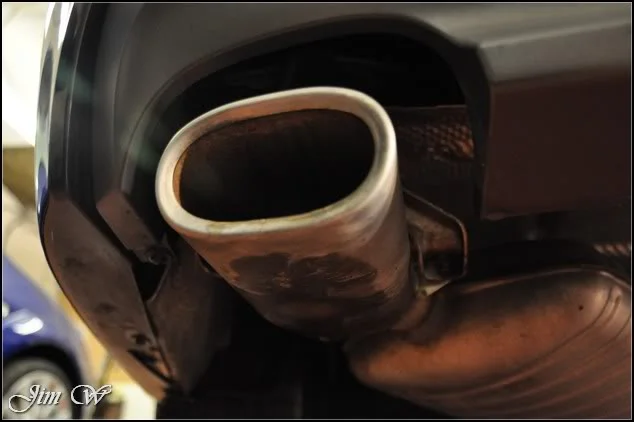
After:
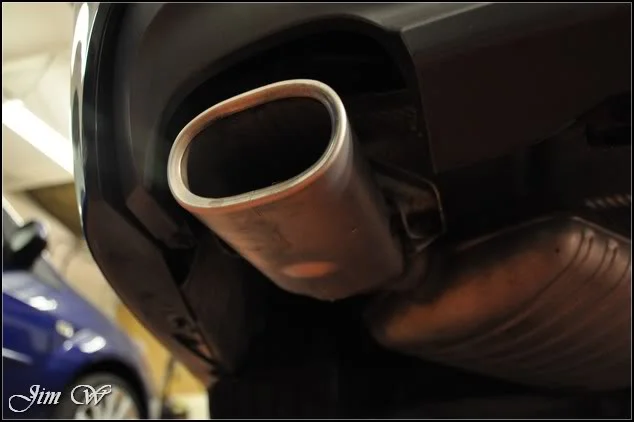
Second coat of Jeffs Jett Trigger applied.
Windows cleaned inside and out with 3M’s Glass Cleaner:
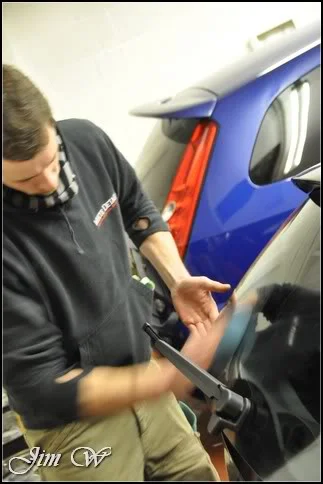
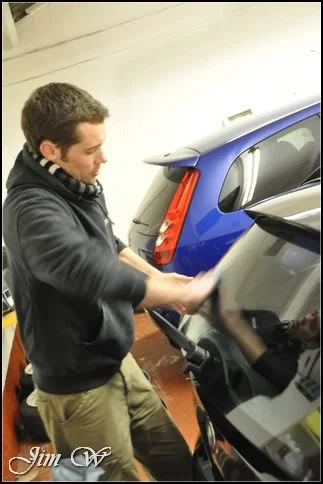
G-Techniq G1 ClearVision Smart Glass applied. “Lasts for up to two years / 30,000 miles making wet weather driving both safer and less tiring. Also keeps windshields cleaner for longer and makes bugs and ice easy to clean off. No smears and wiper blade proof.”
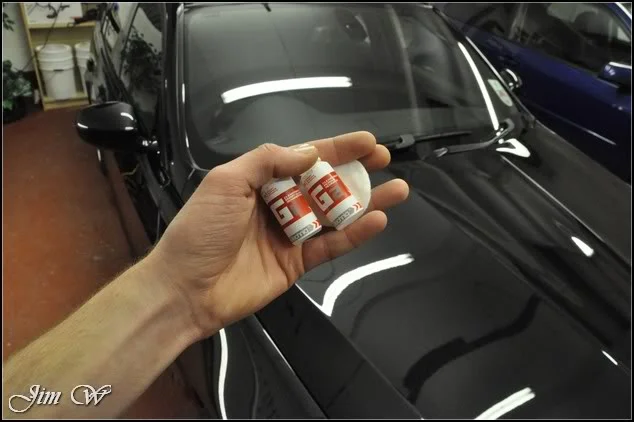
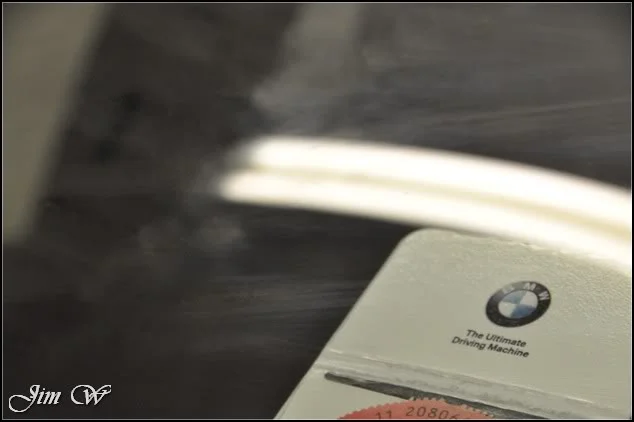
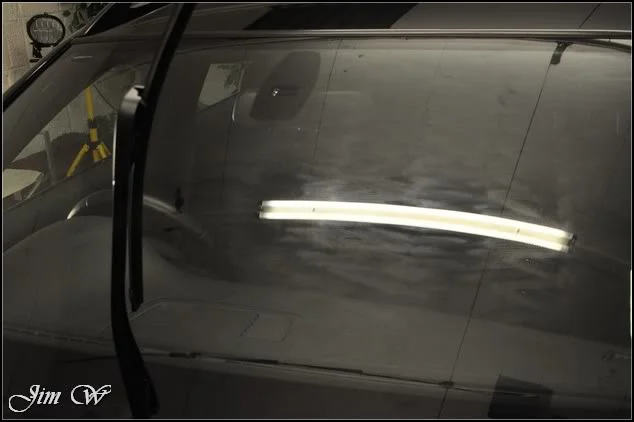
Third and final coat of Jeffs Werkstat Jett Trigger sealant:
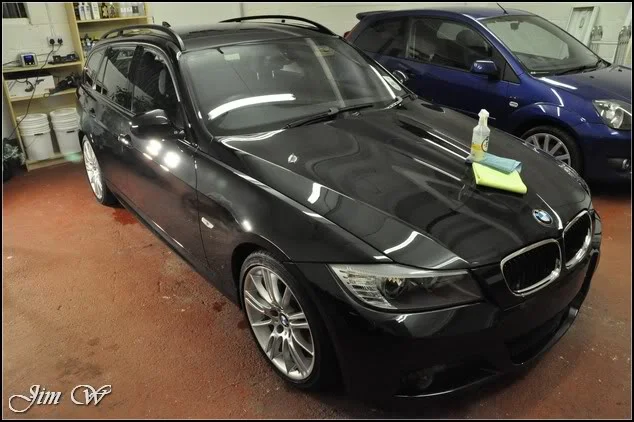
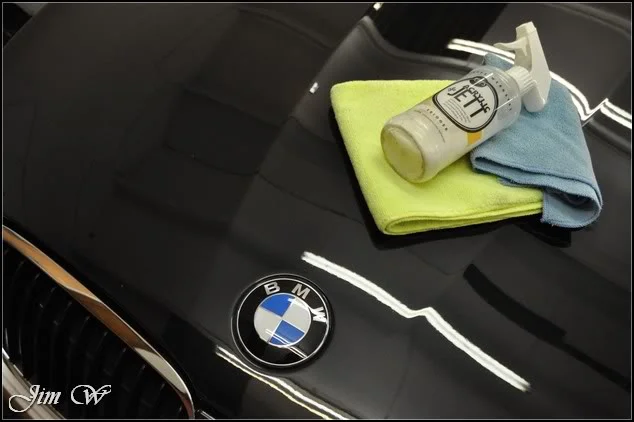
All that’s left is to lightly tickle the interior and apply some rubber mats to protect the carpets on the owner’s request.
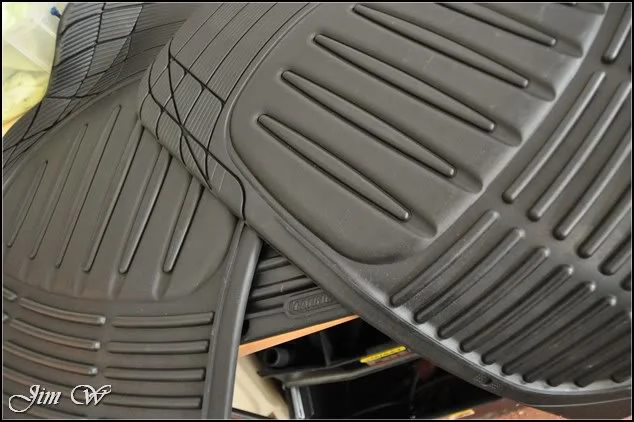
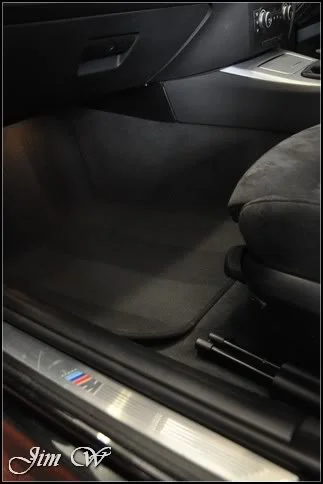
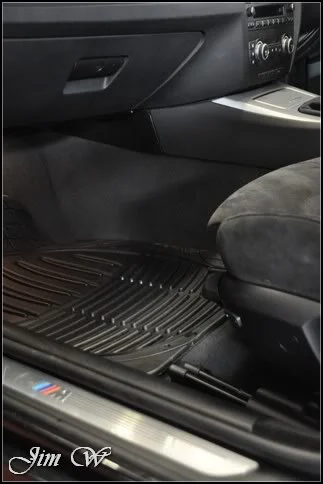
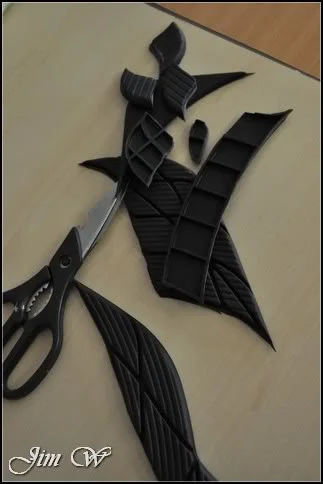
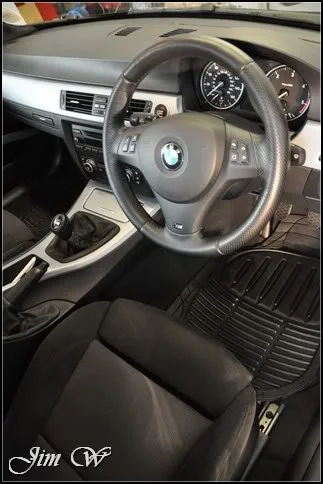
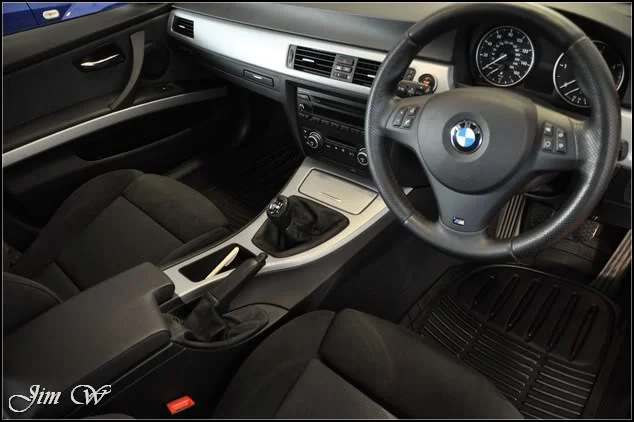
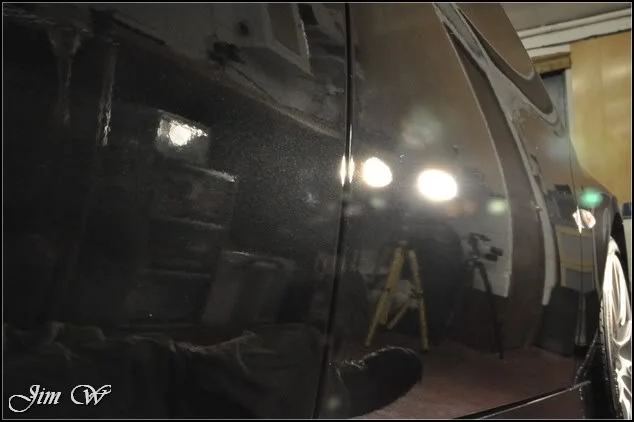
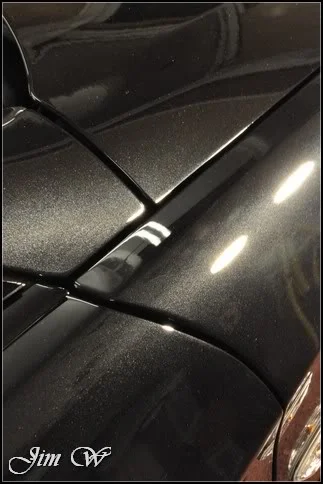
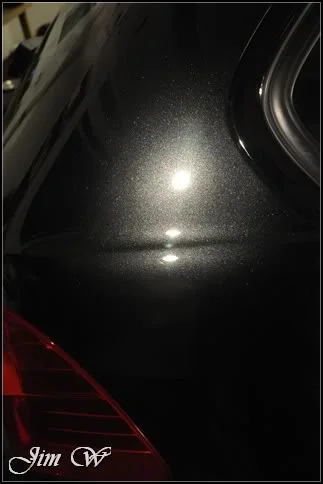
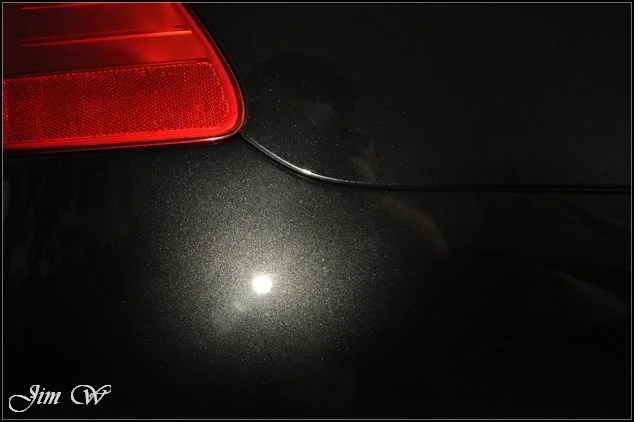
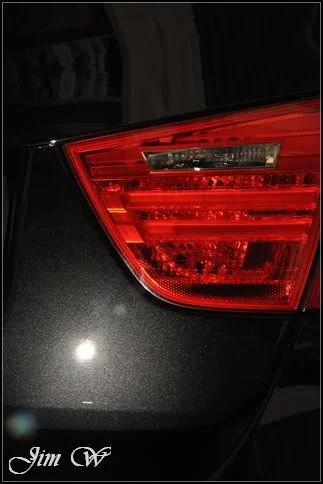
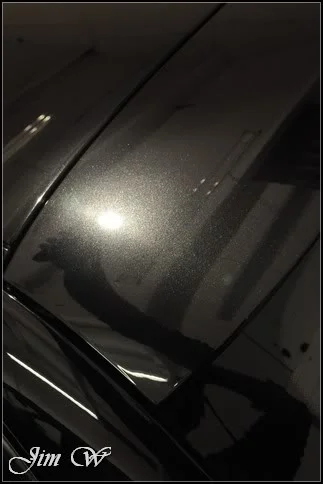
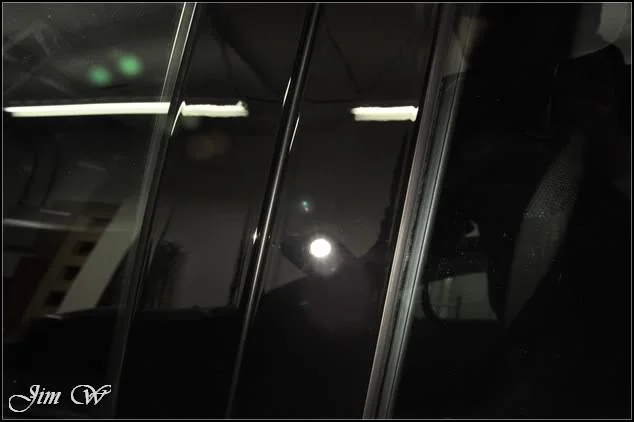
We’re near completion now and I receive an email saying the owner, if I had time before their return, would like the calipers and discs painting! A little back-to-front I know as this should have happened first thing, but what with an afternoon free, I jumped at the opportunity.
As the wheels were now coming off it allowed for a more thorough clean and seal.
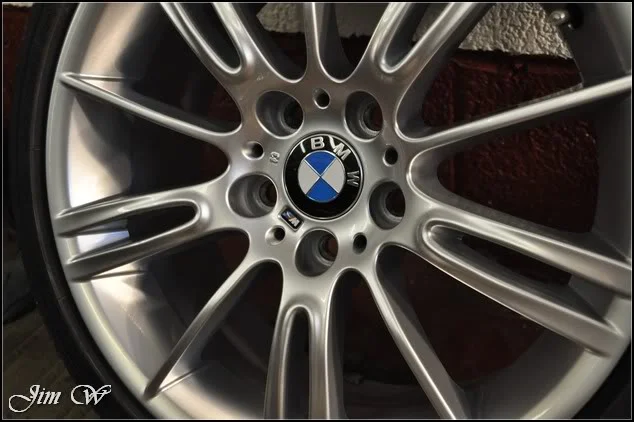
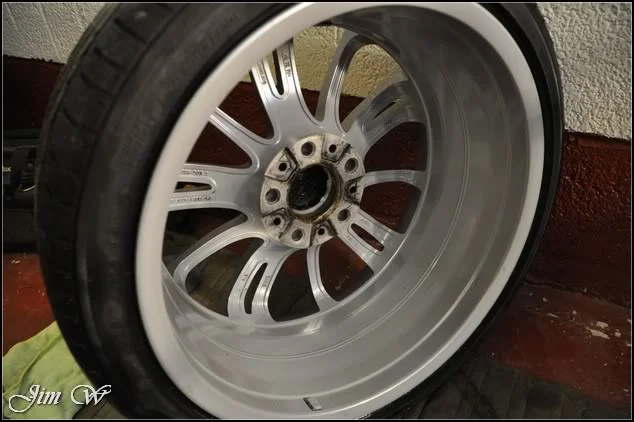
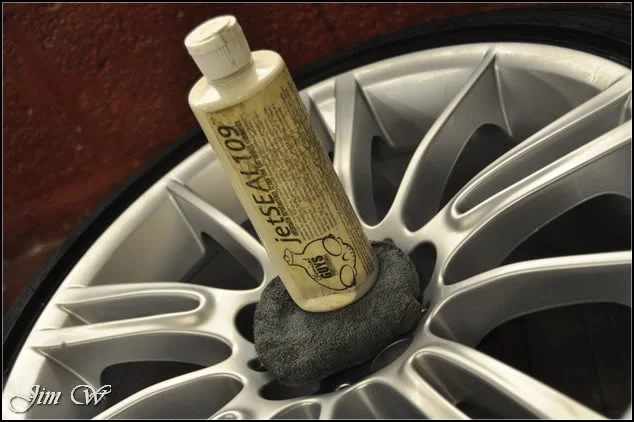
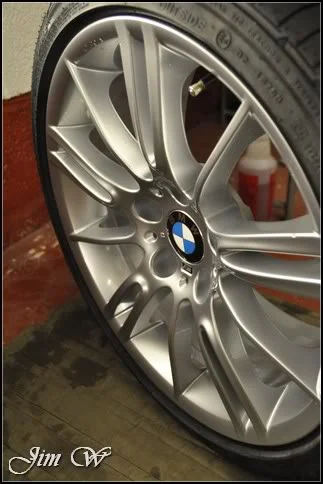
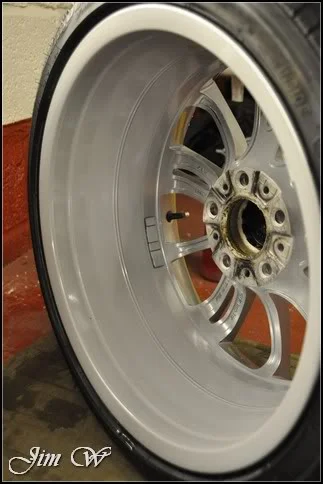
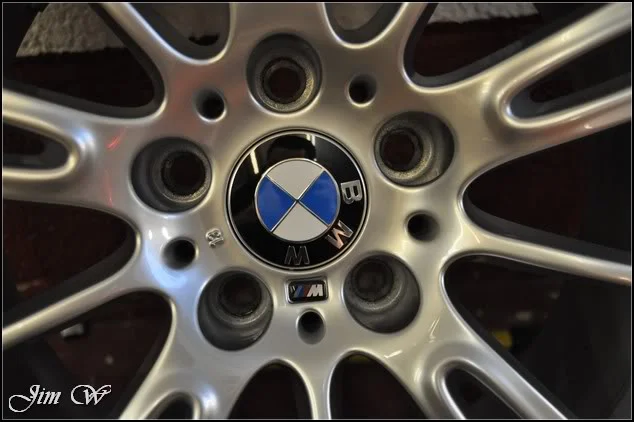
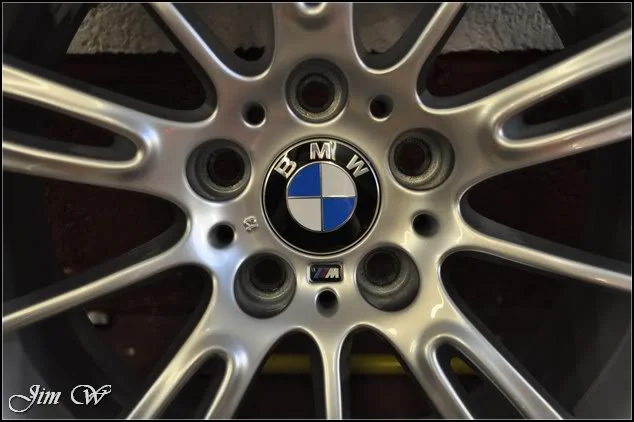
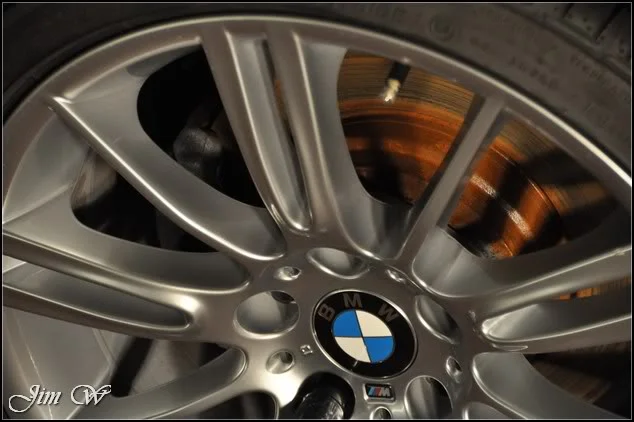
One of the four BMW centre-caps was wonky… I couldn’t help myself!
Before:
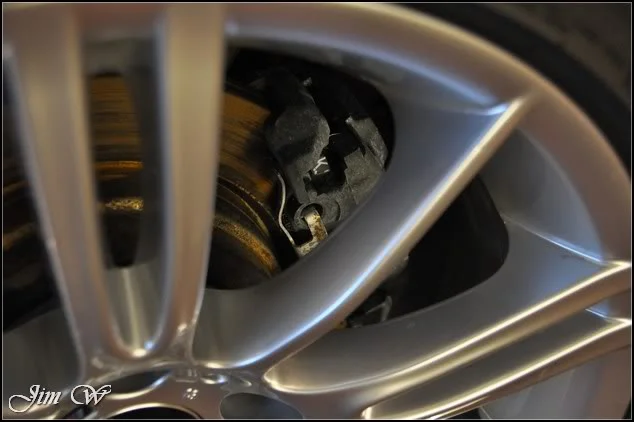
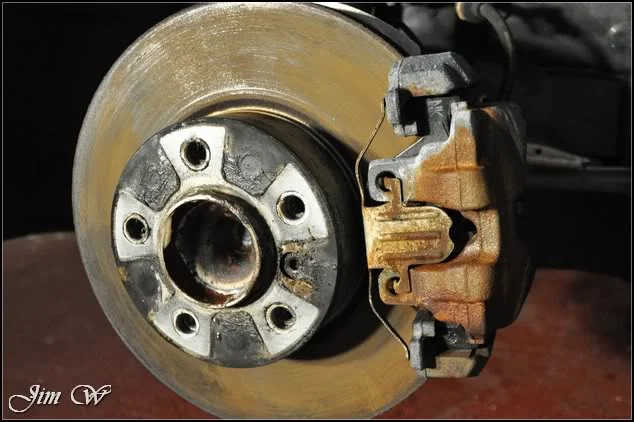
O/S rear brake assembly before cleaning/painting:
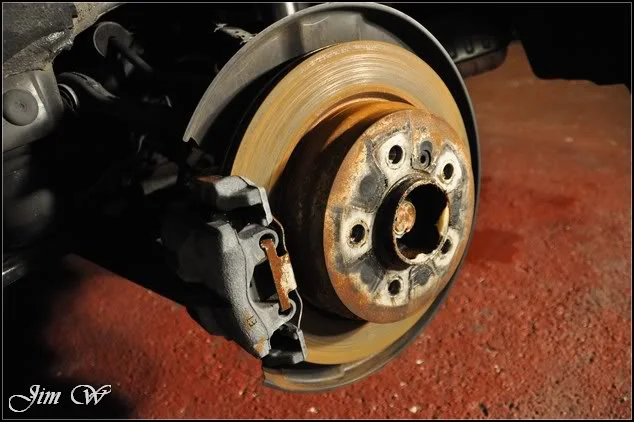
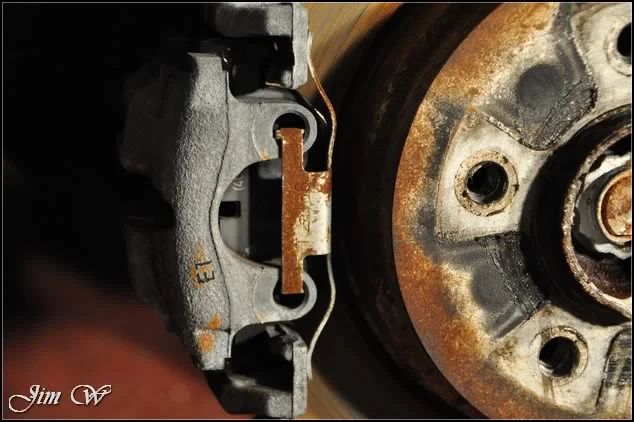
Wire brushed and brake cleaner used to prep the surfaces:
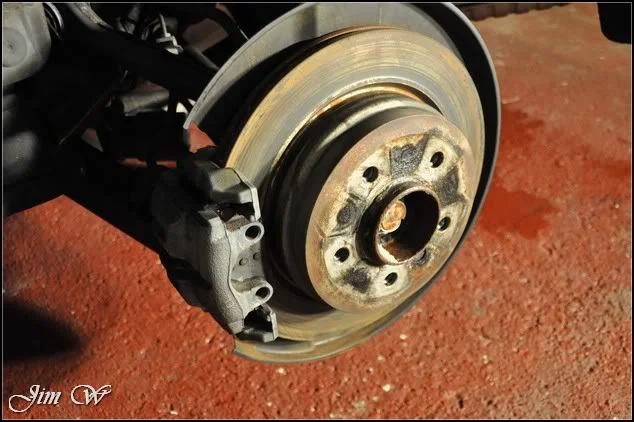
Two coats of smooth silver high-temp paint later and looking much neater:
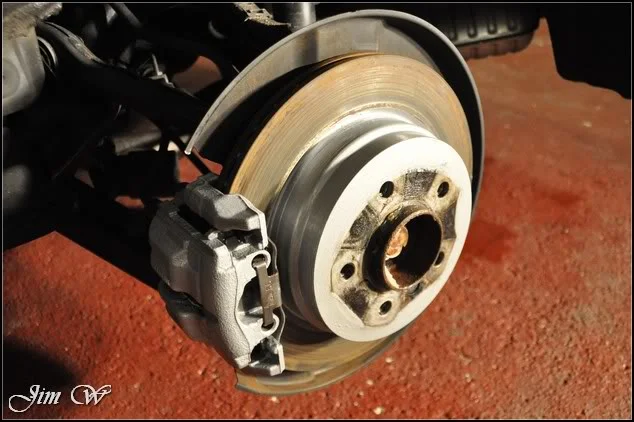
Before/After:
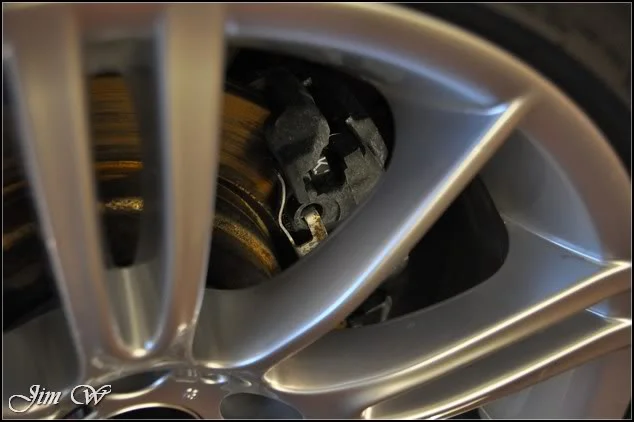
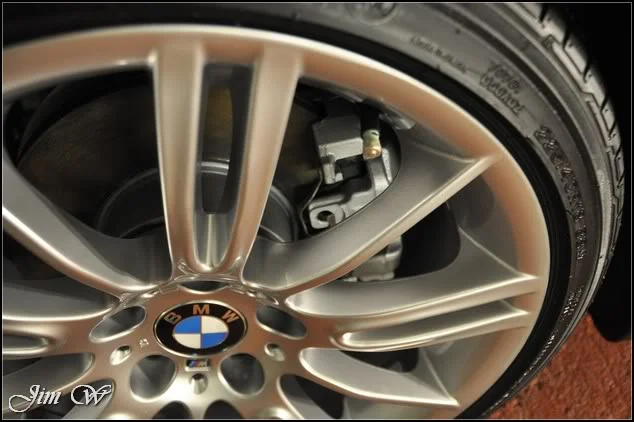
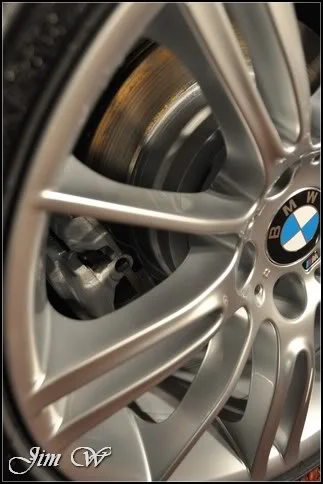
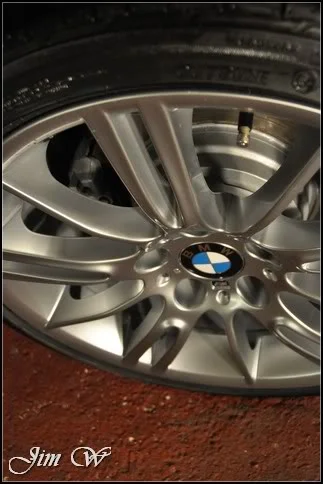
The wheels looked to have been recently refurbed pre-sale… It’s a shame one of them sports a sizeable chip on one of the spokes!
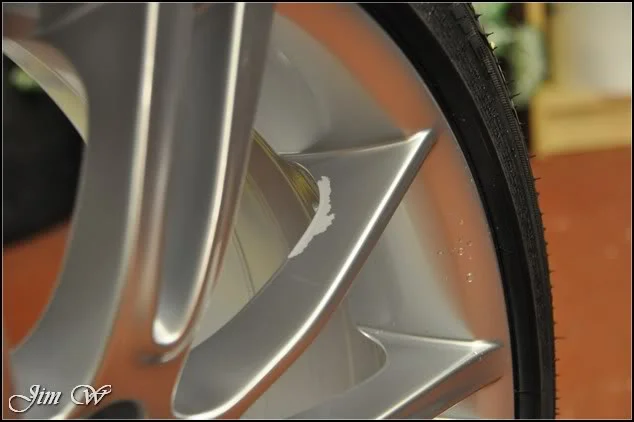
All put back together and wheels correctly torqued.
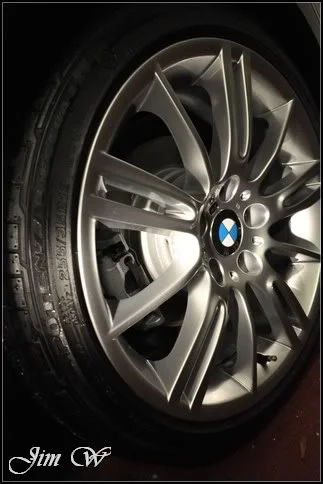
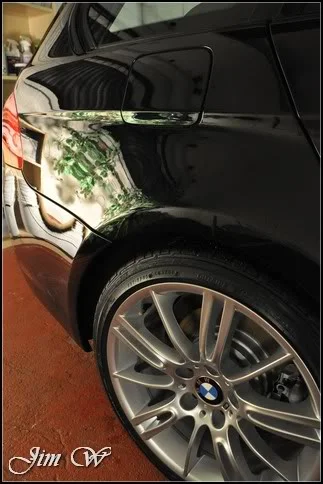
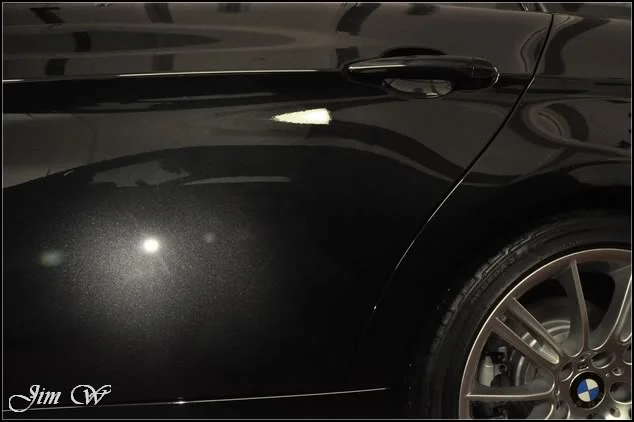
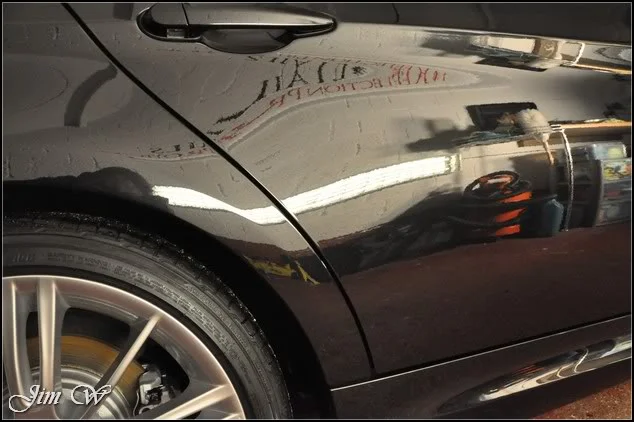
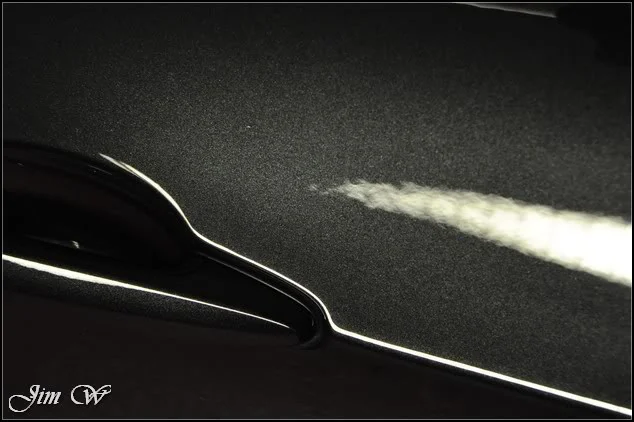
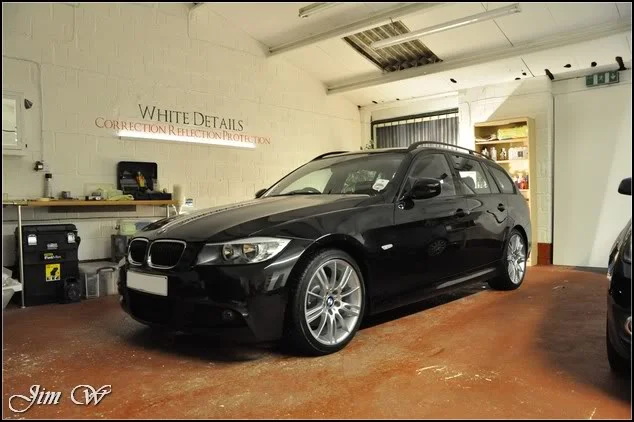
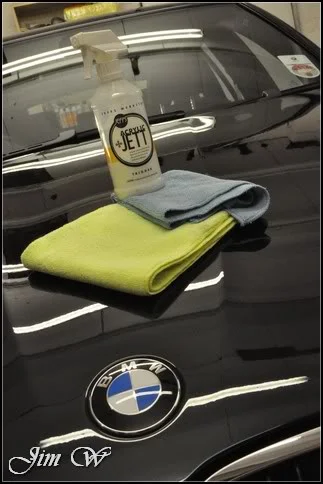
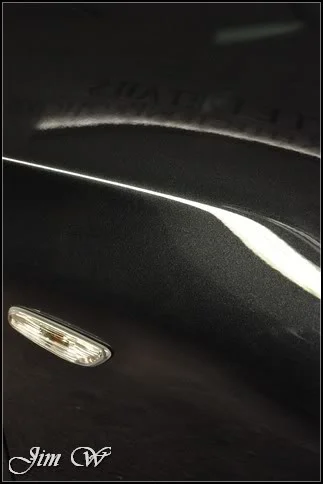
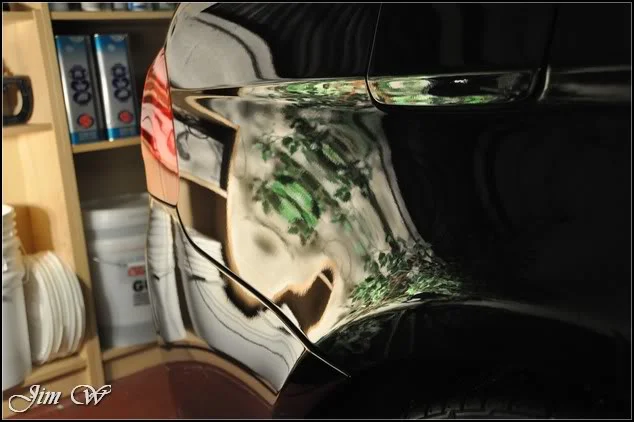
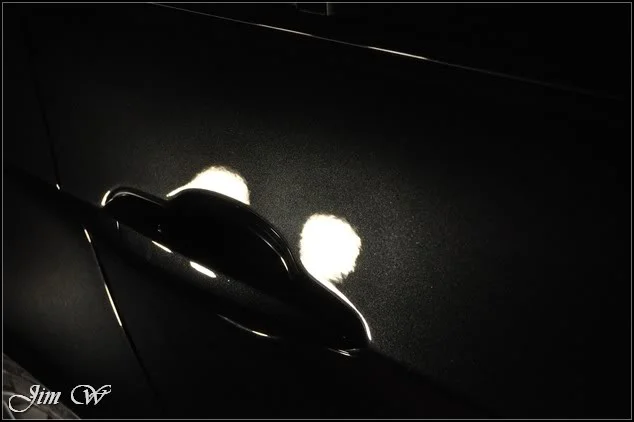
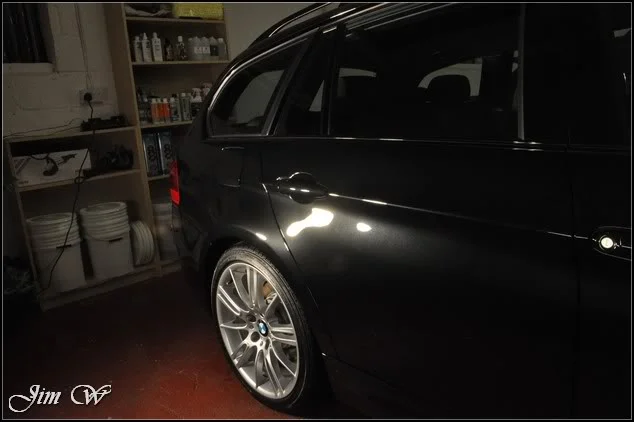
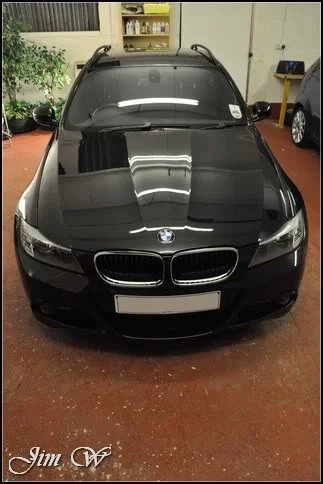
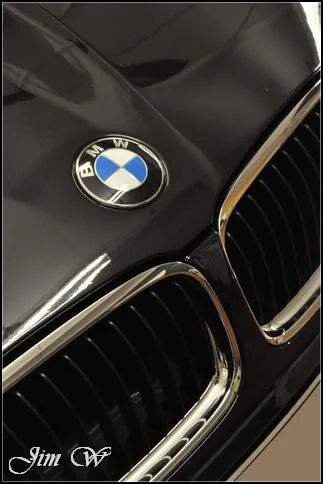
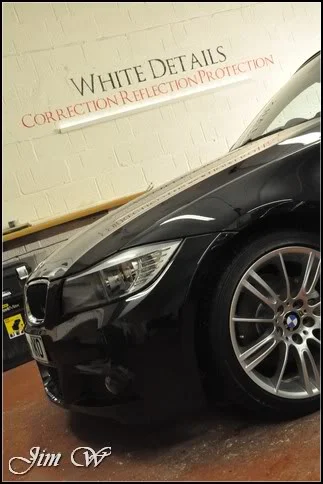
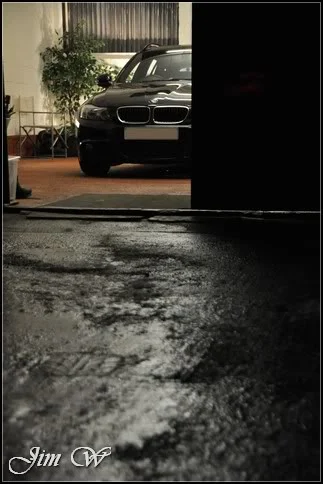
Collection day.
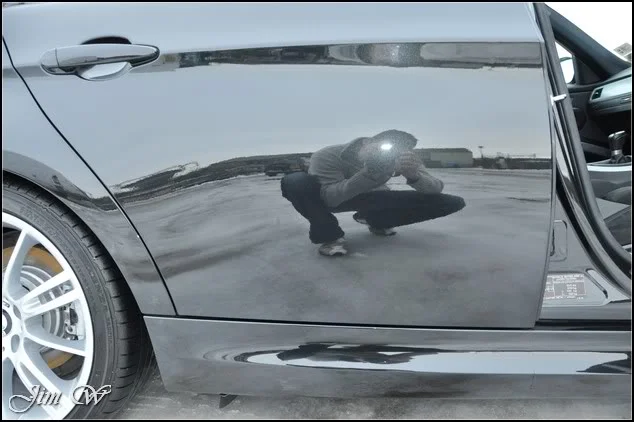
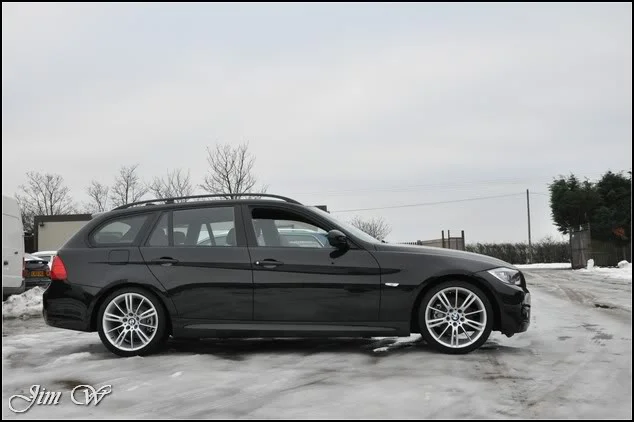
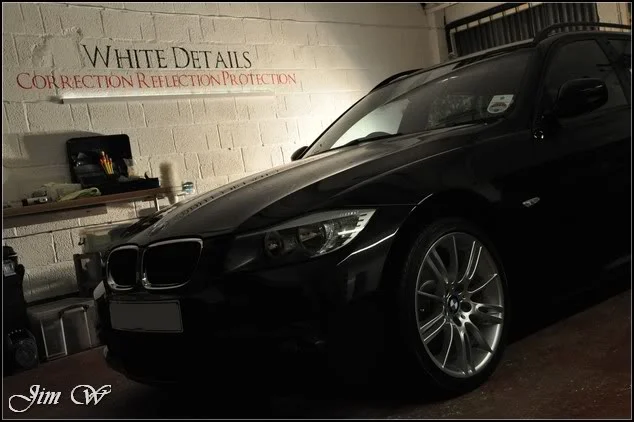
How the car should have been presented to the new owner in the first place:
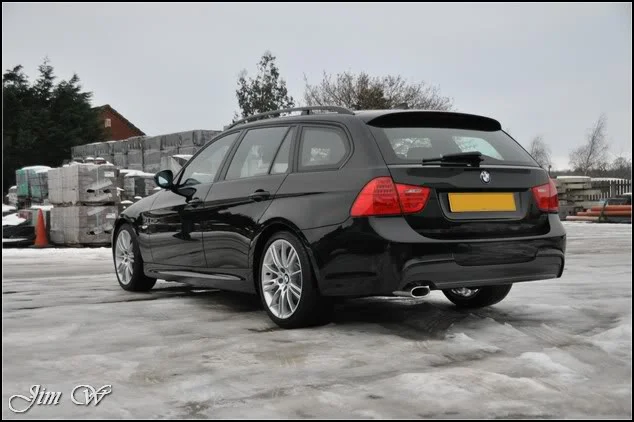
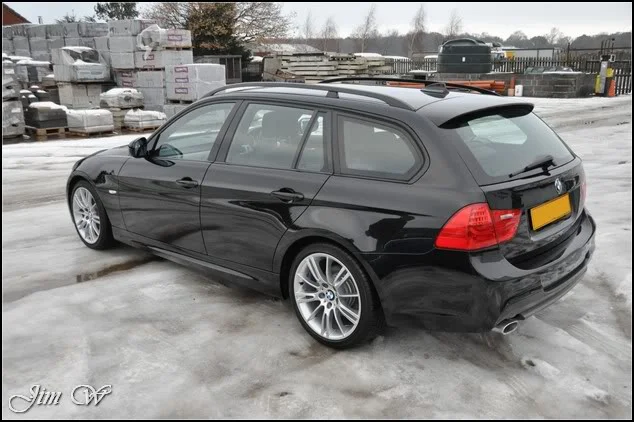
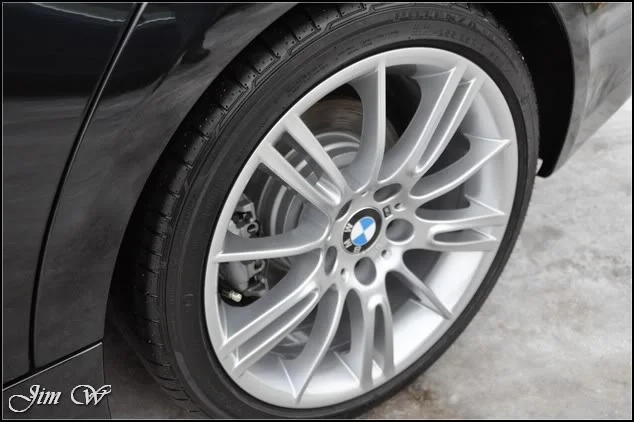
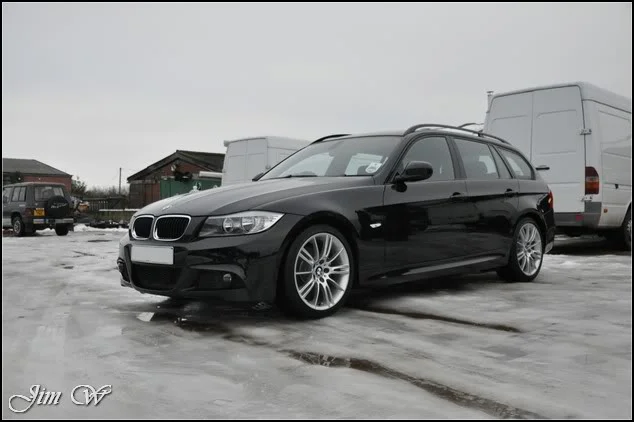
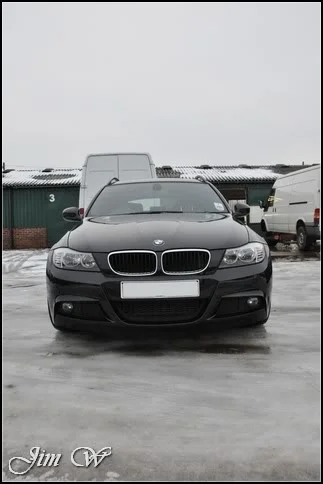
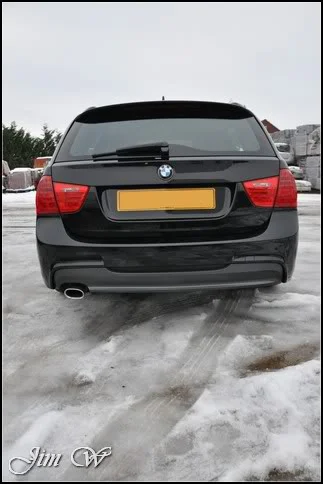
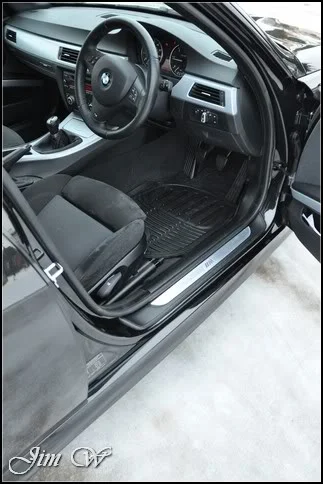
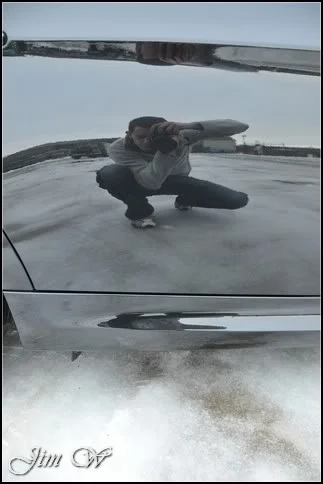
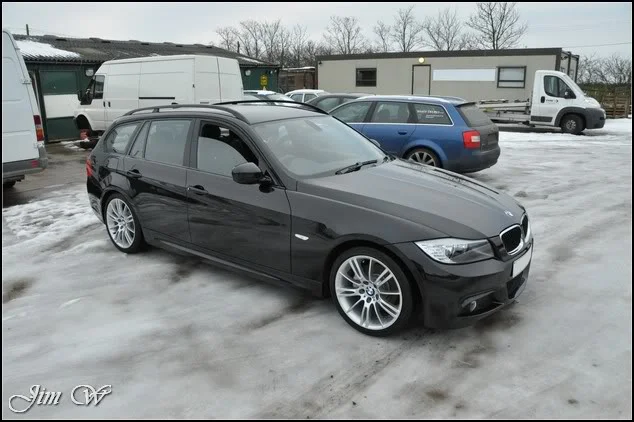
And fini.
Over the space of 4 days, 30 hours were put into this one. A very enjoyable detail and a pleasure to help transform someone’s new pride and joy.
Thanks for reading.
Jim
Thursday 2nd December, my customer collects his new car (a 2008 e92 320d M-Sport Tourer with 25k on the clocks) from the BMW dealership.
Monday 6th December, the car is handed over to WhiteDetails to give it that ‘like new’ feeling.
Arrangements were made so that whilst the customer was in Europe on a work visit, the car would be left with me for a week and on their arrival back in the Country I’d offer a pick-up service from the airport to take them straight back to the fully prepped car
It’s going to be a big report this, some 200 photos; I will try to summarise the job in a handful of images before going on to write the usual in-depth report.
Summary
After collection from the BMW dealer, the car was garage until the 5th and then driven direct to WhiteDetails.
Inspection/Processes/After:
In-depth…
Product
· 3M Glass Cleaner
· 3M Ultrafina
· 3M Fast Cut+
· AutoGlym Vinyl and Rubber Care
· AutoSmart G101
· AutoSmart Tardis
· Autosol
· Brake Cleaner
· Belgom ALU
· Chemical Guys JetSEAL 109
· Dodo Juice Born To Be Mild
· Elite Mild Grade Clay Bar
· G-Techniq G1 & G2 Glass Sealant
· Hammerite Smooth Silver high-temp paint
· Iron-X
· Jeffs Werkstat Jett Trigger
· Jeffs Werkstat GLOS
· Meguiars Last Touch
· Meguiars Super Degreaser
· Meguiars All Season Dressing
· Menzerna 85 RD 3.02 Power Finish
· Menzerna 106FA
· Optimum No Rinse
Full inspection:
Renowned for their corroded brake assembly, this BMW was no different.
For the wash stages the camera took a back seat; it was well into minus double-figures out there and my fingers could barely operate the pressure washer nevermind a fiddly camera.
See here, the pre-foam that was delivered to help safely remove any surface dirt froze pretty much straight away!
All wheels, arches, the engine-bay and bodywork were washed with the usual safe methods.
Bringing the car inside to clay, I found there was very little in way of contamination. One or two tough areas on the roof and the rear quarters but overall, a ‘clean’ car.
After covering a few pieces of trim to protect them from the rotary pads, it was time to take a better look at the paint condition:
Several areas suffered badly from hazing and micro-marring caused by previous machine polishing/bodyshop work.
Two strange dull patches just above and below the camera flash:
Buffer trails from previous machine polishing:
More nasty defects around the drivers’ door handle:
And this, I can’t quite work out what’s caused it… A semi-circle of pig-tails/micro-marring (tiny scratches possibly caused by sanding/repair work) also on the driver’s door:
(Remember, this car had only left the BMW showroom just four days ago)
On to the paint thickness readings starting with the bonnet:
Right, so the bonnet has had fresh paint then! And just to confirm this, these ‘fish-eyes’ in the paint were spotted on the N/S upper edge – poor prep work on the spray stages:
As expected, both doors on the driver’s side (O/S) were showing high paint thickness readings.
The tailgate and passenger side (N/S) however were a little low in places:
Starting my polishing set on the bonnet with a yellow 3M polishing pad and Menzerna 203s … The results were good but a higher percent of correction was needed. Stepping up to Menzerna 85 RD 3.02 gave better results but a couple of areas still required multiple hits and or the addition of 3M Fast Cut + to give the extra bite.
Bonnet 50/50s:
Before:
After:
Before:
After:
Remember the grey-haze and dimples on the upper edge of the bonnet?
Before/After:
Bonnet after:
Continuing to work down the O/S of the car with a similar approach:
Results were good but this one was a little too deep to comfortable chase out completely:
Likewise, these fingernail/key scratches on the door handle could only be improved:
O/S rear door after correction:
During refinement:
After refinement:
O/S rear quarter before/after:
Tailgate face before:
And after correction and refinement:
Compromise had to be made however; full correction was not obtainable due to the lower paint thickness readings. Sacrificing already thin paint for the sake of one or two hairline scratches wasn’t on the agenda.
Bonnet, tailgate and O/S complete:
Spinning the car round, it was time to start the N/S.
Low down on the front passenger door, more bodyshop marks were spotted. How can a dealer/bodyshop let a car leave in this condition?
The combination used elsewhere on the car barely made a difference:
Requiring multiple hits and an aggressive approach, I was able to correct >80% of the defects. As mentioned above however, the N/S paint thickness readings were low so compromise had to be made yet again!
Before/After:
Before/After:
Before/After:
Oops, a little burn through spotted:
Moving onto the gloss black B/C pillars.
Before/After:
And with the brinkman:
Before/After:
Nearside now complete.
Checking my work as I spin the car back around:
Engine bay dressed at this point with AutoGlym Vinyl and Rubber Care:
To finalise the machine polishing work, I had both the front and rear bumper to complete.
Another burn through spotted:
Befores:
Before/After:
A tricky bumper to work with this…
Registration plate removed to gain access to the lip below the chrome grille:
Caution on the O/S corner of the rear bumper; a little ding with stress marks in the paint:
Before/After on bumper lip:
Machine work complete. We’re on Day 3 now.
Car was taken outside and given a thorough rinse to remove polishing dust and the odd bit of splatter etc..
Rinsed with an open-hose to aid drying (sheeting the water over body panels effectively makes the car self-drying! Much less standing water to pick up with the drying towel)
After twenty minutes spent drying the car with the Black Baron Vehicle Dryer, the paintwork was wiped with IPA to remove polishing oils.
The first of three layers of Jeffs Werkstat Jett Trigger applied:
Whilst allowing the first coat of Jeffs to settle, I was asked to see if I could improve the finish on this Fender Stratocaster guitar.
Quite pleased! Looks much better.
Giving the Jeffs sealant a few more minutes to cure before I follow up with the second coat, I treated all the exterior trim/britework to Jeffs Acrylic Prime.
‘Toothpickery’ work:
Exhaust cleaned with Autosol:
Before:
After:
Before:
After:
Second coat of Jeffs Jett Trigger applied.
Windows cleaned inside and out with 3M’s Glass Cleaner:
G-Techniq G1 ClearVision Smart Glass applied. “Lasts for up to two years / 30,000 miles making wet weather driving both safer and less tiring. Also keeps windshields cleaner for longer and makes bugs and ice easy to clean off. No smears and wiper blade proof.”
Third and final coat of Jeffs Werkstat Jett Trigger sealant:
All that’s left is to lightly tickle the interior and apply some rubber mats to protect the carpets on the owner’s request.
We’re near completion now and I receive an email saying the owner, if I had time before their return, would like the calipers and discs painting! A little back-to-front I know as this should have happened first thing, but what with an afternoon free, I jumped at the opportunity.
As the wheels were now coming off it allowed for a more thorough clean and seal.
One of the four BMW centre-caps was wonky… I couldn’t help myself!
Before:
O/S rear brake assembly before cleaning/painting:
Wire brushed and brake cleaner used to prep the surfaces:
Two coats of smooth silver high-temp paint later and looking much neater:
Before/After:
The wheels looked to have been recently refurbed pre-sale… It’s a shame one of them sports a sizeable chip on one of the spokes!
All put back together and wheels correctly torqued.
Collection day.
How the car should have been presented to the new owner in the first place:
And fini.
Over the space of 4 days, 30 hours were put into this one. A very enjoyable detail and a pleasure to help transform someone’s new pride and joy.
Thanks for reading.
Jim