
Here's a nice one for you. (similarly sized to the Clio  :rasp
:rasp
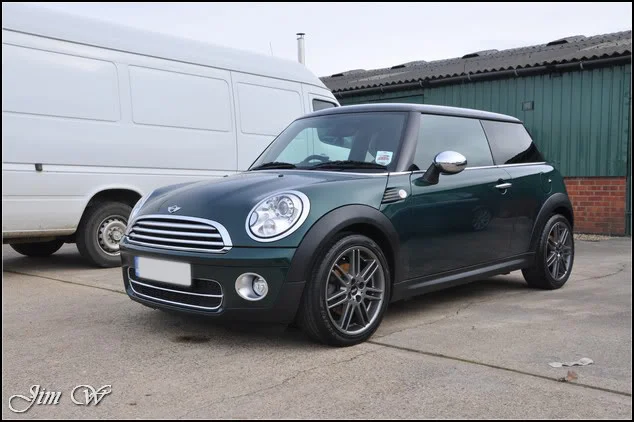
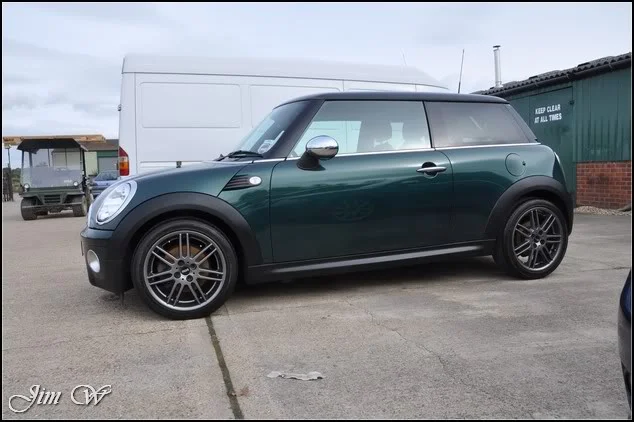
Mini Cooper D – Minor Correction & Engine Bay
Product:
· 3M Glass Cleaner
· 3M FastCut+
· 303 Aerospace Protectant
· Aquartz Iron Cut
· AutoSmart G101
· AutoSmart Tardis
· AutoGlym Bumper Care
· AutoGlym Vinyl and Rubber Care
· AutoSol
· Chemical Guys JetSEAL109
· Chemical Guys New Look Trim Gel
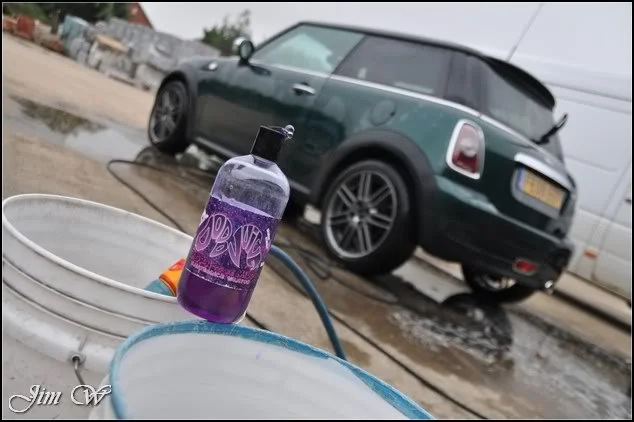
· Dodo Juice Born To Be Mild shampoo
· Dodo Juice SuperNatural wax
· Elite Car Care Fine Grade Clay
· Jeffs Werkstat Prime
· Meguiars Last Touch
· Meguiars Super De-greaser
· Meguiars Wheel Brightener
· Menzerna Power Finish 203s
· Menzerna Final Finish 106FA
Inspection:
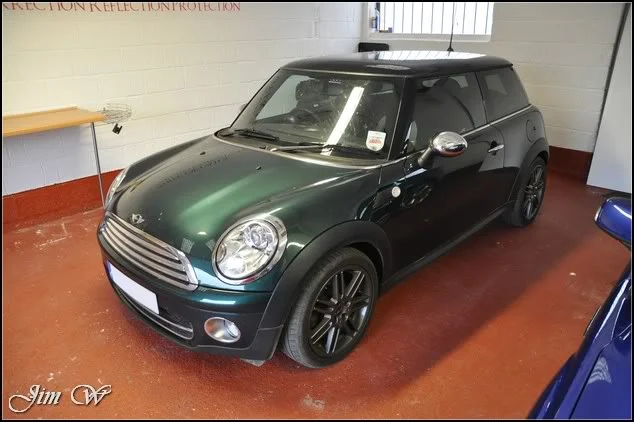
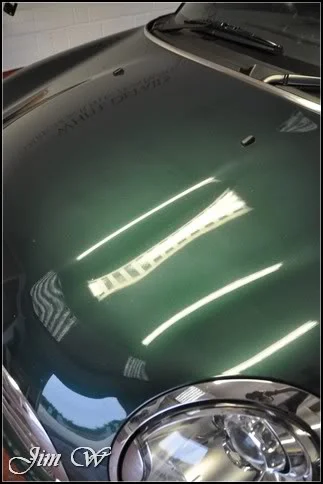
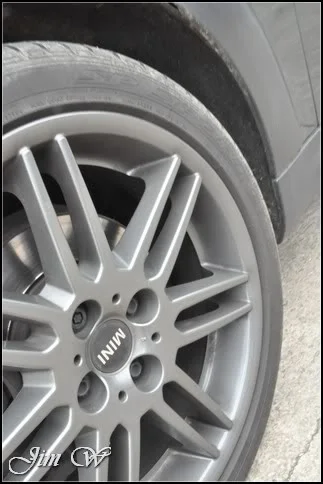
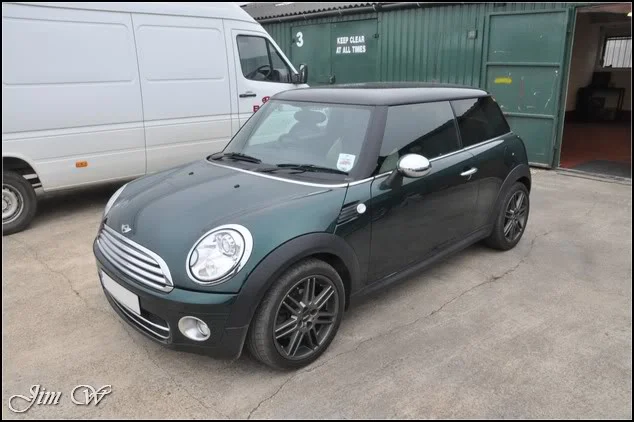
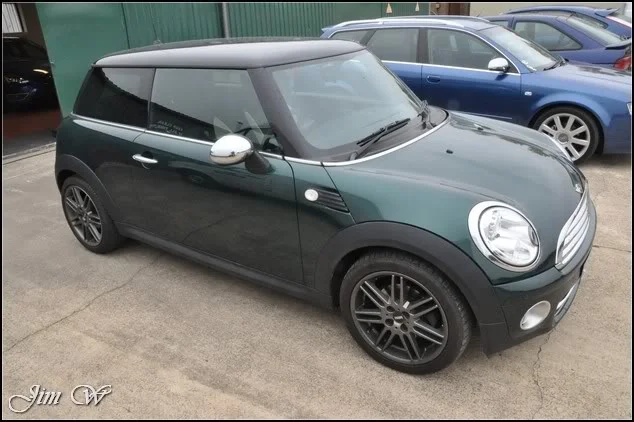
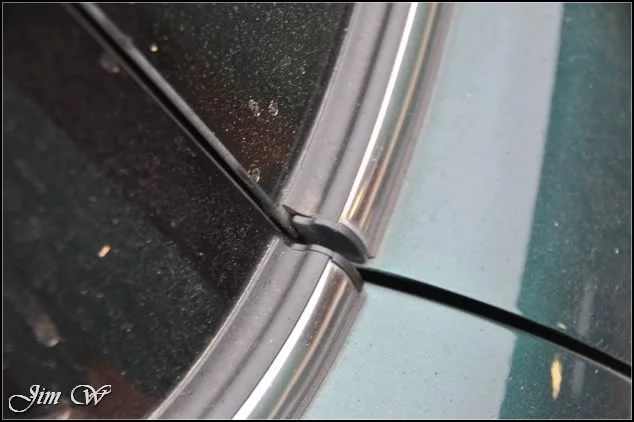
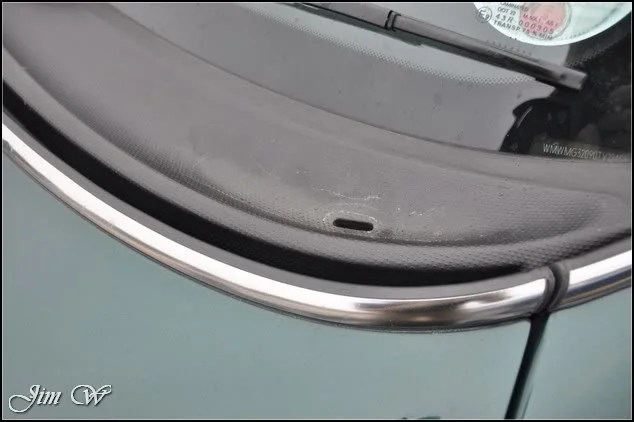
Generally a well looked after example. Paintwork was a little hazy and a tad rough on the edges but overall, in good condition.
No before pictures of the engine I’m afraid. Quite grubby under there though; hadn’t been seen to since new (2008). Dealt with AutoSmart’s G101 and Megs’ Super-Degreaser.
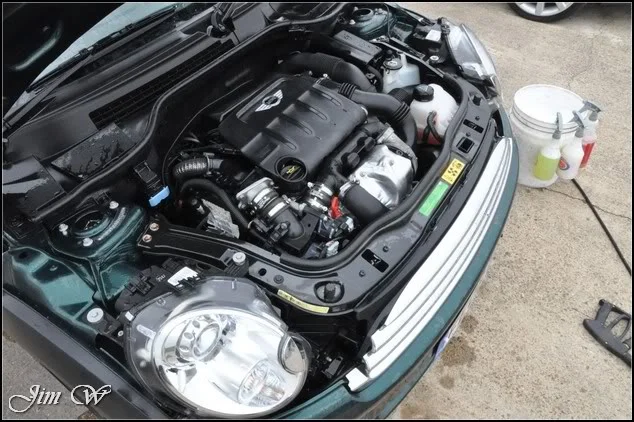
Wheels, tyres and arches cleaned up in the usual manor. IronCut used to help eat into a few thousand mile’s worth of pitting:
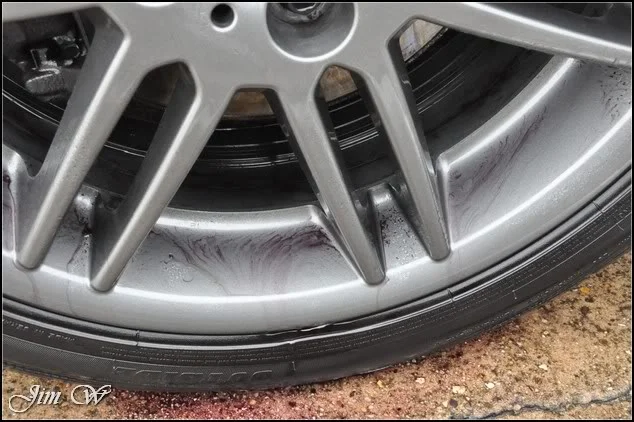
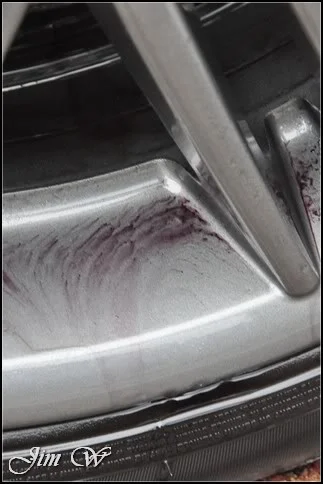
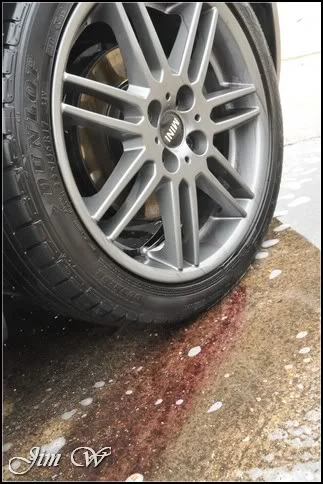
(This IronCut product STINKS. If you’re to use it, do so in a well ventilated area!)
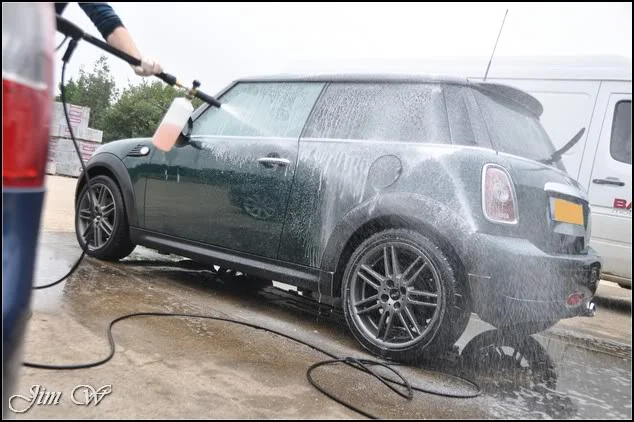
Wash sequence performed – snow foaming the vehicle twice to 1) help soften and lift surface dirt and 2) aid a super-slick (minimal contact) wash
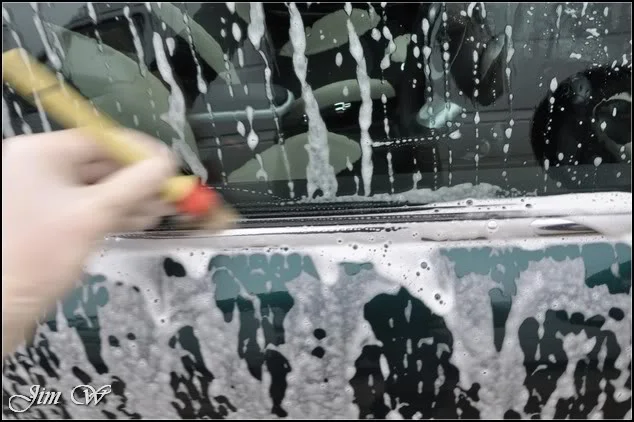
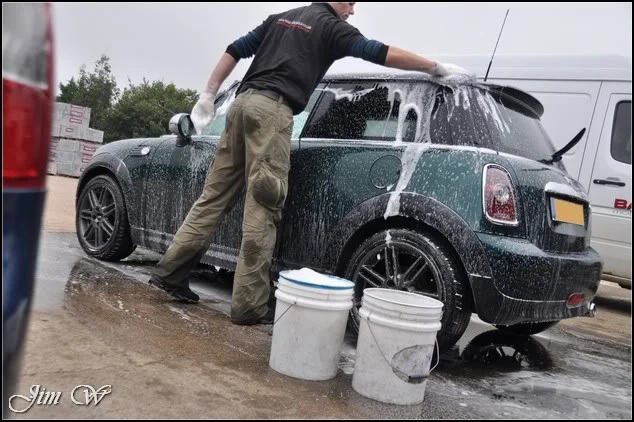
After the two bucket wash, very little protection seen on the panels:
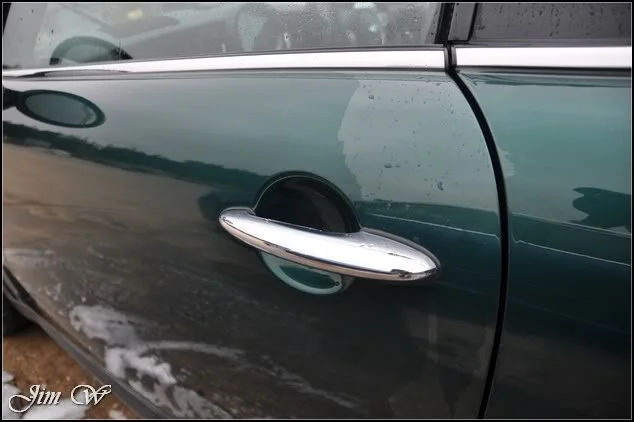
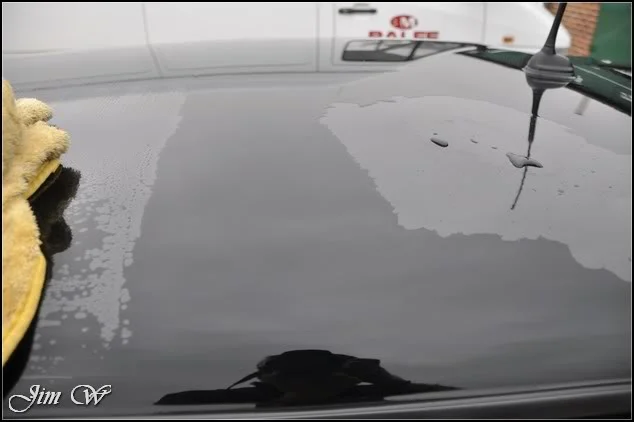
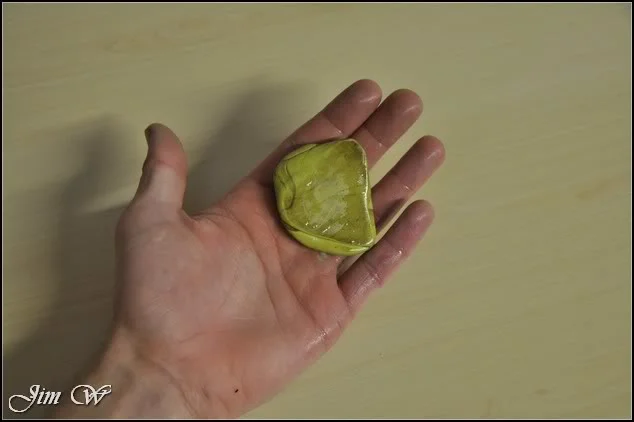
Finally being rinsed with an open hose to assist the drying stage and then taken inside. Tardis used to lift a few tar spots and Elite Car Care’s clay bar used to lift body contaminants.
Using the Black Baron Vehicle Dryer left the car bone dry; time to tape up.
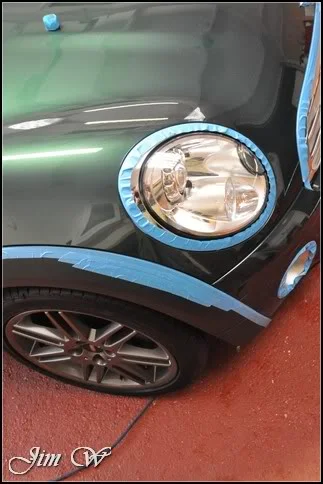
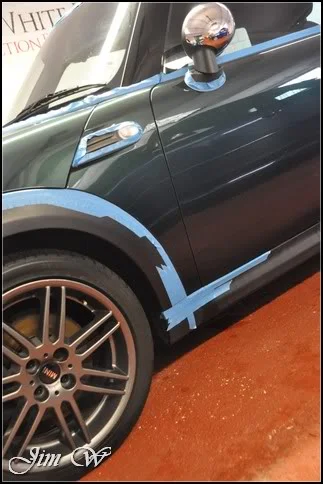
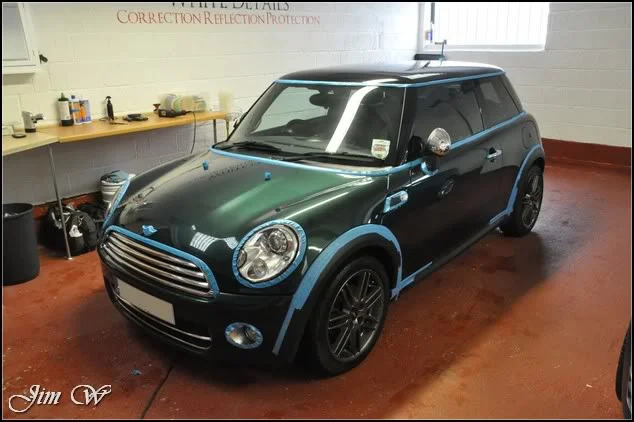
It’s the first time I’ve machined a Mini; tricky little things! Quite challenging with the angles/curves/crevices but overall, quite good fun!
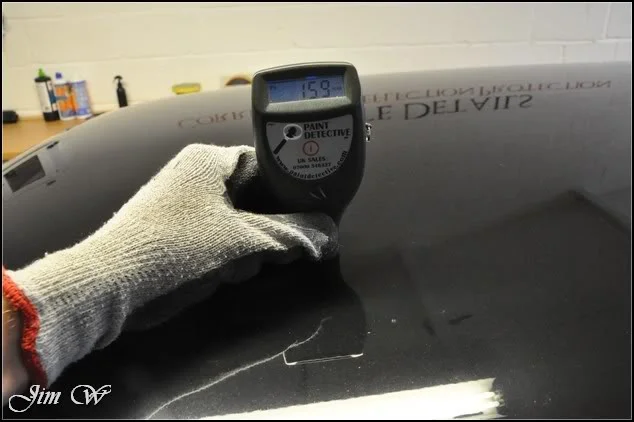
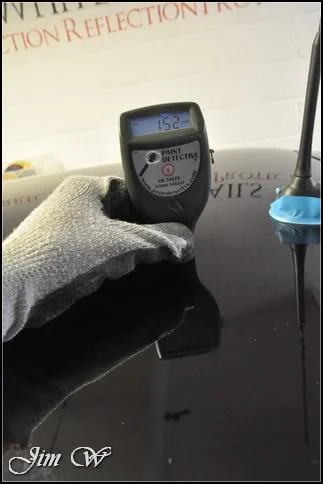
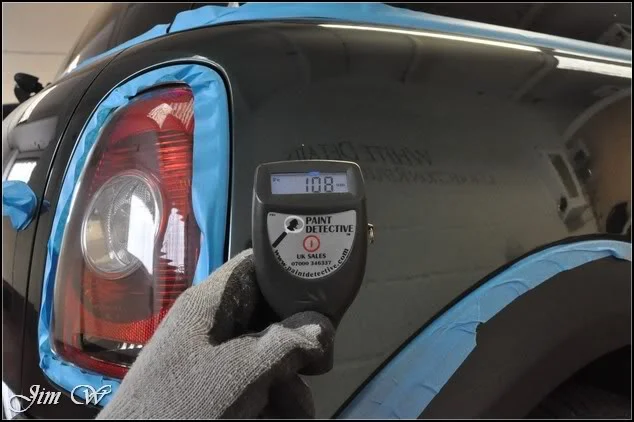
Paint thickness readings were varied throughout… The lower (green) panels were averaging around the 100um mark – some pushing high 70’s which was a little worrying. The roof however sat healthy at 150+.
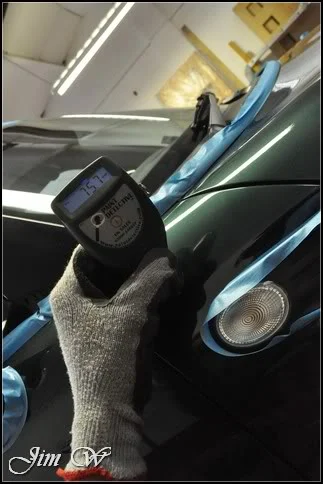
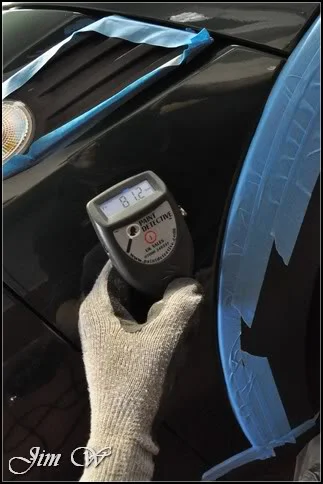
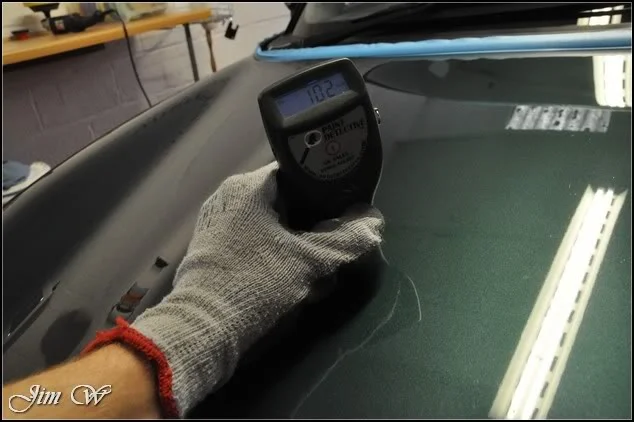
A few of the defects to pick out:
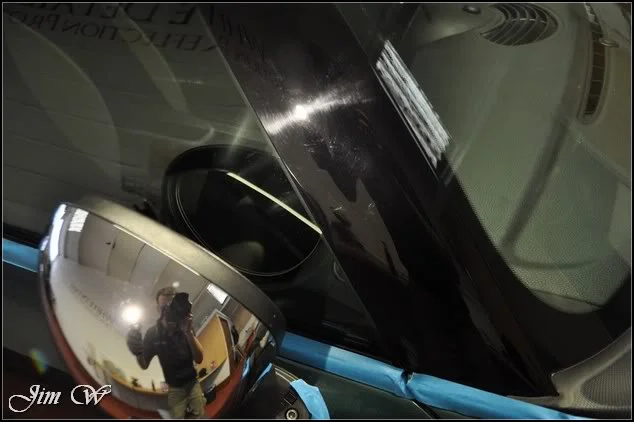
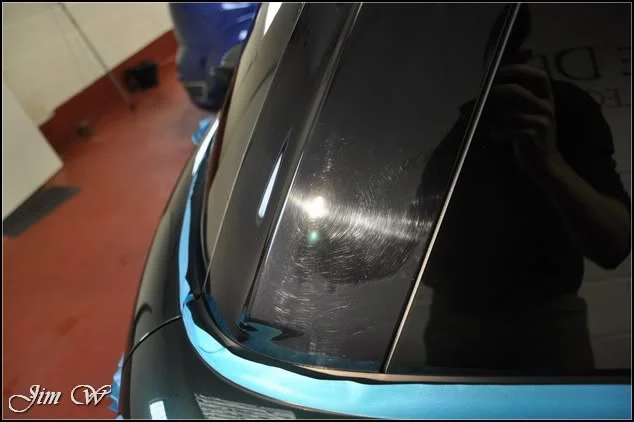
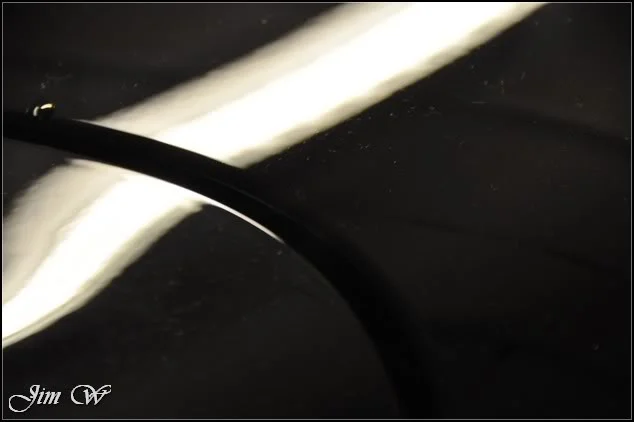
Along with the sea of swirls, there were also a few bad water etchings on the roof (being a solid black colour)
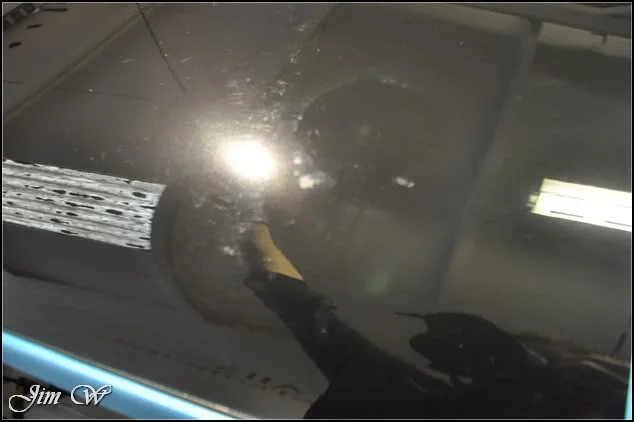
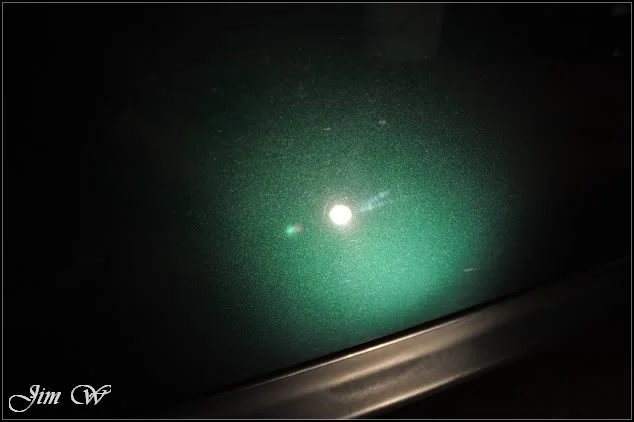
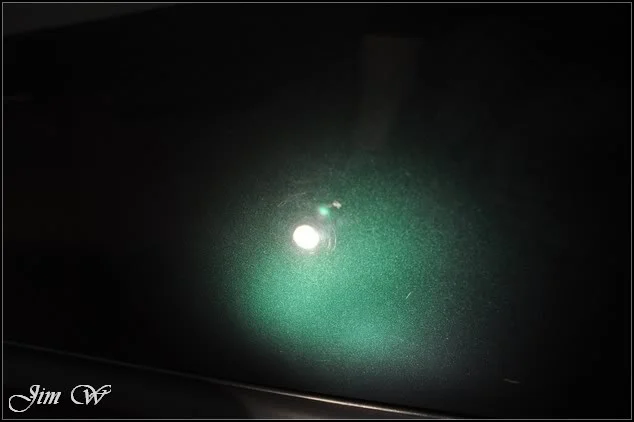
O/S front wing a little hazy and sported a buffer trail or two:
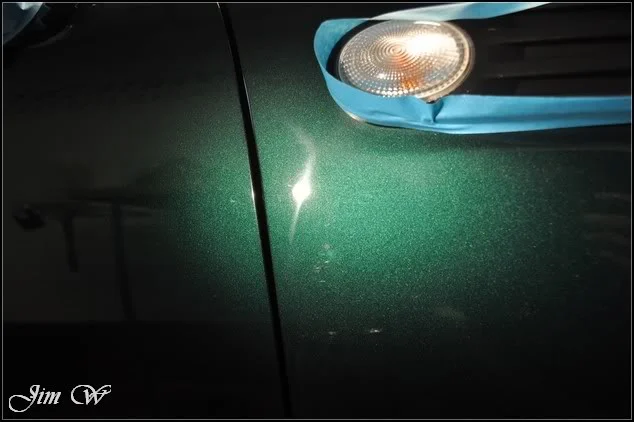
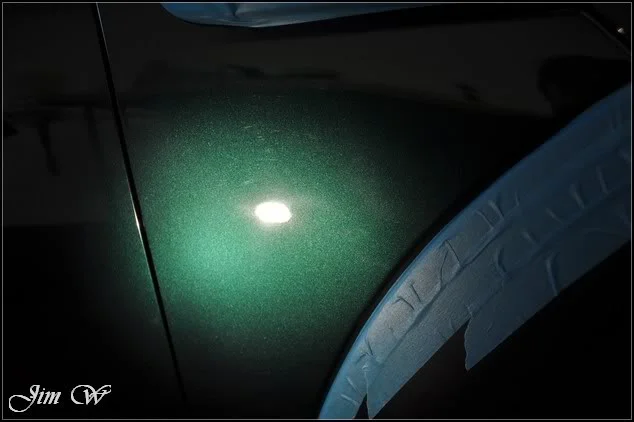
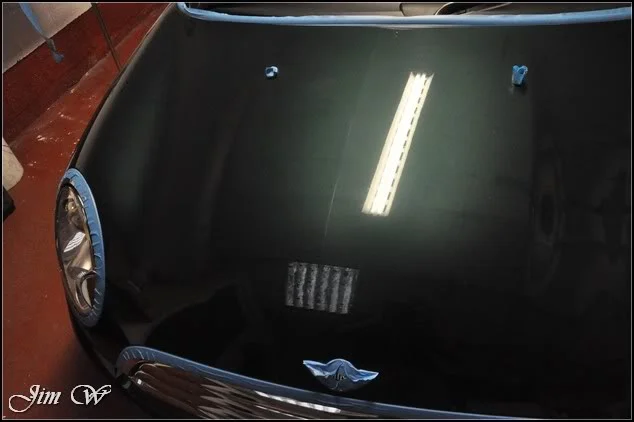
The bonnet was also very dull/hazy (no major swirls, just, covered in a light ‘mist’?)
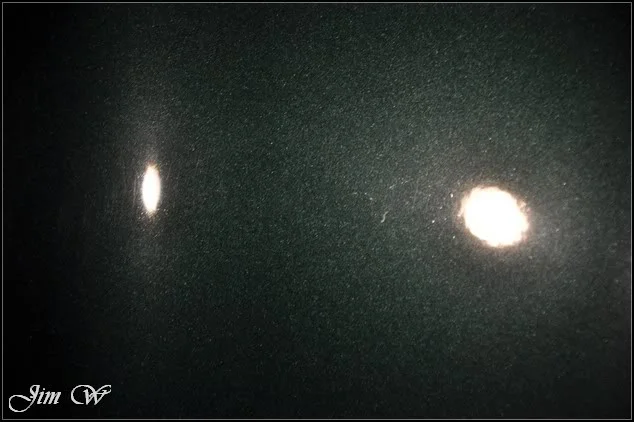
Starting high, I loaded a yellow 3M polishing pad with Menz 106FA and the results were quite pleasing:
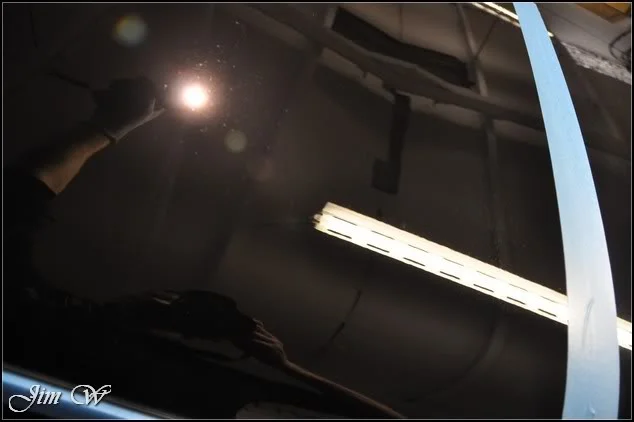
50/50 (grey/black comparison)
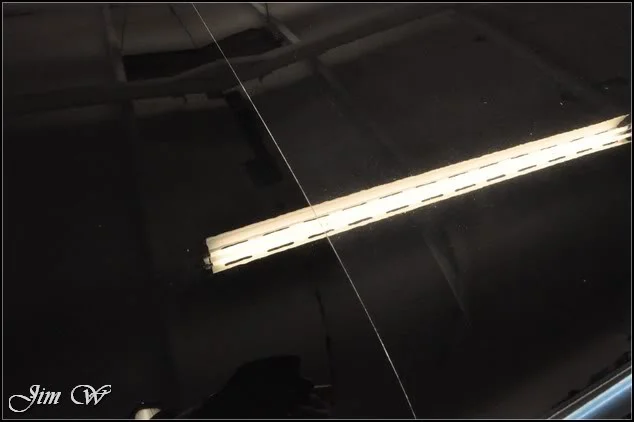
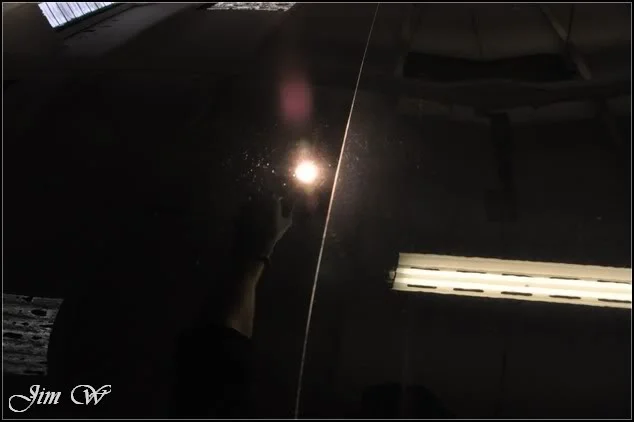
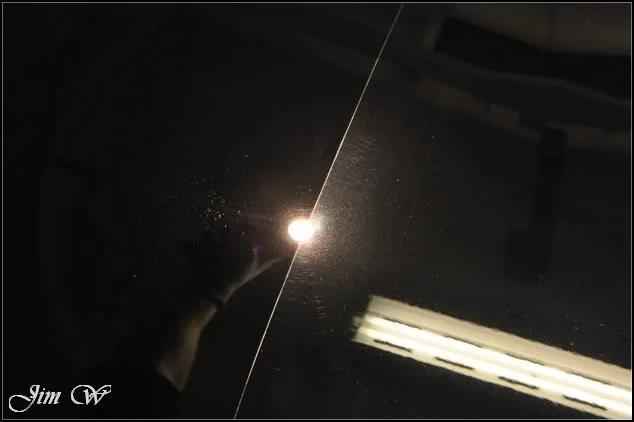
While I was still fresh I decided to attempt the awkward/fiddly areas. So much so I had to stop, stand back and analyse the problem being getting stuck in! Lots of tape-overlapping required here!
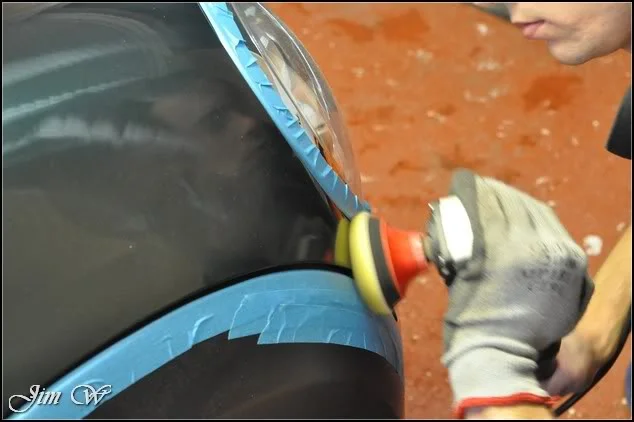
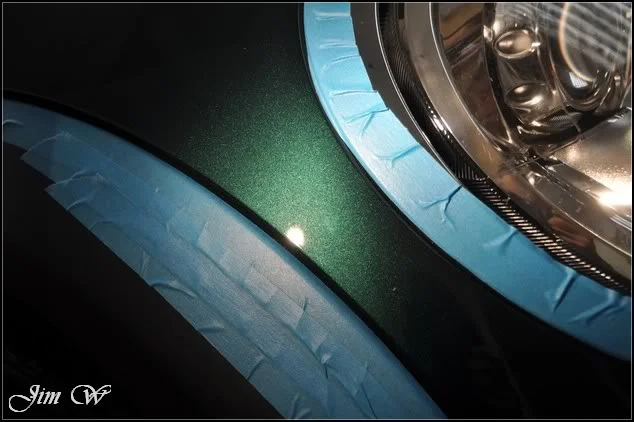
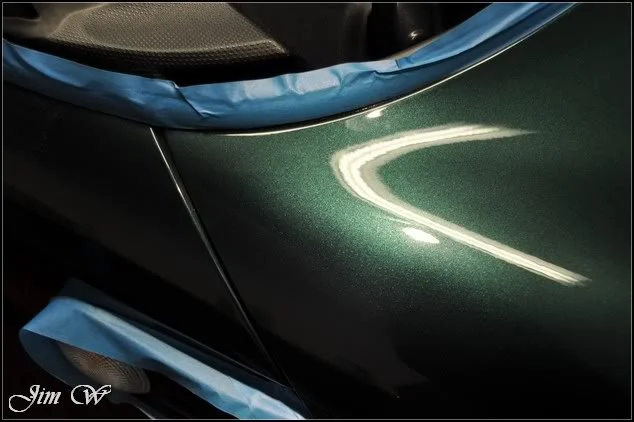
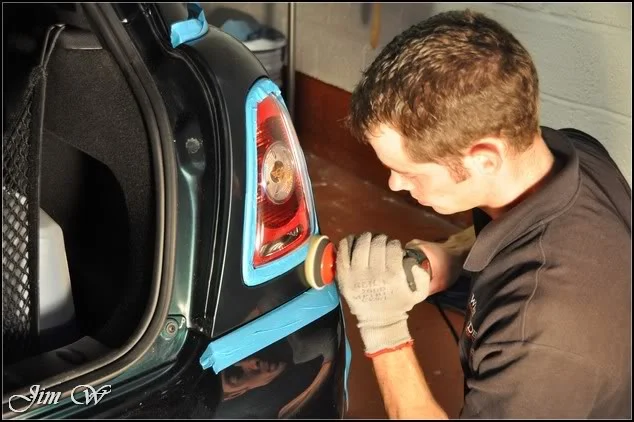
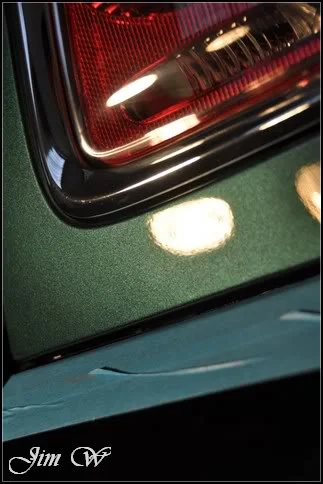
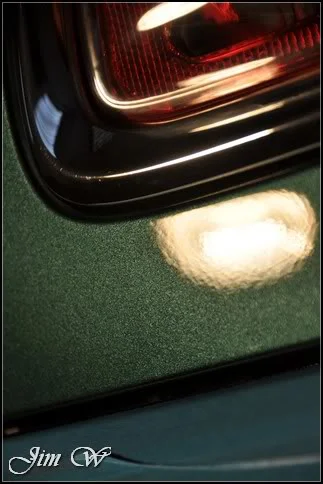
Whilst I was at the backend I hit the light clusters with Menzerna Power Finish 203s:
Before:
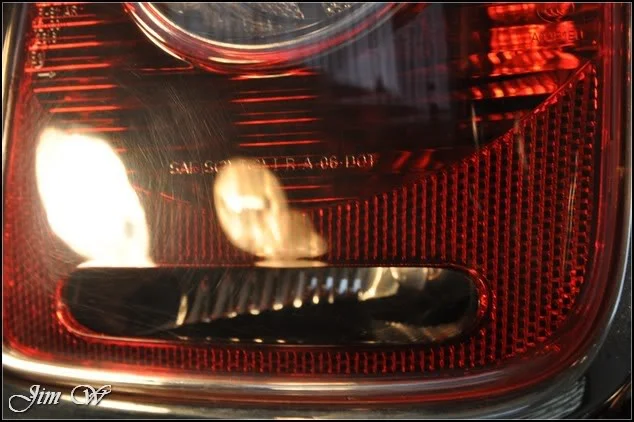
After:
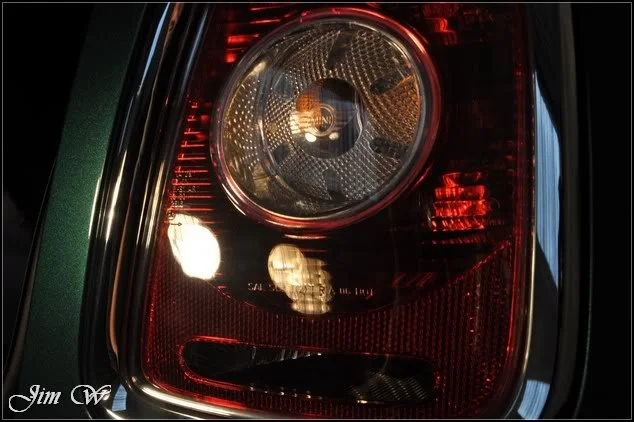
Before/After:
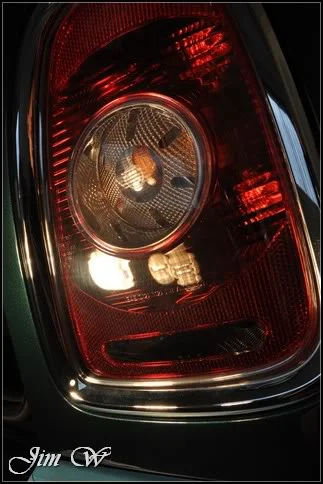
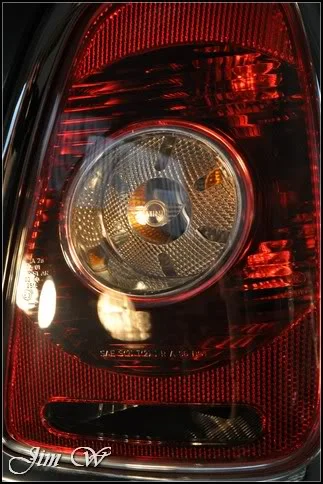
The ‘scratches’ you see at the bottom of this next shot are actually spider-webs (inside the lens)
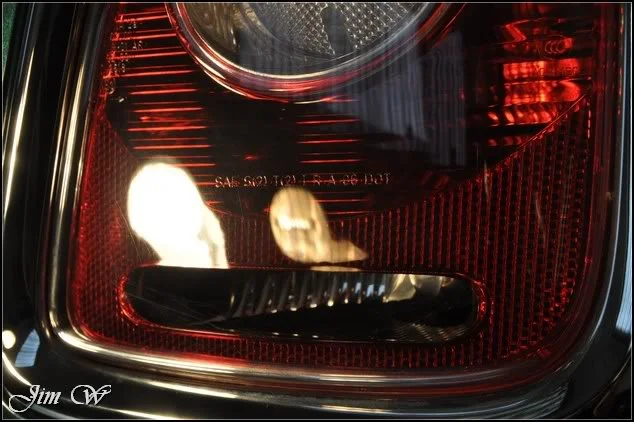
Continuing with small-pad work:
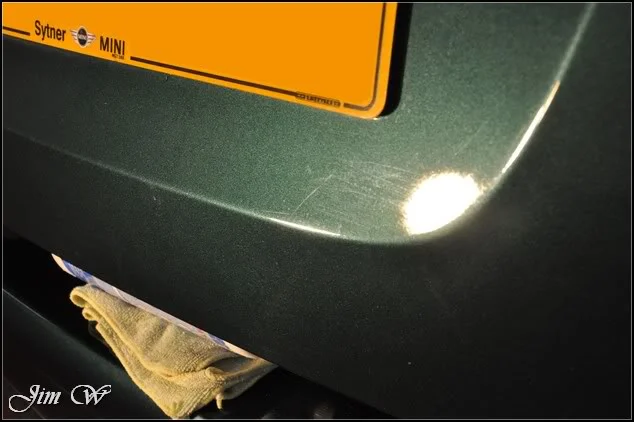
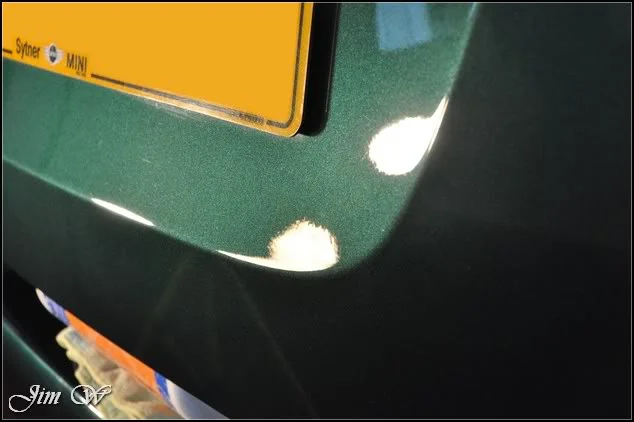
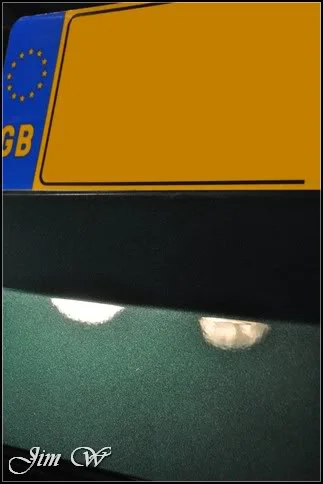
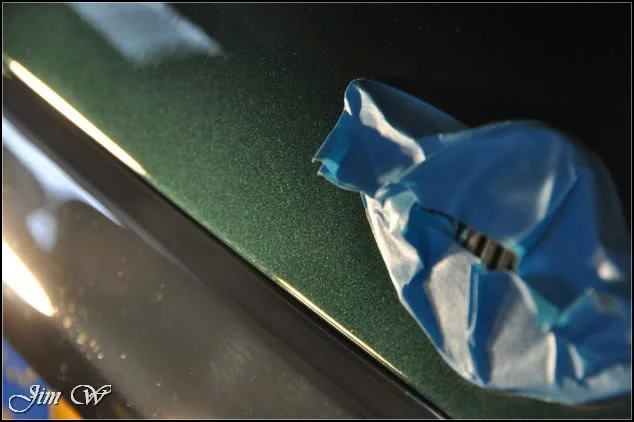
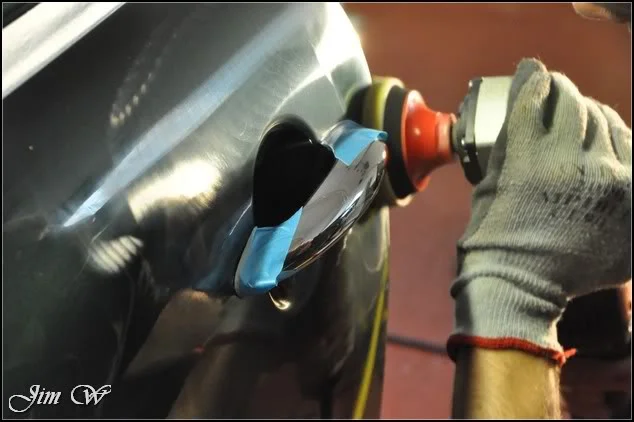
Before/After on N/S front wing:
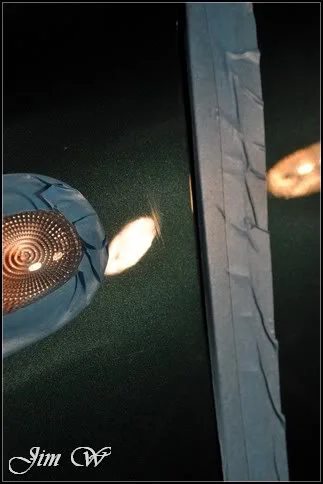
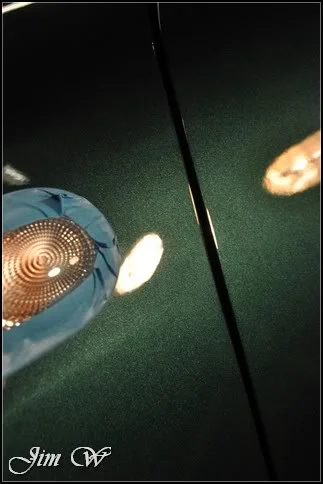
Bonnet 50/50s:
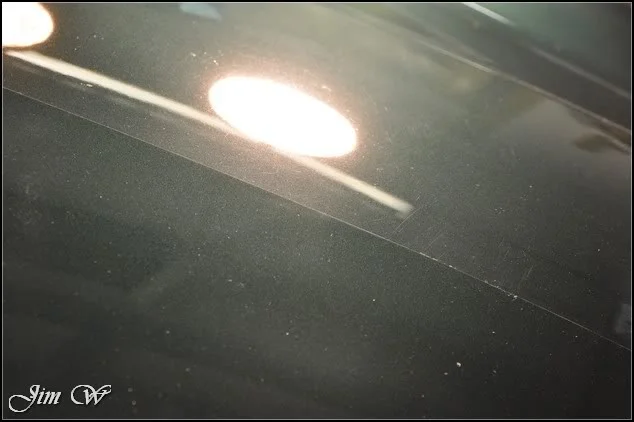
This picture showing how much gloss and clarity had been lost by the haze in the paint:
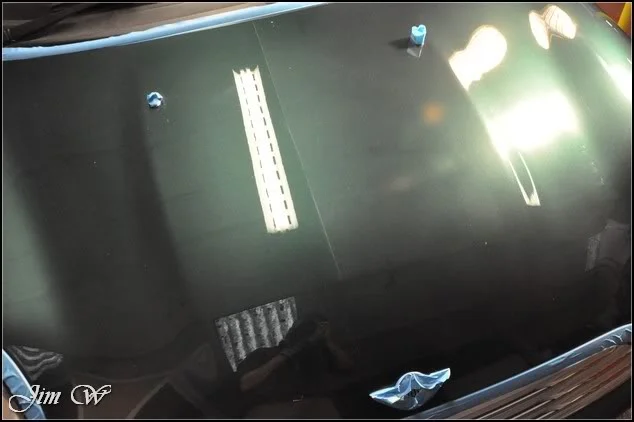
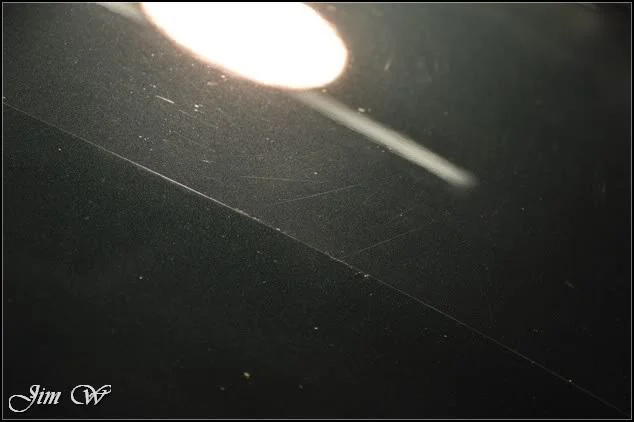
Left hand corner of the (solid black) roof which hadn’t been touch yet:
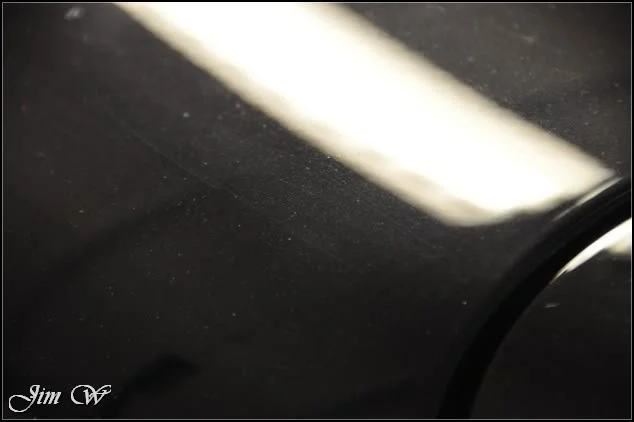
Right had corner of the (solid black) roof which had been machined:
Midway down the N/S door a football (or similar) had brushed against the paint and left a lovely series of deep scratches.
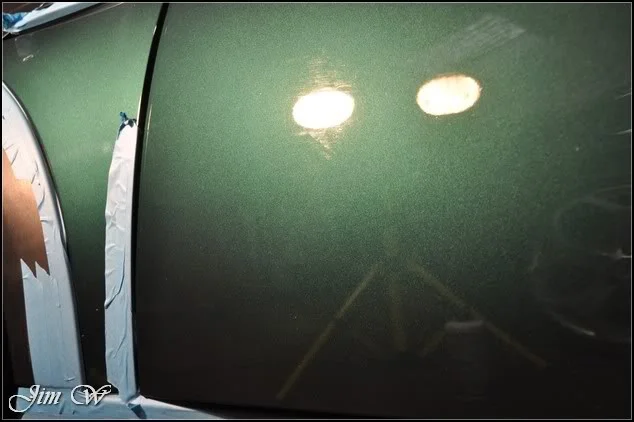
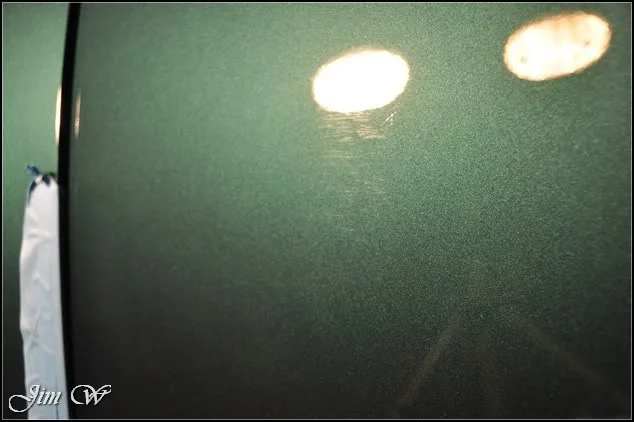
The pad and polish combination which the rest of the car had made little difference to the above marks. In checking the paint depths again, I was able to increase the cut of my approach and make multiple passes to visibly reduce the marks without sacrificing the already thin paint.
One or two nicks remaining:
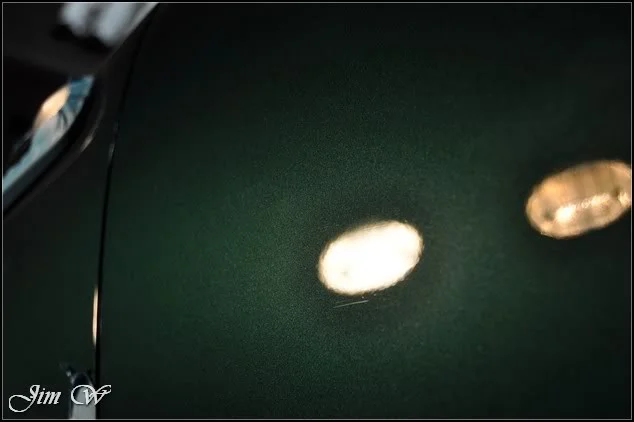
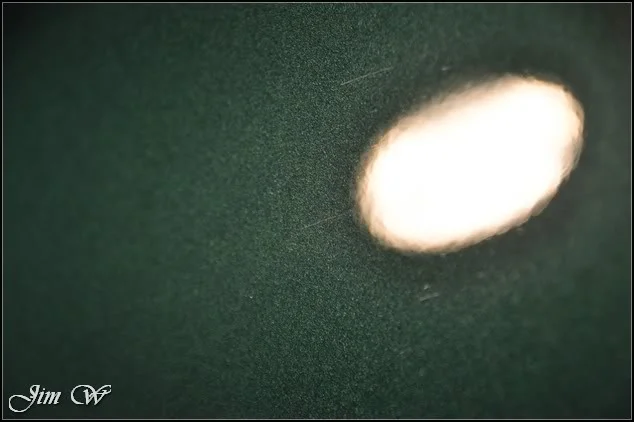
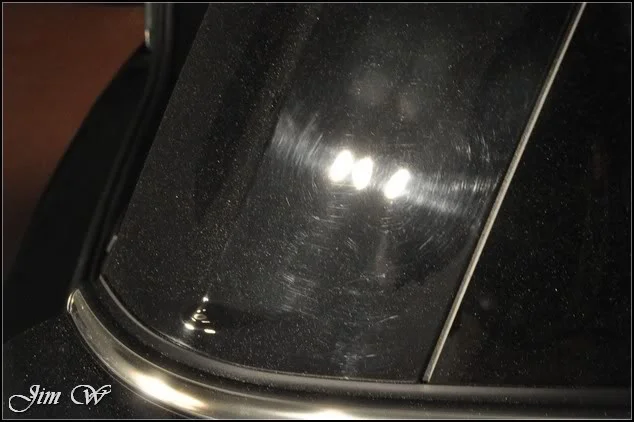
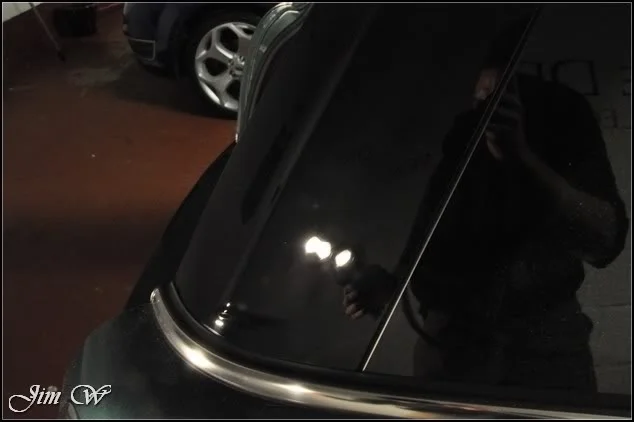
A and C pillars (being gloss black much like the roof) looked very tired:
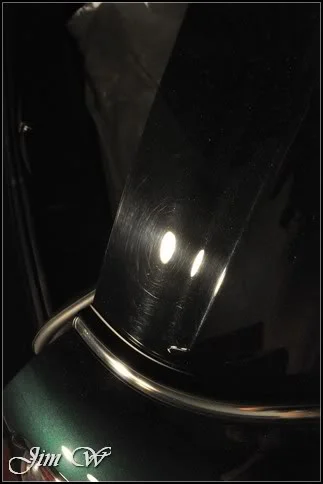
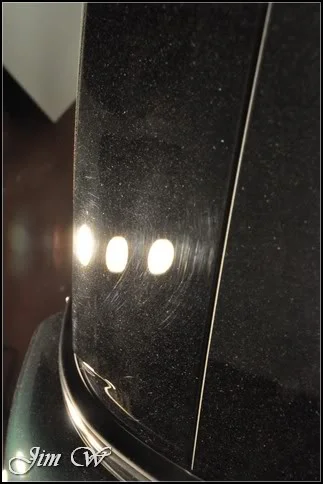
Menz 203s and a polishing pad used to restore to a high gloss
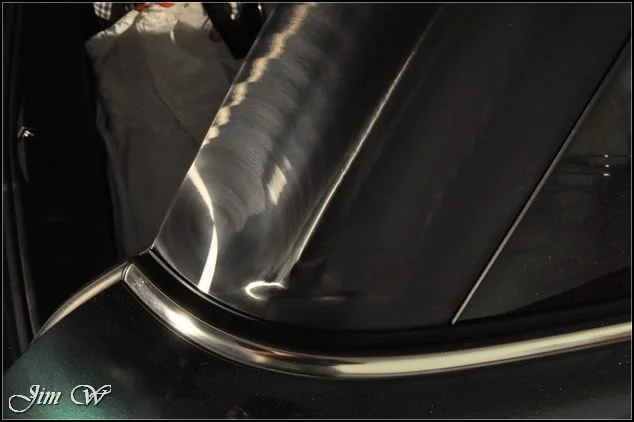
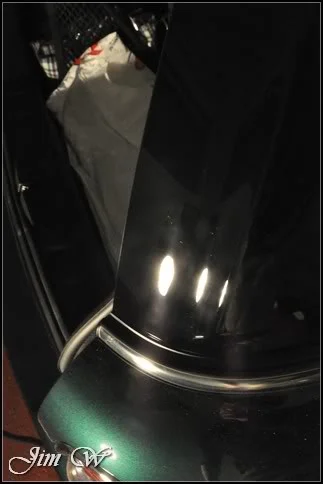
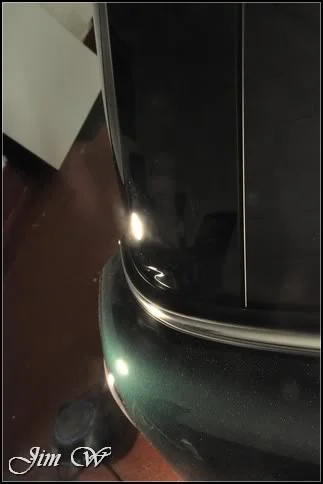
Before/After:
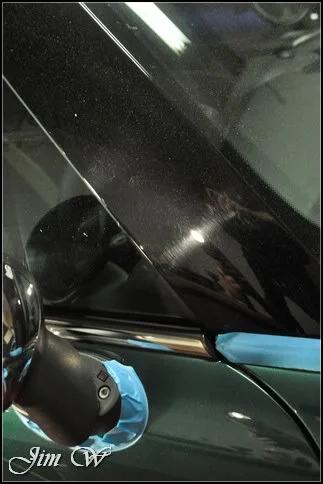
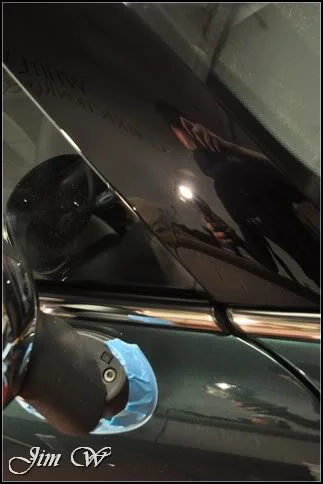
Same approach at the front end with the A-pillars:
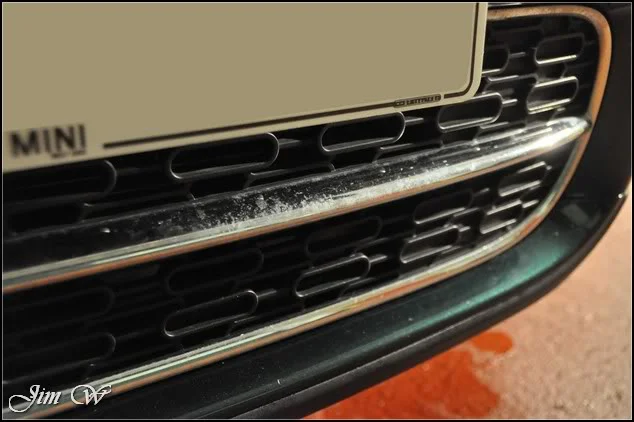
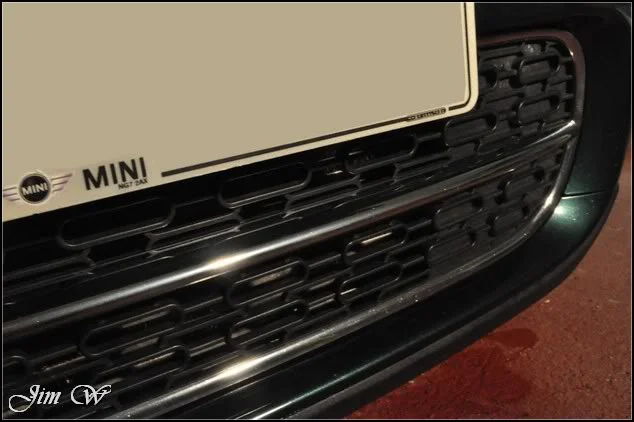
The britework dotted around the car was cared for with Jeffs Prime:
Before/After
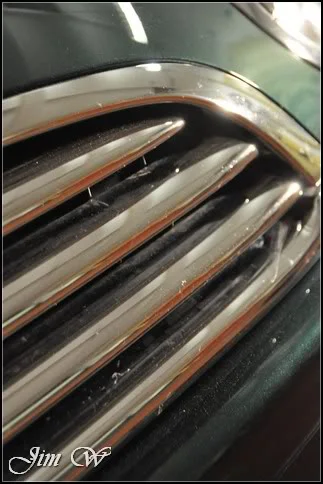
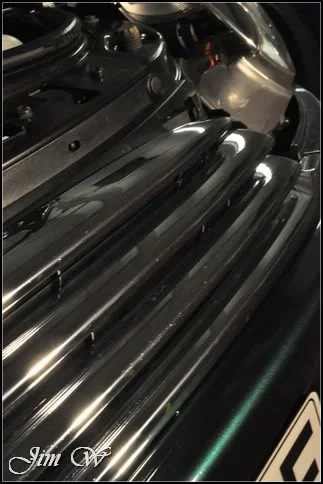
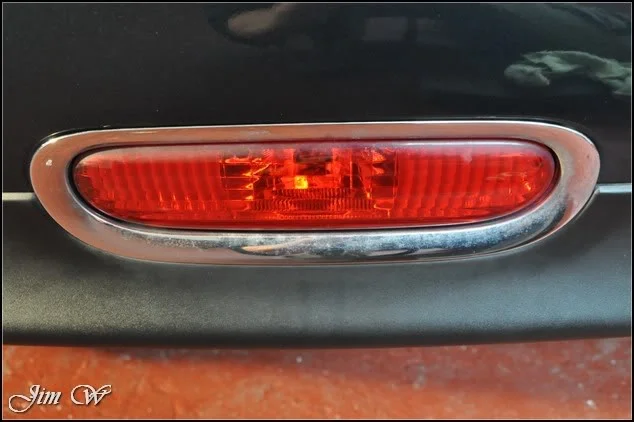
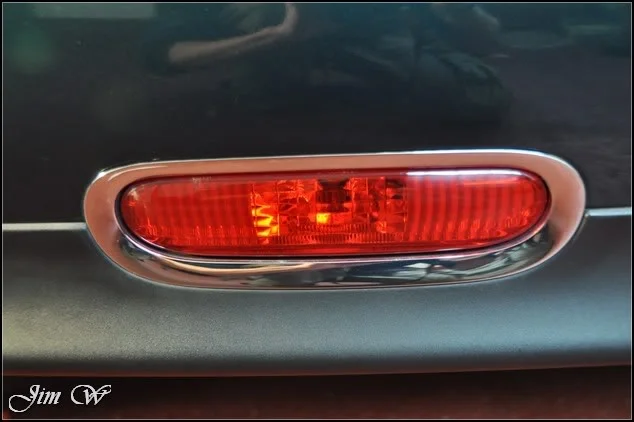
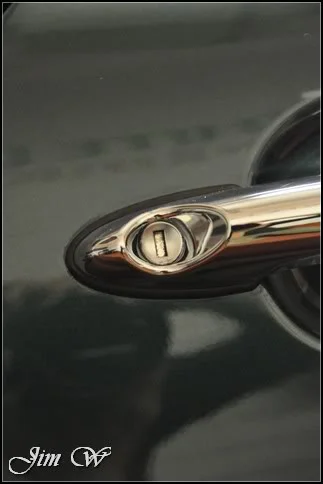
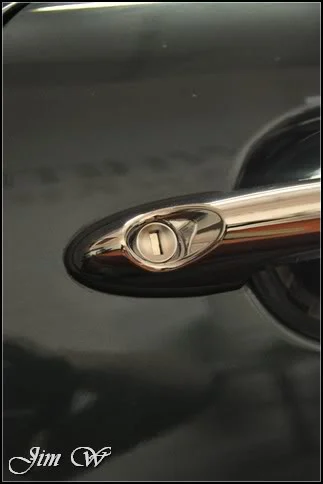
Engine bay revisited before the IPA wipe was given (incase of overspray later when the paint is finished) and dressed:
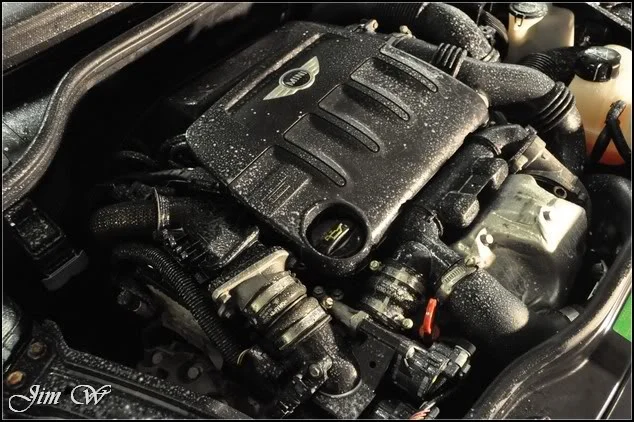
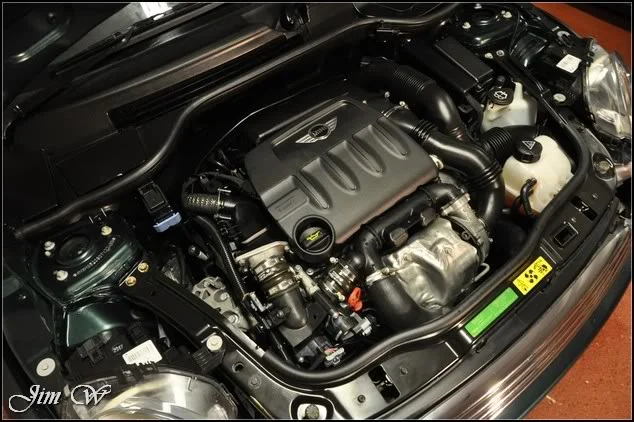
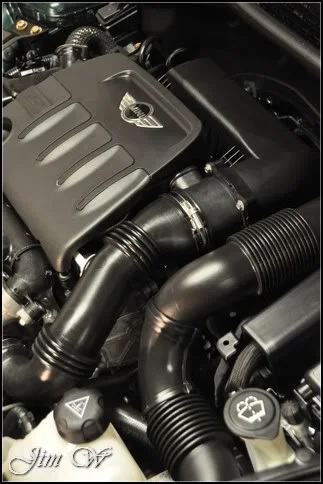
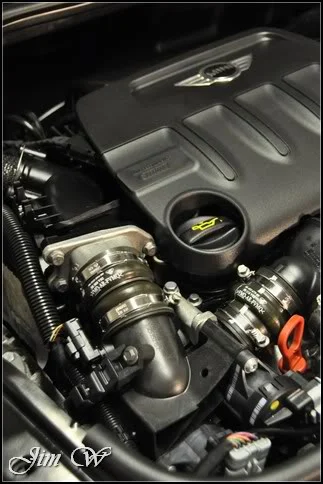
IPA wipedown of the paint given to remove polishing oils. A fine layer of SuperNatural wax applied to protect. Wheels sealed. Tyres dressed. Exhaust polished. Glass cleaned inside and out.
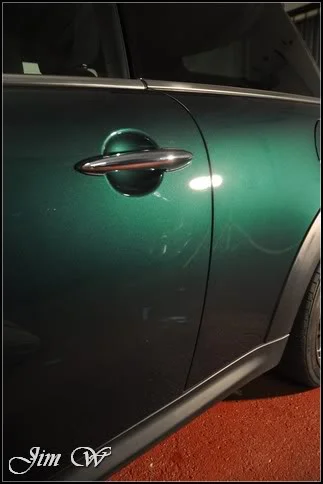
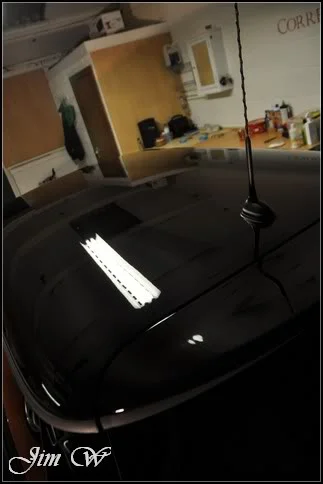
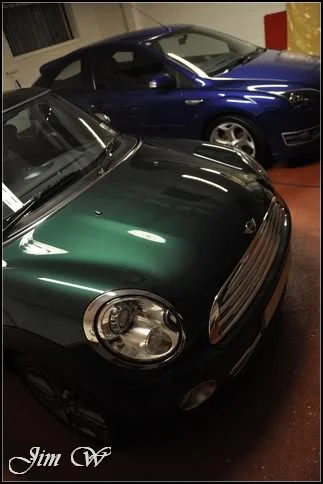
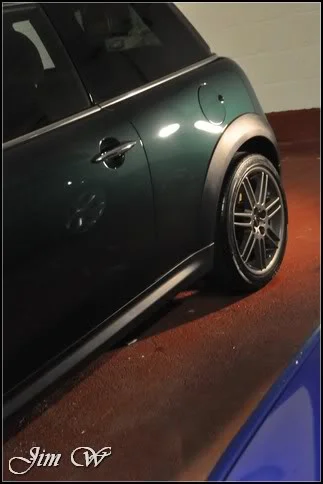
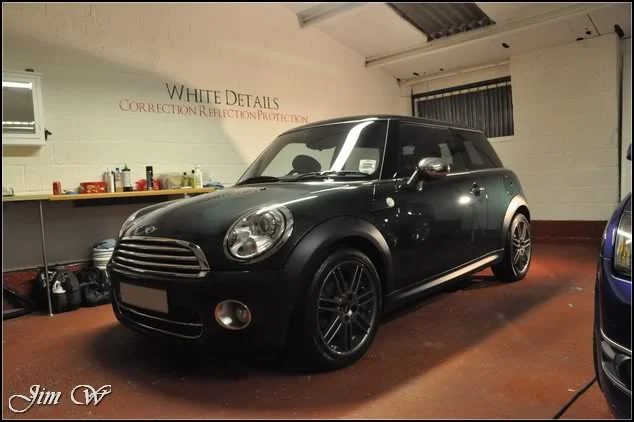
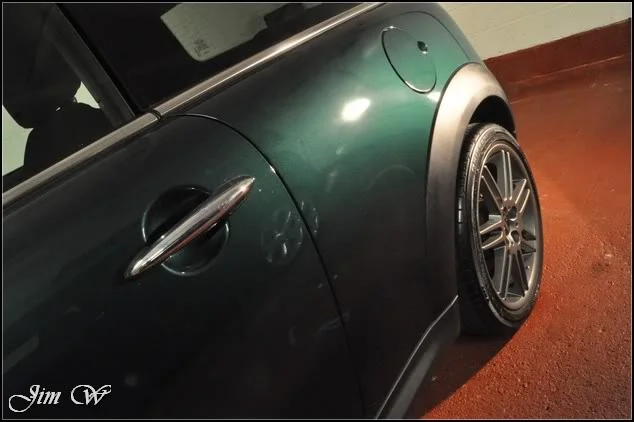
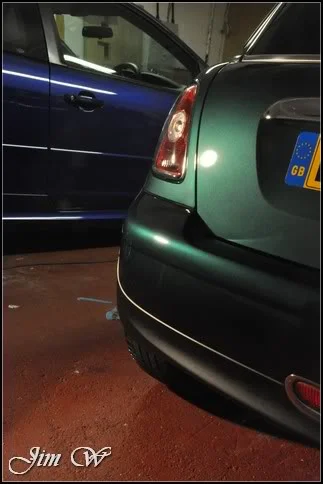
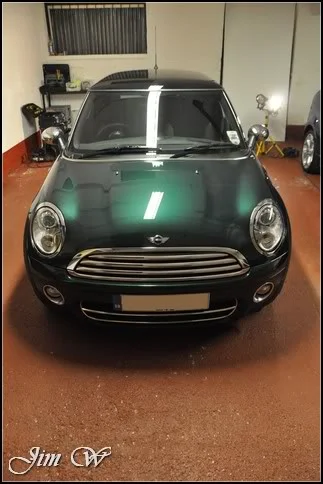
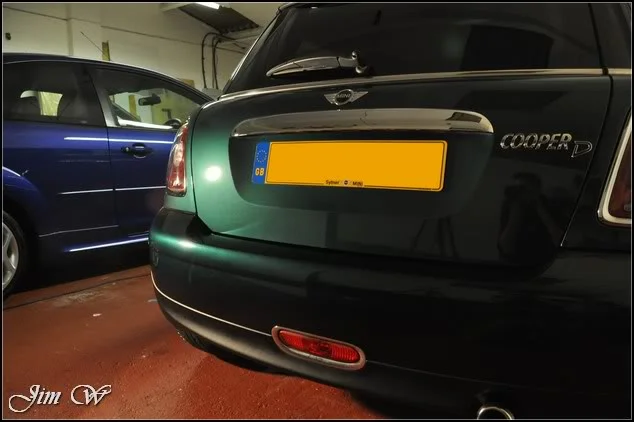
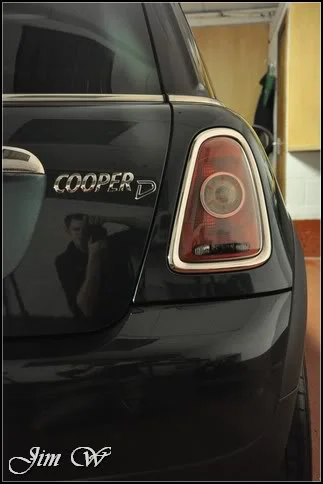
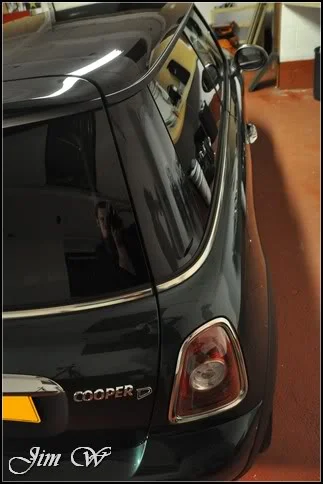
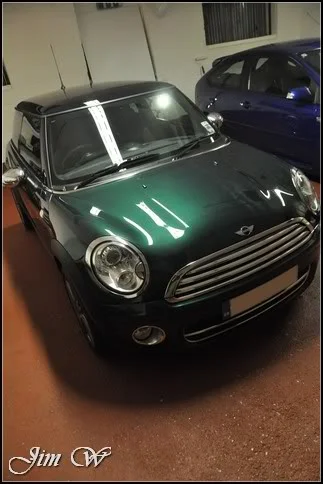
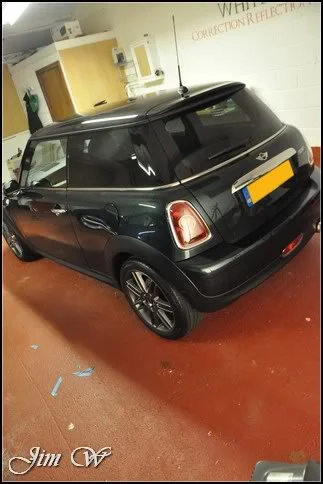
And that was about it for the night. Arrangements were made to collect first thing in the morning so after an 11pm finish and a 12 hour day, I was happy to be sat down.
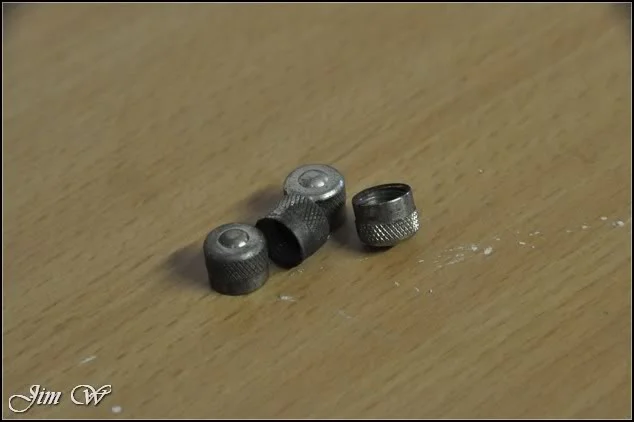
Arriving back first thing I gave the paintwork a light wipe down to remove any possible gassing smears from the wax. Stuck for things to do, I decided to remove the valve caps and see about putting some more shine into them!
Looking dull and tarnished:
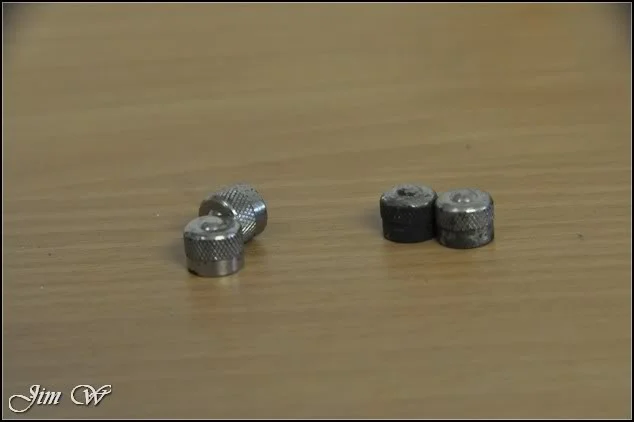
And two after being cleaned up with various products:
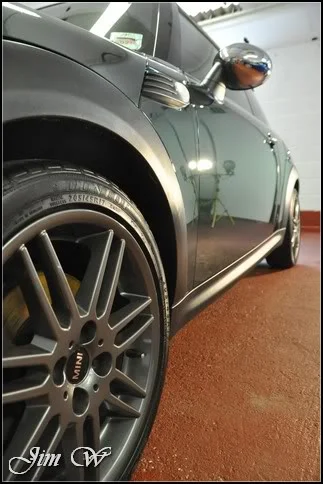
Bringing the job to an end, the arches and plastics were re-done with AG Bumper Care as I wasn’t happy with the finish left by 303 Aerospace Protectant.
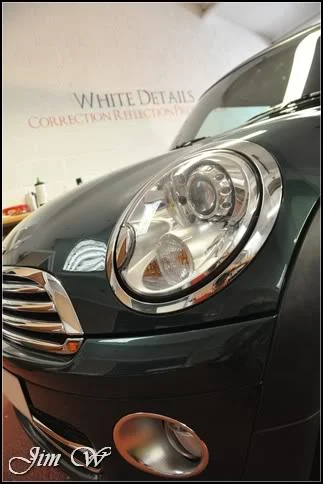
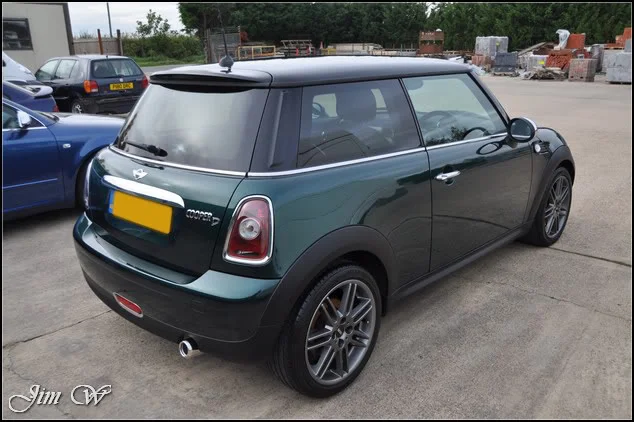
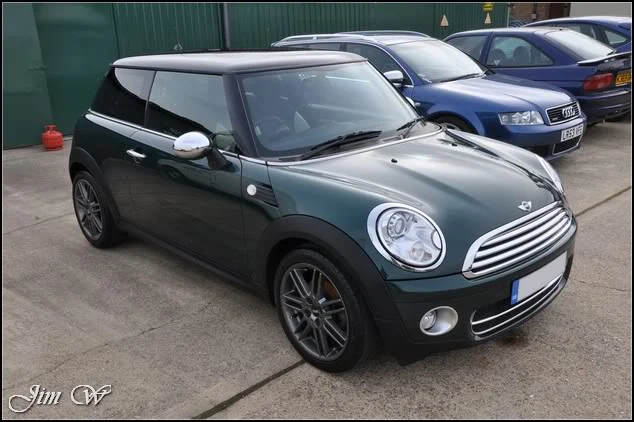
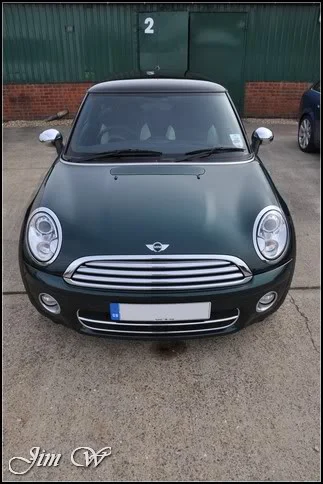
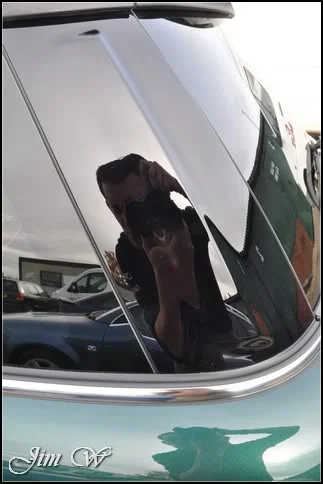
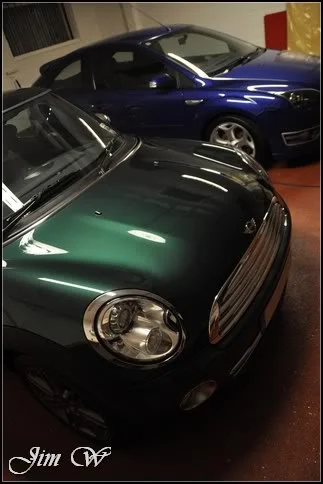
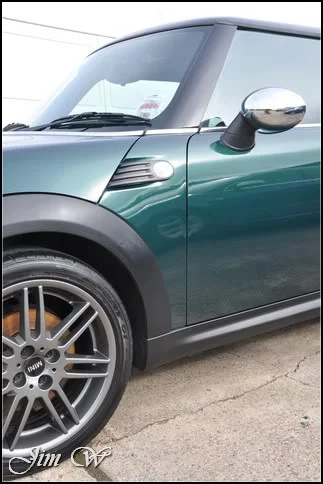
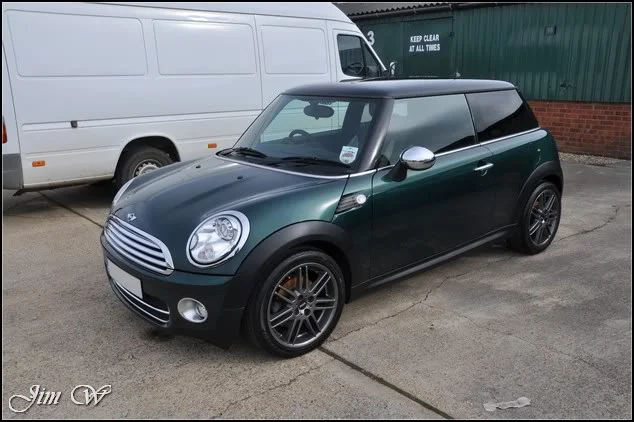
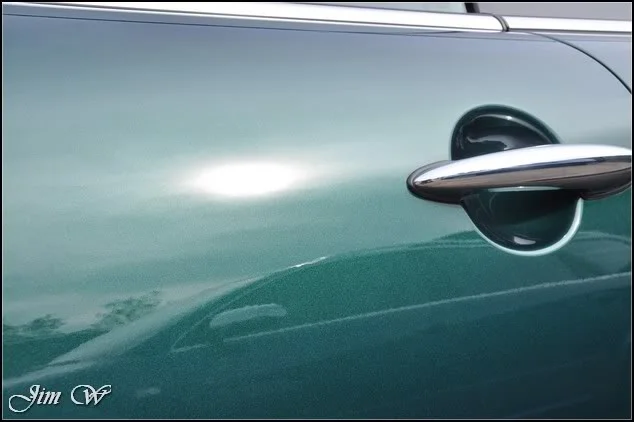
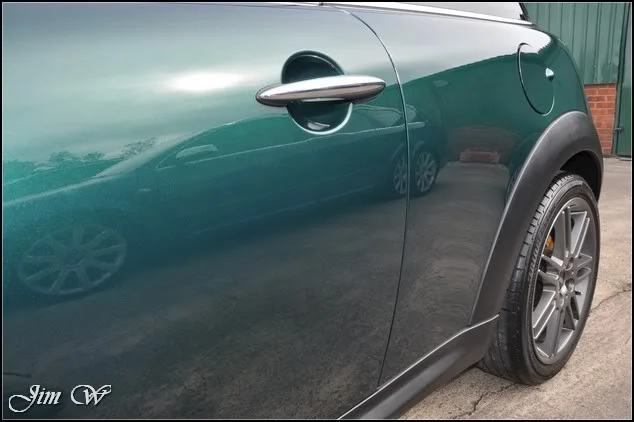
Lovely!
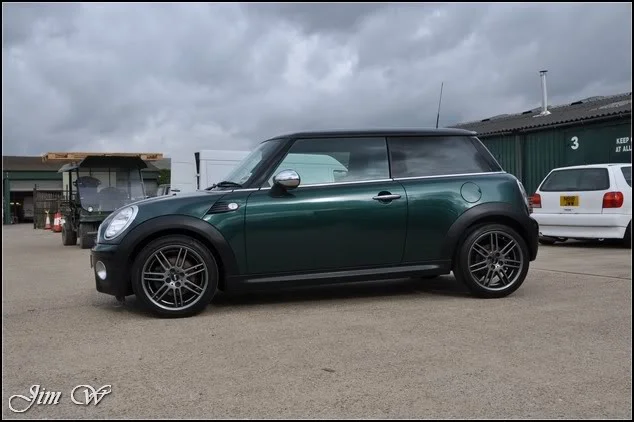
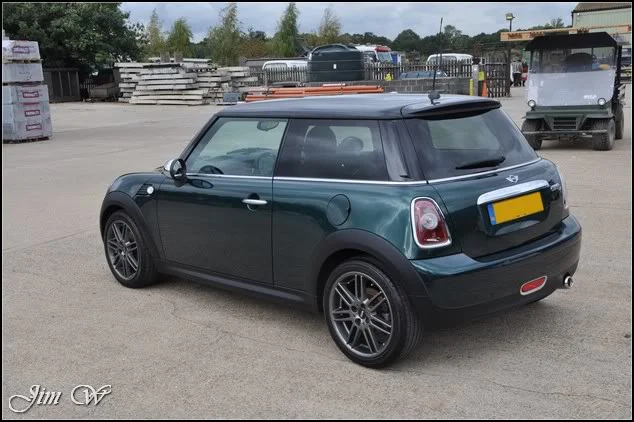
Thanks for reading.
Jim
:raspMini Cooper D – Minor Correction & Engine Bay
Product:
· 3M Glass Cleaner
· 3M FastCut+
· 303 Aerospace Protectant
· Aquartz Iron Cut
· AutoSmart G101
· AutoSmart Tardis
· AutoGlym Bumper Care
· AutoGlym Vinyl and Rubber Care
· AutoSol
· Chemical Guys JetSEAL109
· Chemical Guys New Look Trim Gel
· Dodo Juice Born To Be Mild shampoo
· Dodo Juice SuperNatural wax
· Elite Car Care Fine Grade Clay
· Jeffs Werkstat Prime
· Meguiars Last Touch
· Meguiars Super De-greaser
· Meguiars Wheel Brightener
· Menzerna Power Finish 203s
· Menzerna Final Finish 106FA
Inspection:
Generally a well looked after example. Paintwork was a little hazy and a tad rough on the edges but overall, in good condition.
No before pictures of the engine I’m afraid. Quite grubby under there though; hadn’t been seen to since new (2008). Dealt with AutoSmart’s G101 and Megs’ Super-Degreaser.
Wheels, tyres and arches cleaned up in the usual manor. IronCut used to help eat into a few thousand mile’s worth of pitting:
(This IronCut product STINKS. If you’re to use it, do so in a well ventilated area!)
Wash sequence performed – snow foaming the vehicle twice to 1) help soften and lift surface dirt and 2) aid a super-slick (minimal contact) wash
After the two bucket wash, very little protection seen on the panels:
Finally being rinsed with an open hose to assist the drying stage and then taken inside. Tardis used to lift a few tar spots and Elite Car Care’s clay bar used to lift body contaminants.
Using the Black Baron Vehicle Dryer left the car bone dry; time to tape up.
It’s the first time I’ve machined a Mini; tricky little things! Quite challenging with the angles/curves/crevices but overall, quite good fun!
Paint thickness readings were varied throughout… The lower (green) panels were averaging around the 100um mark – some pushing high 70’s which was a little worrying. The roof however sat healthy at 150+.
A few of the defects to pick out:
Along with the sea of swirls, there were also a few bad water etchings on the roof (being a solid black colour)
O/S front wing a little hazy and sported a buffer trail or two:
The bonnet was also very dull/hazy (no major swirls, just, covered in a light ‘mist’?)
Starting high, I loaded a yellow 3M polishing pad with Menz 106FA and the results were quite pleasing:
50/50 (grey/black comparison)
While I was still fresh I decided to attempt the awkward/fiddly areas. So much so I had to stop, stand back and analyse the problem being getting stuck in! Lots of tape-overlapping required here!
Whilst I was at the backend I hit the light clusters with Menzerna Power Finish 203s:
Before:
After:
Before/After:
The ‘scratches’ you see at the bottom of this next shot are actually spider-webs (inside the lens)
Continuing with small-pad work:
Before/After on N/S front wing:
Bonnet 50/50s:
This picture showing how much gloss and clarity had been lost by the haze in the paint:
Left hand corner of the (solid black) roof which hadn’t been touch yet:
Right had corner of the (solid black) roof which had been machined:
Midway down the N/S door a football (or similar) had brushed against the paint and left a lovely series of deep scratches.
The pad and polish combination which the rest of the car had made little difference to the above marks. In checking the paint depths again, I was able to increase the cut of my approach and make multiple passes to visibly reduce the marks without sacrificing the already thin paint.
One or two nicks remaining:
A and C pillars (being gloss black much like the roof) looked very tired:
Menz 203s and a polishing pad used to restore to a high gloss
Before/After:
Same approach at the front end with the A-pillars:
The britework dotted around the car was cared for with Jeffs Prime:
Before/After
Engine bay revisited before the IPA wipe was given (incase of overspray later when the paint is finished) and dressed:
IPA wipedown of the paint given to remove polishing oils. A fine layer of SuperNatural wax applied to protect. Wheels sealed. Tyres dressed. Exhaust polished. Glass cleaned inside and out.
And that was about it for the night. Arrangements were made to collect first thing in the morning so after an 11pm finish and a 12 hour day, I was happy to be sat down.
Arriving back first thing I gave the paintwork a light wipe down to remove any possible gassing smears from the wax. Stuck for things to do, I decided to remove the valve caps and see about putting some more shine into them!
Looking dull and tarnished:
And two after being cleaned up with various products:
Bringing the job to an end, the arches and plastics were re-done with AG Bumper Care as I wasn’t happy with the finish left by 303 Aerospace Protectant.
Lovely!
Thanks for reading.
Jim
Last edited:


