
ClioSport.net
-
When you purchase through links on our site, we may earn an affiliate commission. Read more here.
You are using an out of date browser. It may not display this or other websites correctly.
You should upgrade or use an alternative browser.
You should upgrade or use an alternative browser.
1988 Red R21 Turbo
- Thread starter DaveL485
- Start date
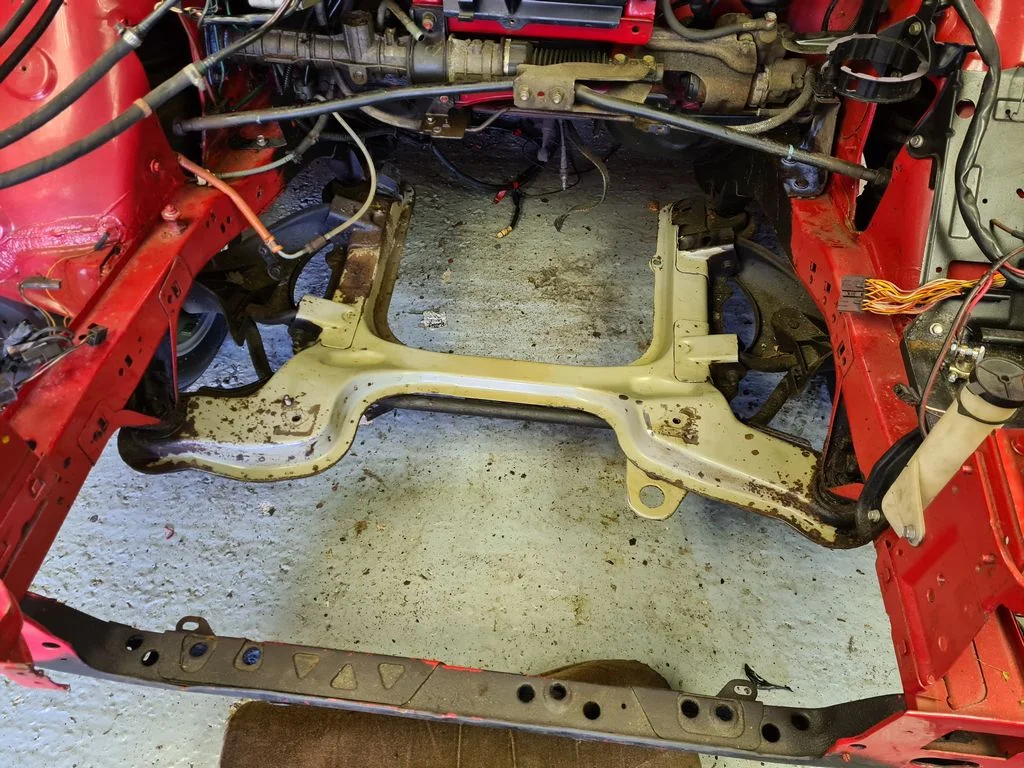
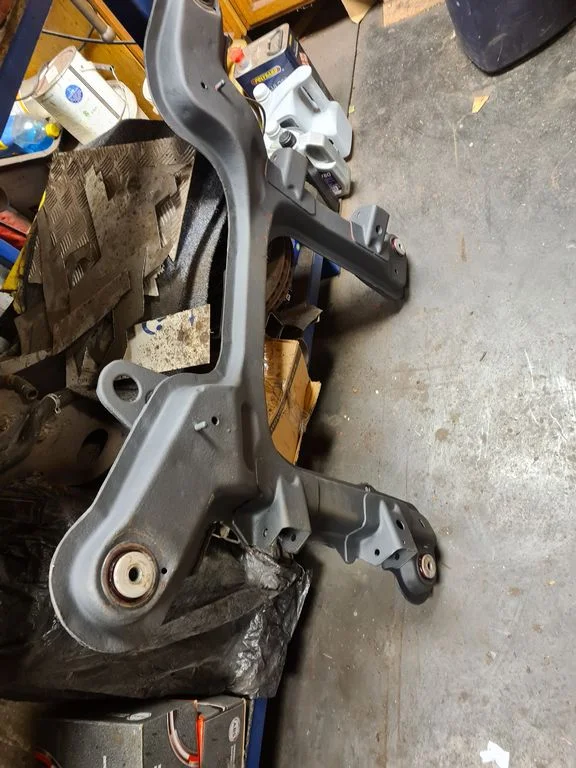
I cleaned off some sticky goop stuff, I assume an underseal of sorts from the subframe, think I might gravitex it. I think I saw new subframe bushes in the parts boxes as well so may just be easier to drop it, coat it and lob the bushes in at the same time.
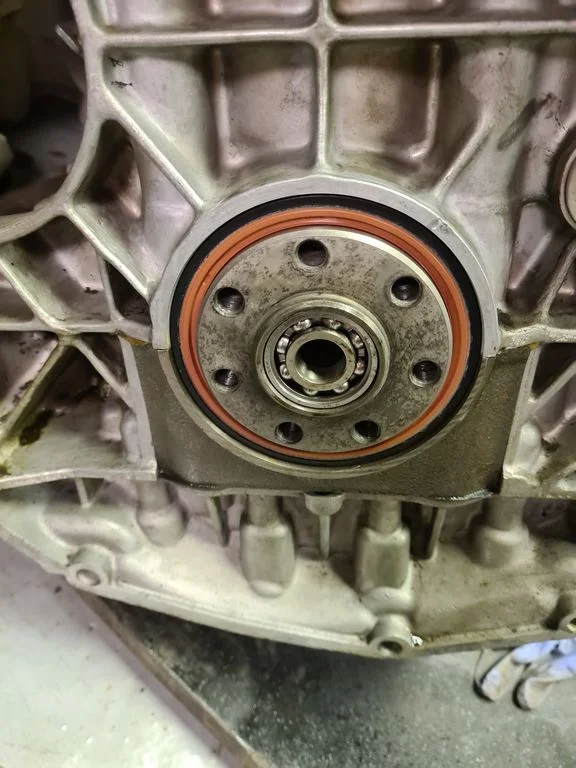
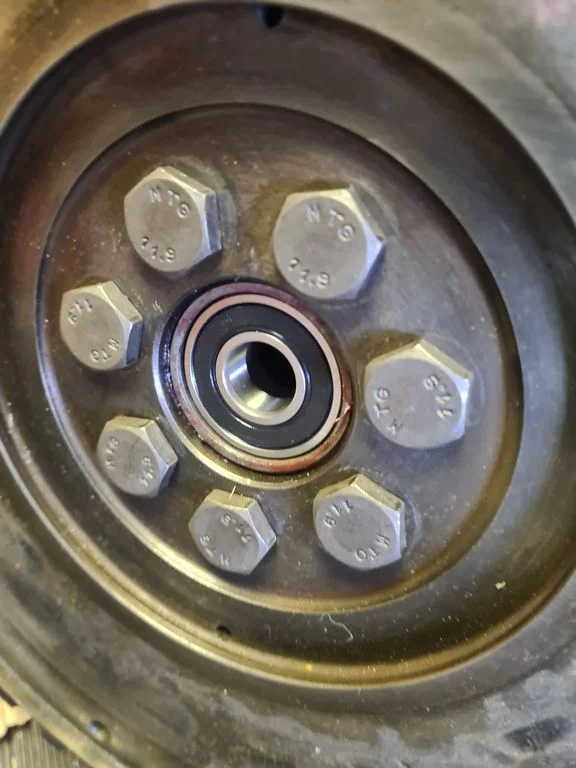
The engine needed the crank seal fitting and a spigot bearing so they went in
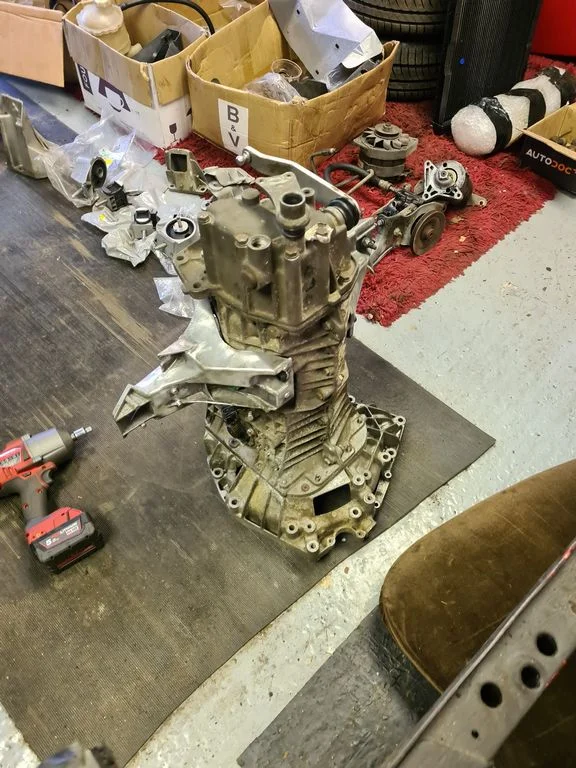
At this point I was considering chucking the gearbox in, I didnt in the end as I wanna coat the subframe but I dressed it with legs and some fittings
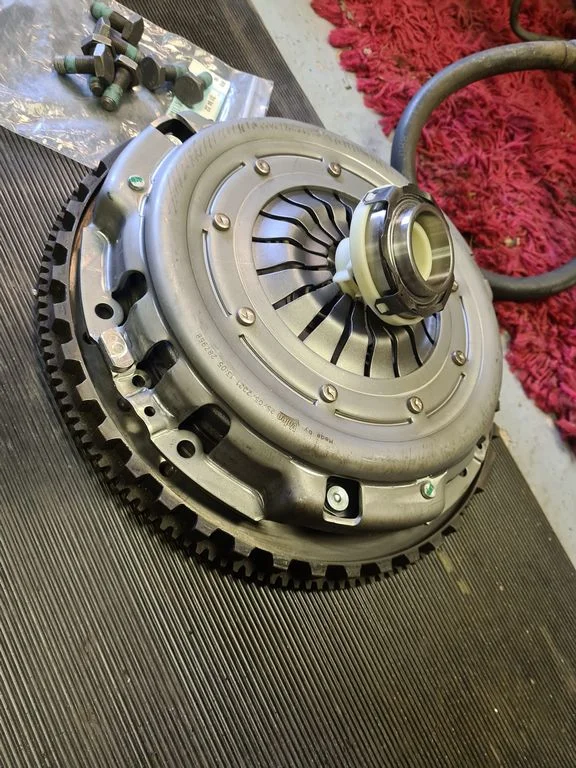
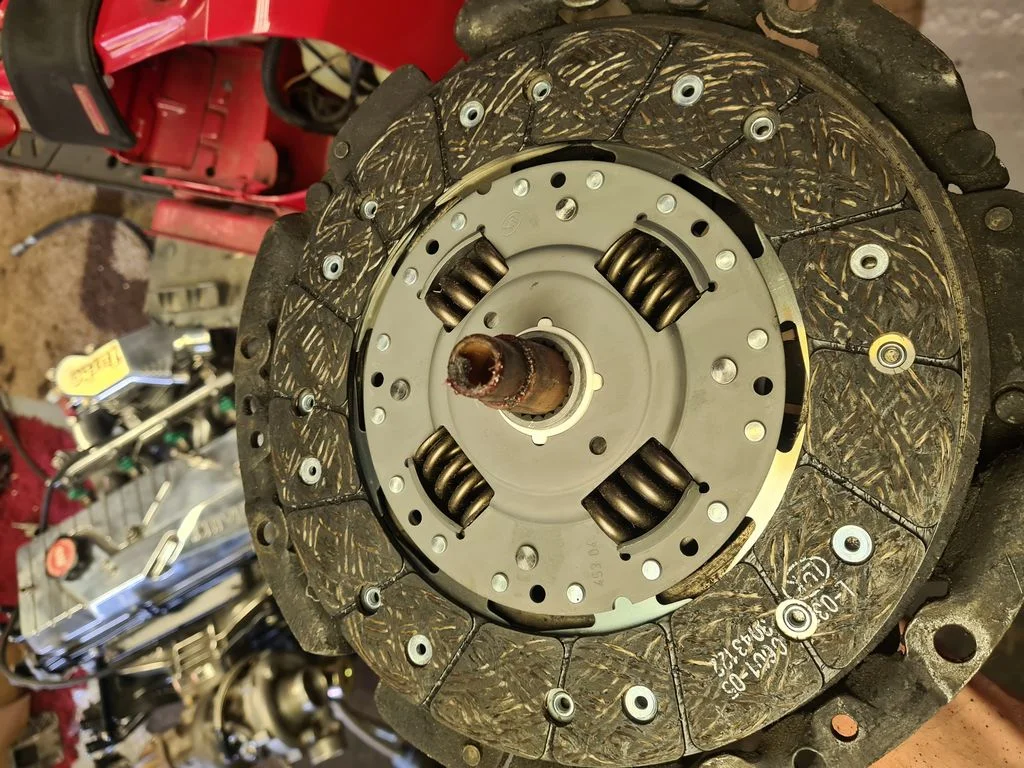
I put the flywheel on the engine also, however that got cut short of fitting the clutch as the one that came in the boot supplied to the last owner as a Turbo clutch....isnt I knew as soon as I looked at it, but hey ho, I guess now I need to find one lol
My garage floor now looks like an autojumble!
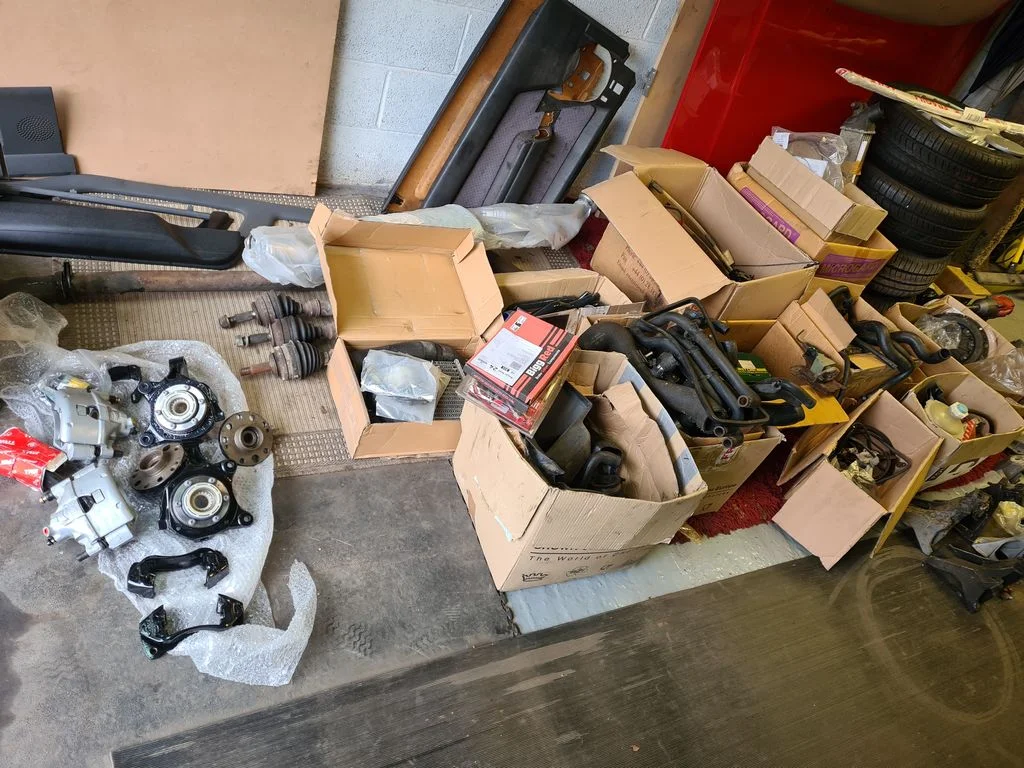
The engine needed the crank seal fitting and a spigot bearing so they went in
At this point I was considering chucking the gearbox in, I didnt in the end as I wanna coat the subframe but I dressed it with legs and some fittings
I put the flywheel on the engine also, however that got cut short of fitting the clutch as the one that came in the boot supplied to the last owner as a Turbo clutch....isnt
I knew as soon as I looked at it, but hey ho, I guess now I need to find one lolMy garage floor now looks like an autojumble!
Last edited:

172 Sunflower
would that of been a R9 turbo that was kicked out ?
Yep - my 1986 Phase 1, as thread-ed here... https://cliosport.net/threads/phase-1-renault-9-turbo.823533/would that of been a R9 turbo that was kicked out ?
Currently sat outside the garage under 2 covers, I will have to kick it out of that spot shortly too because I need to do a wheel bearing change on my Clio V6 there lol
172 Sunflower
very good car, my father ran a Renault dealership for many years and i remember him having a red R9 Turbo as a demonstrator, i had a le car 2 5 turbo in white and a year later a red mk1 11 turbo (quad headlights) which is probably the car i had most fun in everYep - my 1986 Phase 1, as thread-ed here... https://cliosport.net/threads/phase-1-renault-9-turbo.823533/
Currently sat outside the garage under 2 covers, I will have to kick it out of that spot shortly too because I need to do a wheel bearing change on my Clio V6 there lol
172 Sunflower
looks like my r11 turbo died
A fate sadly met by most of themlooks like my r11 turbo died
172 Sunflower
after seeing your thread it stirred a memory of seeing the Renault 21 turbo radio controlled cars at mallory park in the 80s. i think they were there as a support to the GT Cup ? i wonder if any of those models still exist ?
Yes mate they're quite collectable now, the Yankee 1/4 scale models. I owned one myself for a while in the mid-2000's but sold it due to being a new dad/very skint...wish I could have kept it. I have a pic somewhere of it on the bonnet of my own real 21 Turbo. They're selling for 3 and 4 times the money now.after seeing your thread it stirred a memory of seeing the Renault 21 turbo radio controlled cars at mallory park in the 80s. i think they were there as a support to the GT Cup ? i wonder if any of those models still exist ?
While I am prevented refitting the engine and box by the lack of a clutch I decided to drop the subframe and have a crack at making it less yuk.
Gave the vibration dampener a bath
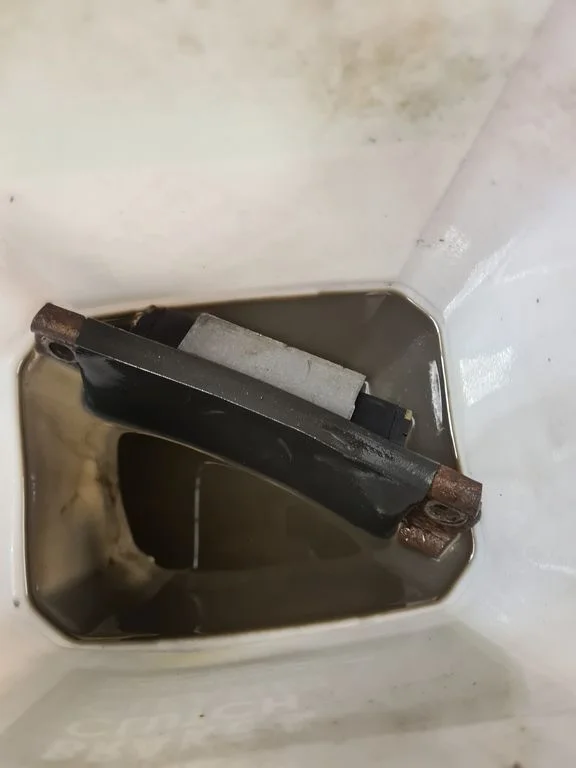
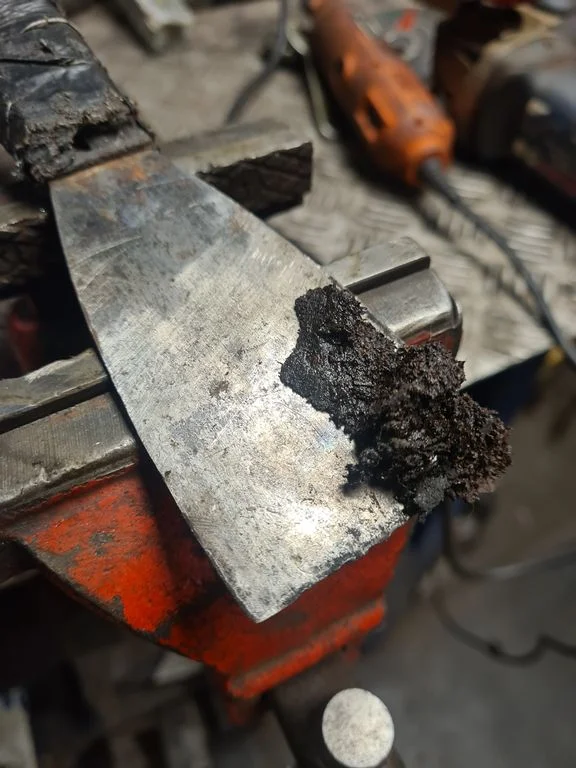
Then spent an eternity cleaning off the sticky underseal grot off, and the greasy and oily build ups
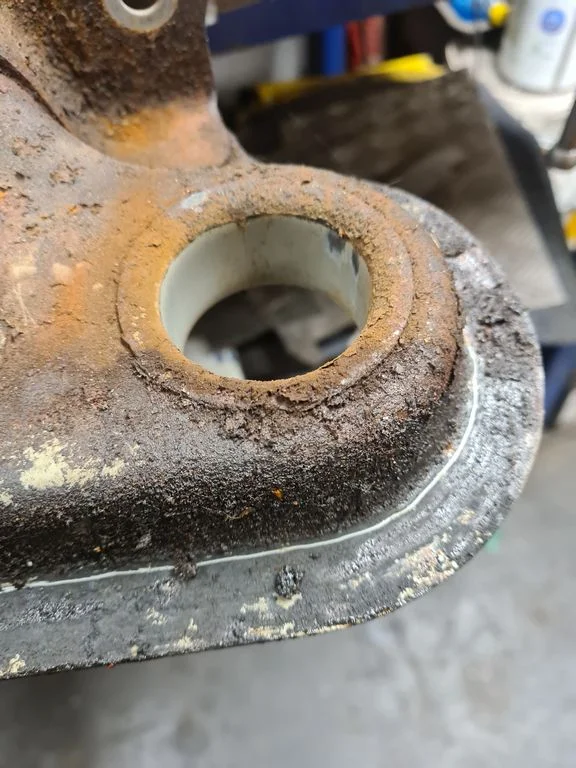
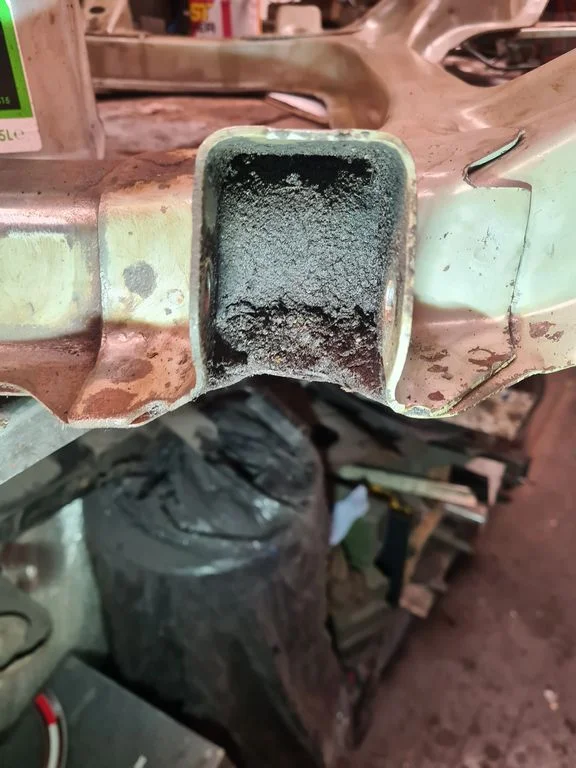
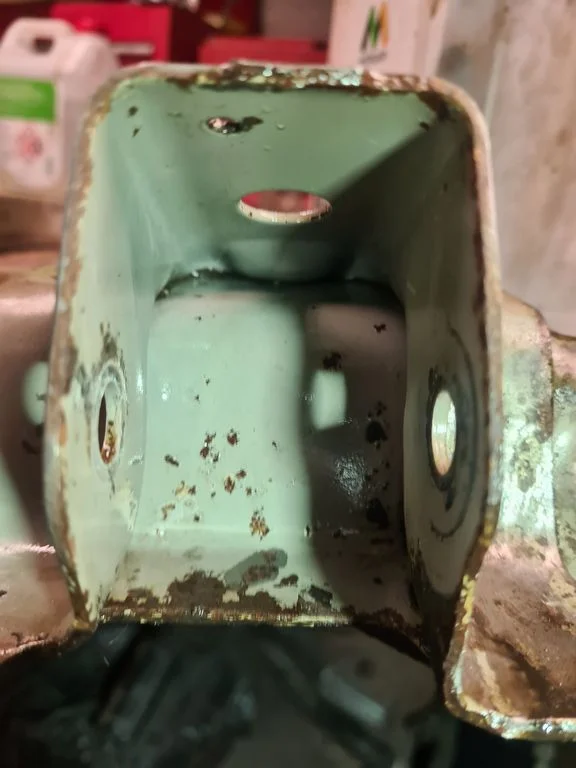
Razzed it over with a knotted wheel
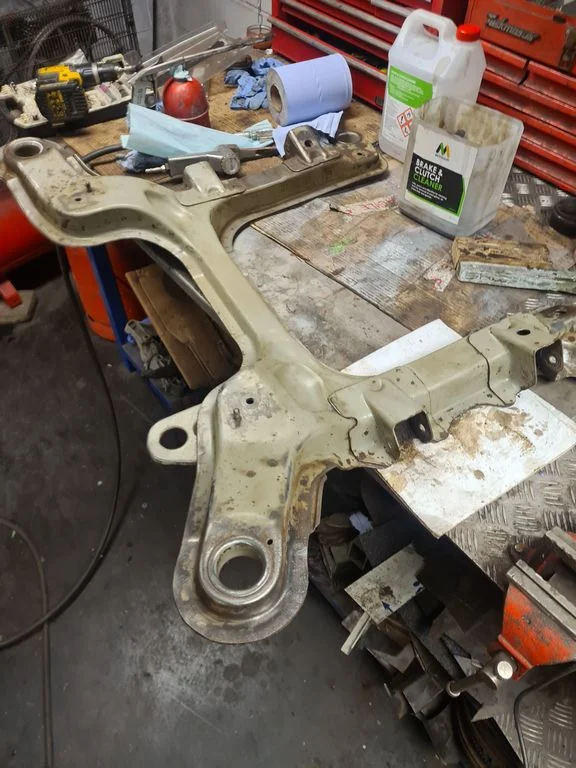
Then the good old Bilt Hamber Hydrate 80, Bonda Primer and Gravitex combo
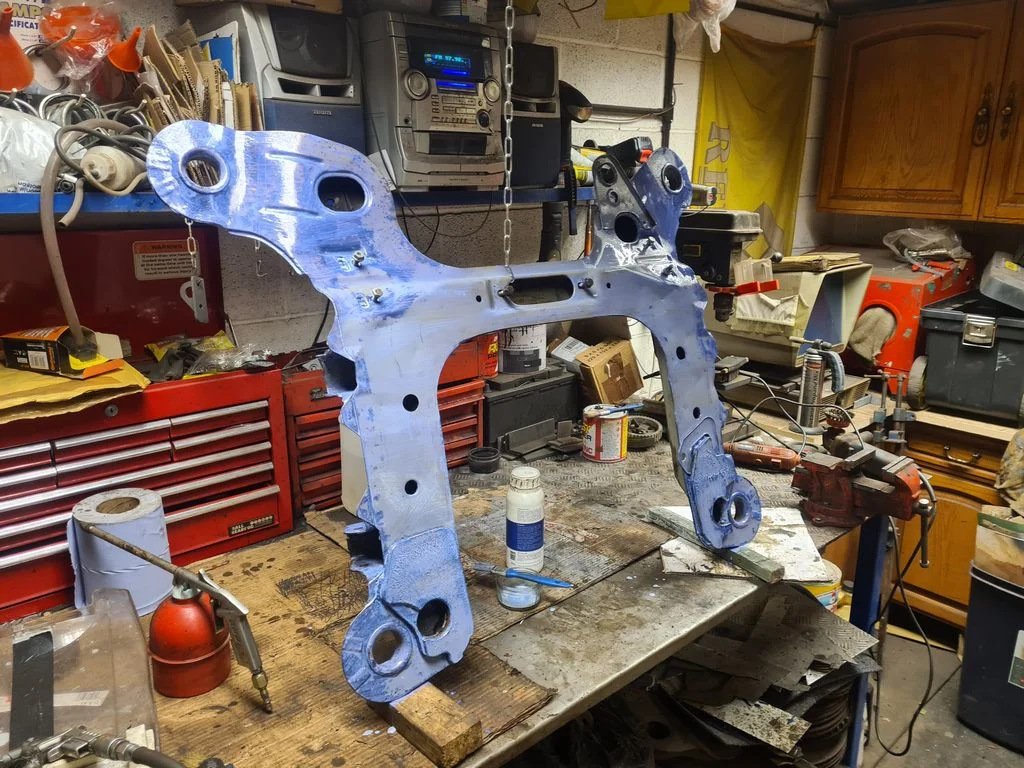
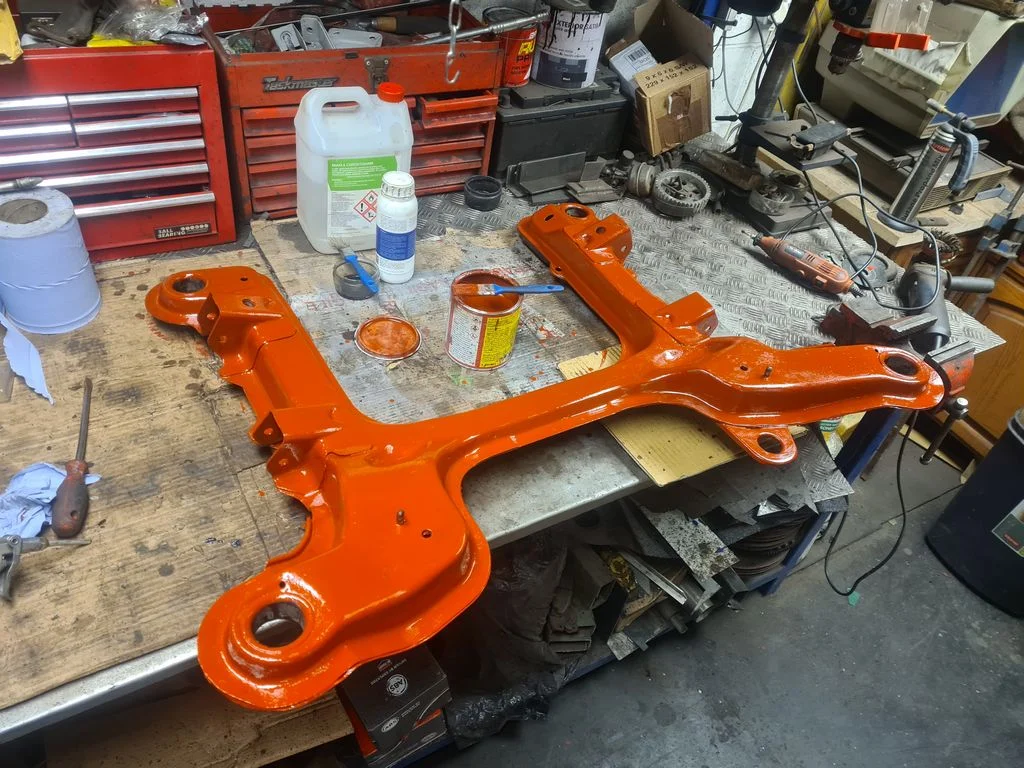
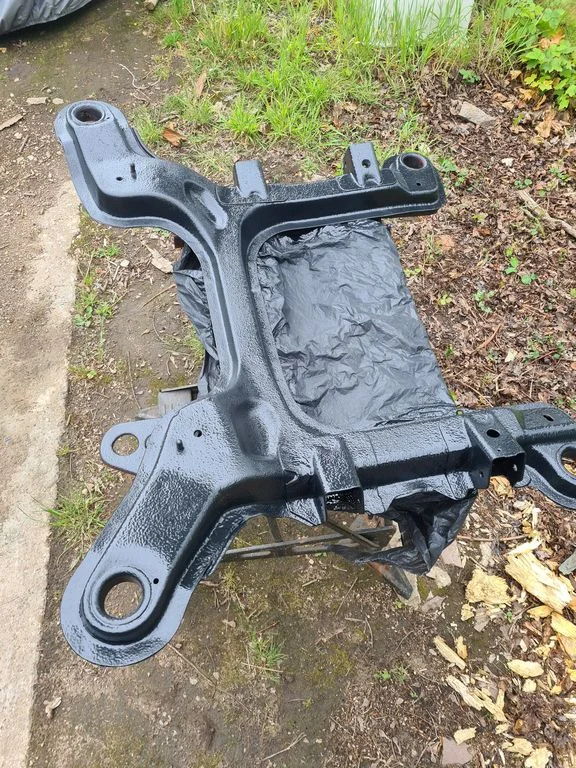
Much better. Ready to have the bushes pressed in when its dried properly.
Gave the vibration dampener a bath
Then spent an eternity cleaning off the sticky underseal grot off, and the greasy and oily build ups
Razzed it over with a knotted wheel
Then the good old Bilt Hamber Hydrate 80, Bonda Primer and Gravitex combo
Much better. Ready to have the bushes pressed in when its dried properly.
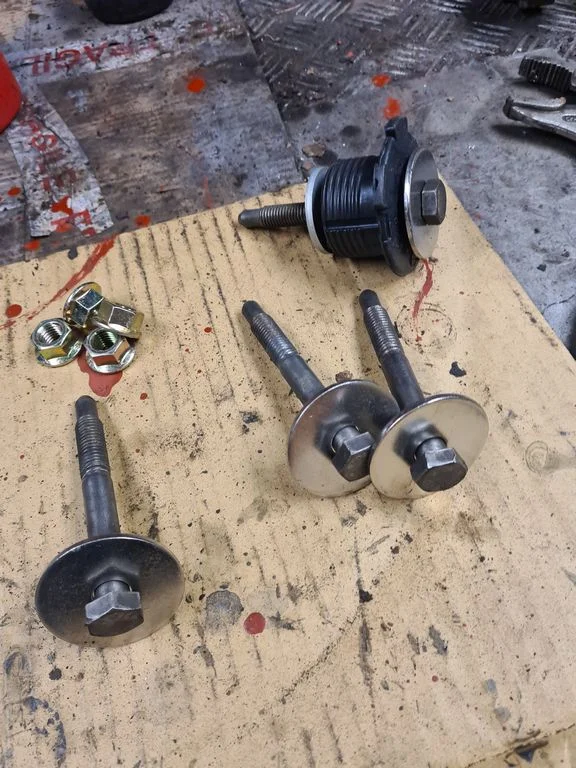
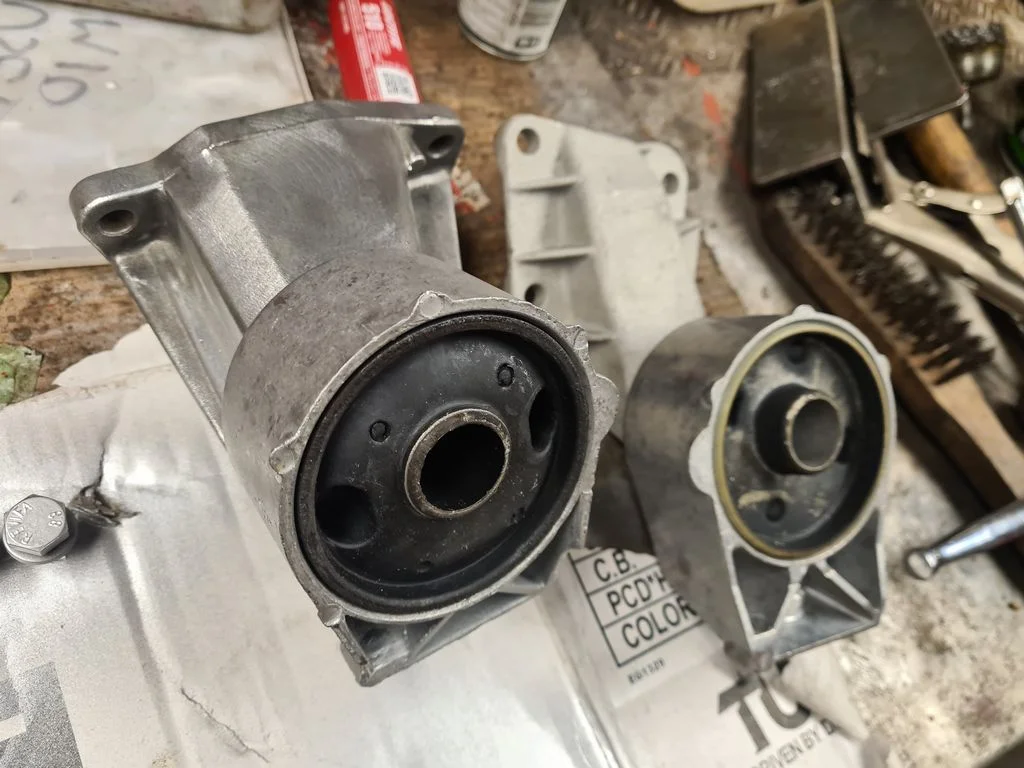
Prepping the subframe for fitting, the nuts and washers I replaced but the bolts were OK so I cleaned and greased them, then fitted the subframe bushes. The old large washers under a 36mm socket are perfect for this.
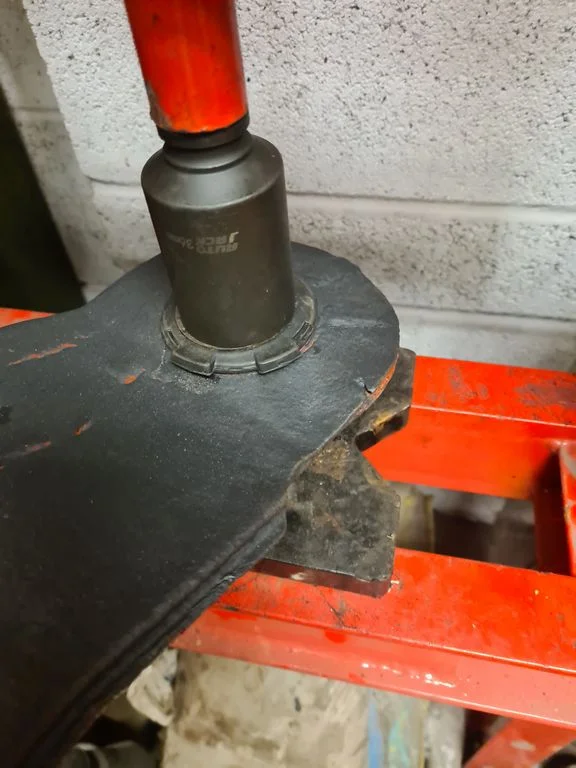
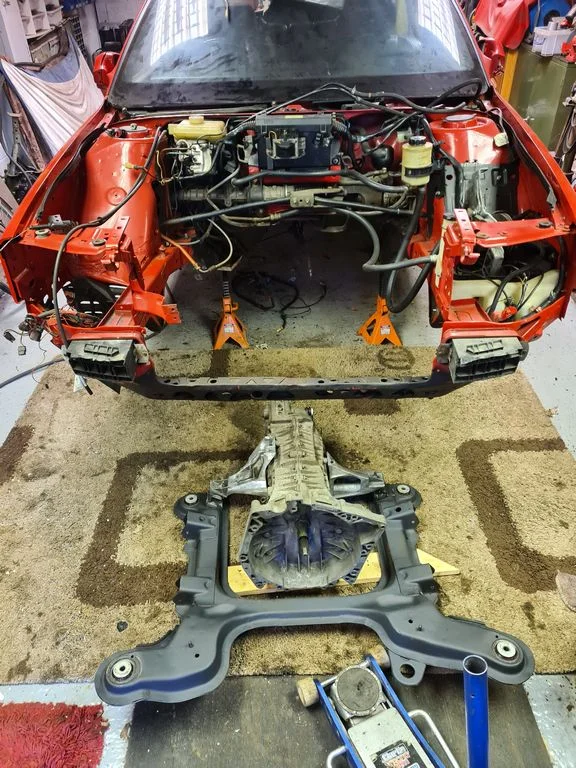
Then dropped the 'box on - it's easier to lift the subframe and box in together than get the box in afterwards.
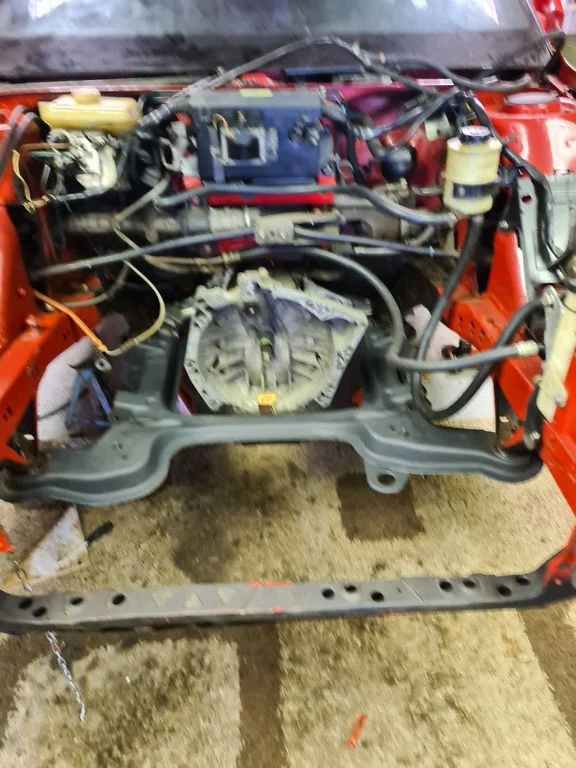
And in she goes.
Then I turned to the clutch slave which looked a bit manky
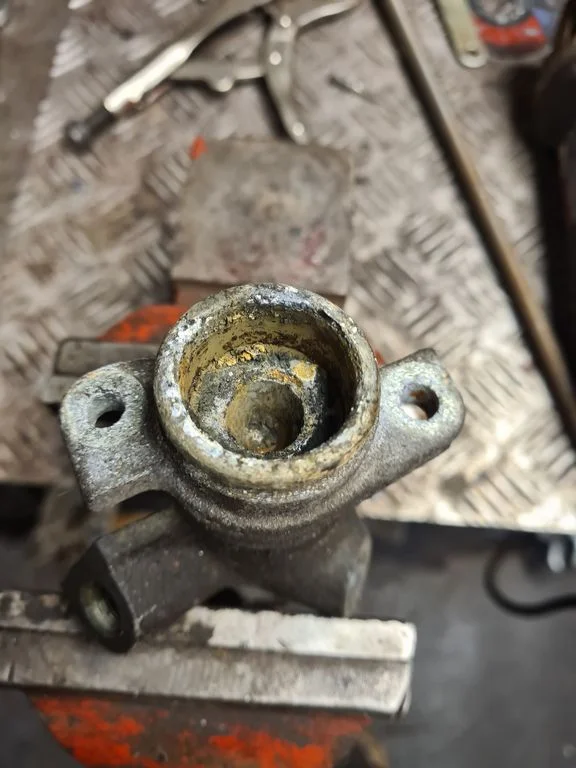
I punched the piston down, cleaned the bore up and popped the piston out with some air pressure
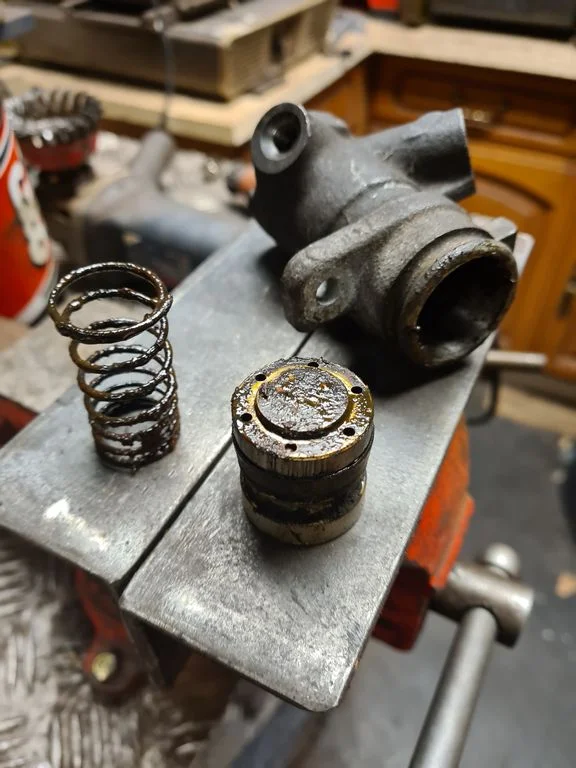
Bit of elbow grease and it's looking a lot better. Note the holes in the back of the piston that feed fluid in to the U-profile seal to expand it into the wall of the cylinder
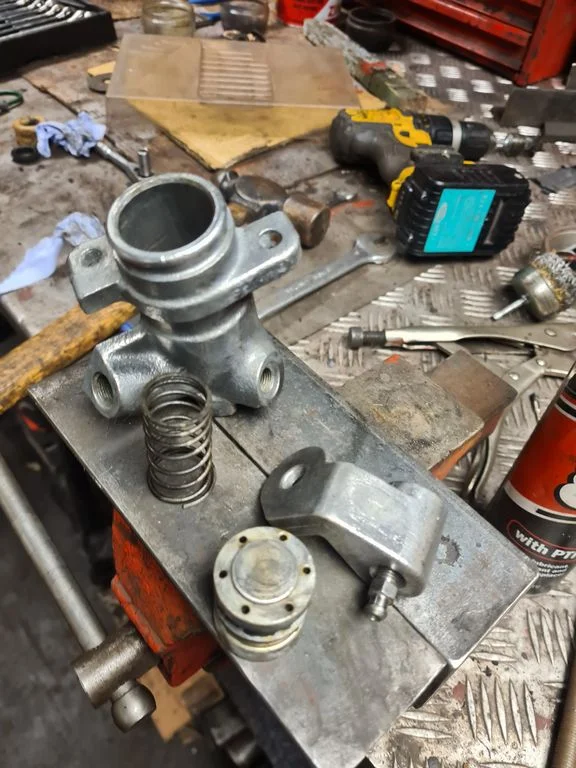
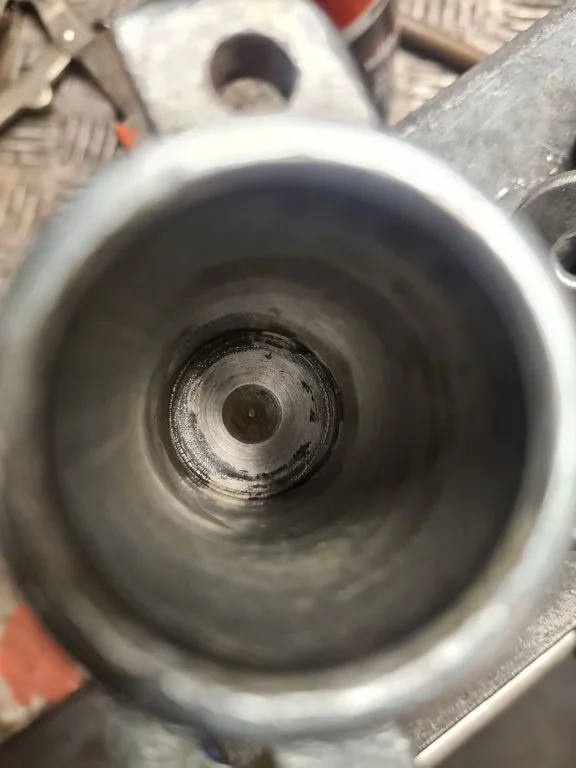
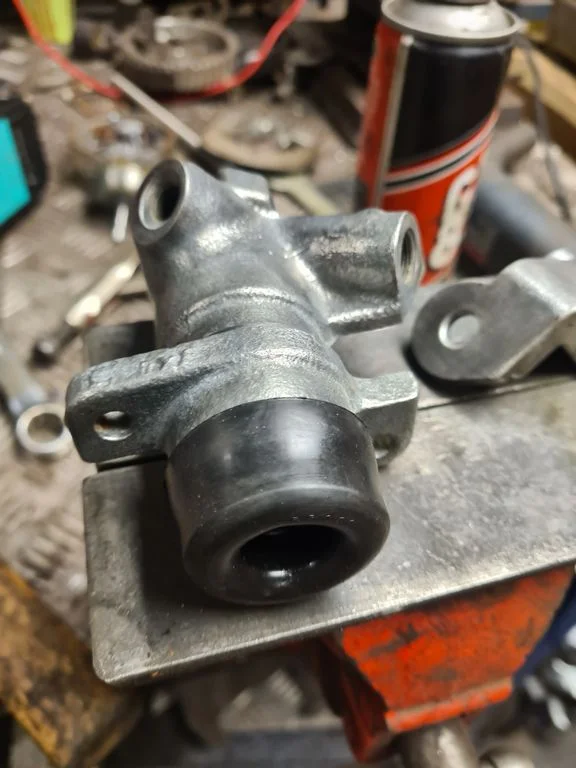
New seal fitted, piston & spring back in and then a new dust seal.
Then dropped the 'box on - it's easier to lift the subframe and box in together than get the box in afterwards.
And in she goes.
Then I turned to the clutch slave which looked a bit manky
I punched the piston down, cleaned the bore up and popped the piston out with some air pressure
Bit of elbow grease and it's looking a lot better. Note the holes in the back of the piston that feed fluid in to the U-profile seal to expand it into the wall of the cylinder
New seal fitted, piston & spring back in and then a new dust seal.
Popped the slave on the bellhousing along with a new fork and a new bleed pipe and new release bearing
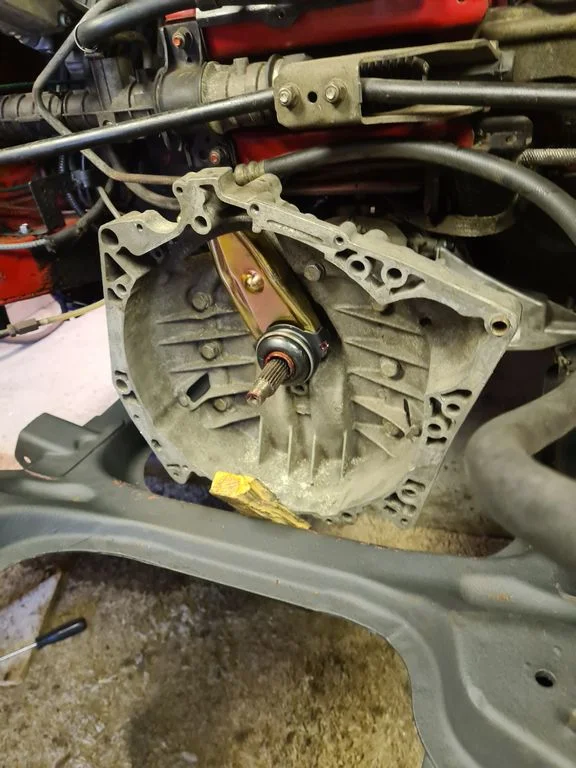
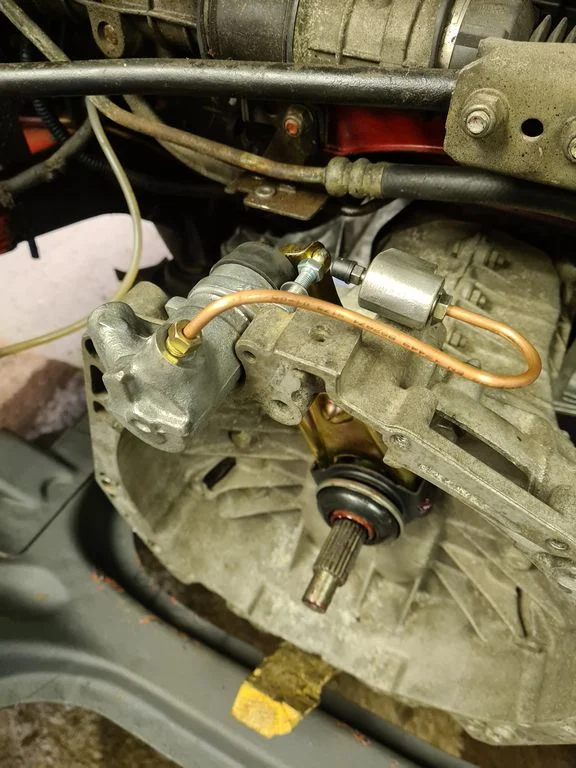
Then, in anticipation of refitting the engine on Sunday I put the steering hydraulic lines back in, and unfortunately as I tightened the back union the threaded segment broke out of the rack! FUMING!
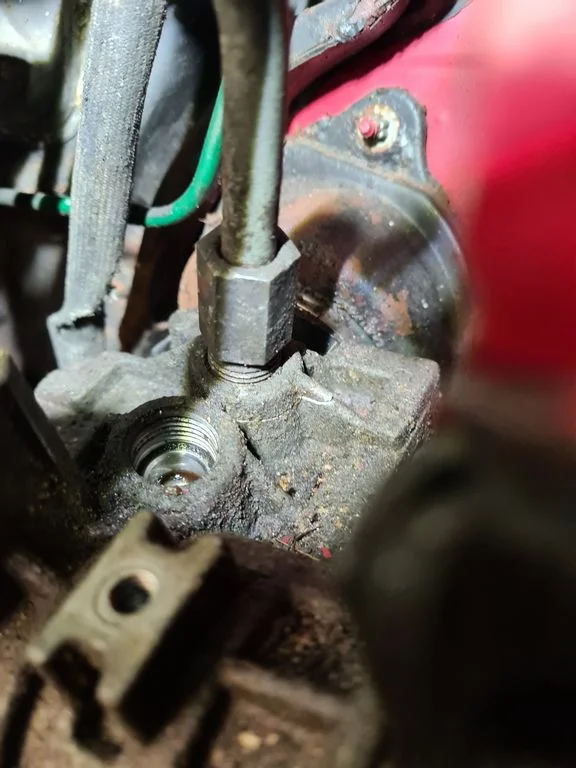
Stomped off in a strop.
Then, in anticipation of refitting the engine on Sunday I put the steering hydraulic lines back in, and unfortunately as I tightened the back union the threaded segment broke out of the rack! FUMING!
Stomped off in a strop.
Came back to it Sunday and had decided I wanted the engine back in come hell or high water so I had to swap out the rack for the rebuilt one from my white quadra, I can source and rebuild another for that one I guess! Pipes went back in OK this time.
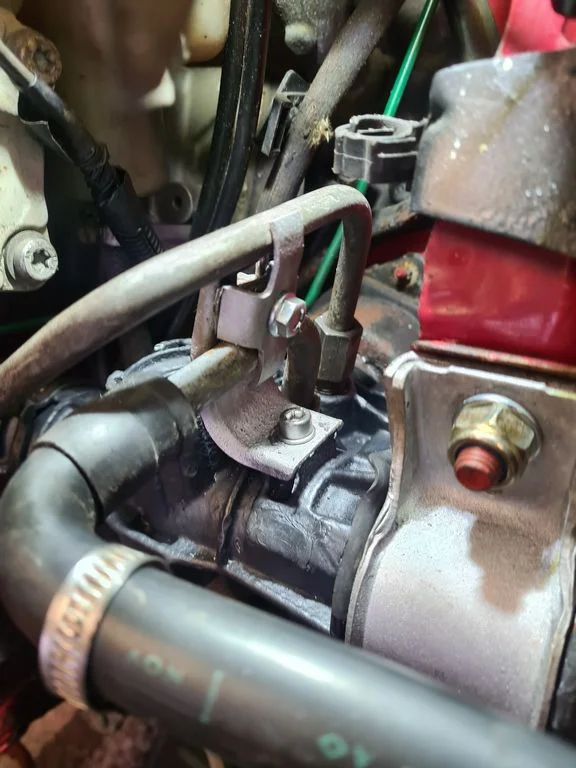
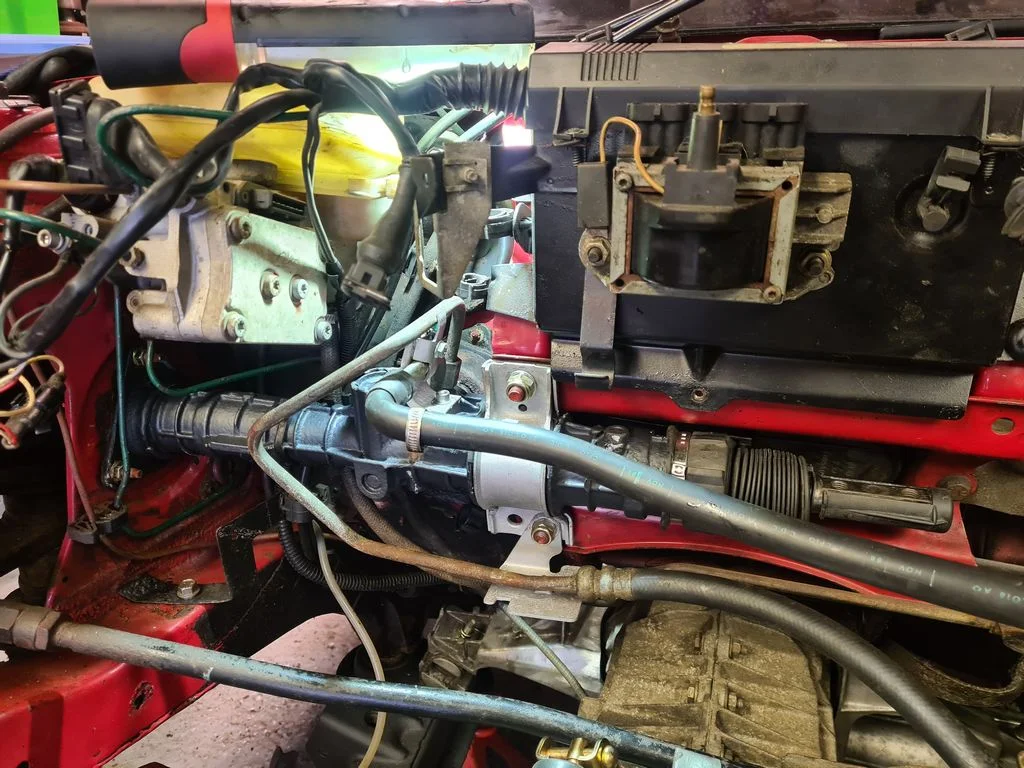
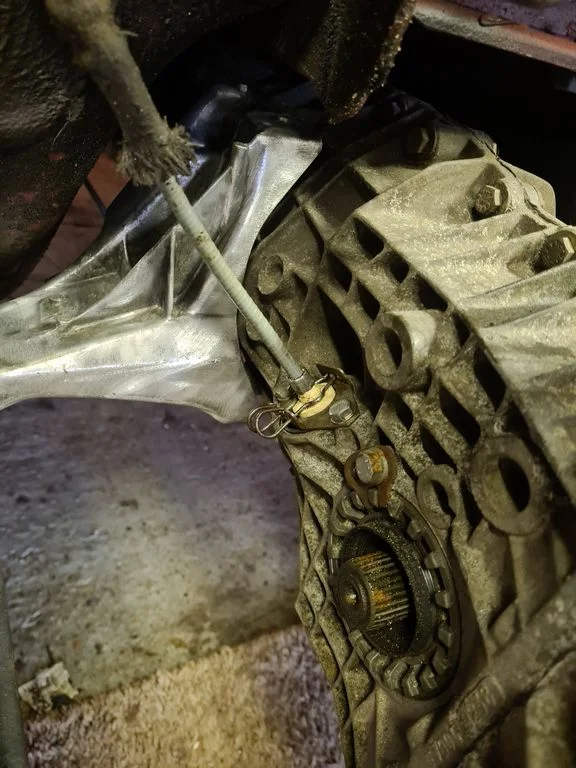
Annoyed at the waste of time and money. Anyway. Reconnected the speedo cable while the engine wasnt in the way. Old skool mechanical cable, none of this electronic bumfluffery!
Got the engine ready to go in, brand new engine mounts to go with the new gearbox mounts and subframe bushes, new clutch, new spigot bearing, the whole 9 yards
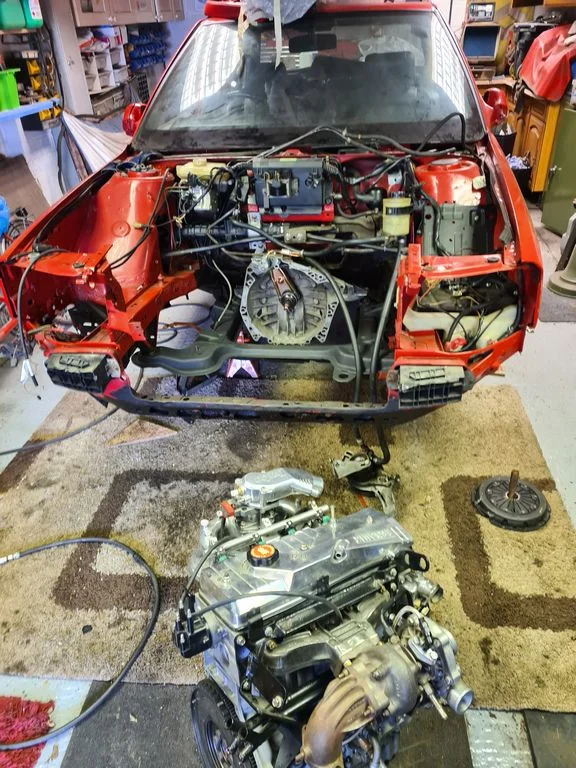
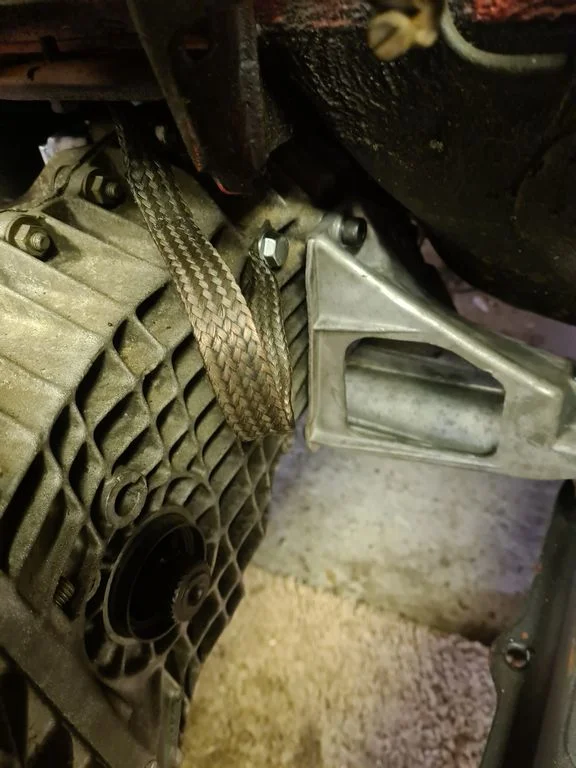
Realised as I strung the engine up that i'd not attached the gearbox earth so popped that on
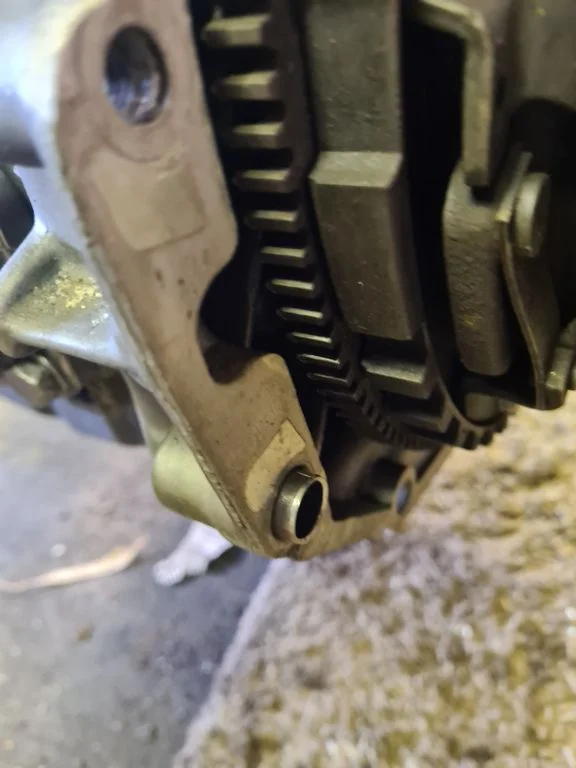
Then (i've learned this the hard way) I checked the locating dowels were all there and that I didnt have dowels in both holes on the engine/box. One was missing in the end so I dug a new one out of the cupboard still in its Renault bag
And then...
Annoyed at the waste of time and money. Anyway. Reconnected the speedo cable while the engine wasnt in the way. Old skool mechanical cable, none of this electronic bumfluffery!
Got the engine ready to go in, brand new engine mounts to go with the new gearbox mounts and subframe bushes, new clutch, new spigot bearing, the whole 9 yards
Realised as I strung the engine up that i'd not attached the gearbox earth so popped that on
Then (i've learned this the hard way) I checked the locating dowels were all there and that I didnt have dowels in both holes on the engine/box. One was missing in the end so I dug a new one out of the cupboard still in its Renault bag
And then...
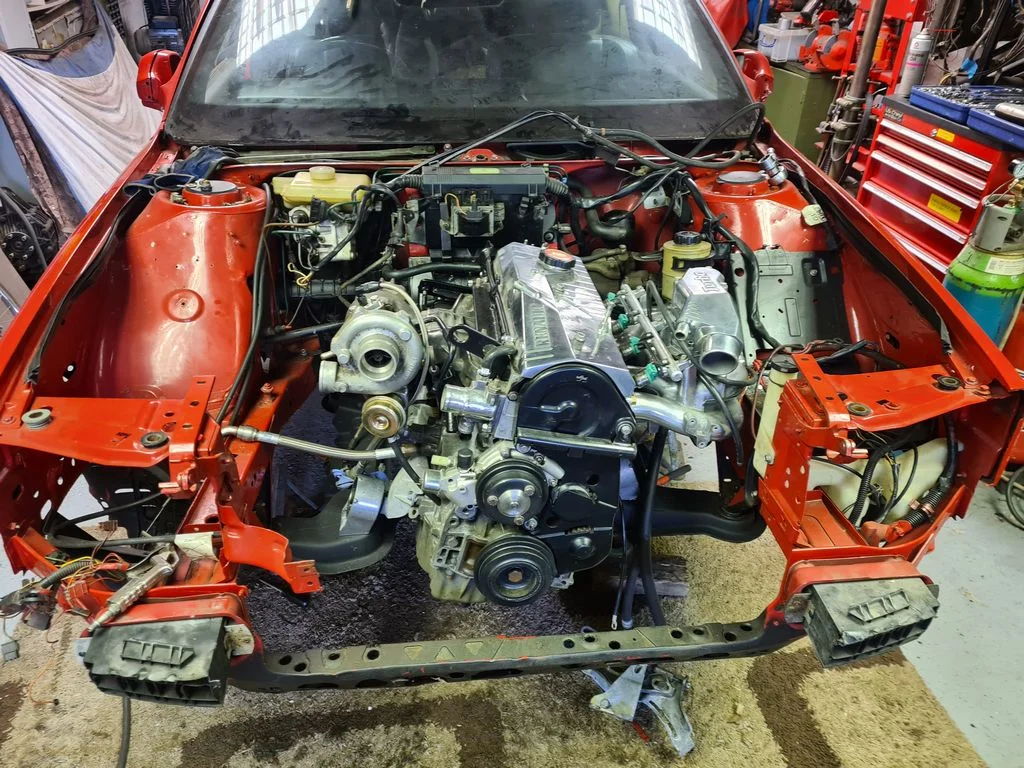
Garage is like a sweat box at the moment! I lost nearly two kilos on Saturday lol - still, cracked on! Got all the bellhousing bolts in, I couldnt find the ones with the car so I had to raid my stash of spares.
Water pump back housing threads cleaned and fitted
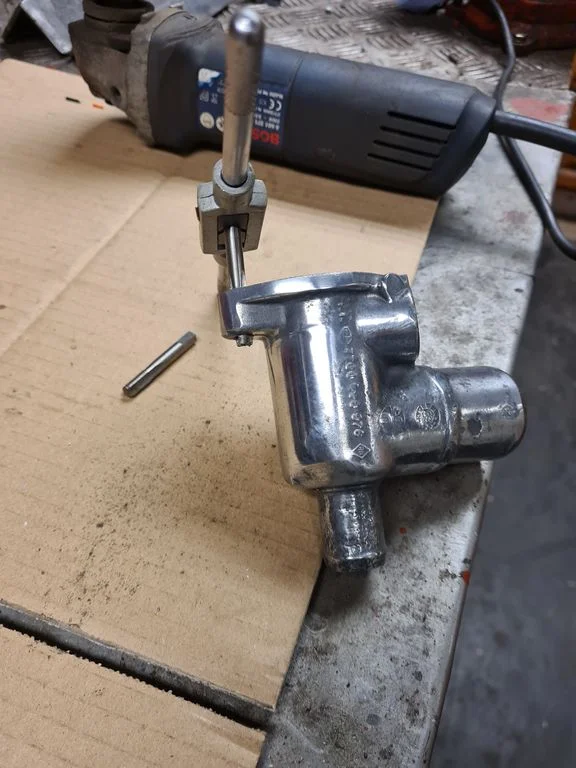
Turbo support fitted
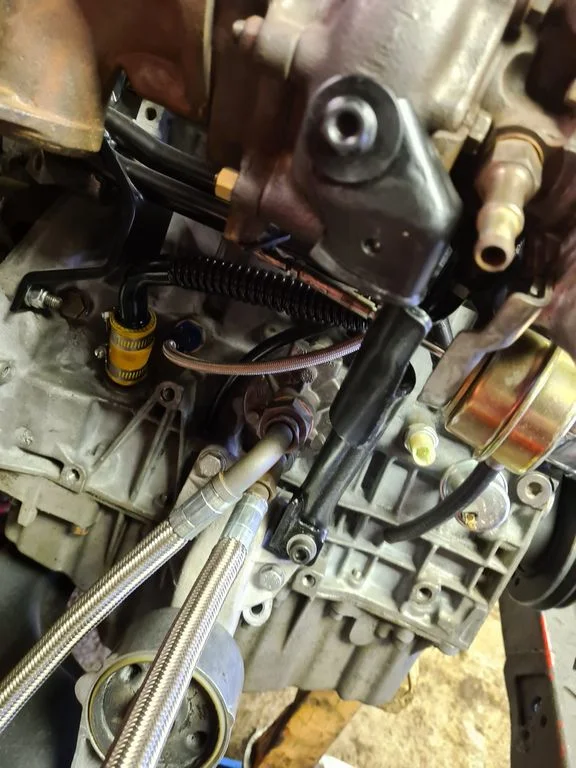
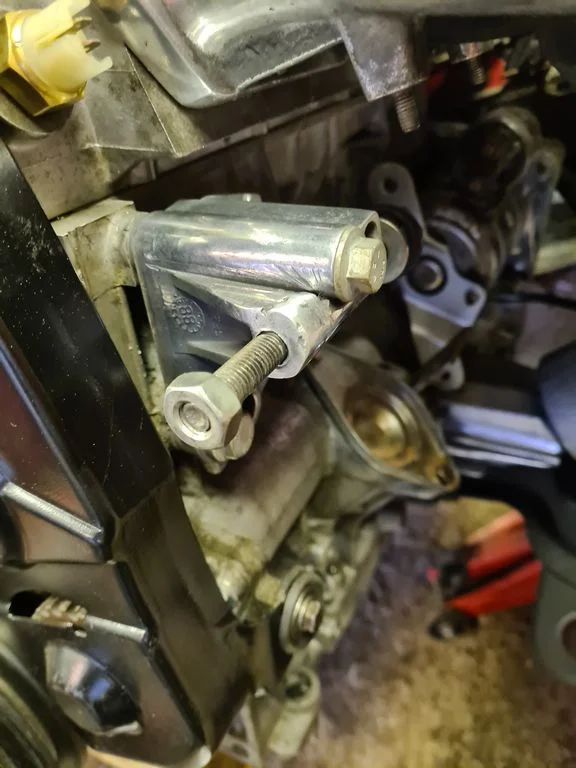
Starter motor fitted, i cleaned and painted the rear bracket but i'm missing the L brackets to the block, might have to make some... then the alternator top bracket.
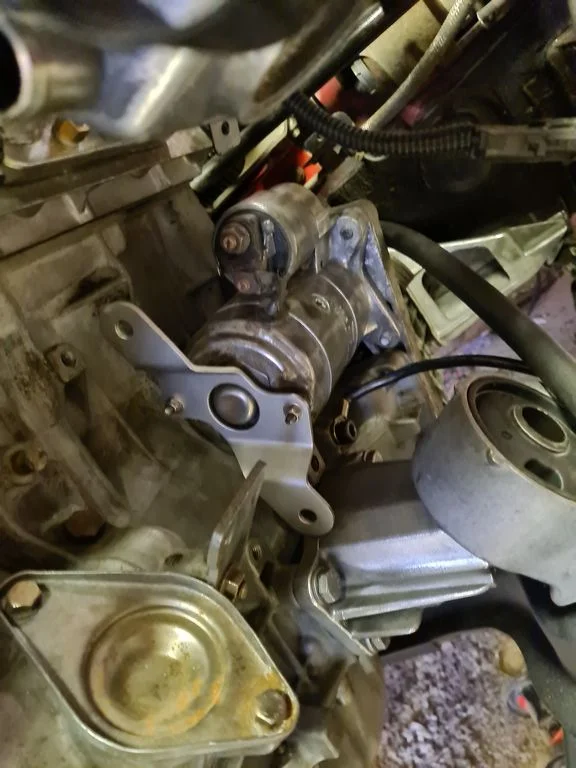
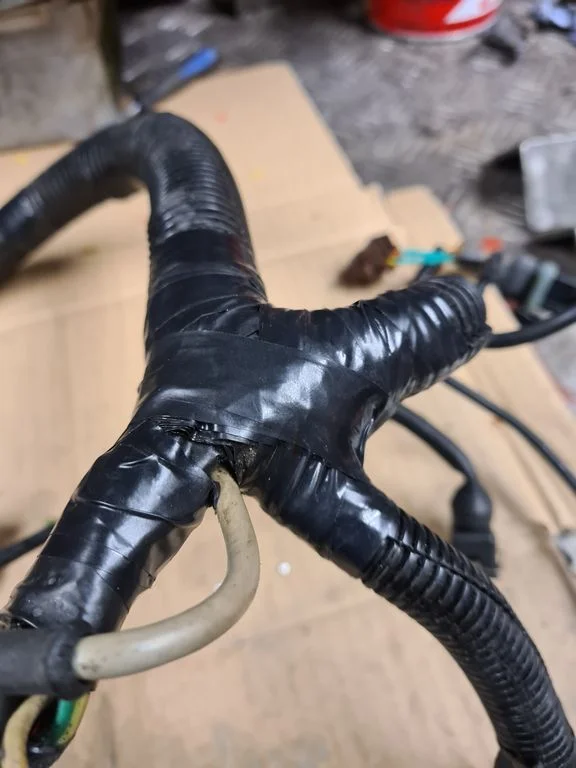
Then I dragged the engine loom out and set about repairing ropey connectors, and re-taping the loom
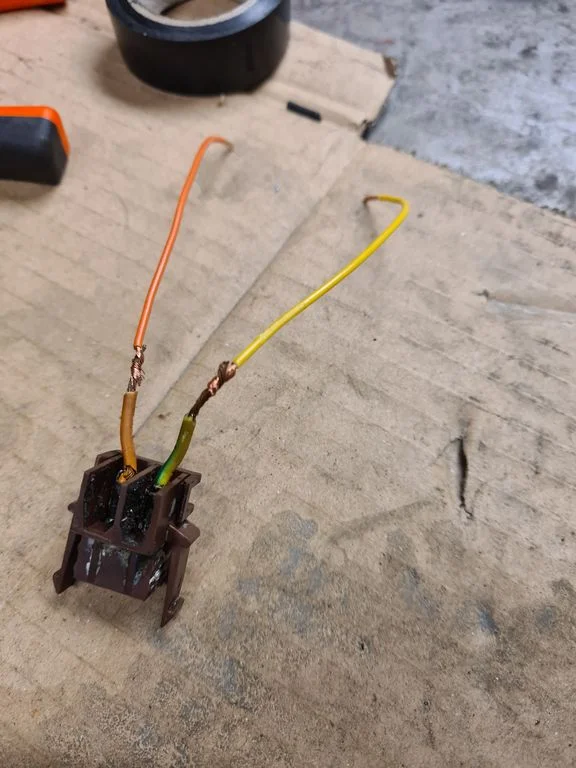
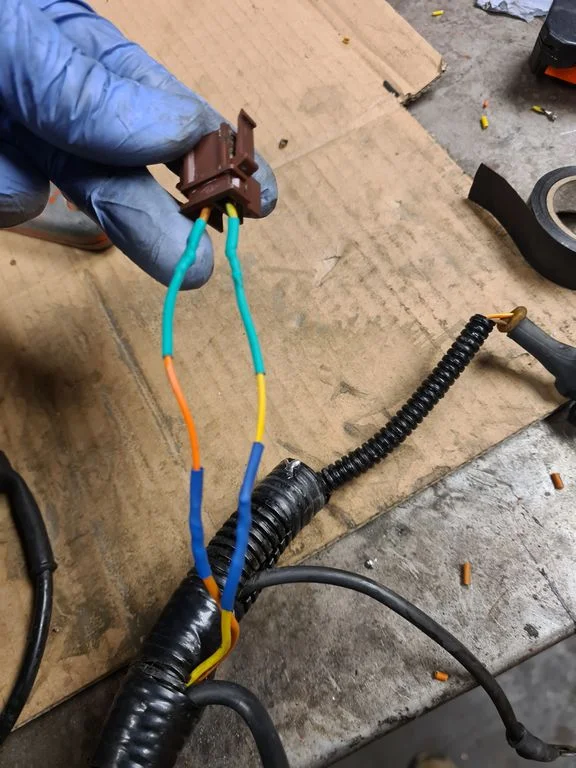
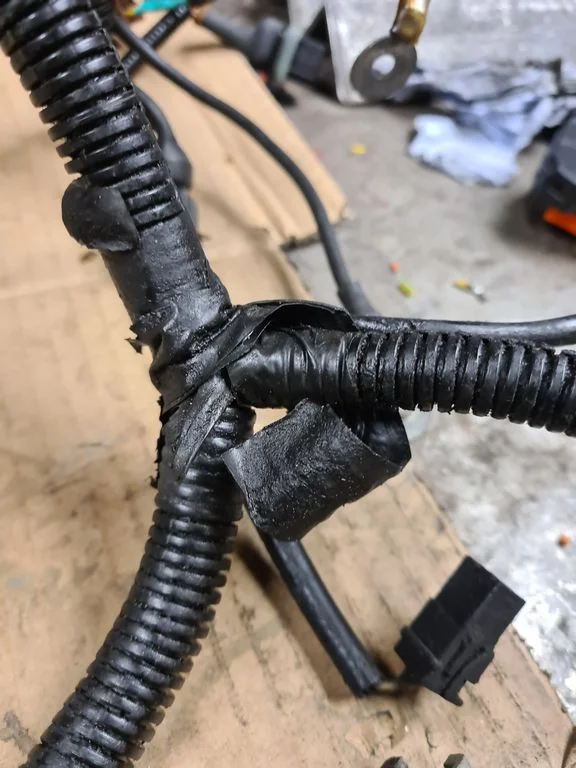
Water pump back housing threads cleaned and fitted
Turbo support fitted
Starter motor fitted, i cleaned and painted the rear bracket but i'm missing the L brackets to the block, might have to make some... then the alternator top bracket.
Then I dragged the engine loom out and set about repairing ropey connectors, and re-taping the loom
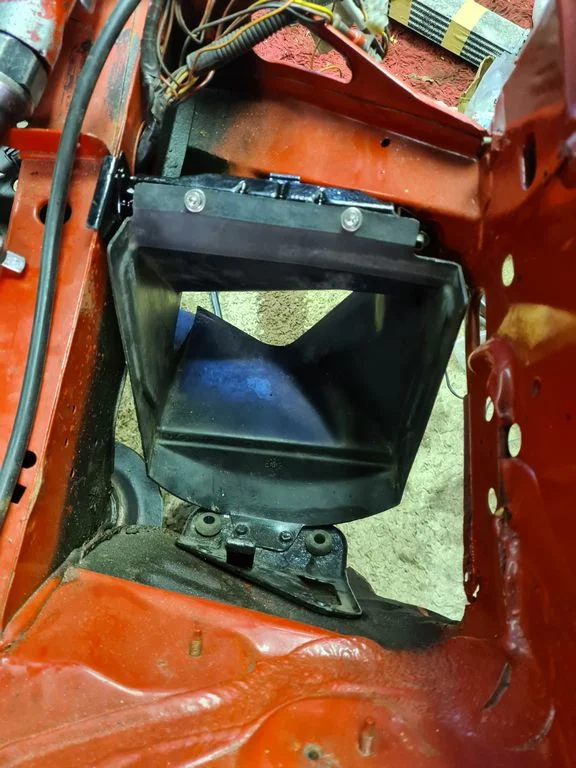
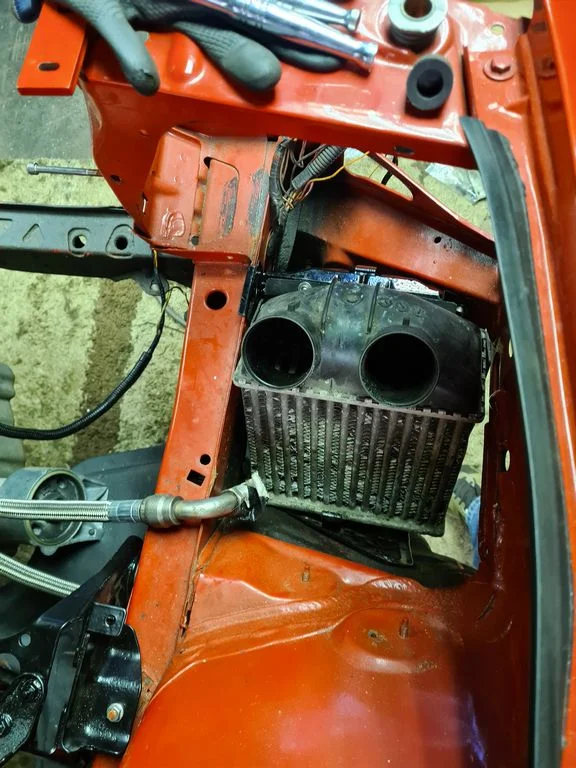
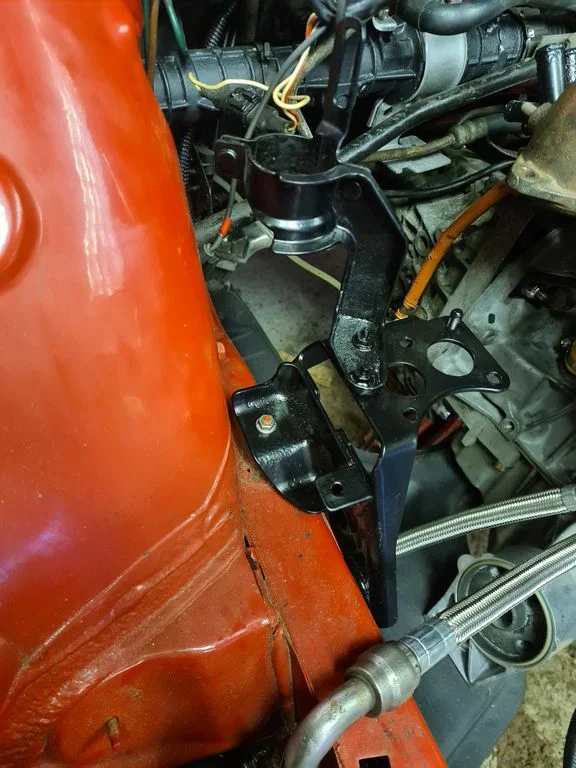
Refitted some easy trim and stuff while I was sorting, this is the primary intercooler bracket/surround (the 21 has two intercoolers from the factory)
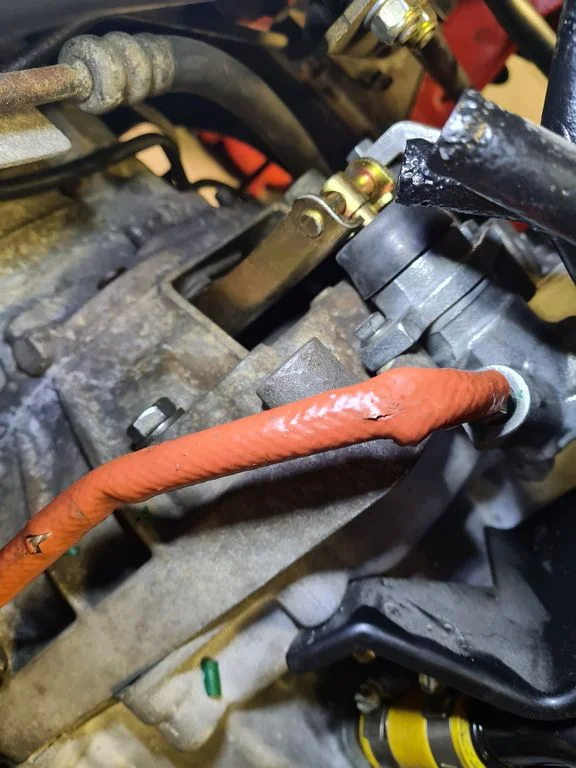
Clutch line located and connected to the slave
Oil cooler/Aux coolant pump bracked refitted too
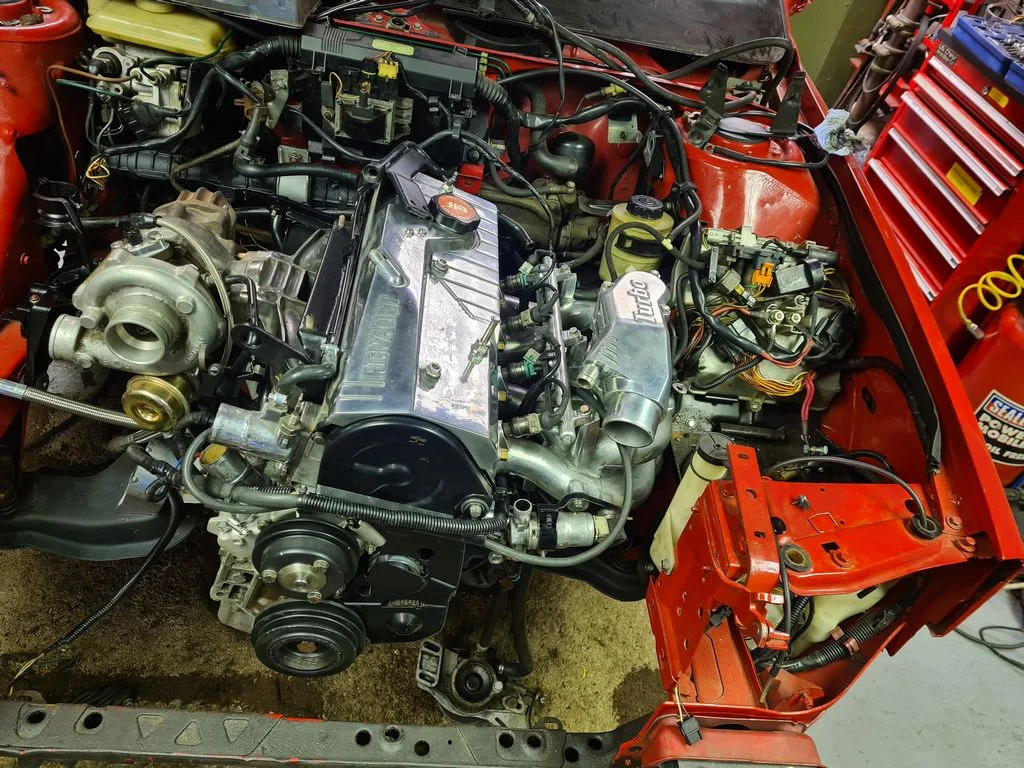
And then the engine loom mostly routed and plugged in with the ECU and primary relays
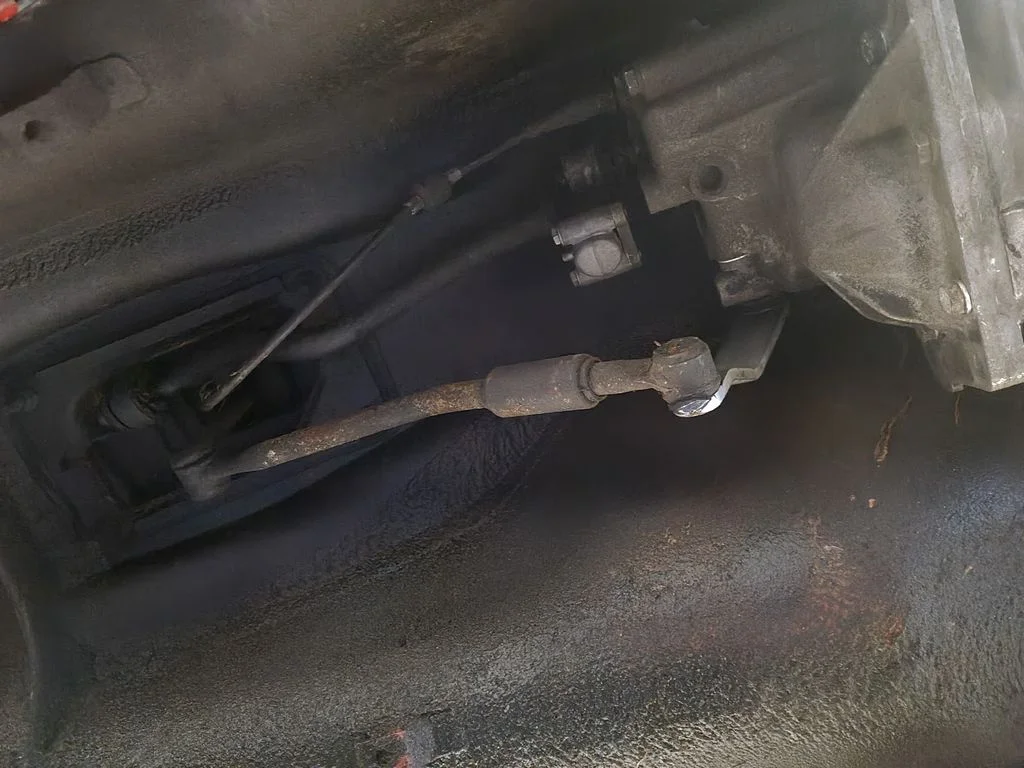
Crawled underneath and hooked up the gear linkages and reverse defender - short of clutch fluid & bleeding this should be a working gearbox now.
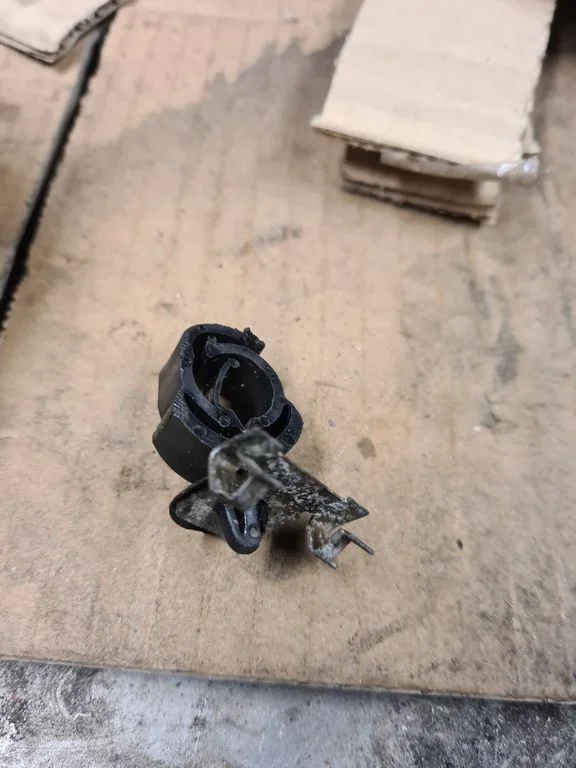
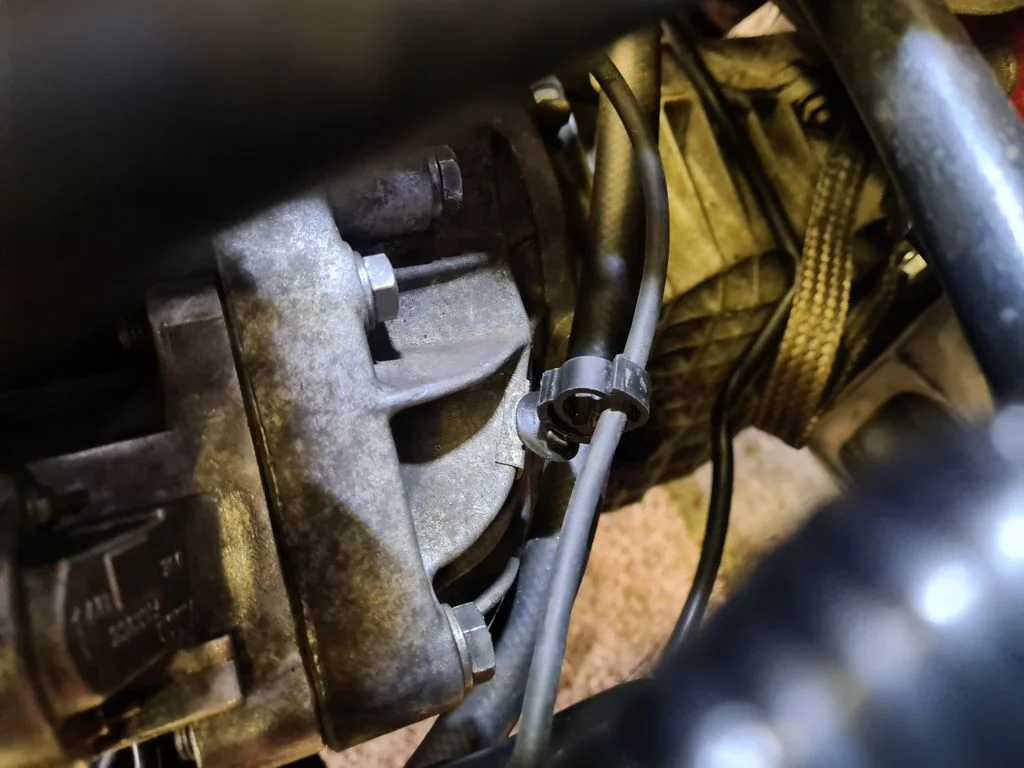
Carried on refitting bits and bobs, working on these things so long gives the advantage of knowing stuff like this particular little woggle clips on one of the fins on the gearbox bellhousing and holds the TDC sensor wire between the sensor and loom.
Clutch line located and connected to the slave
Oil cooler/Aux coolant pump bracked refitted too
And then the engine loom mostly routed and plugged in with the ECU and primary relays
Crawled underneath and hooked up the gear linkages and reverse defender - short of clutch fluid & bleeding this should be a working gearbox now.
Carried on refitting bits and bobs, working on these things so long gives the advantage of knowing stuff like this particular little woggle clips on one of the fins on the gearbox bellhousing and holds the TDC sensor wire between the sensor and loom.
Attachments
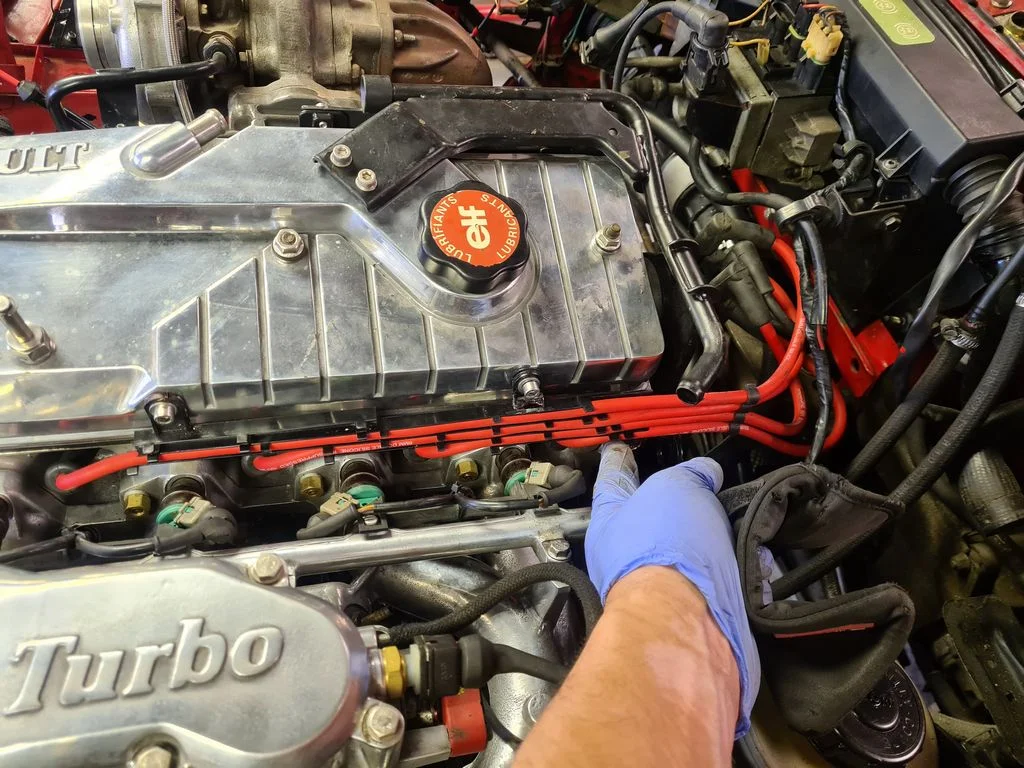
HT leads cleaned and attached
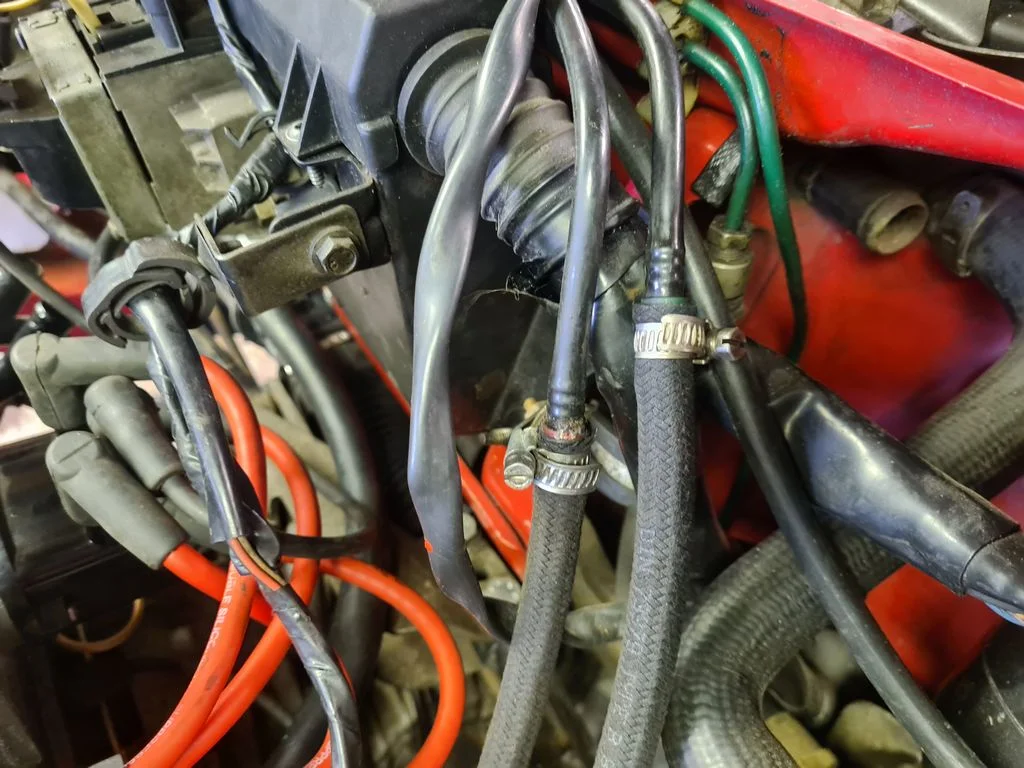
New fuel lines fitted from the hard pipes to the reg/rail
And there's that little woggle for the TDC sensor wire
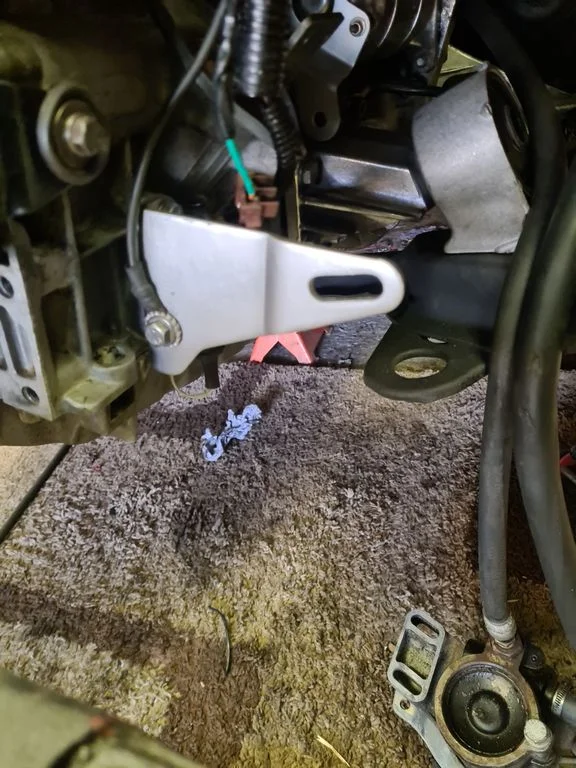
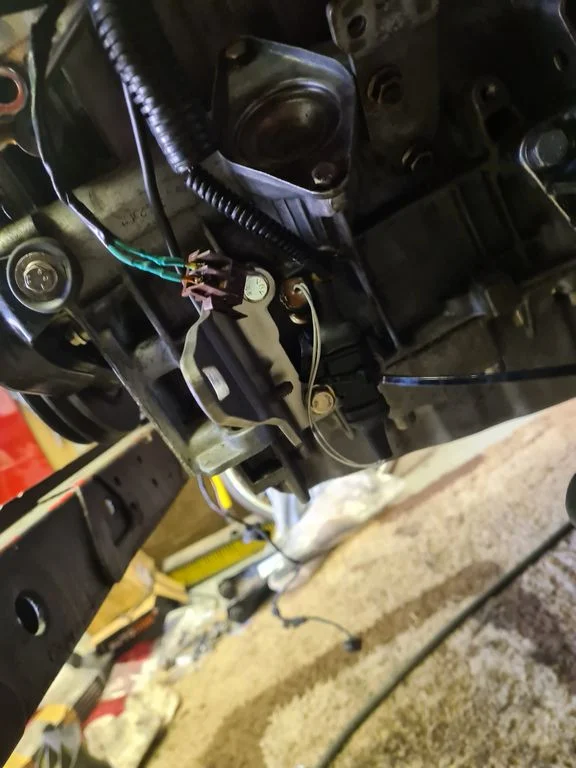
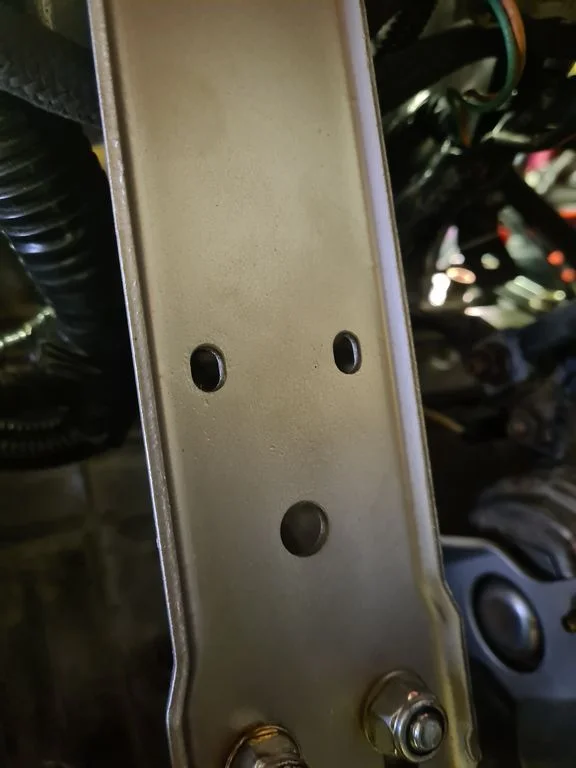
Cleaned, painted and fitted the power steering pump rear support, this is also an earth point and the bottom bolt holds the oil level sensor bracket too, which was also all fitted.
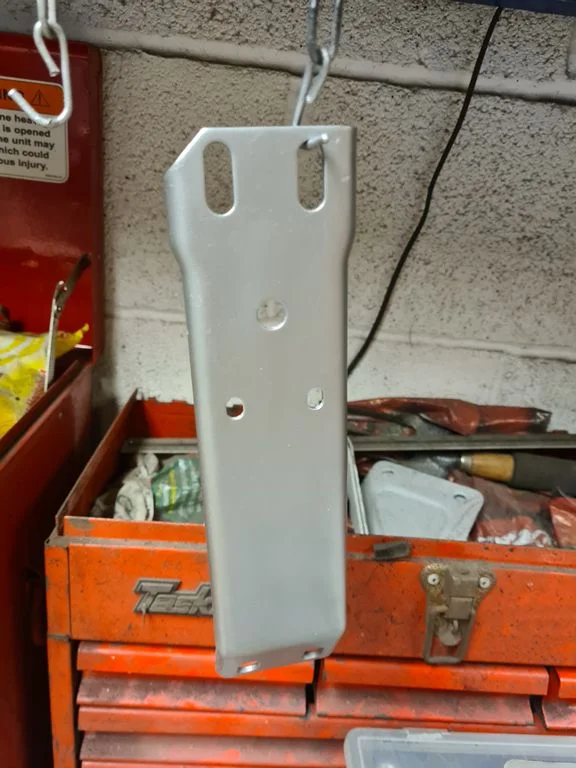
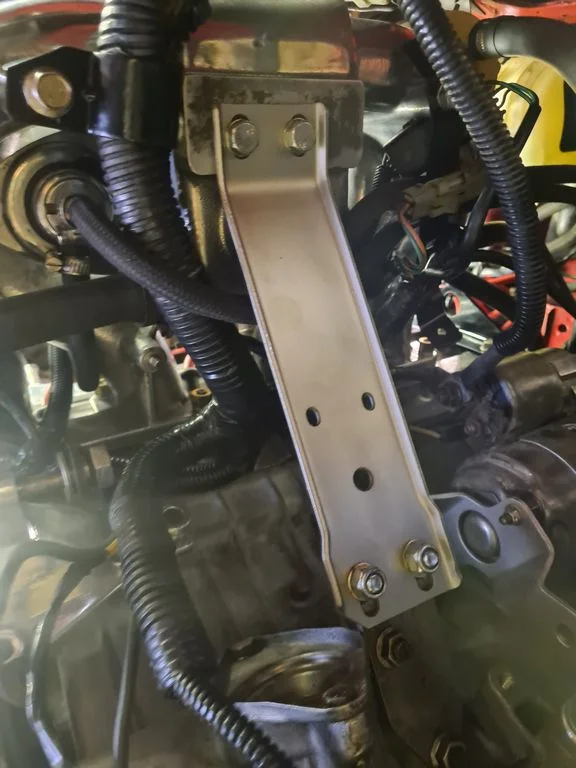
Inlet manifold support cleaned, painted and fitted
After so long sat doing nothing it seemed surprised to be back in use!
New fuel lines fitted from the hard pipes to the reg/rail
And there's that little woggle for the TDC sensor wire
Cleaned, painted and fitted the power steering pump rear support, this is also an earth point and the bottom bolt holds the oil level sensor bracket too, which was also all fitted.
Inlet manifold support cleaned, painted and fitted
After so long sat doing nothing it seemed surprised to be back in use!
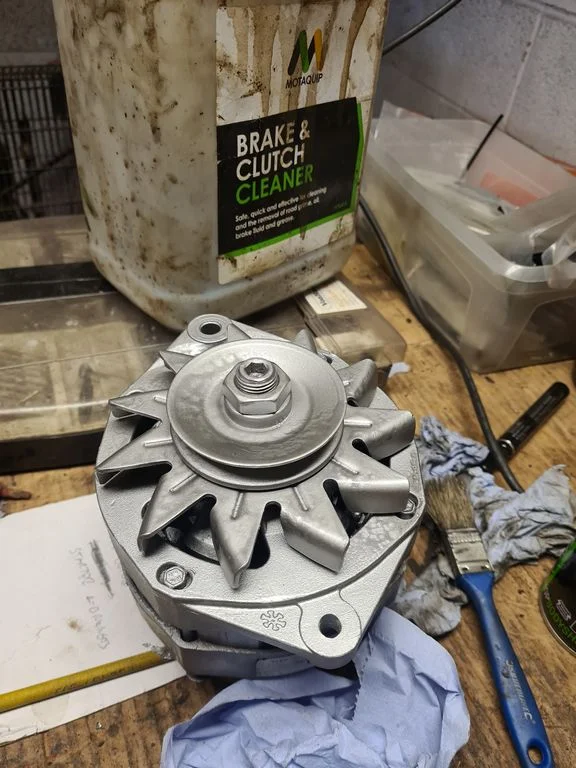
I gave the alternator a clean up and dusted a waft of silver paint on the front
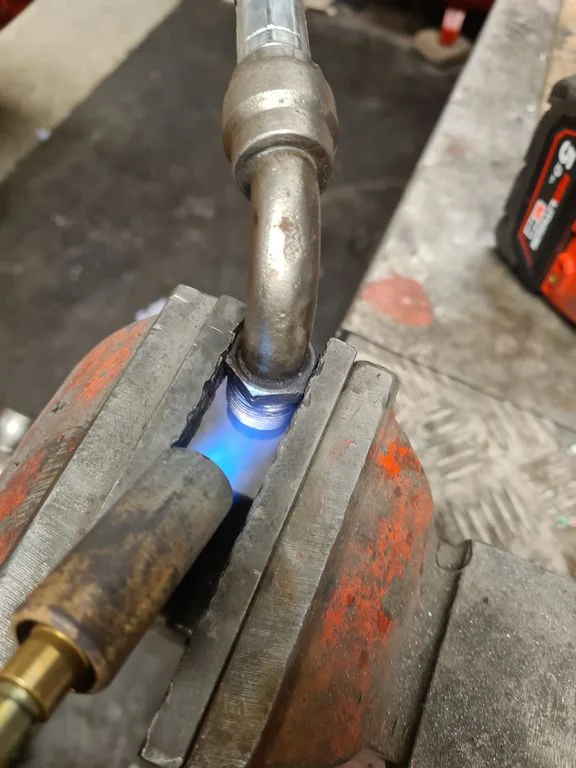
Then I got the remote oil cooler pipes and freed up the collars, making sure they were well oiled. These are a sod for seizing to the pipes and then you have to wreck the pipe to get it off. Three were fairly loose anyway, one was solid so I heated it up and got it free, then i span all the ends with WD and an air gun until they were nice and free. Note - if you heat these remove the tiny green union seal from the end first or you'll cook it, it wont seal and it'll piss oil out.
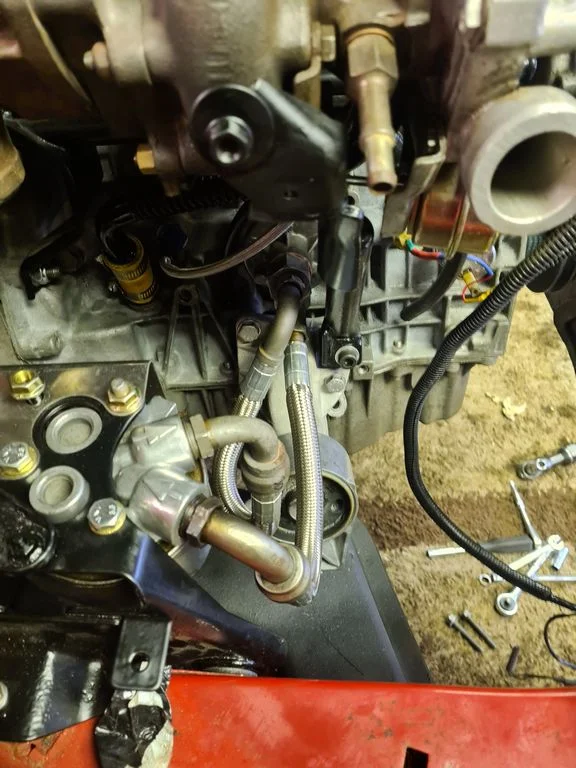
Oil cooler located, cleaned and blown out with an air line, then plumbed in with the oil pipes. This should complete the oil pressure circuit.
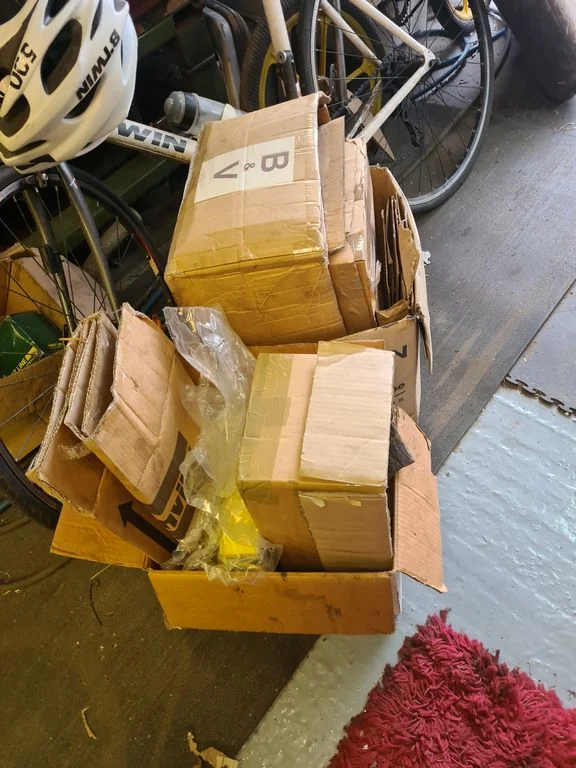
Post shenanigans there is a pleasing number of empty boxes
I guess next tasks are alternator, power steering pump, then check the fuel system, get some oils in the engine and box and see if she will crank over. I wont fit any more ancilliaries like water pipes and boost circuit until I can show it runs.
Then I got the remote oil cooler pipes and freed up the collars, making sure they were well oiled. These are a sod for seizing to the pipes and then you have to wreck the pipe to get it off. Three were fairly loose anyway, one was solid so I heated it up and got it free, then i span all the ends with WD and an air gun until they were nice and free. Note - if you heat these remove the tiny green union seal from the end first or you'll cook it, it wont seal and it'll piss oil out.
Oil cooler located, cleaned and blown out with an air line, then plumbed in with the oil pipes. This should complete the oil pressure circuit.
Post shenanigans there is a pleasing number of empty boxes
I guess next tasks are alternator, power steering pump, then check the fuel system, get some oils in the engine and box and see if she will crank over. I wont fit any more ancilliaries like water pipes and boost circuit until I can show it runs.
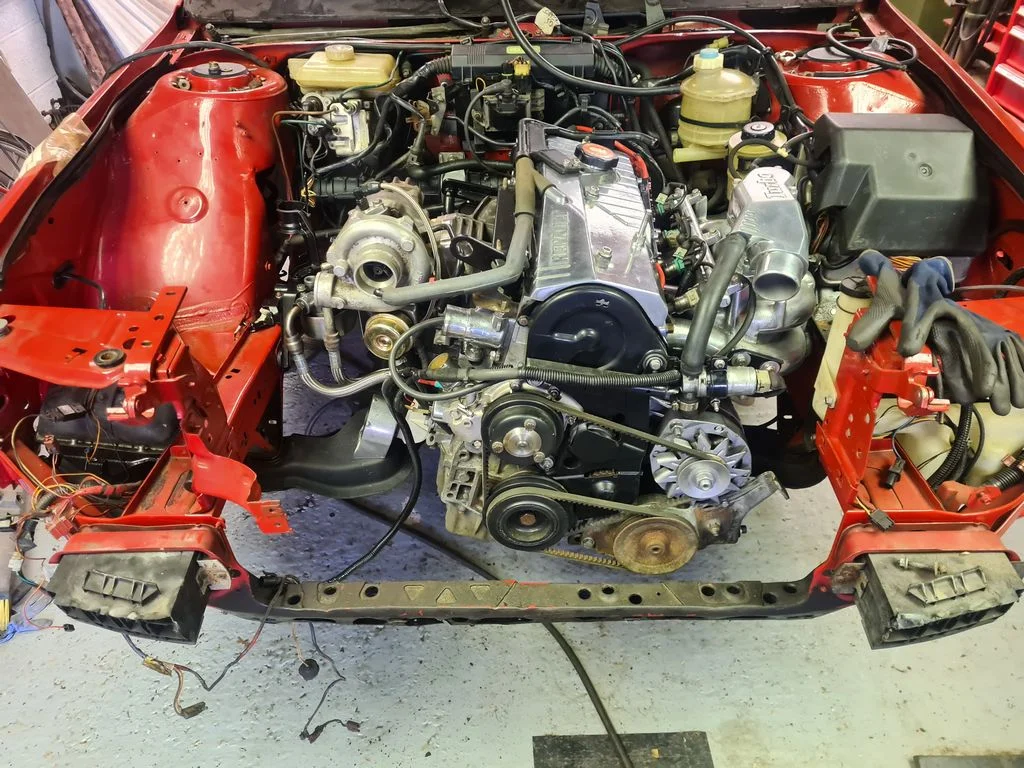
Continued assembly of the engine bay, alternator and power steering pump on
Hoofed some oil in it as well, primed the fuel system with some fresh fuel and... (this was genuinely the first turn of the key too)
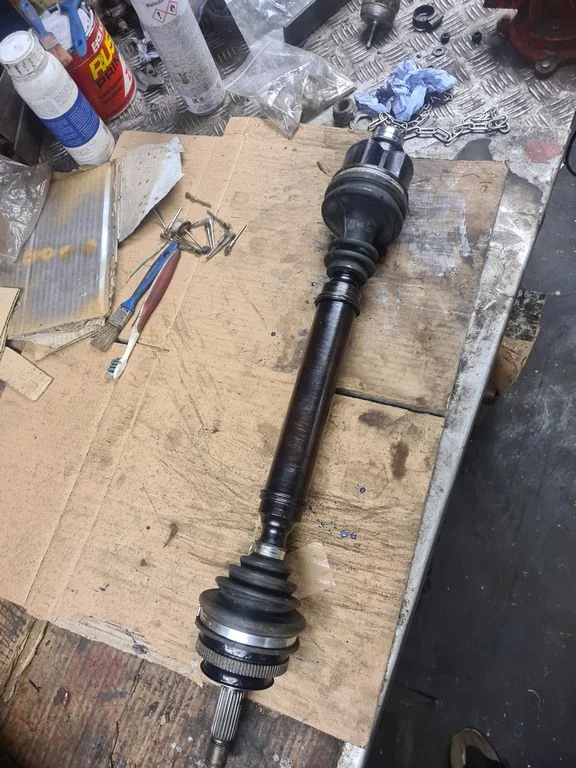
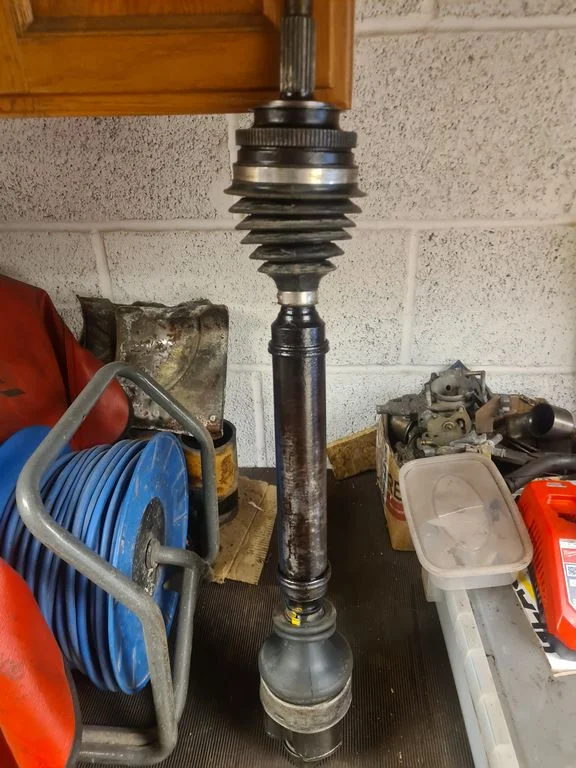
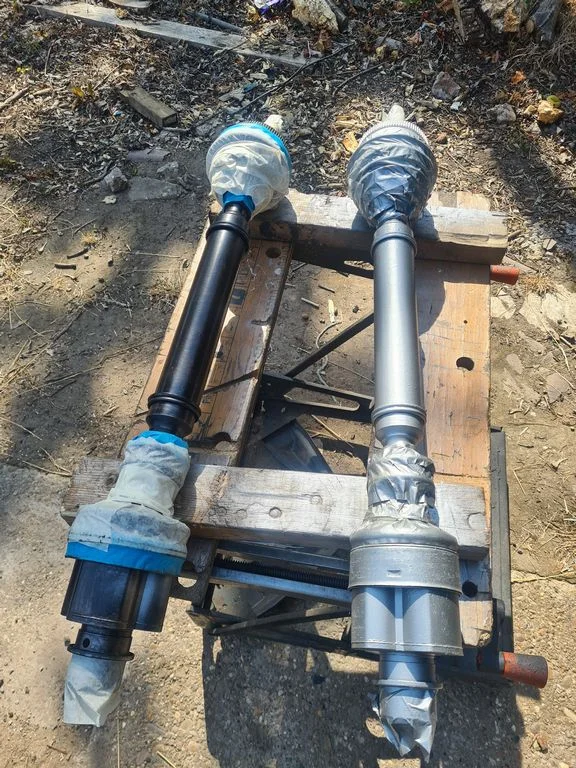
Gave the shafts a clean up to finish
Hoofed some oil in it as well, primed the fuel system with some fresh fuel and... (this was genuinely the first turn of the key too)
Gave the shafts a clean up to finish
Usually you get a few stutters but id ran the fuel pump for a bit by bridging the relay over, so she popped up on all four right awayGood clean first start that.

Brigsy
ClioSport Club Member
T.Turbo
Ive had a few stuck injectors giving a misfirey first start on the last couple of first startups after rebuild/long layup. Had to fire carb cleaner through some c20let injectors to get them going while giving the injector 12v to trigger recently, pikey injector clean

Touring_Rob
ClioSport Club Member
Awesome work!
Bottom pulley stands out a bit though
Bottom pulley stands out a bit though
I did think that, the aux belts on it are old and need changing so I think it'll probably get attacked when I change themAwesome work!
Bottom pulley stands out a bit though
One has been busy of late, including a blast across France and Germany for laughs. Saw a raft of 21 Turbo at a French show, been so long since I saw them in these numbers. It felt GOOD  This white Ph2 made me pine for mine a bit, I have to admit.
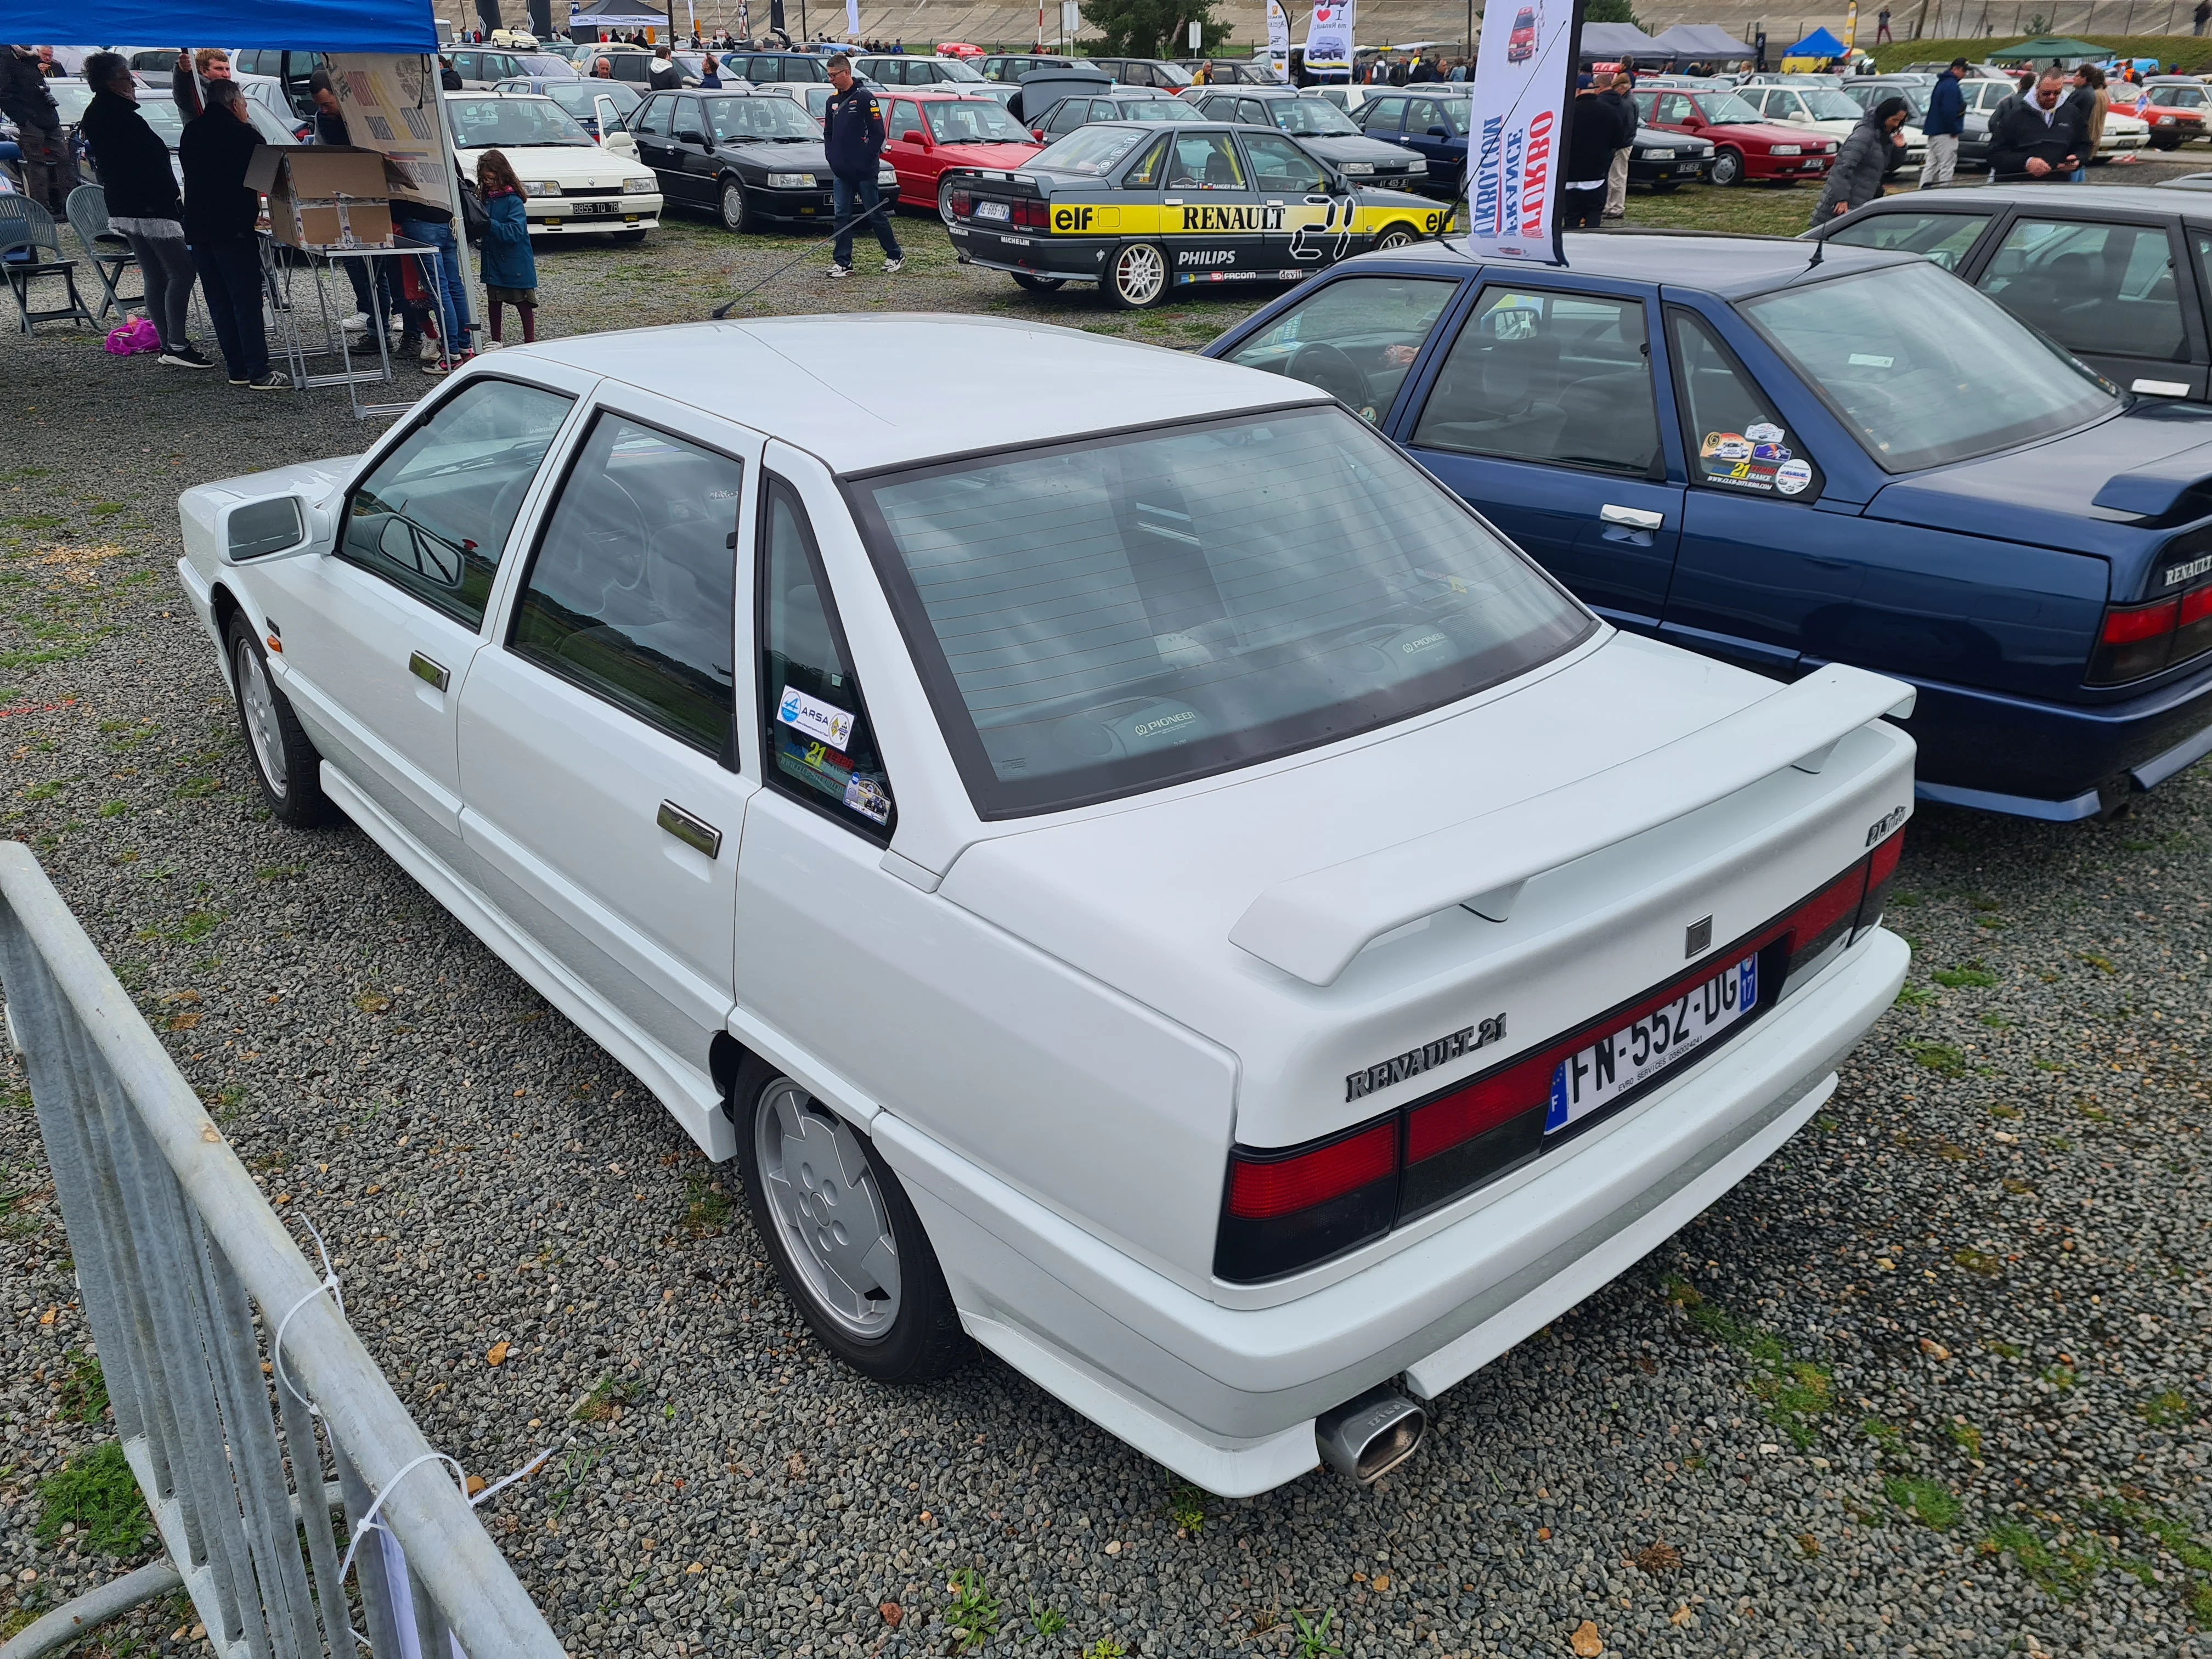
Aaaaaanyway. I have also continued the tinkering with the subject of this thread.
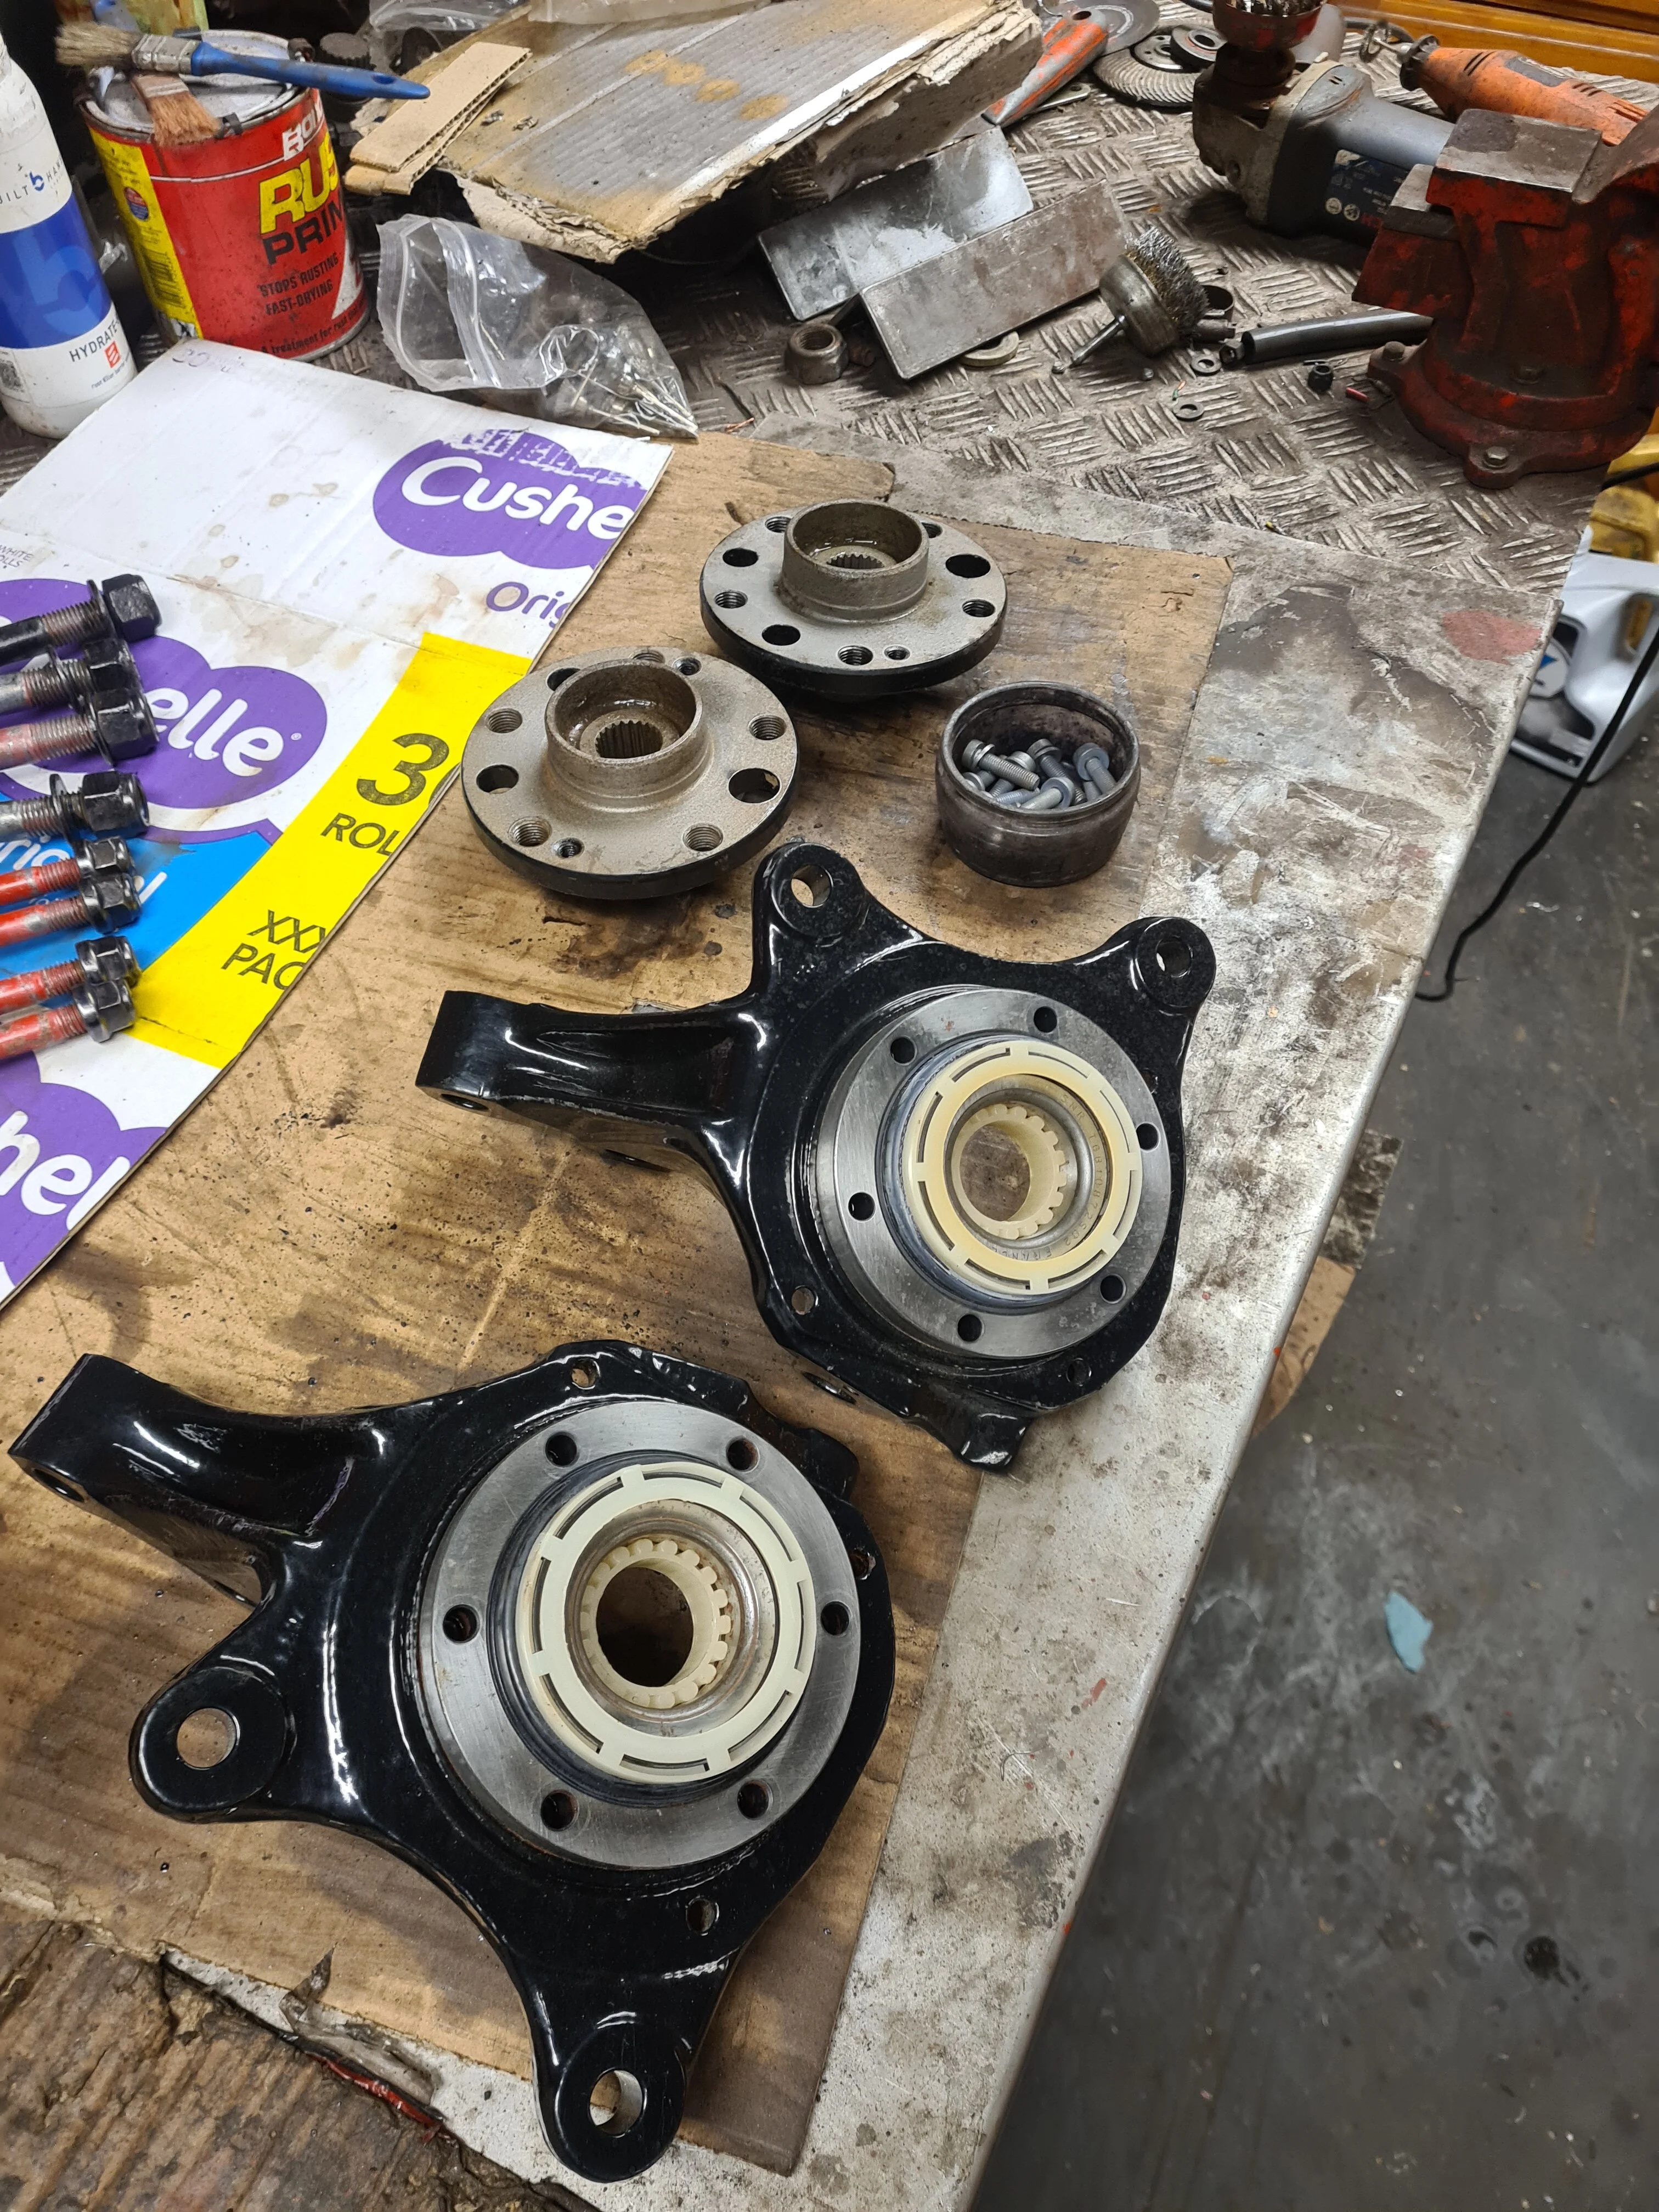
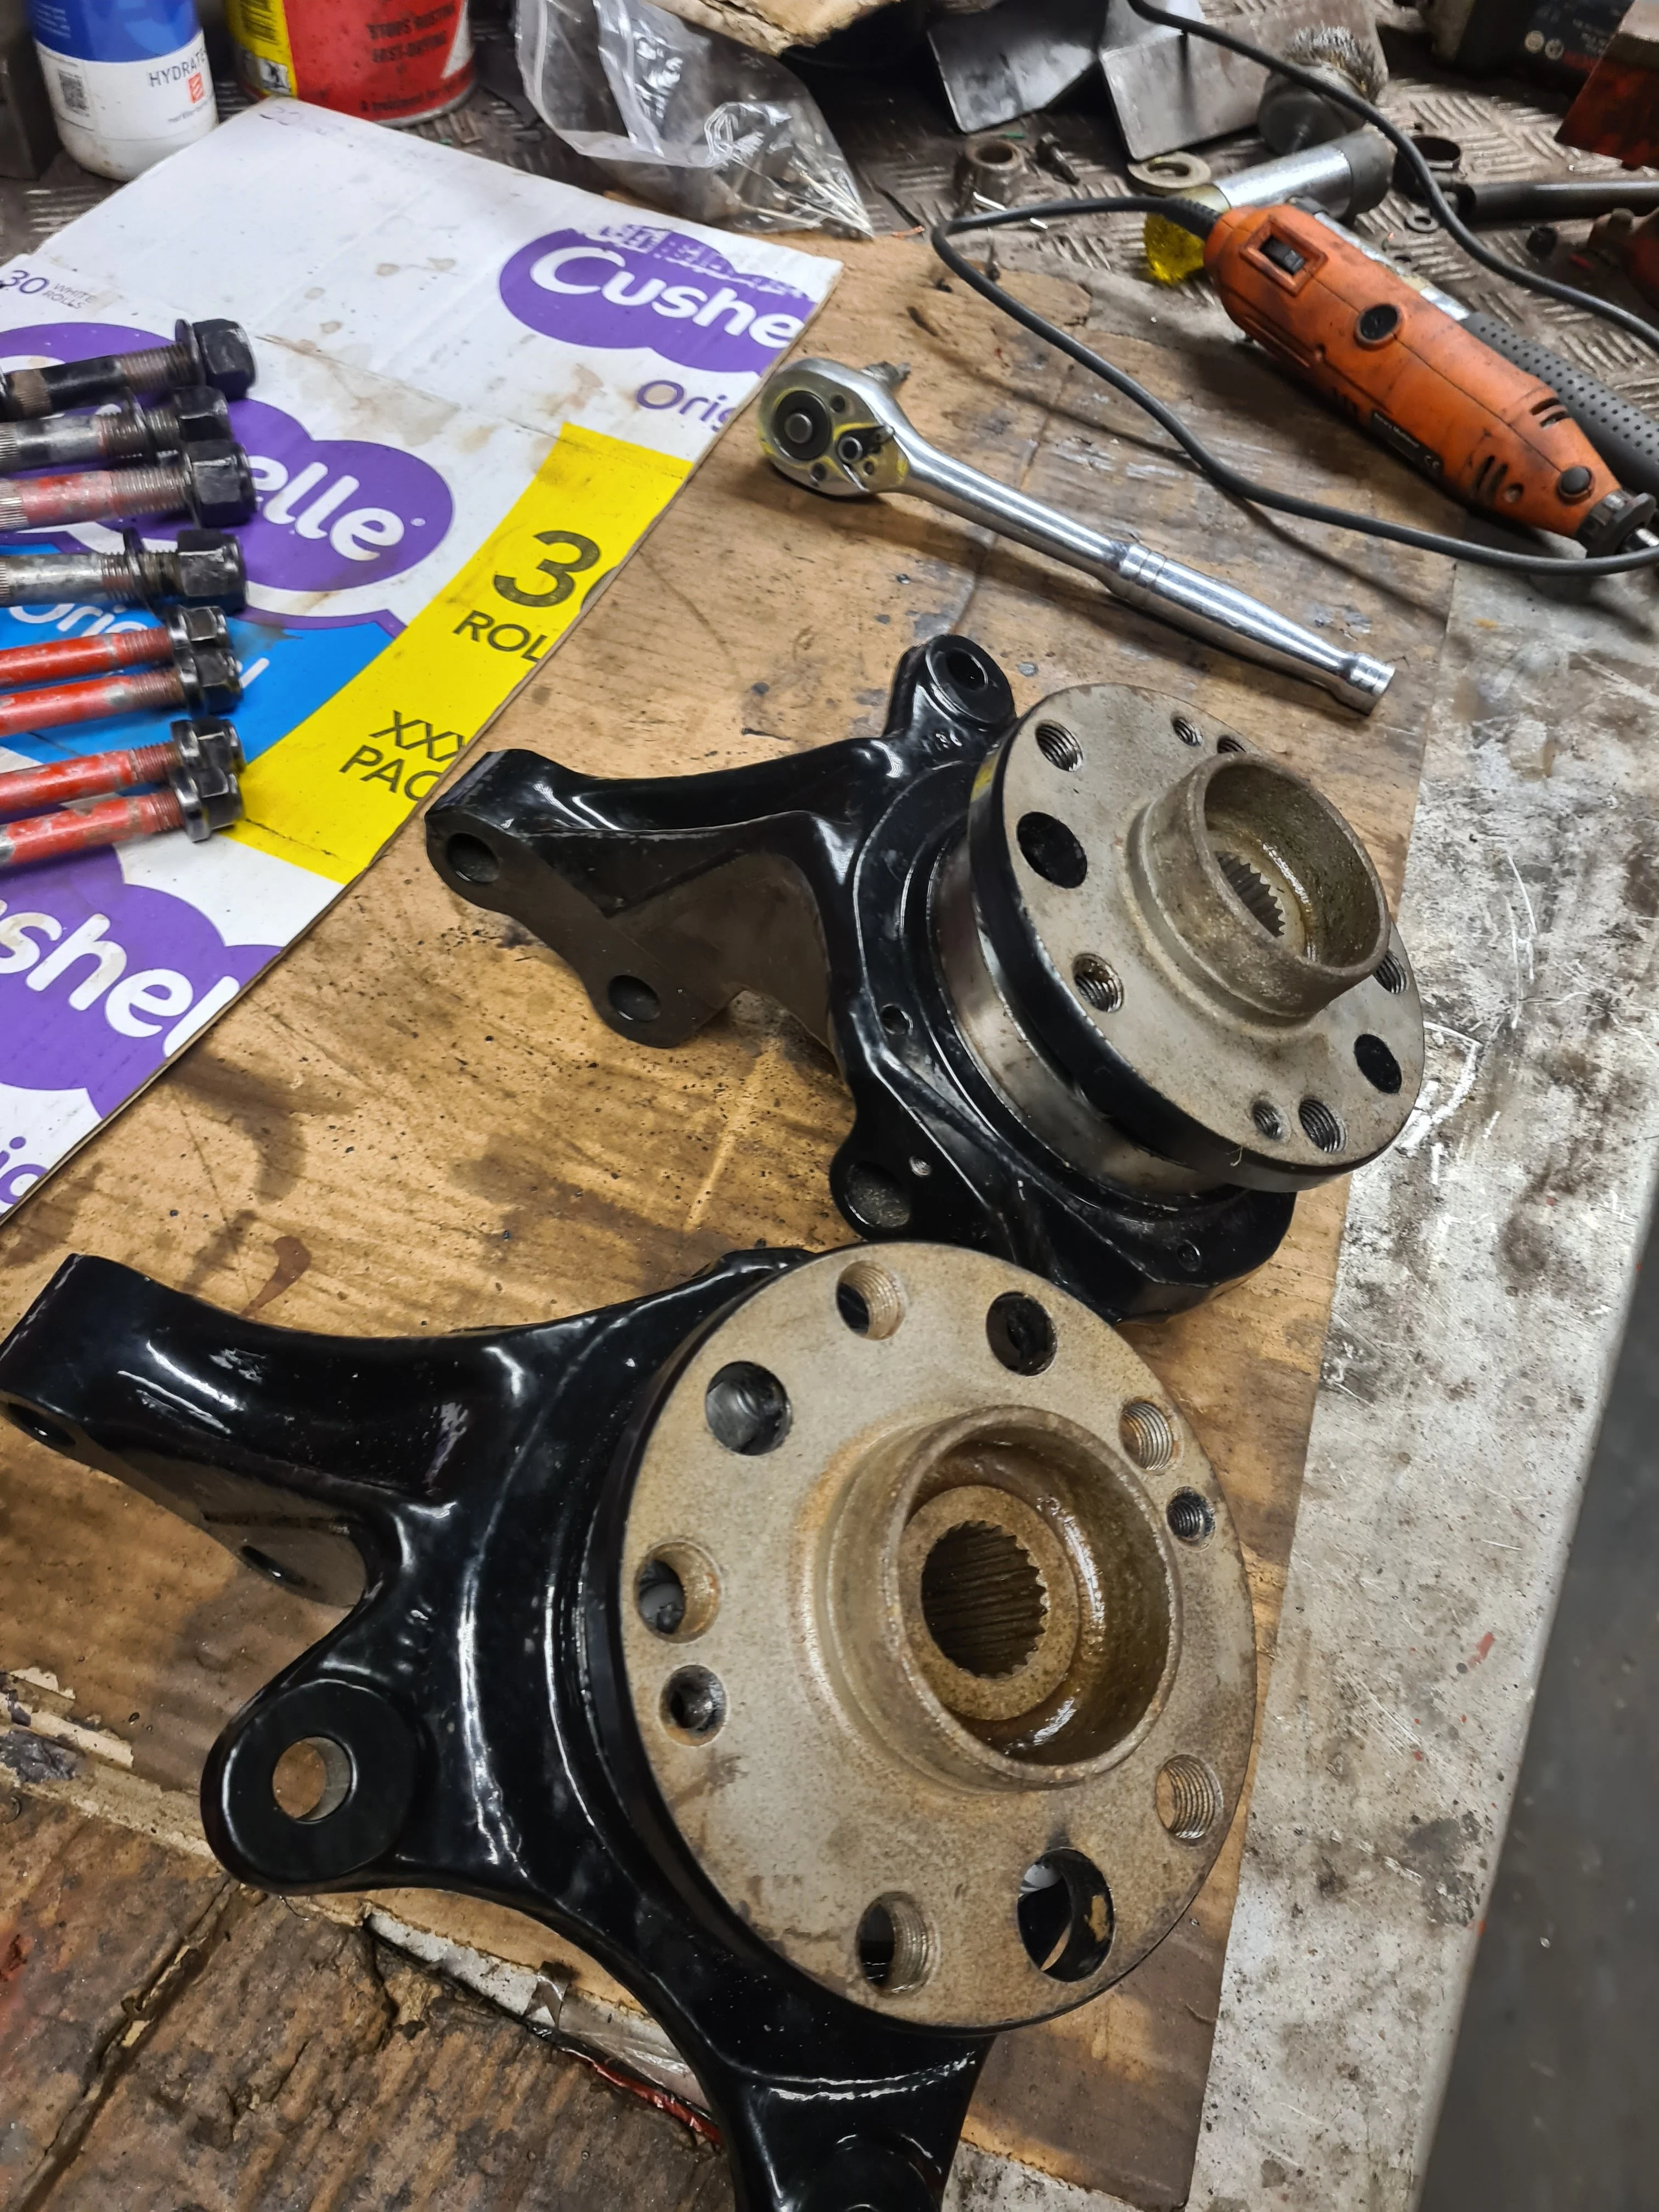
Front hubs powdercoated and assembled with new bearings
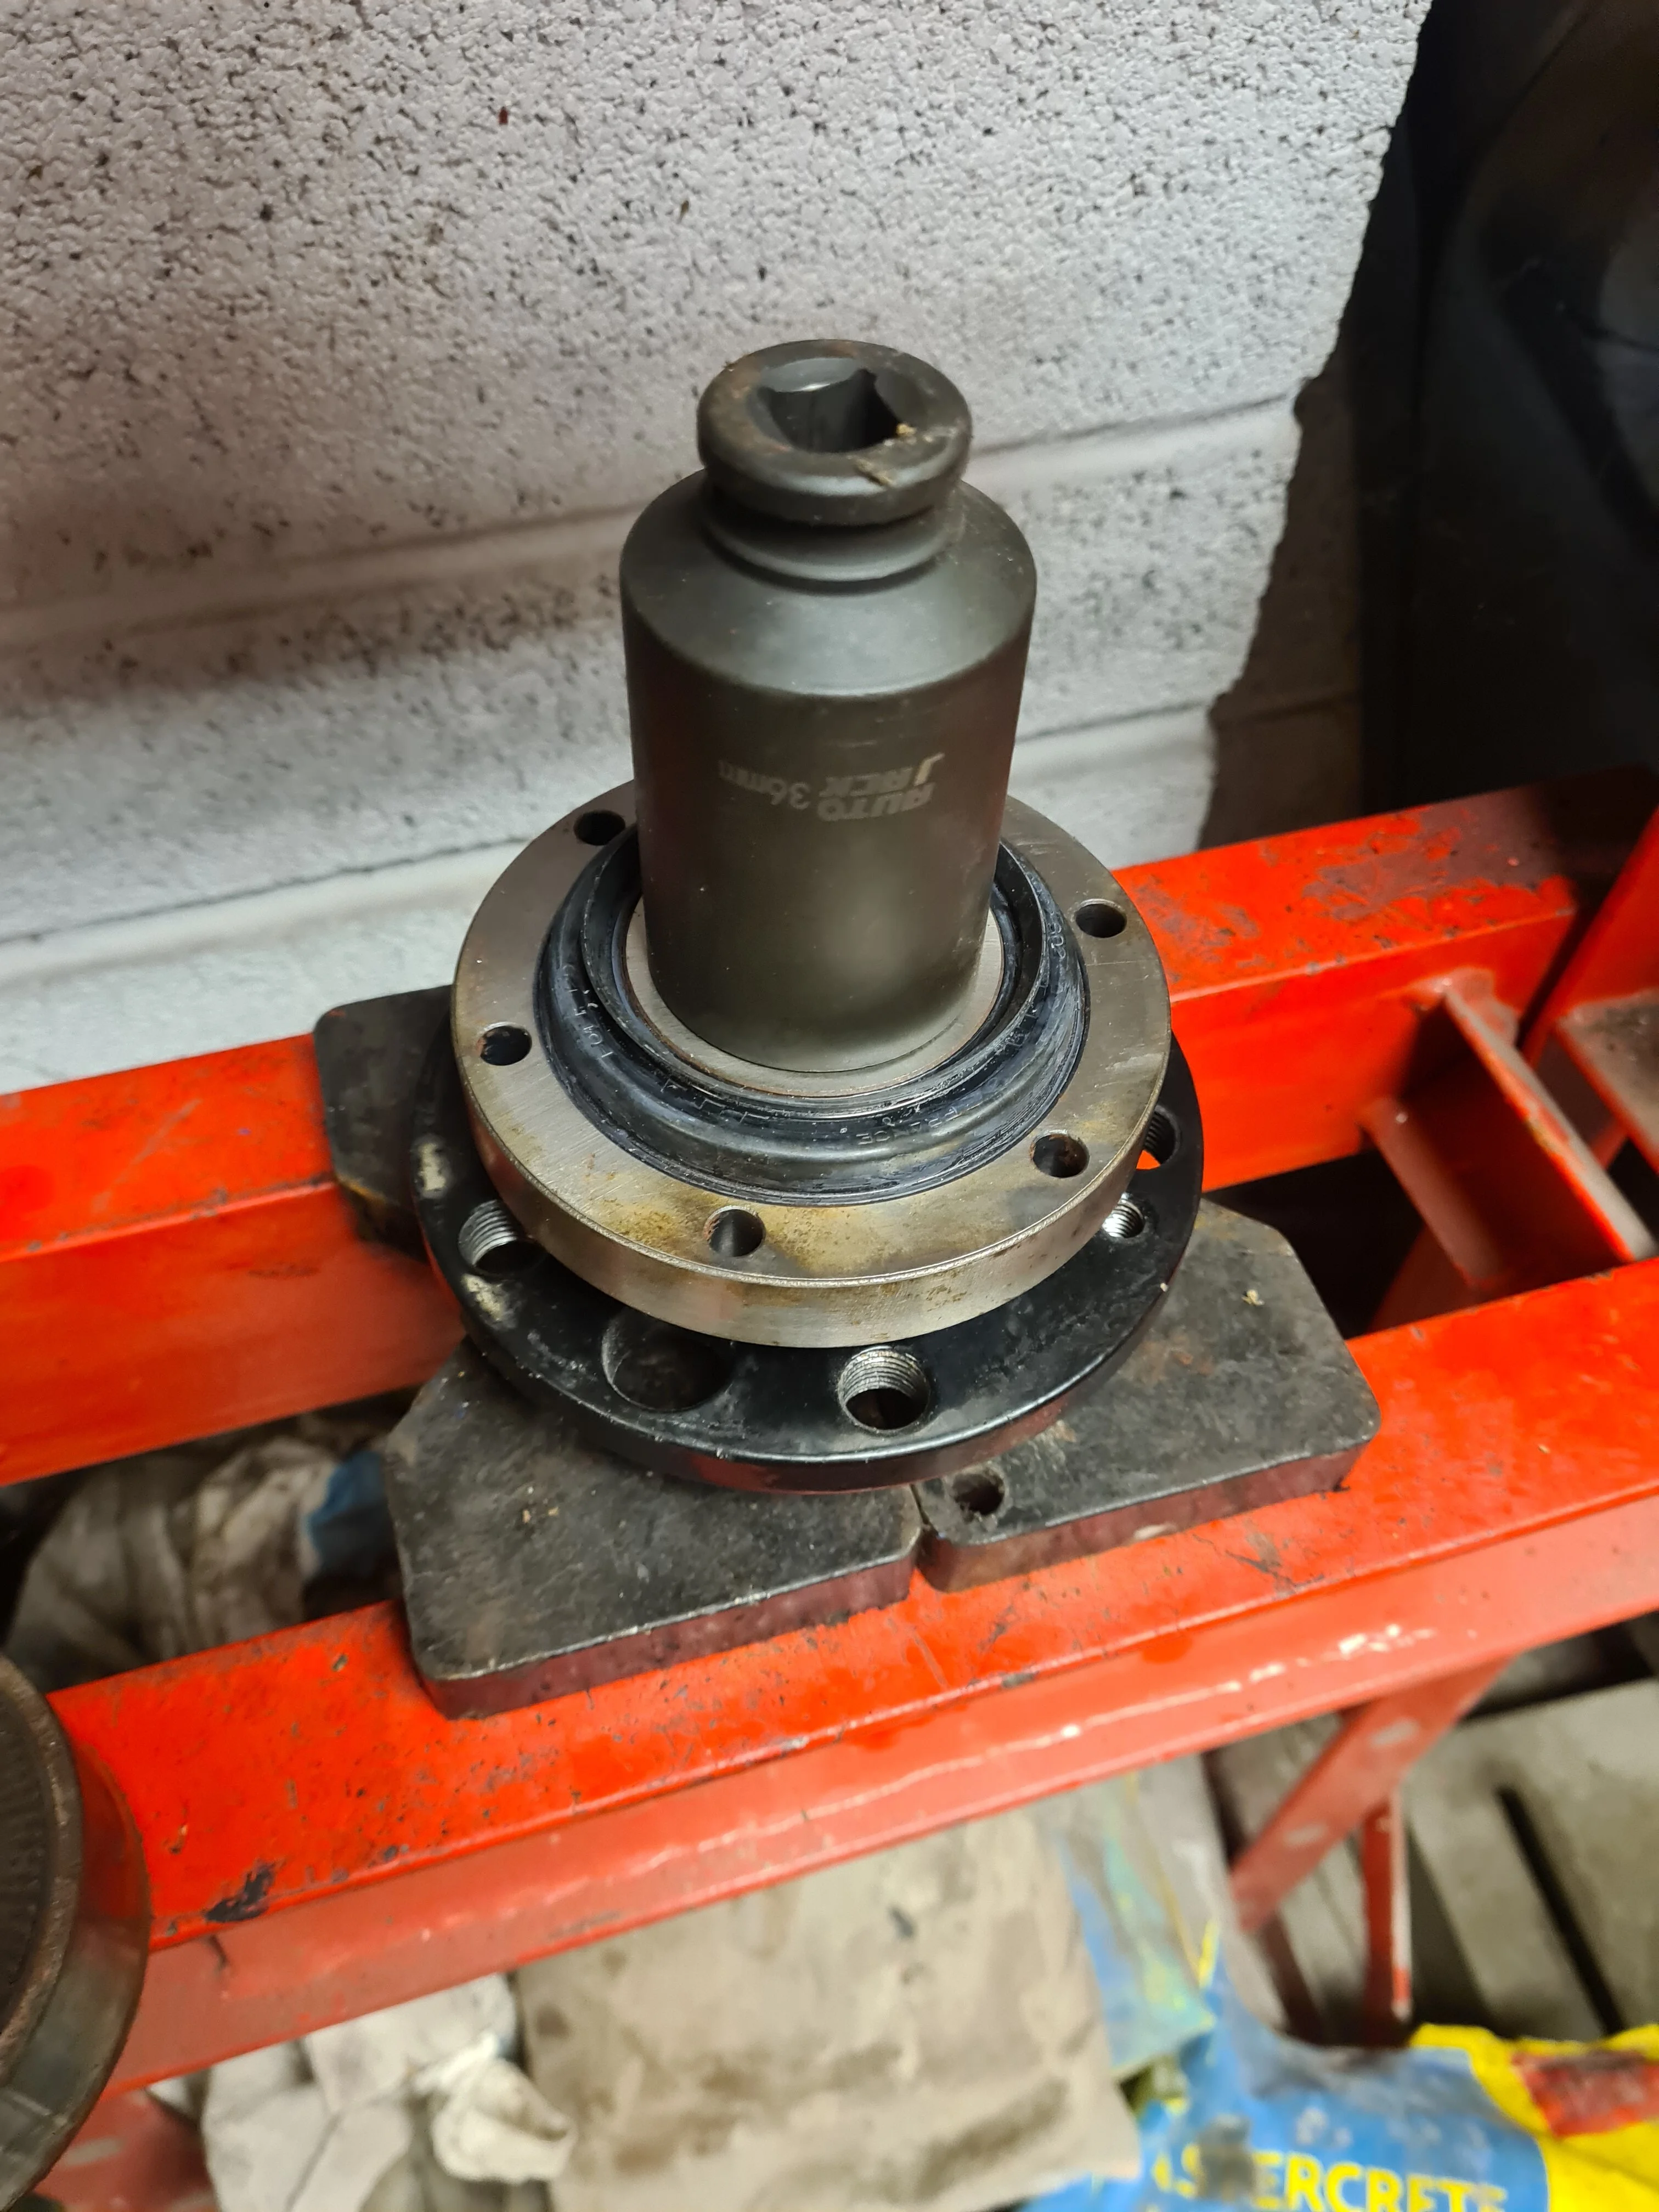
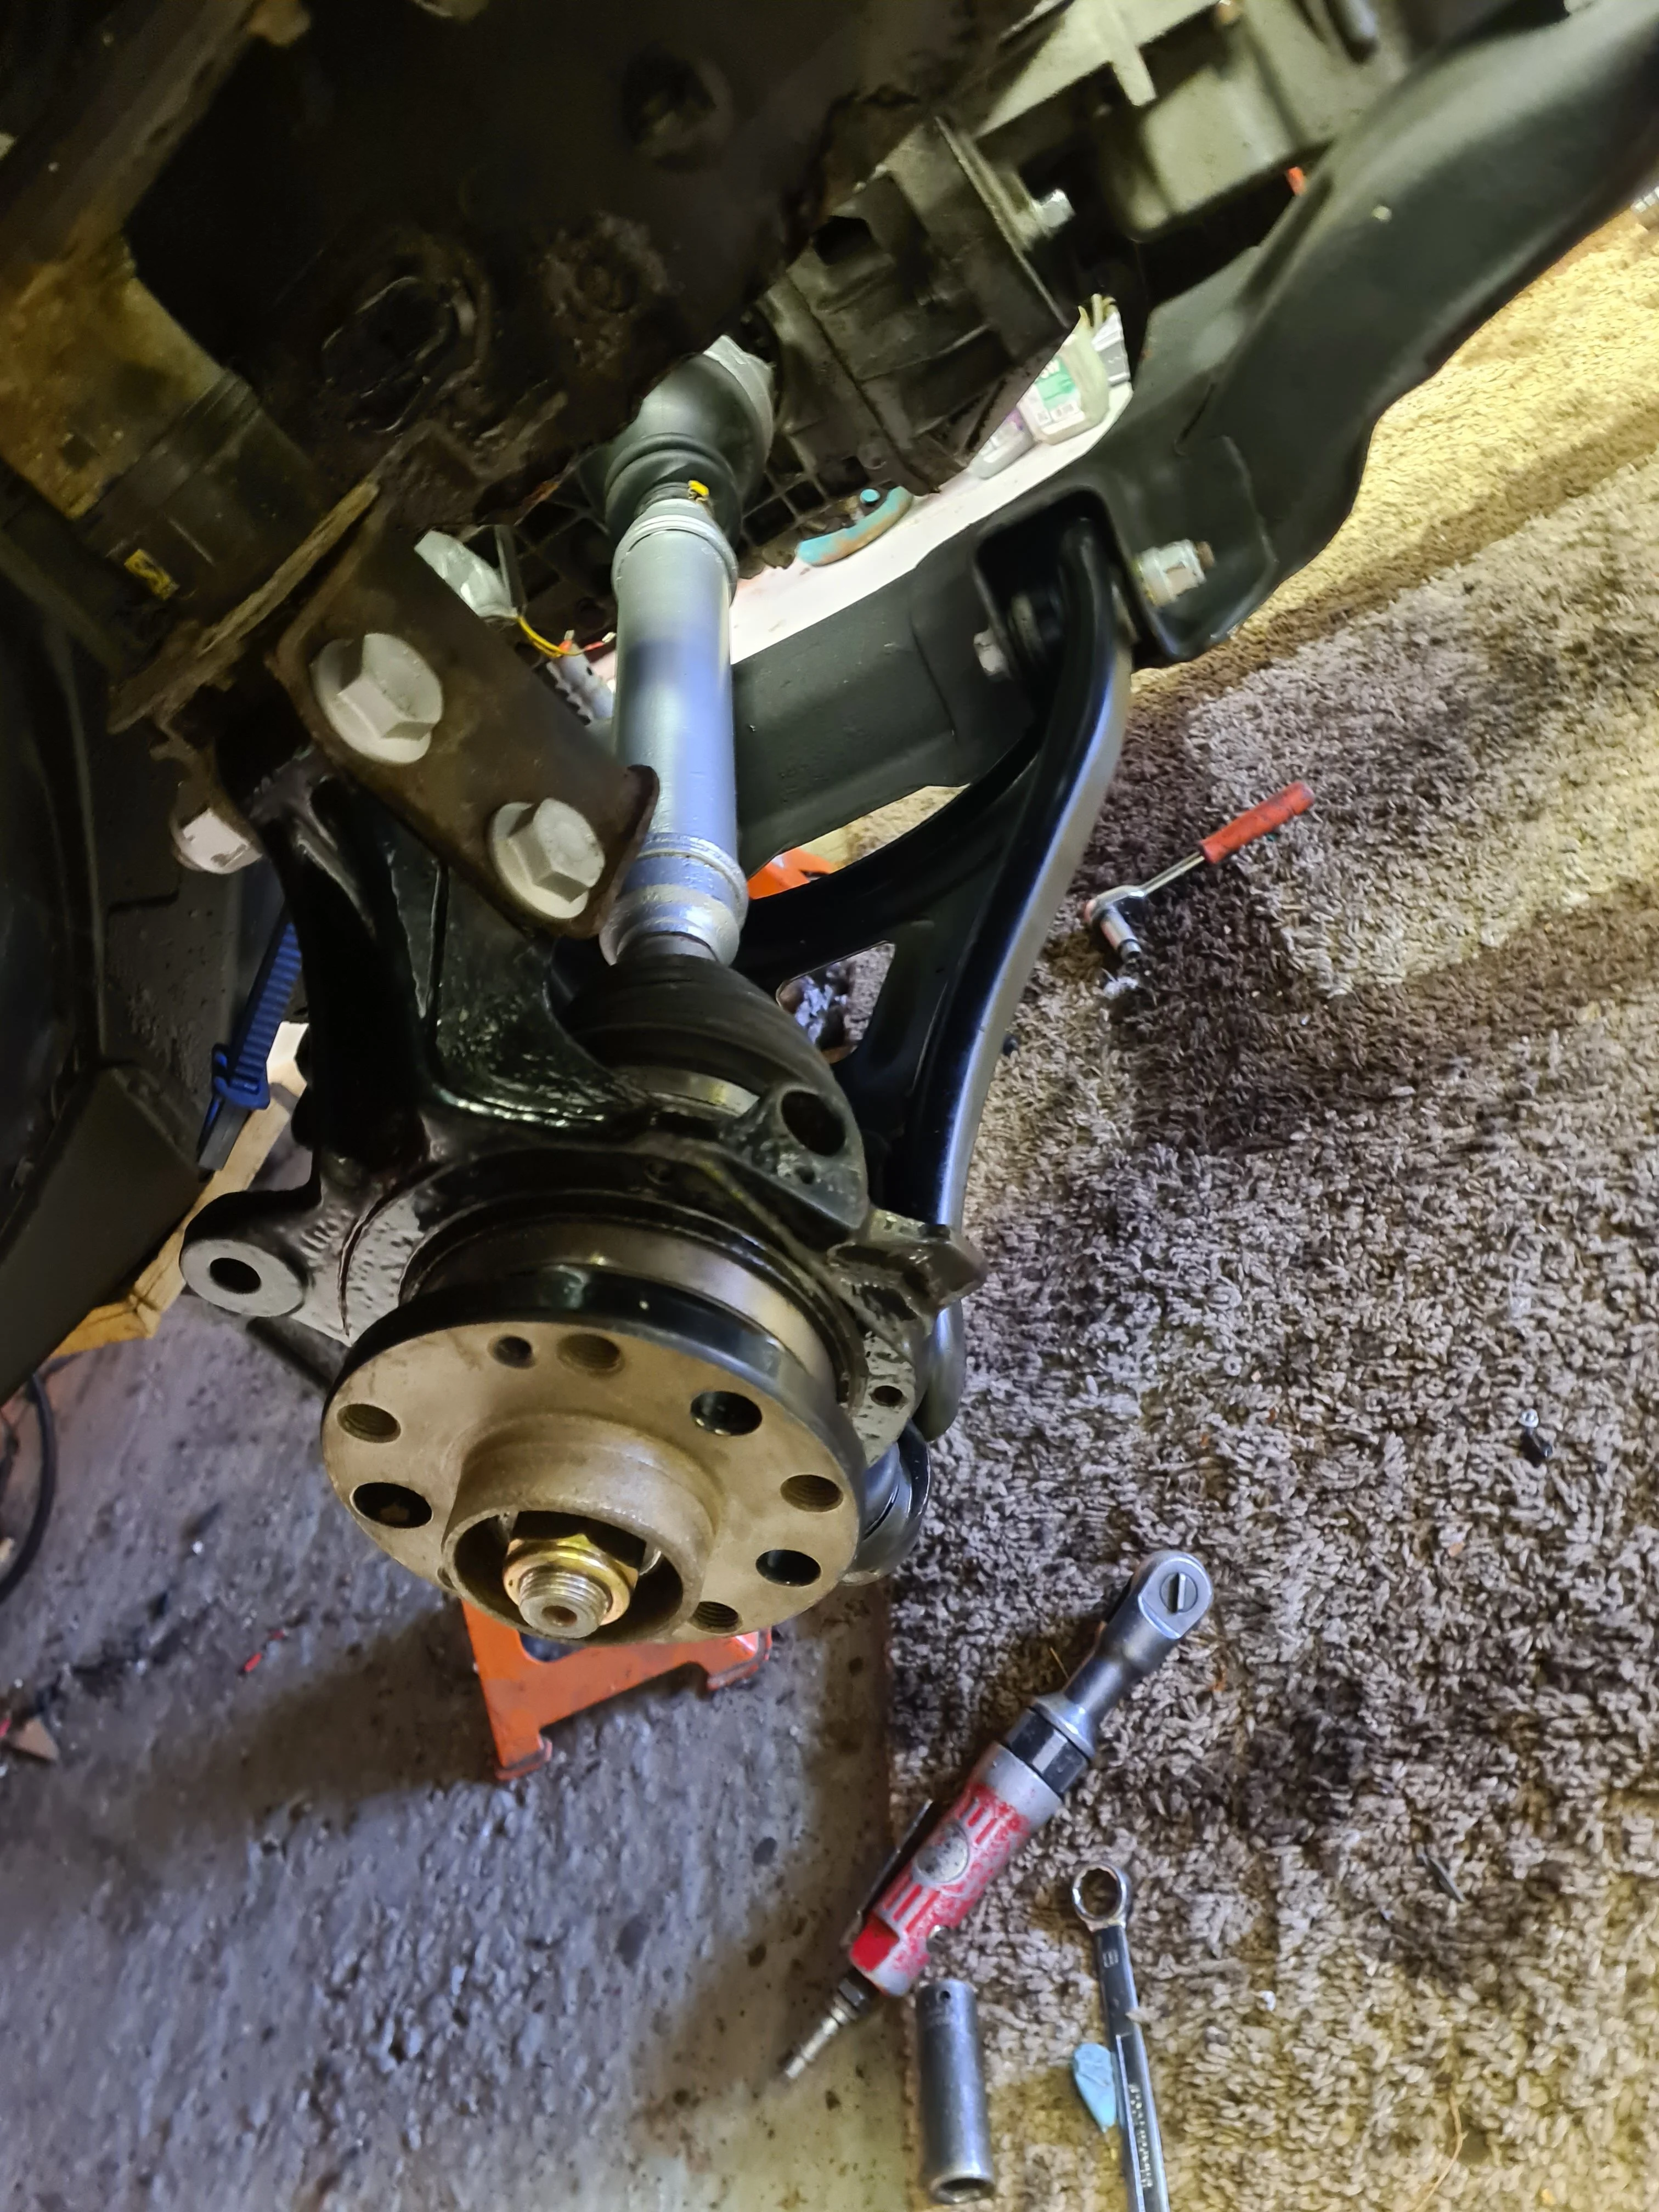
Shaft in and pinned, new wishbone and stub axle fitted.
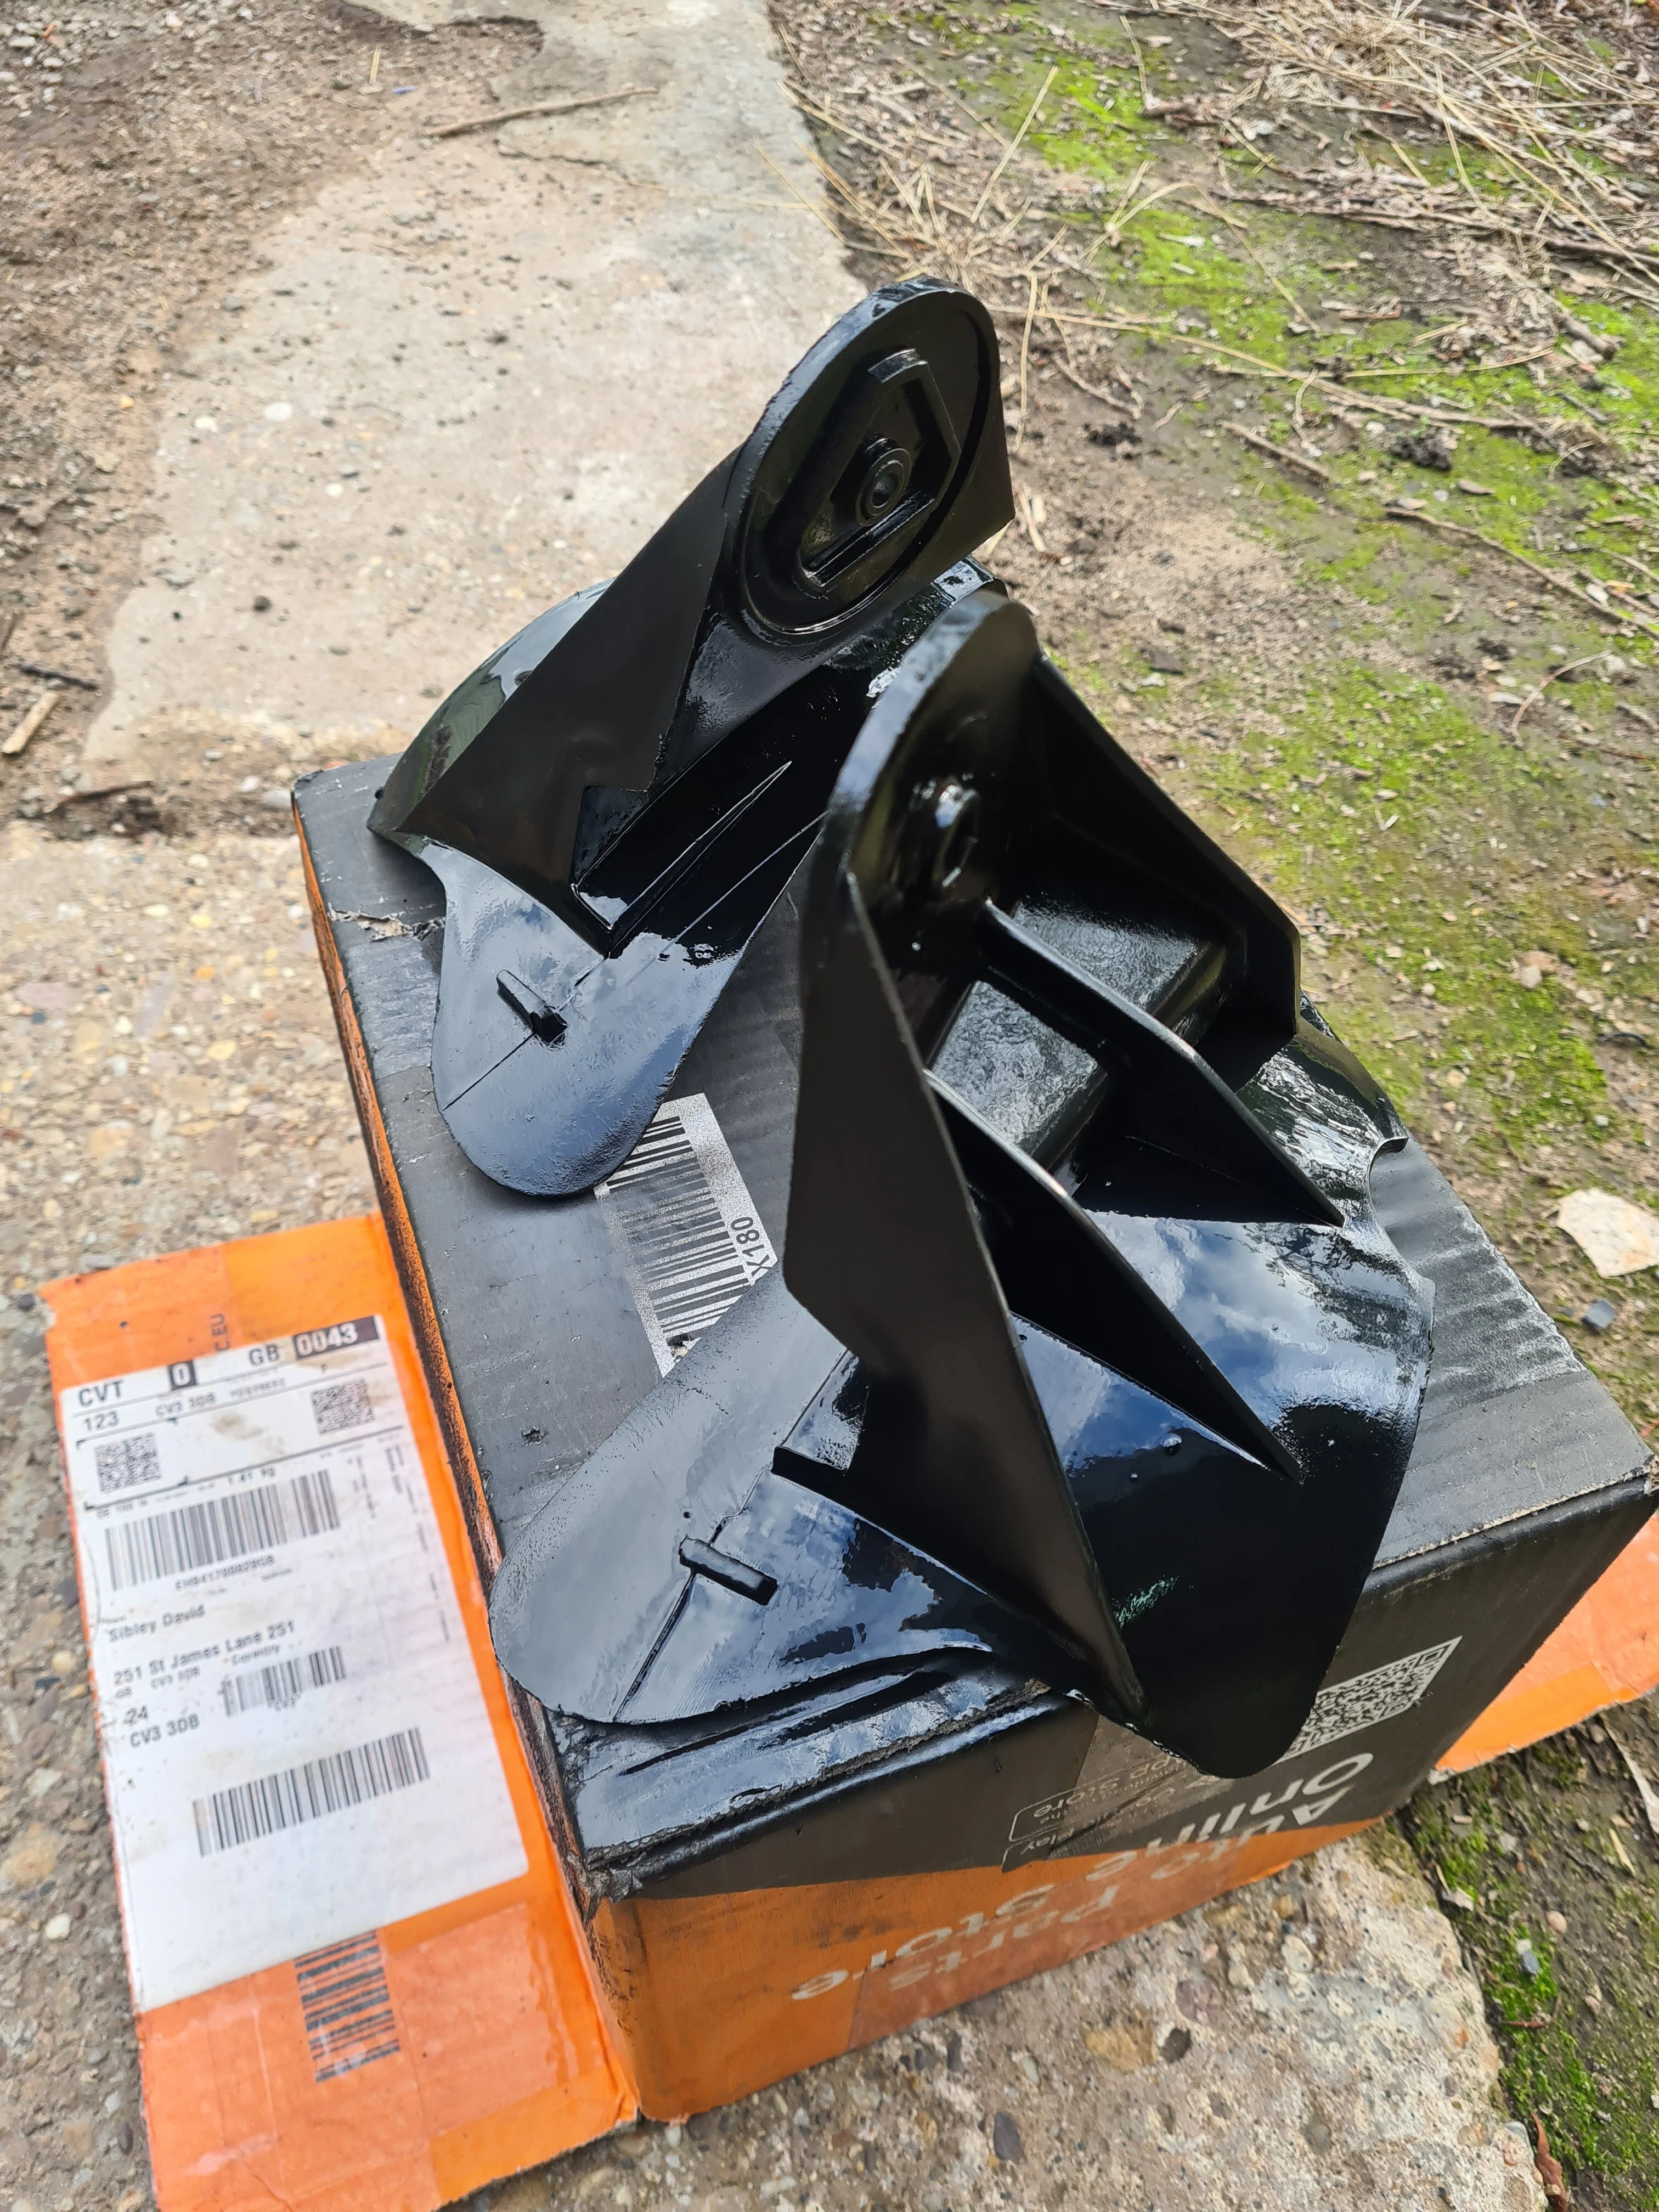
Cleaned and painted the wishbone air deflectors, these direct air from the bumper vents through the channel to the front brakes.
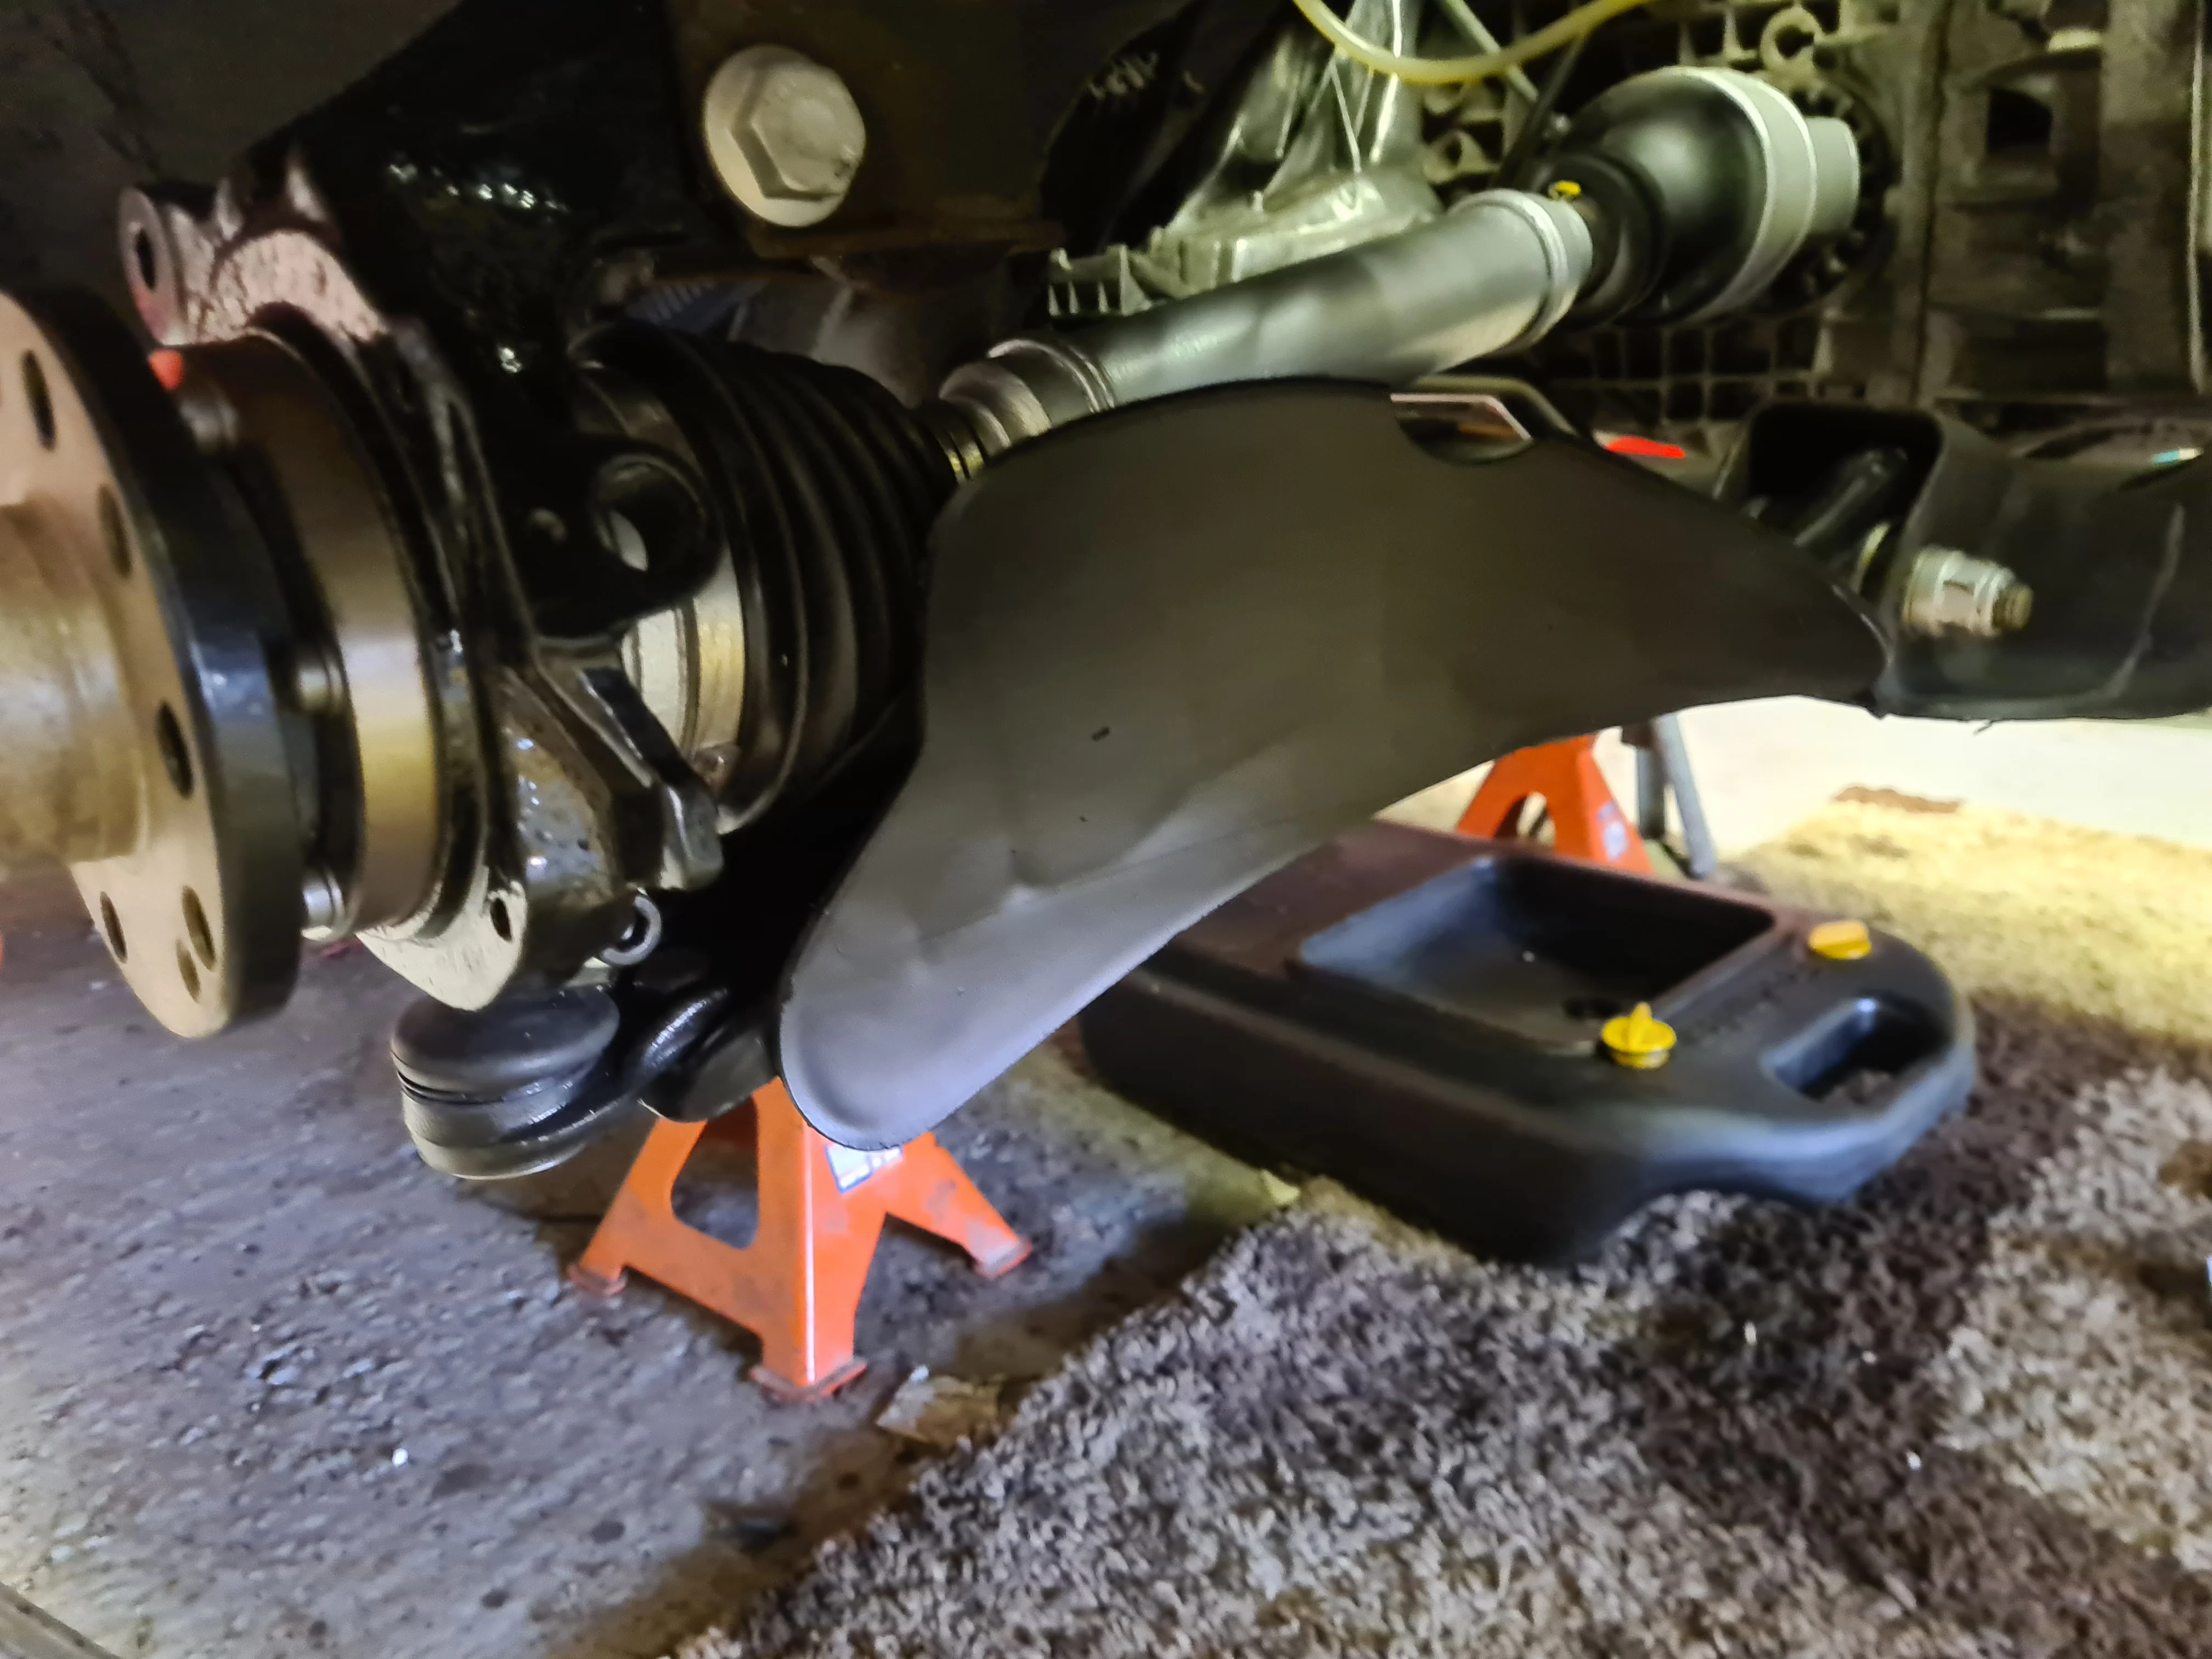
And fitted
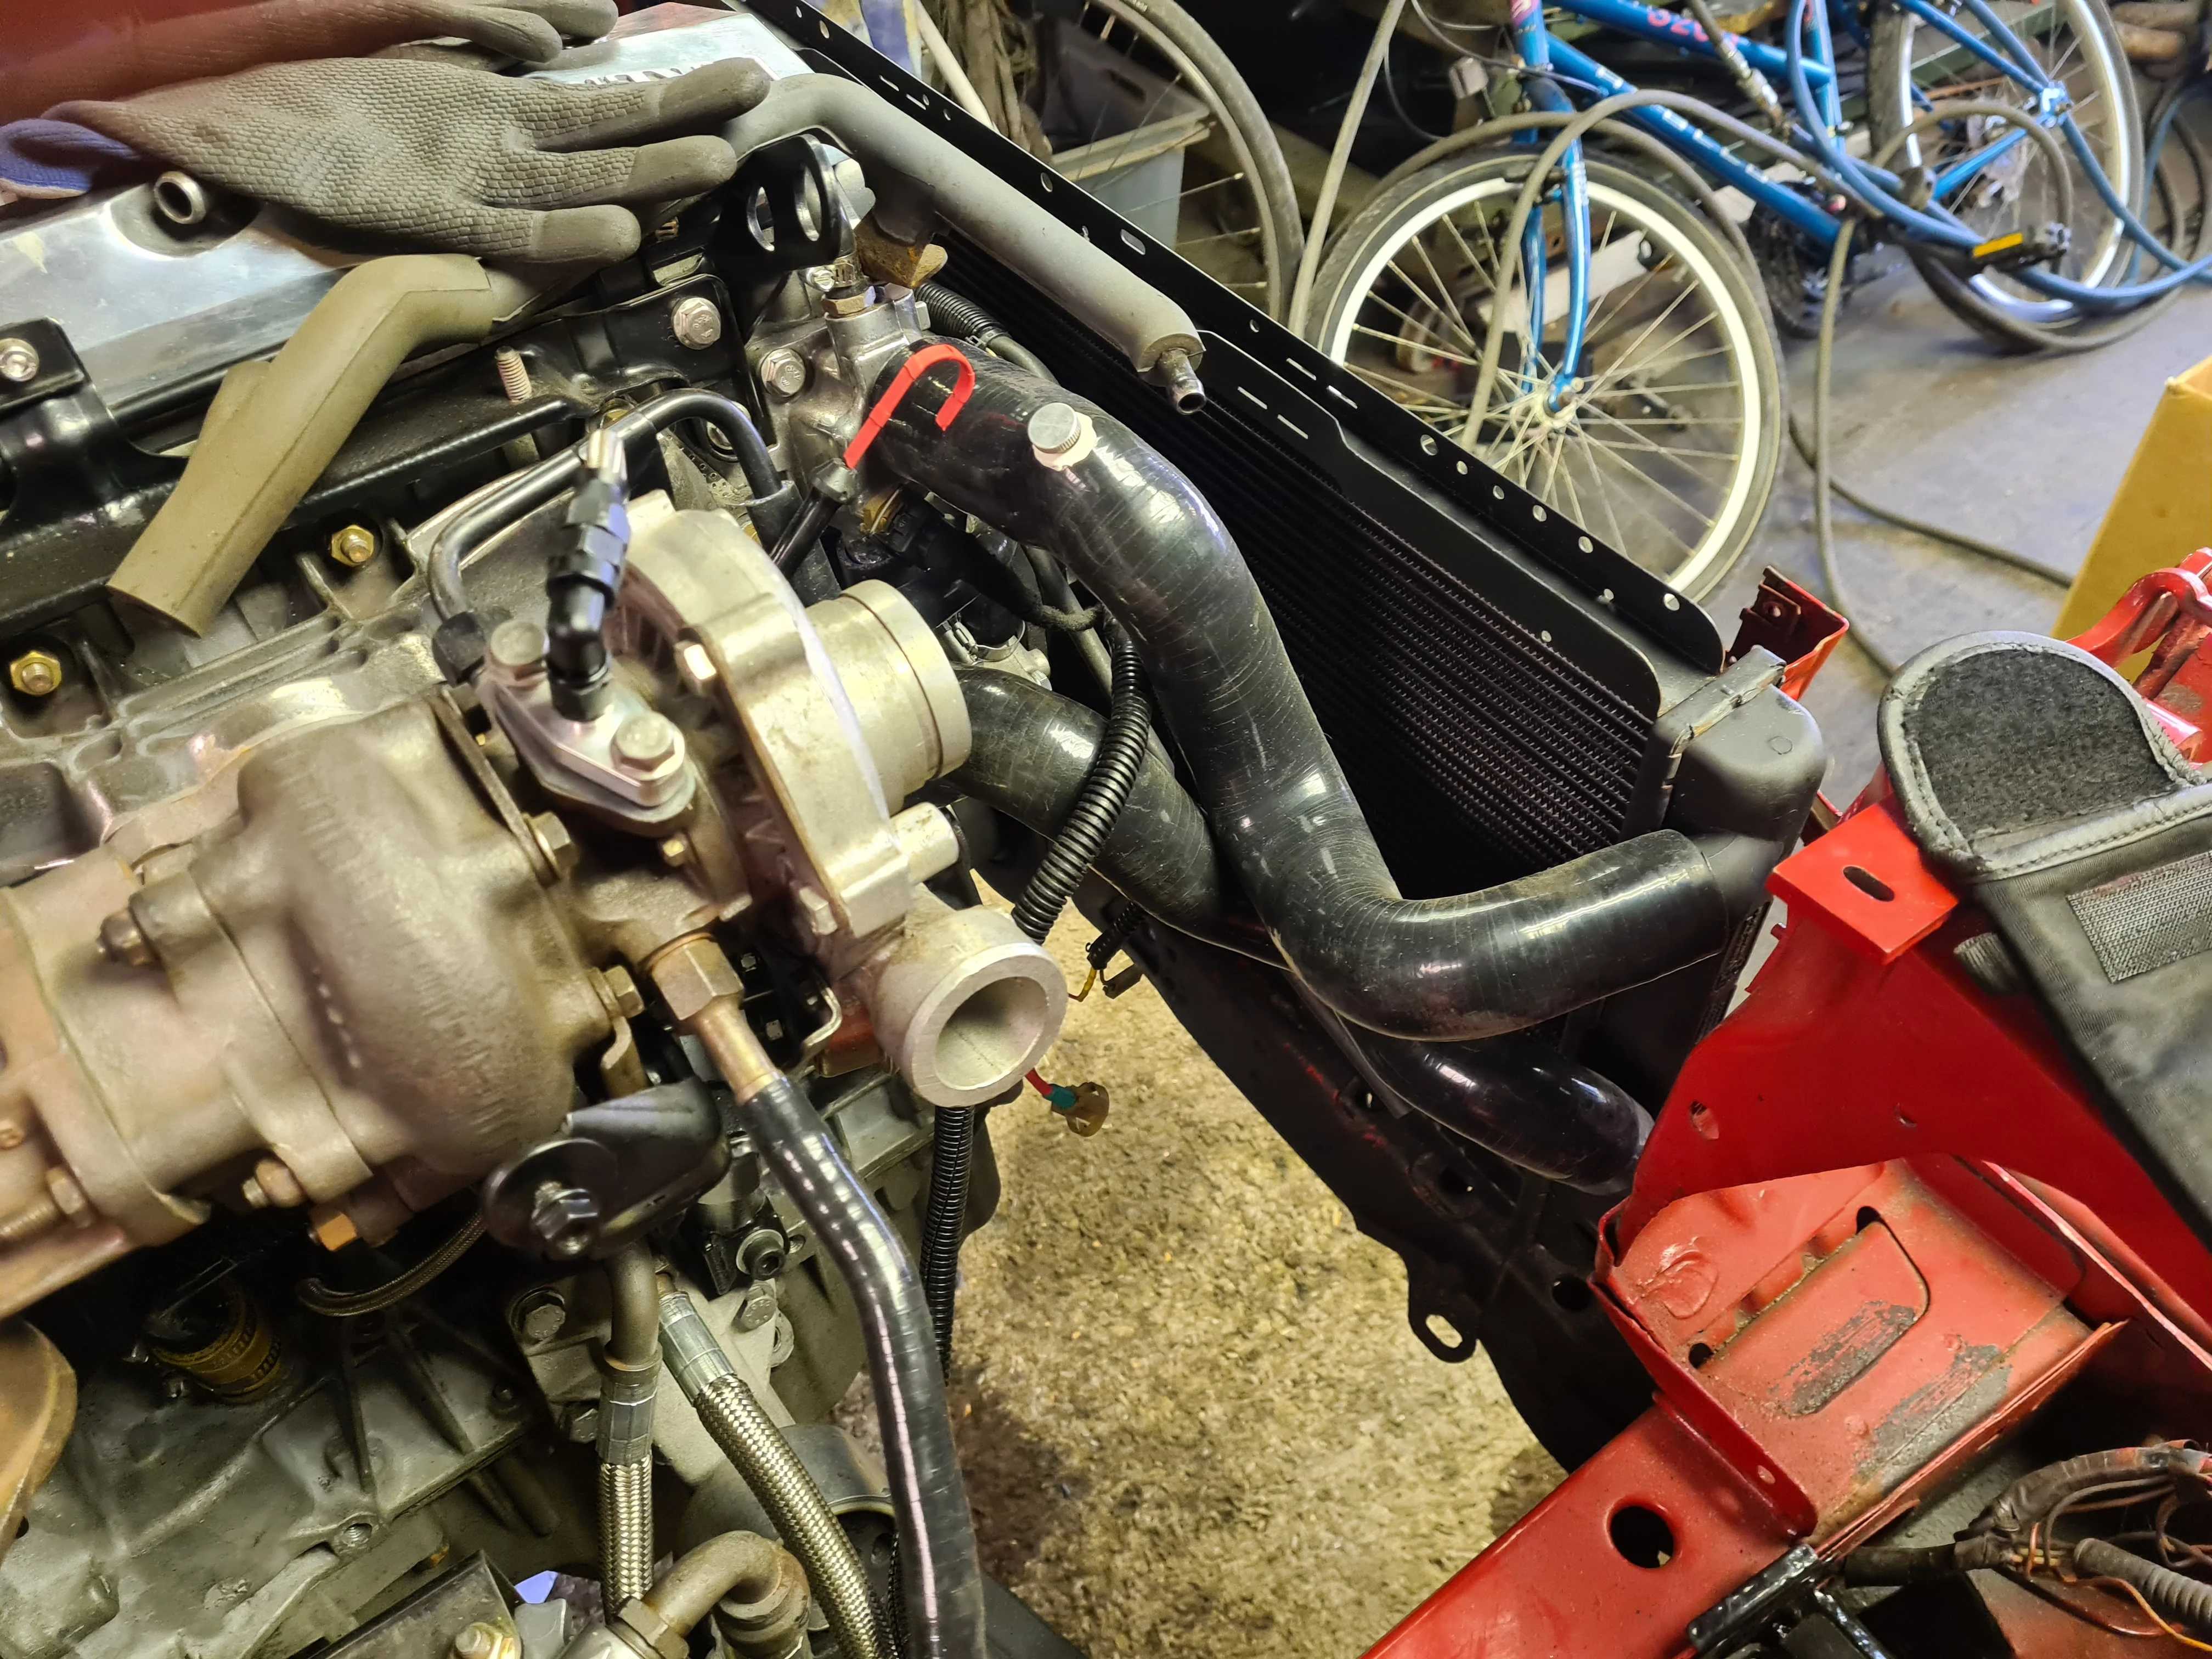
Started assembling the cooling system
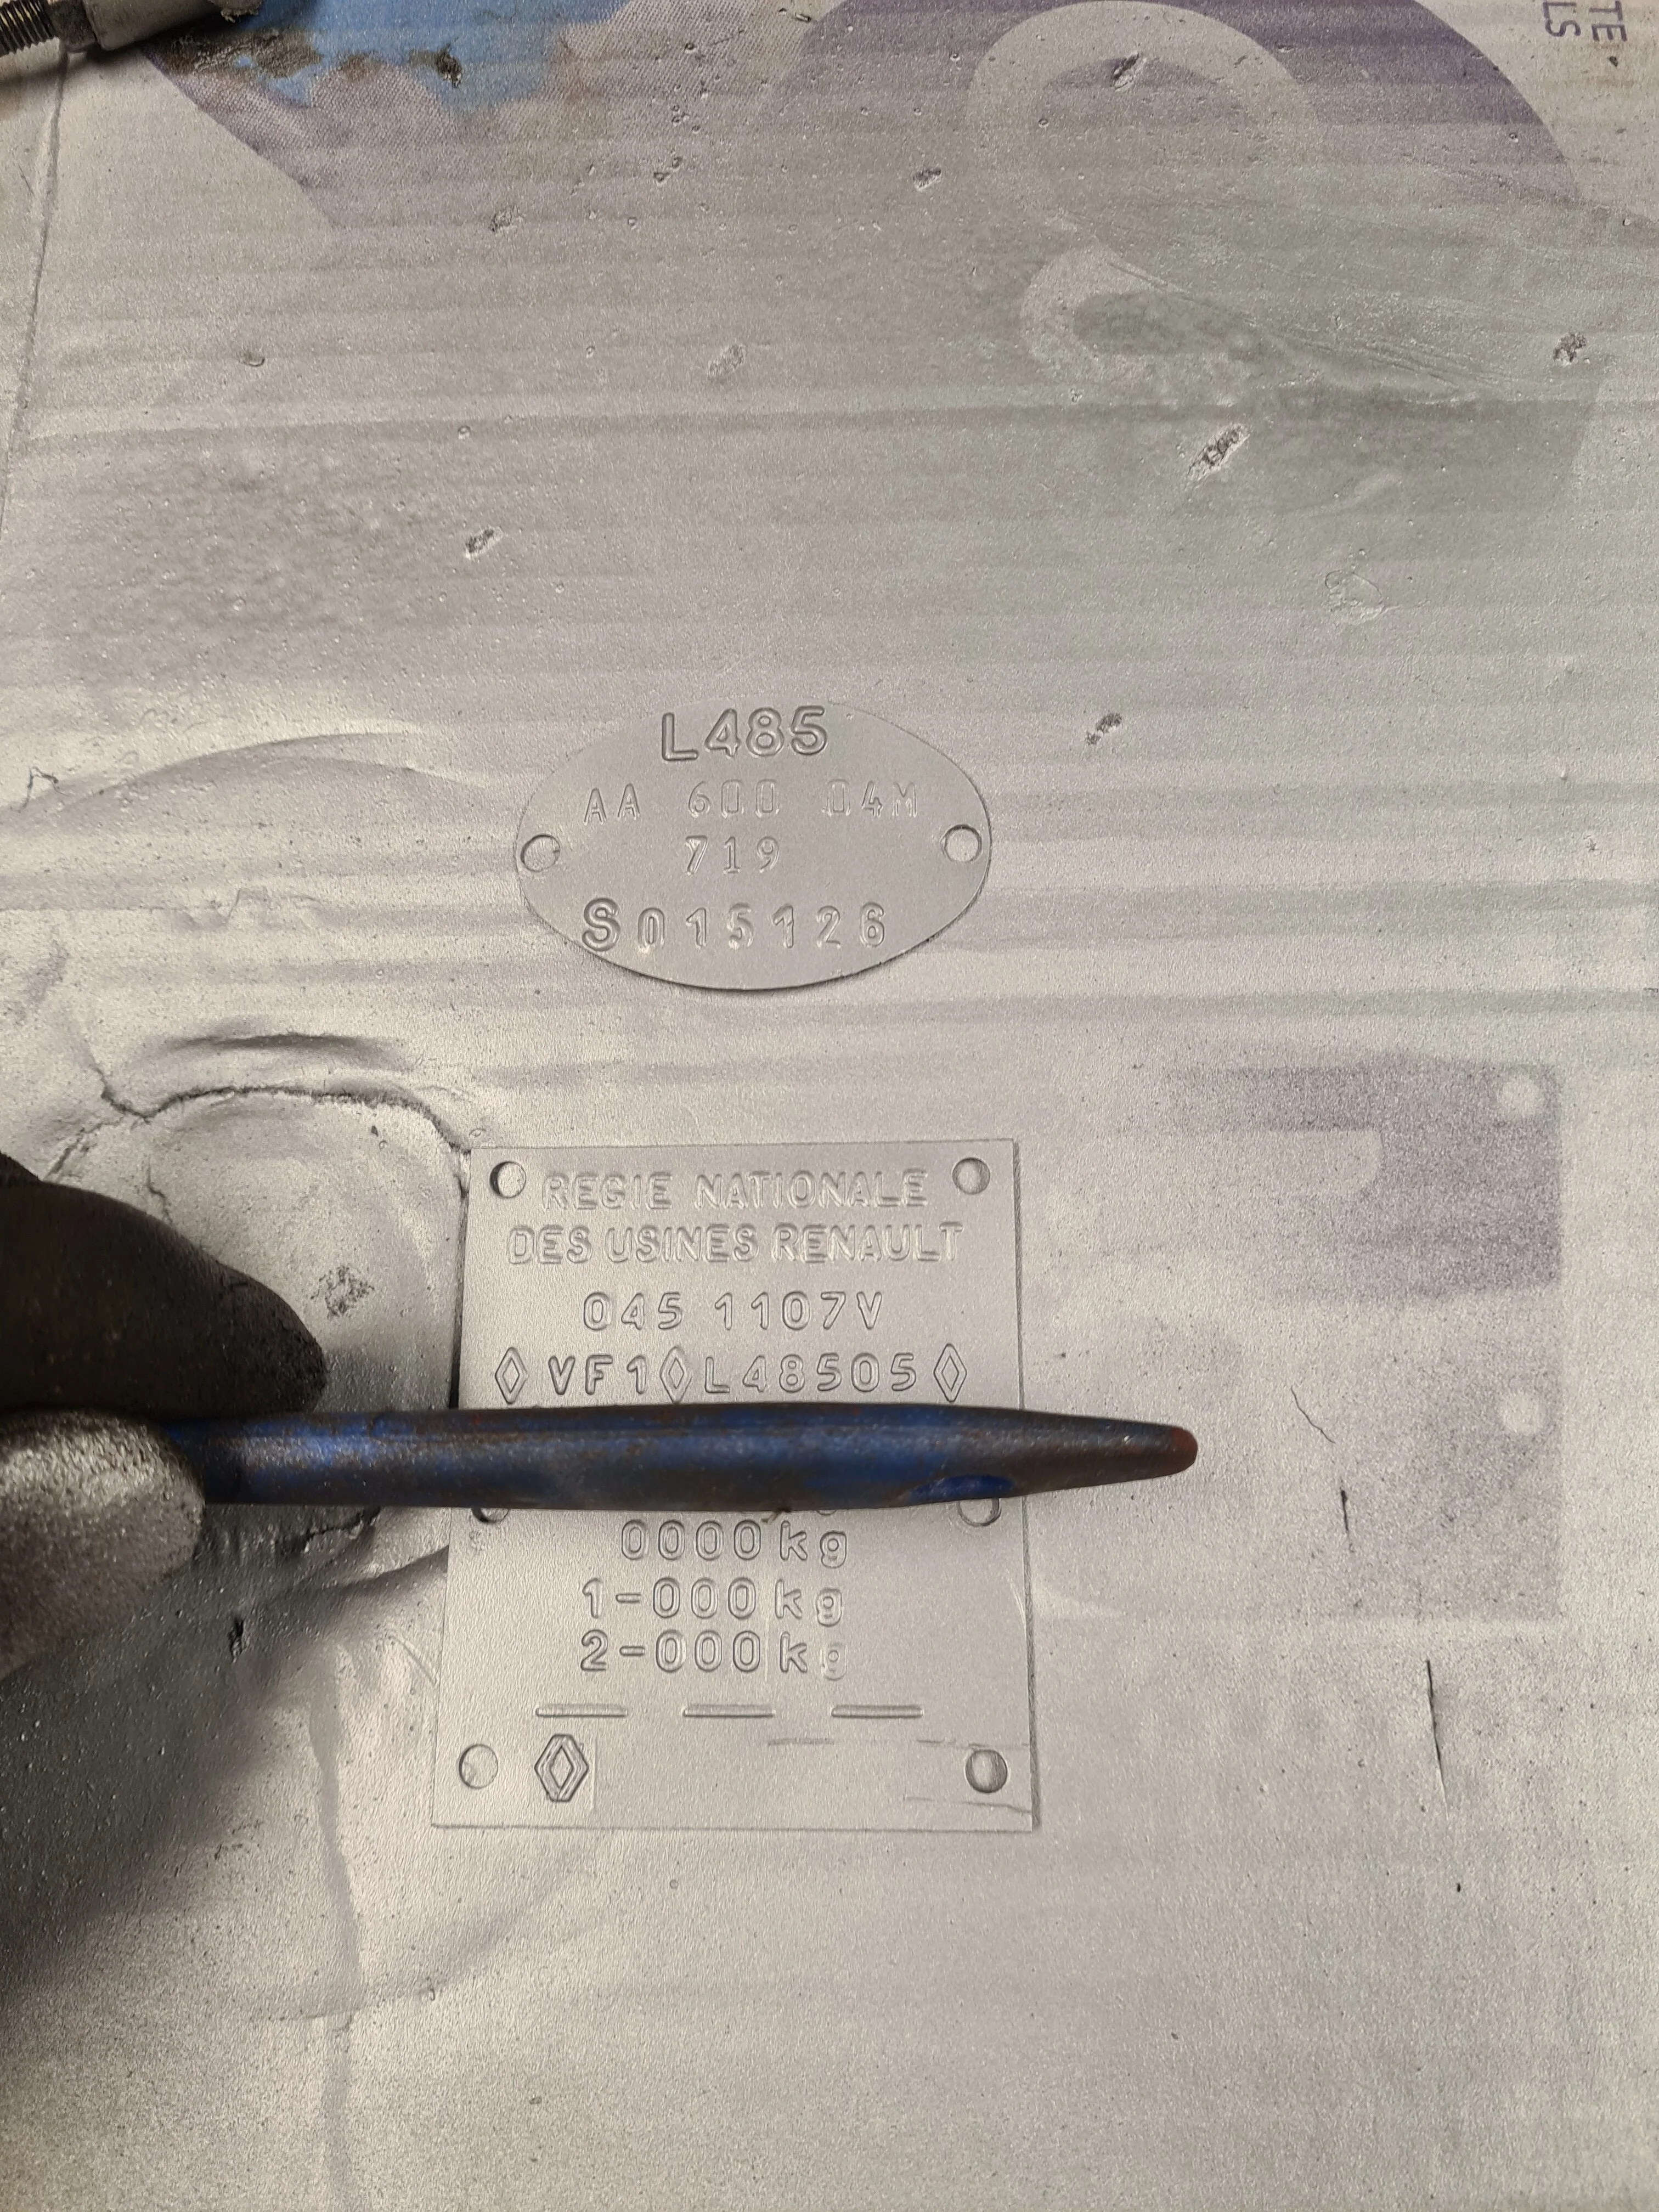
Cleaned and refitted the VIN tags
This white Ph2 made me pine for mine a bit, I have to admit.Aaaaaanyway. I have also continued the tinkering with the subject of this thread.
Front hubs powdercoated and assembled with new bearings
Shaft in and pinned, new wishbone and stub axle fitted.
Cleaned and painted the wishbone air deflectors, these direct air from the bumper vents through the channel to the front brakes.
And fitted
Started assembling the cooling system
Cleaned and refitted the VIN tags
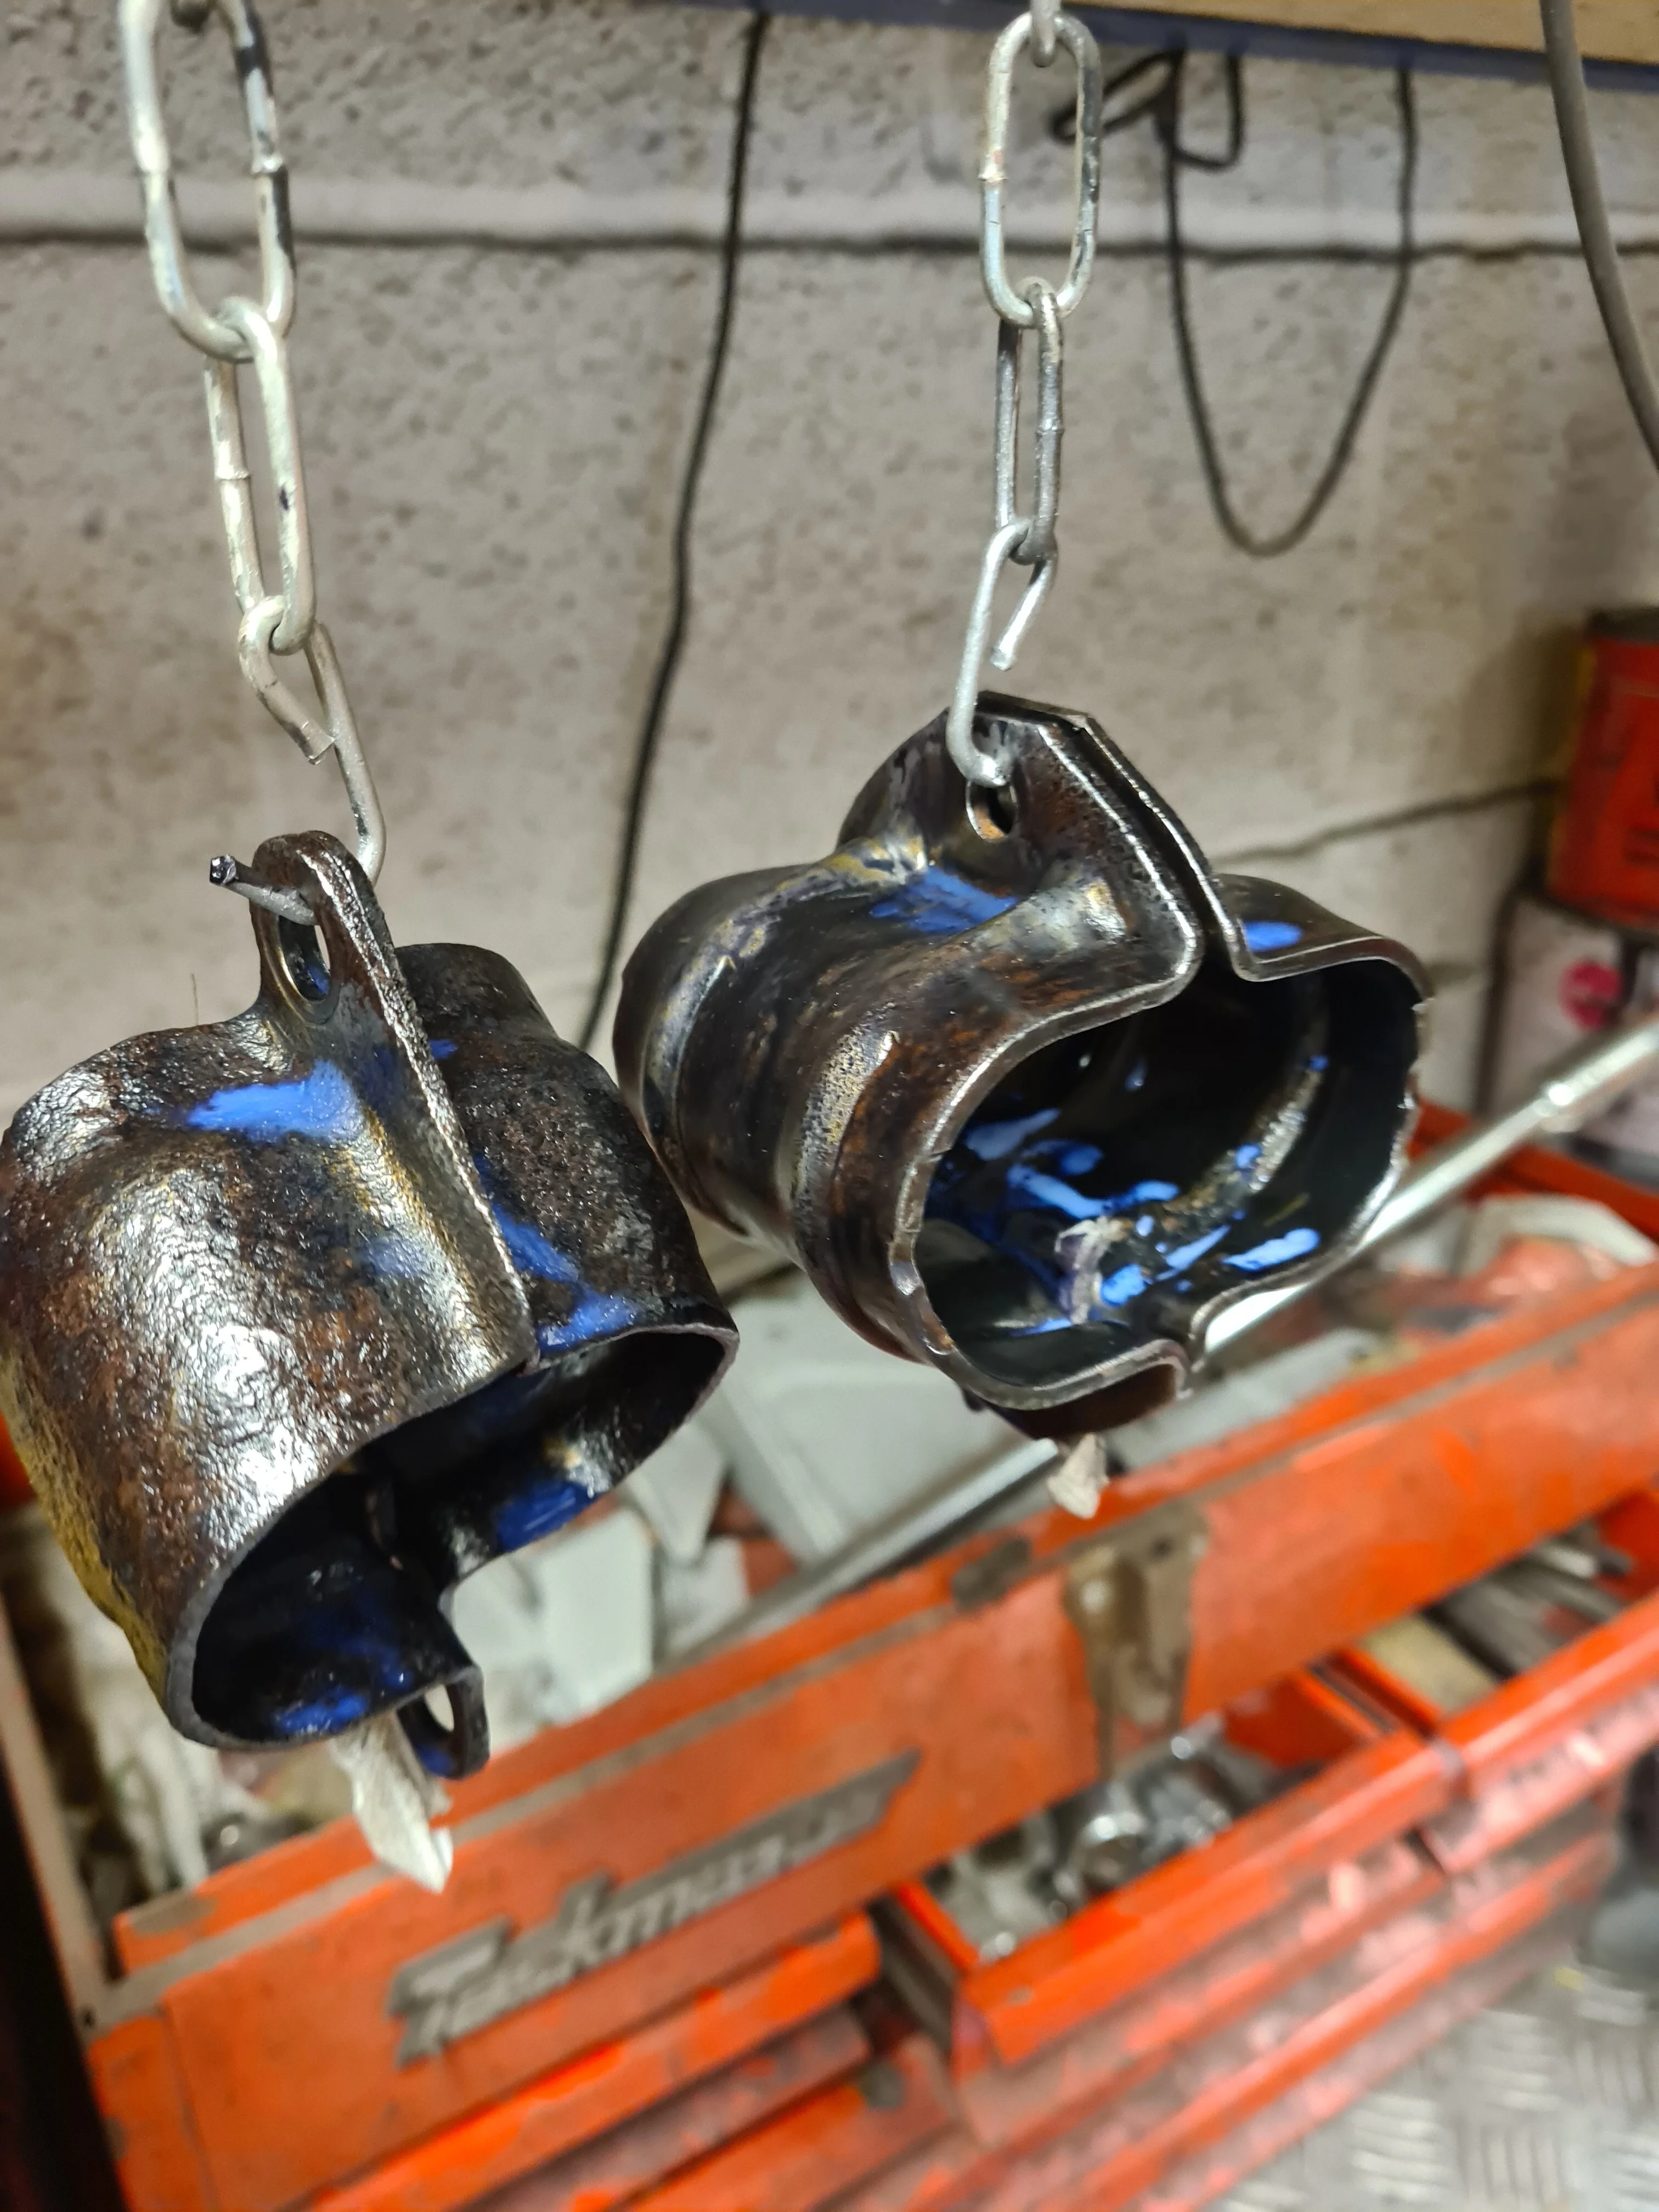
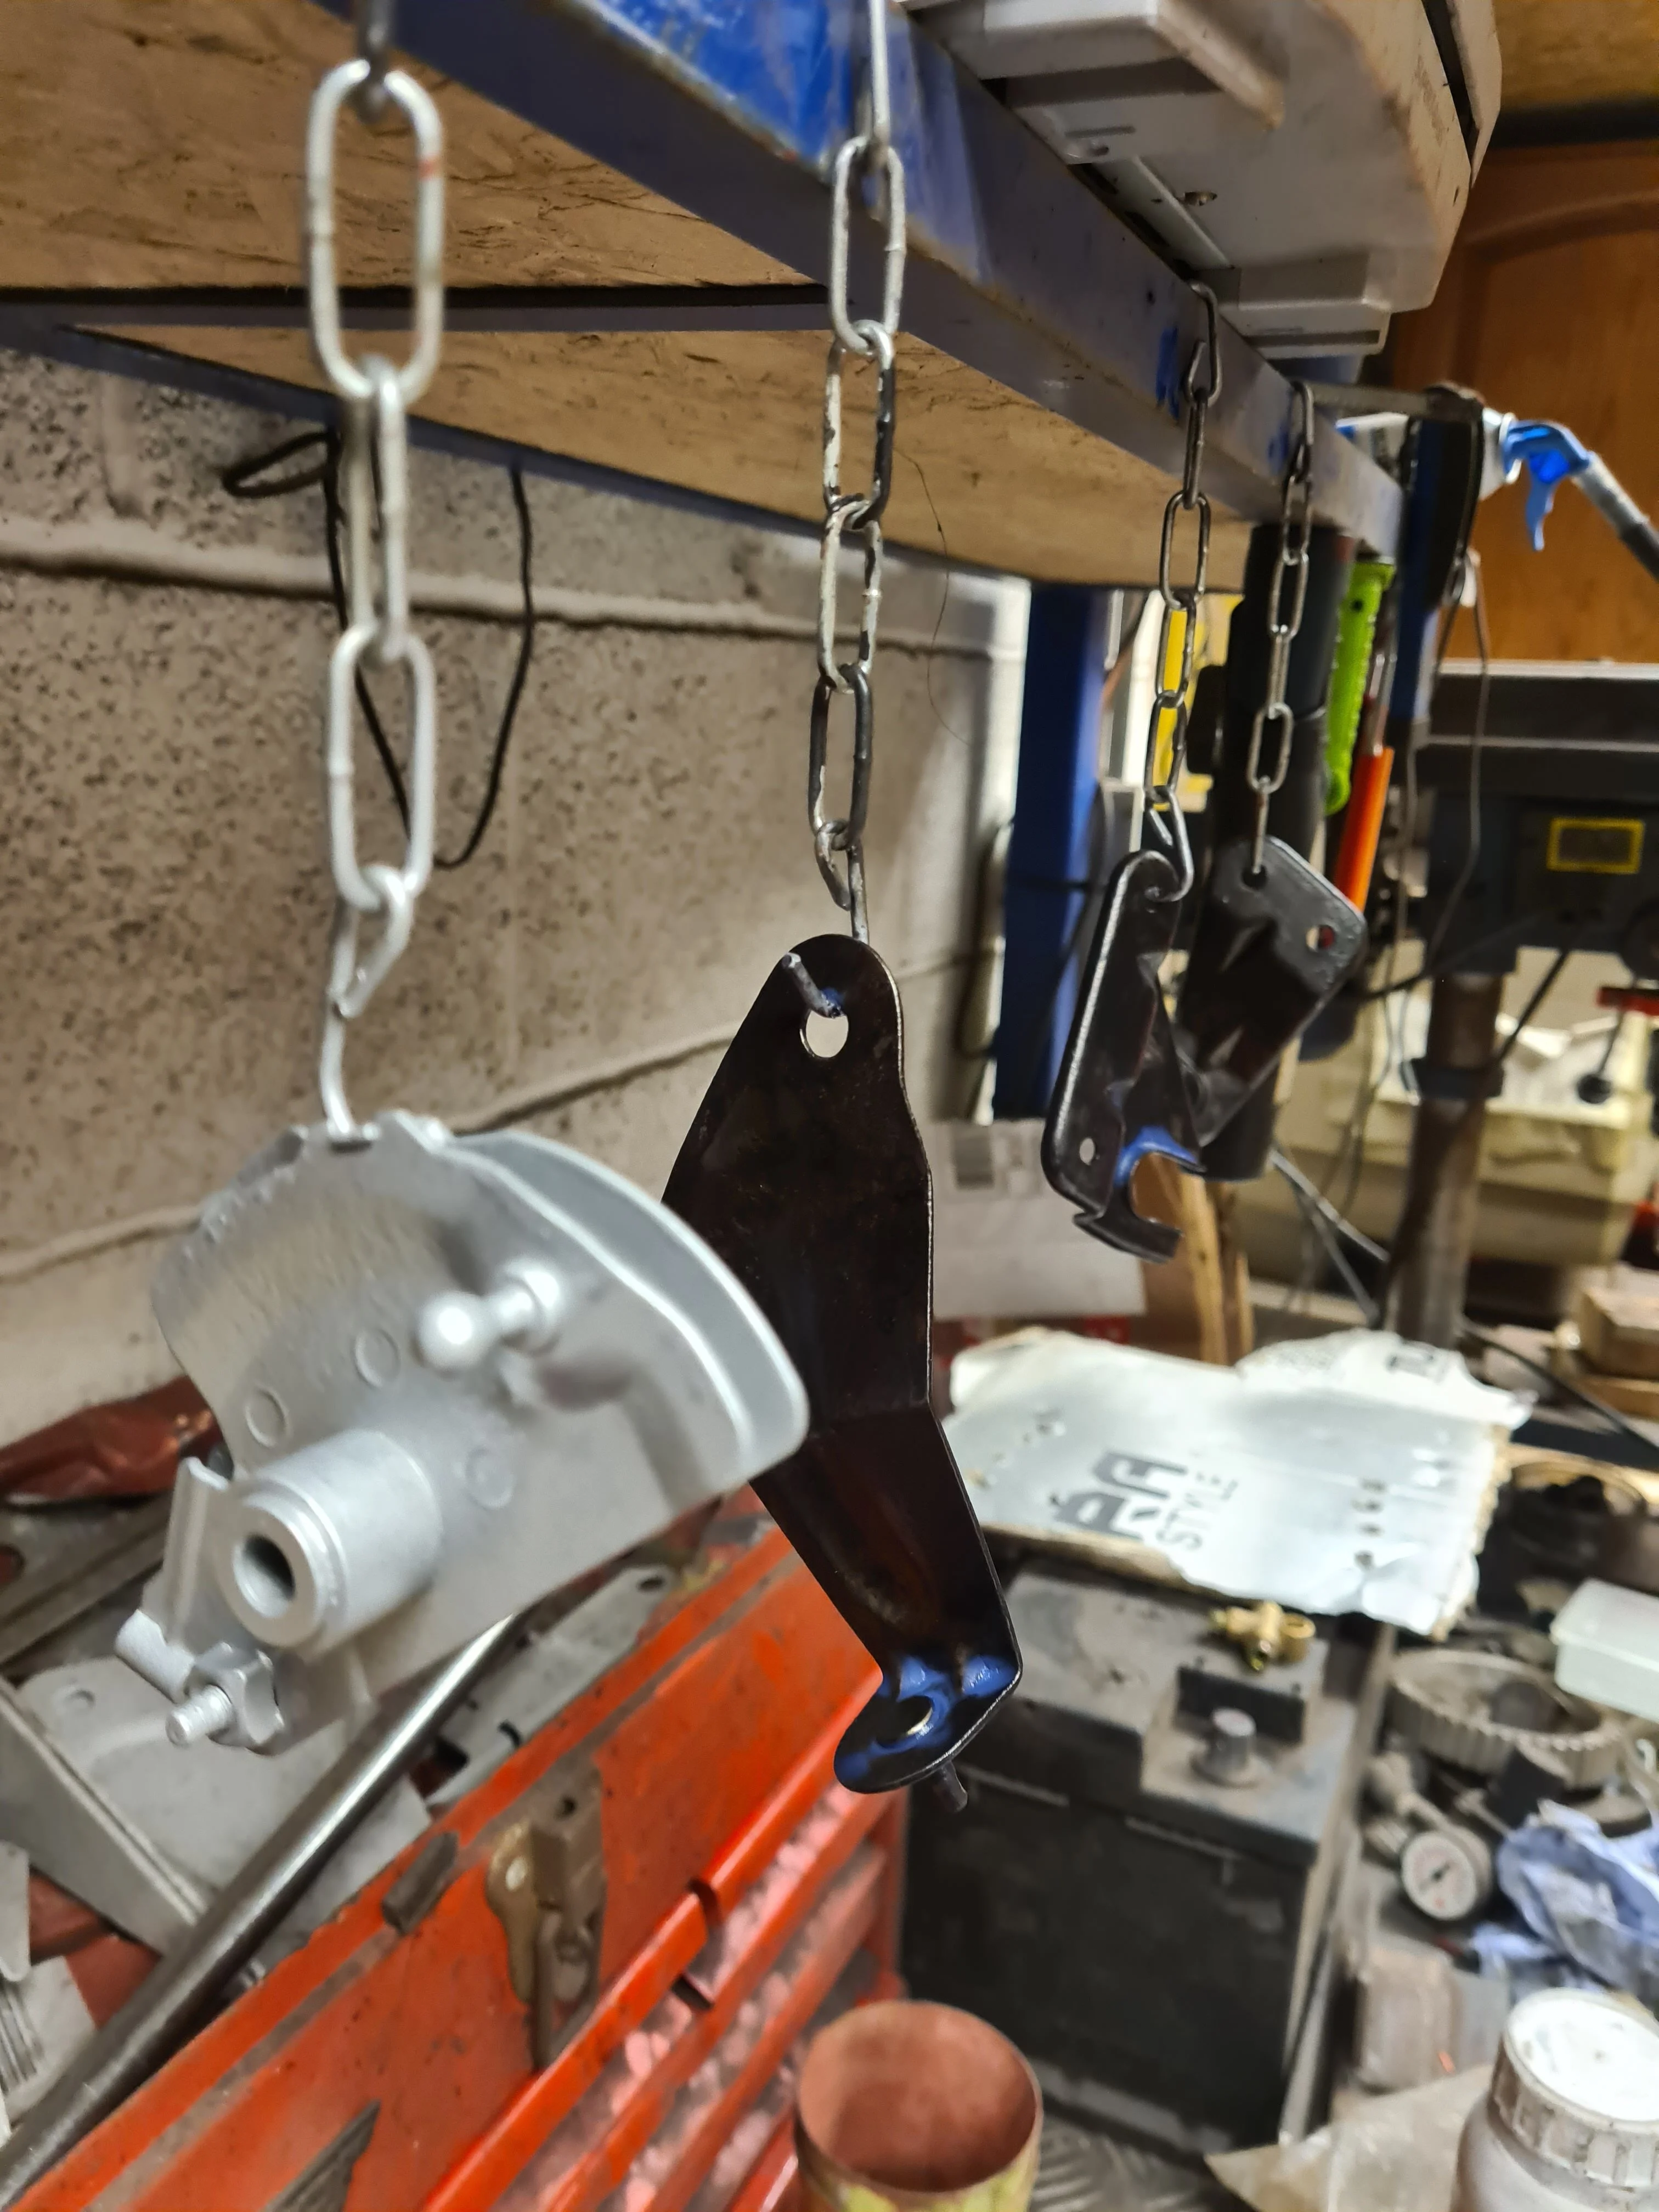
More cleaning and painting
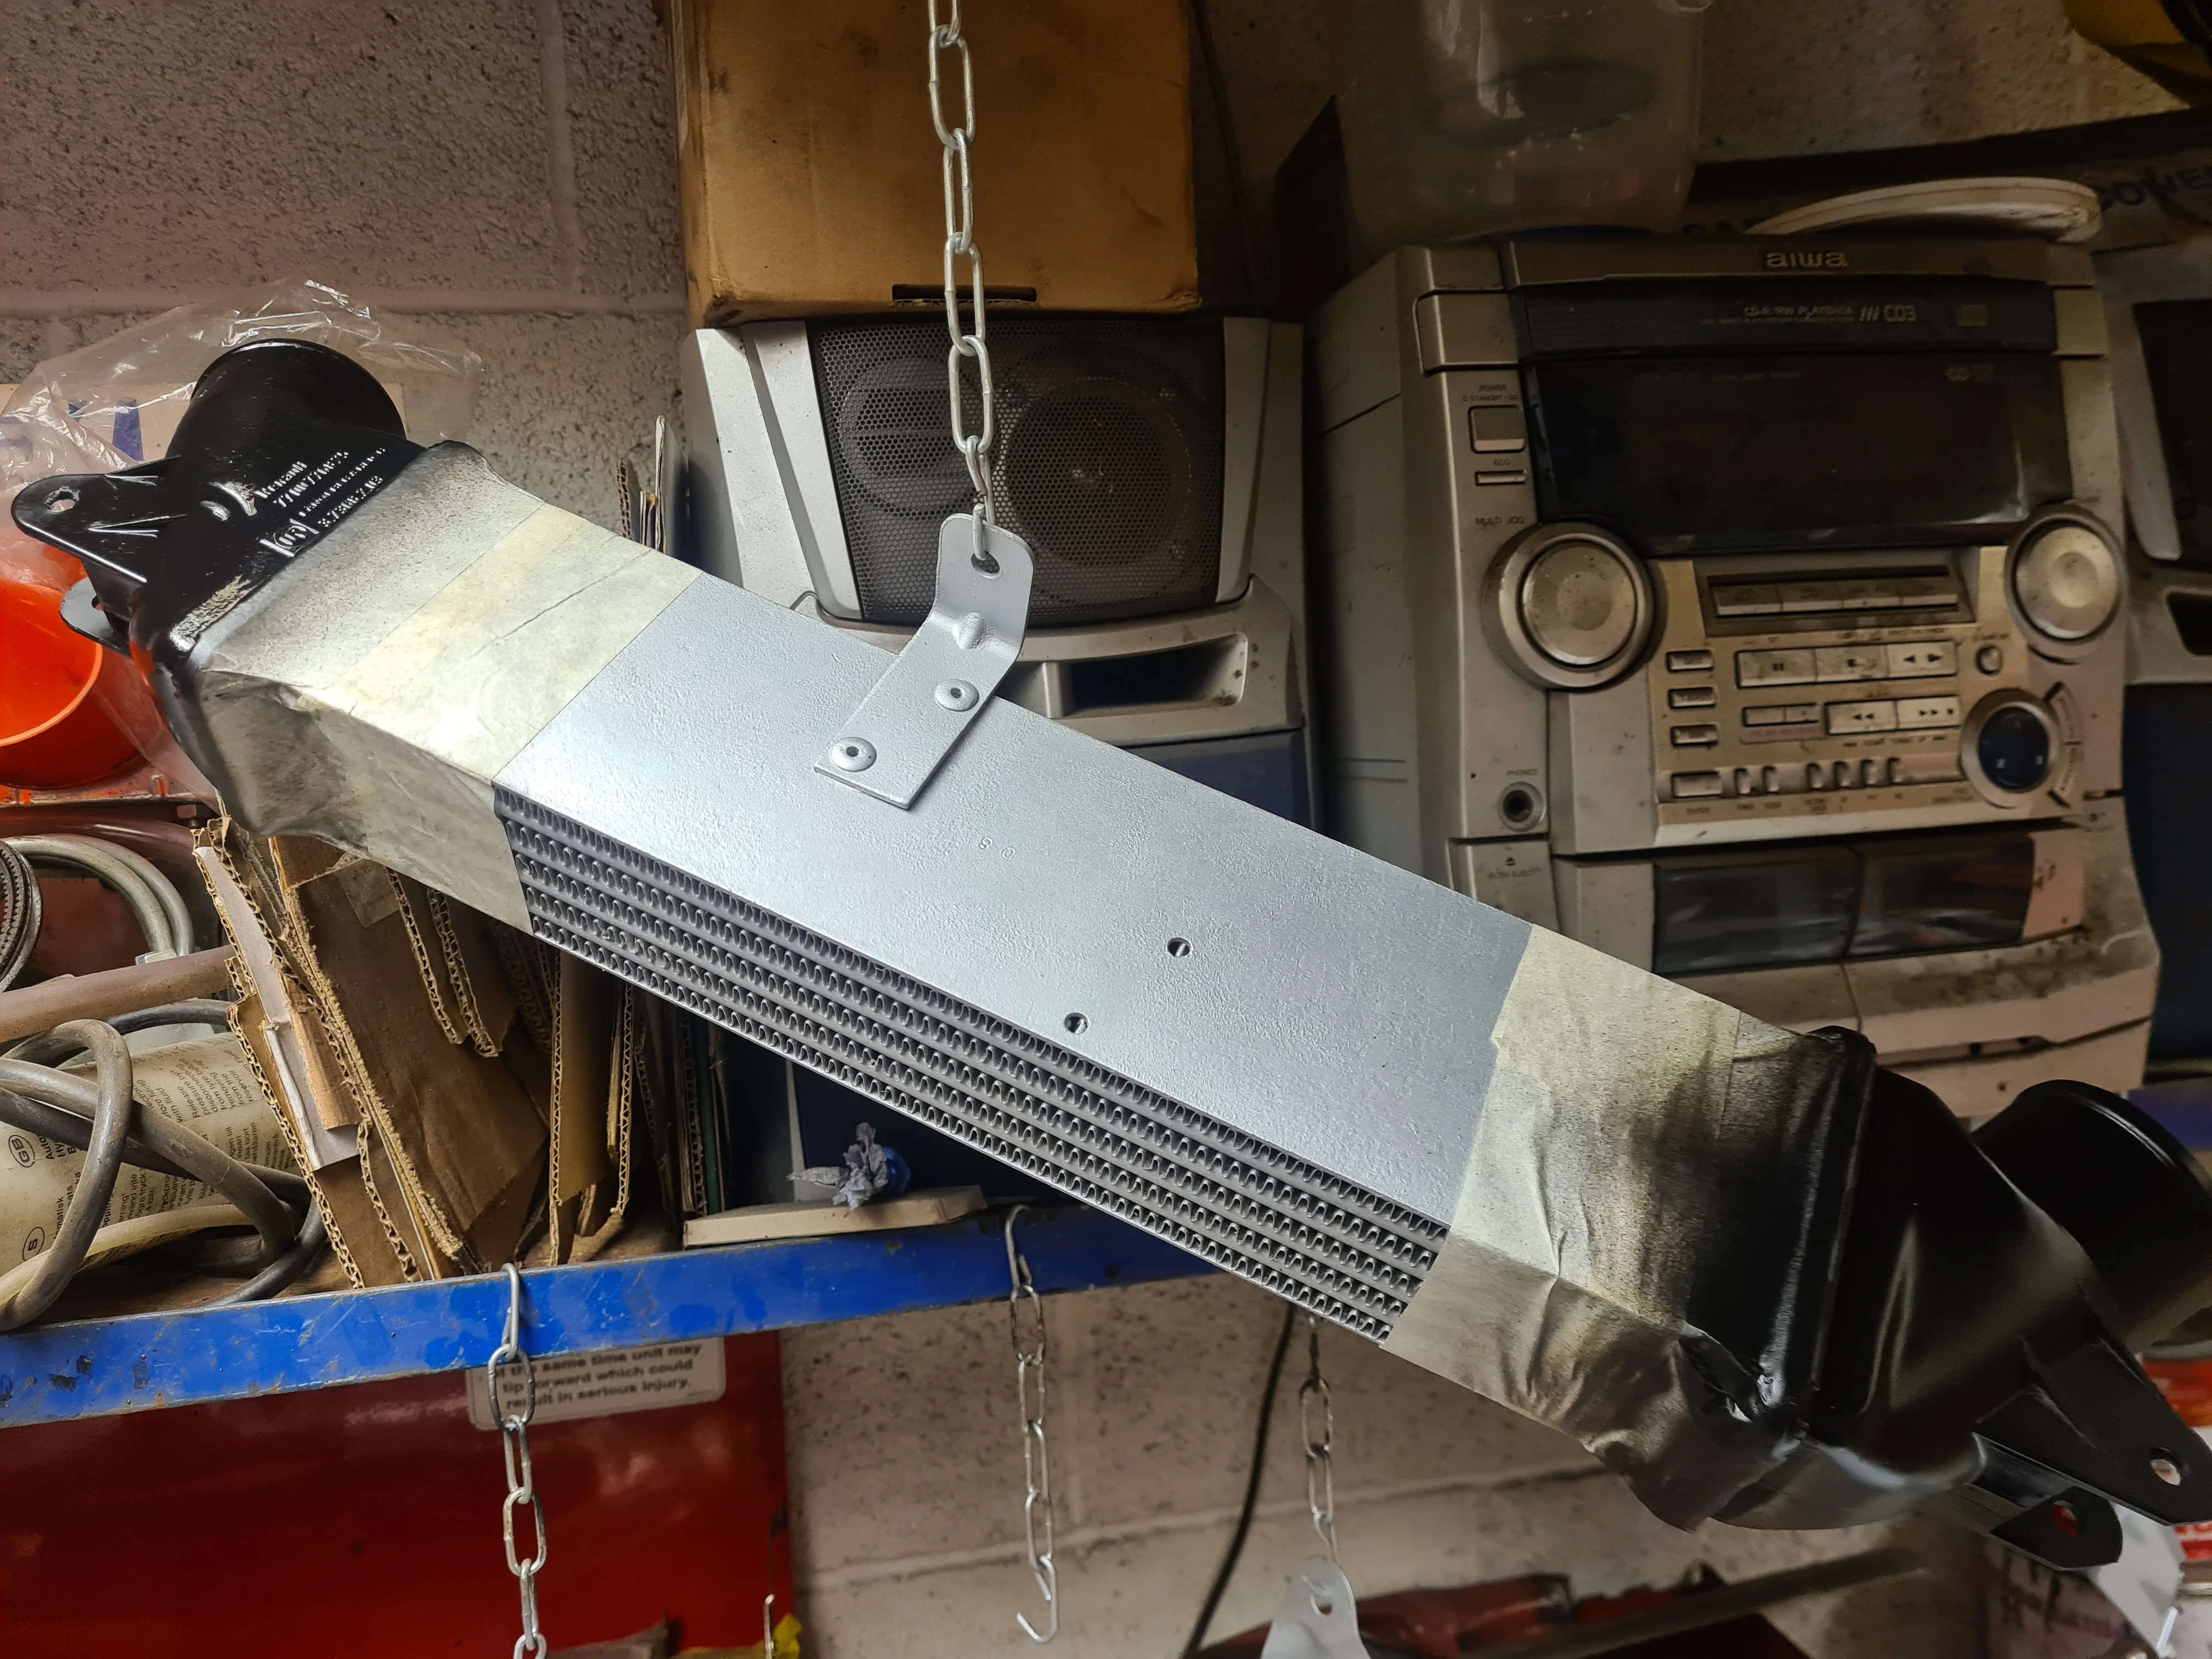
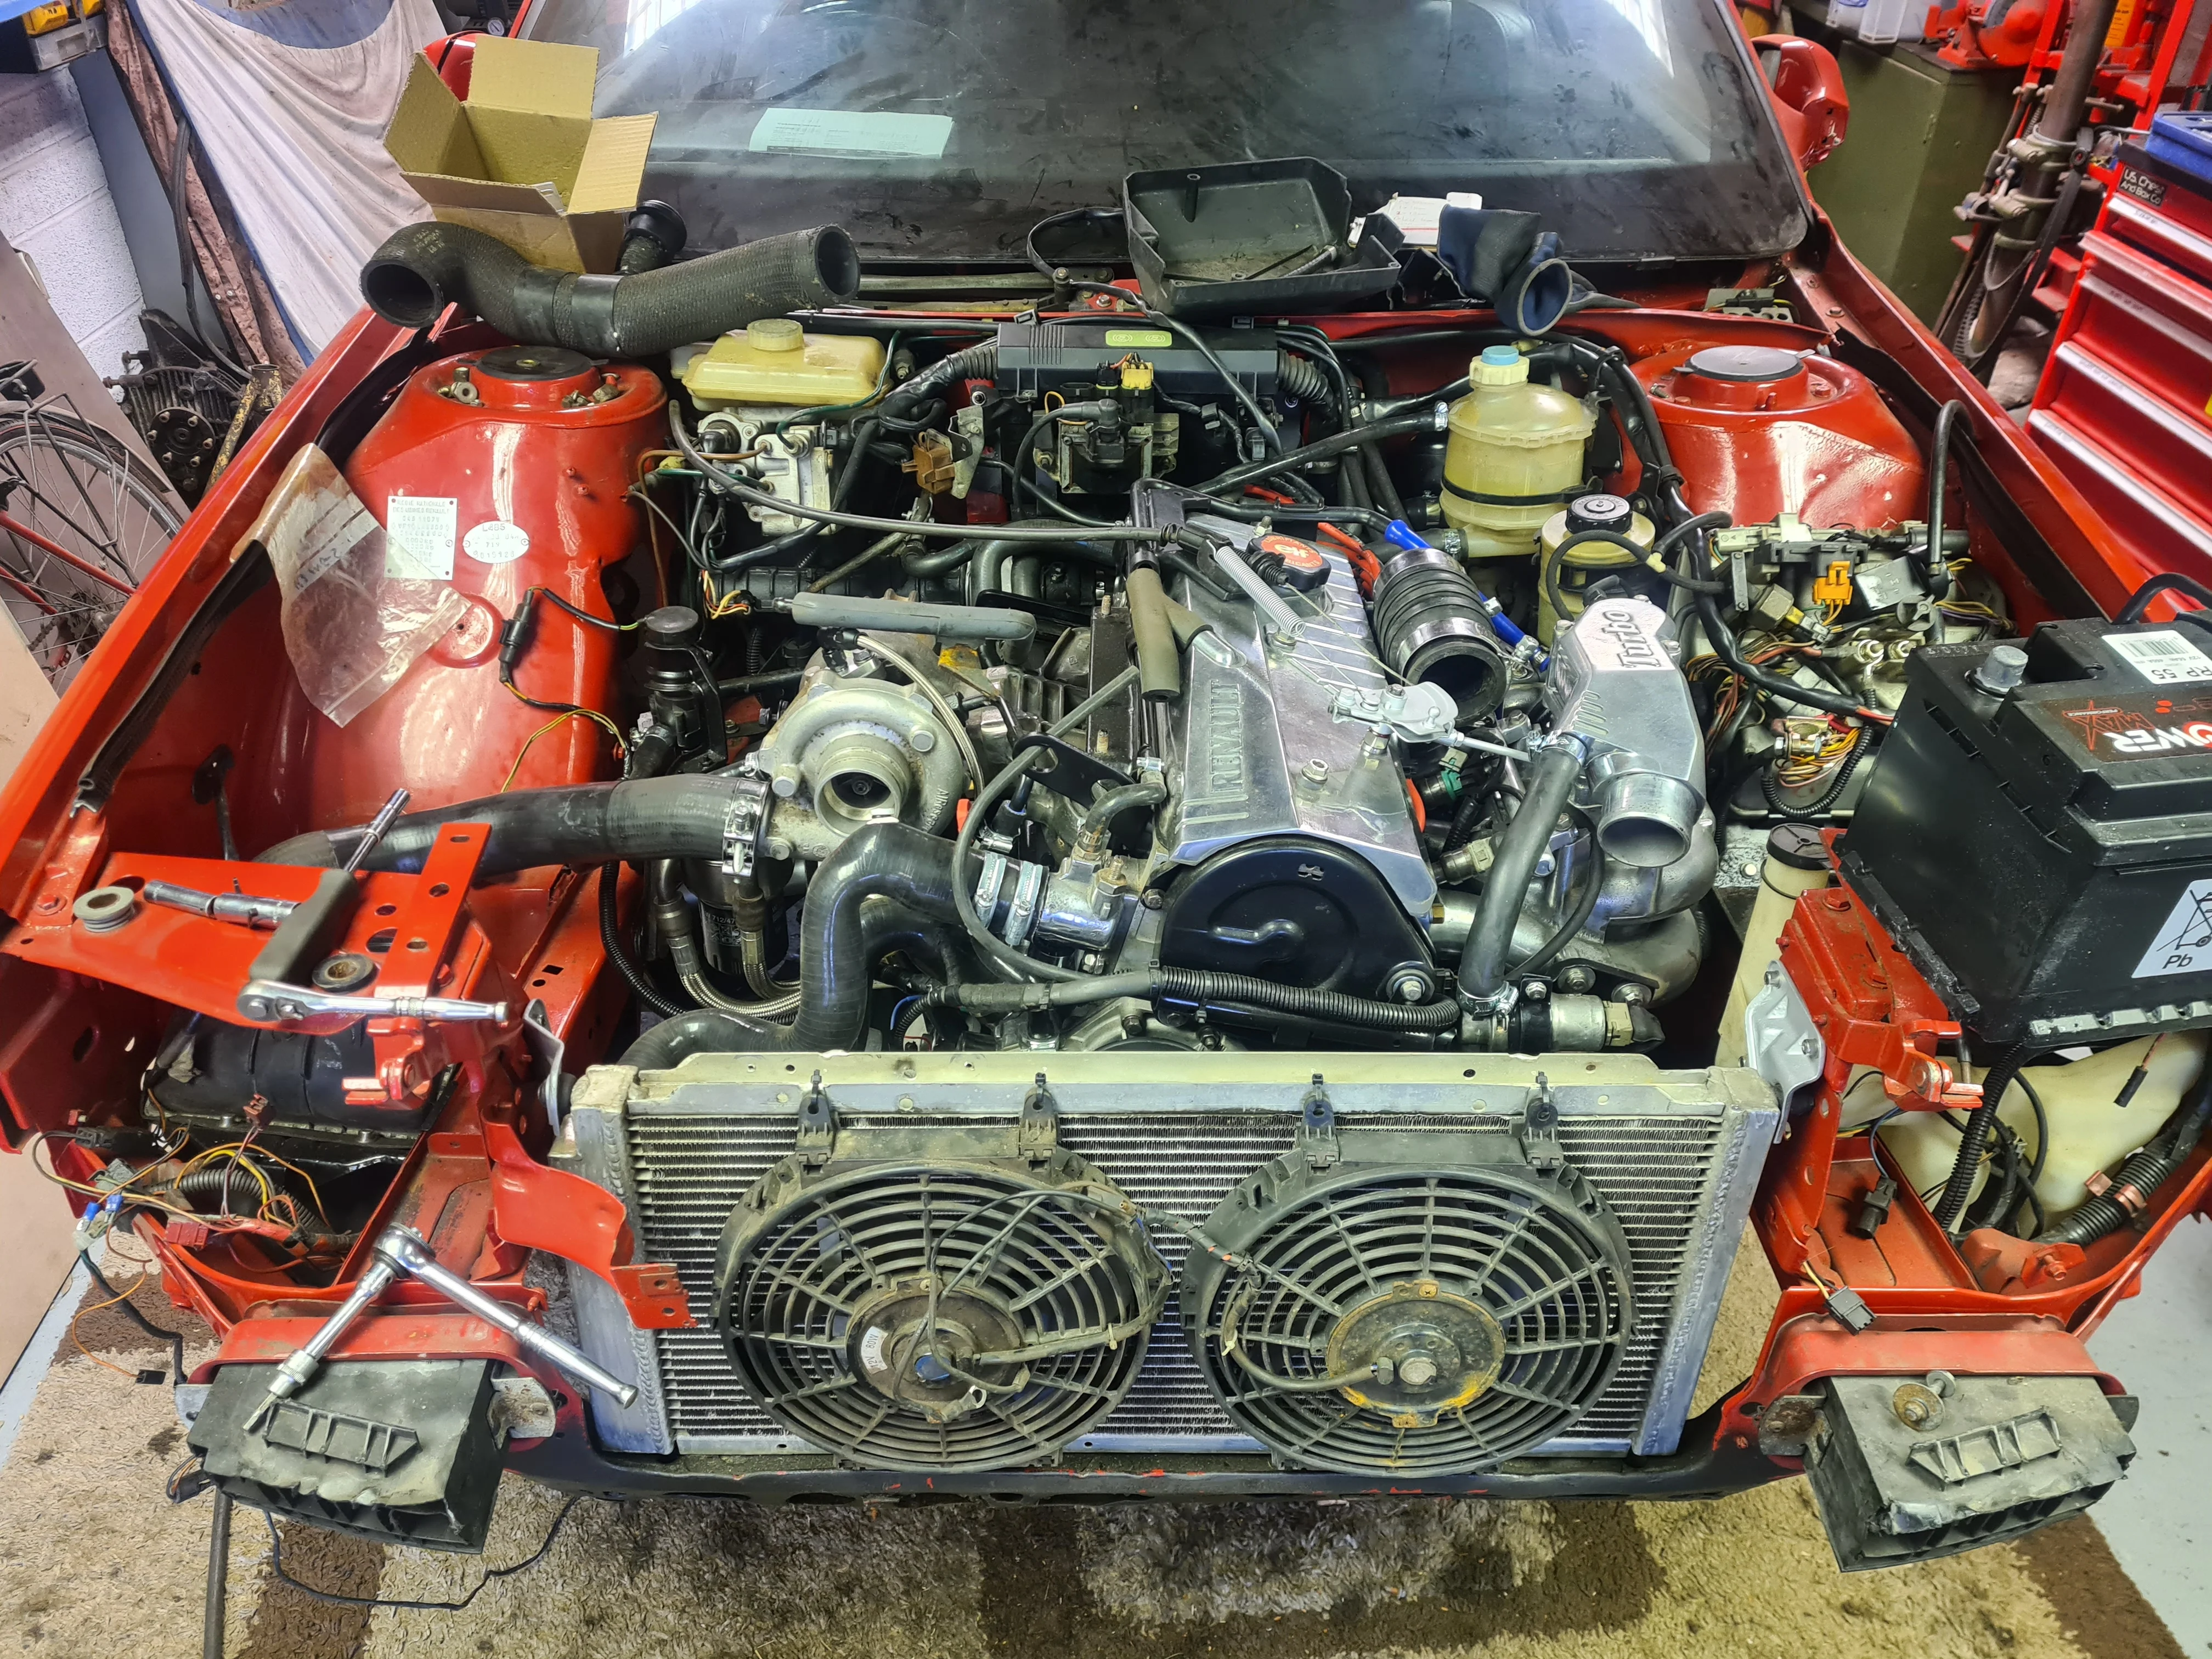
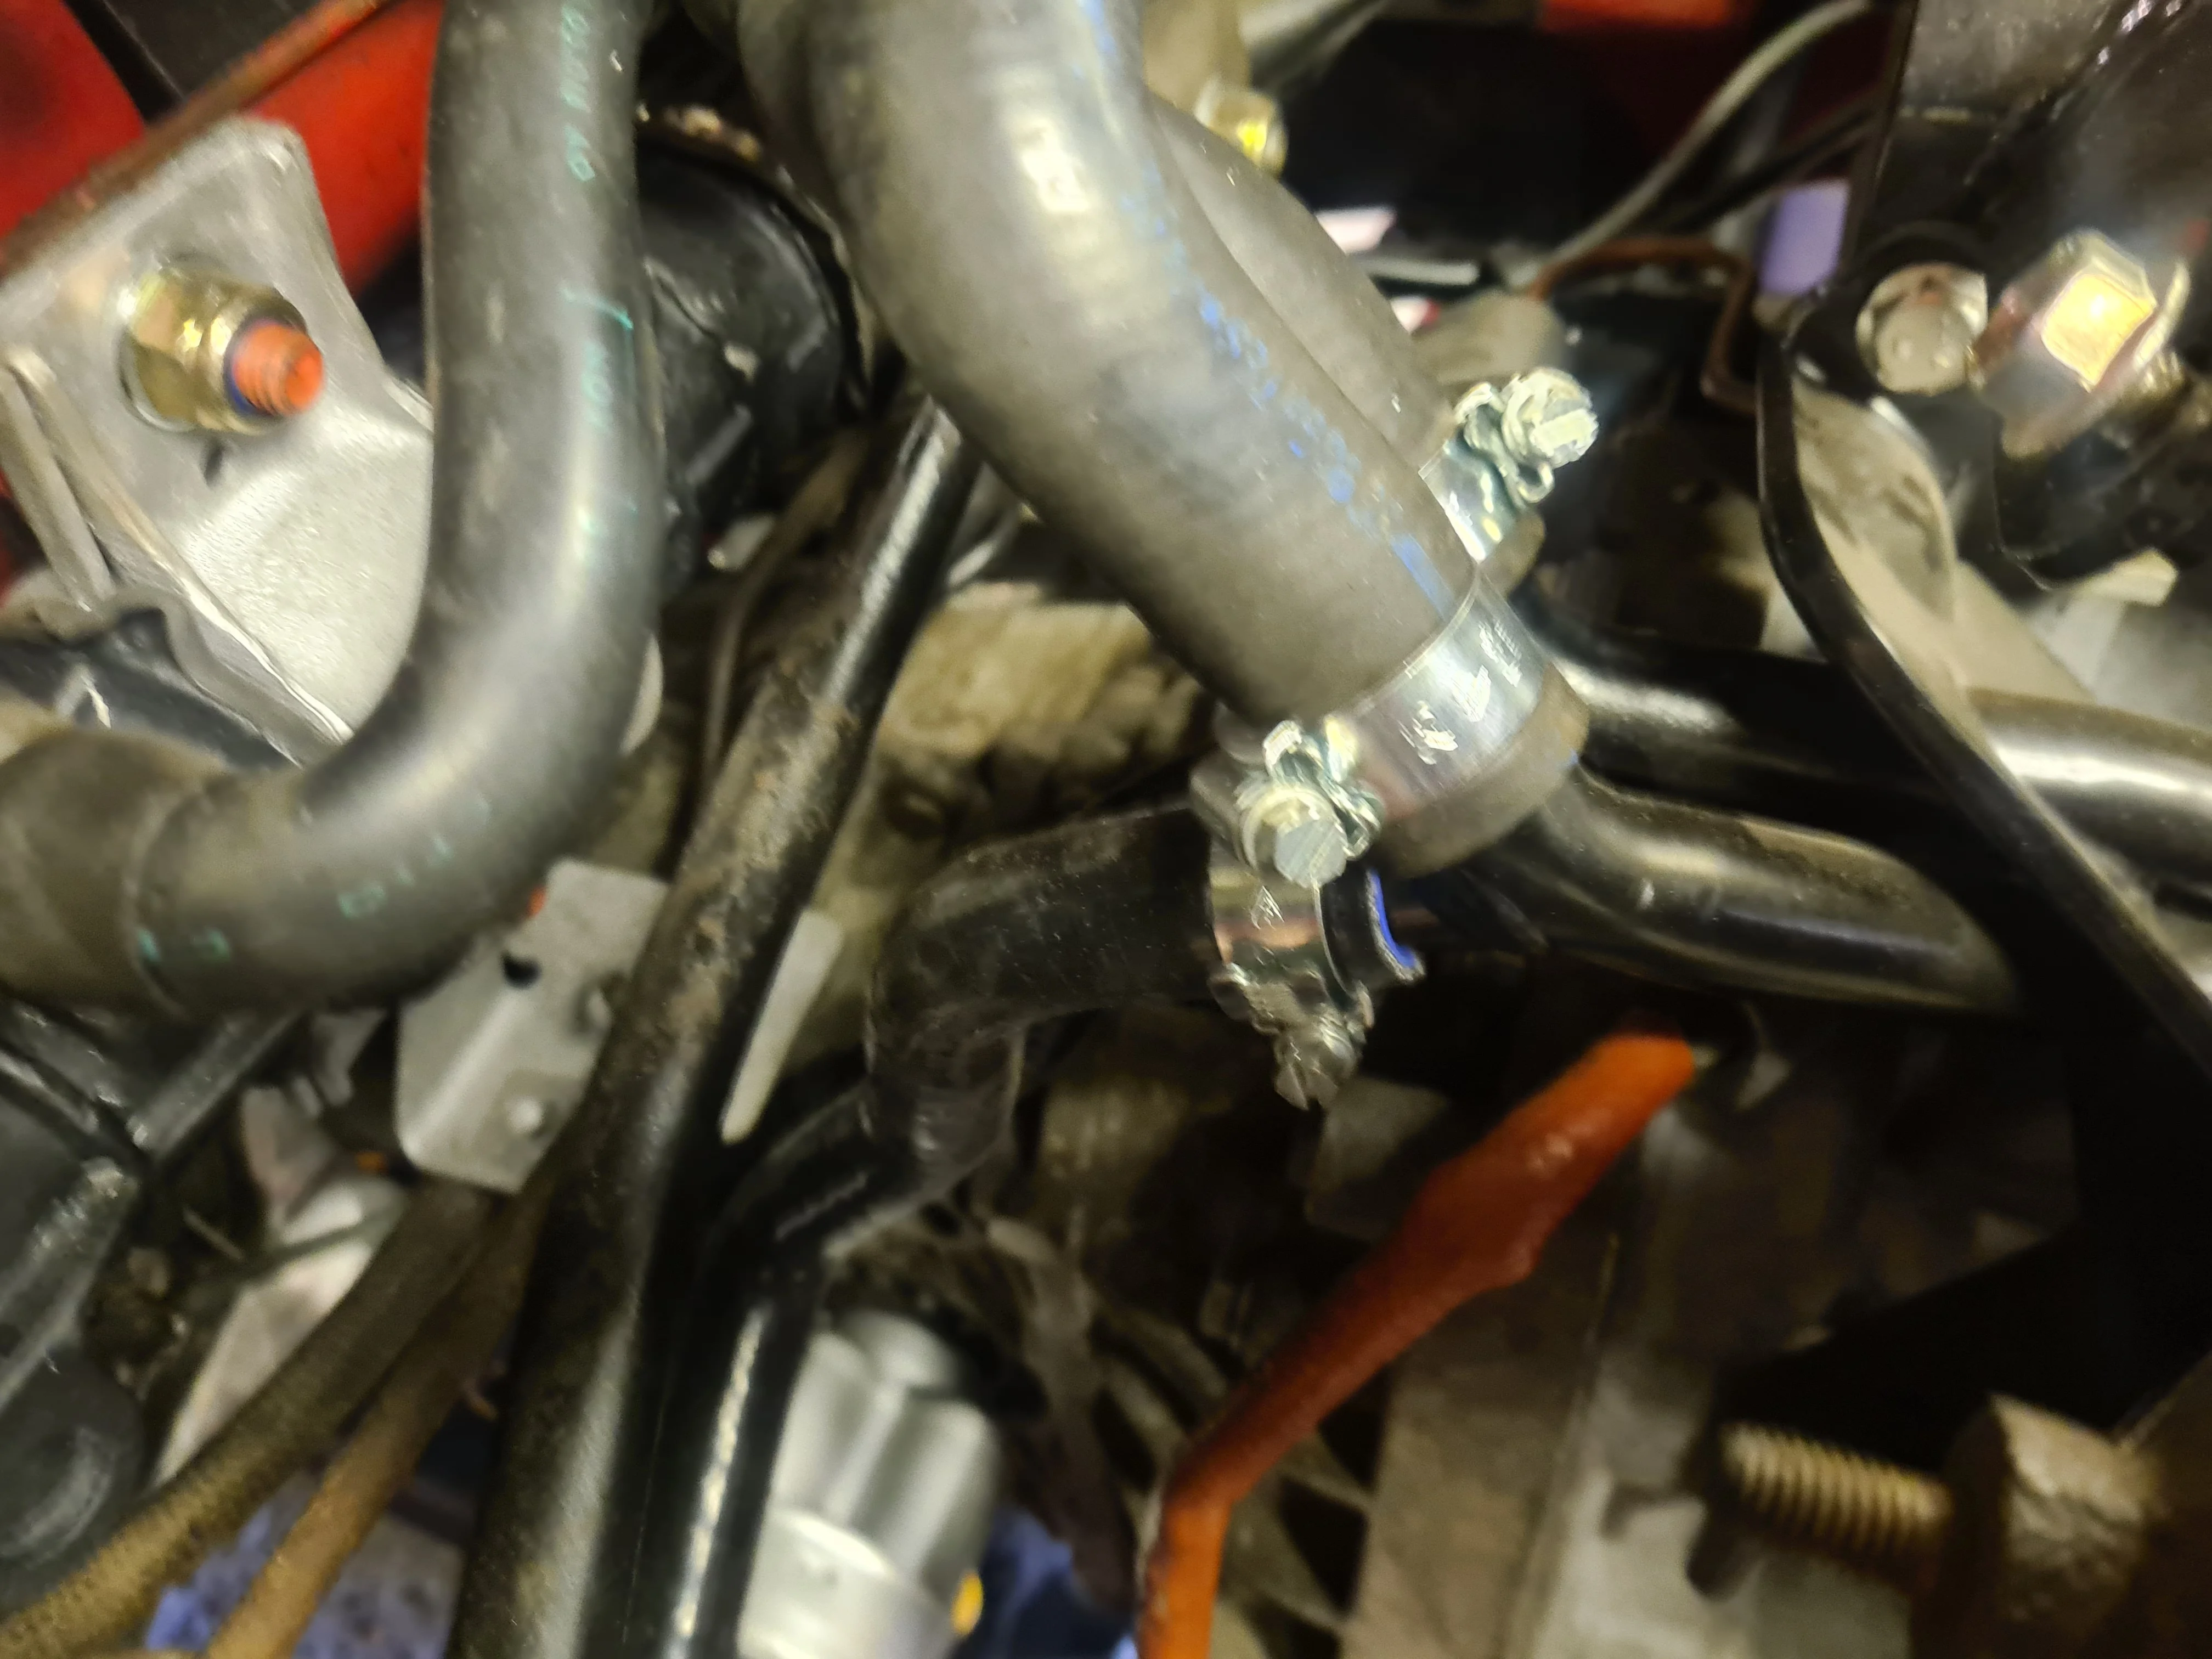
Got the cooling system together (HOLY s**t jubilee clips have got expensive!)
Shiny new
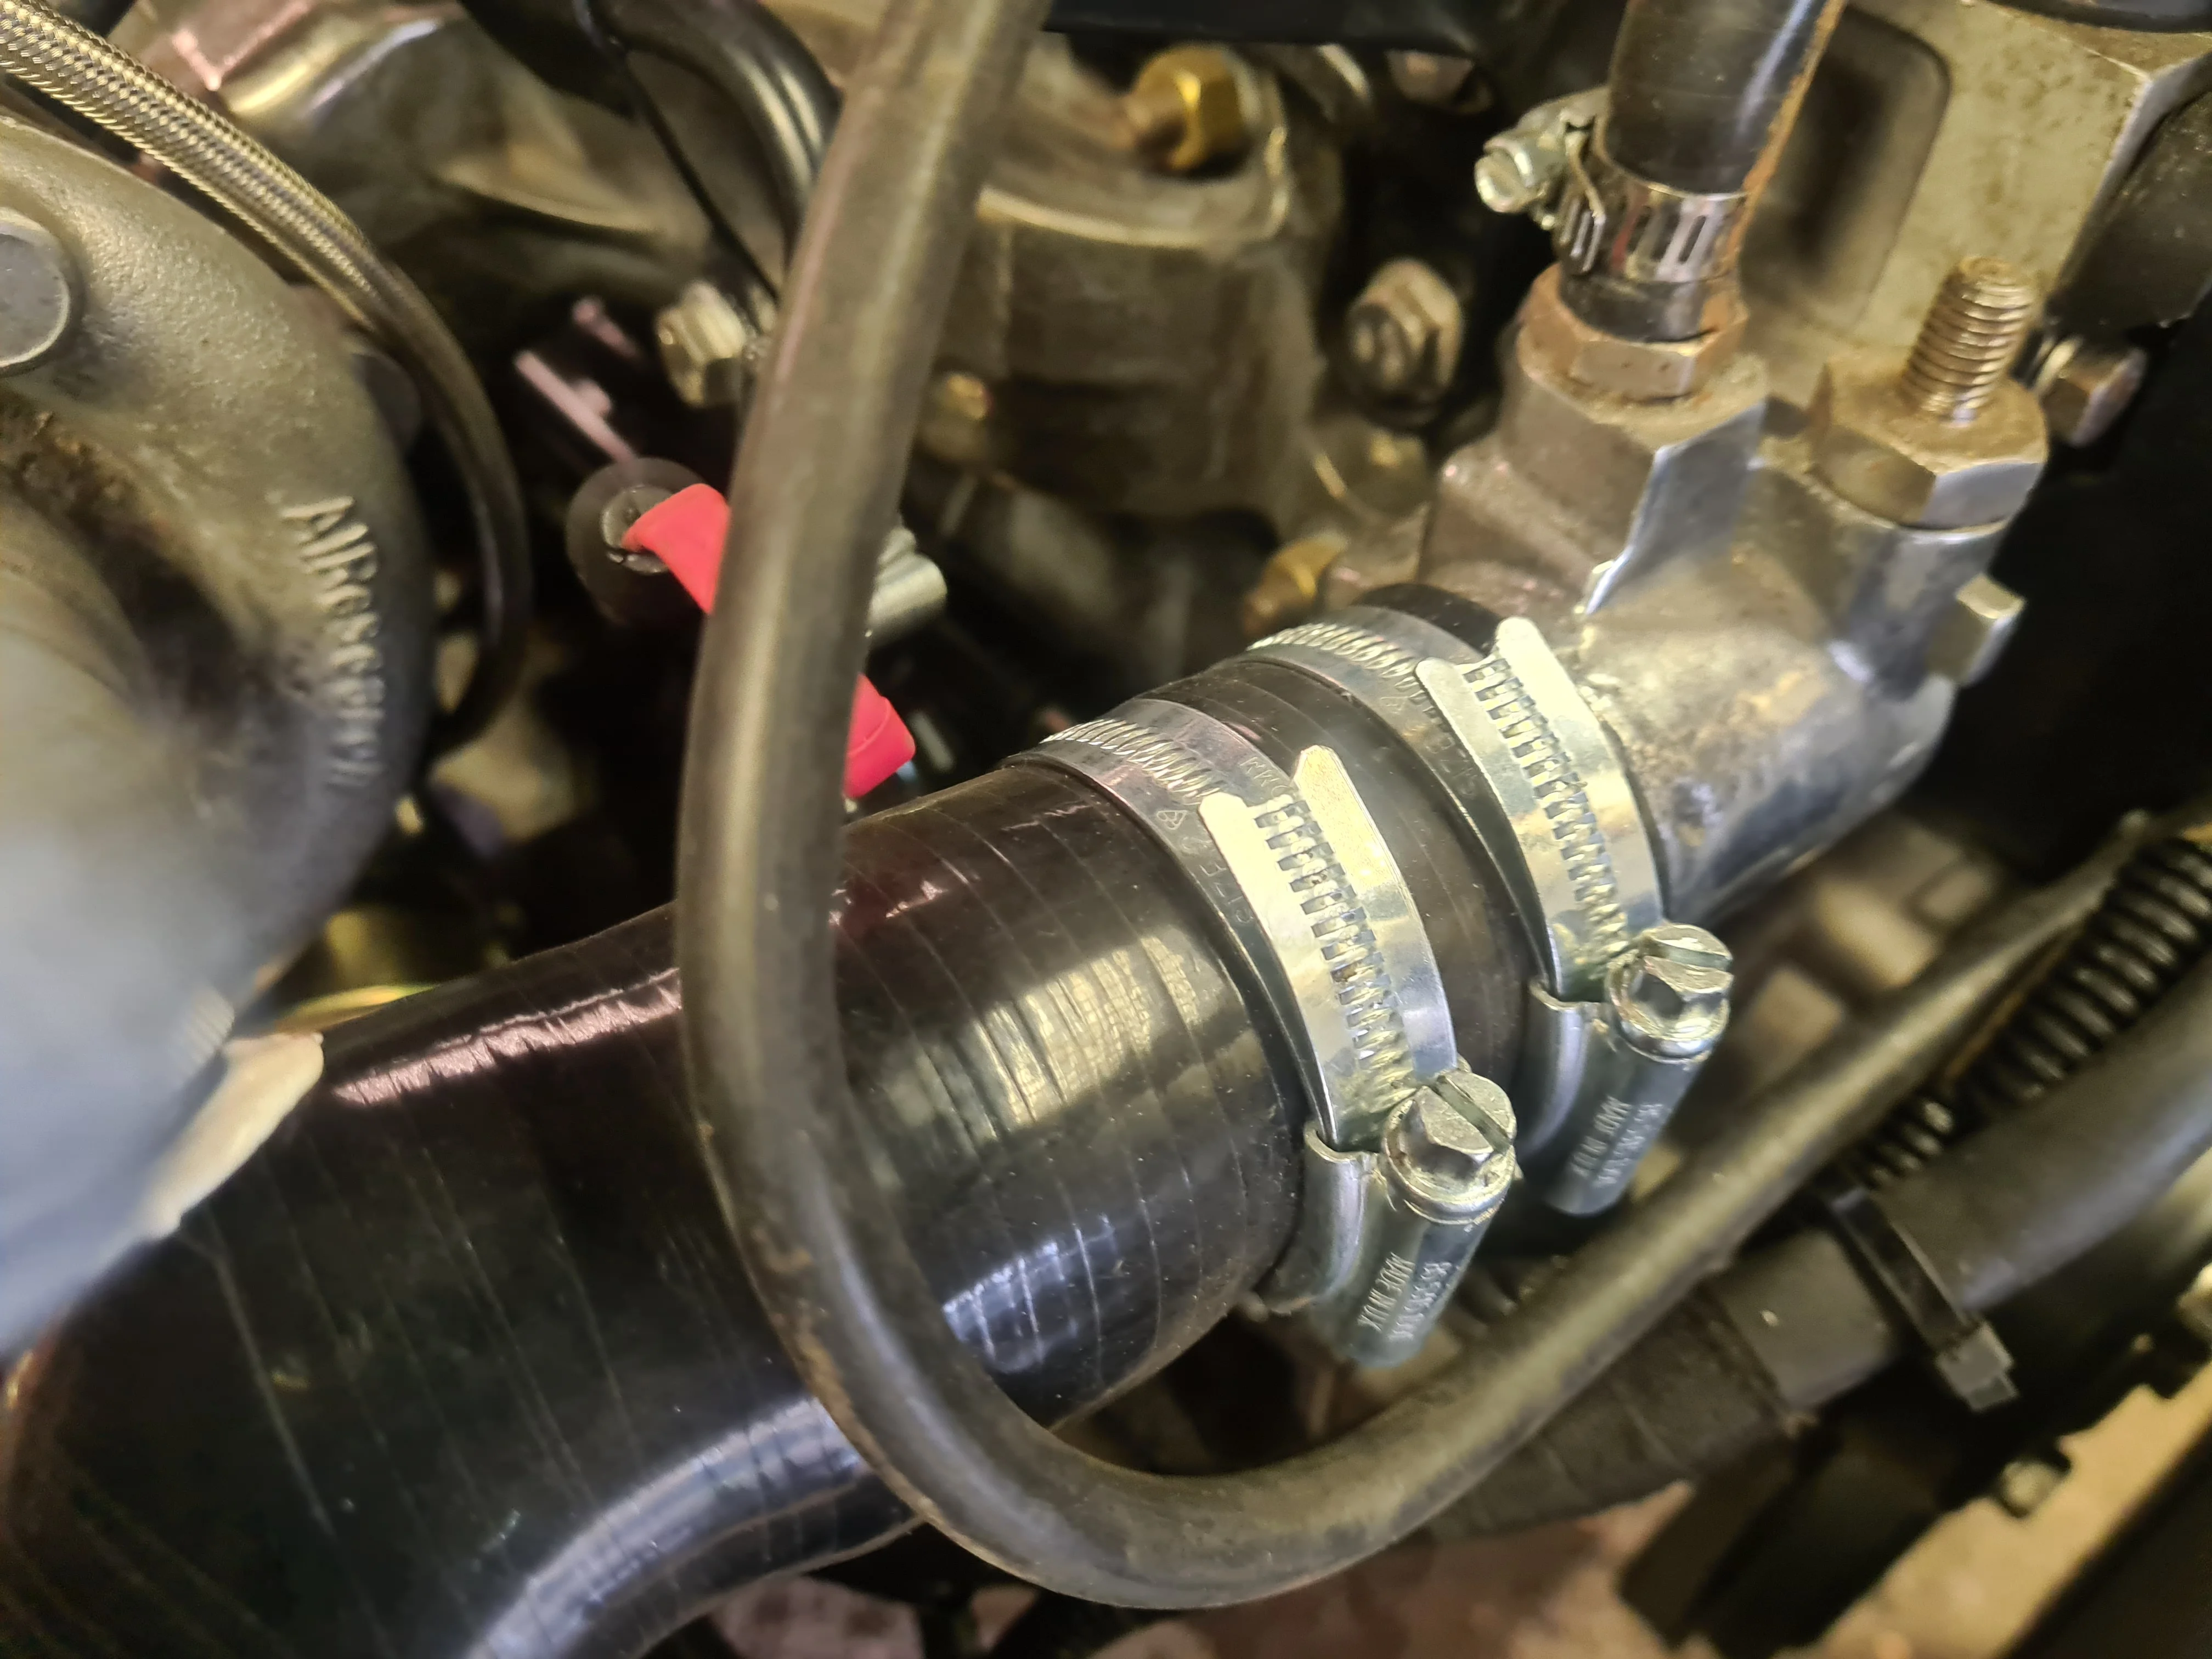
Mikalor's for the boost pipes
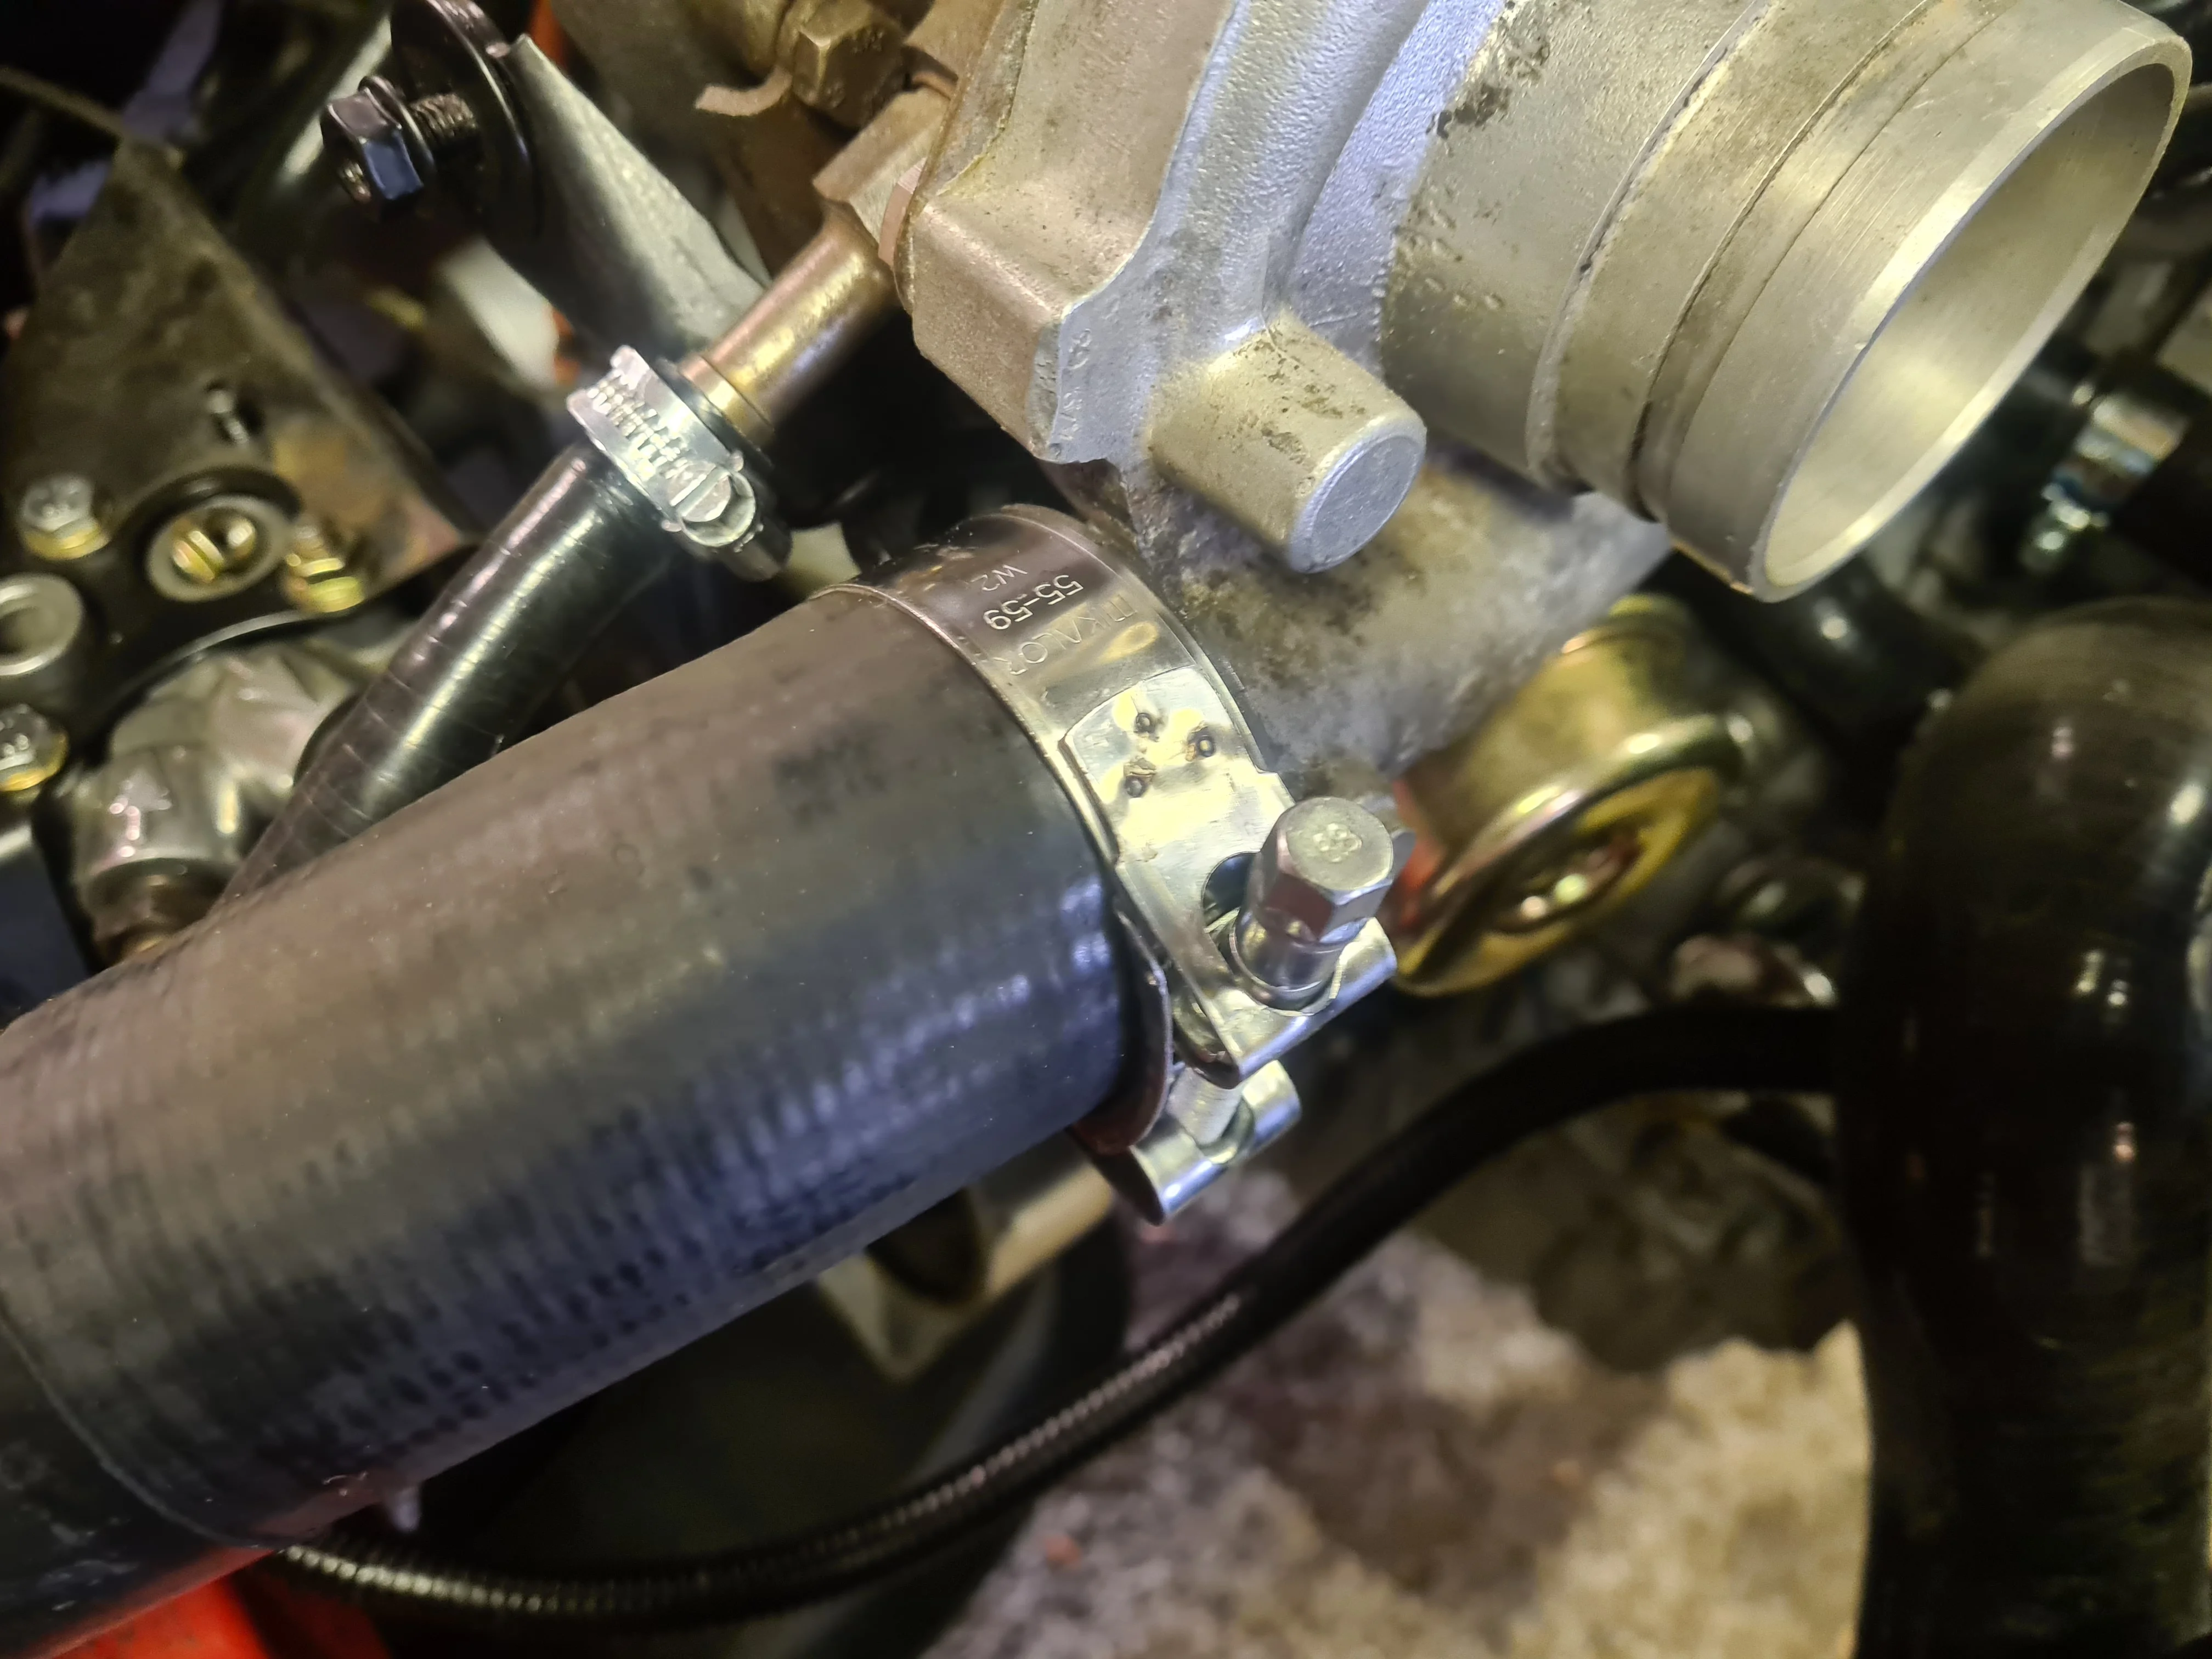
And then I ran it up for 20mins, up to fan temp. Let it run with a fan on for a bit, heater seems to work OK, no issues to report really save the header tank cap was leaking so I stuck a Megane one on it Ready for the head bolt retorque now!
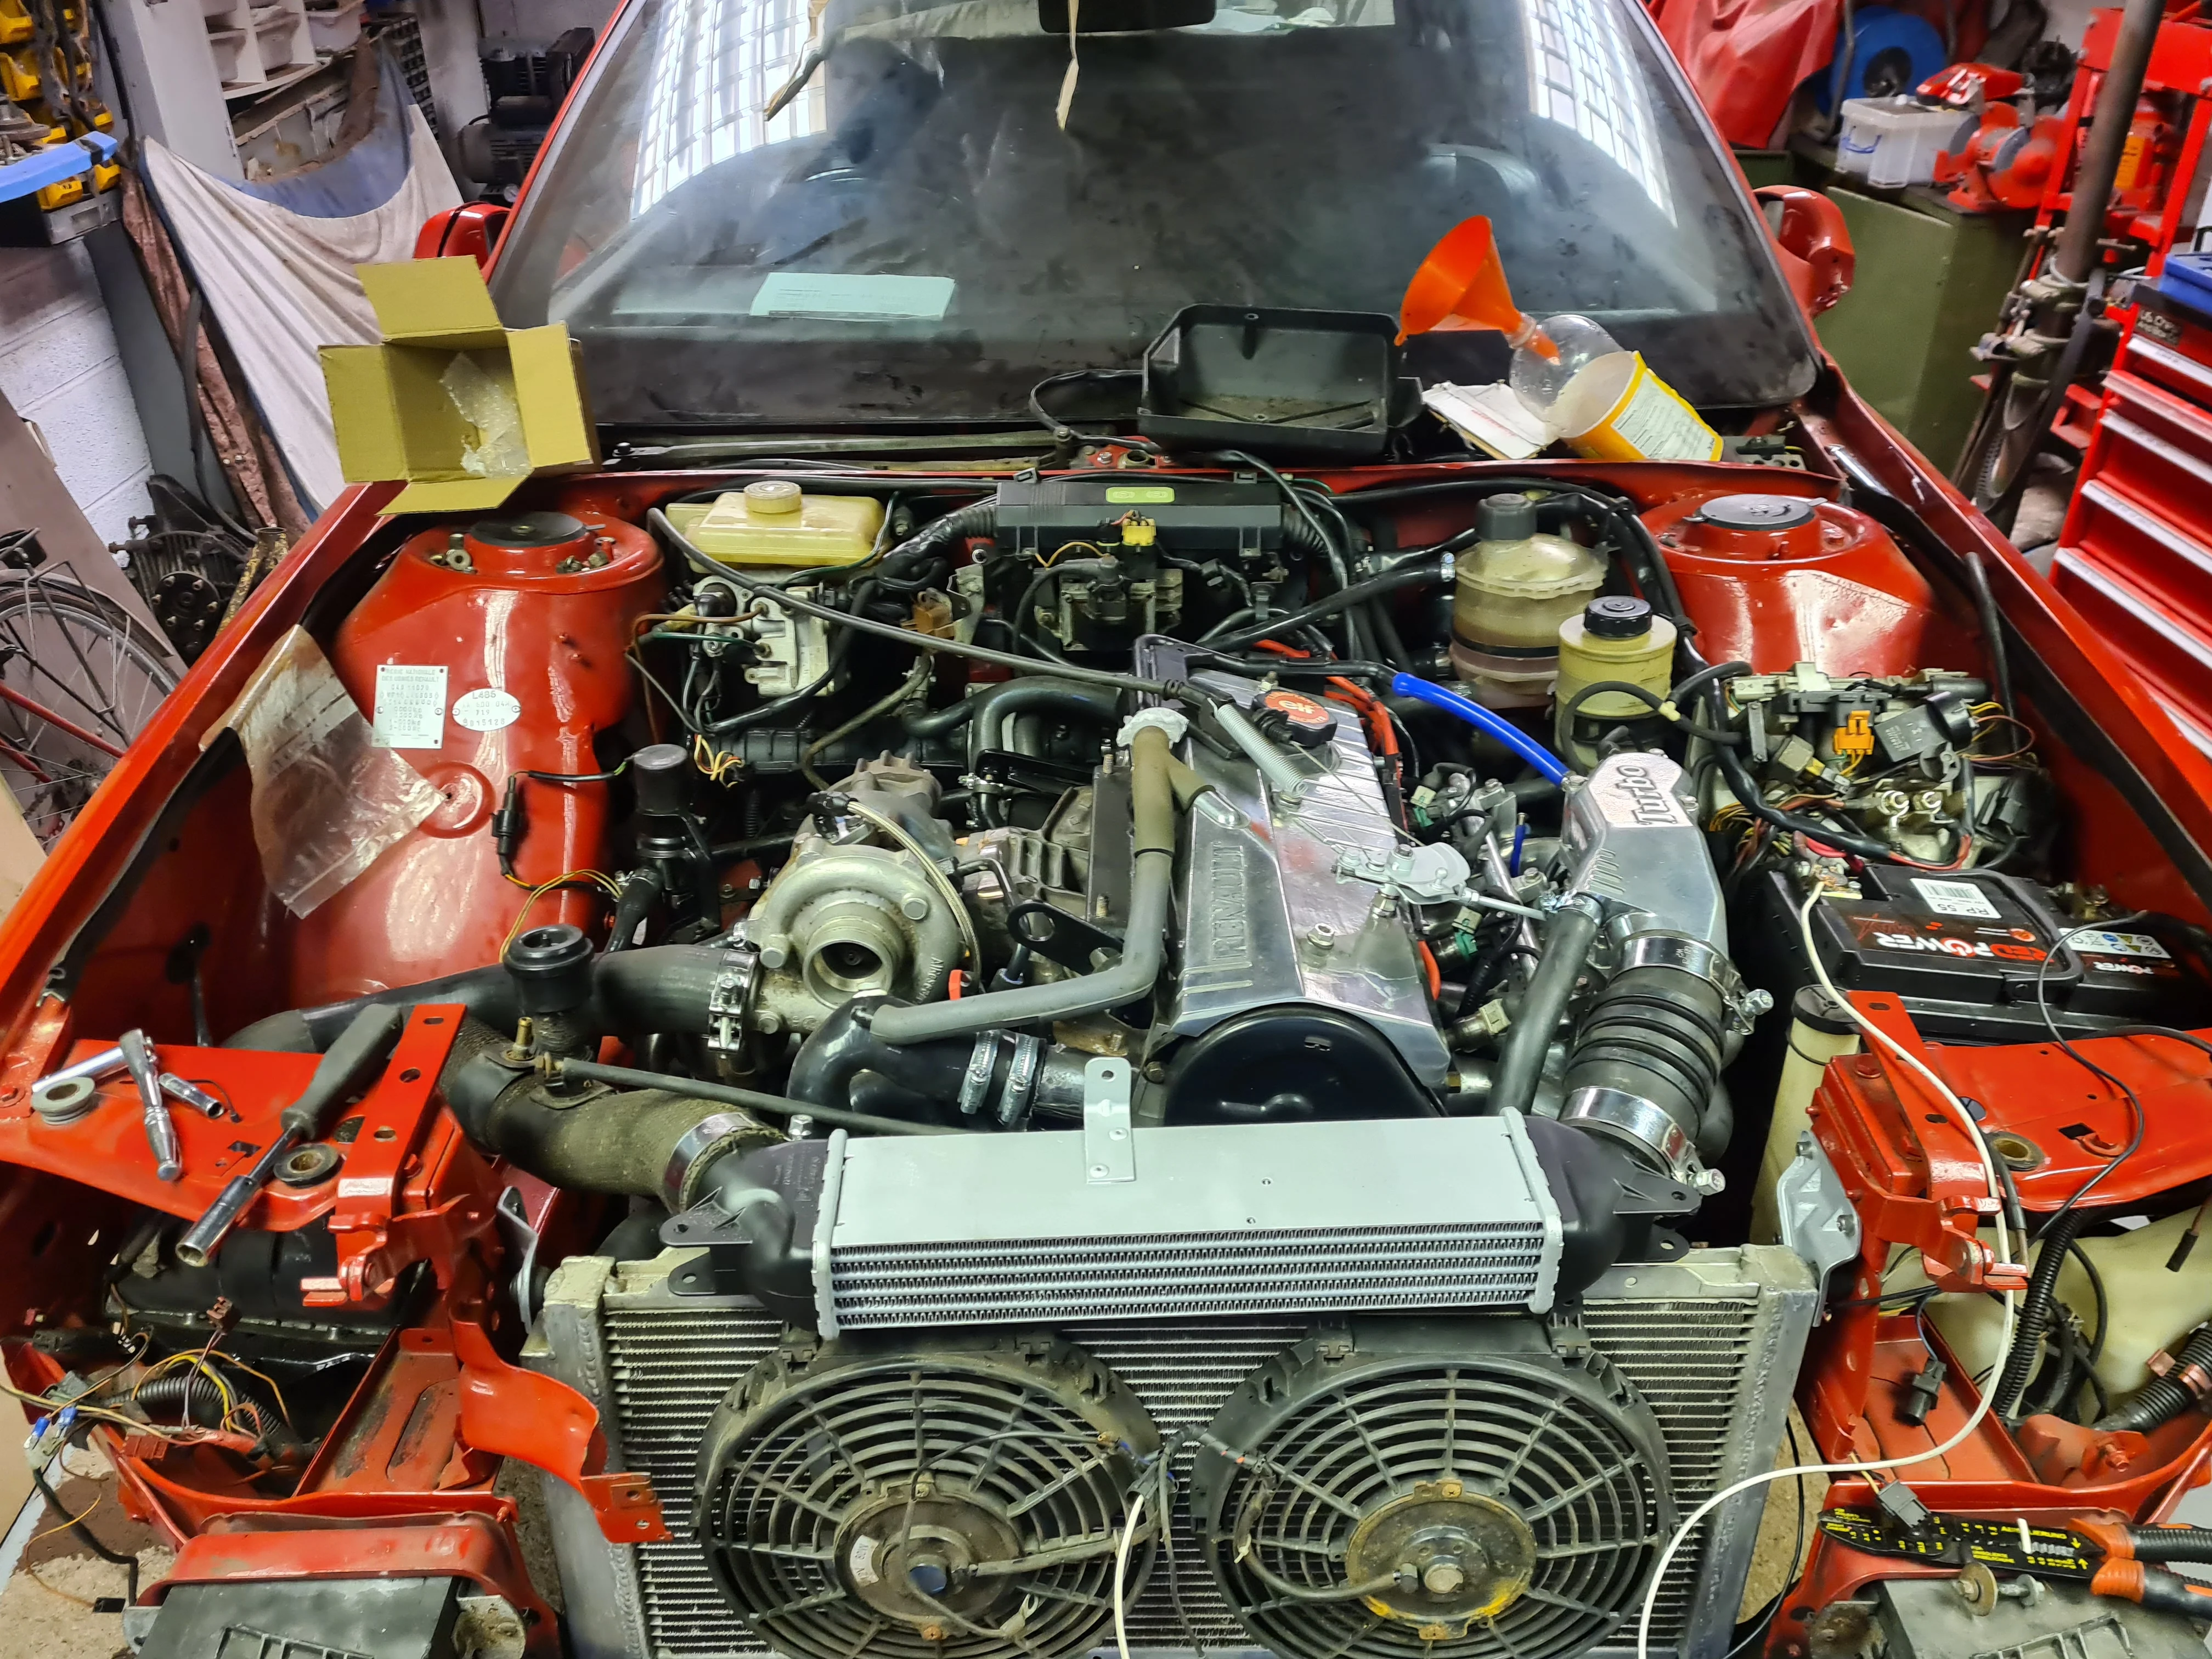
Can't find a bloody fan switch, or the top crossmember which is annoying... need to source some parts!
Got the cooling system together (HOLY s**t jubilee clips have got expensive!)
Shiny new
Mikalor's for the boost pipes
And then I ran it up for 20mins, up to fan temp. Let it run with a fan on for a bit, heater seems to work OK, no issues to report really save the header tank cap was leaking so I stuck a Megane one on it
Ready for the head bolt retorque now!Can't find a bloody fan switch, or the top crossmember which is annoying... need to source some parts!
OK then time to retorque the head bolts and set the valve clearances.
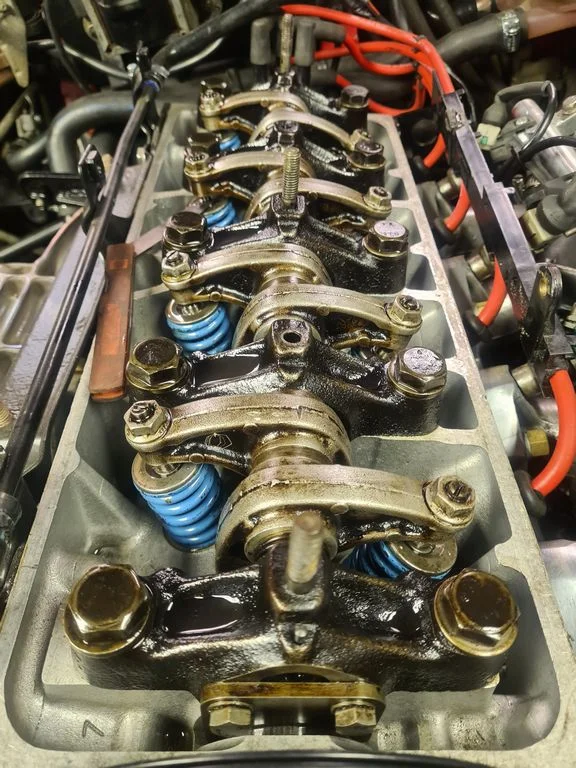
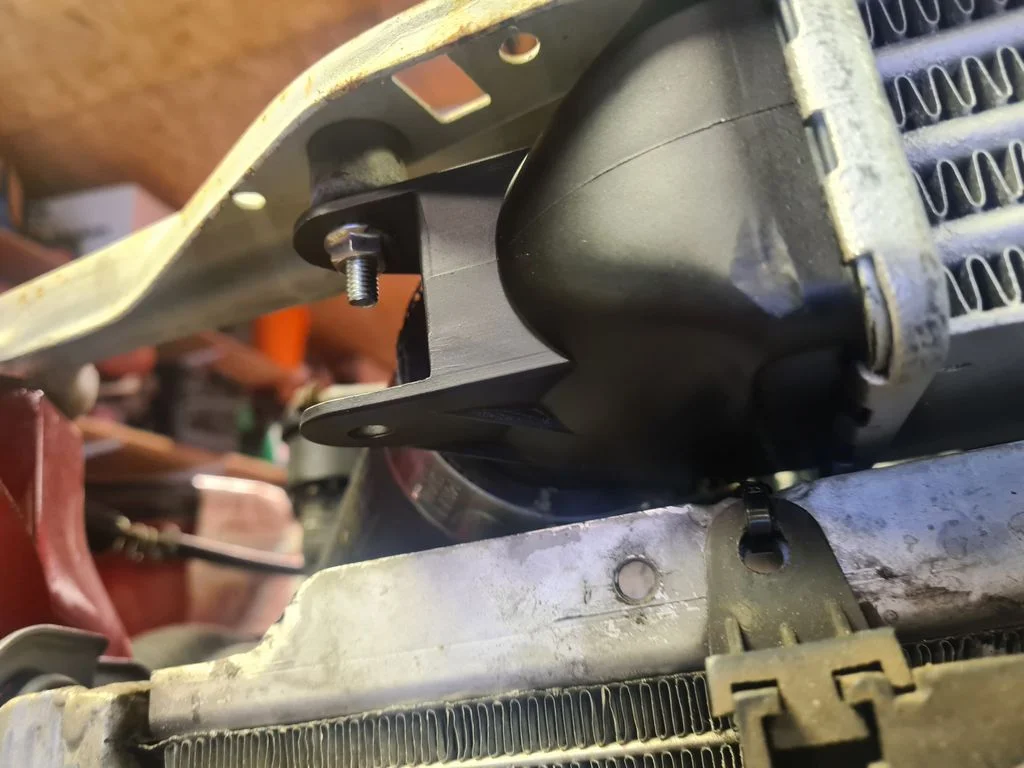
I found a temporary crossmember in roof storage so stuck that on and fitted the new rubber woggle things for the intercooler
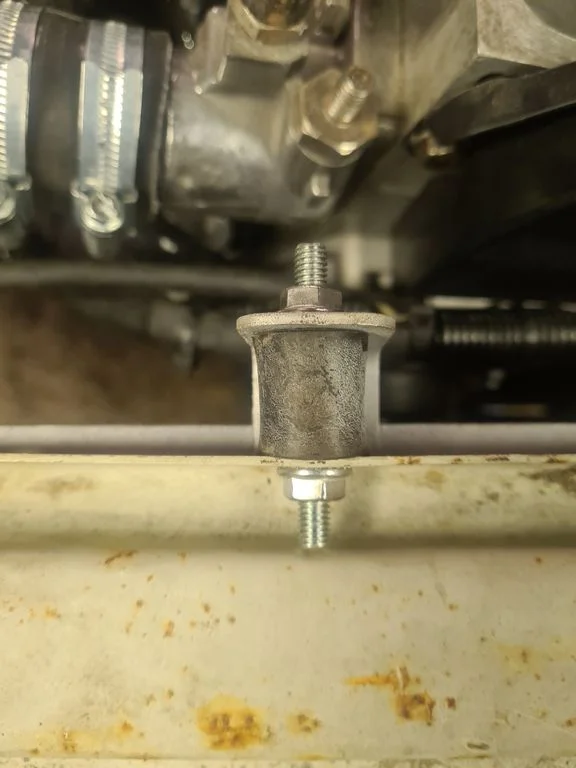
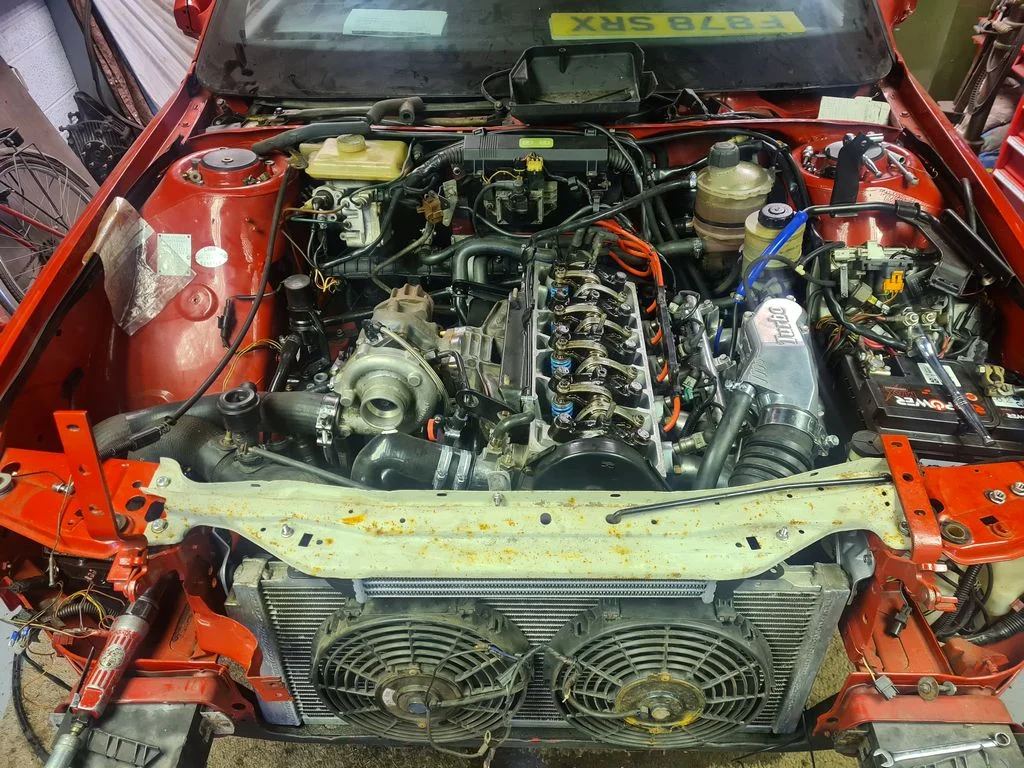
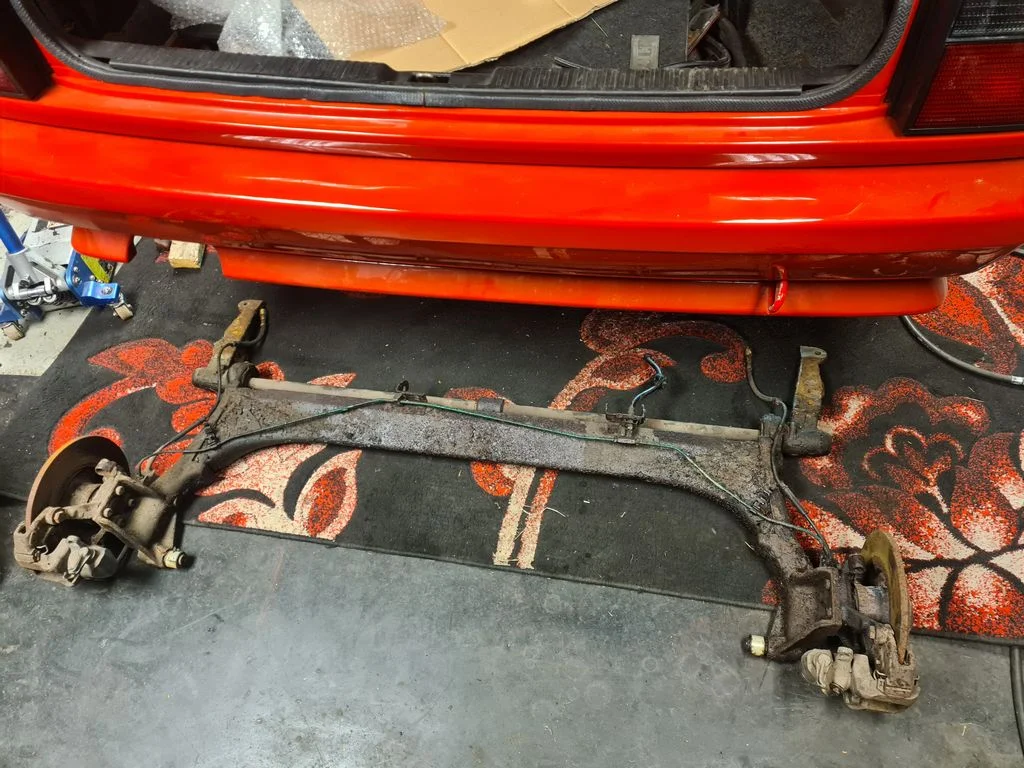
Once that was done I ran it for a few mins, topped up the coolant and then pondered the next task. I decided to clean up the fluid leak underneath on the rear beam. This escalated...quickly.
I then removed the mongified fuel tank straps, common issue on these. I'll make some new ones, I did this for my Quadra already in stainless.
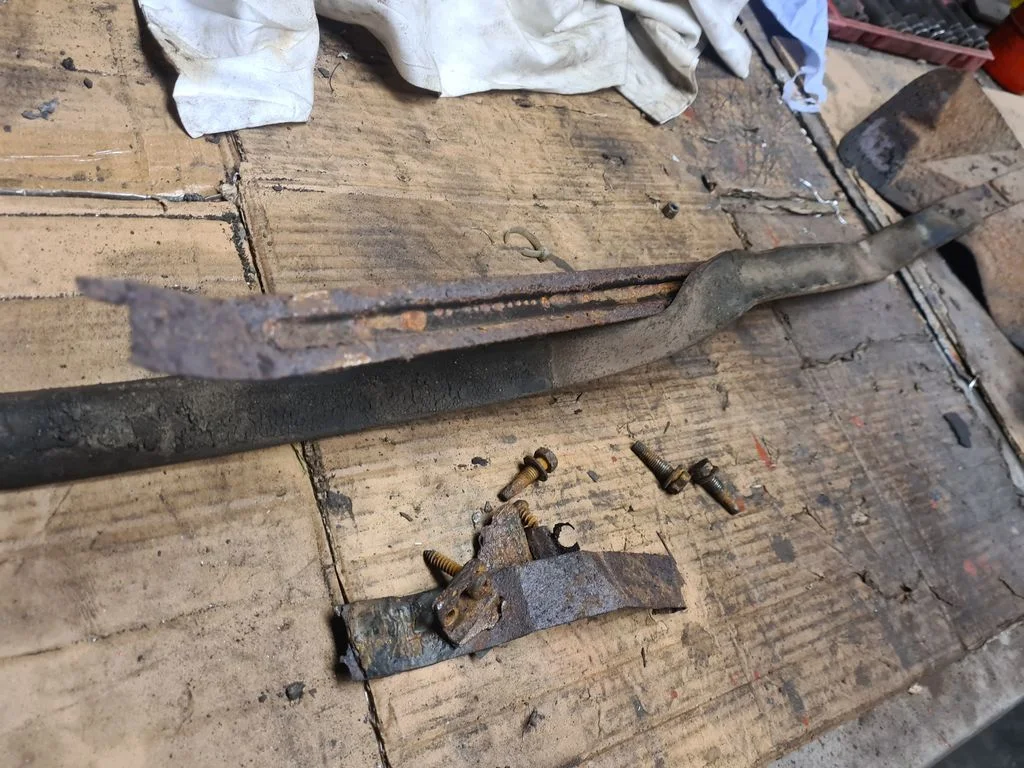
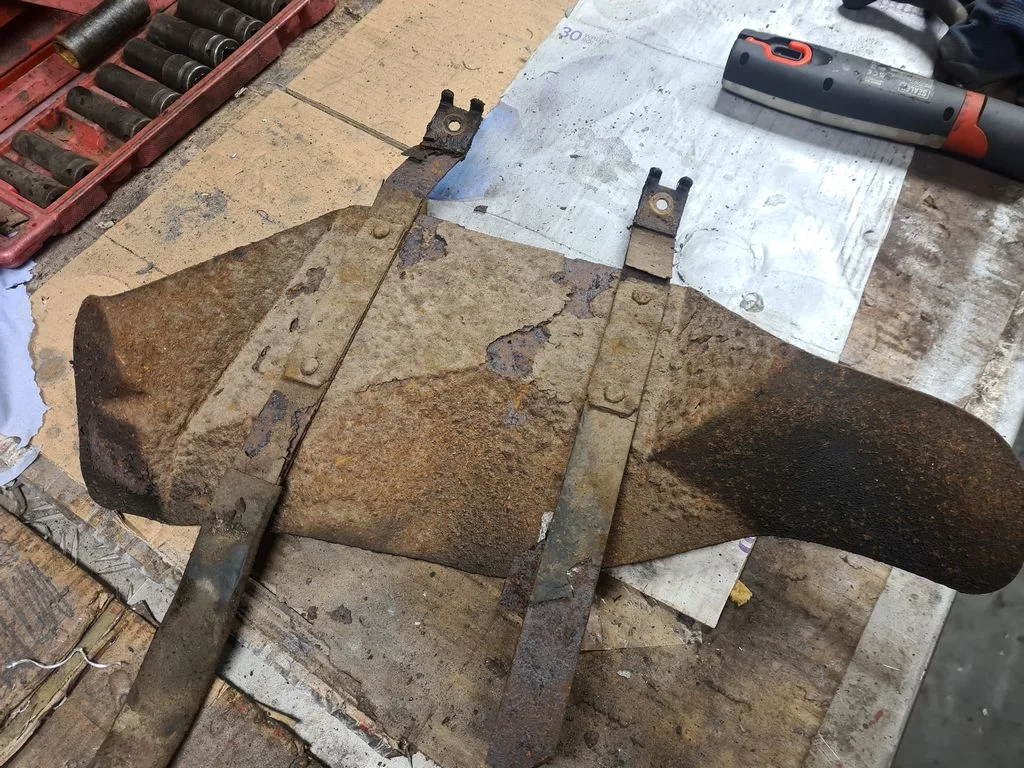
Mmmmm CRISPY
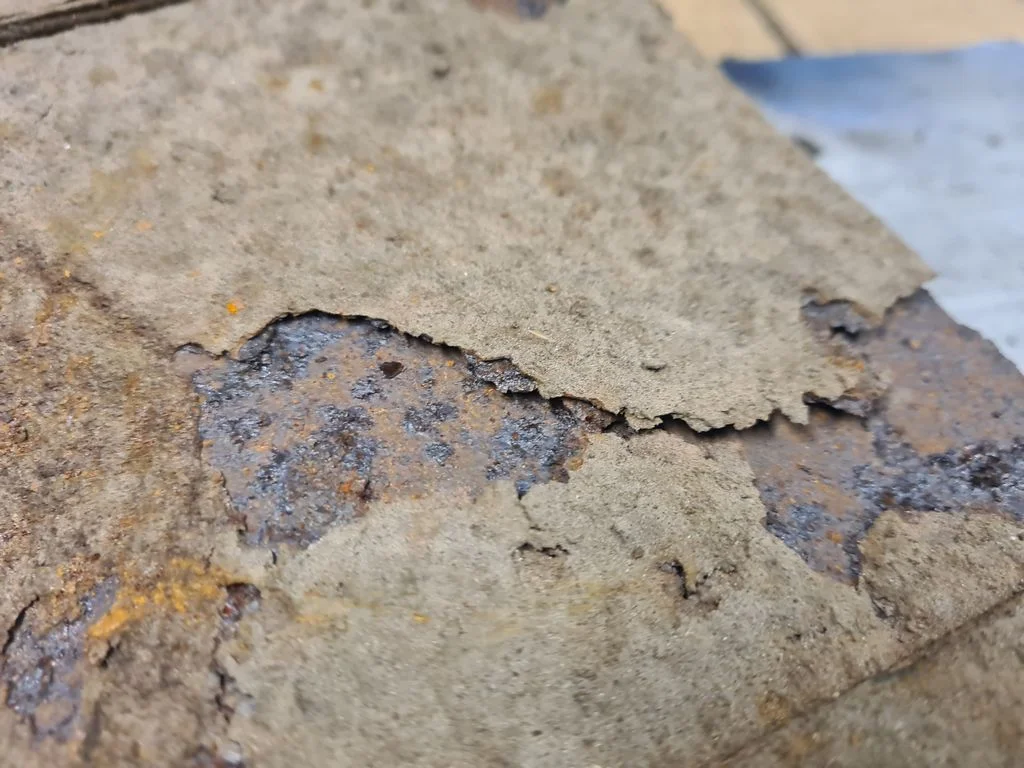
I have a new exhaust heatshield in decent nick to go on it so this one is headed for the bin.
Then I attacked the back axle, now the brake disc torx screws have always been a pain but with decent impact guns they usually razz out ok. Not this one though. The ugga dugga ripped the torx splines out - feck. Then I reverted to my backup, the old hammer and chisel method. That gets the bad ones out 99% of the time. But not this time.
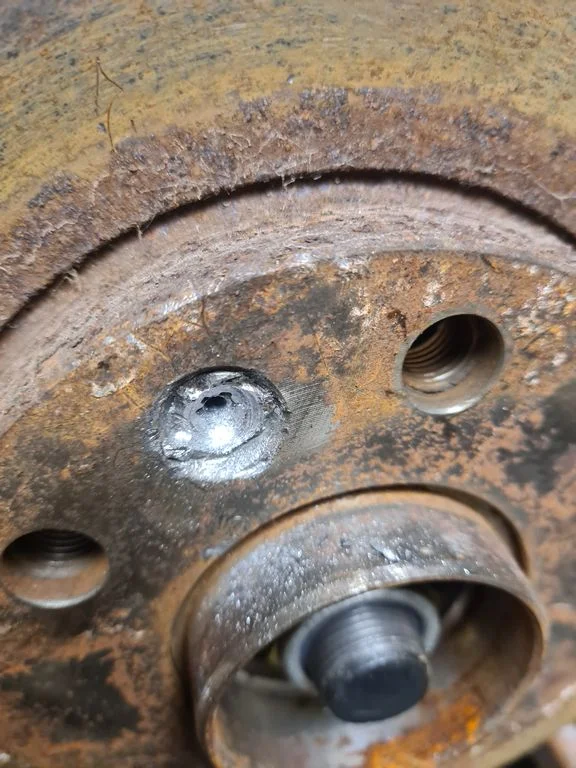
In the end I had to drill the top off, stupid thing. Then carried on disassembling.
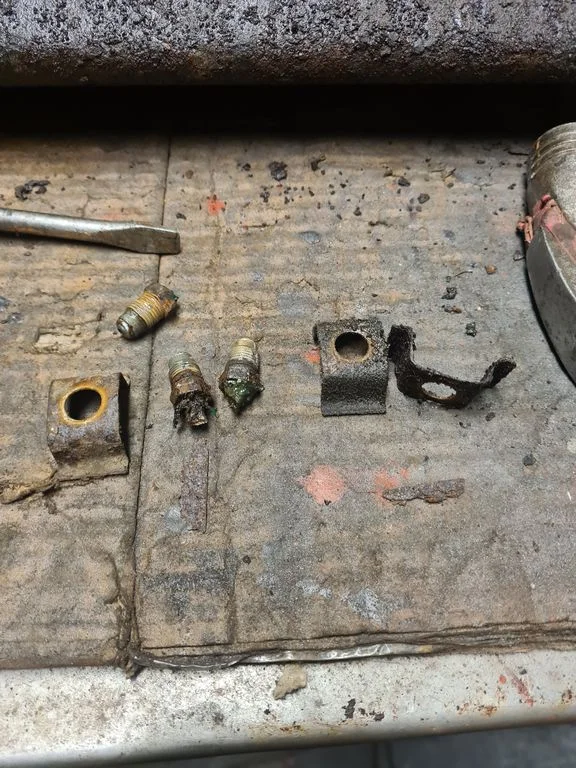
I found a temporary crossmember in roof storage so stuck that on and fitted the new rubber woggle things for the intercooler
Once that was done I ran it for a few mins, topped up the coolant and then pondered the next task. I decided to clean up the fluid leak underneath on the rear beam. This escalated...quickly.
I then removed the mongified fuel tank straps, common issue on these. I'll make some new ones, I did this for my Quadra already in stainless.
Mmmmm CRISPY
I have a new exhaust heatshield in decent nick to go on it so this one is headed for the bin.
Then I attacked the back axle, now the brake disc torx screws have always been a pain but with decent impact guns they usually razz out ok. Not this one though. The ugga dugga ripped the torx splines out - feck. Then I reverted to my backup, the old hammer and chisel method. That gets the bad ones out 99% of the time. But not this time.
In the end I had to drill the top off, stupid thing. Then carried on disassembling.
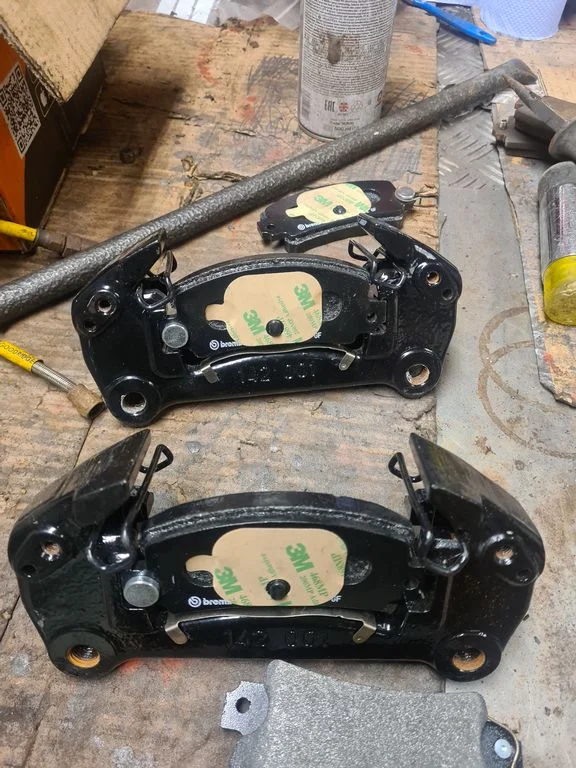
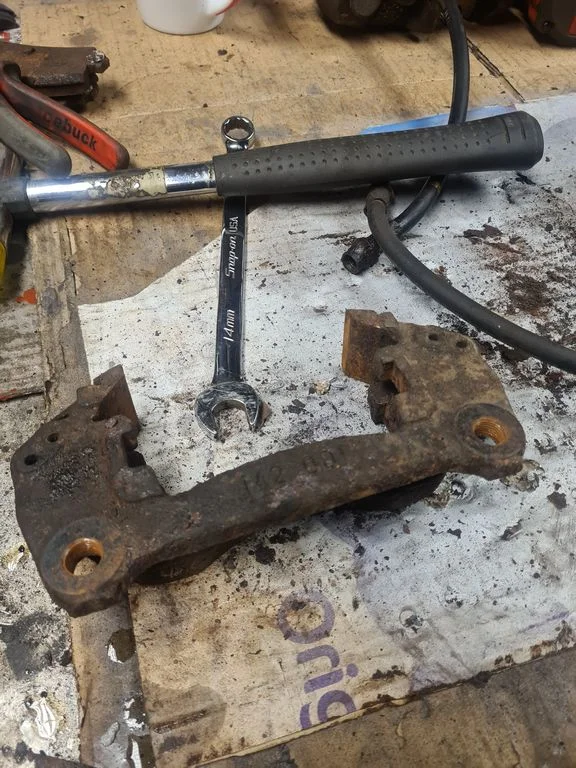
I dug the powdercoated caliper hangers out of the spares box, chucked the used ones in the spares bin just in case.
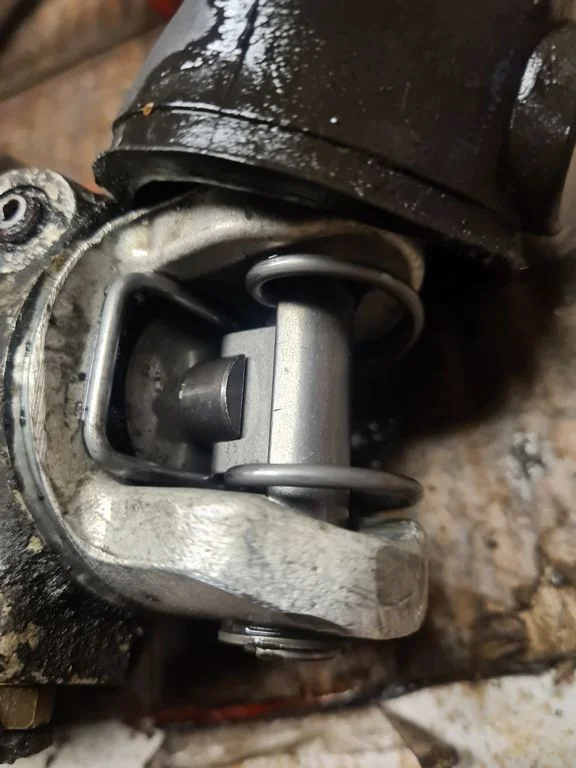
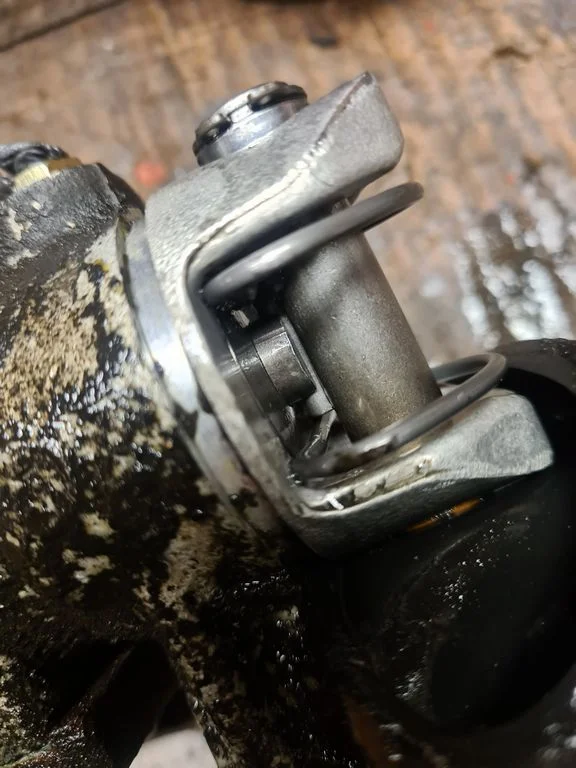
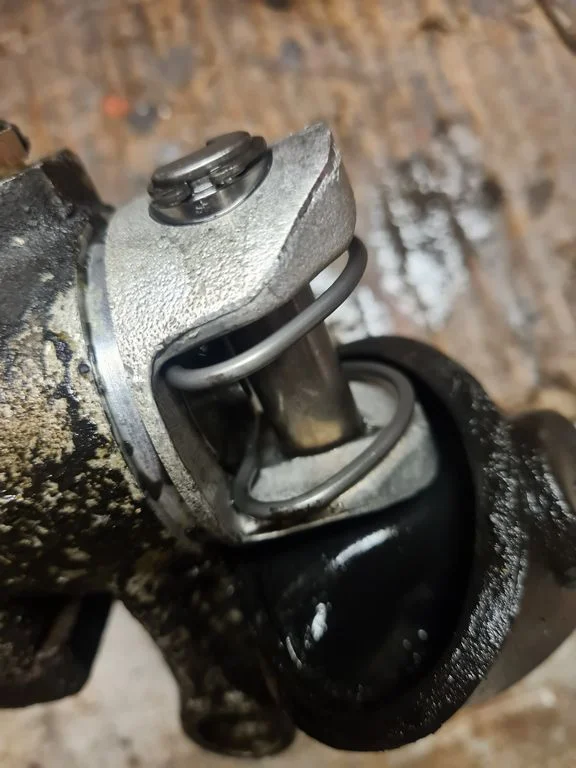
Then I decided to have a look at the calipers themselves, having bought a rebuild kit with new piston recently to see if it would fit. Some interesting workings around the handbrake mechanism.
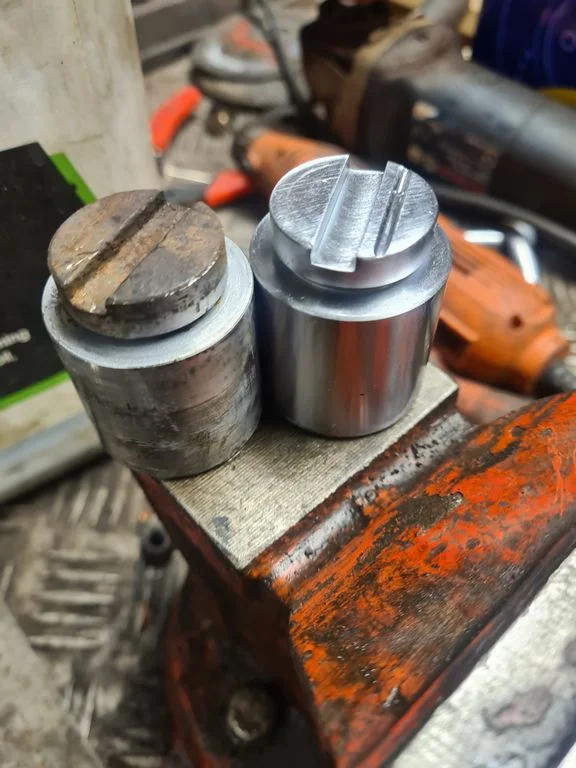
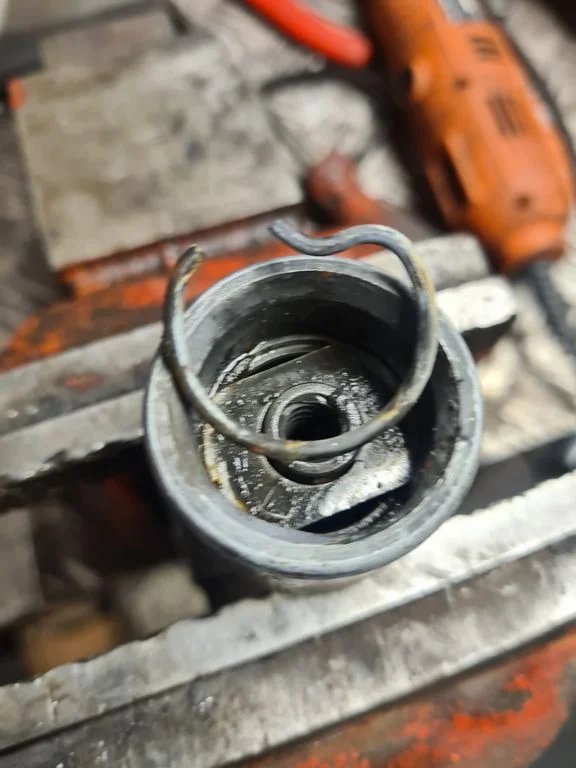
Inside the back of the piston
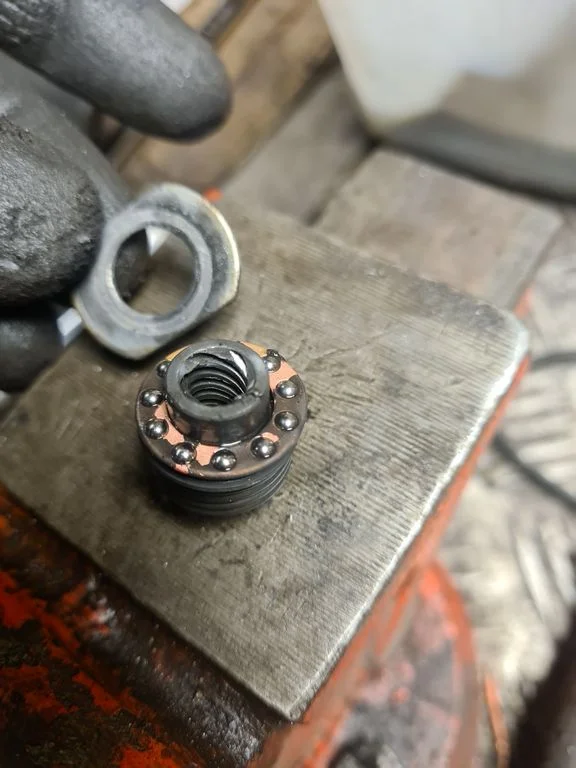
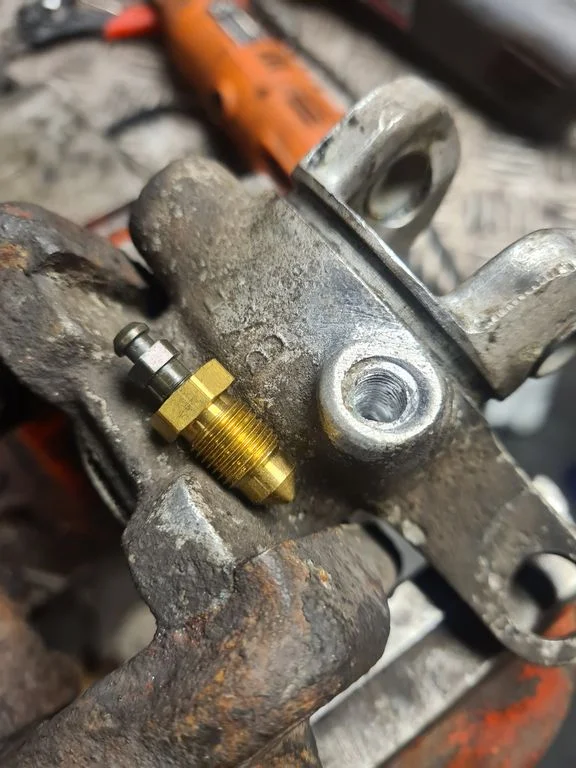
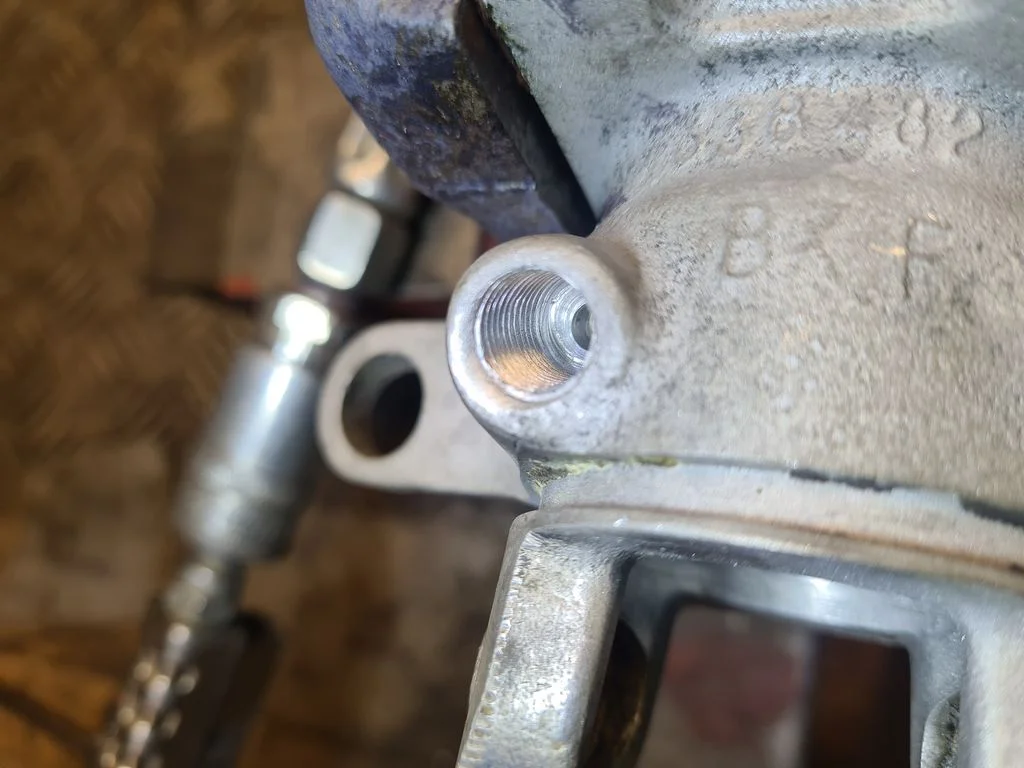
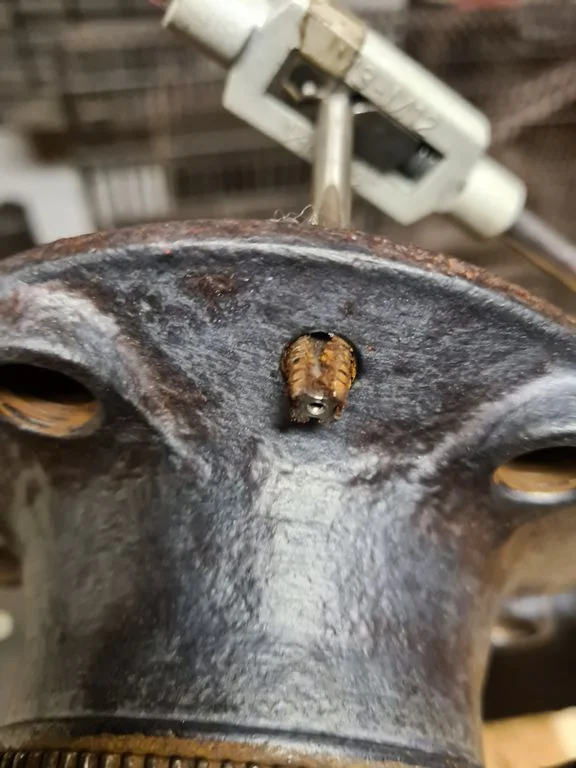
Of course, both calipers have broken bleed nipples so they need to be drilled and tapped out, I did one to M7x1.0 but i'm not happy with it, I have some M10x1.0 repair nipples to go back in so this is the first thing to do before I fit a rebuild kit in there. Didnt have the right tap though so ordered that.
Then I decided to have a look at the calipers themselves, having bought a rebuild kit with new piston recently to see if it would fit. Some interesting workings around the handbrake mechanism.
Inside the back of the piston
Of course, both calipers have broken bleed nipples so they need to be drilled and tapped out, I did one to M7x1.0 but i'm not happy with it, I have some M10x1.0 repair nipples to go back in so this is the first thing to do before I fit a rebuild kit in there. Didnt have the right tap though so ordered that.
Attachments
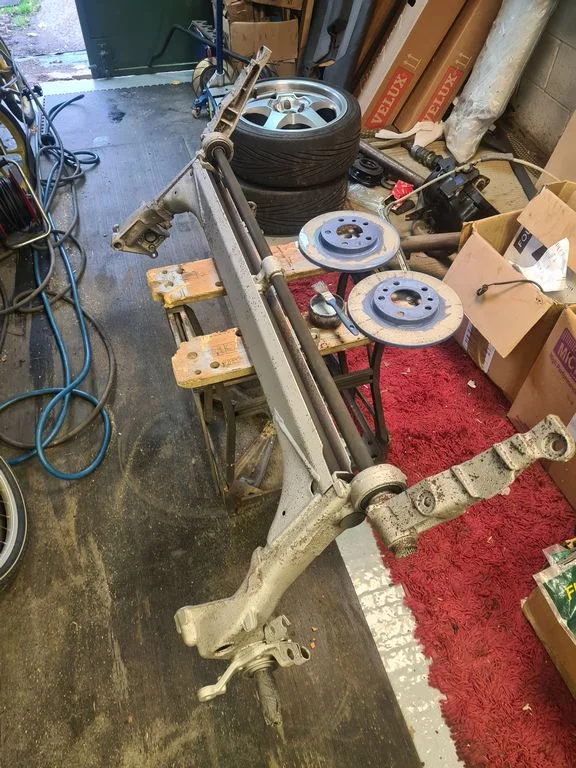
Got the axle blasted so all the shananigans revolve around that this update.
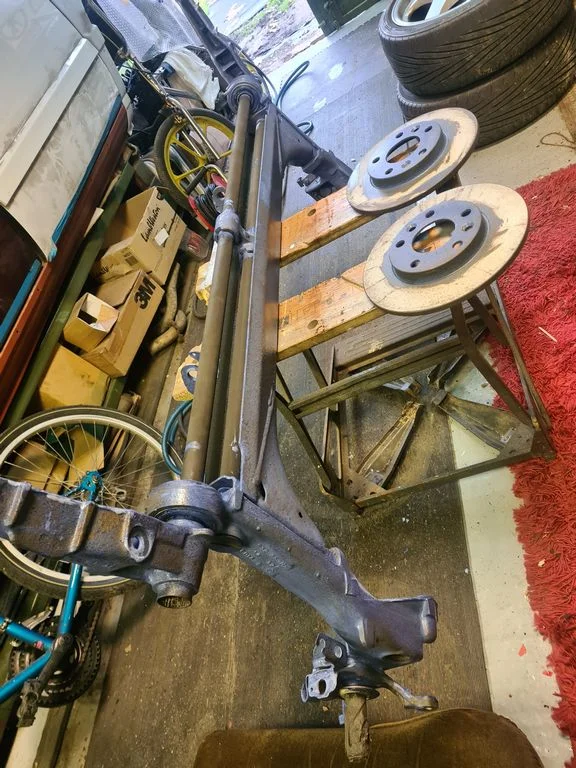
Treated
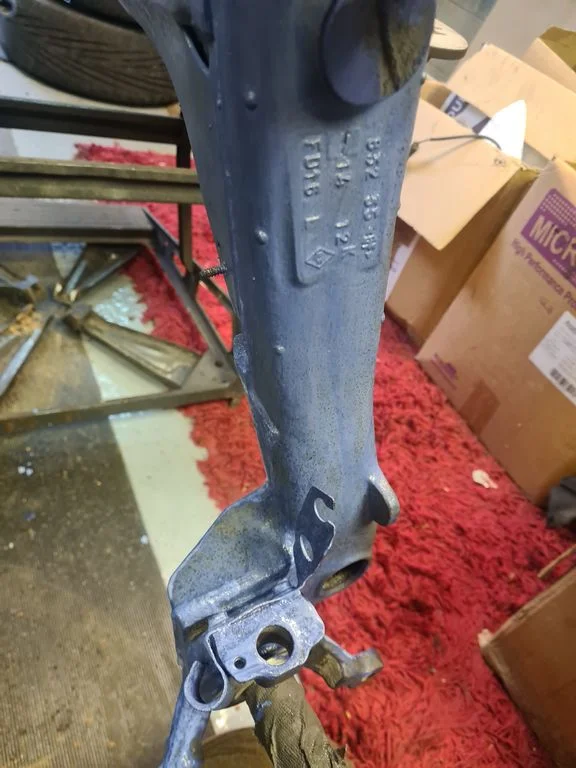
While this dried off I cleaned some other bits up, and attacked the calipers
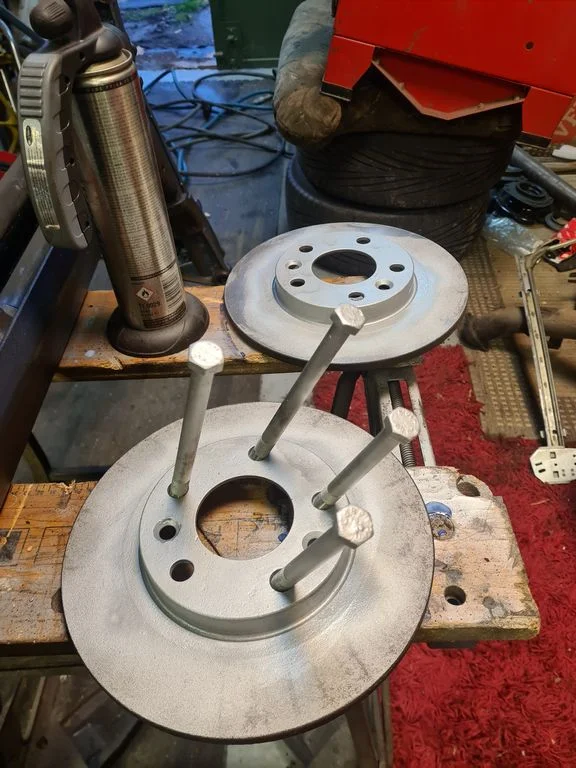
I also stuck the calipers in my little sand blast cabinet, before prepping for tapping by drilling the hole out to 9mm
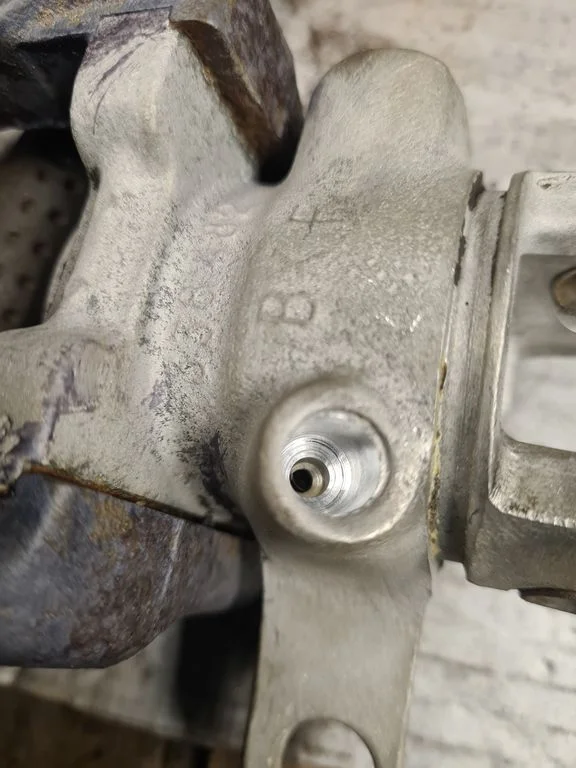
First tap
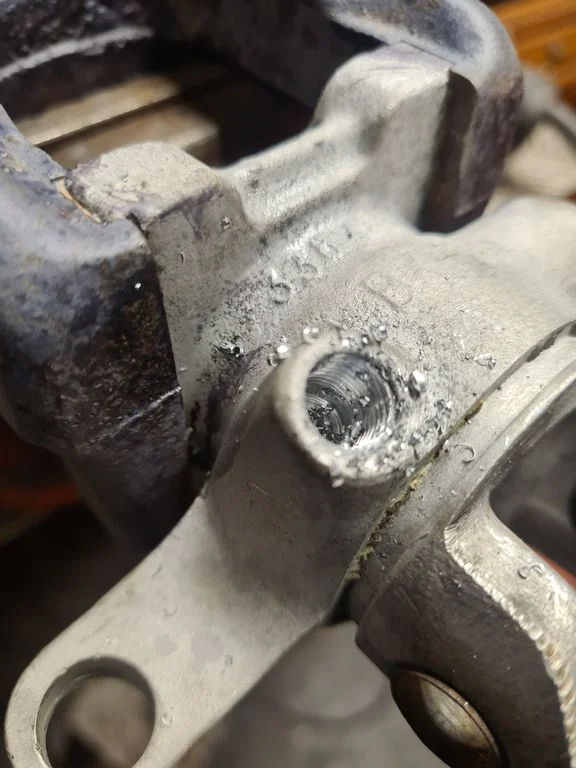
2nd and 3rd taps
And its in
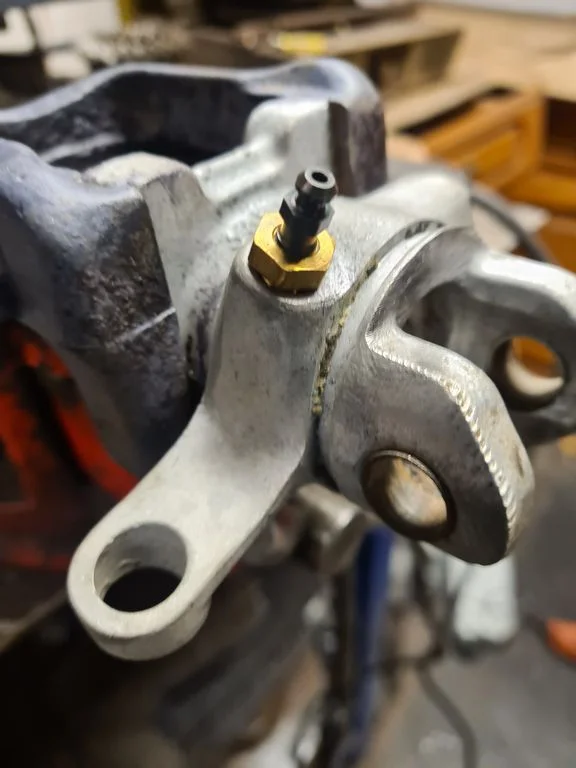
On to the second one
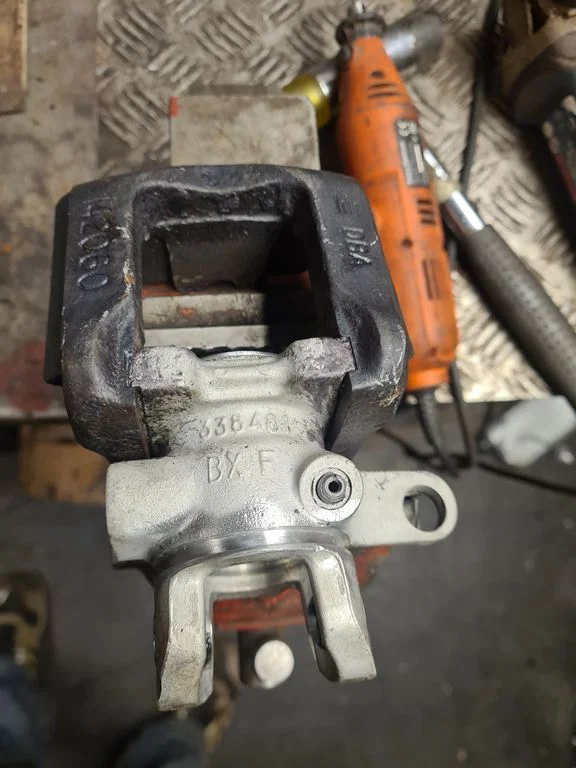
Same again
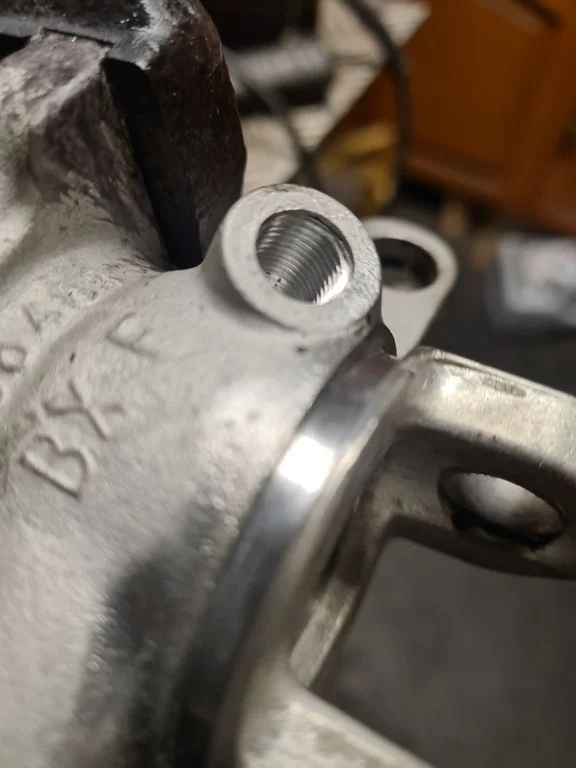
Treated
While this dried off I cleaned some other bits up, and attacked the calipers
I also stuck the calipers in my little sand blast cabinet, before prepping for tapping by drilling the hole out to 9mm
First tap
2nd and 3rd taps
And its in
On to the second one
Same again
Threw some paint around
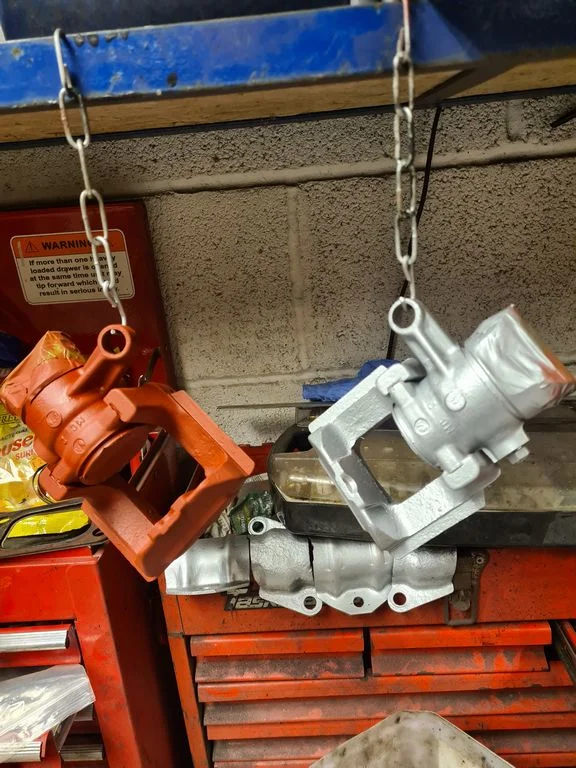
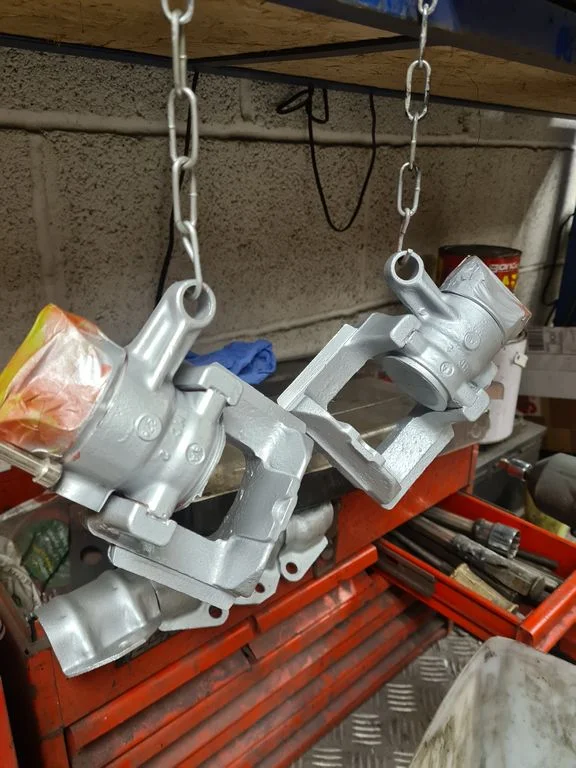
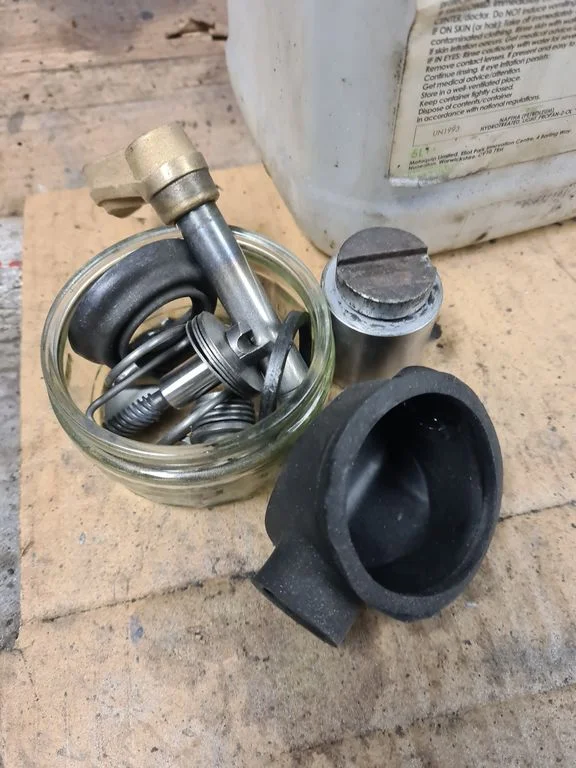
All the innards cleaned up
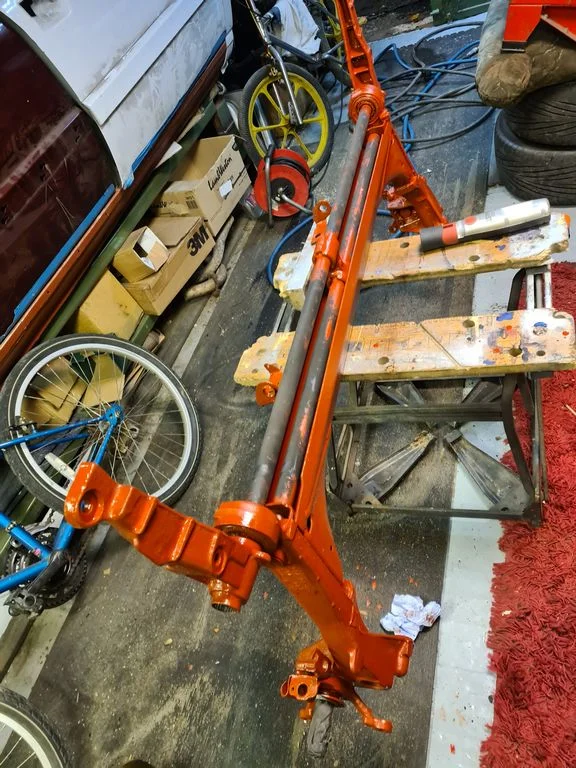
Paused this, went over the axle with bonda primer. Each coat takes AGES, its fiddly to paint.
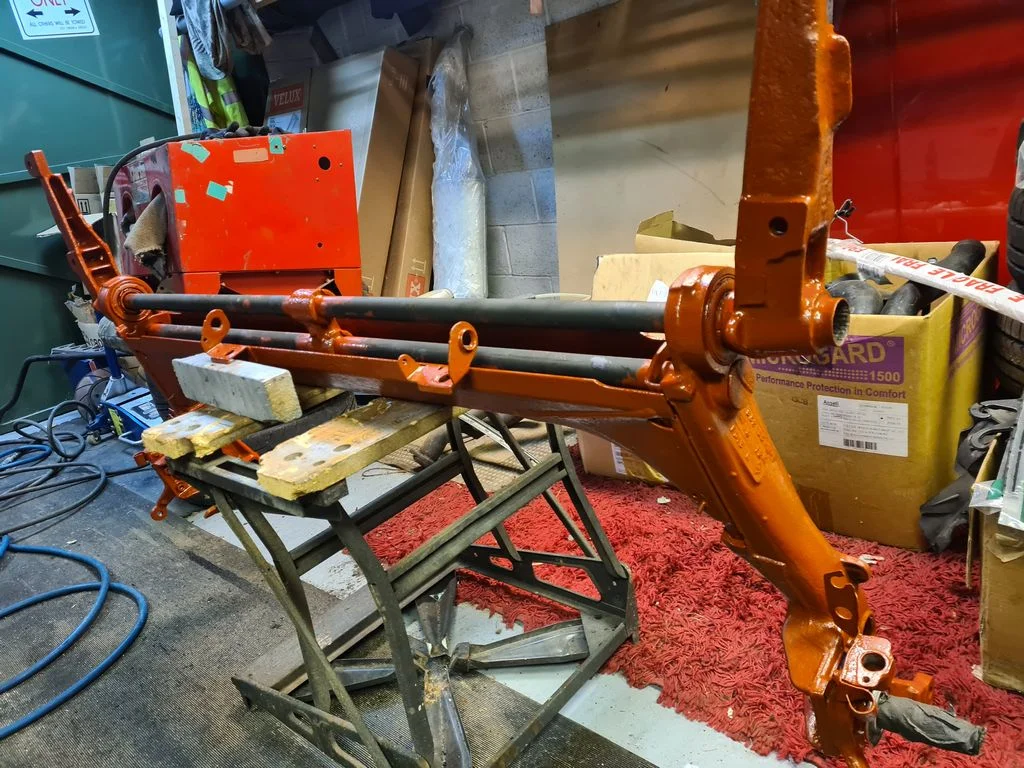
Back to the calipers
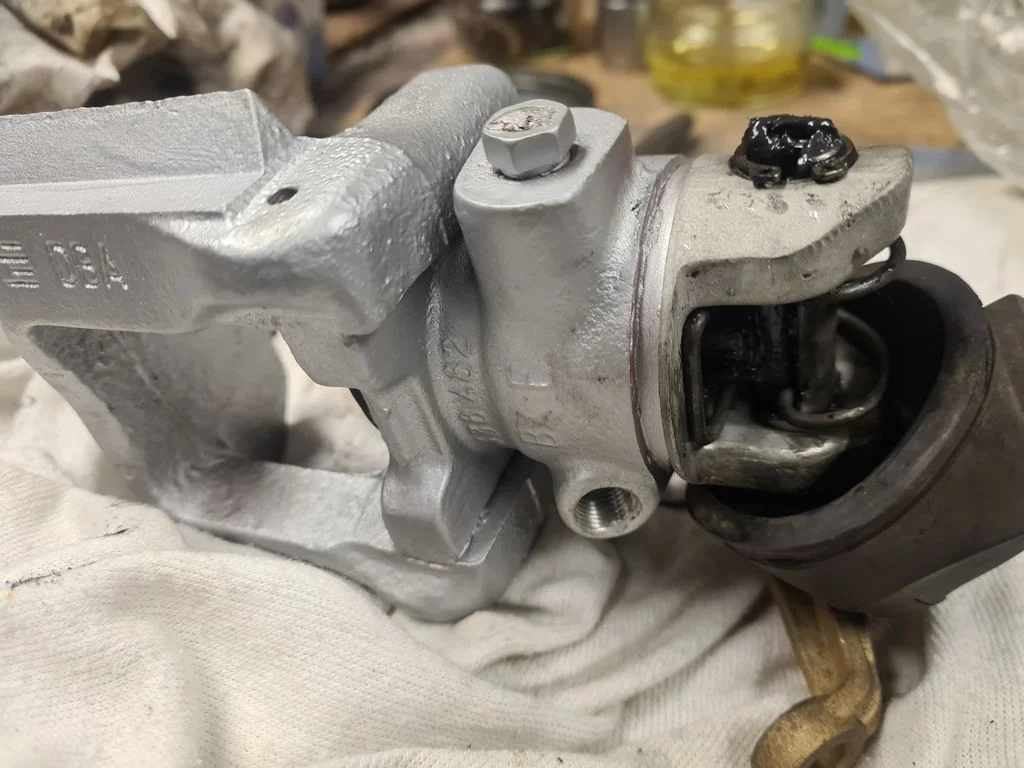
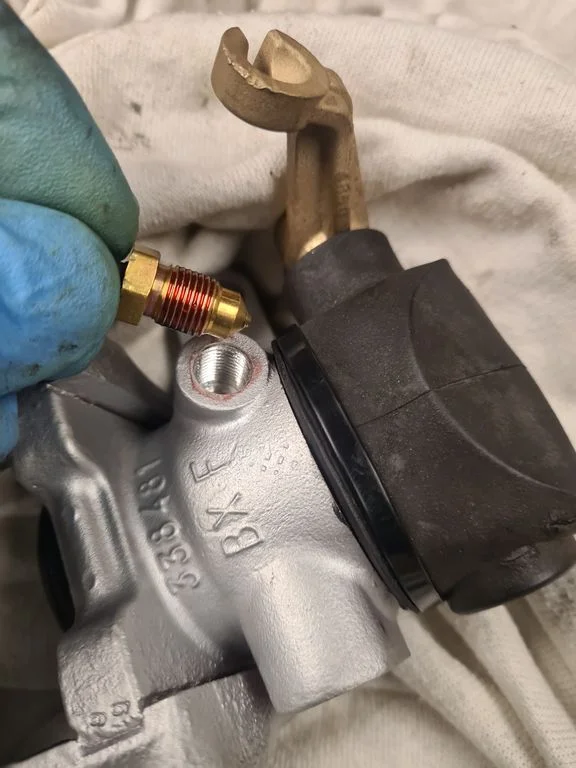
Threadlocked the bleed insert into place
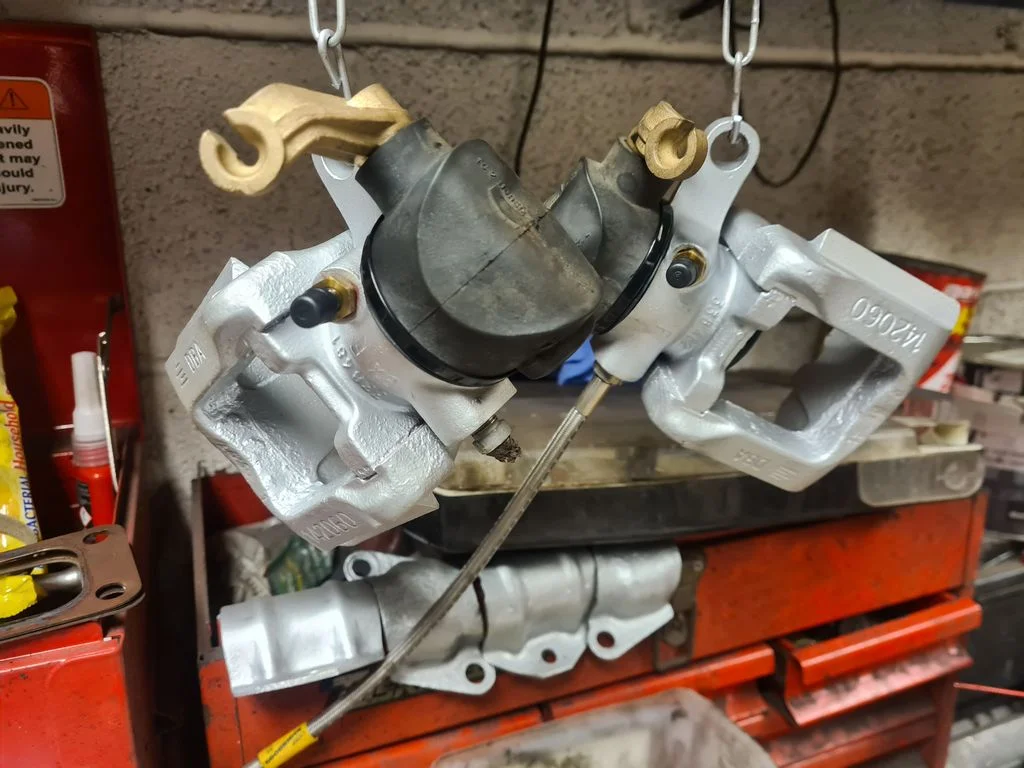
Pleased with these, new pistons and seals fitted, good to go back on now.
Then the axle got come hard wearing black, this is after the second coat
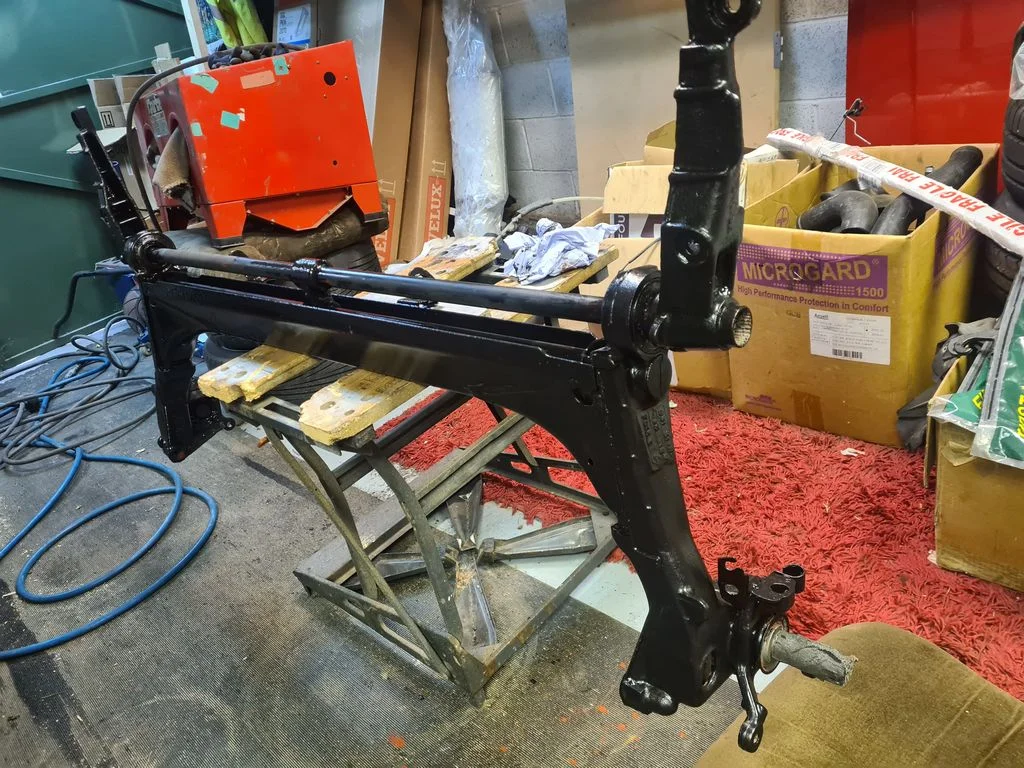
In the midst of all this I removed the handbrake cables, took the mechanism out for clean-up, removed a shock bolt with a spinning captive, and started making the new fuel tank straps.
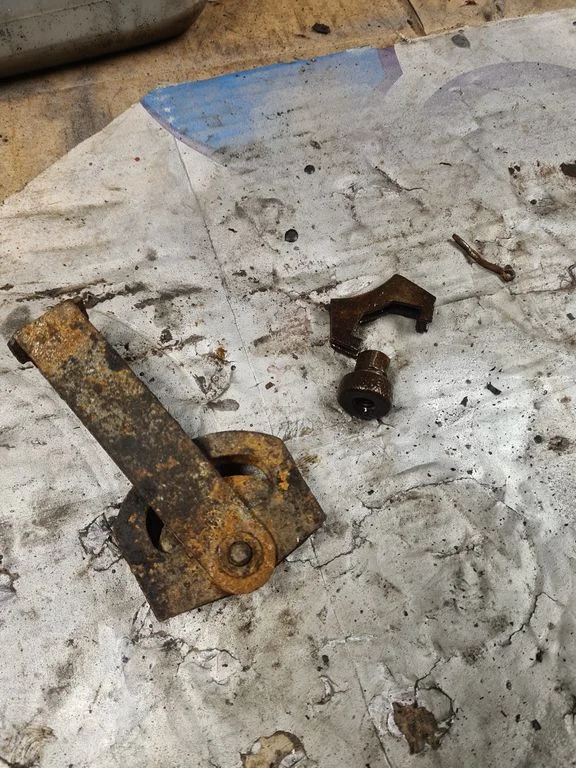
All the innards cleaned up
Paused this, went over the axle with bonda primer. Each coat takes AGES, its fiddly to paint.
Back to the calipers
Threadlocked the bleed insert into place
Pleased with these, new pistons and seals fitted, good to go back on now.
Then the axle got come hard wearing black, this is after the second coat
In the midst of all this I removed the handbrake cables, took the mechanism out for clean-up, removed a shock bolt with a spinning captive, and started making the new fuel tank straps.
Saturday morning I spend working on another 21 Turbo, but after it got dark I headed in the garage and got cracking. I kinda feel like i'm further into this than I wanted to be, but isn't that always the way?
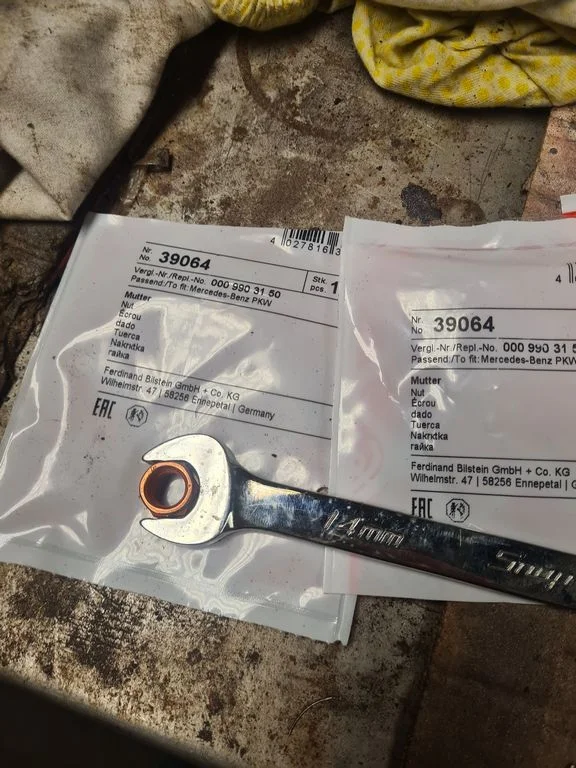
Note to self/everyone, these are 14mm hex, M10 heatproof nuts, makes refitting the turbo on the manifold loads easier. Normal M10's are 17mm hex.
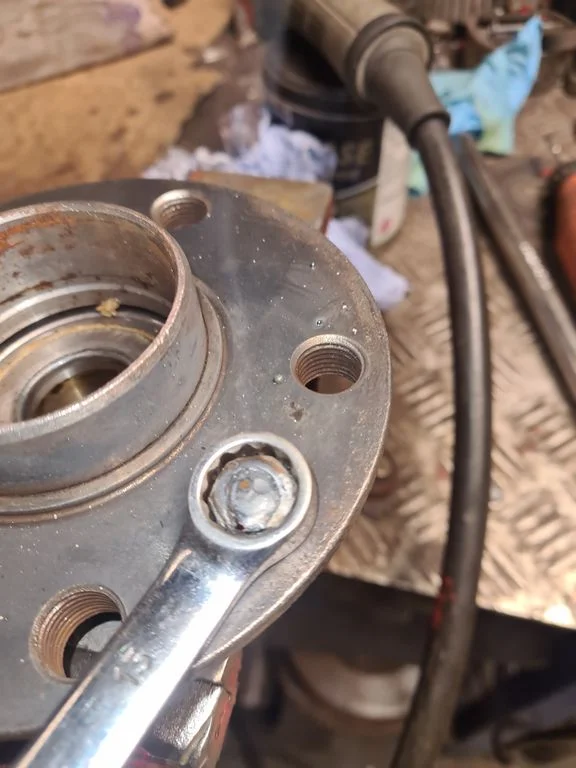
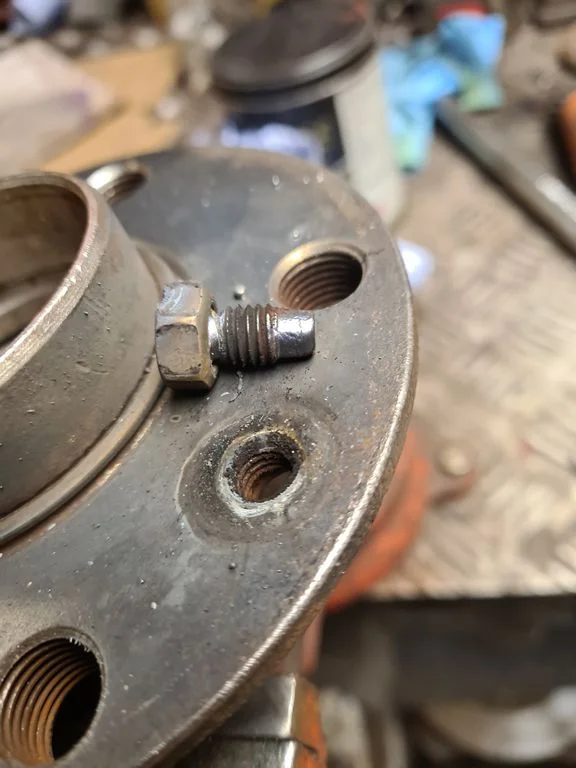
First off I got that blasted seized torx screw tail out of the wheel bearing assembly.
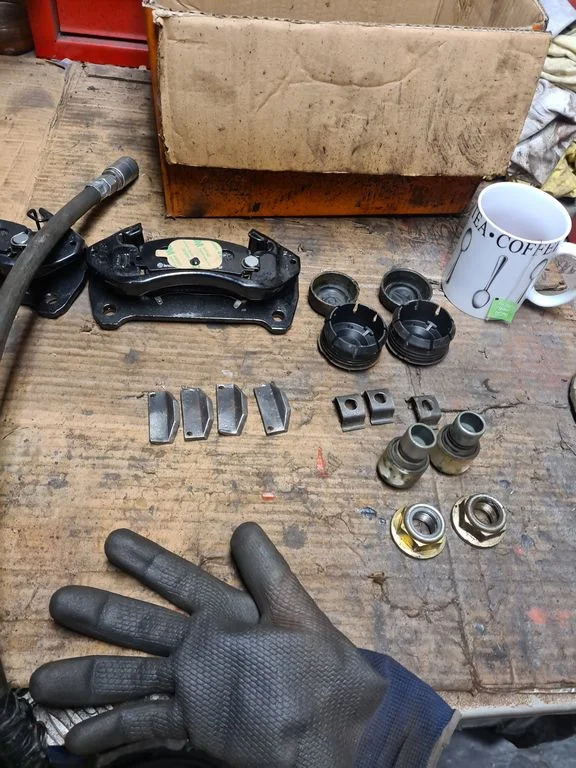
Then cleaned up some of the paraphenalea for the rear axle
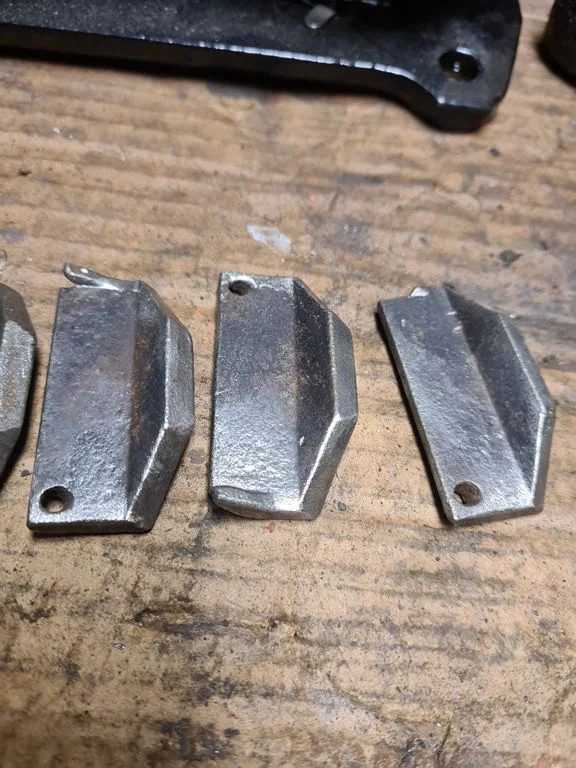
I noticed one of the caliper sliders was broken... far right, top corner, the ear is missing. This means it could fall out, which wouldnt be good.
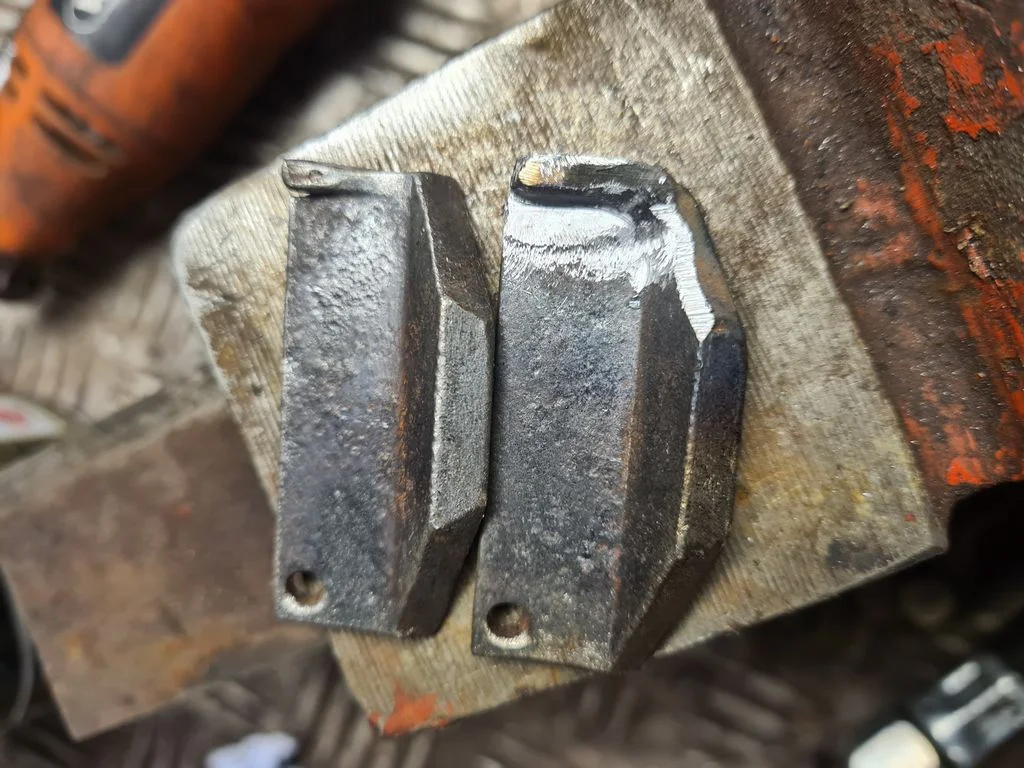
Long story short, I employed a welder, bench grinder and a die grinder to get here
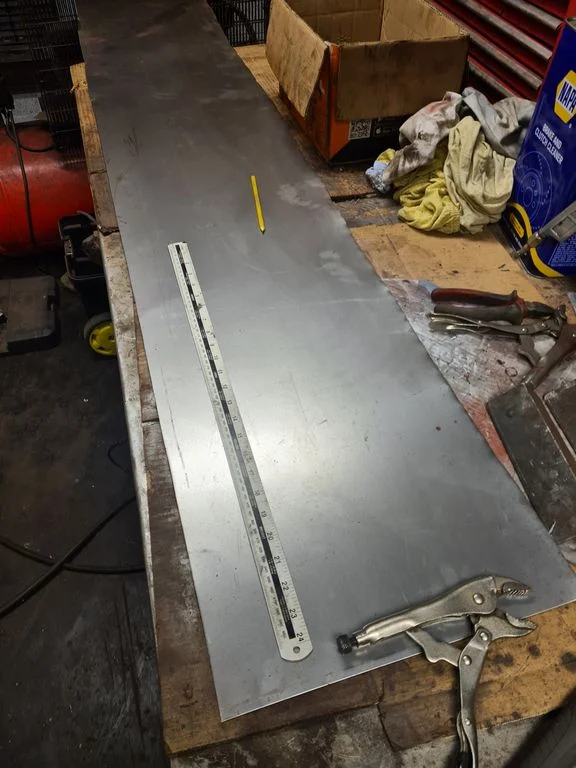
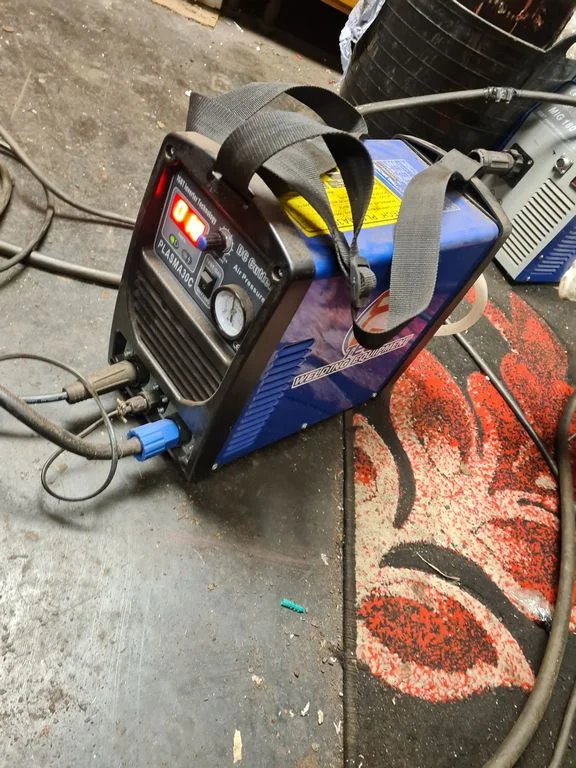
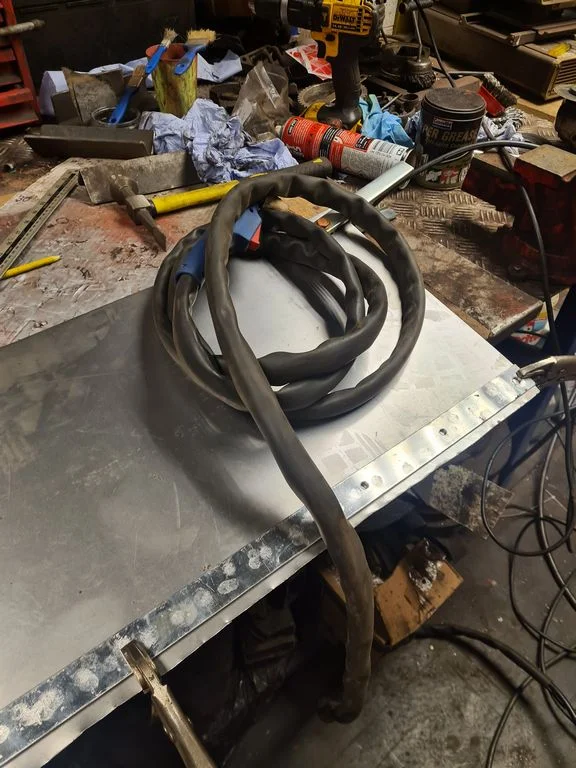
That done, before the axle goes on the fuel tank needs to be held on properly so I broke out the plasma cutter and cut some strips out 30mm wide. The car came with some ally strips in the right width but they're way too short. I used those as a straight edge for the plasma torch.
Note to self/everyone, these are 14mm hex, M10 heatproof nuts, makes refitting the turbo on the manifold loads easier. Normal M10's are 17mm hex.
First off I got that blasted seized torx screw tail out of the wheel bearing assembly.
Then cleaned up some of the paraphenalea for the rear axle
I noticed one of the caliper sliders was broken... far right, top corner, the ear is missing. This means it could fall out, which wouldnt be good.
Long story short, I employed a welder, bench grinder and a die grinder to get here
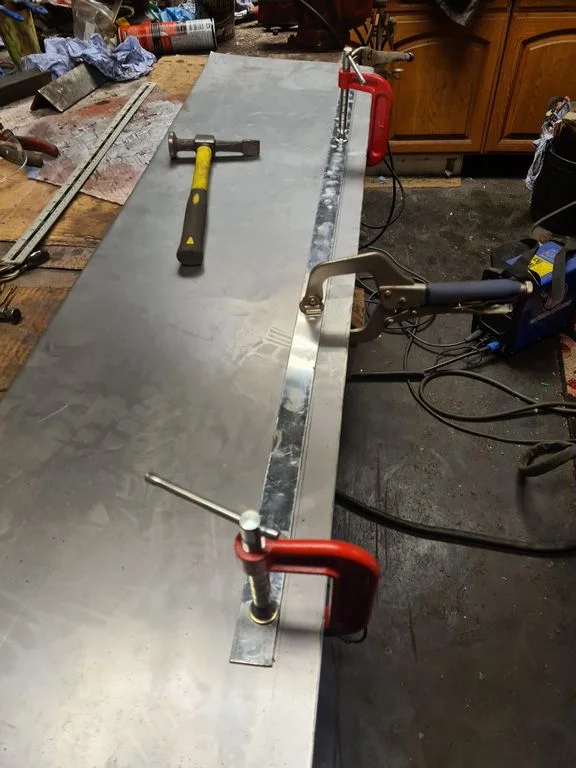
That done, before the axle goes on the fuel tank needs to be held on properly so I broke out the plasma cutter and cut some strips out 30mm wide. The car came with some ally strips in the right width but they're way too short. I used those as a straight edge for the plasma torch.
I cut 2 x 30mm strips then a thinner strip which I cut up and welded to the straps where the bottom of the tank sits. This will stop the middle of the tank sagging when its full of fuel.
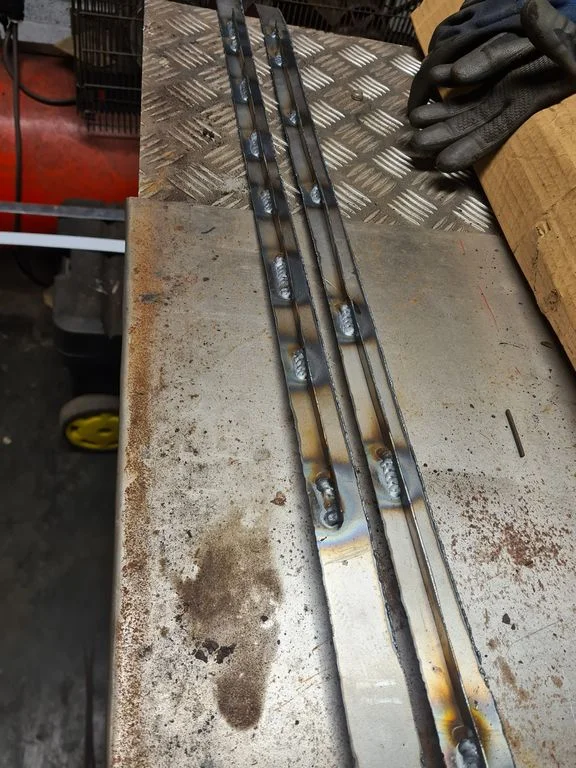
I got to here and it was 8:30 and freezing so I knocked it on the head.
I got to here and it was 8:30 and freezing so I knocked it on the head.
Sunday, again, I spent an hour on the other car bleeding brakes and so on, then carried on with the tank straps. This time, the drivers side ends. Doubled it over, plug welded it then angled the top.
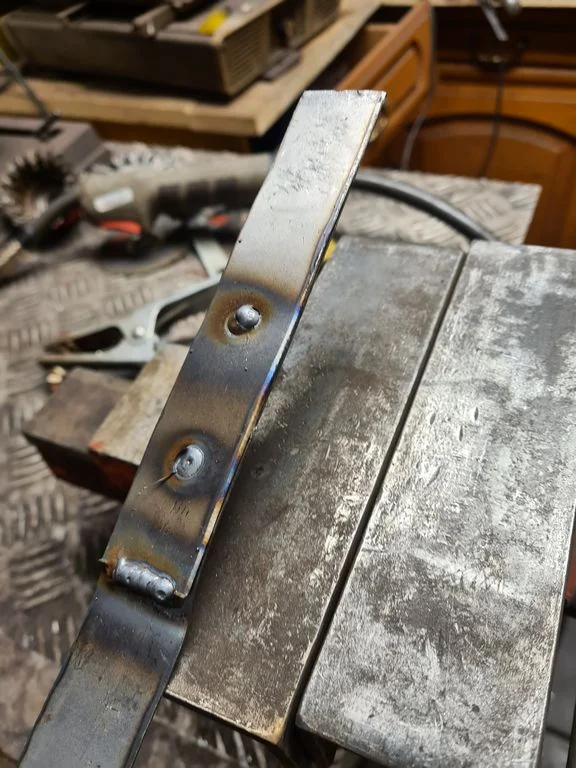
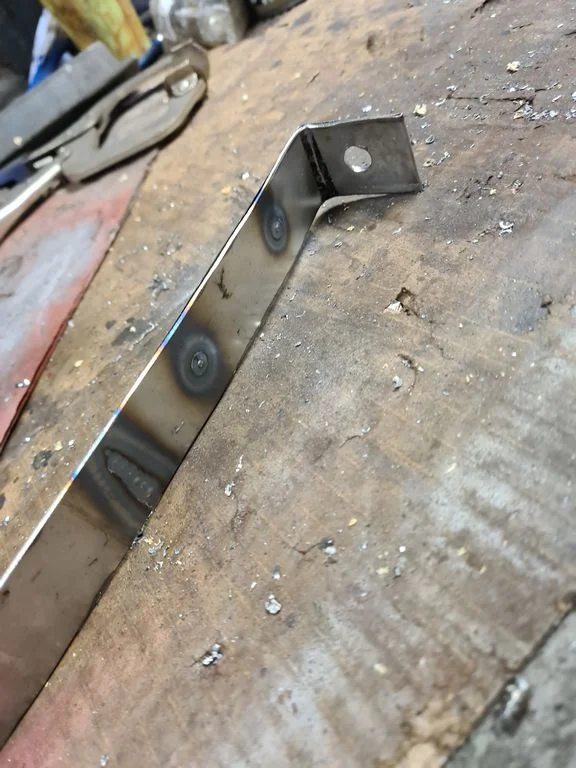
Did the same for both. You can see here how much stiffer the T-bit makes it along the bottom of the tank.
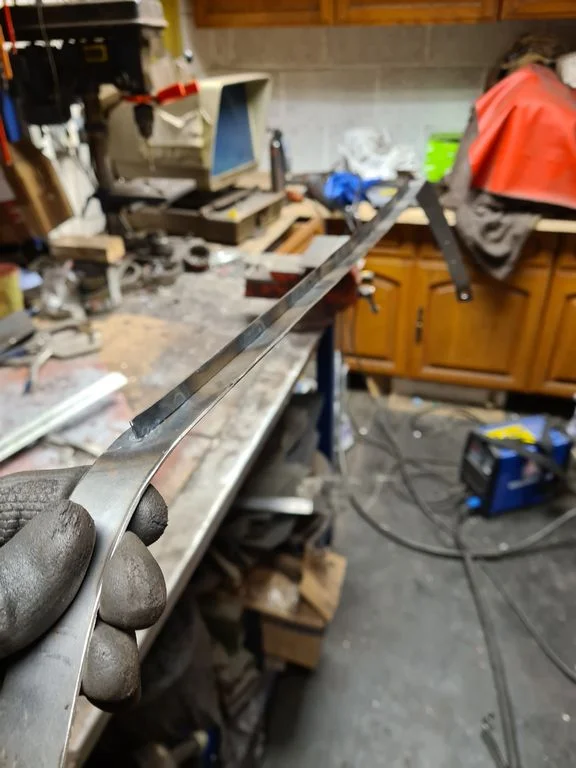
Fitted them up to make sure we were good before painting and fitting of the rubber shroud
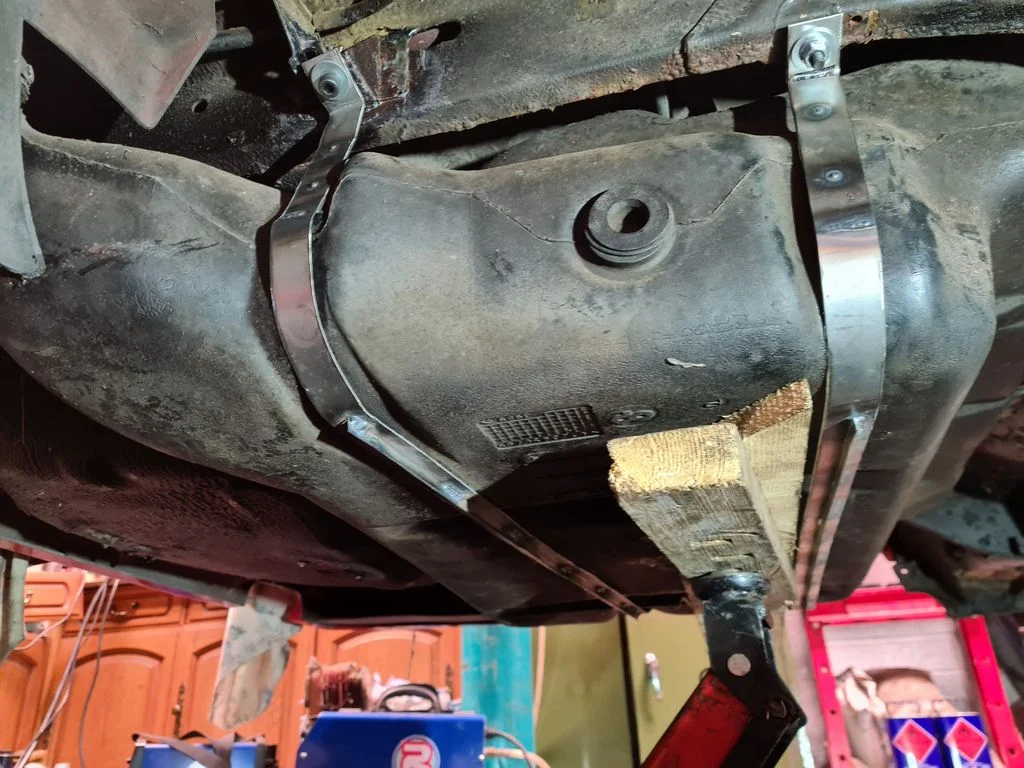
Then some primer, 2 coats yesterday, then some black to go on this week.
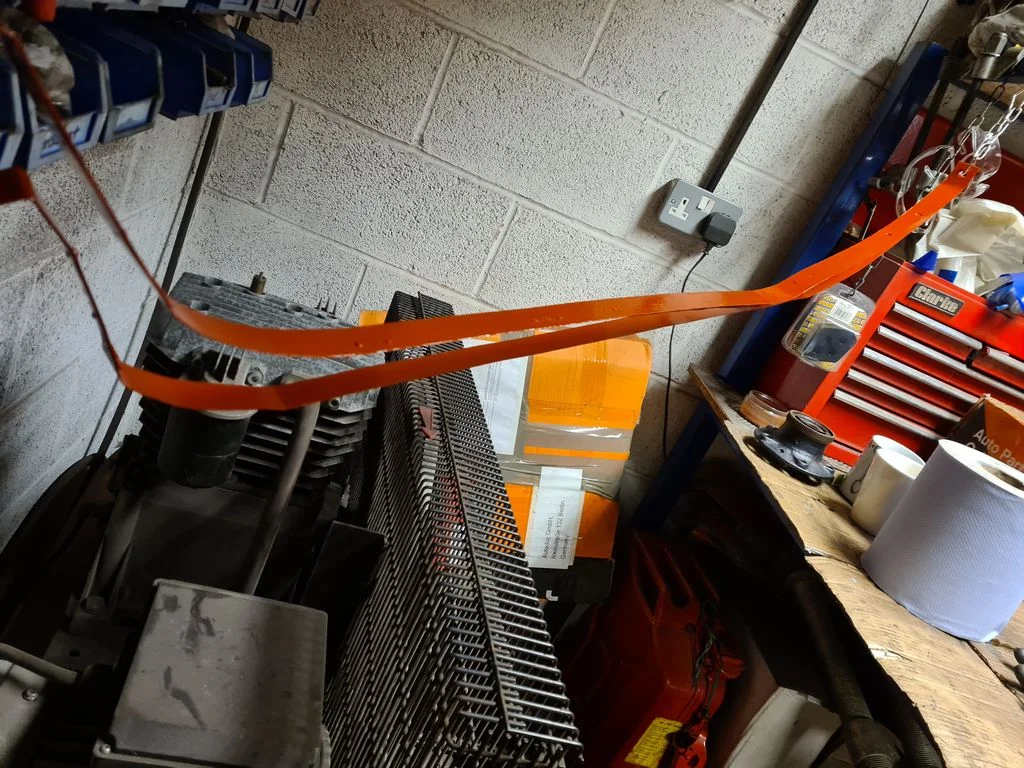
Did the same for both. You can see here how much stiffer the T-bit makes it along the bottom of the tank.
Fitted them up to make sure we were good before painting and fitting of the rubber shroud
Then some primer, 2 coats yesterday, then some black to go on this week.
While the straps were drying I started assembling the axle on the bench. Wheel bearings on...
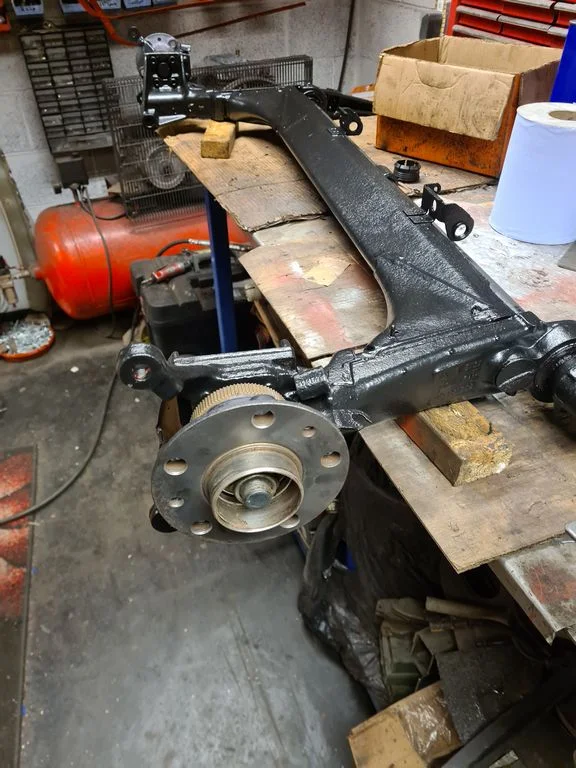
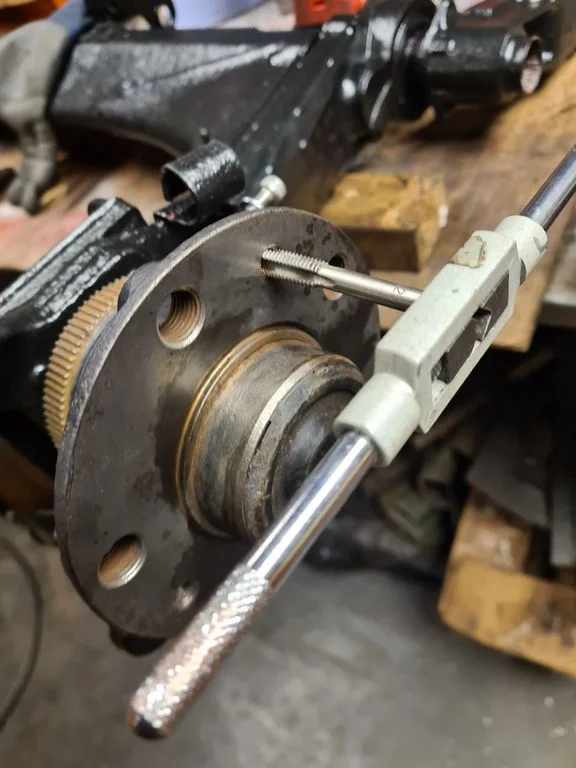
Tapped out the torx scew holes for the brake disc retainers, look at all the grot! Taps are great for cleaning out threads.
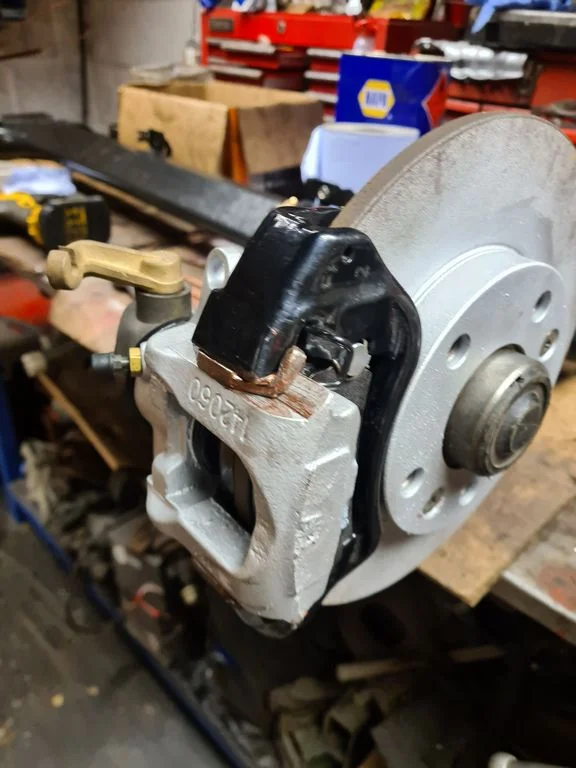
Caliper hangers and calipers.
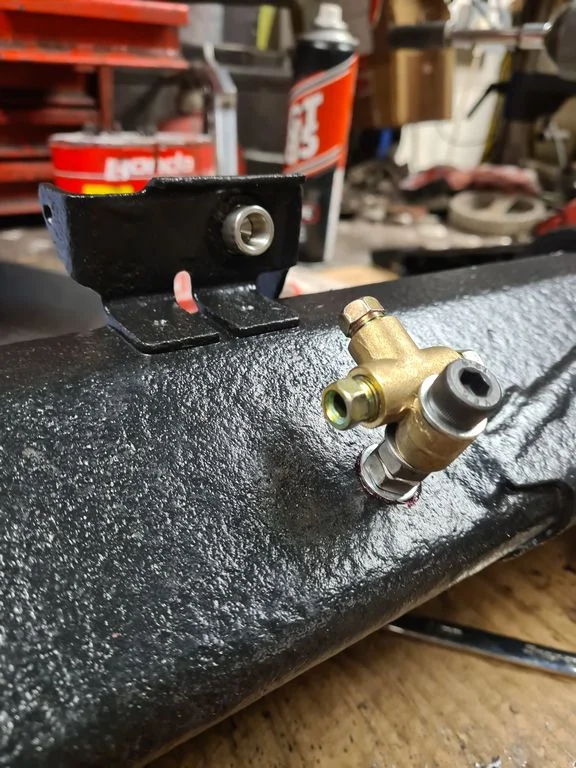
The infeed brake line goes to a funny T-Peice on the 21 beam, this was rotten so I replaced it with a standard issue one. I tapped a hole in the axle and bolted it on (in the end I sat it a little lower than this)
Braided brake flexis and then the solid brake lines
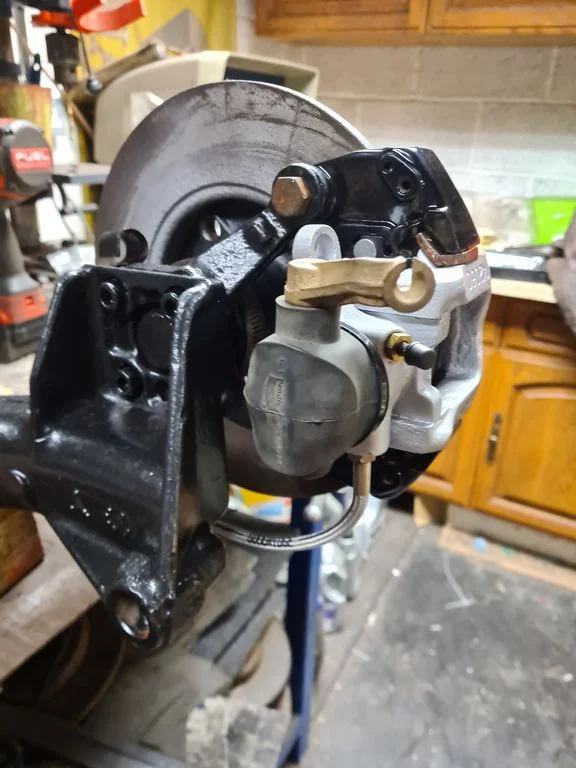
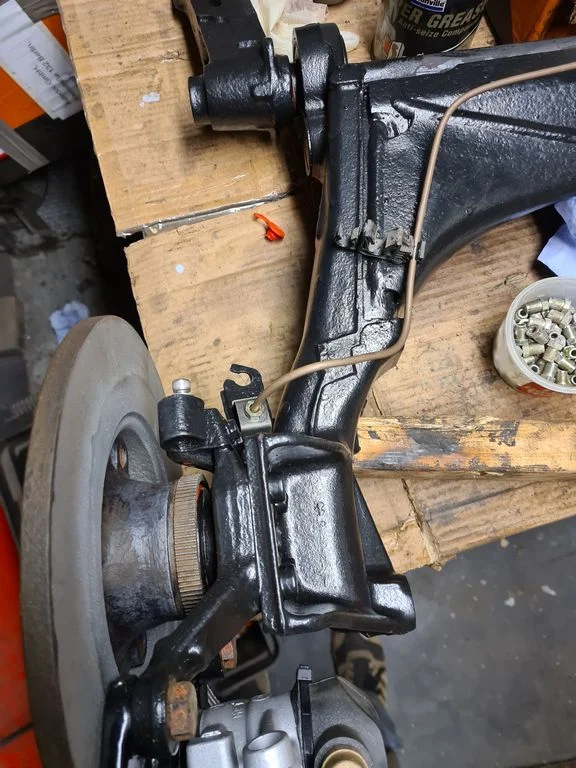
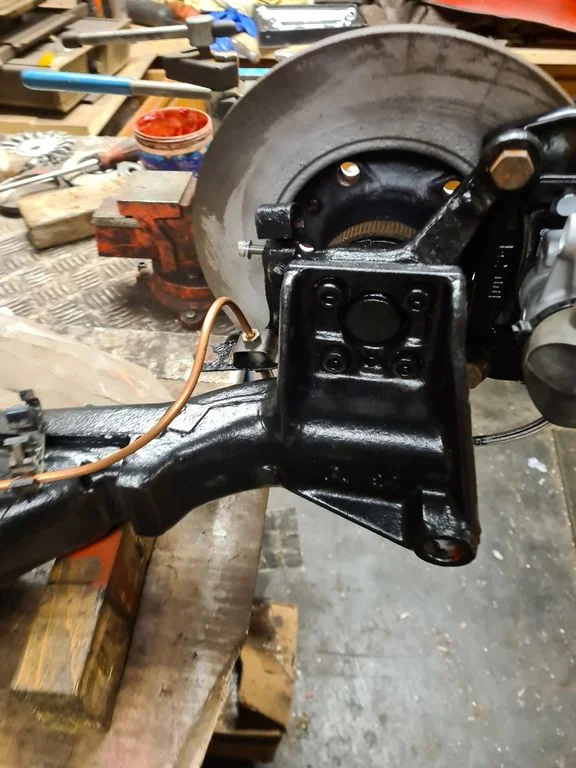
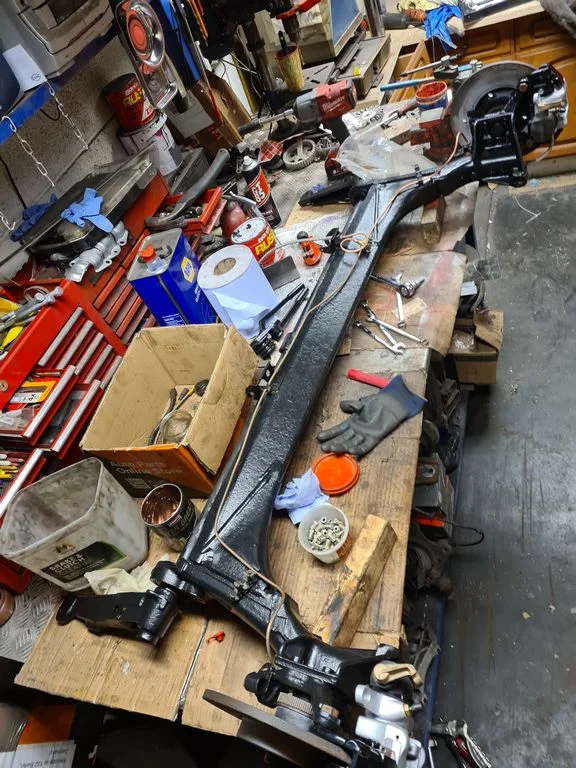
Looking much better!
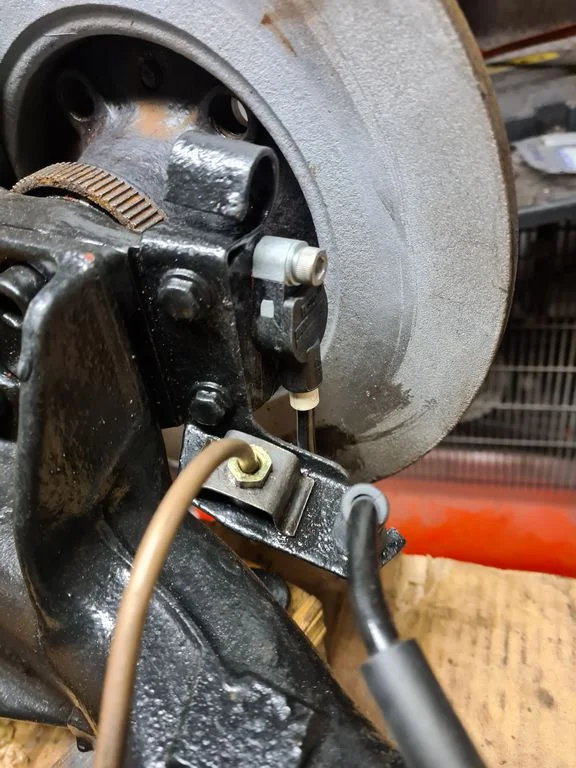
Finally I fitted the brand new ABS sensors, making sure the holes were clean and greased, hopefully these ones wont seize in!
That makes the axle ready to go back on the car, and then just the handbrake cables and mechanism left to hook up.
Tapped out the torx scew holes for the brake disc retainers, look at all the grot! Taps are great for cleaning out threads.
Caliper hangers and calipers.
The infeed brake line goes to a funny T-Peice on the 21 beam, this was rotten so I replaced it with a standard issue one. I tapped a hole in the axle and bolted it on (in the end I sat it a little lower than this)
Braided brake flexis and then the solid brake lines
Looking much better!
Finally I fitted the brand new ABS sensors, making sure the holes were clean and greased, hopefully these ones wont seize in!
That makes the axle ready to go back on the car, and then just the handbrake cables and mechanism left to hook up.
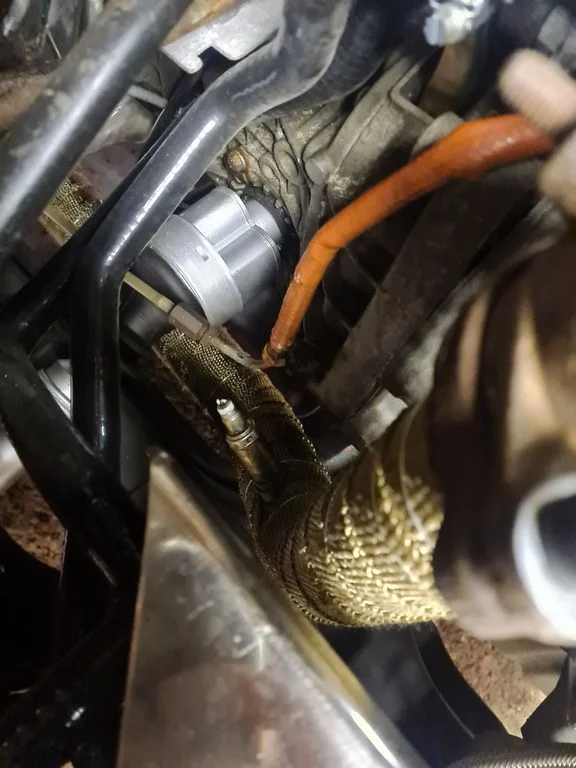
I found some left over heat wrap so I wrapped the downpipe
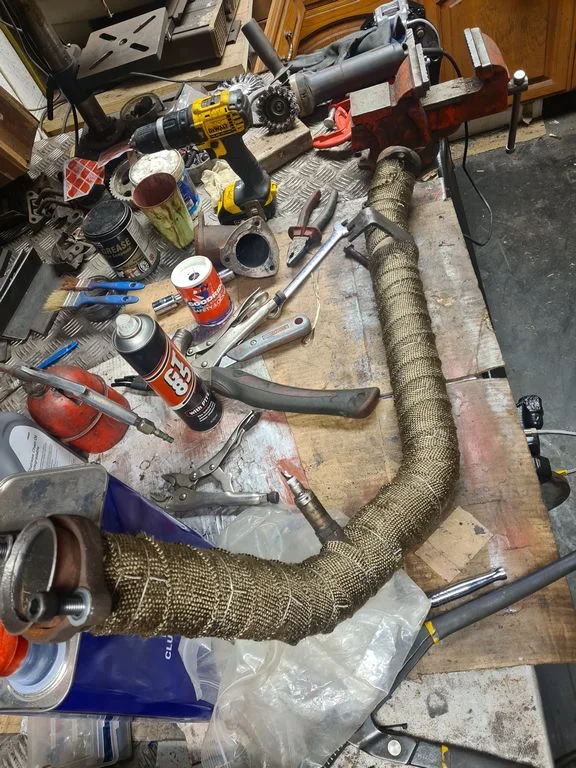
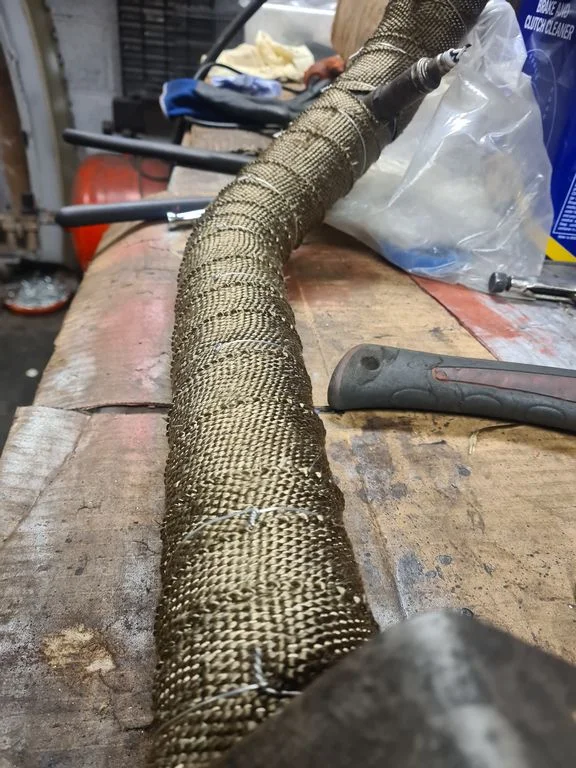
Fitted in loosely ready for the midsection.
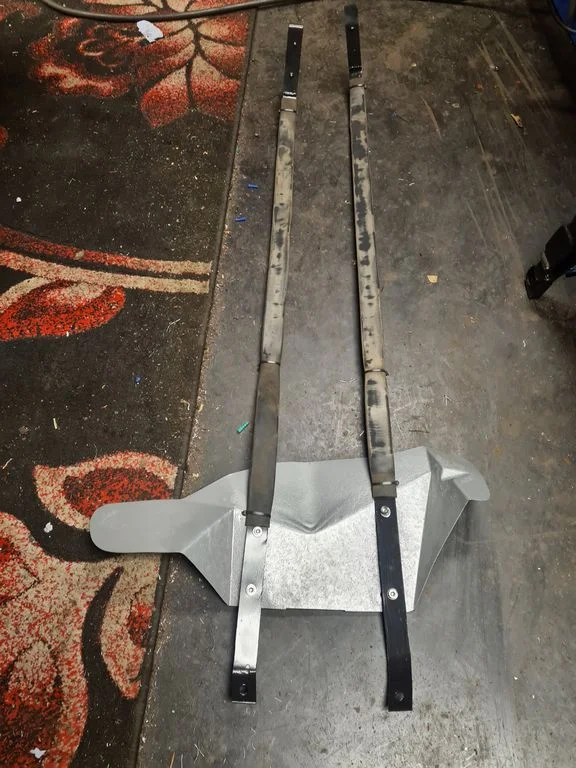
Tank straps done, rubber sheath fitted and on the car
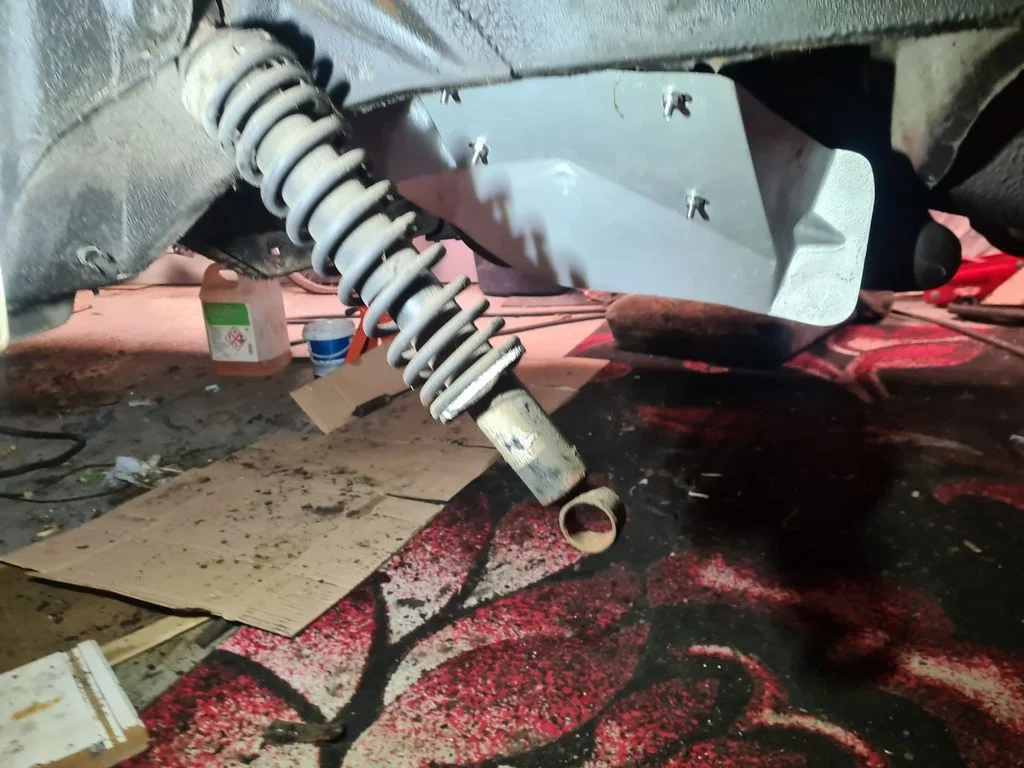
Axle positioned ready to roll under
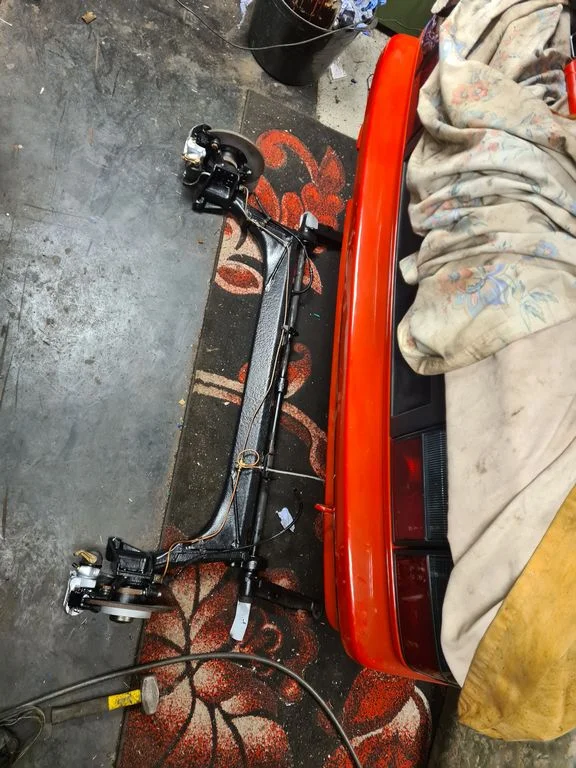
On she goes
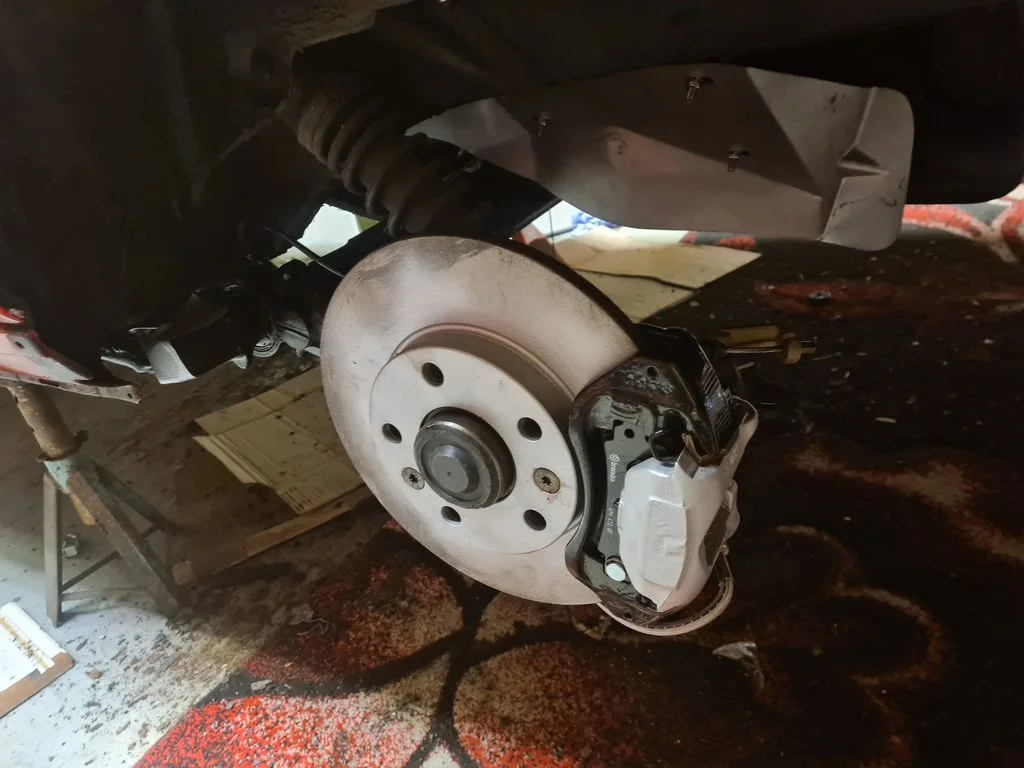
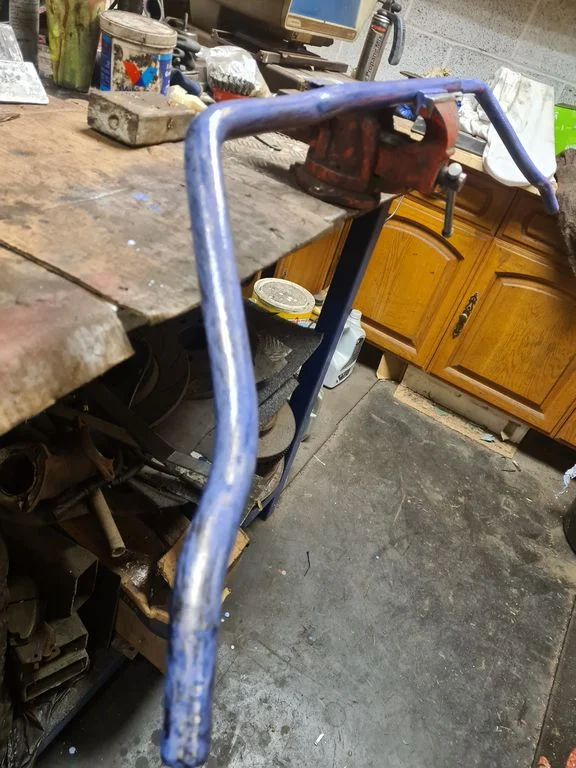
Brake pipe connected and handbrake cabled also fitted up with the refurbed pivot. Then I cleaned up the front anti-roll bar and treated it.
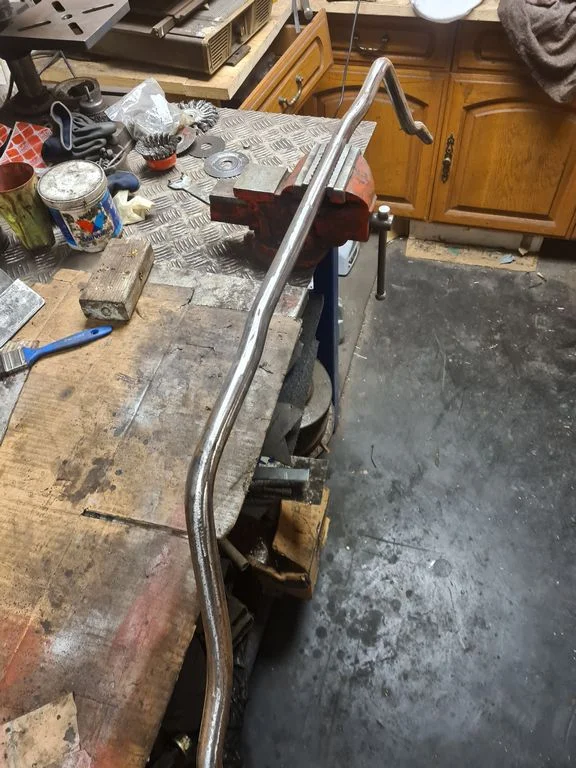
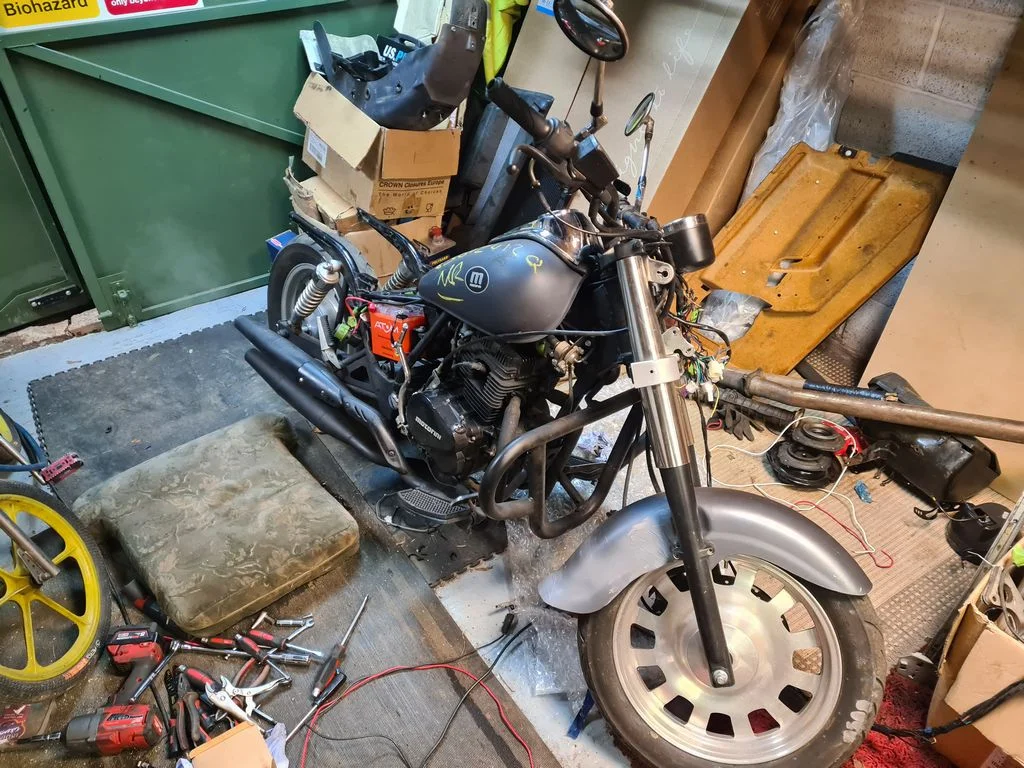
Thats your lot this weekend, as I also changed out the back end of a MK4 clio I bought for her indoors, & started messing with my lastest basket case/auction buy... don't ask me why. I dont know. I dont even have a CBT.
Fitted in loosely ready for the midsection.
Tank straps done, rubber sheath fitted and on the car
Axle positioned ready to roll under
On she goes
Brake pipe connected and handbrake cabled also fitted up with the refurbed pivot. Then I cleaned up the front anti-roll bar and treated it.
Thats your lot this weekend, as I also changed out the back end of a MK4 clio I bought for her indoors, & started messing with my lastest basket case/auction buy... don't ask me why. I dont know. I dont even have a CBT.