
ClioSport.net
-
When you purchase through links on our site, we may earn an affiliate commission. Read more here.
You are using an out of date browser. It may not display this or other websites correctly.
You should upgrade or use an alternative browser.
You should upgrade or use an alternative browser.
Beaniemoo's Euro Saxo project
- Thread starter Beaniemoo
- Start date





Nafoff
ClioSport Club Member
lol at stretch tyre fitting, fun isn't it...
looks swish
looks swish

Some of a Clio 1.8 16v
Back again and not a vast amount to report but we are currently on the build up to a big attack on the car to turn it into something a bit special and very eye catching. First of all the car is now clean but lets be honest we've all seen a scruffy but clean silver Mk1 saxo so i'm not fussed about posting pics of that.
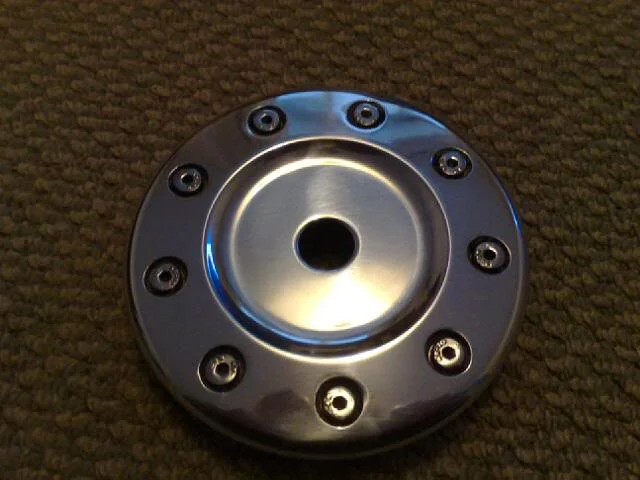
We've also been busy getting parts in for later in the project first was this a later style filler cap which we then sent away to be professionally polished and it's come back looking stunning.
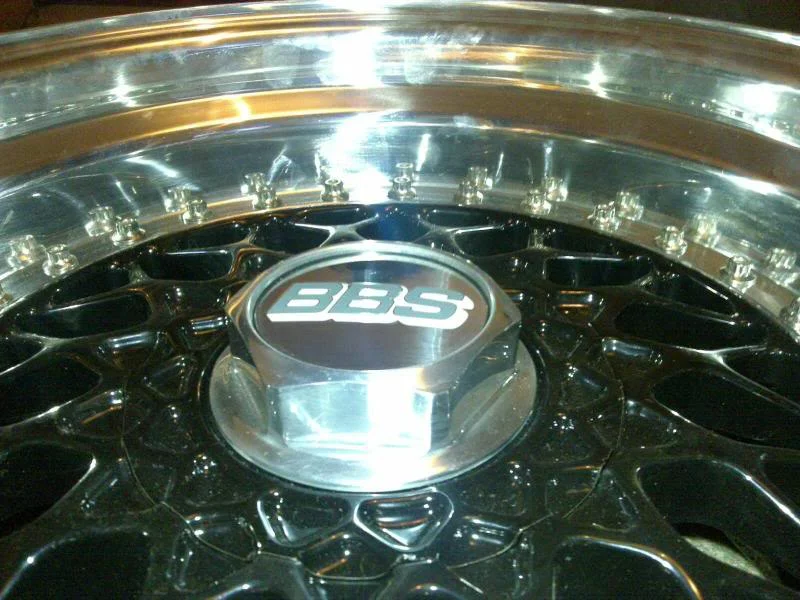
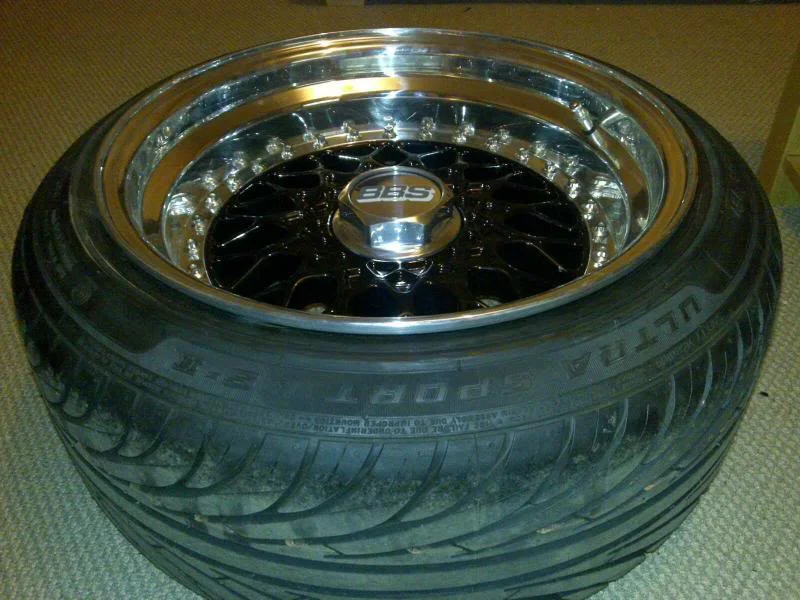
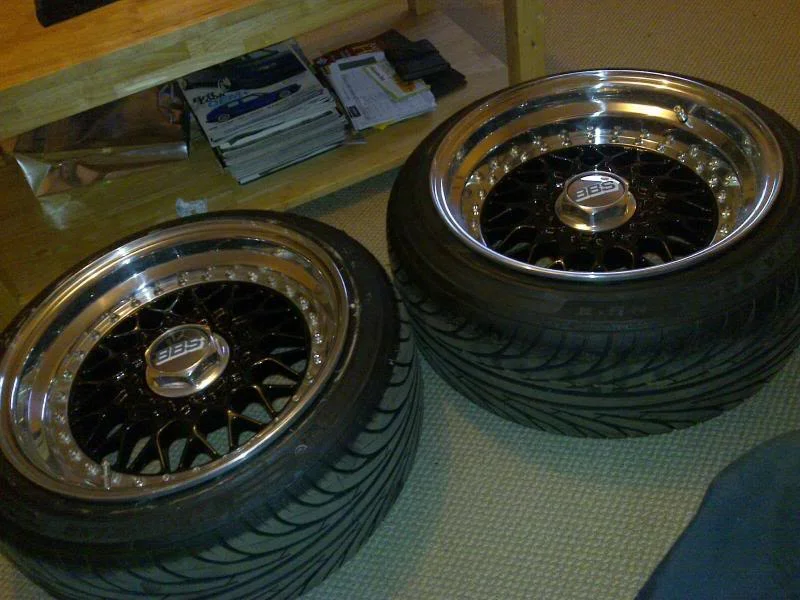
Along with that the final part of the wheels returned from the same polishers looking equally good (you didn't think i'd manage a post without some wheel pics did you? lol)
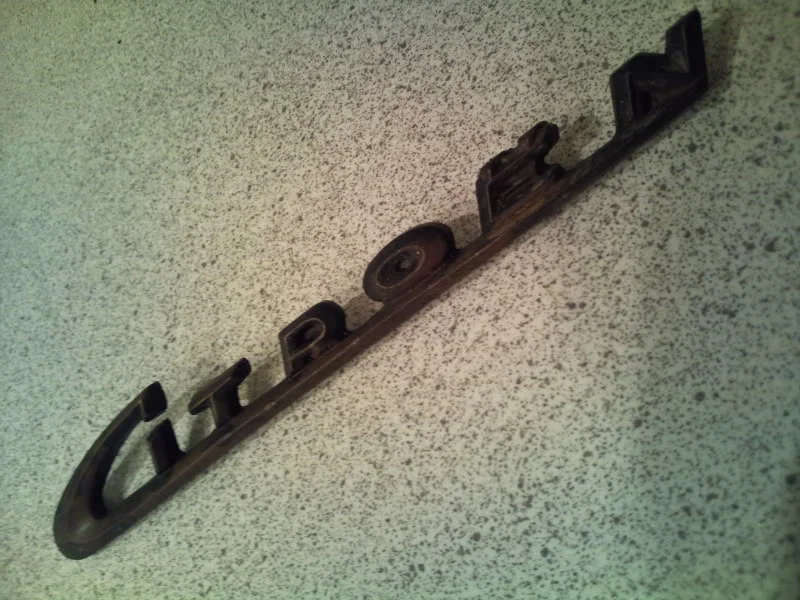
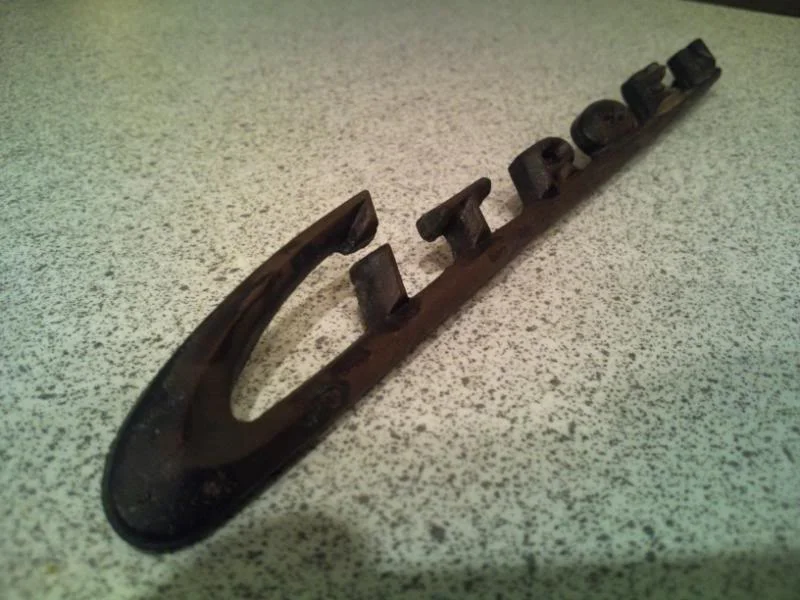
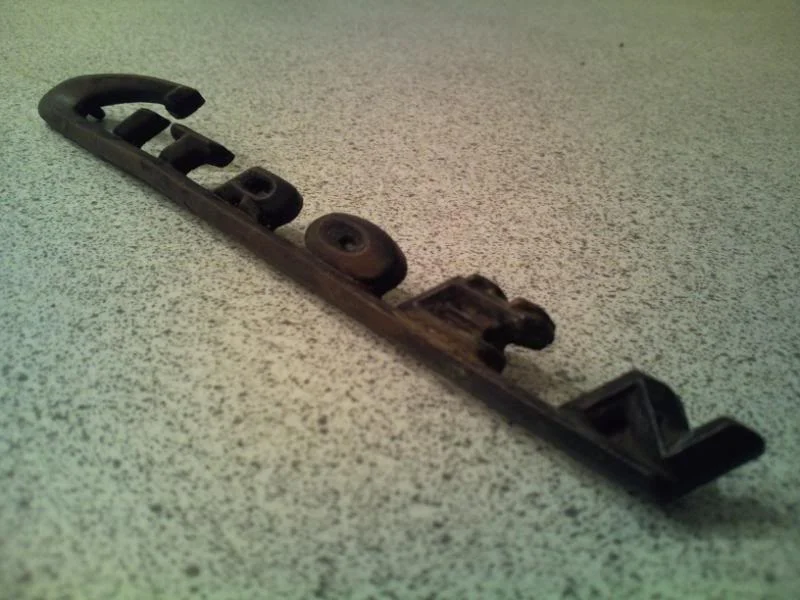
Last of all we sourced this which we think looks amazing and will look even better as it's currently at a chroming plating company being made shiny. I won't say were it's from but rest assured it's very old and even more rare so it'll be a nice touch.
Afraid thats all for now but should be more this weekend. Cheers for looking
We've also been busy getting parts in for later in the project first was this a later style filler cap which we then sent away to be professionally polished and it's come back looking stunning.
Along with that the final part of the wheels returned from the same polishers looking equally good (you didn't think i'd manage a post without some wheel pics did you? lol)
Last of all we sourced this which we think looks amazing and will look even better as it's currently at a chroming plating company being made shiny. I won't say were it's from but rest assured it's very old and even more rare so it'll be a nice touch.
Afraid thats all for now but should be more this weekend. Cheers for looking

Bros got skills.... Love the retro badge

Some of a Clio 1.8 16v
Hello all!
Big day today! We had a delivery in the week, after a lot of ringing and hunting round we finally managed to locate a set of these!
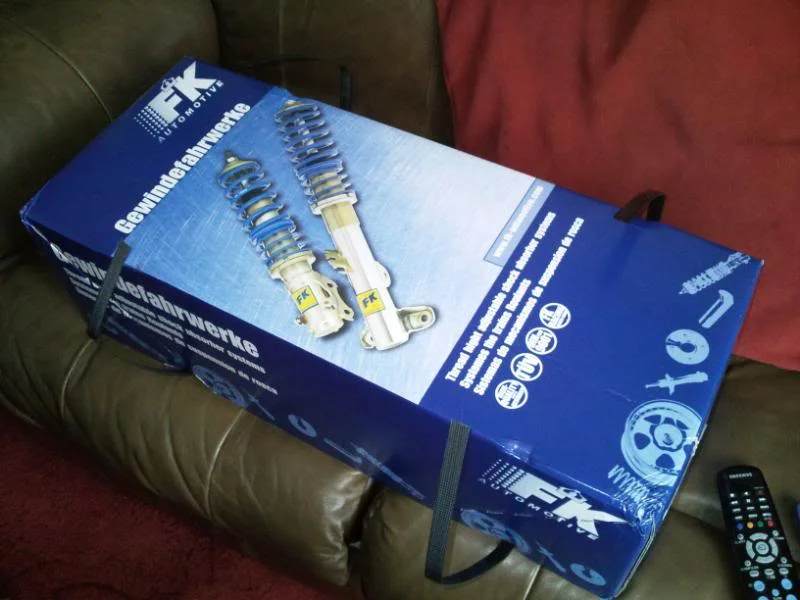
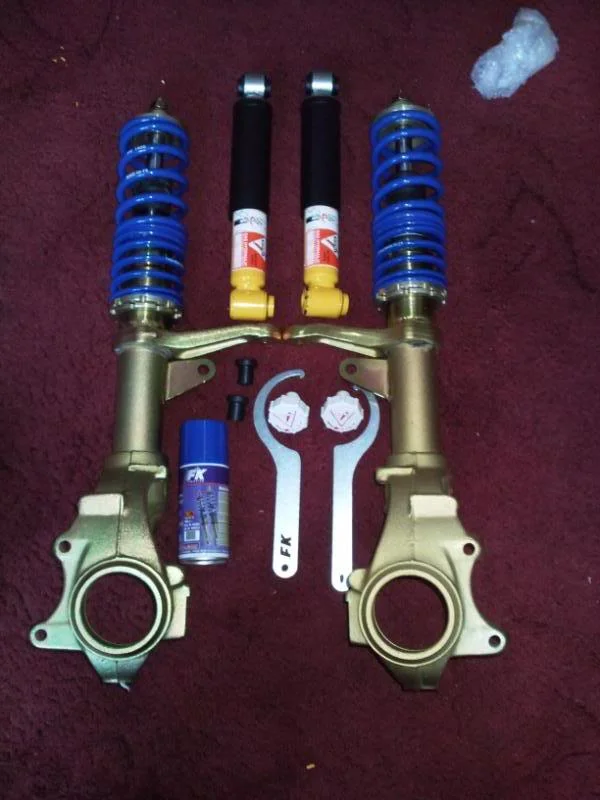
So we set about this weekend to get the ride height correct!
We decided to tackle the rear first, measuring and re measuring with different combinations of workshop staff sitting in the boot and finally settled on a ride height!
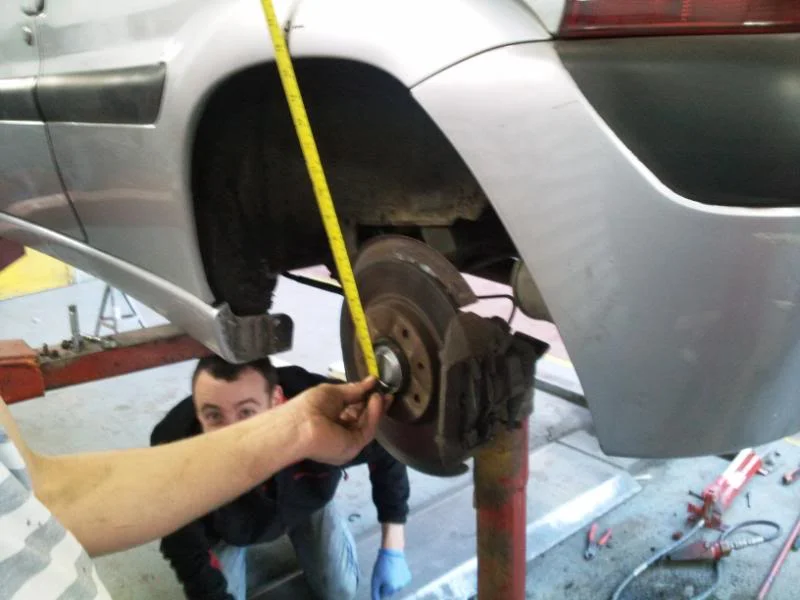
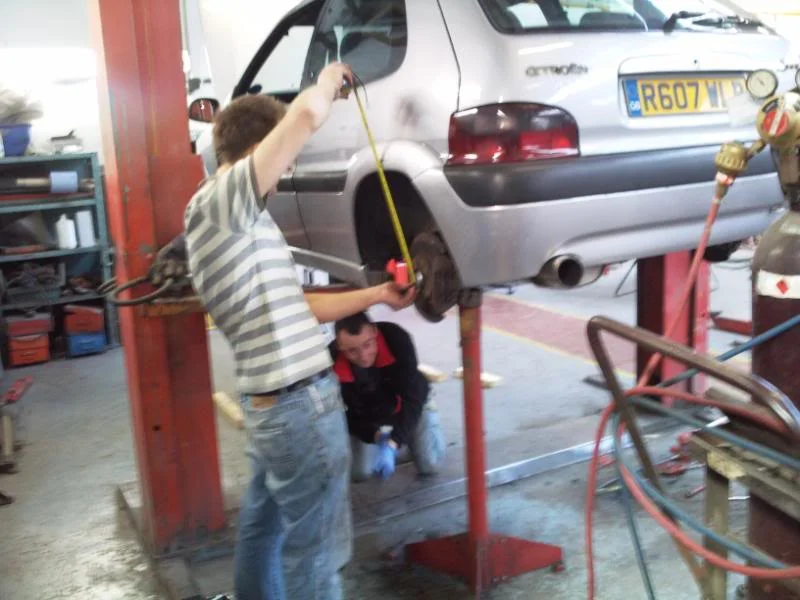
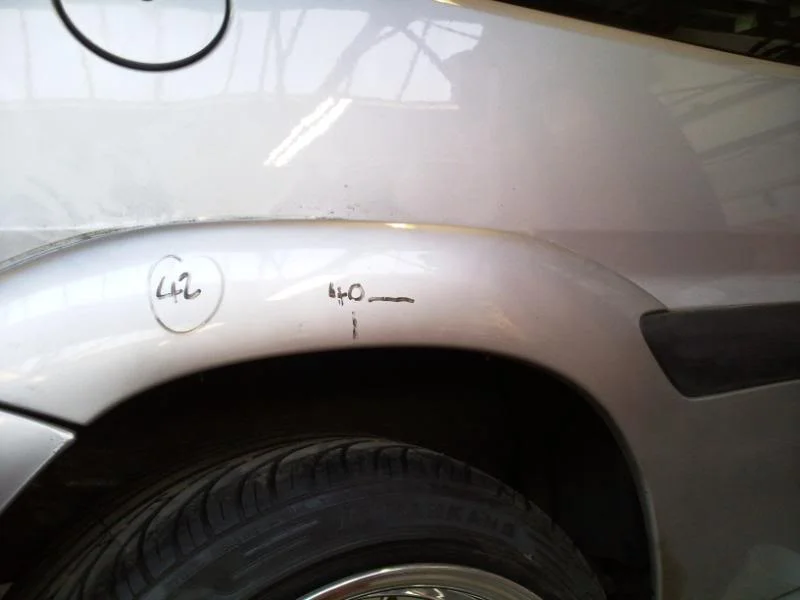
To remove the torsion bars we had developed a puller...
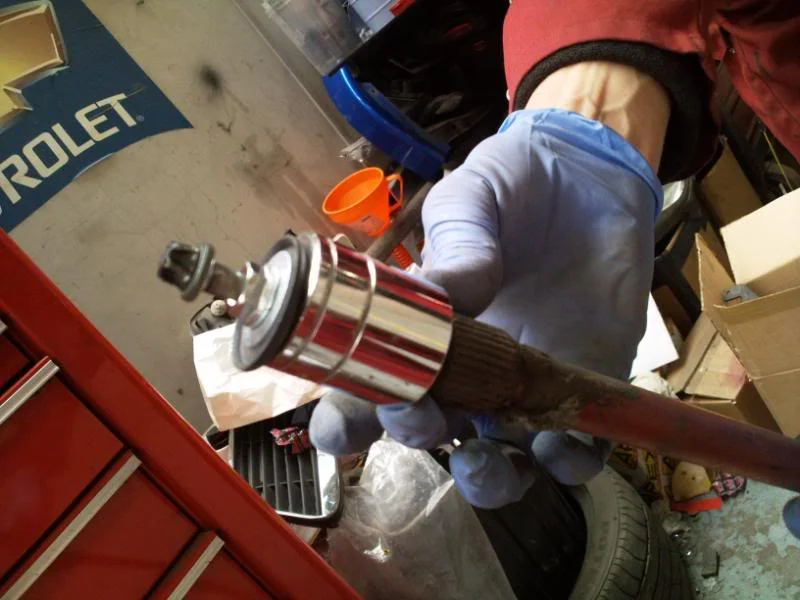
This immediately proved itself nowhere near manly enough! So we went through a
vast number of tools and tool combinations...
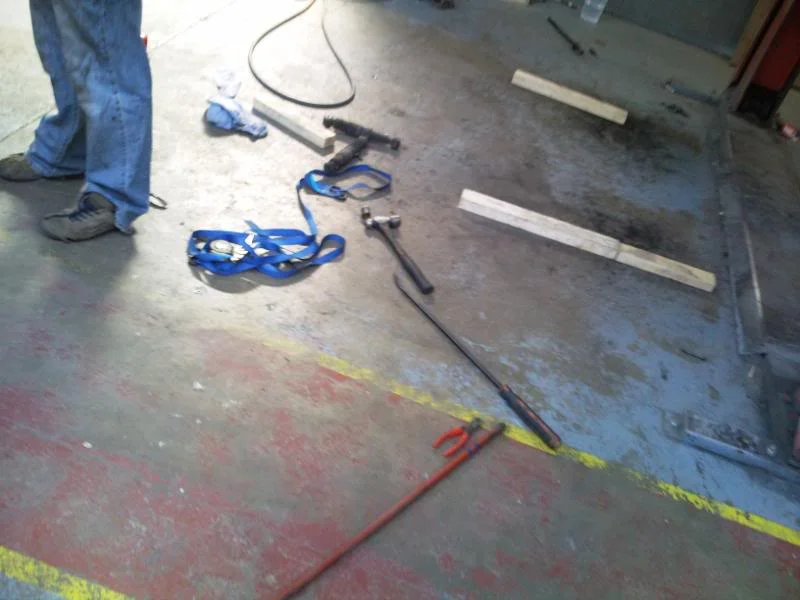
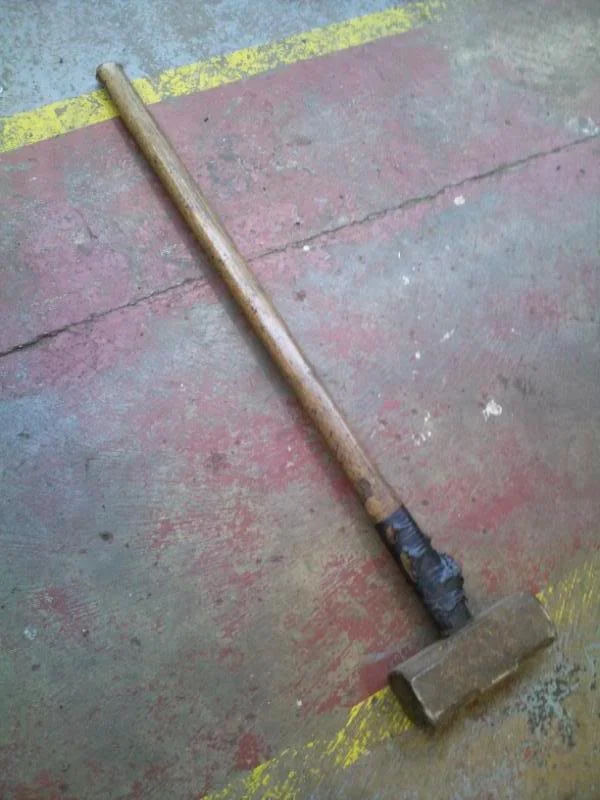
...And 3 hours later, settled on this one!
Once the rear were done we quickly set about doing the front which just being a pair of struts proved rather easier
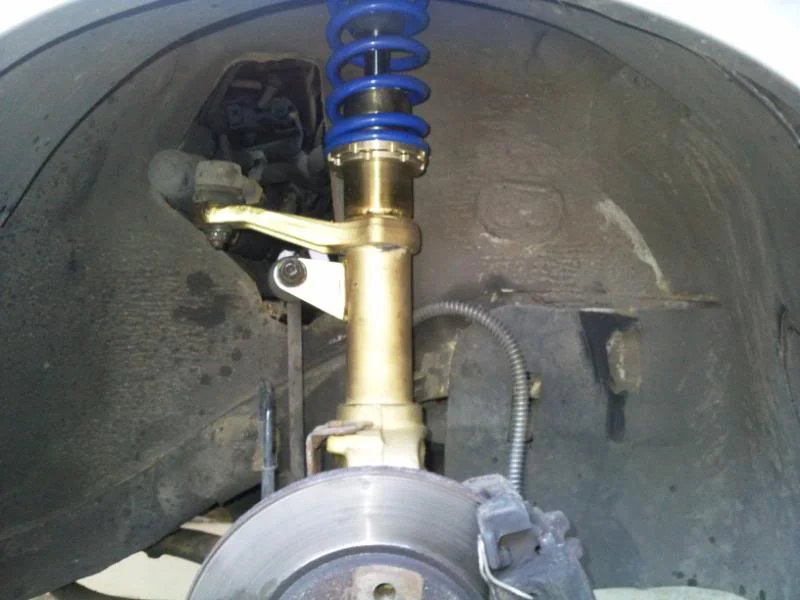
So what started the day looking like this...
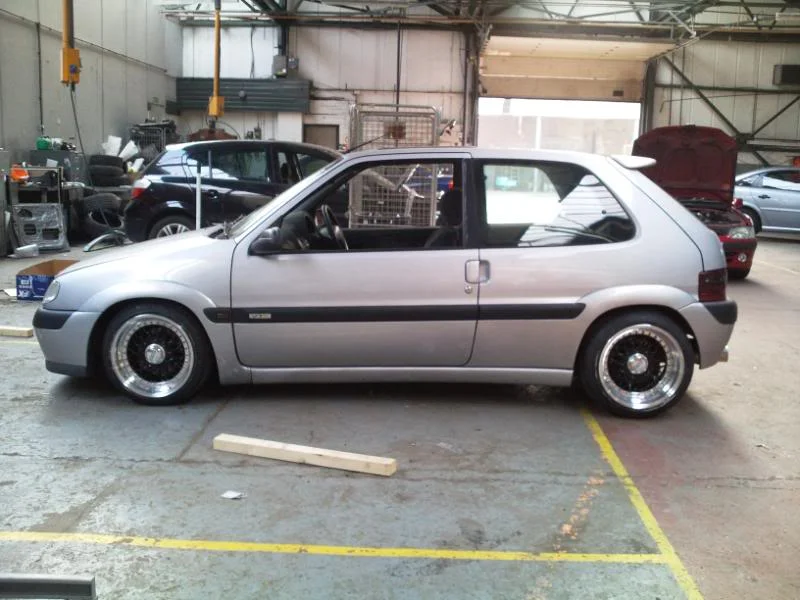
...Ended the day like this...
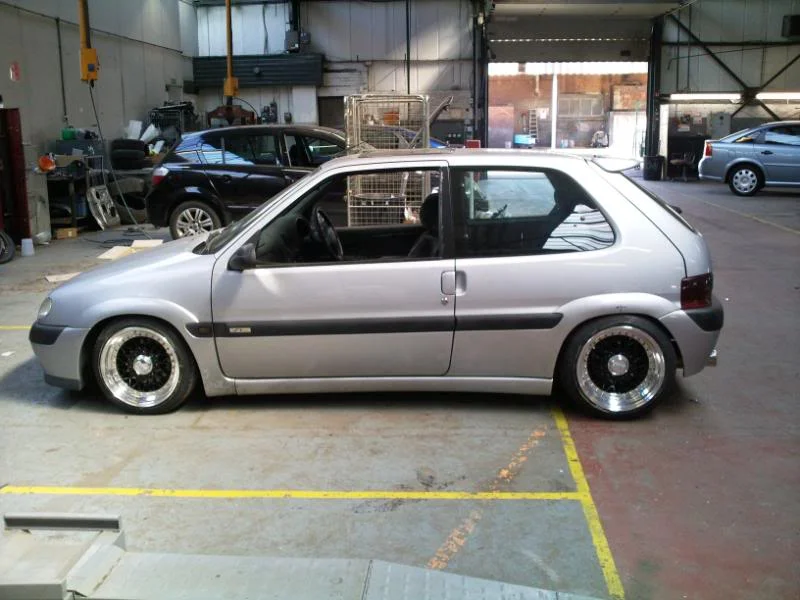
Which quickly turned into a photo shoot/picture whoring session
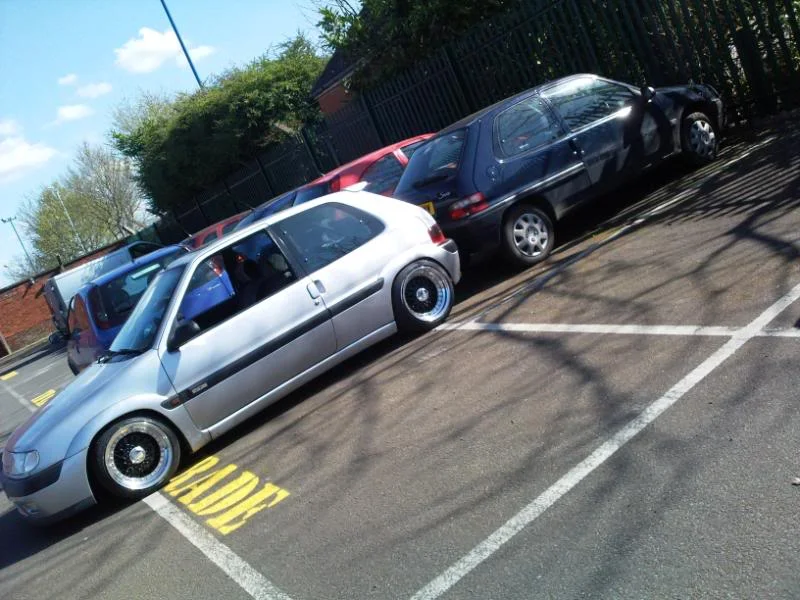
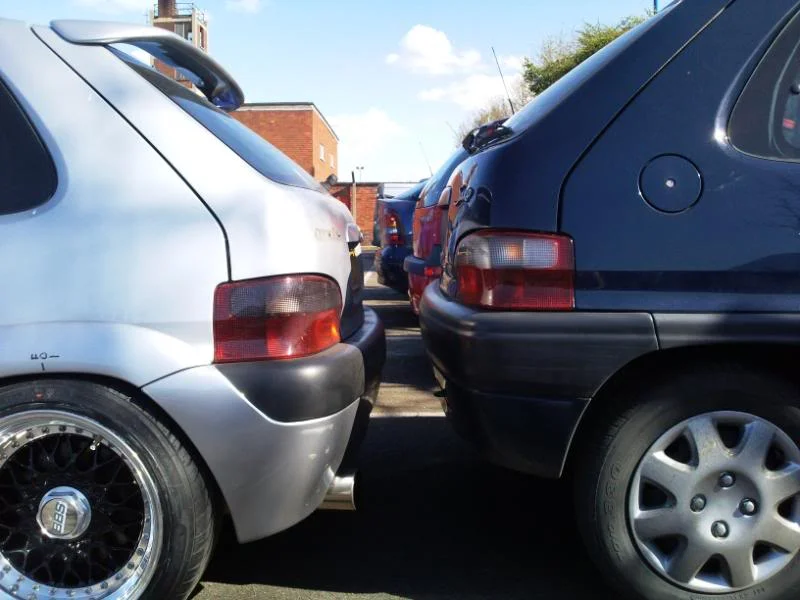
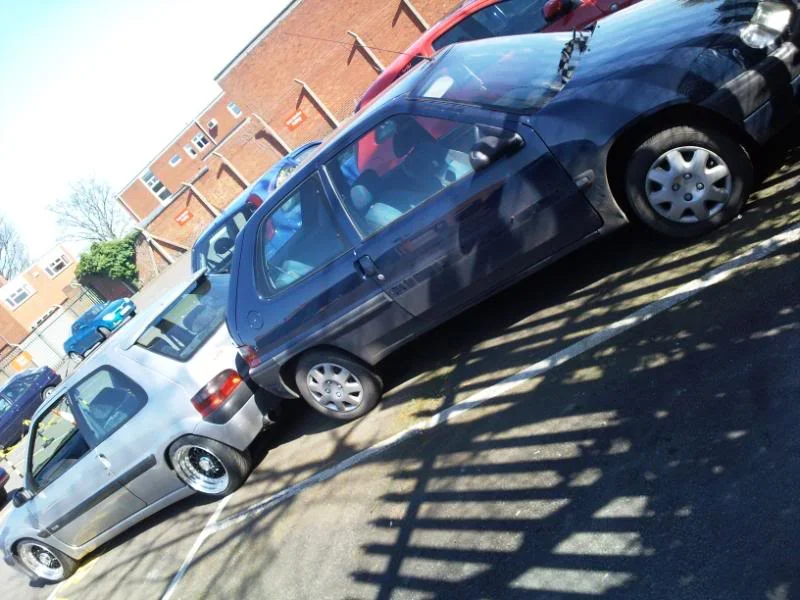
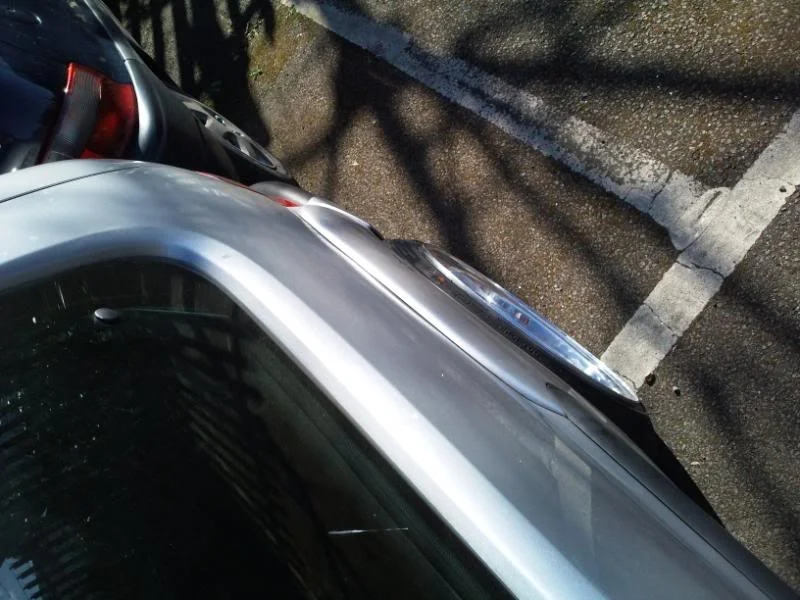
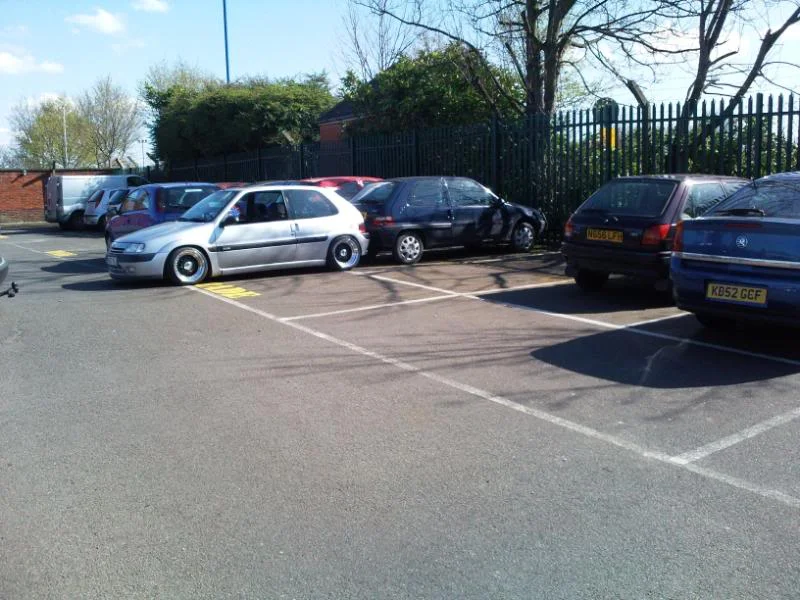
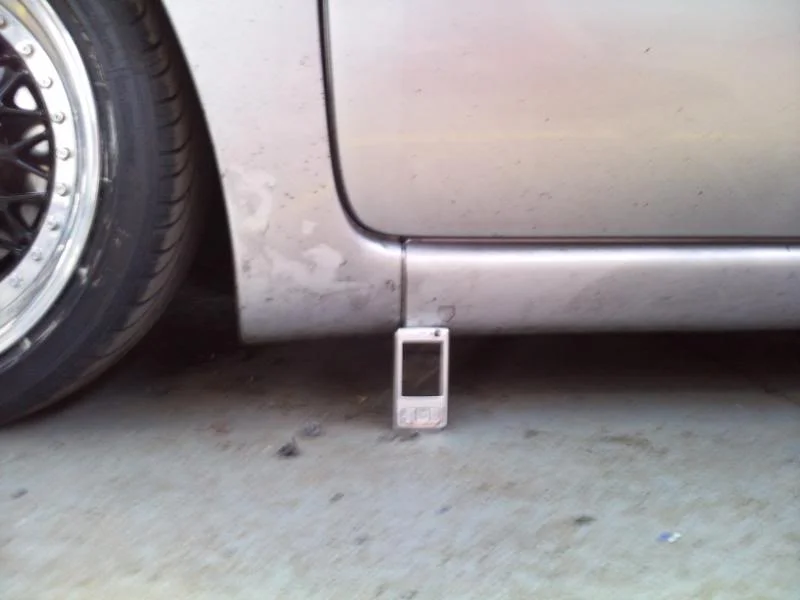
Then back onto the old Fox and VTR wheel till its big makeover
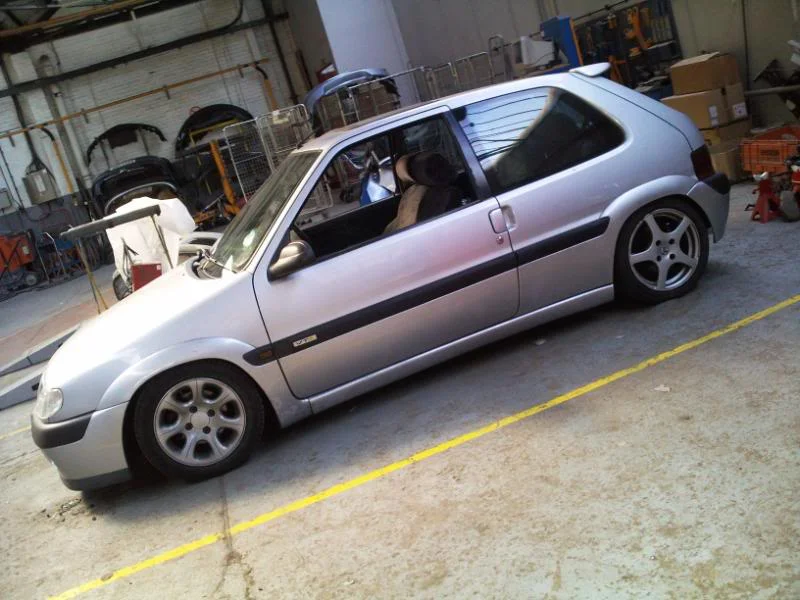
Exciting stuff!!
Cheers for looking
Big day today! We had a delivery in the week, after a lot of ringing and hunting round we finally managed to locate a set of these!
So we set about this weekend to get the ride height correct!
We decided to tackle the rear first, measuring and re measuring with different combinations of workshop staff sitting in the boot and finally settled on a ride height!
To remove the torsion bars we had developed a puller...
This immediately proved itself nowhere near manly enough! So we went through a
vast number of tools and tool combinations...
...And 3 hours later, settled on this one!
Once the rear were done we quickly set about doing the front which just being a pair of struts proved rather easier
So what started the day looking like this...
...Ended the day like this...
Which quickly turned into a photo shoot/picture whoring session
Then back onto the old Fox and VTR wheel till its big makeover
Exciting stuff!!
Cheers for looking
Big makeover was planned for the start of next month but moneys looking tighter than expected now so it might need to wait another month. Hope not though!!!
Whats the plans?
ITB'd MK1
a decked silver saxo in bedford...hmmmm how unusual 
Nice work mate, PSA torsion bars are a c**k
Nice work mate, PSA torsion bars are a c**k
Nafoff
ClioSport Club Member
looks awesome, keeping an eye on this one, looking forward to the make over

a burnt one
Not sure id like to be cornering at any kind of speed in tyres stretched that far, good job though.

 lol i dont really but i just cant afford BBS wheels
Some of a Clio 1.8 16v
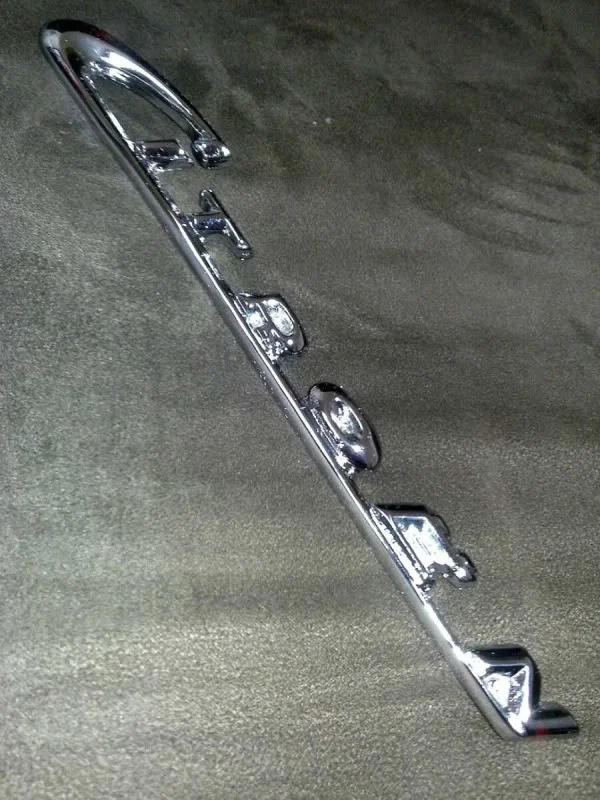
Hi all we're back again and I have to admit this is a MASSIVE post so if your living in medieval times and still using 56k this will definately be a pain in the ass so sorry.. First of all the badge has returned from chroming and it's one of those little things that just looks so good it spurs us on to keep on with our projects, I think you'll agree...
Next job isn't a biggun but one that certainly needed doing if we want this thing to look any good... The tail lights.
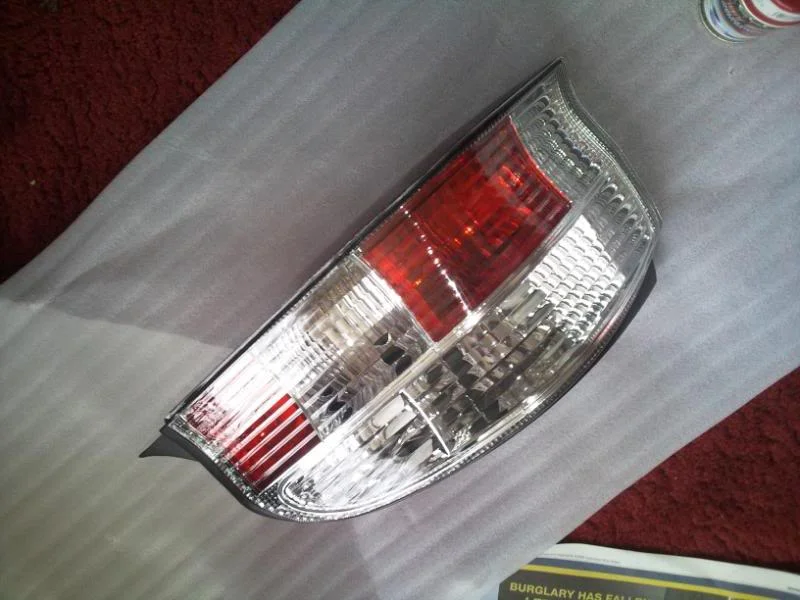
You all know how this goes but i'll type it out anyway lol. We started off with a pair of truely nasty ebay all crystal lights..
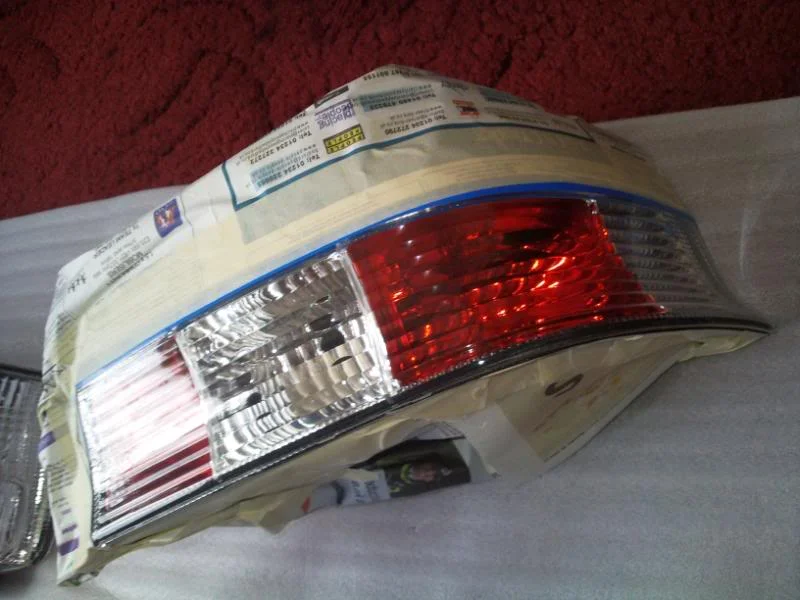
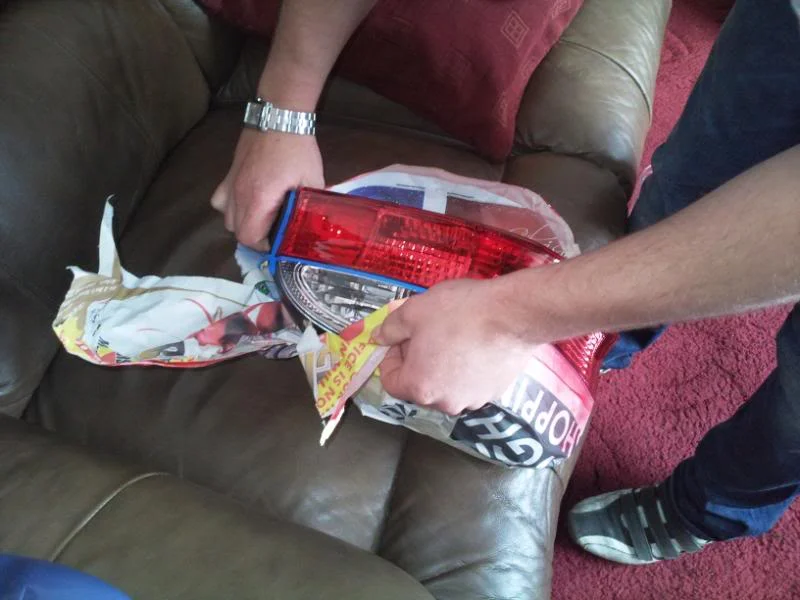
We then masked up the top section and everything else we didn't want splattered with paint using fine lining tape, masking tape and news paper.
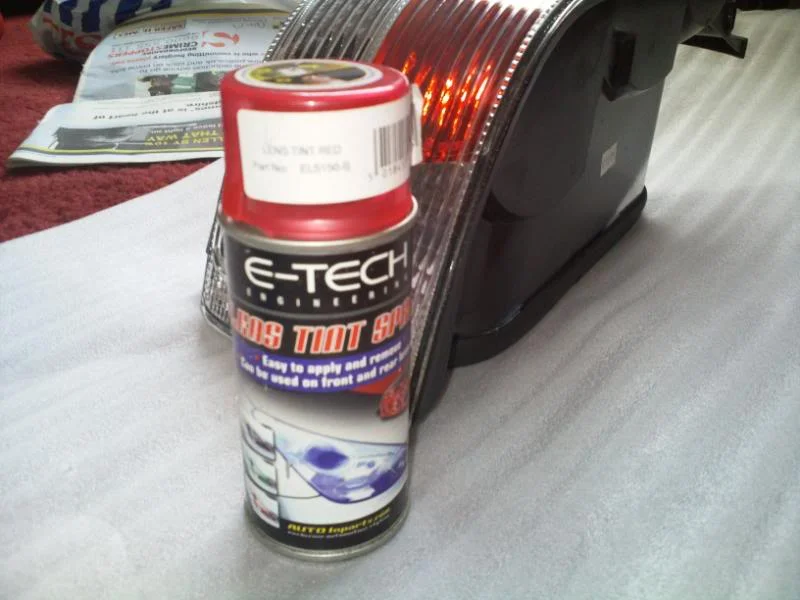
Next a good shake of the can and a few light but smooth coats over it then sit on the sofa watching chop shop london garage (idiots) while they dry off.
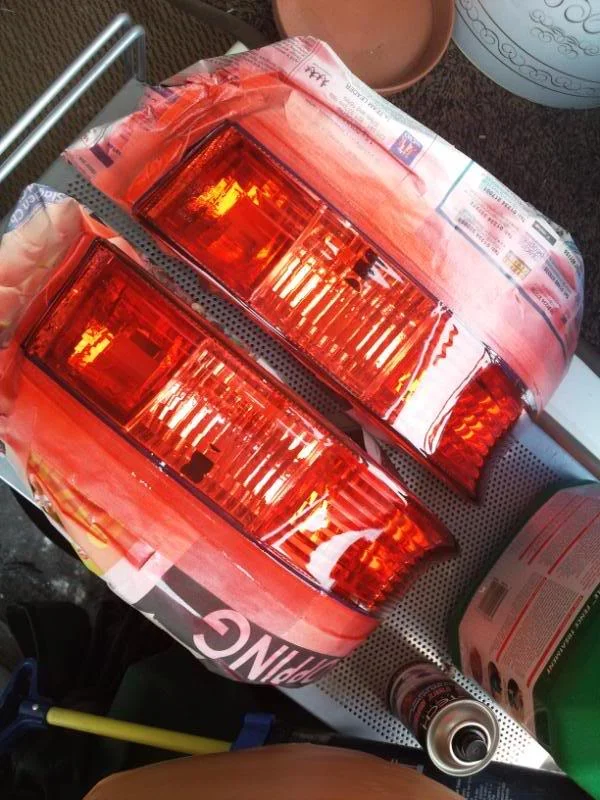
Next followed the moment of truth which is always the best moment of painting anything..
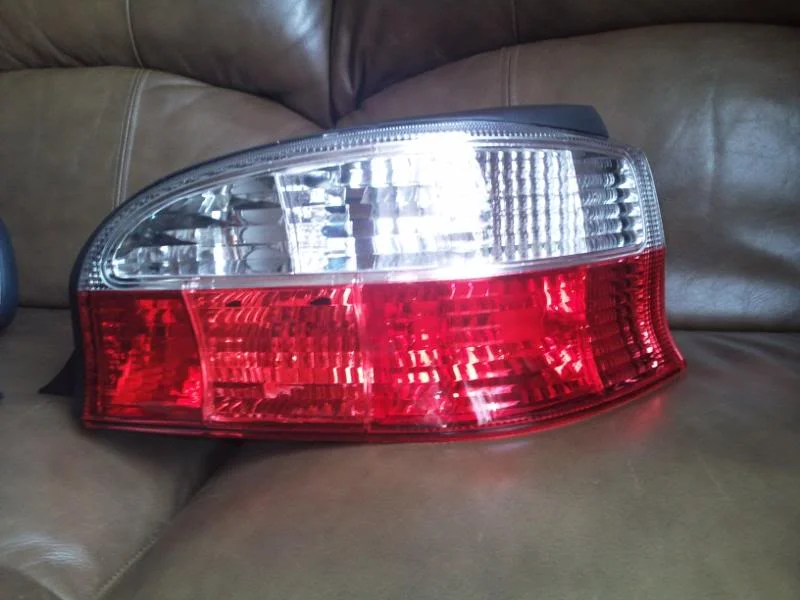
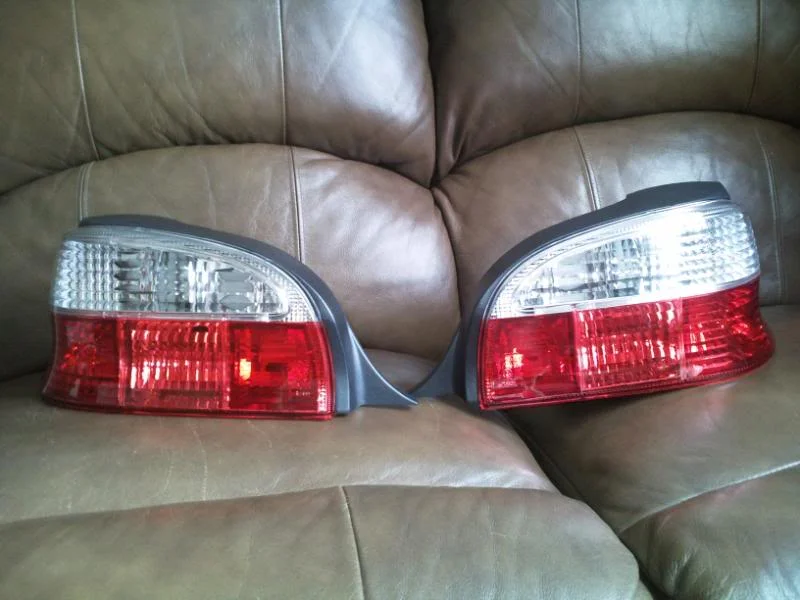
Happy as can be these are now tucked away safely in my flat waiting for the big makover, which as luck would have it started in ernest today..
This arrived earlier in the week which meant how the weekend was going to go was already set. anic:
anic:
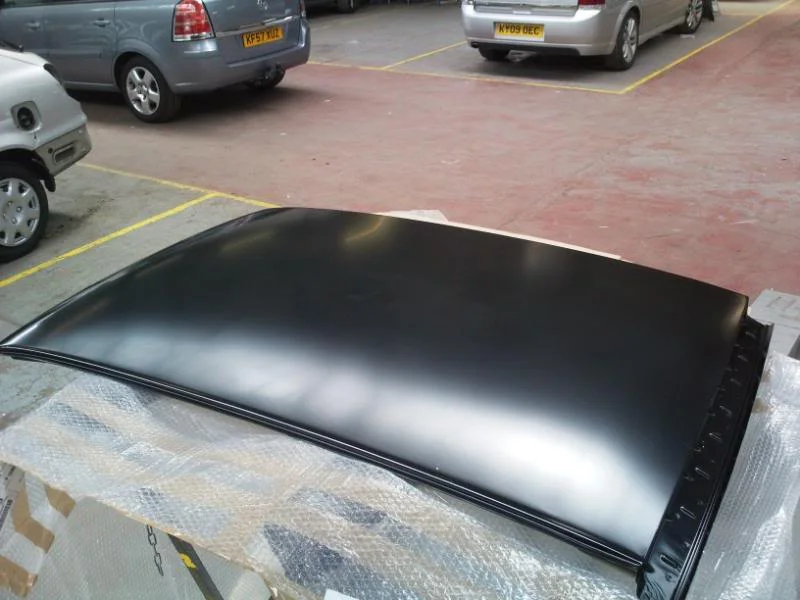
8:30 we arrived at Beanie's (my brother) work and obviously first thing that needed doing was to strip the car of anything that was gonna get in the way of the job in hand.
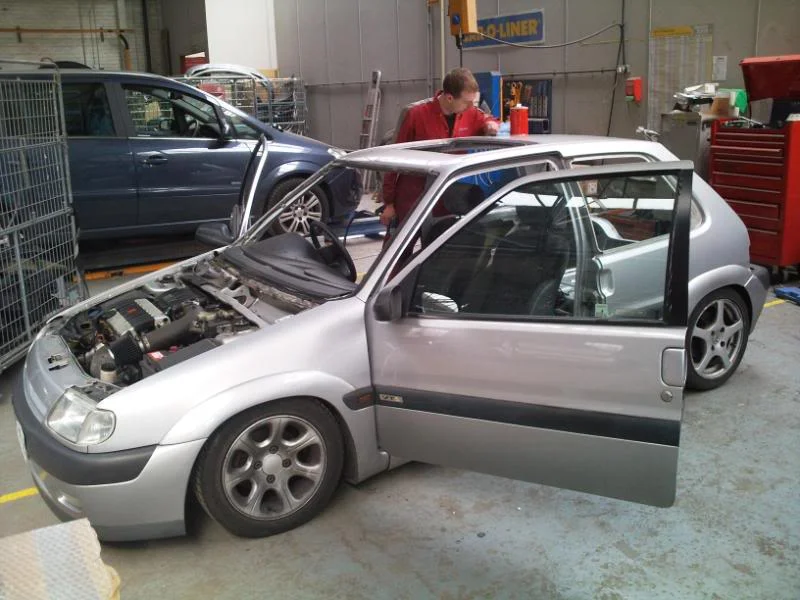
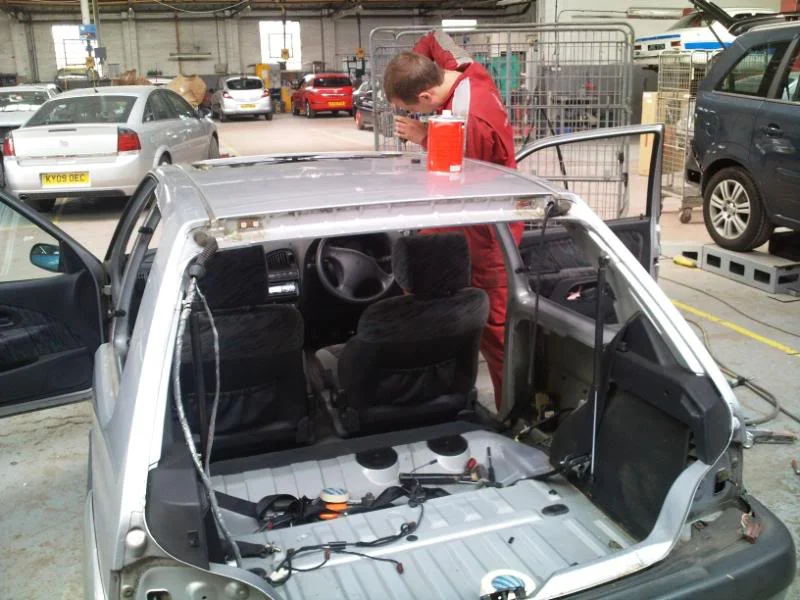
Next we needed to drill out all the spot welds that hold the roof in place which turned into something like a where's wally spotting each one in a sea of siver paint and sealer.
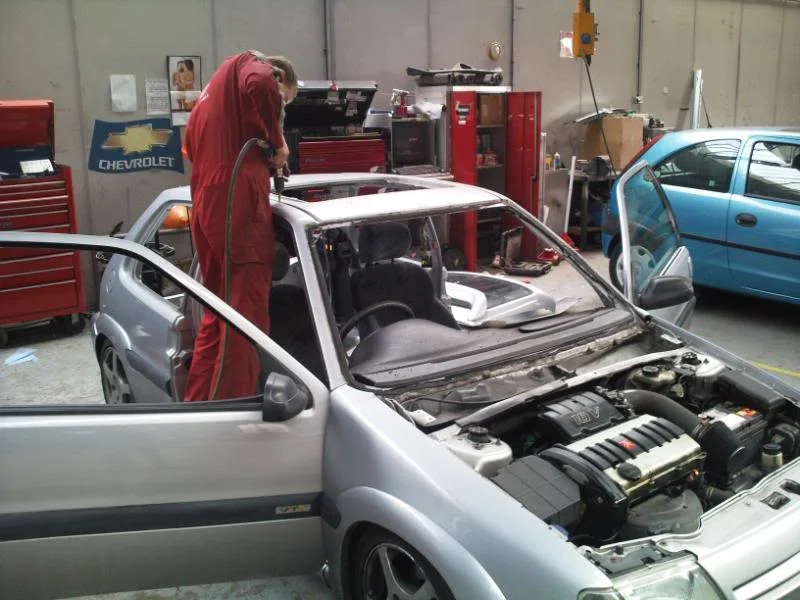
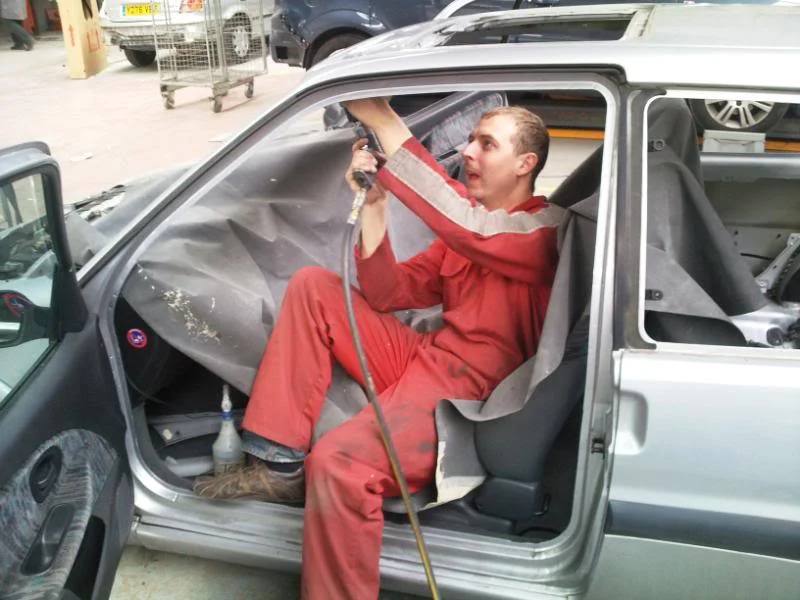
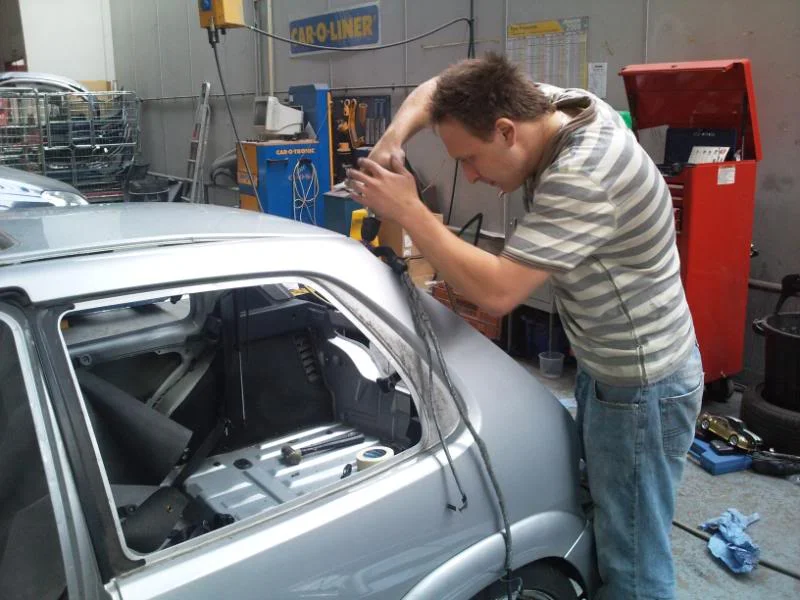
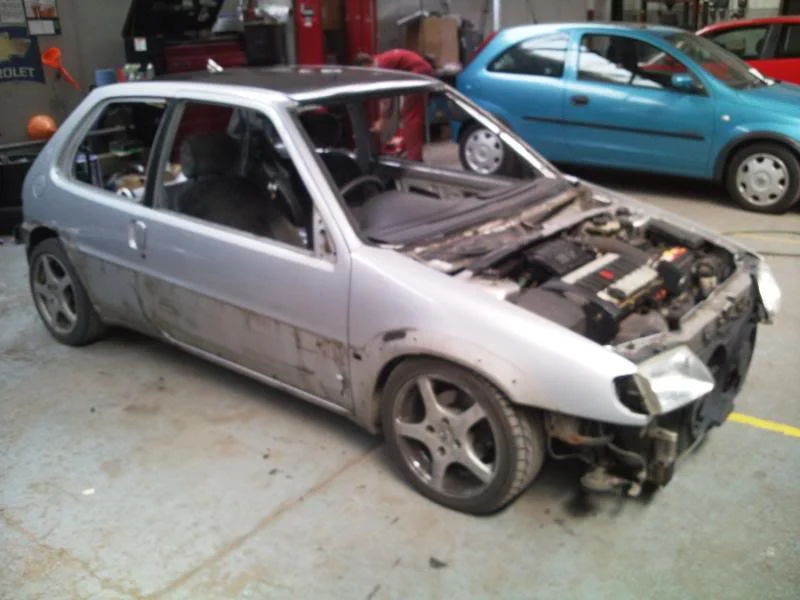
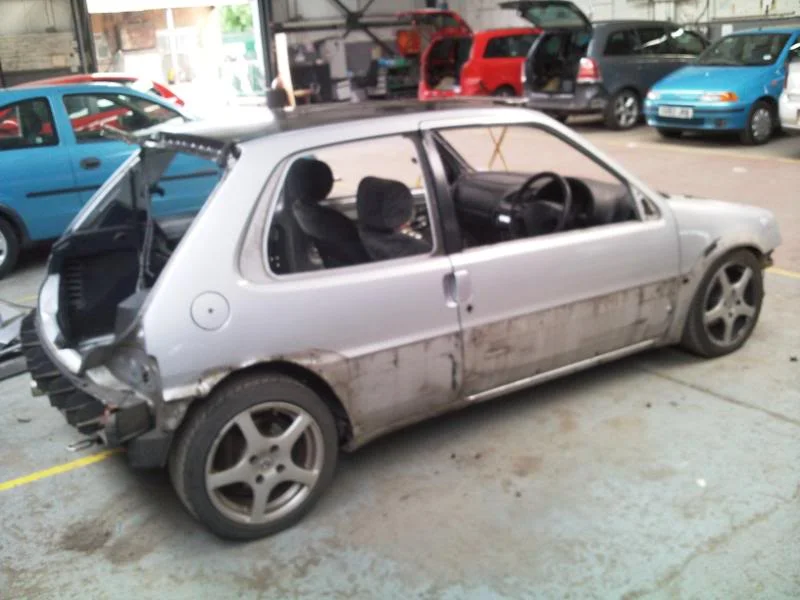
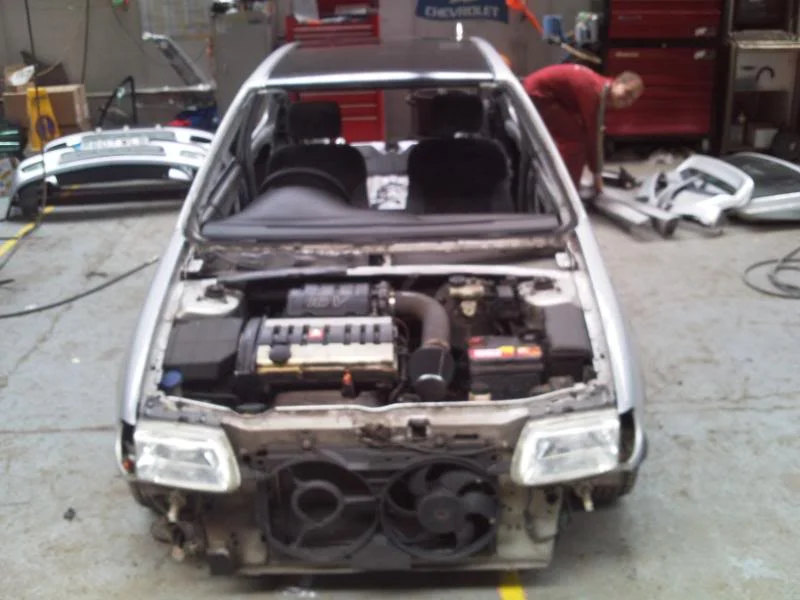
After all this it was time for the sardine tin treatment which was a bit scary compared to the clio (which has a carbon fibre roof) as this roof needed all the bracing taken with it and didn't leave us a whole lot of saxo as you can see.
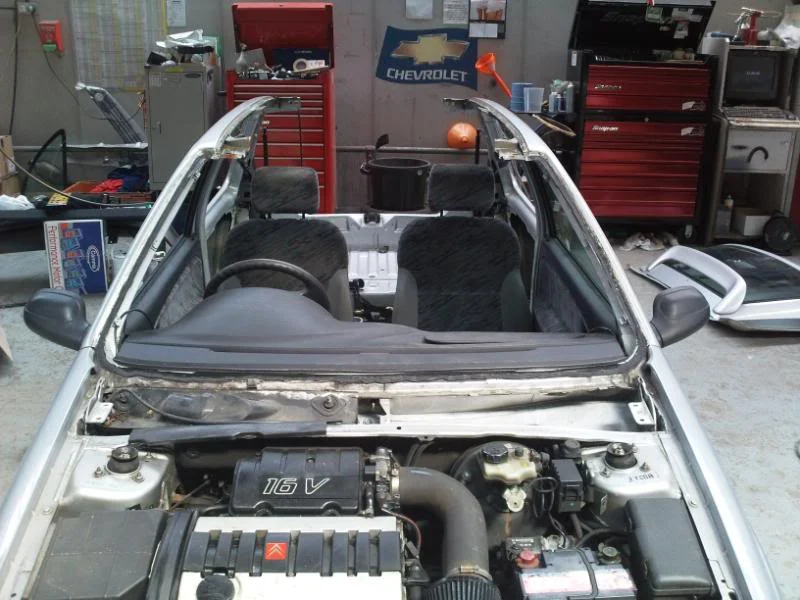
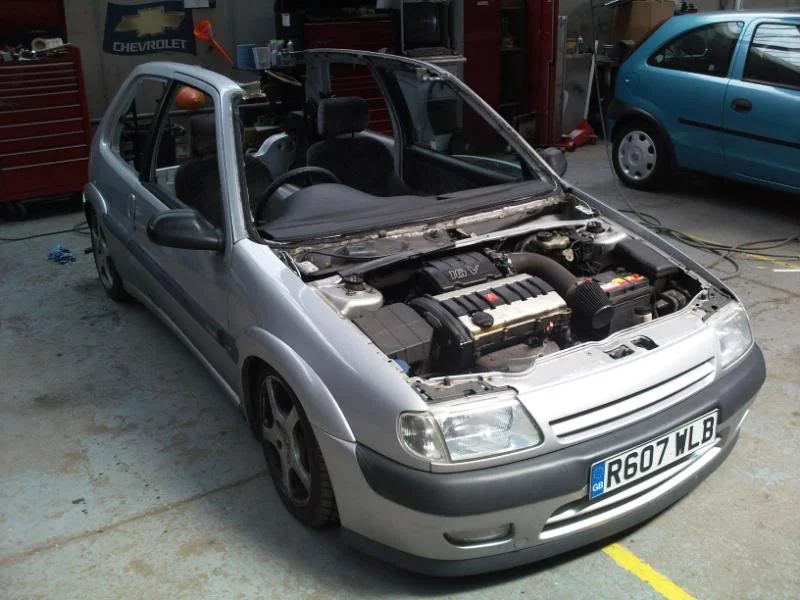
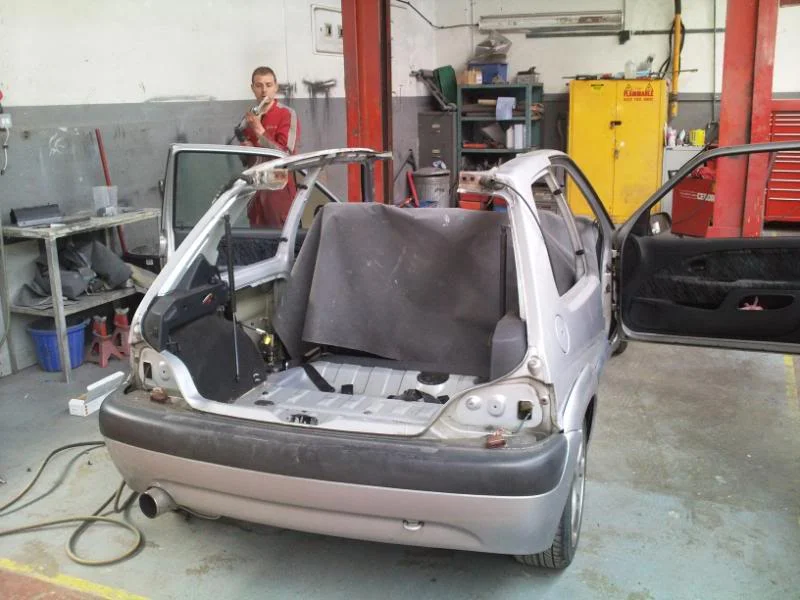
Once all the edges were cleaned ready for welding we laid the new roof in place and attacked it with the spot welder and got it all welded in place.
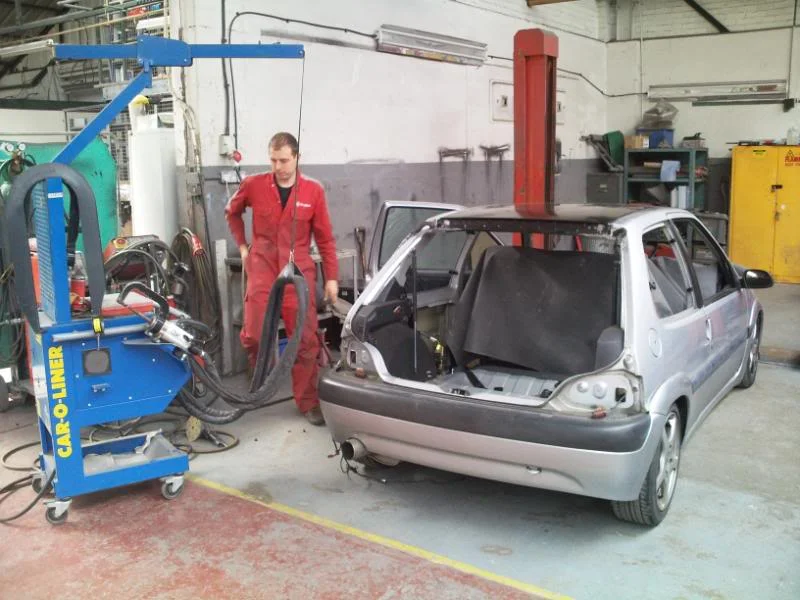
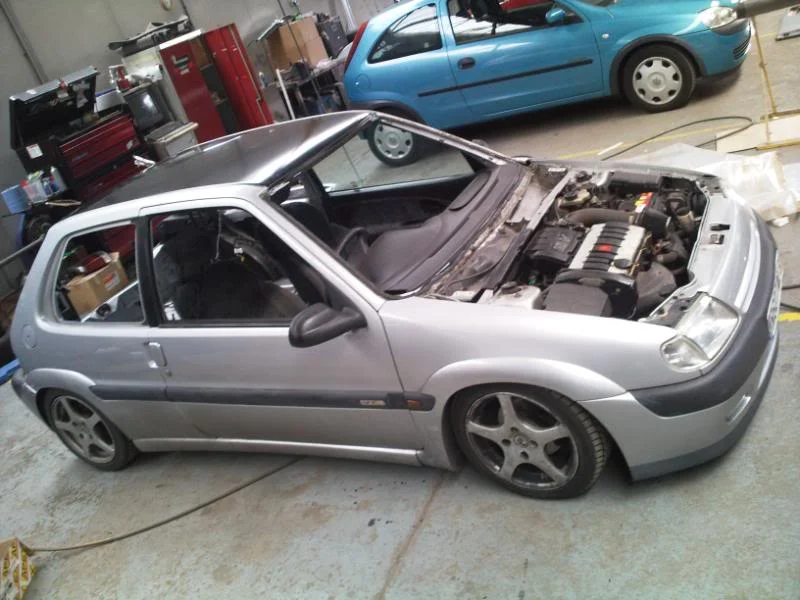
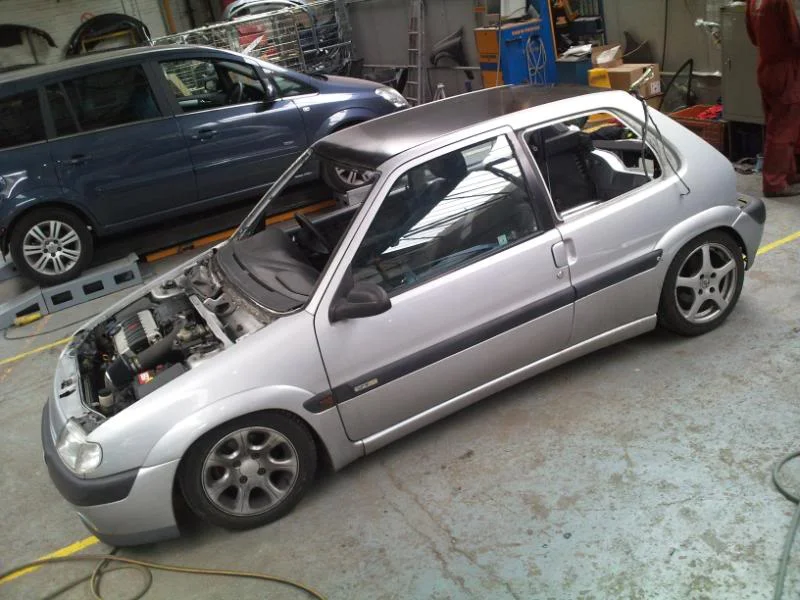
Next job, as the car is at his work for a couple of weeks for a full repaint, was to strip any trim etc off the car ready for stage 2 of the big makover which left us with this shocking pile of saxo. But hey things can apparently only get better from here
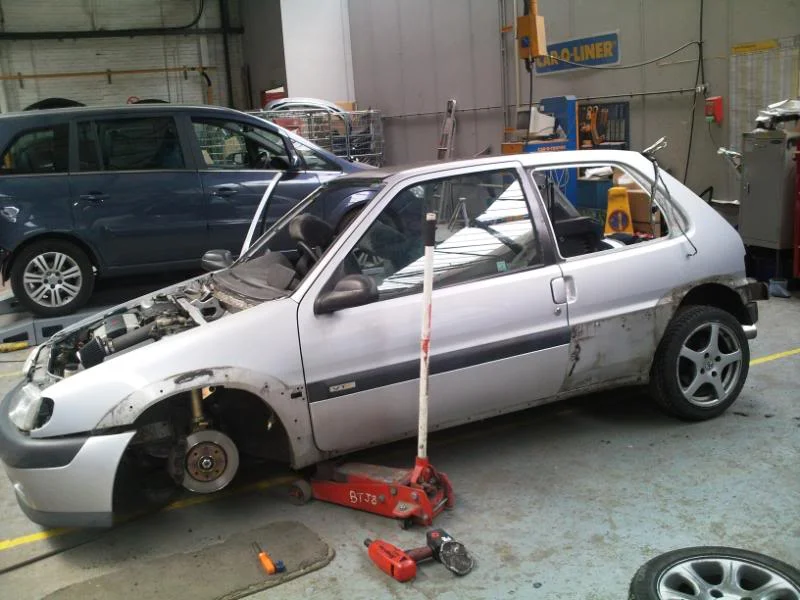
Don't ask me what colour it's going or anything else about the finer details as I won't
be telling, you'll just have to check in over the next couple of weeks lol.
Cheers for reading, I know it's a bit of a big post but I hope it was worth it.
Check back soon please.
Next job isn't a biggun but one that certainly needed doing if we want this thing to look any good... The tail lights.
You all know how this goes but i'll type it out anyway lol. We started off with a pair of truely nasty ebay all crystal lights..
We then masked up the top section and everything else we didn't want splattered with paint using fine lining tape, masking tape and news paper.
Next a good shake of the can and a few light but smooth coats over it then sit on the sofa watching chop shop london garage (idiots) while they dry off.
Next followed the moment of truth which is always the best moment of painting anything..
Happy as can be these are now tucked away safely in my flat waiting for the big makover, which as luck would have it started in ernest today..
This arrived earlier in the week which meant how the weekend was going to go was already set.
anic:8:30 we arrived at Beanie's (my brother) work and obviously first thing that needed doing was to strip the car of anything that was gonna get in the way of the job in hand.
Next we needed to drill out all the spot welds that hold the roof in place which turned into something like a where's wally spotting each one in a sea of siver paint and sealer.
After all this it was time for the sardine tin treatment which was a bit scary compared to the clio (which has a carbon fibre roof) as this roof needed all the bracing taken with it and didn't leave us a whole lot of saxo as you can see.
Once all the edges were cleaned ready for welding we laid the new roof in place and attacked it with the spot welder and got it all welded in place.
Next job, as the car is at his work for a couple of weeks for a full repaint, was to strip any trim etc off the car ready for stage 2 of the big makover which left us with this shocking pile of saxo. But hey things can apparently only get better from here
Don't ask me what colour it's going or anything else about the finer details as I won't
be telling, you'll just have to check in over the next couple of weeks lol.
Cheers for reading, I know it's a bit of a big post but I hope it was worth it.
Check back soon please.

Paul.M
ClioSport Club Member
cars coming along nicely mate
got any time scales for completion?
got any time scales for completion?
Nafoff
ClioSport Club Member
brilliant chap...
cream would be an awesome colour choice....
cream would be an awesome colour choice....

Audi A3
Why did you do the roof?
by the looks of it the one that was on it had a sunroof and the new fitted one dosent. so im guessing that would be the reason
and nice project!
Golf GTi Mk2
Can you not help yourselfes but rip a roof off all your cars?
KUTGW.
KUTGW.
Some of a Clio 1.8 16v
Well this isn't the most exciting of posts but I thought you'd all prefer to be kept in the loop. First of all we've ordered a pile of bits from Citroen but nothing amazing just little bits and bob that the 11years of abuse interspursed with neglect have left broken or missing
Next, Pete the panel magician at my brothers work got stuck into repairing all the little parking dents the little French rocket has picked up along the way. as well as that we've had all the washer jet holes, tailgate badge holes and door lock holes plated and filled as they're pretty ugly bits we can do without.
Couple of pics...
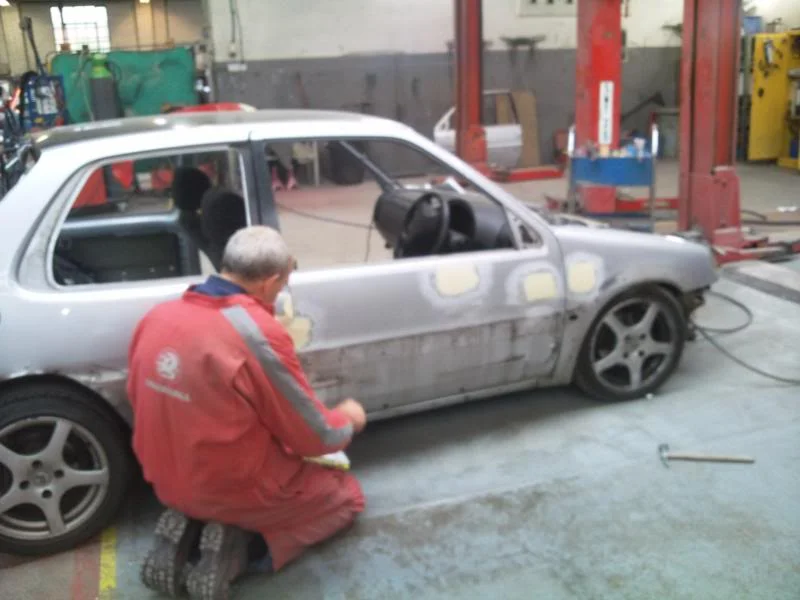
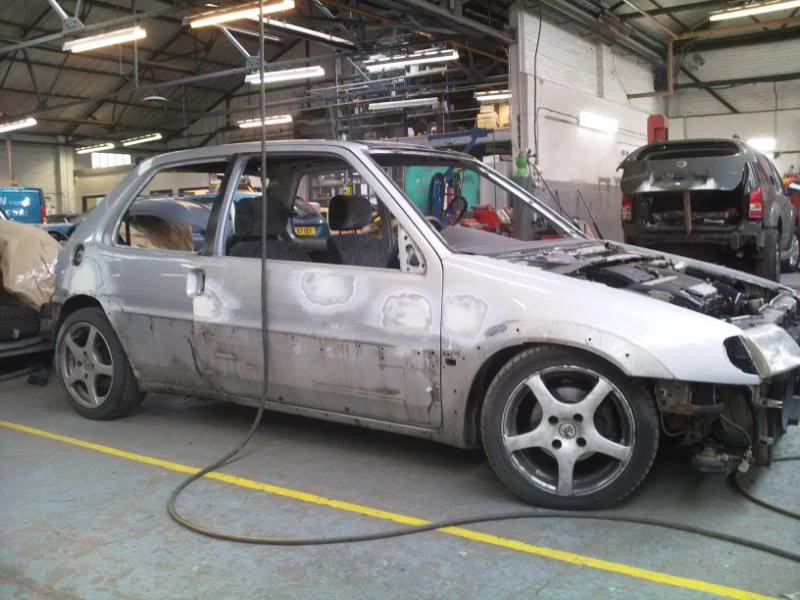
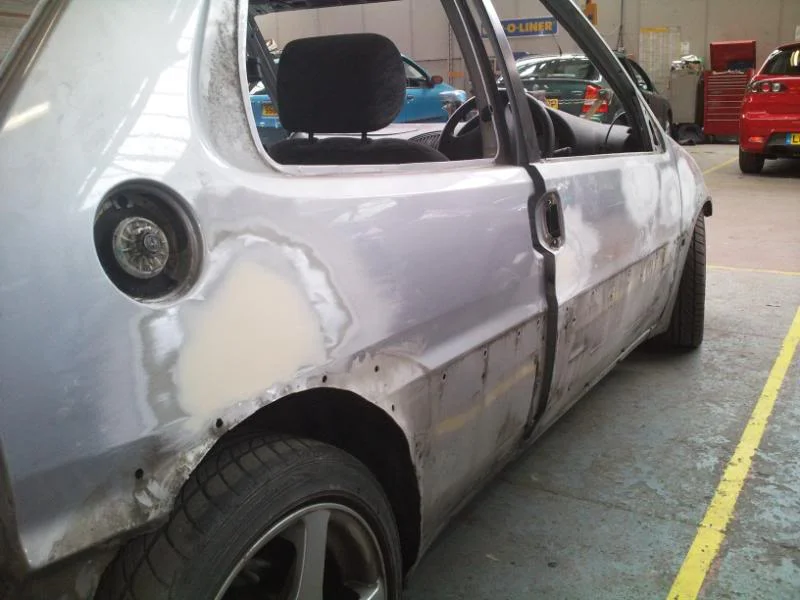
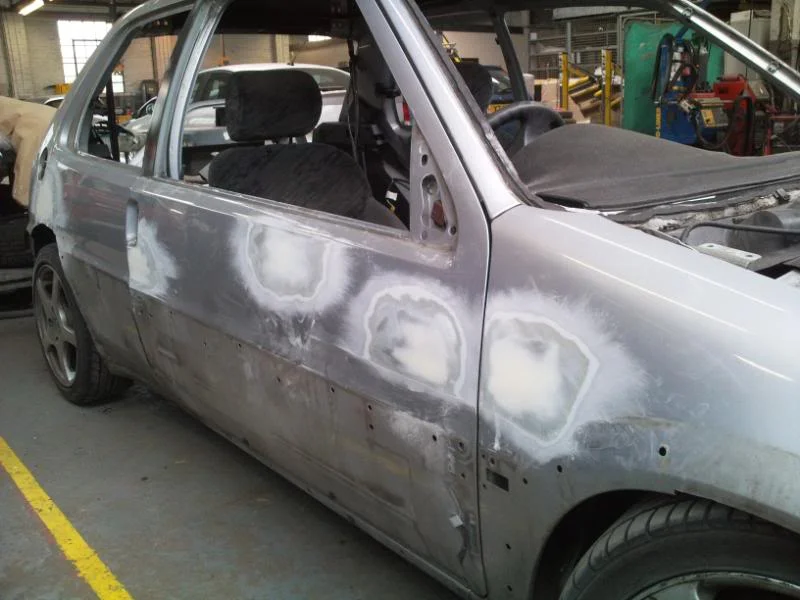
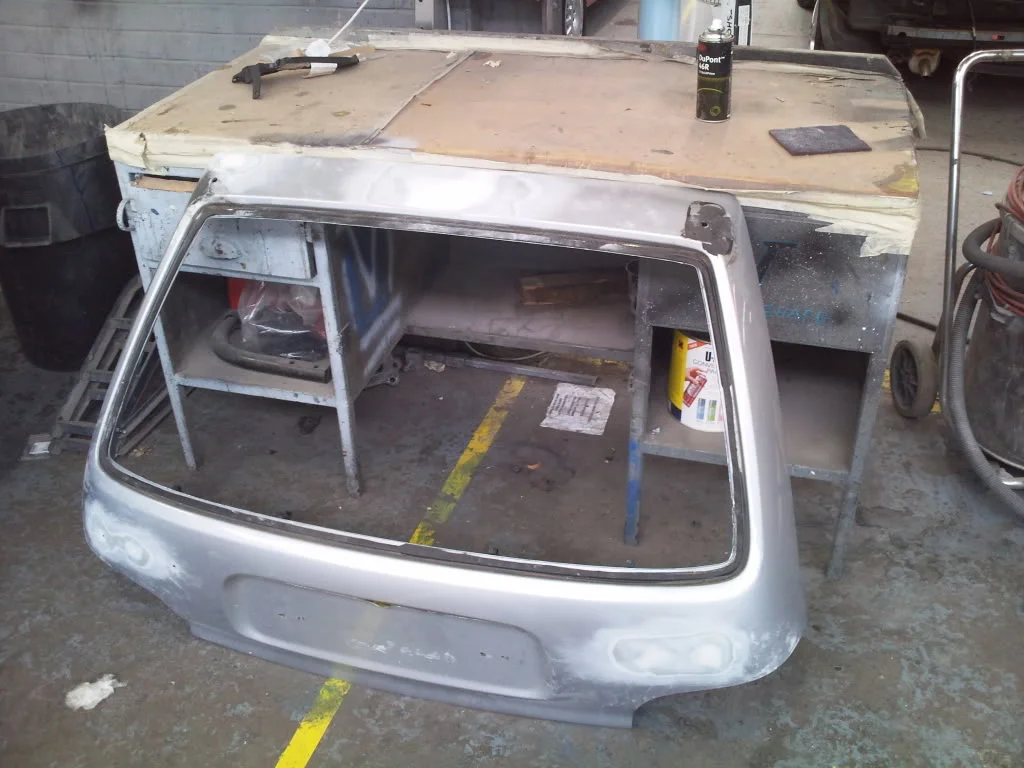
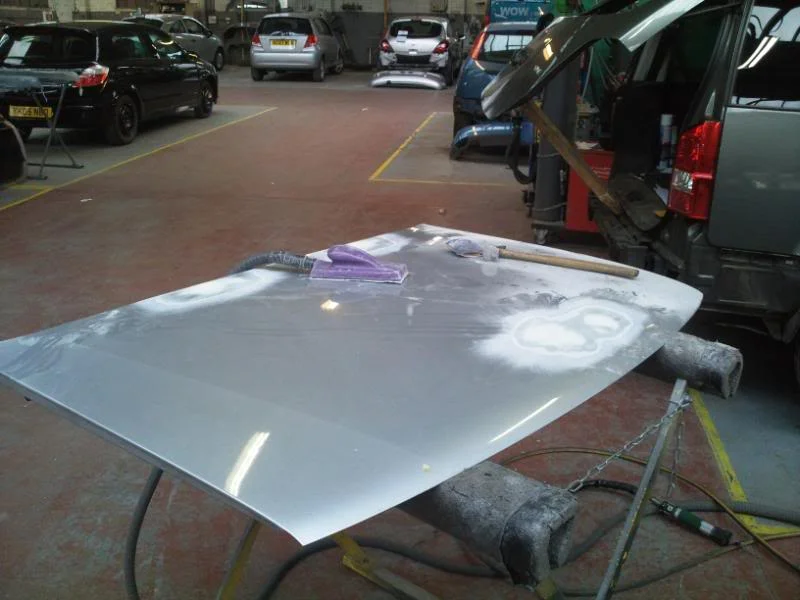
Drivers door had had a hell of a hard life Lol.
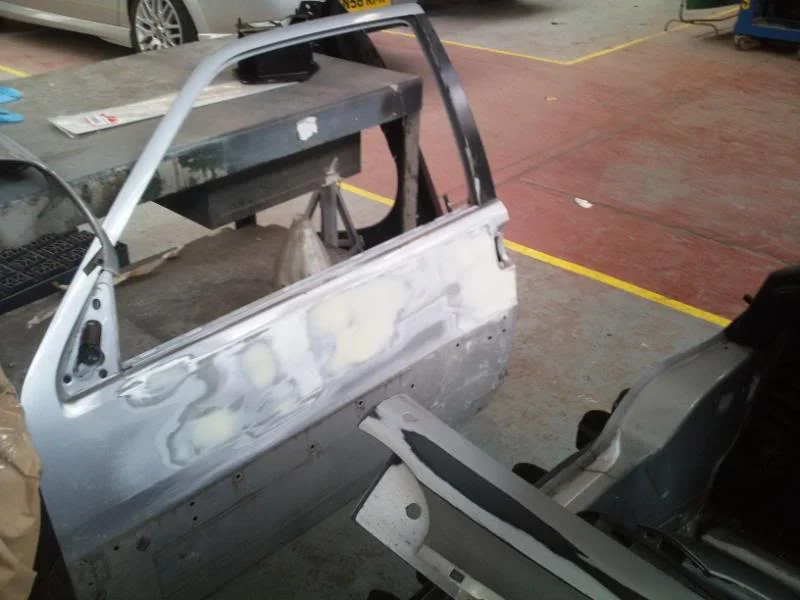
More soon
Next, Pete the panel magician at my brothers work got stuck into repairing all the little parking dents the little French rocket has picked up along the way. as well as that we've had all the washer jet holes, tailgate badge holes and door lock holes plated and filled as they're pretty ugly bits we can do without.
Couple of pics...
Drivers door had had a hell of a hard life Lol.
More soon
Last edited:
Nafoff
ClioSport Club Member
really going to town on it, spose its best to do it properly or not at all
W
Willy
Really caught my attention this project. Looking forward to updates
Similar threads


- Replies
- 1
- Views
- 2K