e39 BMW M5 –Solid Black – Cleanse and Protect
Such a meaty vehicle! Even on tickover the engine sounded fierce! Beast!
Product
·AutoGlym Fast Glass
·AutoSmart G101
·AutoSmart Tardis
·Autosol
·ChemicalGuys JetSEAL901
·ClearKote Red Moose Machine Glaze
·Dodo Juice Limeprime
·Dodo Juice Born To Be Mild
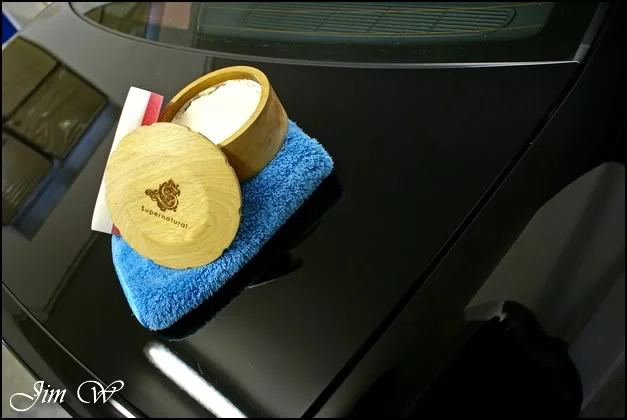
·Dodo Juice SuperNatural
·Jeffs Werkstat Prime
·LTT Auto Ultra Foam
·LTT Auto Ultra Protect
·Lusso Revitalizing Cream
·Meguiars Super-Degreaser
·Meguiars Last Touch
·Meguiars Endurance Tyre Gel
·PoorBoys Black Hole
·Sonus Green Mild Clay
Before:
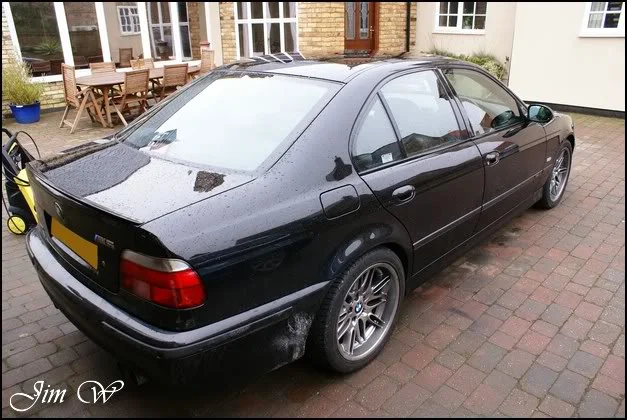
After:
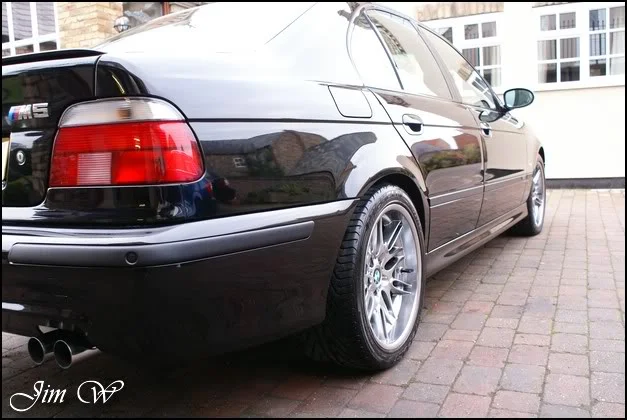
Inspection shots..
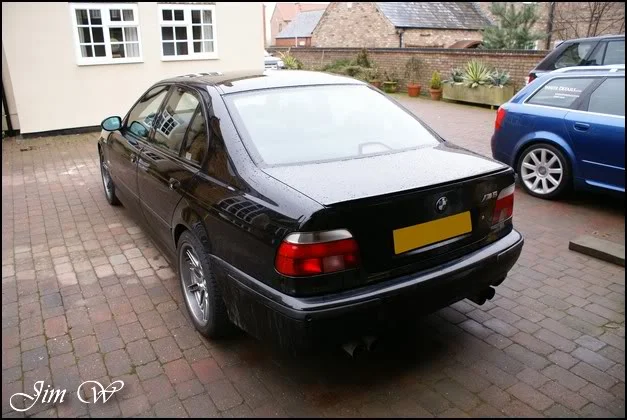
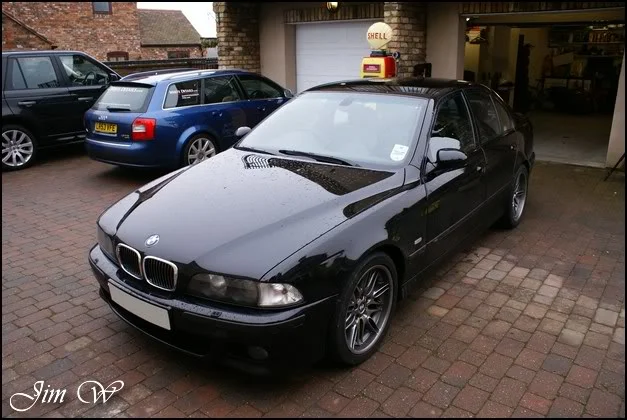
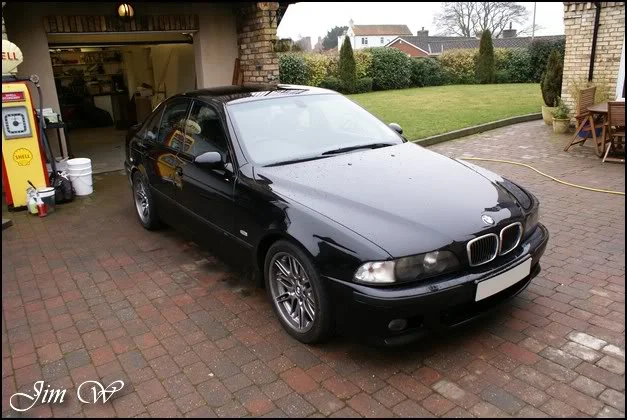
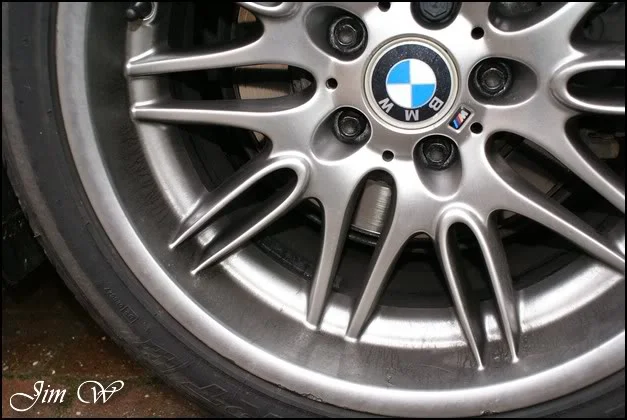
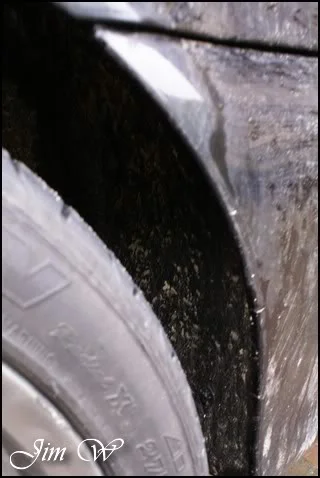
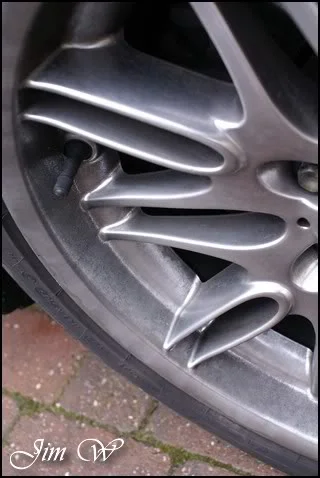
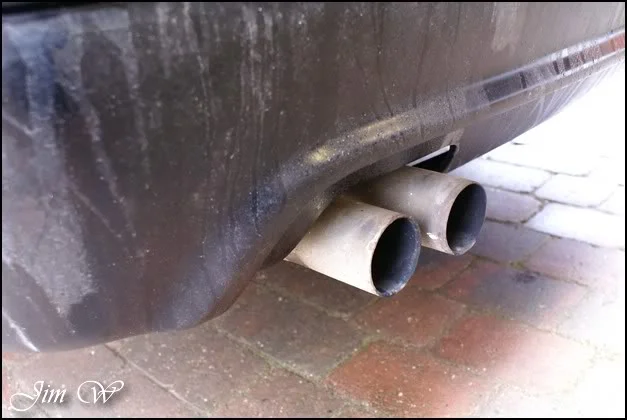
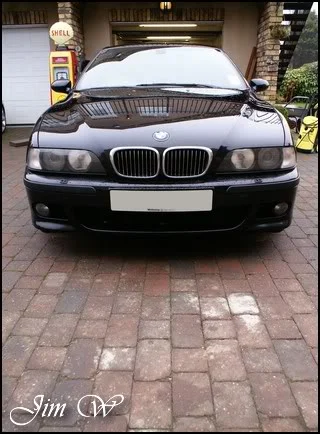
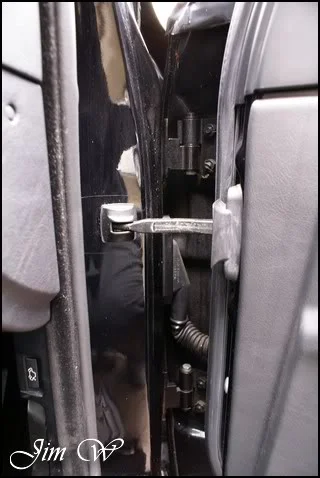
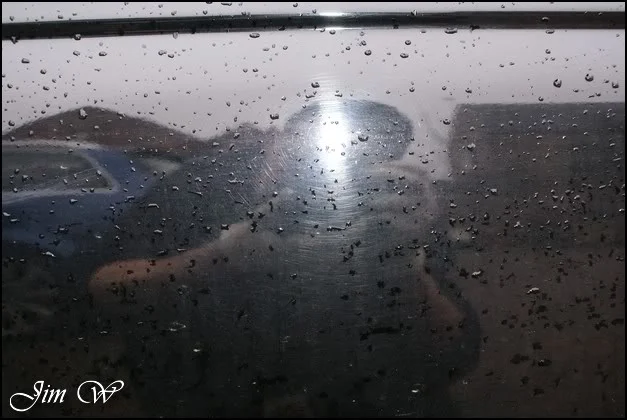
Paint condition doesn’t look too good through the film of dirt..
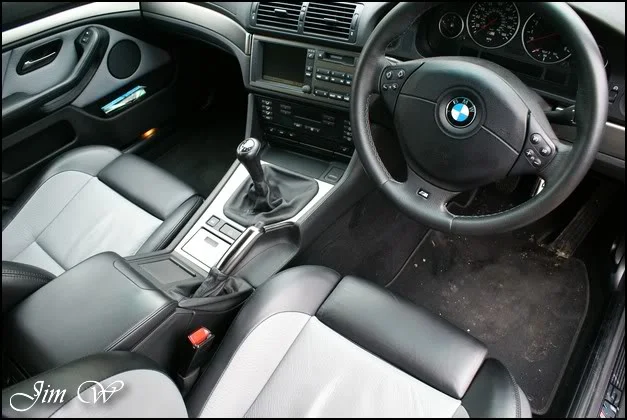
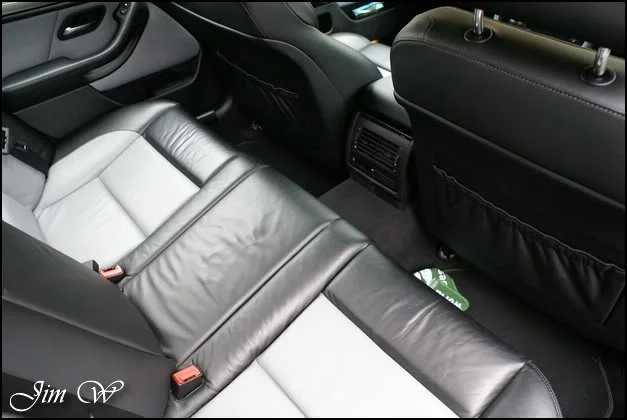
Still, at least the interior is in a pretty decent shape!
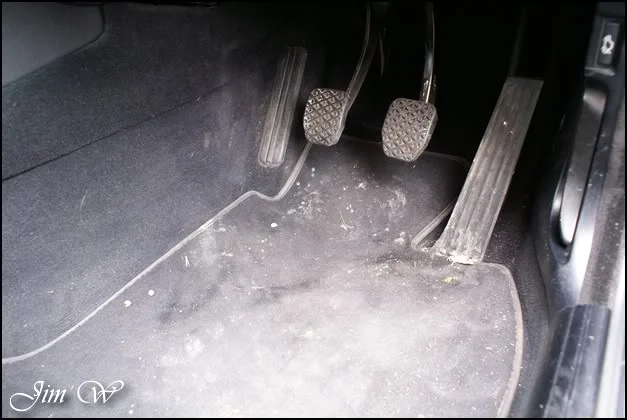
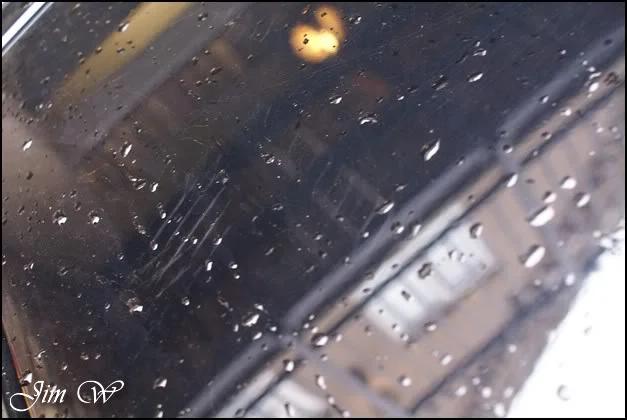
Random marks/scuffs dotted around..
First up? Wheels!
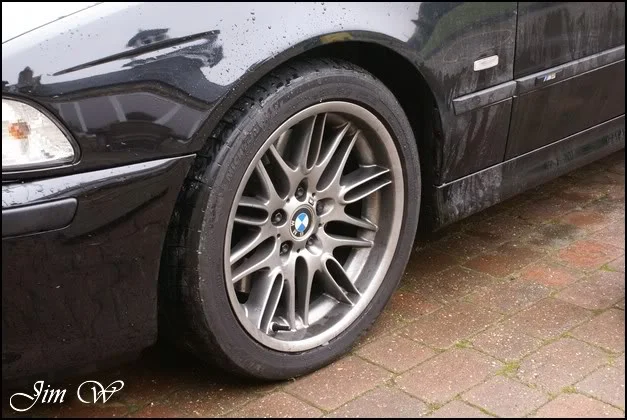
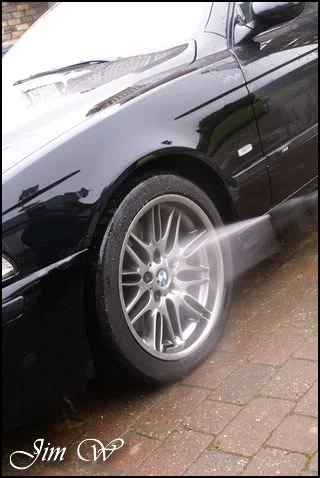
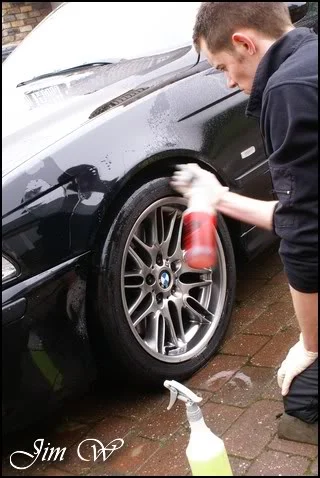
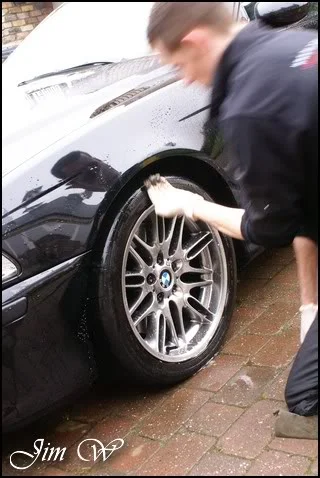
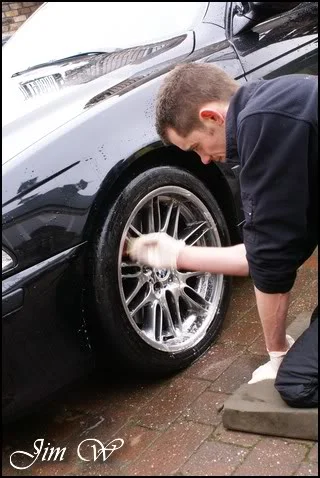
Because of their dark chrome finish, I opted against Megs Wheel Brightener this time! G101 and Megs Super-Degreaser did the trick. (using finger-tips to scrape out inch thick dirt just inside the inner arch lip)
Wheels were later sealed with JetSEAL901 and, looked very well indeed (minus the odd curb mark..)
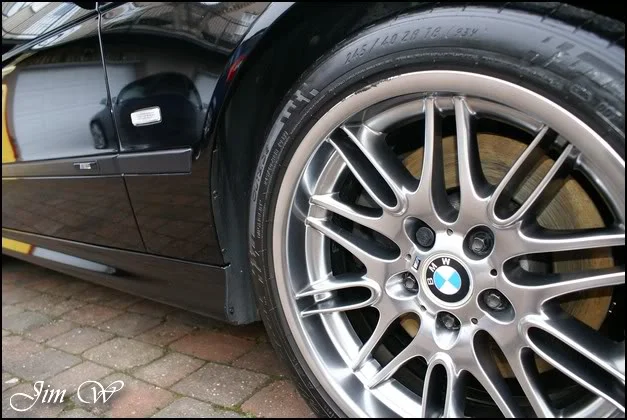
Sills and shuts cleaned with G101.
Snowfoam delivered after a wetting down..
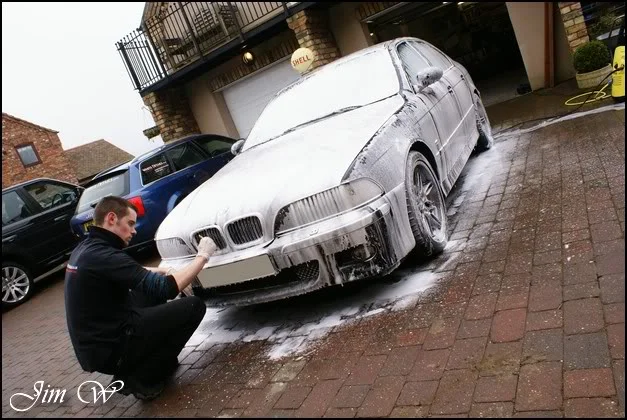
Badges, petrol-filler housing, panel gaps etc cleaned with a fine brush.
I had to spend a good ten minutes rinsing this car to ensure all trapped grit was released.
After this, re-foamed and washed with Born To Be Mild two bucket combo..
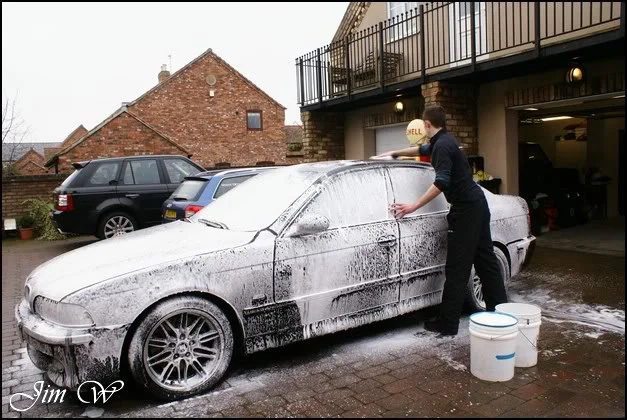
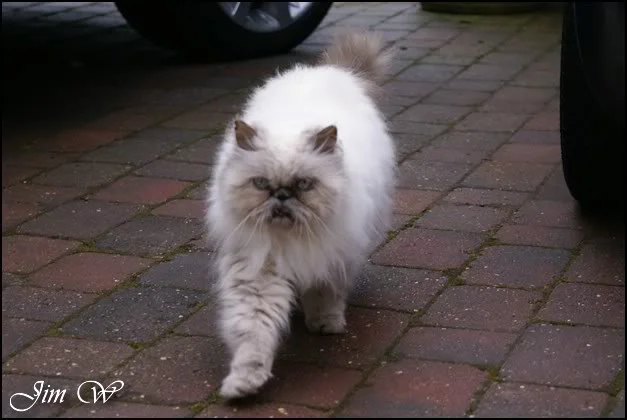
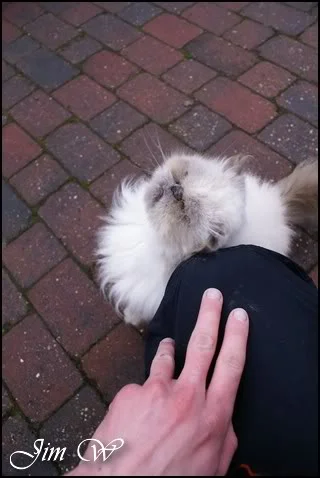
Ah, I found me a friend! (I think it must have been hungry ALL day; there wasn’t five minutes that went by that it didn’t “meow” (I found myself doing it back?! Huh?!))
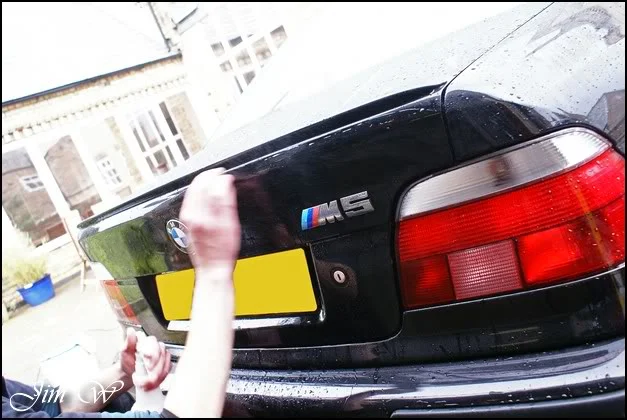
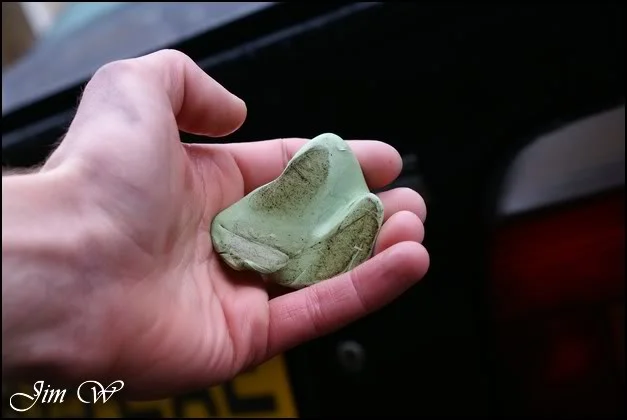
Time to clay. Sonus Green before and after:
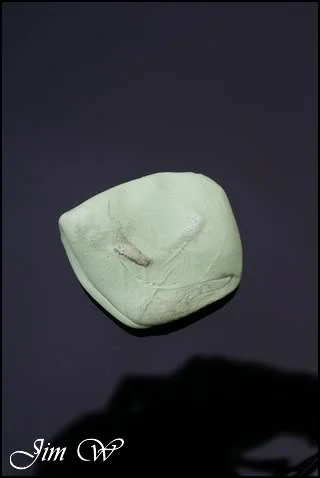
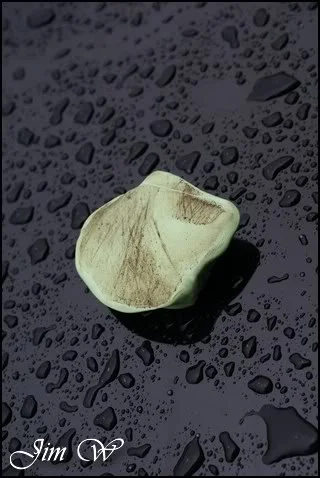
The above after shot was after I’d clayed the boot-lid and N/S rear wing.
Plenty of contaminants to be found!
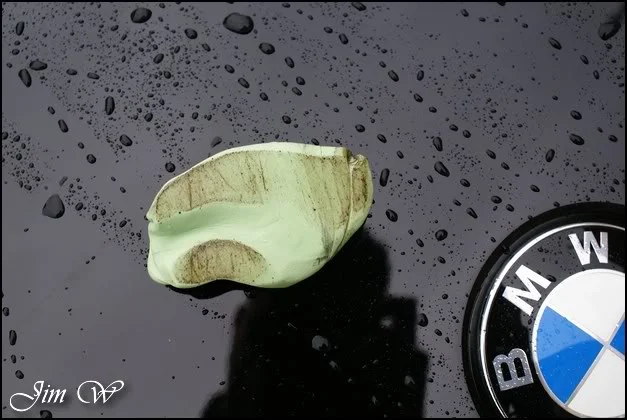
Before dropping below the bumpstrips, I use Tardis to get rid of the bulk of the tar deposits.
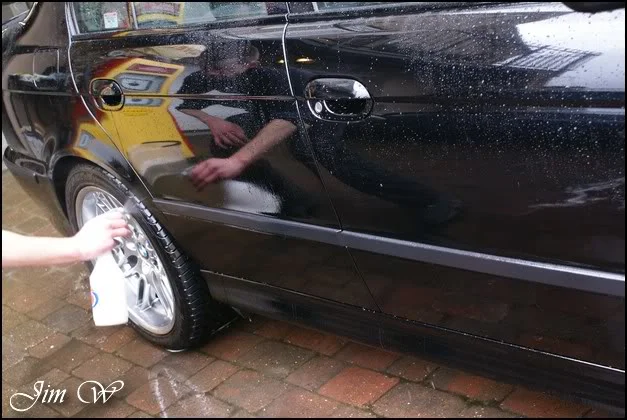
After this, a quick pass with clay, et voila, just the usual crud as opposed to surplus tar pick-up which only ruins the clay!
Boot-lid facing:
Car was pressure washed down in-between Tardis sessions and finally rinsed with an open-hose to sheet the water off of the car.
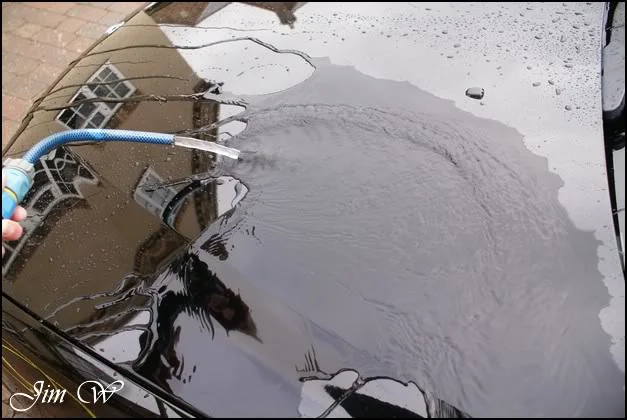
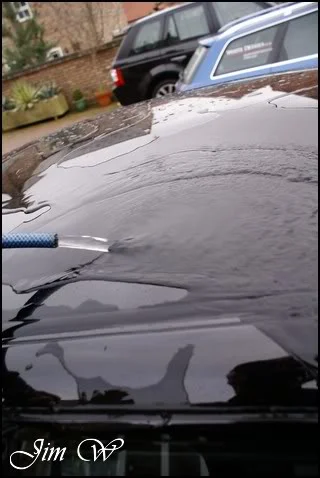
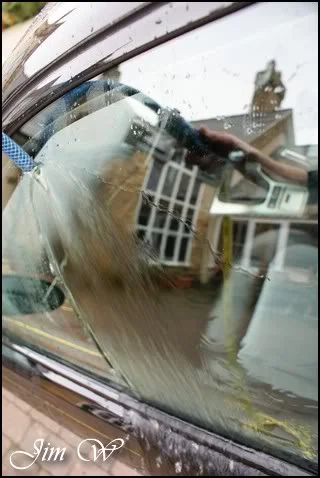
…and a car that barely needs towel drying:
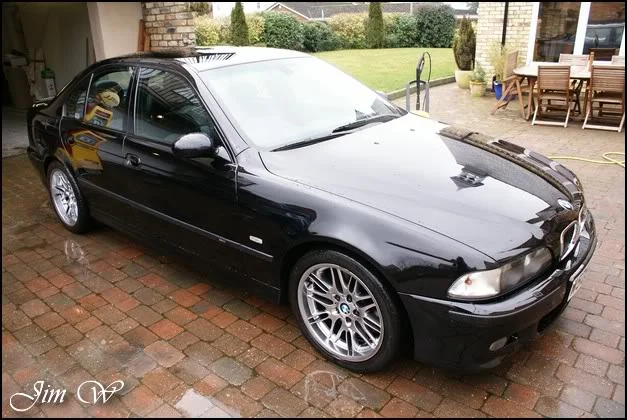
Here, I used the Black Baron vehicle dryer to aid in freeing trapped water from door handles, window joins, bumpstrips, panel-gaps and wheels etc. A fantastic bit of kit.
Stupidly, I’d left my boot open; OI!!
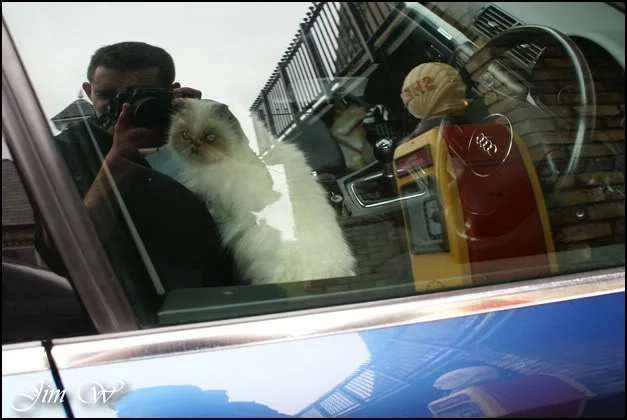
“PSSSSSSH!!”
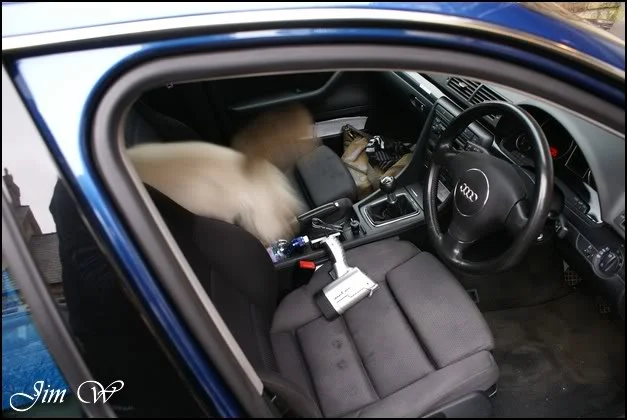
……little bugger. My seats are filthy and need a clean anyway.. :approve:
OK, so, a clean contaminant free car. Let’s check the paintwork:
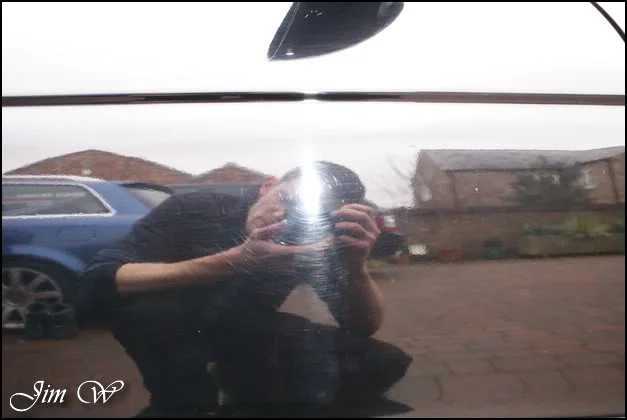
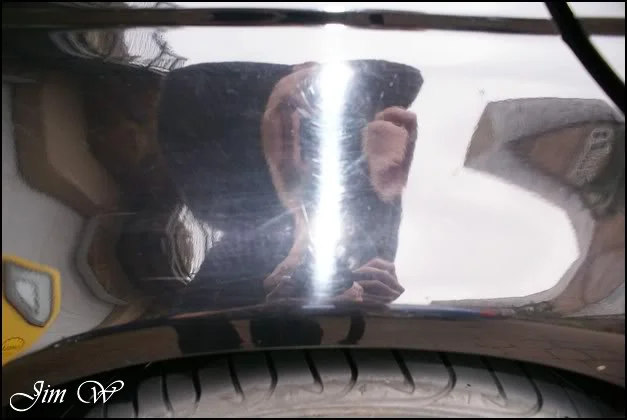
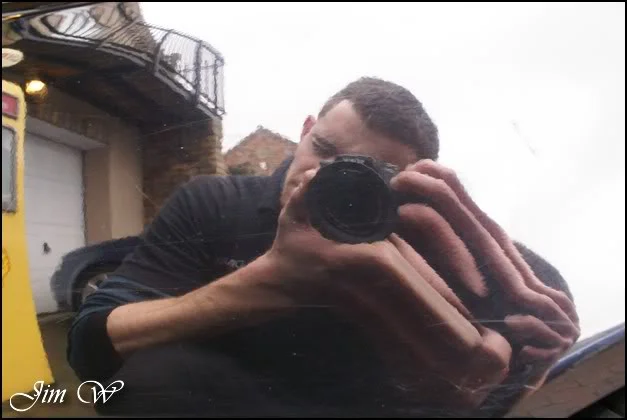
Plenty of random nicks, deep scratches, weird hazes and a sea of swirls… Interested to see what the machine cleanse can clean up seeing as though this isn’t an Enhance or Correct detail.
After a quick word with the owner, we agreed to do the boot-lid as a test panel for possible future Enhancement work..
Ah – paints quite thin then!
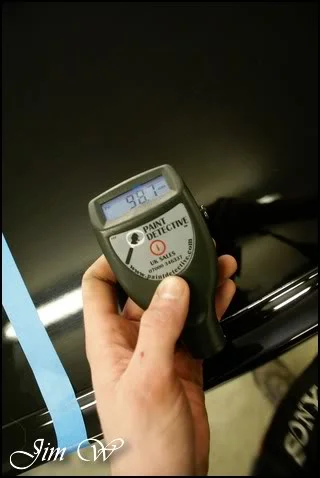
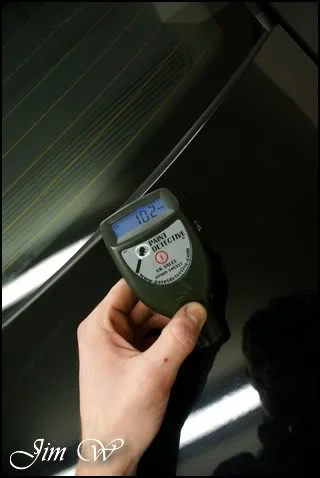
On the boot-lid, some areas were high 80s and very few were above 100.
Milky swirled paint before:
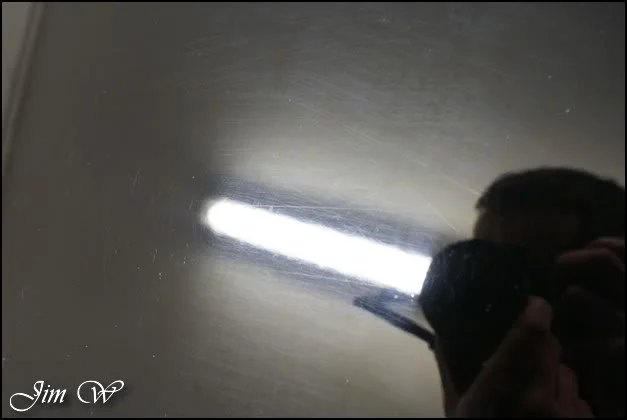
And after:
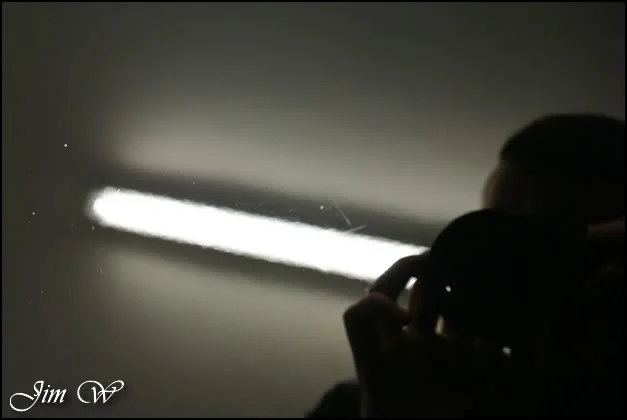
A complete different cololur!
Before:
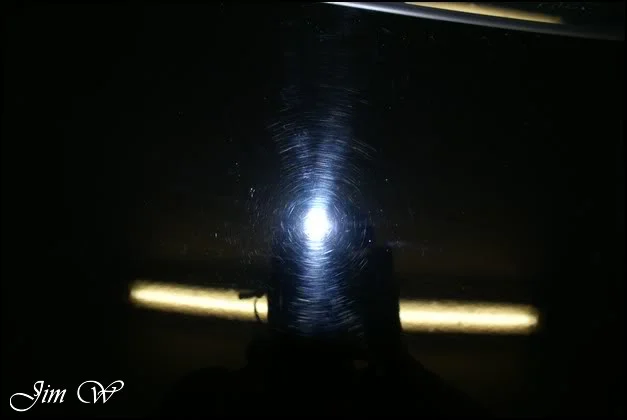
After:
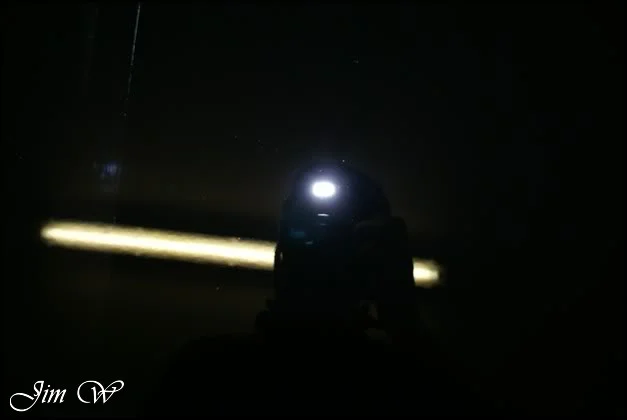
50/50s:
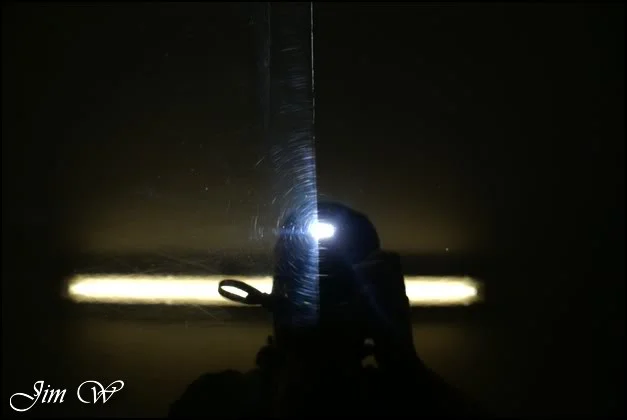
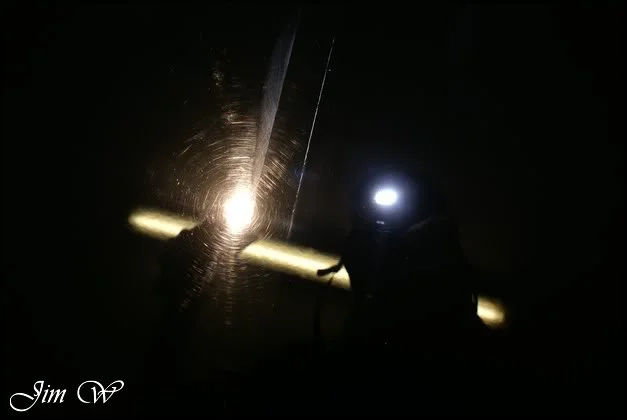
Before:
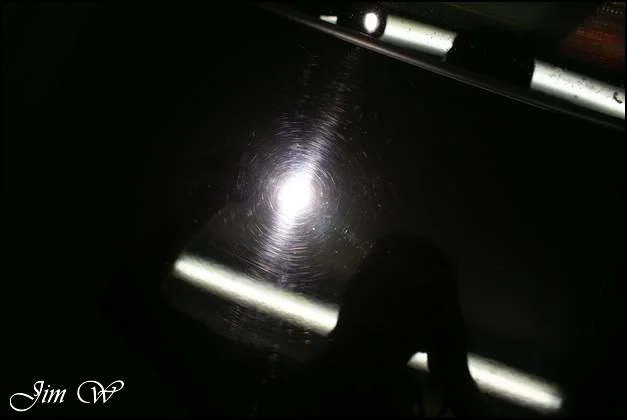
After:
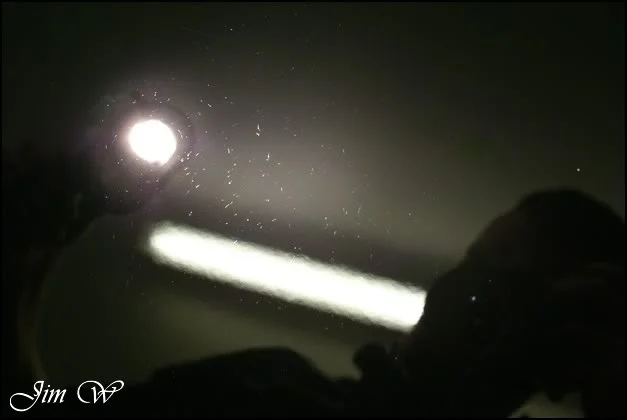
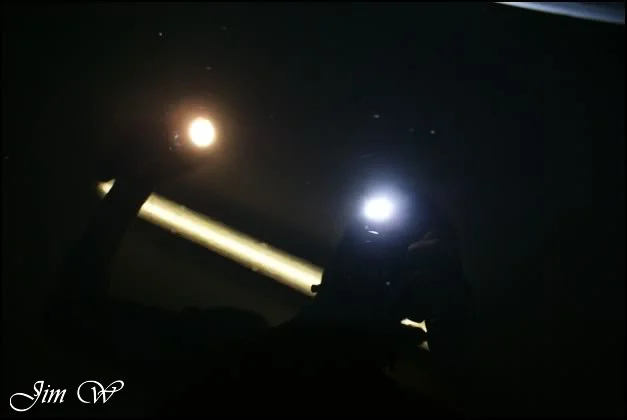
The above was achieved by using Limeprime on a yellow 3M Polishing pad. I was quite shocked at the level of correction; paint was on the soft side of things! On my first attempt, I left a whole load of buffer-trails in the paint – shocker! After amending work time and rpm, I was able to knock these back completely on the second pass for a pretty awesome finish.
With that out of the way, it was time to crack on. My usual, blue 3M Finishing Pad with Lusso Revitalizing Cream routine.
Wait a minute.. The product WELDED itself to the paint. Try again with a mix of PB BlackHole.. but no, everywhere I went, I seemed to be doing more harm than good!?? How about Blackhole by itself on a fresh pad? No – still left pretty patterns in the already unsightly paint! Erm..
I needed ideas – I spoke to Rob who operates GleamMachine Detailing down in Kent, he stated that solid black paint is a pig to begin with, and, to try cleansing the paint by hand only. He has also experienced the same problem with Lusso RC.. Pity this, it was all going so well too!
This is what I had to deal with on the rest of the car:
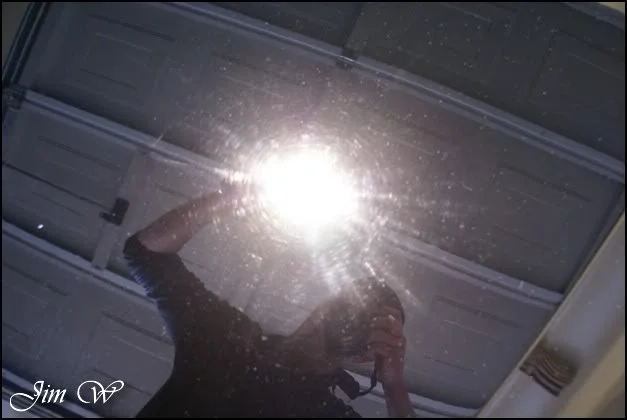
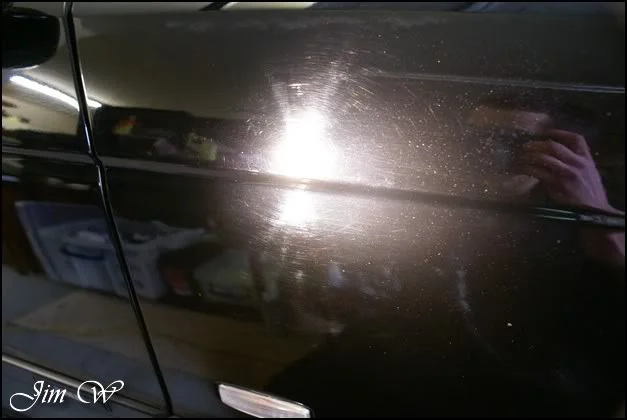
I was very impressed with Blackhole’s cleaning/filling abilities though (even by hand..)
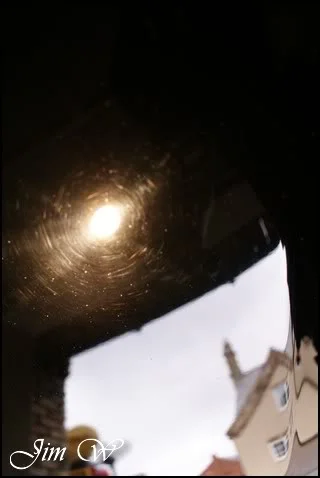
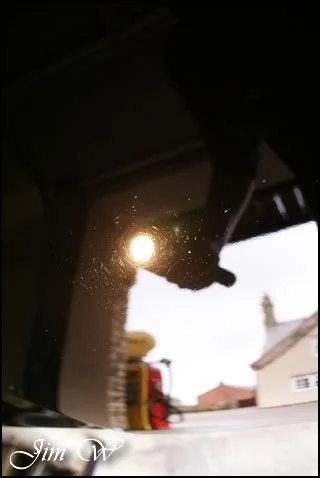
Before and after on the N/S doors:
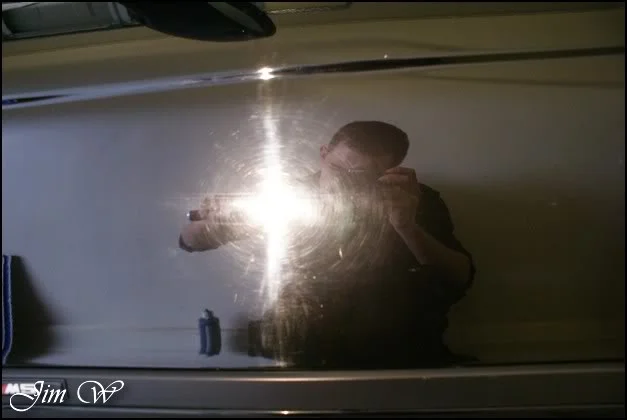
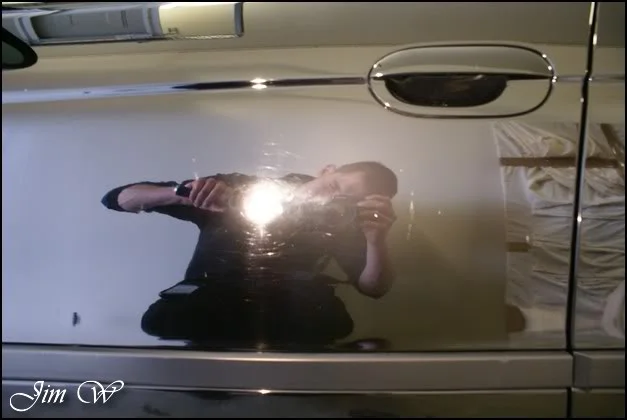
Far from perfect, but, lets not forget this is only a clean and protect detail..
After a few agonizing hours and constant nursing of the ‘burnt’ shoulder muscles, we were getting somewhere.
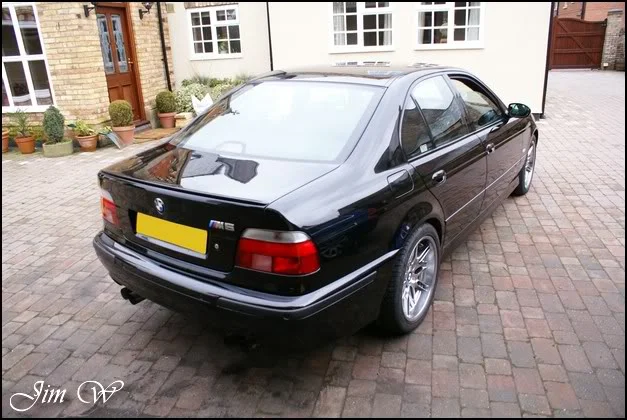
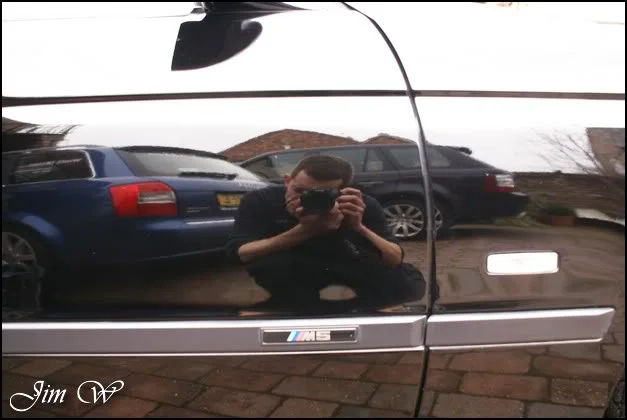
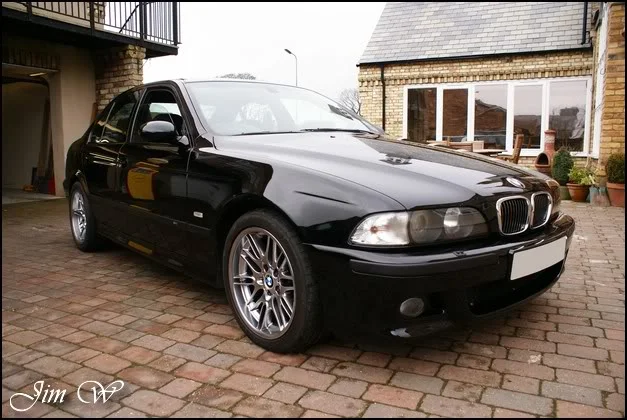
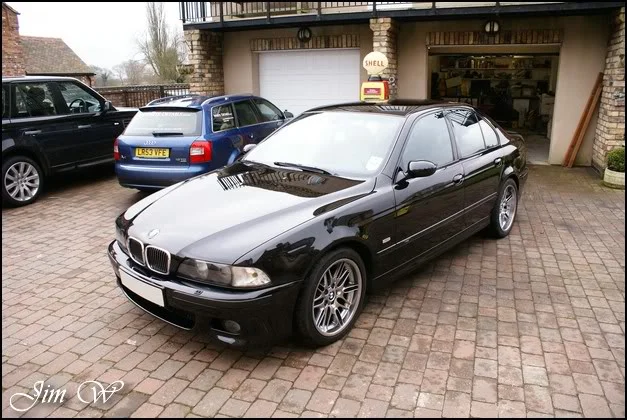
SHARP reflections now on the boot-lid that had the enhancement work:
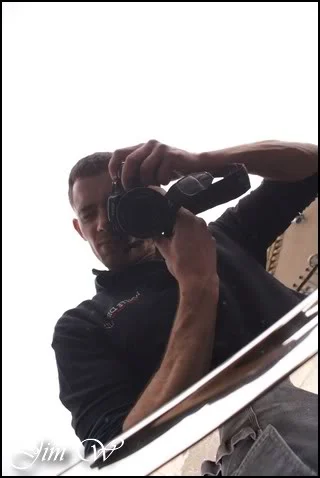
And back in the garage for wax..
LSP of choice was Dodo Juice SuperNatural:
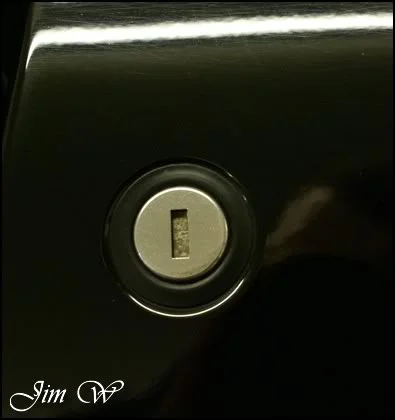
A bit of tooth-pickery work getting rid of the crud in the key-holes..
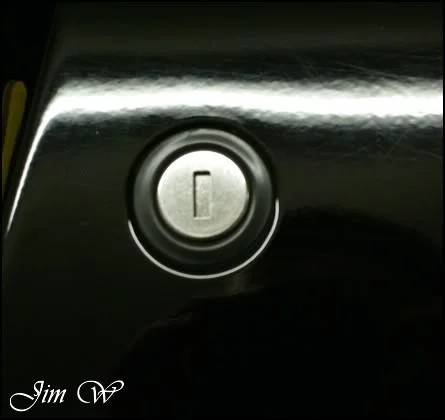
….spot the cat:
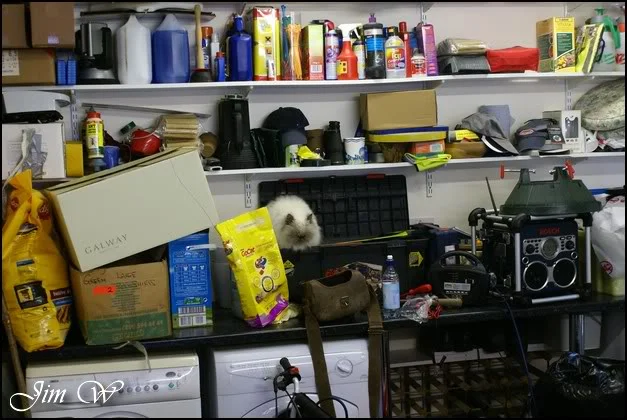
I noticed how tarnished and black the exhausts were earlier on in the day (something I wasn’t looking forward to having to do!)
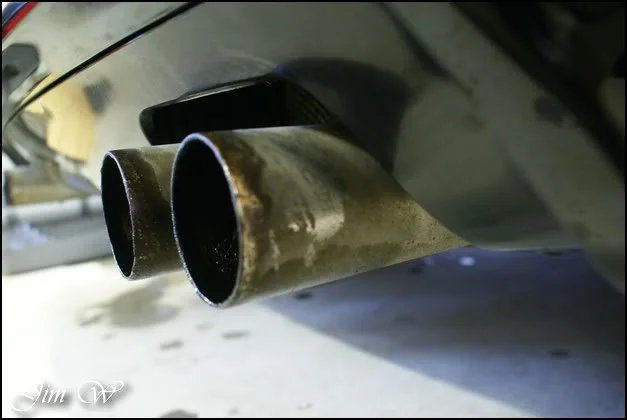
After I’d left JetSEAL901 to cure on the alloys, I gave the exhausts an initial ‘spray and wipe’ with Tardis, they were left looking like this:
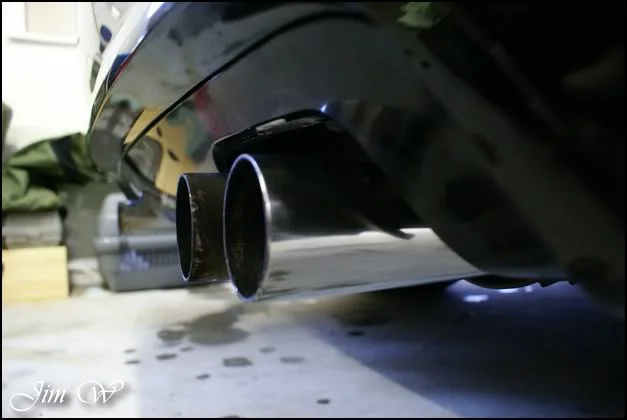
50/50 after using Autosol:
And after:
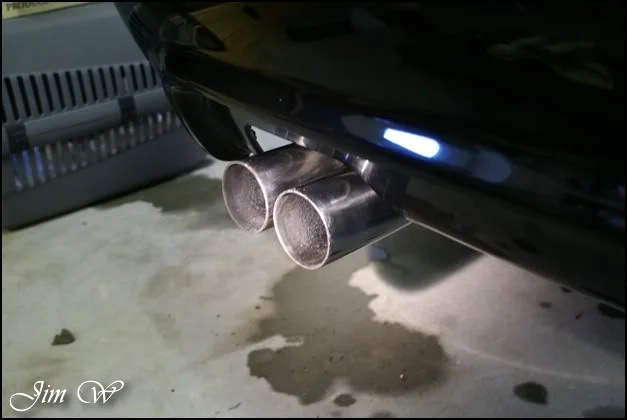
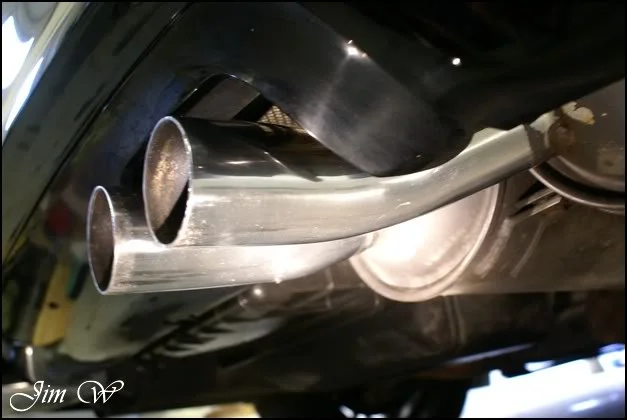
They weren’t perfect; the inners were far gone and the tips suffered from some quite stubborn build up.
Look what we have here! An old friend from late last year..
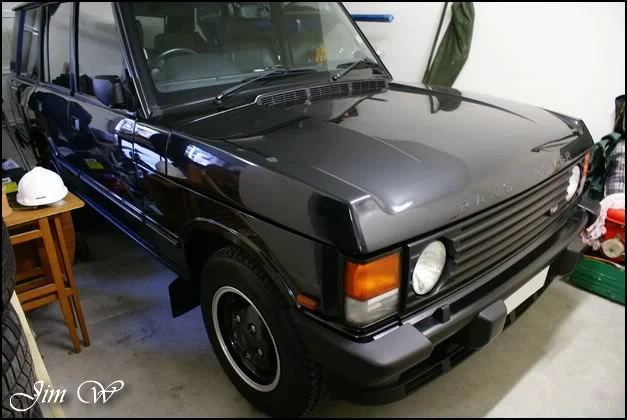
(In the end, as of its condition, the owner decided against selling it!)
Quite a bit of kit collecting now..
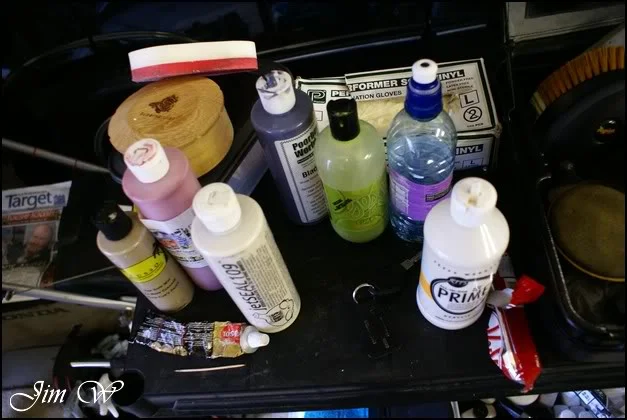
JetSEAL901 removed. Tyres dressed. Sills cleansed and protected with Jeffs Prime.
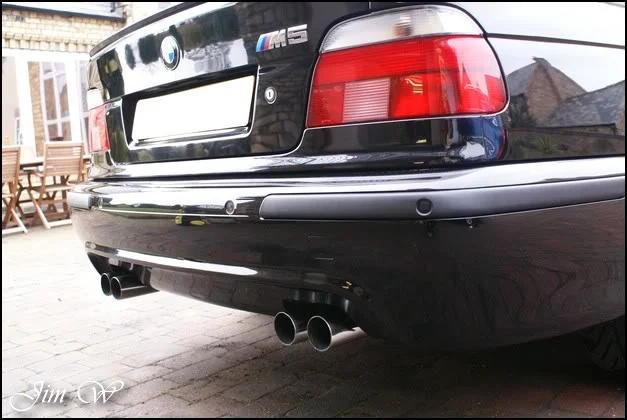
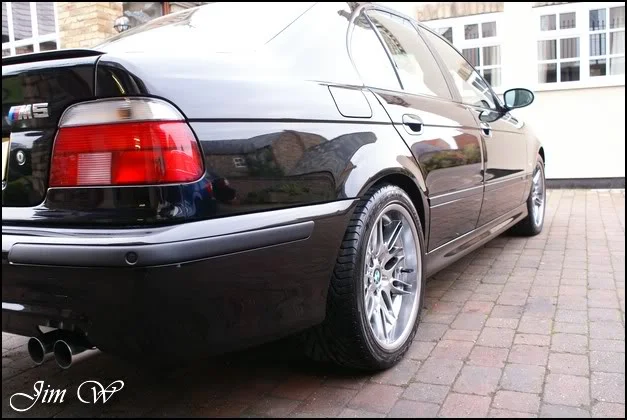
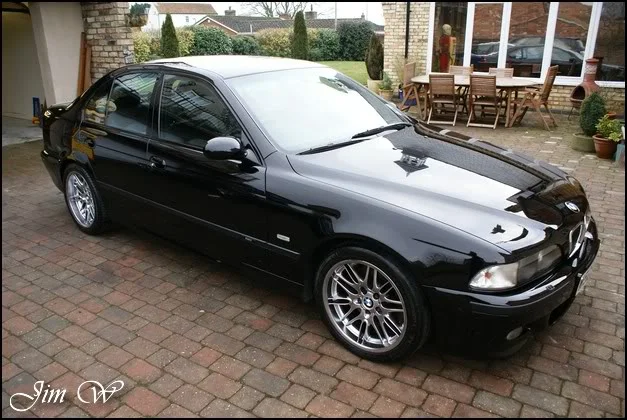
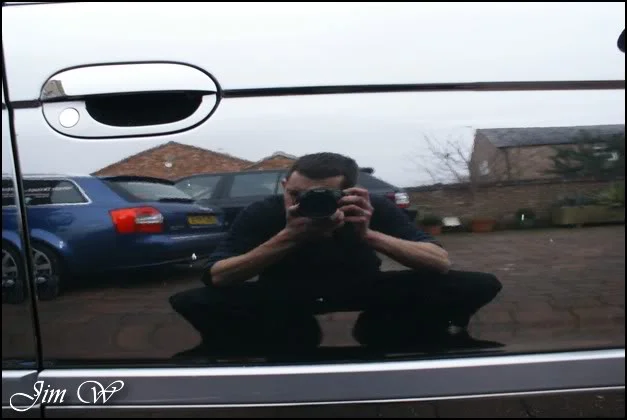
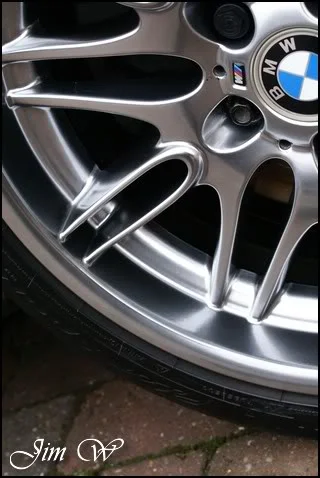
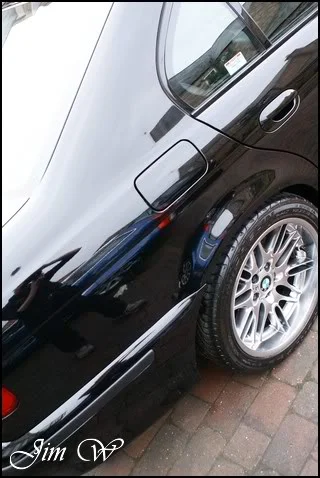
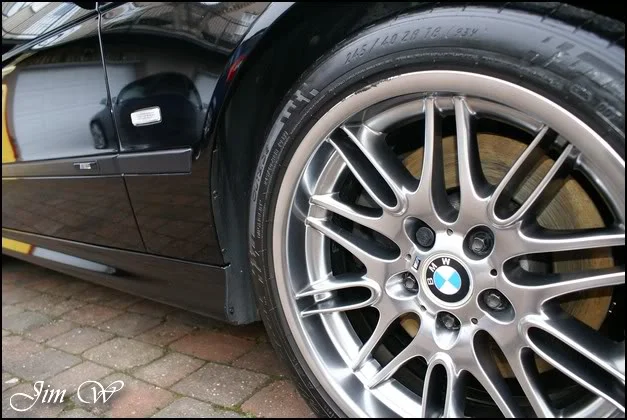
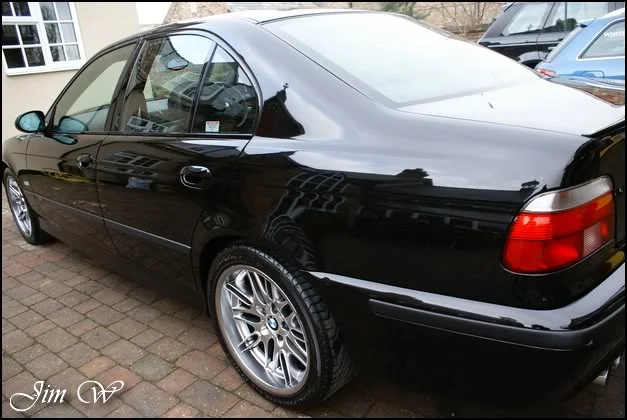
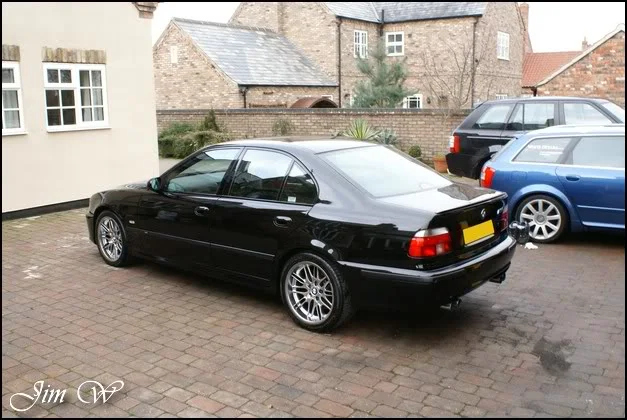
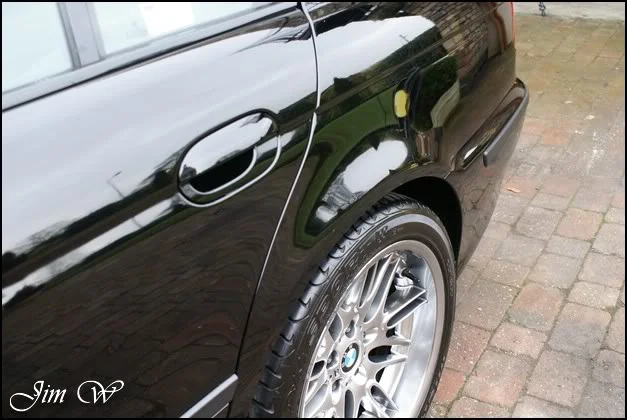
The above series of photos were me making the most of the remaining day light.. Some fine rain started to fall, so, it was back in the garage to work the interior and give the finishing touches..
Mats scrubbed with G101 and dirt wiped away with a mf. All plastics and doorcards wiped down followed by a good hoover. Leather cleaned with LTT Auto Ultra Foam and later protected with LTT Auto Ultra Protect. I’ve got into the habit now of giving the seats a damp wipe over to add a little moister and re-hydrate them – if anything, it will ensure all Ultra Foam residue is removed.
Windows finally cleaned, mats put back in the car and that’s our lot. Oh, the pedals were scrubbed too (no after interior photos unfortunately)
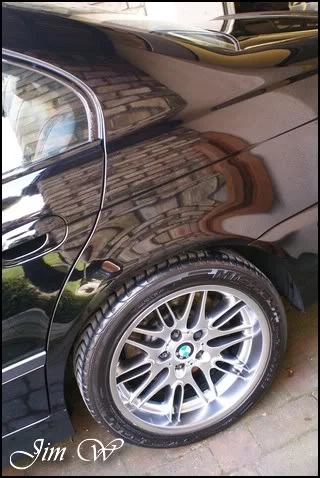
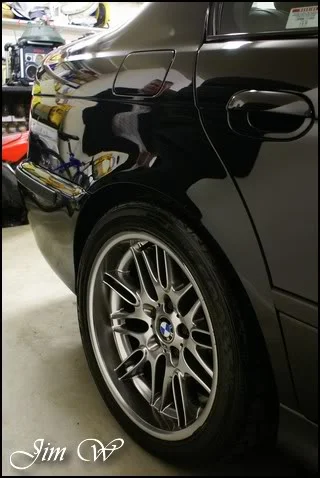
The rain has passed, so, back outside for photos.
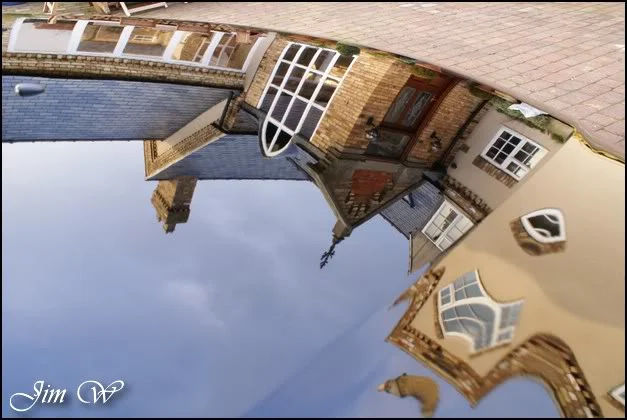
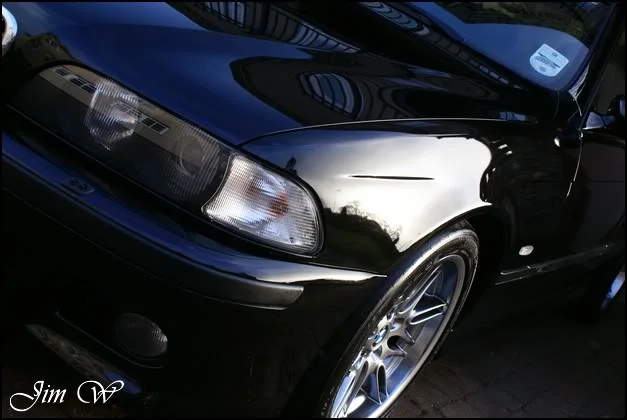
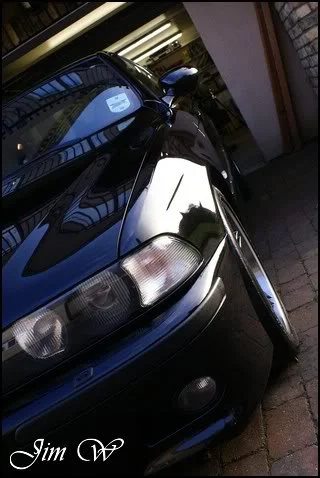
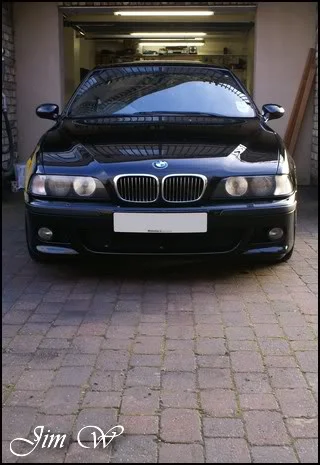
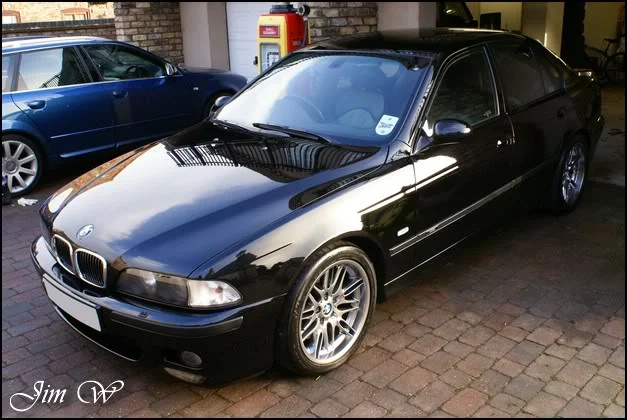
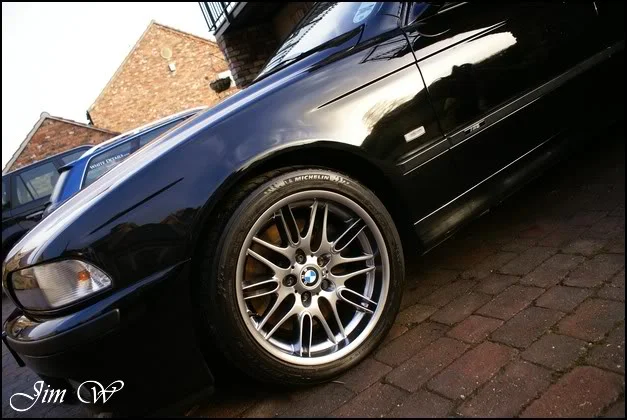
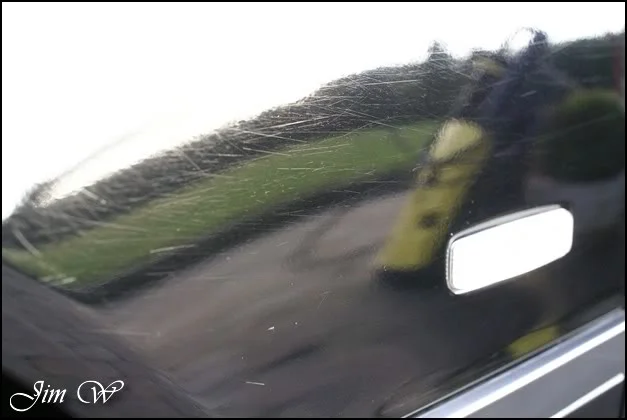
^from here it may look nice, but, get in close and you’re left with:
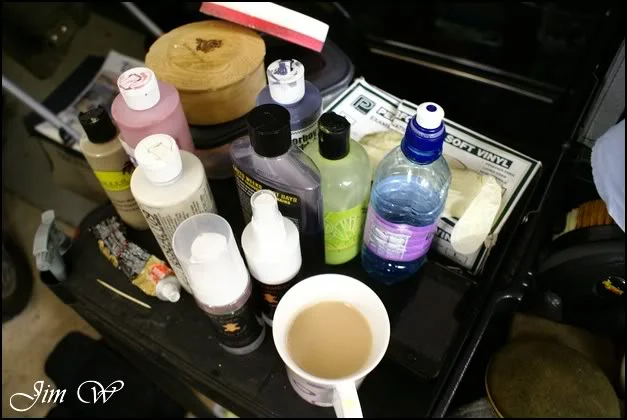
Final kit photo with complimentary cup of tea!
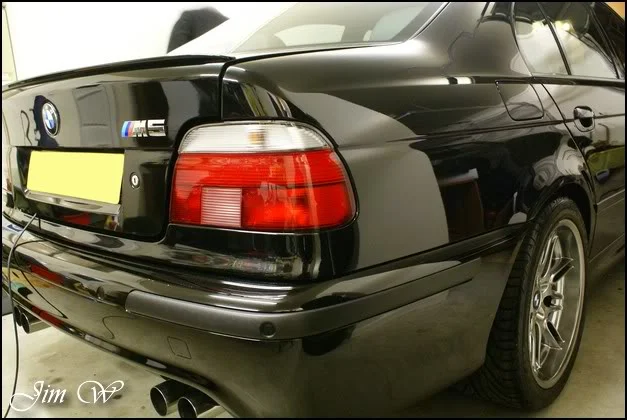
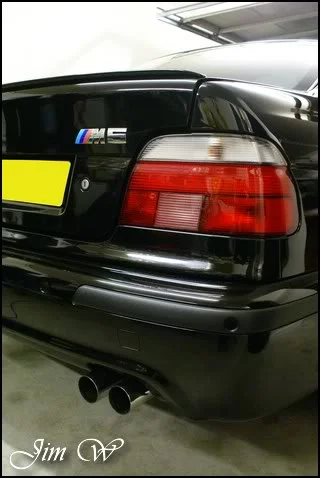
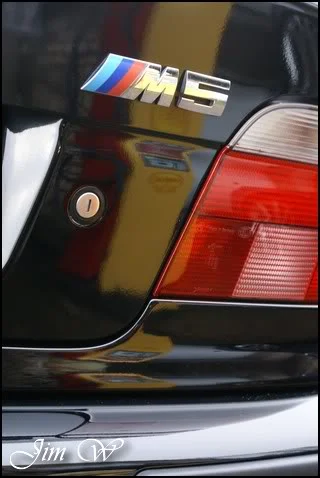
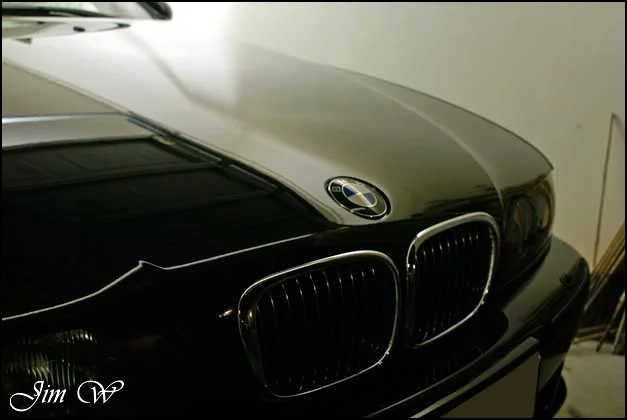
Overall, ~8 hours were put into this. It was a funny one! Certainly left me scratching my head.. Thanks to Rob for helping me work out an alternative route!
Thanks for reading.
Jim
Such a meaty vehicle! Even on tickover the engine sounded fierce! Beast!
Product
·AutoGlym Fast Glass
·AutoSmart G101
·AutoSmart Tardis
·Autosol
·ChemicalGuys JetSEAL901
·ClearKote Red Moose Machine Glaze
·Dodo Juice Limeprime
·Dodo Juice Born To Be Mild
·Dodo Juice SuperNatural
·Jeffs Werkstat Prime
·LTT Auto Ultra Foam
·LTT Auto Ultra Protect
·Lusso Revitalizing Cream
·Meguiars Super-Degreaser
·Meguiars Last Touch
·Meguiars Endurance Tyre Gel
·PoorBoys Black Hole
·Sonus Green Mild Clay
Before:
After:
Inspection shots..
Paint condition doesn’t look too good through the film of dirt..
Still, at least the interior is in a pretty decent shape!
Random marks/scuffs dotted around..
First up? Wheels!
Because of their dark chrome finish, I opted against Megs Wheel Brightener this time! G101 and Megs Super-Degreaser did the trick. (using finger-tips to scrape out inch thick dirt just inside the inner arch lip)
Wheels were later sealed with JetSEAL901 and, looked very well indeed (minus the odd curb mark..)
Sills and shuts cleaned with G101.
Snowfoam delivered after a wetting down..
Badges, petrol-filler housing, panel gaps etc cleaned with a fine brush.
I had to spend a good ten minutes rinsing this car to ensure all trapped grit was released.
After this, re-foamed and washed with Born To Be Mild two bucket combo..
Ah, I found me a friend! (I think it must have been hungry ALL day; there wasn’t five minutes that went by that it didn’t “meow” (I found myself doing it back?! Huh?!))
Time to clay. Sonus Green before and after:
The above after shot was after I’d clayed the boot-lid and N/S rear wing.
Plenty of contaminants to be found!
Before dropping below the bumpstrips, I use Tardis to get rid of the bulk of the tar deposits.
After this, a quick pass with clay, et voila, just the usual crud as opposed to surplus tar pick-up which only ruins the clay!
Boot-lid facing:
Car was pressure washed down in-between Tardis sessions and finally rinsed with an open-hose to sheet the water off of the car.
…and a car that barely needs towel drying:
Here, I used the Black Baron vehicle dryer to aid in freeing trapped water from door handles, window joins, bumpstrips, panel-gaps and wheels etc. A fantastic bit of kit.
Stupidly, I’d left my boot open; OI!!
“PSSSSSSH!!”
……little bugger. My seats are filthy and need a clean anyway.. :approve:
OK, so, a clean contaminant free car. Let’s check the paintwork:
Plenty of random nicks, deep scratches, weird hazes and a sea of swirls… Interested to see what the machine cleanse can clean up seeing as though this isn’t an Enhance or Correct detail.
After a quick word with the owner, we agreed to do the boot-lid as a test panel for possible future Enhancement work..
Ah – paints quite thin then!
On the boot-lid, some areas were high 80s and very few were above 100.
Milky swirled paint before:
And after:
A complete different cololur!
Before:
After:
50/50s:
Before:
After:
The above was achieved by using Limeprime on a yellow 3M Polishing pad. I was quite shocked at the level of correction; paint was on the soft side of things! On my first attempt, I left a whole load of buffer-trails in the paint – shocker! After amending work time and rpm, I was able to knock these back completely on the second pass for a pretty awesome finish.
With that out of the way, it was time to crack on. My usual, blue 3M Finishing Pad with Lusso Revitalizing Cream routine.
Wait a minute.. The product WELDED itself to the paint. Try again with a mix of PB BlackHole.. but no, everywhere I went, I seemed to be doing more harm than good!?? How about Blackhole by itself on a fresh pad? No – still left pretty patterns in the already unsightly paint! Erm..
I needed ideas – I spoke to Rob who operates GleamMachine Detailing down in Kent, he stated that solid black paint is a pig to begin with, and, to try cleansing the paint by hand only. He has also experienced the same problem with Lusso RC.. Pity this, it was all going so well too!
This is what I had to deal with on the rest of the car:
I was very impressed with Blackhole’s cleaning/filling abilities though (even by hand..)
Before and after on the N/S doors:
Far from perfect, but, lets not forget this is only a clean and protect detail..
After a few agonizing hours and constant nursing of the ‘burnt’ shoulder muscles, we were getting somewhere.
SHARP reflections now on the boot-lid that had the enhancement work:
And back in the garage for wax..
LSP of choice was Dodo Juice SuperNatural:
A bit of tooth-pickery work getting rid of the crud in the key-holes..
….spot the cat:
I noticed how tarnished and black the exhausts were earlier on in the day (something I wasn’t looking forward to having to do!)
After I’d left JetSEAL901 to cure on the alloys, I gave the exhausts an initial ‘spray and wipe’ with Tardis, they were left looking like this:
50/50 after using Autosol:
And after:
They weren’t perfect; the inners were far gone and the tips suffered from some quite stubborn build up.
Look what we have here! An old friend from late last year..
(In the end, as of its condition, the owner decided against selling it!)
Quite a bit of kit collecting now..
JetSEAL901 removed. Tyres dressed. Sills cleansed and protected with Jeffs Prime.
The above series of photos were me making the most of the remaining day light.. Some fine rain started to fall, so, it was back in the garage to work the interior and give the finishing touches..
Mats scrubbed with G101 and dirt wiped away with a mf. All plastics and doorcards wiped down followed by a good hoover. Leather cleaned with LTT Auto Ultra Foam and later protected with LTT Auto Ultra Protect. I’ve got into the habit now of giving the seats a damp wipe over to add a little moister and re-hydrate them – if anything, it will ensure all Ultra Foam residue is removed.
Windows finally cleaned, mats put back in the car and that’s our lot. Oh, the pedals were scrubbed too (no after interior photos unfortunately)
The rain has passed, so, back outside for photos.
^from here it may look nice, but, get in close and you’re left with:
Final kit photo with complimentary cup of tea!
Overall, ~8 hours were put into this. It was a funny one! Certainly left me scratching my head.. Thanks to Rob for helping me work out an alternative route!
Thanks for reading.
Jim