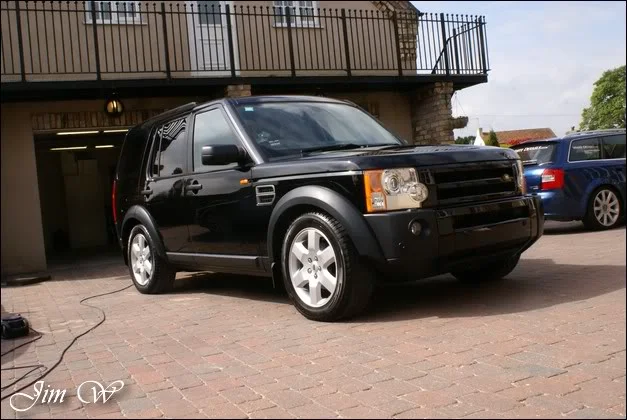
Me again - another big black bus to share with you.. This was compelted earlier in the month but forgot to post it here it would seem.. :dapprove:. Enjoy!
Land Rover Discovery 3 – Minor Correction
Work started on the Monday morning and was finalised late Wednesday afternoon. ~24 hours work time included here.
Product
· AutoSmart Tardis
· AutoSmart G101
· AutoGlym Glass Polish
· AutoGlym Fast Glass
· Chemical Guys New Look Trim Gel
· Chemical Guys JetSEAL109
· Dental Floss (!)
· Dodo Juice Born To Be Mild
· Dodo Juice Limeprime
· Dodo Juice SuperNatural
· Dodo Juice Red Mist
· LTT Auto Ultra Foam
· LTT Auto Ultra Protect
· Meguiars Last Touch
· Meguiars All-Season Dressing
· Meguiars Wheel Brightener
· Menzerna 203s
· PoorBoys Black Hole
· Sonus Green Clay
Before:
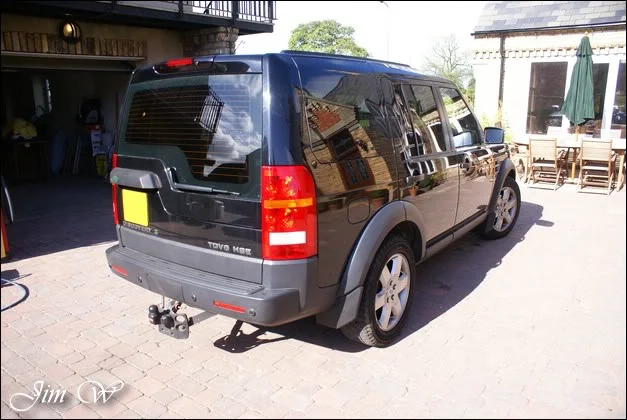
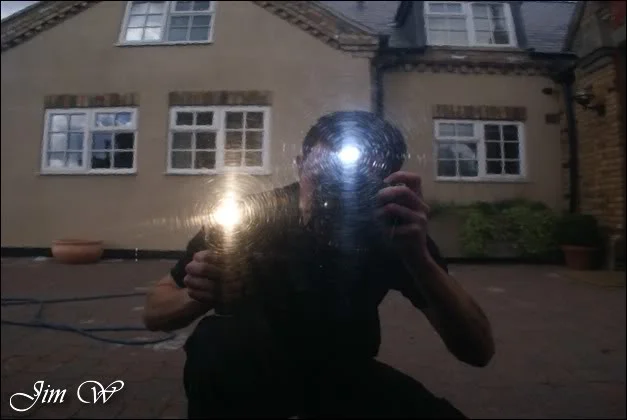
After
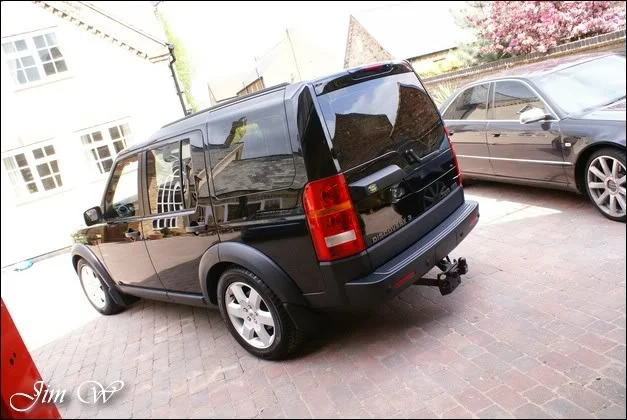
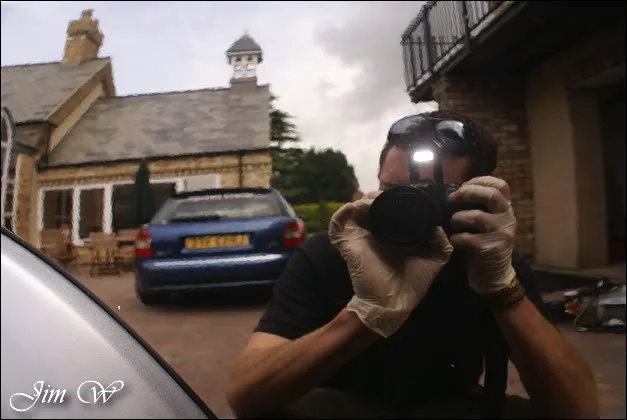
Inspection..
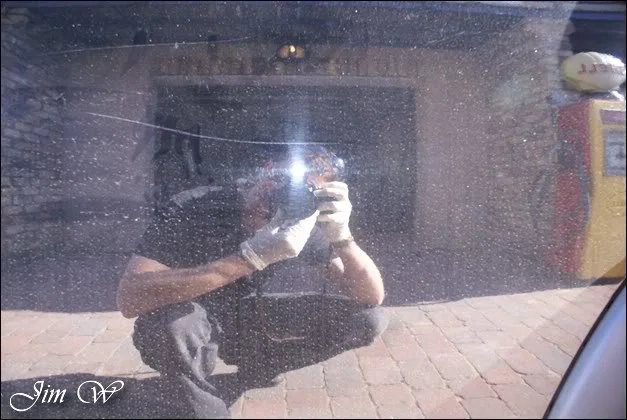
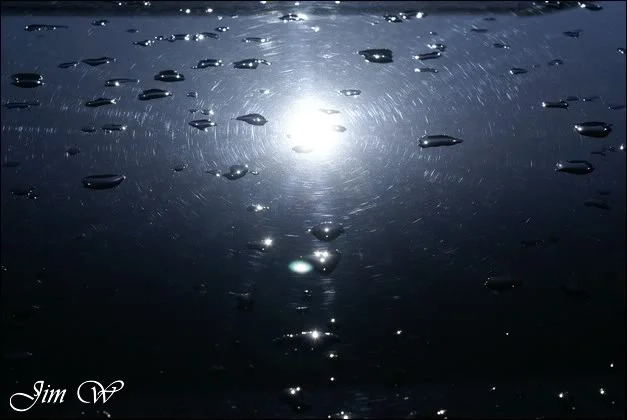
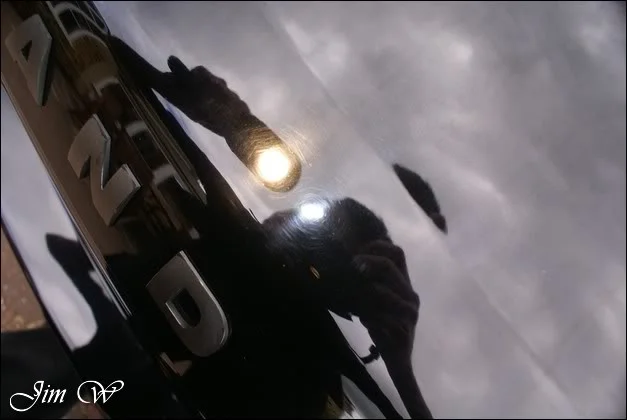
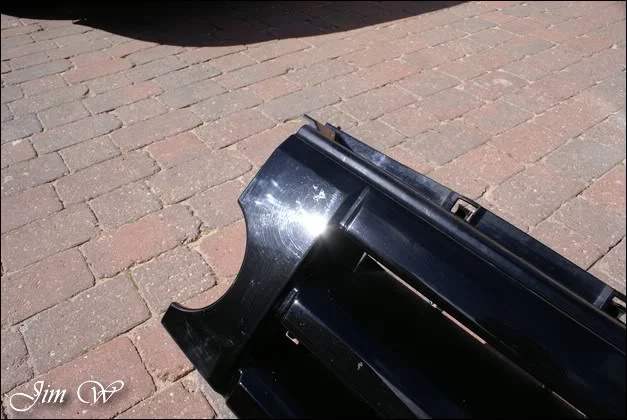
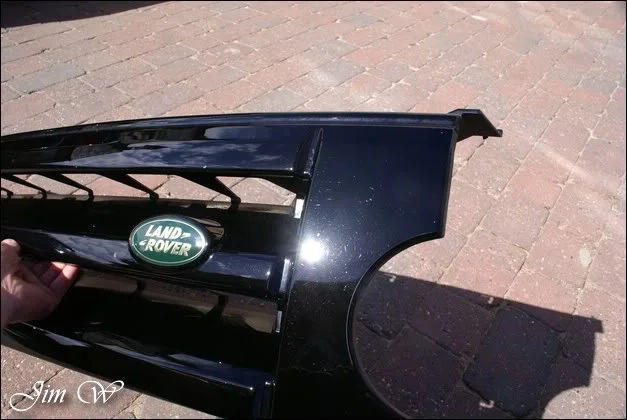
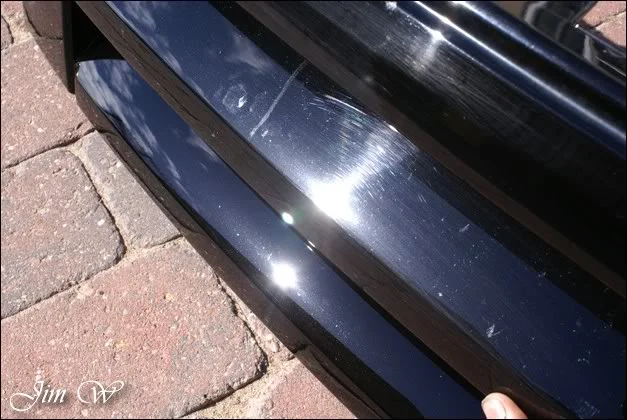
One of the keys areas to fix here was the bonnet-lip where “LAND ROVER” is sited. “Why?”
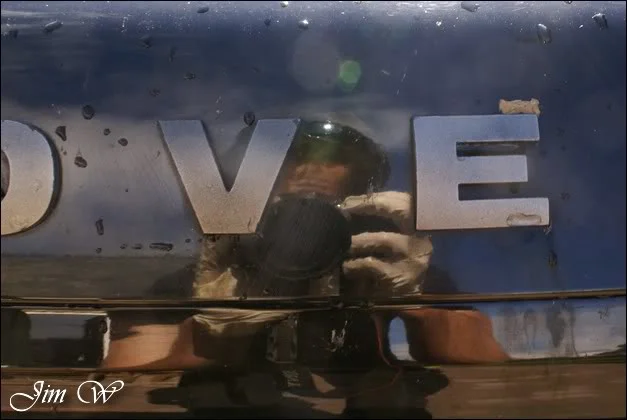
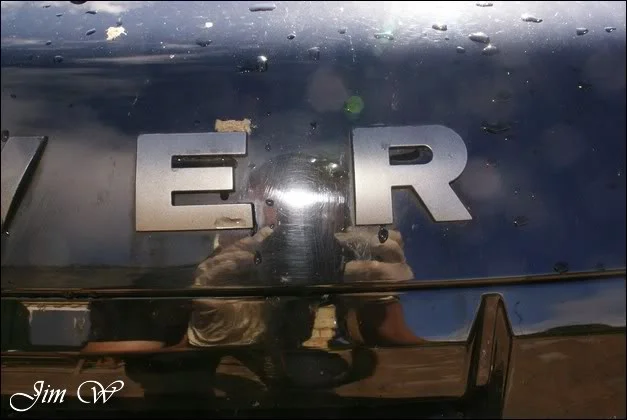
^this is why. Throughout its weekly wash (in someone else’s hands) it appears to have gained some pretty serious scratches around the letters. To fix this the only solution was to strip the old letters off, polish, and replace with new ones. More on this later.
Usual wash process carried out - Wheels/arches and tyres first. Door shut & sills, petrol (diesel..) filler housing and other little niggely areas.
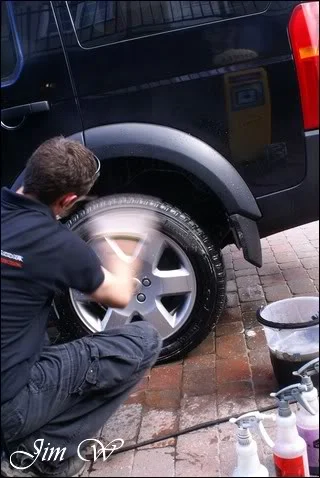
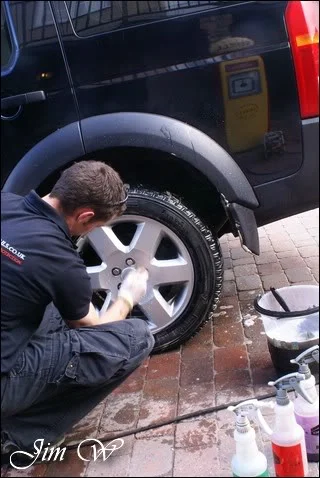
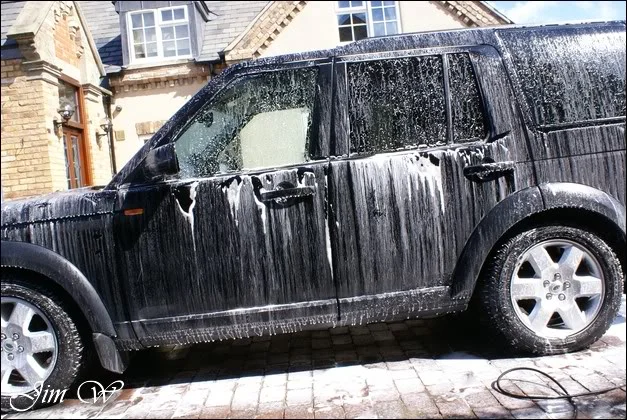
Monday was pretty much full-sun all day; glorious weather. With that in mind, I motored on.. (Hence lack of photos)
Mild contaminants lifted throughout the claying stages:
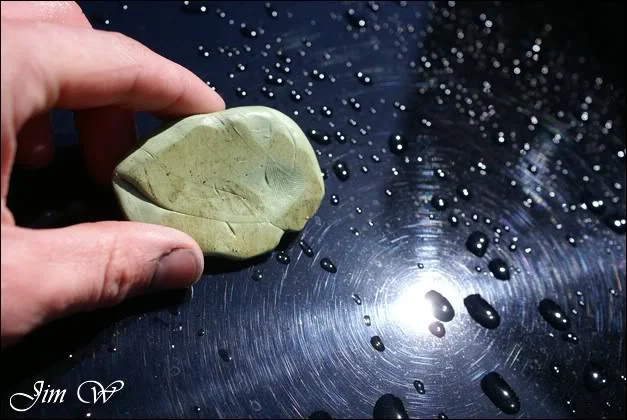
A proper inspection of the paintwork now its clean, clayed and dry.
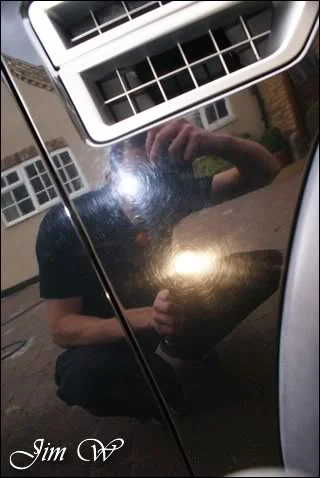
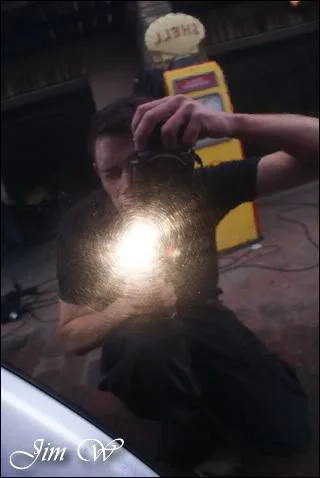
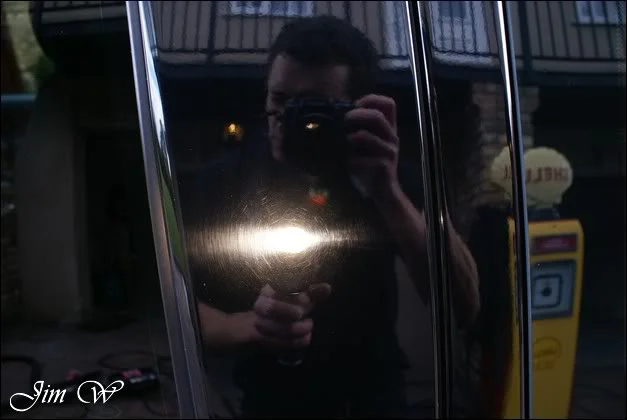
The O/S rear quarter was shocking. It’d been to Land Rover direct for some spray work and had been left in a poor state of affairs.
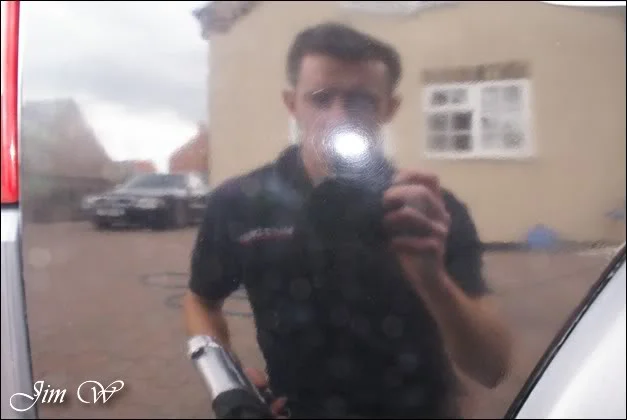
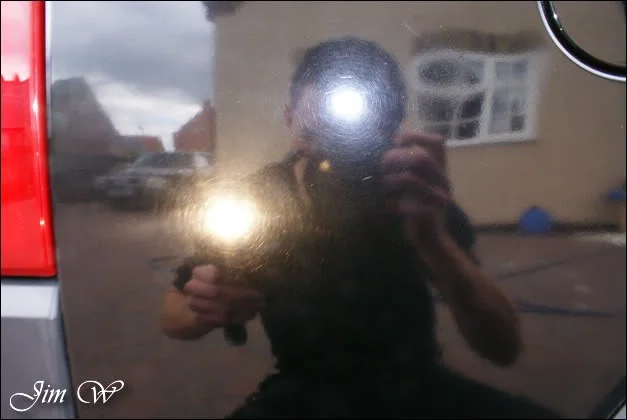
Upon later inspection sanding marks were still present, lots of overspray and gunk in the crevice between the panel and the light-cluster and whole areas that had been missed in the flatting processes were spotted.
First things first, remove the badges on the front-end.
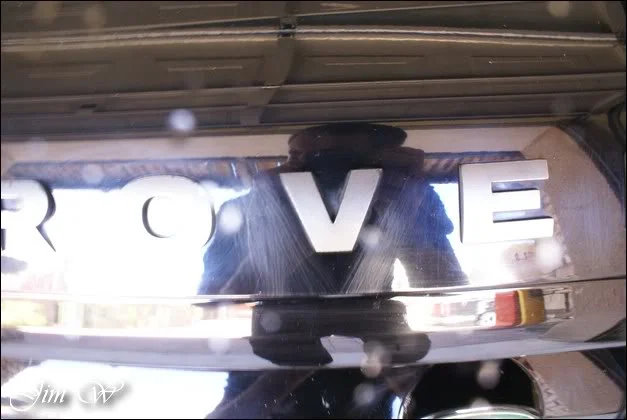
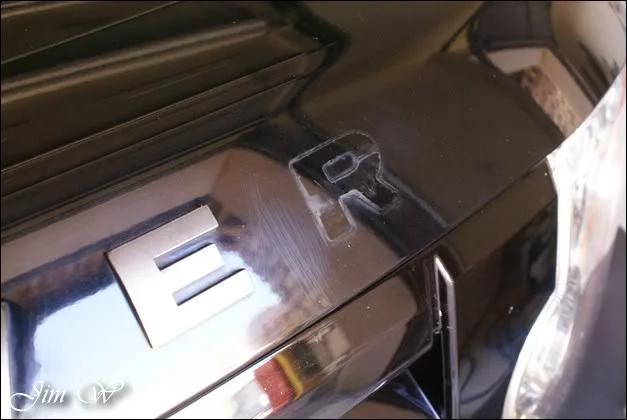
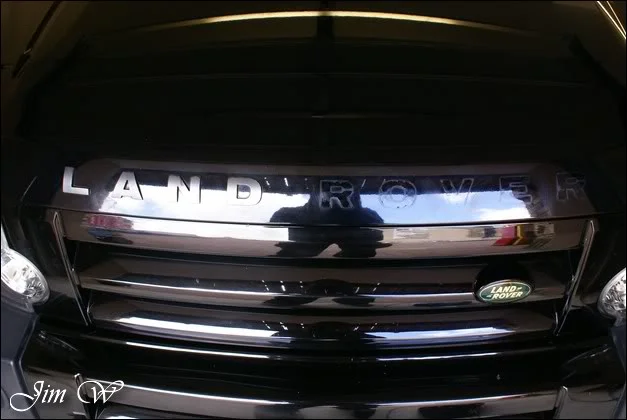
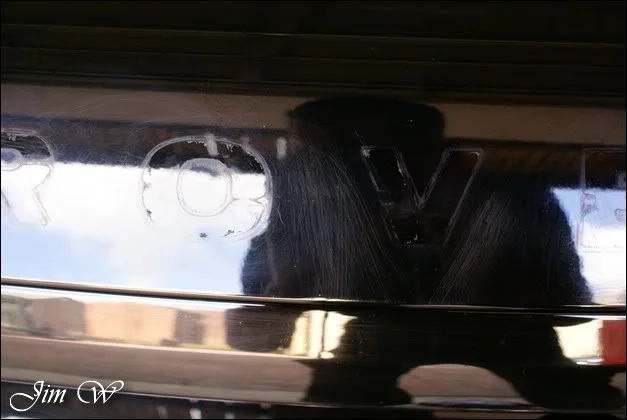
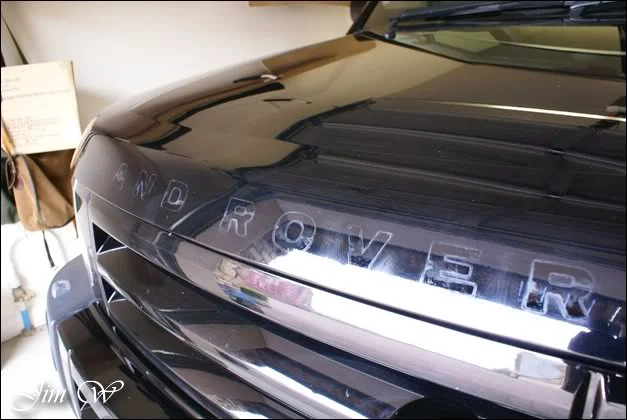
Quite shocking! Look at how the scratches ‘dull’ and ‘grey’ the front end. Sure to be a nice transformation once finished.
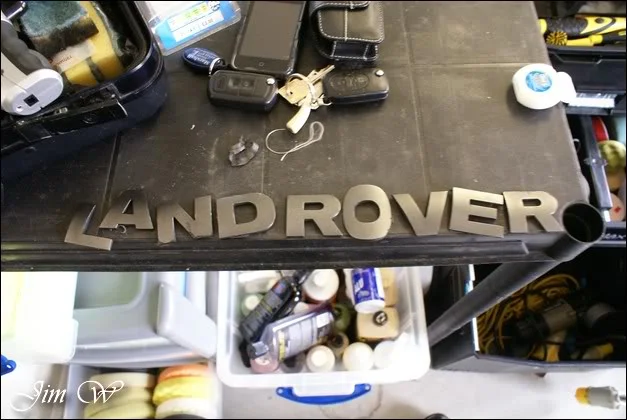
Badges were removed with the aid of a hairdryer, AutoSmart Tardis and Dental Floss!
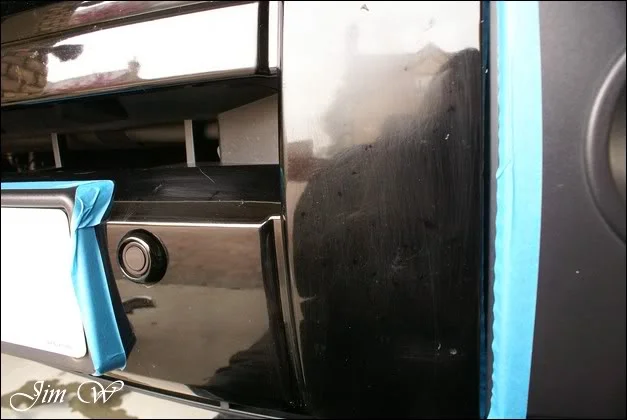
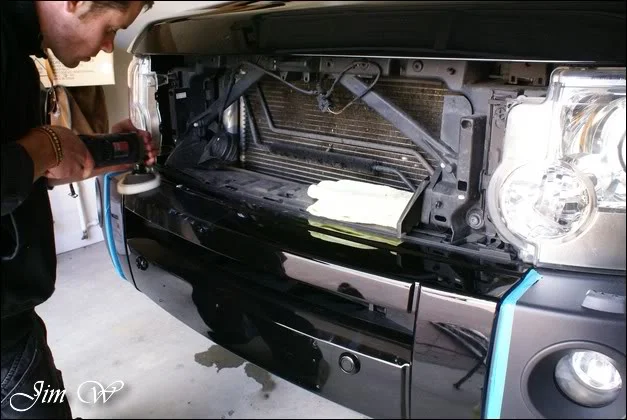
With the bonnet complete, I dropped down to the bumper and found more wash inflicted destruction.
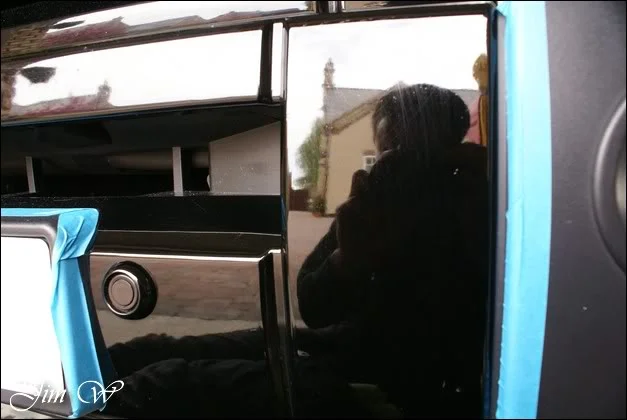
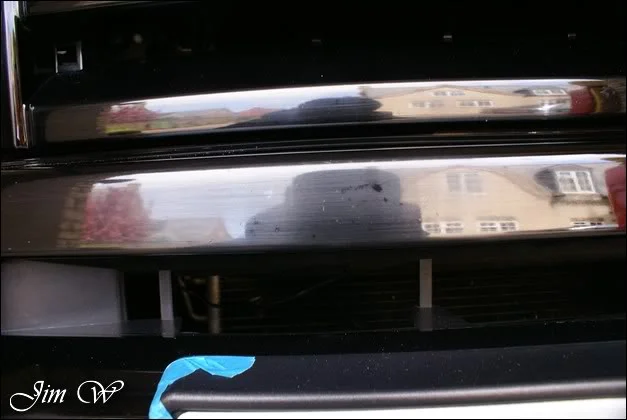
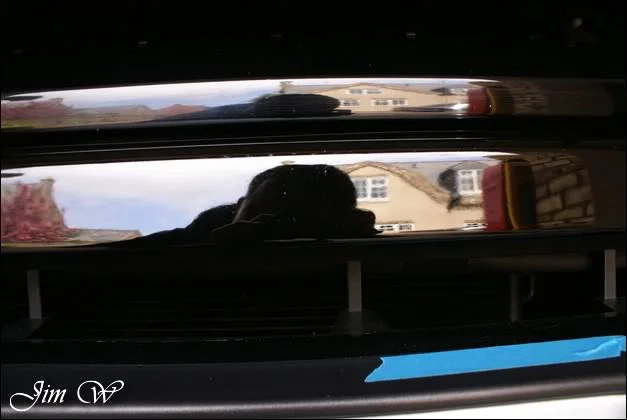
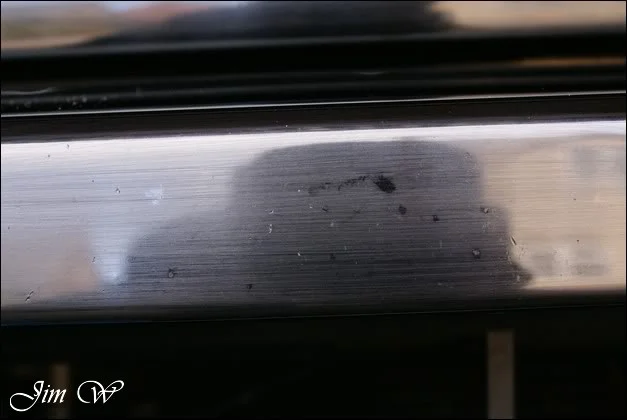
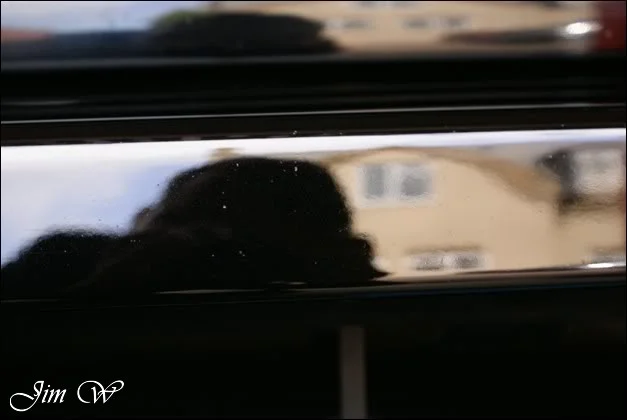
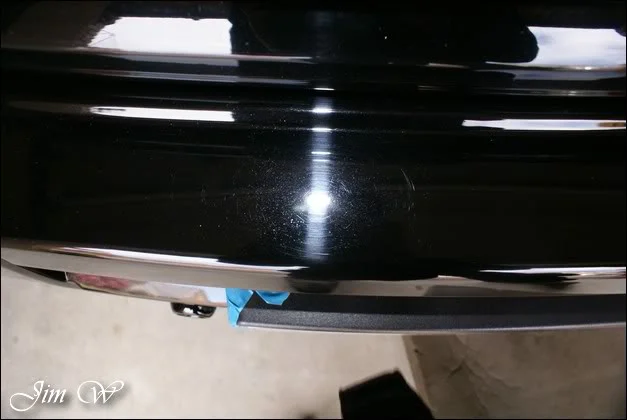
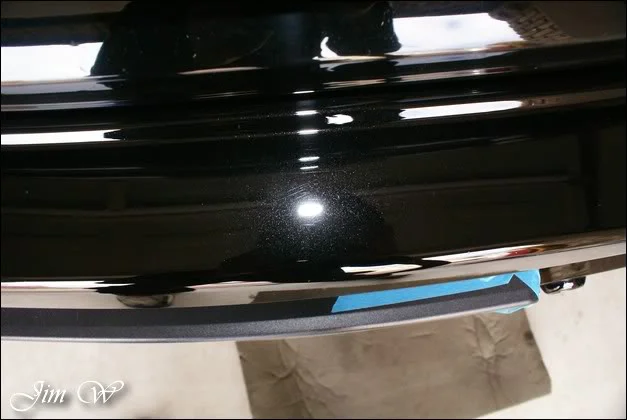
An old friend showed up at this point..
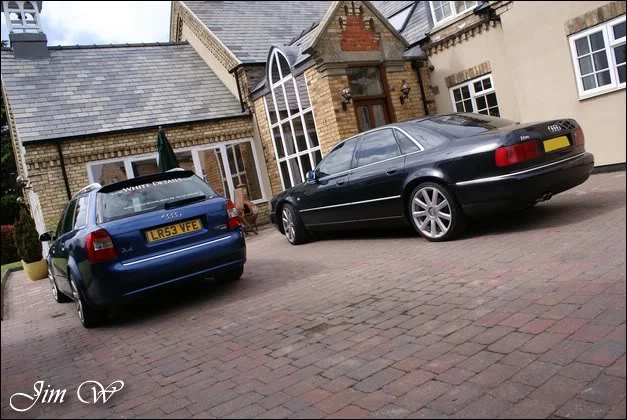
Grille removed to aid polishing..
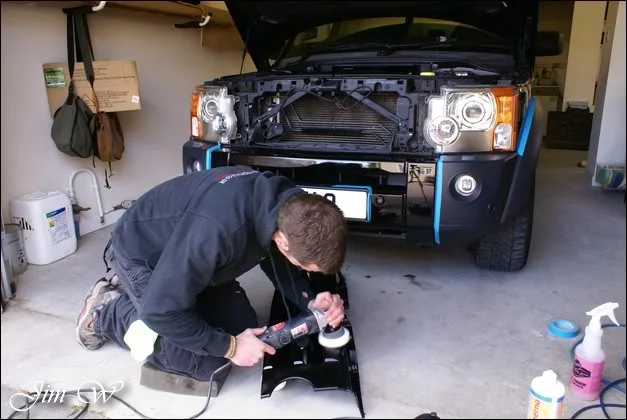
Side panel before:
After:
50/50:
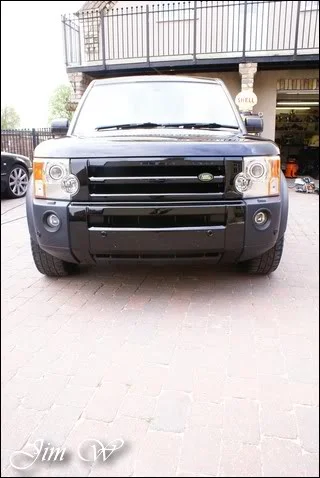
Front end looking much improved now!
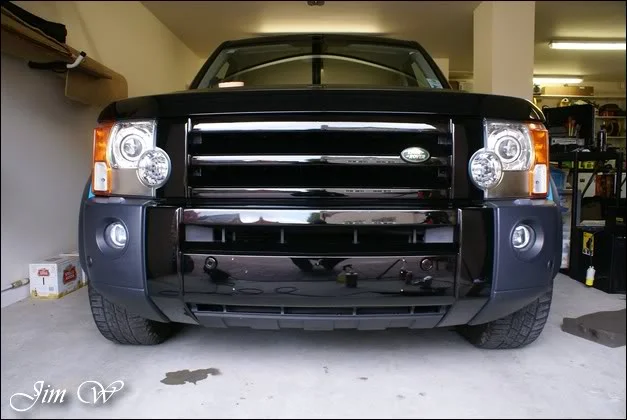
Badges? What badges…?
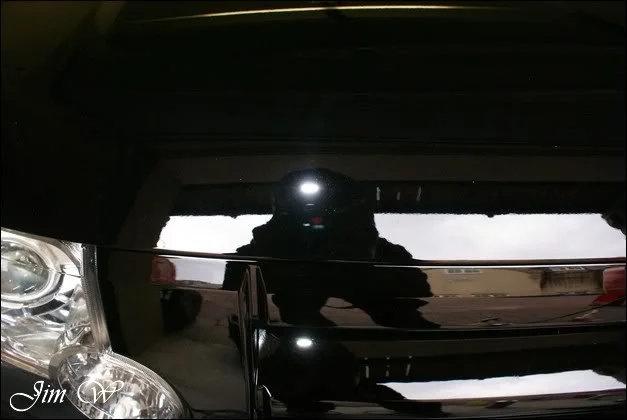
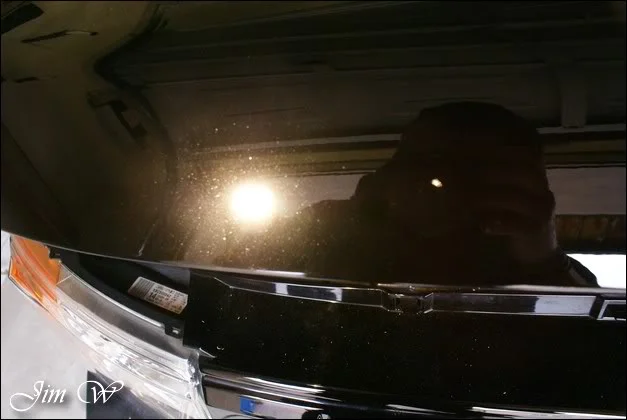
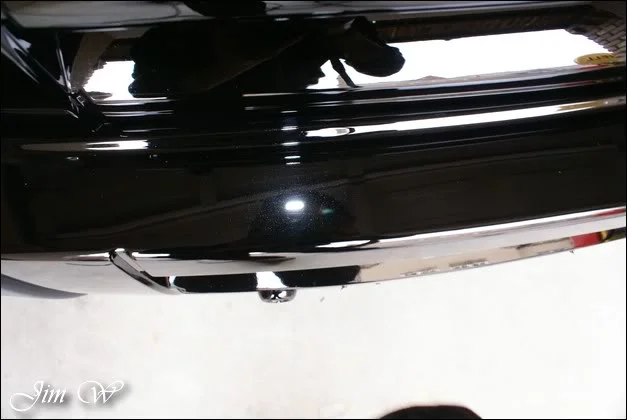
Before and after on bonnet:
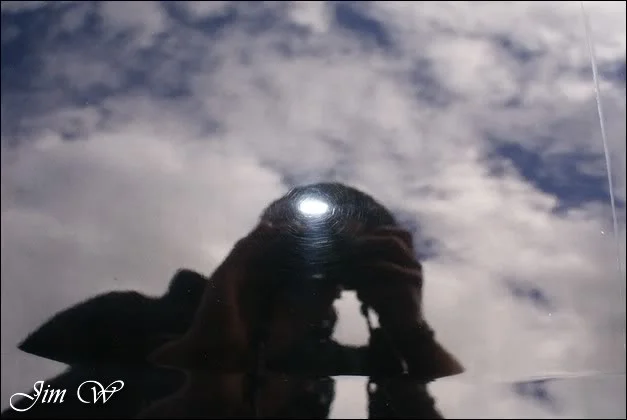
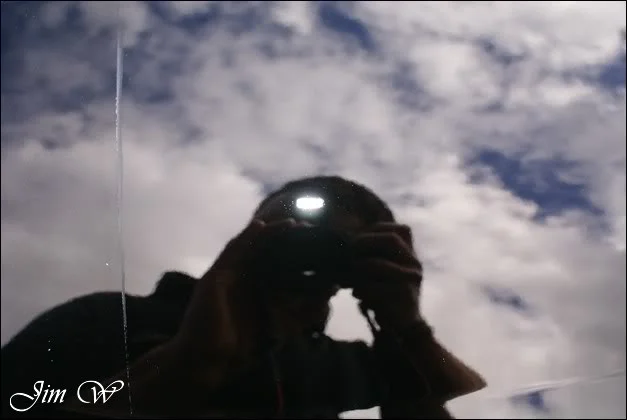
50/50 on N/S front door:
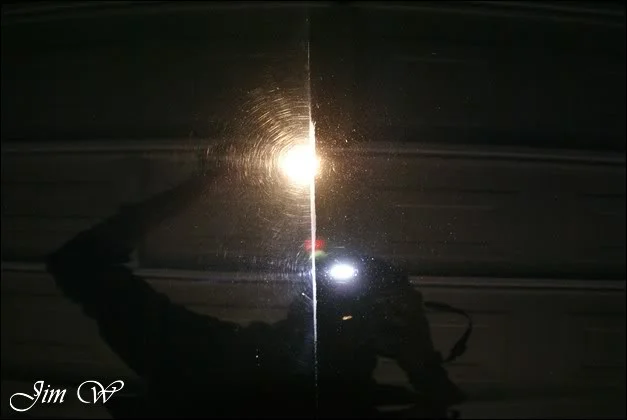
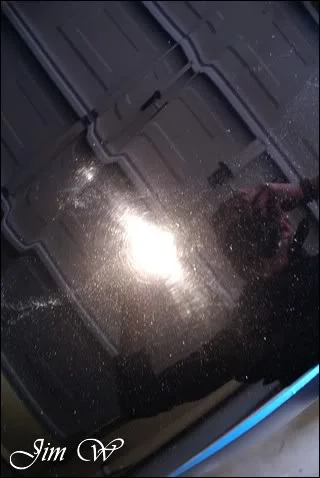
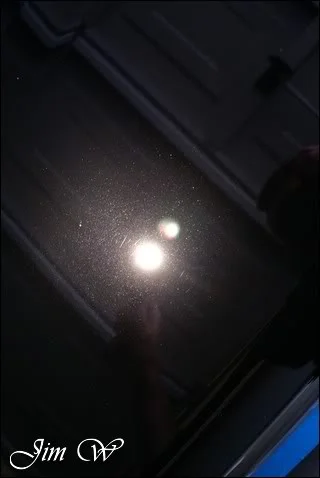
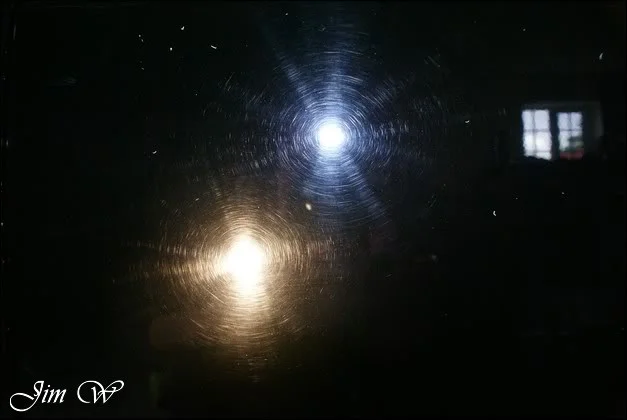
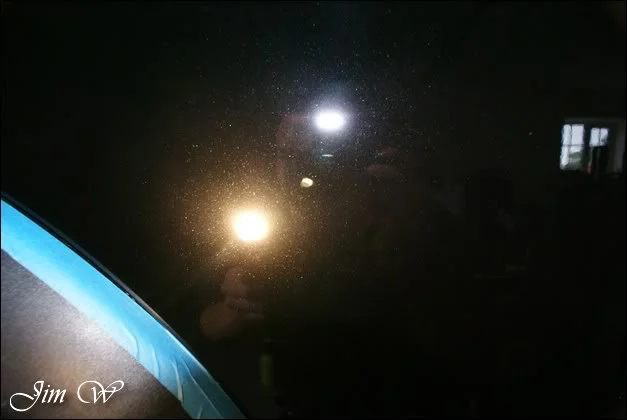
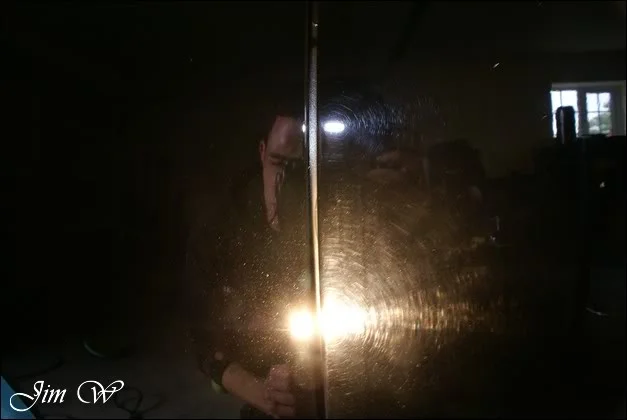
Natural light 50/50:
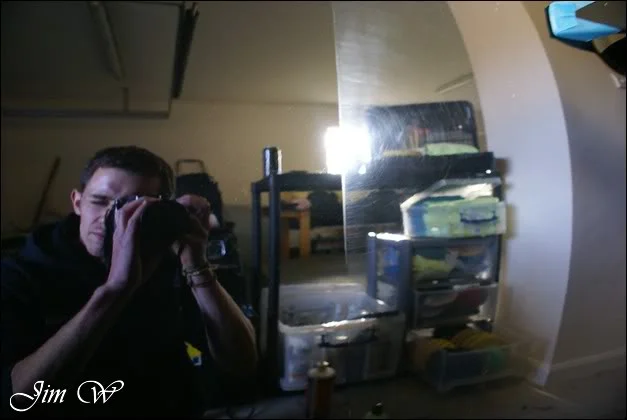
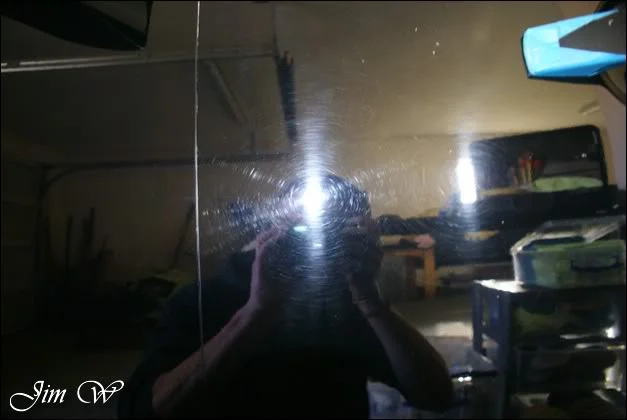
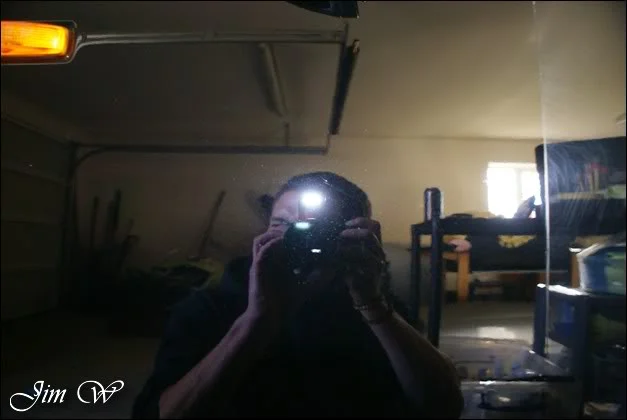
Moved outside to check my work before end of play on day 1..
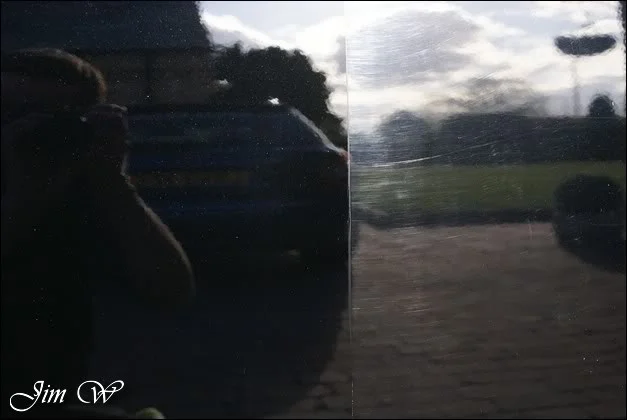
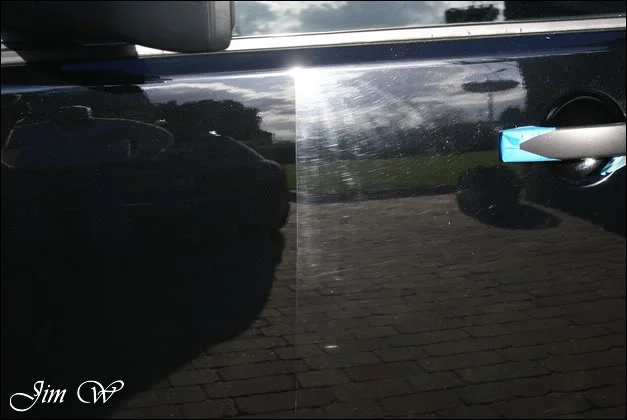
Day 2 and back at it.
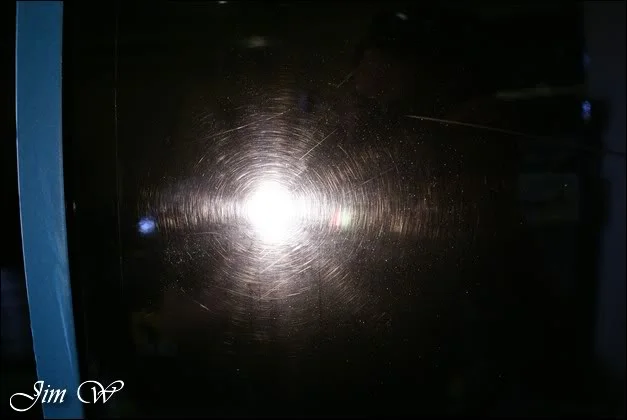
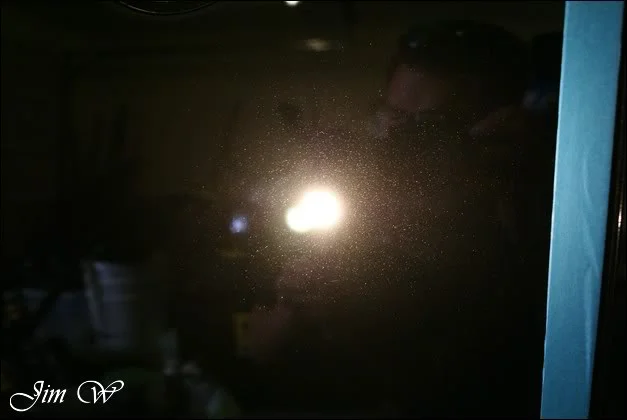
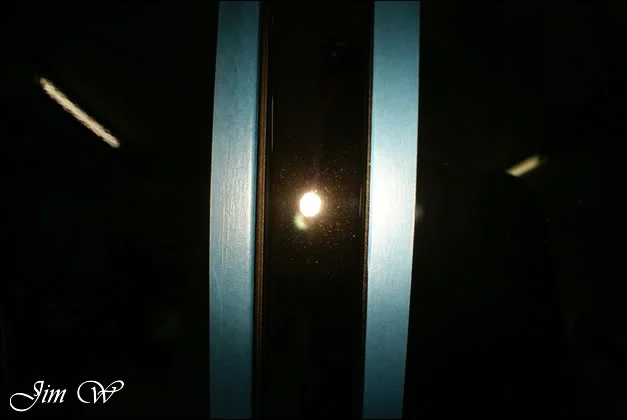
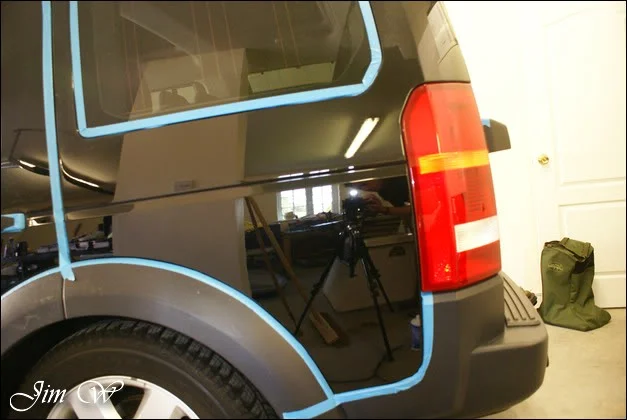
N/S rear quarter before:
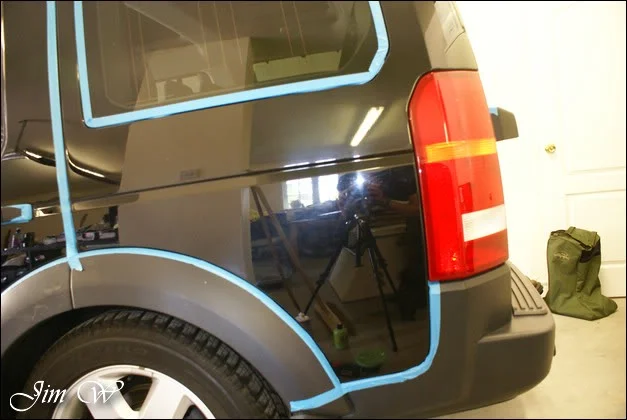
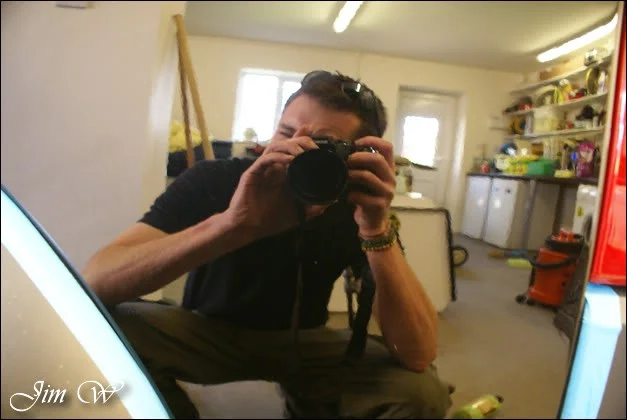
After:
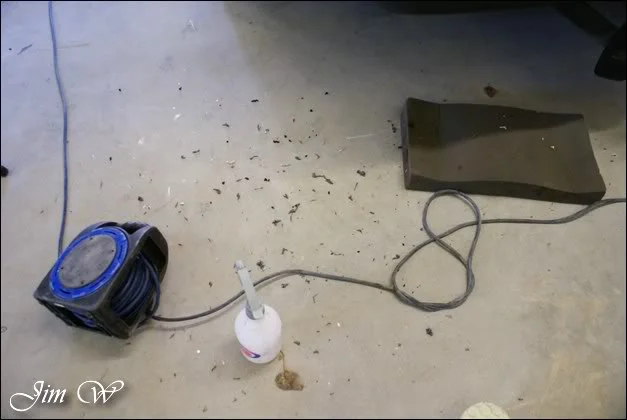
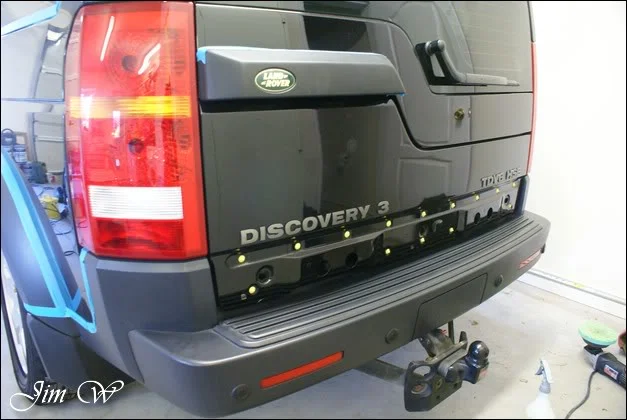
Rear registration plate was also removed to get rid of mass amounts of self-adhesive tape from previous plates. (no before photo..)
But here’s a bit of the glue I picked off!
Much cleaner:
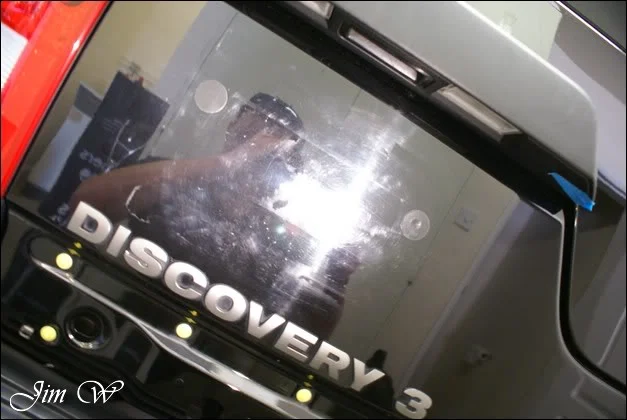
Ah. Problem!
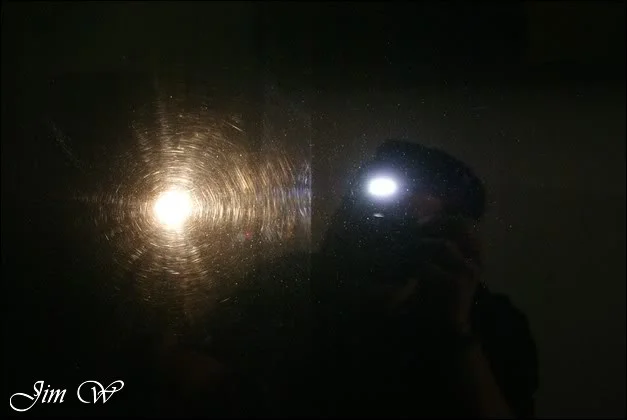
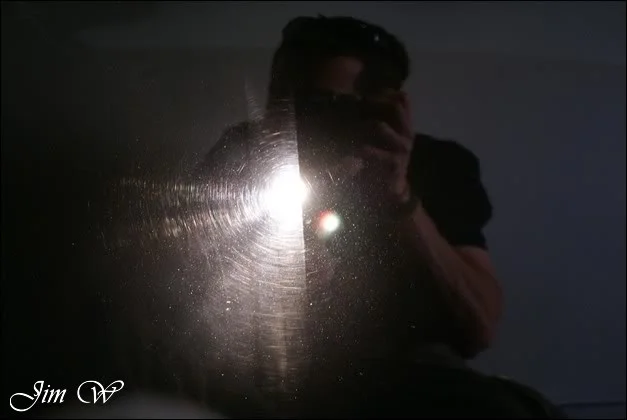
A before and after on the offended O/S rear quarter:
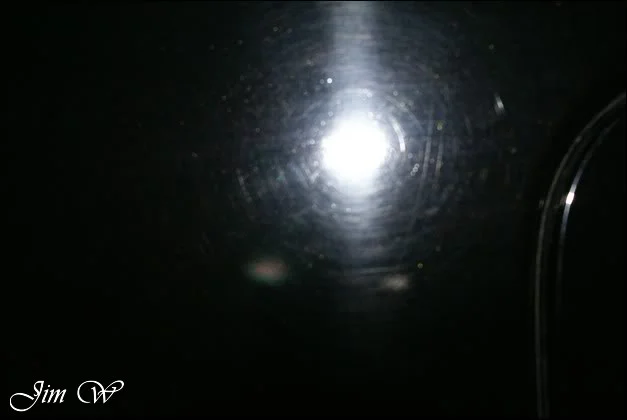
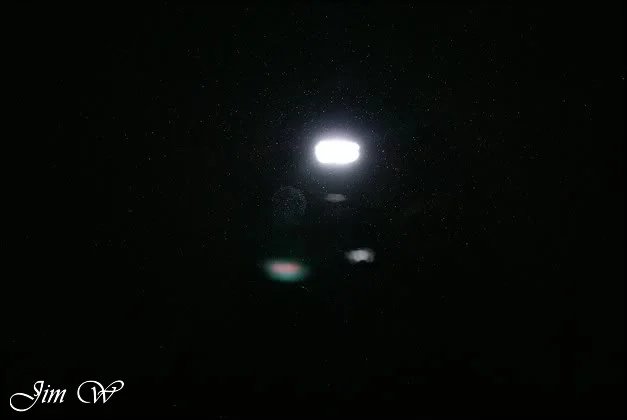
Although the bulk of it was cleaned up, dull patches were left and the edges were covered in orange peel/overspray.
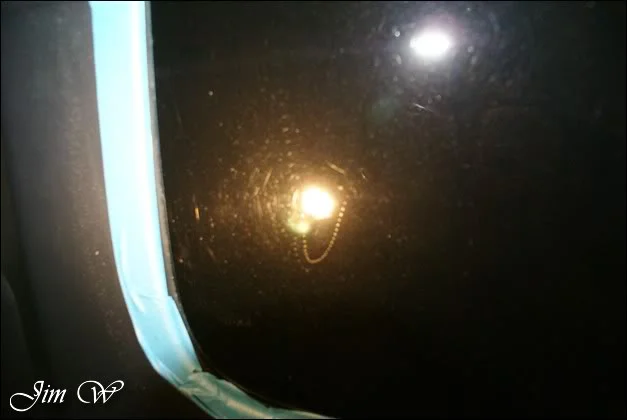
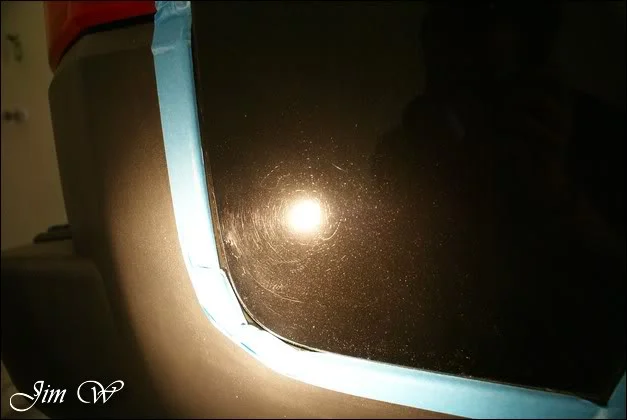
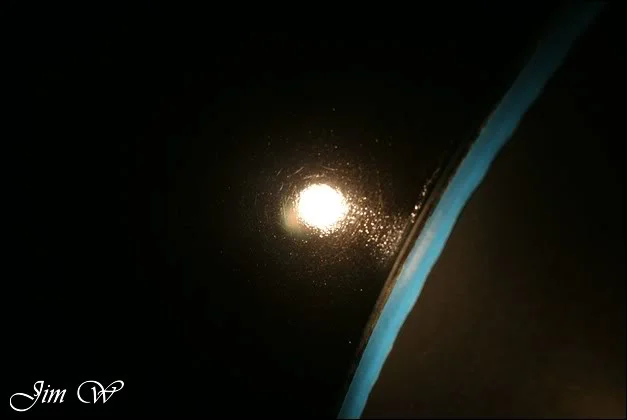
….this from a main-dealer, too.
Late afternoon on Day 2 and the bulk of the polishing stage is complete.. Trouble is, we’re left with lots of surface dust and splatter.
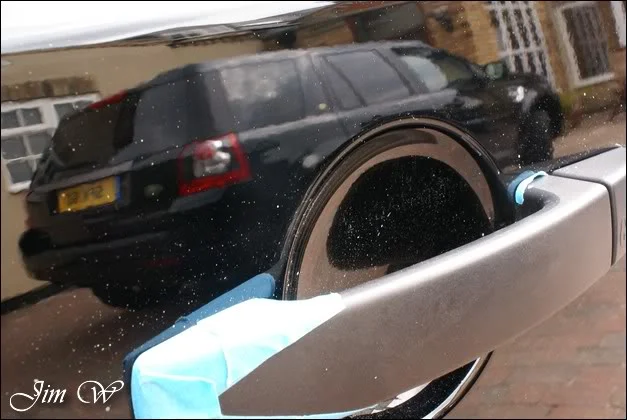
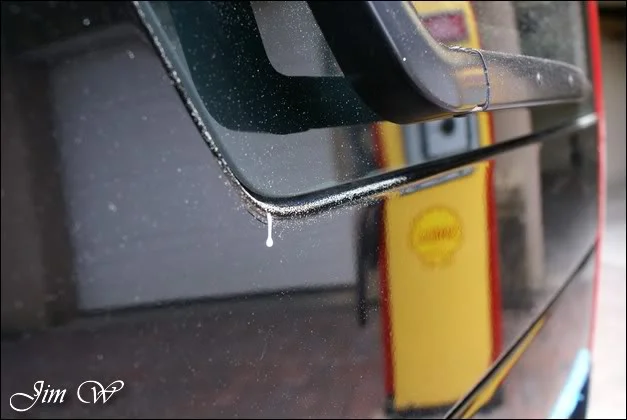
From a far it’s starting to take shape though..
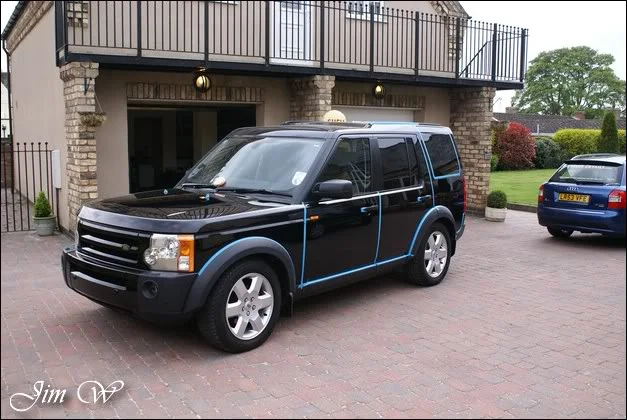
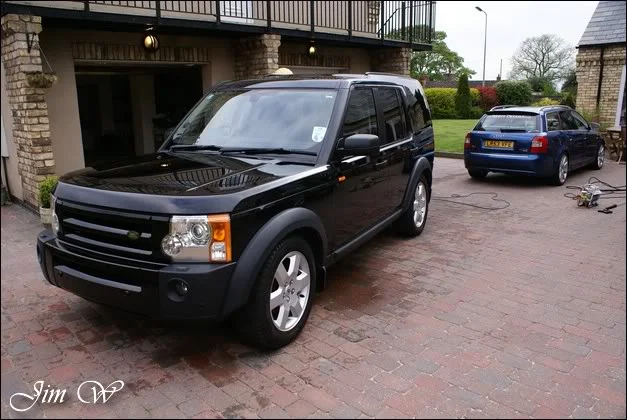
Disco given a thorough blast with the (new) Kranzle pressure washer and dried using the pat-dry technique to avoid further wash marring..
Back inside and panel gaps/edges/joins etc blown with the Black Baron Vehicle Dryer to remove trapped water..
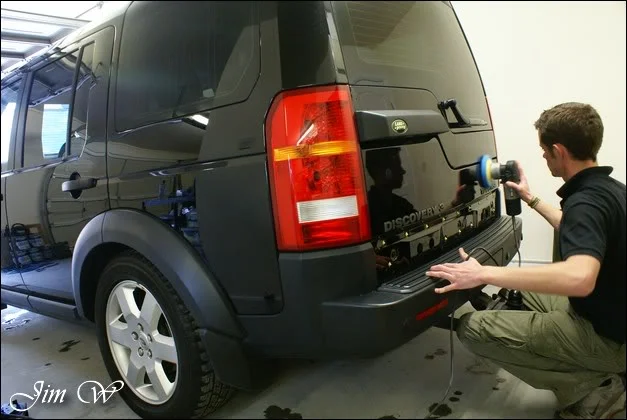
Porter Cable 7424 fired up with a blue finishing pad and PoorBoys’ BlackHole glaze was used to add depth to the paintwork.
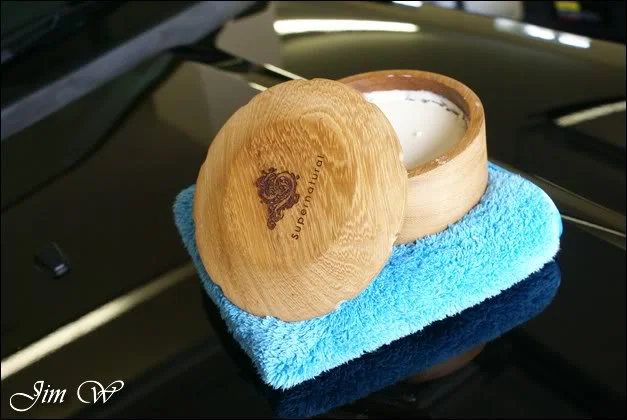
Dodo Juice SuperNatural wax applied.
Alloys sealed with Chemical Guys JetSEAL109.
Engine-bay dressed with Megs All-Season Dressing.
An hour or so after the wax was initially removed a light second pass was given to remove possible wax ‘gassing’ smears.
Another trip outside and looking good:
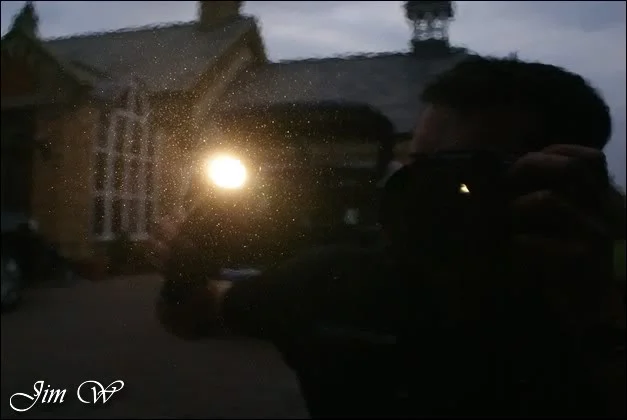
End of Day 2.
Turns out, the wax did gas after all. Quite badly!
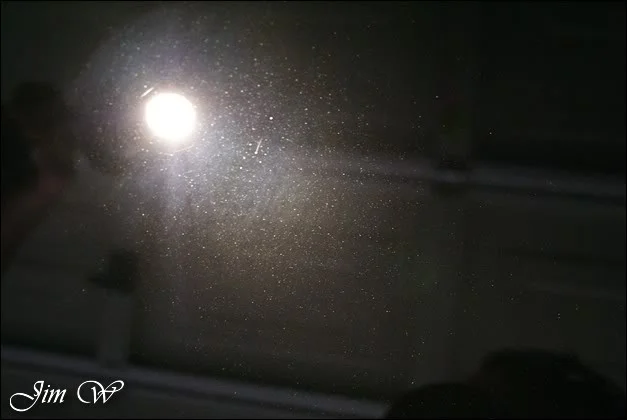
The whole exterior covered in a fine mist which formed overnight.
Fixed with further buffing action:
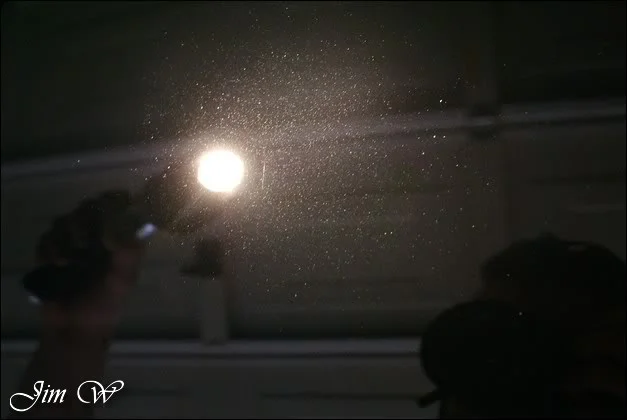
- This shows the importance of leaving a wax to cure for as long as possible..
Day 3 I had to prep the interior, finish off the details on the outside and give the Audi S8 a quick blast over to remove general road grime..
Windows cleaned with AutoGlym Fast Glass (Glass Polish on the windscreen due to hardcore fly-remains)
Exterior plastics and arches dressed with Megs All-Season Dressing.
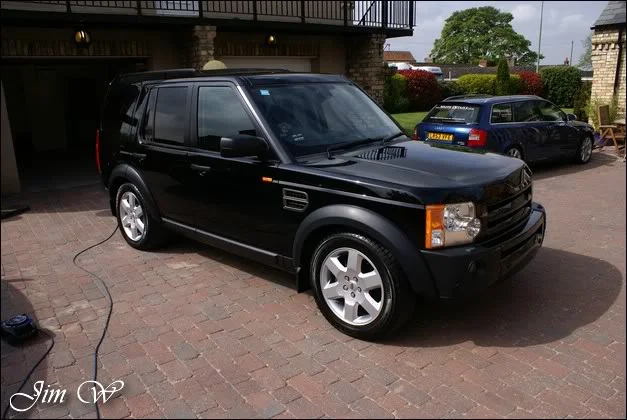
Interior before:
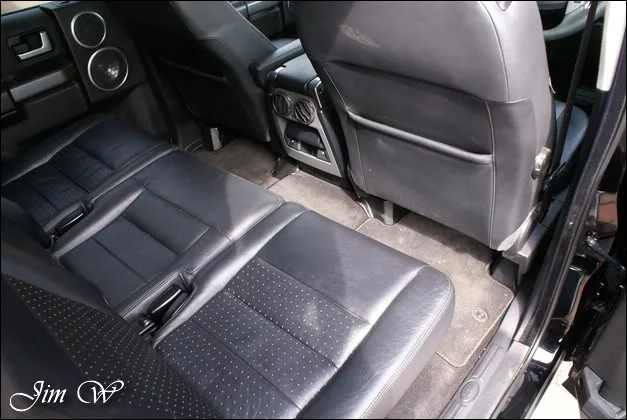
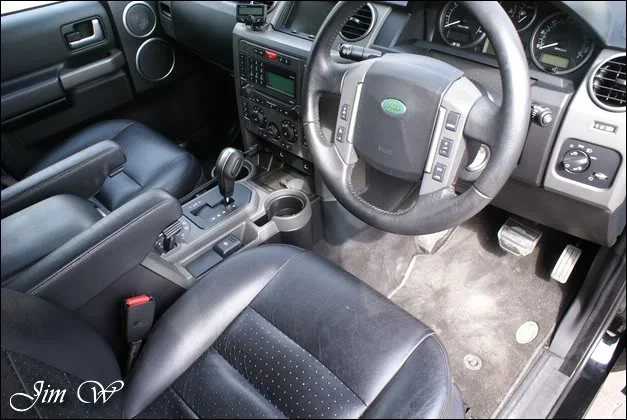
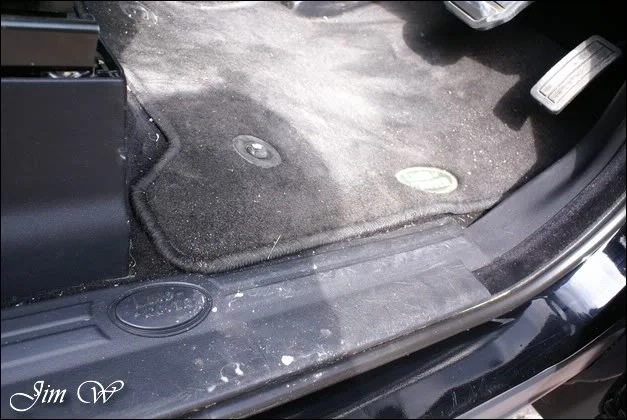
During:
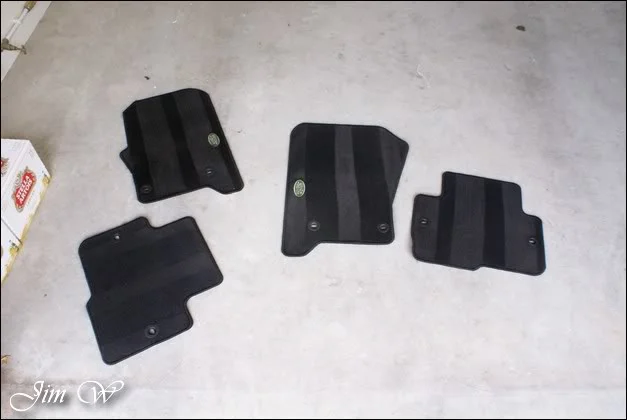
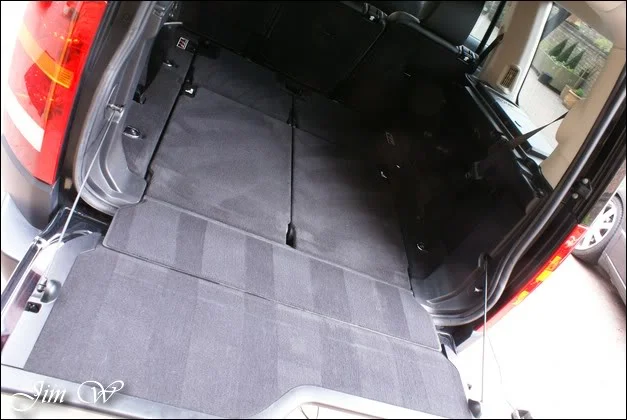
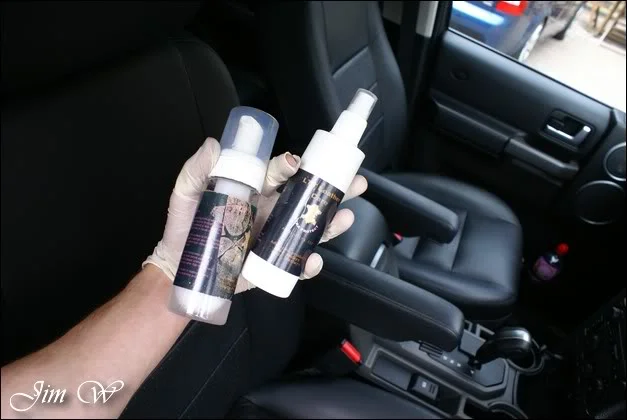
After:
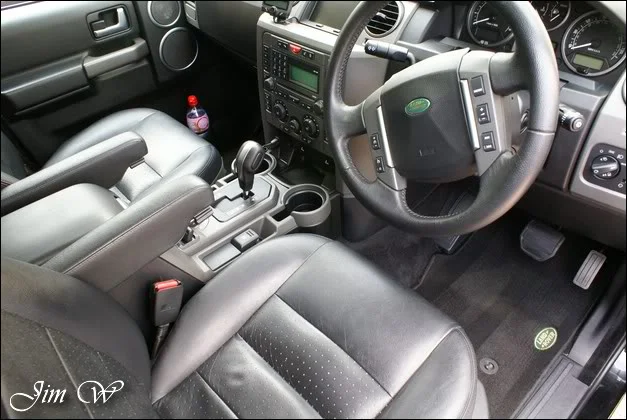
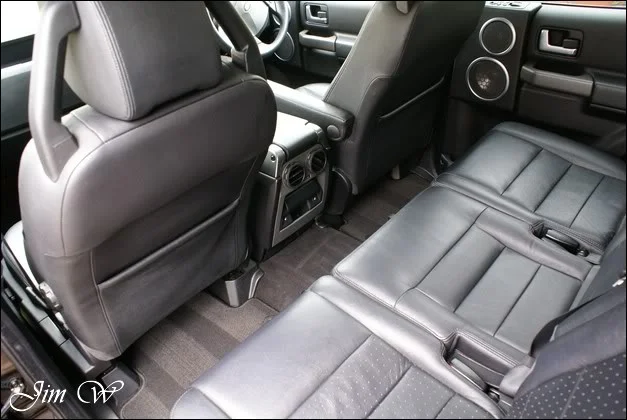
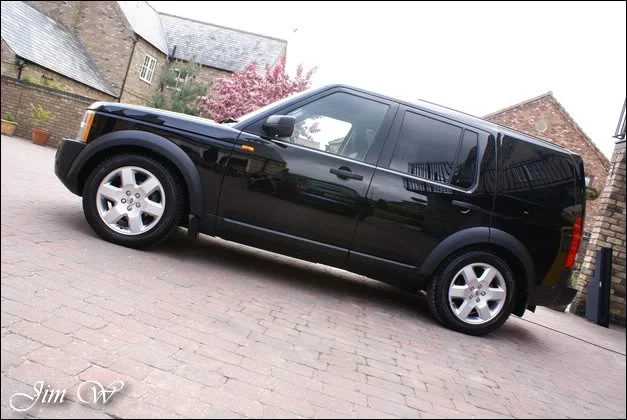
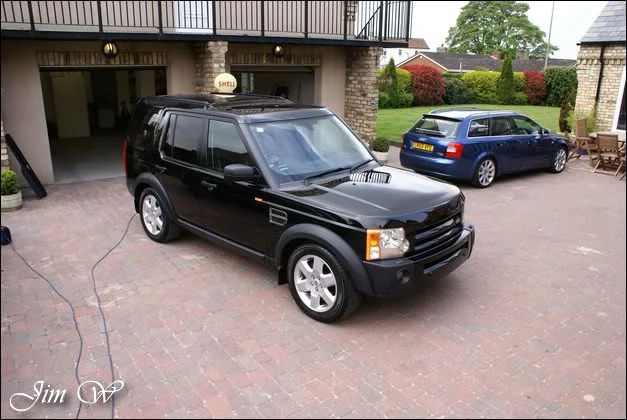
Trim pieces replaced and exterior given a wipedown with Dodo Juice Red Mist (courtesy of Squeeky Dog Detailing (http://stores.shop.ebay.co.uk/66motorsport-shop__W0QQ_armrsZ1) ) and we’re pretty much there!
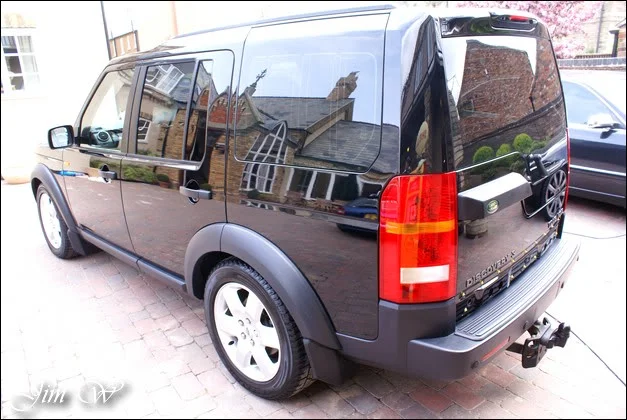
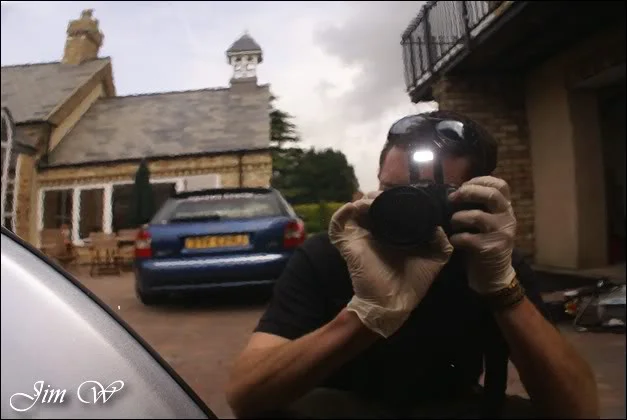
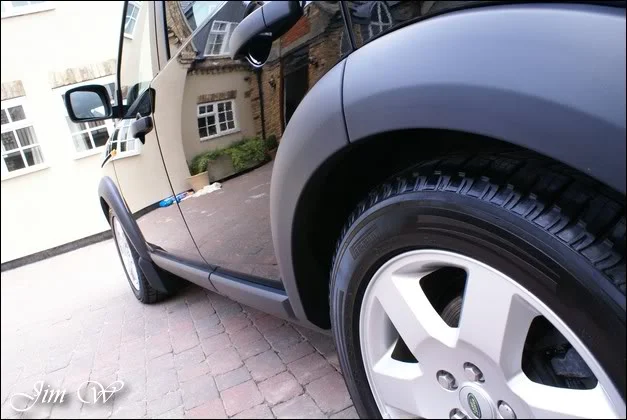
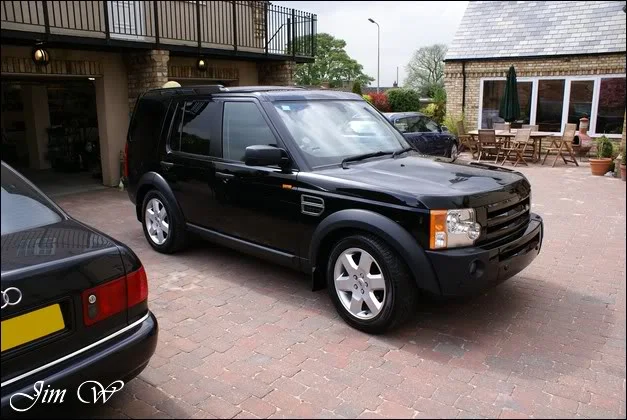
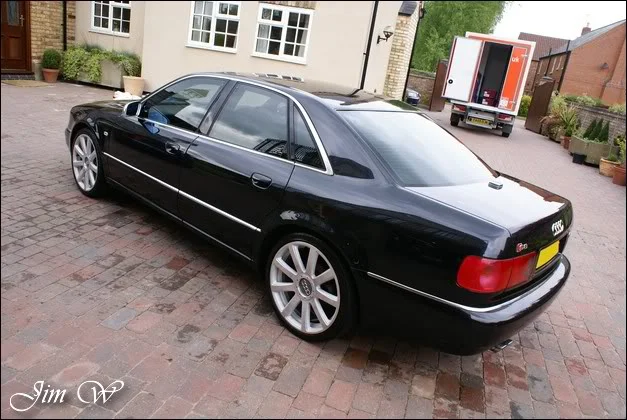
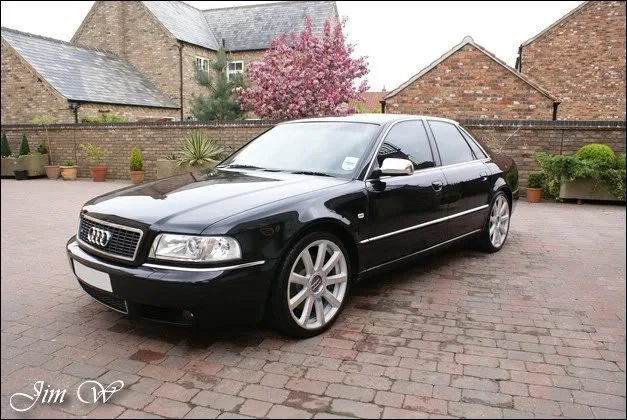
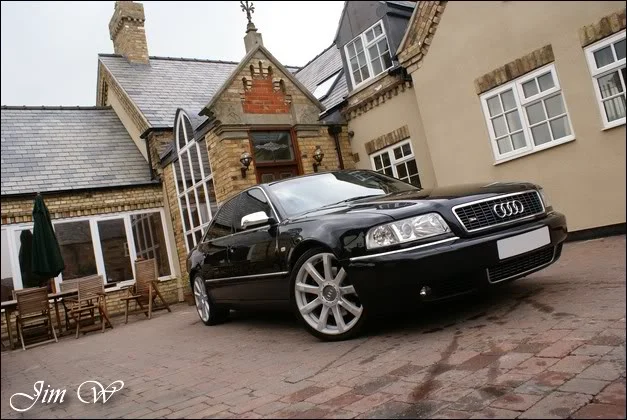
Audi S8 given the full wash treatment and also received a lick of Red Mist to boost the gloss and add further protection.
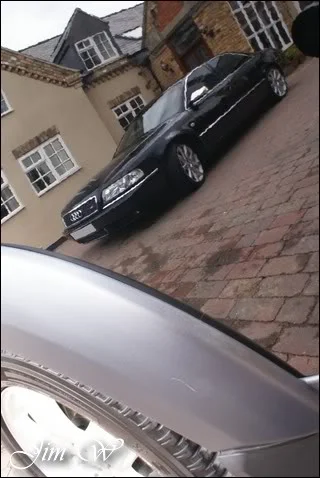
Again, the poor finish on the O/S rear quarter:
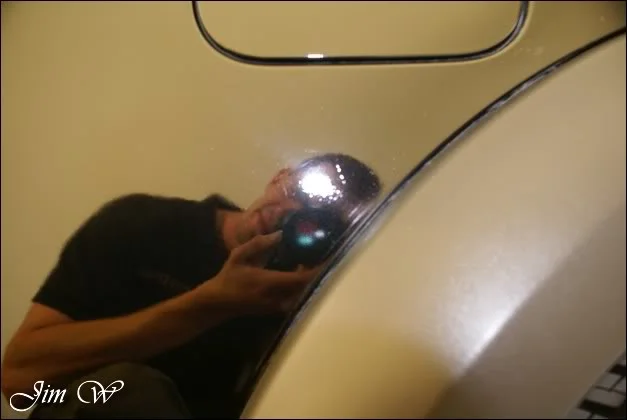
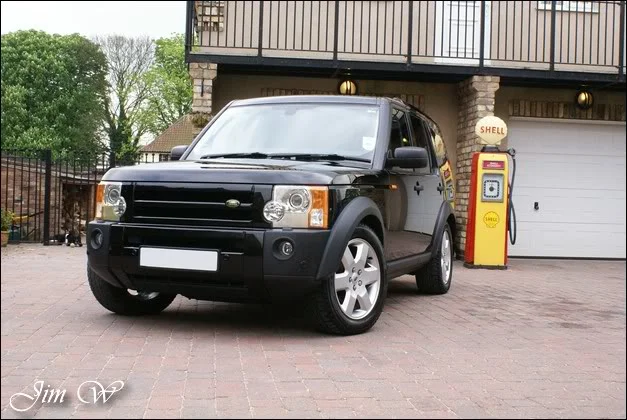
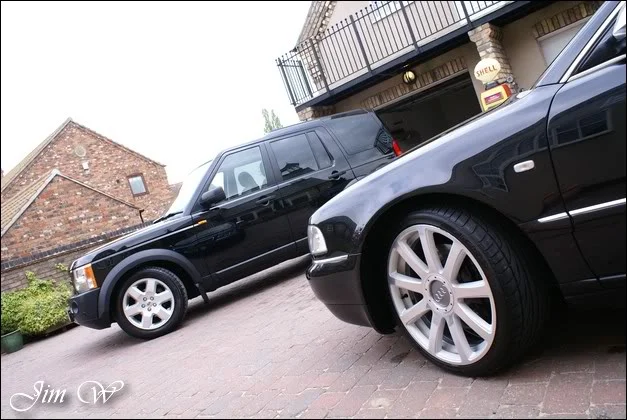
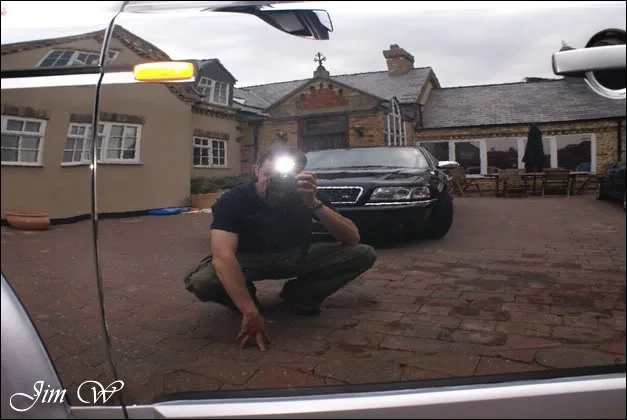
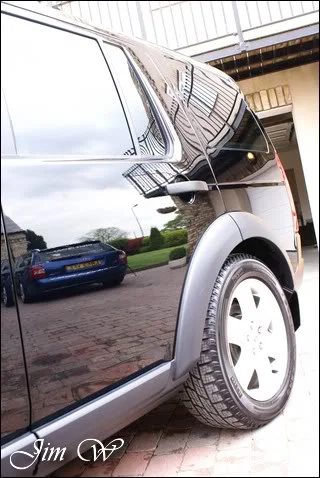
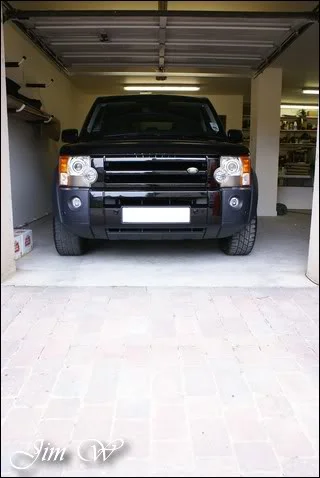
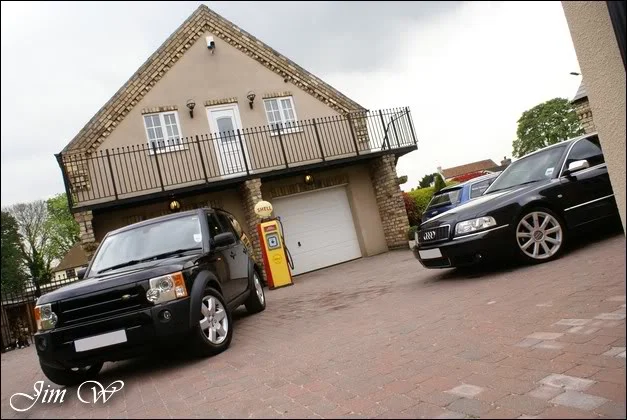
Total correction around 90%. A nice ‘once over’ mild compound.
In the end, a most enjoyable job and a great turnaround. “Better than when I brought it from Land Rover…”
Thanks for reading.
Jim
Land Rover Discovery 3 – Minor Correction
Work started on the Monday morning and was finalised late Wednesday afternoon. ~24 hours work time included here.
Product
· AutoSmart Tardis
· AutoSmart G101
· AutoGlym Glass Polish
· AutoGlym Fast Glass
· Chemical Guys New Look Trim Gel
· Chemical Guys JetSEAL109
· Dental Floss (!)
· Dodo Juice Born To Be Mild
· Dodo Juice Limeprime
· Dodo Juice SuperNatural
· Dodo Juice Red Mist
· LTT Auto Ultra Foam
· LTT Auto Ultra Protect
· Meguiars Last Touch
· Meguiars All-Season Dressing
· Meguiars Wheel Brightener
· Menzerna 203s
· PoorBoys Black Hole
· Sonus Green Clay
Before:
After
Inspection..
One of the keys areas to fix here was the bonnet-lip where “LAND ROVER” is sited. “Why?”
^this is why. Throughout its weekly wash (in someone else’s hands) it appears to have gained some pretty serious scratches around the letters. To fix this the only solution was to strip the old letters off, polish, and replace with new ones. More on this later.
Usual wash process carried out - Wheels/arches and tyres first. Door shut & sills, petrol (diesel..) filler housing and other little niggely areas.
Monday was pretty much full-sun all day; glorious weather. With that in mind, I motored on.. (Hence lack of photos)
Mild contaminants lifted throughout the claying stages:
A proper inspection of the paintwork now its clean, clayed and dry.
The O/S rear quarter was shocking. It’d been to Land Rover direct for some spray work and had been left in a poor state of affairs.
Upon later inspection sanding marks were still present, lots of overspray and gunk in the crevice between the panel and the light-cluster and whole areas that had been missed in the flatting processes were spotted.
First things first, remove the badges on the front-end.
Quite shocking! Look at how the scratches ‘dull’ and ‘grey’ the front end. Sure to be a nice transformation once finished.
Badges were removed with the aid of a hairdryer, AutoSmart Tardis and Dental Floss!
With the bonnet complete, I dropped down to the bumper and found more wash inflicted destruction.
An old friend showed up at this point..
Grille removed to aid polishing..
Side panel before:
After:
50/50:
Front end looking much improved now!
Badges? What badges…?
Before and after on bonnet:
50/50 on N/S front door:
Natural light 50/50:
Moved outside to check my work before end of play on day 1..
Day 2 and back at it.
N/S rear quarter before:
After:
Rear registration plate was also removed to get rid of mass amounts of self-adhesive tape from previous plates. (no before photo..)
But here’s a bit of the glue I picked off!
Much cleaner:
Ah. Problem!
A before and after on the offended O/S rear quarter:
Although the bulk of it was cleaned up, dull patches were left and the edges were covered in orange peel/overspray.
….this from a main-dealer, too.
Late afternoon on Day 2 and the bulk of the polishing stage is complete.. Trouble is, we’re left with lots of surface dust and splatter.
From a far it’s starting to take shape though..
Disco given a thorough blast with the (new) Kranzle pressure washer and dried using the pat-dry technique to avoid further wash marring..
Back inside and panel gaps/edges/joins etc blown with the Black Baron Vehicle Dryer to remove trapped water..
Porter Cable 7424 fired up with a blue finishing pad and PoorBoys’ BlackHole glaze was used to add depth to the paintwork.
Dodo Juice SuperNatural wax applied.
Alloys sealed with Chemical Guys JetSEAL109.
Engine-bay dressed with Megs All-Season Dressing.
An hour or so after the wax was initially removed a light second pass was given to remove possible wax ‘gassing’ smears.
Another trip outside and looking good:
End of Day 2.
Turns out, the wax did gas after all. Quite badly!
The whole exterior covered in a fine mist which formed overnight.
Fixed with further buffing action:
- This shows the importance of leaving a wax to cure for as long as possible..
Day 3 I had to prep the interior, finish off the details on the outside and give the Audi S8 a quick blast over to remove general road grime..
Windows cleaned with AutoGlym Fast Glass (Glass Polish on the windscreen due to hardcore fly-remains)
Exterior plastics and arches dressed with Megs All-Season Dressing.
Interior before:
During:
After:
Trim pieces replaced and exterior given a wipedown with Dodo Juice Red Mist (courtesy of Squeeky Dog Detailing (http://stores.shop.ebay.co.uk/66motorsport-shop__W0QQ_armrsZ1) ) and we’re pretty much there!
Audi S8 given the full wash treatment and also received a lick of Red Mist to boost the gloss and add further protection.
Again, the poor finish on the O/S rear quarter:
Total correction around 90%. A nice ‘once over’ mild compound.
In the end, a most enjoyable job and a great turnaround. “Better than when I brought it from Land Rover…”
Thanks for reading.
Jim