Mr Underhill
ClioSport Club Member
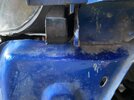
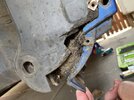
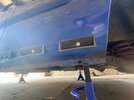
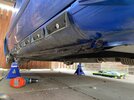
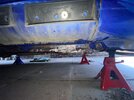
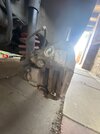
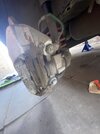
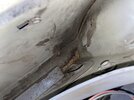
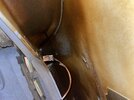
Corrected myself. Having a blonde moment.The one on the subframe
Corrected myself. Having a blonde moment.The one on the subframe
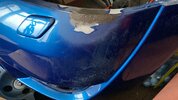
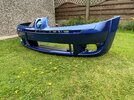
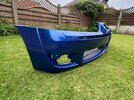
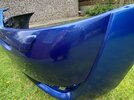
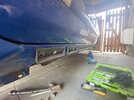
I’ve asked if they can do it next week when the bumper is off because originally they wanted to do everything on the car which I was not happy about. If they can’t do it next week I will do the repair myself and spray just around where the repair is done. It’ll better than it is now and I’ll have it sprayed at a later date. The rear has a couple of scuffs too, but they are nothing horrendous. It adds character to the car lol.Just get your bro’s gaff to do the paintwork.


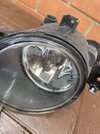
Come on! That's genuine D43 colour... to some lolHas the humming noise gone?
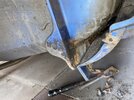
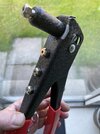
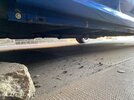
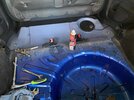
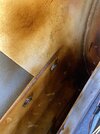
I'll get some better pics later. The underside of the sills look like someone has been shooting at them. I'm tempted to have them painted at the same time.Sills don't look too bad, mine are similar inside the rear quarters.. I'm giving it a stiff ignoring at the minute though
Not really, which i'm surprised about. I was told that sometimes a tyre can deform and cause the noise, and I ruled out a bearing as it only does it between 33-35 mph and I had the bearings checked. The tyre fitter today told me that one wheel is perfect, two are very slightly buckled and one needed more balancing than all the others. The car drives better than it did before fitment, and i've been on the m-way and it feels great. Could it just be the gearbox at that speed? It has been rebuilt and I was told by Mark that sometimes there can be a slight whine as it's not a totally new gearbox. TBH it's not an issue at all.Has the humming noise gone?