MrBlonde
ClioSport Club Member
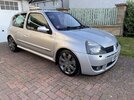
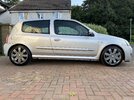
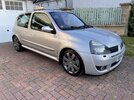
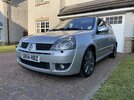
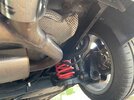
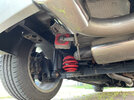
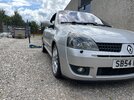
I do have a build thread mate but its on B14 coilovers,rear shim spacers & RCK up front which brings it out 10mm.I did have spacers also on the front but think it handles better without.
Thread 'Titanium MrBlonde' https://www.cliosport.net/threads/titanium-mrblonde.829286/
Thread 'Titanium MrBlonde' https://www.cliosport.net/threads/titanium-mrblonde.829286/
Last edited: