ClioSport.net

This is a sample guest message. Register a free account today to become a member! Once signed in, you'll be able to participate on this site by adding your own topics and posts, as well as connect with other members through your own private inbox!

  • When you purchase through links on our site, we may earn an affiliate commission. Read more here.

Project GWT

Car  Clio 1.4 Maxim
hey guys had the car a couple of weeks now, so thought id get a post up,
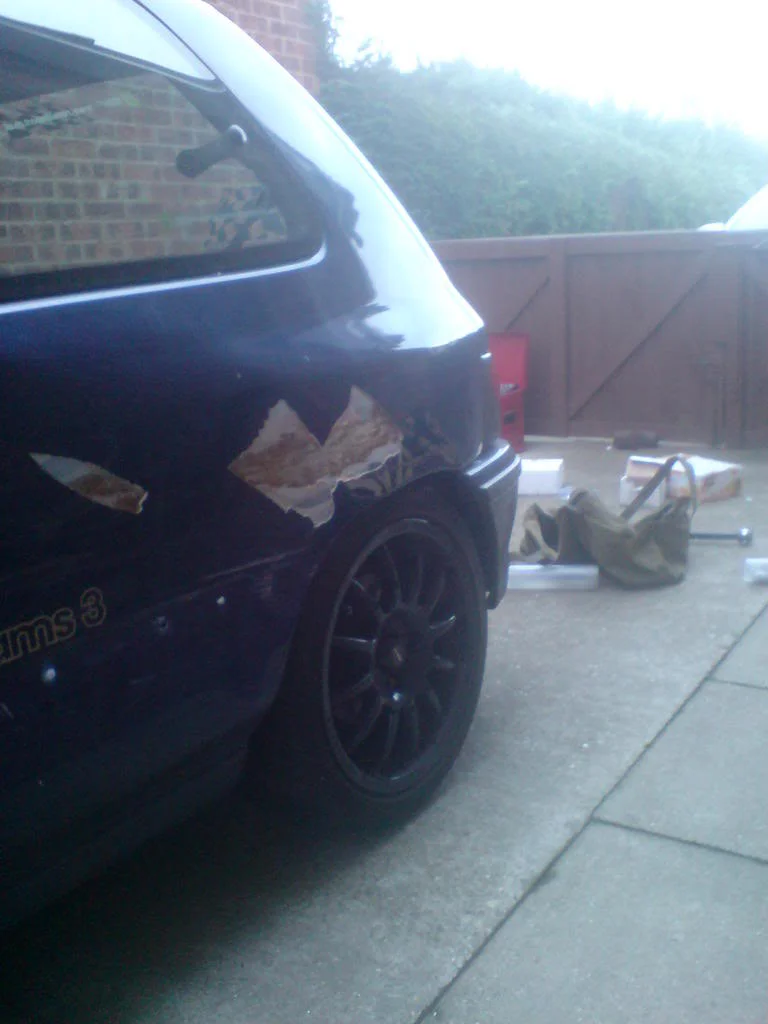
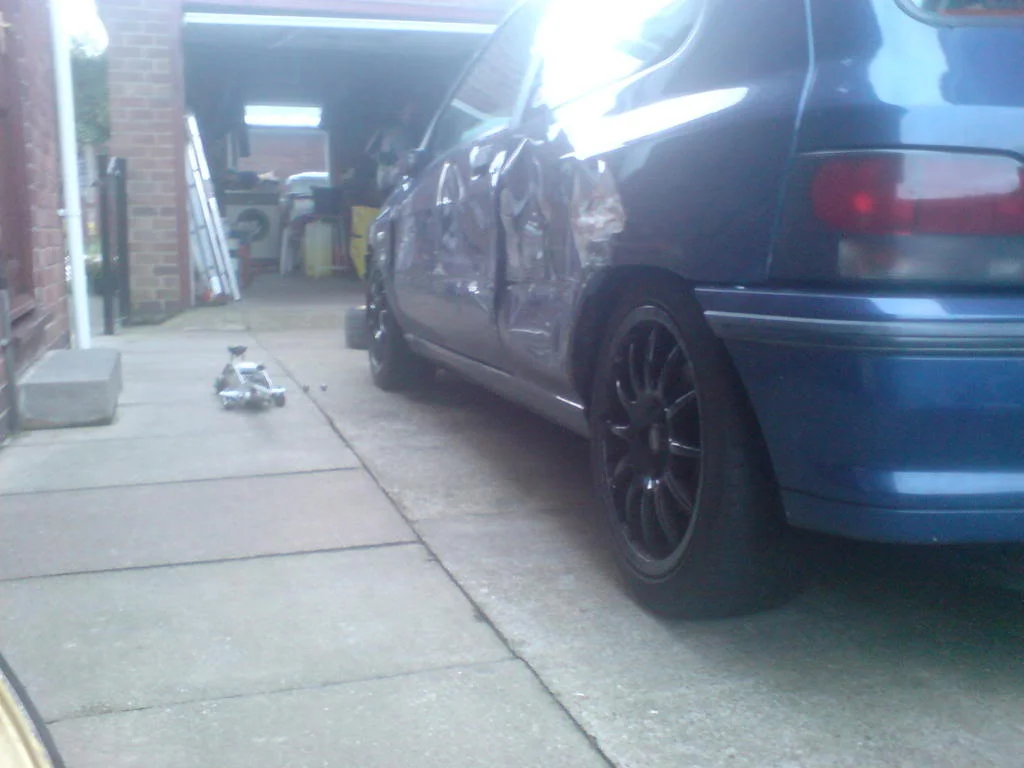
i bought the car of "deban" off here for the small sum of £275, it had damage to rear qtr door and front wing, but other then that was in excellent condition

heres a pic of how i got her, sat on my nans drive looking sorry for herself

and no its not a williams one of the previous owners stickered it up, got my g/fs hairdryer waiting so get them off 2moro
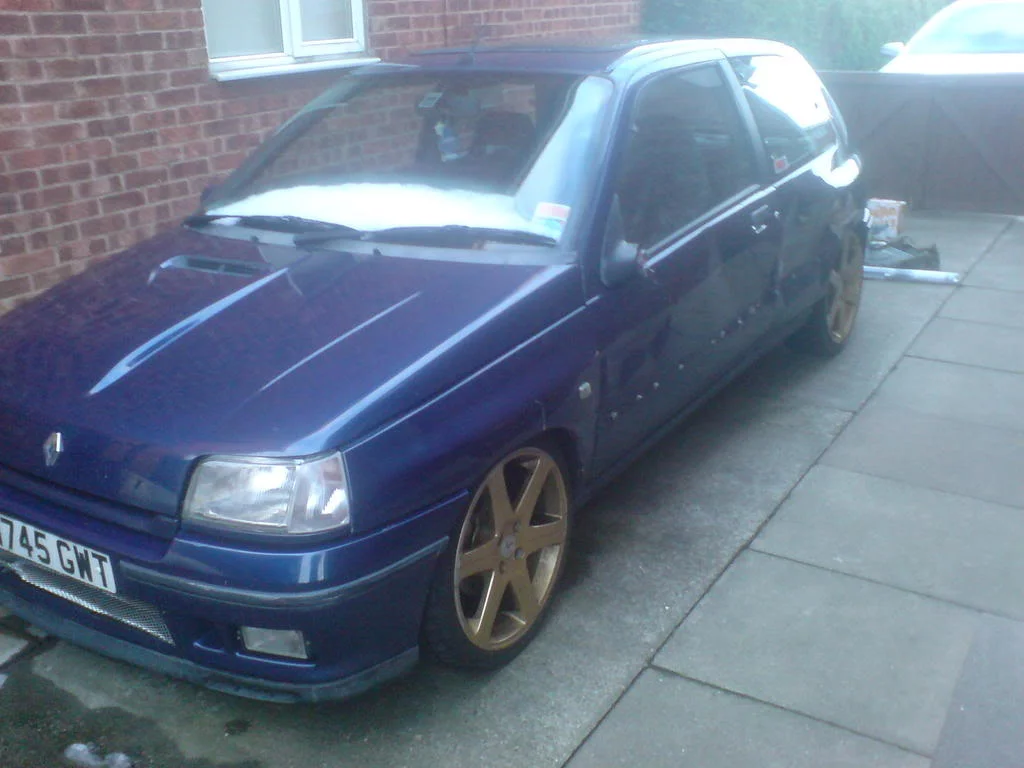
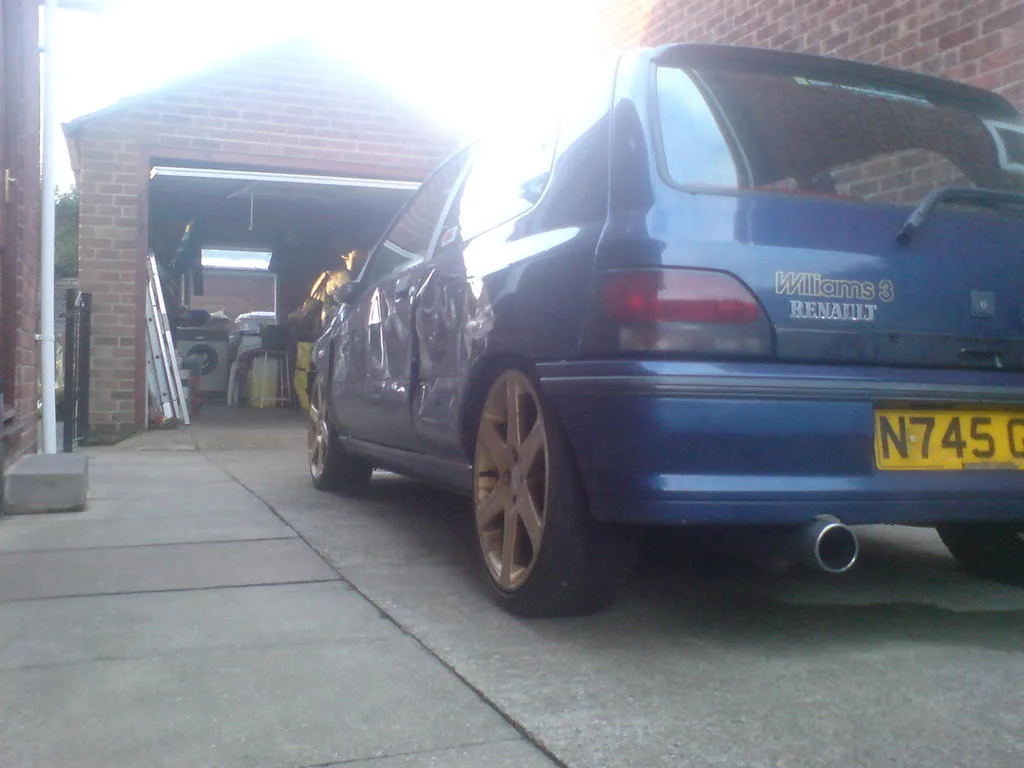
DSC00055.webp


DSC00057.webp


first off the plan was to strip her down and fit the valver engine to my 1.4 as a hybrid, but after much consideration i decided with new sills and hardly any rust it was better to repair and not destroy so first off was to fit my alloys and get it sitting better
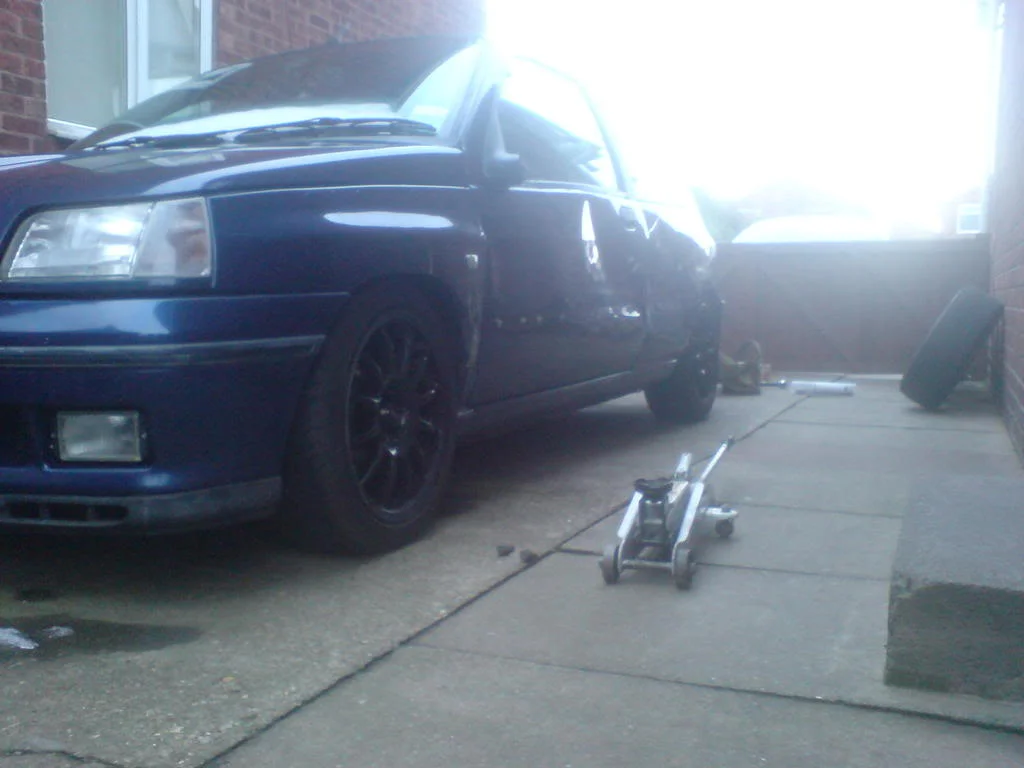
DSC00058.webp


DSC00060.webp


DSC00059.webp


1000x times better ill think ull agree, next up im fitting my bucket seats sould have them fitted 2moro so will get pics for ya,

gettin new door,wing, and phase 1 tailgate and mirrors off, Mat Brown

just got my coops dogbone and k-tec low temp fan switch, gotta fit my new alternator as my old one is dead, and then start on bodywork, got new cam cover in post ready to be painted up so plenty more pics soon guys with a better camera now iv got my SLR back, no more phone camera pics
 
thanks guys got some new pics,

taking door card off ready to strip door down

IMG_6122.webp


IMG_6123.webp


then i managed to get my drivers seat in correctly, didnt want to fit passenger with climbing in and out all the time

IMG_6116.webp


IMG_6115.webp


then i removed rear door card to get at damaged rear qtr

IMG_6117.webp


IMG_6118.webp


as you can see damage is quite bad, but nothing some hard graft wont sort out

IMG_6119.webp


IMG_6114.webp


after i pushed the damage out with my special tool, MY big size 11's, i heard a drop on the floor ...

IMG_6121.webp


more paint fell off,got some clearer pics for you guys aswell

IMG_6111.webp


IMG_6112.webp


IMG_6113.webp
 
Thats not paint falling off mate, thats chunks of filler.

I bet that cars rotten as f**k underneath.
 
there is a little filler in the paint yeah, but not loads, and its only rusty as its been like that in the snow
 
well i got my new door, wing and mirrors of MatBrown, so got to work tonyt, fitting them, wing went on in seconds door was a little more hard work but got there in the end

heres some pics

fitting the new wing and door

IMG_6152.webp


got wheels back on and back on ground, fitted my phase 1 mirrors, that need spraying soon,

IMG_6153.webp


looking more like a straight car, now just rear quarter to go,

IMG_6157.webp


these pics so, how much rear quarter is folded in

IMG_6158.webp


IMG_6159.webp
 
Mate, i'm not trying to piss on your fire or anything and i apologise if it comes across that way, but are you sure theres not more rot in that car???

Because to me, in this pic, it looks like the inner wing has rusted away from the outer wing and the whole lot has just been skimmed with filler.....

IMG_6159.webp
 
Mate, i'm not trying to piss on your fire or anything and i apologise if it comes across that way, but are you sure theres not more rot in that car???

Because to me, in this pic, it looks like the inner wing has rusted away from the outer wing and the whole lot has just been skimmed with filler.....

IMG_6159.webp

no i see what you mean its bent back inside the arch from the accident there is some rust in there but it will be sorted, i checked mate cause after taking pics i was a little worried about it lol
 
BIG UPDATE,

first off i started by stripping some interior

IMG_6160.webp


then i got grinder happy and started taking paint off,

IMG_6163.webp


then my uncle had mocked up a slide hammer for his mk2 rs2000 escort project so i borrowed that

IMG_6165.webp


here you can see welds from the pegs we welded on to slide hammer the dints out

IMG_6164.webp


then it started looking better and better after every bang

IMG_6166.webp


ground some more paint off,

IMG_6166.webp


turns out it was dented before and who ever repaired it just fillered over old paint took ages to get cleaned up

IMG_6168.webp


got the whole panel cleaned up

IMG_6172.webp


IMG_6171.webp


then time was running out cause i couldnt spend all valentines day working lol so i got a layer of filler on and left it at that

IMG_6173.webp


IMG_6174.webp


but since i got it, its come along way

dint when i got it,

IMG_6159.webp


dint now,

IMG_6179.webp
 
Fillertastic. Surely a 1/4 cant be that dear to buy. If the car genuinely isnt rotten as a pear and full of filler all over the shop then personally I'd buy a new 1/4 and stitch it on if you're putting some time and effort into it anyway. If you've been doing that work all outside my bet if the filler you've slapped on will end up coming back off again in a very short time anyway.

Looks like a good 3mm + of filler even before you got hold of it here.
IMG_6159.webp
 
a new rear quarter would cost more than the car,i know a 172 quarter is about £500,lot of work aswell fitting a quarter
 
Fillertastic. Surely a 1/4 cant be that dear to buy. If the car genuinely isnt rotten as a pear and full of filler all over the shop then personally I'd buy a new 1/4 and stitch it on if you're putting some time and effort into it anyway. If you've been doing that work all outside my bet if the filler you've slapped on will end up coming back off again in a very short time anyway.

Looks like a good 3mm + of filler even before you got hold of it here.
IMG_6159.webp

read the thread that is on old pic showing how far it was bent in when i got it, its had the smallest skim of filler to make sure its smooth i used a slide hammer to pull out the dent, read before speaking
 
UPDATE

got the inlet finished tonight

how it looked when i got it

IMG_6200.webp


after a few coats of hammerite satin black

IMG_6225.webp


also sprayed my spare scuttle panel

IMG_6206.webp


should hopefully get a gasket set soon, and then i can start cleaning the engine up :D:D

progress will be slow now as of the 27th im unemployed

and about the rear qtr been told there about £700 and i dont need one qtr is fine now, but ill get some pics up after i start smoothing it back, will be done soon, i hope just need to find work
 
Good updates! Am still concerned about the rear wing! I had a willy and it was a nitemare.
 
Looking good, Hope you get the rear wing right, All it needs is abit of time and patience dont rush and it will be fine.

Good luck,
 
ive filled a quarter like that before, infact it was worse it got in volved an a crash and it didnt budge so u'll be fine, and you dont want to be puttin a 1/4 on it, i've seen brand new cars on the forecourt with hidden quarters of filler, keep up the good work, PS where you live and what you do as regards work ive got a mate in recruitment,
 
jeeez alot of constructive points in this thread :rasp:

Good work on pulling it out etc looks much better :) alot of people do what originally happened and just budge it fixed :(

just watch the filler in this weather, it will absorb moisture if you havent treated it yet, and primer does to just so you know ;)

got a few mates who work in body shops so ive slowly learnt stuff overthe years :)

will be keeping an eye on this one :)
 
well a bit of progress today,and yesterday,

got my self some new spark plugs, ordered some new HT leads in yellow, sprayed some more parts up and then i fitted my inlet to the car,


YESTERDAY

Stripping Everything down

_MG_6240.webp


_MG_6242.webp


Inlet off, this was a nightmare undoing all the bolts, don't recommend this job to anyone

_MG_6248.webp


fitted new inlet and gasket, as you can see it got scratched but ill touch it up,

IMG_6255.webp


test fitting induction kit, and engine plastics

_MG_6252.webp


_MG_6253.webp


_MG_6254.webp


just waiting on some new bolts for rocker cover and can get the black one on and fitted,

got some new battery terminals on order, got my self a 1800w amp for my little 10" subwoofer just need wiring kit,

TODAY

i got my self some air ducts for the front bumper as the fogs didnt work and wanted to do this anyways, followed coops guide found here
http://www.clio16valver.co.uk/forum/viewtopic.php?t=9082

test fitting

IMG_6258.webp


Cardboard template

IMG_6259.webp


cut down with dremel only to find fog light mount on bumper needs cutting

IMG_6261.webp


IMG_6264.webp


so cut that down and they fit perfect

IMG_6268.webp


used some tiger seal and fitted them and stuck them down and am just waiting for them to dry to get a air feed pipe and get it fitted back on car

IMG_6270.webp


IMG_6269.webp


IMG_6272.webp
 
UPDATE

first off after i fitted my fog light air scoops i went to re-fit my front bumper and the carbon canister was in the way, so i did some research and removed it,

IMG_6294.webp


removed these too bolts

IMG_6296.webp


and this lot came away

IMG_6297.webp


this meant removing the horn

so i removed some little strips of the mounts and modified them to fit the horn

IMG_6298.webp


horn remounted out the way, all better..

IMG_6301.webp


meaning i could re-fit my front bumper,

IMG_6309.webp


IMG_6310.webp


also got on with some work on the engine bay

painted some bits yellow and black got new rocker cover gasket fitted, and new allenkey bolts holding it in place, fitted new battery clamps, painted the fan, just tidied it up really,

IMG_6303.webp


its not finished but as you can see from this pic its alot tidier then before

_MG_6242.webp


not the best pic but you get the idea
 
Well done mate, don't worry about the quarter, it's not a show car, bit of filler bit of paint it'll be grand.
Loving the 2 cafs btw.
 
UPDATE

fitted my carbon fibre strut brace today went on very well,

IMG_6320.webp


got my air feed fitted

IMG_6319.webp


IMG_6318.webp


IMG_6317.webp


also got a video of it running now,

th_S5030673.webp


drove it for the first time today sounds and drives amazing
 
Back
Top