ClioSport.net

This is a sample guest message. Register a free account today to become a member! Once signed in, you'll be able to participate on this site by adding your own topics and posts, as well as connect with other members through your own private inbox!

  • When you purchase through links on our site, we may earn an affiliate commission. Read more here.

WV R32 mkiv - Porsche C2S 997

Car  Audi A4 AVANT 1.9TDi
Hi all.

Supposed to be out working on a black RS4 but it's been put back until mid August time which saddens me :(. Still, allowed me to catch up on the latest online.

First up, the Golf R32.


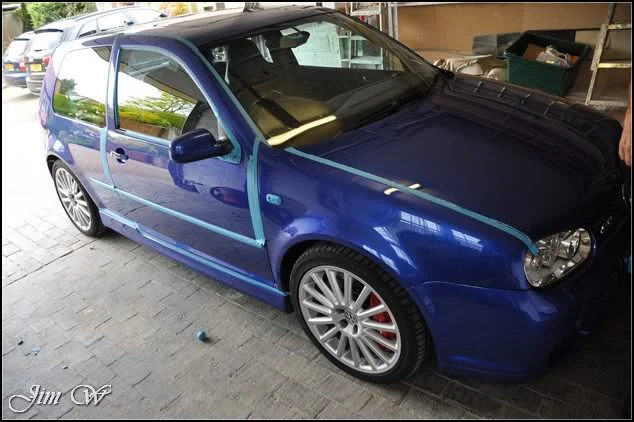
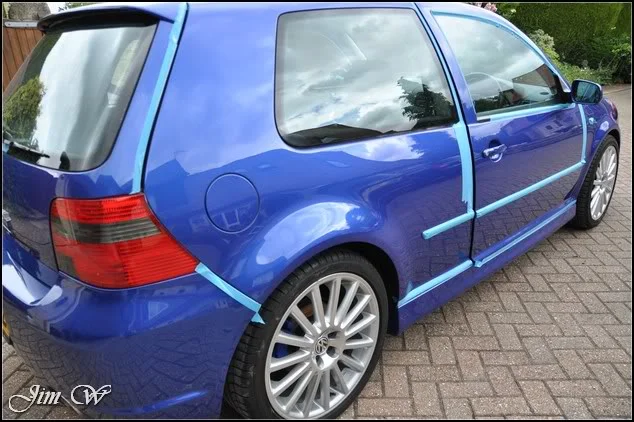
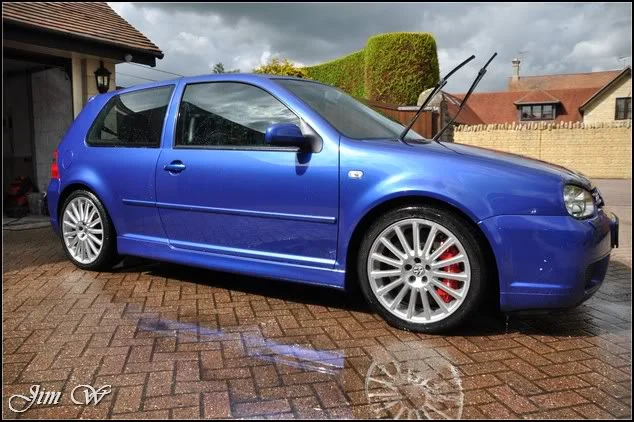
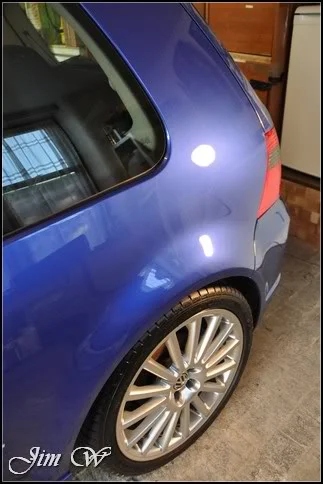
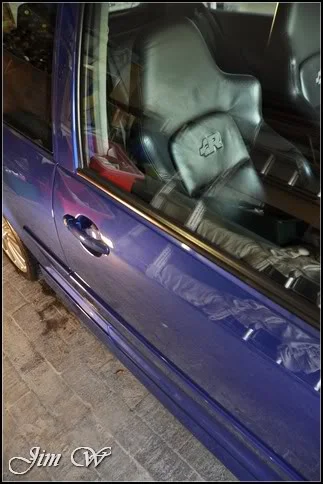
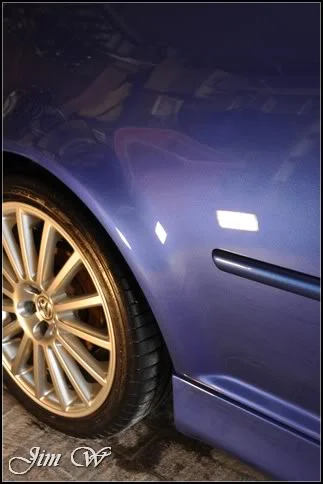
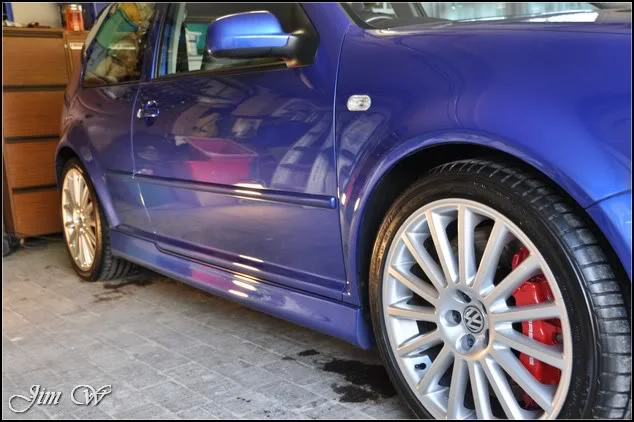
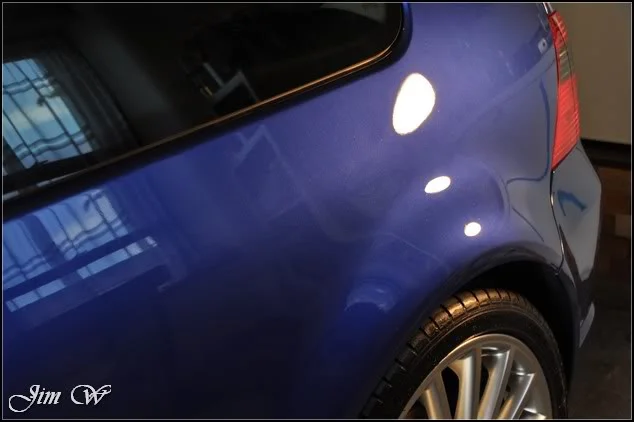
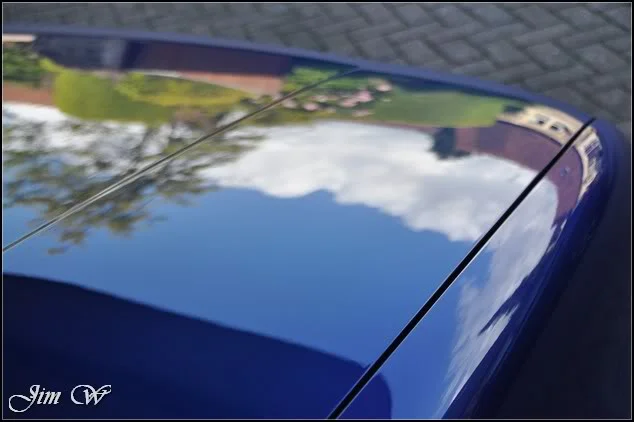
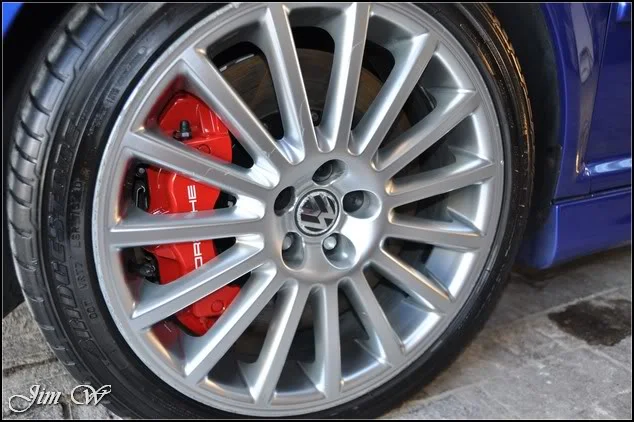
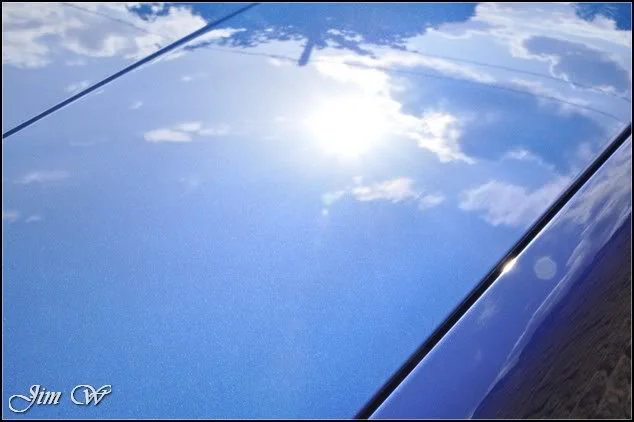
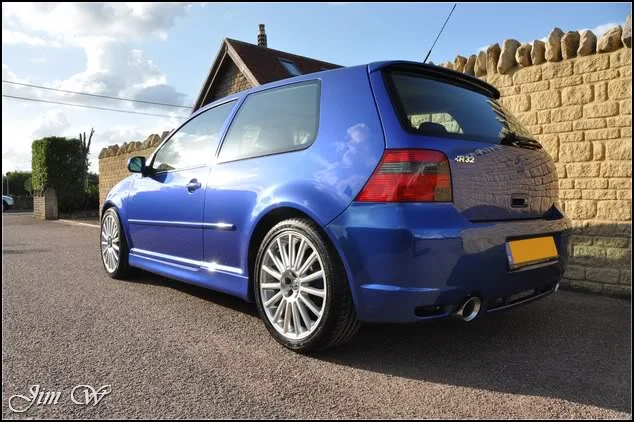
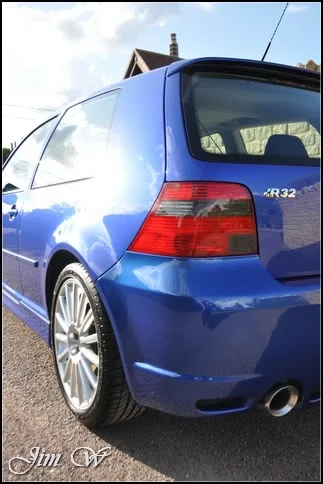
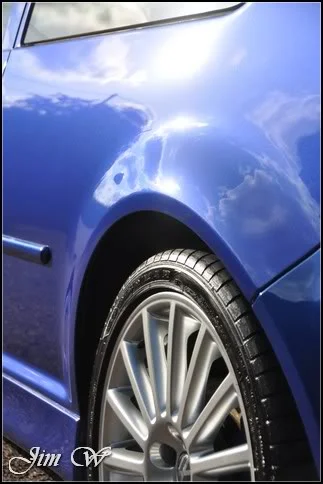
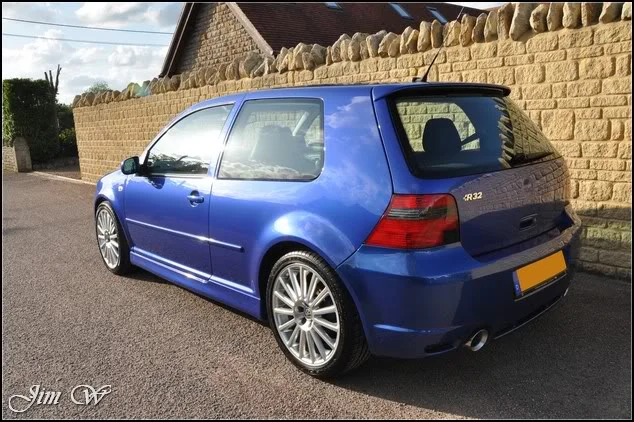
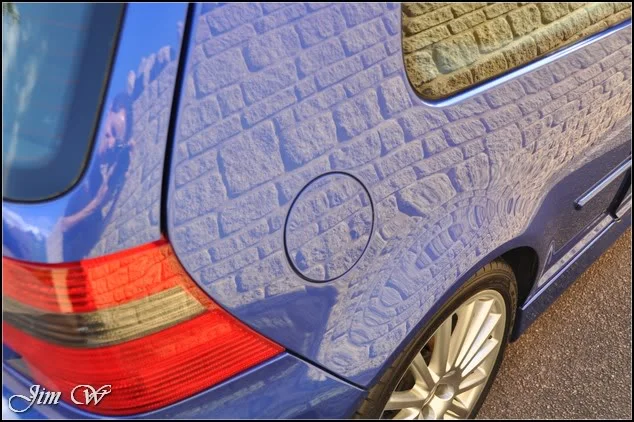
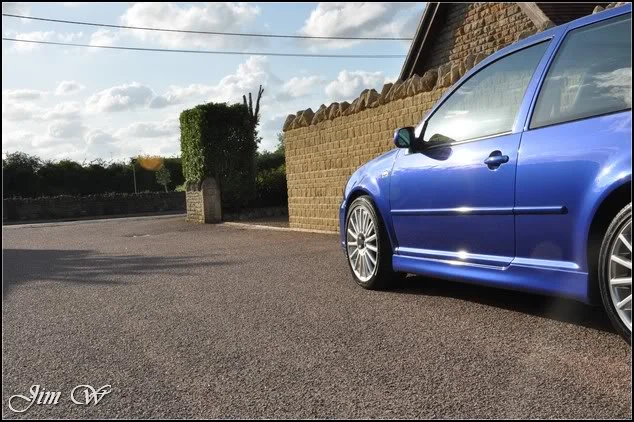
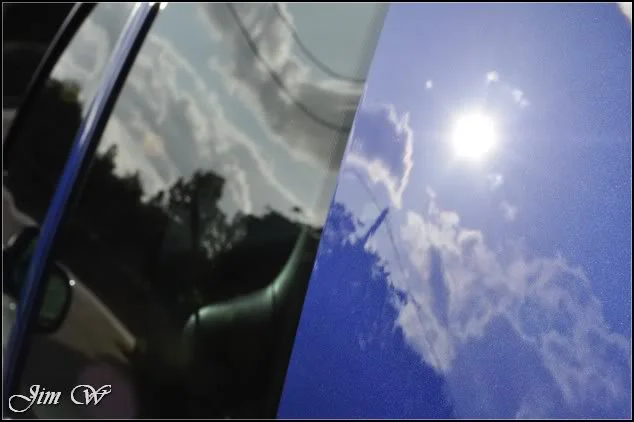
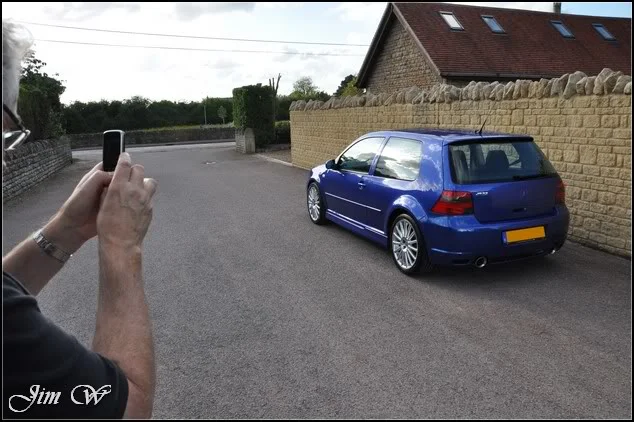
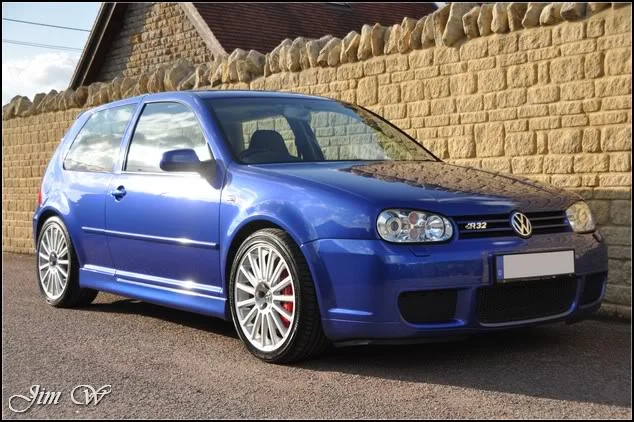
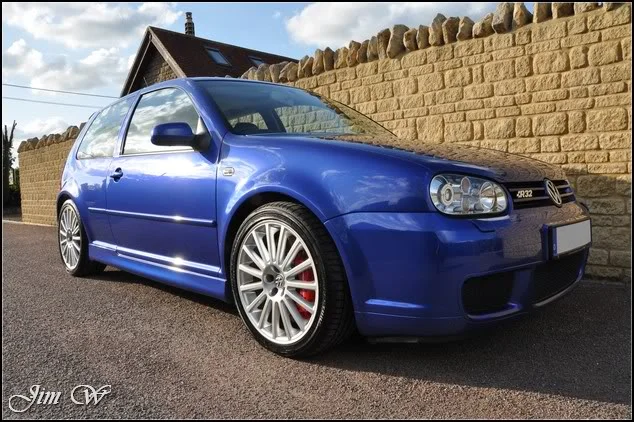
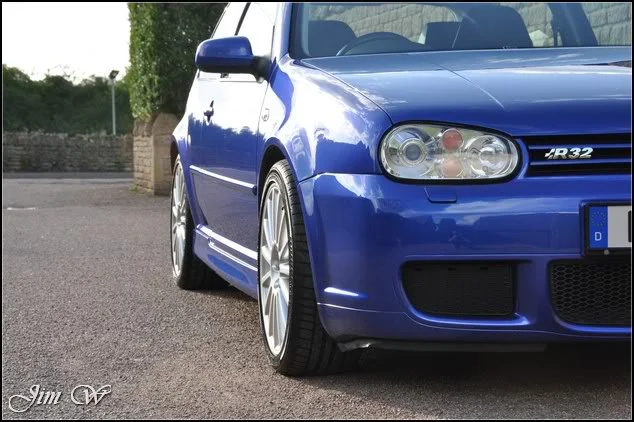
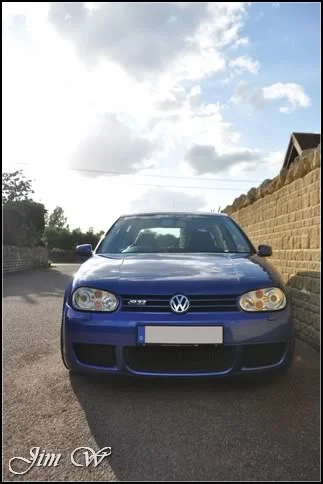
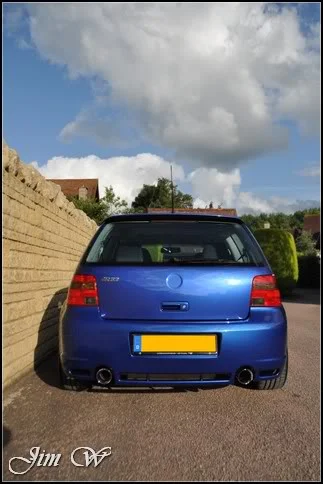
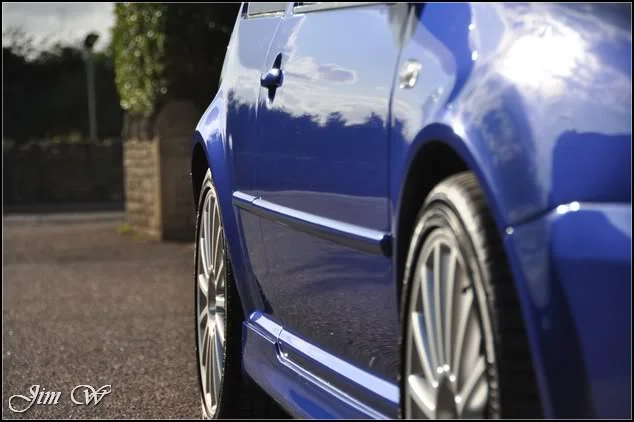
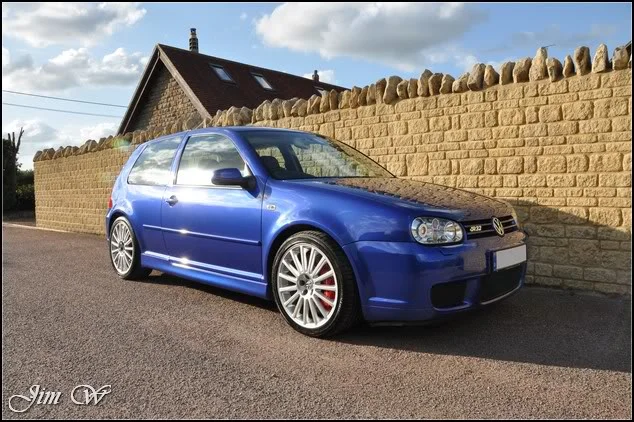
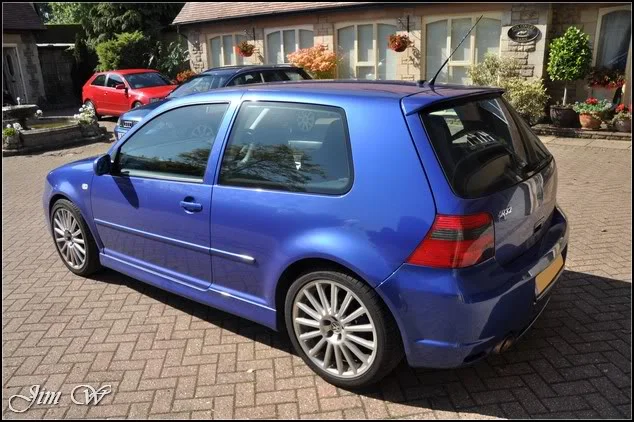
Volkswagen Golf R32 mkiv – Deep Blue Pearl

A customer that I had done some work for in the past phoned through early June to see about sorting their R32 in readiness for GTI International 2011 this weekend at Bruntingthorpe.

Pushed for time before the show, I managed to shuffle a few jobs around last weekend to give a two day window for the job to go ahead.

Two day Major Paint Correction Detail.

Product

· 3M Glass Cleaner
· 3M Ultra Fina
· AutoSmart Tardis
· AutoSmart G101
· AutoSmart Hazsafe
· AMDetails mild clay bar
· Blackfire ‘Wet Diamond’ All Finish Paint Protection
· Belgom ALU
· Bilberry wheel cleaner
· Chemical Guys JetSEAL109
· Dodo Juice Born to be Mild
· Iron-X
· Jeffs Werkstat Prime
· Meguiars Super Degreaser
· Meguiars Endurance Tyre Gel
· Menzerna FG S500
· Menzerna 203s
· Menzerna 106FA
· ONR

Inspection.
DSC_0002.webp


DSC_0004.webp
DSC_0005.webp


DSC_0006.webp


DSC_0007.webp


DSC_0008.webp


DSC_0010.webp


DSC_0011.webp


Now, if the mkiv R32 that Jonny (Pure Detail) and I worked on earlier this year was anything to go by, it’s going to be a long two days!
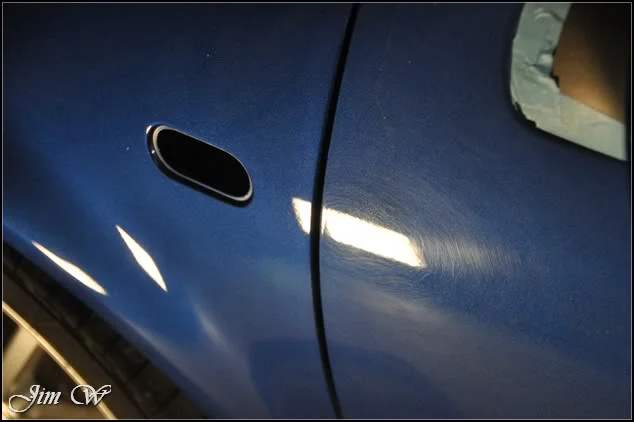
DSC_0032.webp


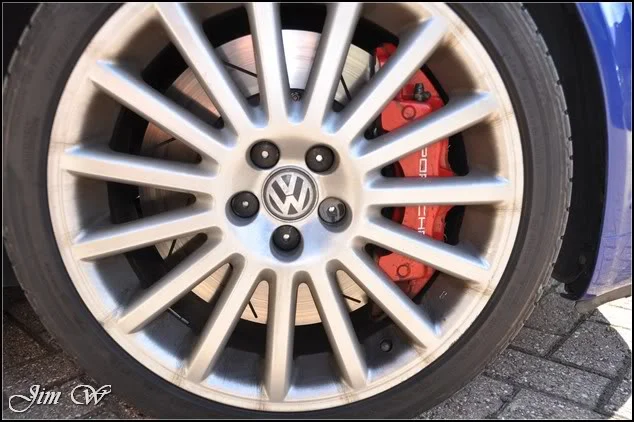
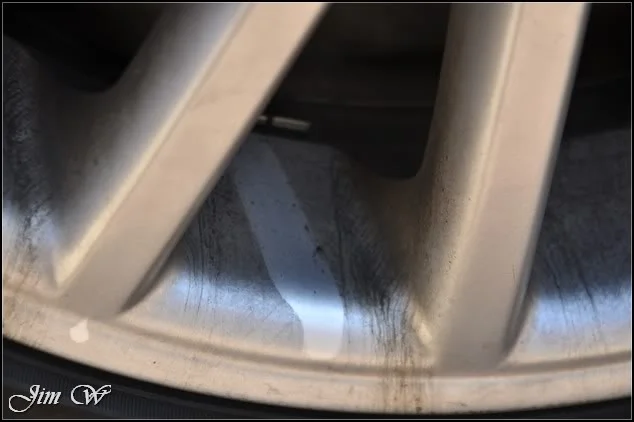
The sun was beaming down – no photos throughout the wash stages I am afraid other than a few wheels and contamination shots…

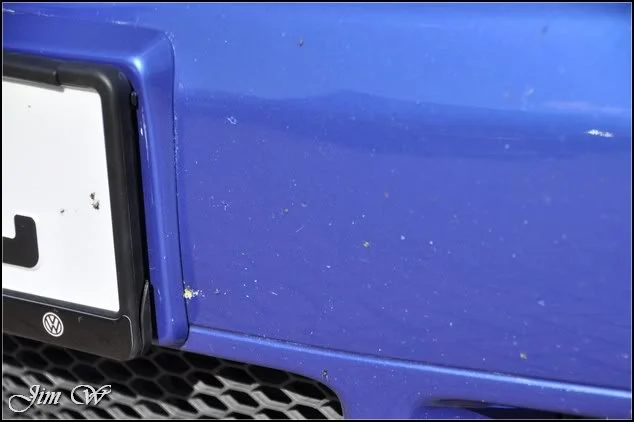
AutoSmart Tardis used to lift a few tiny tar spots:
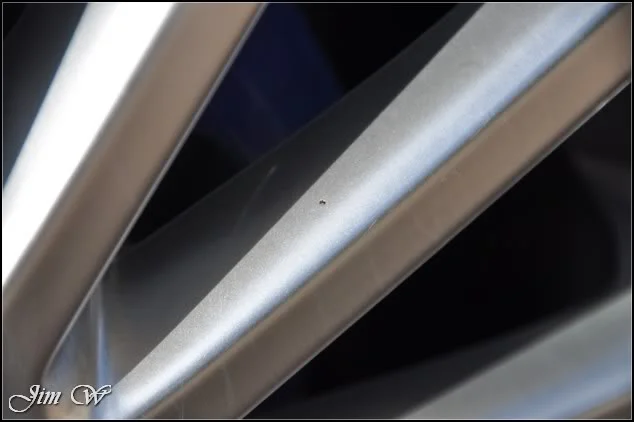
DSC_0015.webp


And Iron-X doing its thing (still really impressed with this product!)
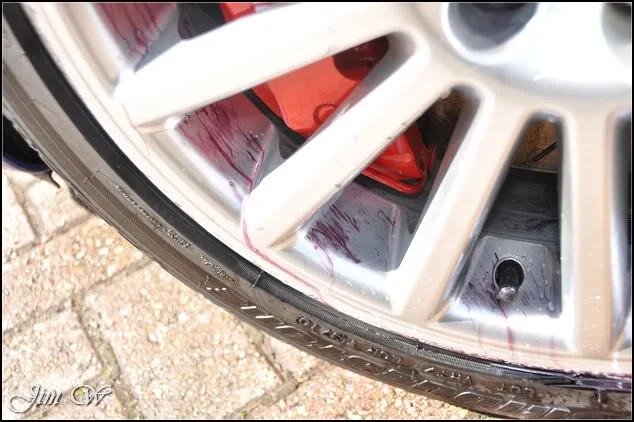
DSC_0014.webp


Usual wash sequence – wheels > shuts & sills > pre-wash > wash > tar > clay > dry.

AMDetails’ mild clay bar used to lift surface contaminants. Lots of tree sap on this one!
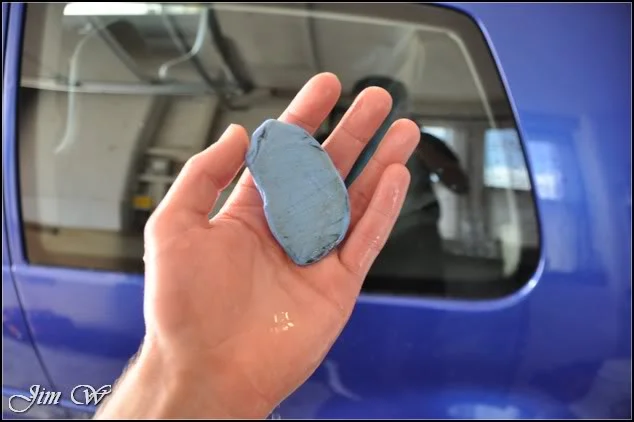
DSC_0016.webp


ONR (optimum no rinse) was used as clay lube and was performed inside to get out of the heat.

Two pieces of clay were left in warm water to keep them soft and malleable.
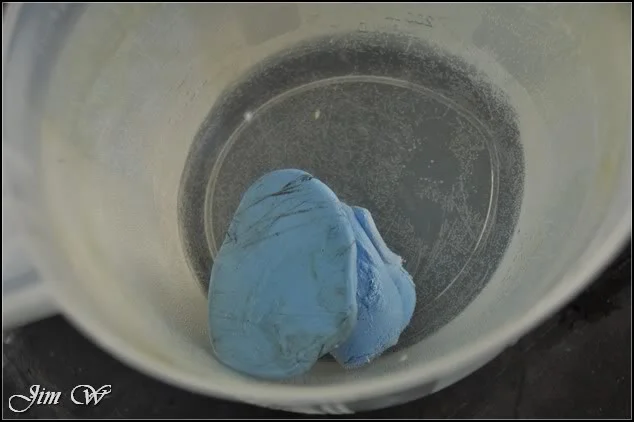
DSC_0019.webp


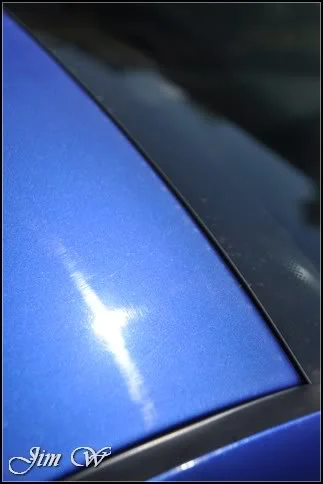
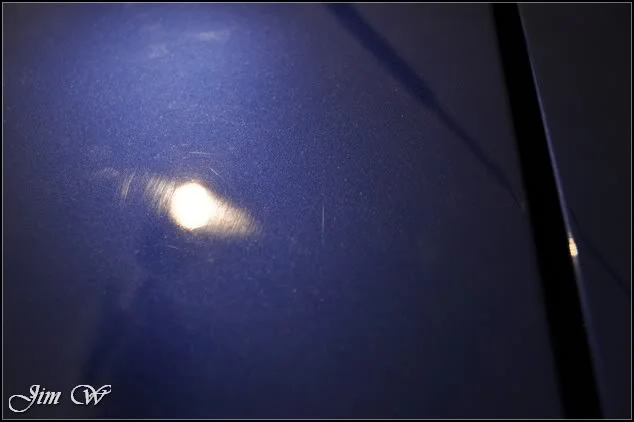
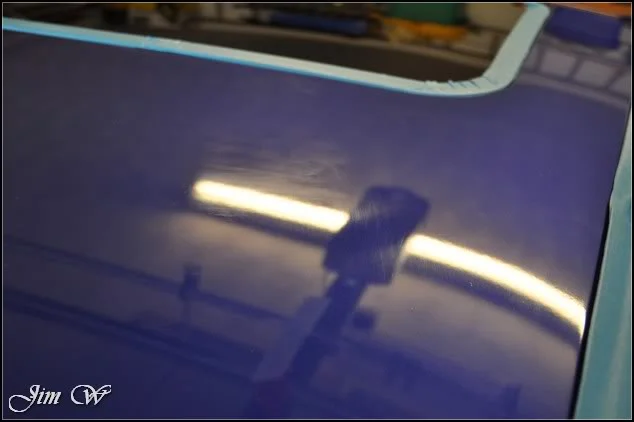
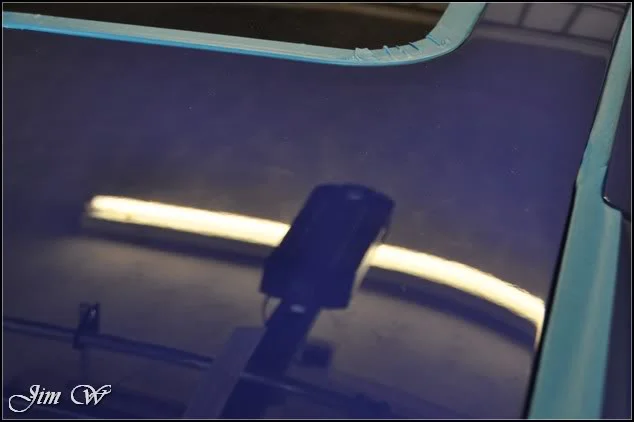
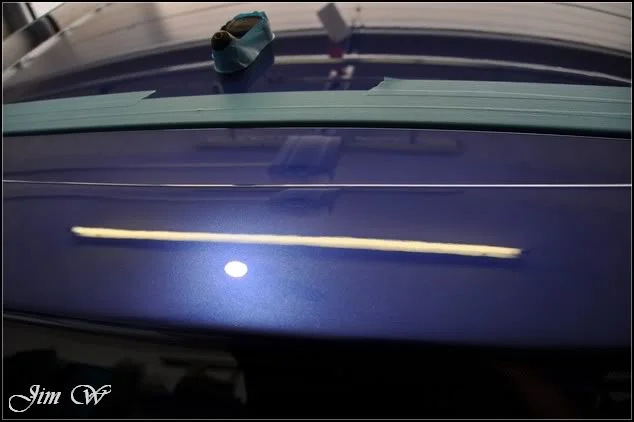
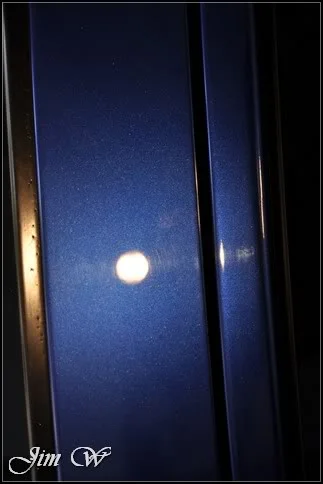
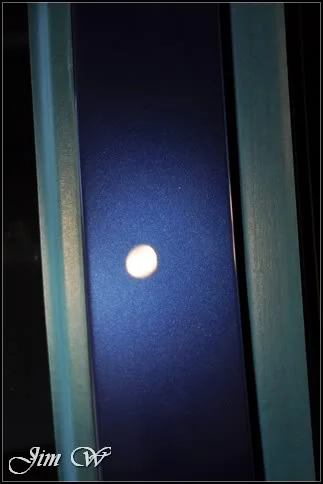
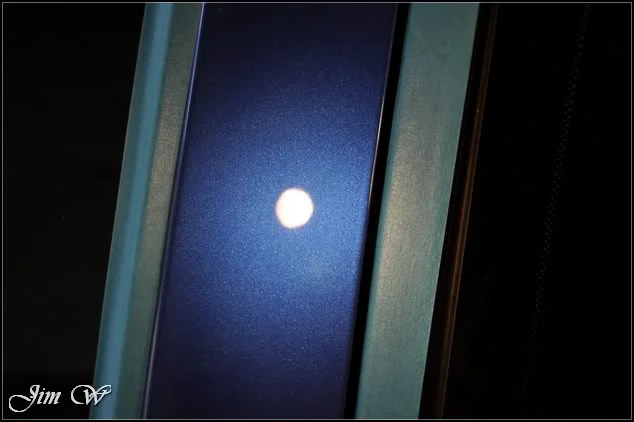
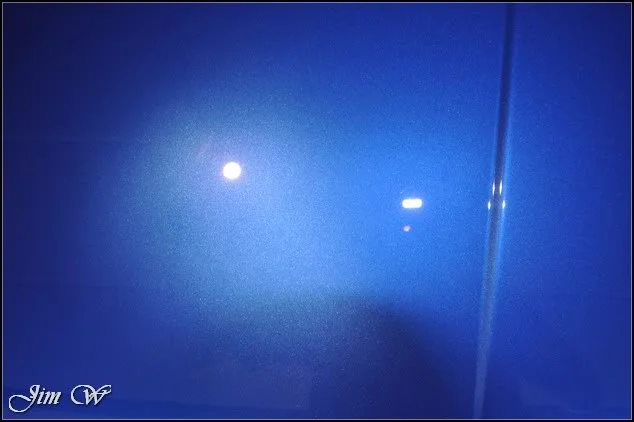
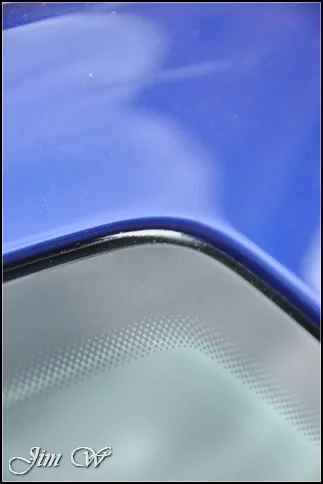
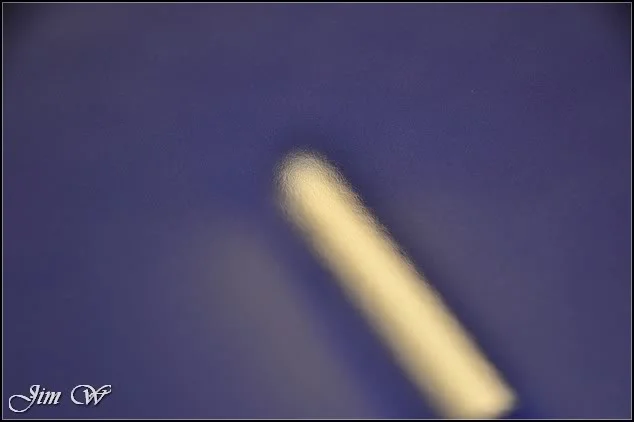
OK, so, clean, dry and inside. The first thing I notice is the finish on the roof:
DSC_0021.webp


DSC_0022.webp


DSC_0024.webp


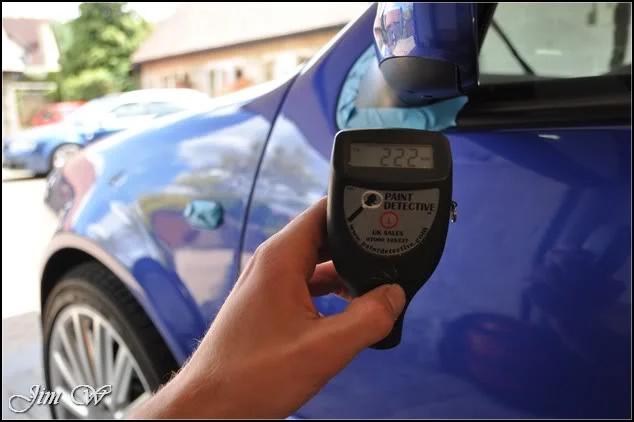
One or two areas on the car had seen paint.
DSC_0037.webp


DSC_0038.webp


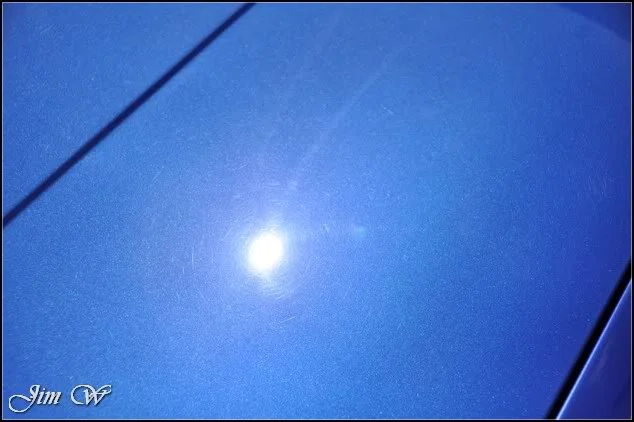
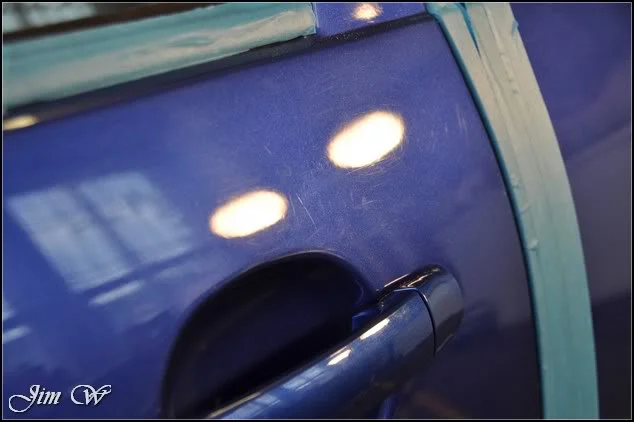
Defects:

DSC_0027.webp


DSC_0028.webp


DSC_0029.webp


Overall, the car was in a very good shape (compared to the other mkiv R as mentioned above!)

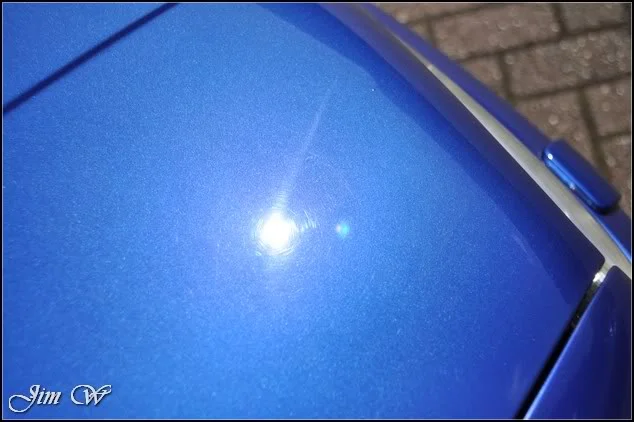
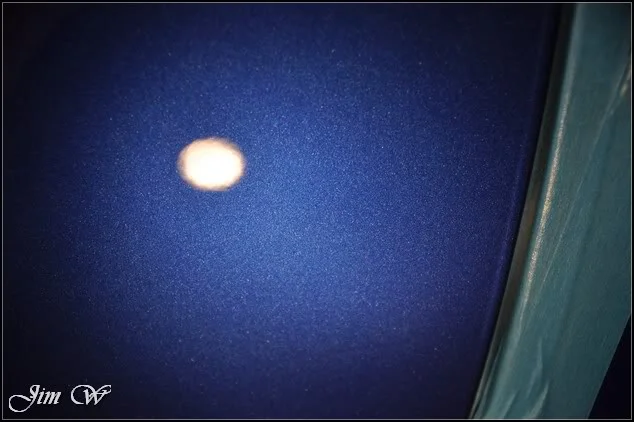
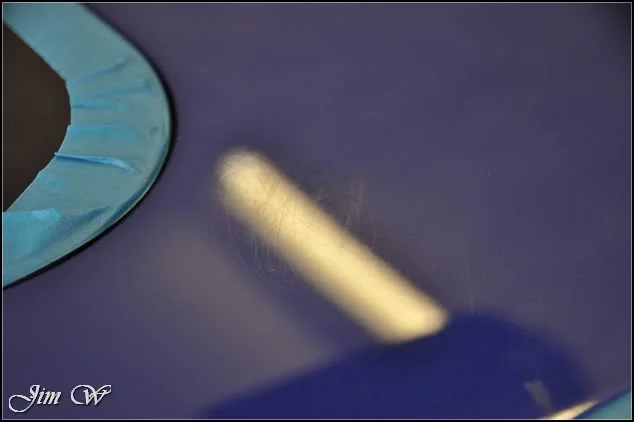
Starting high on the roof line, I picked out a few hazy patches.
DSC_0026.webp


Before/After:

DSC_0075.webp


DSC_0076.webp


Refined down to a crisp sharp finish:
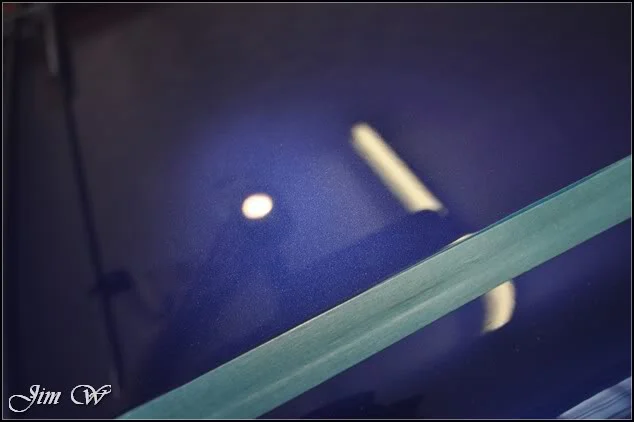
DSC_0033.webp


DSC_0034.webp


B-pillar before/after:

DSC_0036.webp
DSC_0039.webp


DSC_0040.webp


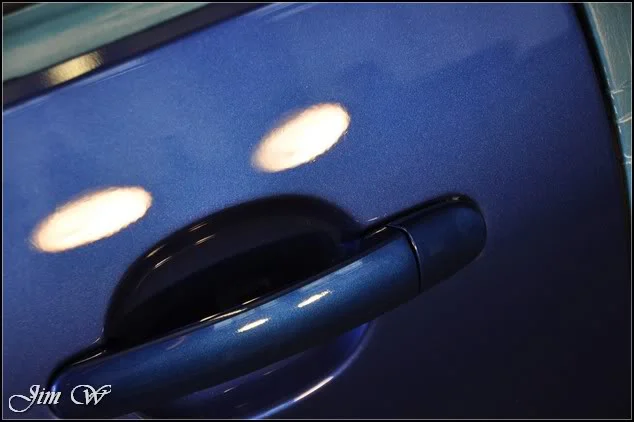
N/S door handle – before/after:

DSC_0041.webp


DSC_0051.webp


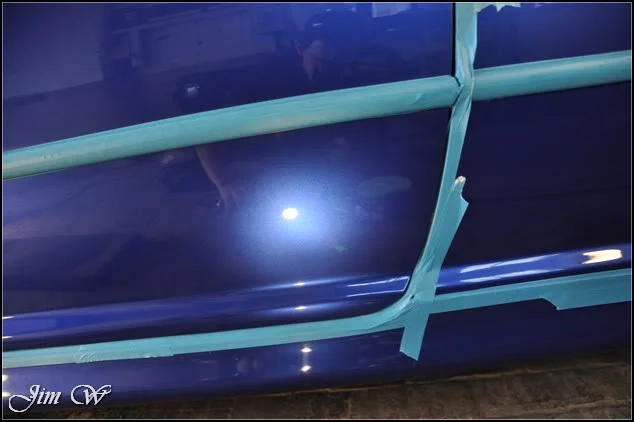
Below the bumpstrips – before/after:
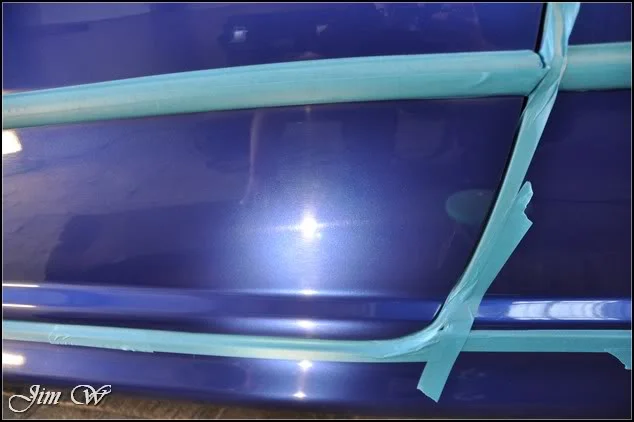
DSC_0042.webp


DSC_0044.webp


Flake pop:

DSC_0047.webp


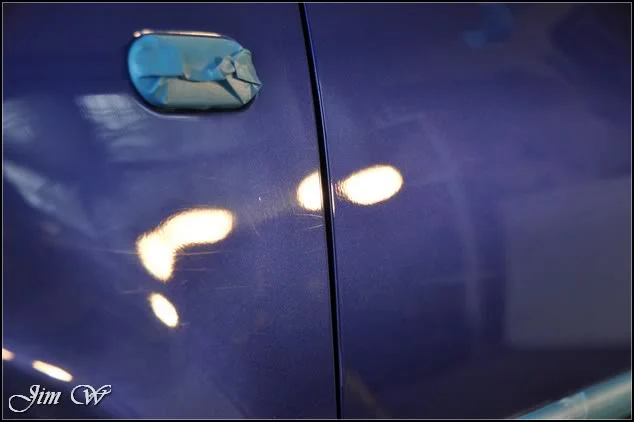
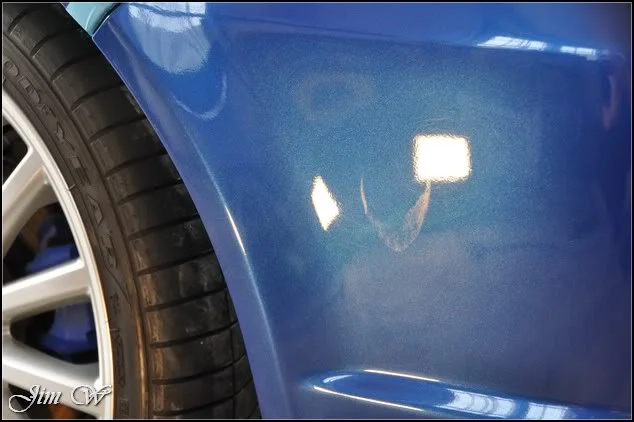
50/50 between wing and door:

DSC_0049.webp


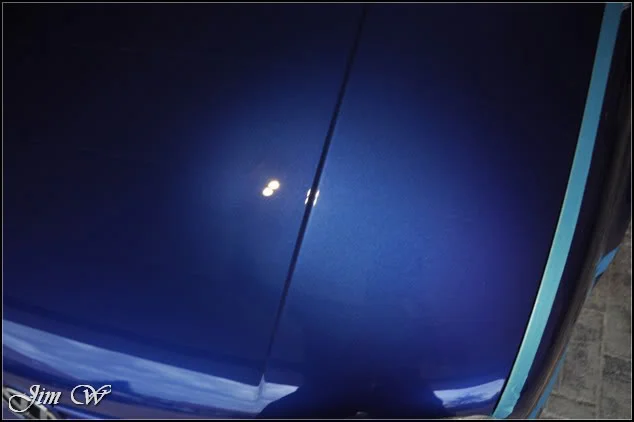
The bonnet was one of the areas the owner knew about in terms of ‘new paint’.

Before/after – light swirling and buffertrails left by bodyshop.
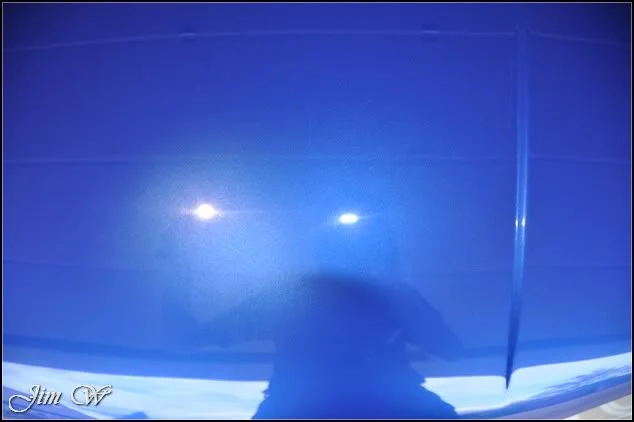
DSC_0054.webp


DSC_0055.webp


DSC_0057.webp


That was about it for day 1. I had completed the N/S, half the roof and the bonnet.
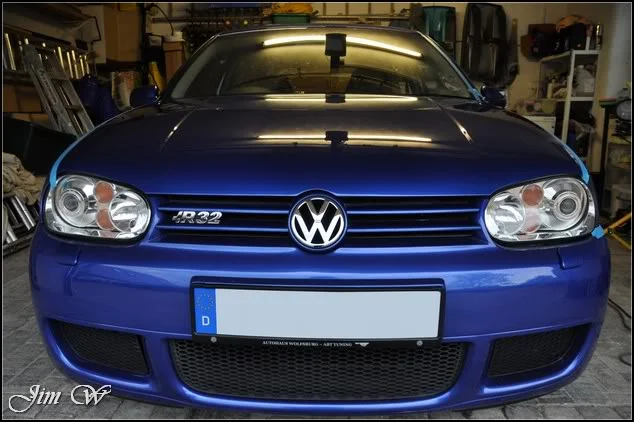
DSC_0058.webp


An early start day 2 and straight back into it.

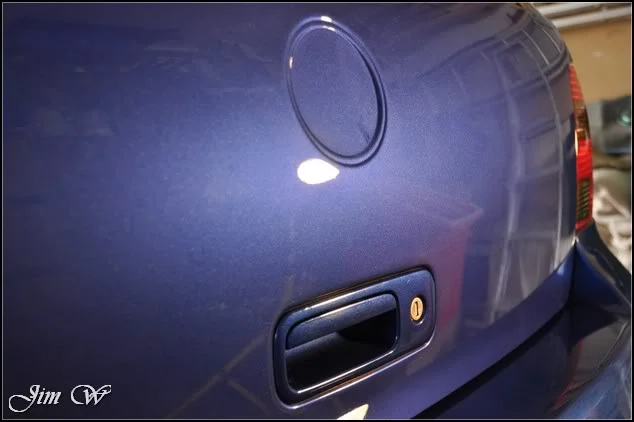
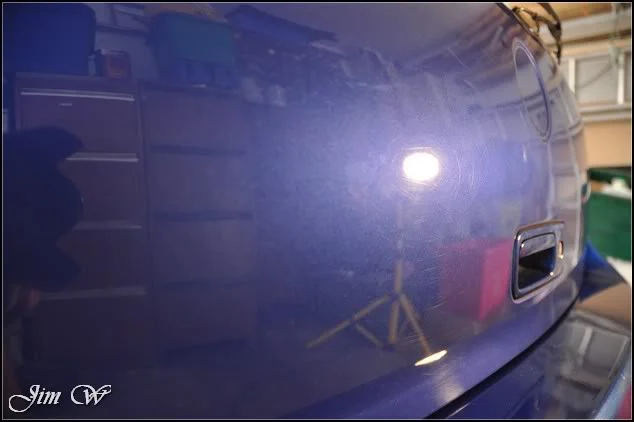
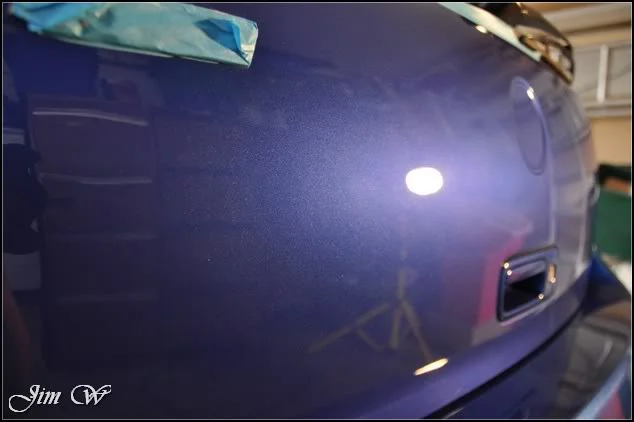
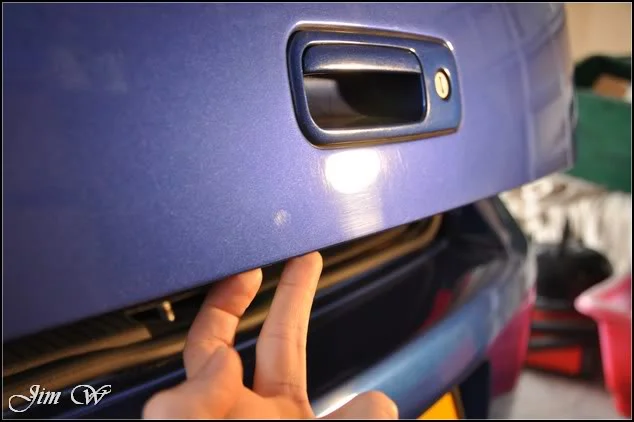
Boot lid up first.

Before/After:
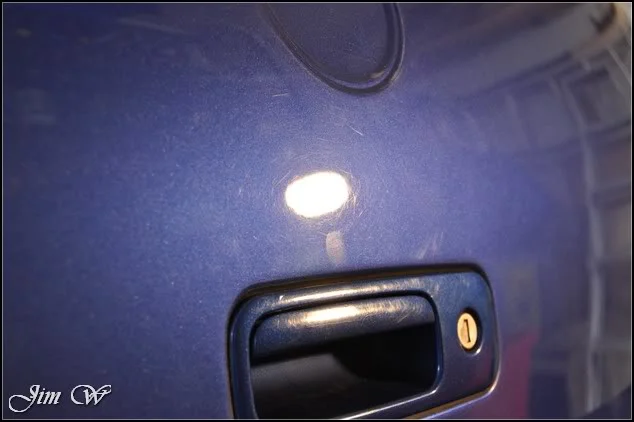
DSC_0059.webp


DSC_0065.webp


Before/After:

DSC_0060.webp


DSC_0066.webp


Before/After:

DSC_0063.webp


DSC_0067.webp


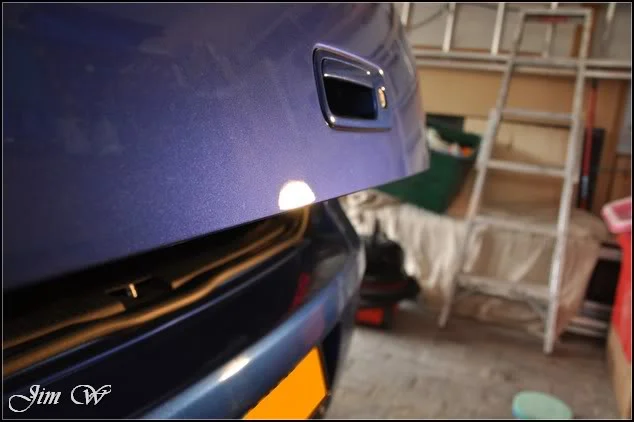
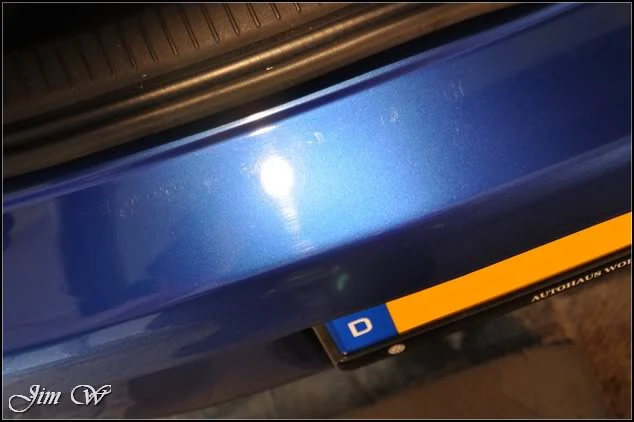
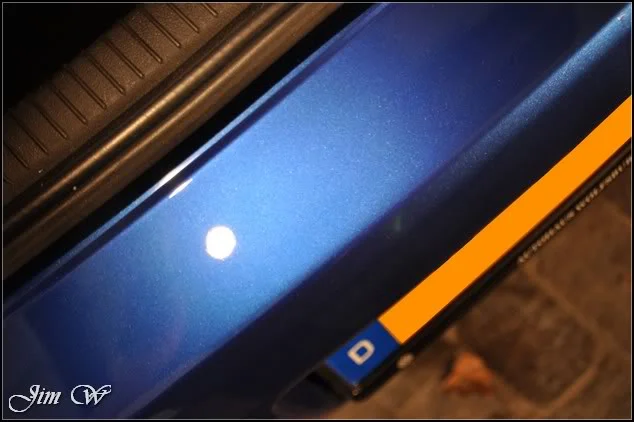
Complete: (see the swirling on the bumper; that’s next!)
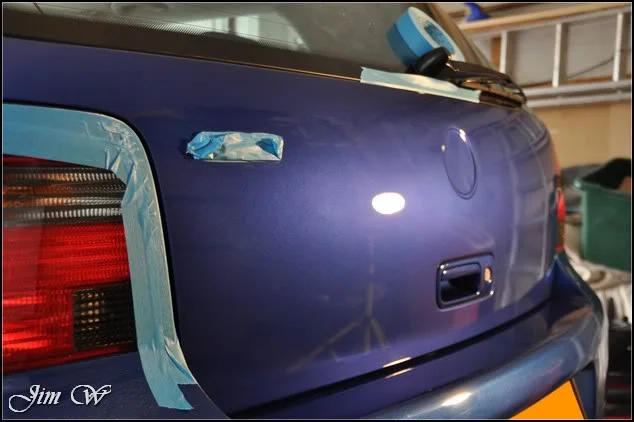
DSC_0064.webp


DSC_0068.webp


DSC_0073.webp


DSC_0070.webp


DSC_0071.webp


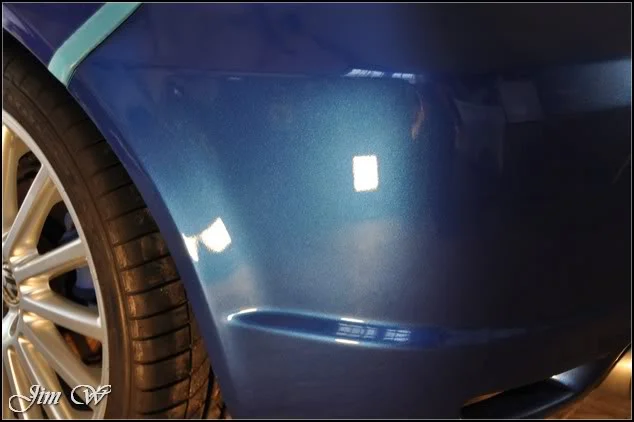
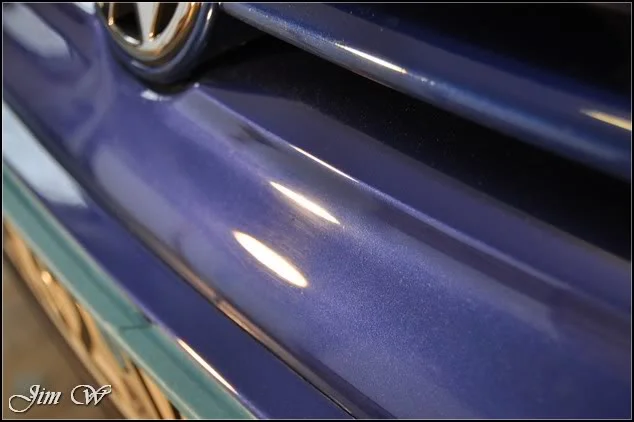
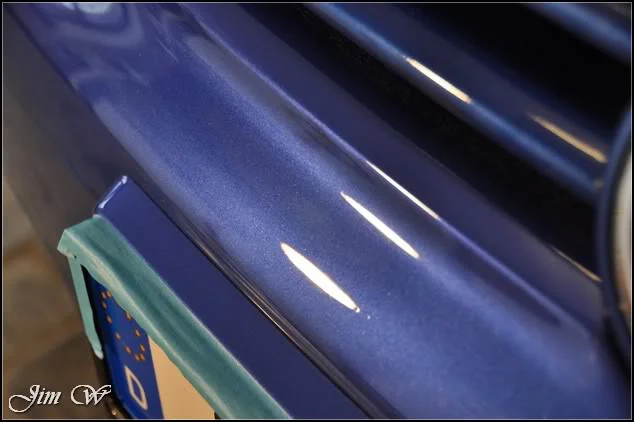
In this light, the colour match on the bumper isn’t great although outdoors you’d do well to spot it.
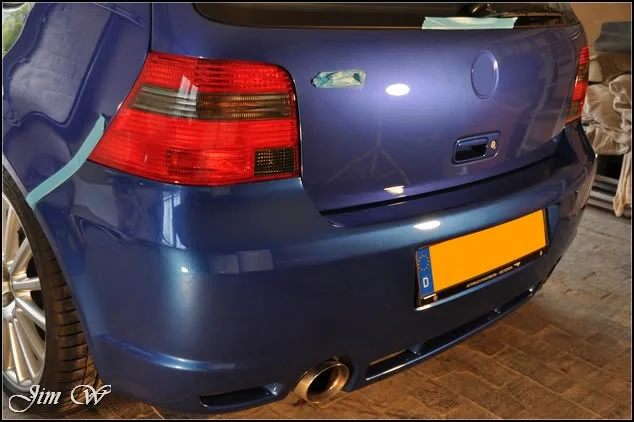
DSC_0074.webp


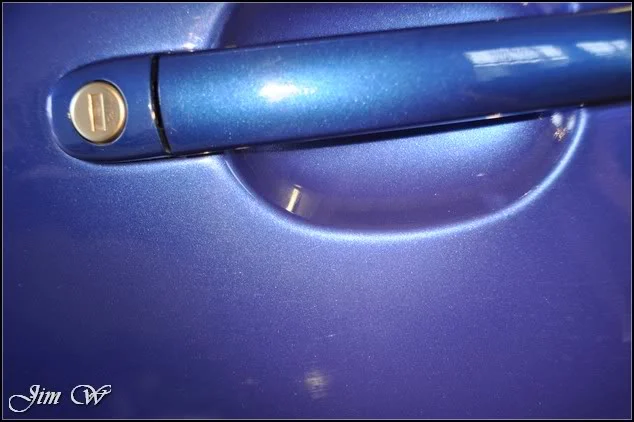
Inner door handle tackled with Menz 203s by hand. Before/After:
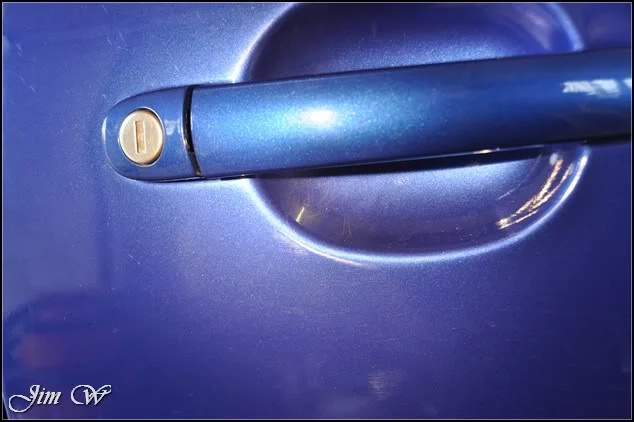
DSC_0077.webp


DSC_0078.webp


Front bumper before/after:

DSC_0081.webp


DSC_0082.webp


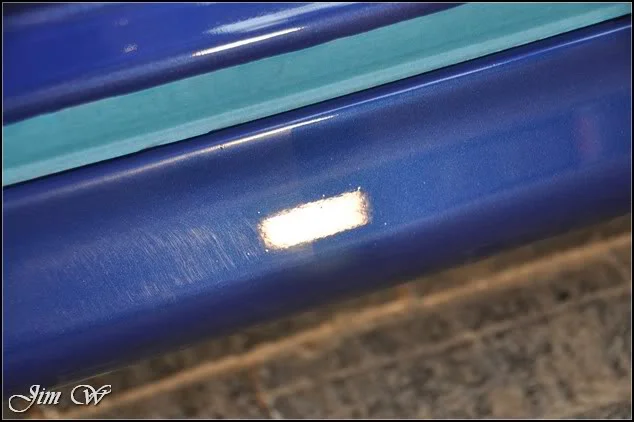
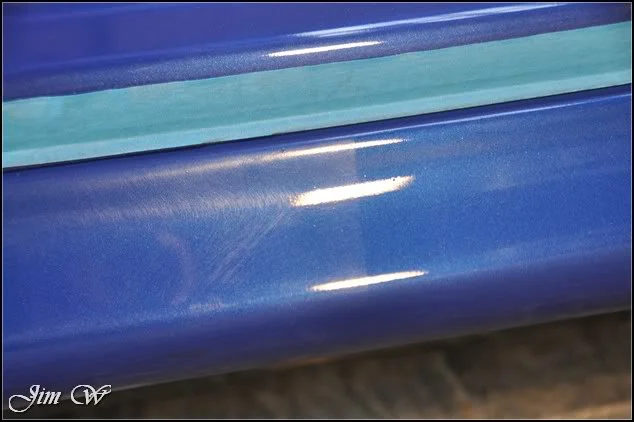
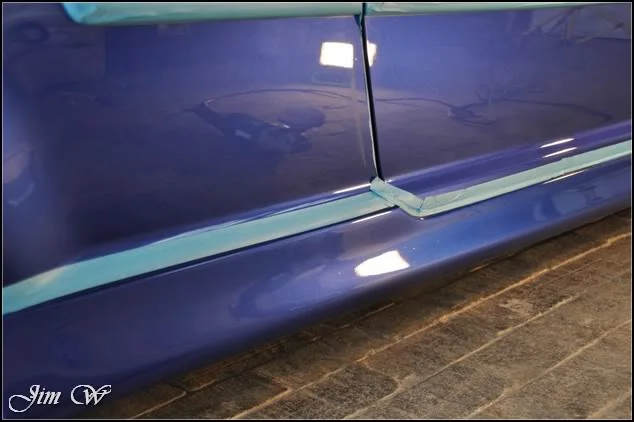
Side skirt 50/50:

DSC_0083.webp


DSC_0084.webp


Machine work complete ~ 3pm into the second day.
DSC_0087.webp


DSC_0088.webp


DSC_0089.webp


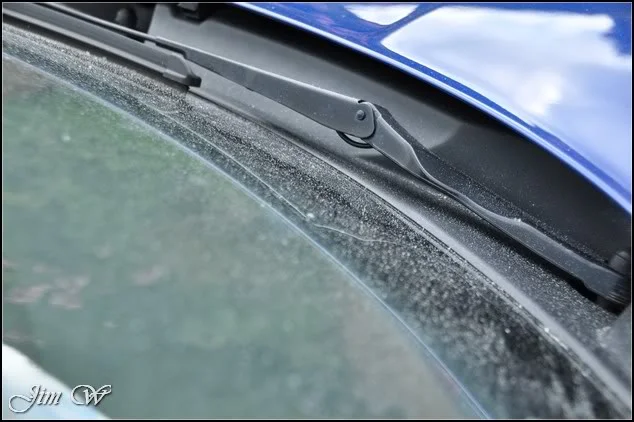
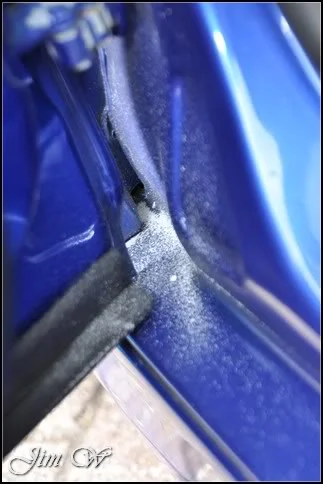
Because of the dust created by heavy compounding, the car was put back outside for a good rinse.
DSC_0090.webp


DSC_0092.webp
DSC_0093.webp


DSC_0095.webp


After pat drying the car, it was blown dry with the Black Baron Vehicle Dryer to remove water from behind the badges, grilles, crevices etc.

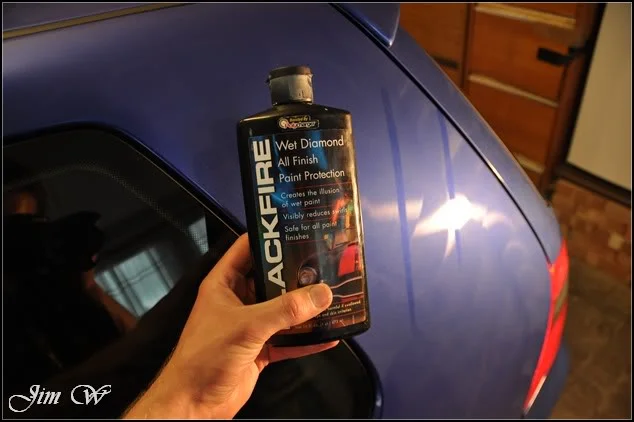
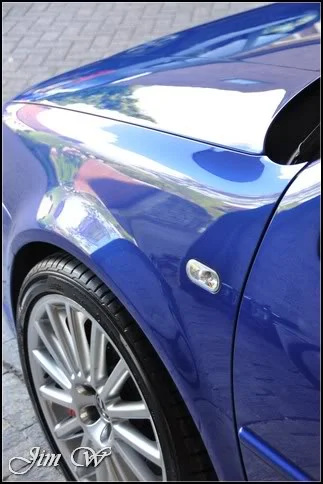
After a thorough IPA (isopropyl alcohol) wipedown, Blackfire Wet Diamond was layed down to protect.
DSC_0096.webp


DSC_0100.webp
DSC_0101.webp


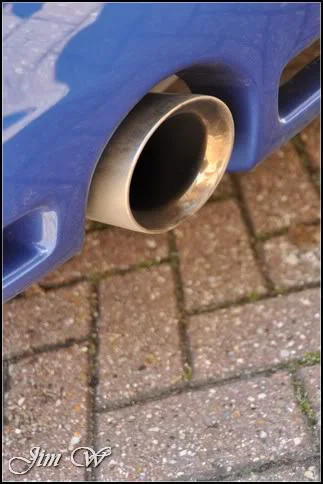
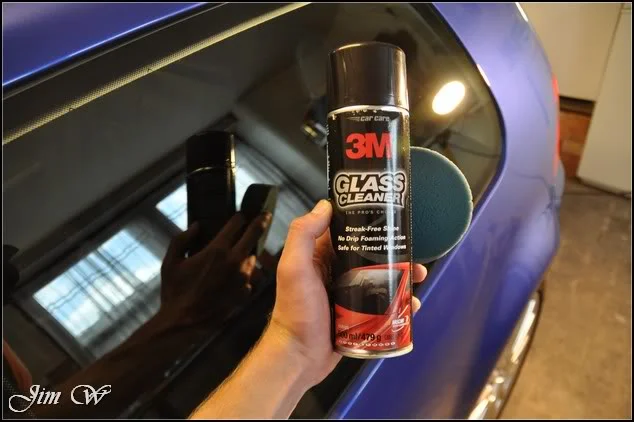
Wheels, tyres and exhausts sorted. Glass cleaned inside and out with 3M’s cleaner:
DSC_0098.webp


DSC_0105.webp
DSC_0106.webp


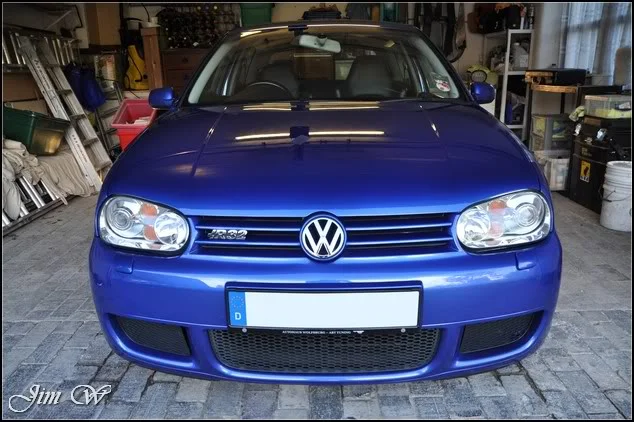
A final wipedown and then checking panel gaps for polish residues etc.
DSC_0103.webp


DSC_0104.webp


DSC_0102.webp


DSC_0108.webp


DSC_0111.webp


DSC_0112.webp


DSC_0115.webp


DSC_0117.webp
DSC_0118.webp


DSC_0123.webp


DSC_0124.webp


DSC_0125.webp


DSC_0127.webp


DSC_0129.webp


DSC_0130.webp


DSC_0131.webp


DSC_0133.webp


DSC_0134.webp


DSC_0135.webp


DSC_0141.webp
DSC_0142.webp


DSC_0145.webp


DSC_0139.webp


DSC_01321.webp


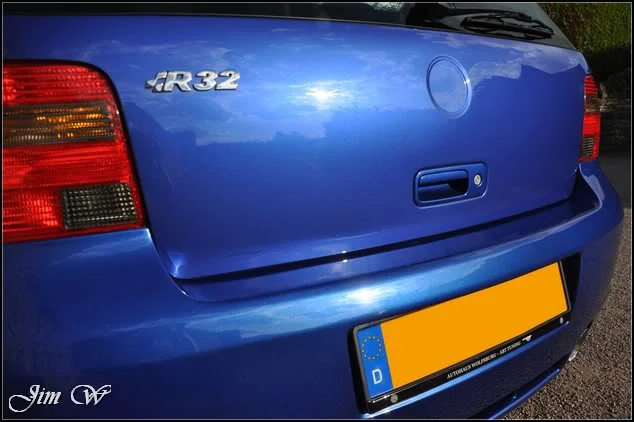
The owner is in the process of sourcing a new badge for the bootlid as we speak.

Overall, ~20 hours over the two were days put into this one. Considering, not a bad turnaround in my opinion!

Thanks for reading.

Jim
 
and now the Porsche:

Porsche Carrera 2S – Basalt Black

A 37 hour ‘White Detail’ to give the vehicle a complete new lease of life both inside and out…

This is a returning customer, their previous pride and joy was the Daytona Grey Pearl RS4 that a few of you may remember from Summer last year:

DSC_0024-1.webp


Product

· 3M Glass Cleaner
· 3M Ultra Fina
· 3M Extra Fine
· AutoSmart G101
· AutoSmart Tardis
· AutoSmart Hazsafe
· AMDetails’ Mild Clay Bar
· AutoGlym Vinyl & Rubber Care
· Belgom ALU
· Bilberry wheel cleaner
· Dodo Juice Born To Be Mild
· G-Techniq G1 rain repellent
· Hammerite Smooth Silver high-temp
· Iron-X
· Jeffs Werkstat Prime
· LTT Auto Ultra Foam
· LTT Auto Ultra Protect
· Meguiars Super Degreaser
· Menzerna 106FA Final Finish
· Menzerna 203s Power Finish
· Menzerna 85RD 3.02 Intensive Polish
· Menzerna S500 Fast Gloss
· ONR – Optimum No Rinse
· Raceglaze Black Label Concours Wax
· Raceglaze Clearmist Carnauba Detailing Spray

Video highlights can be seen here: http://youtu.be/uJ_8V7RbVLE?hd=1

Throughout, I was asked to take as many photos as possible. I’ll apologise in advance, I think it’s going to be a long read!

Day 1 I had planned to remove and deep clean the alloys (later being refurbished so not to spend too much time on them), prep the arches and brake calipers and then to paint the wheel hubs as they had started to show signs of slight corrosion.

DSC_0271.webp


DSC_0279.webp


DSC_0274.webp


DSC_0276.webp


DSC_0278.webp


DSC_0282.webp


DSC_0283.webp
DSC_0285.webp


Front arch after:

DSC_0345.webp


DSC_0288.webp


Some old wheel weight glue to remove:

DSC_0287.webp


Tardis in action removing organic contaminants:

DSC_0294.webp


DSC_0295.webp


And then Iron-X to lift any metal filings etc (pretty clean to begin with to be honest!)

DSC_0296.webp


DSC_0298.webp


DSC_0299.webp


Hell. These rear wheels massive!

DSC_0303.webp


Again, more glue:

DSC_0305.webp


Caliper before/after cleaning:

DSC_0308.webp
DSC_0316.webp


Tar removal from exhaust silencer:

DSC_0313.webp


DSC_0314.webp


General before/after:

DSC_0306.webp


DSC_0315.webp


It’s a scorcher today and with all four corners complete, it was time to start with the wet work. To touch, the paintwork was extremely hot. Not going to be an enjoyable hour or so whilst washing it…

DSC_0318.webp


As soon as the usual wash steps were out the way, it was straight inside for claying and decontamination.

A few tar specs lifted:

DSC_0327.webp


DSC_0328.webp


DSC_0319.webp


DSC_0323.webp


Blown dry with the Black Baron to remove any standing/trapped water:

DSC_0326.webp


Front reg housing removed to allow tighter paint correction on bumper:

DSC_0329.webp


DSC_0330.webp


Back outside into the sun and here are some of the defects…

DSC_0331.webp


DSC_0334.webp


DSC_0336.webp


DSC_0338.webp


DSC_0342.webp


DSC_0343.webp


A few nasty etchings:

DSC_0340.webp


DSC_0341.webp


And caught up in the curves on the rear quarter were a few slight machine holograms:

DSC_0344.webp


Back inside and taped up ready for an early start on Day 2.

DSC_0357.webp


With the sun beaming through the unit doors, I noticed more machine holograms. This time on the front bumper (after a trip to the bodyshop no doubt)

DSC_0352.webp


Defects under the Brinkman LED torch:

DSC_0358.webp


DSC_0361.webp


DSC_0362.webp


DSC_0367.webp


DSC_0372.webp


Even with natural lighting you can make out the ‘haze’ covering the bonnet: (promises to be a big turnaround!)

DSC_0373.webp


OK so, day 2 and time to make a start to the paint correction work.

Unfortunately, whilst testing my pad and polish combinations it was noted that the Porsche was suffering with ‘sticky paint’.

With the rotary, whilst digging deep trying to remove the deeper scratches, the polish would dry out, clump, and deposit nasty clusters of polish that weld themselves to the paint.

Various tests were made; polish variations, pad swapping etc. The results were good, but it wasn’t half tricky!

Roof before/after:

DSC_0378.webp


DSC_0380.webp


DSC_0381.webp


A-C pillar corrected:

DSC_0382.webp


DSC_0383.webp


Mirror:

DSC_0386.webp


Eventually, I knocked back down to the Dual Action (DA) machine polisher as it kicks out a lot less heat (thus, ‘hopefully’ working around the sticky paint issue)

Progress was slow but still, results were good:

Before/Afters on O/S/R:

DSC_0388.webp


DSC_0389.webp


DSC_0391.webp


50/50 between the wing and door:

DSC_0394.webp


50/50:

DSC_0397.webp


Before/After:

DSC_0399.webp


DSC_0401.webp


And then refined with the rotary and a Lake Country constant pressure finishing pad.

DSC_0403.webp


Small tricky areas corrected and refined. Again, with Lake Country constant pressure pads.

DSC_0405.webp


DSC_0406.webp


50/50 between O/S/F wing and bonnet:

DSC_0410.webp


DSC_0412.webp


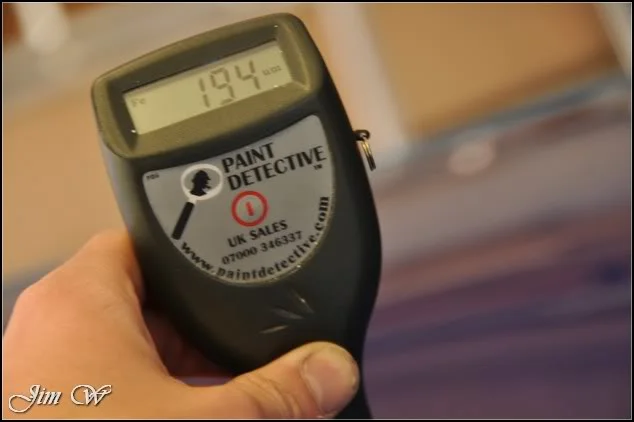
Paint thickness readings were pretty much the same throughout. Averaging ~110um.

After three steady compounding hits to the bonnet, this was the result:

DSC_0415.webp


DSC_0417.webp


Lots of deeper (RDS) scratches remain. Spent nearly an hour and a half on one side of the bonnet alone; lots of marks to chase out.

50/50s:

DSC_0420.webp


DSC_0421.webp


DSC_0425.webp


DSC_0426.webp


DSC_0429.webp


DSC_0433.webp
DSC_0431.webp


Before/After:

DSC_0437.webp


DSC_0441.webp


DSC_0443.webp


DSC_0444.webp


DSC_0446.webp


DSC_0447.webp


DSC_0451.webp


The finished result on the bonnet was stunning. Pretty much 100% defect free.


Front bumper before/after:

DSC_0458.webp


DSC_0461.webp


DSC_0460.webp


Starting to work back down the N/S, I begin high up on the roof.

DSC_0486.webp


DSC_0494.webp


Before/After:

DSC_0465.webp


DSC_0495.webp


DSC_0496.webp


N/S/R before/after:

DSC_0498.webp


DSC_0499.webp


Before/after:

DSC_0501.webp
DSC_0503.webp


DSC_0504.webp


DSC_0505.webp


DSC_0509.webp


DSC_0510.webp


DSC_0511.webp
DSC_0512.webp


As if the bonnet didn’t take long enough, the rear end with the spoiler etc was going to prove very challenging!

Continuing my work with the DA:

DSC_0535.webp


Two 50/50’s:

DSC_0536.webp


DSC_0537.webp


Top section complete:

DSC_0538.webp


Lower down though on the next panel there were some nasties:

DSC_0539.webp


Before/After:

DSC_0541.webp


DSC_0583.webp


Had to switch to the rotary at this point; the DA stood too tall and wouldn’t fit under that spoiler…

DSC_0542.webp


DSC_0570.webp


Finished:

DSC_0575.webp


DSC_0577.webp


DSC_0578.webp


DSC_0579.webp
DSC_0580.webp


Albeit not perfect; I couldn’t quite lift this one: (massively reduced though by ‘rounding the edges’)

DSC_0584.webp


The paint finish on the aero kit spoiler wasn’t the best.

DSC_0585.webp


DSC_0586.webp


Improvements were made though:

DSC_0588.webp


DSC_0590.webp


DSC_0592.webp
DSC_0591.webp


The owner had requested that the ‘Carrera S’ badge was removed off the back.

DSC_0349.webp


DSC_0513.webp


DSC_0593.webp


Happy days – makes my life much easier!

DSC_0594.webp


DSC_0596.webp


DSC_0597.webp


Rear lights tidied up:

DSC_0598.webp


DSC_0601.webp


DSC_0602.webp


It’s now the morning of day 4. With the N/S mirror and rear bumper left to correct, it’s been a long old battle with the machine polisher! (some 22 hours over Days 2 & 3)

Porsche manoeuvred back outside to remove both the tape and also the dusting:

DSC_0604.webp


DSC_0603.webp


DSC_0605.webp
DSC_0606.webp


DSC_0607.webp


After a thorough IPA (Isopropyl alcohol) wipedown to remove polishing oils, the car was treated to the first of two Black Label wax applications.

DSC_0641.webp


DSC_0611.webp


DSC_0617.webp


Exhausts tidied. Doorshuts polished. Engine dressed.

Being some 6”2’ in height, the inside of the rear window isn’t the easiest to access! (queue all sorts of funny grunts, groans and aches!)

DSC_0635.webp


Windows sealed with G-Techniq G1 rain repellent.

DSC_0637.webp


Interior vac’d, console wiped down and leather cleansed with LTT’s Auto Ultra kit.

Finer interior details were taken care of; some ‘toothpickery’ work to remove the engrained dirt from the numbers on the gear stick:

DSC_0638.webp


DSC_0640.webp


DSC_0666.webp


DSC_0670.webp


Engine dressed and tidied:

DSC_0671.webp


Reg plates fixed on and bonnet badge replaced. Finished.

DSC_06432.webp


DSC_0642.webp


DSC_0644.webp


DSC_0646.webp


DSC_0647.webp


DSC_0648.webp


DSC_0649.webp


DSC_0652.webp


DSC_0655.webp


DSC_0656.webp
DSC_0657.webp


DSC_06582.webp


DSC_0664.webp


DSC_0665.webp


DSC_0668.webp


DSC_06602.webp


DSC_0661.webp
DSC_0591.webp


DSC_06852.webp


DSC_0673.webp


DSC_0676.webp


DSC_06883.webp


DSC_06892.webp


DSC_0690.webp


DSC_0697.webp


DSC_0693.webp


DSC_0692.webp


DSC_0705.webp


DSC_0706.webp
DSC_0707.webp


Another basalt black 997 popped by for a sneak peak and a quote on theirs:

DSC_0709.webp


DSC_0714.webp


Wiped down and ready for collection:

DSC_07032.webp


Stunning. A few more ‘detail shots’ were captured on collection day; I’ll upload the new pics later on.

Most enjoyable turnaround, thanks for reading.

Jim.
 
Absolutely stunning work on both cars. But the owner of that Porsche must have been over the moon with those results!
 
Mint work as always bud,stunning to see the reflection from the paintwork.How much does something like the job you did on the R32 cost?
 
Cheers guys. :approve:

(RE 'how much £££' etc, drop us a PM if you could...)


what happened to that 458 with the dodgy paint? any news yet?

Nope, no news yet. I don't think the chap is actually keeping the car long so may not bother chasing them.


A customer testimonial for the Porsche work:

Having spent over two months looking for the "perfect" example in the "right" condition I can honestly say I was more excited about collecting the car from Jim than when I first bought it. The first call I made when I took collection was to Jim to book in for the legendary White Detail. Being something of a perfectionist I was quite explicit in what I wanted Jim to address and with Jim having detailed my previous three vehicles he was very familiar with the standard I expect. I wasn't disappointed. My first reaction when Jim proudly revealed the car was a broad smile. The car looked nothing short of stunning. It glistened and shone as light danced along every curve from the lip of the splitter to the tip of the spoiler. The two hour drive home was filled with admiring glances from other car owners, and moans of grief from me as flies sacrificed themselves all over the beautiful finish - I was almost sad to end the journey as I pulled into the garage.

It is worth mentioning that my last vehicle was praised by the purchasing viewer as the finest, most immaculate example he had ever seen. The sheer volume of enquiries I had for the car where testament to how well it photographed and the quality of the task Jim had performed over the four days that was still evident some 10 months after he had detailed it!

I would highly recommend White Details to anyone who has petrol running through their veins and cherishes their vehicle. His passion for perfection, exemplary attention to detail, sheer pride in the finished result and a desire to always exceed expectations guarantees that Jim will always be the first and last person maintaining the finish of any car I ever own. I recommend him with enthusiasm to friends and clients and proudly show-off his portfolio as if it was my own. A reputation that is well deserved. Thank you.


And a few more pics:


DSC_0722.webp


DSC_0725.webp
DSC_0726.webp


DSC_0727.webp


DSC_0729.webp


DSC_0731.webp


DSC_0735.webp


DSC_0736.webp


DSC_0737.webp
DSC_0742.webp


DSC_0739.webp


DSC_0743.webp


DSC_0745.webp


DSC_0749.webp


DSC_0751.webp


DSC_0753.webp


DSC_0754.webp


DSC_0766.webp


DSC_0763.webp


DSC_0765.webp


Jim.
 
Simply immense worksmanship Jim. Porsche is up there with your best work.

I always found basalt a bit frustrating as it has soo much fleck it's never going to look "deep" black like the solid blacks out there or the less metallic ones.

The Porsche is another level. For a car of that age to look like that again is amazing. It really is a testament to your work.
 
Speechless! Im in awe of your work ... and stunning cars you get in! I deffo think you need an assistant ;)
 
Gally, cheers mate. May have a few more Porka's to play with off the back of this one.. (just hope they're not all 'sticky paint sufferers'!)

A few more big jobs this month - can't wait! Good times.
 
Back
Top