Fiesta ST-2 Finsport
Hello all, thought it was about time I put up a projects thread as promised. Now to start with this isn’t the usual thread you will finding in the projects, but i know it might be of interest to some of you! Im a detailer and mechanic by trade so all the work from here on in naturally has tobe fitted around my paying customers ! J Plan is to sort a few niggley bits here and their, and carry out a full wet sand detail, hopefully this week. Next year moving onto track prep and who knows.
Ok so the car came from James at JMS, tbh i wasn’t really looking for a car that had all the bits this had, however it had a full top and bottom engine rebuild along with a few mods that i was going to do anyway so it looked very appealing. After a drive and inspection i bought it.
So this is how it ended up back at ‘shop’
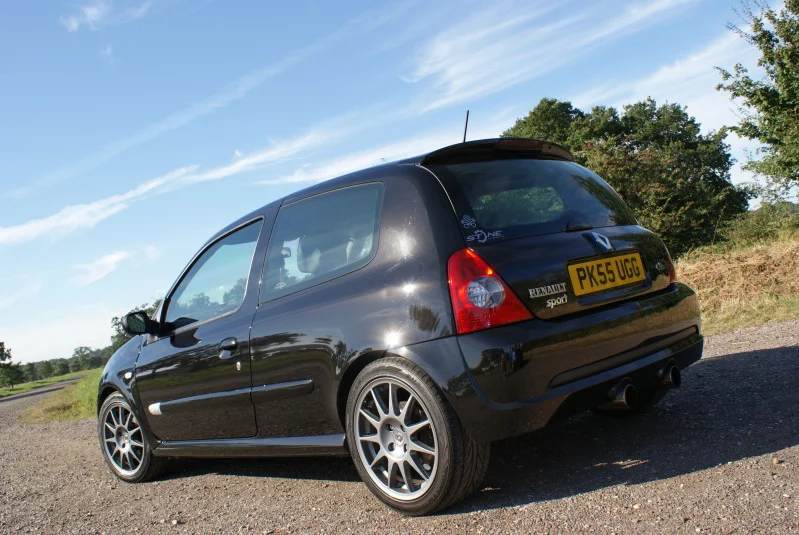
I have to say that the car is a real credit to its previousowners, considering its mileage and being 7 years young. Although its nothing icant improve on!
Spec from ad:
H&R Adjustable Coilover SuspensionKit
Custom ARB - Fully adjustable
Trophy Speed line Turini Alloys wheelscomplete with V12 EVO tyres
3mm Wheel spacers + New galvanisedwheel bolts
Ferodo DS2500 Performance brake pads
Brembo HC Performance brake discs
Stainless Steel Braided Brake Lines(all round)
ATE Super Blue Brake Fluid
Fully Rebuilt Top & Bottom End
Catcam 428 Performance Camshafts
RS Tuning Leeds ECU Calibration
ITG/SFS/ Stone Induction Set-up
ARP Performance Con-rod bolts
Angel Works Matched Inlets
Piper Performance Cat-Back Exhaust
Silenced De-cat (Sports catalyst alsoincluded)
Renault Sport/ Sabelt Cup Racersteering wheel & MOMO Boss
Got to say am mega happy with it, so solid and quick too. Cant wait till the weather improves next year to do a little track time!
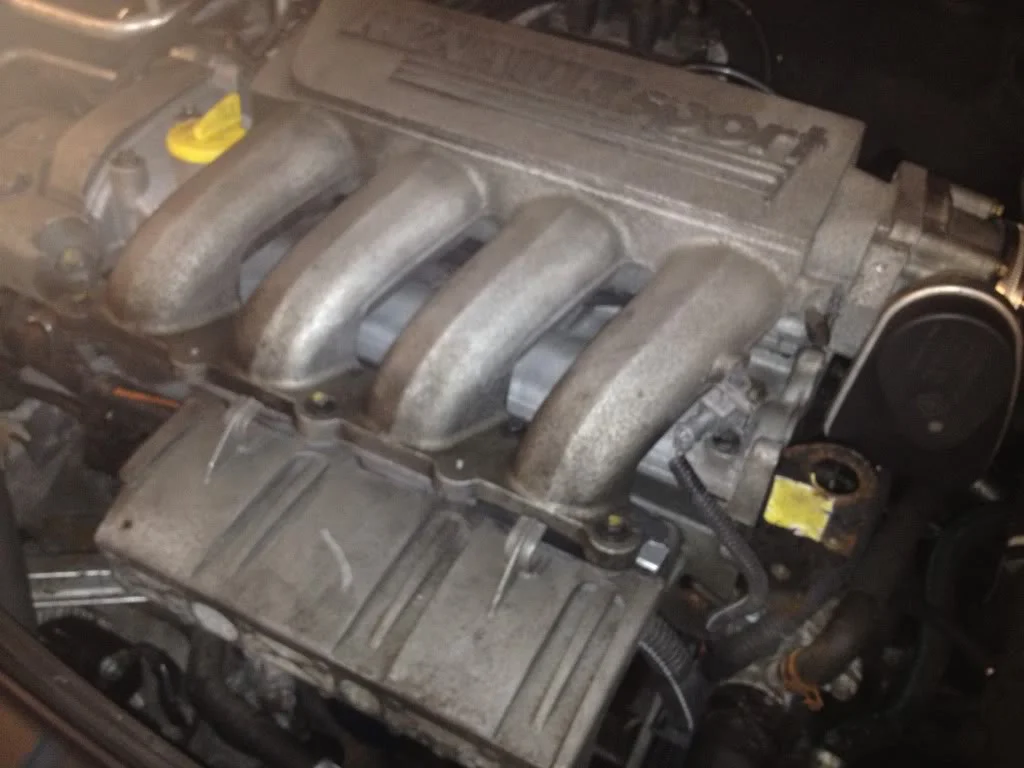
And so it starts. The first pics are poo, but will be switching to my slr when it progresses: Engine bay was looking a little grotty.Shiffted the grease and muck with steam and Bilt hambersurfex and various brushes.
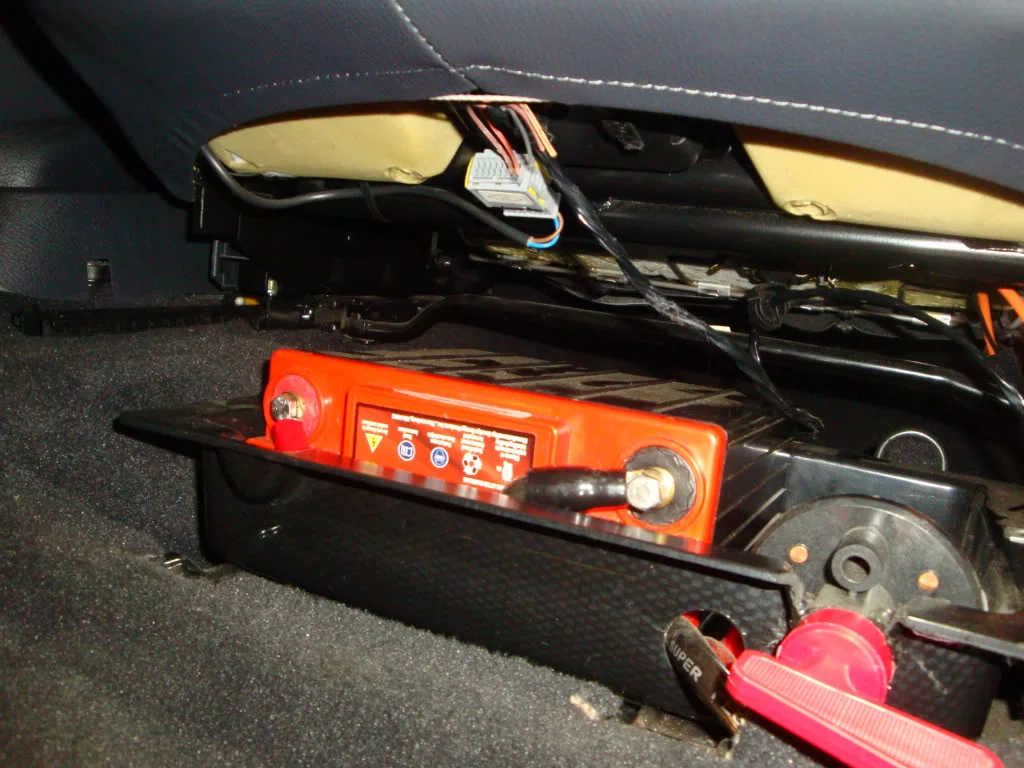
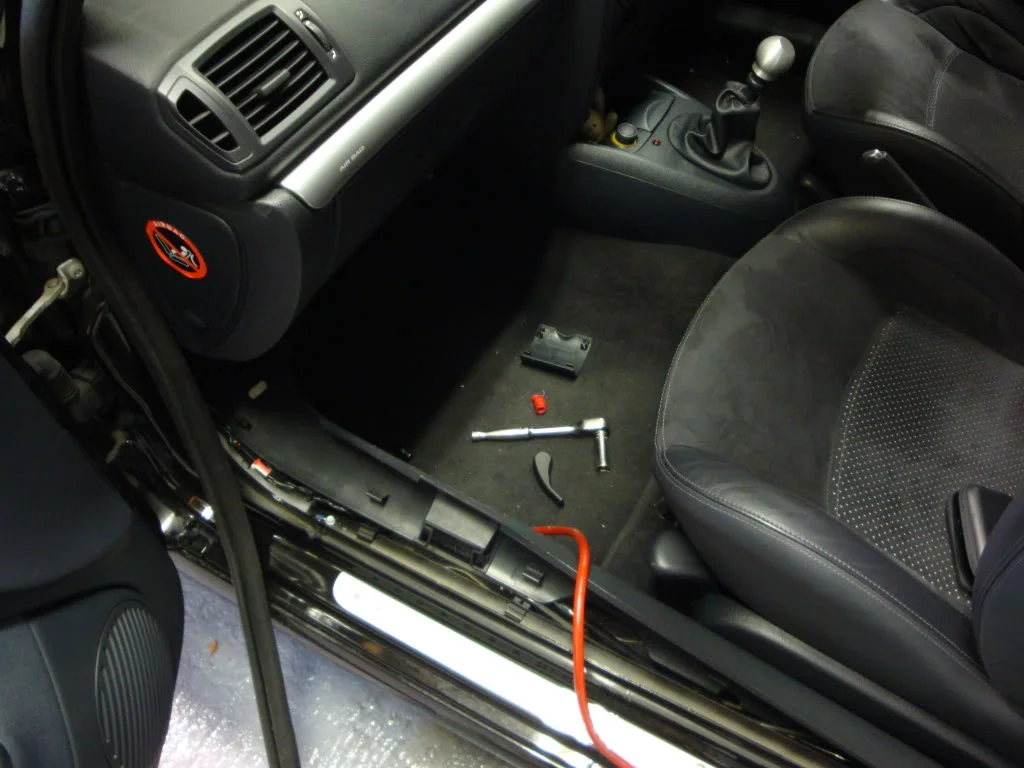
A red top race battery was fitted under the passenger seat. I wanted an oem battery so ripped this out at the same time.
All fitted, filter tighter than a nuns wotsit but it fits!
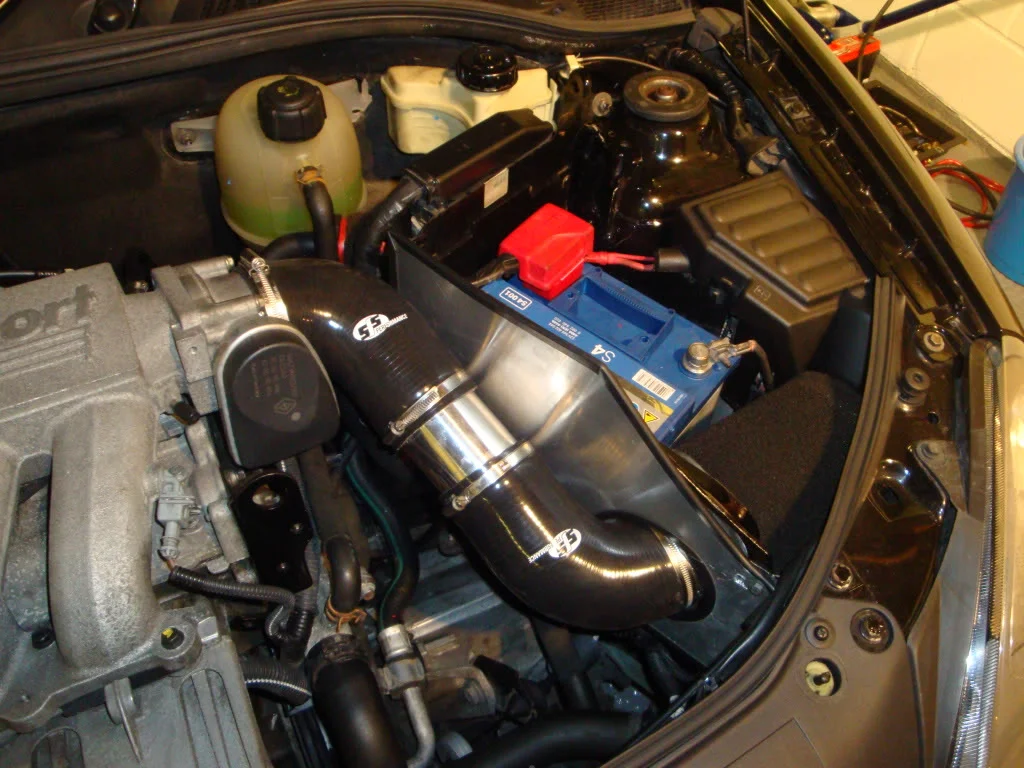
Final clean, all painted bits hand polished with Autofinesse triple and final wipe down with a trim finisher. For now this will tiedme over till next year when i decide what im doing with it. (will show pics later)
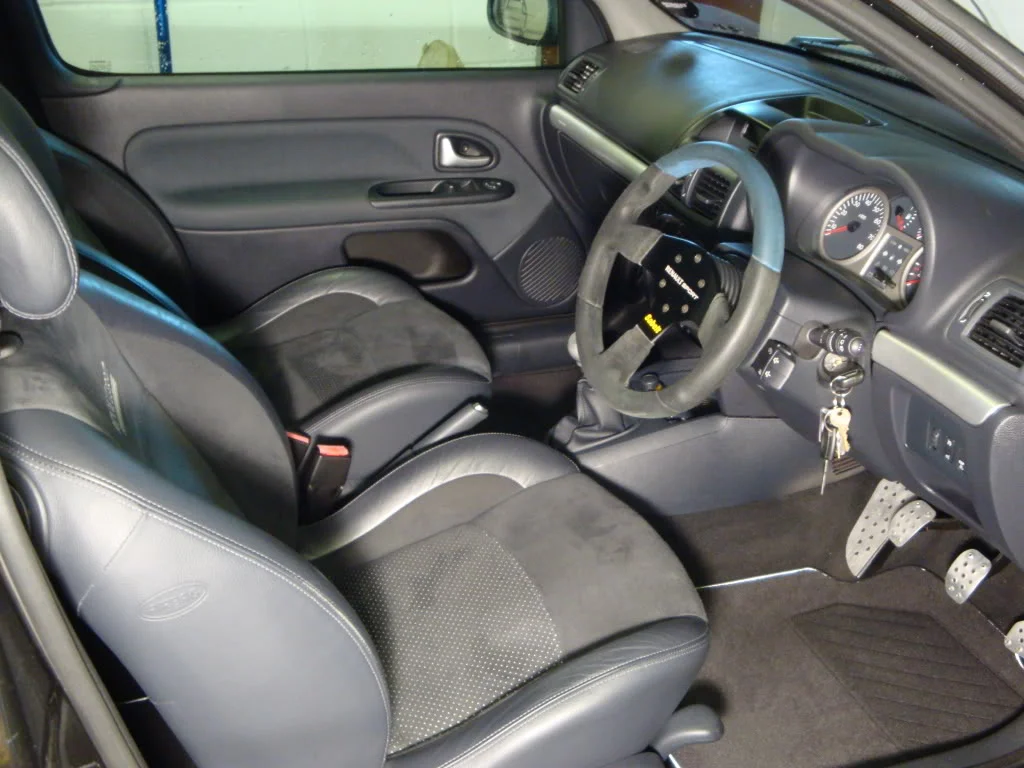
Interior again nothing major. Usual stuff here, seats andcarpets cleaned with mild mix of autosmart brisk and raceglaze alcantara cleaner. Now, we all know how lovely suede/alcantara looks, but for a steering wheel its an absolute joke! I know my sabelt is beyond help but it needed something!
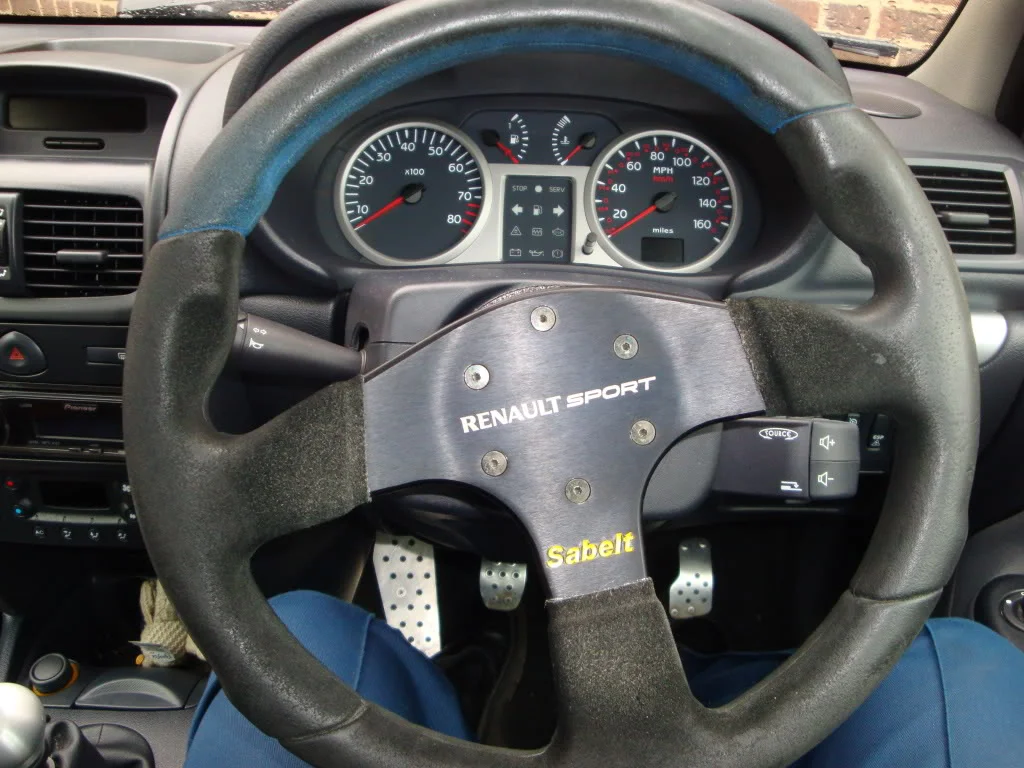
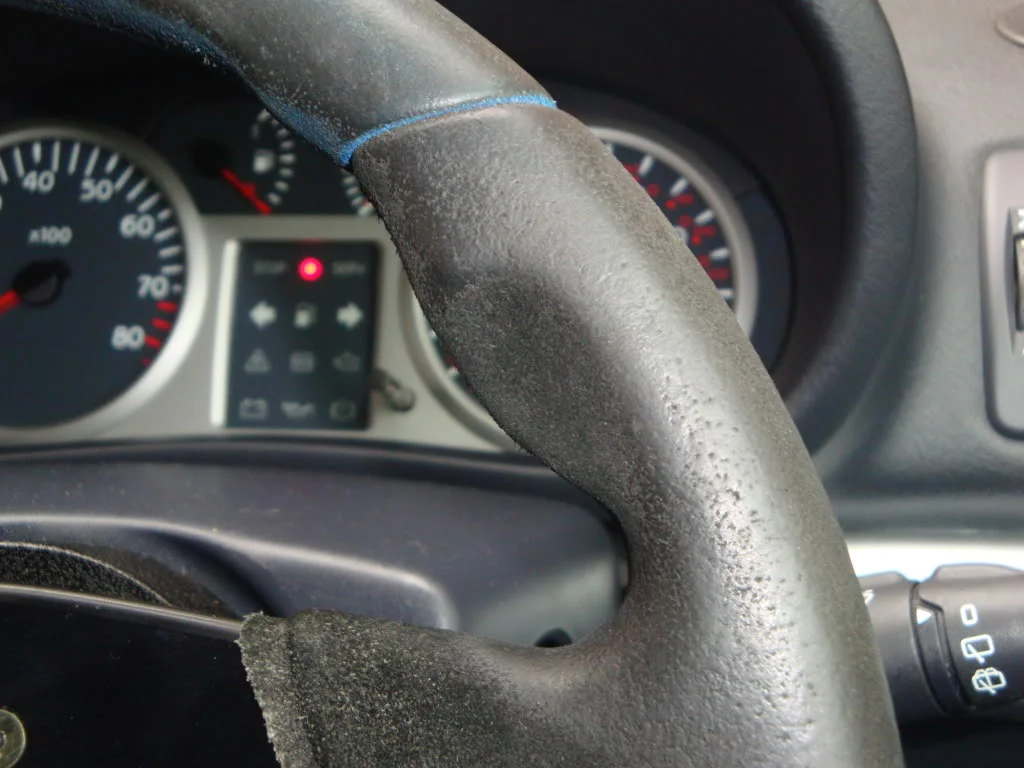
First a major scrub to try and separate the fibres
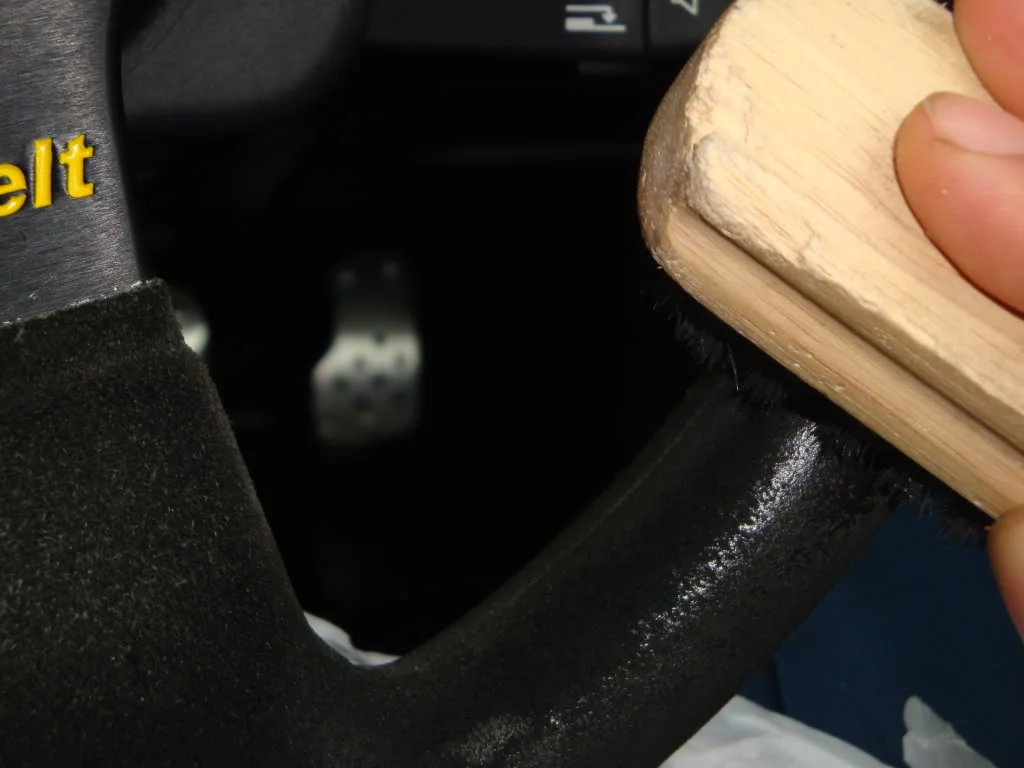
I didn’t even bother with the raceglaze, so went to the brisk, in fairness its a little strong here
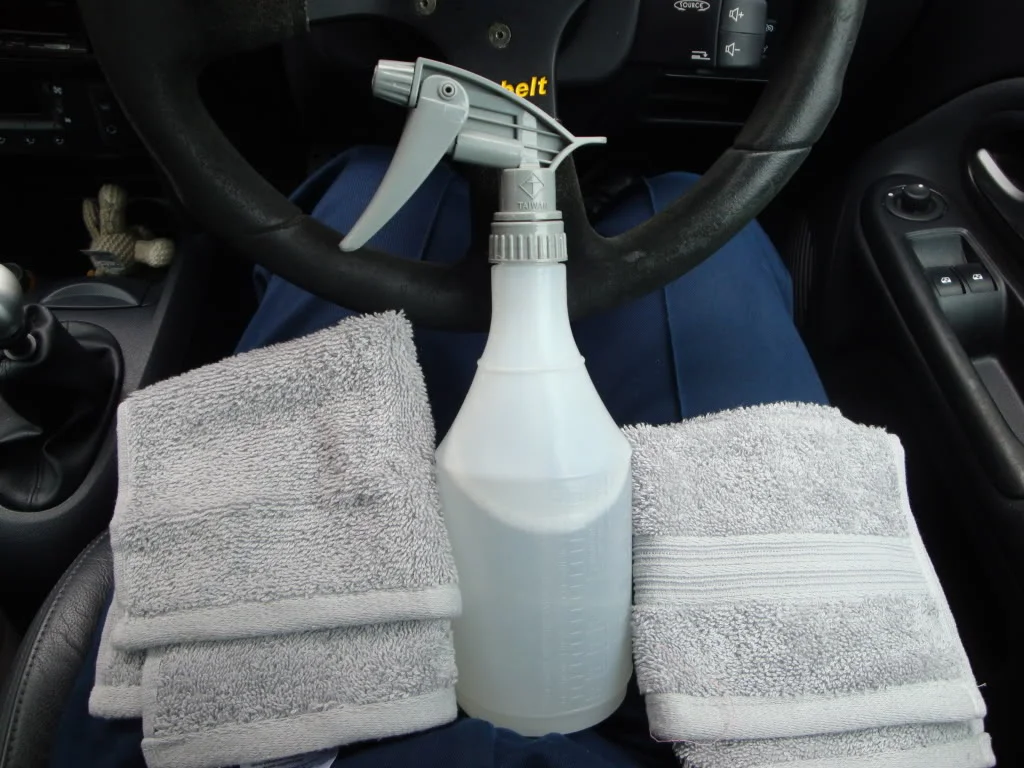
So trick is not to get it too wet, less is more or you will f**k it up more than it already is. Small circular motion with a cloth. I used old flannels as my microfibers are too soft for this task.
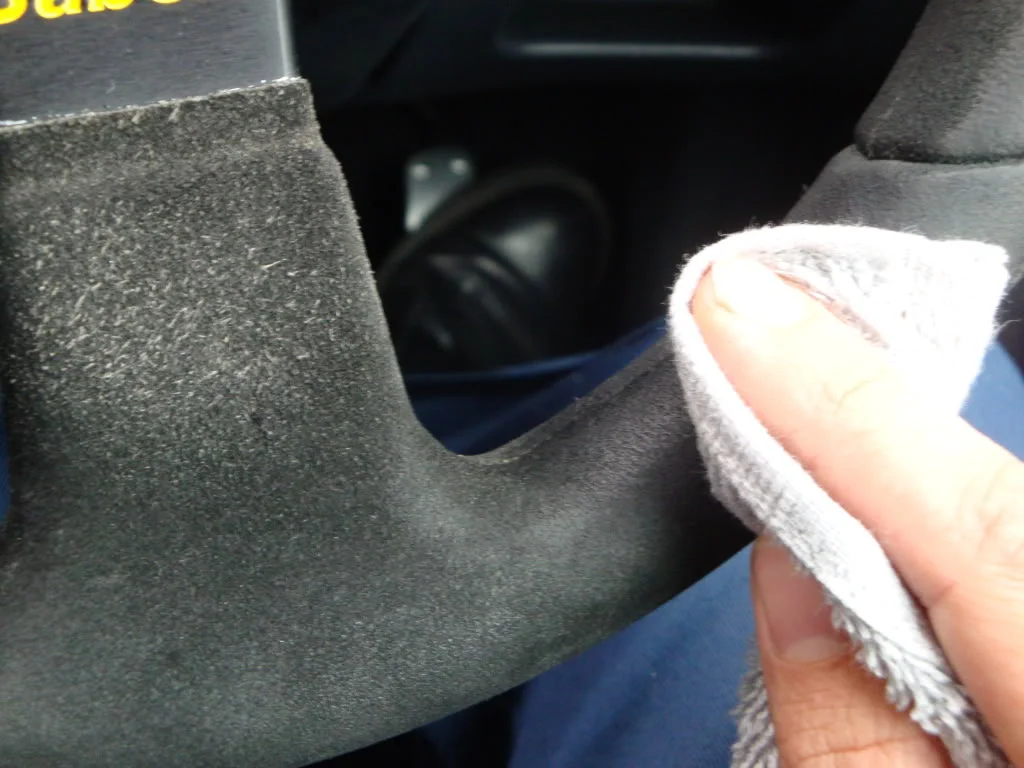
Can see top left the blue starting to show
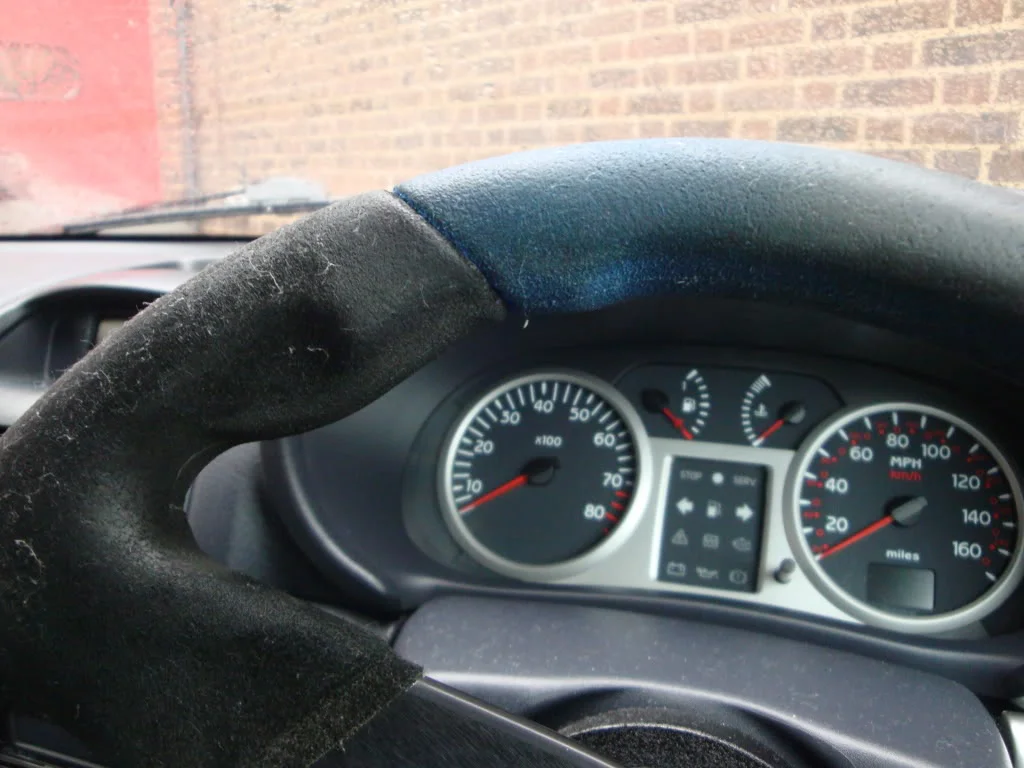
Holy s**t! Most is dirt, although a little dye has lifted but it was to be expected
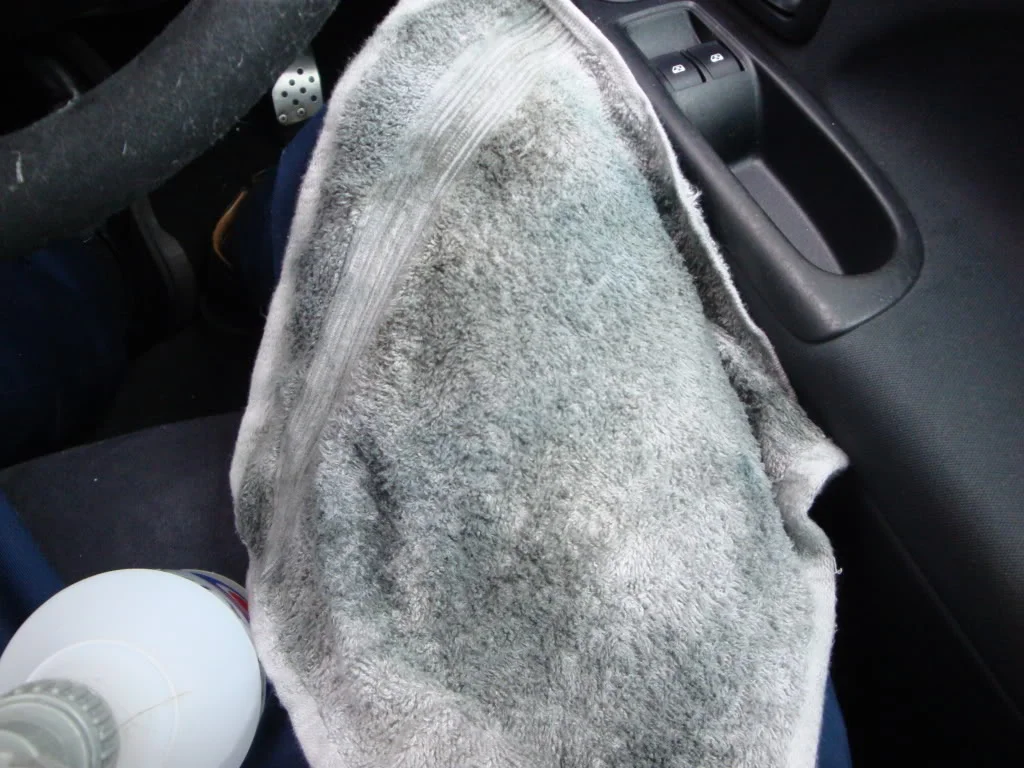
Finally much brushing to lift the nap of the alcantara left me with this, quite happy. Im not going any more than this as i know within a week it will look s**t again.
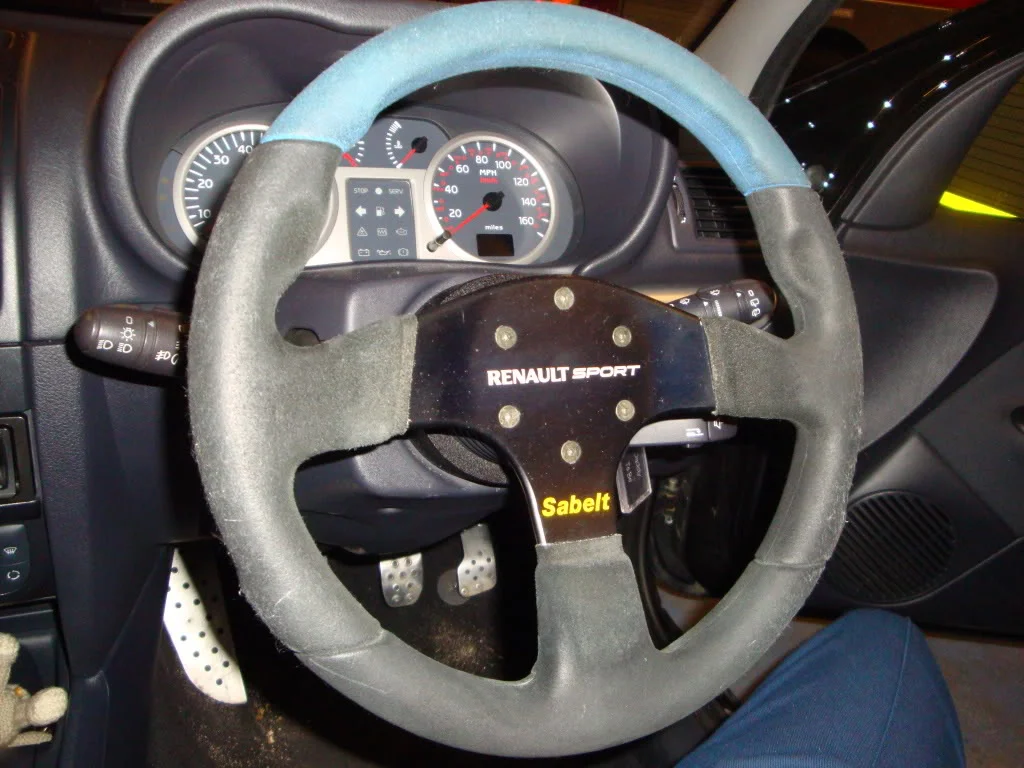
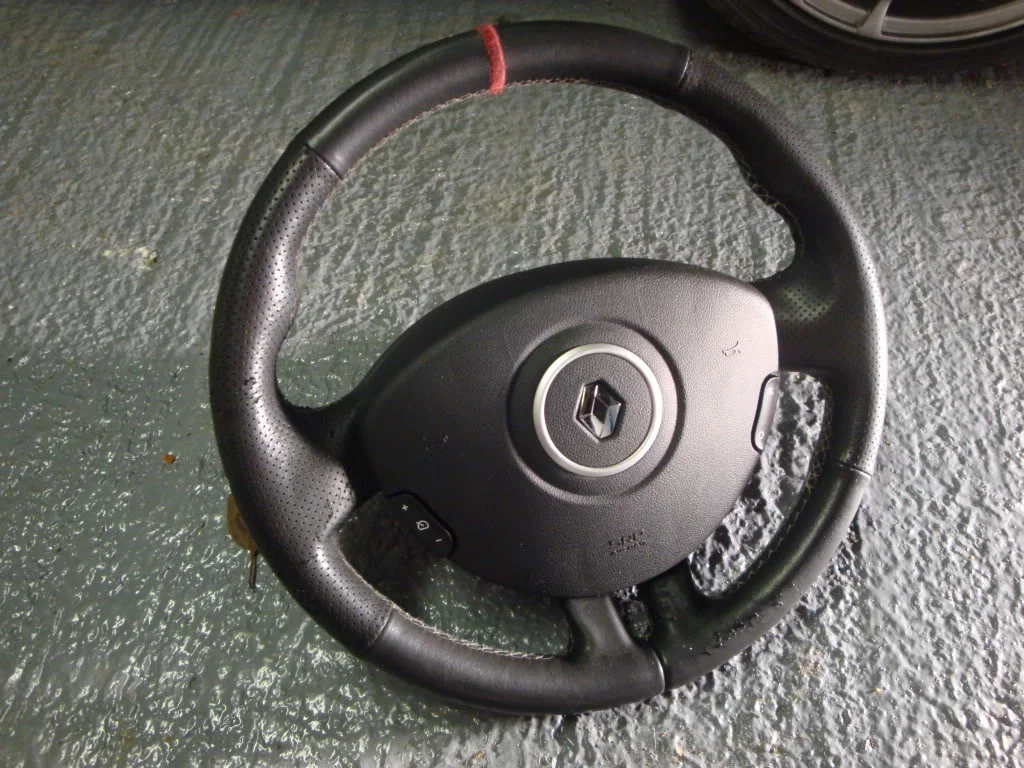
Love the sabelt, not sure what to do. I have two options, retrim in leather or i have this kicking about in the garage that could be retrimed J
So obligatory new renaultsport mats and thats done, again for now.
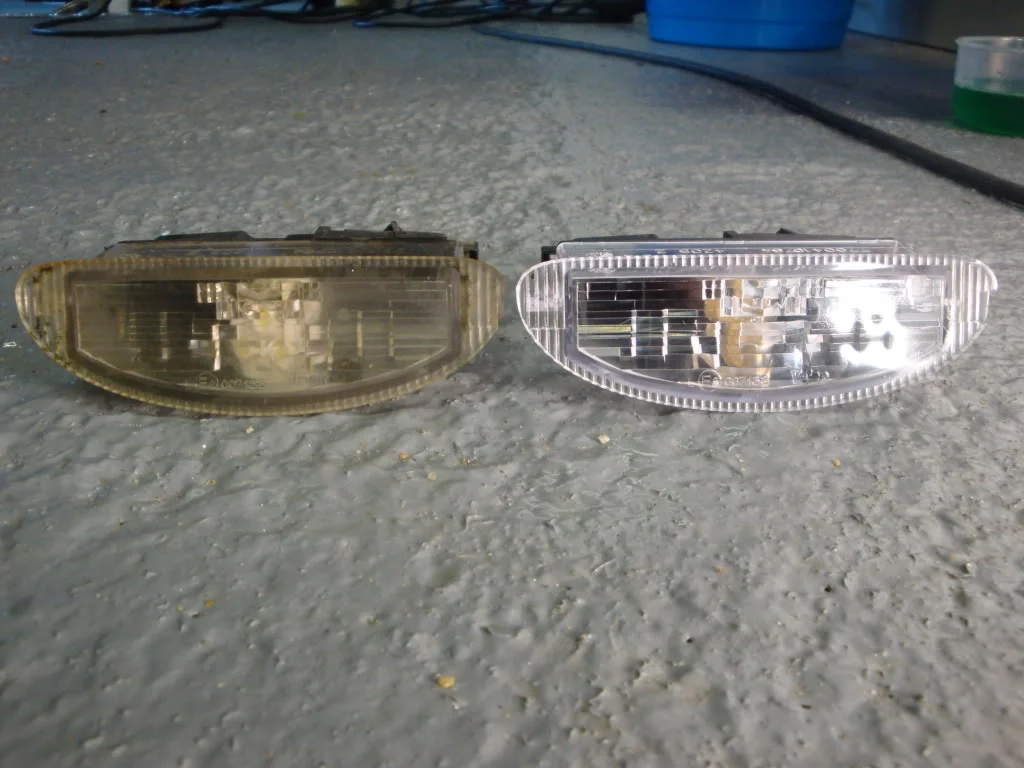
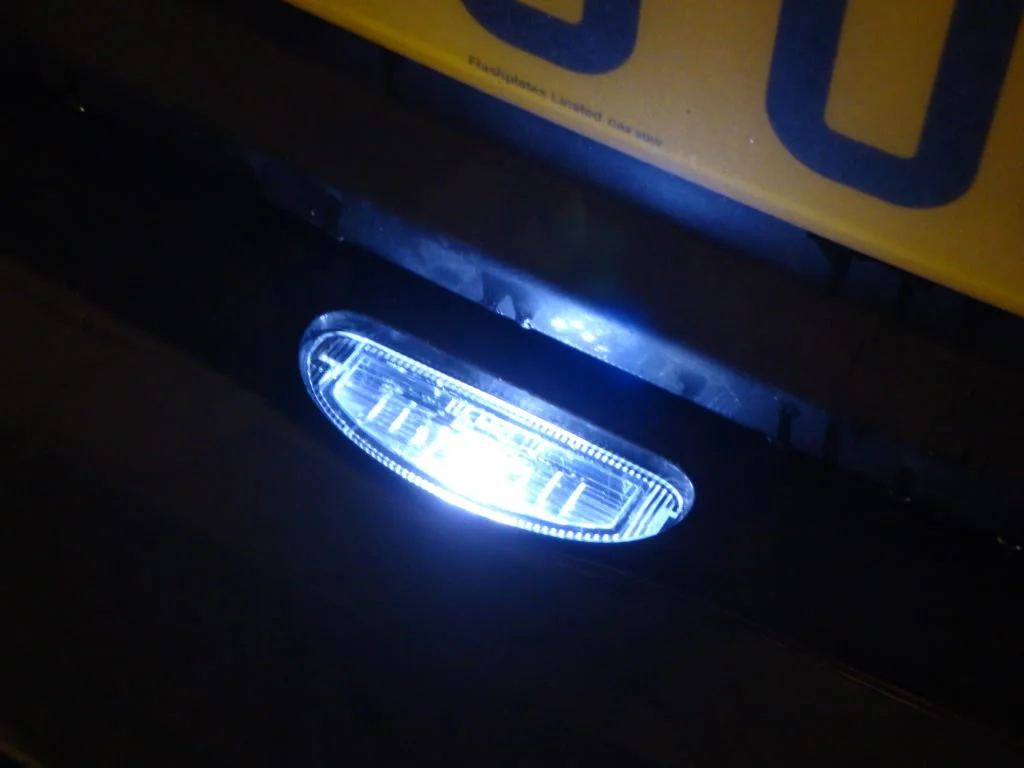
New number plate light fitted
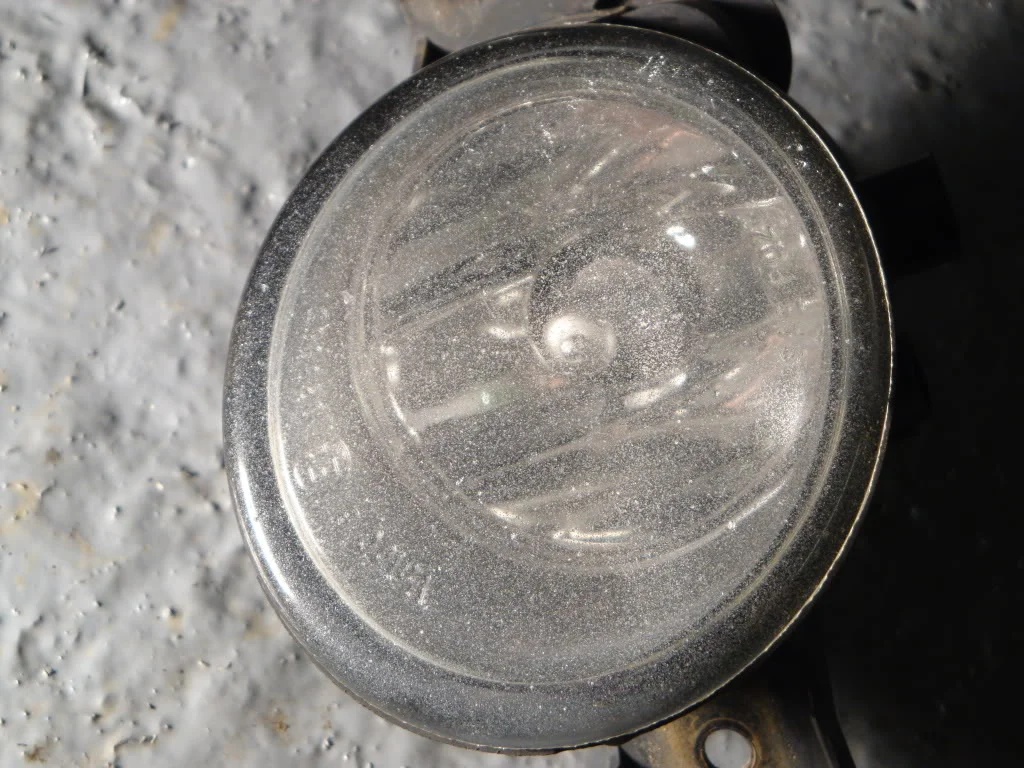
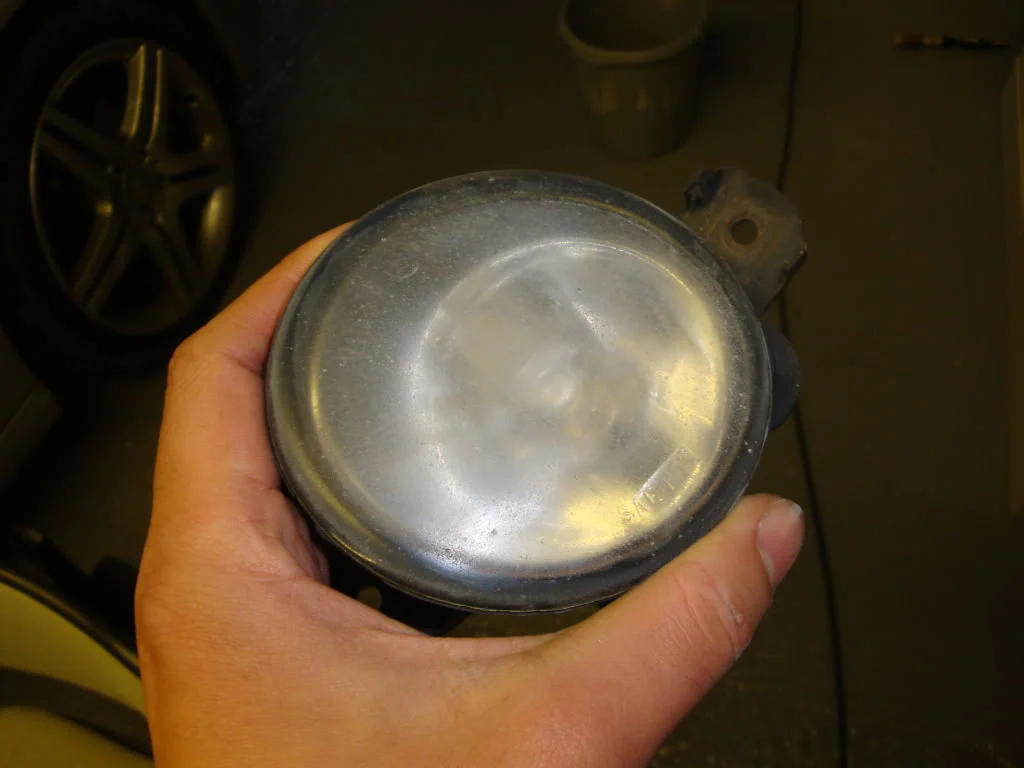
Both my fogs were cracked, so i sourced two used ones from here. Knowing my OCD-ness i shouldnt have even entertained used, as quite frankly they were poop. Being glass there isn’t alot i can do with them, so i'll stick these in for now , whilst i source two new ones. Gave them a quick sand to revive a little.
Stupid auto wipers don’t work, so popped the sensor out and cleaned and re-gelled. All working now!
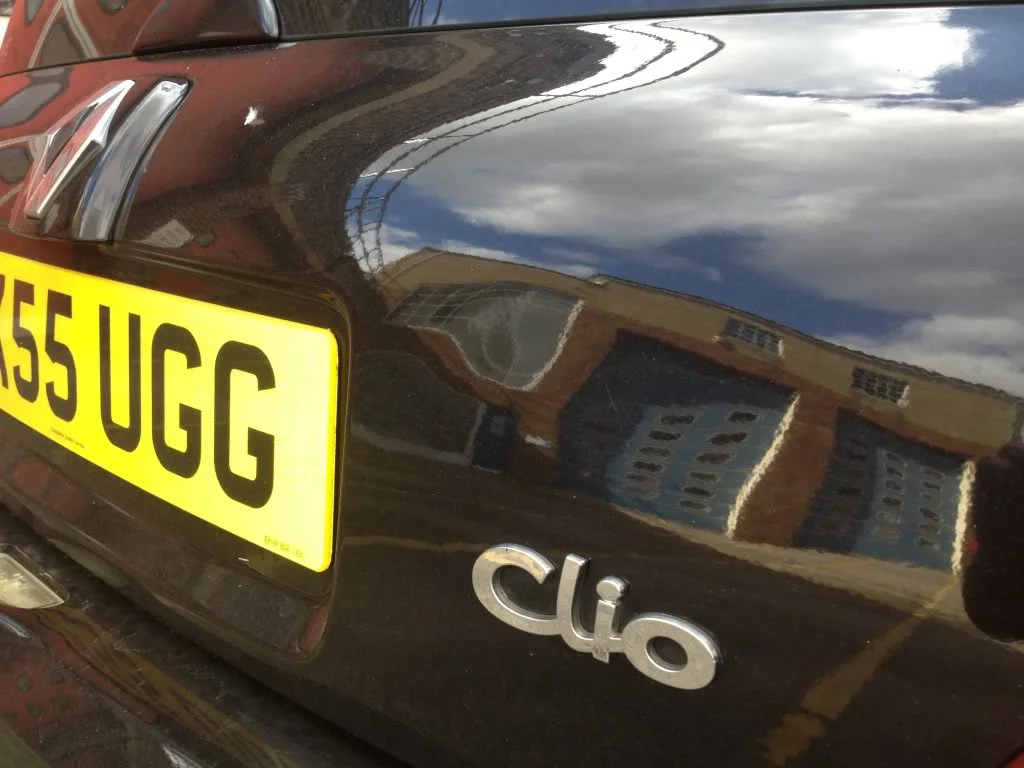
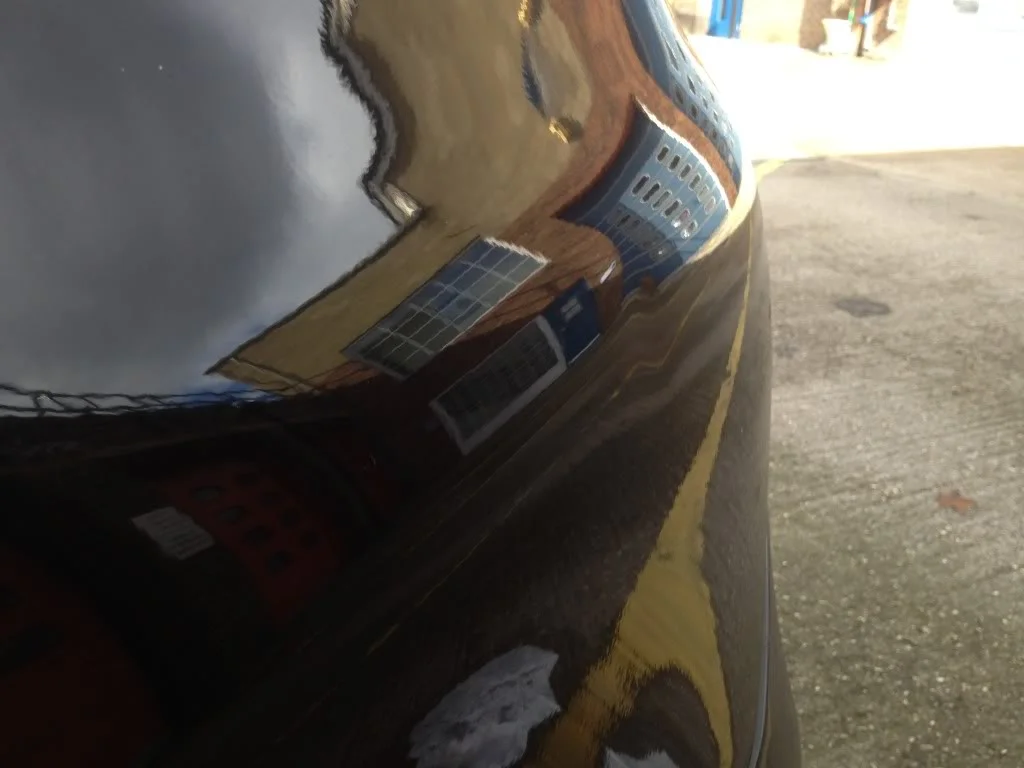
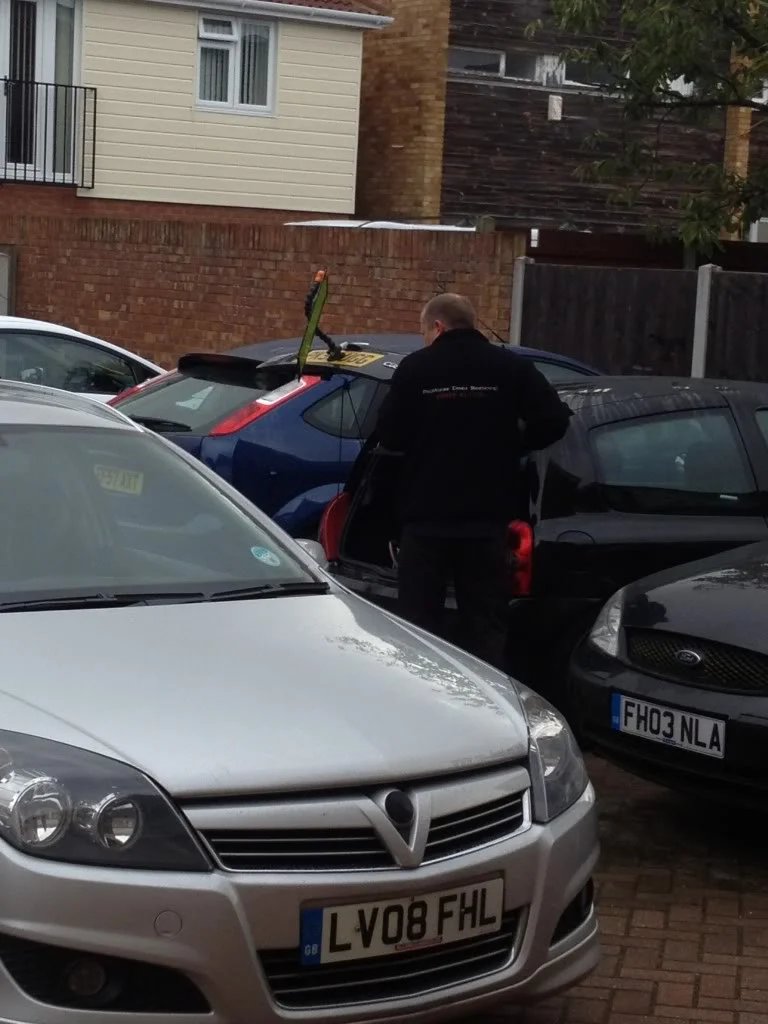
There was only two dents i needed removing. A quick call to my dent man and he had them out within the hour
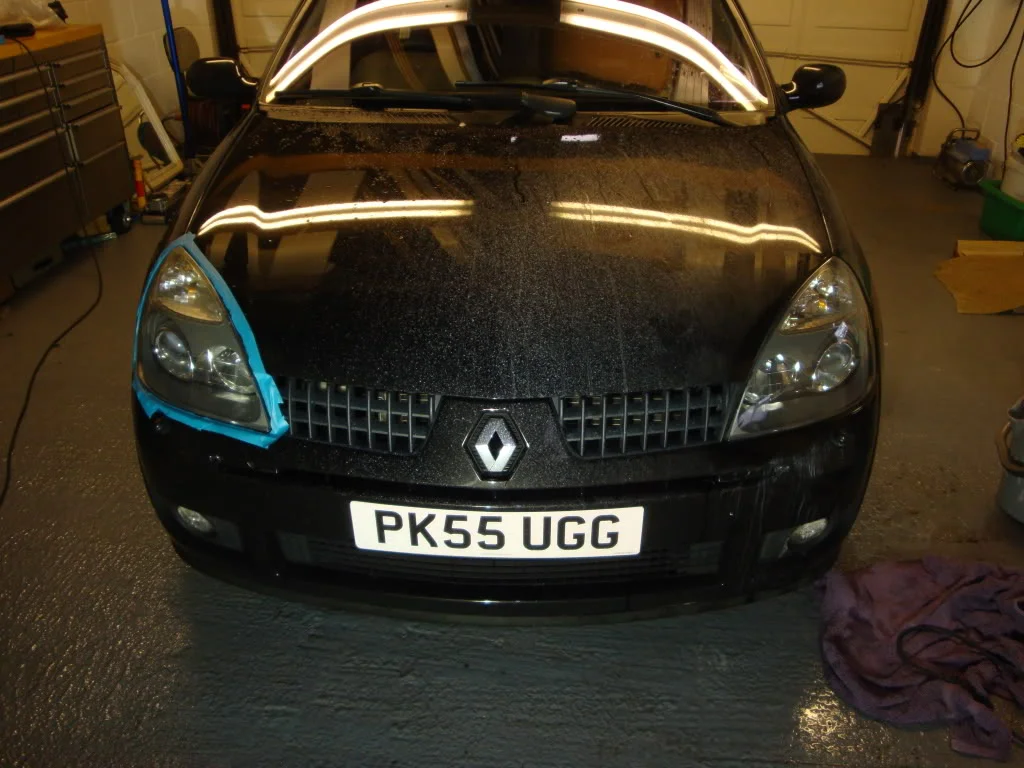
Back into the unit now in prep for the ‘big detail’ had a few hours to kill so tackled the headlights. All taped up, fetching pretty blue guyliner
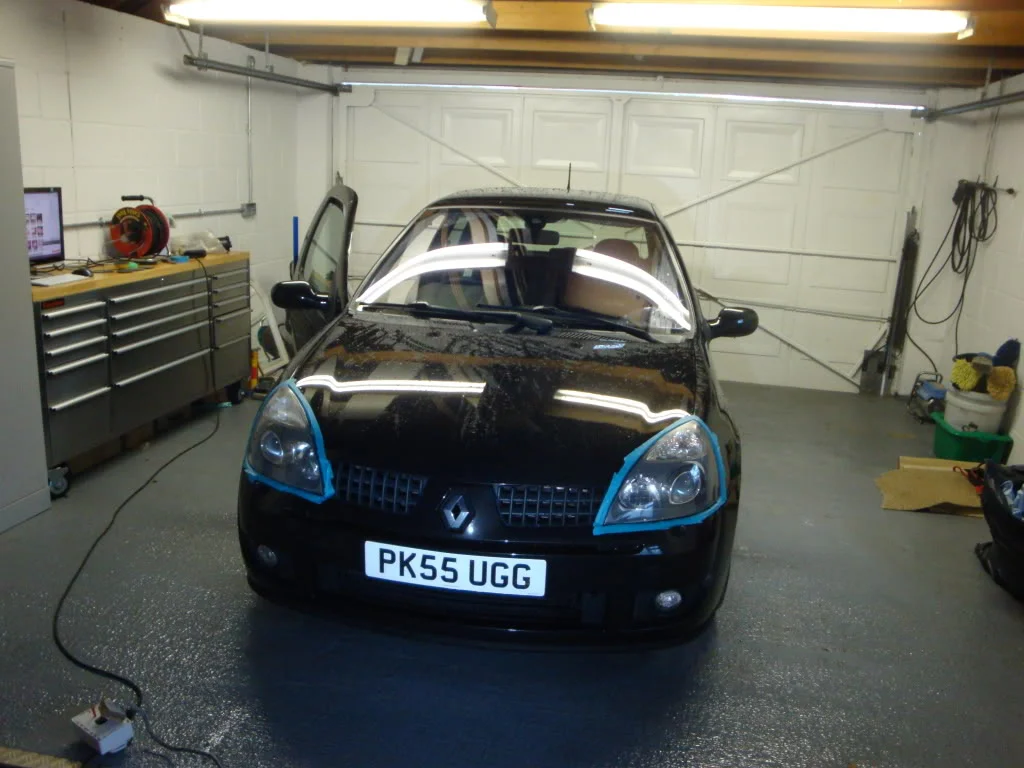
This is what state they were in;
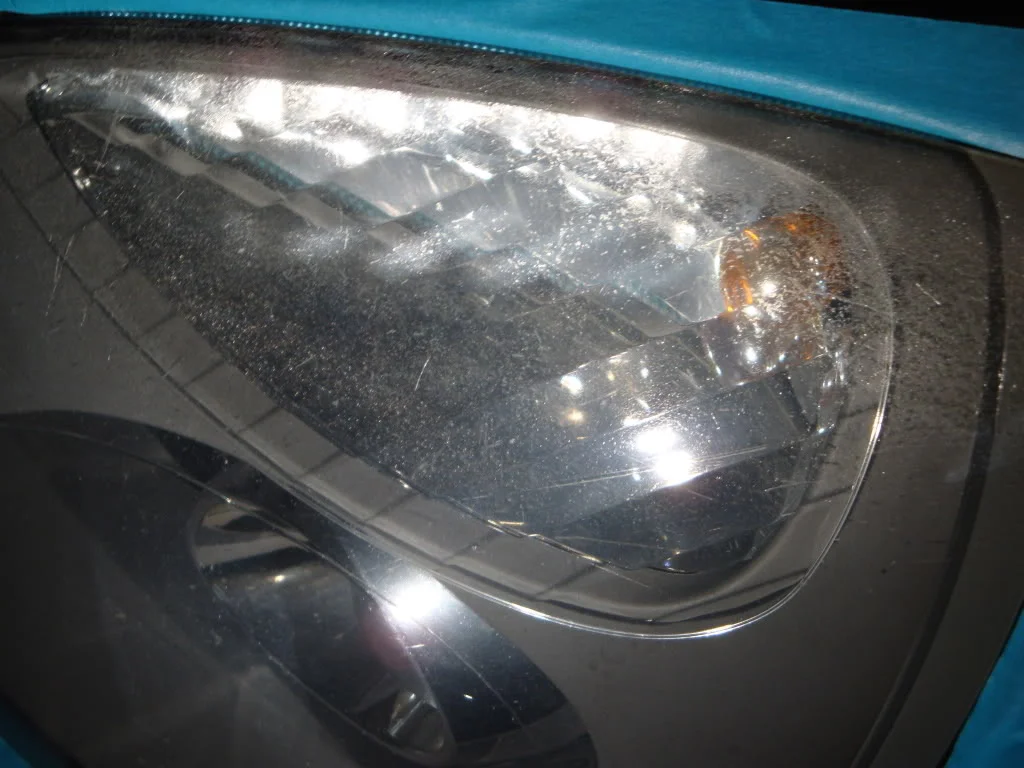
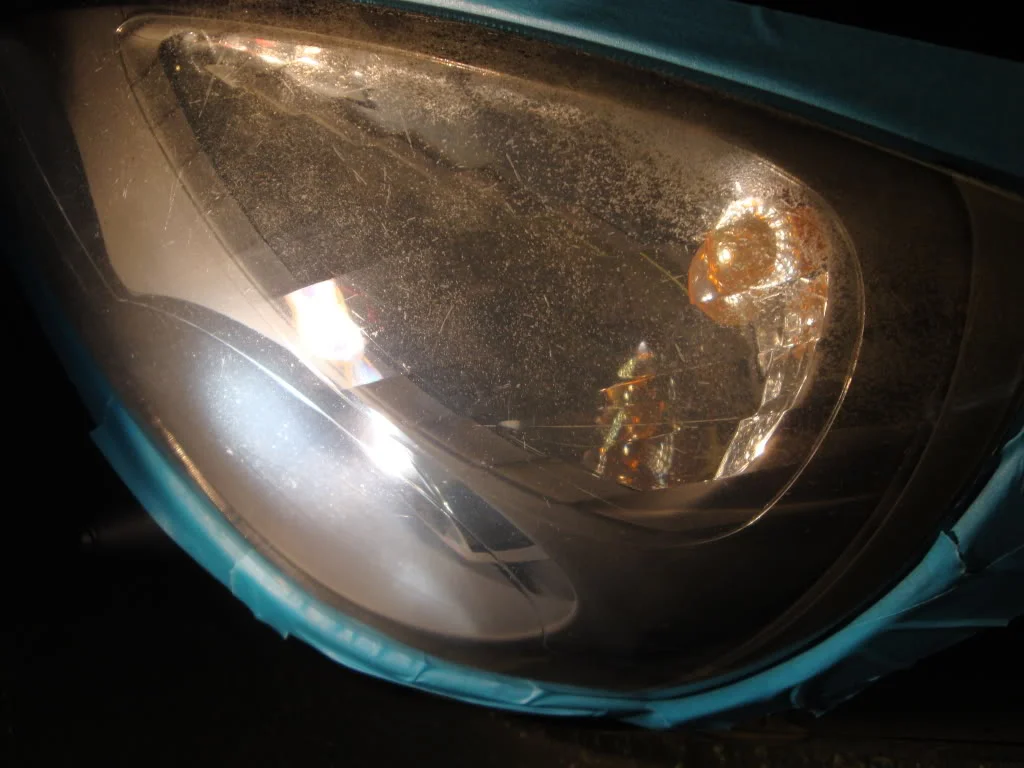
When wetsanding anything, i use unigrit/meguairs wet paper and mirka abralon dics. These are the pretty much the industry standard and are superb.
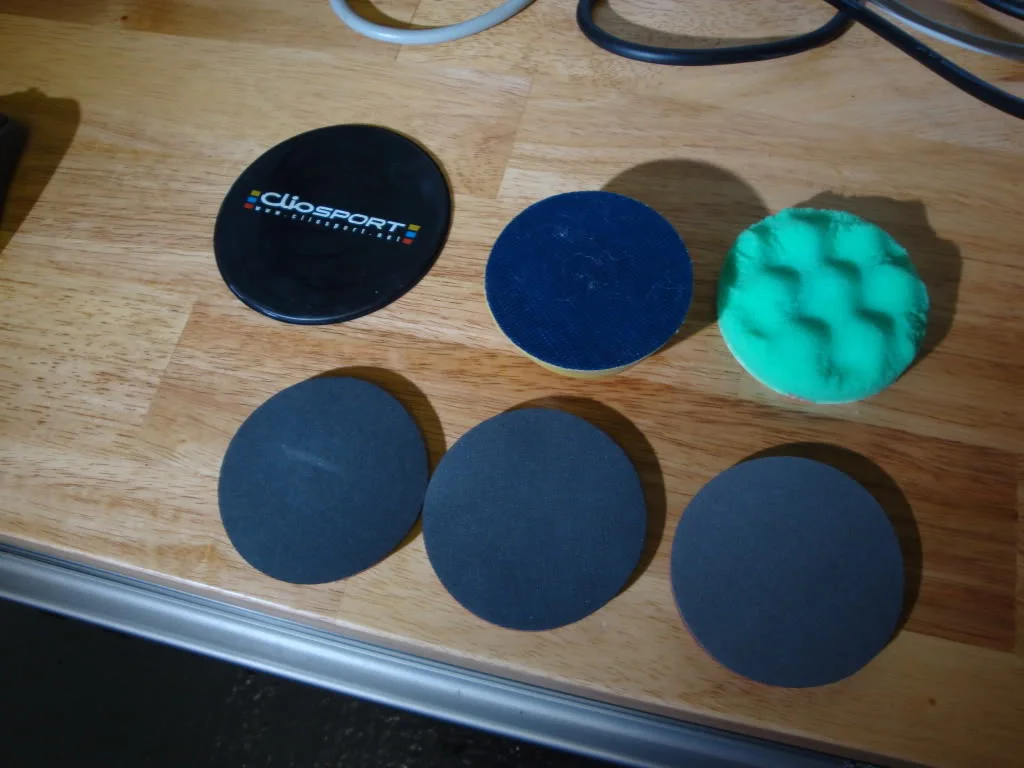
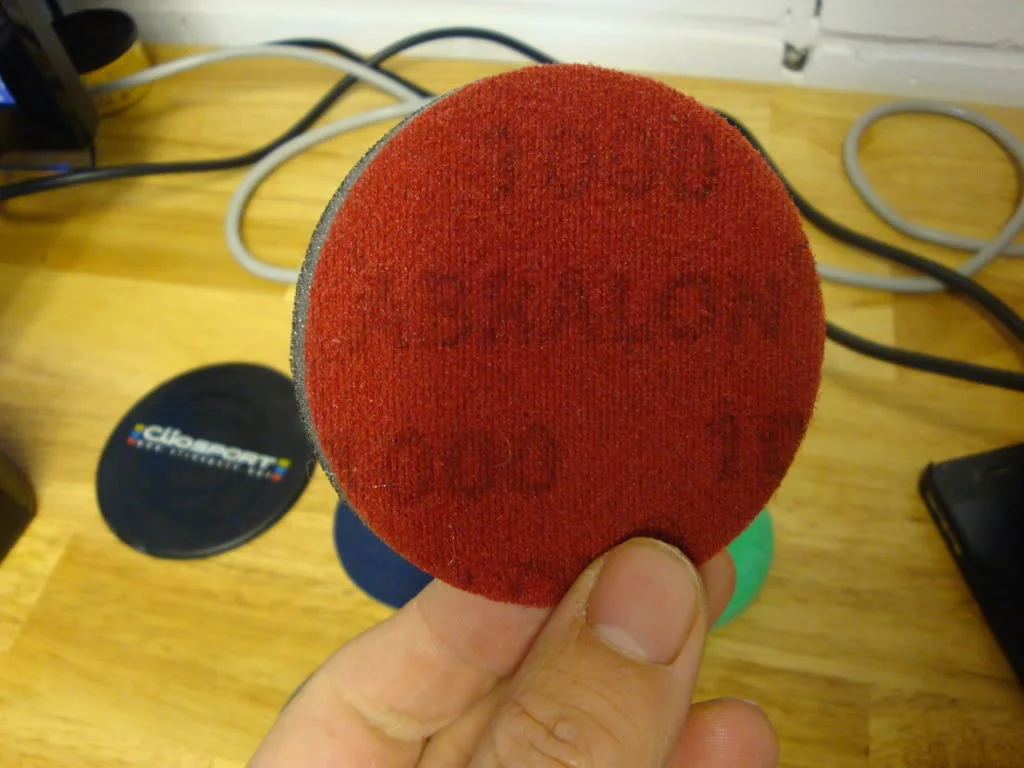
i put 2k, 3k, &4k grit papers and disc into soapy water to soak. Remember if any of you decideto try wet sanding via DA, water and electricity doesn’t mix! I sand by air .Be very carefull if you use your DAS6 or whatever!
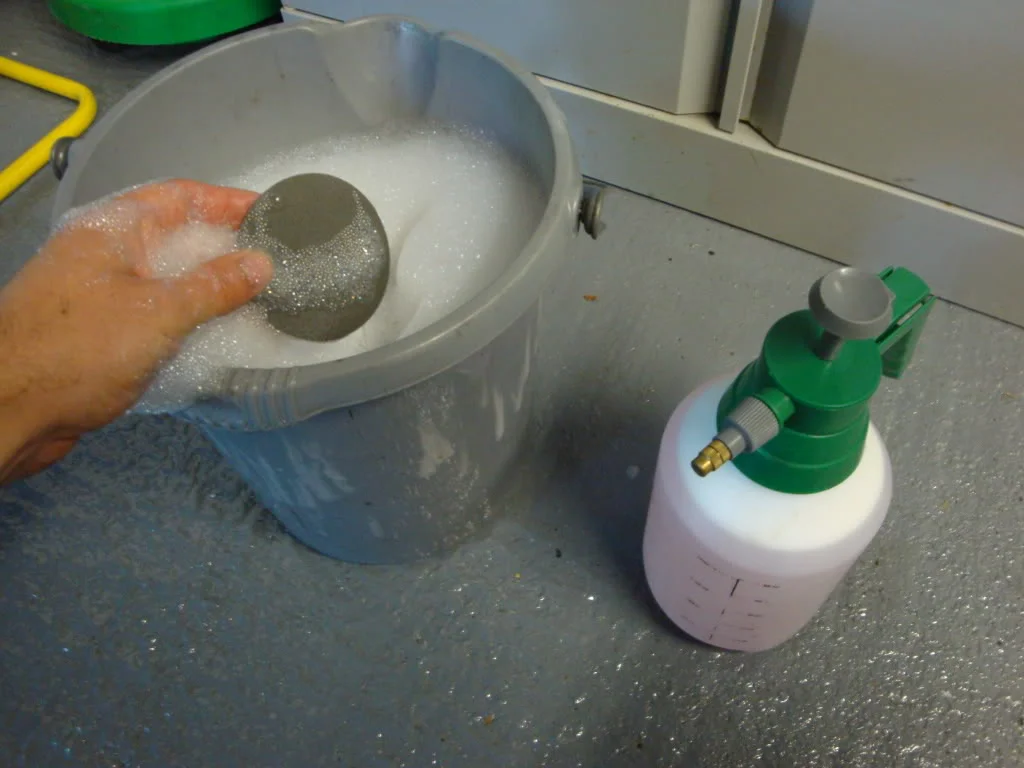
On first test using 2k via mini da, it didn’t touch the uv damage. I ripped out the 1k disc on rotary (more cut than da will achieve). Soon realised i was going to get through a fair few 1k discs.
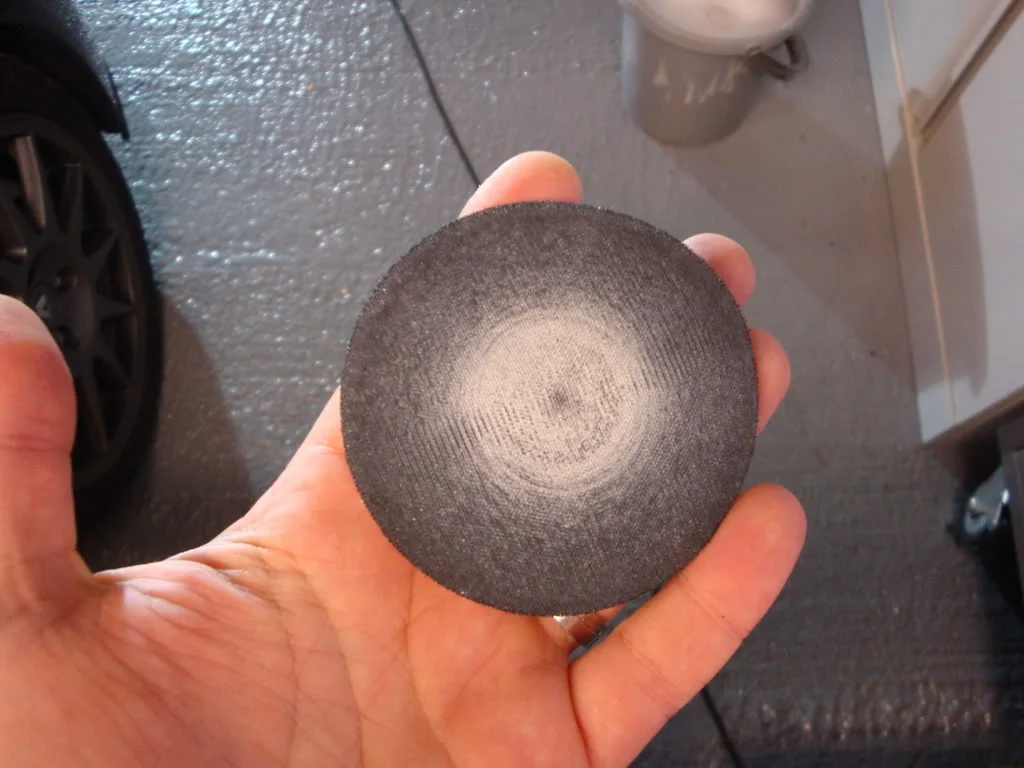
I decided to swap to 600 by hand! (don’t know why theres a 400 grit in the pic lol)
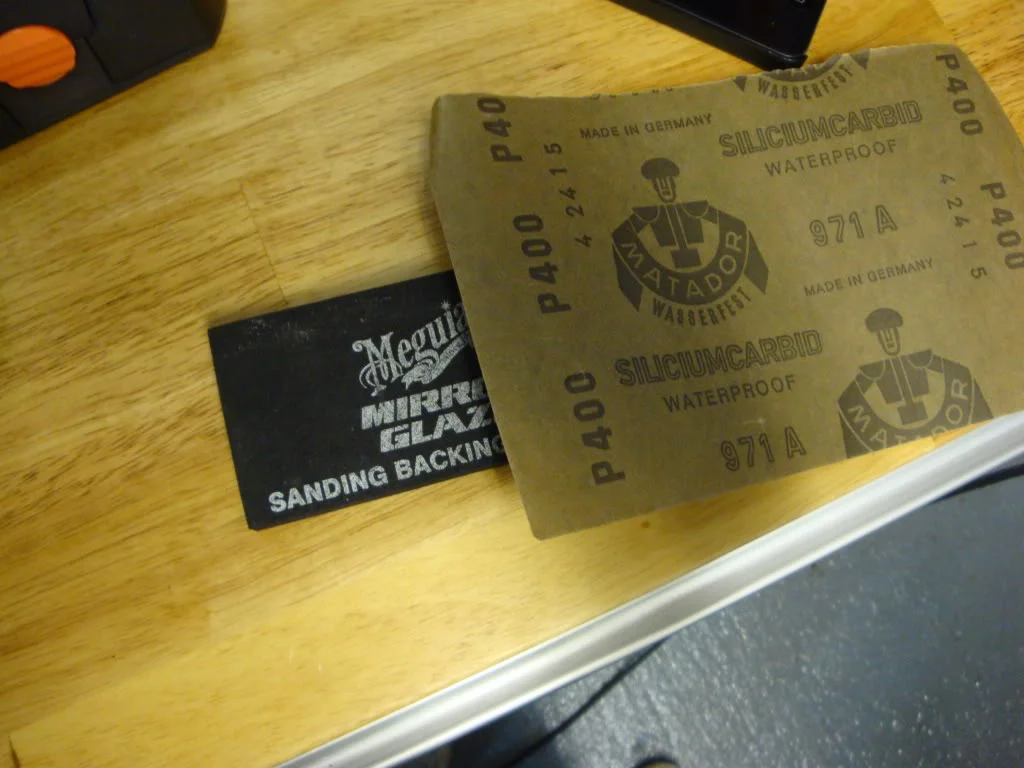
After many sets this shifted all the heavy damage, and made a nice matt, even finish to refine.
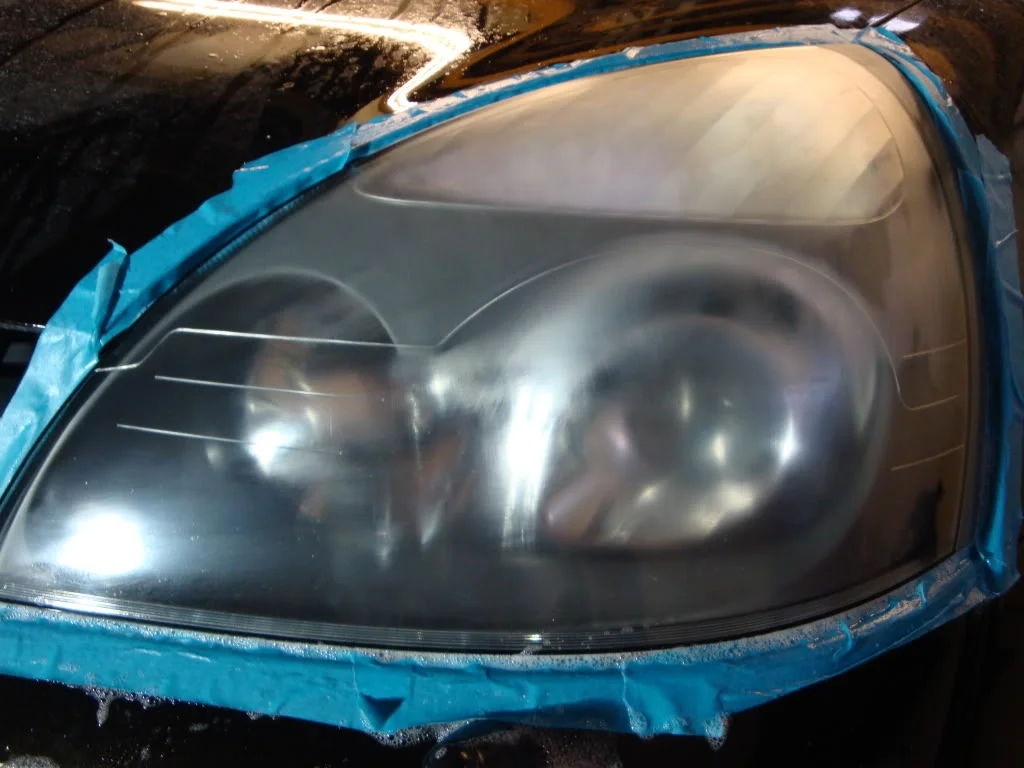
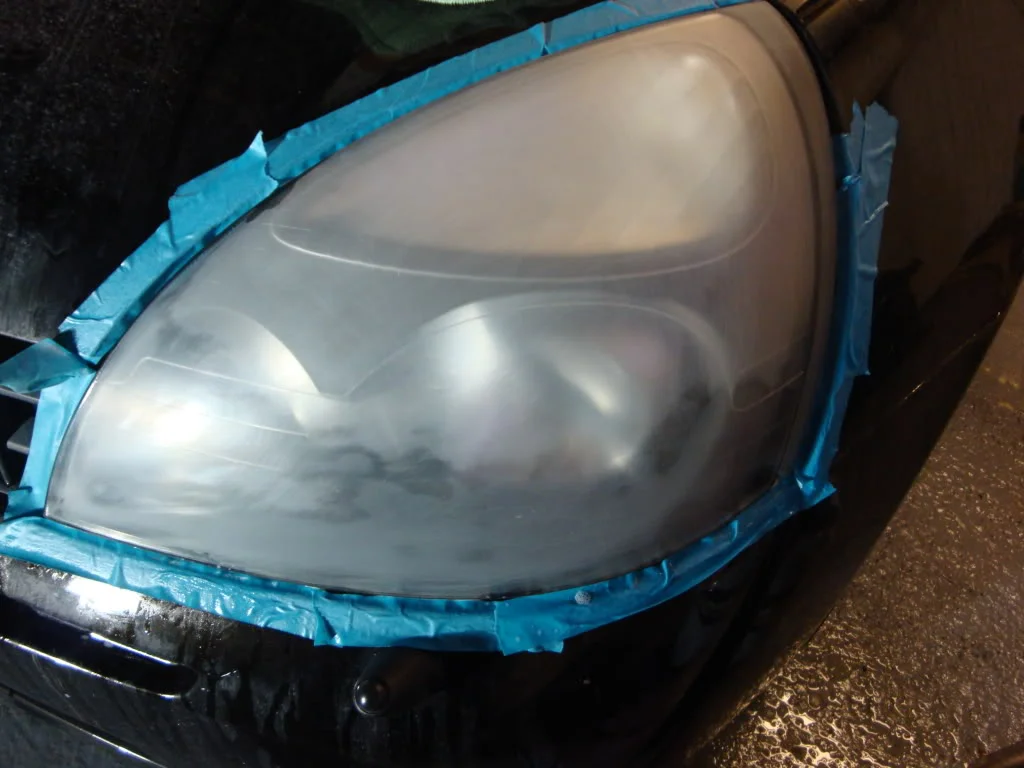
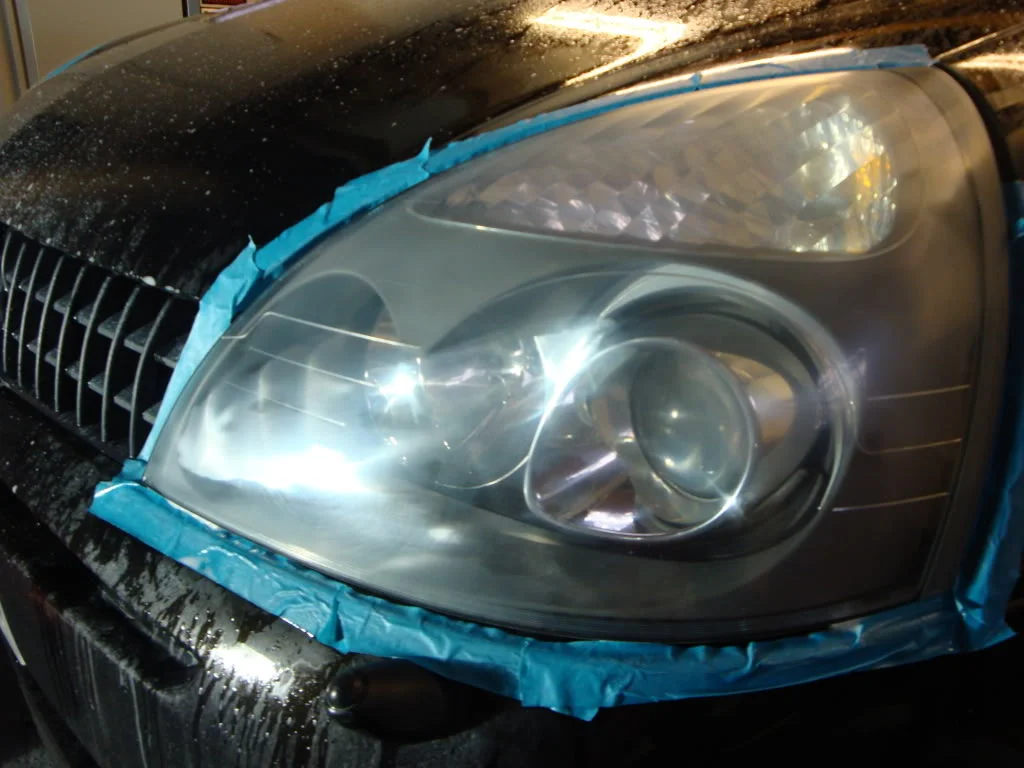
A little tip: When wet sanding, whether your blending in at ouch up, removing orange peel or whatever, whilst the panel is wet it wont show you the true finish. Even wiping the panel is not enough, so i use a heat gun (hair dryer is fine) to carefully dry the area. This will show you the true finish. So in this case, the scabby uv damage looks to be all but gone, but once you dry it, you can still see theres some present. In that case continue until its removed. Once your happy, the process was to refine from 1k, 2k then 4k via DA.
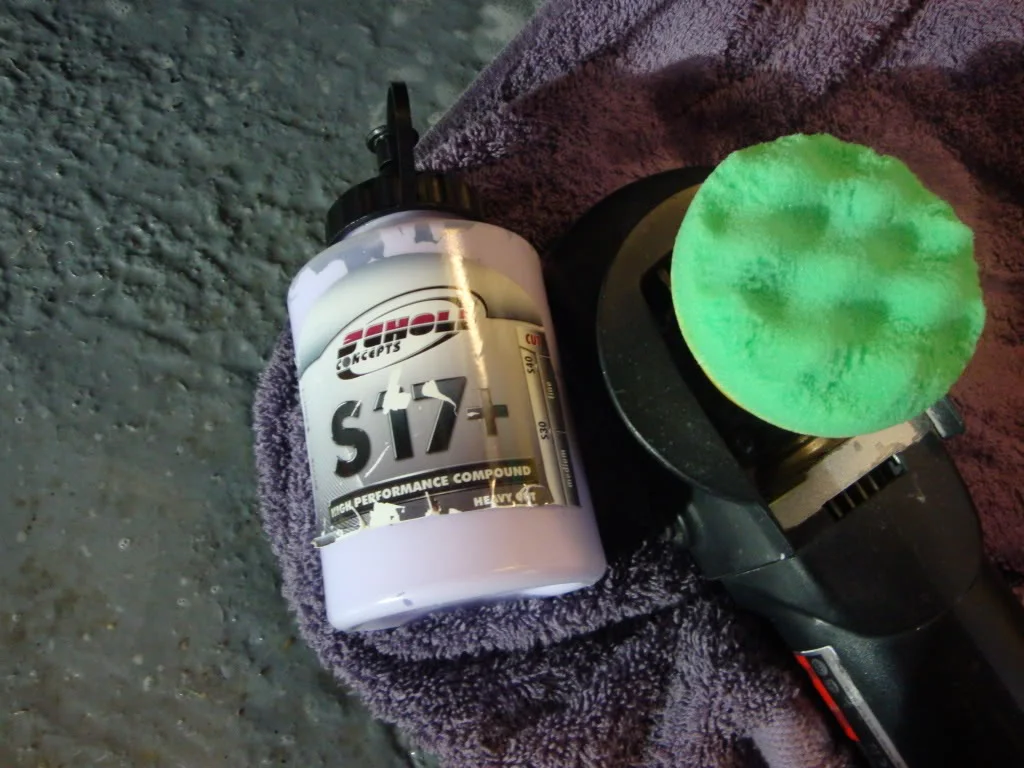
Final two stages, a few passes with Scholl S17+ with a 3m green compounding pad and finally a yellow polishing pad.
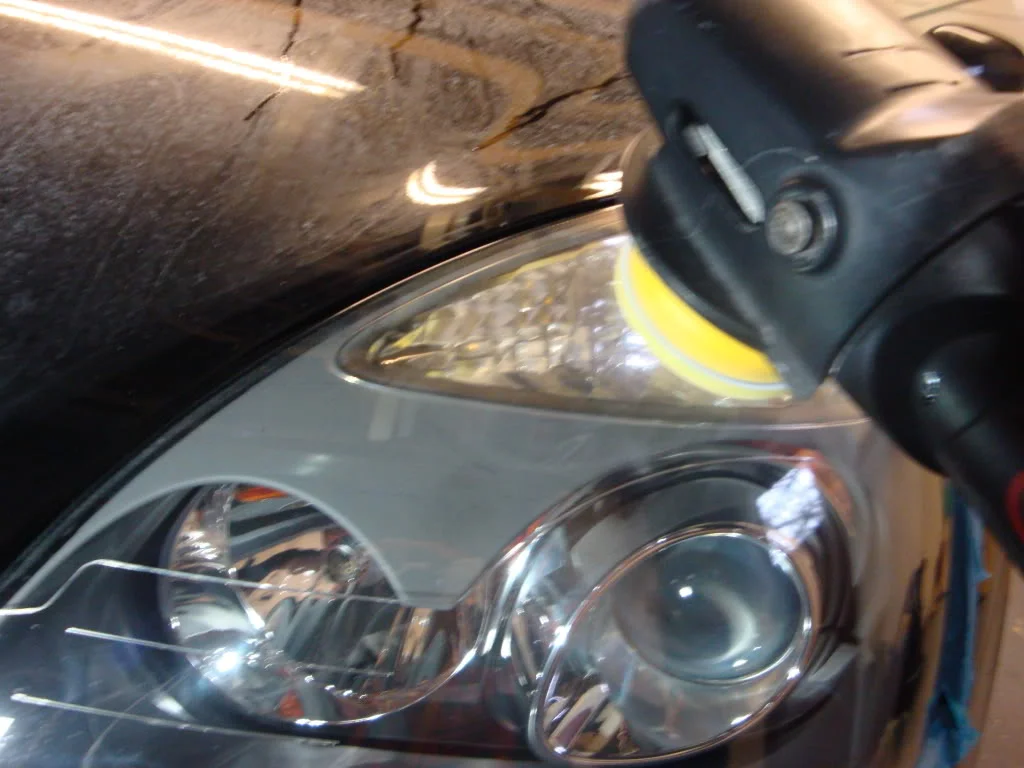
One done one to go.
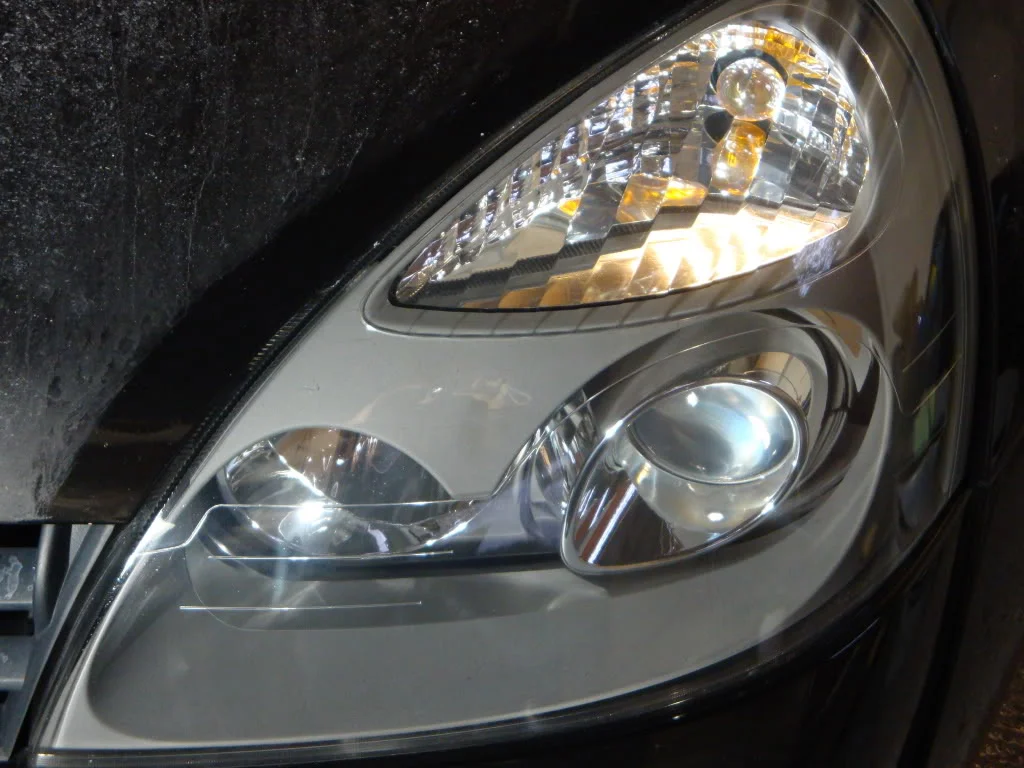
Happy with that! J
More to follow...
Chris
DetailMe
Ok so the car came from James at JMS, tbh i wasn’t really looking for a car that had all the bits this had, however it had a full top and bottom engine rebuild along with a few mods that i was going to do anyway so it looked very appealing. After a drive and inspection i bought it.
So this is how it ended up back at ‘shop’
I have to say that the car is a real credit to its previousowners, considering its mileage and being 7 years young. Although its nothing icant improve on!
Spec from ad:
H&R Adjustable Coilover SuspensionKit
Custom ARB - Fully adjustable
Trophy Speed line Turini Alloys wheelscomplete with V12 EVO tyres
3mm Wheel spacers + New galvanisedwheel bolts
Ferodo DS2500 Performance brake pads
Brembo HC Performance brake discs
Stainless Steel Braided Brake Lines(all round)
ATE Super Blue Brake Fluid
Fully Rebuilt Top & Bottom End
Catcam 428 Performance Camshafts
RS Tuning Leeds ECU Calibration
ITG/SFS/ Stone Induction Set-up
ARP Performance Con-rod bolts
Angel Works Matched Inlets
Piper Performance Cat-Back Exhaust
Silenced De-cat (Sports catalyst alsoincluded)
Renault Sport/ Sabelt Cup Racersteering wheel & MOMO Boss
Got to say am mega happy with it, so solid and quick too. Cant wait till the weather improves next year to do a little track time!
And so it starts. The first pics are poo, but will be switching to my slr when it progresses: Engine bay was looking a little grotty.Shiffted the grease and muck with steam and Bilt hambersurfex and various brushes.
A red top race battery was fitted under the passenger seat. I wanted an oem battery so ripped this out at the same time.
All fitted, filter tighter than a nuns wotsit but it fits!
Final clean, all painted bits hand polished with Autofinesse triple and final wipe down with a trim finisher. For now this will tiedme over till next year when i decide what im doing with it. (will show pics later)
Interior again nothing major. Usual stuff here, seats andcarpets cleaned with mild mix of autosmart brisk and raceglaze alcantara cleaner. Now, we all know how lovely suede/alcantara looks, but for a steering wheel its an absolute joke! I know my sabelt is beyond help but it needed something!
First a major scrub to try and separate the fibres
I didn’t even bother with the raceglaze, so went to the brisk, in fairness its a little strong here
So trick is not to get it too wet, less is more or you will f**k it up more than it already is. Small circular motion with a cloth. I used old flannels as my microfibers are too soft for this task.
Can see top left the blue starting to show
Holy s**t! Most is dirt, although a little dye has lifted but it was to be expected
Finally much brushing to lift the nap of the alcantara left me with this, quite happy. Im not going any more than this as i know within a week it will look s**t again.
Love the sabelt, not sure what to do. I have two options, retrim in leather or i have this kicking about in the garage that could be retrimed J
So obligatory new renaultsport mats and thats done, again for now.
New number plate light fitted
Both my fogs were cracked, so i sourced two used ones from here. Knowing my OCD-ness i shouldnt have even entertained used, as quite frankly they were poop. Being glass there isn’t alot i can do with them, so i'll stick these in for now , whilst i source two new ones. Gave them a quick sand to revive a little.
Stupid auto wipers don’t work, so popped the sensor out and cleaned and re-gelled. All working now!
There was only two dents i needed removing. A quick call to my dent man and he had them out within the hour
Back into the unit now in prep for the ‘big detail’ had a few hours to kill so tackled the headlights. All taped up, fetching pretty blue guyliner
This is what state they were in;
When wetsanding anything, i use unigrit/meguairs wet paper and mirka abralon dics. These are the pretty much the industry standard and are superb.
i put 2k, 3k, &4k grit papers and disc into soapy water to soak. Remember if any of you decideto try wet sanding via DA, water and electricity doesn’t mix! I sand by air .Be very carefull if you use your DAS6 or whatever!
On first test using 2k via mini da, it didn’t touch the uv damage. I ripped out the 1k disc on rotary (more cut than da will achieve). Soon realised i was going to get through a fair few 1k discs.
I decided to swap to 600 by hand! (don’t know why theres a 400 grit in the pic lol)
After many sets this shifted all the heavy damage, and made a nice matt, even finish to refine.
A little tip: When wet sanding, whether your blending in at ouch up, removing orange peel or whatever, whilst the panel is wet it wont show you the true finish. Even wiping the panel is not enough, so i use a heat gun (hair dryer is fine) to carefully dry the area. This will show you the true finish. So in this case, the scabby uv damage looks to be all but gone, but once you dry it, you can still see theres some present. In that case continue until its removed. Once your happy, the process was to refine from 1k, 2k then 4k via DA.
Final two stages, a few passes with Scholl S17+ with a 3m green compounding pad and finally a yellow polishing pad.
One done one to go.
Happy with that! J
More to follow...
Chris
DetailMe


 holy f**king hell!!! seriously impressive!