ClioSport.net

This is a sample guest message. Register a free account today to become a member! Once signed in, you'll be able to participate on this site by adding your own topics and posts, as well as connect with other members through your own private inbox!

  • When you purchase through links on our site, we may earn an affiliate commission. Read more here.

Narffs Racing Blue 182 (Backdated and Pic Heavy)

I have been keeping a progress log of my journey with my 182 with the intention to post it here but have been putting it off as I don’t want to be ripped.


I picked up the car knowing it’s a bit rough, it was loved at one point and came with lots of receipts and the Belts were done recently according to the book but there’s no receipt for that so it’s on the list. It’s not a daily so it won’t do many miles. The 182 came out when I was 16 and it was my ‘dream first car’ and I always wanted a RB one, so I grabbed it as a bit of a project.


Here's my initial list:
  • Service - Oil, Clean filters
  • Passenger window is very slow and needs help going back up
  • Door locks intermittently
  • Grease the catches
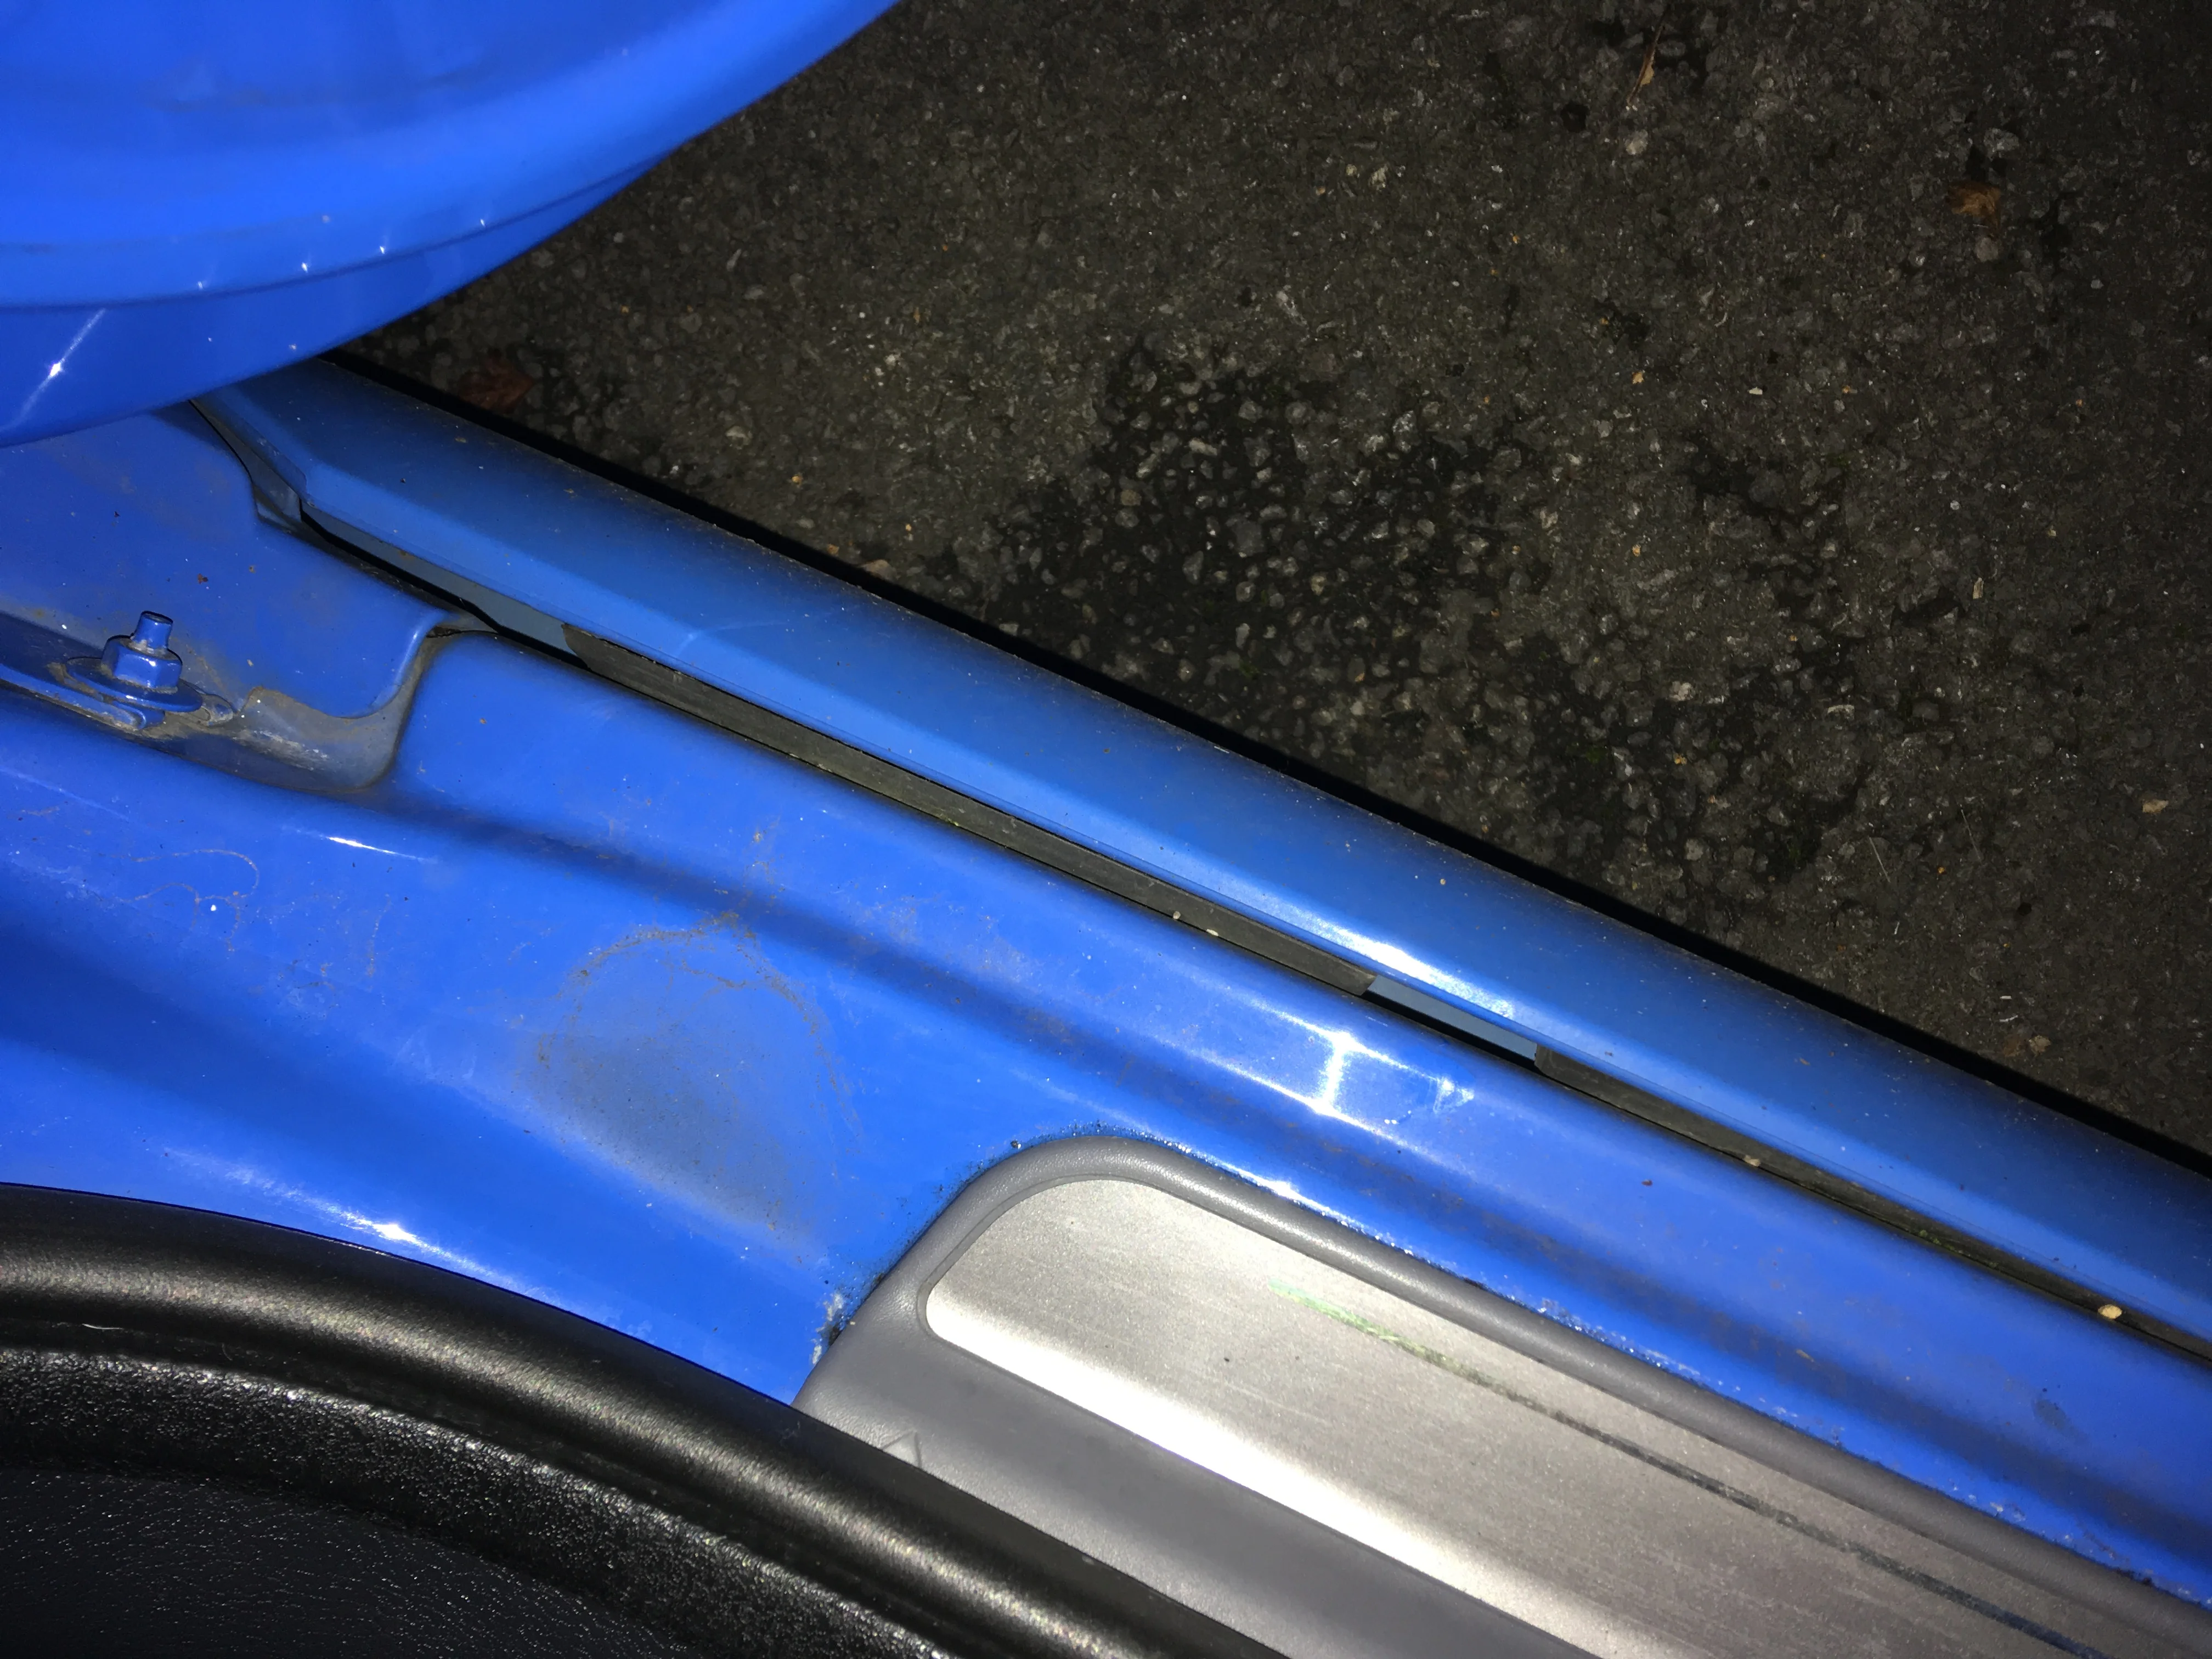
  • Sort the sills
  • Exhaust Mounts
  • Belts at some point soon just to be sure.
ACitjKk.webp


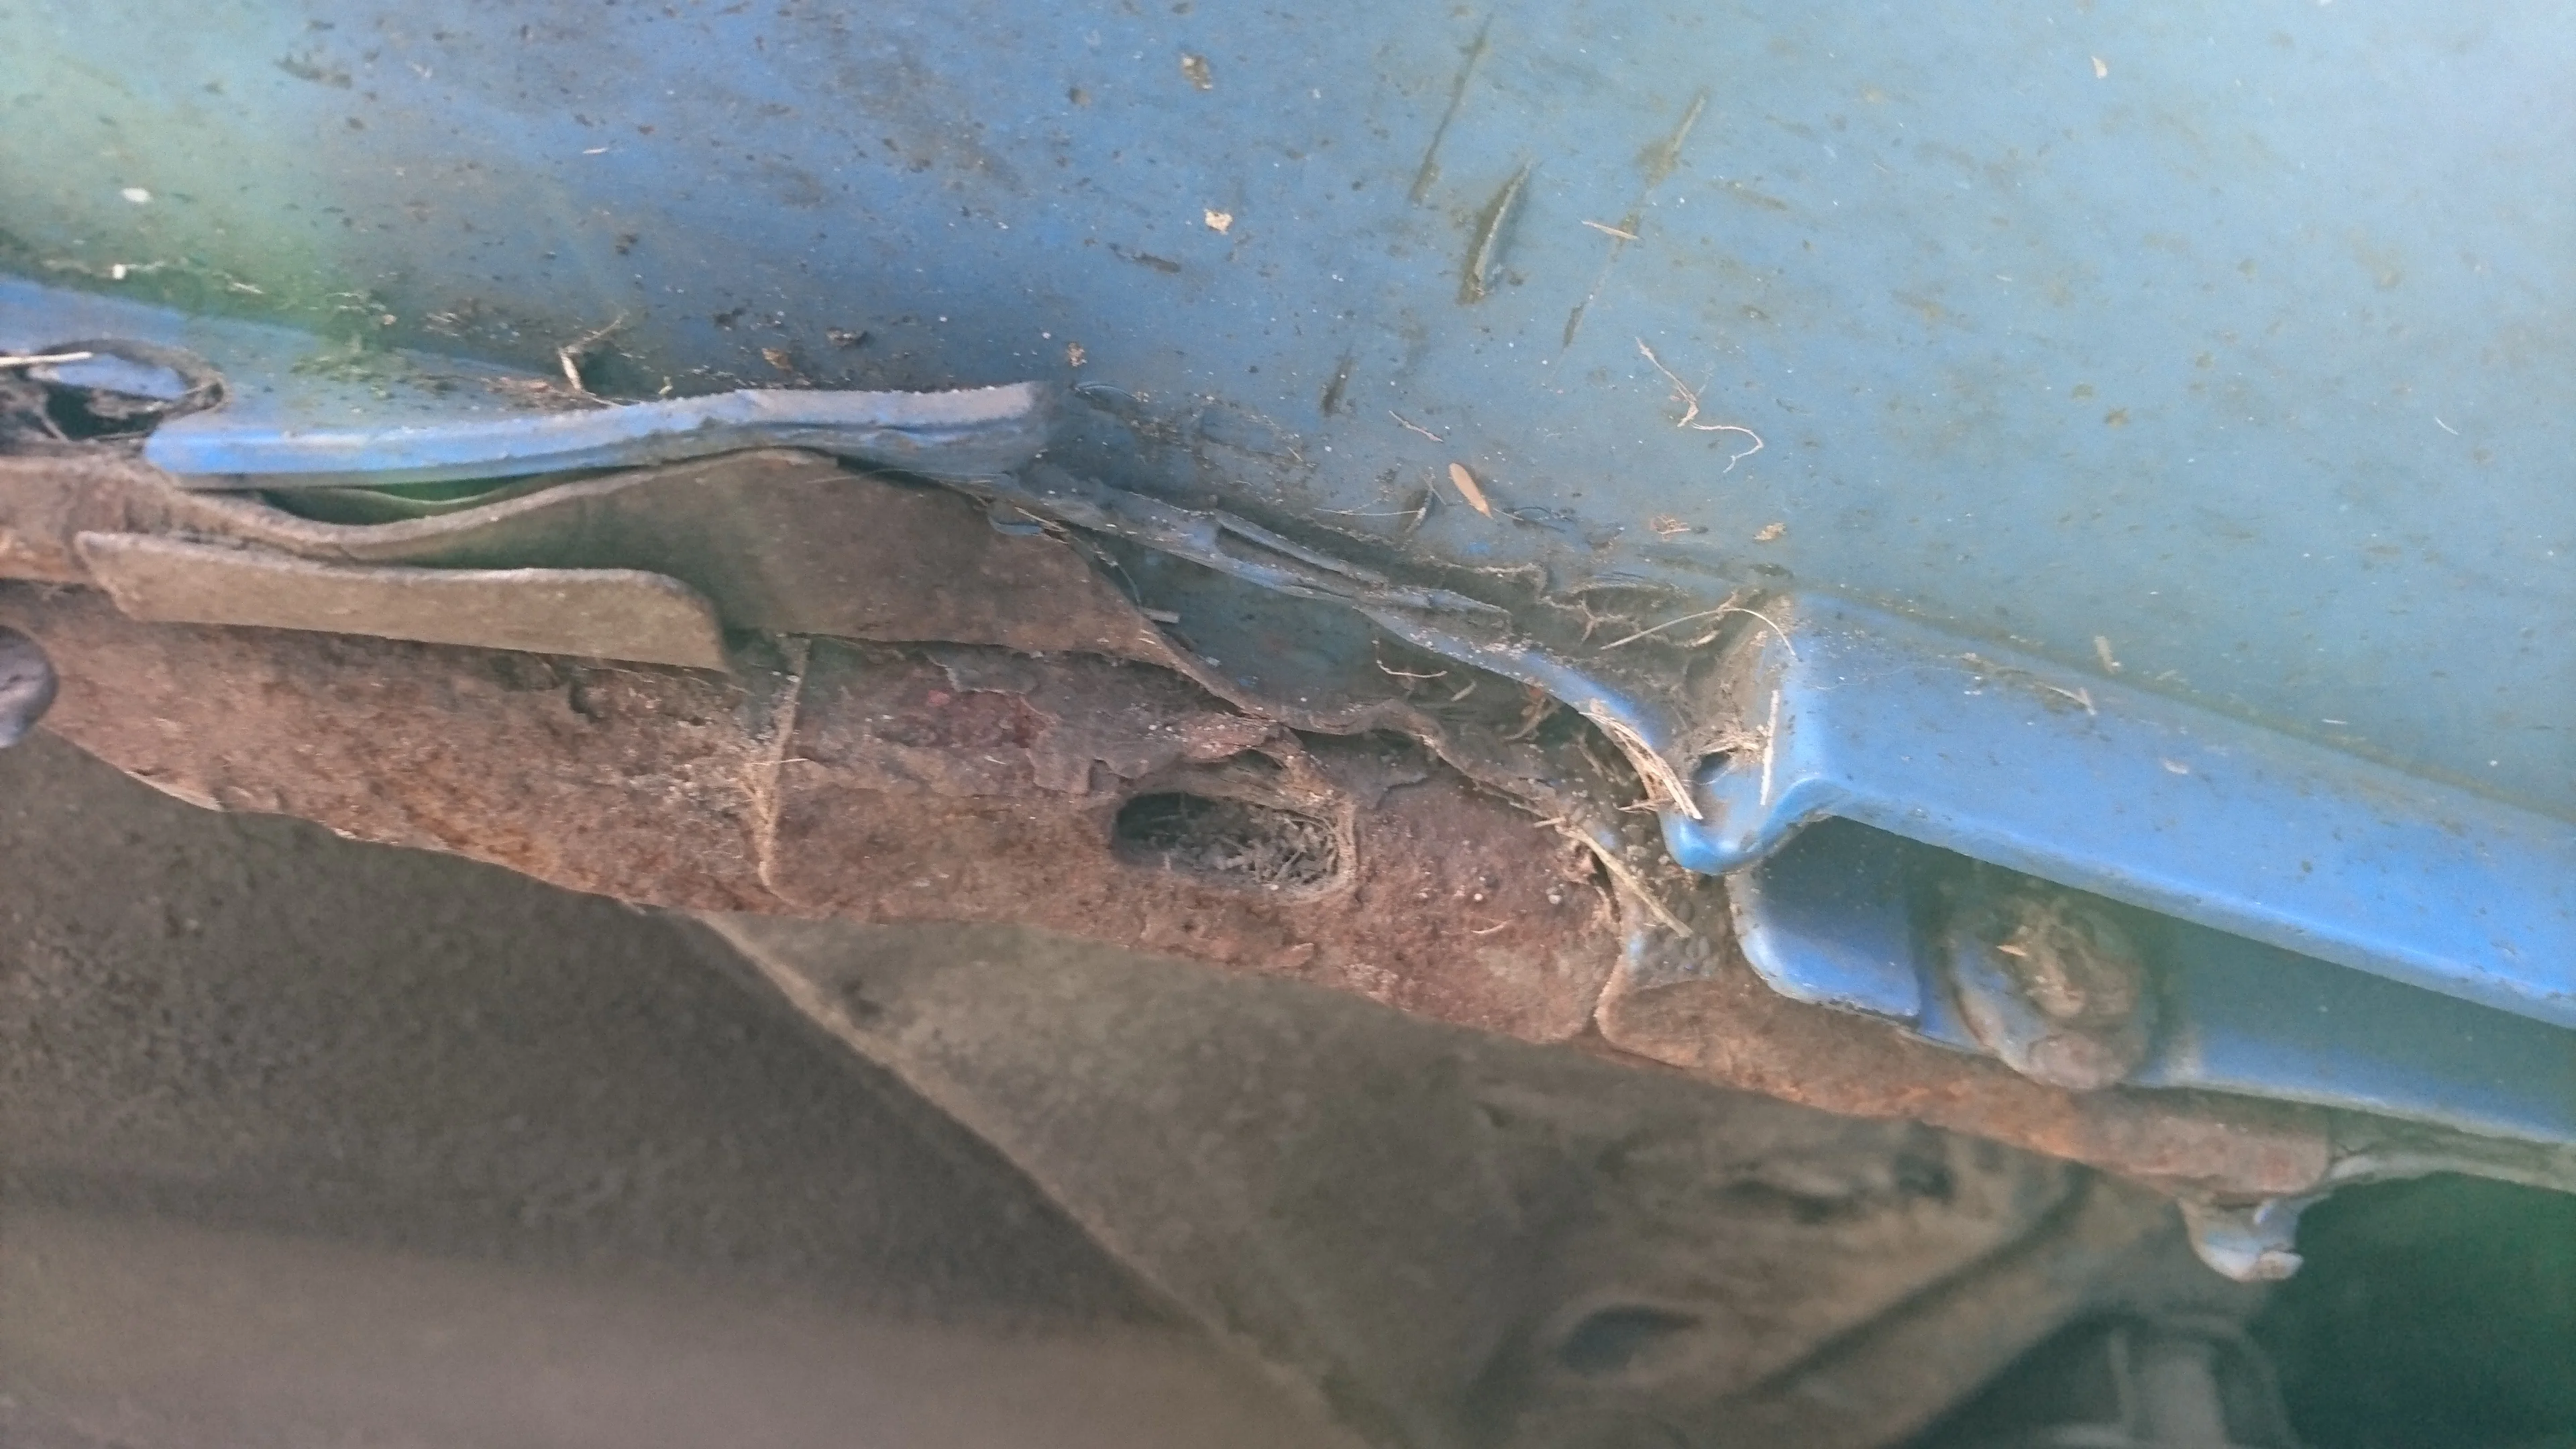
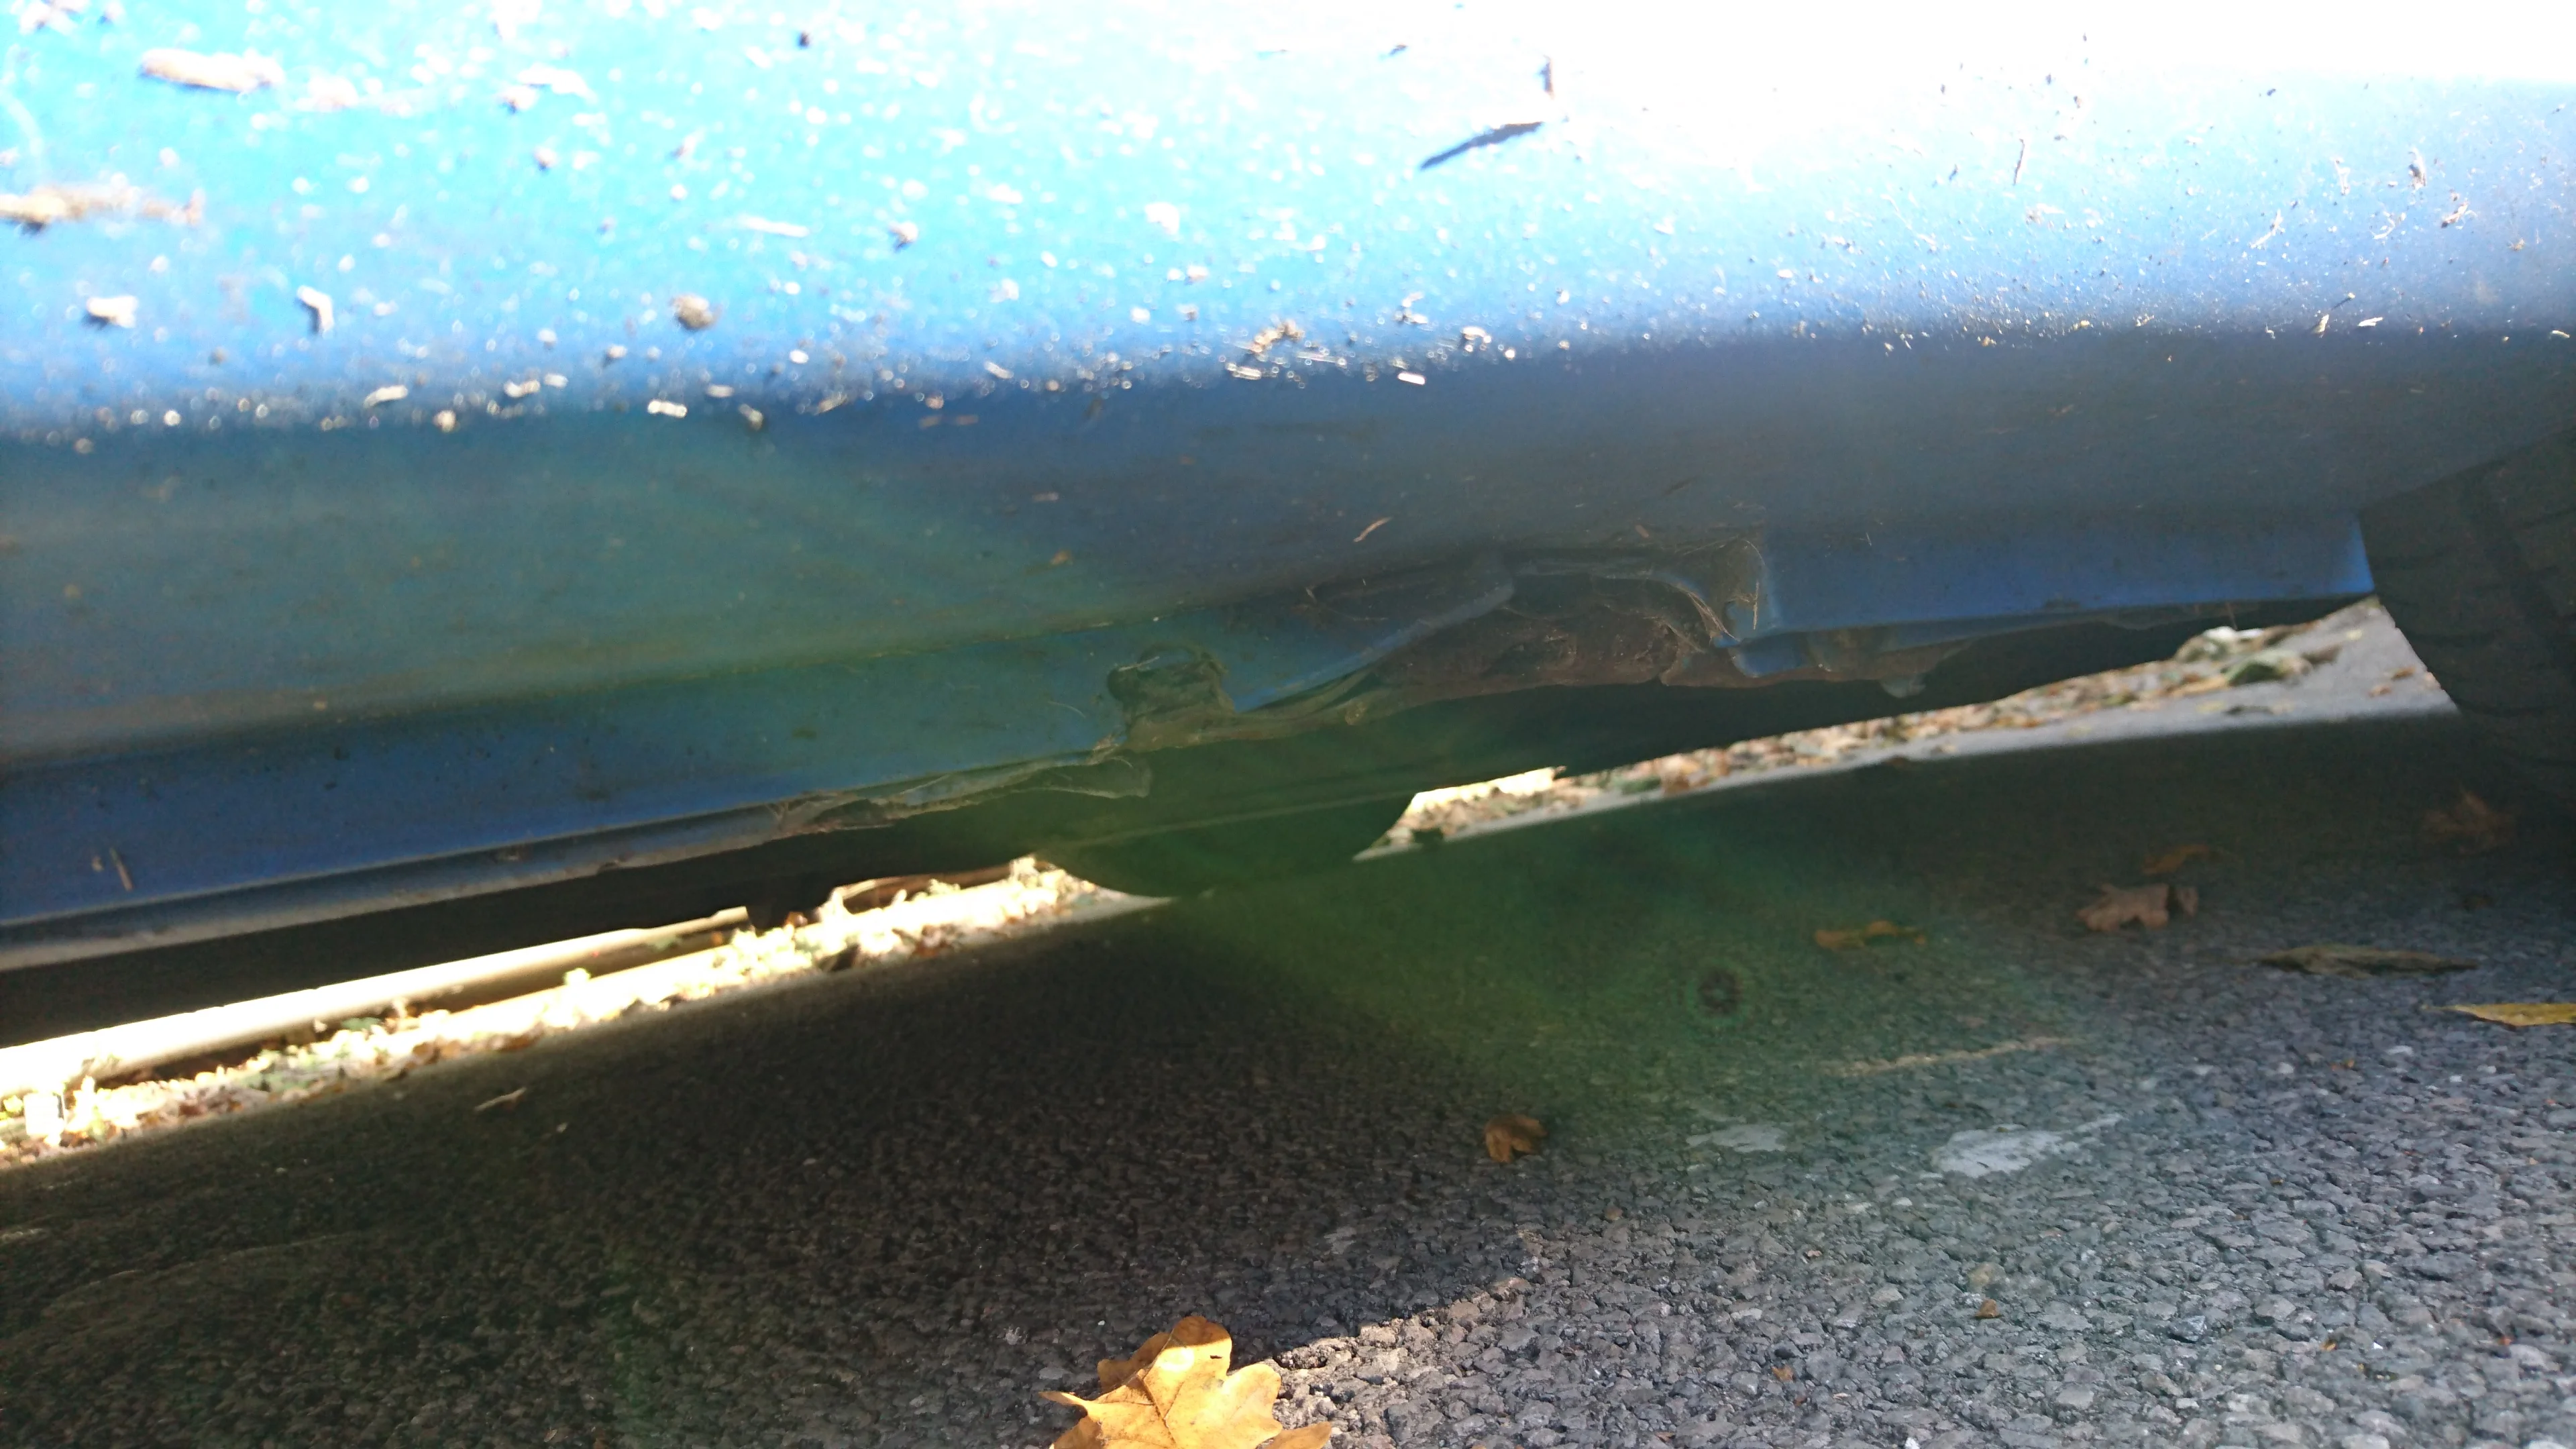
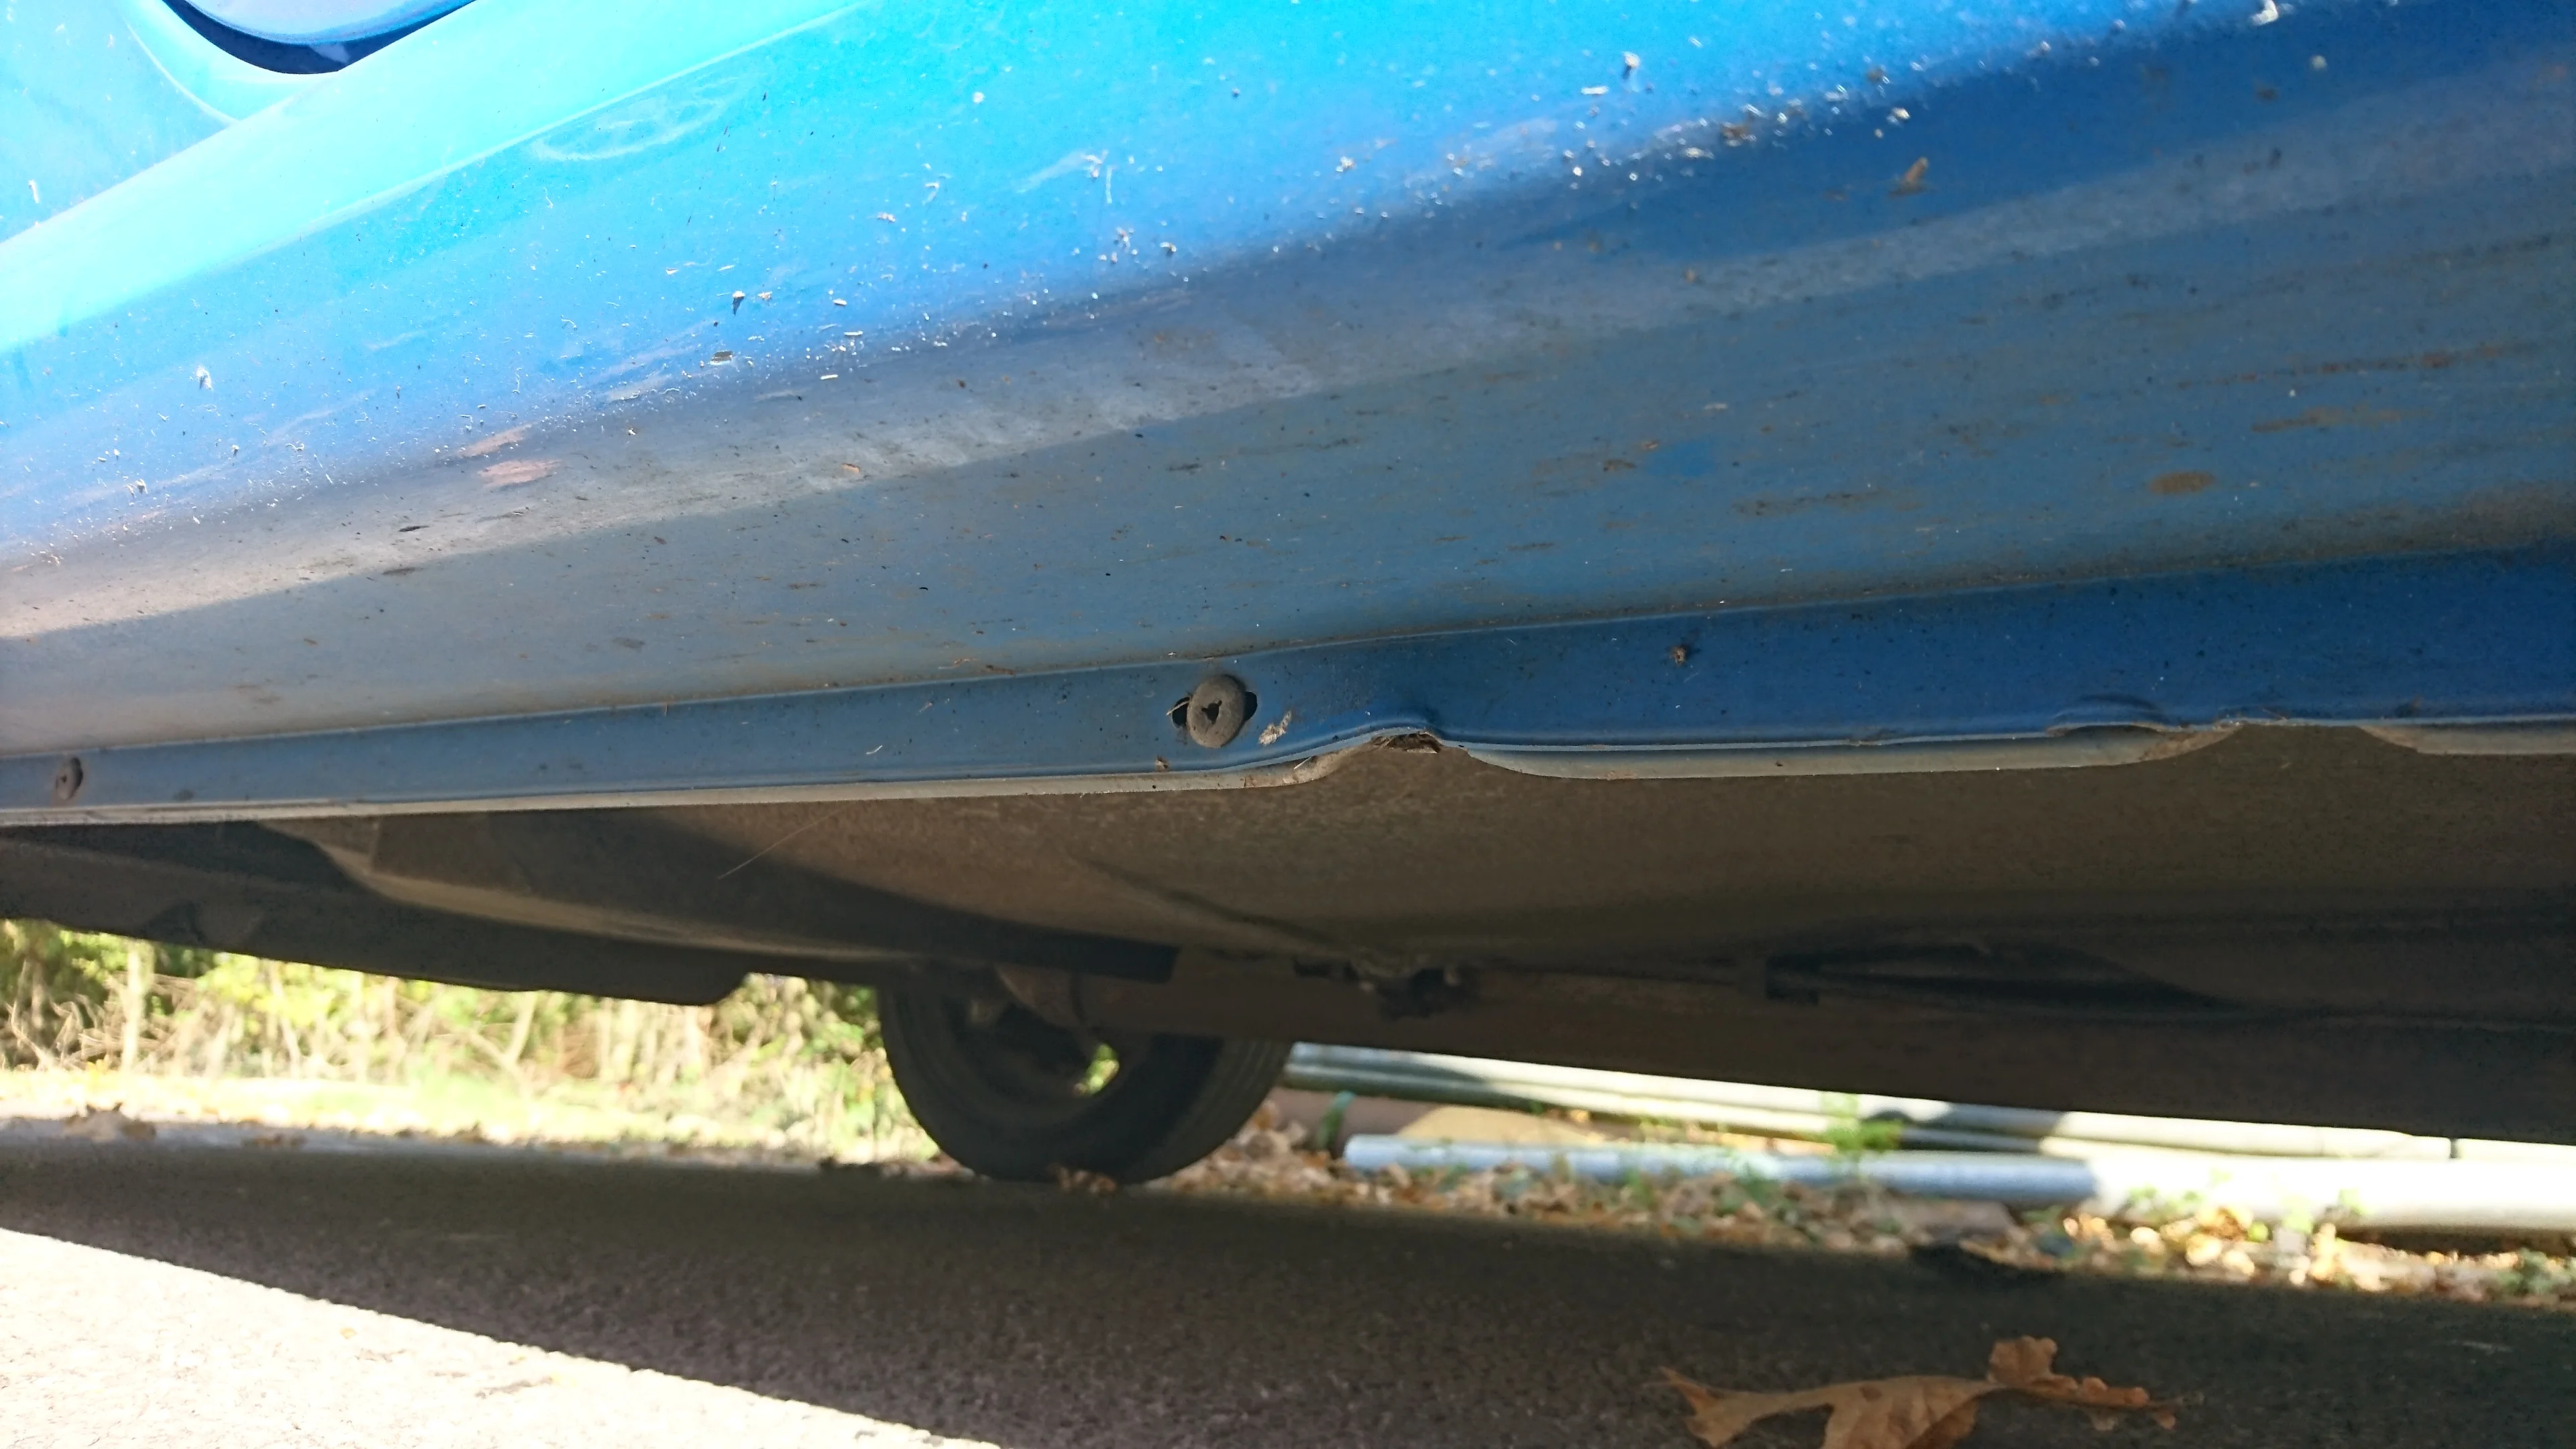
The front drivers jacking point is completely mashed.


z9npb2F.webp


aFgzLqO.webp


nMfRimQ.webp


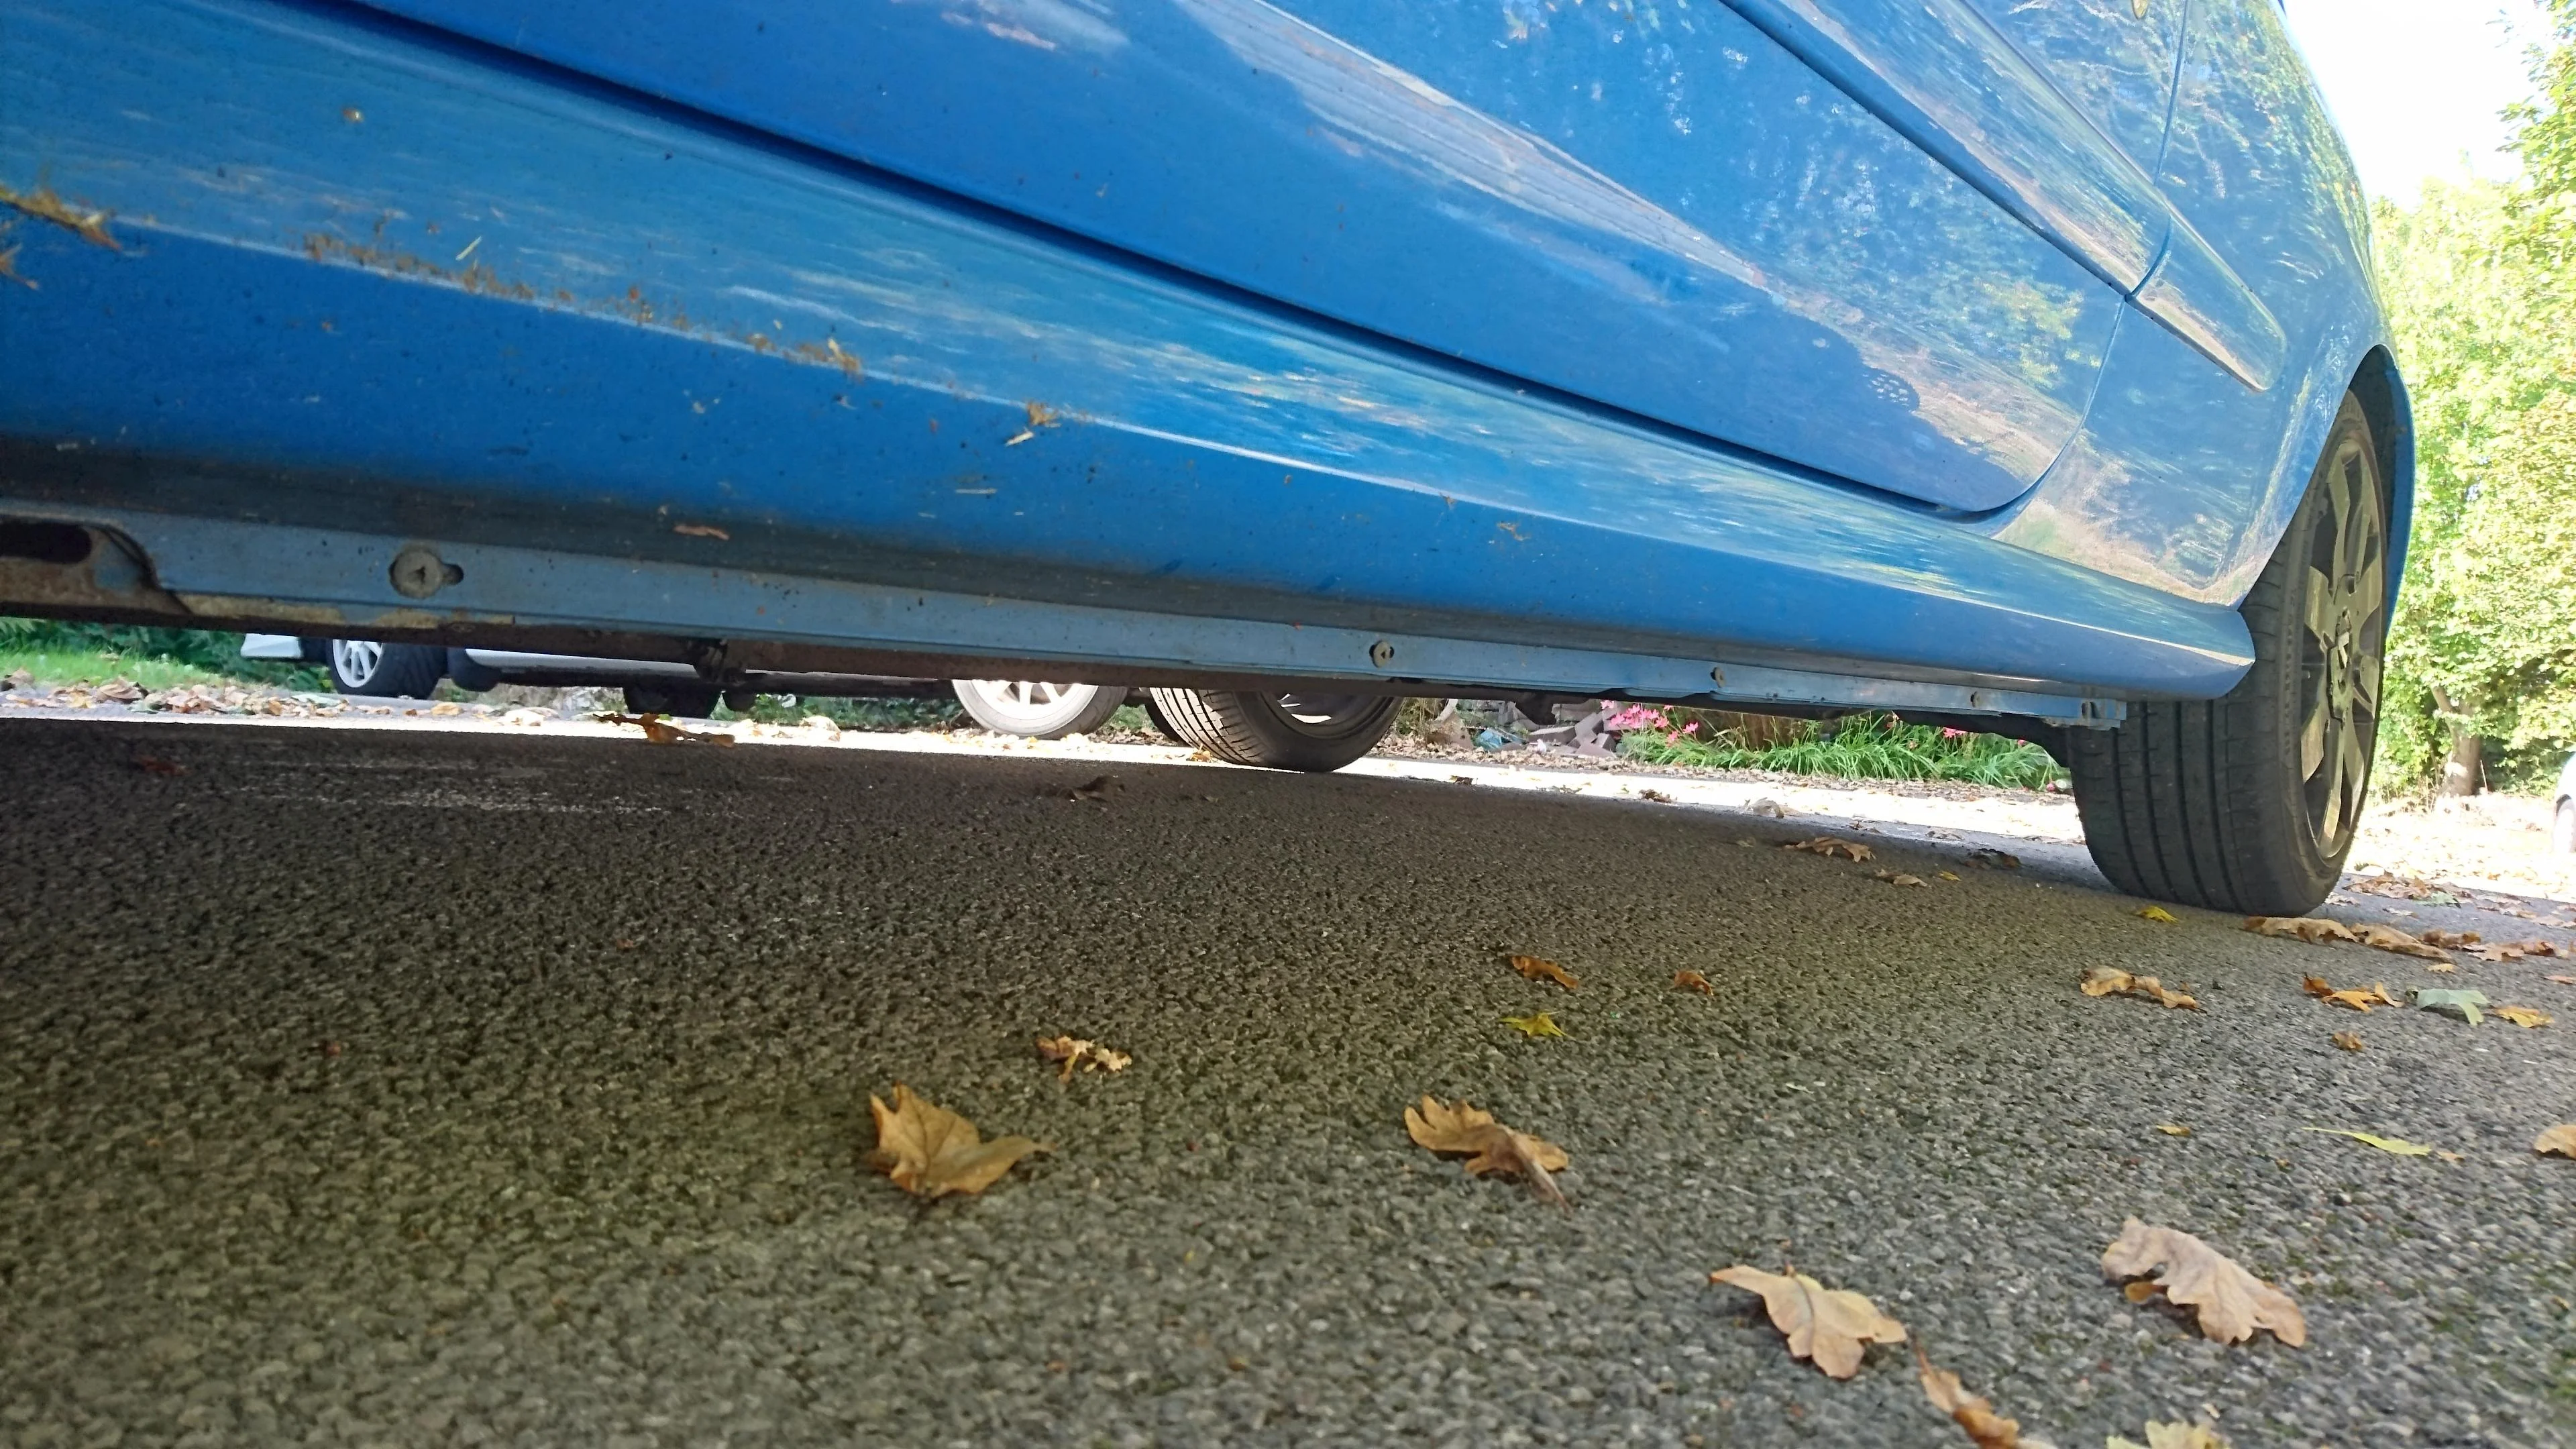
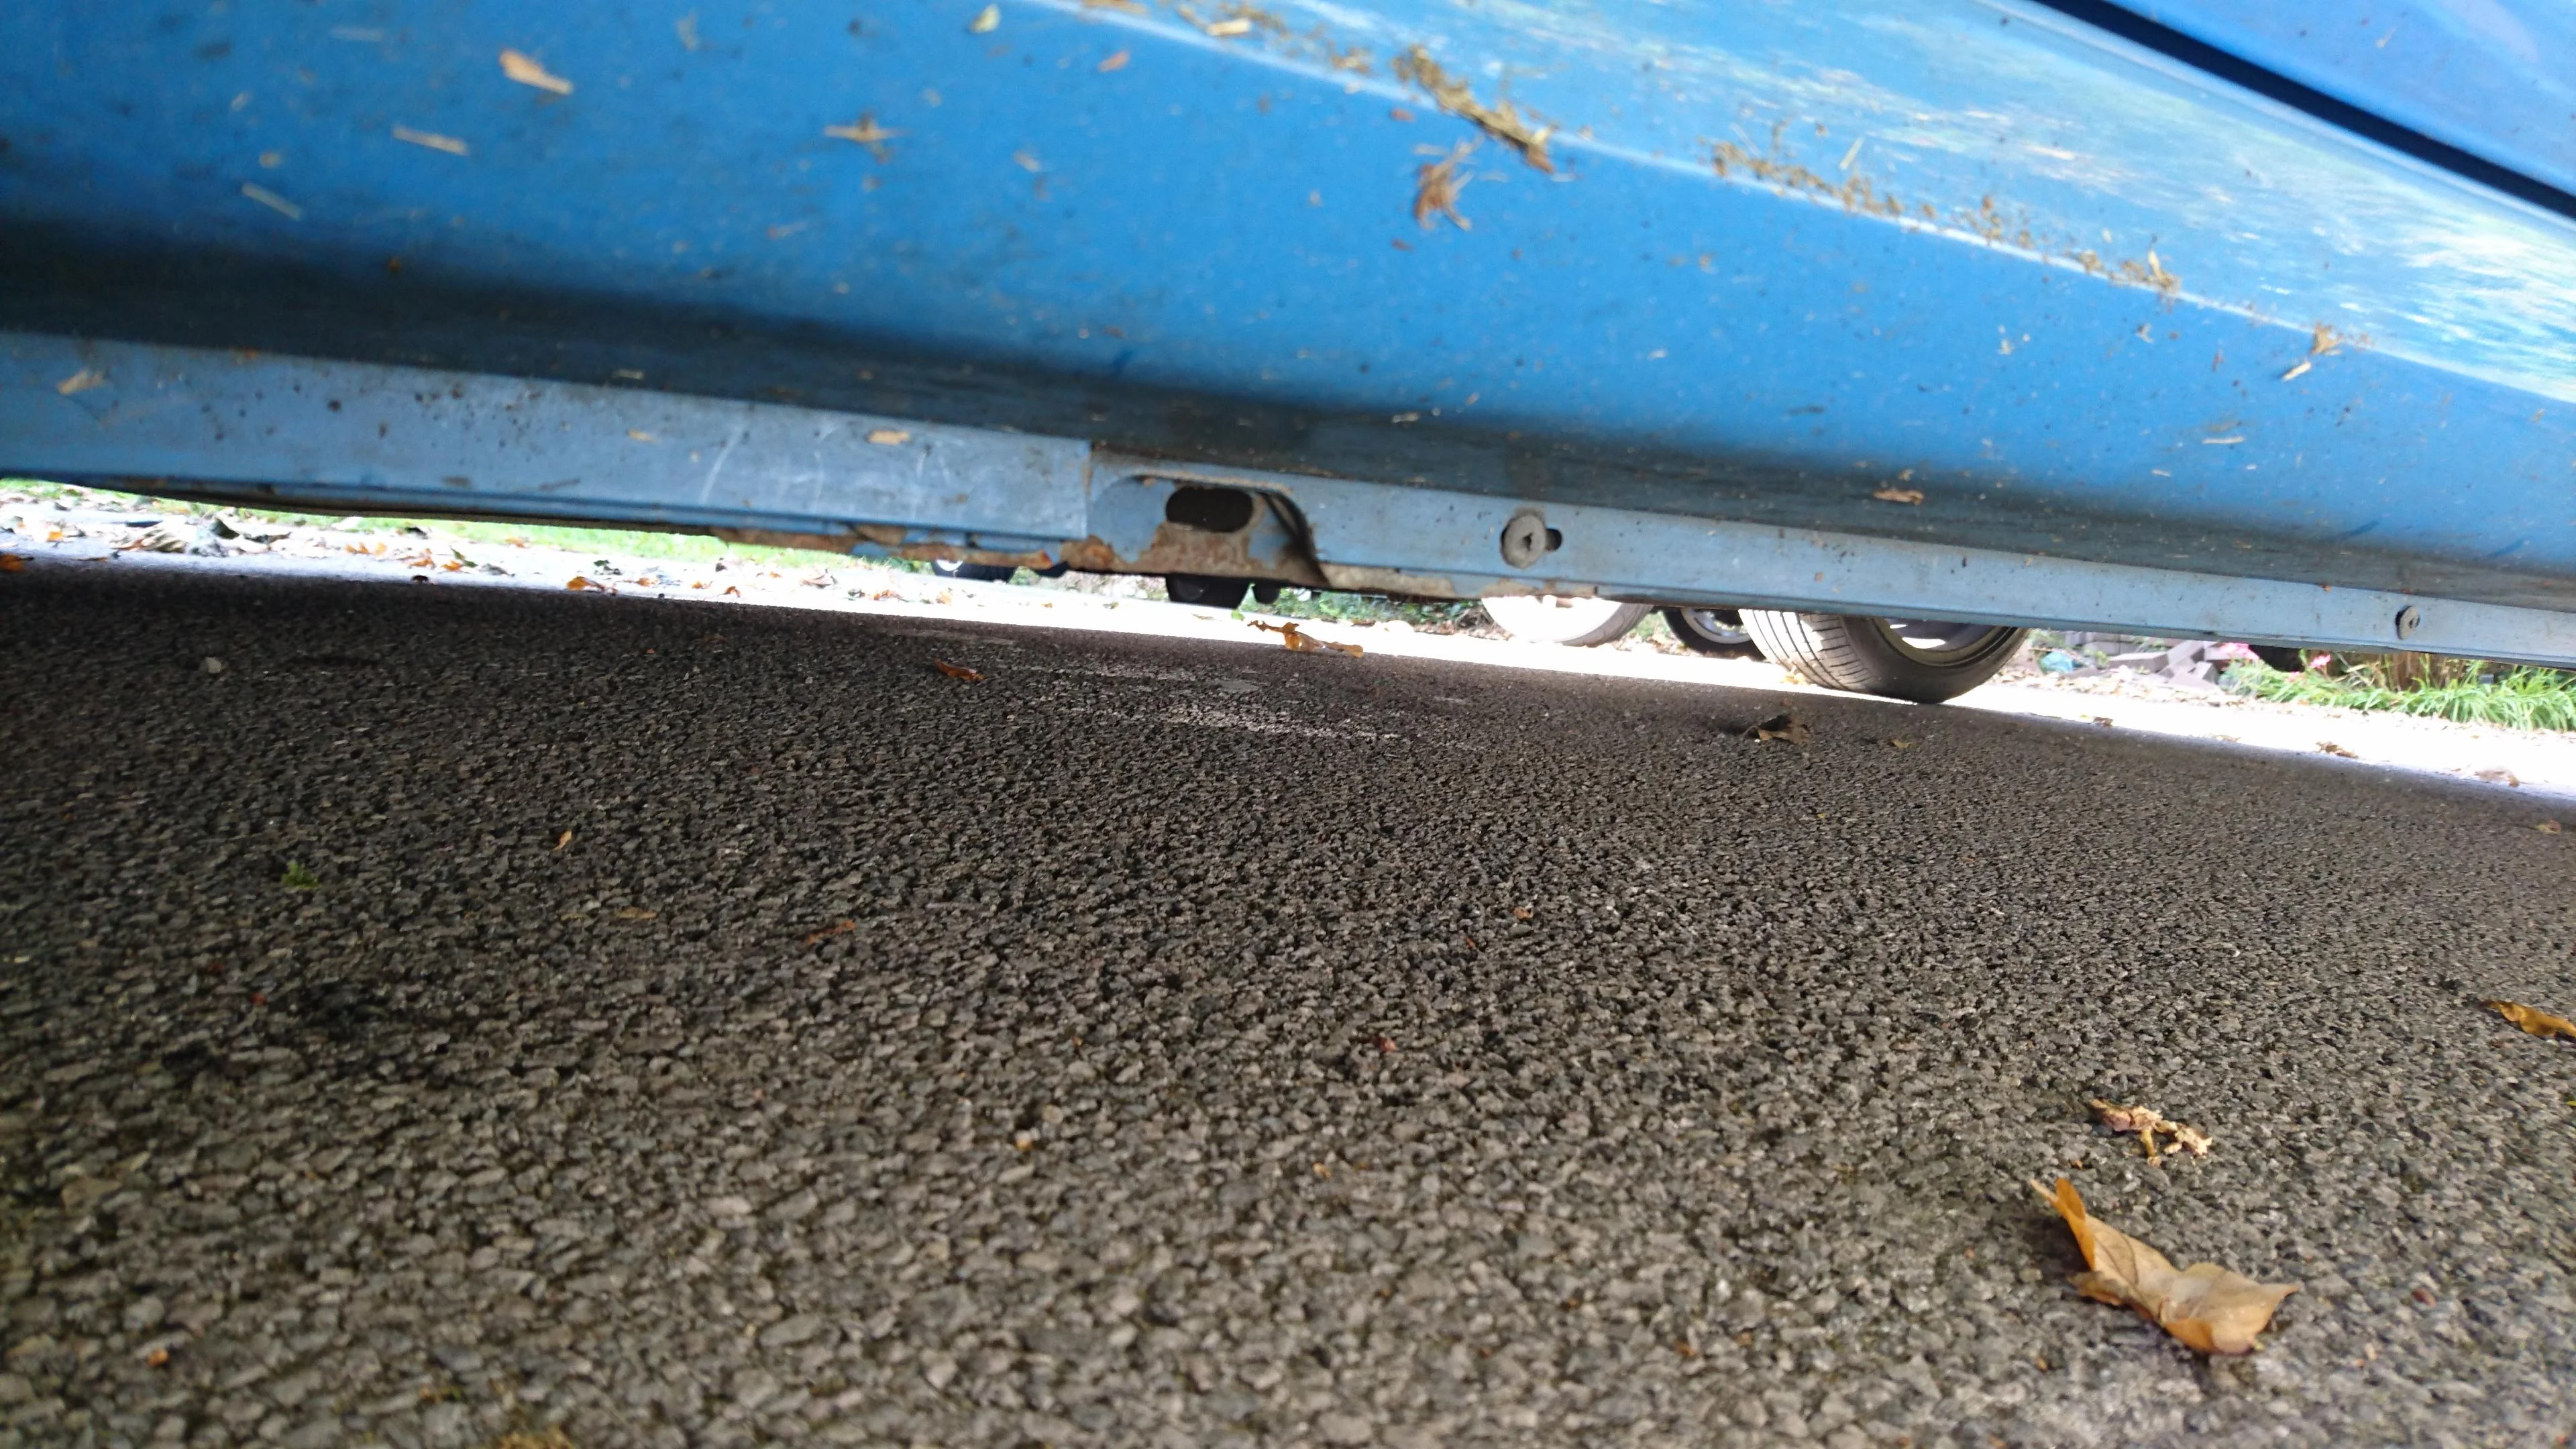
The others are not so bad, But I will need to take the side skirts off and straighten up and treat any rust.
mQq0lgL.webp


I4Hqe12.webp


sLxAuvv.webp


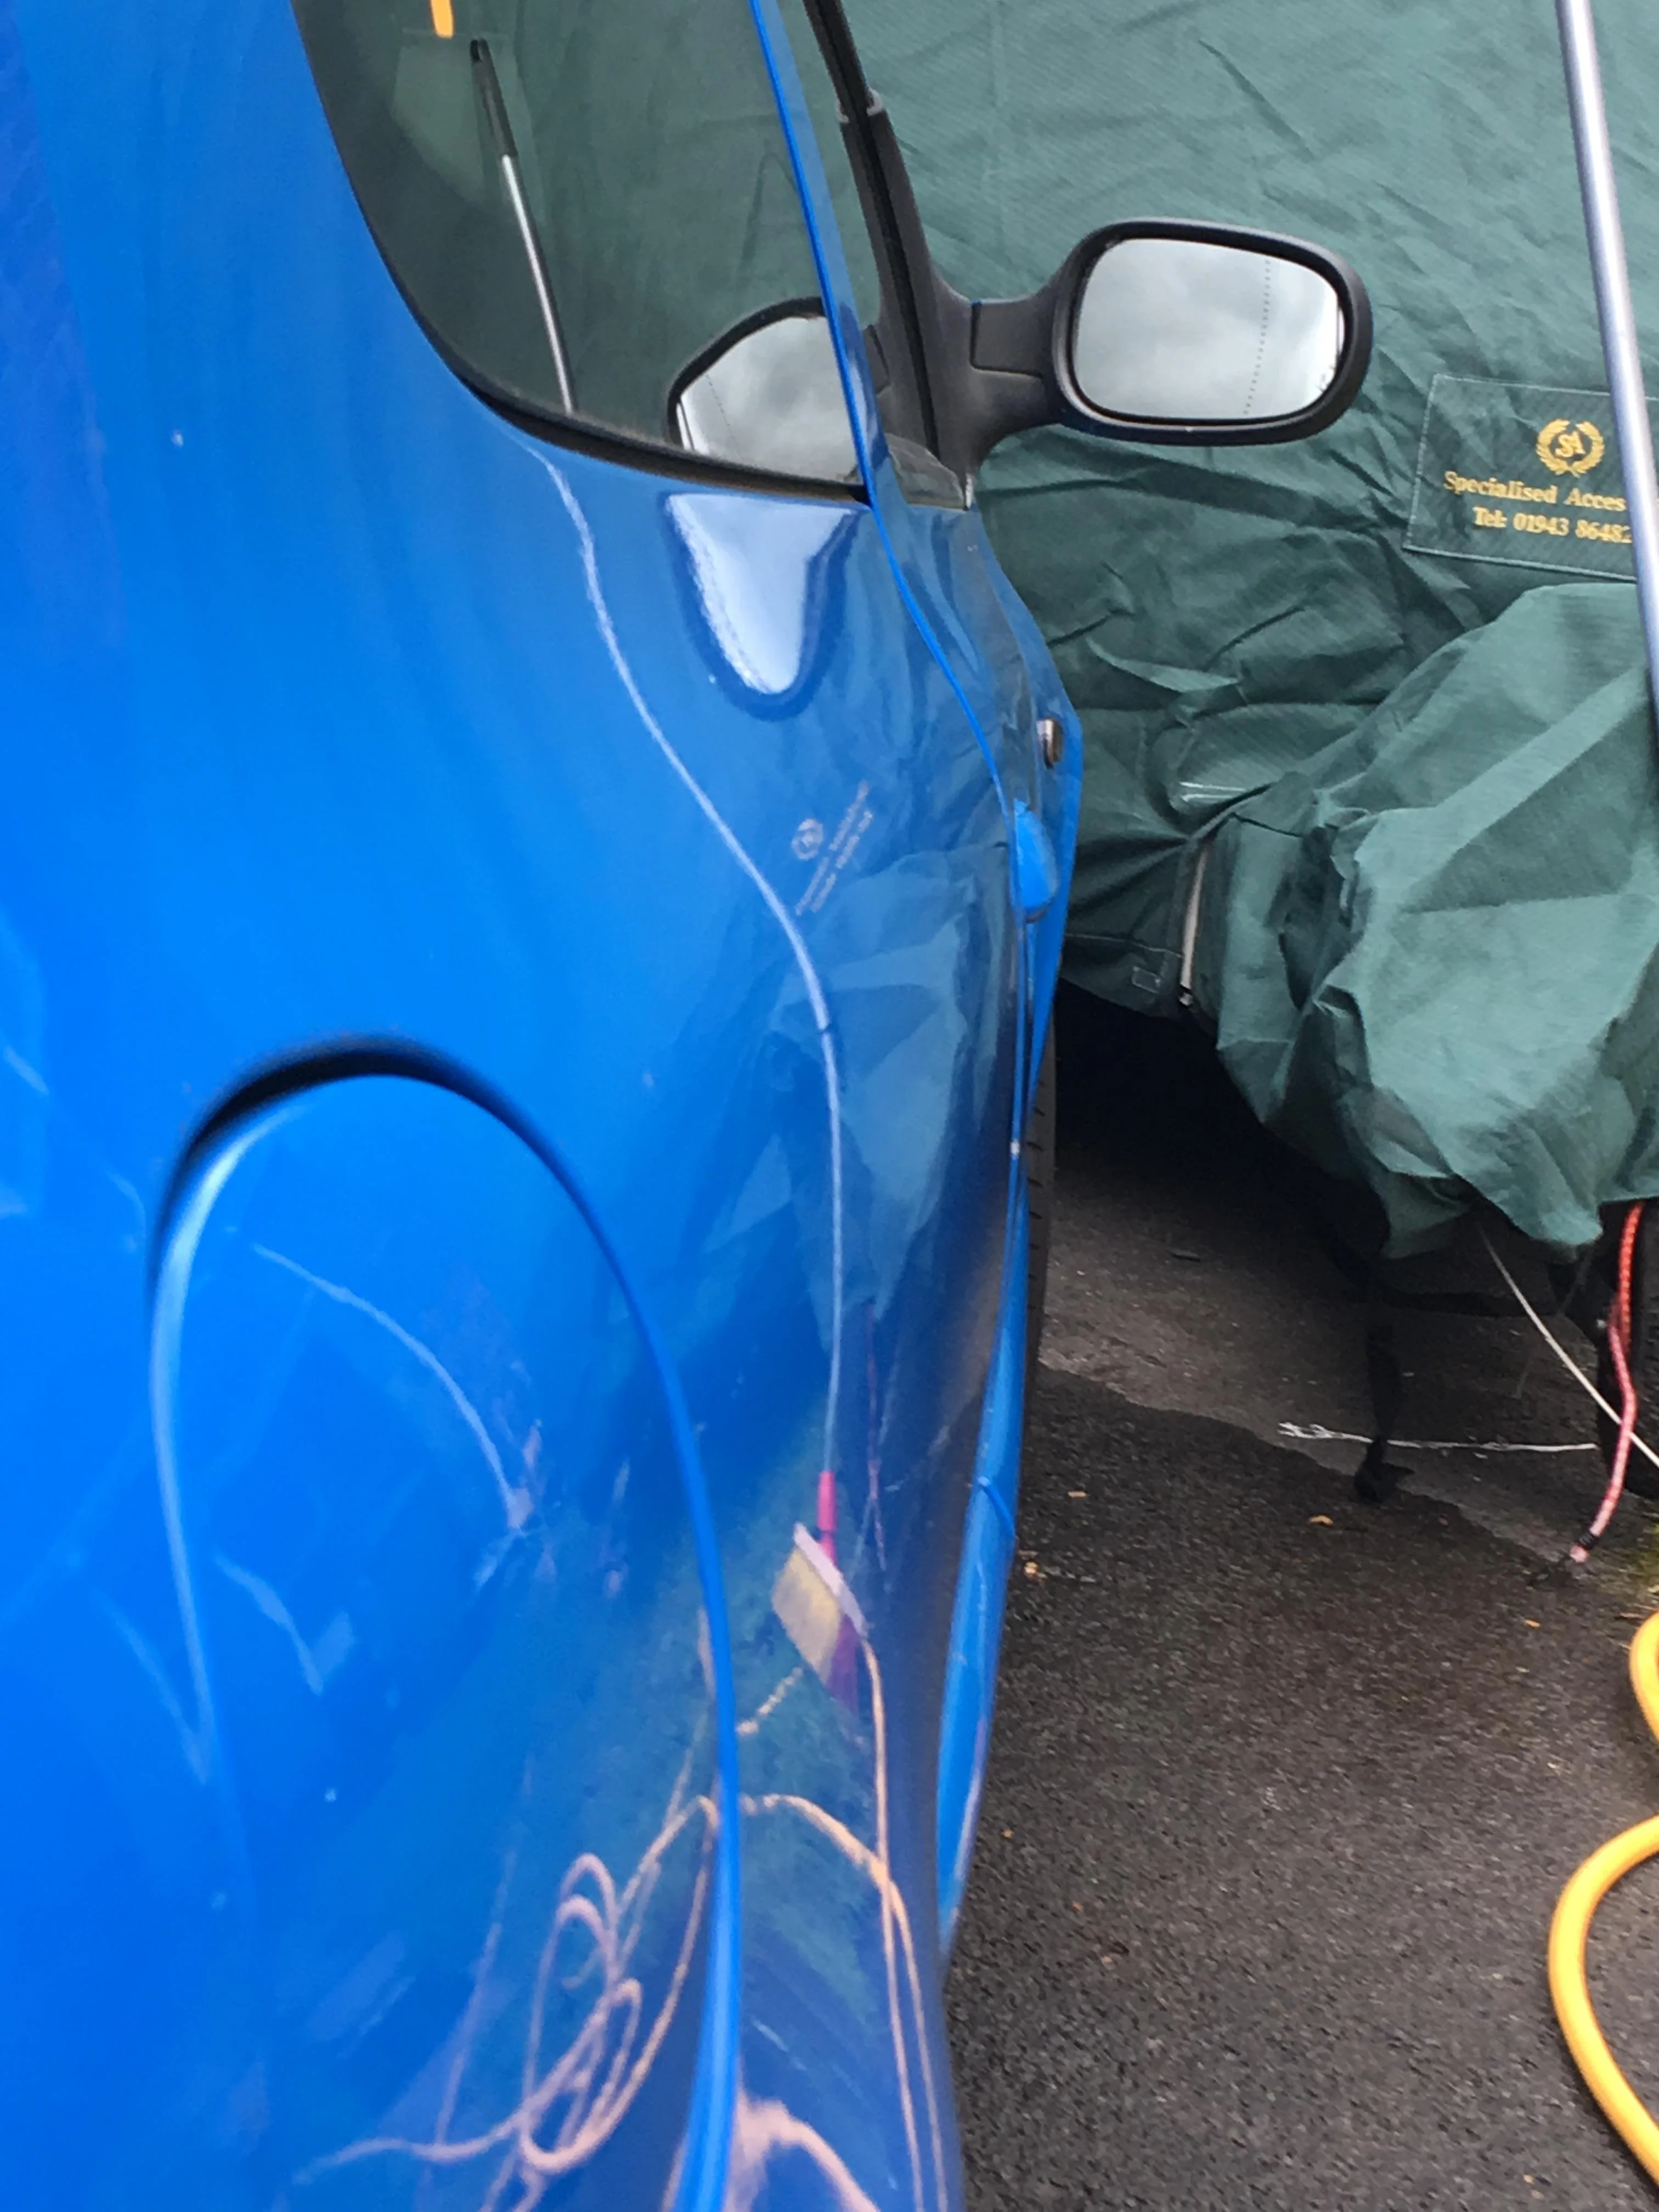
The paint is OK for the age, a scratch on the front wing and the usual stone chips. I want to get it mechanically sound before I worry too much about it looking pretty
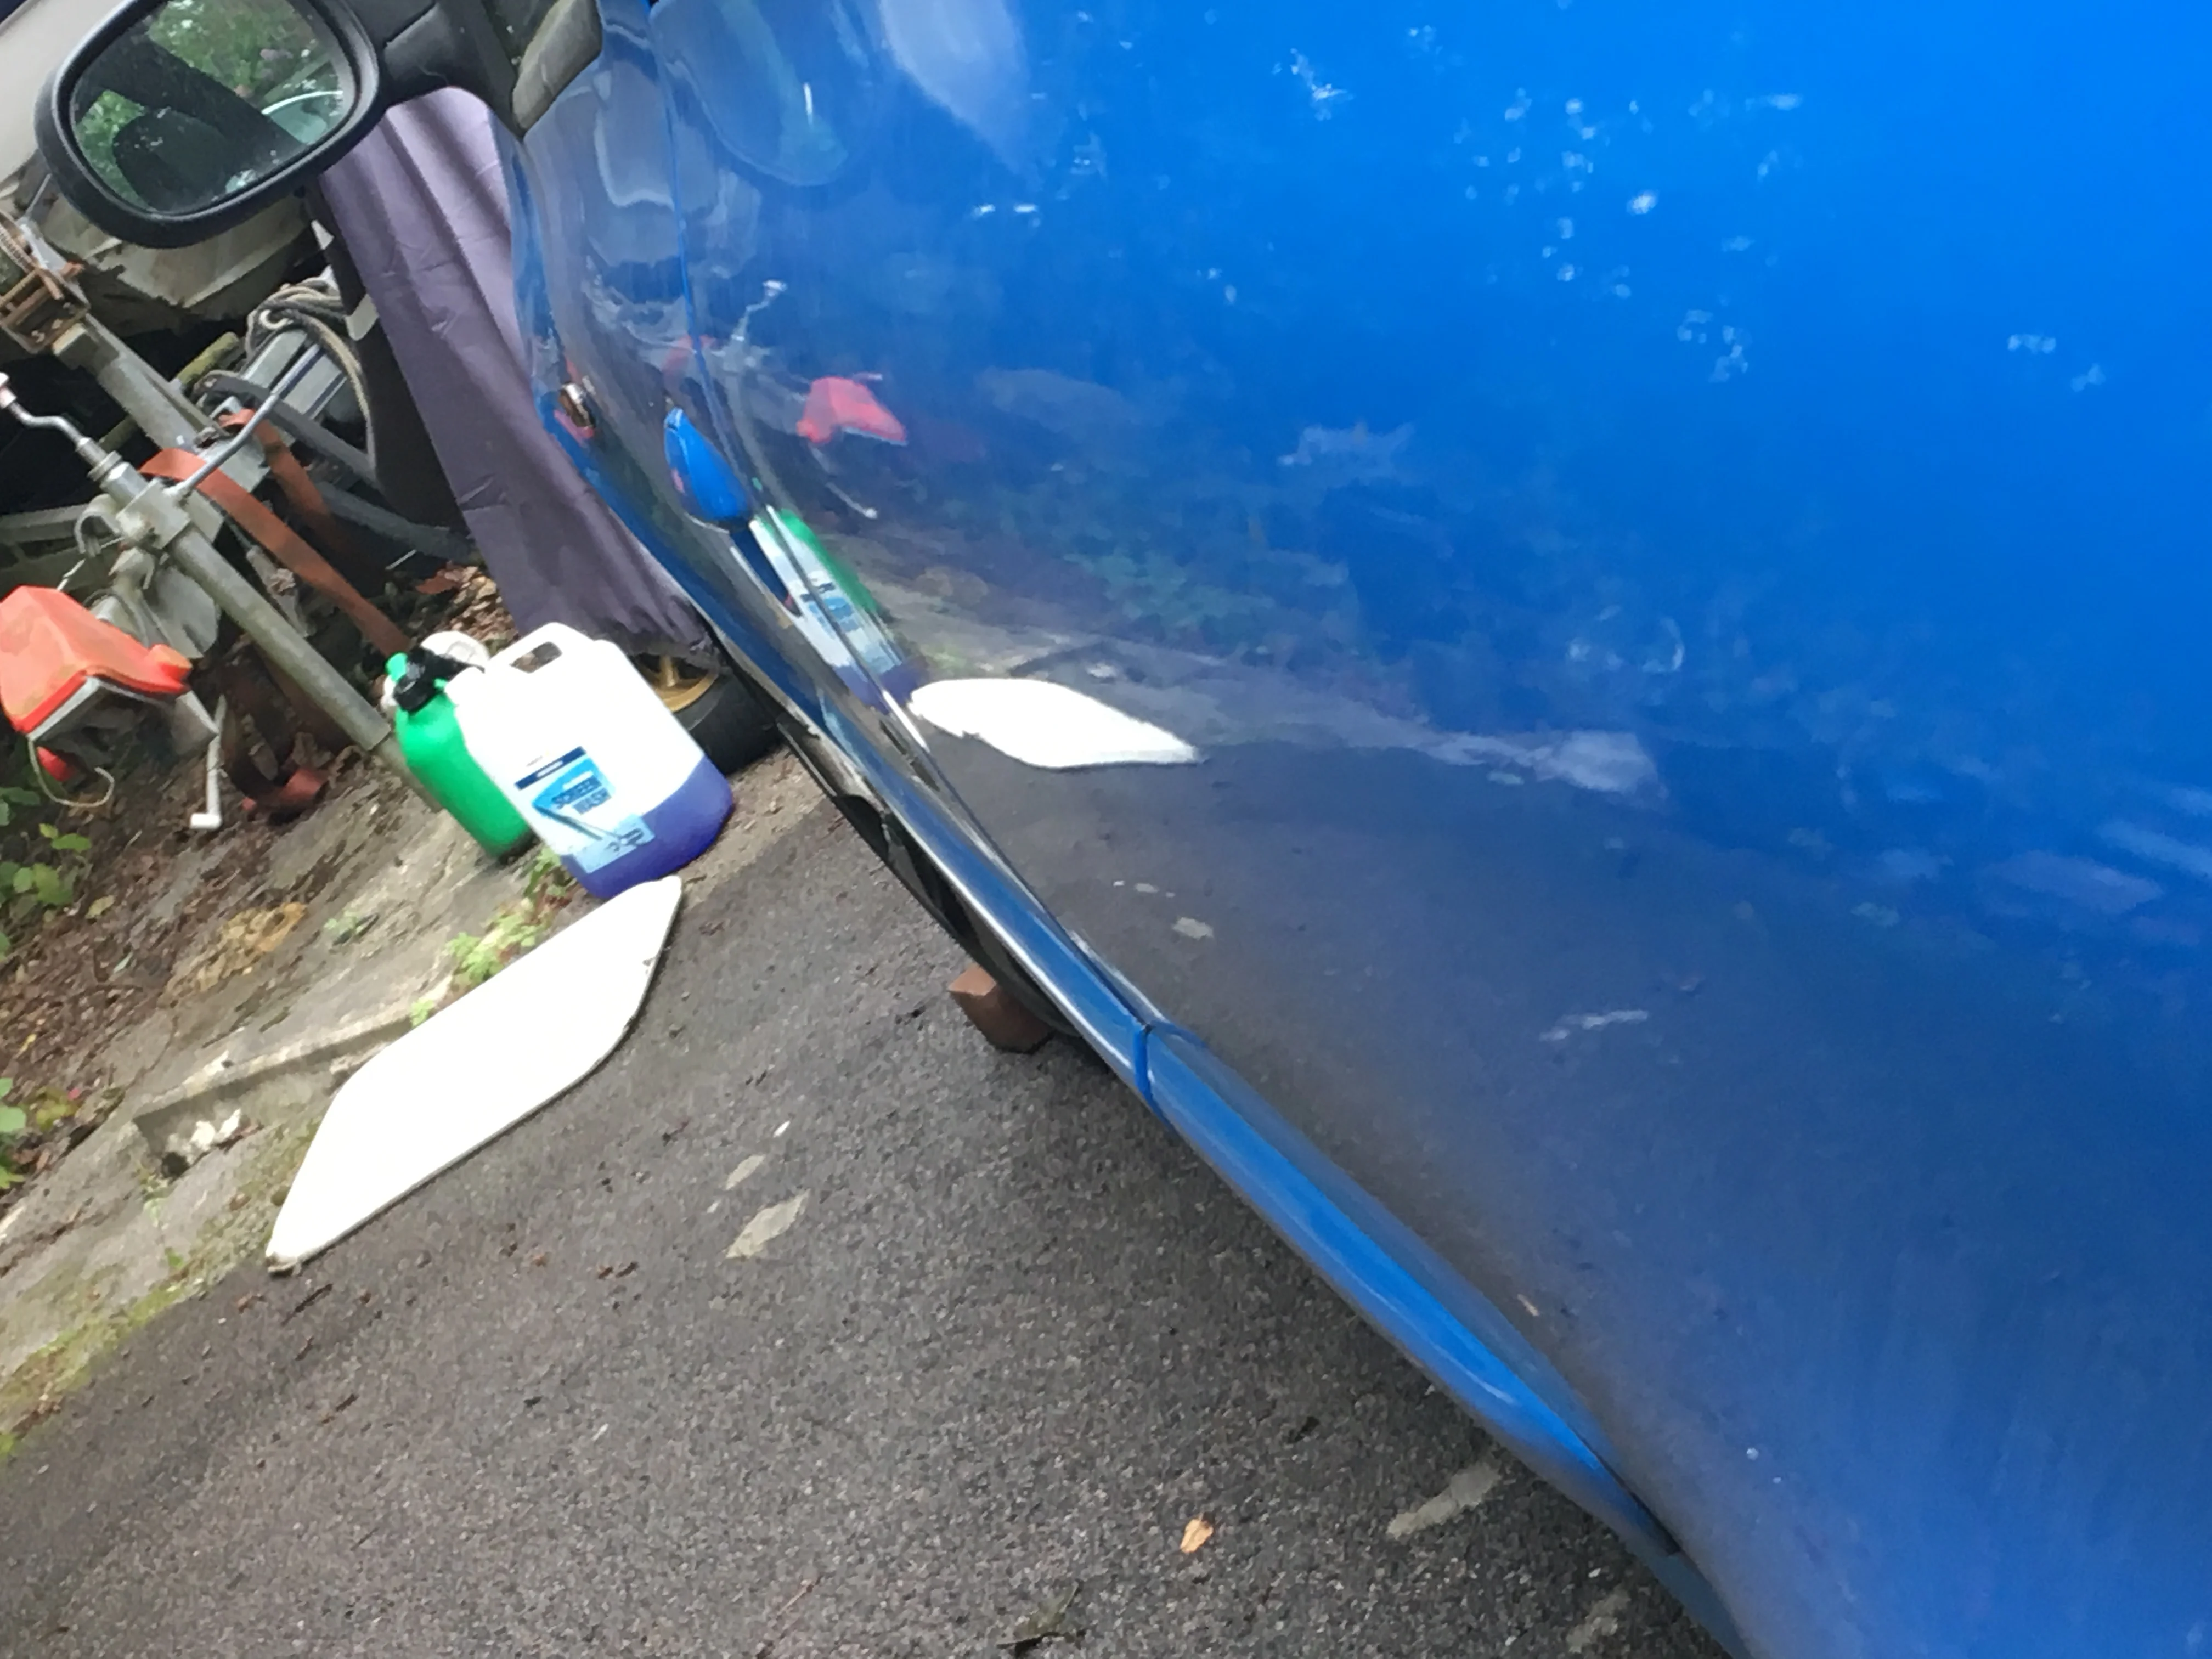
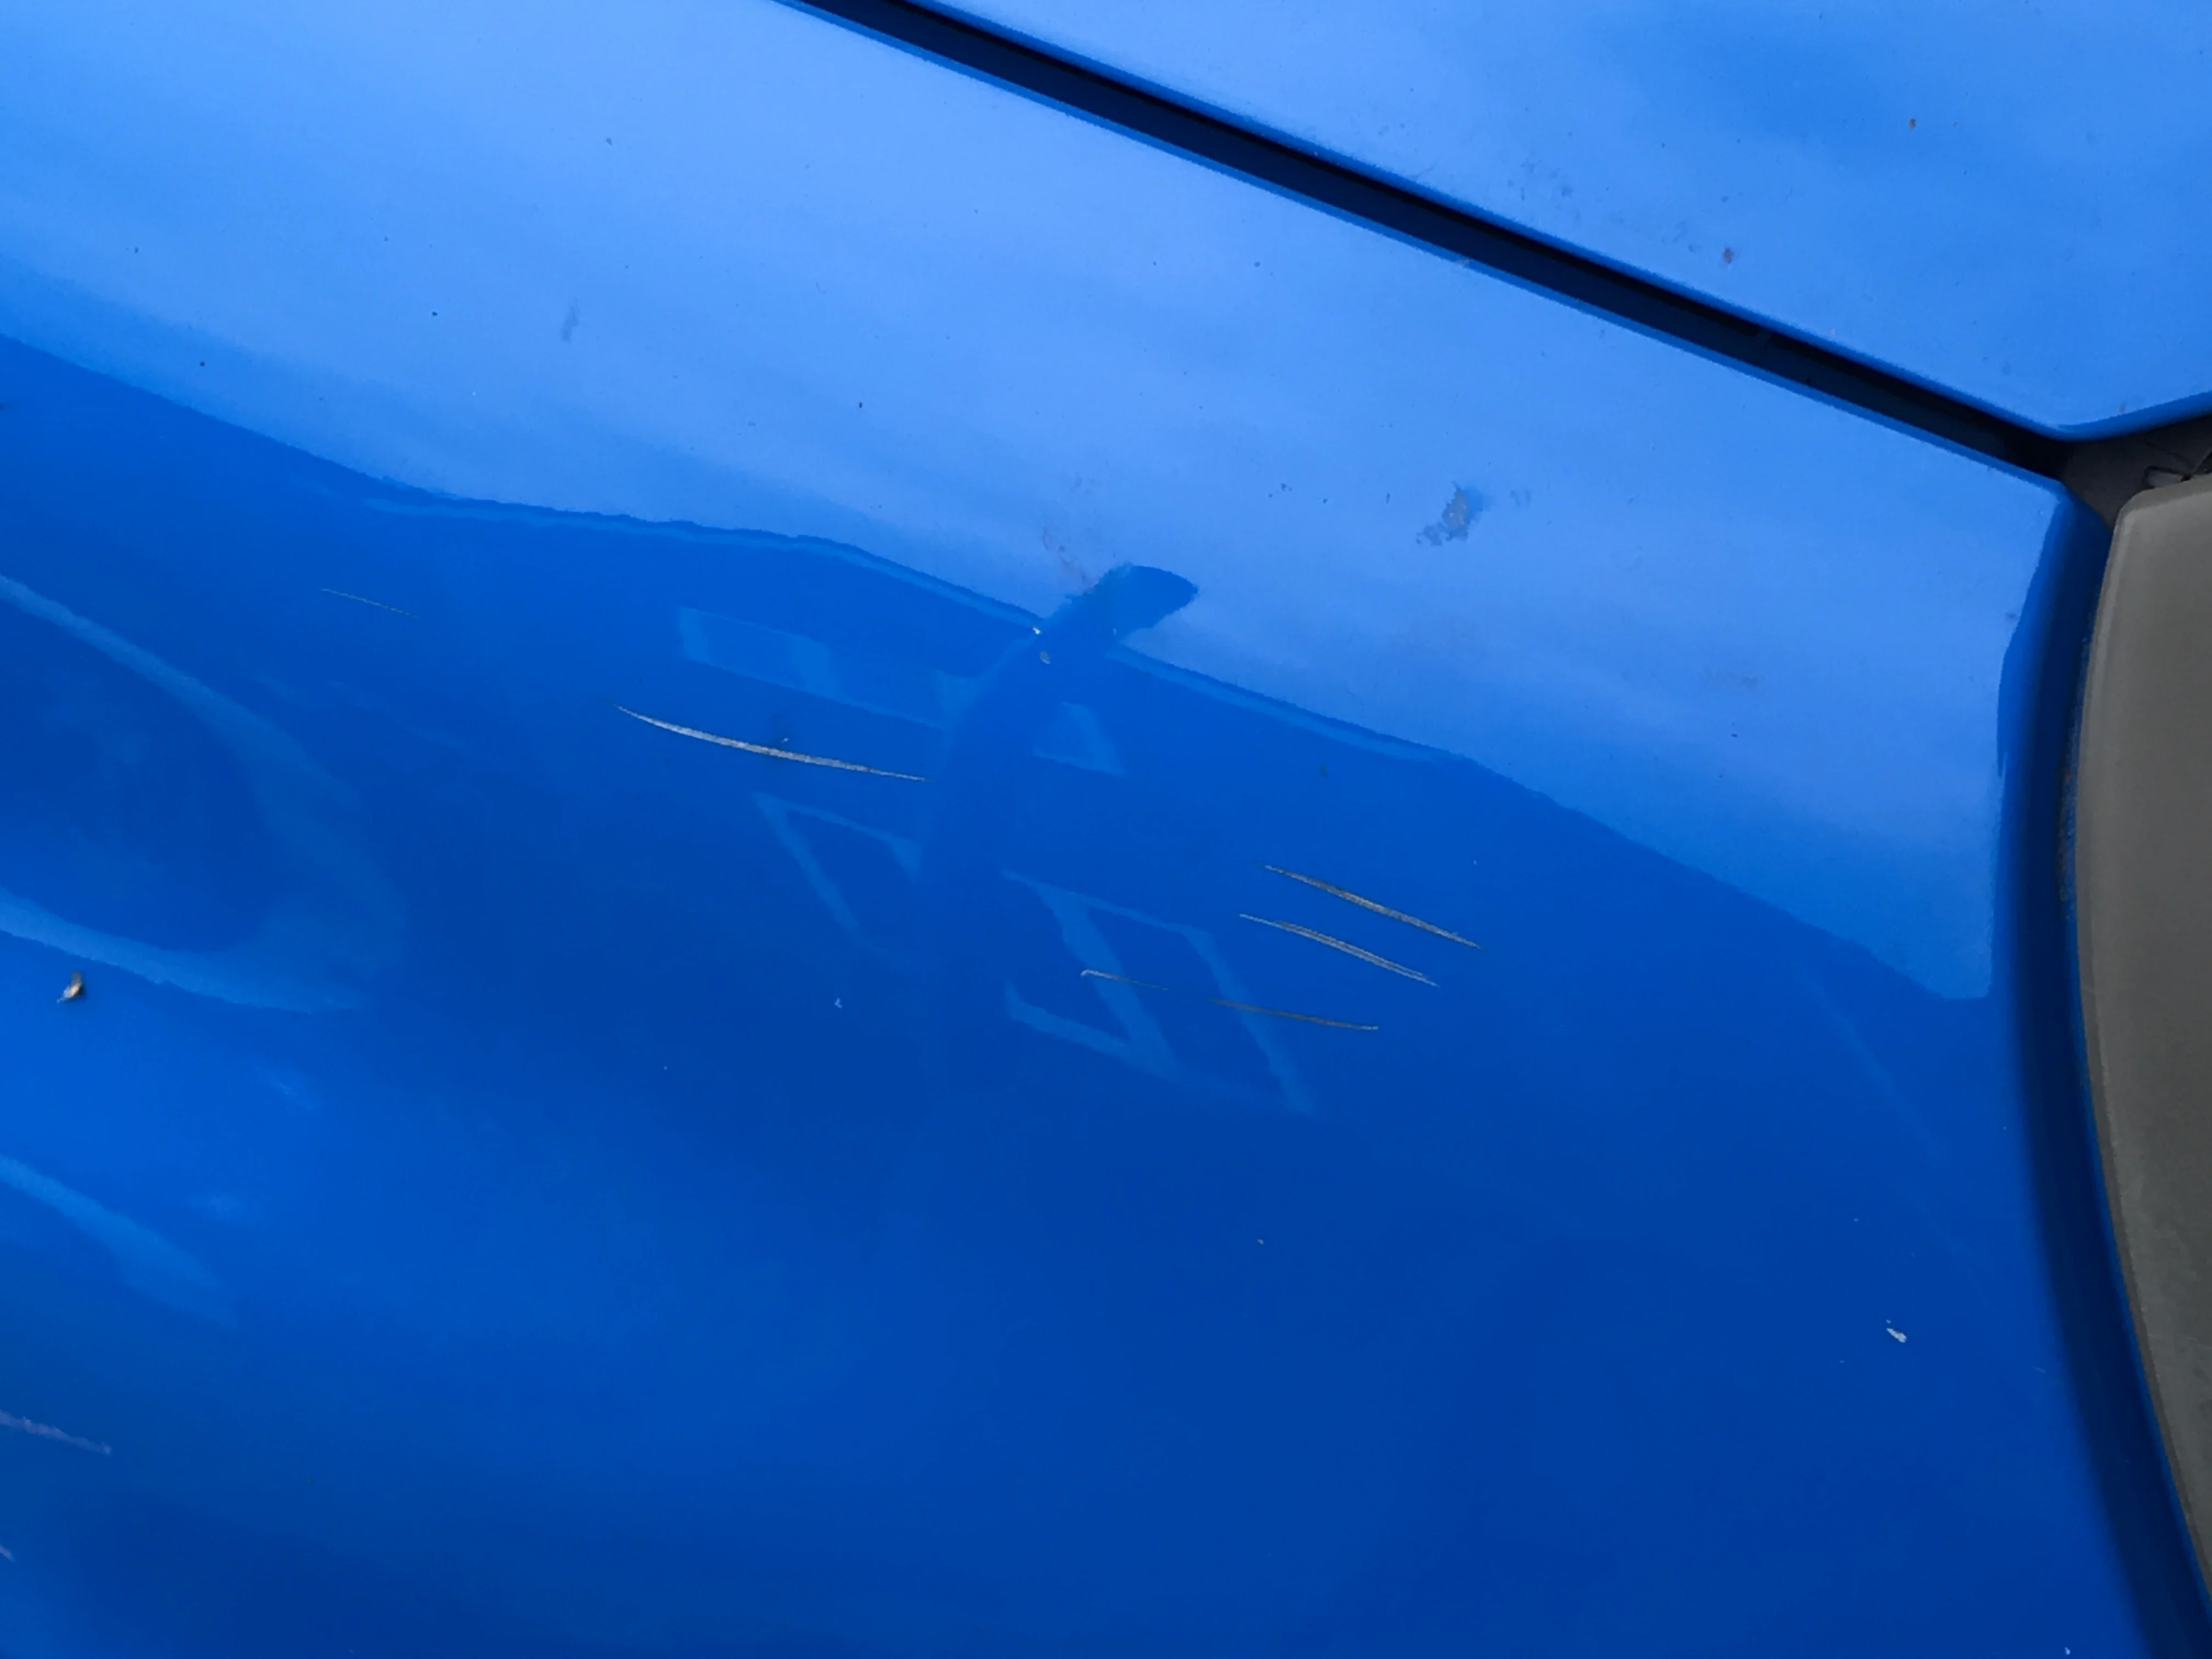
cZ9kv7M.webp


cbxjTEK.webp


ZUwLHWA.webp
 
This rats nest needs sorting, It has a Clifford G5 alarm fitted with some extras, the receipt shows it fitted by a legit company but it’s all a bit of a mess.


E9Zrw46.webp


The exhaust mount is non-existent and the heat shield needs repair


KOxd0gd.webp


zpgXI7x.webp


The engine bay also needs a tidy up


lGwvEvb.webp
 
The driver seat wasn't flipping forward anymore so I had a quick look and the cable had stretched.


Ftu0sm0.webp


I didn't fancy re-running a new cable so I bodged it for now, I want to eventually get a new seat anyway as it has a big blim hole in it and is very worn.


HbyL6Cj.webp


Bought a new exhaust mount and filled it full of tiger seal to try and make it last a bit longer, Once this one wears I will replace it with an insert. I also replaced the centre hanger


y8Ox544.webp


NRuBWLL.webp


3LoxEn3.webp


Also bodged the gear gaiter for now as it popping out was doing my head in


GPUTrFM.webp


HvLO3N1.webp


Gave it a quick rinse


DL4zihI.webp
 
Looking into the intermittent door locking on the driver door. Not having a lock barrel on the driver’s door been so annoying.


I have the receipts to prove this expensive alarm was fitted professionally... I wish they had gone through with the door loom and been a bit more tidy.


de4FJaM.webp


IYGoeed.webp


I tested the continuity of everything, re-soldered a couple of joints and tidied up the wiring in general.


oplWaXh.webp


Swapped over the locking mechanism ... getting that hook on was a PITA and I have tiny girl hands and a condition affecting my joints so this was a nightmare!


I now know that there's no plastic membrane on these doors so butyl tape is on the list.


On to the other side to replace the window reg.


oUH16wk.webp


It's still quite slow but goes up on its own now. I used some silicone spray along the rubbers to lubricate things up a bit.
 
The cigarette lighter isn't working. Having a squint down in there, its very rusty! so I took it out and got the Dremel with a wire brush attachment to sort it out

I also saw there was a light that was not working, so I got hold of the bulb and changed it


fDmEDLl.webp


c7yJtlg.webp


I forgot an after picture but the contacts were all clean and it all works fine now


TCTVWmM.webp


Changed the interior lights to LED's also, they actually light things up now!


Z66KH44.webp


YlOQDFd.webp


dl6rWlc.webp


HSNo6XF.webp


I broke the mirror putting it back ... A new sun visor is now on the list


0vpu3dT.webp


A big boy for the boot


P6f6on7.webp


q8uFoS2.webp
 
The steering wheel rubbers were naff, so I got some replacements and set about gluing them down... I am not experienced with glues, mistakes were made.


fH4bSQZ.webp


VWqVH0V.webp


So I left it like this, thinking it was going to be stuck solid when I came out to it the next morning, it was…


mymIRI6.webp


I came back to this


PGd3SQL.webp


m4rp46r.webp


cWSjByX.webp


U7imnvB.webp


It cleaned up better than I thought. I eventually want a re-trim anyway. On the list!


eoiMF2H.webp
 
The car has an auto start module on the alarm, which again, as installed professionally with the receipt I figured was safe. The wiring made me question, but when it started starting itself! I definitely was not convinced.


I thought I might have knocked the button on the key the first few times, but after it started with my keys in the cupboard I realised all was not well. I set about testing it, and it would start in gear, which is not a good thing! Also when I start it with the key fob, it will shut off if you touch the brake or put it in to gear, as it should. However when it starts itself, you can drive it off, all be it with the steering lock on, and it is stubborn and won’t turn back off, so you either have to stall it or disconnect the battery.


Now I have to find the module, I guessed it would be around the steering wheel somewhere


I found the 'brain'

skjg8pK.webp


Oh balls it's behind the dials


sS7Jfet.webp


So off comes the dash top


uZYLjbw.webp


After looking through the wiring diagram, I got the module disconnected, and the gear safety wasn't even connected


dqdM0lA.webp


I did an LED conversion on my old 106 and wanted to do it on the clio so I had bought a spare set of dials so I could have a play. Now the dash was out I figured now was the time. I also set about de-stickifying the trim parts while it was all apart.


iuKkFex.webp


AdBVhL3.webp


3xRUxxh.webp


ZxAtSMi.webp


dFFUd5e.webp


QAzFaZ1.webp


I gave them all a layer of matt clear coat afterwards
 
lKu3S7p.webp


UR4pWz9.webp


I managed to lose this stupid screw cap, so I got out the callipers and designed and 3d printed a replacement.


Zgnv5VX.webp


I then sprayed them with a few other things


IlChFAu.webp


LSrBSVh.webp


sCwoO2t.webp


The colour match isn't perfect but it would do as a replacement.


DZakjlQ.webp


I then found the original when re-fitting. Typical.
 
I scraped off the paint from the needles


ALeUnLz.webp


replaced it with a blue gel coat from my nail set and it came out a lot better than I was expecting.


rdj2uXN.webp


Changed the orange SMD's to White, I also converted the spare set of dials I had but wanted to keep mine for the genuine mileage. I am also torn between keeping the white dials or going with the black


PBX0e0M.webp


Lc5yuGl.webp


I'm not fussed on the black dials, I cut a yellow sticker to see if it broke it up a bit but I much prefer the white.


w4Cowhu.webp


16dGddA.webp


Whoops


LbEmltF.webp


I didn’t get a fixed photo but here's a picture from when my coilpack gave up


1ekAmL7.webp


Compared to the original


WZuwow2.webp


I really like the result. I now have to do all the buttons and climate control panel.


It's definitely harder than when I did my other cars, I’ve gotten old and my joints are terrible now but I got it done and it’s all working. I think it paid off.
 
I love the look of the RB and yellow, I have painted a few bits as accent colours, I experimented a bit with the Diamond but I don't like it so will be going all yellow or all black.


I63O9Ww.webp


gCTpqet.webp


I worked out afterwards I had designed and cut the gear knob diagram wrong and then lacquered over the top of it ... doh


AvoKSKa.webp


The clear coat I was using had a very strange reaction with the yellow paint that I have not seen before, almost like a wrinkle effect. It doesn't stick out too much so if it bugs me I will re-do them.


AvoKSKa.webp


SiY5FK3.webp


Re-sprayed the interior trim also as the originals were rough


uNWnDwG.webp
 
Sticky climate control panel time


gZyIqgx.webp


UIQd0Wk.webp


N4cZ8DY.webp


Changed the SMD's


grPiV4F.webp


I experimented with a lot of different materials to change the orange diffuser that would diffuse the light evenly and not too little or not too much


2Ubw2eD.webp


Put it all back together with a little rubber grease


vtTJNoO.webp


Orange be gone


MFWNkY1.webp


yFmpEHA.webp
 
I noticed that my coolant was dropping below minimum after a drive. I pressure tested it and there was a leak when pressurised, a hole in the radiator so I changed the bottle, flushed the system with distilled water and replaced the radiator. Re-filled with Type-D


Jpr553y.webp


FCElIjw.webp


zRmRqUt.webp


I was also having an intermittent problem with car and the battery dying! I tested the alternator and it wasn't charging so I got a second hand alternator, and will change the belt at the same time.


D7eqWPB.webp


0tktGTf.webp


This car is a nightmare to work on, there is no space anywhere!
 
Disaster day


So a couple of weeks after fitting the new alternator, the battery was dead again but it had been sat for a week or so, I didn't have a jumper pack and figured I would just bump start it, the battery has been drained by the alarm or something. Got given a push down the hill.


HUGE mistake


The bloody second hand alternator which was a bit stiff when put in, but free’d up and figured it would loosen up with use. It had seized solid so the belt snapped and bent some valves and a couple of rockers. I knew the belt snapping caused damage but didn’t think such low speed would cause so much damage.


My fault, I'm dumb. Head rebuild it is


Belts, Dephaser, Waterpump as well


aQRu0Dq.webp


BMCliYN.webp


pN1tozt.webp


vu88Wwm.webp


Had the head cleaned up and noticed that a repair had been done on the rocker cover with JB weld or something similar. Looks like it was over tightened at some point and had cracked. I got this welded but I will be keeping an eye out for another head to rebuild.


jFkHEQ2.webp


tandrOW.webp


AunBe7I.webp


mRtFrwk.webp


WkTYSb9.webp


Te4WnR8.webp
 
The lower cambelt cover fell apart so had to get a new one from Renault, I'm wishing i'd scrapped it by now


TlRY9dn.webp


U2TaQjE.webp


pSO2ZRT.webp


n2BMEhc.webp


And it’s back on the road, running lovely! had a slight leak from the rocker cover but just needed to re-seal it. I believe the rocker covers are mated to the head so I will just keep an eye out for a head for it as a spare but its running amazing.
 
Someone hit both the rear bumper, of course no one left a note or anything even just to apologise. I also noticed the mirror is broken so I'm guessing that's had a whack too :(


MnpiqxI.webp


kxPBT3Z.webp


Paints on the list, just want to get it mechanically sound and sort any rust first.


The blower resistor went so I have sent that off for repair


IKJlx2k.webp
 
I had been using live data through an OBD tool to double check the speedo and rev counter since changing the dials and noticed that the thermostat wasn't switching, so changed that, dropped my pretty much brand new Type -D, Thankfully in the scale of things it's relatively cheap.


03w7o04.webp


ilLDgsd.webp


The car is still running sweet. It does put a smile on my face every time I drive it, even though its been a stressful experience so far and I have been so tempted to call it quits and break it.


xbPQhZk.webp


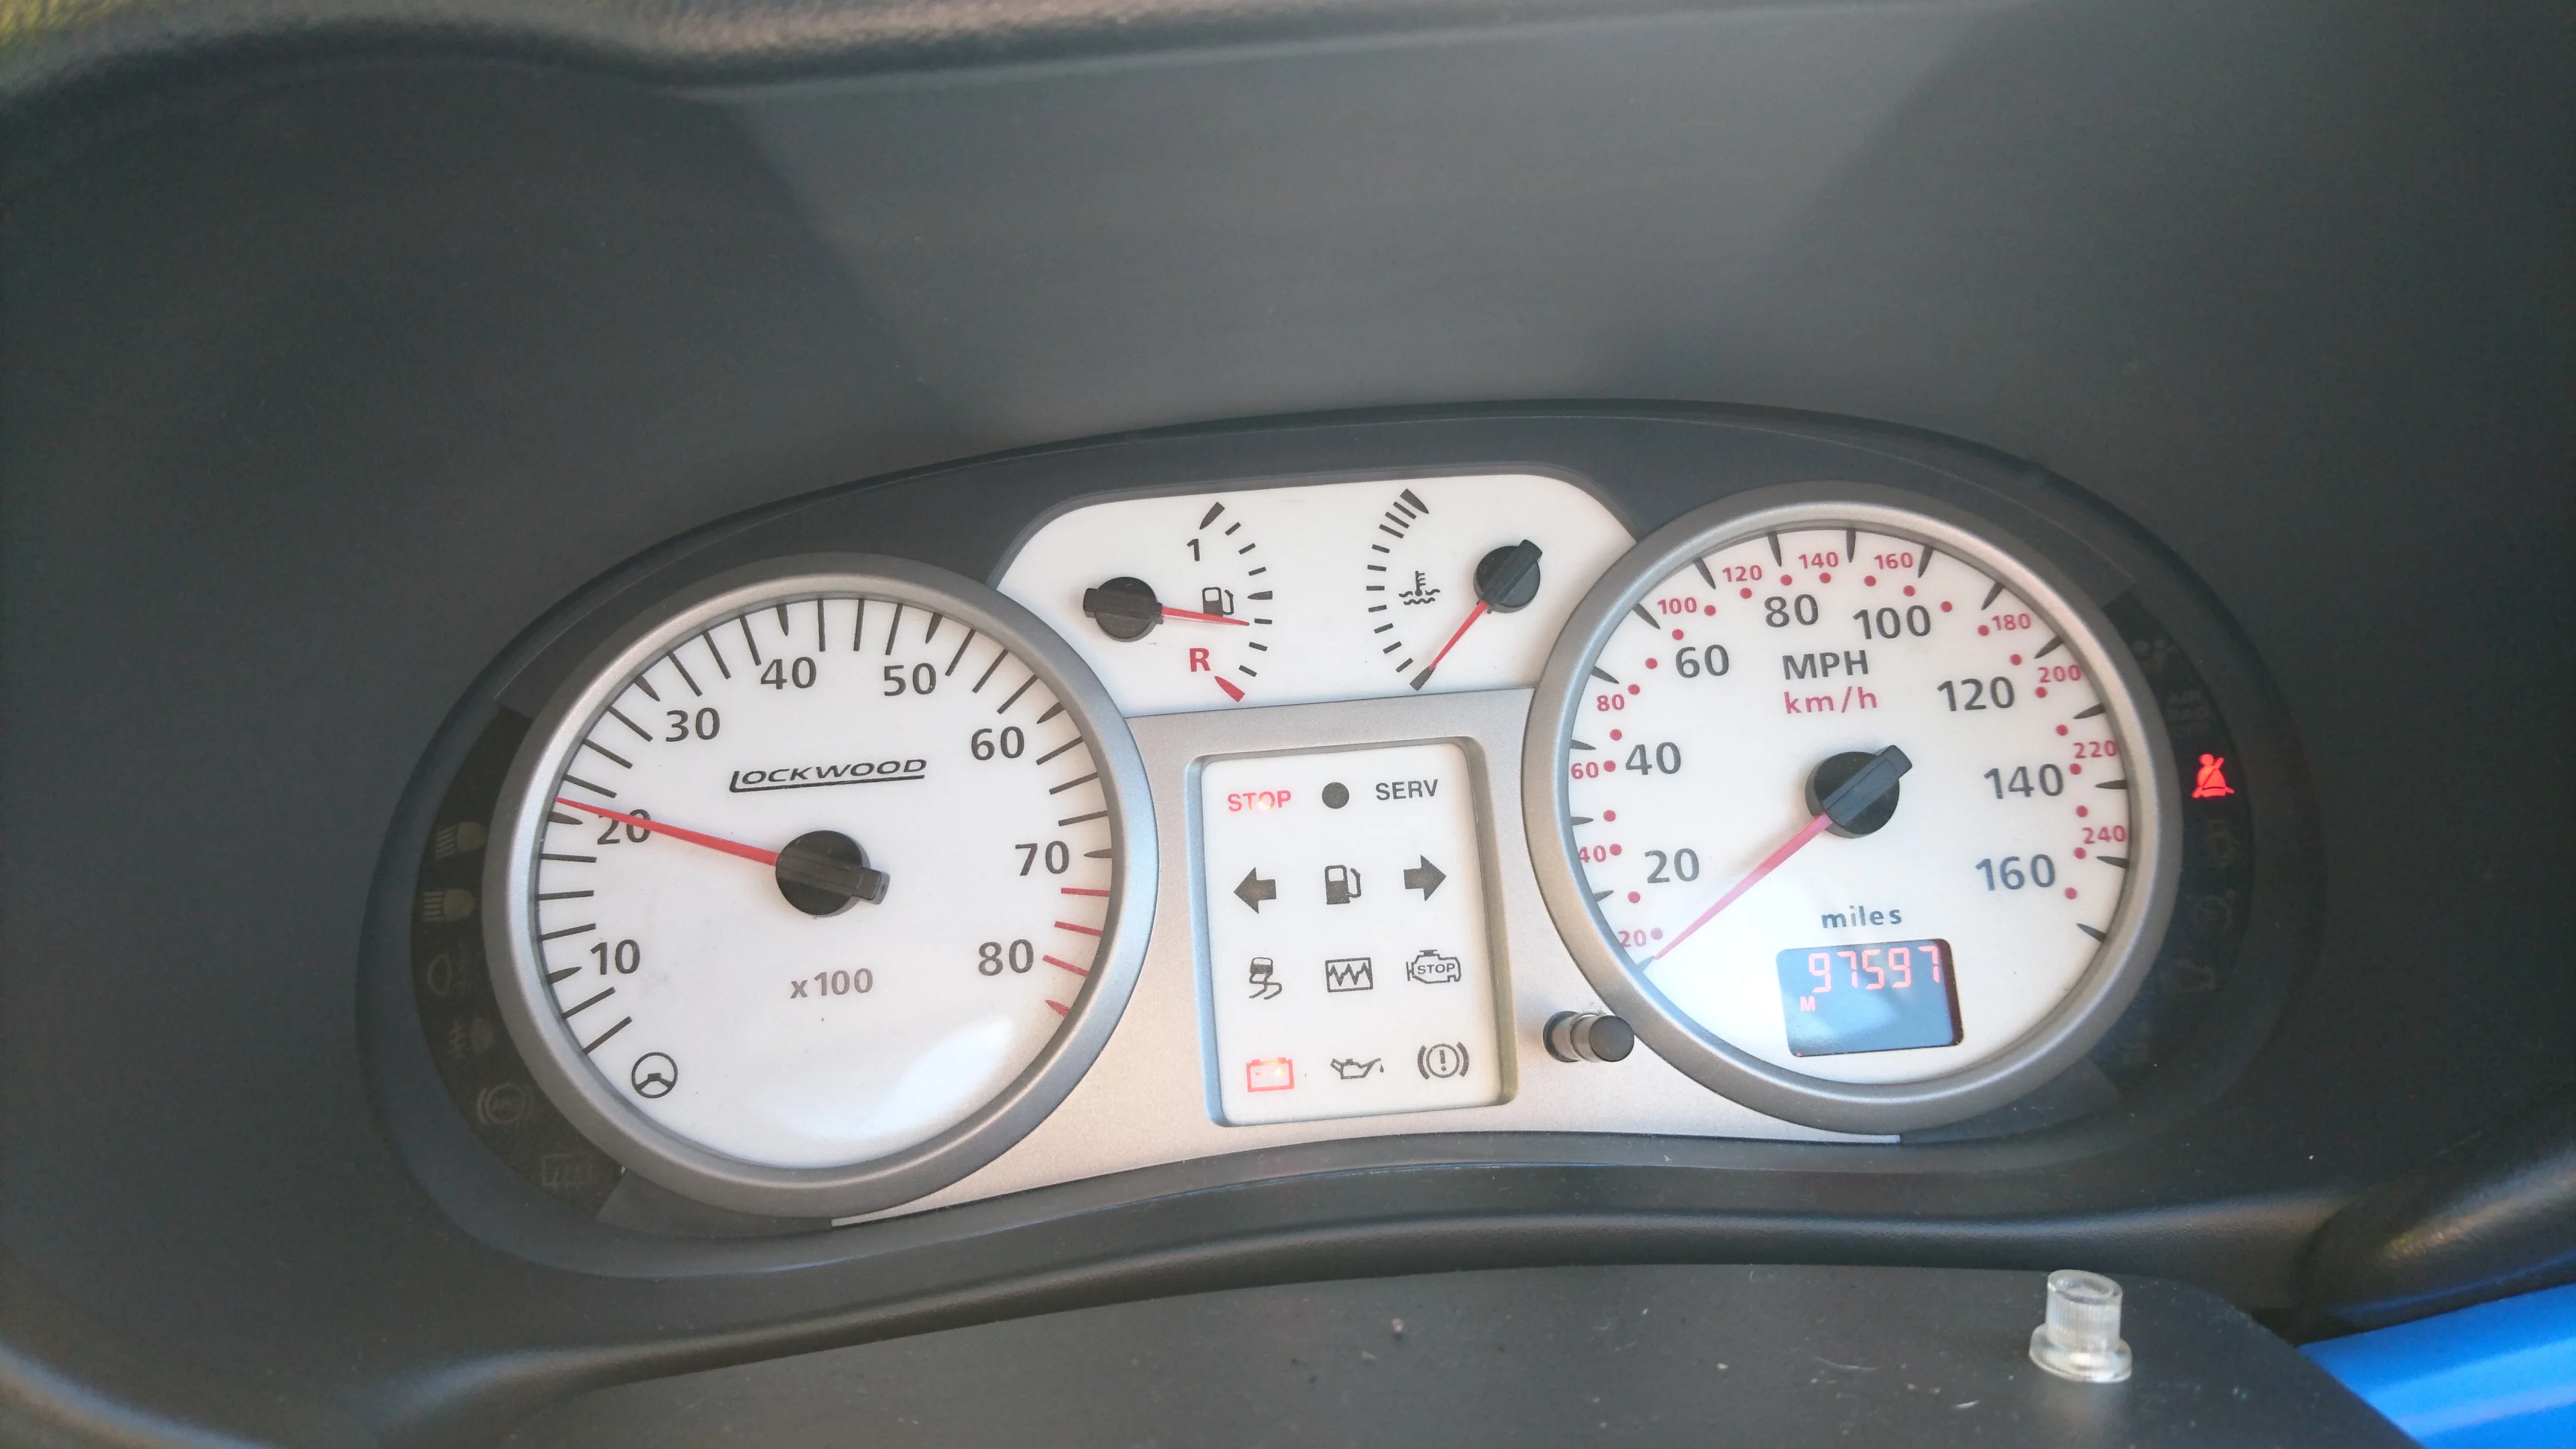
Hit 100K!


It got a lower ball joint and a wheel bearing


jewo98w.webp


3MLRklh.webp
 
I have just been enjoying the car and haven’t had a lot of time due to personal circumstances to do much. I’m on 106K and have noticed drops of oil, Power steering oil. I took a look at the rack and the boot is full of a disgusting orange goop, I’m guessing oil and rusty water. A boot with with a hole in has been fitted and it’s been letting water in and has destroyed the seal on the rack. I blocked said hole with a screw but knew that the rack was toast and would need changing and it looks like another nightmare job.


I got a refurb rack, trying to get hold of PAS pipe seals, will fit powerflex bushes while the racks out. There can't be much more mechanically that can go wrong now surely.


HYuDLDY.jpg


OOmpYuc.jpg


kb6G7Hk.jpg


Old rack off


s0lFz42.jpg


I still have a lot to do, Once I get a break on the mechanical I'm hoping to get started on the body.


I need to fit the OEM cat back so will be getting that welded to sleeve it, I needed to check that there wasn't a pop and bang remap programmed because it does this occasionally


HvcfniQ.jpg


I got hold of an old RS tuner and it was last remapped before the pop and bang from fast tune was available on the 182 so it must just be the 2.5" de-catted non silenced exhaust.

I have also ordered a load of bilthamber underseal and rust treatment, also gearbox oil


With the weather nice I want to get the petrol cap treated and the sills sorted, will also have a look under the wings and do the arches, and underseal the bottom and cavity wax the cavities


I still have a huge list of things I want to do that I haven't been able to start yet. Hoping to re-fit the rack in the next couple of weeks and then start de-rustifying. Its pretty solid apart from the usual places, the sills, the inside of the petrol cap is starting to bubble a bit so its probably worse inside.
 
Awesome read and you’ve done so well with it. Keep up the good work! Much better than seeing another being broken.
 
great read and great save too, that car looks like it's had a bit of a chequered past so nice to see a loving owner with it now!
 
I got the cat sleeved. It's not the prettiest weld in the world but they only charged £20.

zjRd1uB.webp


The re-con rack is here, waiting on a few more bits and pieces before fitting.

ZuzxP7P.webp


There is surprisingly no rust under where it mounts so far that I can see. I need to give it a good clean but before getting underneath it I need to sort out the axle stands ... which in the heat have melted into the drive.

Pw1Pl5o.webp


I also picked up some seats that are in beautiful condition! so nice in fact it will be a shame to fit them. I will have to use covers and make a conscious effort not to wear the bolsters. Also got a set of 172 alloys as spares and to use while I refurb the 182 alloys and a few other bits and bobs. Thank you @iyrix for jamming it all into my tiny car! Lovely guy.

9i0KDOG.webp
 
So I set out today to start on de-rustifying while I'm waiting for some bits to do the rack. The sun hitting it made it look so pretty before I set about tearing it apart to find the hidden crusties.


H7Vn10T.webp


I started on the passenger side, took the bumper off and the front mud guards, gave it all a quick clean for now as its rank, will need to de-tar everything.


6dykoPB.webp


I bought the drivers side front arch liner new as mine went missing and it was difficult to find a second hand one in decent condition. I used some gaffa on the flap as the passenger side is missing and I see them missing on others quite regularly so hopefully this will re-enforce it a bit.


lbelZiX.webp


The fog bolts are a mismatch and all beyond help so they will be replaced with stainless.

zXoHbIi.webp


VHOy3yt.webp


I need to do a bit of repair on the grille as it's cracked on the clips. When everything else is sorted I can get a new one but I'm not bothered about just repairing it for now and stopping it from being beyond use.

hIZt2dO.webp


nRlj0Ce.webp


It's honestly not as bad as I was expecting under the front passenger arch


vJpAs7s.webp
 
Gave it a wash


V2CE1QZ.webp


V1YT7Xl.webp


yi5FiS4.webp


There's a whole field behind the side skirts.

eXIK7br.webp


bIKp8Pl.webp


Can see a bit of rust poking out from behind the bottom of the wing


GAJ43w5.webp


I noticed that when the sound system has been installed previously, they didn't pass through the firewall grommet, they just, took it out and bypassed it which is not going to be good for water ingress. I only noticed after I had been spraying water in there so the glovebox is probably wet now.


JdLOpUb.webp
 
Took off the side skirt. The end screw actually came out and didn't need drilling, so that was nice.

Drilled through all of the rivets which I will replace with riv nuts when it goes back on


I was a bit nervous about the rust on the sill under the wing at this point.

W8TWEoi.webp


I also noticed that the dirt in the side skirt has been rubbing against the car and so there are some rust issues starting on the join. I'm going to have a think about how best to tackle it, see if there is a way I can avoid the repairs being too visible. I am quite handy with an airbrush, and as RB is a flat colour I’m hoping if the repair is visible, it won’t be too bad. The car will never be mint but I want it to look pretty from a distance at least.


VsdJCJq.webp


OYFqgpe.webp


I1ppMXJ.webp


yU47gzm.webp


Took the wing off. There's a seized bolt that needs the help of the grinder to get off. I will need someone else to do this as due to my condition there are certain tools I am not safe to use anymore so this will stay here for now but it will be removed and I wont just be treating around it.


BpBg56E.webp


HuHEFmn.webp


Lnpi6xn.webp


A little bit of rust starting next to this weld at the top of the wing


WYoELpm.webp
 
Cleaned up the bumper bar, I will be taking the slam panel off and doing that off the car.

IpXKrl8.webp


I'm going to be paying special attention to the clips as these seem to be a pinch point for the rust.

y1bTIgT.webp


So the bits I have uncovered for now, I rubbed back, de-greased and applied rust converter. I also straightened out the passenger front jack point as best I could after treating between the skins. I will be installing some square pipe to reinforce the jacking points.

T0DVGdR.webp


yq21cDi.webp


sy2GQAF.webp


S0WVZPT.webp


ONXn1FK.webp


gH5pgWb.webp


Plan of action is to spray the repairs with zinc primer, then spray the arches with stonechip (after de-tarring etc) and the a layer of bilthamber wax. I will also bit using bilthamber wax in the cavities before putting everything back on.

I will give the headlights a good polish while they're off the car too. I still have 3 more corners to go and the fuel cap. I will also jack it up high and treat the bottom and all the cavities.
 
I got the cat sleeved. It's not the prettiest weld in the world but they only charged £20.

View attachment 1543717

The re-con rack is here, waiting on a few more bits and pieces before fitting.

View attachment 1543718

There is surprisingly no rust under where it mounts so far that I can see. I need to give it a good clean but before getting underneath it I need to sort out the axle stands ... which in the heat have melted into the drive.

View attachment 1543719

I also picked up some seats that are in beautiful condition! so nice in fact it will be a shame to fit them. I will have to use covers and make a conscious effort not to wear the bolsters. Also got a set of 172 alloys as spares and to use while I refurb the 182 alloys and a few other bits and bobs. Thank you @iyrix for jamming it all into my tiny car! Lovely guy.

View attachment 1543720
Haha! I never thought that lot was fitting in to start with. Looking forward to watching the project 👍🏻
 
A bit more progress on the clio.


I got some zinc primer on the treated at the front passenger arch/sill and the front bumper bar. I am attacking this a corner at a time, once the primer it’s all treated and primed I will put either a top coat or stone chip and then a layer of bilthamber and treat any cavities.


DA8SkwQ.webp


FEZdkRo.webp


1j7vWMw.webp


HHnriDw.webp


driver arch is a little worse but still not too bad.


1CXO7ag.webp


c0T6wSA.webp


YE3hE1y.webp


IhTkhd1.webp


The more I poked the more I uncovered. It’s only surface rust but glad to get on top of it


qWpoyPF.webp
 
The driver front jacking point was a mess. I'm glad I got to this now because where it has been folded over and mashed it’s just been rotting and had started to get at the floor.


1WOMi0a.webp


I straightened the back up away from the floor and cleaned it all up


I treated it while it’s still separated into layers so I could make sure I got to the rust between the layers. I will then straighten it out more before a final treatment and top coat.


czHRYl2.webp


I did the same on this corner, Cleaned it up, removed loose paint/rust, degreased, Treated with Hydrate 80 and then layered with zinc primer.


I also gave the headlights a quick polish while they were out. They still have a bit of pitting, look fine from a distance but I think I will give them a cut with the rotary at some point.


Some before and afters of how they are currently


7EDJkFN.webp


ML13sKi.webp


hJ5sIpu.webp


ZzcRGAt.webp


Ejk2Xjb.webp


O7cJx6X.webp
 
While the rack is off I will take off the PAS res and give it a good clean. I also want to sort the wiring

fGlz2Tz.webp


Some more terrible wiring from the 'professional' alarm install.

ka3jnuV.webp


the wire is all corroded so needed chopping back, gave it a good clean with contact cleaner and re-did and then re-wrapped with propper loom tape rather than electrical tape.

G0joEKV.webp


I wrapped some of the loom in new loom tape to make it look a bit more fresh. I also checked the wiring from the alarm and removed the wire from the old sub so I can get the grommet and the big ass hole they just left sealed back up.

belPYY7.webp


BlH7j0c.webp


Gave the firewall a quick clean

LT6mm9j.webp


Erme41I.webp


Gave the firewall carpet a degrease and clean - it was full of oil and needs some repair

pYNrSPH.webp
 
Upon tidying up the loom and switching out rusty bolts (none that need to be high tensile) I found that the cable armouring has been rubbed through. I have seen this on a couple of other threads on here so it must be quite common.


u4jzNs7.jpg


I took some measurements of the current conduit so I could order some new.


54S86NP.jpg


I took off the damaged conduit, wrapped the wires in loom tape, added some new conduit, wrapped that in loom tape. This should slow down any further wear, and looks a bit more pretty.


Ia0mTwf.jpg


The area by the top mount is minging, So that needed cleaning


Ly4nPTb.jpg


NUL14B3.jpg


No rust, just crud. I will need to get some brushes and cotton bud in there. Have left it for now as I am doing a bit of paint touch up in the bay but its on the list.


After all this, I have noticed that I don't have a snapped ECU bracket and my fuse box cover clip is still intact ... so it's not all bad.


iVLHX9O.jpg


I noticed cracking by the clips on the grill so filled them with some araldite to stop it snapping off completely.


59F31XR.jpg


NsmbXiY.jpg


Also repaired some cracks in the arch liners. I am a big fan on preventative maintenance. This will never be a minter so I am happy with these types of repairs if they're not going to be visible. Hopefully getting on top of some of this stuff now will prevent a lot of replacements being needed in the future.


EOTACHL.jpg


I have some further repairs on the arch liners to do.
 
I wanted to get this bit sorted as its looking a bit crap. The induction kit has been rubbing at it where the edging has moved down and that's also passed its best.


8IEwZng.webp


I gave it a quick spray job. Rubbed back, treated with hydrate 80 , zinc primer, J45 top coat and then clear.

gFaT8eQ.webp


EuRAcKn.webp


rCMG3Kj.webp


cCHEOqU.webp


NDnO6v0.webp


I also touched up a few scrapes in the visible area by the ecu bracket

y0qIiLT.webp


I got some more of the edging with the metal rings

cBHb2XW.webp


R2eeRj1.webp


KCjIcJS.webp


Is there meant to be something fitted in this circular hole? I'm guessing it was some kind of mounting for the original airbox by the notches in it.


The cable I have running through the centre of said hole is a temporary alternator bypass cable. The issue which I thought was the alternator that ended in the whole head rebuild saga was actually something to do with the cable all along. There seems to be intermittent continuity, the eye connector hasn’t snapped but it seems to be an issue with corrosion on the end of the cable which is making the connection a bit intermittent so once its back together and on the road I will strip it back, fit a new connection and test it. I’m hoping I don’t have to run a new cable up through the loom that I have now taped up.
 
  • Like
Reactions: MLB
I gave the drain a good fingering before refitting the bulkhead carpet. It was full of shite so pulled it off in the end to give it a good clean.


mAXfWJt.webp


2wQ4spV.webp


The aluminium has all of a sudden gone powdery with corrosion, and I know I'm not going for cosmetic so much at the moment but I may as well sort that while I'm here so I took the inlet off to clean and paint. I should have painted the rocker cover while I had it off but I may just paint it in situ for now. I did give it a good rub down with alubrite and sealed it for now.

Does anyone know of a replacement cable routing clip for on the inlet?

cVGv9In.webp


BOwLio7.webp


I took the slam panel off to re-spray and as I know the aircon condenser has a hole in and I picked up a good one from sub 50k 172 I replaced that.

The old one
bFvxKXa.webp


The radiator is pretty much brand new, but has already started rusting so I treated that with hydrate 80

ZcAWCCH.webp


GmzteIi.webp


I also treated the mounts on condenser going back in as these seem to rust

I also may have given the aircon pipes a polish

YEMG0jW.webp


9dX4hCH.webp


And the new one in. I only cut my hands a couple times so as jobs go on this car, it's a good one.

0esoR1X.webp
 
I got the tar-x out to get the 15 years worth of tar off the arches and liners

OUPetIR.webp


pRemyDJ.webp


Did the arches and sills with some stonechip

vtjjbUH.webp


lk4KNTt.webp


cGtduOk.webp


and then a couple layers of bilthamber wax

Ovn8xjF.webp


I used a the canned bilthamber cavity wax with the long hose to treat the sills, and the under wings also ... this made a complete mess of the drive as I wasn't quite prepared for how many places it would leak out. If you're going to do this I'd cover the complete underneath of the car with cardboard or something.

kU5Md4i.webp
 
Back
Top