
ClioSport.net
-
When you purchase through links on our site, we may earn an affiliate commission. Read more here.
You are using an out of date browser. It may not display this or other websites correctly.
You should upgrade or use an alternative browser.
You should upgrade or use an alternative browser.
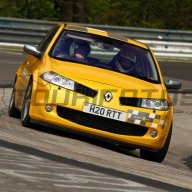
432 > 449  Are going with a black bonnet again or Monaco all over?
Looks really nice, don't fancy respraying my frontend do you
Are going with a black bonnet again or Monaco all over?Looks really nice, don't fancy respraying my frontend do you
great result chris.
Cheers

432 > 449
Looks really nice, don't fancy respraying my frontend do you
It'll probably be black for starters until I get some other bits sorted, then I have another immaculate 449 bonnet which I might cut out and paint 432 at a later date.
I'm going to get the car running again now, and go to oulton with multi coloured panels if needs be

Sure it'll look good either way
awsomeeeeee

TrackCar & F30 330d
Looks really good. You'll have to get an old picture of the car and then put the car in the same place and take another pic at the same angle and we can se before and after.
Good luck with getting it all sorted before Oulton
Good luck with getting it all sorted before Oulton
It's coming along quite nicely now. Panels seen on the car are all 449, so you can see the colour different between new and old. Fitted a replacement rear screen into the boot as the old one got smashed.
A few upto date snaps, click the thumbnails to enlarge else they'll take forever to load
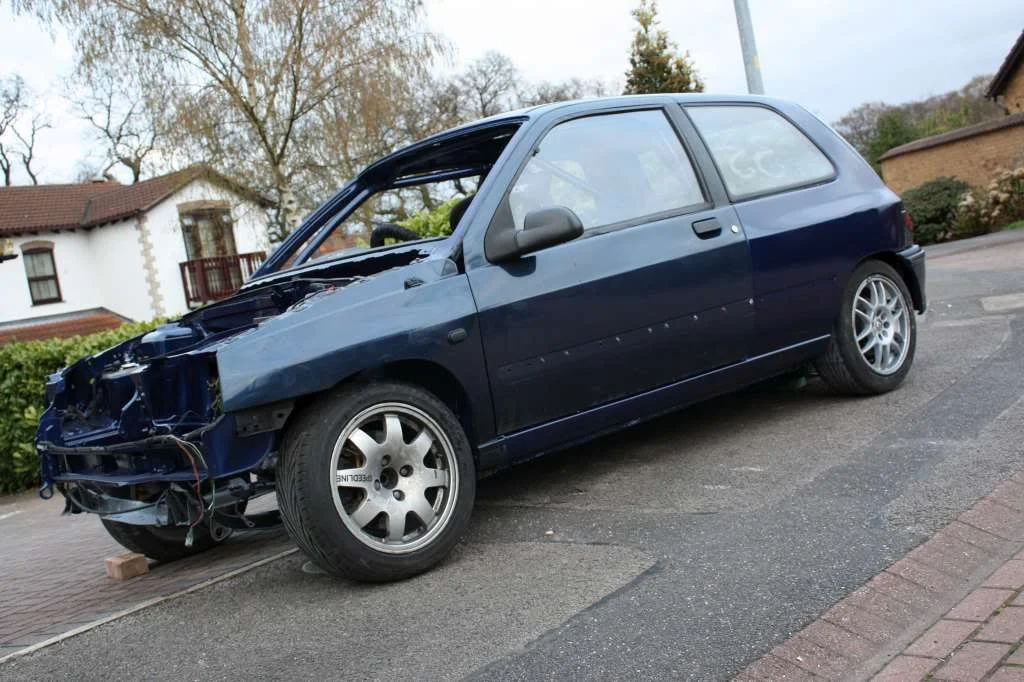
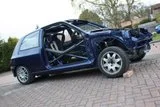
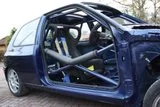
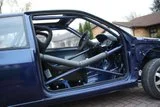
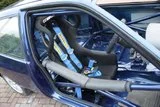
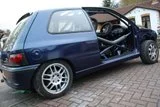
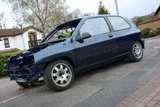
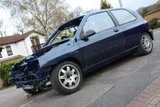
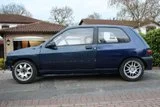
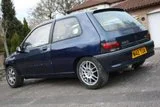
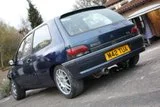
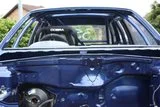
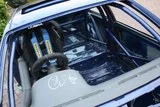
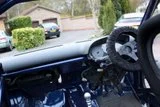
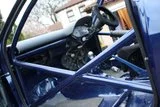
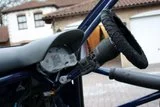
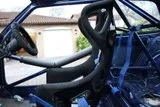
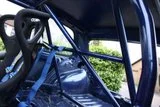
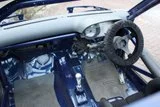
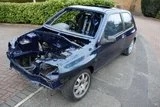
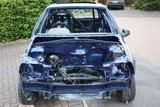
A few upto date snaps, click the thumbnails to enlarge else they'll take forever to load
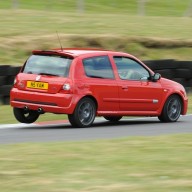
TrackCar & F30 330d
Looks really nice christoff, what wheels will you be running and in what colour?
Bit more done today. Not back in work until Tuesday so Ive got plenty of time over the weekend to crack on.
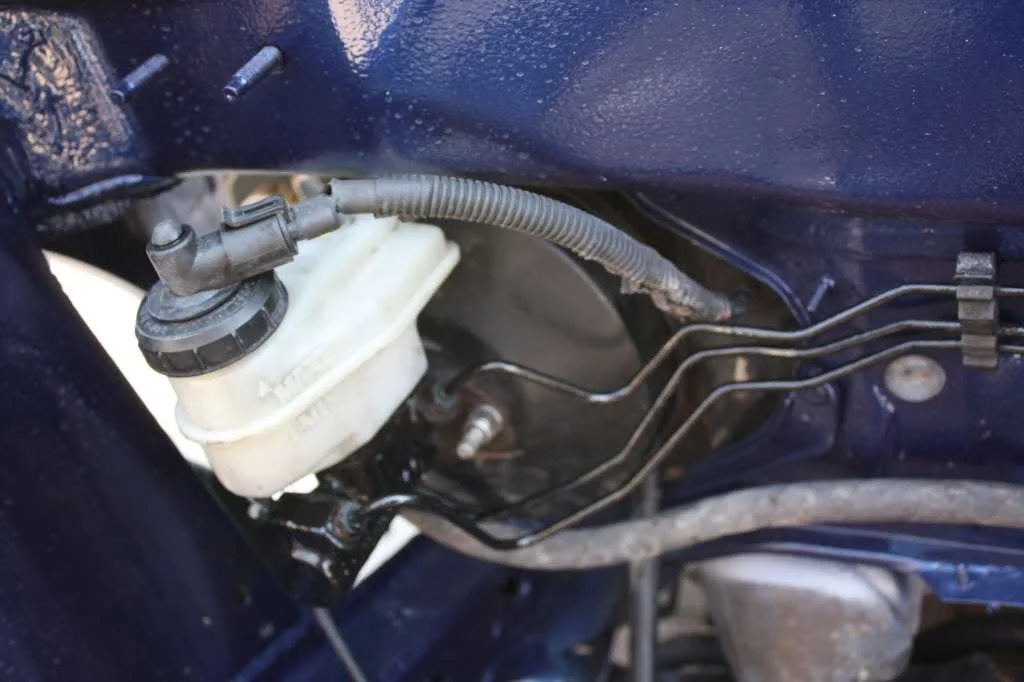
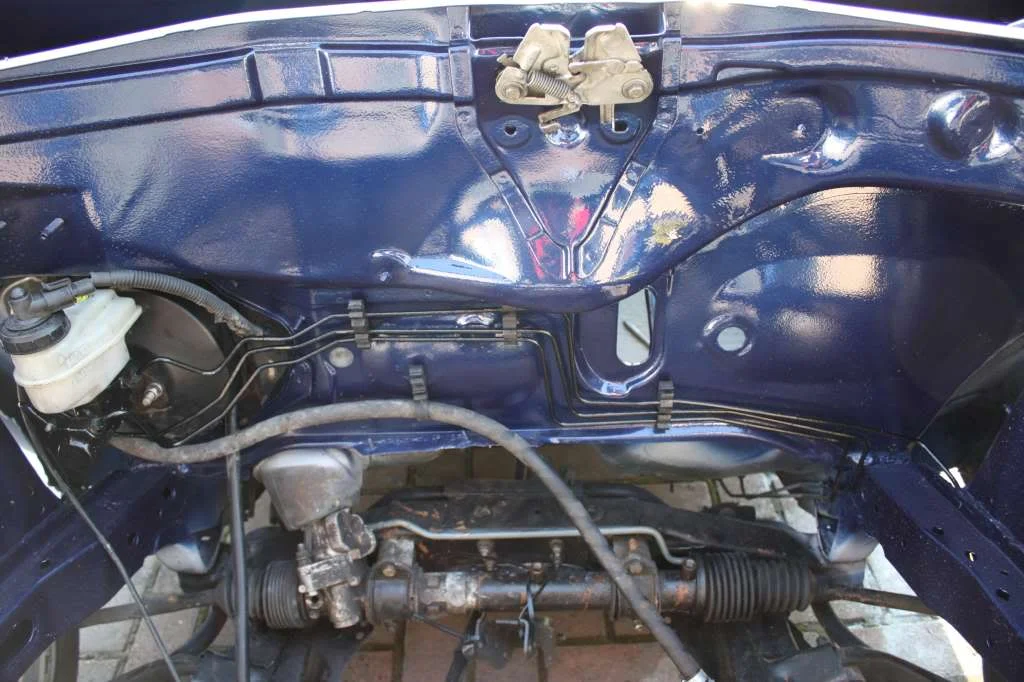
Brake master cylinder and reservoir fitted back on and lines painted black to neaten them up a little
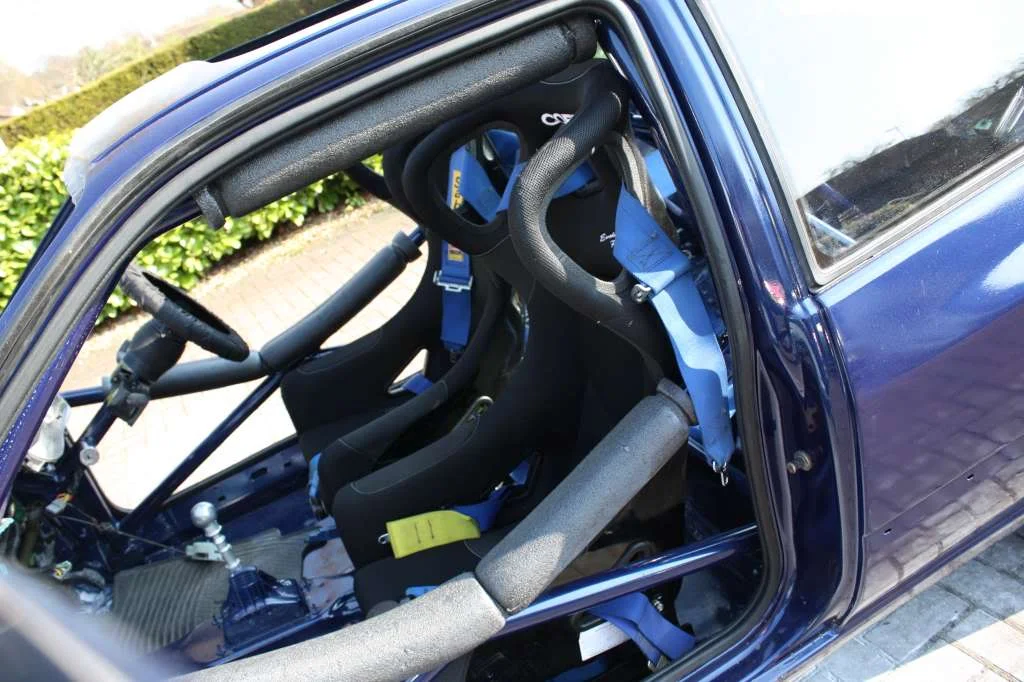
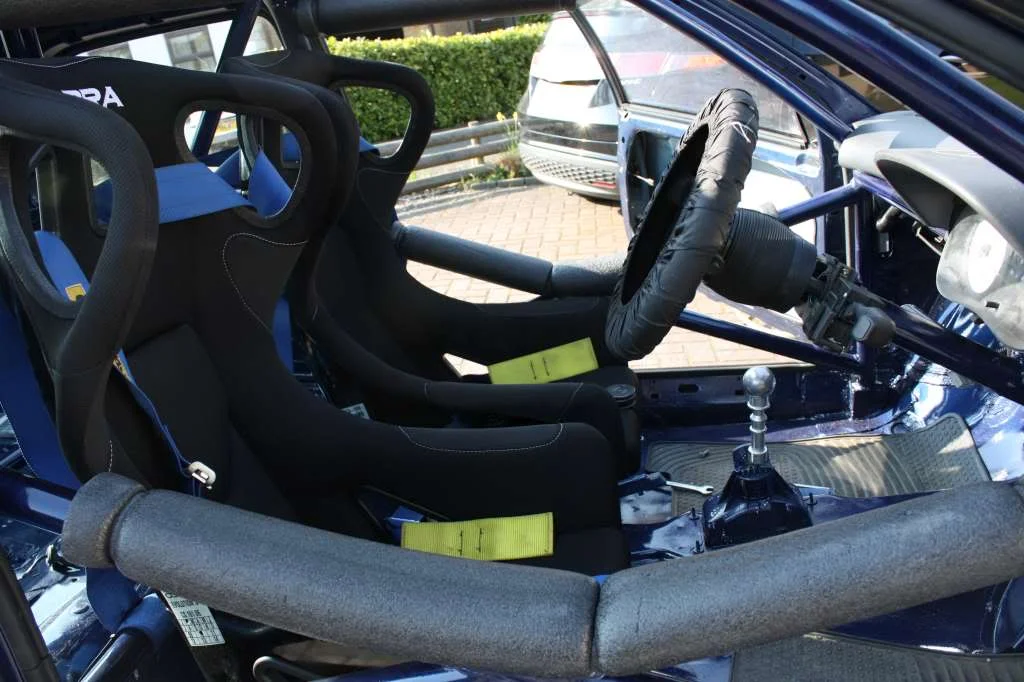
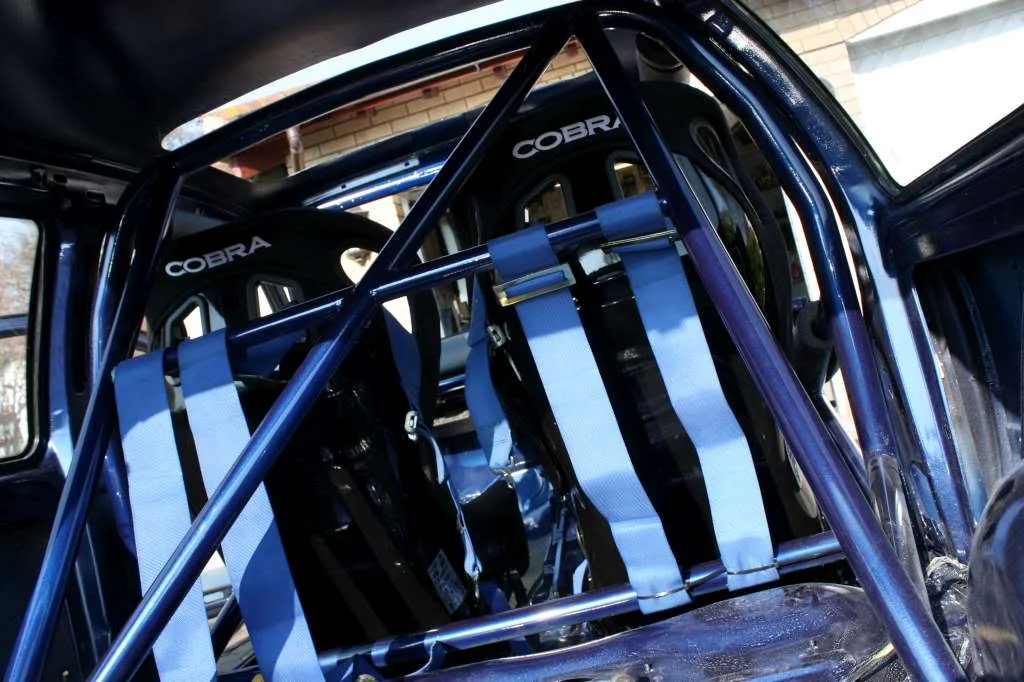
GT width (+30mm) passenger seat in. For anyone with a big cage in a little car, i'd not recommend the extra width seats, it barely fits :banghead:
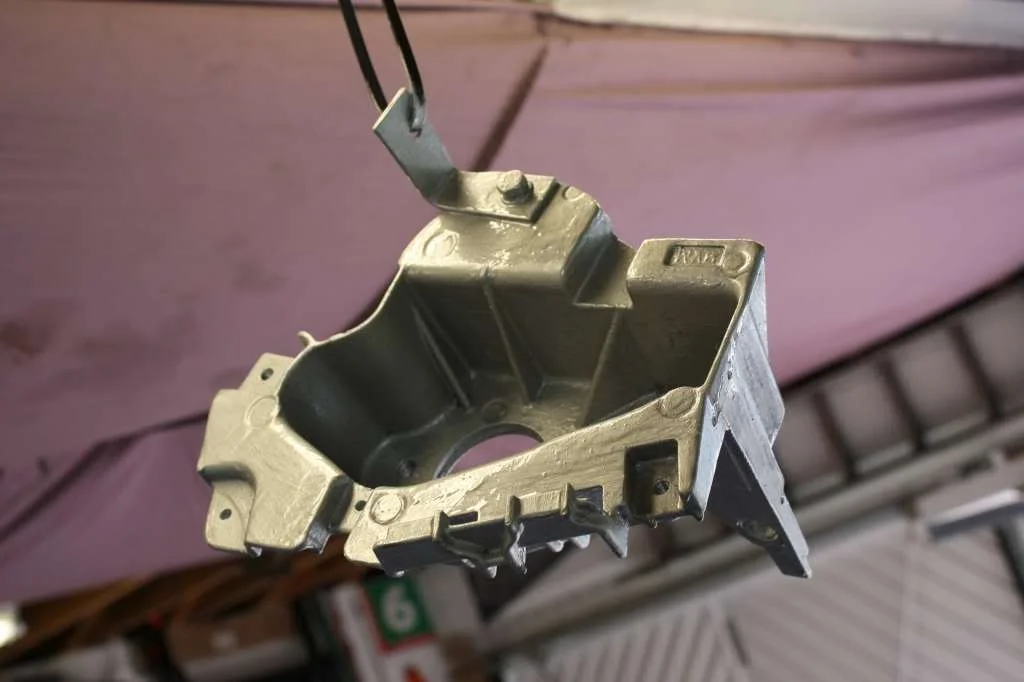
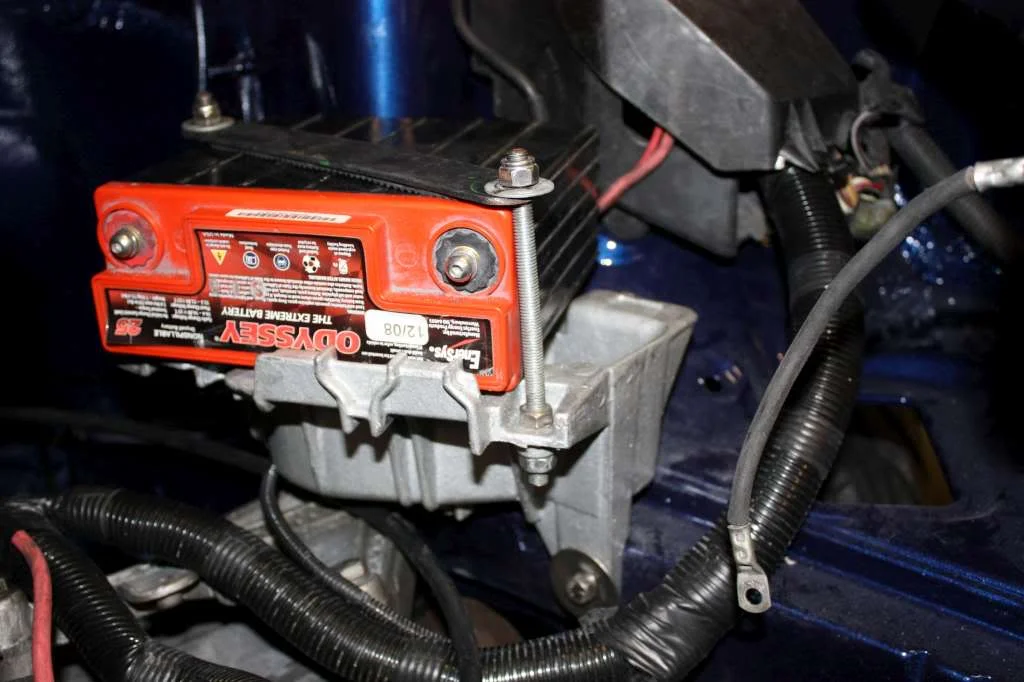
Dragged the engine out its hiding place for the past 5 months and made a start on that. I needed to make a Mk2 battery tray fit as I'm going to be running a 172 gearbox this year. All but one of the holes lined up, so rather than start drilling new holes in the car, I modified the battery tray to suit
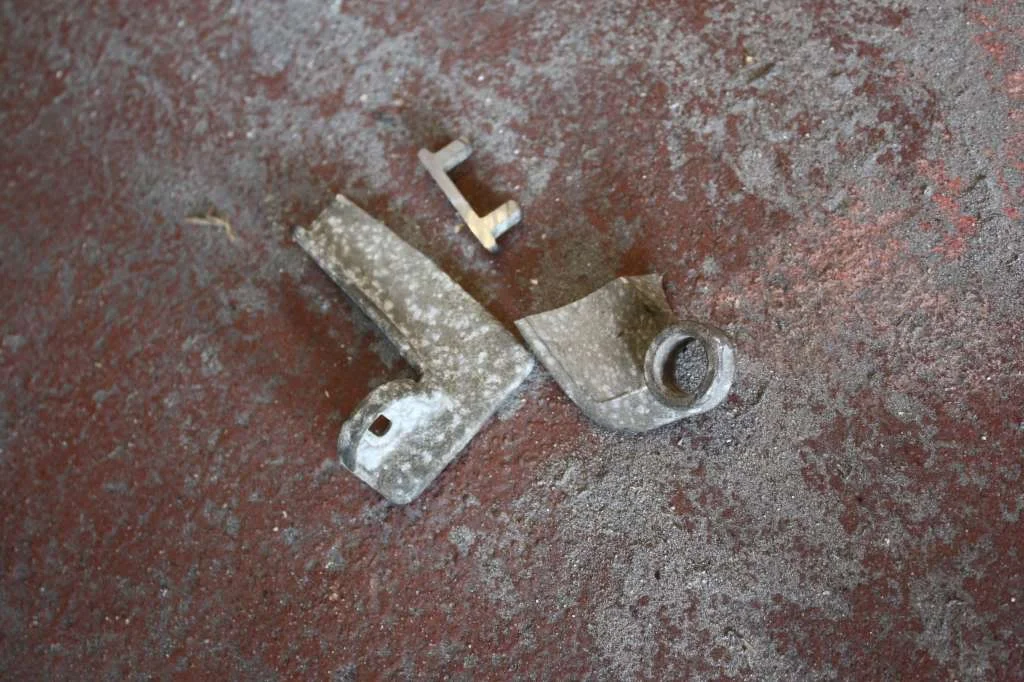
It was the upper 'arm' which didn't line up, so I cut it off and made a new one that bolted to an existing tapped hole in the tray. Its similar to what I did when the same part snapped off my Mk1 tray if anyone remembers. Then a quick lick of hammerite
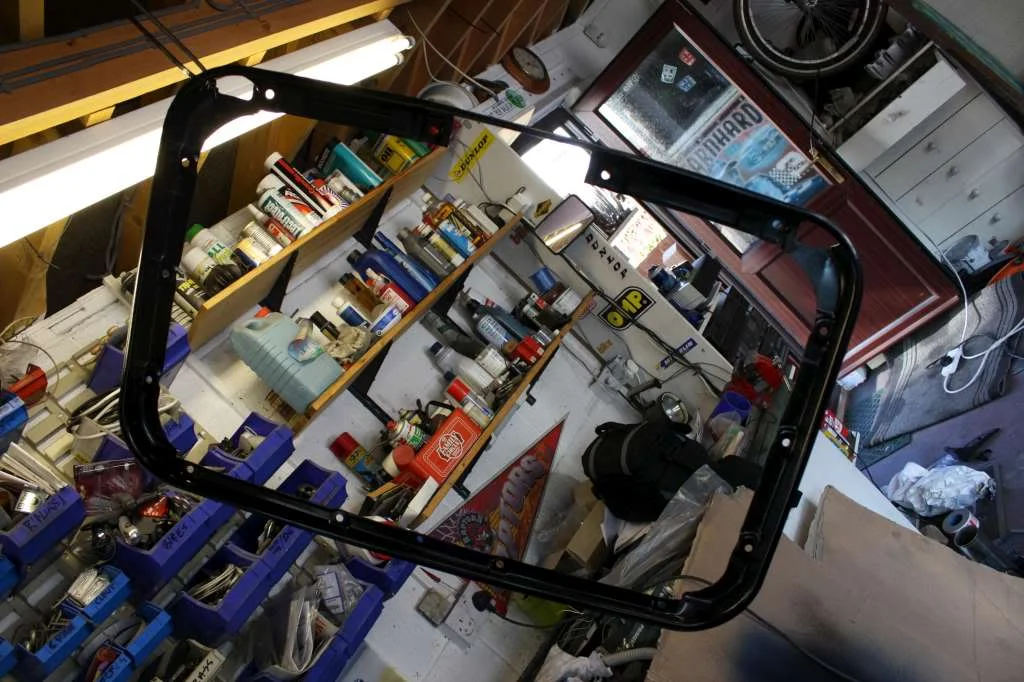
Also painted whats left of my inner sunroof surround as it was white from before. Just a quick rattle can effort
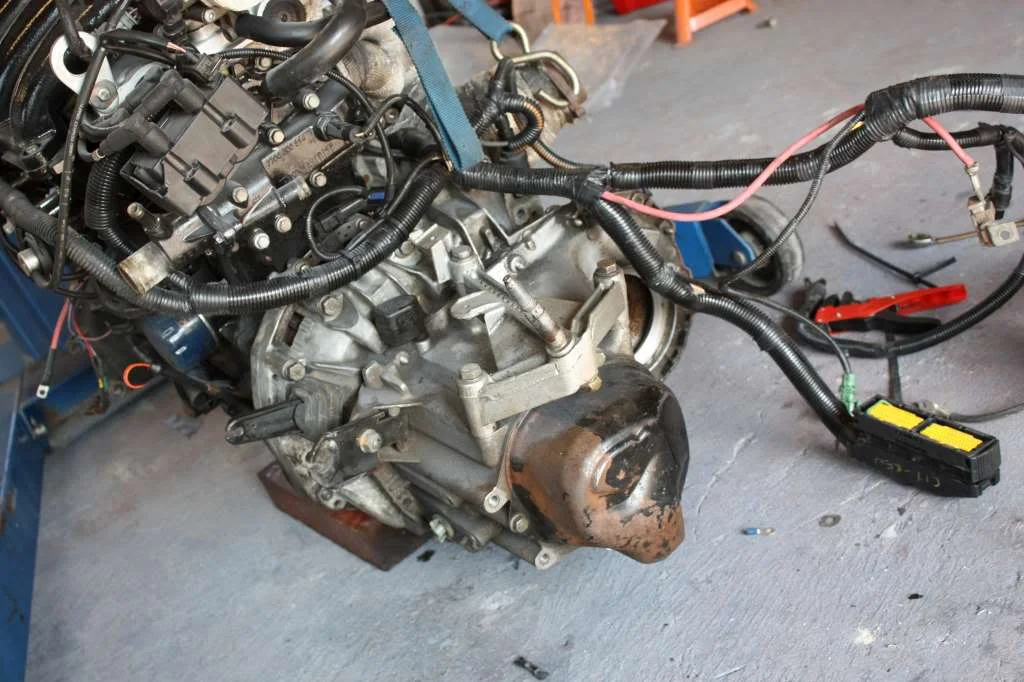
Swapped the gearbox over
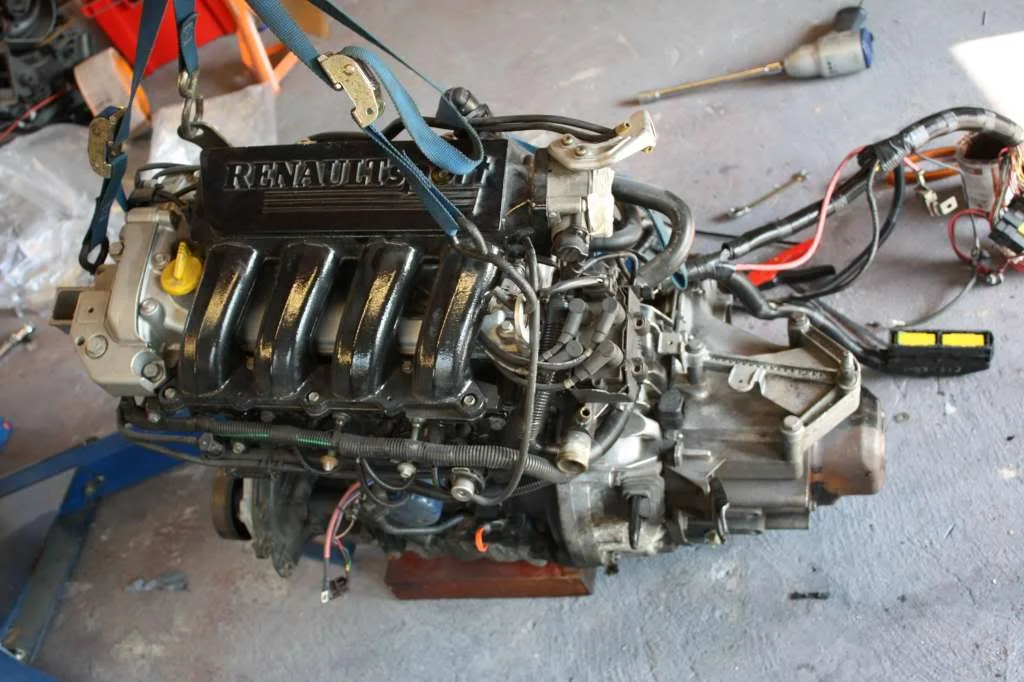
Will paint the end cap at some point
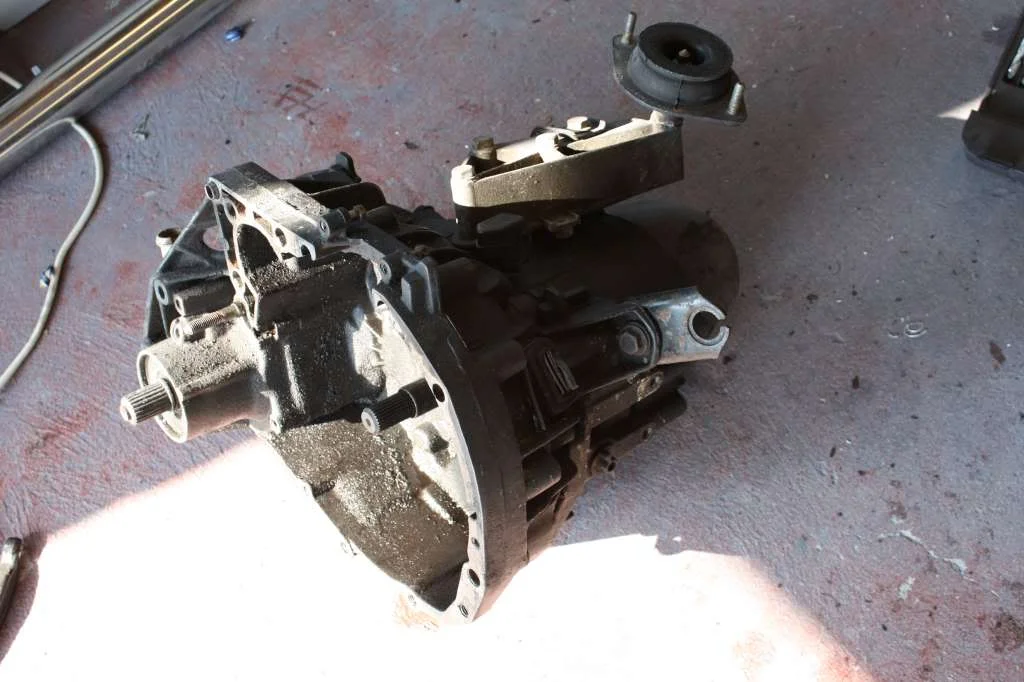
Old box, bit crunchy but will do as a spare
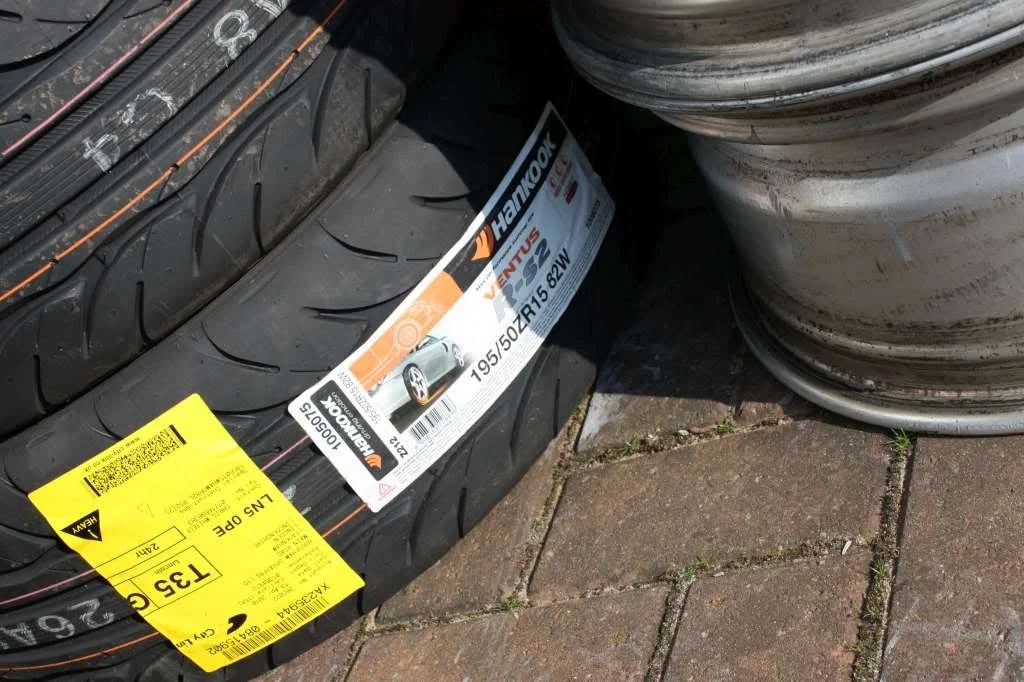
Pair of Hankook RS2's came in the post the other day
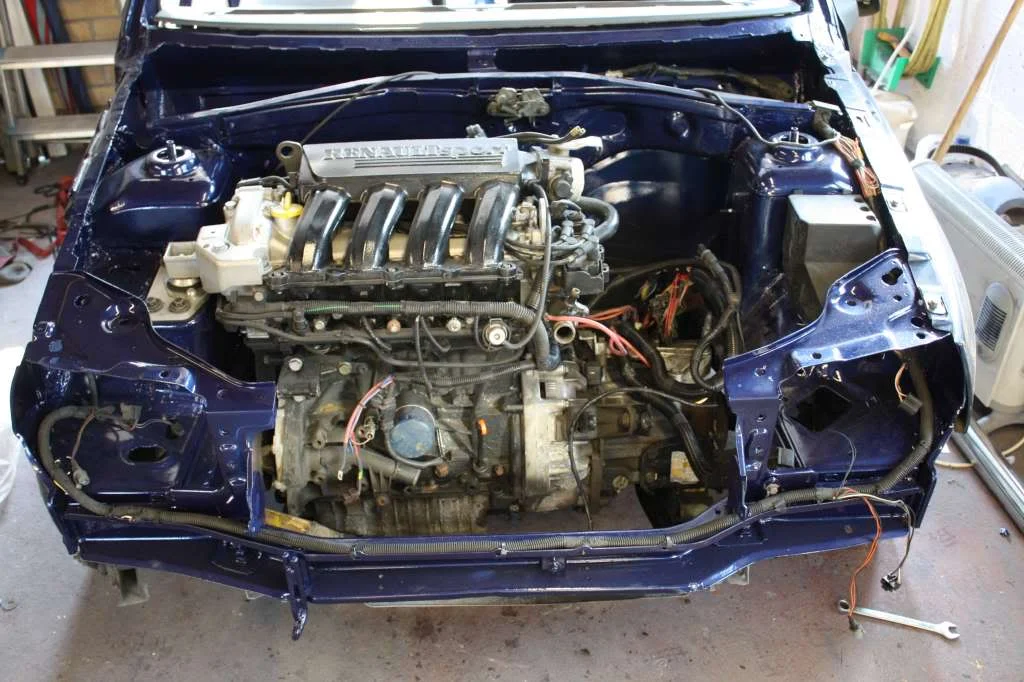
Engine and box lifted in
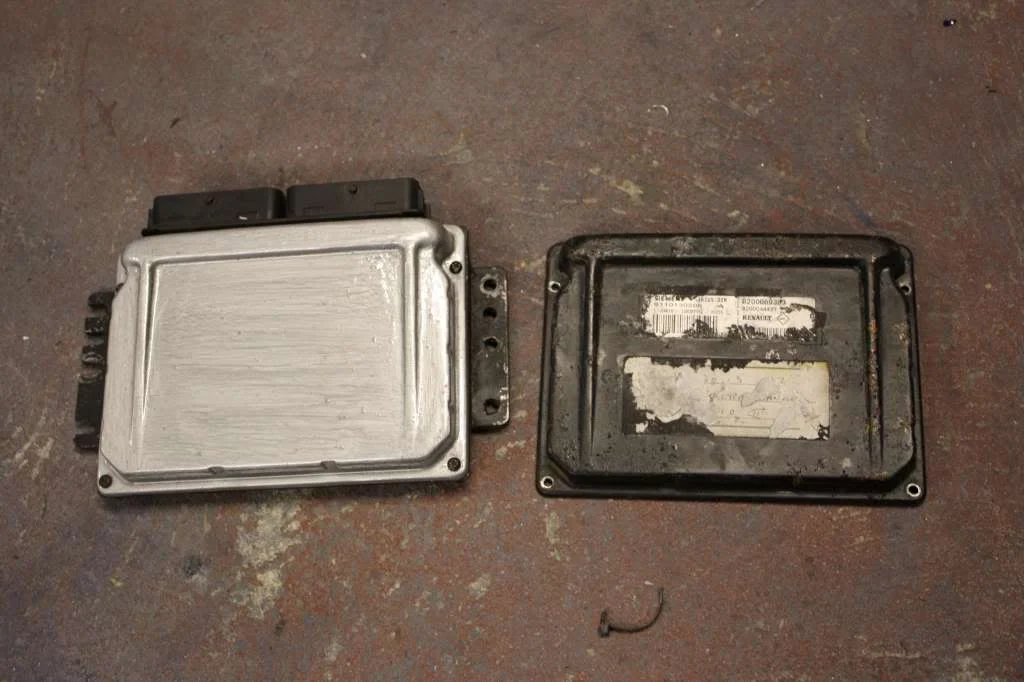
Freshed up the ECU cover. New vs old
Battery tray bolted in and battery in situ
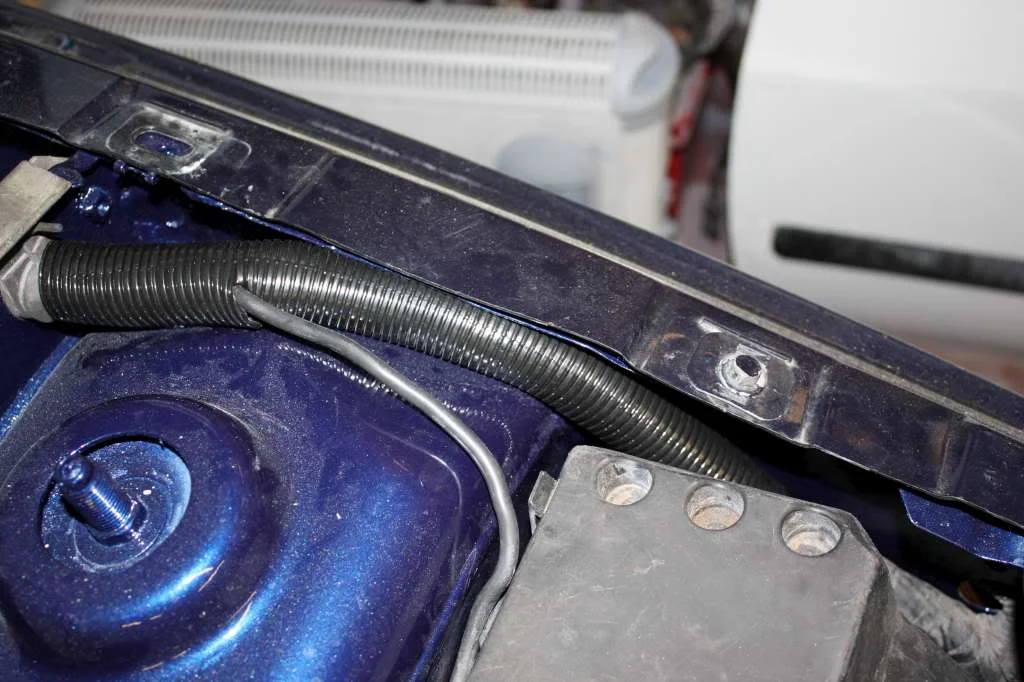
A bit of conduit around some wiring which I had loose last year
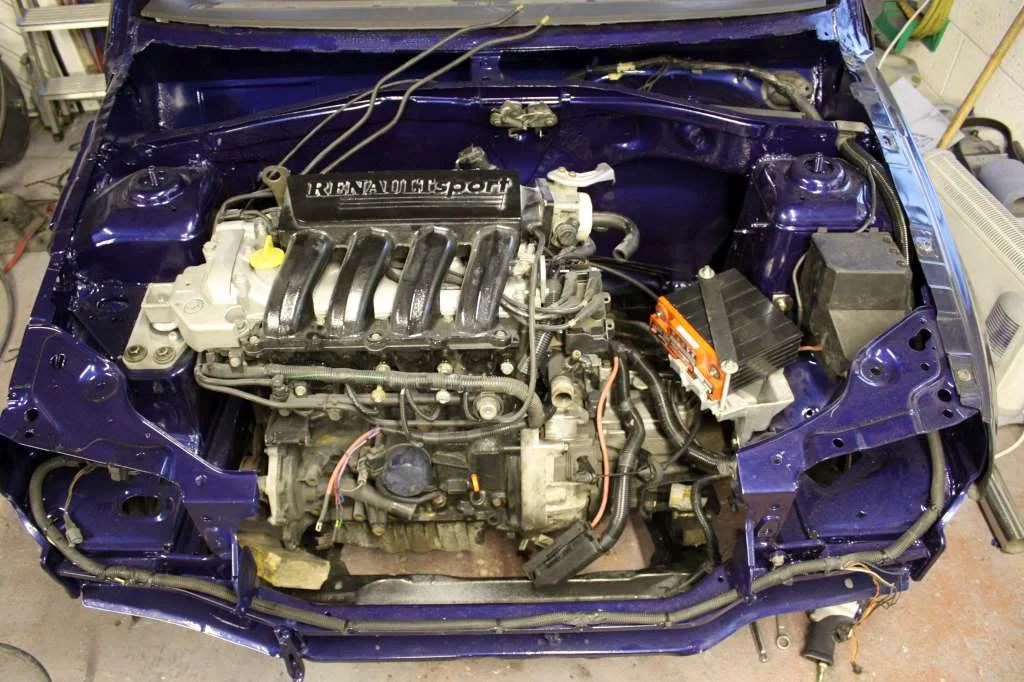
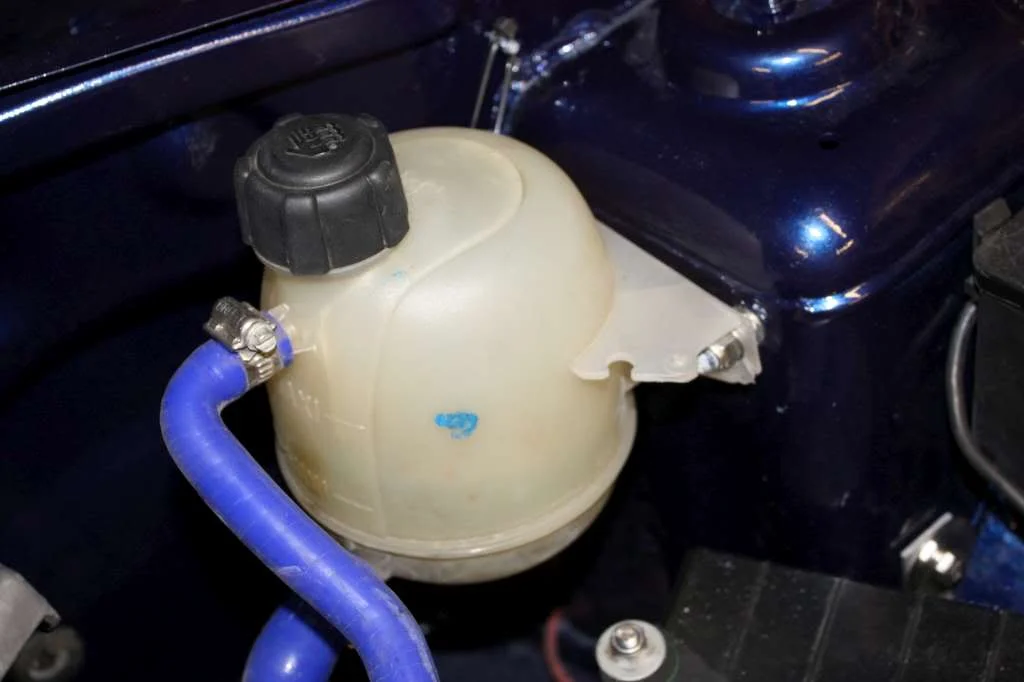
Header tank on
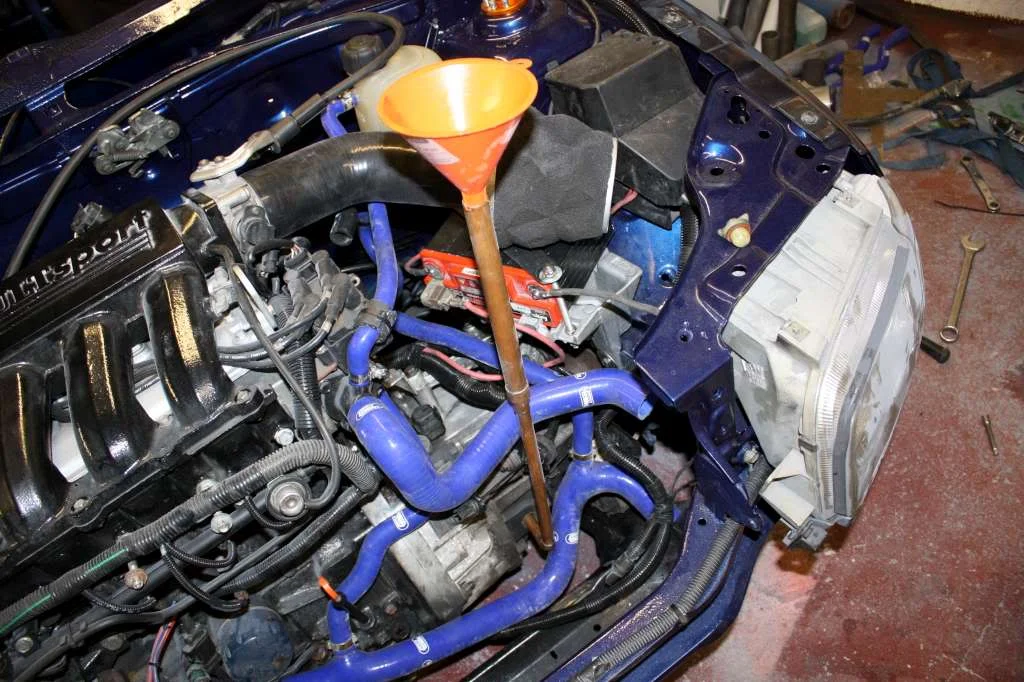
I've taken the heater out the car now. Luckily I could cut the Samco's in such a way that it kinked a minimal amount and looped back on itself
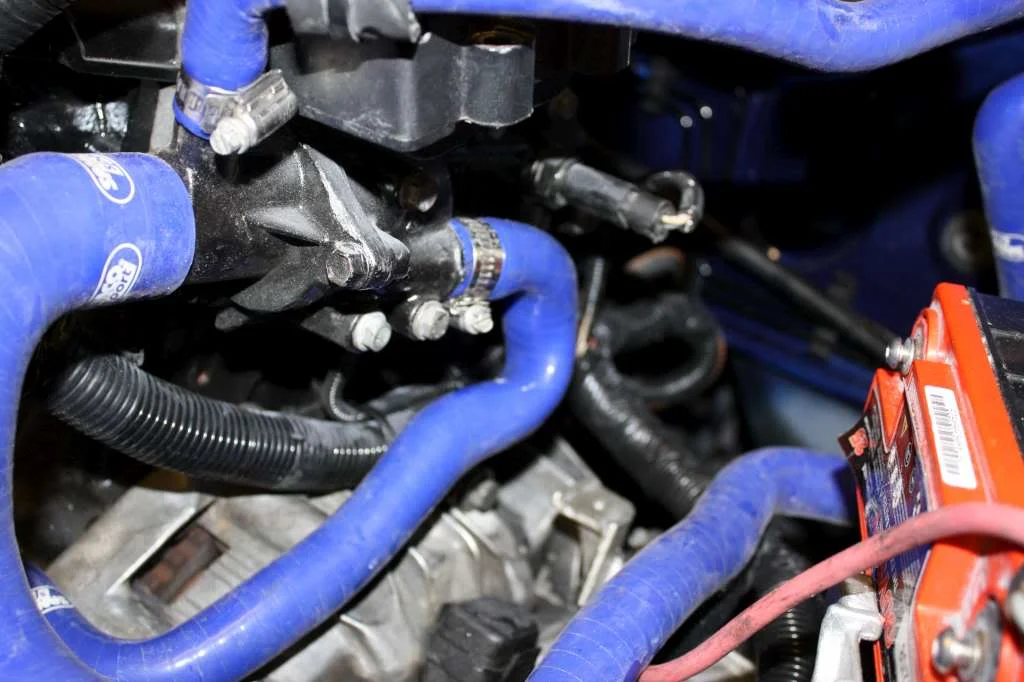
Plumbed up
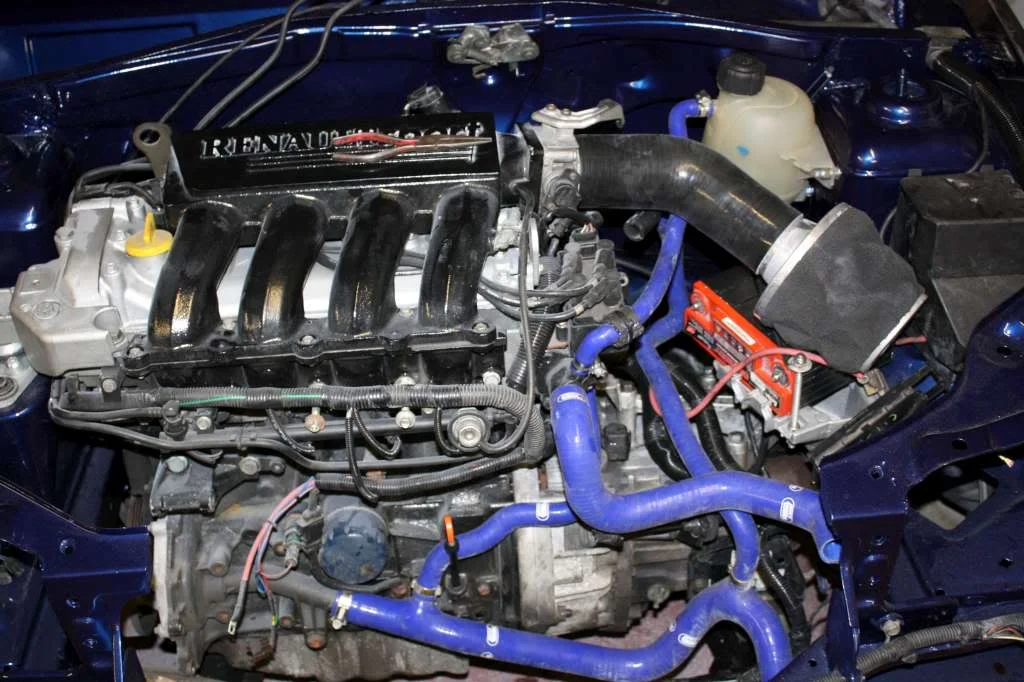
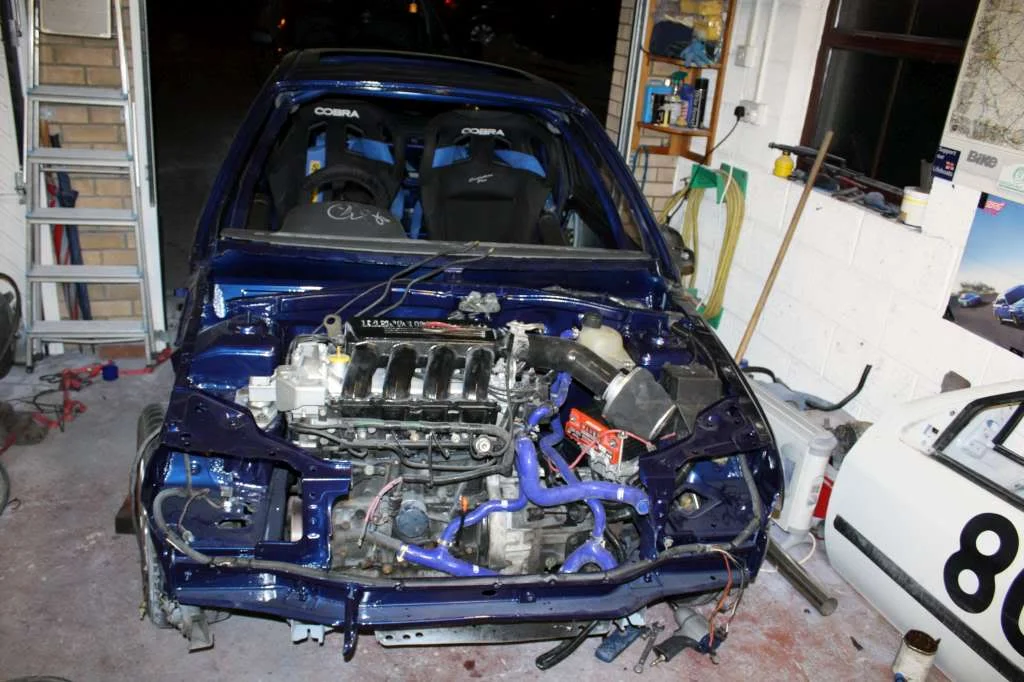
Packed up for the night, to continue tomorrow
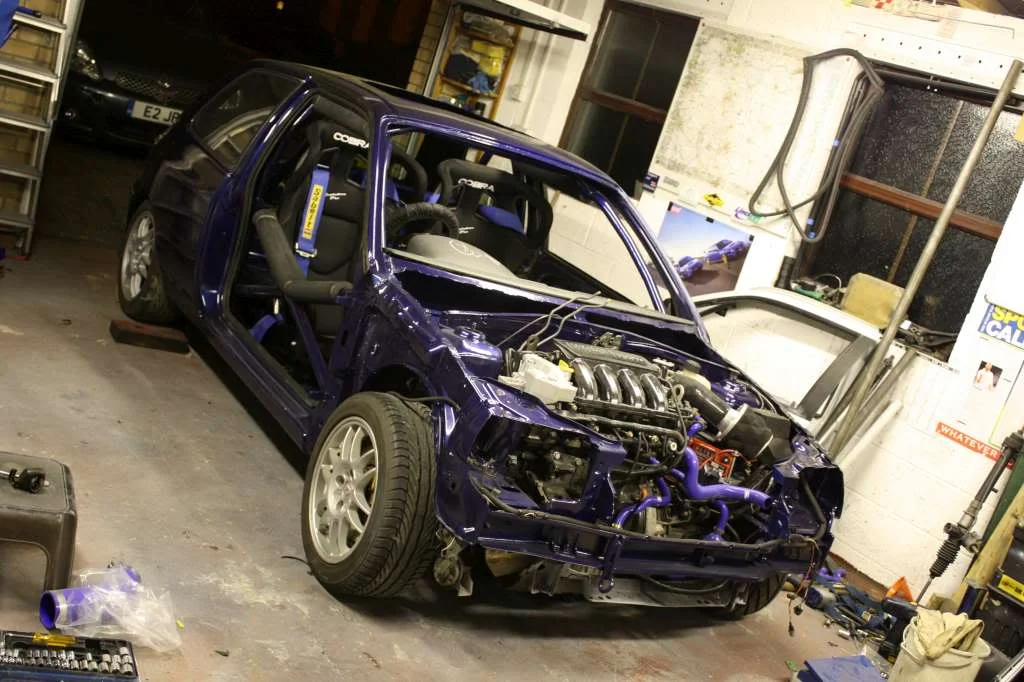
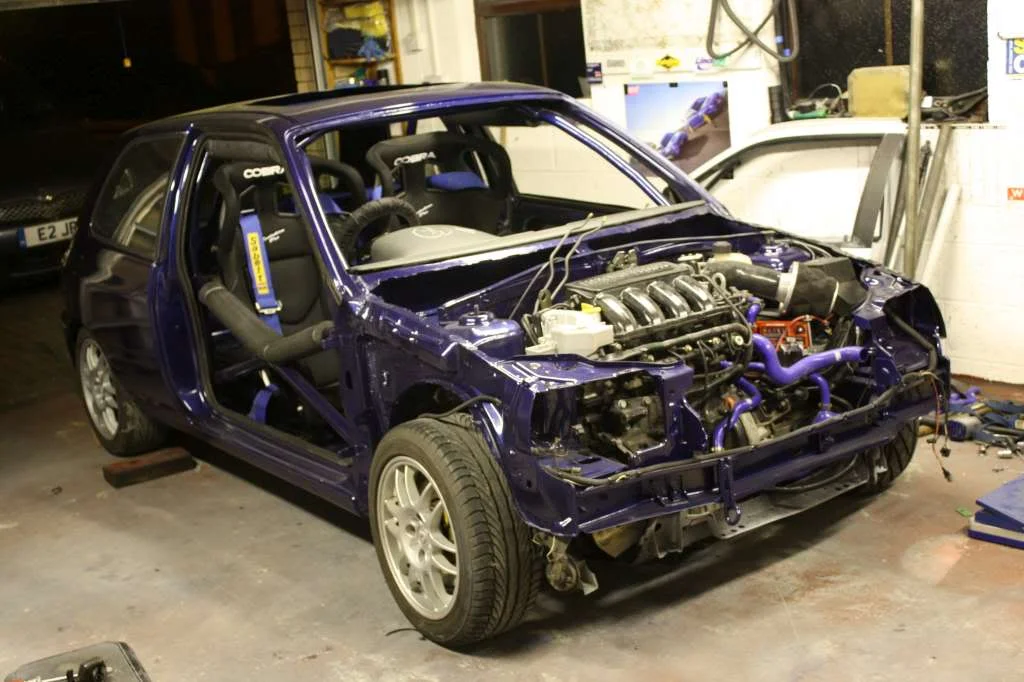
Brake master cylinder and reservoir fitted back on and lines painted black to neaten them up a little
GT width (+30mm) passenger seat in. For anyone with a big cage in a little car, i'd not recommend the extra width seats, it barely fits :banghead:
Dragged the engine out its hiding place for the past 5 months and made a start on that. I needed to make a Mk2 battery tray fit as I'm going to be running a 172 gearbox this year. All but one of the holes lined up, so rather than start drilling new holes in the car, I modified the battery tray to suit
It was the upper 'arm' which didn't line up, so I cut it off and made a new one that bolted to an existing tapped hole in the tray. Its similar to what I did when the same part snapped off my Mk1 tray if anyone remembers. Then a quick lick of hammerite
Also painted whats left of my inner sunroof surround as it was white from before. Just a quick rattle can effort
Swapped the gearbox over
Will paint the end cap at some point
Old box, bit crunchy but will do as a spare
Pair of Hankook RS2's came in the post the other day
Engine and box lifted in
Freshed up the ECU cover. New vs old
Battery tray bolted in and battery in situ
A bit of conduit around some wiring which I had loose last year
Header tank on
I've taken the heater out the car now. Luckily I could cut the Samco's in such a way that it kinked a minimal amount and looped back on itself
Plumbed up
Packed up for the night, to continue tomorrow
Looks like your making good progress.

R5 GTT EFI Clio.
Amazing mate, keep it coming!!!
TVR Cerbera
Nice one Chris. Doesn't the new paint job show up the dirty old engine lol
R5 GTT EFI Clio.
s**t! - Thats very soon!, got enough time to do it all?
JDM Dc2
Good to see your cracking on wth it, not far off now!
Chris excuse me for being possibly dumb here, but i was under the impression the 172 gearbox VS the williams/valver gearbox all bolt up in the same place (to the battery mount) IE the vertical pin is in the same place on all of them regardless of how the bracket fits to the box?
also the bit you've made for the battery tray looks a bit flimsy, i've seen OE ones snap with hard use
also the bit you've made for the battery tray looks a bit flimsy, i've seen OE ones snap with hard use
I knew there would be something wrong when I saw you'd posted!
Never actually compared the two pin positions side by side, was just going from what I'd read and been told previously about fitting Mk2 boxes with Mk1 trays. Keeping everything Mk2 gives me the option of changing the mount for a better k-tec mount in the future too, which it could do with.
The bracket I made is pretty much the same as what I did previously on the Mk1 tray:
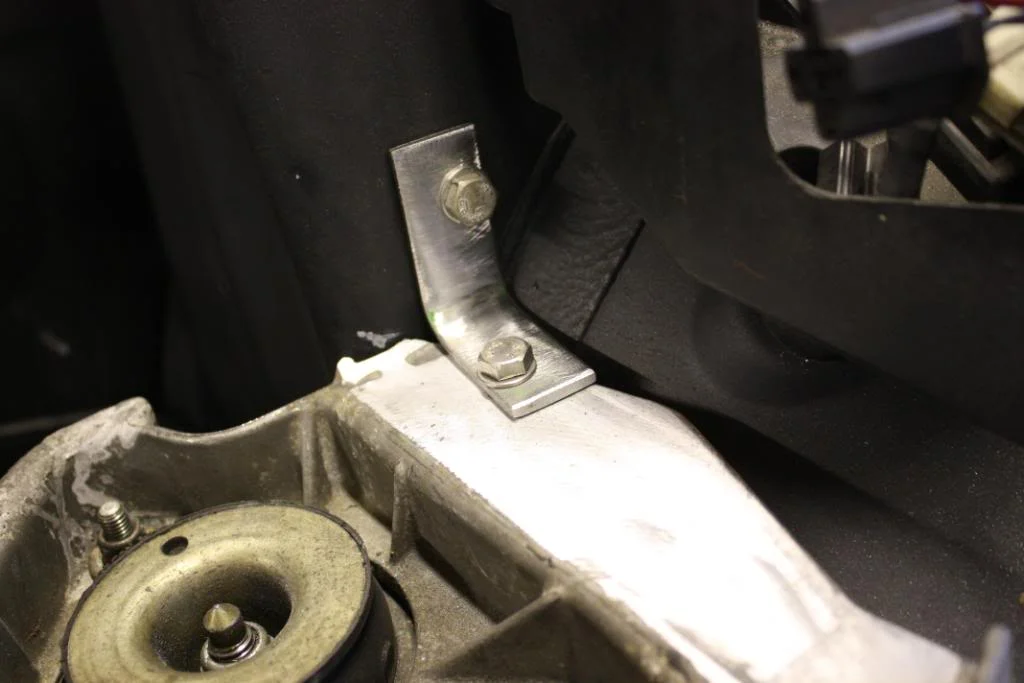
I did this after the original one snapped on me (like you mention), and I never had a problem after that. I took it off before and it was exactly the same shape as when I put it on, so I'd say it did the job well enough. (4mm steel btw)
Off topic - I emailed you about a Meg cambelt a while back, easier to ring sometime?
Never actually compared the two pin positions side by side, was just going from what I'd read and been told previously about fitting Mk2 boxes with Mk1 trays. Keeping everything Mk2 gives me the option of changing the mount for a better k-tec mount in the future too, which it could do with.
The bracket I made is pretty much the same as what I did previously on the Mk1 tray:
I did this after the original one snapped on me (like you mention), and I never had a problem after that. I took it off before and it was exactly the same shape as when I put it on, so I'd say it did the job well enough. (4mm steel btw)
Off topic - I emailed you about a Meg cambelt a while back, easier to ring sometime?
More time on it again today. Half decent progress
Found a spot for the ECU under the headlight. Only temporary as I want to move it inside eventually, but with the time I'm working to it'll do for now
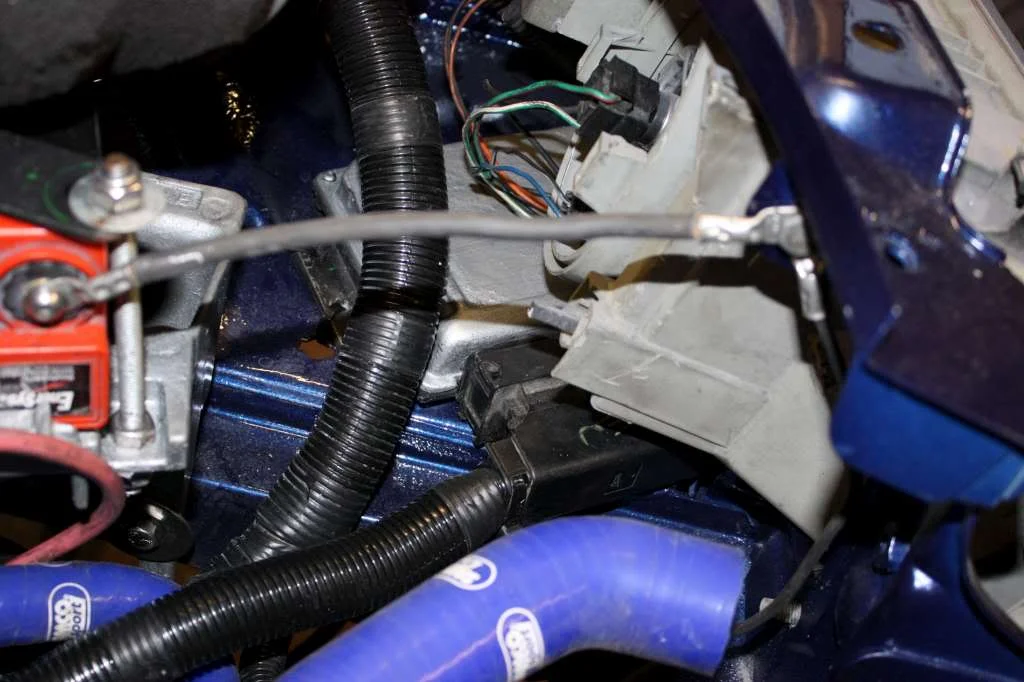
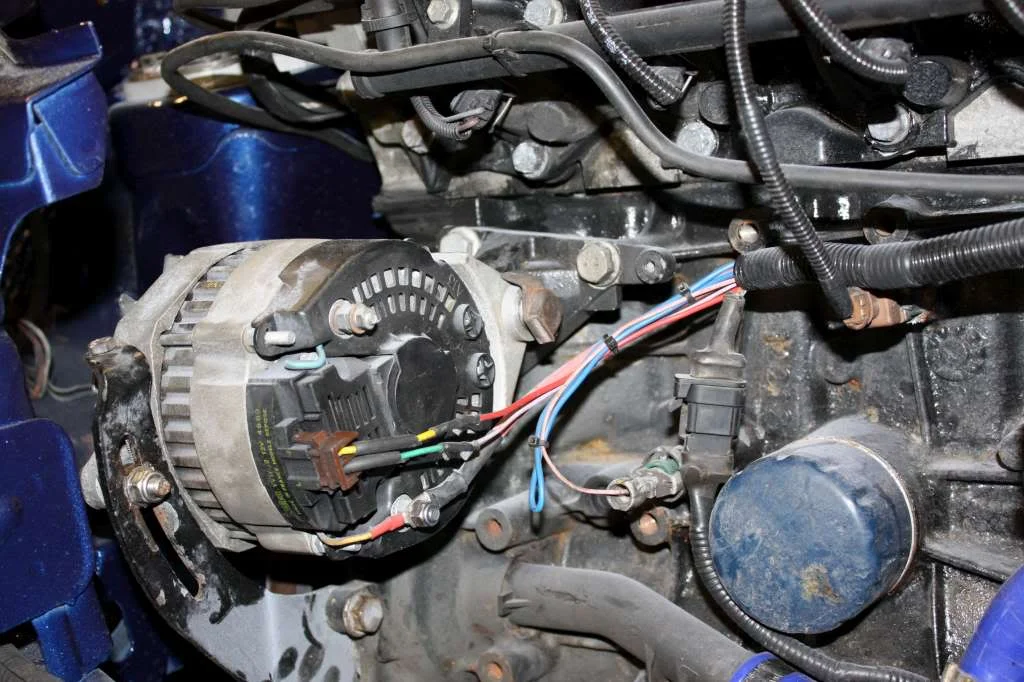
Alternator and brackets all fitted
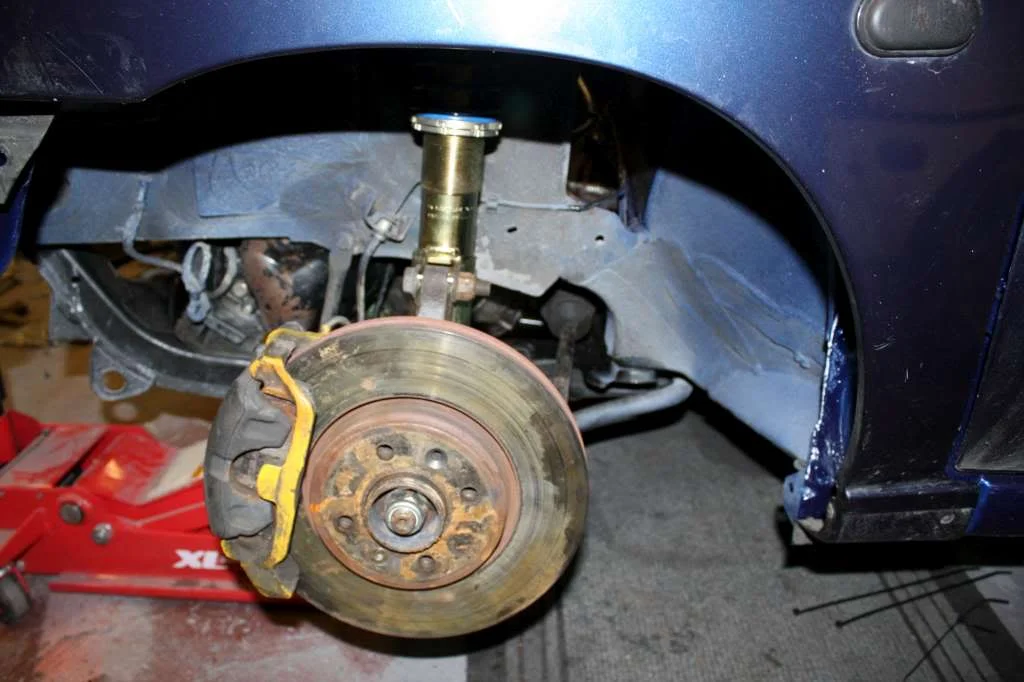
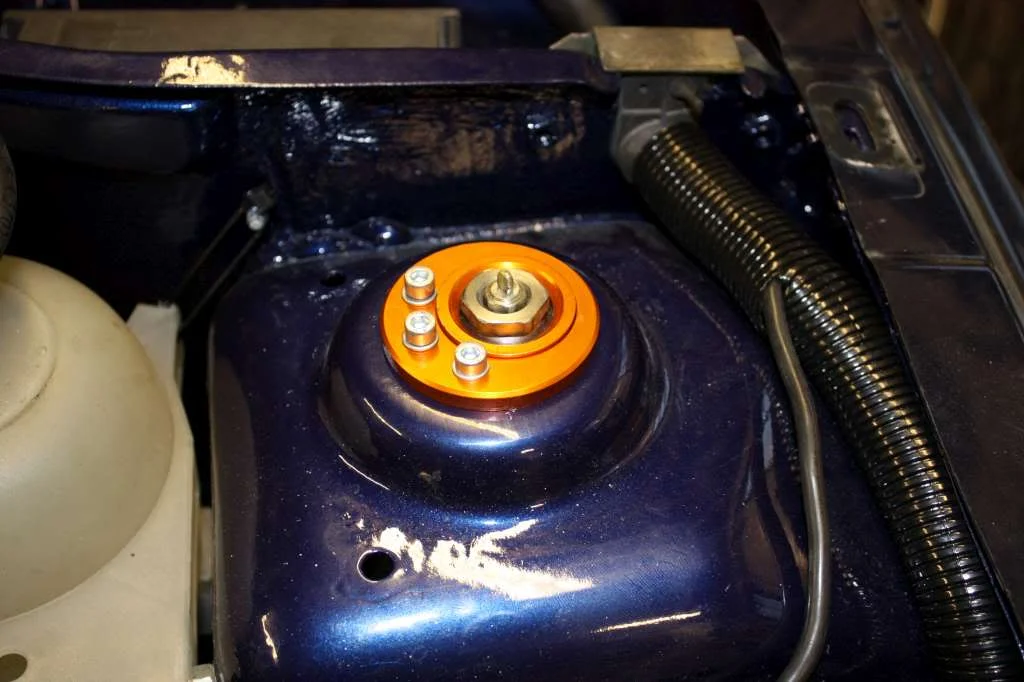
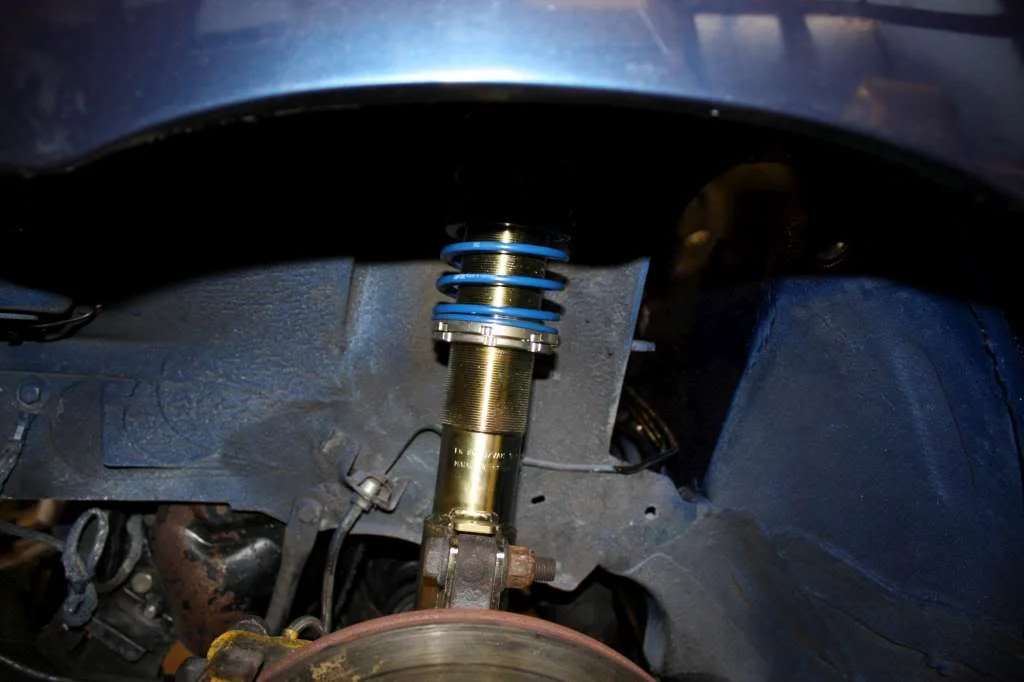
New suspension and top mounts on. It's far too low at the moment so will need to be raised
Driveshafts in, filled up with 'box oil
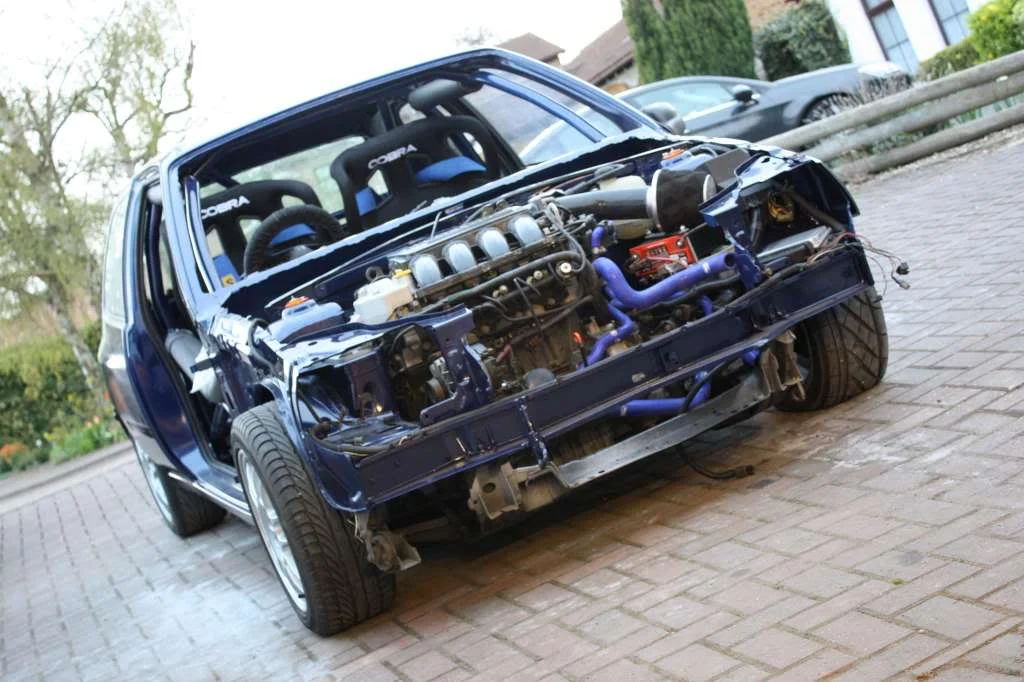
Then, as if by magic, it made it outside under its own power
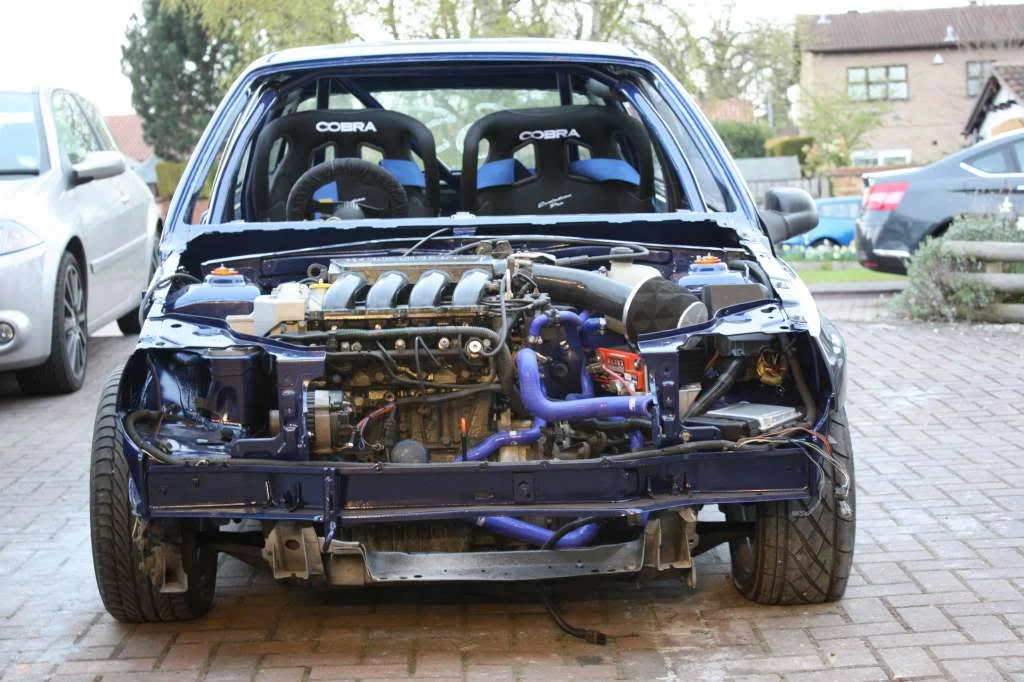
Radiator in, filled up with water, bled through and ran upto temp, then headlights on
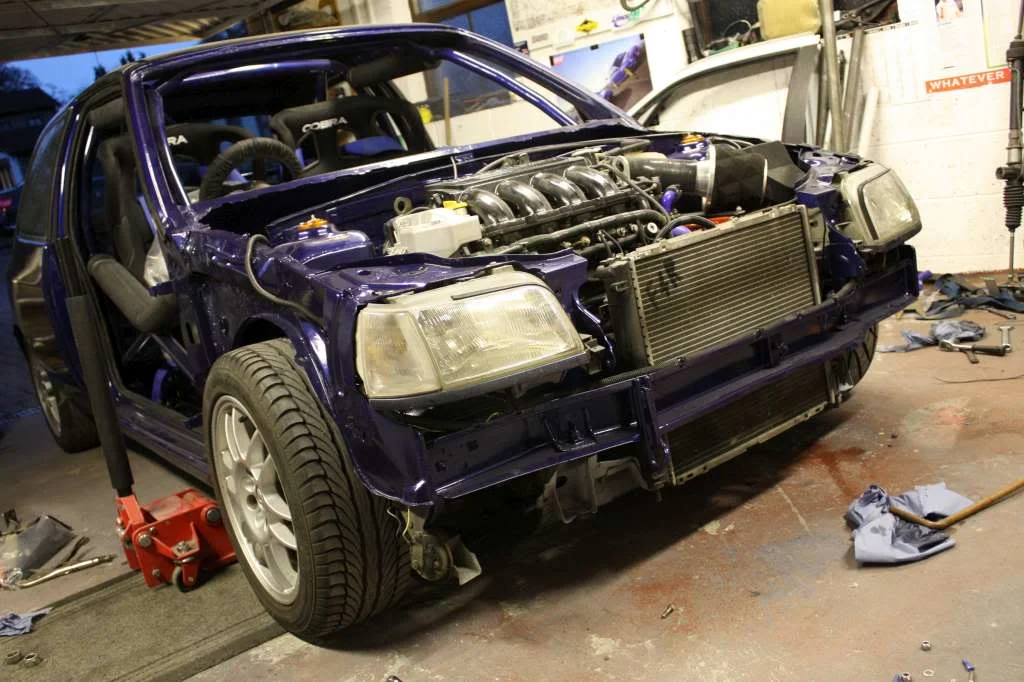
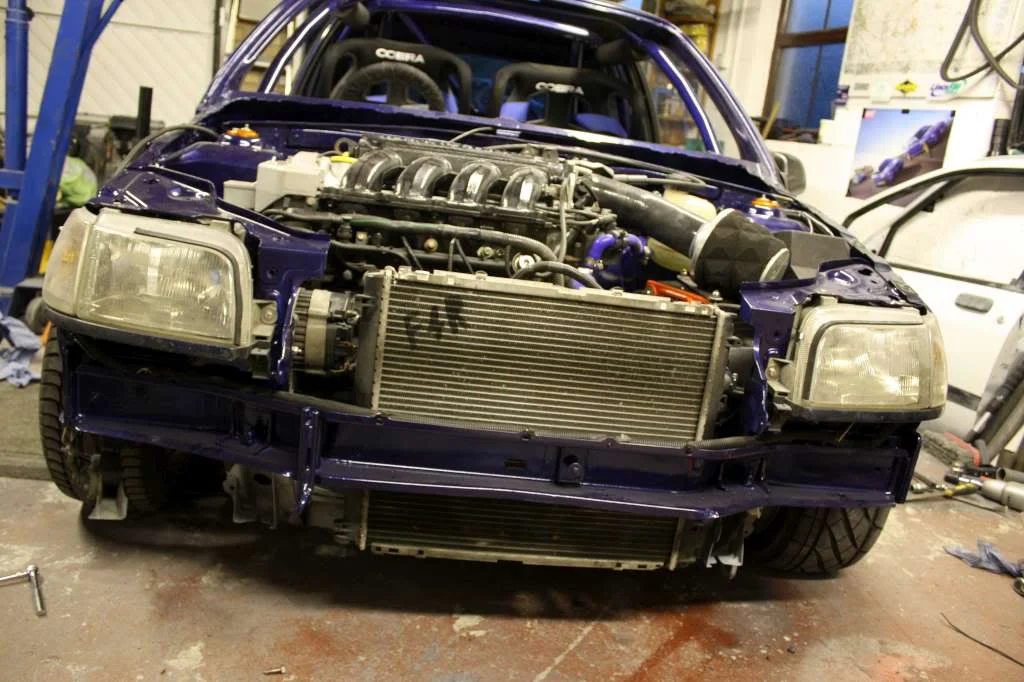
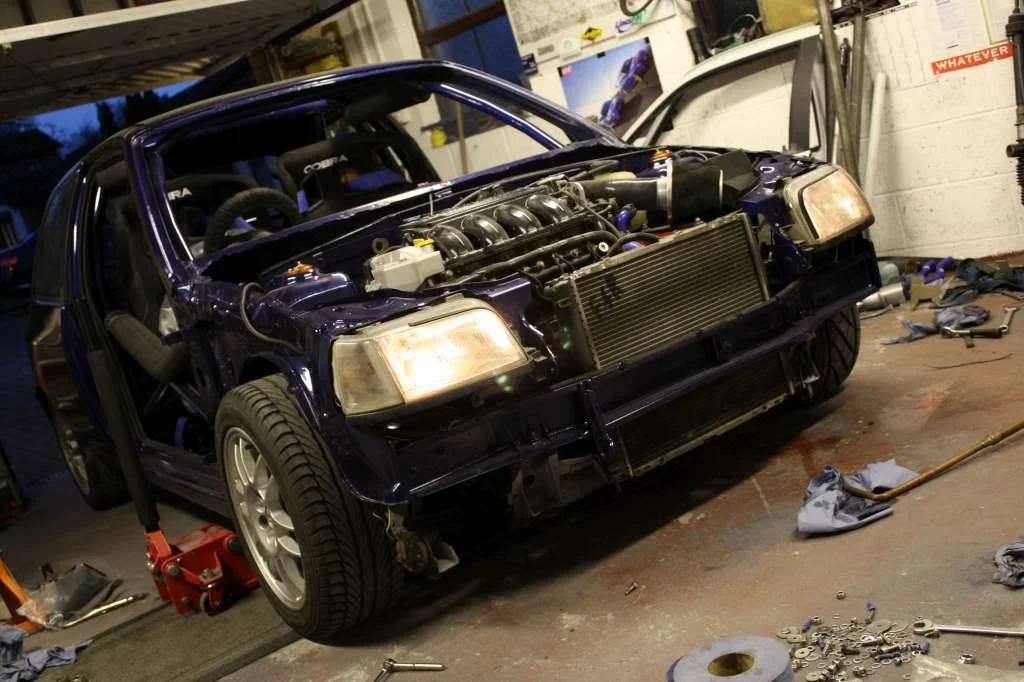
Getting there
Nearly 9 days til Oulton.
Found a spot for the ECU under the headlight. Only temporary as I want to move it inside eventually, but with the time I'm working to it'll do for now
Alternator and brackets all fitted
New suspension and top mounts on. It's far too low at the moment so will need to be raised
Driveshafts in, filled up with 'box oil
Then, as if by magic, it made it outside under its own power
Radiator in, filled up with water, bled through and ran upto temp, then headlights on
Getting there
Nearly 9 days til Oulton.

Daniel
ClioSport Moderator
Whichever has fuel
I'm with Fred here...
I've got a 172 box and battery tray in mine and it all bolted straight in? :S Not entirely sure what you've done.....
(I digress, This is going to sound gayer than Boy George holding Gay man weekly, but I've been thinking about this thread all farking weekend! Drooling at seeing it all put back together! What a feckin loser I really am...)
I've got a 172 box and battery tray in mine and it all bolted straight in? :S Not entirely sure what you've done.....
(I digress, This is going to sound gayer than Boy George holding Gay man weekly, but I've been thinking about this thread all farking weekend! Drooling at seeing it all put back together! What a feckin loser I really am...)
Haven't done much today then

what's the black strip on the headlamps?
you going to fit a f0xy 5th mount?
Just some foam strip to stop the bonnet vibrating on them.
And yep, when it turns up.
I trust you are sticking with the OZ f1s Christopher?
The offset isn't ideal being et43. They were resting on the shock when I fitted them with more camber so I'll probably sack them off when I find another set of something with ~et37. I like the look of them, cba messing about with spacers though.
cracking progress, youve done more in last 2 weeks than ive done since last time i shore you rstunning
hows your rad fitted
is just resting infront of the subframe, can't tell from the pic
The passenger side is sat on the subframe as the Mk1 radiator would be, the drivers side is further forwards and hanging over the front. When the top panel is bolted in and the rad tied to it, it's plenty secure enough.
Give me chance!
Only joking really impressed with the quality of work in such short space of time. Some people take years to do what you've done in a week.
I trust you are sticking with the OZ f1s Christopher?
Hi Dan
Daniel
ClioSport Moderator
Whichever has fuel
Only joking really impressed with the quality of work in such short space of time. Some people take years to do what you've done in a week.
Hi Dan
Hello................ :S
Only joking really impressed with the quality of work in such short space of time. Some people take years to do what you've done in a week.
Hi Dan
Flol, think there's a subtle ribbing in there!
 )
)
wilky19
ClioSport Club Member
Leon FR 184
The offset isn't ideal being et43. They were resting on the shock when I fitted them with more camber so I'll probably sack them off when I find another set of something with ~et37. I like the look of them, cba messing about with spacers though.
tell me about it the 172 wheels on mine rub on the shocks aswell unless i run spacer. and spacers suck nuts
The passenger side is sat on the subframe as the Mk1 radiator would be, the drivers side is further forwards and hanging over the front. When the top panel is bolted in and the rad tied to it, it's plenty secure enough.
thanks just couldn't tell from the pics
Similar threads


- Replies
- 1
- Views
- 127

