ClioSport.net

This is a sample guest message. Register a free account today to become a member! Once signed in, you'll be able to participate on this site by adding your own topics and posts, as well as connect with other members through your own private inbox!

  • When you purchase through links on our site, we may earn an affiliate commission. Read more here.

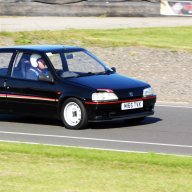
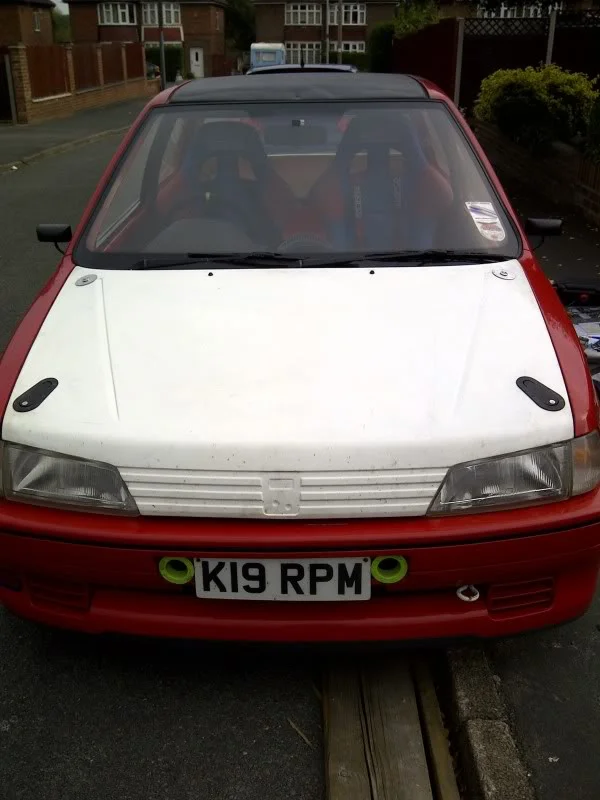
a rallye you may remember, cherry red itb content

Car  Rb182cup+s2 rallye
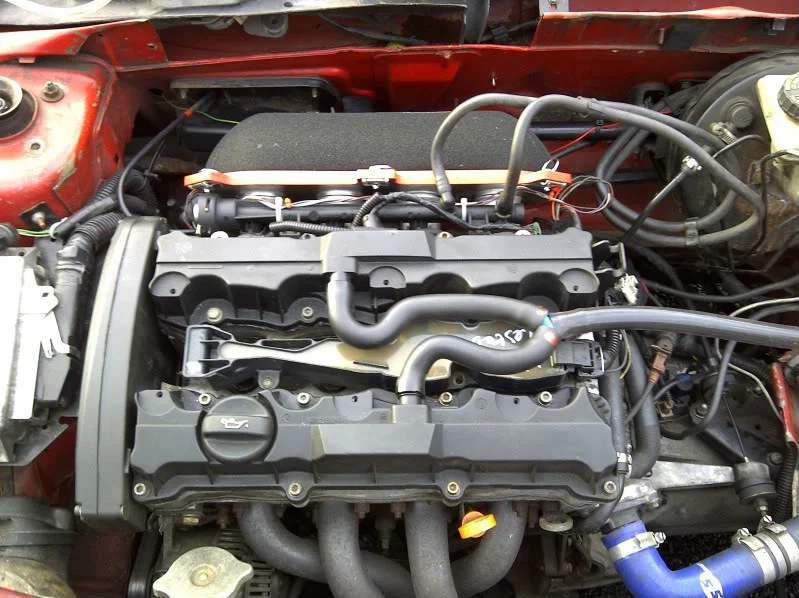
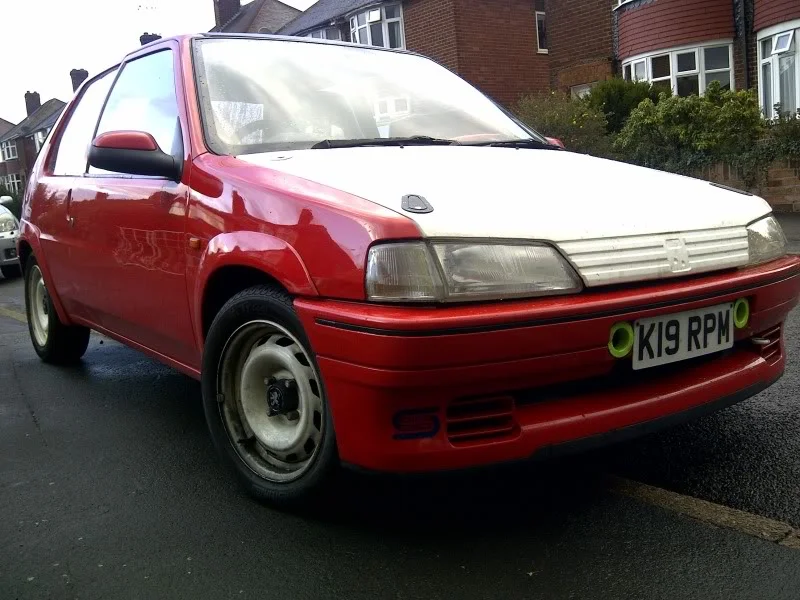
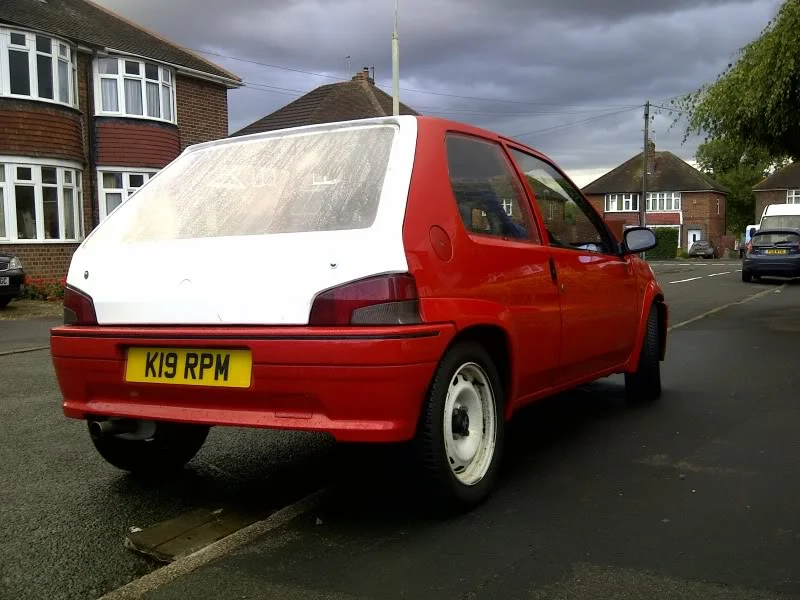
Heres one you may remember previously owned by leeds_182 it had been on the forum for a while id always followed the progress and whilst no beauty queen its a purposeful tool and does its job very well.
when i saw it for sale i had to have it to run alongside the 172 as the 172 just doesn't excite me like the rallyes do, this is my 4th now.
ill note the progress i make with it just to keep yall updated as it seemed top of had a few fans on here. its basically a few posts from a project thread on rallye register.

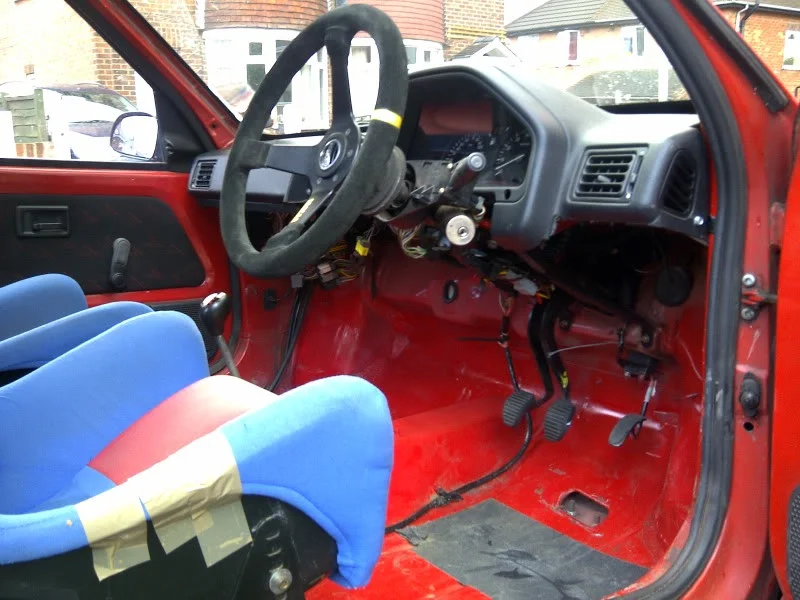
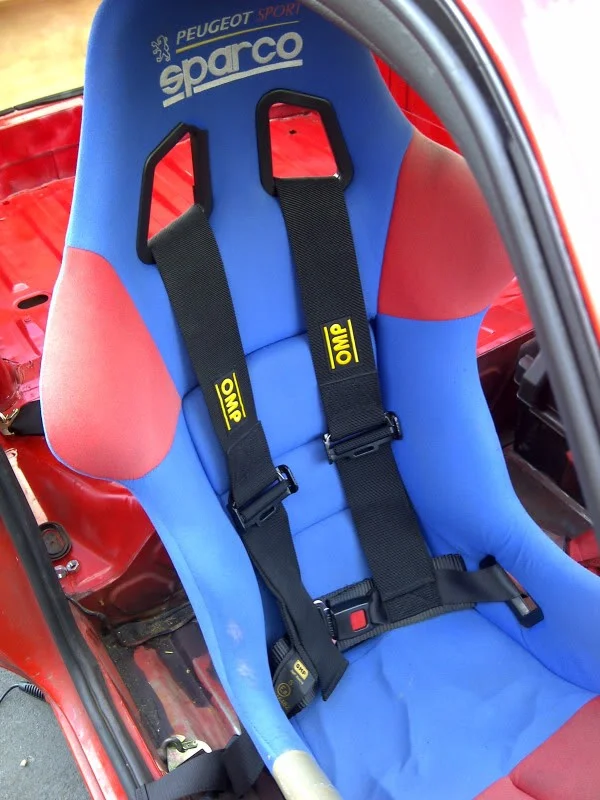
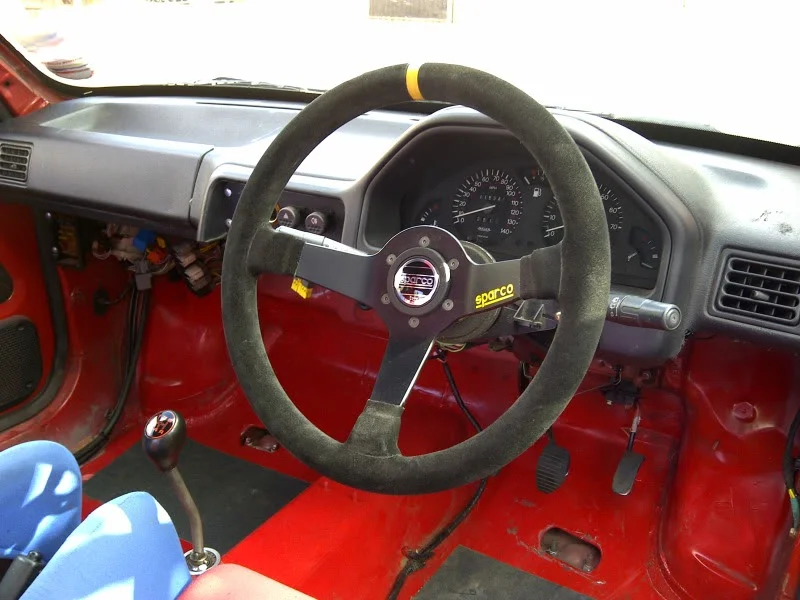
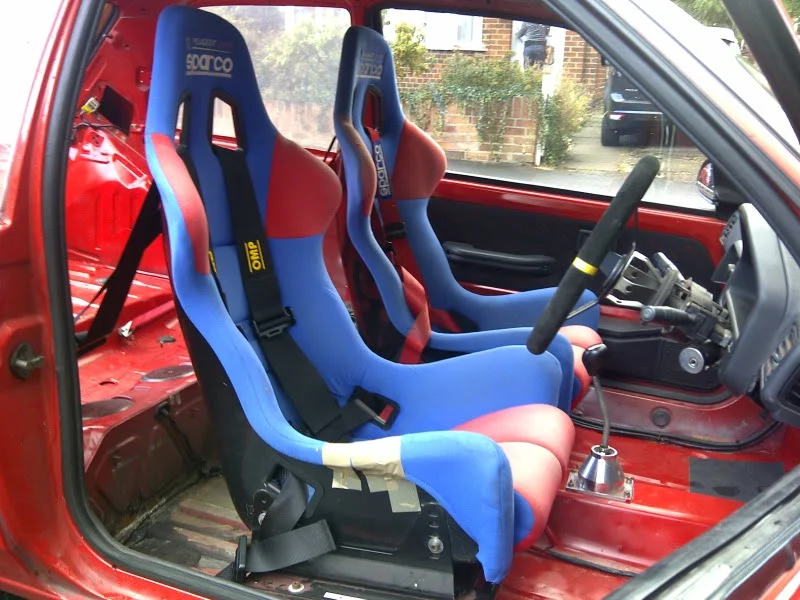
Heres some pics after getting it home and putting my omp 3inch harness in and my sparco steering wheel.
Charnwood-20110917-00638.webp


Charnwood-20110917-00639.webp


Charnwood-20110917-00641.webp


Charnwood-20110917-00640.webp


Charnwood-20110917-00637.webp


Charnwood-20110917-00636.webp


Charnwood-20110917-00634.webp


Charnwood-20110917-00633.webp


Charnwood-20110917-00632.webp


Charnwood-20110917-00628.webp


....

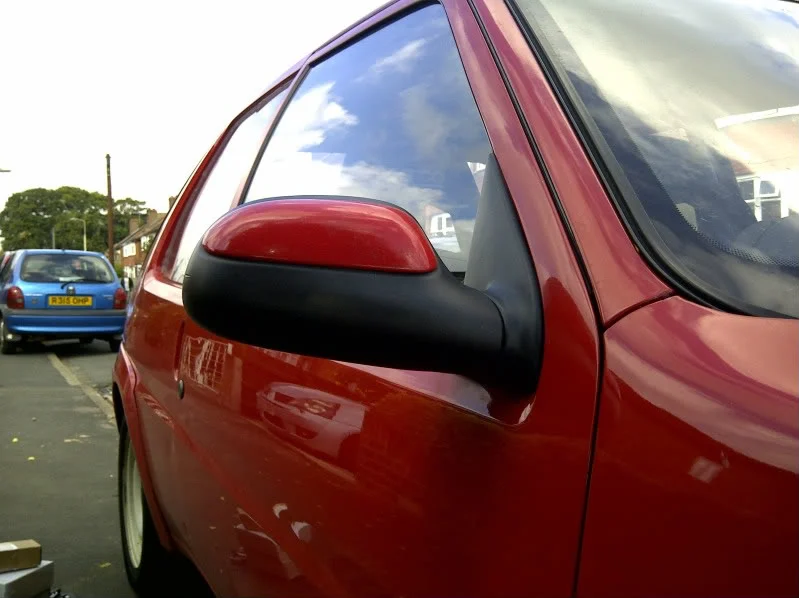
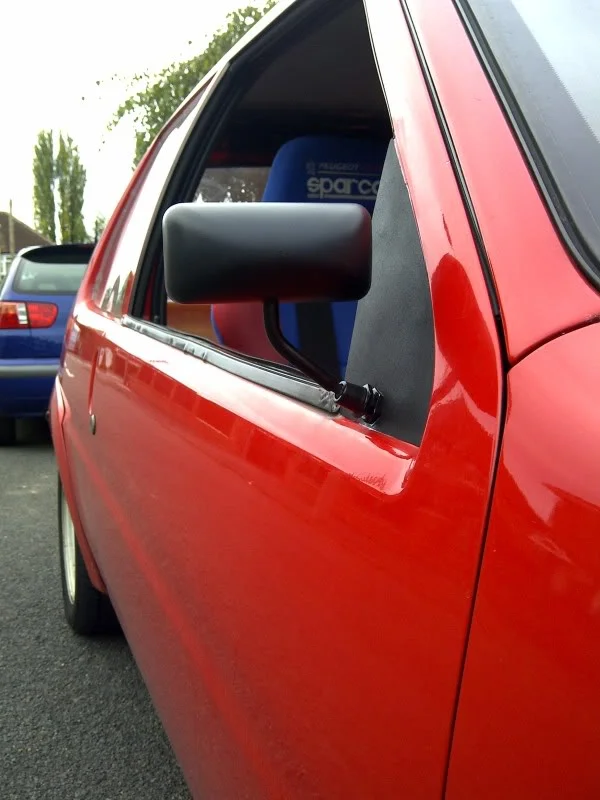
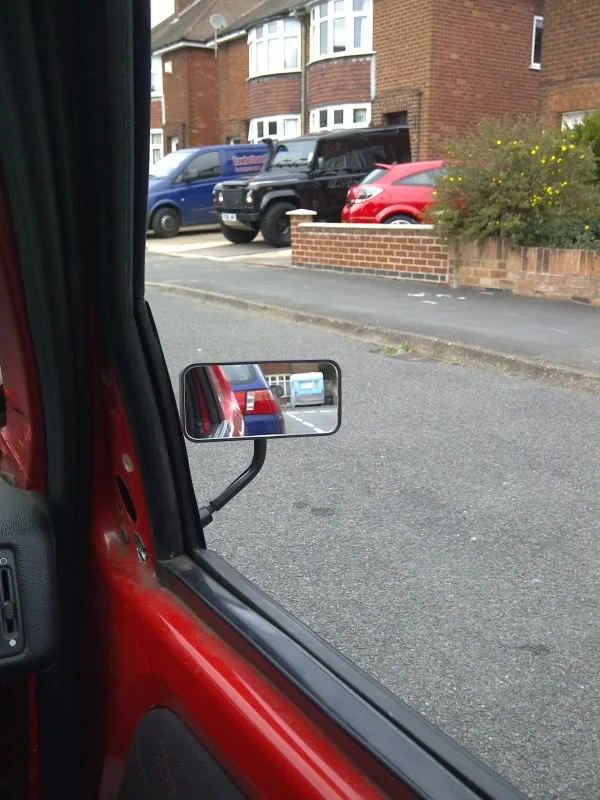
just a couple little updates for the moment. firstly the car came with saxo mirrors, these had to go and thought instead of sticking standard 106 items on id upgrade for some Farley useless f1 style mirrors.


gash saxo jobbies
Charnwood-20110924-00662.webp


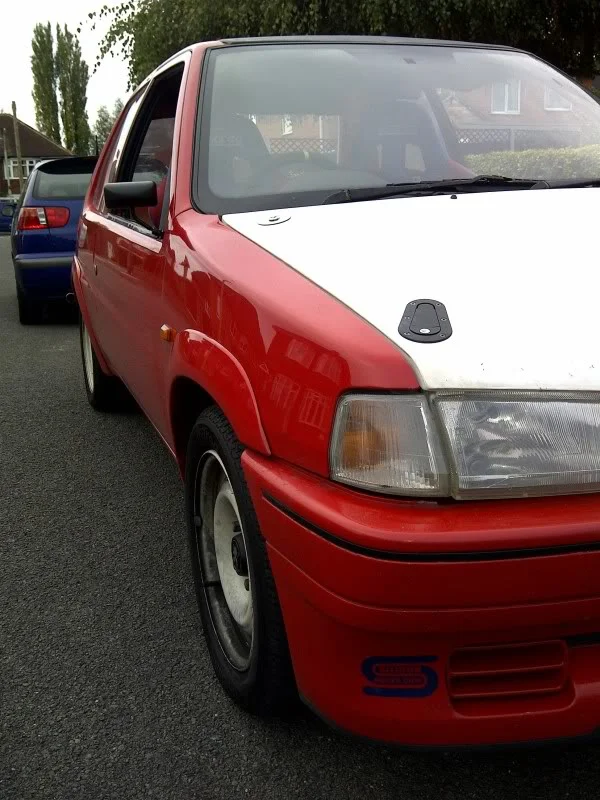
with the mirrors bolting straight to the door all i needed was to cover the space left. didnt have to be rigid just waterproof i knew exactly what i wanted and went to staples for a couple of folders. the style of them is similar to that of the dash, cheap plastic basically. a simple template and clean up of the crap left on the doors had them mounted and looking alright.
IMG-20110924-00667.webp


IMG-20110924-00666.webp


Charnwood-20110924-00669.webp


and just to show how little they actually show
Charnwood-20110924-00670.webp


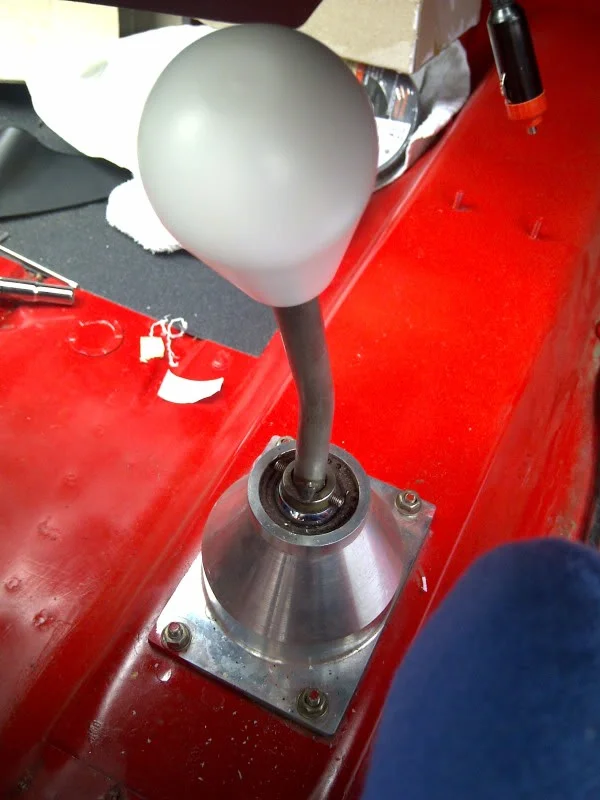
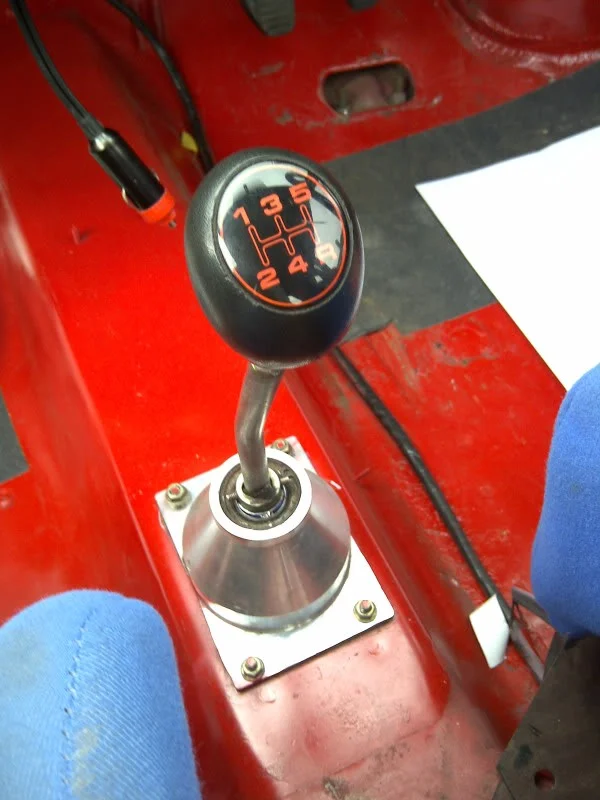
as i was ordering from motorsport-tools.com i thought it would be rude not to purchase my 4th quaife nylon gear nob to replace the crappy one already in.
Charnwood-20110924-00671.webp


and fitted
Charnwood-20110924-00675.webp


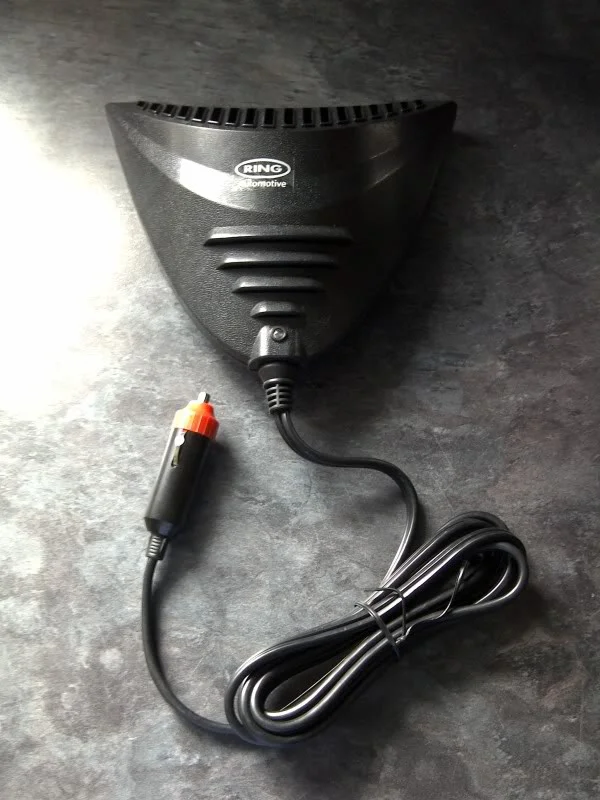
and finally as the car has no heater or blowers the windscreen can get a little misted so a cheap heater was purchased should i ever get caught out. it really is terrible tho.
Charnwood-20110919-00643.webp


....

made a couple more changes to the car over the weekend added some more bonnet pins as the previous set wouldnt lock.


308665_10150444373135719_511040718_10468727_1830962018_n.jpg


and fitted a satchshift
381193_10150444375545719_511040718_10468733_666077347_n.jpg


388051_10150445880665719_511040718_10476622_373730385_n.jpg


pictures aint the best but itll give a idea of whats going on. cant advise the shifter enough what a fantastic bit of kit. every rallye needs one.


also bought a rebuilt s1 rallye box so ill get that put on soon enough. just trying to decide whether or not its worth getting a lightened flywheel? it doesnt have any problems getting up the rev range and im sure with a s1 box itll fly up.

Thats where ive got to so far i still have the s1 rallye box to fit and ive ordered a nice weld in cage for it got a good deal as mates doing his mk2 escort and evo 2 at the same time. the cage is the same as what was in his old rallye shell heres a taster.
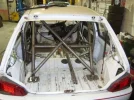
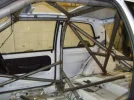
n862020342_7181845_6912239.webp

n862020342_7181848_4833313.webp
 
im not 100% sure id like to but im tempted by white even had thoughts of the 205 rallye yellow but thats doubtfull.
 
Looks a shed tbh, but certainly has potential. I would just re-install the heater, personally! Think that is a a mod too far.

Bet it is lively on the greasy roads at the moment!
 
At the risk of sounding controversial, i'd rather get the bus.

If it had a cage and was a track only car then i'd understand it but as it stands it just looks like a death trap.
 
Looks a shed tbh, but certainly has potential. I would just re-install the heater, personally! Think that is a a mod too far.

Bet it is lively on the greasy roads at the moment!

as i said its no beauty queen and when finished itll look much better. its not a daily drive i use it when i want to go for a blast, it has no reason to have a heater. and yeah its alot of fun in the wet.

At the risk of sounding controversial, i'd rather get the bus.

If it had a cage and was a track only car then i'd understand it but as it stands it just looks like a death trap.

if you read the thread ive got a full cage ordered ive even put pictures up, its a work in progress like many other cars on the forum. and again its not a daily drive its something to have fun in and track when its finished and ready for it. and i can assure you if you drove it youd much rather this than the bus.

Bit harsh for the road,but if it was on a trailer it would be a nice track car.

a trailer will be sorted for when i take it to tracks that are miles away. fuuuck driving this long distances lol

Good to see it still on the forum, used to make me smile the few times I'd seen Jim in it about the local area.

cheers mate, its got along way to go.
 
these are awesome to drive, go surprisingly well on bodies for 1.3! Looking forward to seeing how it comes along
 
Christmas eve at 4.30pm is where the car started its big change. Id collected a cage a few weeks back along with my mate who got one for his evo 2 that is also going through the same things the rallye is about to. Id got some steel for seat rails and more lockable aero catches for the boot and some hole saws for cutting the cage.


What a time to pick to start the car off but with a free workshop it had to be taken advantage of.
here it is in its current poor state, purposeful is what id call it.
401349_10150547764525719_1393327607_n.jpg


CIMG1479.webp


CIMG1482.webp


CIMG1483.webp


we have the space for 3 days, Christmas eve, boxing day and Tuesday but as im writing this on boxing day you can guess we didn't go down today as Austen has made plans. this now leaves 2 days. as if it wasn't a big enough task as it was.


So we got stripping and to be fair it felt effortless nothing was a pain to take out it just seemed to flow.
This was about a hour in. we had the screen dash seats and harnesses battery and box boot and bonnet side pollycarbs all out.
CIMG1484.webp


CIMG1485.webp


I continued stripping bits and bobs whilst austen started on the cage, It was going to be a big long job as we got the cage tubing bent but not cut so we had to do the measuring ourselves.
Id got the loom out, i think theres plenty i can take out of this.
CIMG1486.webp


all the bits that had been removed at this point
CIMG1487.webp


A couple shots of the interior looking bare. And with the front part almost cut and taped in before it gets tacked.
CIMG1491.webp


CIMG1492.webp


The cage really was a great fit it sits proper snug against all points of the shell.
CIMG1493.webp


CIMG1494.webp


With it stripped of just about all parts that needs to be gone, rear lights, mirrors, door cards, all the crap from the inside it was really coming along, and certainly a lot easier than we had hoped for. Austen had also made a start on the body work. knocking out dents filling and flatting.
The roof needs taking back to bare metal as i forget what the name of the stuff it was painted with before but it isnt to desirable.
Id also drilled the front bumper number plate recess. im still unsure about what to do with the front plate so any ideas let me know.
This is how it ended up after 6 hours of stress free no rushing work, the time really flew by.
CIMG1497.webp


CIMG1498.webp


CIMG1499.webp


Tomorrow is the day we really make some progress....
 
yeah i seen your reply in the other rallye thread. my name is also Ben Lee lol. i had a quick shift and rose jointed linkages that i think i still have if you was after some?
 
You need to sorn it and use it as a track only car IMO!

why? tax costs f**k all and having it for a back up for the clio is a good idea. it will be used on track and i wont always have the use of a trailor to get it there so having it road legal is handy.
 
Looks good Ben. You do love your Rallye's don't you lol. Was it an Indigo S2 you had last iirc?
 
Looking forward to the next installment. You can really see the quality of my interior spray work on those shots.
 
Chip this is my 4th rallye now and my 3rd cherry red s1. All had different states of tune.
Haha yes mate its a shame it'll need doing again all that effort you went to :p.
Got more done today but I can't be arsed to upload the pics ill do that another day.
 
yeah i seen your reply in the other rallye thread. my name is also Ben Lee lol. i had a quick shift and rose jointed linkages that i think i still have if you was after some?

cool this is my first rallye 2nd 106 had an 1.6 8v xs also a 406 v6 lol.
so not to clued up on the 106s yet lol.
looking for any cheap upgrade parts lol
 
Chip this is my 4th rallye now and my 3rd cherry red s1. All had different states of tune.
Haha yes mate its a shame it'll need doing again all that effort you went to :p.
Got more done today but I can't be arsed to upload the pics ill do that another day.

Look forward to it mate.
 
So heres another update we started as we've been going along today i was doing bits and bobs and Austen was mainly doing the cage and body work.
I started with prepping more bits on the inside first up was grinding back all the little tabs to make way for p clips and other nicer ways on securing wires etc.
CIMG1501.webp


CIMG1502.webp

these all had to go along with plenty more from around the interior


After that i started on the boot lid. Previously it was just bolted on so no access to the boot was available, not that it was really needed but if needs be id like to be able to get in so i got a couple of lockable aero catches for it and positioned them the best i could so i incorporated the already drilled hole.
previously drilled holes.
CIMG1503.webp


Aero catches on
CIMG1504.webp


CIMG1505.webp


CIMG1518.webp


I had forgot to buy some kind of hinge for it and with no time or anywhere open i decided just to stick the odd aero catches that where on the bonnet on the boot as they wasn't so visible so it wouldn't really matter that they wasn't externally mounted catches. and i could just buy a proper set from a local place when they open on the 3rd of jan.
CIMG1519.webp


I then gave the bumper a trim as behind the holes id drilled was more plastic so all that needed taking out, here it is just needing the edges cleaning up.
CIMG1509.webp


After that i started helping with the cage, I started the rear bits that mounted to the rear axle. It was simple, take the pre cut tubing, cut a sheet of 3mm steel to fit, weld it up, trim it and bolt it down. This is what we came up with. I didnt get any shots of them properly trimmed up tho we took the feet right back so they fitted properly.
CIMG1515.webp


And fitted
CIMG1513.webp


CIMG1510.webp


Bolted down
CIMG1512.webp


Then i had to cut a sheet off 3mm steel to fit around them and trim it to fit so it was welded to the floor. you can see them later in the pics.


With them done we couldn't make the rest without the cage properly welded it had just been tacked up to now so we knew everything was right. So we set about other bits like seat rails. Heres the drivers and passengers side done, Again just needing welding into place. Austen had filled the seat bolts on the exhaust tunnel with weld so they could be skimmed back flush as they was looking rather ugly.
CIMG1521.webp


CIMG1520.webp


This is where we left the cage yesterday as we couldn't really do much more.
CIMG1523.webp


CIMG1524.webp


CIMG1525.webp


CIMG1526.webp


CIMG1527.webp


CIMG1530.webp


CIMG1531.webp


here you can also see the tabs made and welded for the aero catchs to be mounted
CIMG1532.webp


The body work had a little more filler and rubbing back and most of it had now been da'd ready for primer.
CIMG1529.webp


CIMG1528.webp
.


and now..... off i go back up to the unit to play some more.
 
Another update i have so so many pictures but ill try and keep it short and its all abit jumbled but ill try and get it in order.


Ok so after where i left off the cage was finished off the feet tacked and welded in place.
CIMG1572.webp


CIMG1573.webp


CIMG1575.webp


CIMG1577.webp


Seat rails welded in. The passenger seat has been positioned right back and as low as possible the reasons why are better view for the driver and weight distribution. It might not make a massive difference but every little helps.
CIMG1570.webp


For the feet behind the front seats to be welded into place the tank had to be removed, this was a b*****d as it basically left nothing but the engine and rear beam on the shell. should of just striped it down to a shell and gone balls out.
CIMG1565.webp


Outside was prepared for paint. da'd and panel wiped for its first hit of primer.
shell ready
CIMG1534.webp


CIMG1537.webp


Then Austen cracked on with the exterior.
CIMG1540.webp


CIMG1547.webp


CIMG1548.webp


CIMG1549.webp


CIMG1551.webp


CIMG1552.webp


CIMG1557.webp


CIMG1559.webp


CIMG1561.webp


With me having the small f1 style mirrors i wanted to do something a little different with the doors, i cut some thin metal sheet to fit the door so it could be tacked on and filled to look nice and smooth. this wasn't to be as Austen has plans for them but wont tell me what lol. heres a shot anyway.
the gap that had to be filled
CIMG1566.webp


Plates made up to fit
CIMG1568.webp


CIMG1567.webp


With the exterior primered thoughts turned to the interior a hell of a lot of prep work rubbing sanding hoovering wiping later...
CIMG1571.webp


CIMG1574.webp


CIMG1577.webp


That's the inside ready for primer then, time to crack on...
CIMG1578.webp


CIMG1580.webp


CIMG1583.webp


Some tabs that where added to keep things nice and stiff..
CIMG1584.webp


CIMG1585.webp


CIMG1586.webp


CIMG1587.webp


That was the inside and outside primered and ready for paint after a rub down. Austen firstly went round any plates that where welded on with sealant to keep them sealed.
CIMG1592.webp


CIMG1593.webp


CIMG1596.webp


CIMG1597.webp


Then that was it just a matter of waiting for things to dry before painting the interior.
cherry red
CIMG1591.webp
 
Last edited:
Time to hit the interior with some cherry red
CIMG1600.webp


CIMG1601.webp


CIMG1603.webp


CIMG1604.webp


CIMG1605.webp


CIMG1607.webp


CIMG1608.webp


CIMG1609.webp


CIMG1611.webp


i was going to add a long gusset on this peice but decided it wasnt needed and time again was against us so a little tab at the bottom to keep things nice snug was enough for me.
CIMG1613.webp


CIMG1614.webp


CIMG1615.webp


With the interior done we left for home at 2.15am. we had started at about 8.30am and gone straight through non stop. to say we was knackered was a understatement.


Unfortunately i had work today so i couldn't spend the day with the car id already pulled a sicky to have the previous day off. so Austen went in and got cracking with the painting.
In the oven
384631_10150560945790719_511040718_10902680_236307702_n.jpg


383686_10150560949510719_511040718_10902688_1158723818_a.jpg


Painted
CIMG1616.webp


CIMG1618.webp


CIMG1619.webp


CIMG1621.webp


CIMG1622.webp


CIMG1623.webp


CIMG1624.webp


Id finished work by the time it had been painted id got there and the rest had pretty much all been prepped and hung for primer then paint. i pretty much only prepped the boot.
All the rest hung up primered and waiting for paint.
CIMG1625.webp


CIMG1627.webp


CIMG1628.webp


CIMG1629.webp


With that done it was time for paint.
CIMG1630.webp


CIMG1631.webp


CIMG1632.webp


CIMG1633.webp


CIMG1634.webp


CIMG1636.webp


CIMG1637.webp


And the shell ready for assembly :D chuffed to bits with it.
CIMG1639.webp


CIMG1640.webp


CIMG1641.webp


CIMG1642.webp


CIMG1643.webp


CIMG1645.webp


CIMG1646.webp


CIMG1647.webp


And thats where its been left today, the build up should start tuesday when i have the screen fitted. enjoy..
 
Awesome mate. Will look excellent when it's all back together. I take it you're gonna refurb the steels as well? Great progress!
 
Awesome mate. Will look excellent when it's all back together. I take it you're gonna refurb the steels as well? Great progress!

ill give them a quick temp hit with white bigger wheels are on the cards along with bigger brakes and better tyres.
 
Back
Top