
ClioSport.net
-
When you purchase through links on our site, we may earn an affiliate commission. Read more here.
You are using an out of date browser. It may not display this or other websites correctly.
You should upgrade or use an alternative browser.
You should upgrade or use an alternative browser.

Some of a Clio 1.8 16v
Well, this isn't a particularly big update but I hate not getting anything at all posted on here so i'll post up a little interim post. Essentially I've come into a little money so i've been on a bit of a spend up. This resulted in me now having.
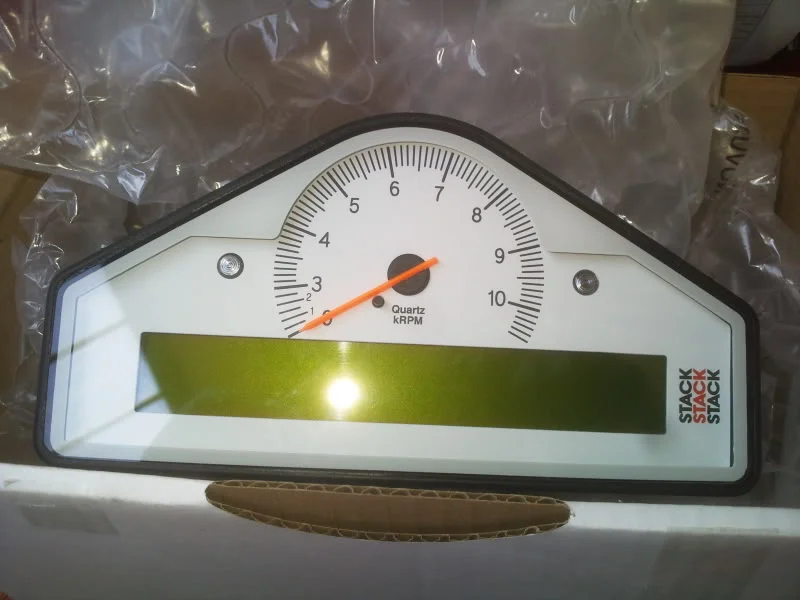
The stack returned to them and the black face with caterham markings replaced by a nice new white face. I LOVE IT!
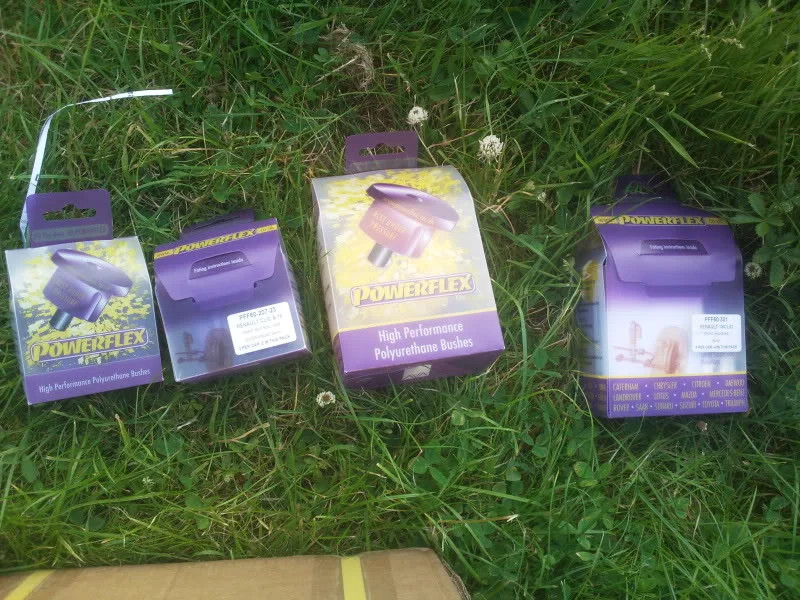
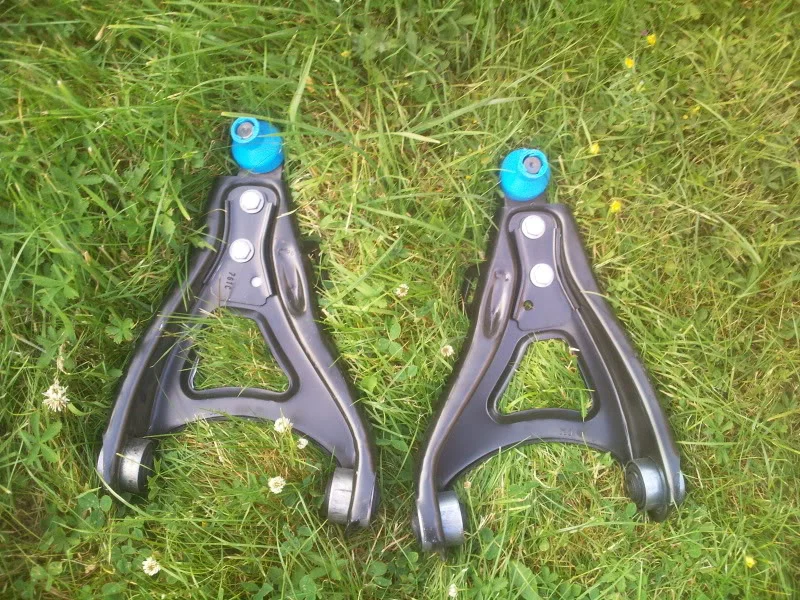
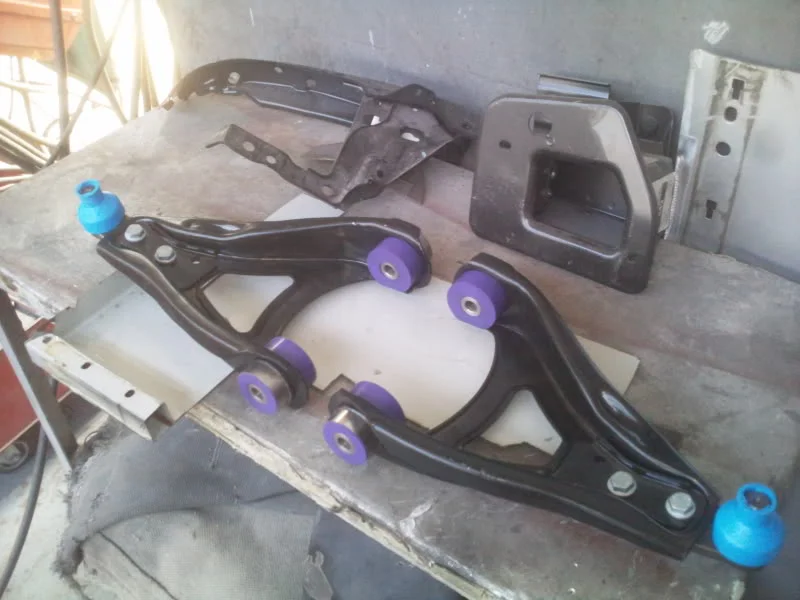
A full set of polybushes which will be a job for tomorrow as they need fitting to my new from Renault williams lower arms.
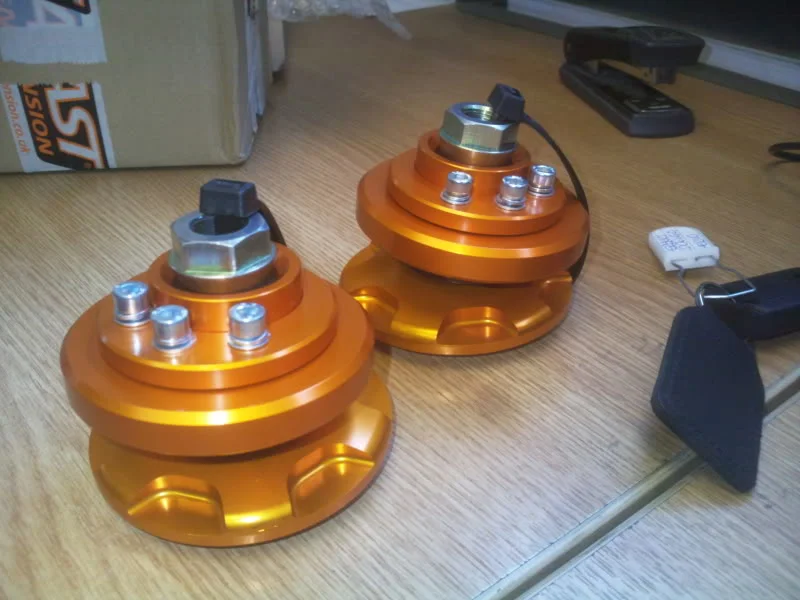
I also treated myself to some AST top mounts which as yet don't fit?! But Curtis is on the case.
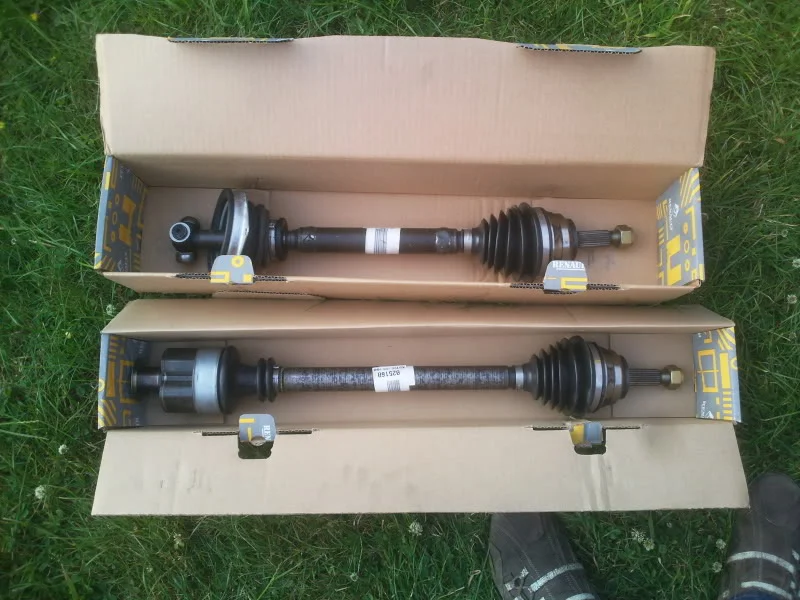
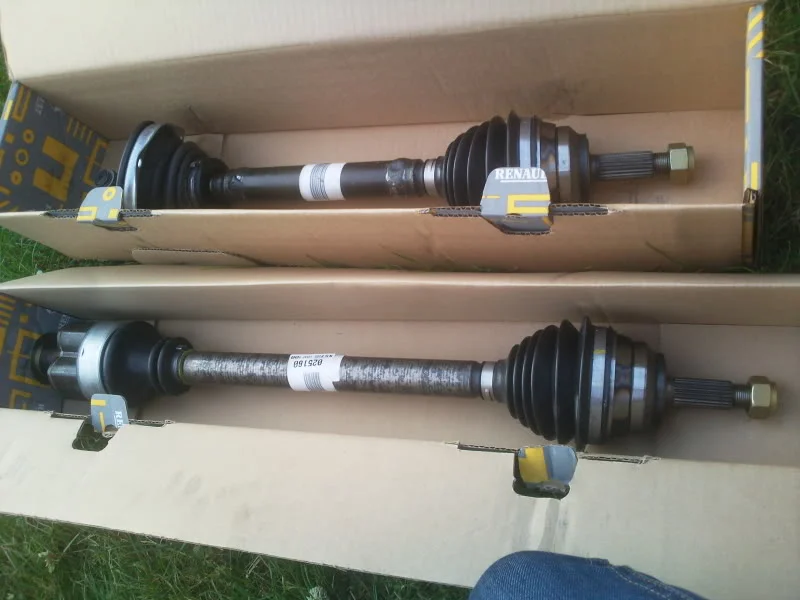
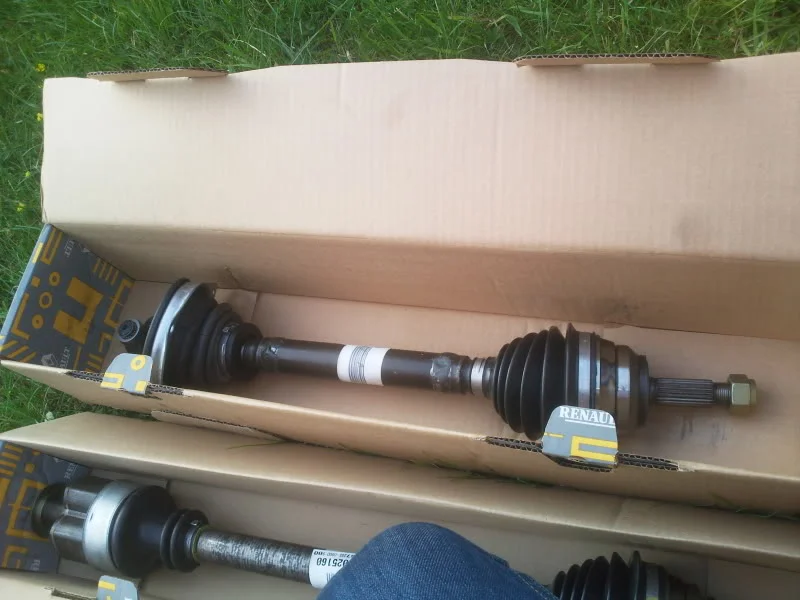
At this point I'm pretty sure I must've fallen from a great height onto my head inspiring me to do something utterly CRACKERS!! I rang Renault and ordered a pair of Williams driveshfts. :dead:
This however wasn't as rash decision as it might sound and I did put a lot of thought in before doing it but I doubt anyone wants to hear about it lol
As i've been MEGA busy at work I'm only able to get myself a few little bits done so I chose to do this..
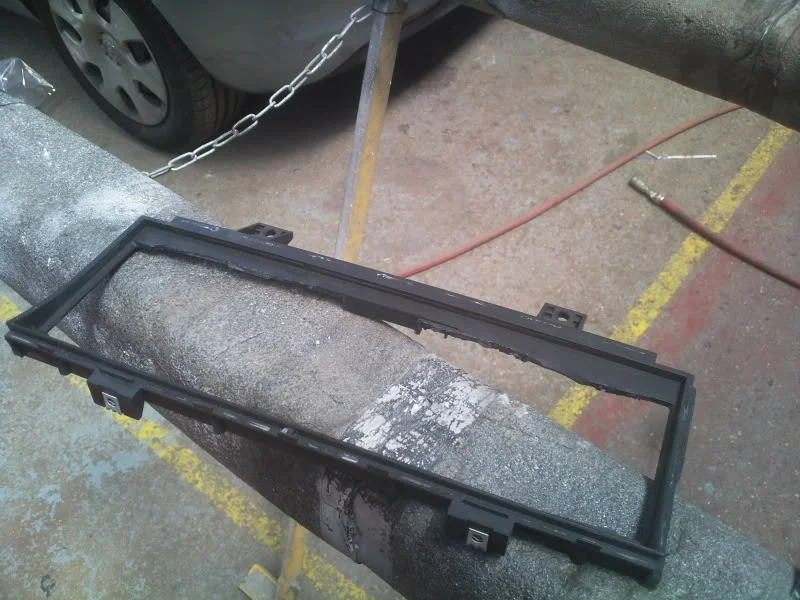
Started with a std clio cluster and stripped it down to just the frame and cut out the dial surrounds etc.
Then got me pencil and ruler out..
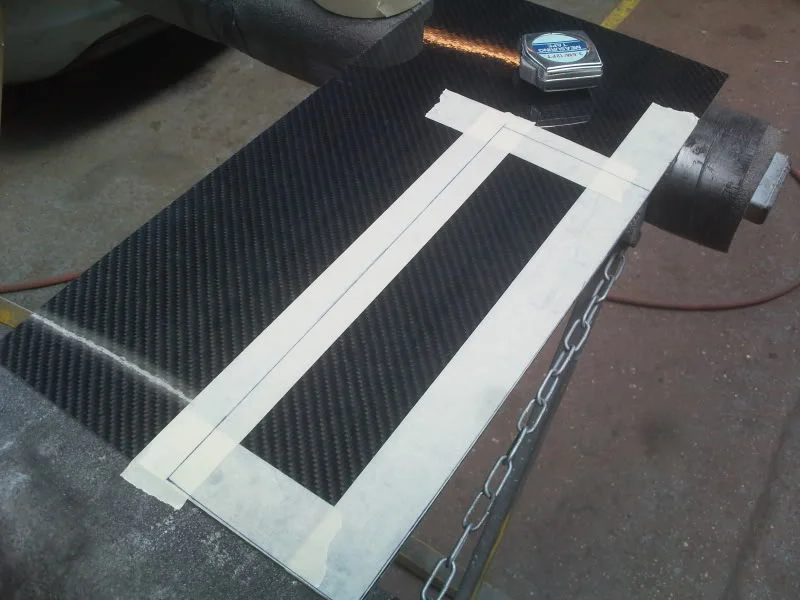
Cut it out...
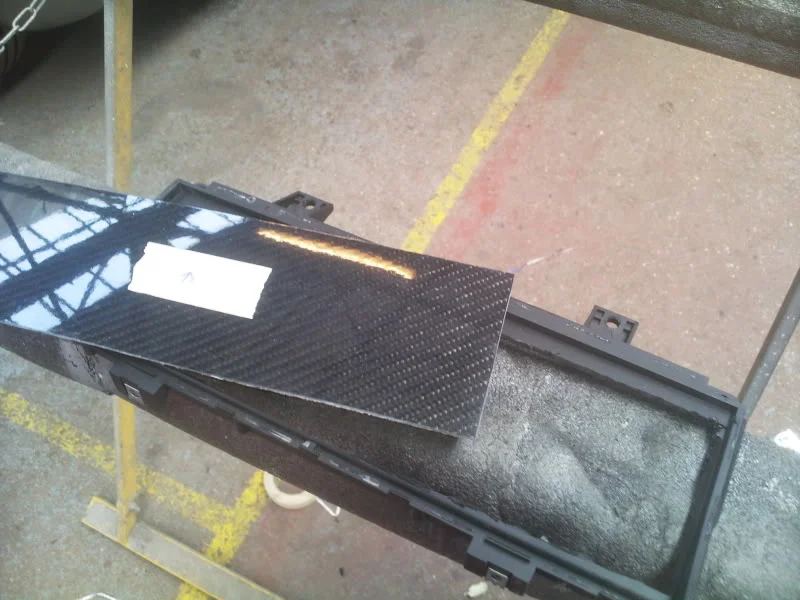
Fitted it into the cluster..
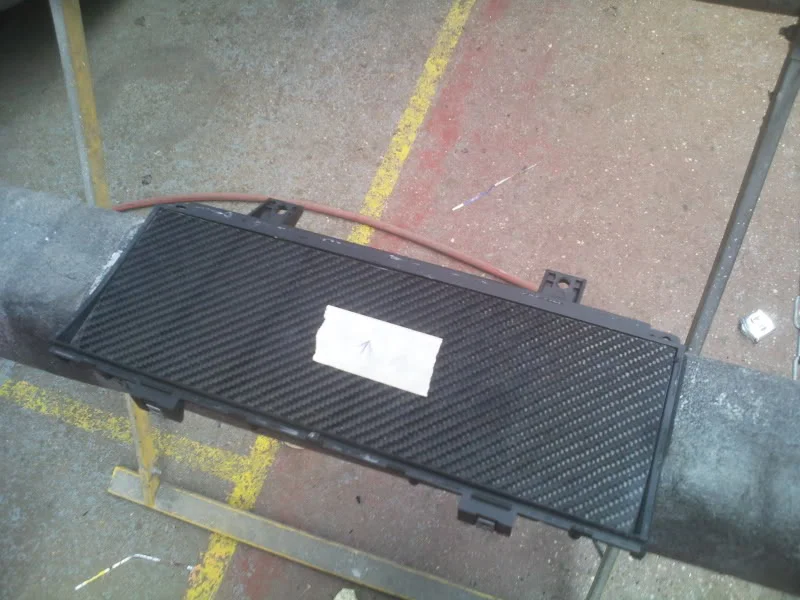
A fair bit of pi$$ing about cutting the hole out for the stack and fitting it resulted in this which will bolt in as the std cluster would have.
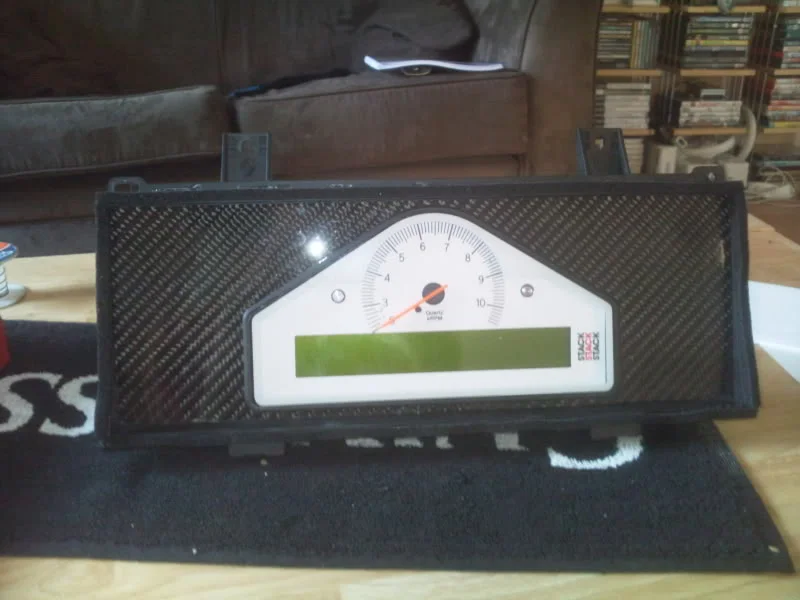
I'm very happy with it indeed and although I still need to fit some Leds for a few things and the buttons that work the stack but you get the general idea.
Propper update soon
The stack returned to them and the black face with caterham markings replaced by a nice new white face. I LOVE IT!
A full set of polybushes which will be a job for tomorrow as they need fitting to my new from Renault williams lower arms.
I also treated myself to some AST top mounts which as yet don't fit?! But Curtis is on the case.
At this point I'm pretty sure I must've fallen from a great height onto my head inspiring me to do something utterly CRACKERS!! I rang Renault and ordered a pair of Williams driveshfts. :dead:
This however wasn't as rash decision as it might sound and I did put a lot of thought in before doing it but I doubt anyone wants to hear about it lol
As i've been MEGA busy at work I'm only able to get myself a few little bits done so I chose to do this..
Started with a std clio cluster and stripped it down to just the frame and cut out the dial surrounds etc.
Then got me pencil and ruler out..
Cut it out...
Fitted it into the cluster..
A fair bit of pi$$ing about cutting the hole out for the stack and fitting it resulted in this which will bolt in as the std cluster would have.
I'm very happy with it indeed and although I still need to fit some Leds for a few things and the buttons that work the stack but you get the general idea.
Propper update soon
Last edited:



Daz.
ClioSport Club Member
Clio 200 RS EDC
foook me I thought I used to be mad buying all new renault stuff for my willy!
I paid over £150 for new door trims all round - used them for a month and they've been sat in my spare room ever since because I know someone would just offer pence for them
I paid over £150 for new door trims all round - used them for a month and they've been sat in my spare room ever since because I know someone would just offer pence for them
JDM Dc2
love stack dashs!

Daz.
ClioSport Club Member
Clio 200 RS EDC
daz - you have found that man
Speak to me son - have have pennies waiting to be spent
'Rop! to you £200, you probably owe me that in subscriptions

PM me on Willyclio mi old mucker

Nafoff
ClioSport Club Member
great work chaps
love the dash
love the dash
First post here as this is just an account I use to browse the forum, I own a 106 but this thread just deserved to be posted in.
Just read this from start to finish. Epic epic epic thread, best build thread I've ever seen.
You should come along to www.built4track.co.uk and say hi, sure you'd be more than welcome!
Just read this from start to finish. Epic epic epic thread, best build thread I've ever seen.
You should come along to www.built4track.co.uk and say hi, sure you'd be more than welcome!
Last edited:

172 Race Car
Needs to see a track first imo
Lol, tbh it will fit in well on that forum. Its not quite how the creator intended yetIt's going to USC remember! ^
Golf GTi Mk2
Is it wrong that from an engineers point of view that I like the topmounts most? Orange anodising ftw.

Trophy Turbo :)
Very nice as always Chris 
Some of a Clio 1.8 16v
Well i'm still here and moo and I are still plodding along with the old girl. This week we've taken off work to make some big old steps forwards. Today has been a big old day on the car finally bolting on a lot of the parts that've been filling up my room for quite some time now. It's left us both knackered so not many words mostly pictures...
Got these done in the week..
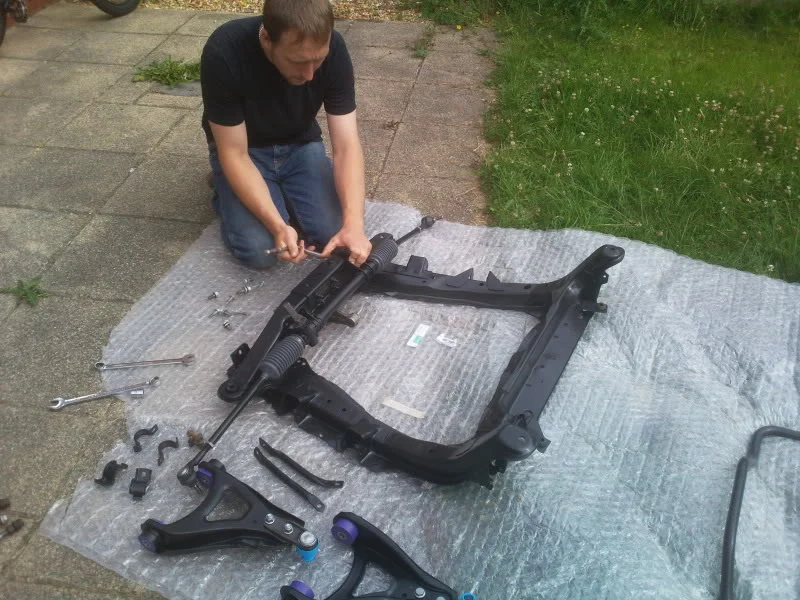
Which meant first job of the day could be assmebling the subframe with all the shiny bits..
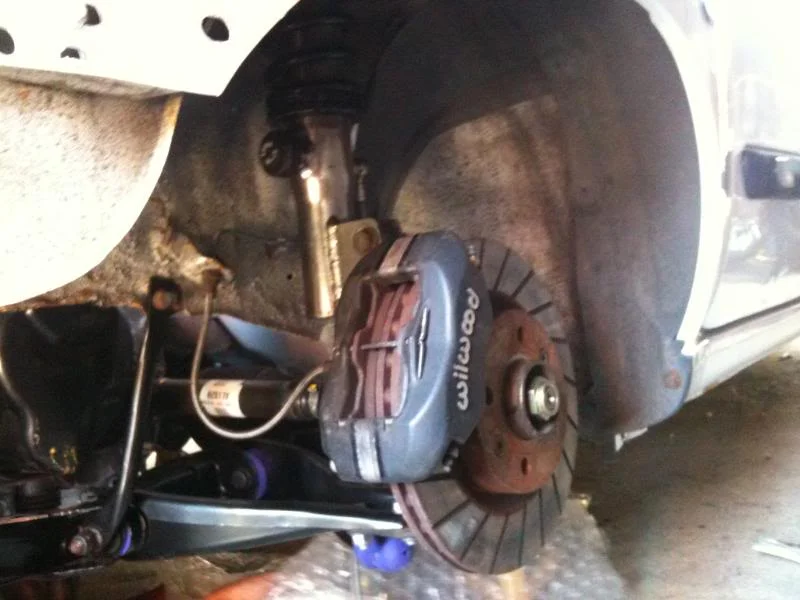
Once the topmounts were fitted in went the struts and other suspension parts. (I know it all needs a bit of a tidy up, it's on the list)
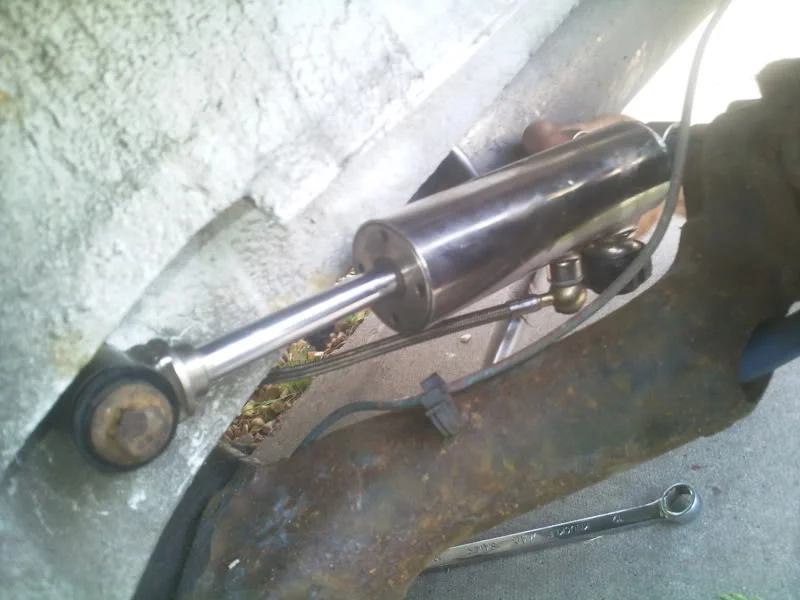
On with the rears. No homes for the reservoiurs yet but i'll try to work it out...
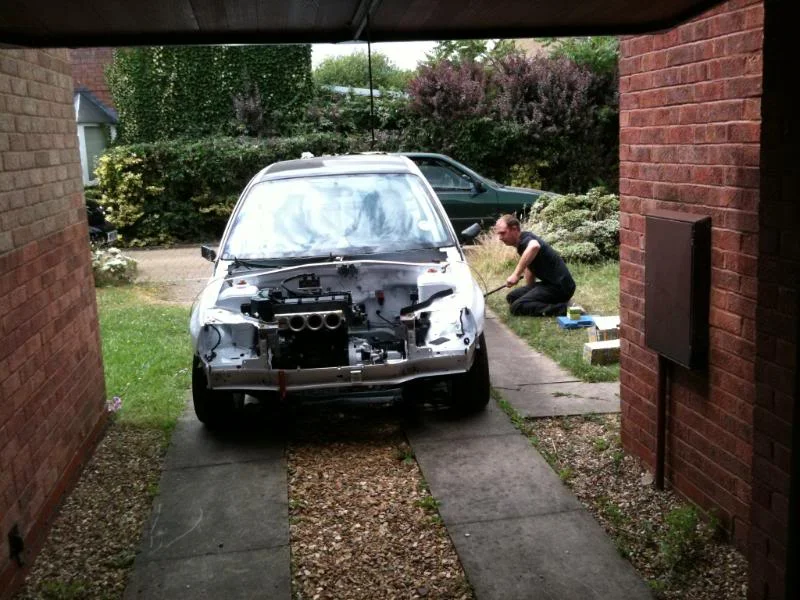
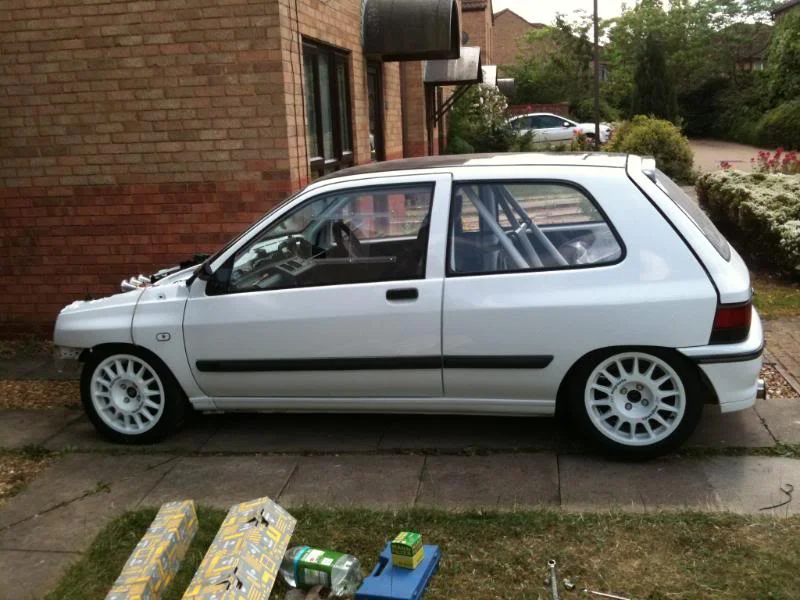
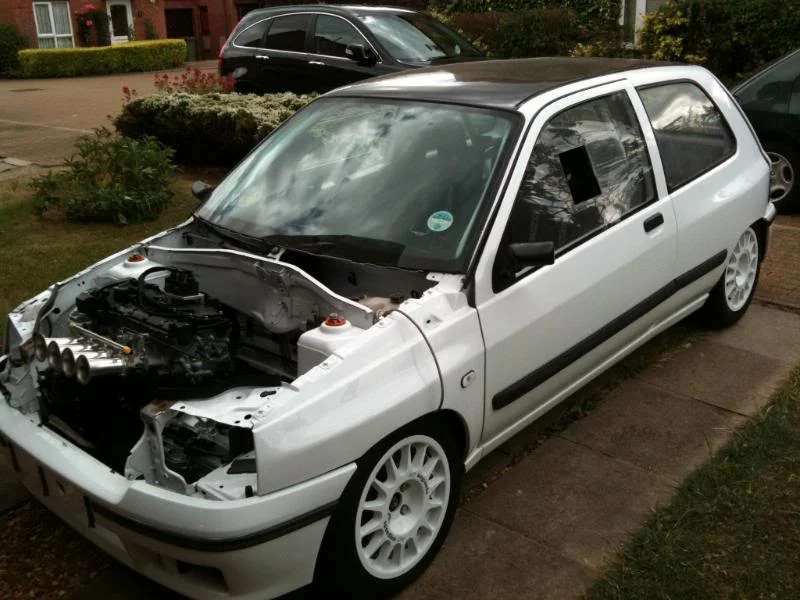
This meant that with the car back on suspension we can finally bolt the wheels on and roll it out for it's first glimps of sunlight in about... 9 months!
Bit of whoring...
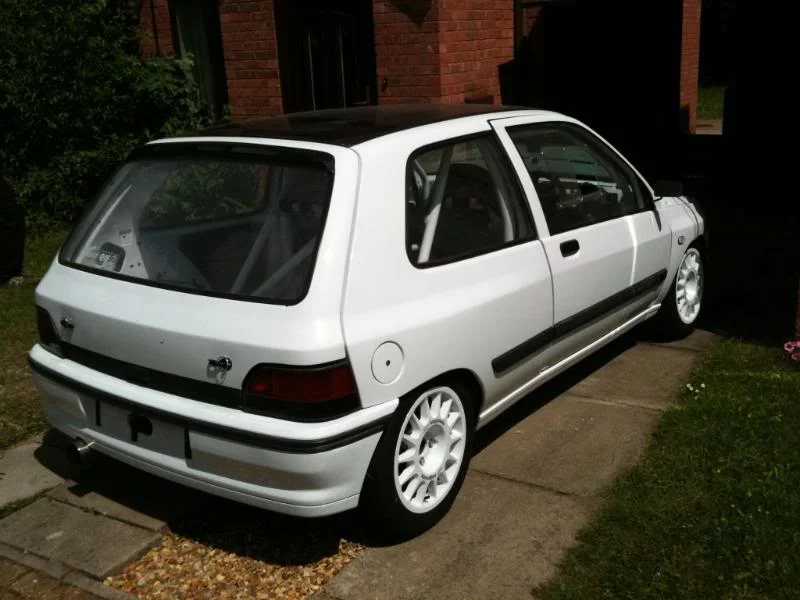
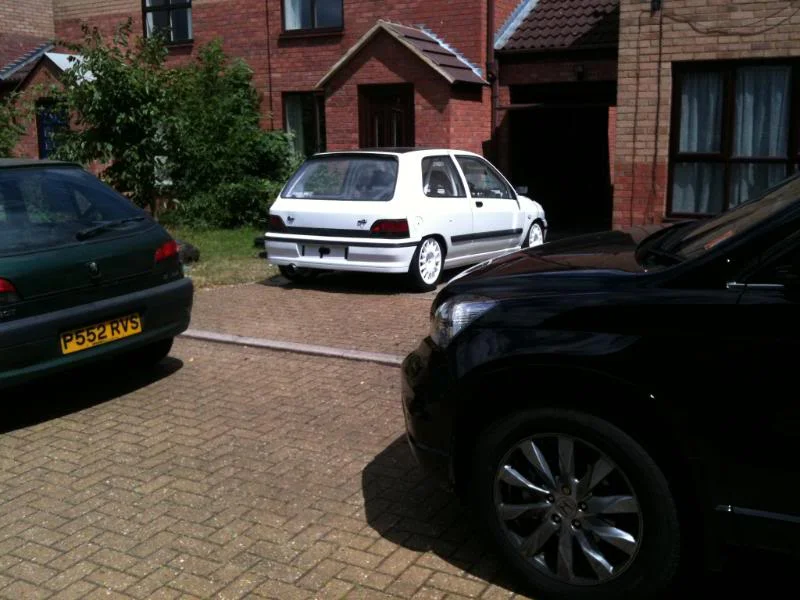
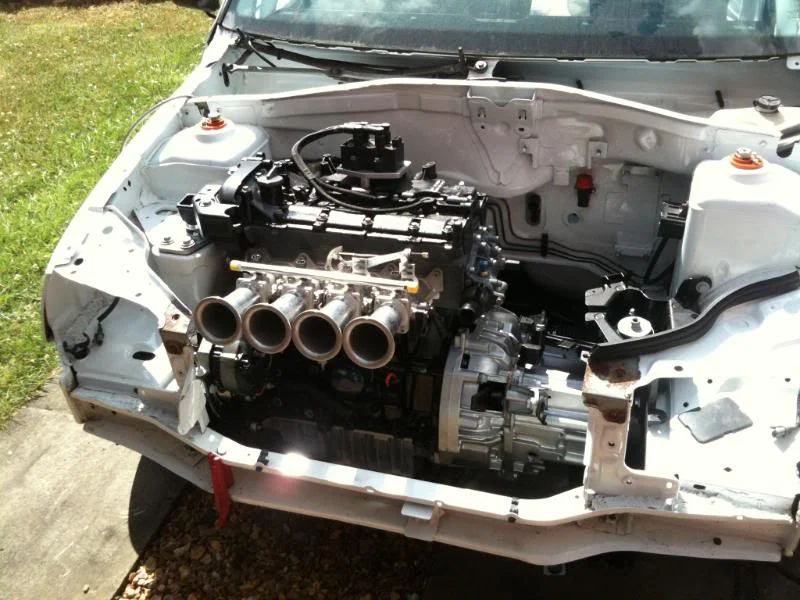
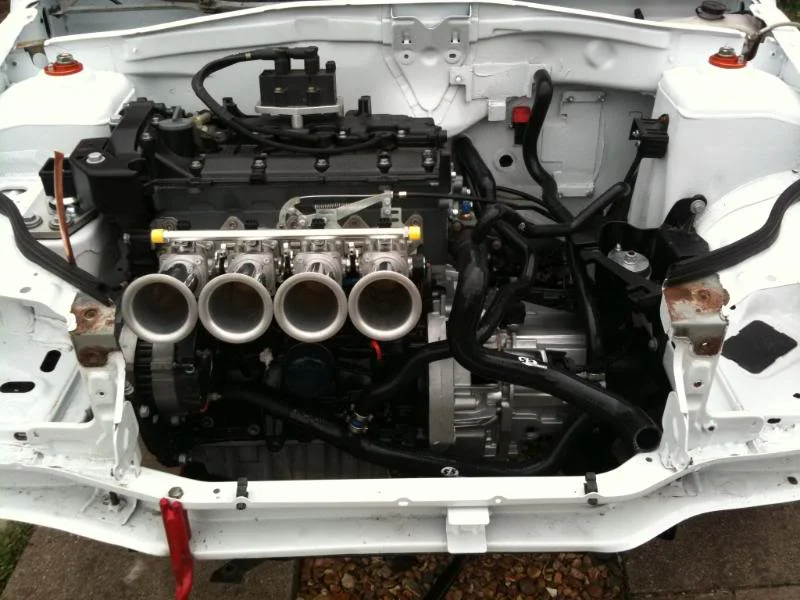
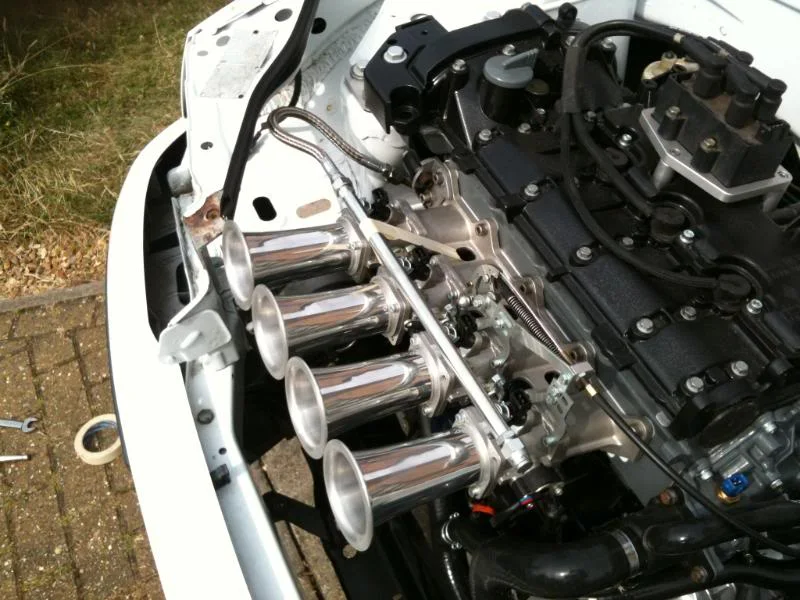
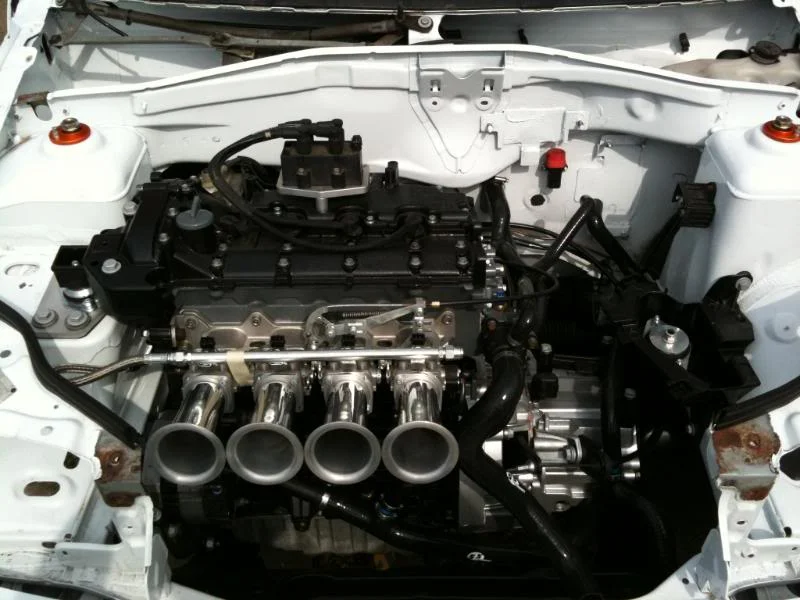
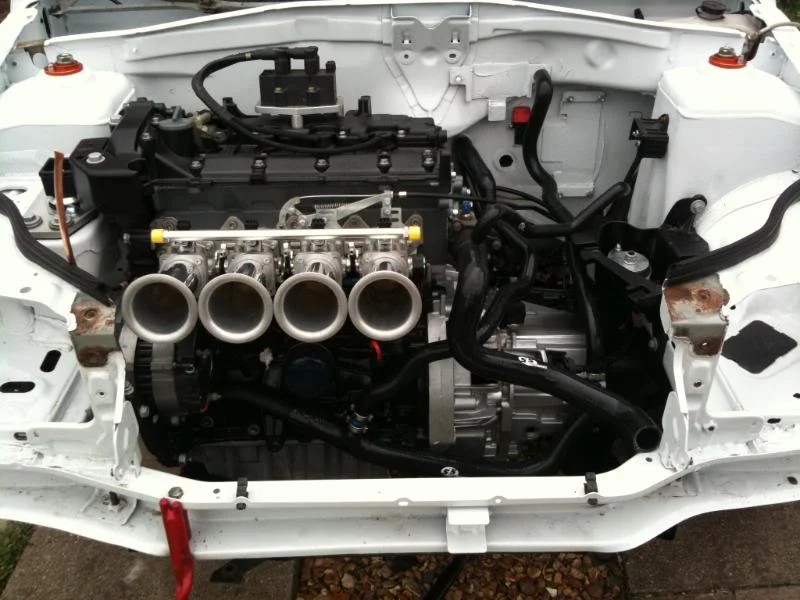
Next up it was time to get the 4th trumpet fitted
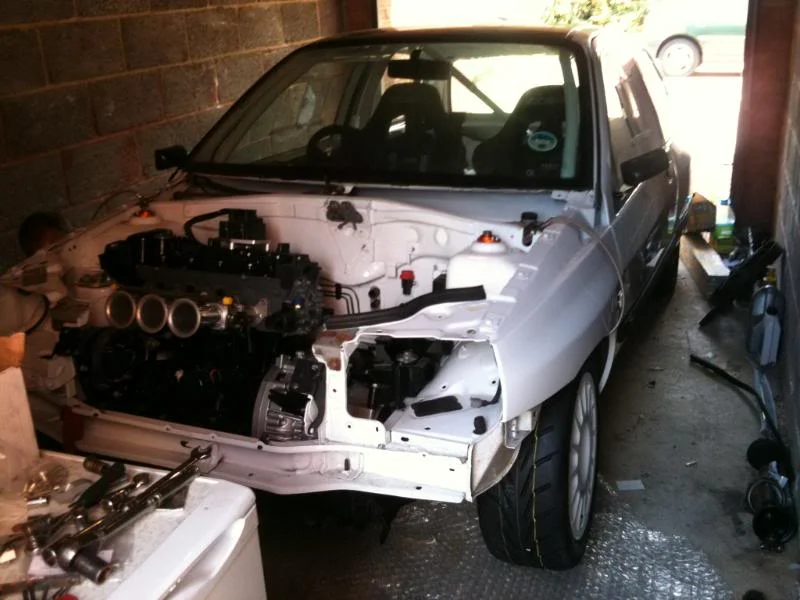
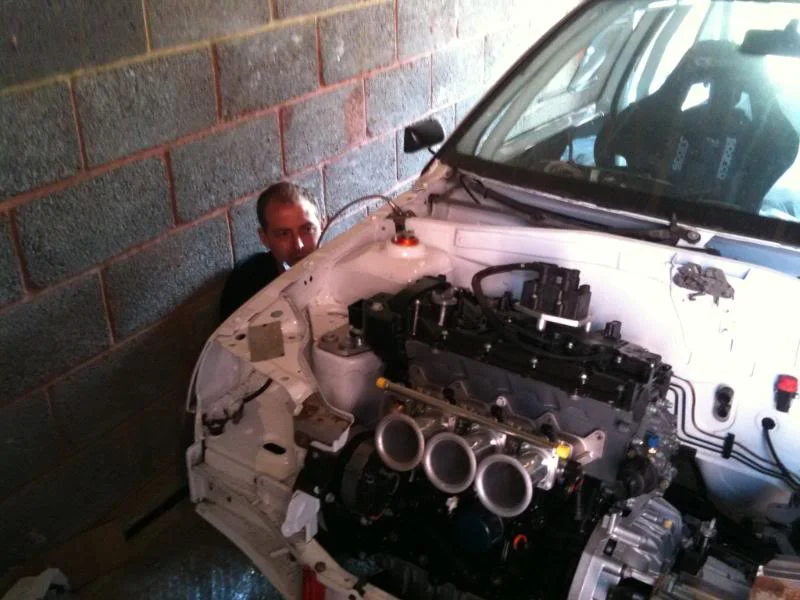
Next it was time to get the 4th throttle body to fit and properly assemble the rest of the linkage and cable..
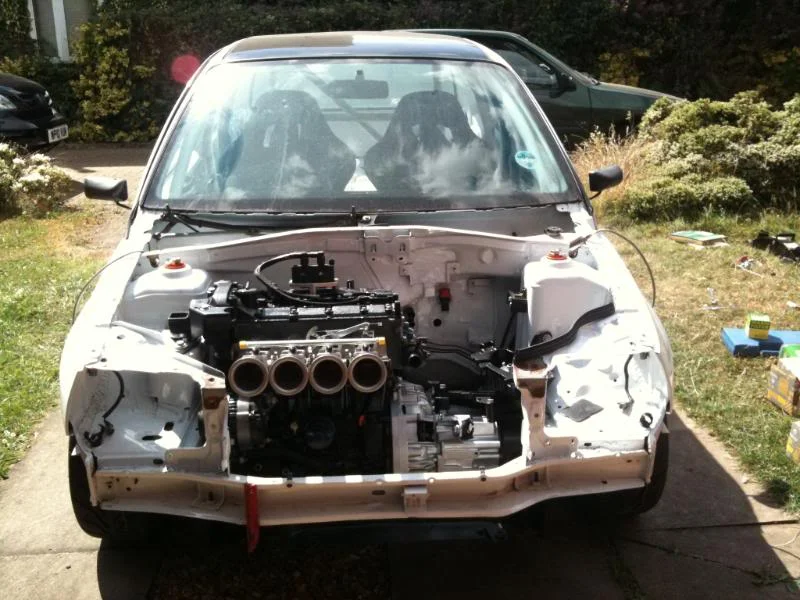
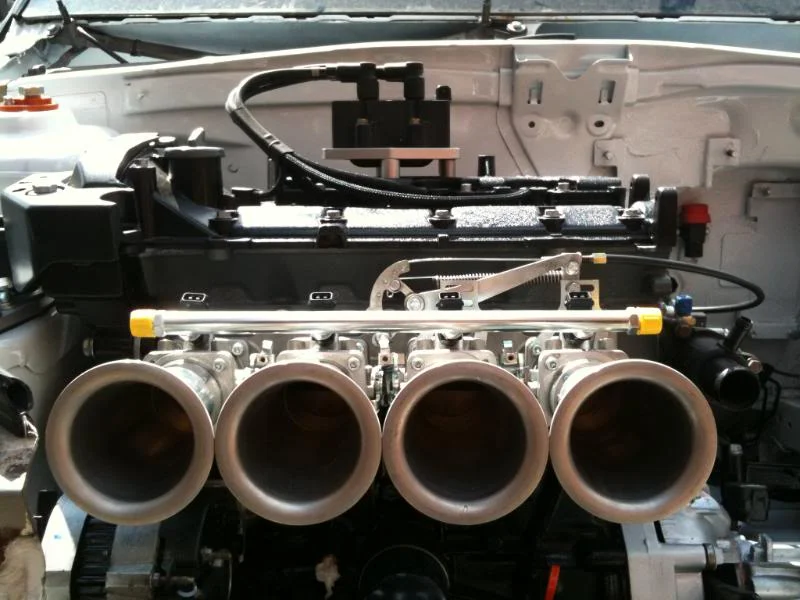
Clutch cable on then just a load of whoring..
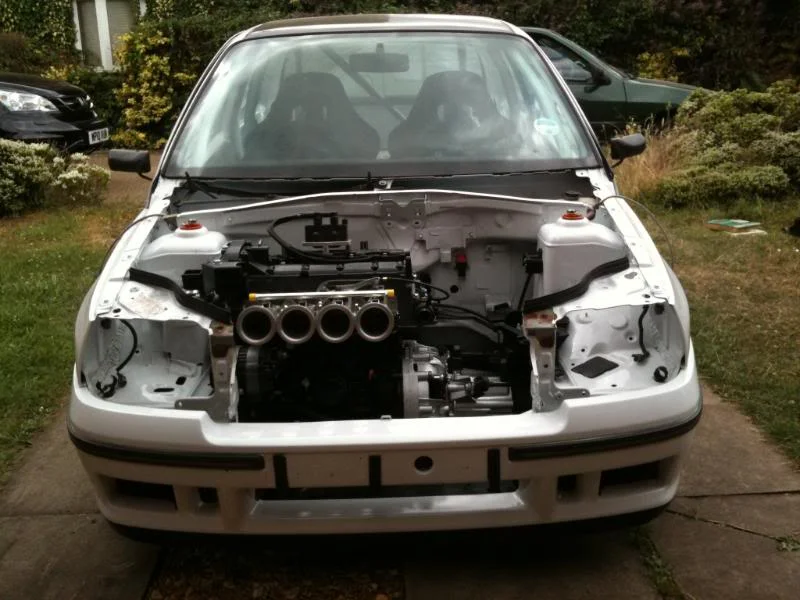
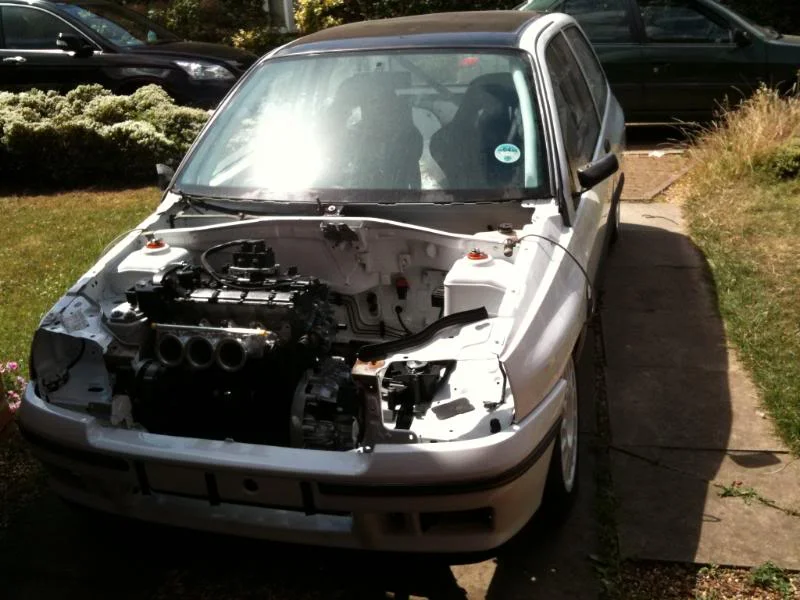
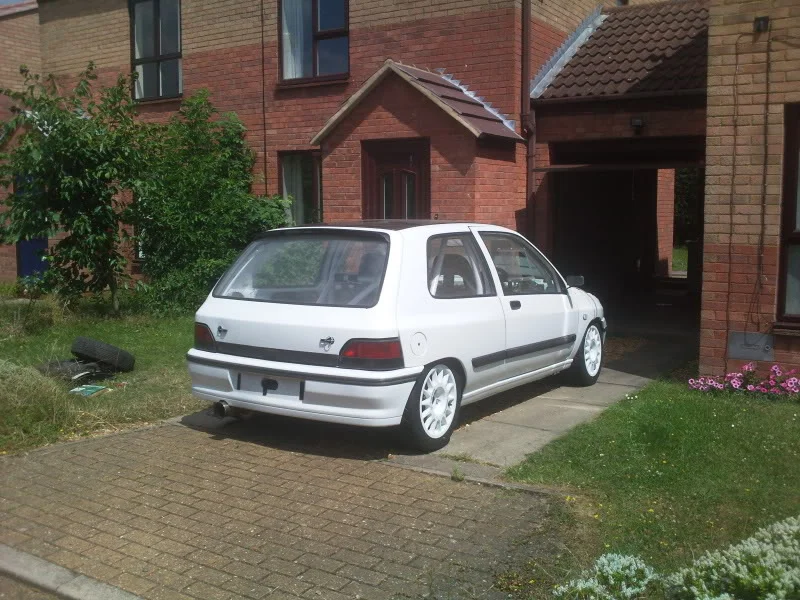
and back in the garage until tomorrow
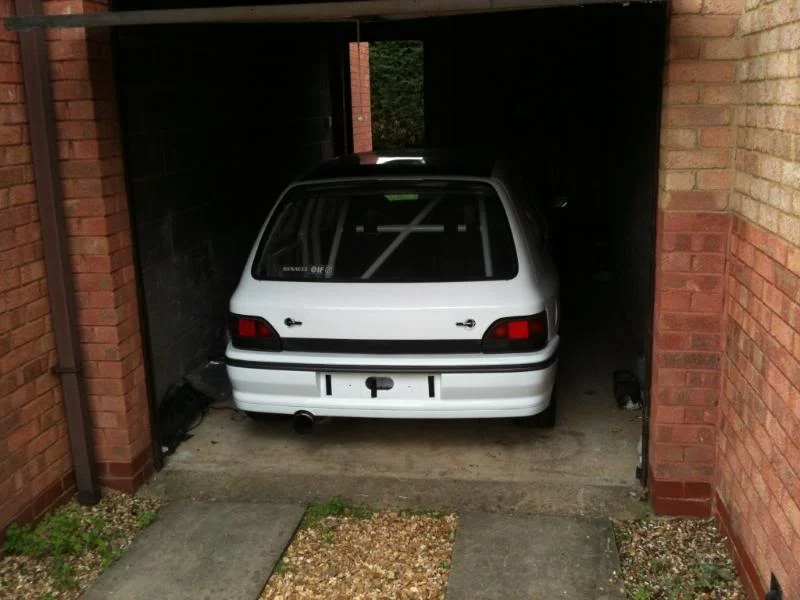
Cheers for looking..
Got these done in the week..
Which meant first job of the day could be assmebling the subframe with all the shiny bits..
Once the topmounts were fitted in went the struts and other suspension parts. (I know it all needs a bit of a tidy up, it's on the list)
On with the rears. No homes for the reservoiurs yet but i'll try to work it out...
This meant that with the car back on suspension we can finally bolt the wheels on and roll it out for it's first glimps of sunlight in about... 9 months!
Bit of whoring...
Next up it was time to get the 4th trumpet fitted
Next it was time to get the 4th throttle body to fit and properly assemble the rest of the linkage and cable..
Clutch cable on then just a load of whoring..
and back in the garage until tomorrow
Cheers for looking..
Last edited:
Nafoff
ClioSport Club Member
amazing
sure that car is getting better looking
sure that car is getting better looking



TrackCar & F30 330d
Awsome! the wheels sooo make that car!
You mean the Engine sooo makes that car!
Isnt it the 240bhp N/A build?
JDM Dc2
Best mk1 clio!.. ever maybe?
fkin love it!
fkin love it!

R5 GTT EFI Clio.
Looks amazing! - cant wait to see this done!
ITB'd MK1
sweet progress. you on it again tomorrow?
Some of a Clio 1.8 16v
Ok back again but not a massive update this one as we've spent a great deal of the last 2 days whizzing here there and everywhere picking up bits. However we have done a couple of bits Most importantly we now have a fuel system plumbed in consisting of...
Mk2 phase 2 fuel pump (NOT a straight swap before you ask!) but it made it possible to tidy up the fuel pipes a bit.
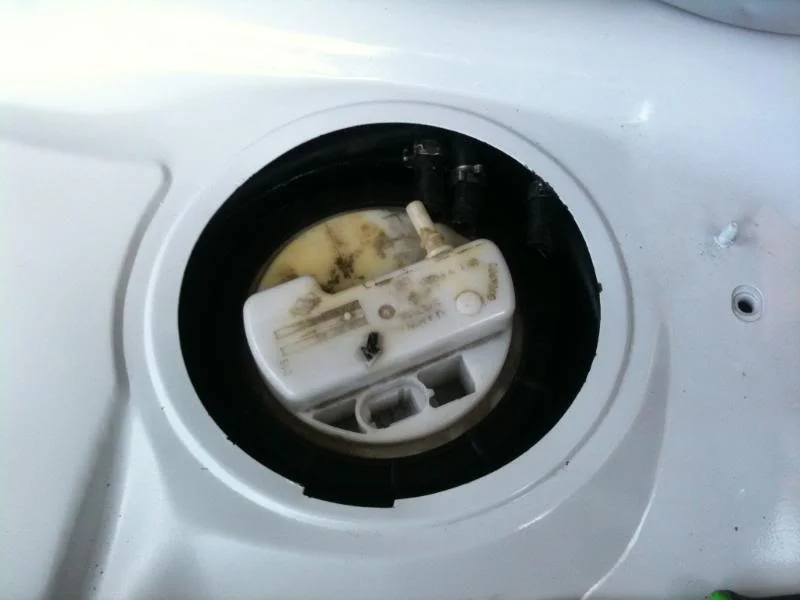
Ran ourselves a new solid fuel line.
Which was then finished off with a nice braided joiner to connect it to the rail..
Next we collected our custom rad hoses made to elimiante the need for adaptors on the heater but as we found the header tank was looking a little mouldy I decided to get a new one which will be here tomorrow.
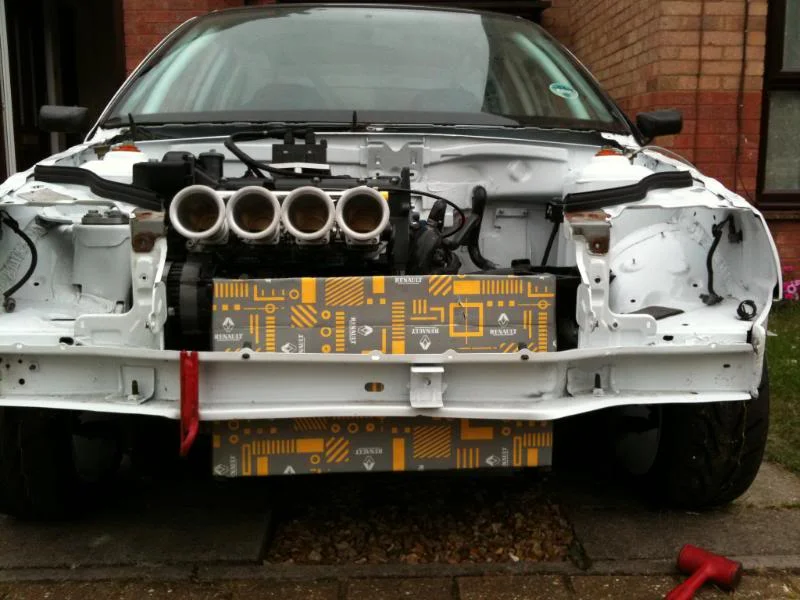
After that we set abot the very unusual task of making a cardbord radiator (patern lol) to take to the firm making the new rad..
All that now in hand we have working
Throttle pedal
Brake pedal
Clutch pedal
Steering wheel (although the steering is VERY heavy!)
Gear stick.
Mk2 phase 2 fuel pump (NOT a straight swap before you ask!) but it made it possible to tidy up the fuel pipes a bit.
Ran ourselves a new solid fuel line.
Which was then finished off with a nice braided joiner to connect it to the rail..
Next we collected our custom rad hoses made to elimiante the need for adaptors on the heater but as we found the header tank was looking a little mouldy I decided to get a new one which will be here tomorrow.
After that we set abot the very unusual task of making a cardbord radiator (patern lol) to take to the firm making the new rad..
All that now in hand we have working
Throttle pedal
Brake pedal
Clutch pedal
Steering wheel (although the steering is VERY heavy!)
Gear stick.
Nafoff
ClioSport Club Member
and again, great work
ITB'd MK1
Why the MK2 fuel pump? It's not a returnless system is it?
he's converted to the returnless system of the ph2 mk2, tidys things up a treat actually

Daniel
ClioSport Moderator
Whichever has fuel
he's converted to the returnless system of the ph2 mk2, tidys things up a treat actually
I need more info!!!
Similar threads


- Replies
- 8
- Views
- 2K


- Replies
- 1
- Views
- 717
