ClioSport.net

This is a sample guest message. Register a free account today to become a member! Once signed in, you'll be able to participate on this site by adding your own topics and posts, as well as connect with other members through your own private inbox!

  • When you purchase through links on our site, we may earn an affiliate commission. Read more here.

Honda S2000 and a VW MKV Golf GTi

Car  Audi A4 AVANT 1.9TDi
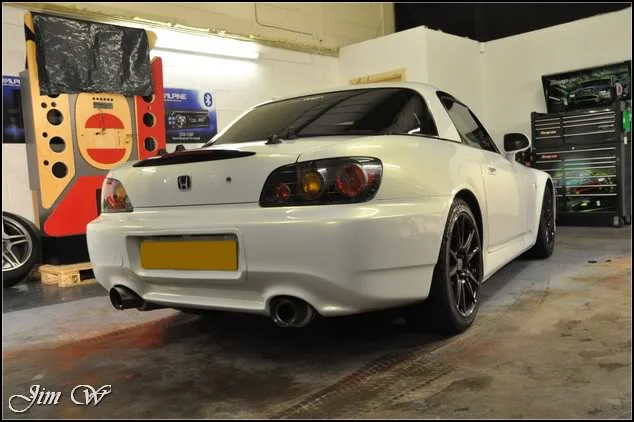
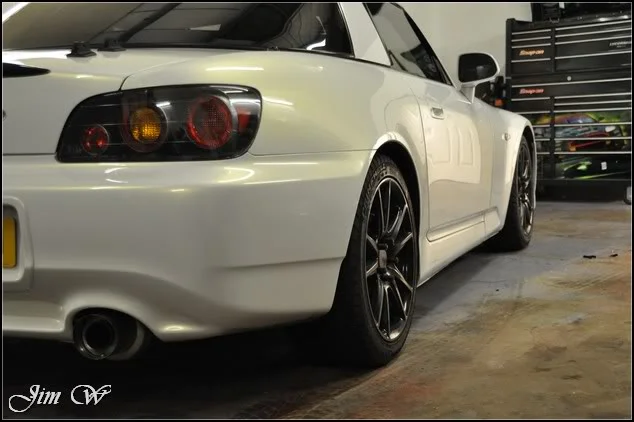
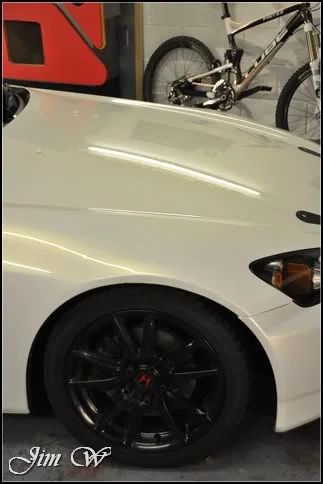
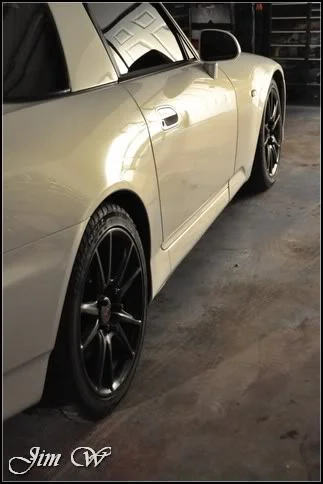
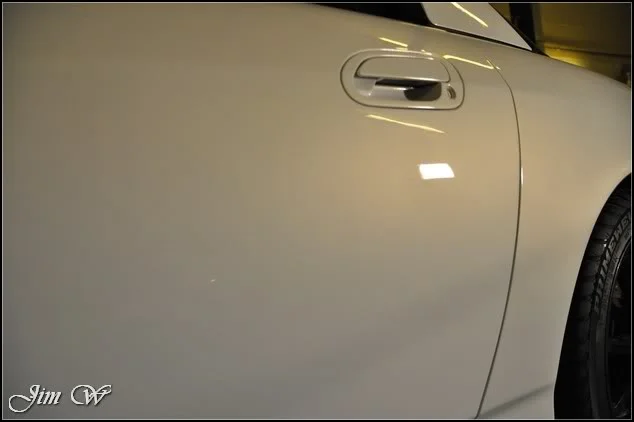
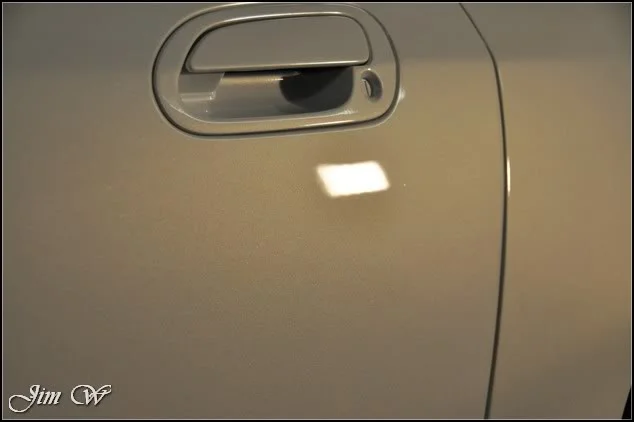
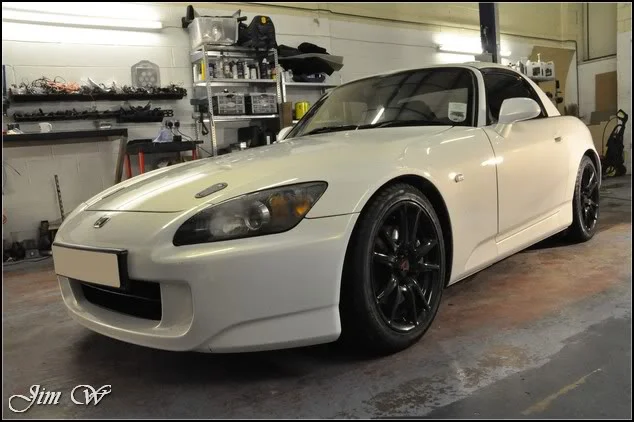
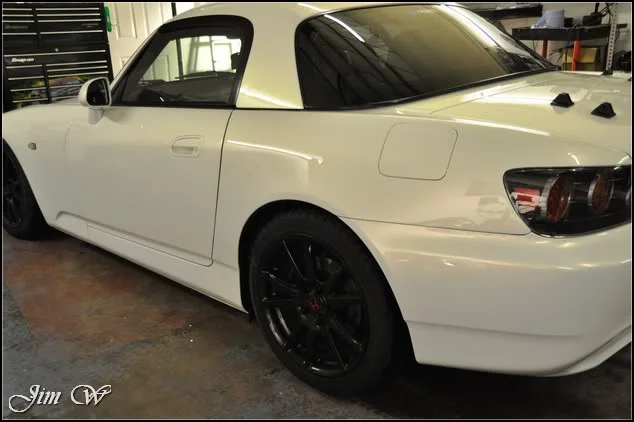
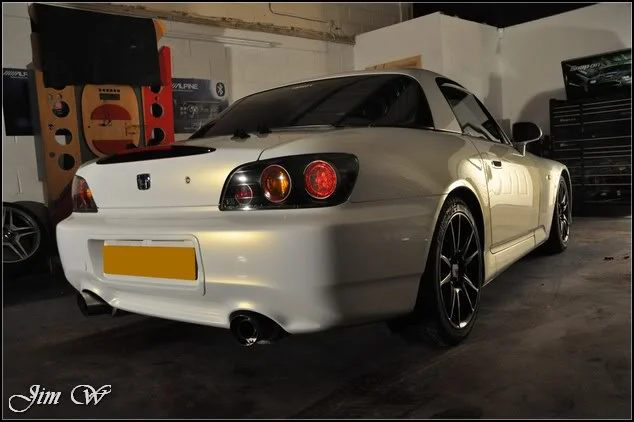
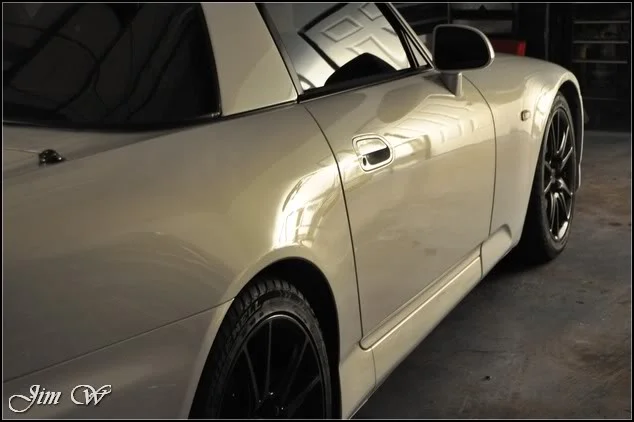
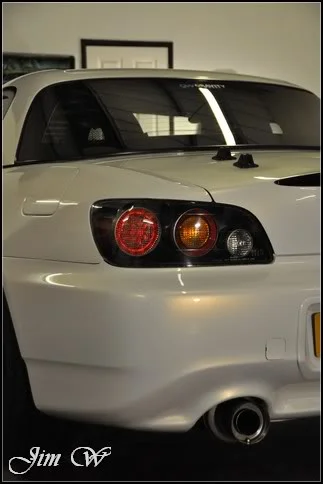
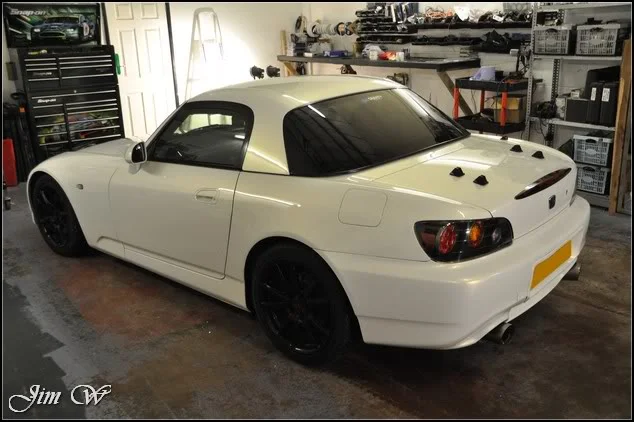
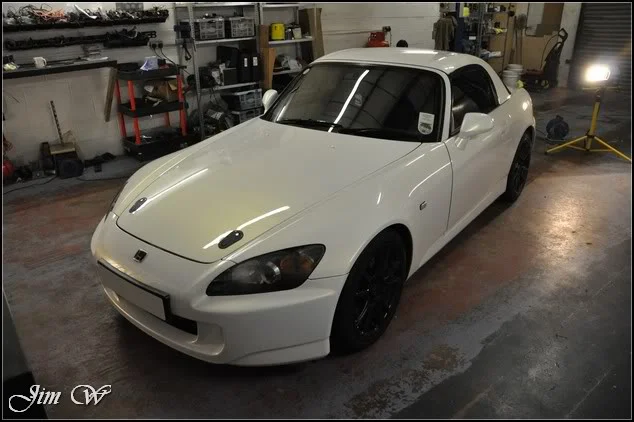
Honda S2000 – finished in a pearl white…

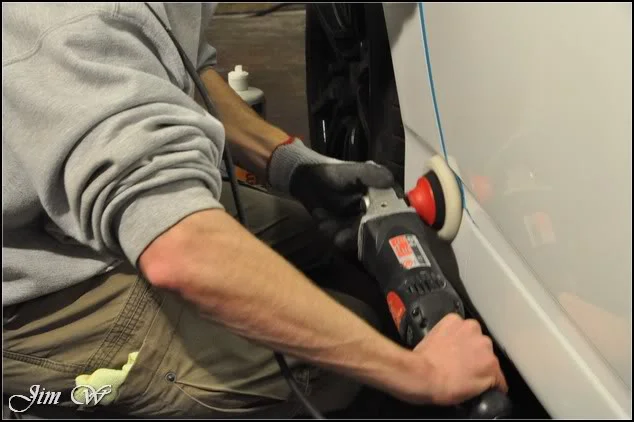
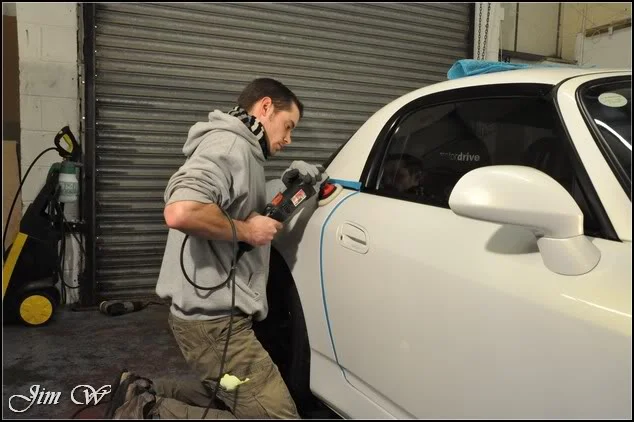
Having spent three days with Jonny from PureDetail a month or two back down in Sevenoaks, Kent, it was time we caught up again. I was invited to the PureDetail HQ in the North West, the plan was to help out on a correctional detail he had on the go and also to try my hand at wet-flatting using the DA.

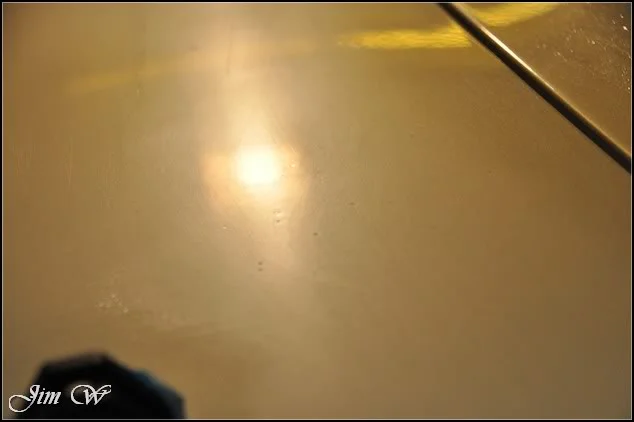
The car in question was a recently resprayed track-spec Honda S2000. If I am honest, the finish was dreadful. Probably the worst respray I have seen to date. With this in mind, only so much could be done with the flatting; sanding scores, paint runs, hundreds of fish-eyes and deeper ‘dimples’ were dotted around on every panel.

On my arrival, Jonny had already put the Honda through the full wash stage including clay and tar removal. The wheels hadn’t been touched as they would be coming off the following day for a full cleanse and wheel-nuts to be painted.

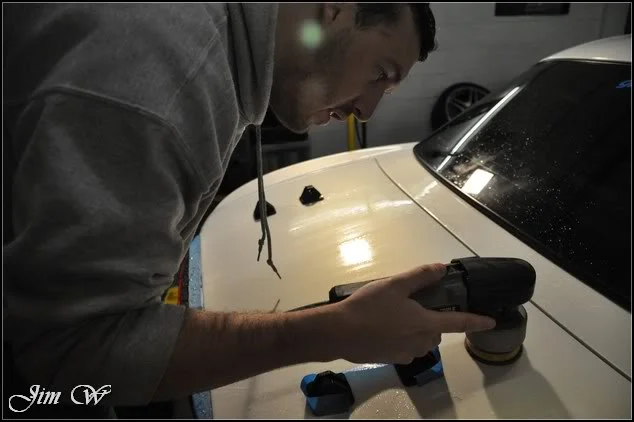
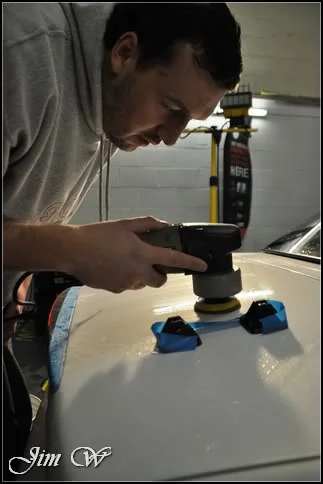
The tailgate was suffering the worst – Mirka Abralon 2000 sanding discs used on the DA to give a consistent smooth finish.
DSC_0593.webp


DSC_0594.webp


Here, you can see what we were up against: (Note the dimples)
DSC_0600.webp


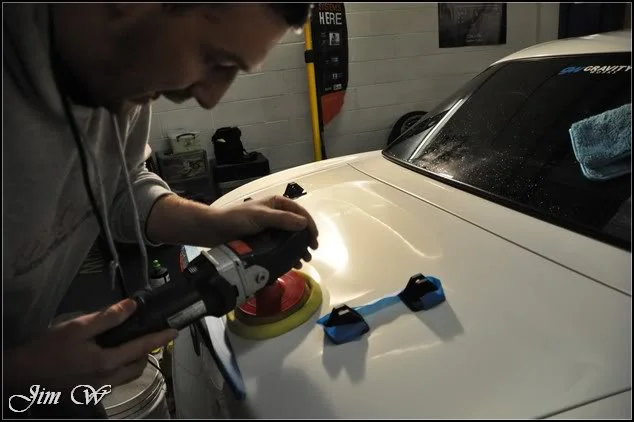
As we were working with UK paint and not the usual ‘butter-soft’ Jap stuff, we were able to go quite heavy with defect removal. Multiple hits of 3M/Menzerna polishes given to chase our sanding marks and swirling.
DSC_0603.webp


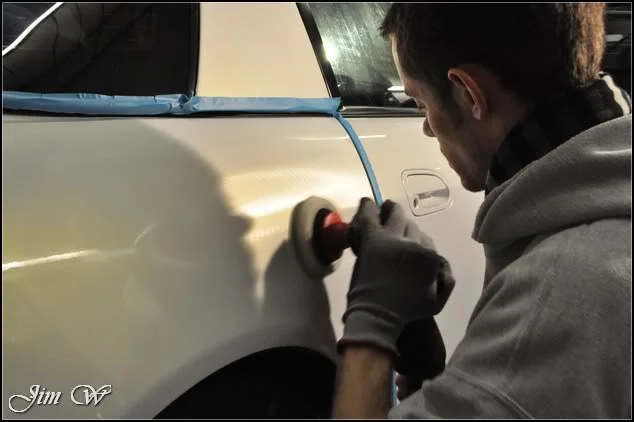
Whilst Jonny battled with the best part of the tailgate, I got stuck in with Menzerna polishes to correct both the near and offside of the Honda.

Buffer-trails spotted before:
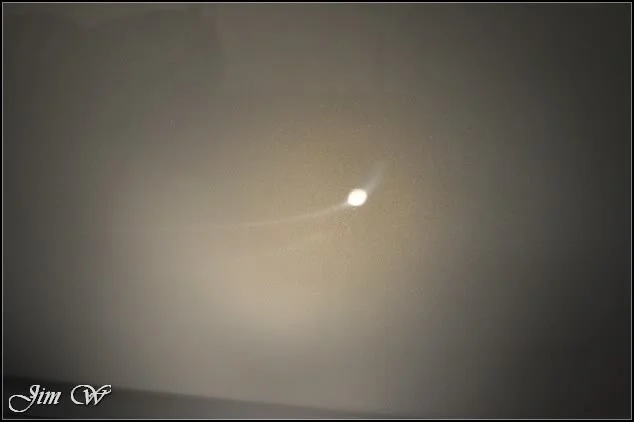
DSC_0604.webp


Clear and crisp after:

DSC_0605.webp


More machine holograms:

DSC_0607.webp


Removed via correct rotary polishing and product choice:
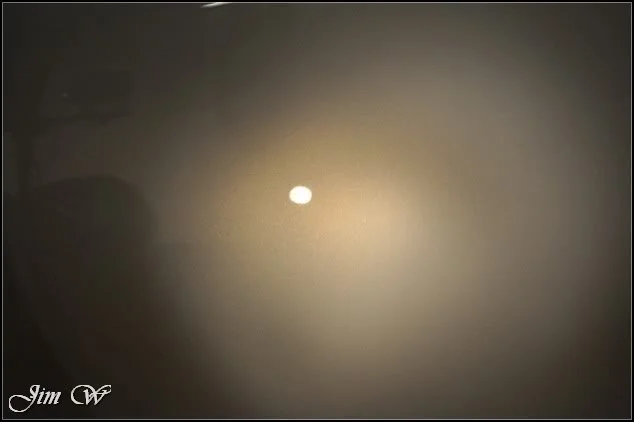
DSC_0608.webp


Although not badly swirled, the N/S front wing was covered in a haze:
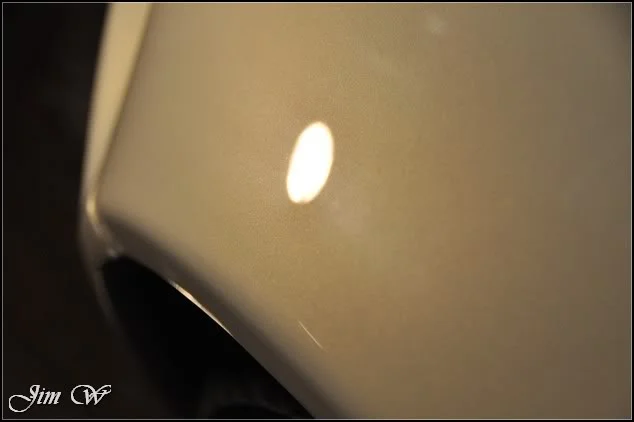
DSC_0609.webp


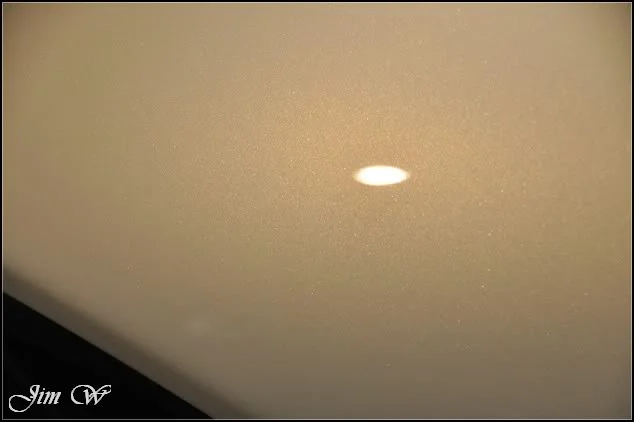
A single stage machine correction pass was able to remove the holograms and restore the high gloss:
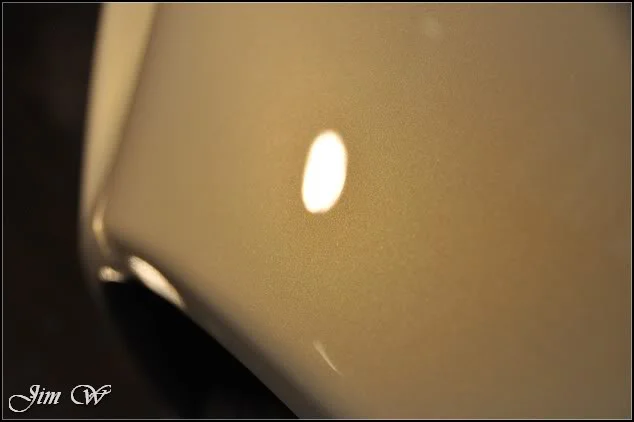
DSC_0611.webp


DSC_0613.webp


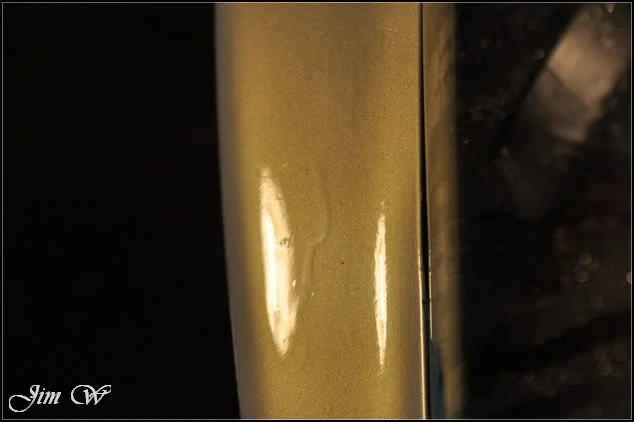
Check out the paint run on the front bumper:
DSC_0610.webp


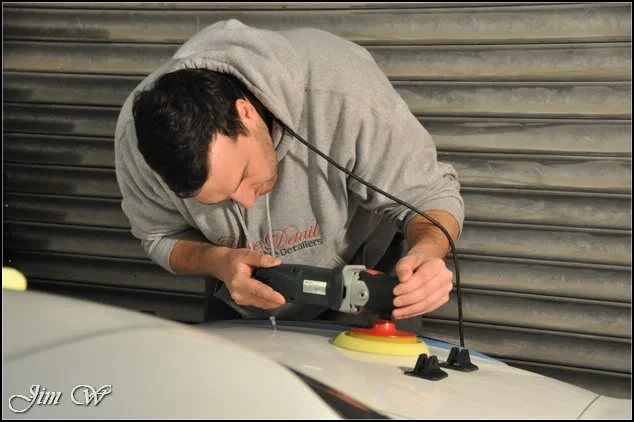
Jonny refining his work on the rear end:
DSC_0616.webp


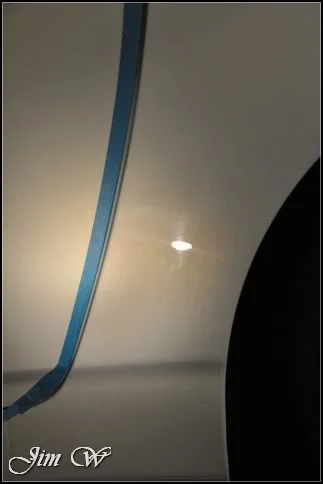
My before/after on the N/S rear quarter:
DSC_0618.webp
DSC_0619.webp


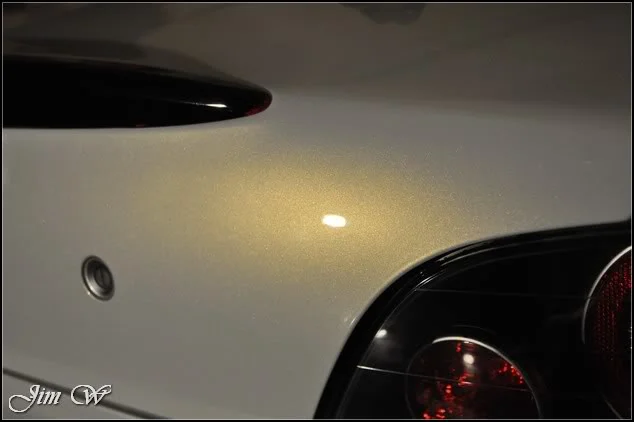
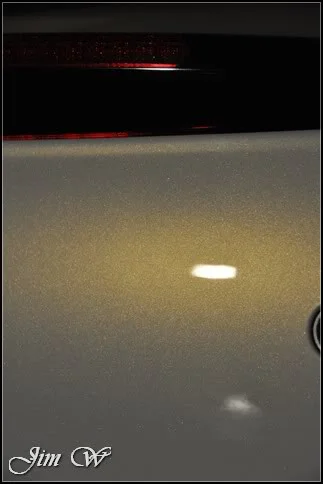
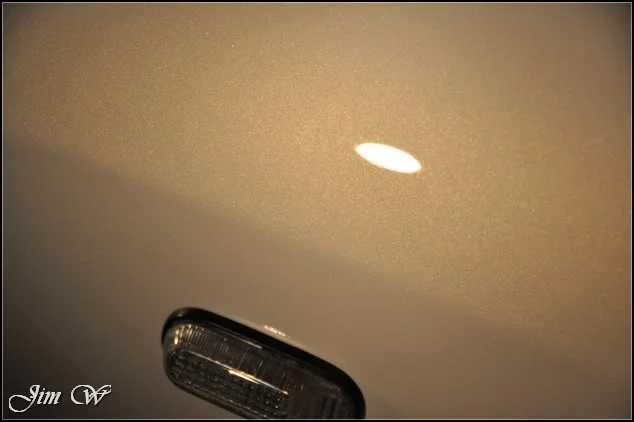
And a nice shot of the pearl flake ‘popping’ now it’s correctly finished:
DSC_0617.webp


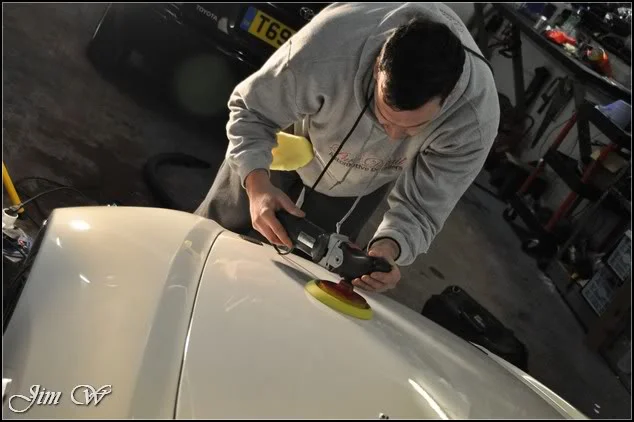
Switching sides, I took control of the DA for a bit of wet-flatting and Jonny corrected the bonnet:
DSC_0624.webp


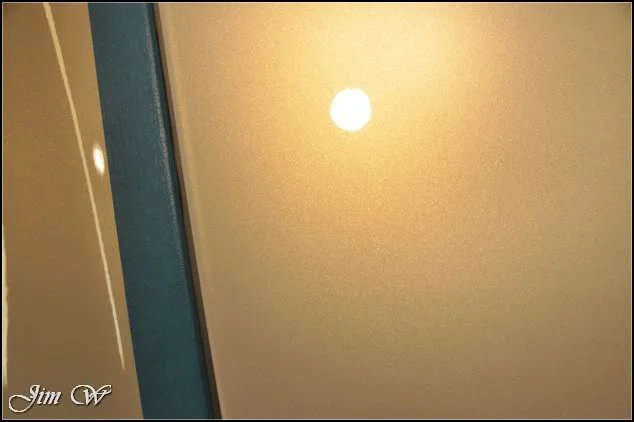
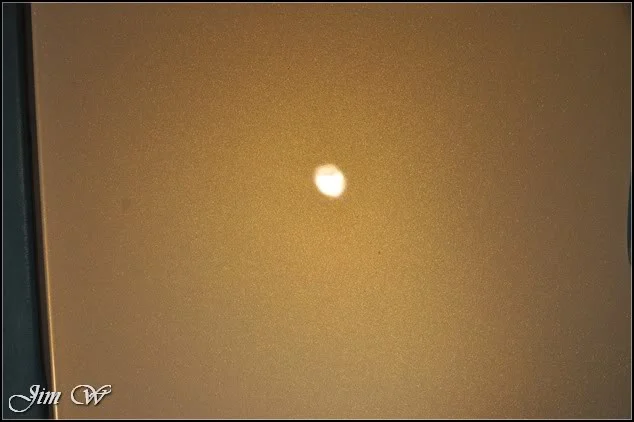
The far left hand side of the tailgate was left for me… A 2000 sanding disc to remove the nastier scratches and to lessen the fish-eyes, then following with a finer 4000 grade disc before compounding and polishing to a near on perfect finish.
DSC_0634.webp


DSC_0635.webp


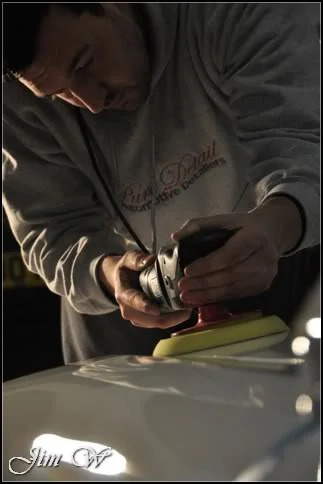
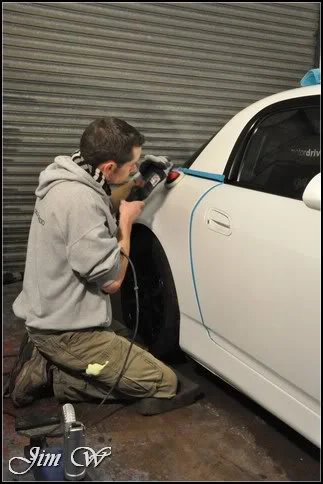
Whilst Jonny finished his work on the bonnet, I rejoined him on the rotary and started to work down the O/S hoping to meet him half way.
DSC_0629.webp
DSC_0643.webp


DSC_0637.webp


DSC_0646.webp


DSC_0660.webp


Paintwork was wiped down with an IPA to remove polishing oils.

Paintwork protected with Jeffs Werkstat Jett Trigger – We used Jeffs Trigger to highlight the flake ‘pop’ and clarity offered by a sealant as opposed to the ‘warm’ glossy results that a carnauba wax gives.

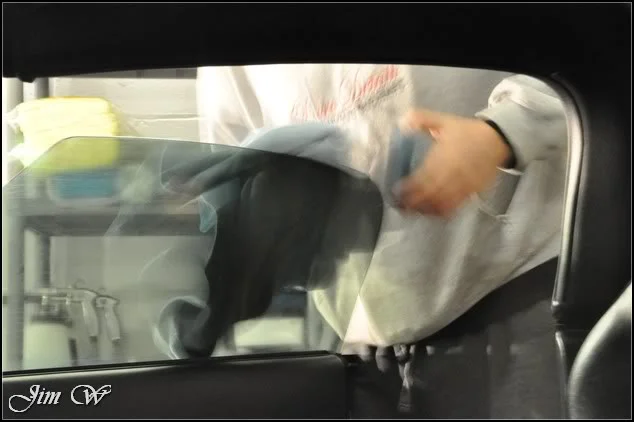
Glass was cleaned inside and out with 3M’s Glass Cleaner (on my recommendation)
DSC_0670.webp


Metalwork cleaned and protected.

The engine bay had previously been tidied before I arrived but was then dressed with AutoGlym’s Vinyl and Rubber Care (I didn’t capture any photos on this; I hope to steal some of Jonny’s images later!)

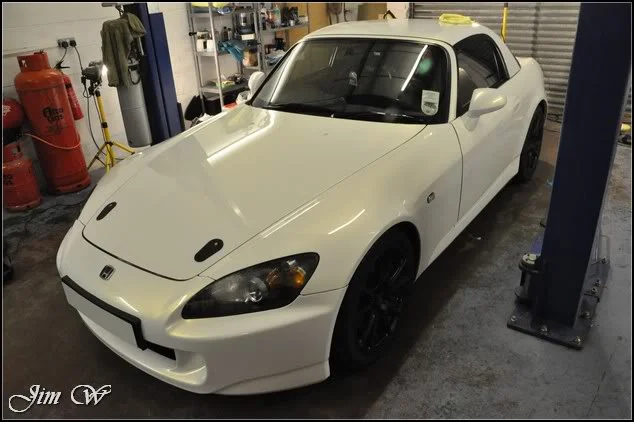
A final wipe down of the paint and we’re finished. Not a bad afternoon’s work!
DSC_0672.webp


DSC_0673.webp


DSC_0675.webp


DSC_0676.webp
DSC_0688.webp


DSC_0679.webp


DSC_0680.webp


DSC_0683.webp


DSC_0684.webp


DSC_0686.webp


DSC_0687.webp


DSC_0691.webp


DSC_0690.webp
DSC_0692.webp


DSC_0694.webp


DSC_0678.webp


It’s a shame about the respray nasties… The cars style/colour coupled with the aggressive track-stance really grew on me. A good day spent at the PureDetail HQ – watch this space for more tag-team work coming soon in a capital city near you!!

Jim.
 
Volkswagen MKV Golf GTi – Shadow Blue. Minor Correction.

Having only owned the car for 10 days, the owner searched for ‘Detailers’ in his area in hope of giving the Golf a lick of protection and a general tidy up. Many recommendations were given on various Volkswagen sites for WhiteDetails – a few emails were exchanged and a date was set.

Slight change in the plan however. After seeing the results of a Minor Correction Detail, the owner decided to scrap the Winter Protection and go with the latter (A good job, too!)

Product

· 3M Glass Cleaner
· 303 Aerospace Protectant
· AutoSmart Tardis
· AutoSmart G101
· AutoGlym Vinyl and Rubber Care
· Belgom ALU
· Chemical Guys JetSEAL109
· Dodo Juice Born To Be Mild
· Dodo Juice SuperNatural
· Elite Fine Grade Clay
· LTT Auto Ultra Foam
· LTT Auto Ultra Protect
· Meguiars Last Touch
· Meguiars All Season Dressing
· Meguiars Super Degreaser
· Menzerna 203S
· Menzerna 85RD 3.02


Inspection.

DSC_0697.webp


DSC_0698.webp


DSC_0700.webp


DSC_0703.webp


DSC_0704.webp


DSC_0706.webp
DSC_0707.webp


DSC_0708.webp


DSC_0710.webp


The vehicle was dropped off the night before… I quickly took the owner round the vehicle inspecting the paint through the thick layer of grime. Even through the dirt, some serious defects were spotted and lots of buffer tails/sanding marks from bodyshop repairs. Unfortunately this was news to the owner; as said above, it’s a good job it was booked in for a Correctional Detail after all!

I scuttled on through the wash stage without documenting a single thing... It was ‘minus penguins’, it was raining and I just wanted to get on.

Wheels, tyres and arches cleaned with AutoSmart G101, AutoSmart Tardis and Meguiars Super Degreaser. Engine bay soaked and cleaned with Meguiars Super Degreaser. Doorshuts and sills cleaned with AutoSmart G101 and body washed with Dodo Juice Born To Be Mild.

To touch, the car felt fairly silky. A sign that little claying was required maybe?

After a test section,

DSC_0715.webp


Heh. I take that back. The car was clayed, and, as you see, it was pretty contaminated. The lowers were soaked in AutoSmart Tardis to dissolve the tar specs and Megs Last Touch was used to aid the clay bar.

Rinsing as I go to shift the residues, a final ‘open-hose’ rinse was given to sheet the standing water off of the car.

DSC_0717.webp


After a quick towel dry session, the black baron made light work of the trapped water in the grilles, the panel gaps and the badges.

An awesome bit of kit - it really is. I wouldn’t like to work without one at this time of year to be honest. Yes, you probably add fifteen minutes to the drying stages, but later on in the day you’re not having to worry about chasing drips, smears and contaminated pads when trying to machine polish, apply a glaze, wax or window cleaner etc.

DSC_0719.webp


Now bear in mind the car was soaked through just twenty minutes ago:

DSC_0722.webp
DSC_0724.webp


DSC_0725.webp


DSC_0730.webp


Time to inspect the paint now it’s clean.

DSC_0731.webp


DSC_0732.webp


DSC_0739.webp


DSC_0741.webp


DSC_0733.webp
DSC_0762.webp


Colour match, eh? One of the two has been painted… (Turns out, they both have (just at different times one must assume!?))

DSC_0742.webp


DSC_0747.webp


DSC_0748.webp


DSC_0750.webp


DSC_0751.webp


DSC_0752.webp


The rear O/S quarter was awesome. One of the areas I pointed out to the customer when he dropped the vehicle off:

DSC_0753.webp


DSC_0755.webp


So pretty! Even under strip lights it looked horrific.

DSC_0758.webp


Gloss black B-Pillars:

DSC_0763.webp


Roof: (with a loooong scratch that stretched from the boot spoiler all the way across to the windscreen (possible ‘water-blade’ maybe?))

DSC_0764.webp


With the kettle on boil and the biscuits at hand, it was time to gear up. Paint thickness checked…

“oh, little low on the bonnet in places…”

DSC_0767.webp


“The O/S isn’t much better..”

DSC_0772.webp


“OK. Another area of caution.” On the tailgate this time…

DSC_0773.webp


DSC_0774.webp


“Finally. Some healthy readings!” (Turns out it had been painted)

DSC_0775.webp


DSC_0778.webp


The difference between the N/S door and the N/S front wing:

DSC_0779.webp
DSC_0780.webp


70 microns is really pushing it. I’m pleased we’re only booked for a ‘Minor’ correction as I don’t fancy going too heavy on that area at all!

By the end of the two days, I was trying to piece together the cars history. The front bumper had been sprayed (lacquer peel in a couple of places and a little bit of flaking on the edges), as had the N/S front wing and the door. “But the paint thickness readings on the wing were low?” Yes, but, wait till you see the marks from the DA sanding session!

DSC_0783.webp


DSC_0784.webp


The N/S wing and the door were a different colour to that of the N/S rear quarter. Photos later will show you this…

Testing my polish and pad combinations, I tape a 50/50 up on the bonnet.

DSC_0786.webp


DSC_0790.webp


DSC_0793.webp


Before/after:

DSC_0795.webp
DSC_0796.webp


DSC_0799.webp
DSC_0801.webp


Menzerna 203s and a 3M yellow polishing pad. Happy with the correction given (for a single-pass ‘minor correction’ detail) and I was able to finish with it well too. (IE, a burnished finish with no need to follow with a milder approach)

Bonnet 50/50 visible under the strip lighting:

DSC_0804.webp


Continuing to work down the O/S.

DSC_0805.webp


DSC_0819.webp


Remember this?

DSC_0753.webp


The single-pass with Menz 203s managed to clean the swirls and buffer trails quite nicely (…but left massive room for improvement!)

DSC_0820.webp


DSC_0822.webp


DSC_0823.webp


DSC_0824.webp


As thickness levels were healthy(ier!), I went with Menzerna 85RD 3.02 for more cut.

Much better:

DSC_0826.webp


DSC_0827.webp


And refined with Menzerna 106FA:

DSC_0828.webp


DSC_0829.webp


DSC_0831.webp


Back to Menz 203s and the yellow 3M pad - up onto the roof:

DSC_0832.webp


…and the tailgate:

DSC_0836.webp


The O/S B-pillars taped and polished.

Menz 85RD 3.02 followed by 203s.

Before/After:

DSC_0838.webp


DSC_0840.webp


DSC_0839.webp
DSC_0842.webp


O/S complete along with the tailgate and half the roof.

DSC_0844.webp


Spinning the car round, I got stuck into the N/S working from the back to the front of the vehicle.

DSC_0845.webp
DSC_0847.webp


Even though the door is yet to be corrected in this next shot, you can see the difference in colour between the two panels:

DSC_0850.webp


Before:

DSC_0852.webp


After:

DSC_0851.webp


50/50:

DSC_0856.webp


Before/After:

DSC_0857.webp


DSC_0858.webp


DSC_0860.webp


DSC_0861.webp


DSC_0863.webp


The N/S front wing which suffered badly from the DA sanding marks, and, as a result, paint thickness readings were low!

DSC_0868.webp


DSC_0784.webp


Before/After

DSC_0866.webp


DSC_0871.webp


Before/After

DSC_0869.webp


DSC_0872.webp


DSC_0875.webp


Much like the BMW Tourer recently completed, another burn through spotted on the edge of a panel:

DSC_0870.webp


Good progress. The N/S complete now too:

DSC_0879.webp


(…other than the B-pillar!)

DSC_0881.webp


DSC_0884.webp


Bringing Day 1 to an end, I dressed the engine bay with AutoGlym’s Vinyl and Rubber Care.

DSC_0886.webp


DSC_0888.webp


DSC_0889.webp


DSC_0891.webp
DSC_0892.webp


Another clue as to this vehicle having bodyshop repairs.

DSC_0893.webp


Quite a ‘lip’ between the edge of the bonnet and the edge of the wing on the N/S.

Comparison between the wonky N/S and the flush O/S…

DSC_0894.webp


DSC_0895.webp


The morning of Day 2 and I’m finalising the machine work. Front bumper, rear bumper and half the bonnet to go… (The big 50/50 on the bonnet had been left on purpose for the owner to see when they popped in later on in the day on Day 1)

DSC_0897.webp


DSC_0900.webp


Light clusters before/after:

DSC_0752.webp


DSC_0977.webp


The sun was shining so I made the most of it by finding the excuse to turn the vehicle back-around…

DSC_0967.webp


DSC_0968.webp


And the rear wing that was riddled with deeper scratches and machine trails:

DSC_0971.webp


A stunning colour once properly prepped.

…puts mine to shame anyway!!!

DSC_0961.webp


A thorough IPA wipedown was given (as whilst checking my work in the sun, a few greasy product smears were spotted.)

Following the IPA, Dodo Juice Supernatural was applied to protect.

DSC_0980.webp


DSC_0983.webp
DSC_0984.webp


DSC_0986.webp


While the wax cured, the exhausts were brought back to life with Belgom ALU.

Before/After:

DSC_0991.webp


DSC_0992.webp


DSC_0993.webp


Wax removed. Glass polished inside and out. Alloys protected and tyres dressed.

It’s pushing mid-afternoon; so I didn’t lose the sun, I snapped my ‘final’ outdoor shots before continuing with the interior work.

DSC_0997.webp


DSC_1004.webp


So, before and after:

DSC_0708.webp


DSC_0999.webp


And shimmering in the sun:

DSC_1007.webp


DSC_1010.webp


DSC_1011.webp


DSC_1001.webp
DSC_1027.webp


DSC_1020.webp


DSC_1023.webp


DSC_1028.webp


Typical, isn’t it… I spend 13+ hours beautifying someone’s new pride and joy, and, in the two minutes the car is outside, it gets poo’d on! Gah!!!

DSC_1013.webp


Leather seats, although not too dirty, were cleaned and protected (on request) with the LTT Auto Ultra kit:

DSC_1031.webp


DSC_1036.webp


DSC_1037.webp


The owner calls in at this point, and, we’re finished.

DSC_1039.webp


DSC_1035.webp
DSC_1038.webp


DSC_1043.webp


With the brinkman (LED torch) showing correction levels:

DSC_1045.webp


DSC_1046.webp


DSC_1047.webp


DSC_1048.webp


DSC_1049.webp
DSC_1051.webp


DSC_1052.webp


Again, lovely colour:

DSC_1053.webp


DSC_1054.webp


DSC_1059.webp
DSC_1060.webp


DSC_1071.webp


DSC_1057.webp


DSC_1065.webp


As always, thanks.

Have a nice weekend!

Jim.
 
Nice work, love mk5 golf gti's :)

Is it me or does the N/S door look a different colour to the rear quarter?
 
Nice work, love mk5 golf gti's :)

Is it me or does the N/S door look a different colour to the rear quarter?

Well spotted Chris - you're not wrong! I did write a little bit about the respray work on the N/S; you obviously just checked the pictures! ;)


Not yesterday actually, it was Wednesday.

Ha! Awesome. Was it morning or early evening? It'd have been Tuesday - this is when I was up in Preston with the S2000.
 
Ha! Awesome. Was it morning or early evening? It'd have been Tuesday - this is when I was up in Preston with the S2000.

It was about 5.30pm. I though it was a nice looking Audi, then saw the ad's over the rear windows and thought the car was looking fithy for a detailers car haha
 
Spot on as usual!

When sheeting the water, is there any kind of knack to it? Speed of water etc? Because I've tried doing it before but miserably failed and ended up chasing water around the car with a very wet towel.
 
*brr*

A last minute booking this morning for a Refresh Detail as part of a maintenance contact in place with a local AM DB9. Here's to hoping we're not looking at -5/-8 degrees again as I don't fancy turning the Aston into an ice-cube.

Leeds2592, is your car well protected? You can see it working well above as I'd used Megs Last Touch to aid the claybar treatment; this keeps the paintwork slick and offers minimal protection (but, enough to help out whilst sheeting the water)

There is no rule as to 'speed of water', no. Too fast though and I'd imagine you're splashing it all over the place. On some maintenance cars, I can near enough dry the whole car without physical touch.

Start high obviously and work your way down onto the windows/tops of doors. Keep the hose pointing down and near 'flush' to the panel.

I tried to get my Dad to 'open-hose' once before and he got in a right mess. :rasp: You'll get used to it. (PS, what towel are you using?)


Martijn, thanks buddy. A Nikon D90. Not ideal as it's a bit of monies worth thats around water, dirt etc all day.. but, at the same time, it delivers.

Have a great XMAS all.
 
No roll cage in it though so I guess it's not a 'track' trackcar...

Just nice to keep on top of things I guess before they get too bad...
 
Oke Jim, same camera as I use, find it great for detailing pics since normal camera's don't deliver due to their automatic focus.

Curious about the Aston too, would be nice to see such a write up again!
 
Merry Christmas all.

Bugger. We're not allowed to do presents until after dinner - how rubbish is that!!?

Martijn, yeah, the Manual focus override thng is quite smart - nice package all round really. I brought the "Nikkor" AF-S DX 18-200mm f/3.5-5.6 lens to go with it.

The Aston was difficult JD. Although all of my kit was thawed and 'ready to go', I forgot that at this customers house, my hose reel doesn't reach all the way round the house. Thus, meaning I have to borrow one of his and link mine up. But of course, his were all frozen... *one hour later...* heh!

No write up involved I am afraid, it was just a little 'refresh' detail in readiness for Christmas and a top-up before his next maintenance visit.

Previous report can be seen here: Aston Martin DB9 - Meteorite Grey

DSC05388wd.webp
 
Back
Top