ClioSport.net

This is a sample guest message. Register a free account today to become a member! Once signed in, you'll be able to participate on this site by adding your own topics and posts, as well as connect with other members through your own private inbox!

  • When you purchase through links on our site, we may earn an affiliate commission. Read more here.

NorthloopCup likes a challenge, right?

Well it’s update o’clock!

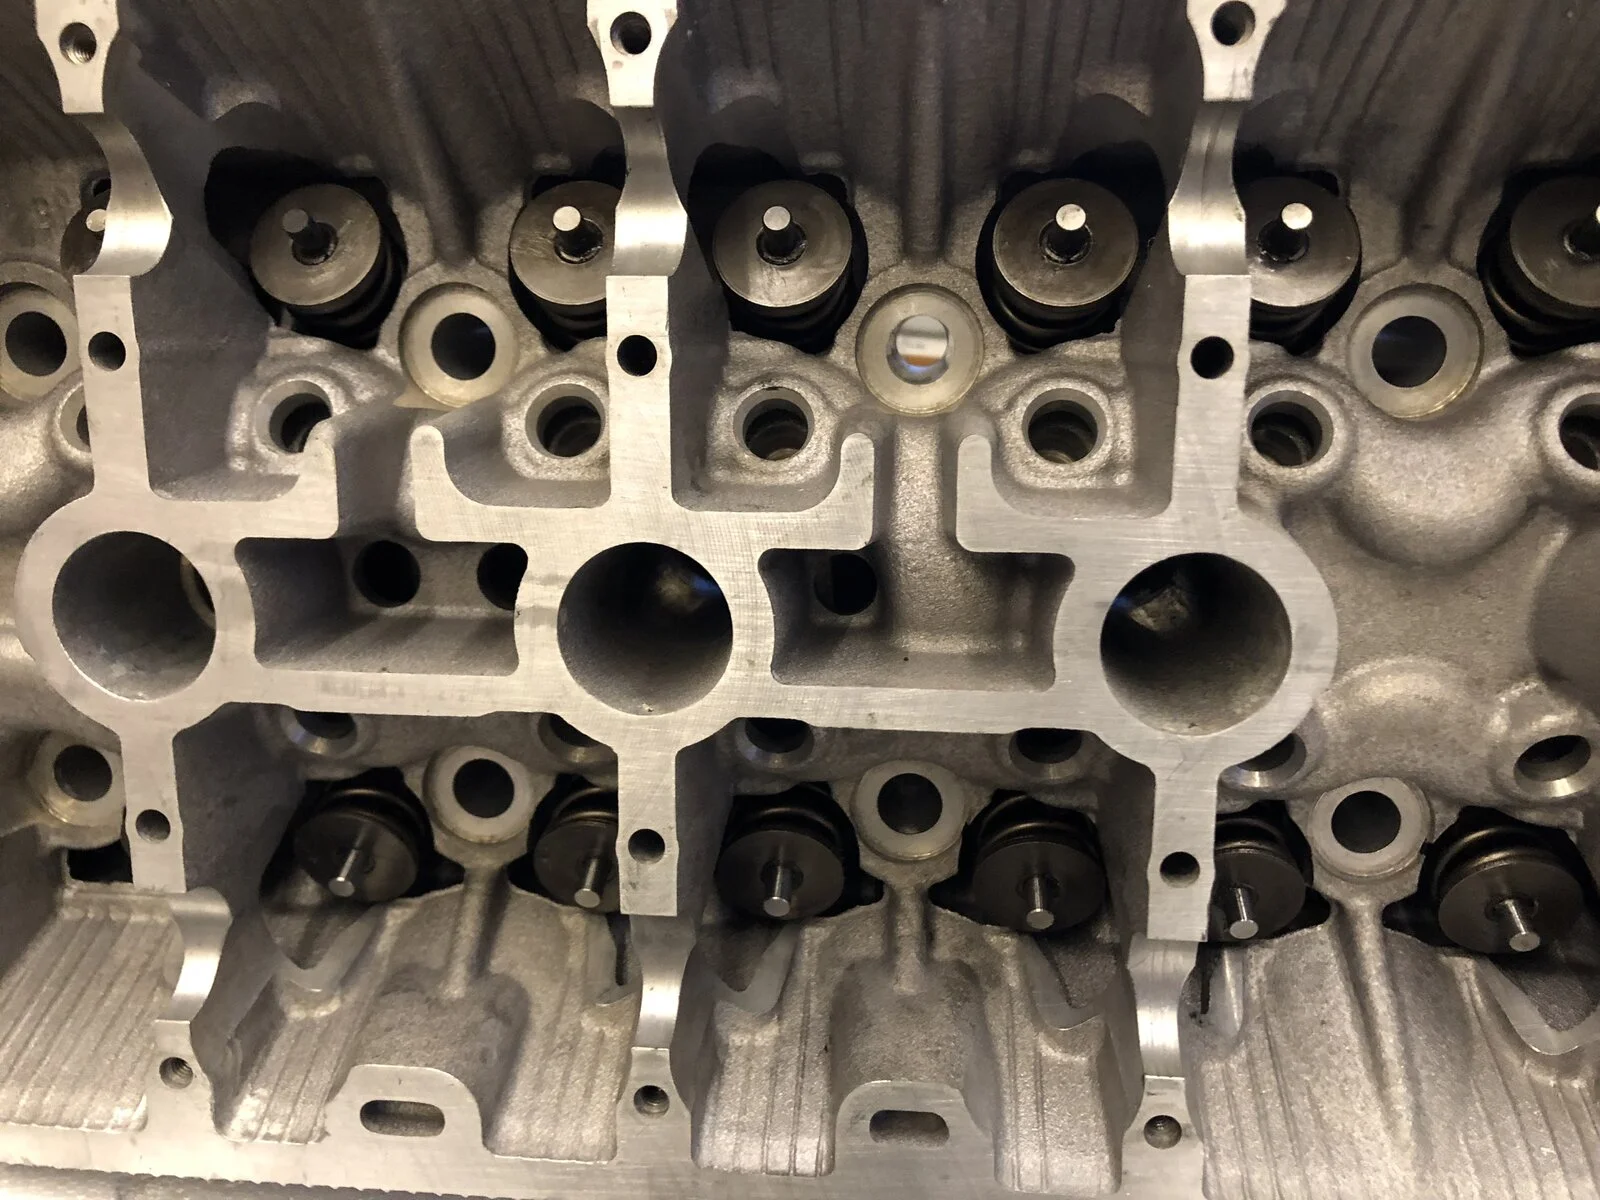
Cylinder head is now fully assembled and ready for the shimming. Just to reiterate, I f**king HATE BUILDING CYLINDER HEADS. PIECE OF s**t COLLETS BOIL MY URINE.
Now that’s out of the way I’ll bang some pictures up. Lol!
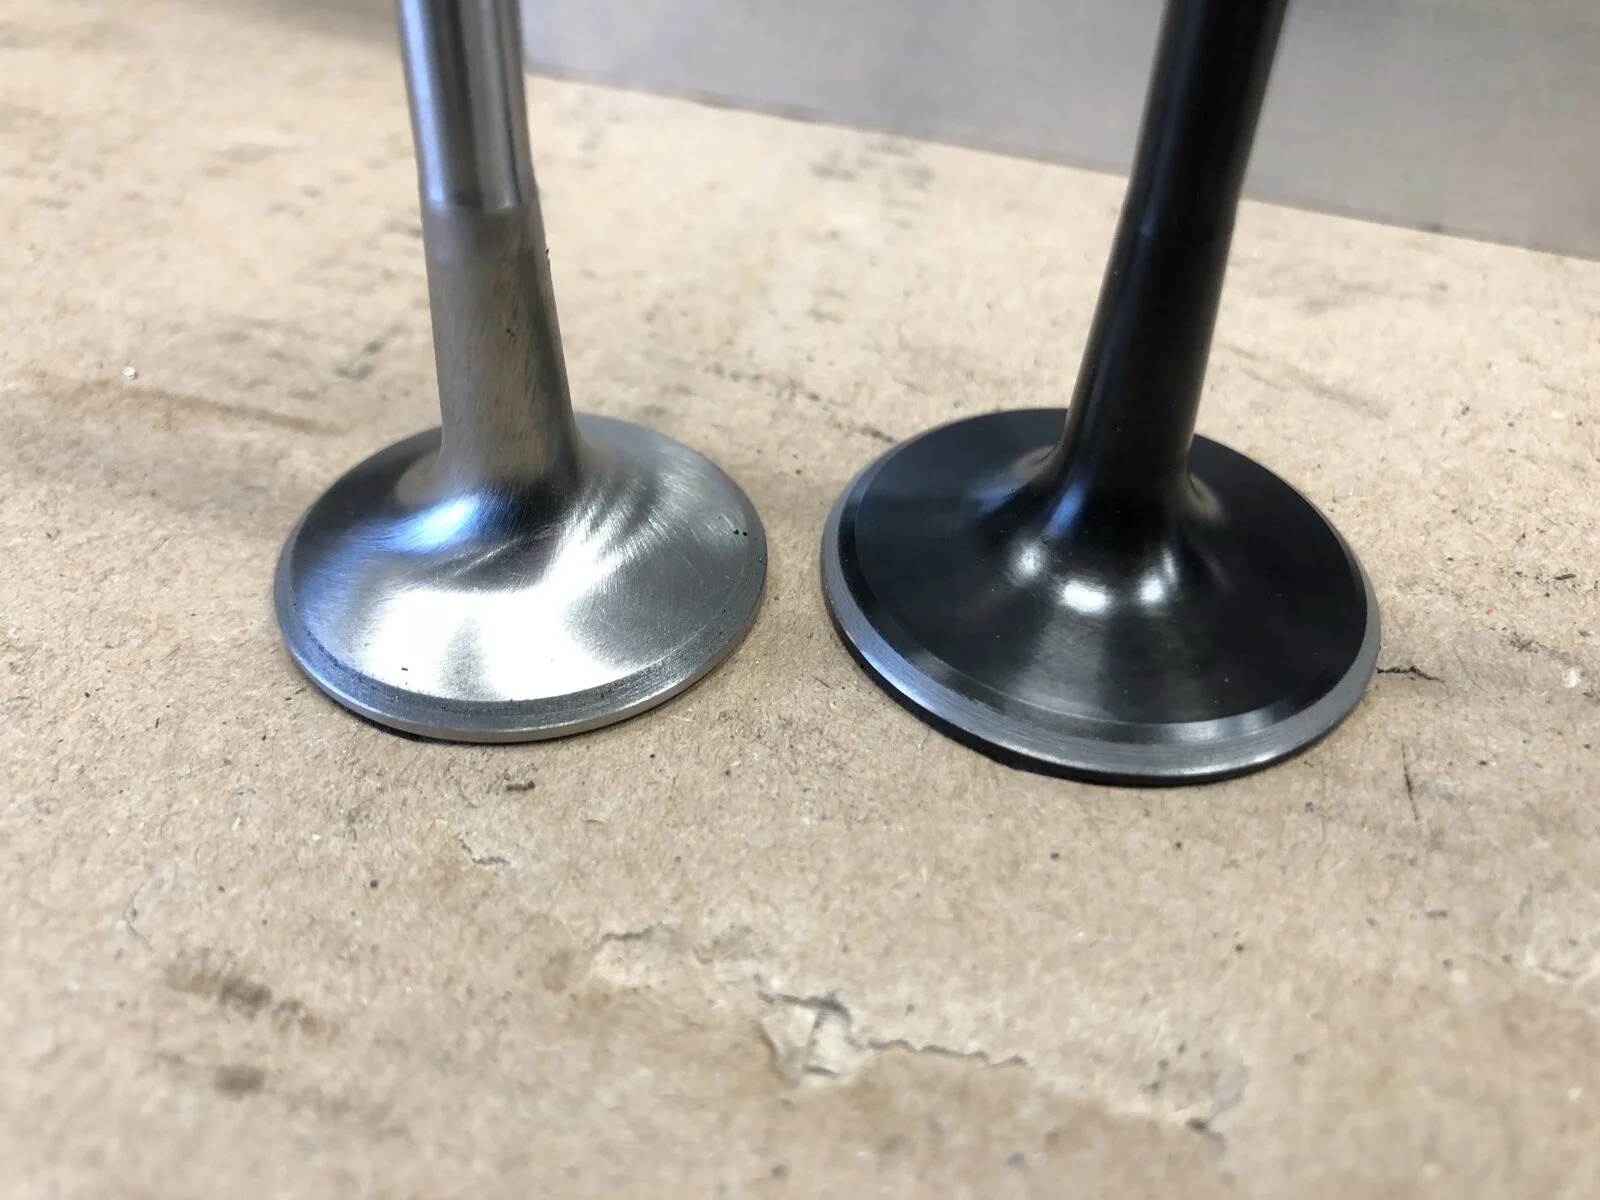
Nicely lapped valves - you’re looking at the grey area on the valve head if you’re not sure which bit to look at 👍🏻
3D1D8BB9-6609-4227-8C1D-0583AAB6CA39.webp

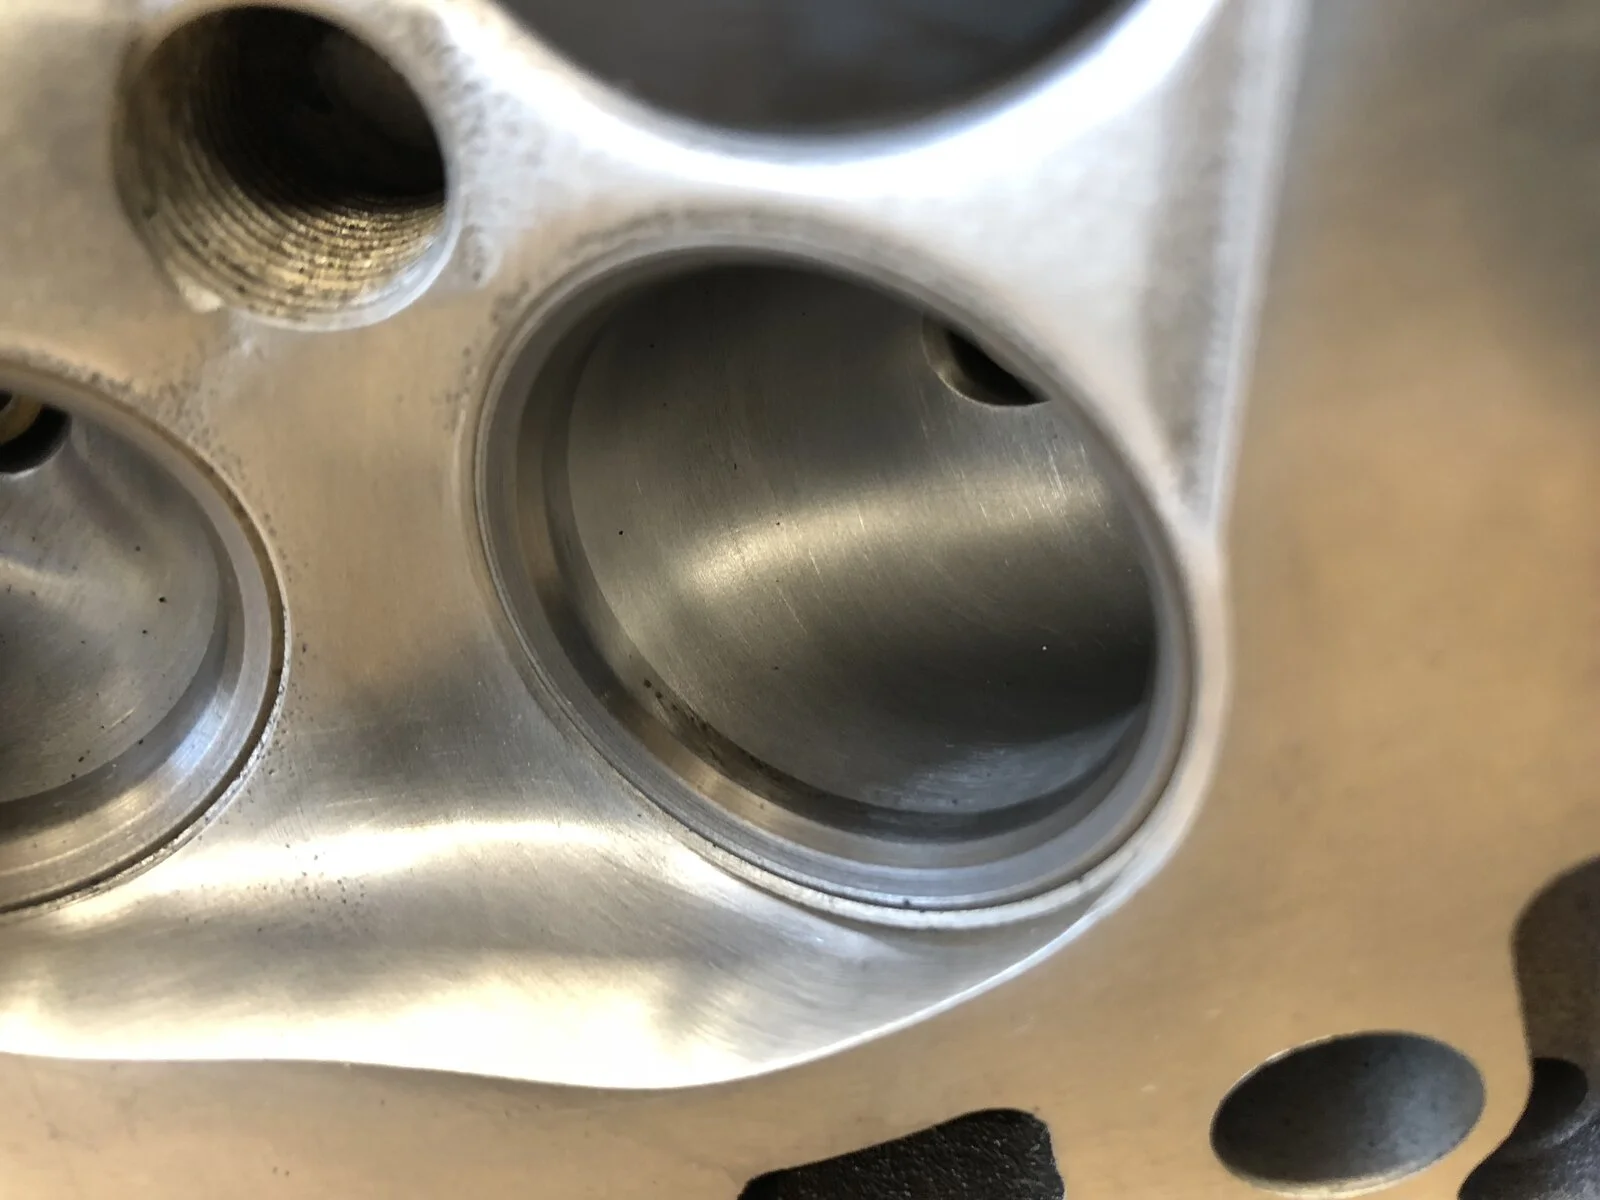
And here we have a mirror image of the grey area on the valve seat.
01A18944-4037-44DE-B59A-5A832A75E997.webp

Fully assembled cylinder head.
A0B2515C-DA83-4CA4-AB7A-A01BC84F16A7.webp


And now for something a little different............

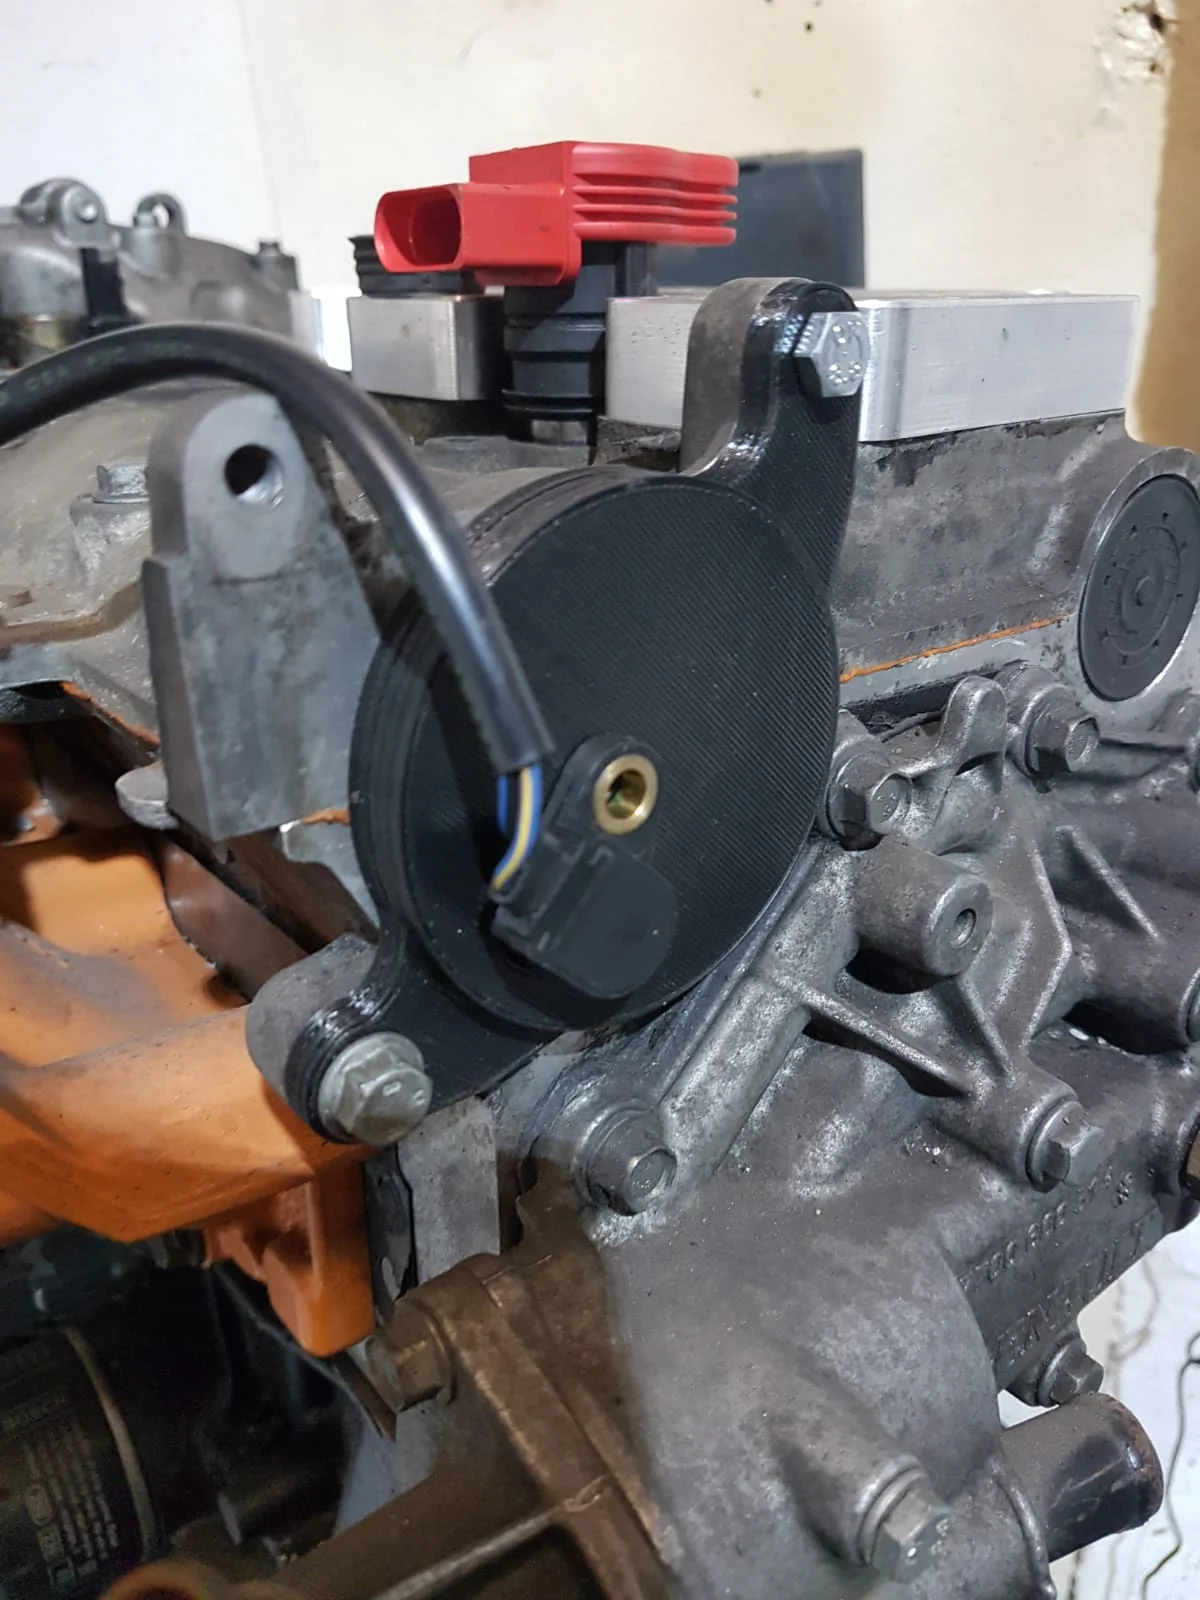
So remember I said we needed to sort a cam sensor pickup and mount? Well here’s the 3D printed mount for the sensor pick up. 😎
I think it’s safe to say, it’s a first. 👍🏻
40EF14DB-58D4-442C-BF1A-B6E80FEF9087.webp
As are the R8 coils on an f4r I think?

More to come. 🍆
 
I spent many hours in my youth, lapping in valves, and If I has £1 for every collet that pinged past me, never to be seen again, plus several permanent scars around my eyes?. AH the good old days.
 
Lol, I’m sure you guys all know, but to those who don’t.
Grease on the valve collet grooves should stick the collets in and hold them firmly in place when releasing tension on the springs compressor.
(prototype engine build engineer for 15 years) 🙂

Nice lap job fella 🙂👌🏼
 
Lol, I’m sure you guys all know, but to those who don’t.
Grease on the valve collet grooves should stick the collets in and hold them firmly in place when releasing tension on the springs compressor.
(prototype engine build engineer for 15 years) 🙂

Nice lap job fella 🙂👌🏼
That’s exactly how I go about doing them mate! Lol! It’s still a f**king spiteful job!

Cheers!
 
Lockdown update!

Cylinder head shimmed up. 😎

Bring on the trumpets!
08C37D77-23EB-41E2-884F-F118588908C0.webp
419ED0B6-3FB6-4605-B3BC-F8BB8949FA72.webp


Got the lower part of the inlet manifold to match up with the spacers.

And..............f**k off the trumpets!!
87508C9B-8E29-4D99-9DE0-95A7D02B7741.webp
E6586AF1-EF90-4EEF-B48E-4616DA8F69F2.webp
264084C0-0595-477C-8014-5872C657E36B.webp
EF370996-9F38-4992-A75E-8DCAB80619C8.webp


What we have here are some 3D printed one-off custom designed inlet trumpets. EVERYTHING in the simulations points towards improvements to air flow. But, as with everything - the proof is in the pudding.

And to finish off, here’s the beginnings of the airbox design. Just the secondary injector mounts to add in.
4D650F40-2115-4857-B985-31119D0DC45E.webp


Enjoy!
 

Attachments

  • 10CEFFE3-BEF7-44CB-AD2B-01220302C0E7.webp
    10CEFFE3-BEF7-44CB-AD2B-01220302C0E7.webp
    182 KB · Views: 305
Lockdown update!

Cylinder head shimmed up. 😎

Bring on the trumpets! View attachment 1466962View attachment 1466964

Got the lower part of the inlet manifold to match up with the spacers.

And..............f**k off the trumpets!!View attachment 1466965View attachment 1466966View attachment 1466968View attachment 1466969

What we have here are some 3D printed one-off custom designed inlet trumpets. EVERYTHING in the simulations points towards improvements to air flow. But, as with everything - the proof is in the pudding.

And to finish off, here’s the beginnings of the airbox design. Just the secondary injector mounts to add in. View attachment 1466976

Enjoy!
Would the plan be to have these 3D Printed in steel eventually?
 
Forgot about these little bits 🤦🏻‍♂️

So we have had a re-design of the cam sensor. I was concerned that the pick up trigger wasn’t going to be large enough. This led to what we now have for the sensor - same position on the end of the cam, just in a different orientation.
D7FEF34A-8A59-487B-8536-FA486F4B3293.webp
6F6E6D05-AF6A-4542-8832-F29AF1EAD9C9.webp
Don’t worry! That’s not the finished item. It’s been part 3D printed to check fitment/clearances.

As you can see, it’s improved the surface area which will definitely help the ecu read the signal.

And to finish off we have these little 3D printed spacers for the Audi RS coils that this engine will be running.
CDDFAFB6-92A2-439A-BD5F-0142E17DCC2E.webp
69242BC6-E38D-4649-920F-DA9EF4E3735B.webp
695648AB-A98A-43ED-AED9-6AF3D3B3DF15.webp


Engine building will commence in the coming weeks. 👍🏻
 
Lockdown update #2

I needed to calculate the compression ratio just in case any adjustments were needed, and it will also be needed come mapping time.

So here’s a few pictures taken during the calculations for the cylinder cc. Working it out is a bit of a pain with the dome of the piston protruding out the top of the block, but a bit of maths and she’s reet! Couldn’t find my plexi glass, so I had to improvise lol! It did the job though!

Here’s some pictures:
F44ADC4C-01C3-4485-9938-53F537E42AF9.webp
7E48D65B-C21B-479D-9E76-0F328B62106F.webp
71AC0EA9-B44A-415C-B3BB-16351439FAE1.webp

Armed with the necessary measurements I made the calculations for the comp ratio. End result is a nice and lively 12.9:1 👍🏻

After that it was time to start pulling it apart to as it will be rebuilt with liberal amounts of graphogen. As you’d expect, here’s some pictures!
DA3FA627-DFFE-4473-B6D9-A78220908041.webp
45180EA3-61D9-450E-9626-3F2566E8343D.webp
N
No oil squirt jets in there! 😎

And the 2 ring pistons with Saenz long rods. How long the pistons will last I don’t know, but I can get them custom made to have 3 rings as and when the time comes.
EBA834FE-9B0B-4242-8EE0-086B4020A221.webp
F8819A5F-9192-4248-B6B0-A67D57B0DF5C.webp


Wallop!
 
If you wanna know this stuff then watch the vid ETCG did with Kalvinator engines. They explain everything to do with measuring bore/compression/cc

Same with the TSF and John, they did a vid too. The vid might be an hour-long but it feels like 10 mins when you're engrossed haha
 
Lockdown update #3

Had a spare hour this afternoon after the wife took over from daddy daycare, so went in the garage to get the block pulled apart.

EC144D8E-447E-45FD-8683-92141FFFEDD9.webp

Here you can see the oil squirt delete better, and we also have some improvements to the block in terms of reducing crankcase pressure.
B5DC9634-7518-4D92-80A1-D36DD1313333.webp
A6F543E3-A554-454E-A79F-C290C5192A5C.webp

And a couple of randoms.
98E091AF-EB50-4AE7-BC61-B8F1EDF127C5.webp
67C2E27D-2ADD-452E-A5AA-5B5B06E04976.webp


Angle grinder fun coming up soon as the block needs modifying for the dry sump setup.

More to come.
 
Awesome work so far, very jealous of the engine spec was speaking to Tom the other day about it.

Is that external machining of the block the only 'modification' required to fit the dry sump setup then, or is there more internal work needed like blocking off galleries etc? Reading this has made me want to get mine fitted!!
 
Awesome work so far, very jealous of the engine spec was speaking to Tom the other day about it.

Is that external machining of the block the only 'modification' required to fit the dry sump setup then, or is there more internal work needed like blocking off galleries etc? Reading this has made me want to get mine fitted!!
Cheers mate. Lol I don’t think there’s a day that goes by that I don’t speak to Tom tbf! 😂

Yeah there’s a hole or 2 that needs blocking off mate, but I’ll be covering that through the build process. At least people will be able to see what the craic is when fitting one. 👍🏻
 
Cheers mate. Lol I don’t think there’s a day that goes by that I don’t speak to Tom tbf! 😂

Yeah there’s a hole or 2 that needs blocking off mate, but I’ll be covering that through the build process. At least people will be able to see what the craic is when fitting one. 👍🏻

Perfect that was gonna be my next question haha, look forward to seeing those thankyou very much!
 
Cheers mate. Lol I don’t think there’s a day that goes by that I don’t speak to Tom tbf! [emoji23]

Yeah there’s a hole or 2 that needs blocking off mate, but I’ll be covering that through the build process. At least people will be able to see what the craic is when fitting one. [emoji1303]
I know for sure that the pipe coming out of the water pump will need modification as it will be obstructed by the oil pump shaft. But you may already know that clever clogs.

Sent from my SM-G977B using Tapatalk
 
I have to ask after seeing it a few times now, why do you want to block off the oil squirters? I would have thought the cooling would have been beneficial
 
Long time since any updates on this! There’s been a lot of stuff going on that’s needed custom parts, but I’ll go into that in a bit more detail later on. For now it’s a few pics - everyone likes pics.
9EF71650-628D-458C-ADF0-FC31A9493225.webp
King race main bearings
B863C339-4FC7-42E2-9A7C-4B11529A46DC.webp
0743FEC1-503C-48CD-8C74-9C688C4CA1D1.webp
C4B322C9-8546-4888-A0FC-B50C2631D2D9.webp
Graphogen loveliness
A52A1F0E-6A9A-47B9-BFC0-3427DFB61701.webp
King big end bearings
55153FFC-1F92-4FDA-B5D0-37A4B99BBFFB.webp
original oil feed in the block blanked off
1CDEADF1-8DA1-46CF-9449-C237069B9C10.webp
New cam sensor mount finalised and 3d carbon printed
81AC201E-0167-4A0C-A8C6-2B07EDA50F39.webp
Head stud kit fitted
6DFABD32-A8D8-450D-826E-85935874424F.webp
3D826AA6-0B41-4E0F-8C26-CB1337259808.webp


Will be updating through the day with pics and waffle. 👍🏻
 
New ECU Master components and the Maxx Race ECU. (Tom is a dealer for ECU Master - if you need owt speak to him 👍🏻)
4FD33EB4-3B1D-4C36-8E4D-9C5040B8F3BB.webp


Time to get the party started and do a bit of dialling in the cams
93BDE594-0214-4E68-BB54-609FAFBF19D4.webp


And in the next exciting instalment there will be a lot of disappointment, swearing and very large dose of me getting very annoyed. Lol
 
Back
Top