ClioSport.net

This is a sample guest message. Register a free account today to become a member! Once signed in, you'll be able to participate on this site by adding your own topics and posts, as well as connect with other members through your own private inbox!

  • When you purchase through links on our site, we may earn an affiliate commission. Read more here.

Project 432 - Mk1 Track Car

Car  Clio Williams 3 K24
Hi all.

Finally after over a years worth of the car being sat, SORN, feeling sorry for itself being in a poor state due to me having to travel with work in something 'normal' and moving house a lot.

It is now back!

Some of you may remember the car from my old thread on Clio16valver.co.uk quite some time back but I didn't get round to making a thread on here before now.
http://www.clio16valver.co.uk/forum/viewtopic.php?f=6&t=48130

Since all of that it had been my daily which didn't give me chance to sort things that needed sorting.

Now I have a house with a garage and a daily car, it will get the attention it has desperately needed.

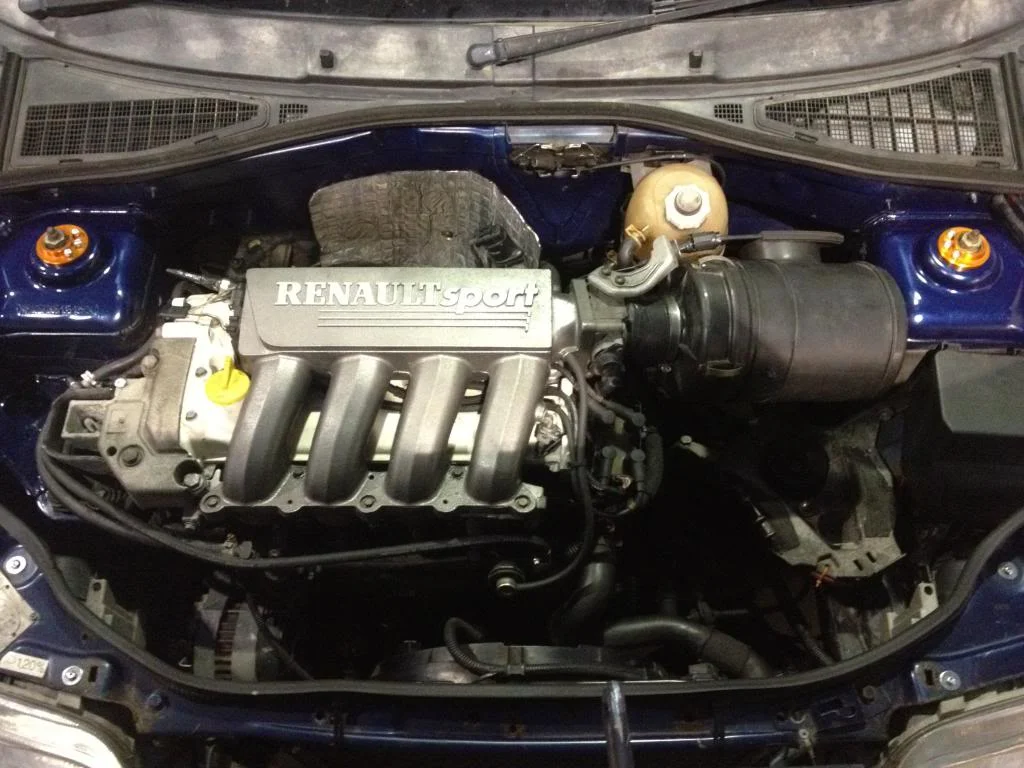
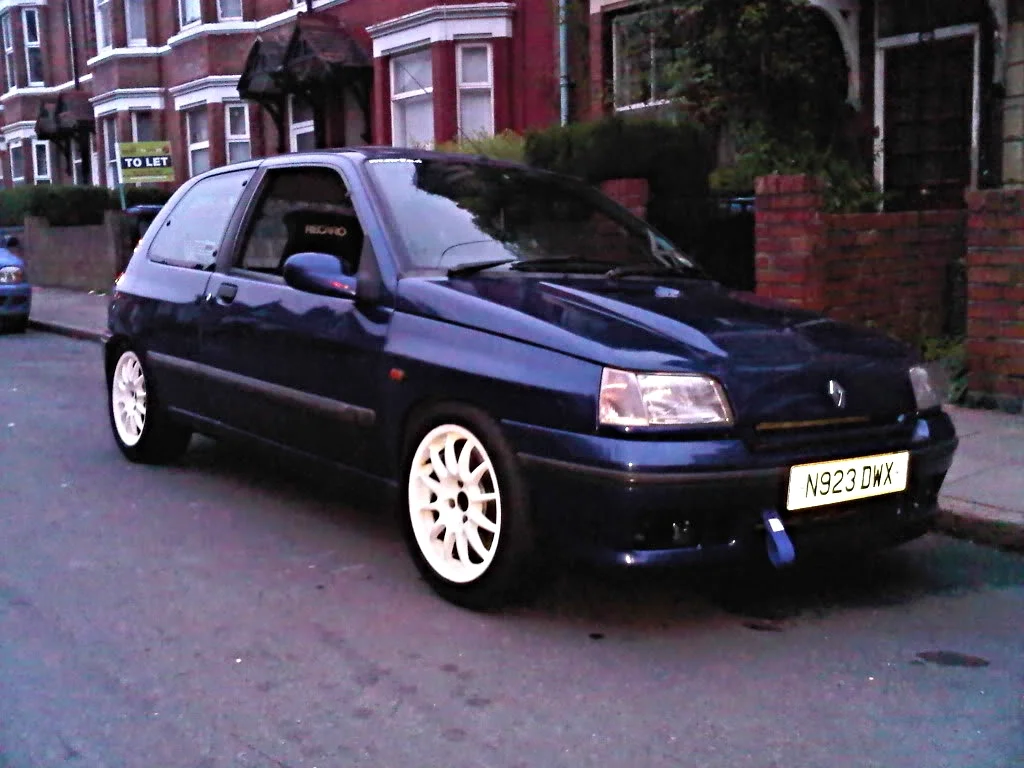
It once used to look like this before it was taken off the road:

b2218131-0616-4da3-88d5-c0aacf03ce5e.webp


233.webp


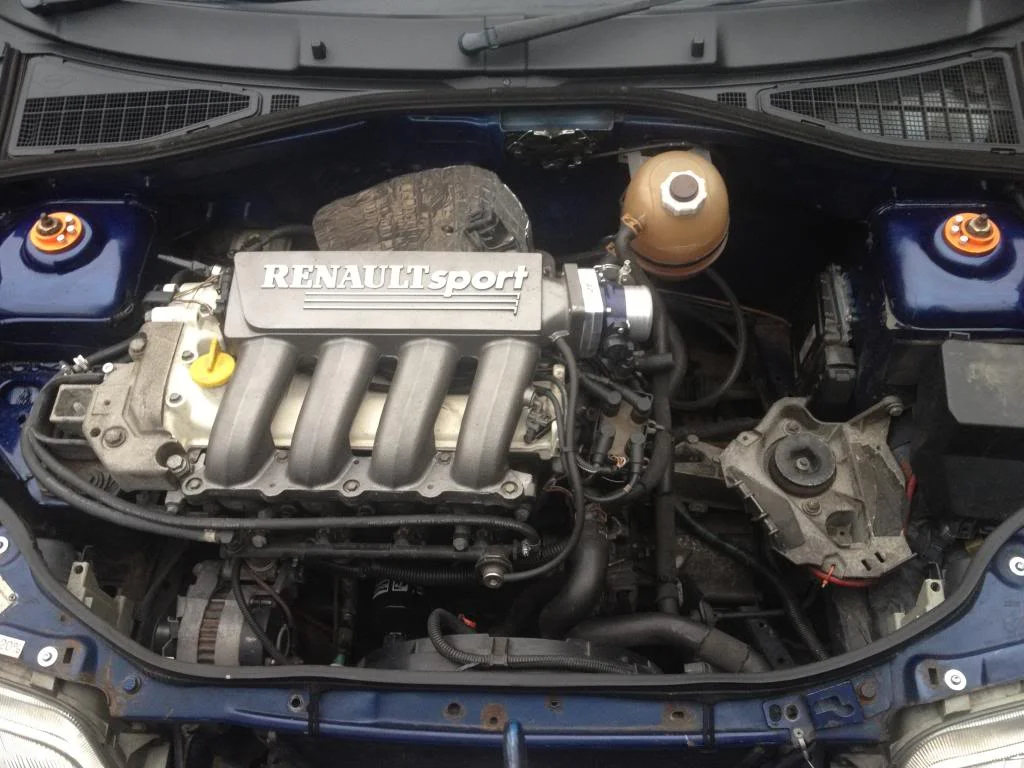
French Car show 2012 spec with ATPower throttle body. V6 airbox was re-fitted after the show.
248.webp


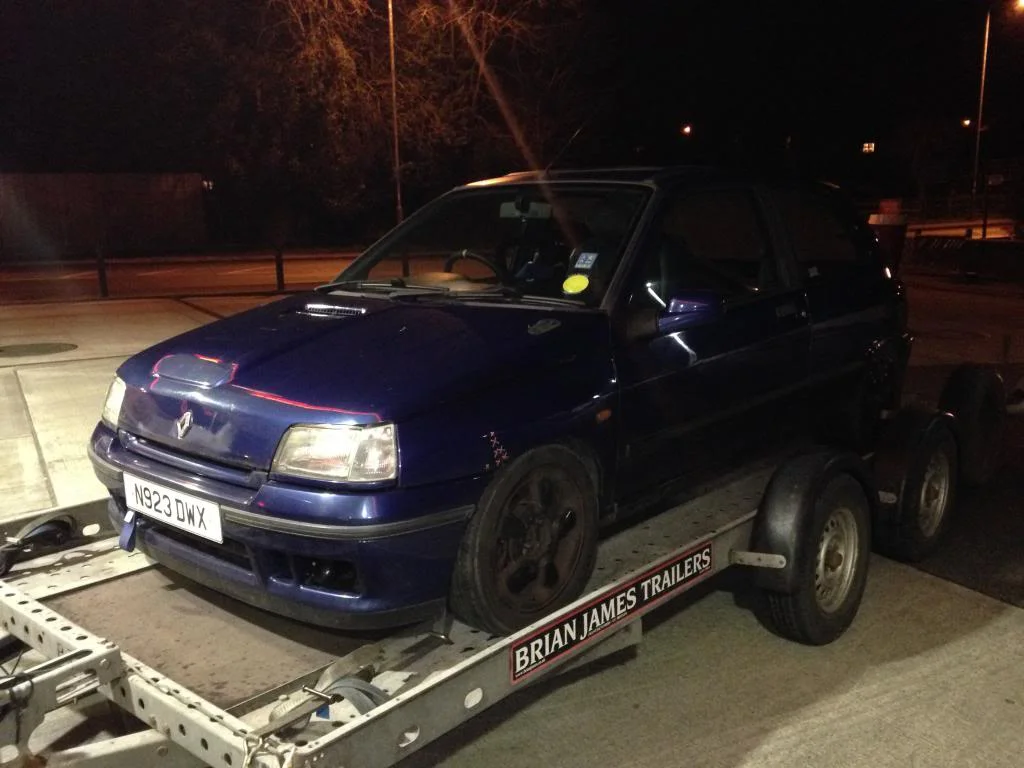
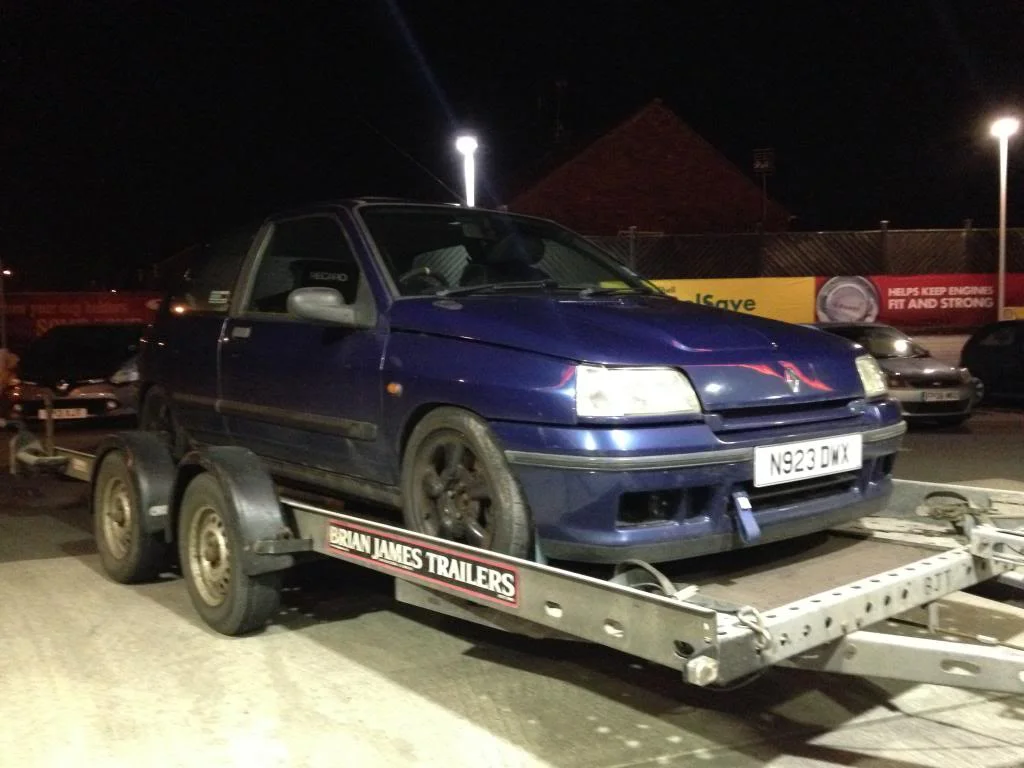
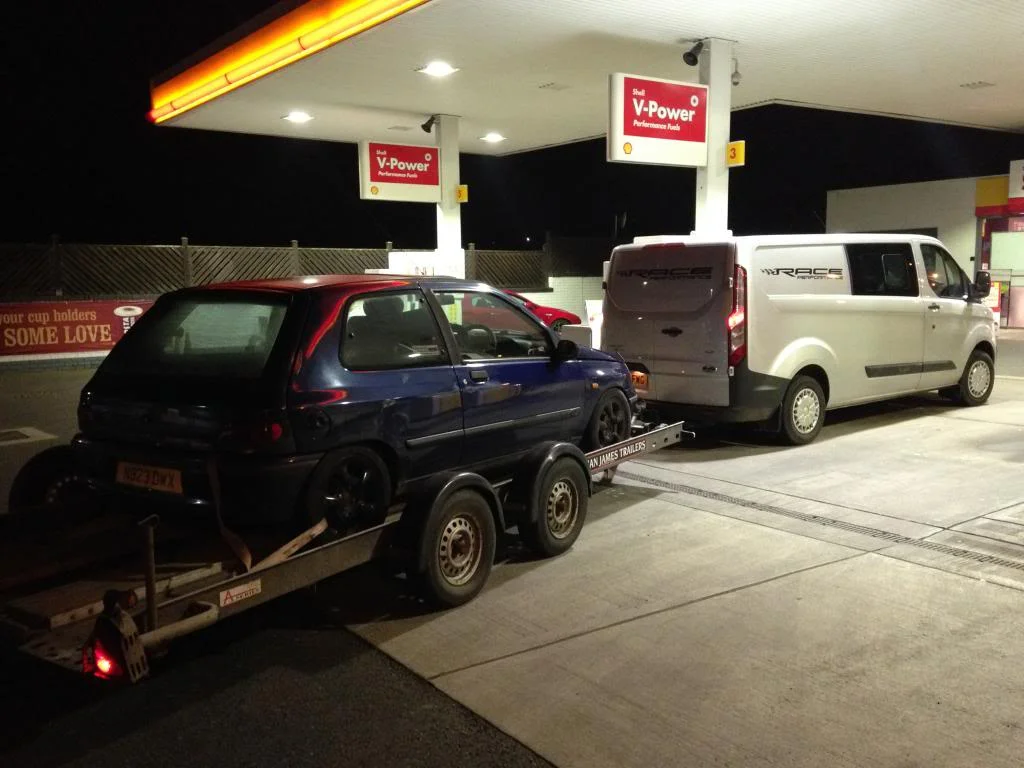
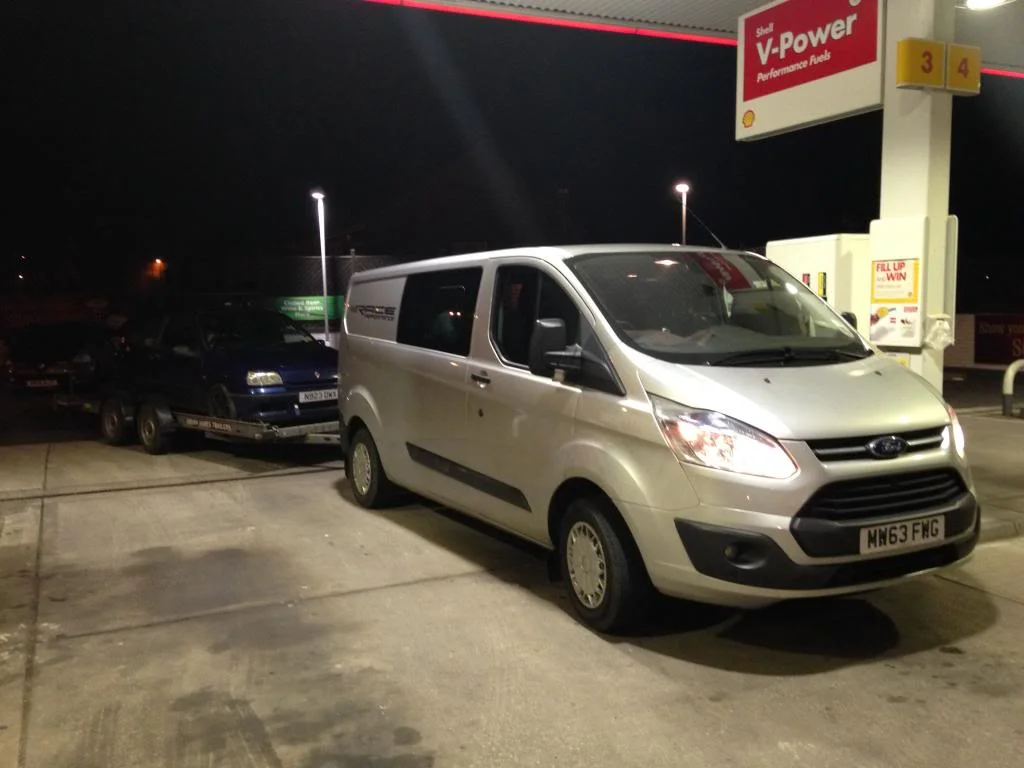
Earlier on in the year me and my good friend Ryan at Race Performance & Transport transported the Clio from my home town of Worksop to Coventry using his single car trailer.
IMG_2656.webp


IMG_2655.webp


IMG_2658.webp


IMG_2657.webp


As you can see the Clio was in a 'bit' of a rough state.

Since then the Clio has just been sat in the garage waiting to be worked on.

The Plan

Restore the shell back to a 'rust free condition' with:
- New bonnet (got)
- New doors (got)
- New passenger wing (fed up with the 'drift stitching') (got)
- New rear outer and inner arches
- New front inner arch sections
- New inner sill sections
- New floor sections
- Reconditioned subframe
- Fully seam weld the shell


Get hold of:
- Polycarb windows for the rear quarters and rear screen
- Cage from Custom cages, basic cage with additional members to front turrets and single (non-crossed) door bars (Group A configuration to keep weight down, ease of access and ability to use the window winder)
- Manual poverty spec window winders
- Non-sunroof skin

- Flocked top dash

Fit all the other parts I have accumulated over time

Powdercoat my not-so-white wheels back to white and fit my set of A038's

The overall idea with this is to make it as you would expect to buy it from a dealership with a decent finish, no rough edges, whilst maintaining usability and reliability on the road and track.

Oh, and enjoy the thing!

Josh
 
09/06/2014

Not much of an update on the progress on the Clio - just a bit of a prep of the working space around it. But still thought I'd get some pictures of it and get in the daily RT
icon_lol.gif


IMG_2980.webp


IMG_2985.webp


The daily and not-so-daily...

IMG_2978.webp


Also mounted my pin board to help organise and manage the project
icon_smile.gif


IMG_2979.webp


More updates coming soon.

Cheers for looking.

Josh
 
Seeing as I haven't updated the thread in quite some time, it is about time to do it.
16/08/2014
The beginning of the front end strip-down.
IMG_3524.webp

IMG_3558.webp

IMG_3559.webp

IMG_3560.webp

IMG_3562.webp


24/08/2014
Further strip-down of suspension.
IMG_3567.webp

IMG_3572.webp

IMG_3578.webp

IMG_3580.webp

IMG_3583.webp


14/09/2014
Subframe removed and dropped the engine.
IMG_3636.webp

IMG_3637.webp

IMG_3638.webp

IMG_3639.webp
 
Further updates continued...

05/10/2014
Made a start on the interior strip-down.

IMG_3656.webp

IMG_3657.webp

IMG_3660.webp

IMG_3661.webp

IMG_3665.webp

Nice bit of rot...
IMG_3667.webp

IMG_3668.webp


12/10/2014
Made a start on the brakes too.

IMG_3670.webp

IMG_3672.webp


23/10/2014
Things were getting a bit dark in the garage so I wired some stip lights to a 3 pin plug. Winner.

IMG_3681.webp

IMG_3682.webp


Cheers for looking.
 
Only just realised that I hadn't worked on the car for a very long time - basically the complete winter season and it was very sporadic with little direction...
Here is a bit more progress.

11/05/2015
Started chopping the rotten areas away after taking delivery of my new R-Tech welder.

IMG_4122.webp

To uncover more lovely rot...
IMG_4123.webp

IMG_4126.webp

Spare bits.
IMG_4128.webp

IMG_4129.webp

IMG_4130.webp

IMG_4131.webp

IMG_4133.webp
IMG_4134.webp

Welded in seat rail removal.
IMG_4149.webp


21/06/2015

Shifted the engine out of the way so that the shell can be moved outside for better working access.
IMG_4412.webp

Out in the open.
IMG_4413.webp

IMG_4414.webp

IMG_4415.webp


30/06/2015

Knocked up a cardboard template to make sure both rear arches turn out the same as each other.
IMG_4431.webp

IMG_4432.webp


05/07/2015

Ready for the chop.
IMG_4439.webp


11/08/2015

Chopped.
IMG_4593.webp

To uncover a whole world of rot.
IMG_4598.webp

IMG_4599.webp

IMG_4602.webp

More spare bits.
IMG_4605.webp


Cheers.
 
15/08/2015

Got properly stuck into re-modelling the inner arch using poverty spec repair panels. By no means are they a direct fit for a 16v/Williams. These are Klokkerholm items and are good quality.
If you want to replicate the 16v/Williams rear arches using these panels then you will have to use the panel in sections.
Chopping back to the decent material.
IMG_4609.webp

IMG_4610.webp

IMG_4611.webp

IMG_4612.webp

IMG_4613.webp

IMG_4614.webp

IMG_4627.webp

IMG_4629.webp


20/08/2015

Started offering up the poverty spec sills to the original 16v/Williams inner arch and I am left with this amount of gap.
IMG_4637.webp

IMG_4639.webp

The plan is to keep the standard 16v/Williams profiles as much as possible as I am fussy about stuff like that. So I will have to extend the sills to fit around that profile.
Offered up the second part of the inner arch.
IMG_4640.webp


Cheers.
 
08/09/2015

I knocked together one of my trolleys which the shell will sit on in the garage for ease of movement.
IMG_4676.webp


18/09/2015

Started to crack on with the inner arch again. This, again, is not by any means a direct fitment as plenty of marking up and testing had to be done to get this in the right position and shape.
The slits cut into the panel helped when manipulating the panel to join the 16v inner arch and to achieve the correct shape.
IMG_4693.webp

IMG_4694.webp

IMG_4695.webp

IMG_4697.webp

IMG_4698.webp

IMG_4699.webp


Just need to knock up a plate to sit in the window at the base of the arch and one for the gap between the repair panels.
The paint is just weld through primer to give it that extra bit of protection during work and resting times.
The welds will then be ground back, primer removed and seam sealed once I have welded everything.

More updates will follow.
Cheers for looking.
 
20/09/2015

Small update.
Spent 1.5 hours on the car and added further material to the rear arch.
IMG_4702.webp

IMG_4703.webp


Cheers for looking.
Josh
 
Wanting to do the exact same only thing is mines a sh*it 1.2 hopefully a 16v front end coming soon if any parts available please do let me know cheers
 

Attachments

  • image.webp
    image.webp
    697.4 KB · Views: 203
Wanting to do the exact same only thing is mines a sh*it 1.2 hopefully a 16v front end coming soon if any parts available please do let me know cheers
Not sure if I will have any parts available but I will be selling the 172 engine and JB3 (valver) box soon for something rather different in its place :tonguewink:
 
Project looks good mate I'm going through the same right now, look forward to updates. is the 172 engine plug and play? and how much are you after for it?
 
Project looks good mate I'm going through the same right now, look forward to updates. is the 172 engine plug and play? and how much are you after for it?
Cheers!
It's not plug and play as you have to modify the engine loom to fit the valver plug, your exhaust either to take the standard 172 cat/decat, get an ECU which has to be virginised and the immobiliser bypassed and modify the inlet to relocate the coil pack to sit away from the rain catcher.
I can sell you a plug and play setup; engine, engine harness for a ph2 Clio 16v, decat, cat, exhaust manifold, ECU, ph1 inlet and throttle body (cable type). Pm me if you are interested.
Josh
 
Last edited:
Bit more of an update:
25/09/2015

Finished adding material into the rear inner arch.
IMG_4712.webp

IMG_4713.webp

Ground the welds back.
IMG_4714.webp

Sealed the welded areas. Might not be the prettiest sealing but if it stops water ingress and rot then I'm happy.
IMG_4714.webp

IMG_4716.webp


27/09/2015

Started chopping away the drivers sill and the rust in the inner sill.
IMG_4721.webp

IMG_4723.webp

IMG_4726.webp

Rear section if the inner sill is prepped and painted with weld through primer ready for the new plate to go in.
IMG_4728.webp


Cheers for looking.
Josh
 
Back then most expensive one I saw was £1500 and it was mint, the one I bought was really clean, then I bought some oz super t's for £80 haha student living
 
Back then most expensive one I saw was £1500 and it was mint, the one I bought was really clean, then I bought some oz super t's for £80 haha student living
Haha! Student funding is the best. I practically built the car whilst being a student! Shame you cant really say you can get hold of a clean and tidy valver any more.
Josh
 
Bit more of an overdue update:

09/10/2015
IMG_4744.webp


12/10/2015
IMG_4753.webp

IMG_4754.webp


14/10/2015
IMG_4756.webp

IMG_4757.webp

IMG_4758.webp


16/10/2015
IMG_4761.webp

IMG_4762.webp

IMG_4763.webp

IMG_4764.webp


18/10/2015
IMG_4775.webp

IMG_4778.webp


02/11/2015

Since the weather has been getting worse and I was getting to the point of it stopping play, the Clio ended up back in the garage.
IMG_4869.webp


Also made it look like a car a bit more. Only a bit...
IMG_4870.webp


05/11/2015
Started chopping away at the drivers footwell/A-pillar flooring.
IMG_4880.webp

IMG_4881.webp

IMG_4889.webp

IMG_4891.webp


07/11/2015
Smaller update but significant still - the first step of parts progress/gathering for the Clio - Renault Safrane front hubs (same as the Clio cup racer ones).
IMG_4892.webp

IMG_4893.webp


Hope to have more frequent updates!
Cheers for looking.
Josh
 
Thanks for uploading your progress photos! I am currently restoring Clio Dimma 31, I was concerned about cutting away the rotten inner sill around the seat rails until I had the rest of it welded up as they are the only things attaching the inner to the floor pan at the moment. I see you found a novel solution.... Same difference I guess ;)

What are the specs on the Safrane hubs ? Do they allow for bigger discs / caliper upgrade. I was thinking about fitting 172 hubs/discs/calipers as by all accounts they are more than sufficient in terms of stoppage.
 
Back
Top