ClioSport.net

This is a sample guest message. Register a free account today to become a member! Once signed in, you'll be able to participate on this site by adding your own topics and posts, as well as connect with other members through your own private inbox!

  • When you purchase through links on our site, we may earn an affiliate commission. Read more here.

Pearl Black 172 PH1

This weekend as filled with frustration. A simple brake flush turned into a shitty job!

Starting...
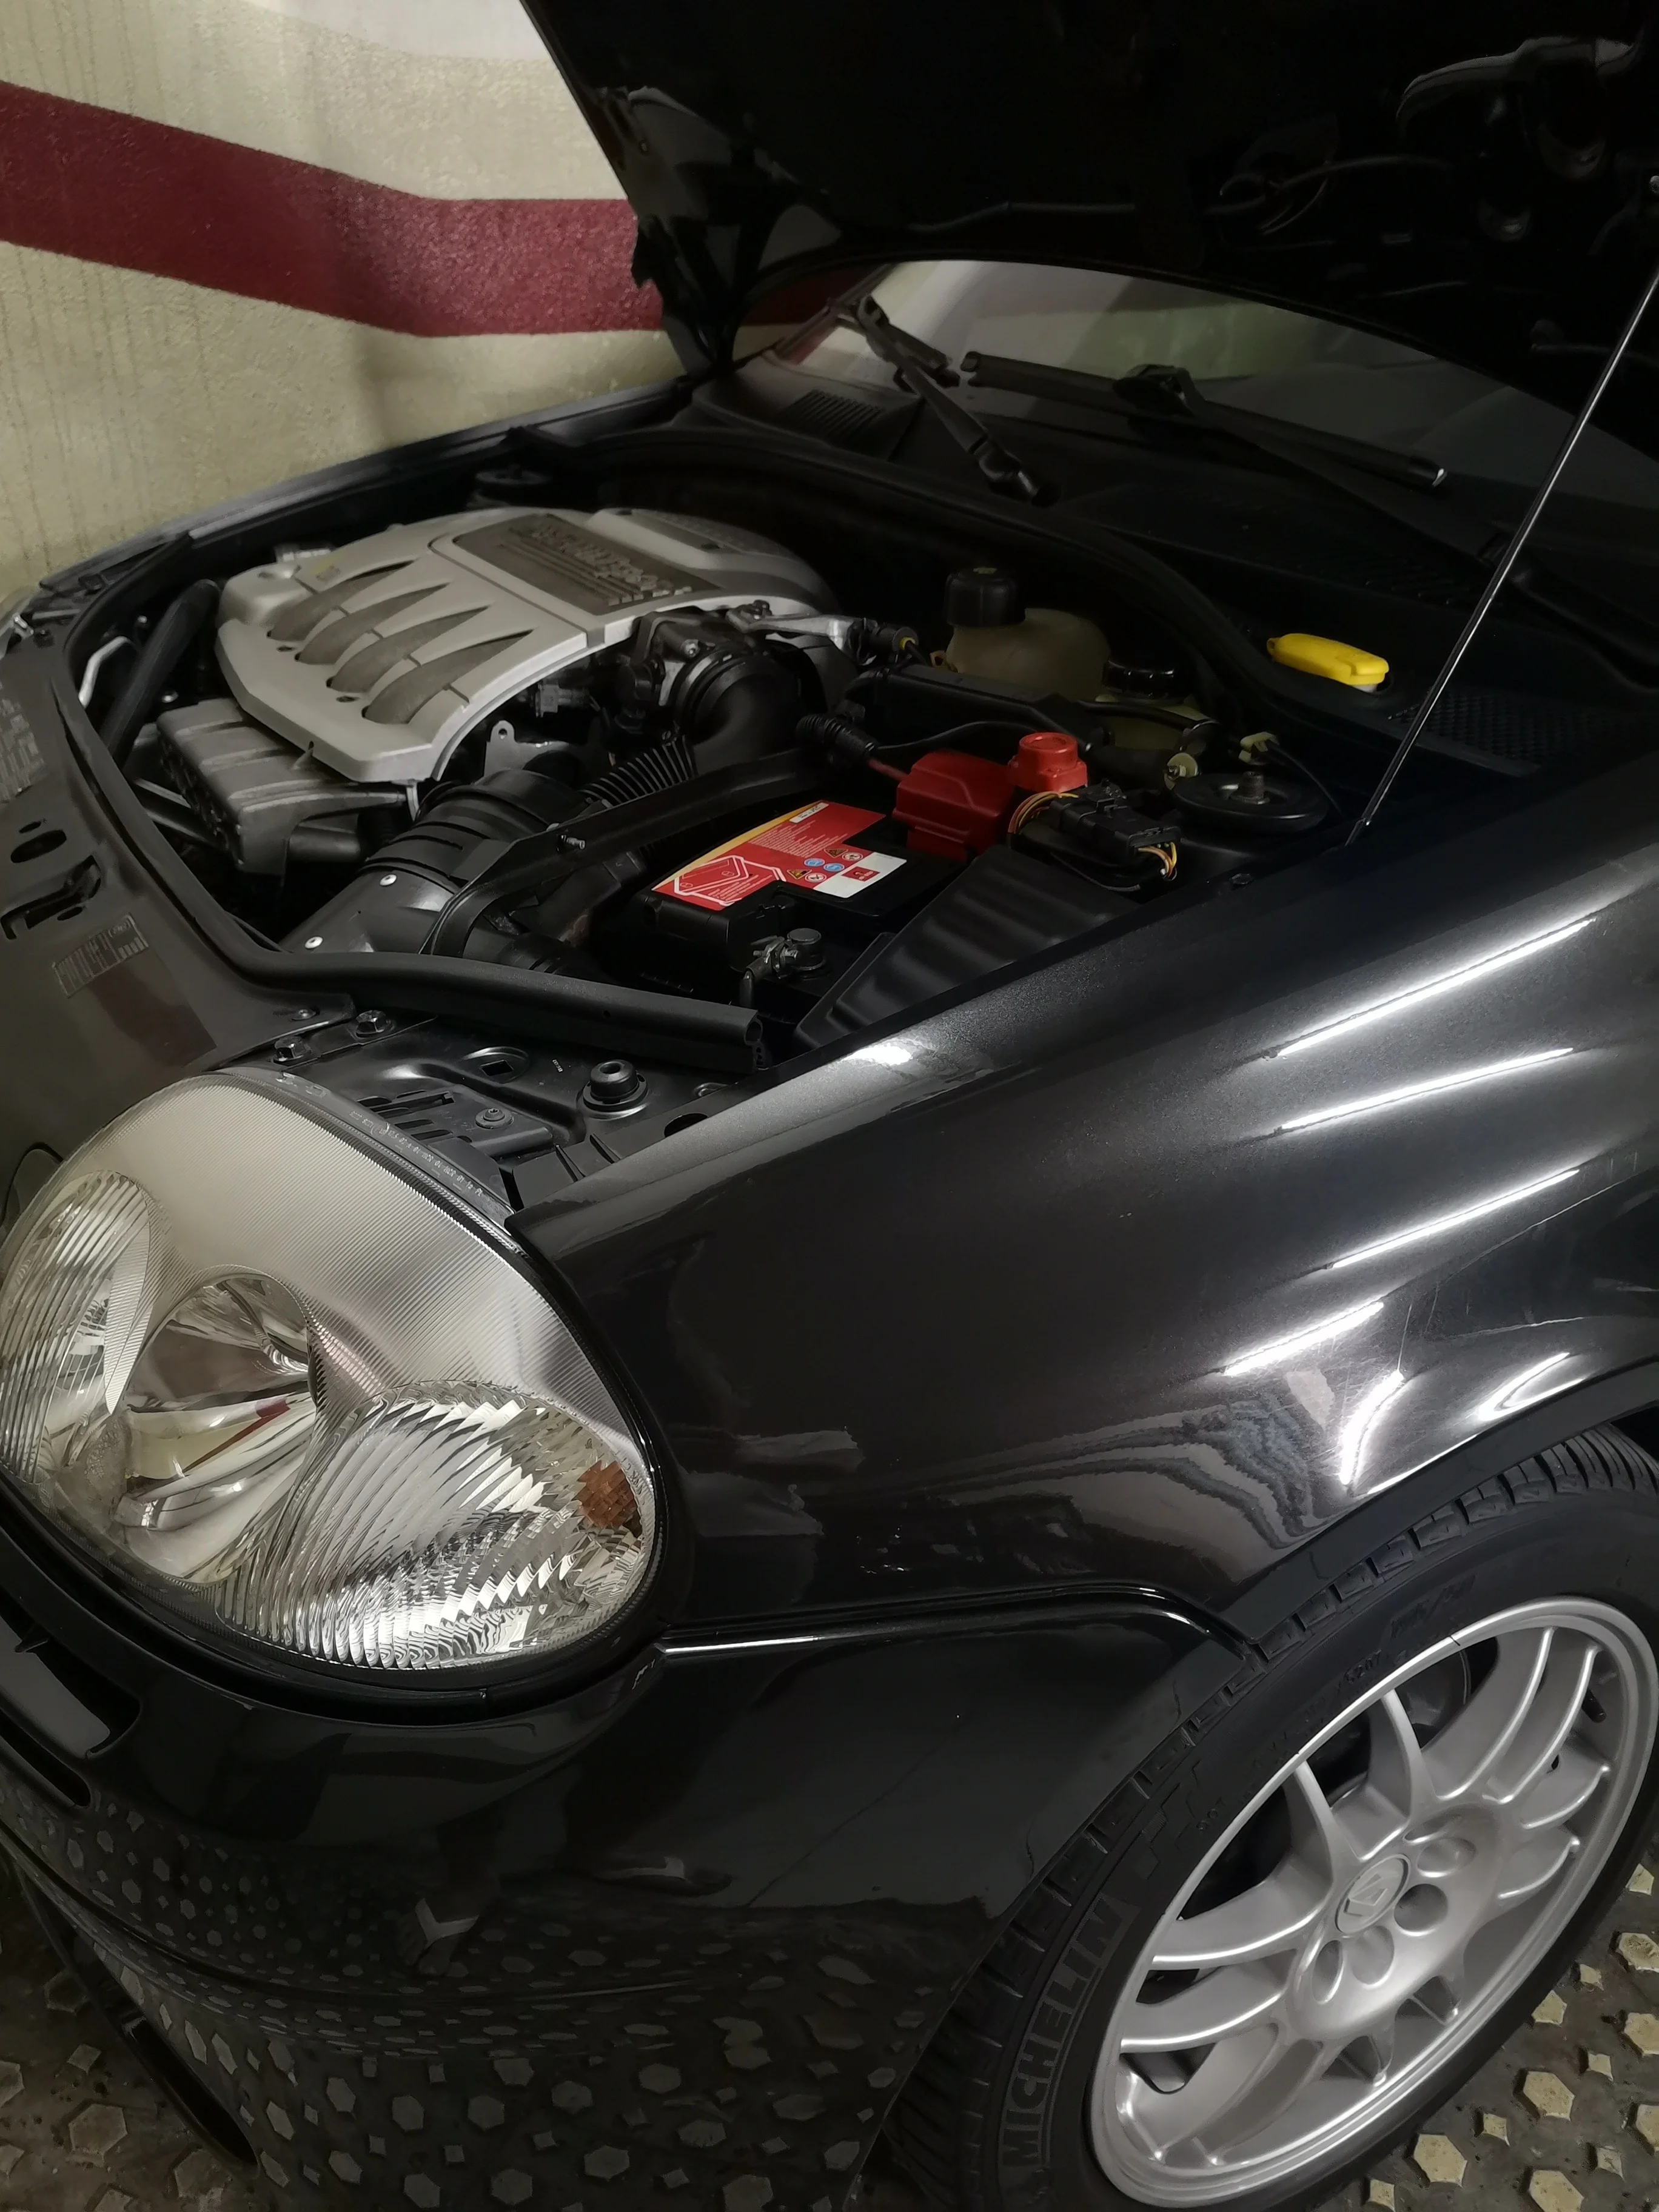

IMG_20211016_095950.webp


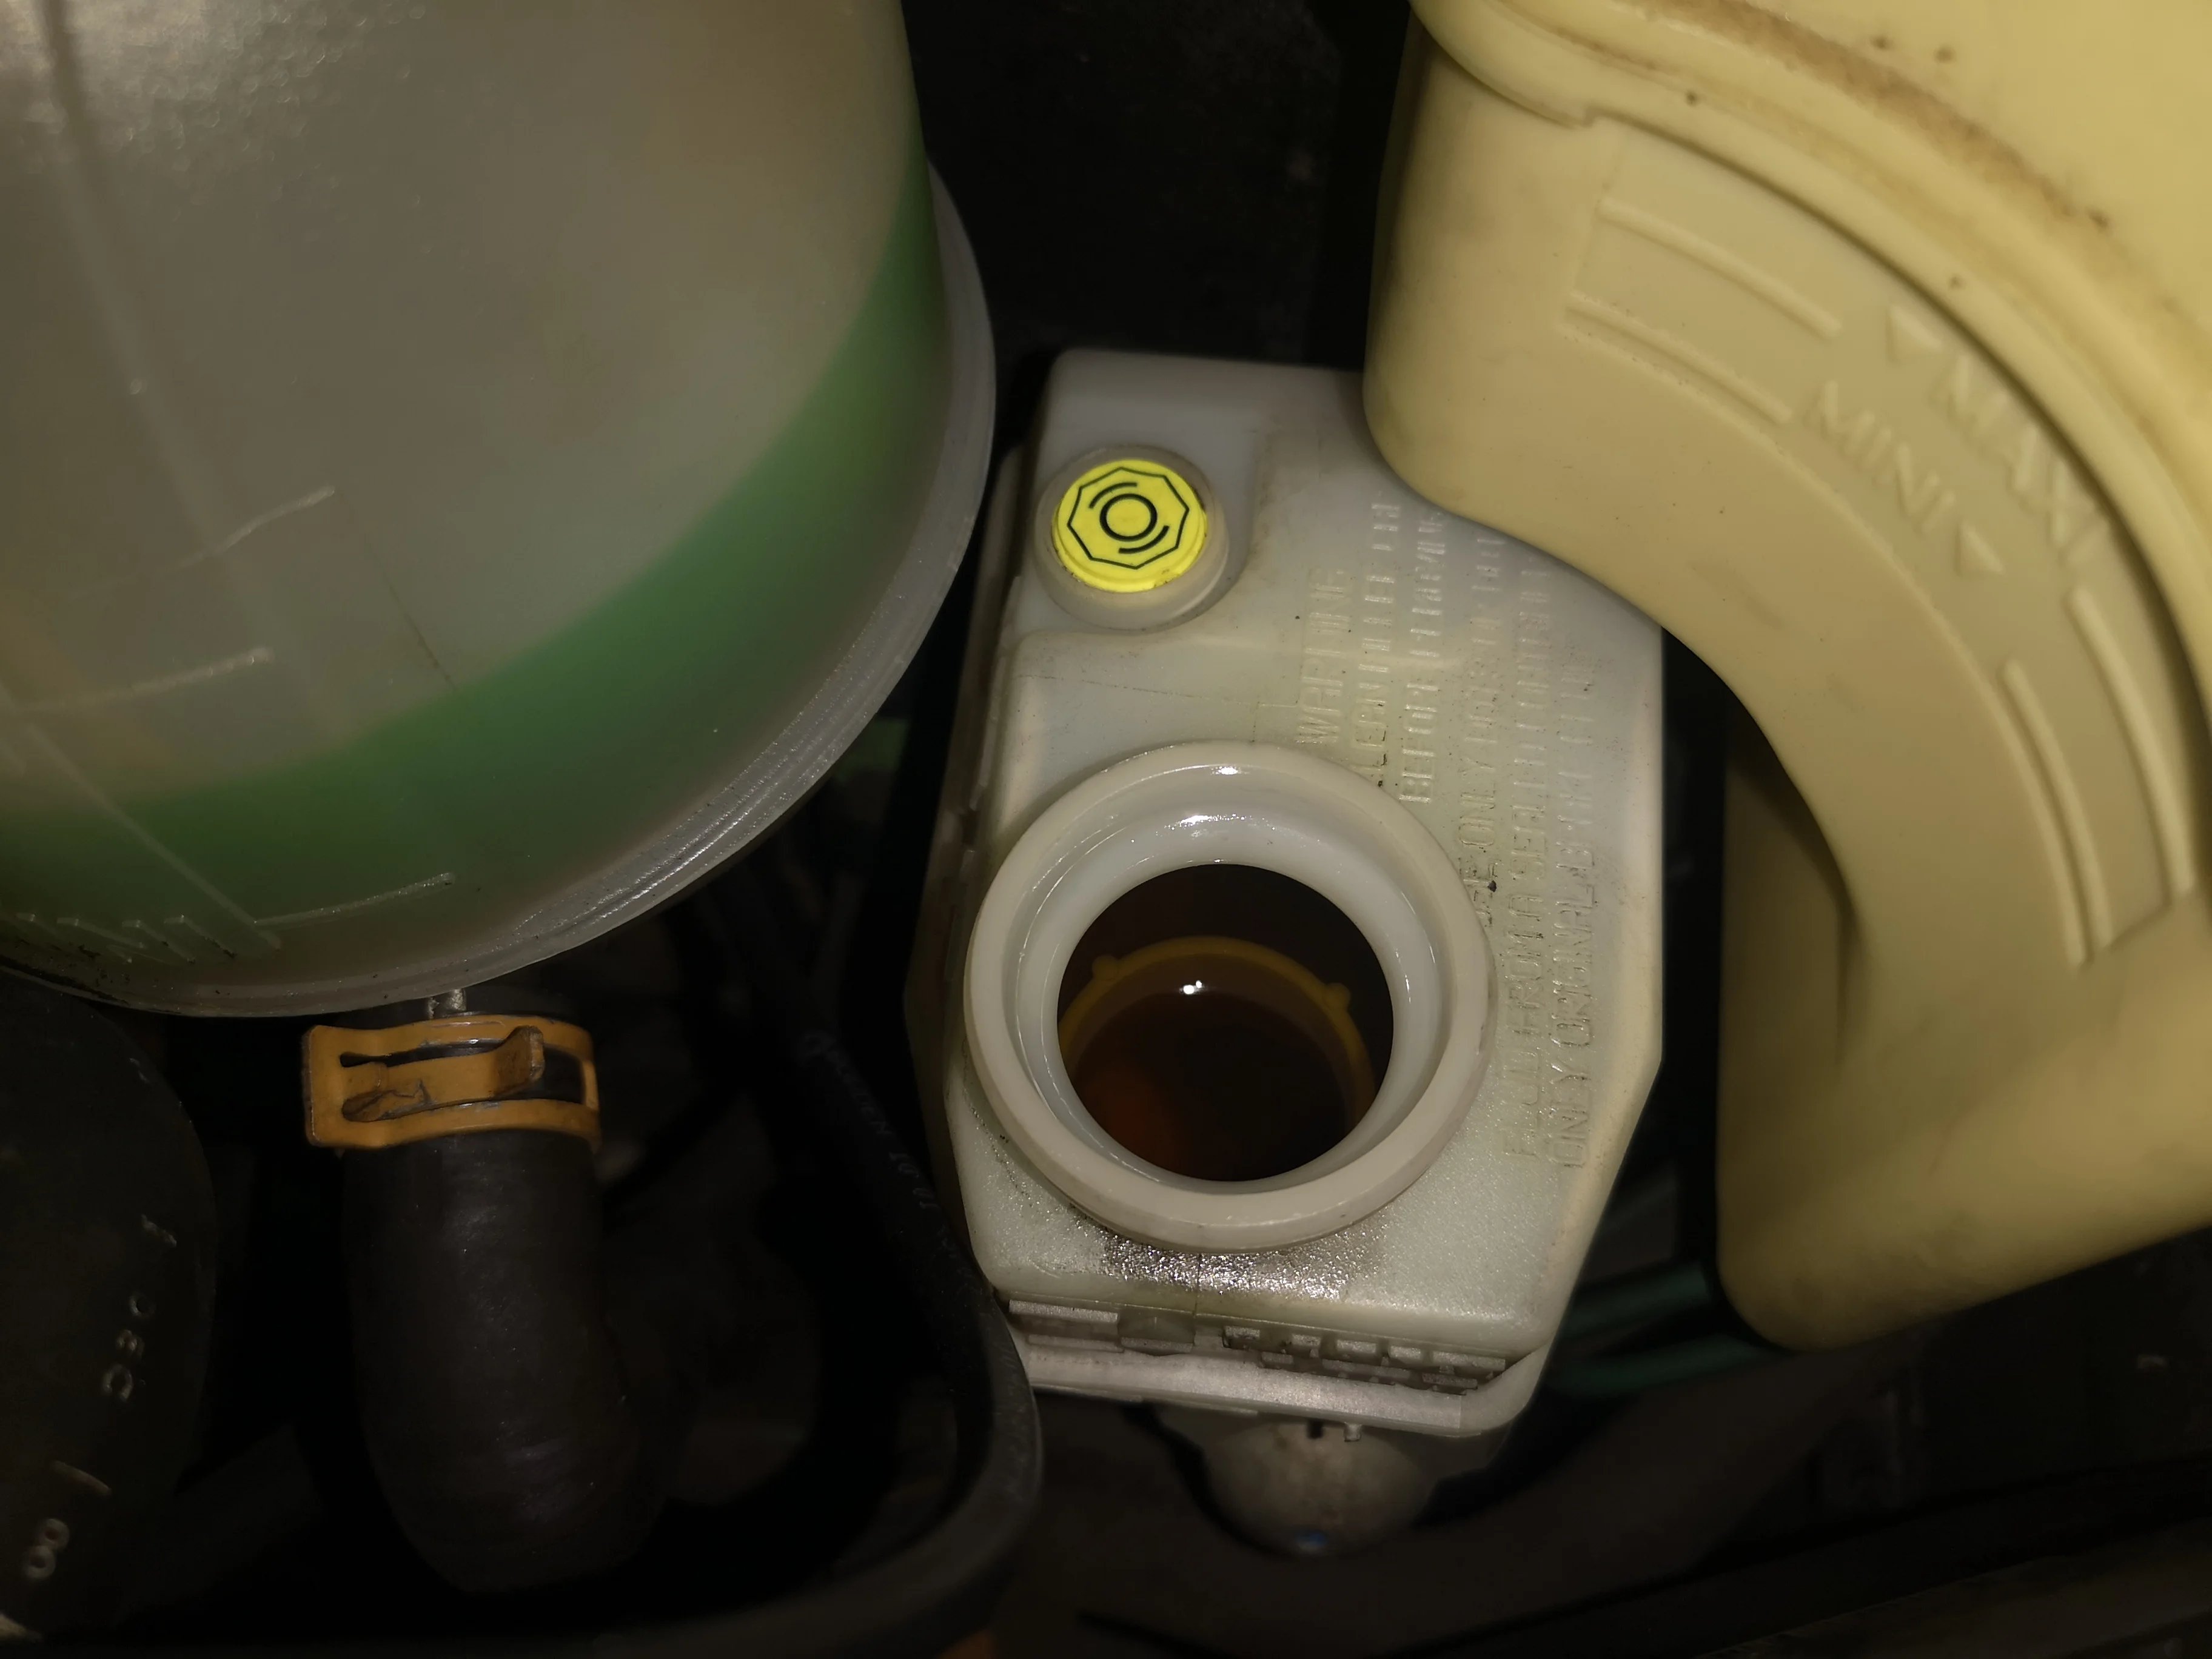
Old fluid looking a bit old.


IMG_20211016_103711.webp


IMG_20211016_103716.webp


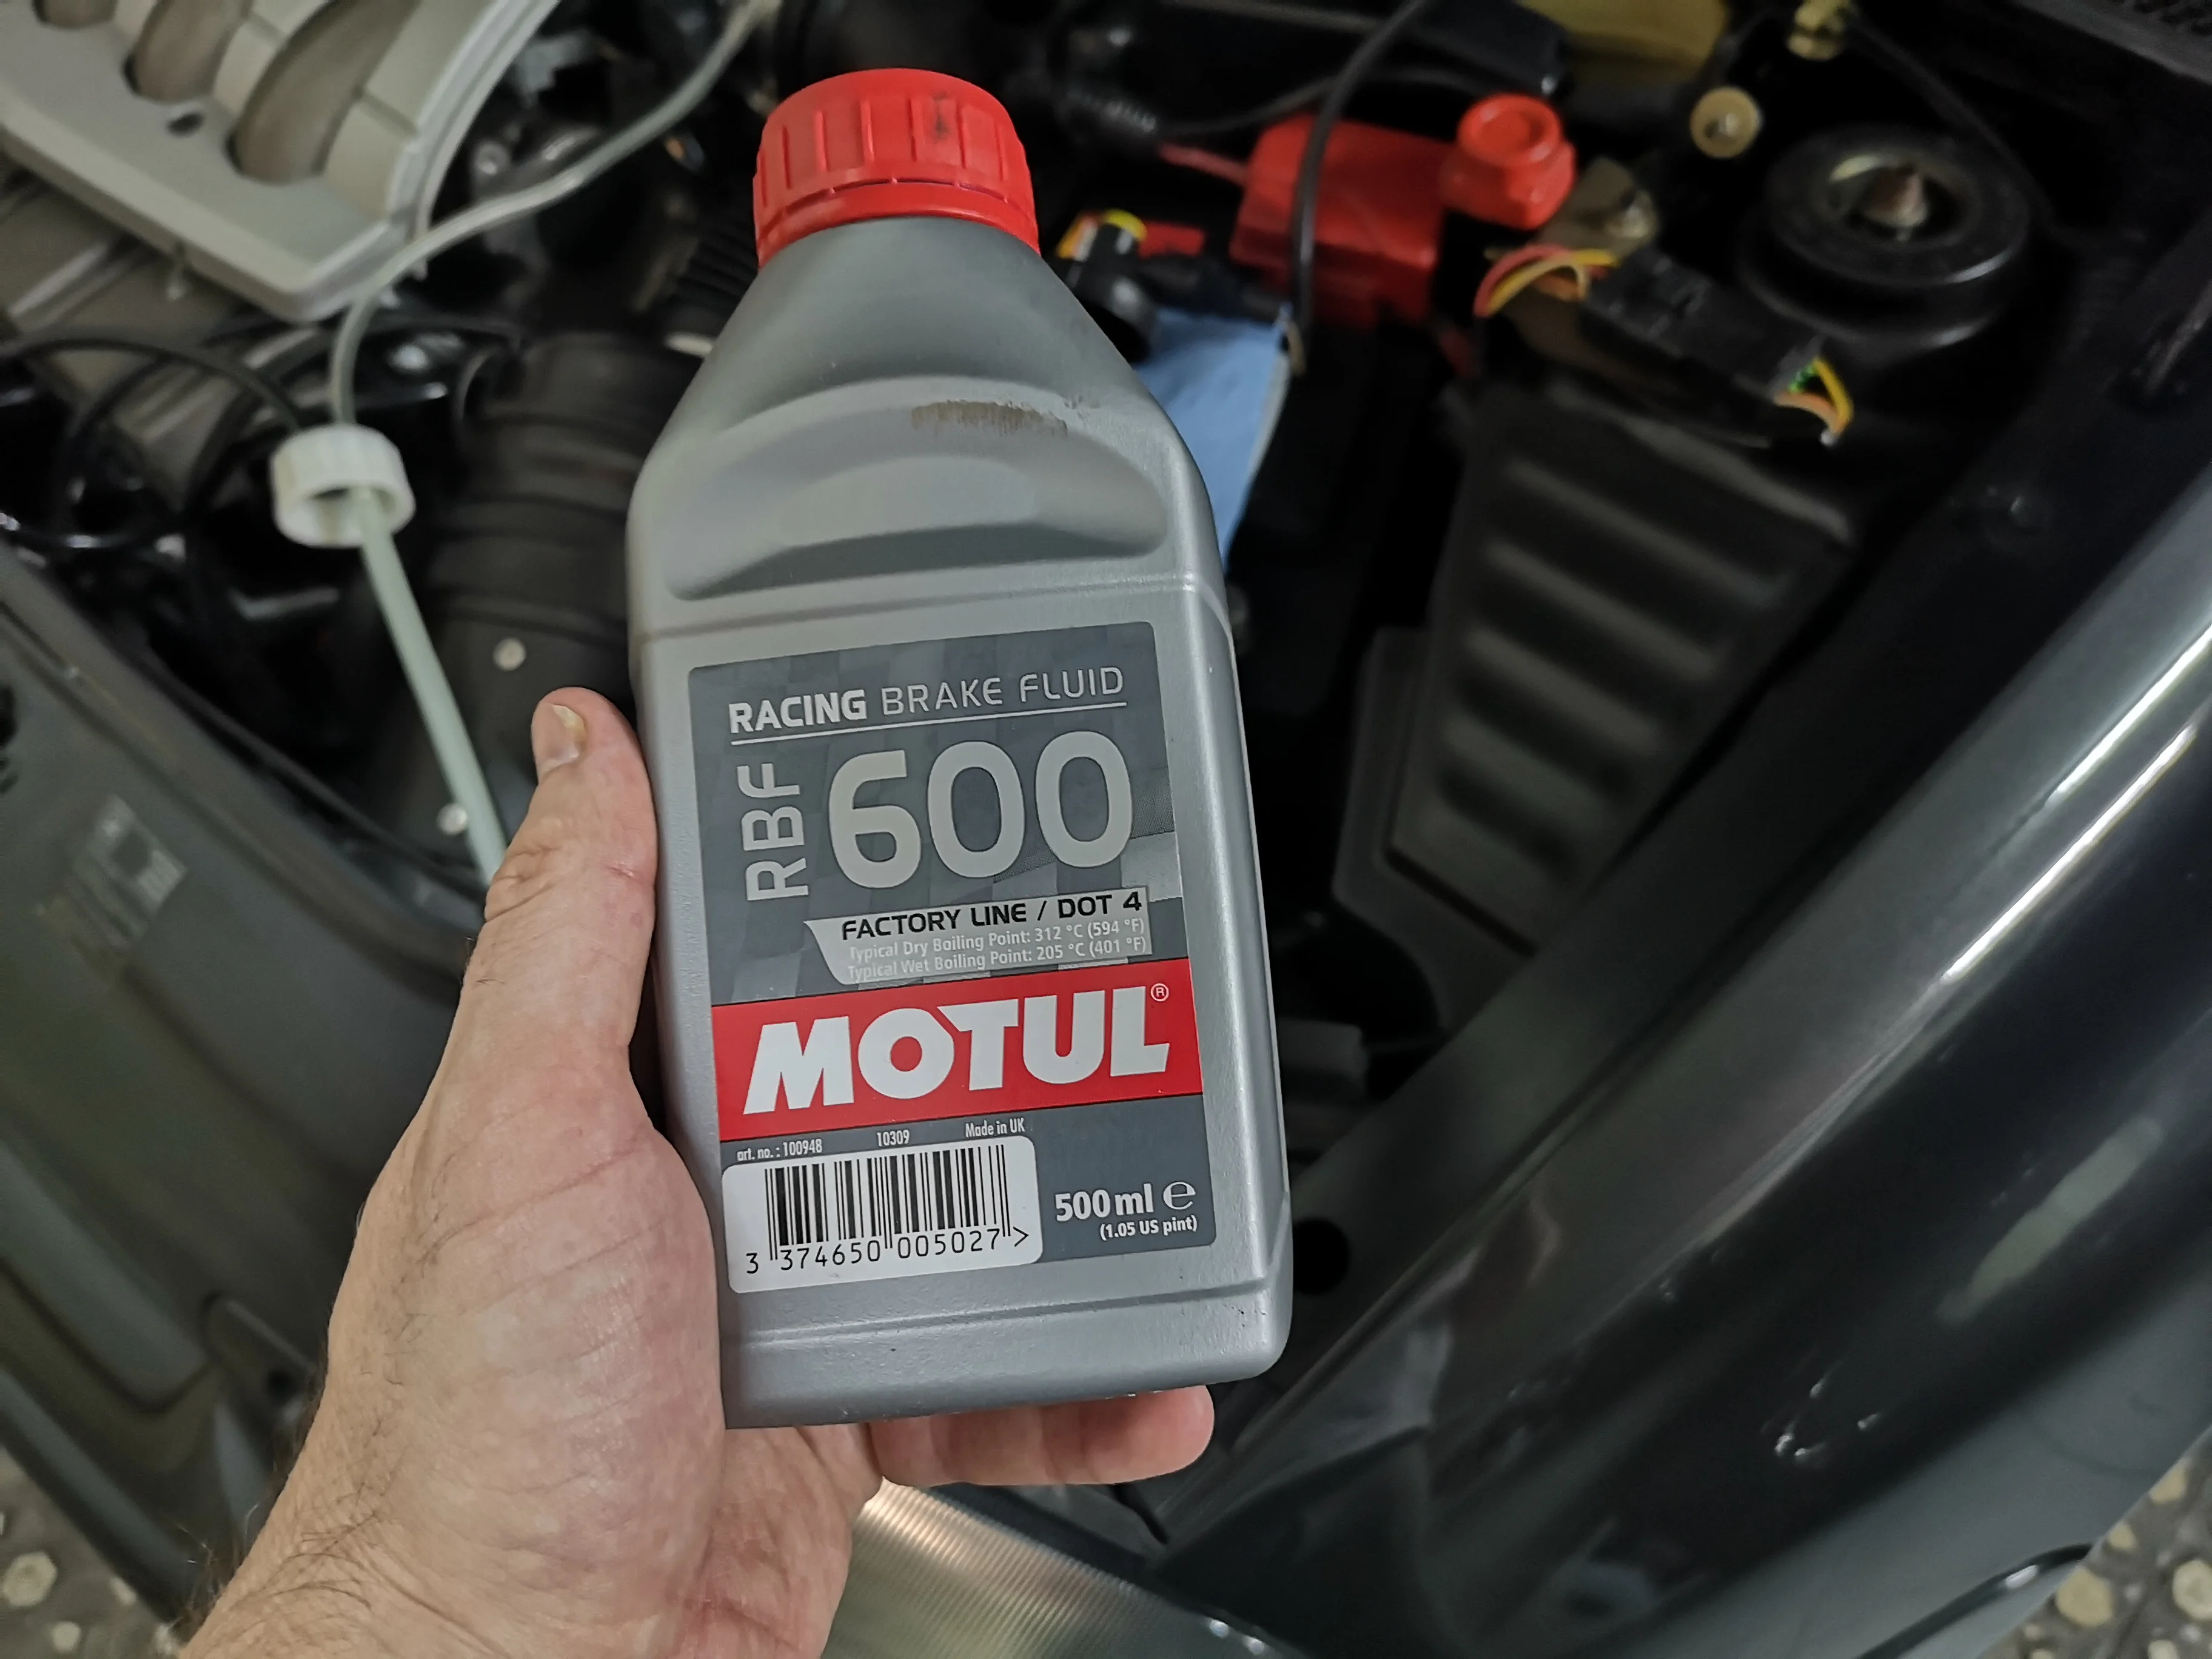
Motul RBF600 more than enought for this car use :)
IMG_20211016_103758.webp


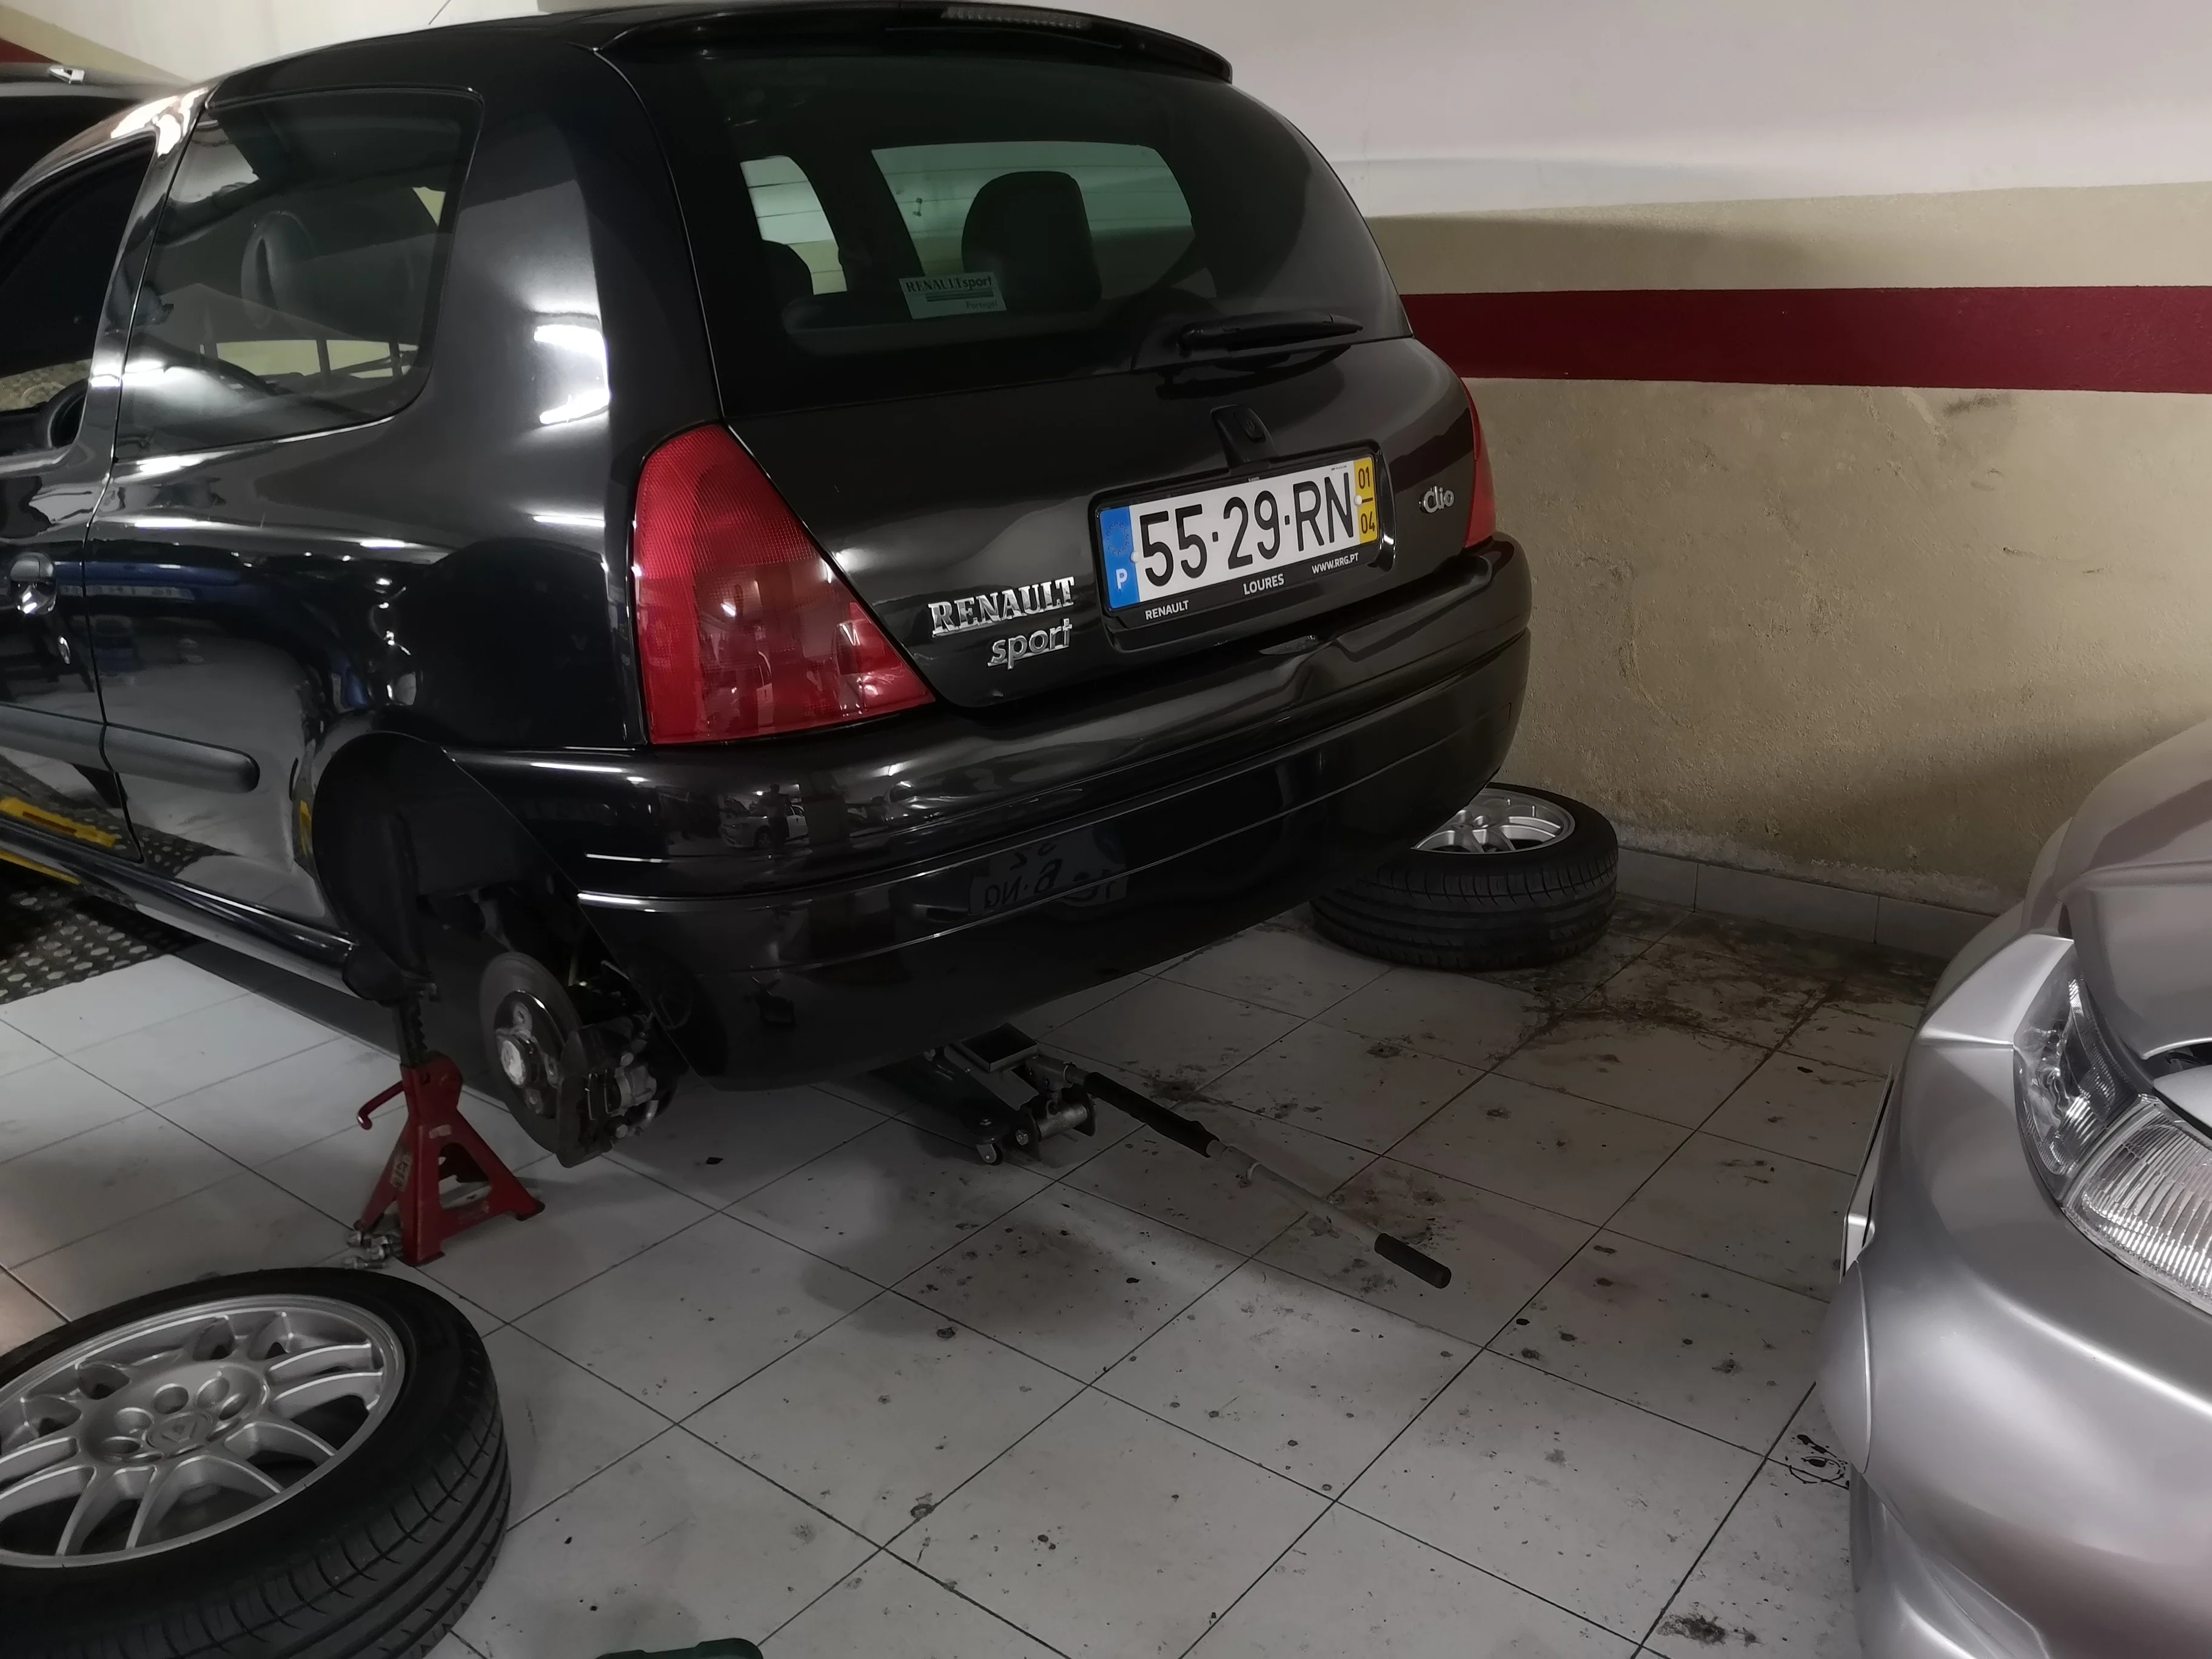
Rear up in the air to start with the rear right side
IMG_20211016_105404.webp


Everything looking good over here.

IMG_20211016_105418.webp
 
Since all the rear brake parts arrived, i decided to tackle the job on this rainy weekend :)

Preparing the car to lift it.

IMG_20211029_203810.webp


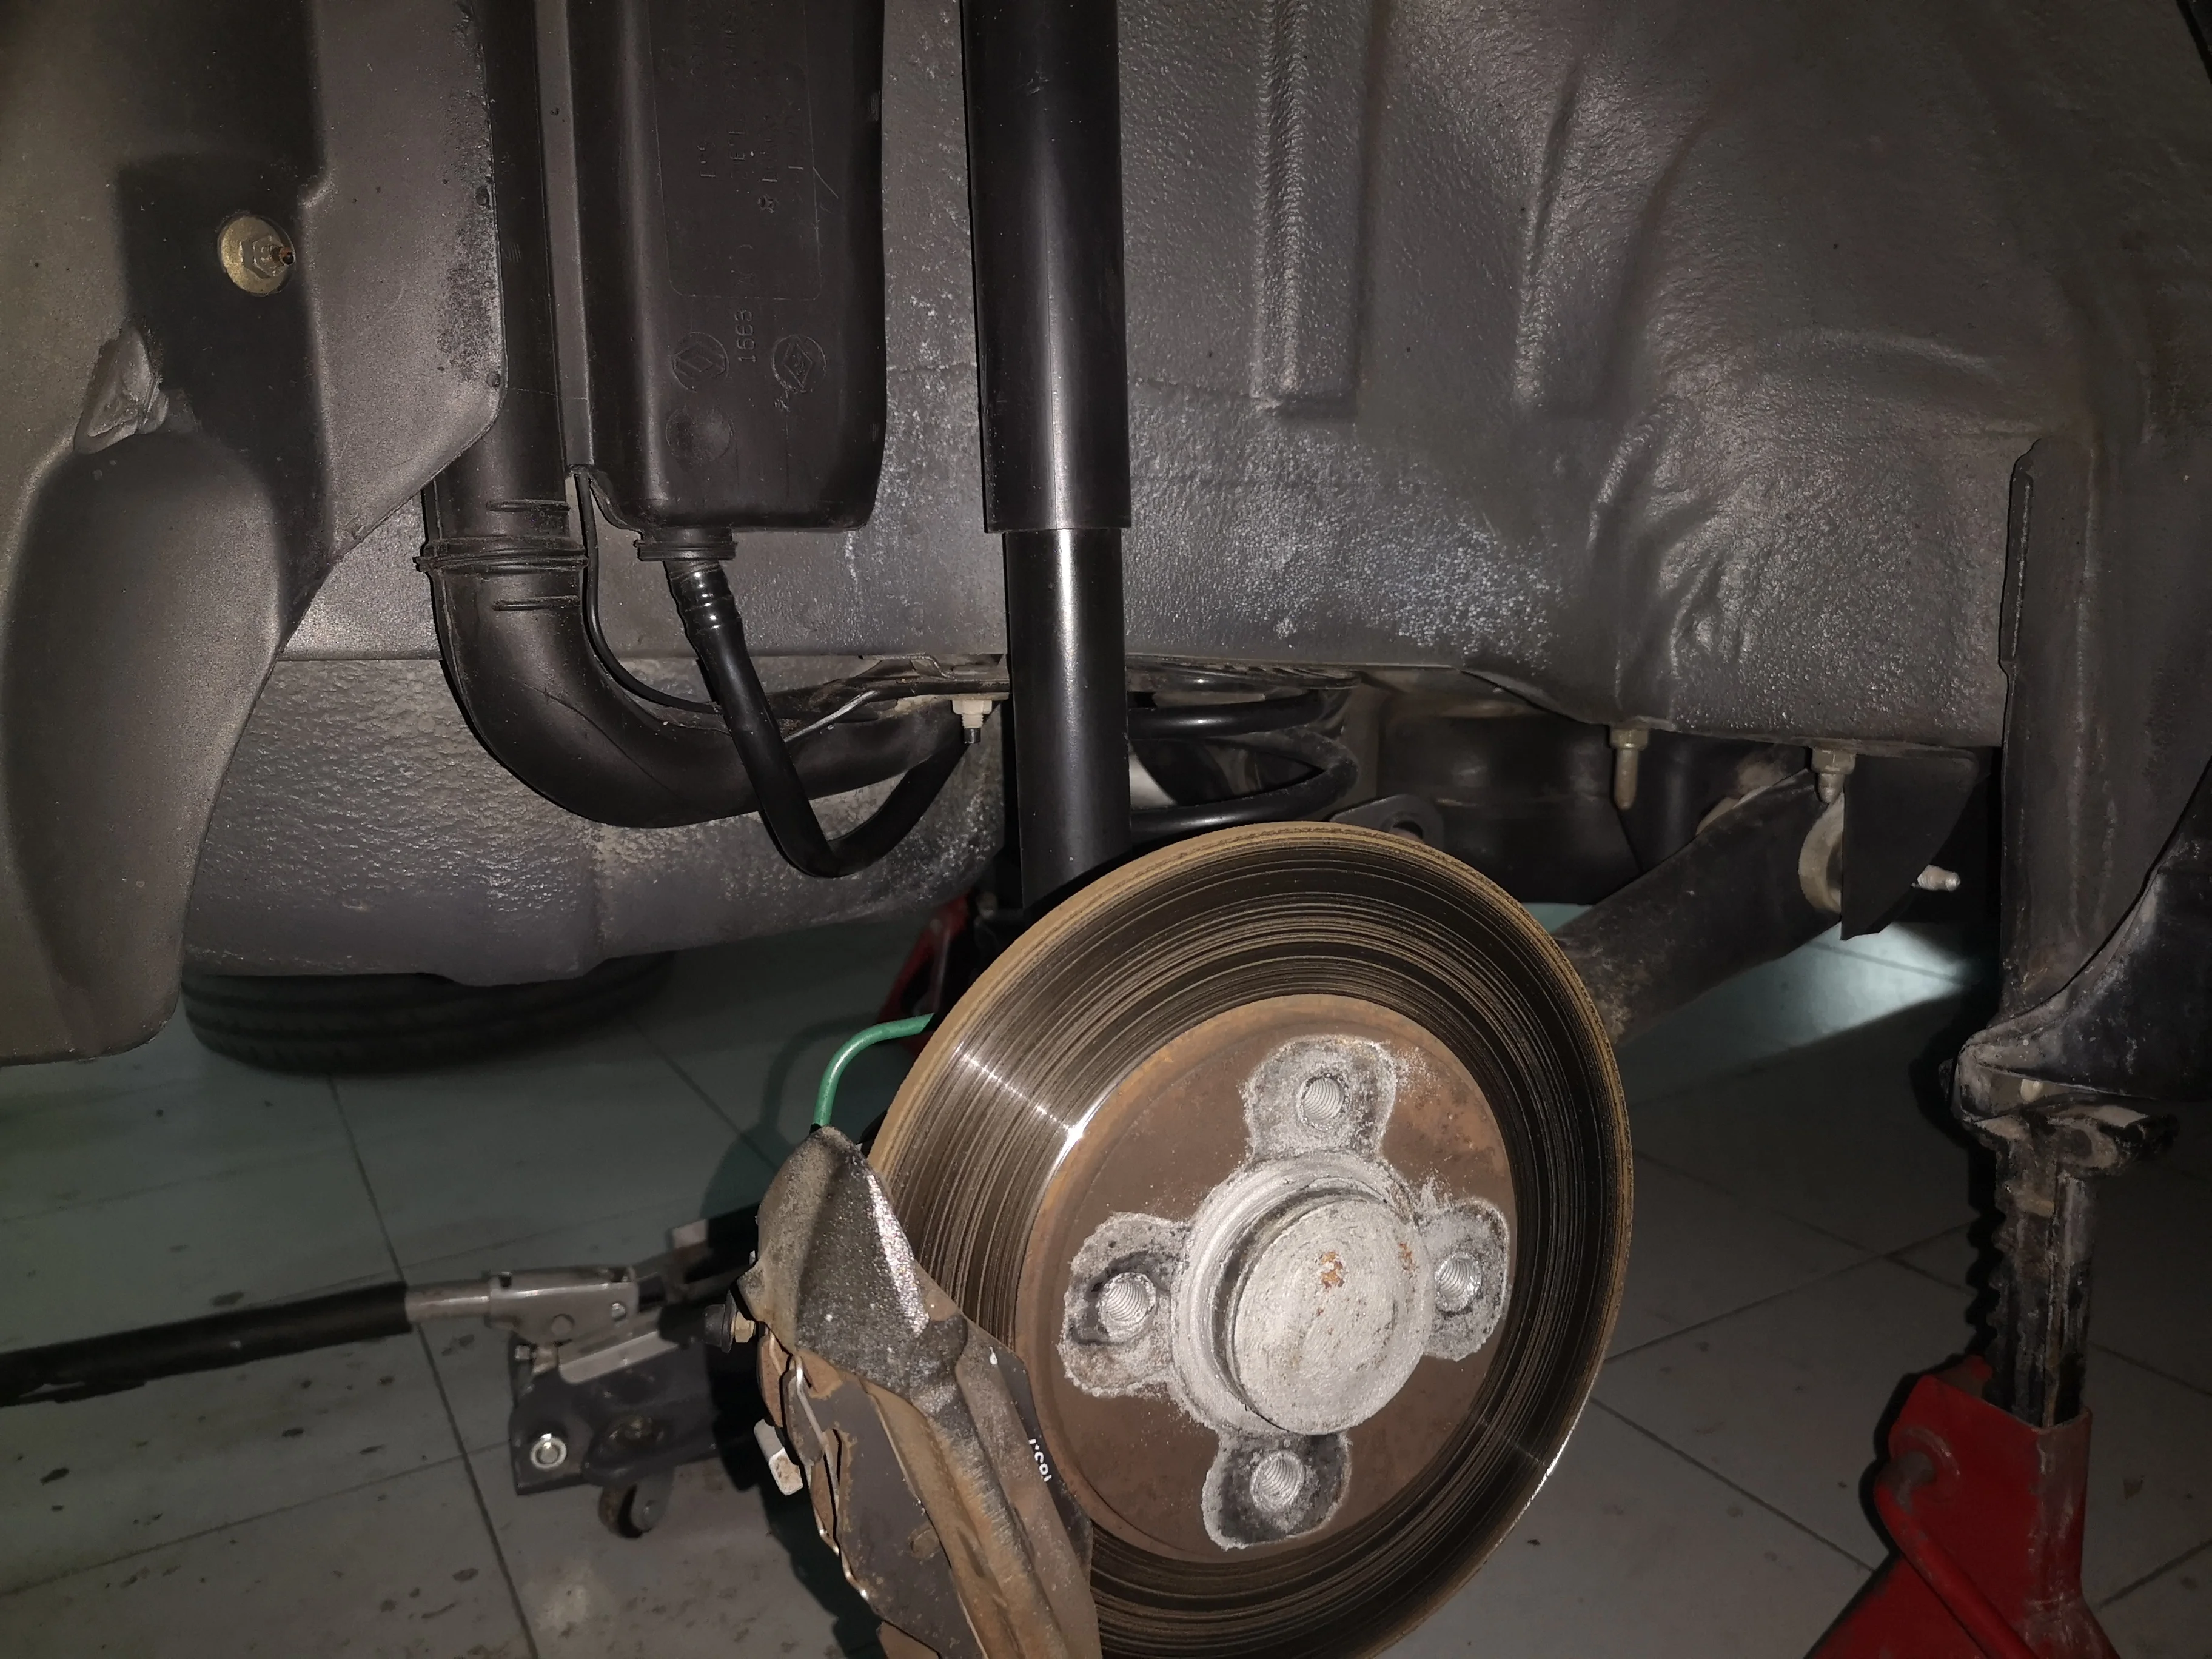
On axle stands and looking at the offending rear caliper :)

IMG_20211029_204830.webp


The broken bleeder ...
IMG_20211029_205118.webp


And the caliper bracket with the pads. To be honest i thought they were on the limits but had still plenty of life left on them.

IMG_20211029_205416.webp


And original too

IMG_20211029_205529.webp
 
Time to start loosening the 30 axle nut.

IMG_20211029_205759.webp


And after that the disc came out without any effort. Was surprised to be honest.

Plenty of dust from the 20 years of road use.

IMG_20211029_210239.webp


A quick wipe down

IMG_20211029_210354.webp


And the new caliper to be installed

IMG_20211029_210453.webp


IMG_20211029_210511.webp
 
So, with the new caliper in place i did not like the look of the pads bracket. So decided to use the old one and paint them with high temperature silver paint.

IMG_20211029_212640.webp


The old pads bracket receiving some paint.

IMG_20211030_104744.webp

IMG_20211030_104749.webp


Time to lub the axle

IMG_20211030_104927.webp


IMG_20211030_105623.webp
 
New caliper in place and caliper bolts torqued to 60nm.

IMG_20211030_111033.webp


And rear pads

IMG_20211030_115700.webp

IMG_20211030_115722.webp


And yes, that´s a k20. But not for the Clio :D.

Since the pads brackets were curing i decided to remove the disc from the passenger side (Uk driver side), should be peace of cake right? Wrong.

The disc refused to come off even with a giant hammer. Had to use a extractor to remove it for the hub. And removing the disc...the bearing was stuck on the axle.

IMG_20211030_124251.webp


I won´t get defeated by a french bearing :D

IMG_20211030_124408.webp


And the bearing exploded.

IMG_20211030_124508_BURST001_COVER.webp


And was left with this...

IMG_20211030_124515.webp
 
No wonder why it didn´t want to came off...


IMG_20211030_124736.webp


And all cleaned and ready to install.

IMG_20211030_125020.webp


After this, the process was the same as the other side so no pictures were taken.

Everything in place .

IMG_20211030_141743.webp

IMG_20211030_142052.webp


Adjusting the parking brake

IMG_20211030_151210.webp
 
Some goodies for the Clio :)

Oz Ultraleggera withR888R

IMG_20211030_115307.webp

IMG_20211030_115324.webp


And then decided to weight them


Stock Clio Rs172 ph1 wheels with Michelin 195-50-15

IMG_20211109_113949.webp

IMG_20211109_113941.webp


15,2kg tyre+wheel !
 
It sits on eibach sportline, but the front springs are cut 1 ring, and at the rear it has springs from coilovers with adjustment.. It's kinda frankenstein and at the time when it needs replacement.. I have B14 in mind :)


1638200183581.webp


1638200231627.webp

1638200273936.webp

1638200305258.webp


And this 2 pictures are when the car was on eibach sportlines, front + back. Comparing it to STD springs, it did lower it quite at the front, not so much at the rear.
For me it was good in the begining, but now i dont like it because the springs are too soft, they are progressive ( softer at start and they harden as you compress them ). On turn in the car gets quite soft and i get the feeling i'm on a boat, if that makes sence to you :D
They are comfortable in town ( potholes etc ) but when going for a spirited drive they kinda lack the stiffnes. If you don't want to go for coilovers, i would go for H&R springs, as they are known to be the hardest, and i've been in a car that has H&R and cup shocks and it behaves very nice.

Cheers from Croatia :)


1638200534835.webp

1638200559250.webp
 
It sits on eibach sportline, but the front springs are cut 1 ring, and at the rear it has springs from coilovers with adjustment.. It's kinda frankenstein and at the time when it needs replacement.. I have B14 in mind :)


View attachment 1568541


And this 2 pictures are when the car was on eibach sportlines, front + back. Comparing it to STD springs, it did lower it quite at the front, not so much at the rear.
For me it was good in the begining, but now i dont like it because the springs are too soft, they are progressive ( softer at start and they harden as you compress them ). On turn in the car gets quite soft and i get the feeling i'm on a boat, if that makes sence to you :D
They are comfortable in town ( potholes etc ) but when going for a spirited drive they kinda lack the stiffnes. If you don't want to go for coilovers, i would go for H&R springs, as they are known to be the hardest, and i've been in a car that has H&R and cup shocks and it behaves very nice.

Cheers from Croatia :)

Your car looks awesome :) ! Thanks for the pictures.

I was thinking about the HR springs and Cup shocks as you mention.

:D
 
Time for a small update.

Since i bought the car i noticed that the gearbox had two oil leaks. One from the gear selector shaft, witch it seems is a known issue and another one by the gearbox bell housing. Since i have a low mileage PH2 172 Gearbox to install (50 000 km only and the bonus of the shorter final drive) i don´t want to remove this gearbox right now to reseal it. So, i just need to add some oil .

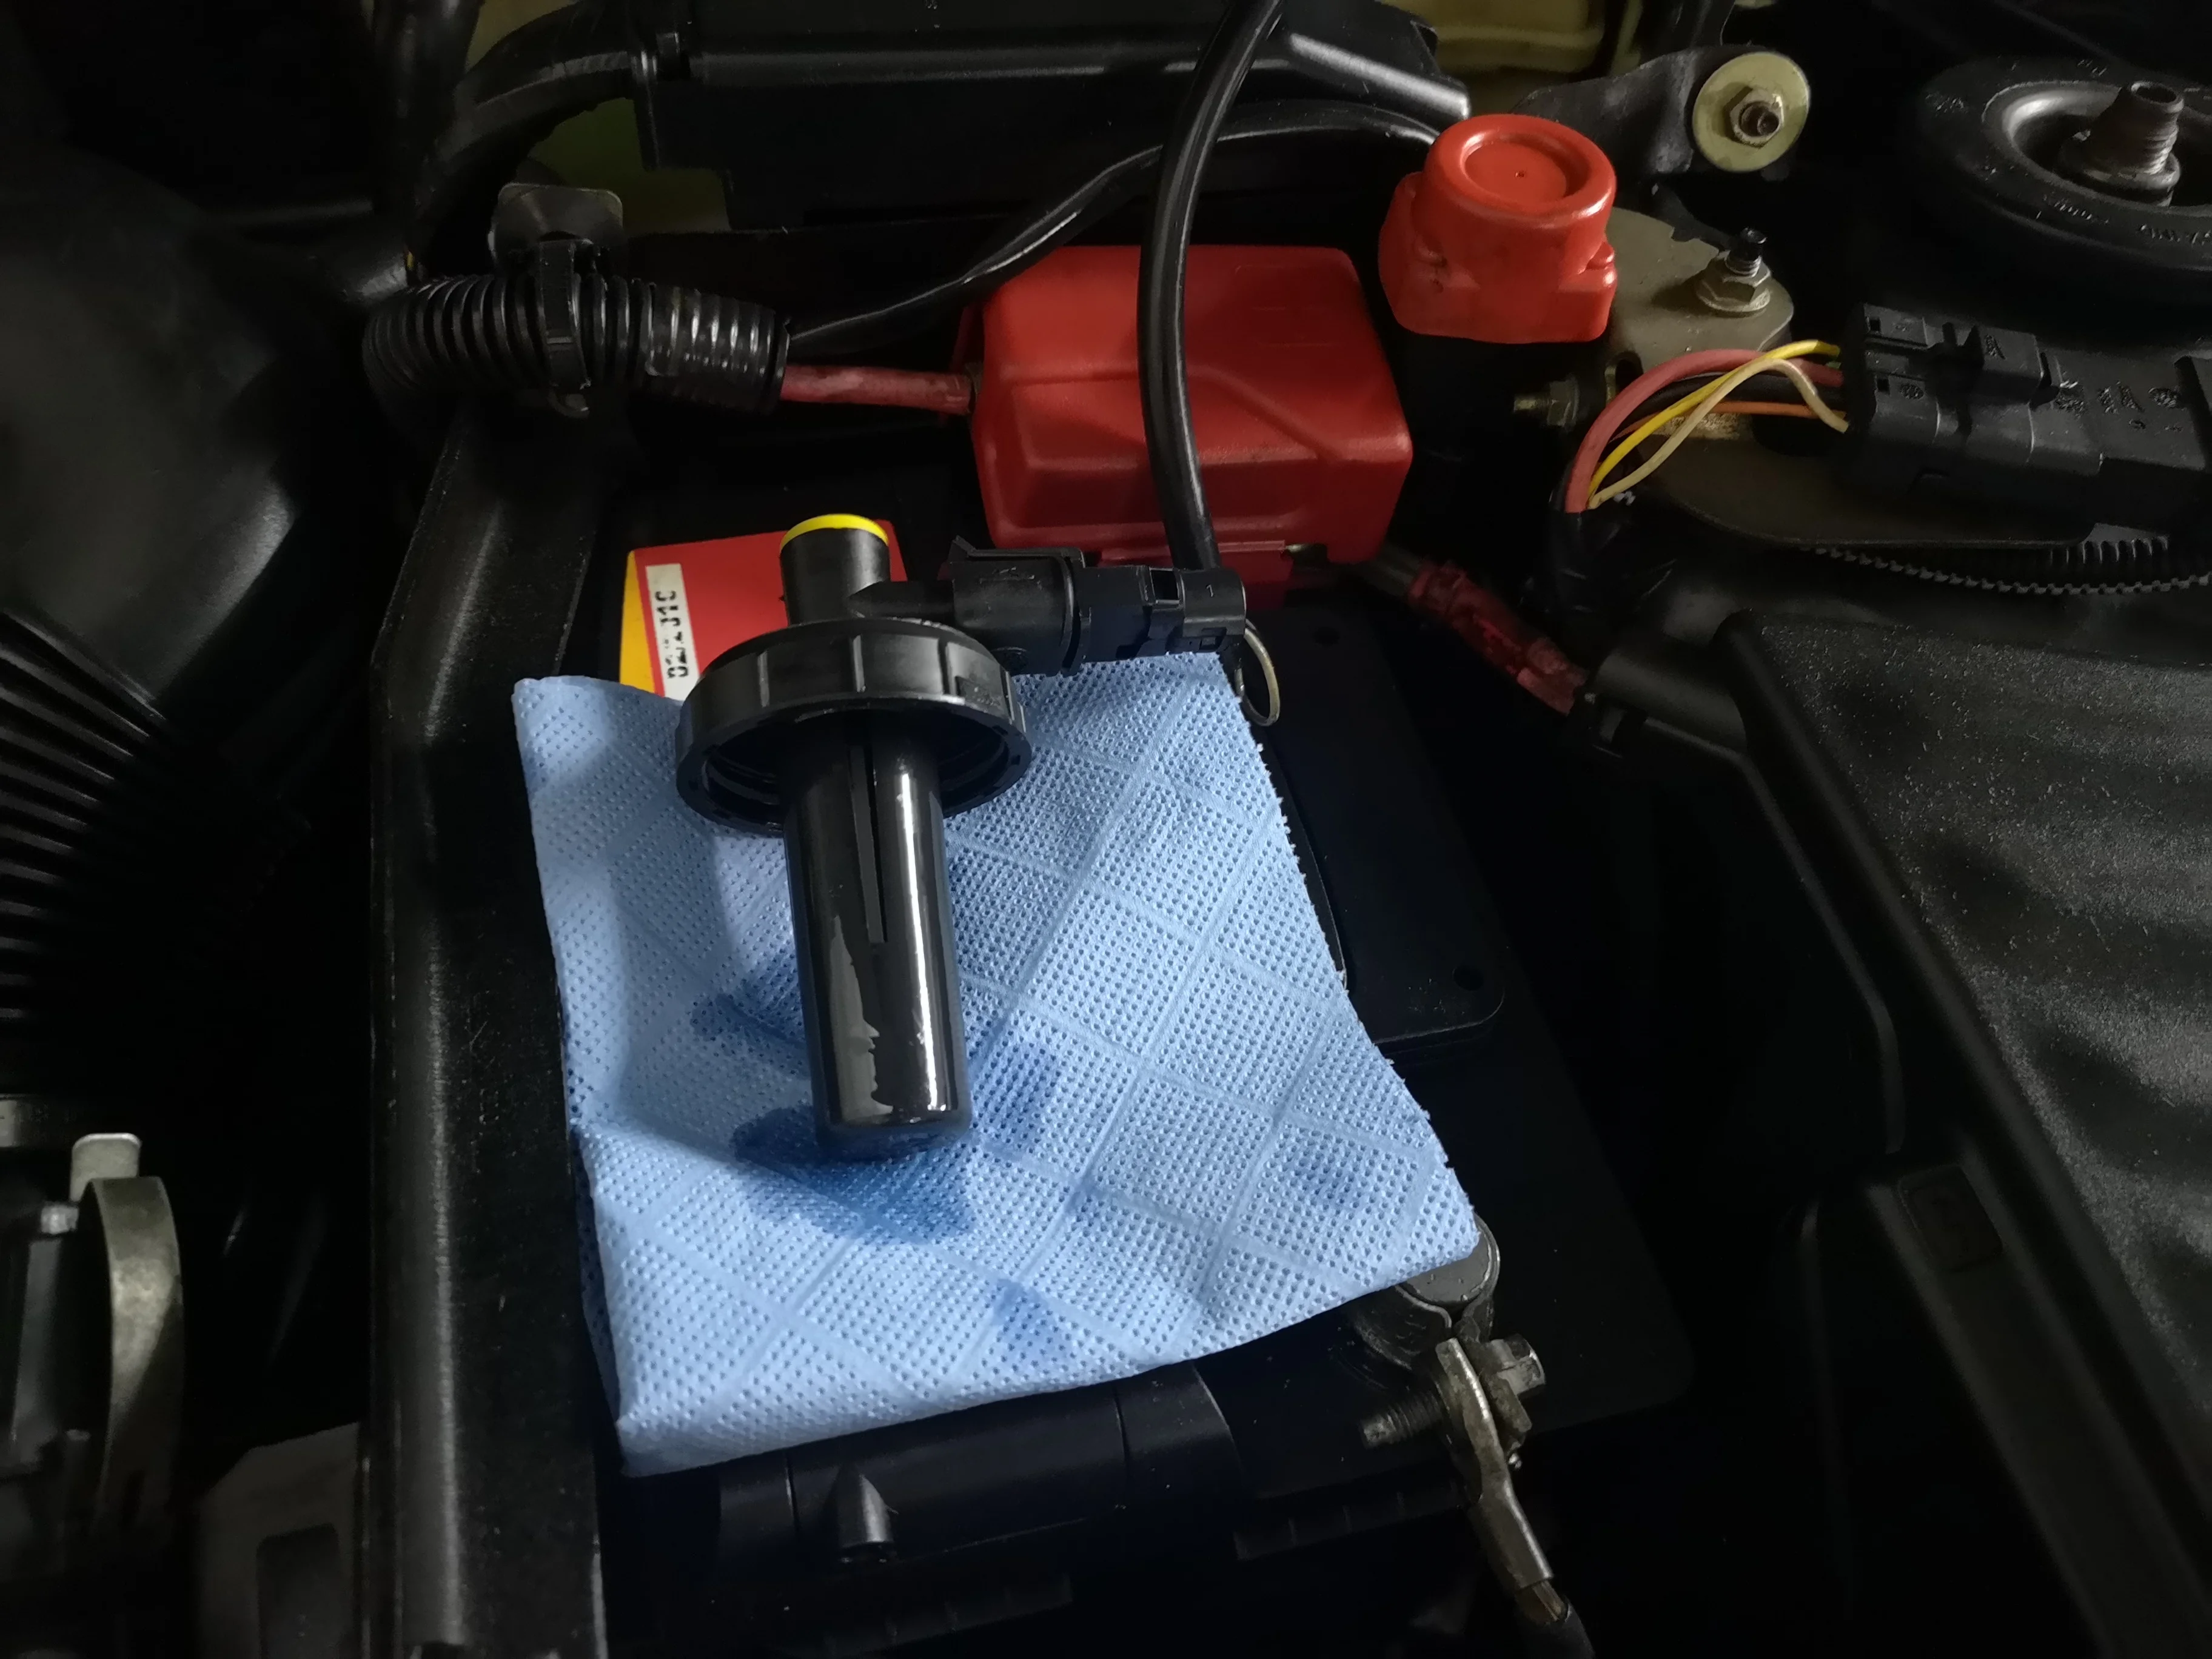
Removing airbox and clutch cable to get to the filler.

Foto 1.webp


Oem oil is good enough for now.

Foto 3.webp


Also decided to take advantage of having some parts apart and decided to make two new ground wires for the car. The original ones look a bit tired and are too flimsy .

Foto 4.webp

Foto 5.webp


And the new 8mm wire.

Foto 6.webp
 
Some proper terminals

Foto 7.webp


And clamped with the proper tool . Looking very good.
Foto 8.webp

Foto 9.webp


One of them decided to use the same path as the original coming from the battery.


Foto 10.webp

Foto 11.webp


The other one connected from the head to the air box bracket that connects to the chassis. I think it´s better than nothing. Correct me if wrong :)

Foto 15.webp

Foto 16.webp

Foto 17.webp


Where it connects.

Foto 18.webp


Some free play and does not get caught in anyplace (Fan/Clutch cable etc).

Foto 19.webp
 
Annnnd it survived :)

About 350km performed without a single issue. I really love this little car.

I was the organizer of this small tour with my friends so the clio was 99% the leading car of the convoy and everyone was amazed with the performance on the country roads :cool:


Managed to cook the PBS pads and the once silver front calipers are now almost black. After cooling down the pads were good as new regarding initial brake torque and feel, but they don´t withstand so much heat as i was expecting. I think next time will go to my trusty carbon lorraine RC6.


Some pictures for you.

IMG_20220226_091953.webp

IMG_20220226_112710.webp

IMG_20220226_112703.webp

IMG_20220226_112659.webp

IMG_20220226_110806.webp

IMG_20220226_161354.webp
 
Time for a small update.

A couple of months ago participated in a gathering with some friends. A lot of Ph1 present!


IMG_20220501_114706.webp

IMG_20220501_114651.webp

IMG_20220501_114715.webp


After that i decided to tackle something that i was getting postponed multiple times. And that was to take care of the center silver trim. Thanks to @Optimista who shared previously the color code i managed to get a very good result (at least for me!).

Before (The stains on the silver were due to some kind of cleaner).

IMG_20220705_145943.webp


During sanding

IMG_20220705_151757.webp


And the final result

IMG_20220706_123740.webp
 
After that interior work, decided to give a wet vacuum on the carpets, seats and a fresh coat of sealer on the paint. As you can see the color of center silver trim perfectly matches the original from the door covers and gearknob.

IMG_20220710_154437.webp


IMG_20220710_155911.webp


IMG_20220710_163111.webp

IMG_20220710_162942.webp

IMG_20220710_162905.webp


And since the Clio is due for belt service i have been trying not to use very much. But the belt service has become a major upgrade mechanically .

So, now the Civic is being more used than the Clio.

IMG_20220709_224319.webp


Thanks for reading.
 
Time for a small update :D

Last summer i picked up from a friend (In exchange of some euros, not for free :LOL:) a full interior for the PH1, front seats, rear seats and door cards. Why you may ask. Because they were in really good condition (85%) and you can never have too many spare parts 😄

Since i have a spare set, i decided to try to refurbish mine. I talked to a friend of mine who is a very good detailer and he recommended me Colourlock products. I contacted them and ordered "Renault blue", i told them that it was for a Clio 172 RS PH1 and they seem to know what blue i was talking about.

The kit upon arrival. Very well packed.
1669996884398.webp


Besides the sandpaper, this were the products that i have received.

1669996946963.webp


And some before shots of my driver side seat (The passenger was not it much better condition)

1669996998254.webp

1669997008990.webp


1669997020006.webp
 
Back
Top