ClioSport.net

This is a sample guest message. Register a free account today to become a member! Once signed in, you'll be able to participate on this site by adding your own topics and posts, as well as connect with other members through your own private inbox!

  • When you purchase through links on our site, we may earn an affiliate commission. Read more here.

My mk1 Clio valver project

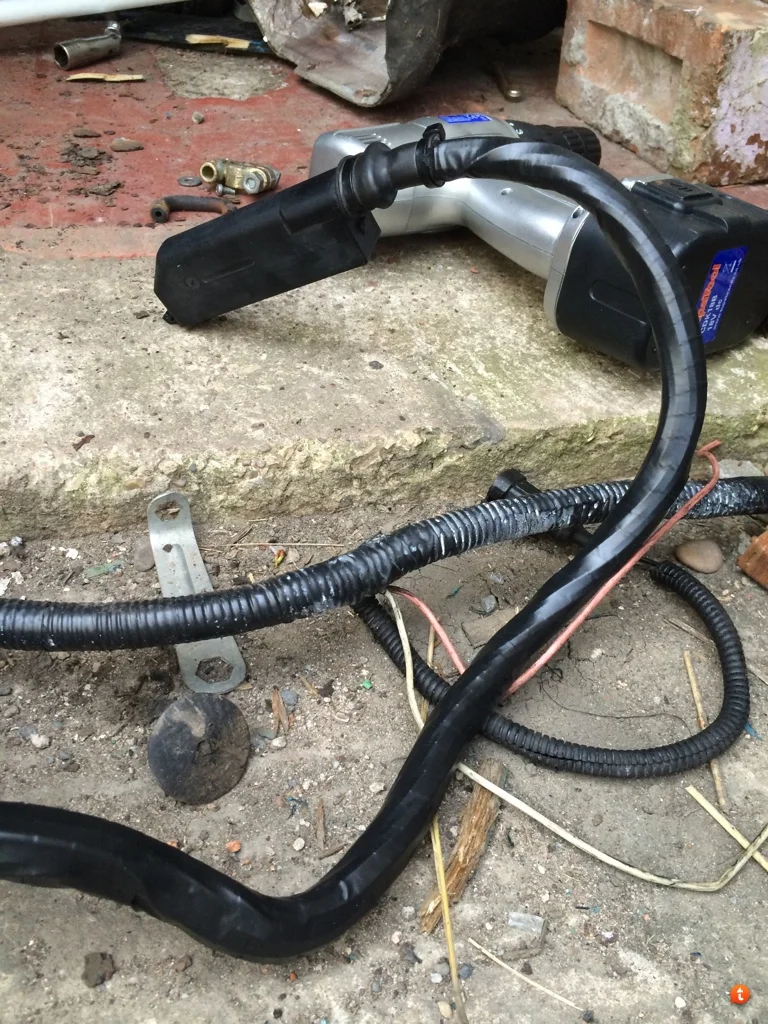
Was tinkering again yesterday, I did some more loom
a4u7uje9.webp
it all now looks like the bit where the ecu connector plug is now,
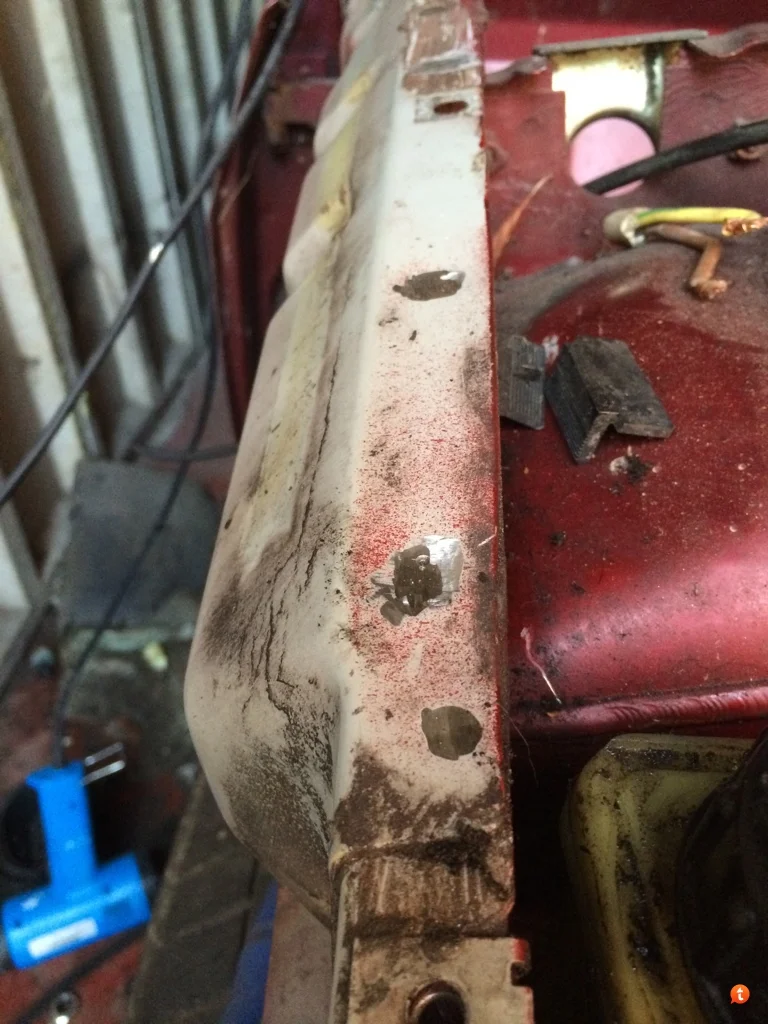
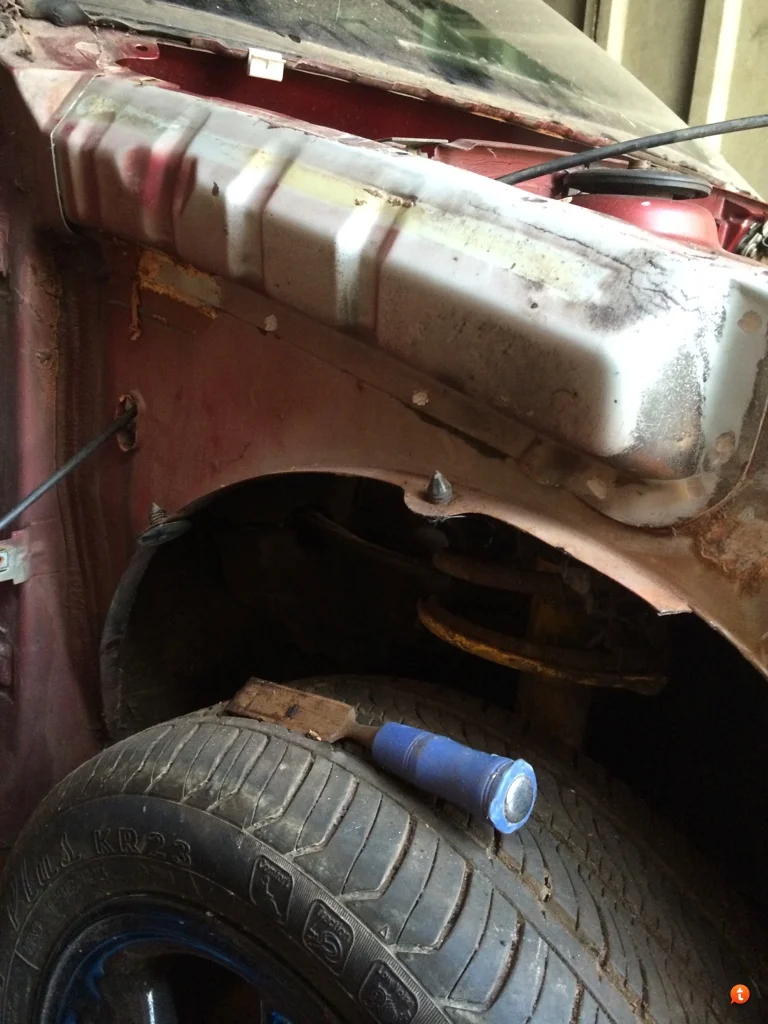
Also went and found the spot welds as the next thing on the list is getting rid of ALL the rust
ape4yjag.webp
y4a5y3ub.webp

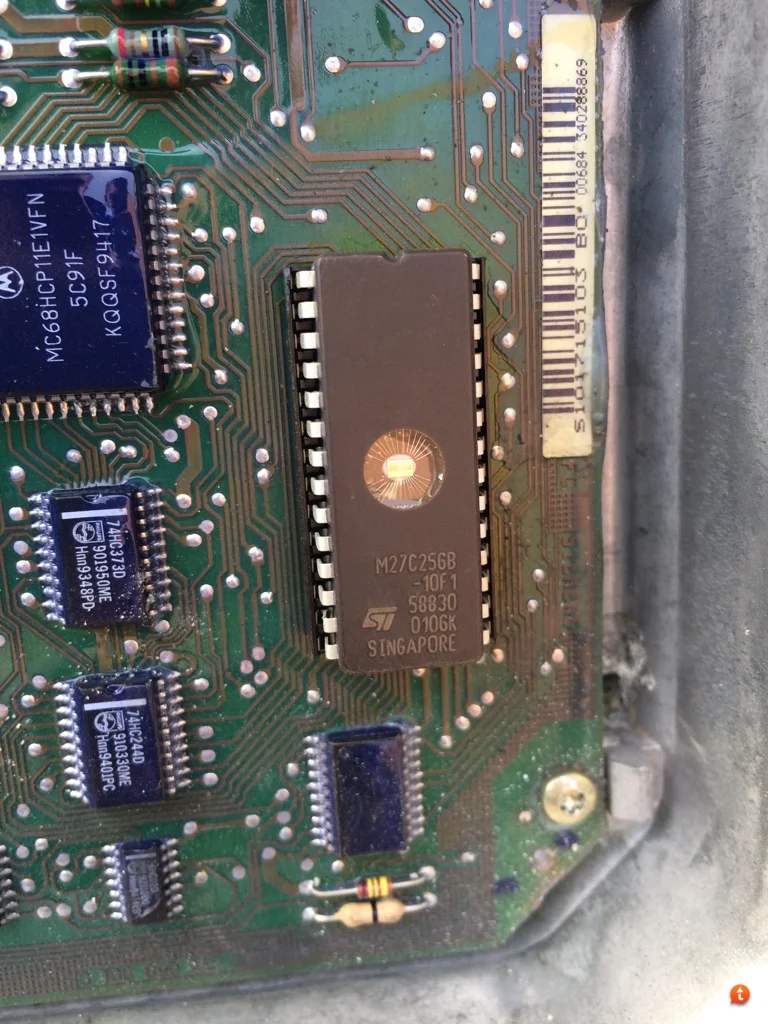
Can anybody give me information on this chip? It was in it when I got the car and I was just told it's a phase 1 chipped ecu but the bloke didn't know what chip etc.
ere2u5ah.webp

Will be updating more frequently now, I hope anyway lol...
 
Thats just a chip that people can then write a calibration onto mate, there is nothing on it that identifies what it is.

The good news is that you now have the chip socket in place to swap easily to another chip, as IIRC as standard they are fixed onto the board.
 
Thats just a chip that people can then write a calibration onto mate, there is nothing on it that identifies what it is.

The good news is that you now have the chip socket in place to swap easily to another chip, as IIRC as standard they are fixed onto the board.

Okay mate thanks. Any suggestions on a chip? Or would you stick with this one
 
Okay mate thanks. Any suggestions on a chip? Or would you stick with this one

TBH one of the first mods I did to mine was bin the ECU and fit a mappable unit so I could map it myself. So I have no firsthand experience of the chips really other than the one I replaced which wasnt upto much was a "gunner" chip, and my remap on aftermarket that I did made a LOT more power.

There was clearly something wrong with the one on it, maybe it was wrong spec somehow, this does show much much difference a decent map makes though:

DSC_0008.webp

(thats a 2.0 (williams) engine I fitted not the original 1.8)
 
TBH one of the first mods I did to mine was bin the ECU and fit a mappable unit so I could map it myself. So I have no firsthand experience of the chips really other than the one I replaced which wasnt upto much was a "gunner" chip, and my remap on aftermarket that I did made a LOT more power.

There was clearly something wrong with the one on it, maybe it was wrong spec somehow, this does show much much difference a decent map makes though:

DSC_0008.webp

(thats a 2.0 (williams) engine I fitted not the original 1.8)

Yeah it sure does, when I got mine the bloke I got it off said it had a phase 1 chipped ecu and that it had been mapped but don't know full specs, I had it dyno'd and it made 166.3 at the wheels, got the printout somewhere, I'm not sure if it's cammed or not though, I got in touch with the bloke who did the engine rebuild (for proof) and he said it had "aftermarket cams" but never said a brand or anything, it does idle like a cammed engine would but as I say I've not had a look lol
 
166 at the wheels needs either:

hot cams, very good map, particuarly good Williams base engine
Or:
absolute nonsense rolling road
 
You might be remembering wrong that it was at wheels when really its a predicted flywheel figure?

Big difference between 166 fly and 190 fly, which is the sort of difference it makes being at the wheels or not.
 
Well its either got some very lairy cams in it or the rolling road you use over reads.

Post the graph?
 
I can't find the actual graph, it was written on a piece of paper which I was given with the printout, if I do find the original graph I'll post a photo up
 
Been and ground out the spot welds ready for drilling, also stumbled across something that makes me feel a bit for the previous owner
umy9umar.webp


The receipt he gave me for the work carried out said it had a full os sill, turns out it's been cut, peeled, patched and re welded! Well that's what I think anyway
On an upper note though the inner sill is good, solid as hell.
That seam sealer is horrid to remove, anybody know of an easier way than burning it off or chiseling it lol
 
Ordered some parts for the car today, decided I might as well stock up ready...
vejehere.webp

hypuzuge.webp

Also ordered an induction set up with adaptor plate but not got a pic yet :) will be updating later on...
 
Been out the past few days on the valver but not got any pics :duh:

Anyways today I did take some pics...

una5a8u7.webp
was planning on getting the engine ready for outing, decided as I can't get hold of an engine hoist I'm going to lower it with the frame and get a few mates to help me lift the shell, (did this on my stepdads escort rs turbo conversion)
Anyway discovered that mount is.... Well, yeah, probably the answer to a gangnam style engine lol.
Also set about taking the inlet off as I'm going to be powder coating stuff from the engine, removed a pas pipe and planned on putting in it into a suitable can, didn't fully go to plan
pyqu8aty.webp


Luckily we have rabbits so had some sawdust, worked a treat,
By the time I'd done cleaning that it had gotten dark so packed up for today, starting early tomorrow, I also god rid of some more Seam sealer.
More to come tomorrow
 
I've been poorly with the chicken pox the last week or so, so haven't been up to much. However I'm now all better so resumed working on it, yesterday I got the inlet manifold off and was quite surprised to see the internals like this

a6umequd.webp


Anyway I brought the inlet in the house, cleaned it and set about matching it and porting it
du2yzuve.webp
 
Been out today again :D had a good few solid hour, I've removed the brakes as they were binding, removed the downpipe so I can remove the subframe at a later date, I then set about removing the cylinder head as I want the engine out to do the body and I can do the engine inside lol. Anyway I took off the cam cover, the gasket was fubarred lol, started removing the torx that hold the cam carriers down but some are badly rounded so not sure what to do with em... After loosening about 4 or 5 my hand slipped and smashed straight on the cam carrier, how Sharp are them f@ckers!!! Bled everywhere, it was literally pouring lol, however I've cleaned and plastered myself up ready for tomorrow :D a few pics of the cams... Sorry pics aren't very clear!
8y8u7eba.webp

ybabevyd.webp


I've noticed the far right front lifter has some watery type stuff in that looks rusty, in fact they all have some in...
I'll update tomorrow as I'm hoping to have the cylinder head off lol!!!
 
That's one of the worst things going when the bolt snaps or lets go and you punch whatever's behind it. Just been trying to avoid doing the same on my exhaust because I must have lost a fair amount of claret last time I went near it :mad:
 
That's one of the worst things going when the bolt snaps or lets go and you punch whatever's behind it. Just been trying to avoid doing the same on my exhaust because I must have lost a fair amount of claret last time I went near it :mad:

Haha too right! Doesn't help though cos car has been stood a few years... Also snapped a wheel stud too but hubs are going for soda blasting anyways so. Why do renault use torx on near enough everything?!?! Lol
 
Yeah they're a pain torx, almost guaranteed to be hammering an oversized one in at some point on a job that should be simple. Exhaust clamps are usually bad as well, they seem to corrode more than anything else and snap.
 
Finally got the head removed today after lots of struggling and swearing! Lol one thing that threw me was the amount of silicone on the head :/ gasket was fine but doing a rebuild anyway... Also completely removed the engine loom to redress it all as it looked like crap tbh.
Any how here's some photos
2aby3ypa.webp

There was loads more than this but I forgot to photo it all
nu6ubybe.webp


zu6yna4a.webp

esatehaj.webp

More to come tomorrow as hopefully I'll have the bottom end off...
Another thing, this area looks rusty but the rest are fine... Any clues as to why? Is it just from been stood?
edyqa2y9.webp
 
Sorry not updated in a bit!! Weather has been rubbish and I've not been so well. Today the weather has been good and I'm all better now so did a few bits, cleaning the inlet mani, throttle body, engine eyes, fuel rail and rocker cover then making em nice n shiney :D

Before (after cleaning though)
6y3ezyge.webp


After (dried and 1st coat of paint applied)
my7a7eja.webp

Will put more pics on soon :)
 
Update time!

PIC HEAVY!!!!

Right, after reading matt turners thread about the lunar beast, (which is inspiring may I add) I liked the look of shiney stuffs under the bonnet, so today while we were out shopping I bought some plastikote chrome paint, really I just wanted to see how it could look, eventually I'll have them chrome plated or powder coated, or I may just do a "proper job" with paint but use black primer (I'll get to why in a minute)

So first off I needed to clean the oily mucky parts...
So caustic soda assisted me...
First up was the engine eye as seen before in my last post, secondly I did the other modified injector rail.
Looked like this after a soak
pa9ymyja.webp

Hung on the washing line (with an old Ethernet cable lol!
ysebyhap.webp

First coat
jametady.webp

So then went and got the top engine mount cover thing
Looked like this after a soak
va7eteta.webp

First coat
5upeje8a.webp

Then this became my favourite rather quickly! As I said about using black primer , this is why, the fuel rail was already black and after soaking for a bit it roughed up, personally I think it turned out the best, even after the first coat!!
yhuqy4um.webp

Then I set about doing the rocker cover, mine was already had a polished look but it had started cracking/bubbling etc so did the normal routine, soaked, and then painted.
Before
9usadu2y.webp

After
umasu6ud.webp


Then I did the intake mani, had to soak for well over an hour!
zytu9u2a.webp

And then painted up
8yna8a5y.webp

Tbh, I wasn't that happy with the result of the intake mani, think it looks like tinfoil lol.
Also did these for fun as I'd painted everything I wanted to
Boot trim and interior trim
pa2y3egu.webp

Iphone 5 aluminium case (was gold)
qa3a2yqa.webp
then chrome lol.


Everything after a final 3rd coat
u5emyvy5.webp

Then couldn't wait to bolt everything up to see the result!!! xD
aduza6em.webp

Also decided I'm going for yellow wrapped loom with yellow samcos!
Was going to go blue loom like this
du6usy2u.webp


Still got a few other bits to paint up/have plated but that will not be for a while yet.

Will keep updates flowing!!!
 
Tip for making your spot weld drill/cutter last longer.

Dont go full speed and get some good quality drill cutting compound lube.

I use that combo at work and it goes through them like butter. Lasts far longer aswell :)
 
Tip for making your spot weld drill/cutter last longer.

Dont go full speed and get some good quality drill cutting compound lube.

I use that combo at work and it goes through them like butter. Lasts far longer aswell :)

Cheers mate :) I did use that method, ish, I used old engine oil and it seemed to last a bit longer, my drill isn't that good though so I can only cut about 2 - 4 spot welds then it died haha
 
Yeah I find that with large drill bits for normal drilling, slowing the drill down and using a cutting compound makes them last literally dozens of times longer!
 
Saved a whole load of hassle :)

go buy a mains powered drill ( or air if you have a good compressor )

battery drills suck at spot weld drilling :D
 
Yeah that's what I'm getting next :) will be getting a compressor too shorty so don't know whether or not to just wait and buy an air powered one
 
You want a fairly big tank compressor. The little/medium ones are a panz at keeping enough pressure up for impact guns ect
 
Back
Top