
ClioSport.net
-
When you purchase through links on our site, we may earn an affiliate commission. Read more here.
You are using an out of date browser. It may not display this or other websites correctly.
You should upgrade or use an alternative browser.
You should upgrade or use an alternative browser.
My 66' Resto project!
- Thread starter NJ.
- Start date


525i, 66' Bug, Civic
Update time again
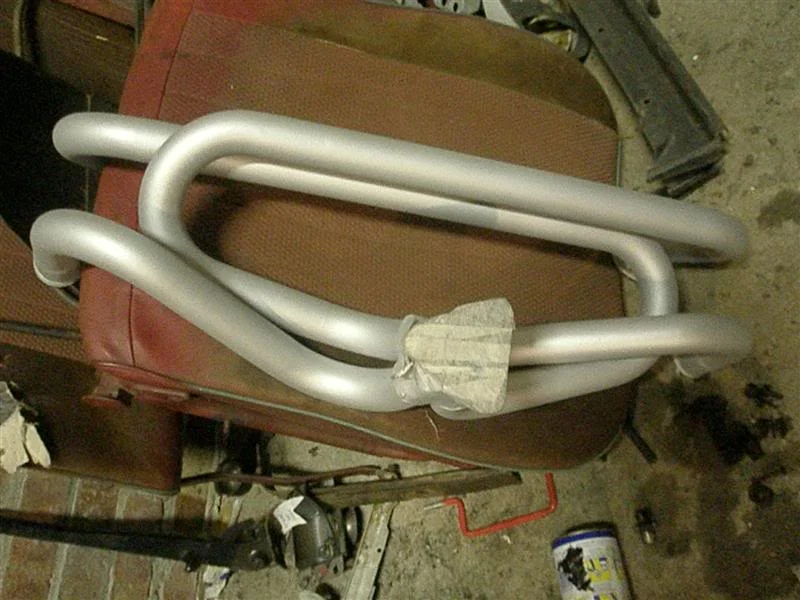
Picked up a few bits at slough and test fitted along with the bugpack header and tuck-away exhaust
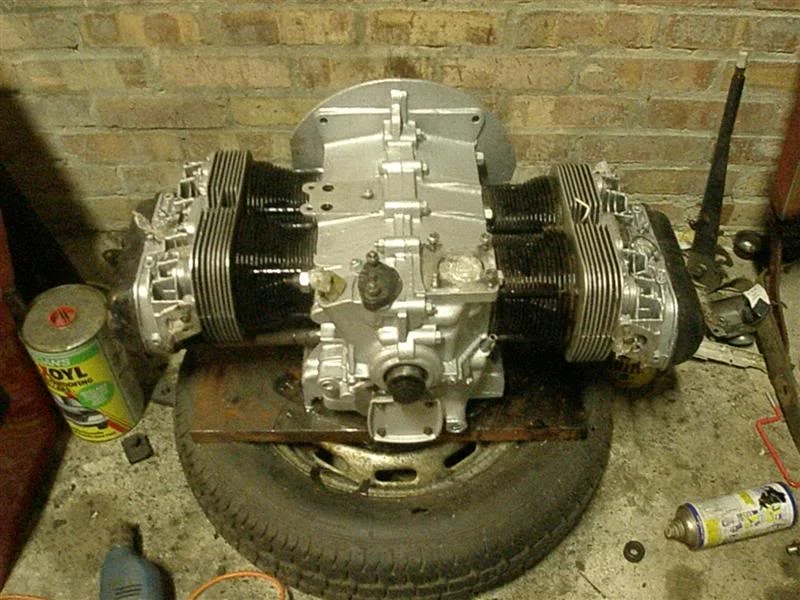
Engine is halfway through being cleaned up.
Tastey billet cam pulley's and Stinger
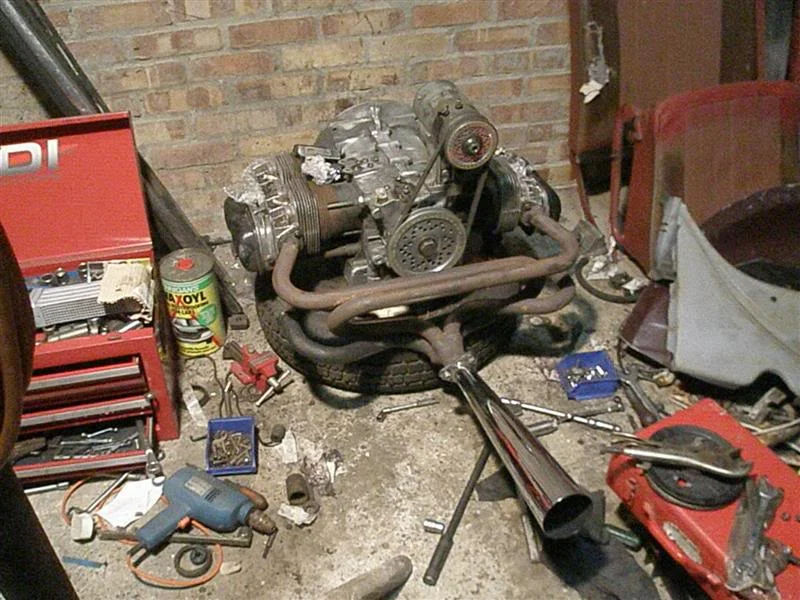
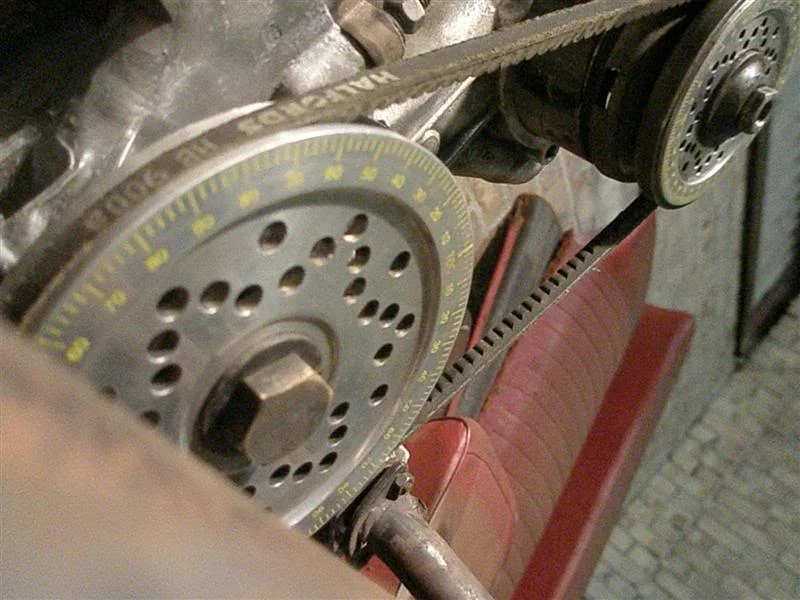
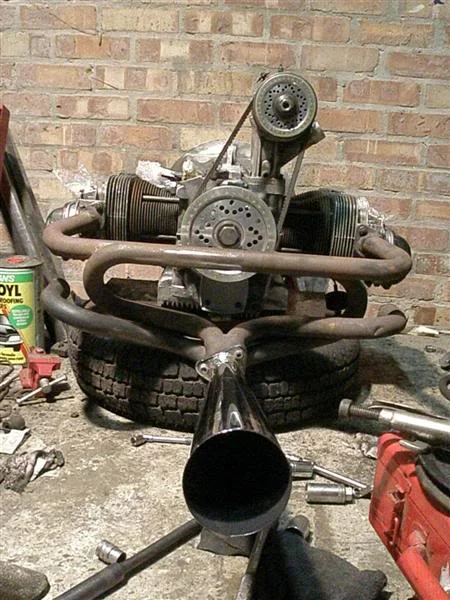
Also proped up the road legal tuck away exhaust, voila
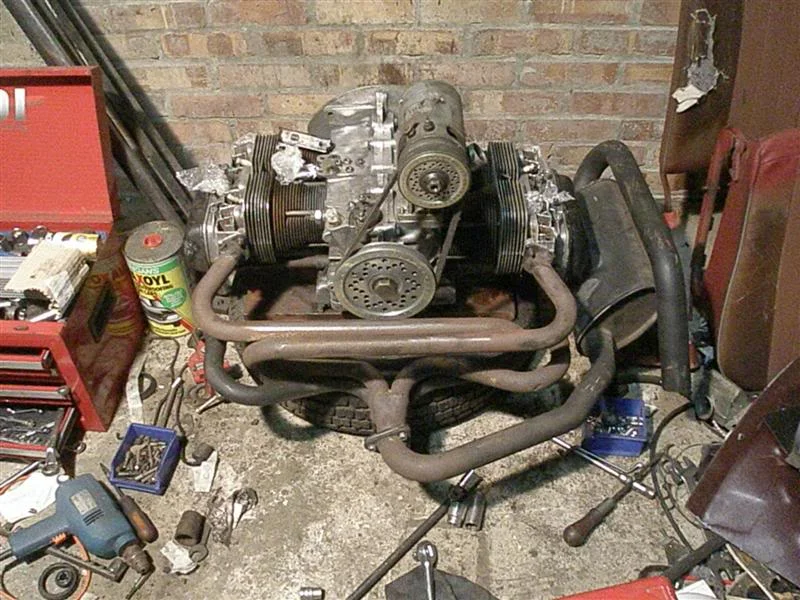
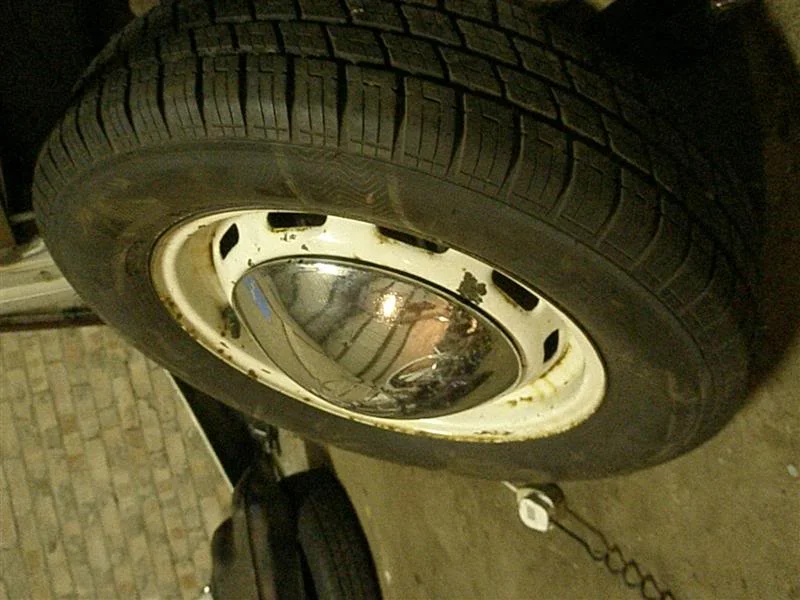
erm what else... These chrome domed hubcaps, will look good with lo pros
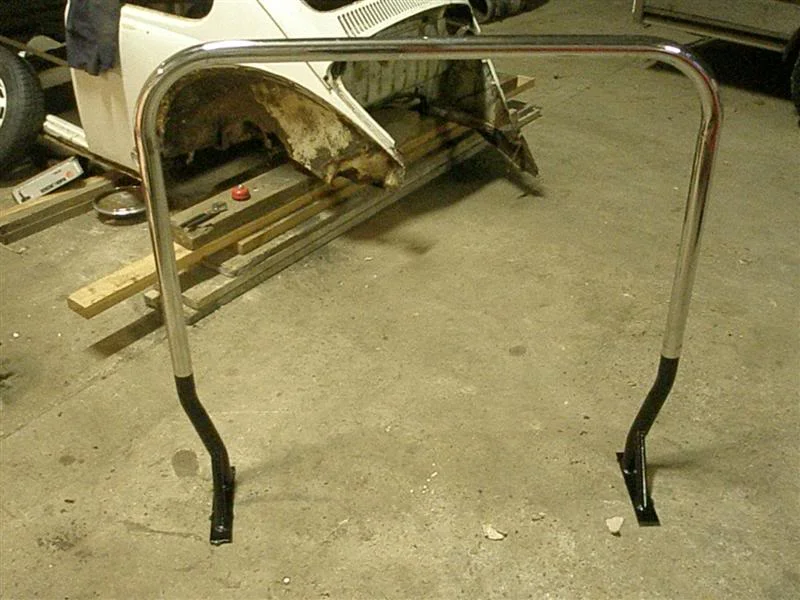
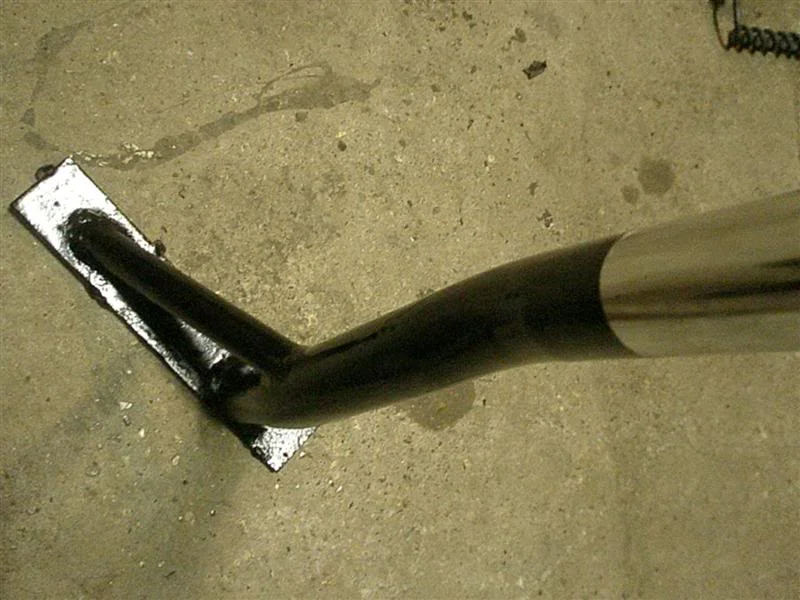
Also had this rollover bar shipped in and painted up the feet
Bodywork will be back on track when i get the welder back of my mate whos suspension mounts flew of his mini
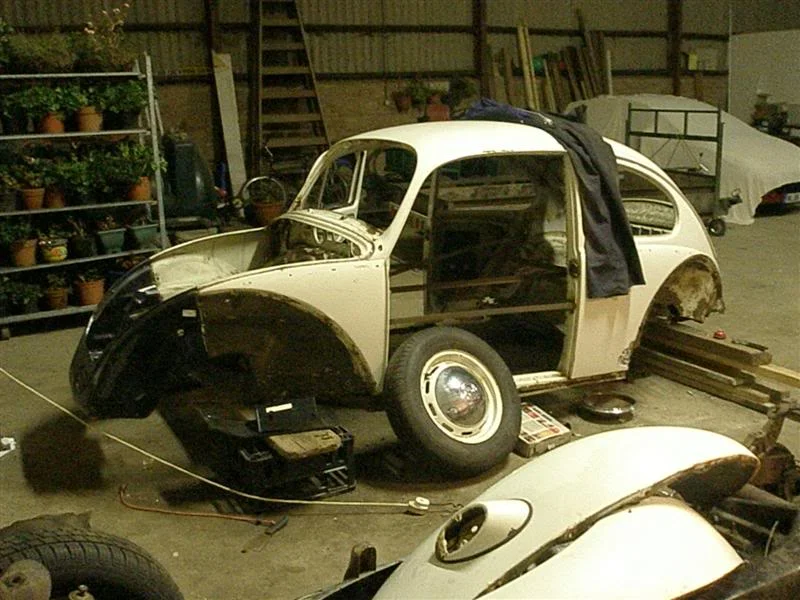
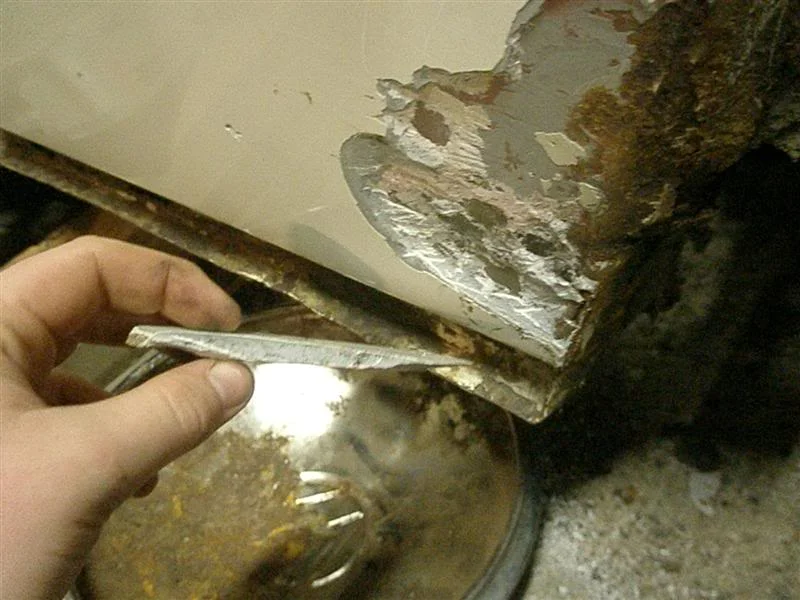
found a good inch of filler
Picked up a few bits at slough and test fitted along with the bugpack header and tuck-away exhaust
Engine is halfway through being cleaned up.
Tastey billet cam pulley's and Stinger
Also proped up the road legal tuck away exhaust, voila
erm what else... These chrome domed hubcaps, will look good with lo pros
Also had this rollover bar shipped in and painted up the feet
Bodywork will be back on track when i get the welder back of my mate whos suspension mounts flew of his mini
found a good inch of filler
525i, 66' Bug, Civic
Been a bit cold recently, body is still pretty much as before as im still waiting on my mate...
But i have got my parts order, still waiting on the floor pans and framehead to arrive though
CHRISTMAS HAS COME EARLY!!!!
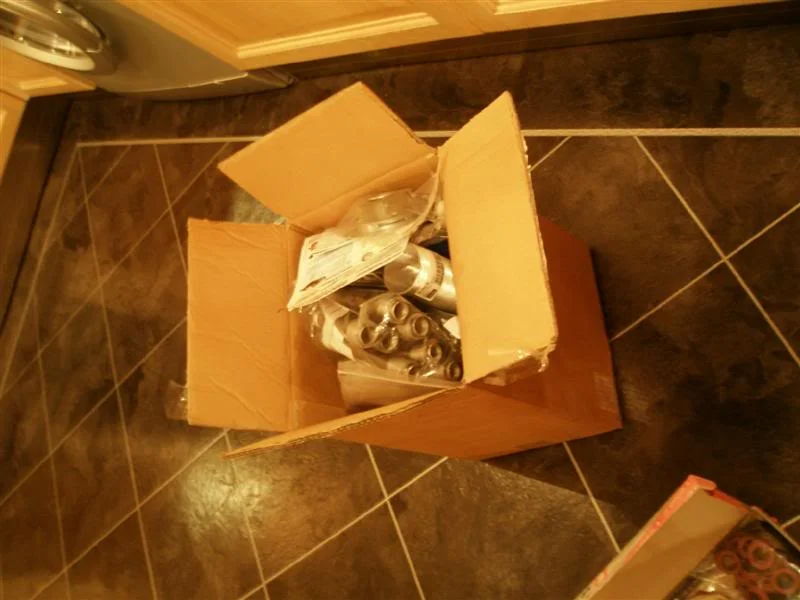
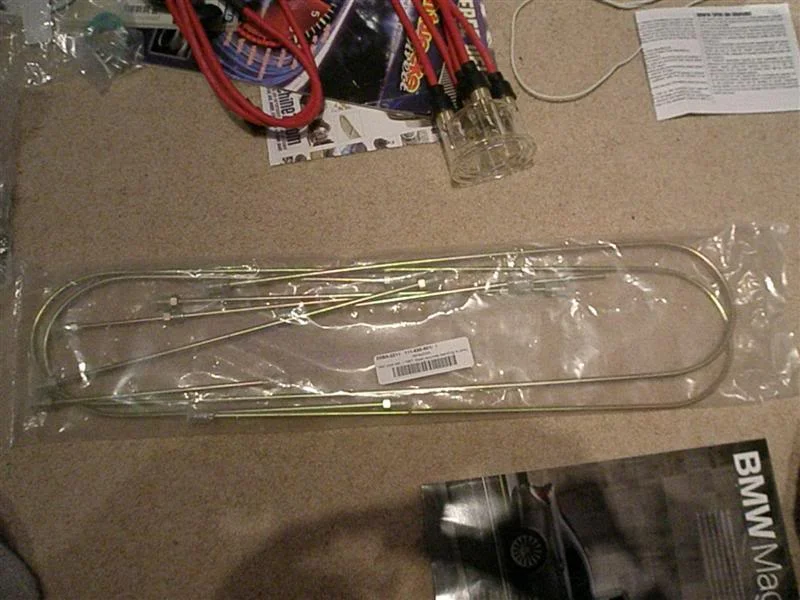
New brake lines
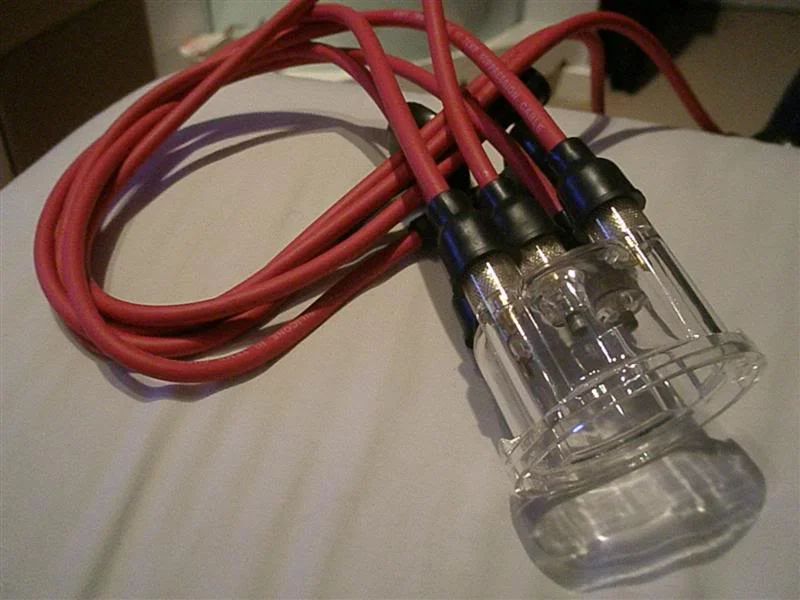
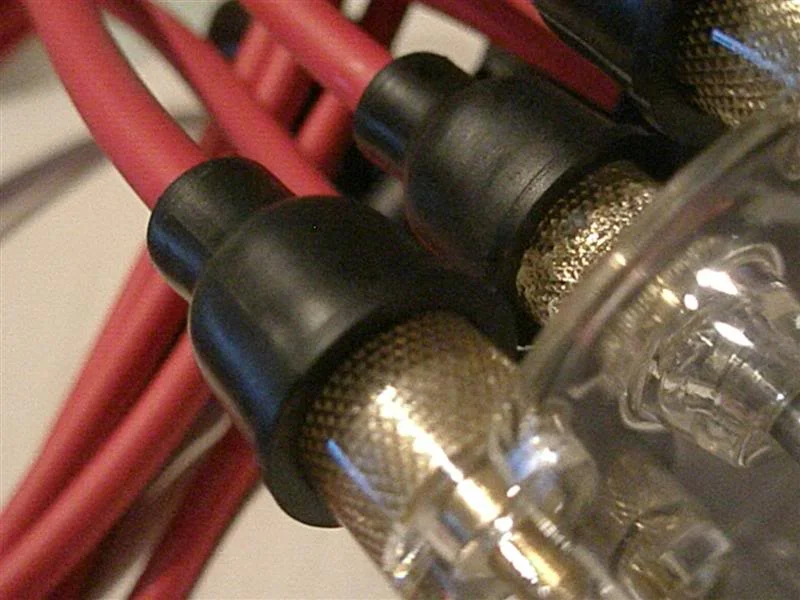
Empi red ht leads and clear distributer cap
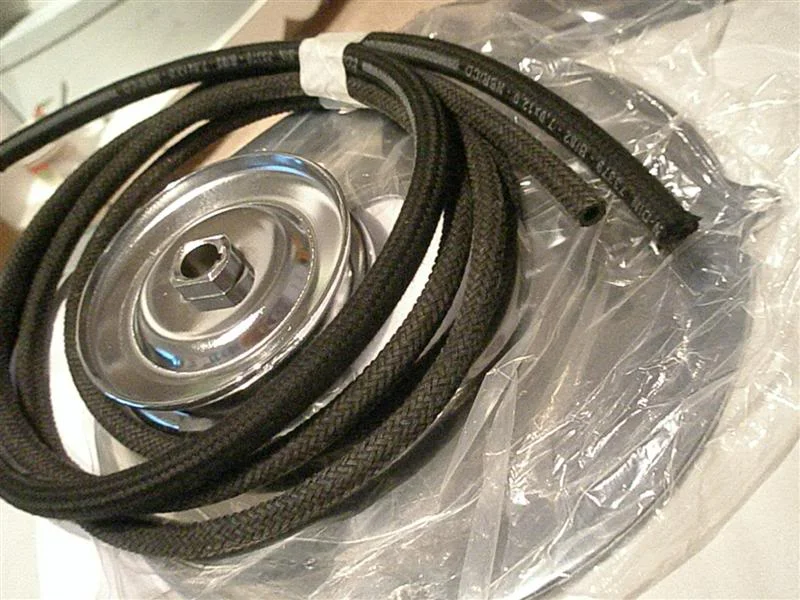
New fuel lines, chrome backing plate and generator pulley
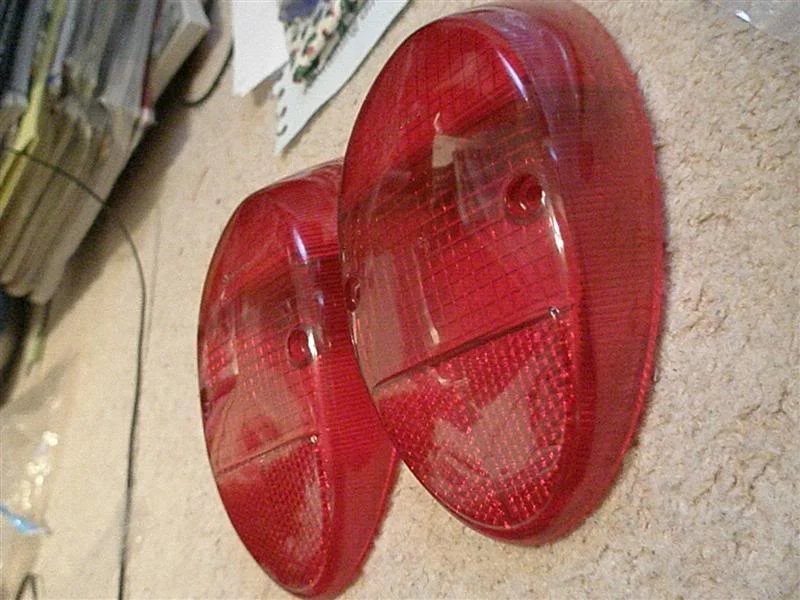
US spec all red lens'
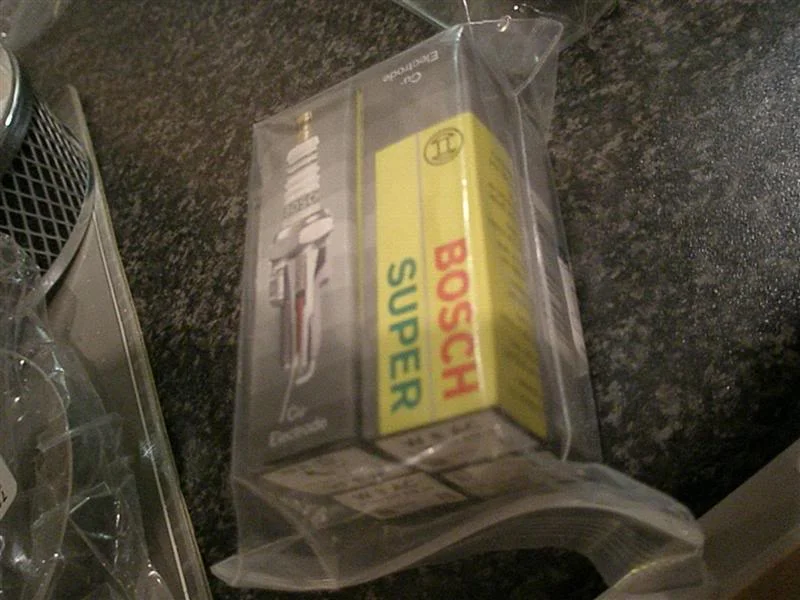
Service stuff, this should get the 42 year old engine purring again
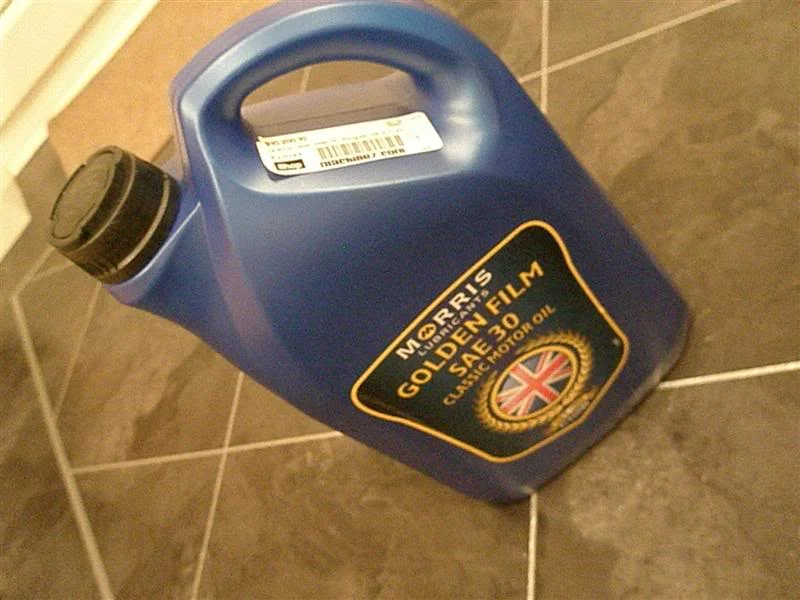
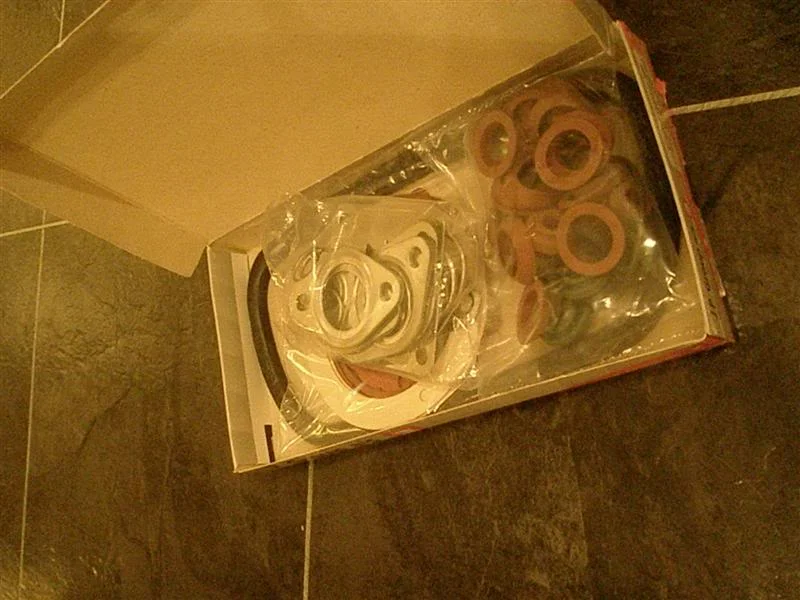
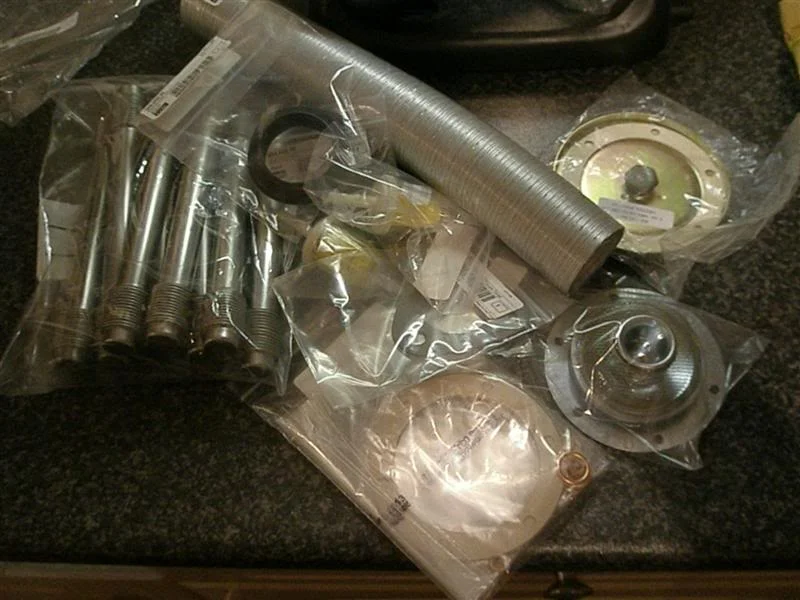
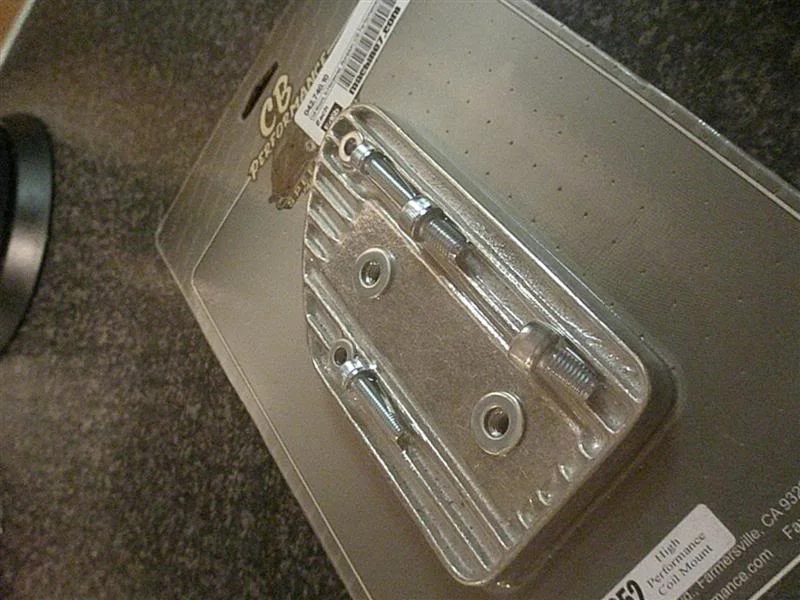
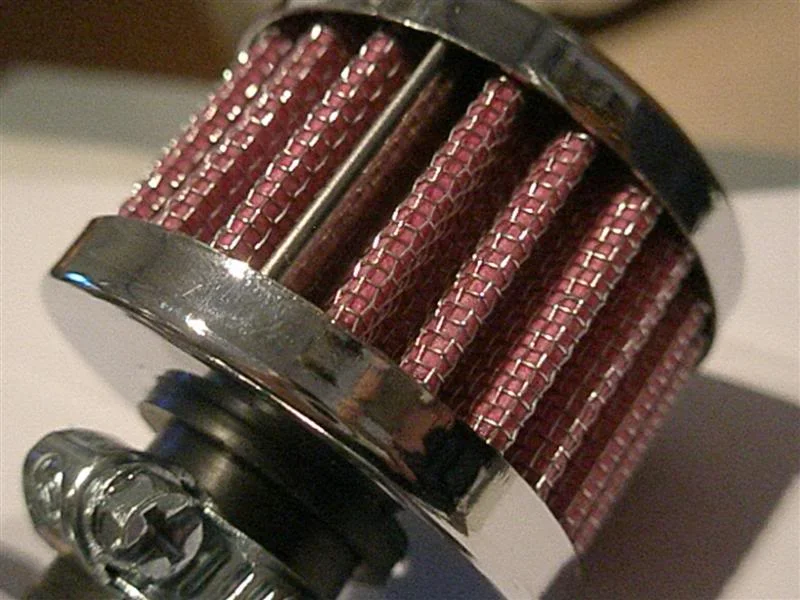
New air filter and coil mount
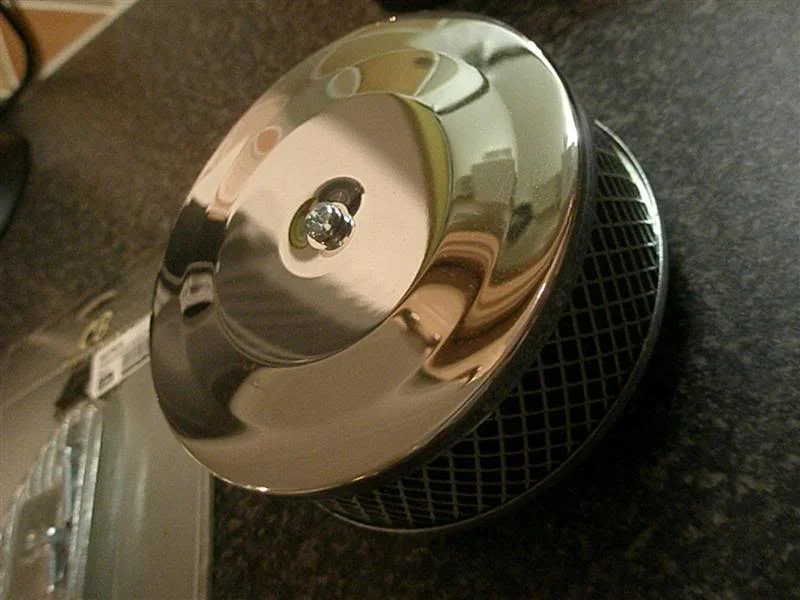
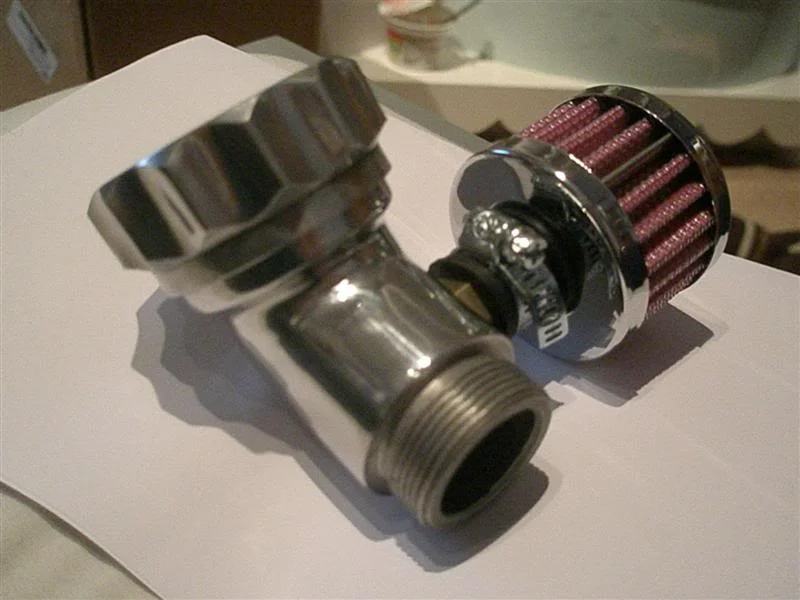
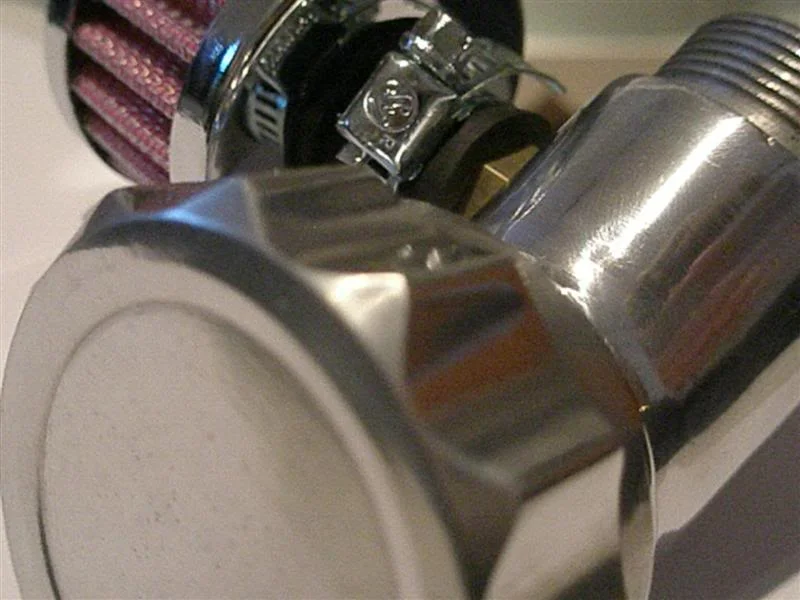
Oh and this rather tastey billet oil filler and breather
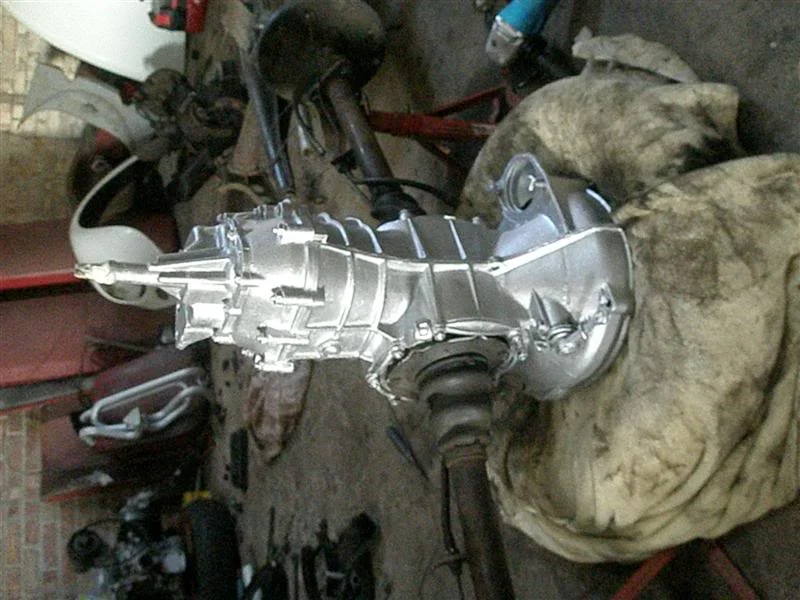
Tomorrow im painting the gearbox and putting on the axle boots which should be here
But i have got my parts order, still waiting on the floor pans and framehead to arrive though
CHRISTMAS HAS COME EARLY!!!!
New brake lines
Empi red ht leads and clear distributer cap
New fuel lines, chrome backing plate and generator pulley
US spec all red lens'
Service stuff, this should get the 42 year old engine purring again
New air filter and coil mount
Oh and this rather tastey billet oil filler and breather
Tomorrow im painting the gearbox and putting on the axle boots which should be here

Did you see that one winston posted! That was awesome!
You've got alot of work to do! ha!
Nice encouraging words there

Fletcher
ClioSport Club Member
Good luck mate.

525i, 66' Bug, Civic
Think i'll be sticking with the bumpers tbh, i like the original optional extra bumper overiders 
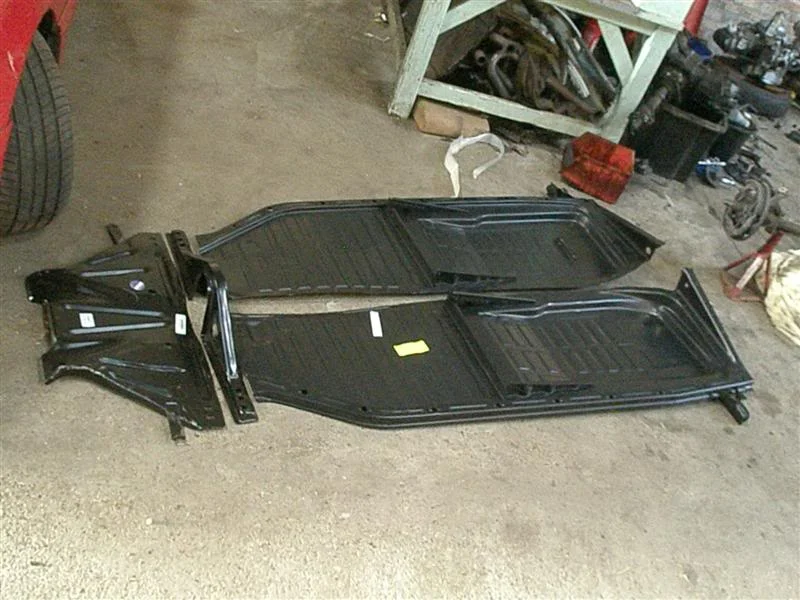
Yesturday all the chassis parts turned up, the top of the framehead will need to be adapted from lhd to rhd
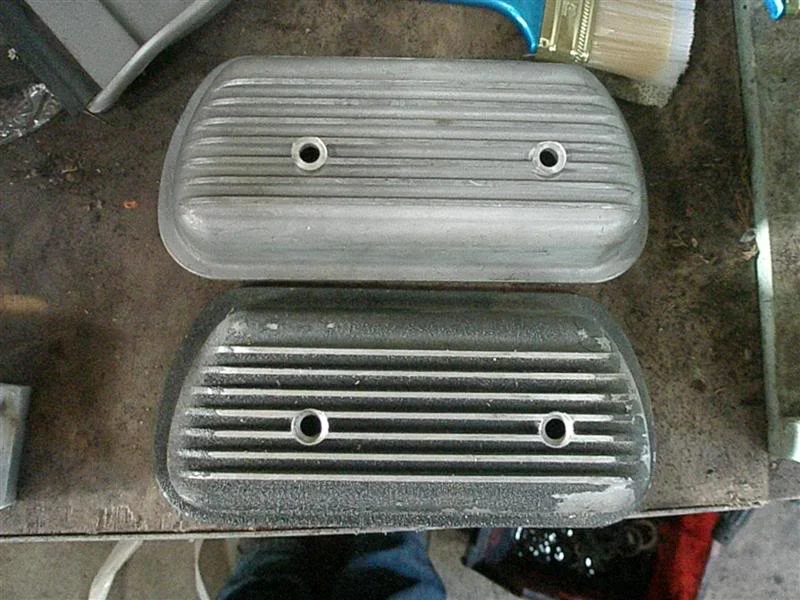
Also recieved some old dirty rocker covers which i cleaned up a bit with a wire brush, came out pretty well i think
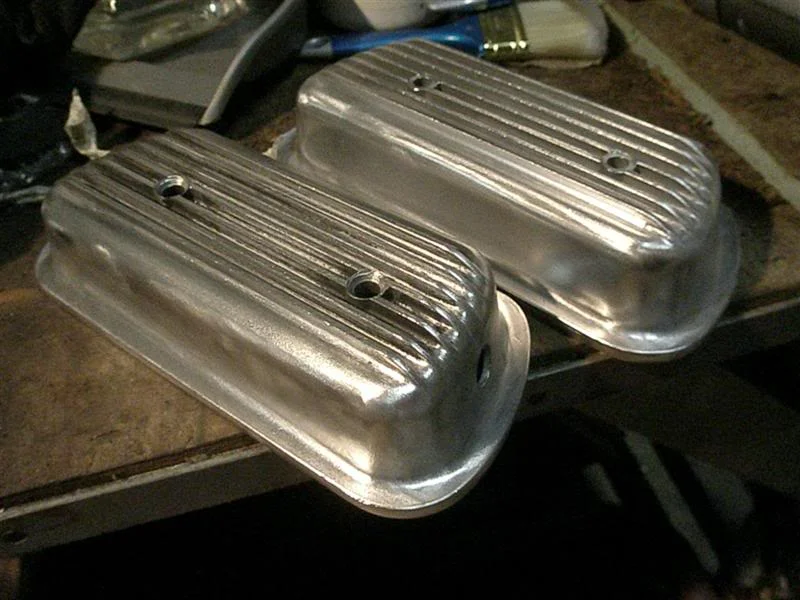
Was a bit merry with the paint aswell...
Yesturday all the chassis parts turned up, the top of the framehead will need to be adapted from lhd to rhd
Also recieved some old dirty rocker covers which i cleaned up a bit with a wire brush, came out pretty well i think
Was a bit merry with the paint aswell...
525i, 66' Bug, Civic
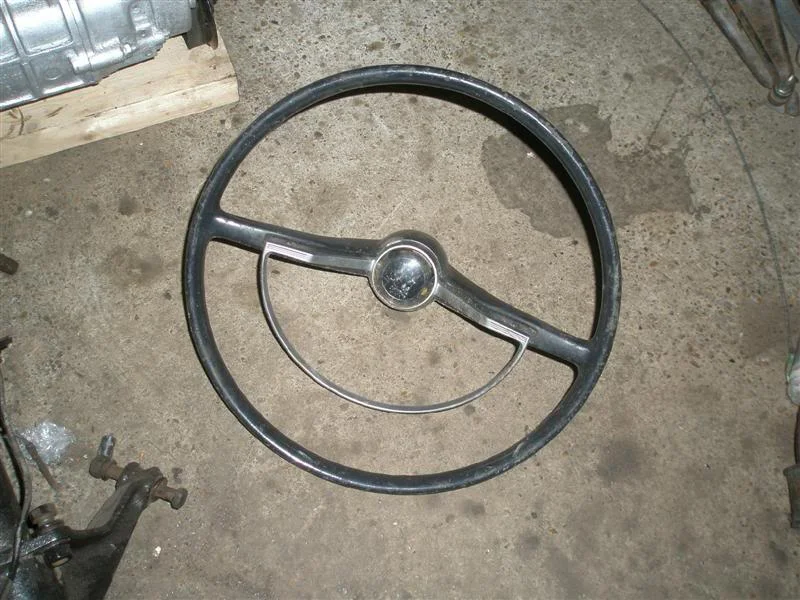
Still waiting on a few bits before i can get the pans in and body work sorted so had an idea with the steering wheel...originally black with chunks out of it and a rusty D ring
so thought i'd give it a few coats of ivory white, and some thick laquer. Quality is really good, gonna have a go at the colomn, ind stalk, shifter and handbrake tomorrow
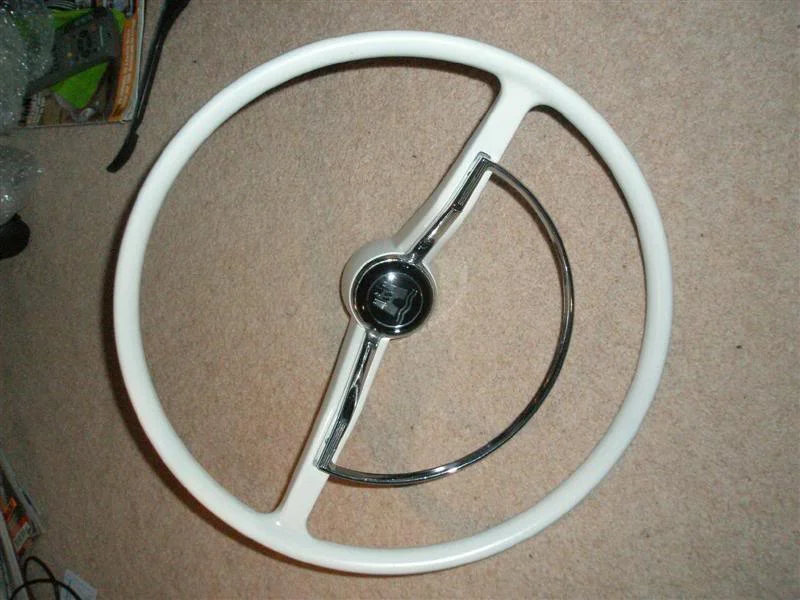
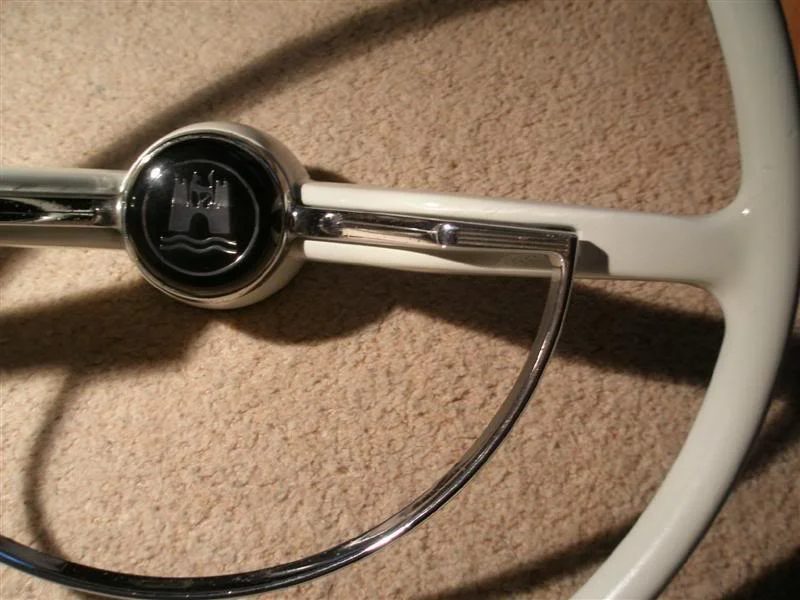
so thought i'd give it a few coats of ivory white, and some thick laquer. Quality is really good, gonna have a go at the colomn, ind stalk, shifter and handbrake tomorrow

525i, 66' Bug, Civic
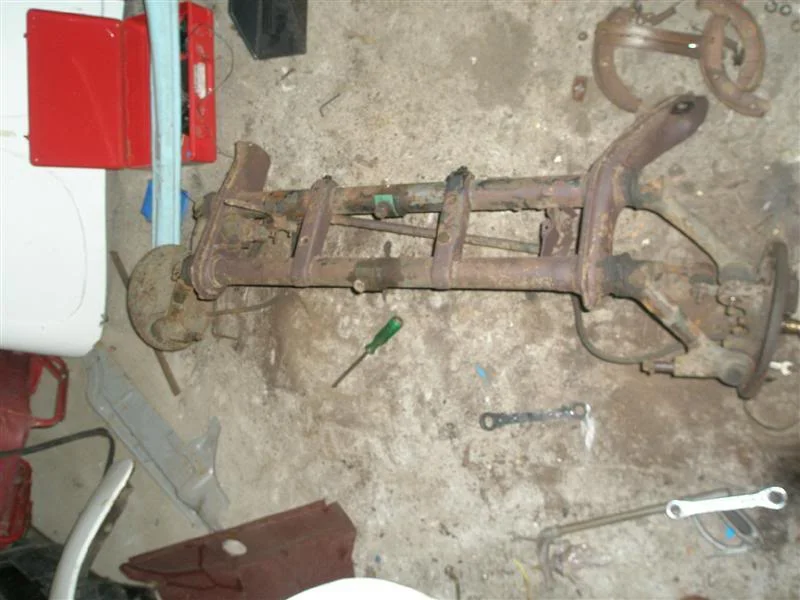
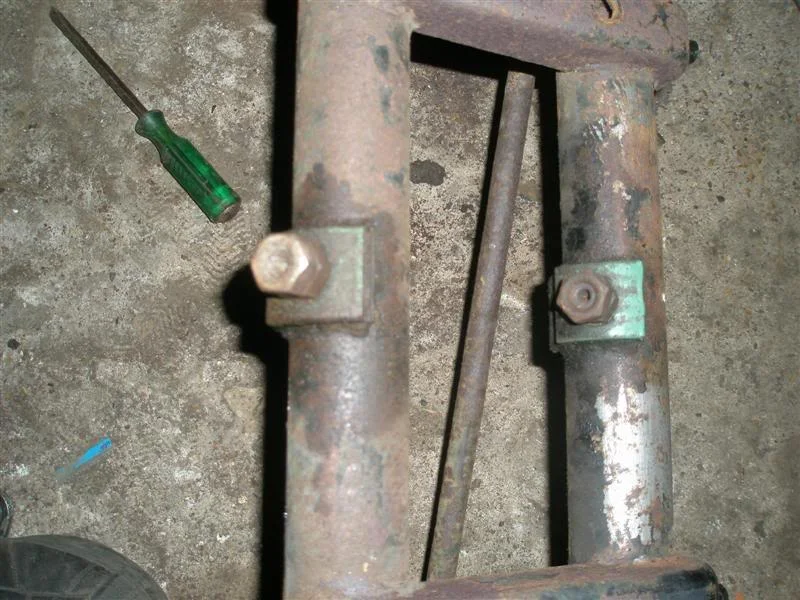
Got a bit more done today, was meant to be at college but got bored and started to strip the front beam ready for narrowing, (-4")
Flicked through the history and saw that the beam was changed in 1999 for this adjustable beam - allowing me to lower the front and saving more welding
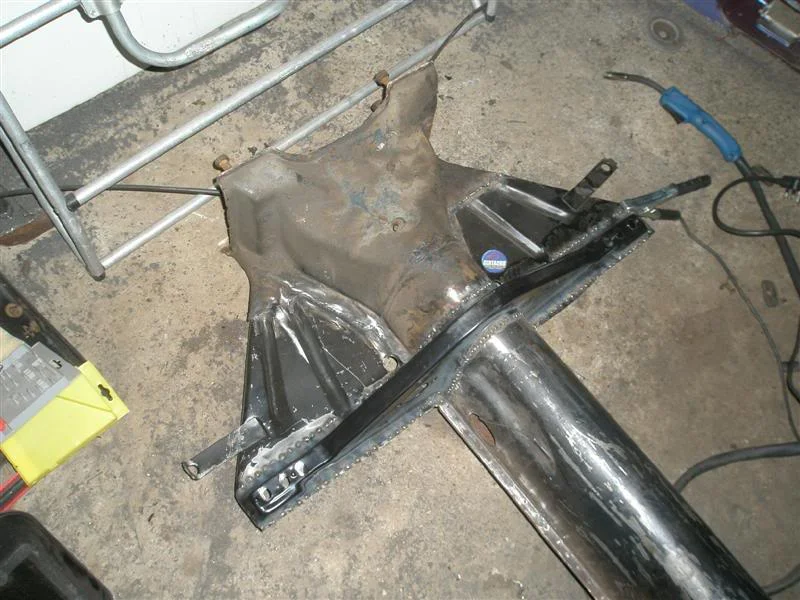
Got all of the framehead welded together now so is very nearly ready for new floor pans, will get rid of the paint and rust on the chassis before paint aswell
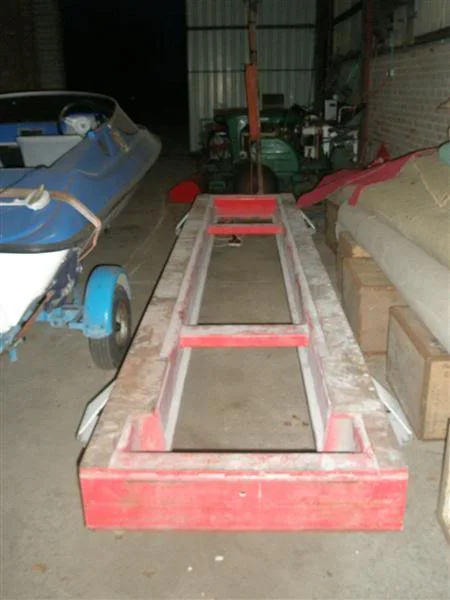
Was also given permission to use this beast, its a car jig made from rsj's. must weigh around 2 tons
Flicked through the history and saw that the beam was changed in 1999 for this adjustable beam - allowing me to lower the front and saving more welding
Got all of the framehead welded together now so is very nearly ready for new floor pans, will get rid of the paint and rust on the chassis before paint aswell
Was also given permission to use this beast, its a car jig made from rsj's. must weigh around 2 tons
525i, 66' Bug, Civic
Got a lot done today, firstly mocked up the new popes nose reg light, looks much better than the banana style one
Wanted to get my engine back on track aswell so fitted a few parts that ive painted up to see how it looks
New sparks
in love with the engine atm

Gearbox and brakes are done now aswell, this is the knacked original box - sounded like a tunnel boring machine when in neutral
New one, painted up to match the engine, new gaitors etc
Should be getting the chassis ready for paint tomorrow, started it.




525i, 66' Bug, Civic
Been busy today, ran like clockwork aswell. Went down to Luton (hitchin) to pick up a pile of stuff, filled the boot up nicely Also had my eye on a set of wheels but they the auction was ending at 2, and we were still in luton. Basically got my mum to bid at 2.02, picked them and left by 2.06 and by 2.09 i had recieved feedback lol.
Qucikest ebay deal ever?
Anywho heres the stuff
Deep sump - dunno if i'll fit it, clearance etc
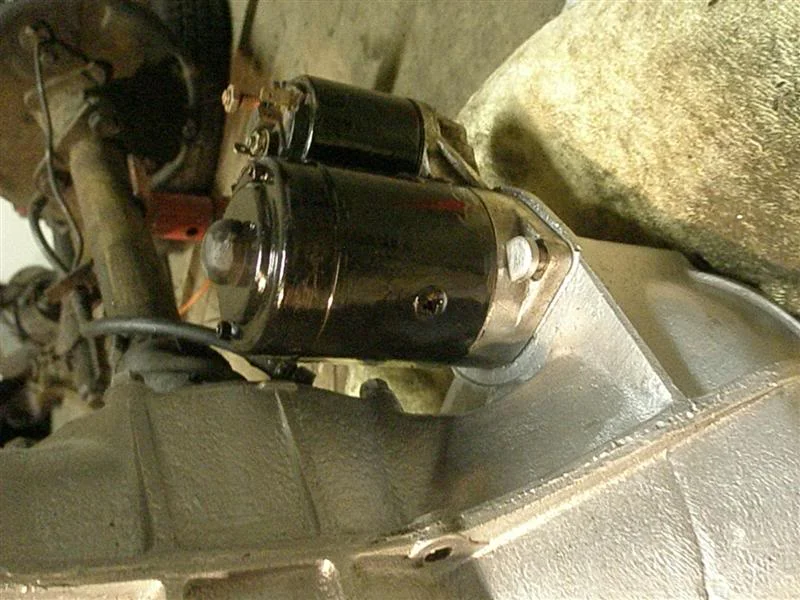
few starter motors
1600 block barrels + pistons

Two steelies
Clutch
diamond plate
few drums

1600 head
pushrods
loads of wishbones with camber nuts and usable ball joints

Stock wheel
Wiper motors
But the main reasons:
2 breather boxes
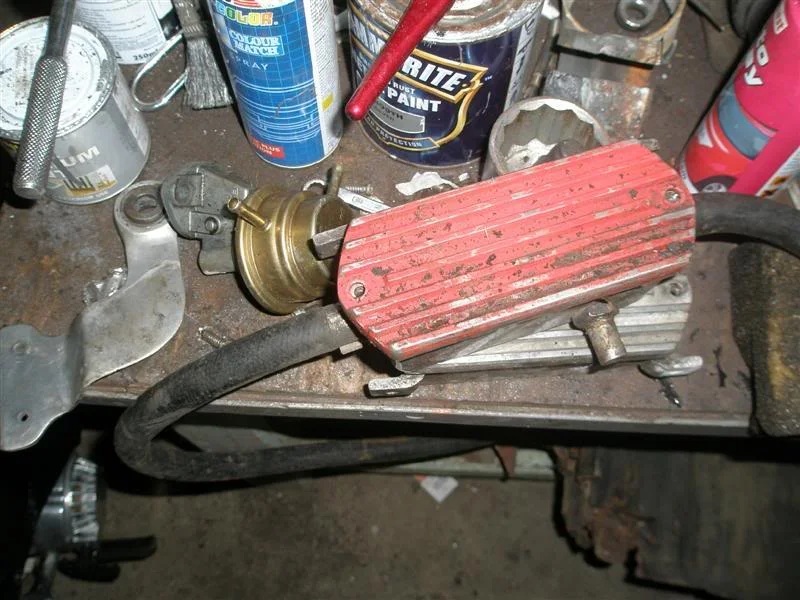
Empi shifter
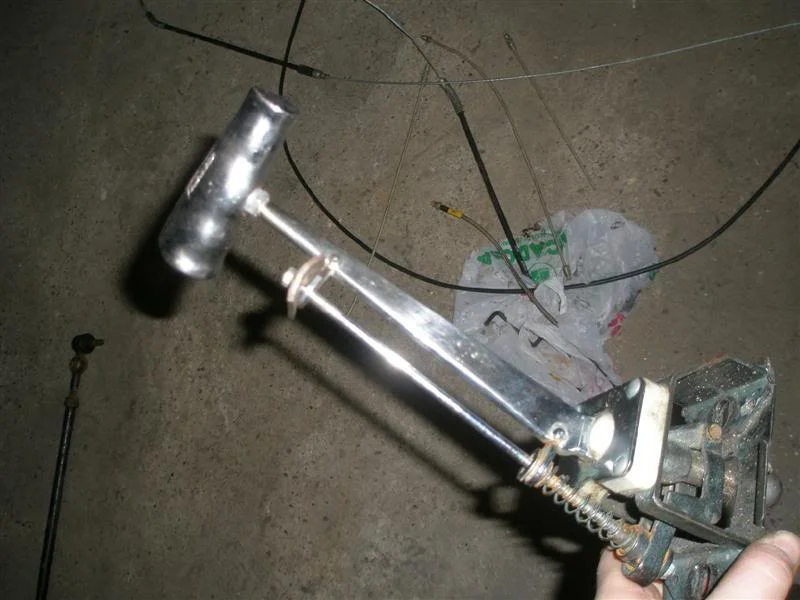
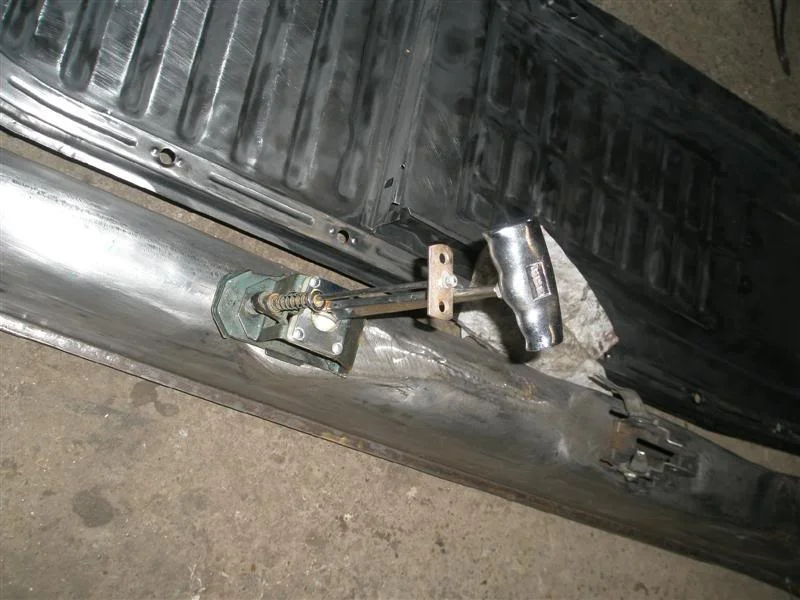
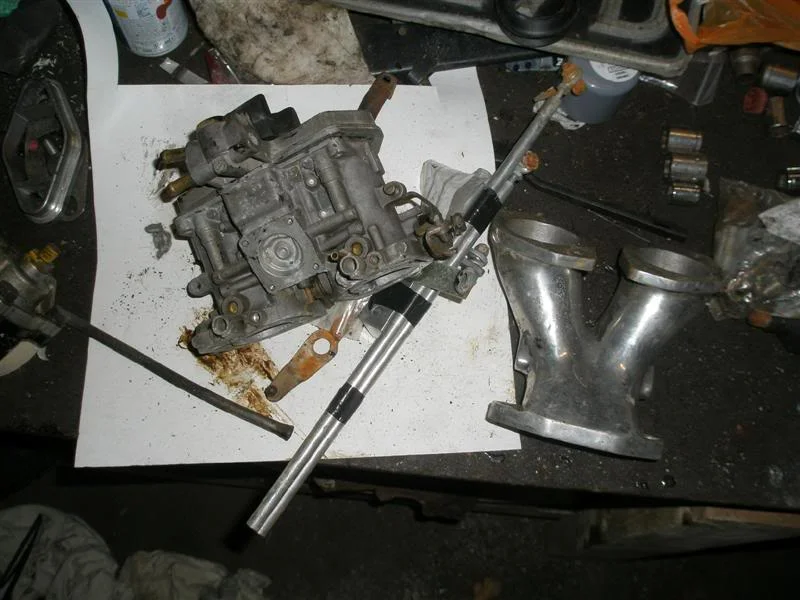
Weber IDF 36 Carb - in bits need to rebuild it
Cheap mini moto

And these are the wheels i picked up - 4x smooth steels with all clips intact
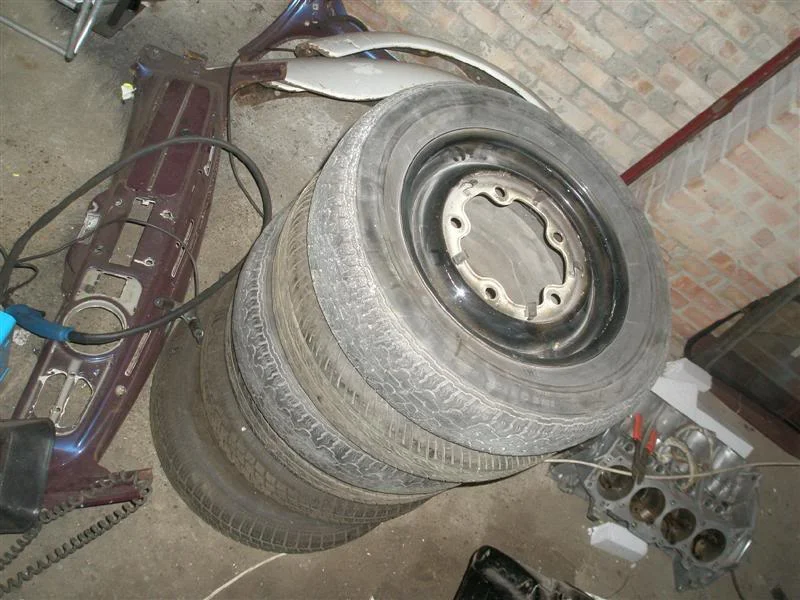
Picked the job lot up for £85 and the wheels £10, amazing find seems as the carb build up would go for 150£ ish. think i know what i'll be doing tomorrow
Oh and ive got to pick up a big tach and shift light...
Qucikest ebay deal ever?
Anywho heres the stuff
Deep sump - dunno if i'll fit it, clearance etc
few starter motors
1600 block barrels + pistons
Two steelies
Clutch
diamond plate
few drums
1600 head
pushrods
loads of wishbones with camber nuts and usable ball joints
Stock wheel
Wiper motors
But the main reasons:
2 breather boxes
Empi shifter
Weber IDF 36 Carb - in bits need to rebuild it
Cheap mini moto
And these are the wheels i picked up - 4x smooth steels with all clips intact
Picked the job lot up for £85 and the wheels £10, amazing find seems as the carb build up would go for 150£ ish. think i know what i'll be doing tomorrow
Oh and ive got to pick up a big tach and shift light...
M
mini-valver
Awesome! Cant wait to see this coming together!

525i, 66' Bug, Civic
Havent updated for a while
My welder hasnt been turning up recently so managed to drag him round to teach be how to do it myself
so heres the results
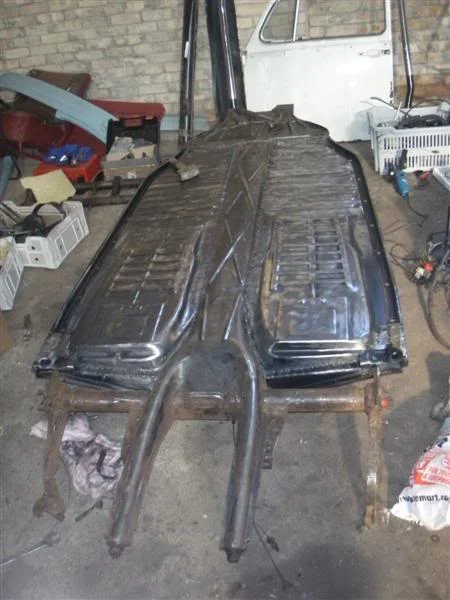
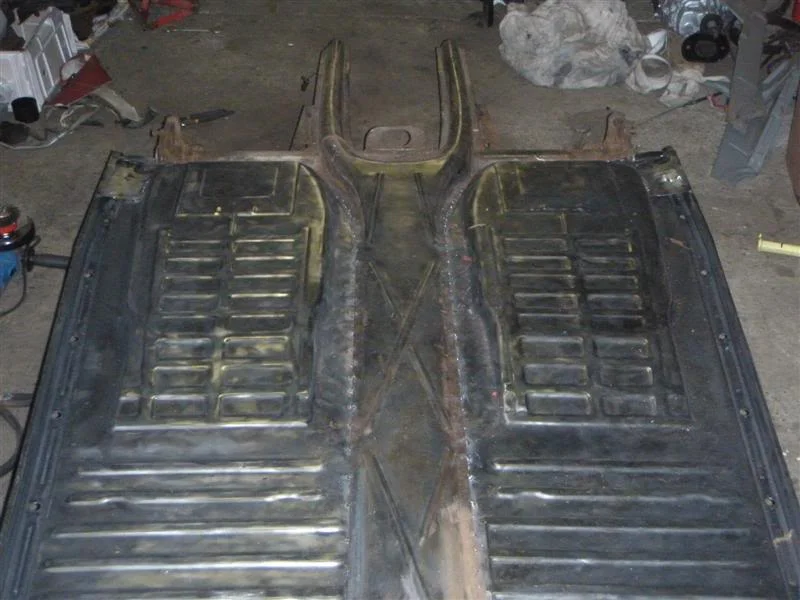
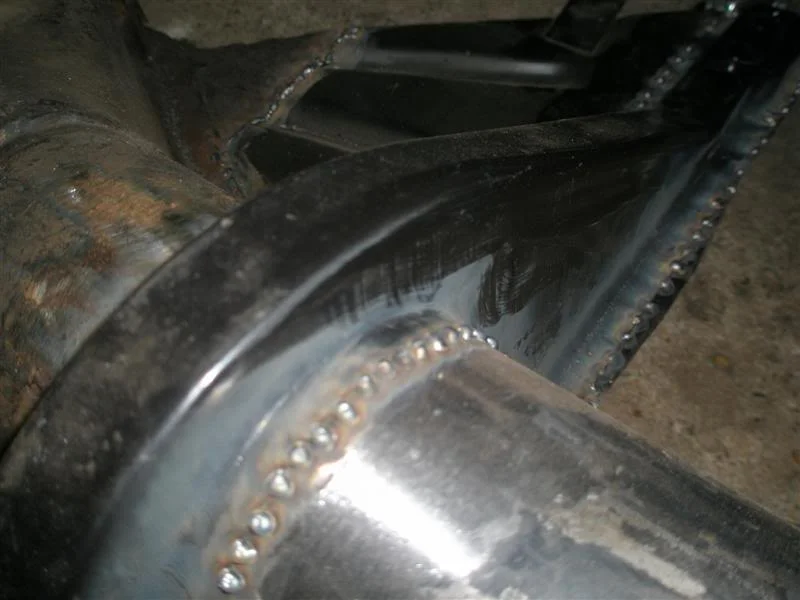
Not bad if i say so myself, pans are tacked in, framehead is all seam welded
Heres the orig dash , was thinking i'd do something different but not radical
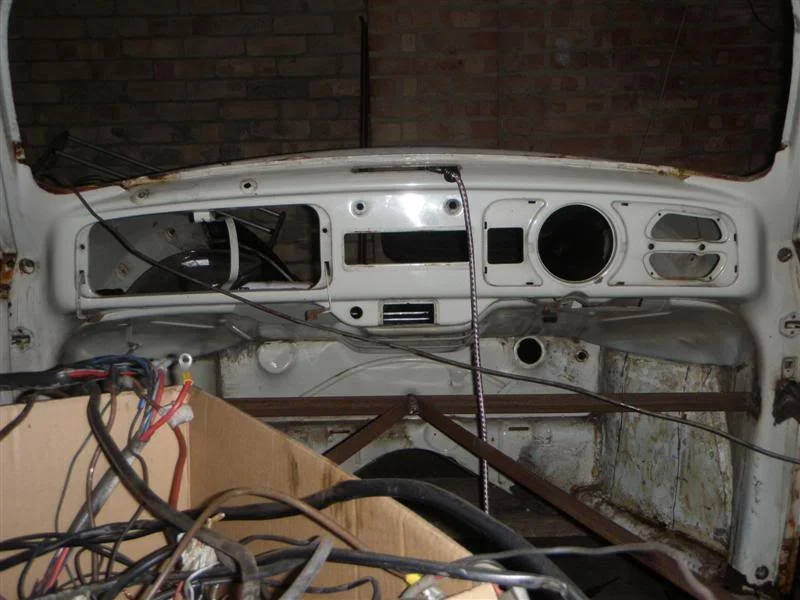
Ideas - Weld up ashtray, move ignition over, battery cut off on the left, toggle switched in the middle
Smooth over grab handles and dash vent
Also currently converting a steering wheel from a Triumph Stag
Spare air filter im working on
Should be able to get the pan in paint come the weekend
My welder hasnt been turning up recently so managed to drag him round to teach be how to do it myself
so heres the results
Not bad if i say so myself, pans are tacked in, framehead is all seam welded
Heres the orig dash , was thinking i'd do something different but not radical
Ideas - Weld up ashtray, move ignition over, battery cut off on the left, toggle switched in the middle
Smooth over grab handles and dash vent
Also currently converting a steering wheel from a Triumph Stag
Spare air filter im working on
Should be able to get the pan in paint come the weekend
525i, 66' Bug, Civic
Been working on the pan for a while, getting rid of all rust, paint etc
Welded in seat belt mounts and pedal assembly mount
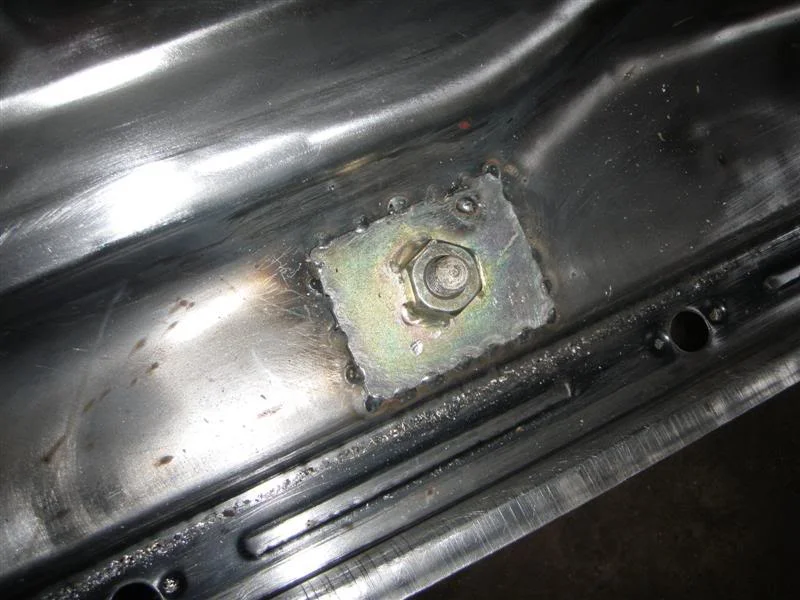
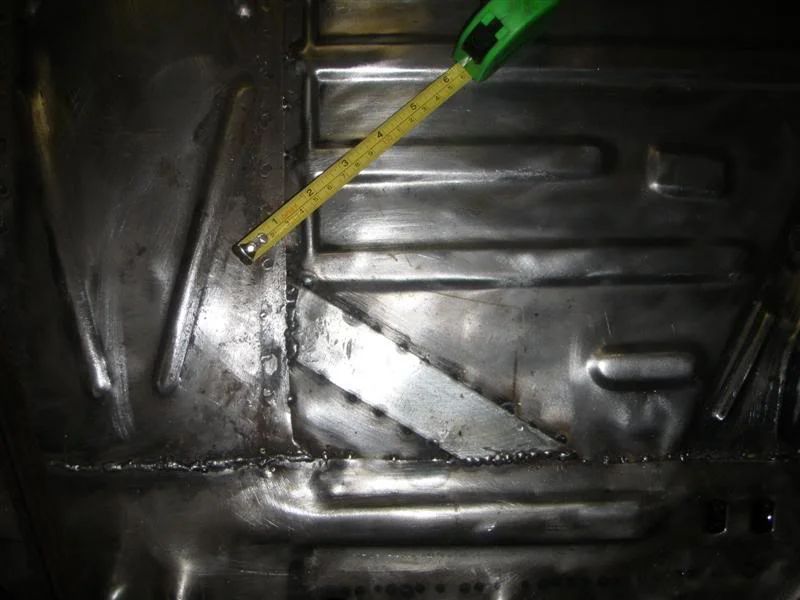
Quite pleased with the pan now so moved onto painting the bottom side first:
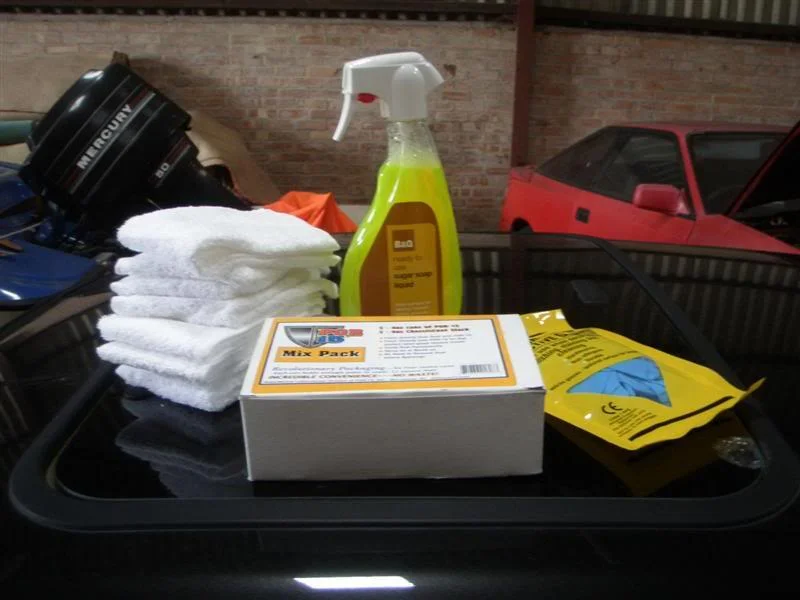
Striped down the chassis to bare metal, brushed down with a stiff brush then degreased using builders 'sugar soap'.
wiped down using 17p white face cloths from tesco, until dry then lashed on the POR15 metal ready with a paint brush and left on for about 2 hours - important to keep it wet
turns out like this
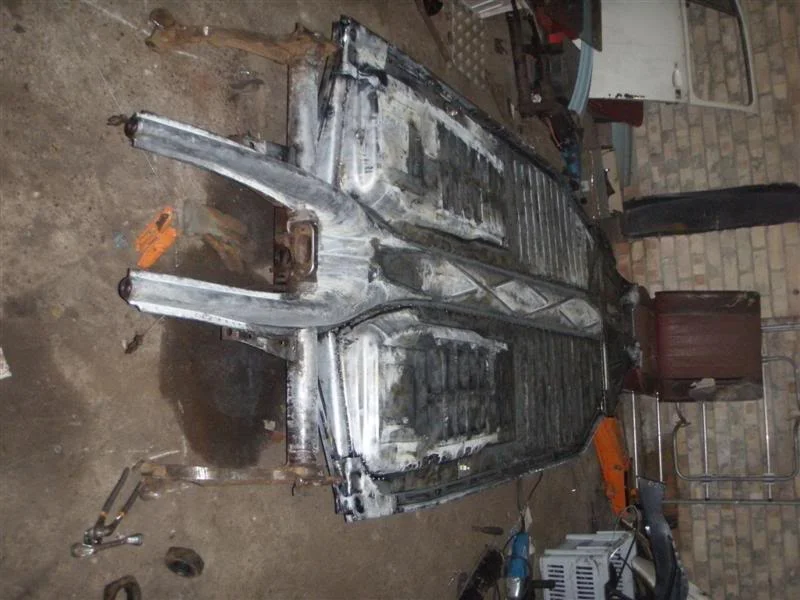
then drain off the metal ready and get the hose on it, or in my case a hooge jerry can. then obviously towell dried
Then POR15 gray undercoat, very important to use gloves as it will stain your hands for a week or so
used one little tin on the bottom:
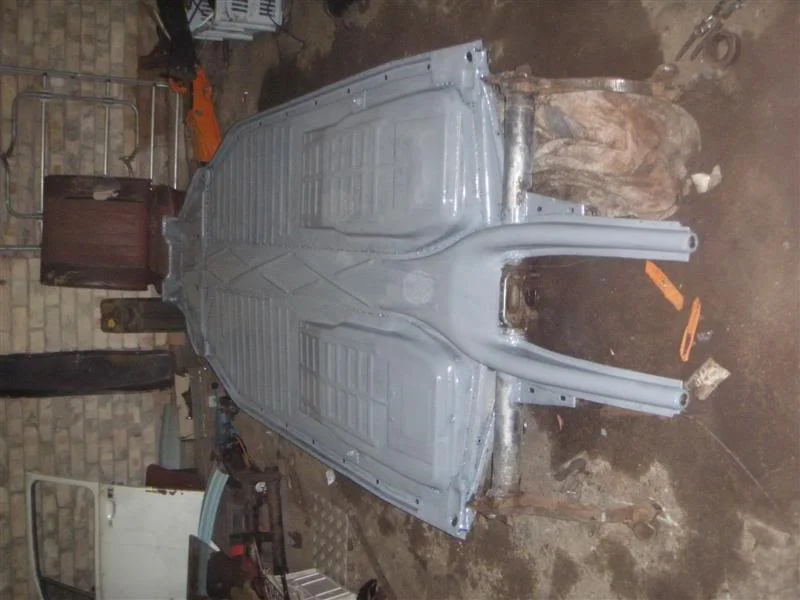
that pretty much it for now, will be doing the other side soon. Then its UPOL grey stripe seam sealer and POR15 black chassis coat
Welded in seat belt mounts and pedal assembly mount
Quite pleased with the pan now so moved onto painting the bottom side first:
Striped down the chassis to bare metal, brushed down with a stiff brush then degreased using builders 'sugar soap'.
wiped down using 17p white face cloths from tesco
, until dry then lashed on the POR15 metal ready with a paint brush and left on for about 2 hours - important to keep it wetturns out like this
then drain off the metal ready and get the hose on it, or in my case a hooge jerry can. then obviously towell dried
Then POR15 gray undercoat, very important to use gloves as it will stain your hands for a week or so
used one little tin on the bottom:
that pretty much it for now, will be doing the other side soon. Then its UPOL grey stripe seam sealer and POR15 black chassis coat

525i, 66' Bug, Civic
So many people i talk to have stories about these cars, managed to get a mates dad to consider getting one
Right, Flipped the chassis over now and been grinding away rust, paint and smoothing over welds ready for some more POR15
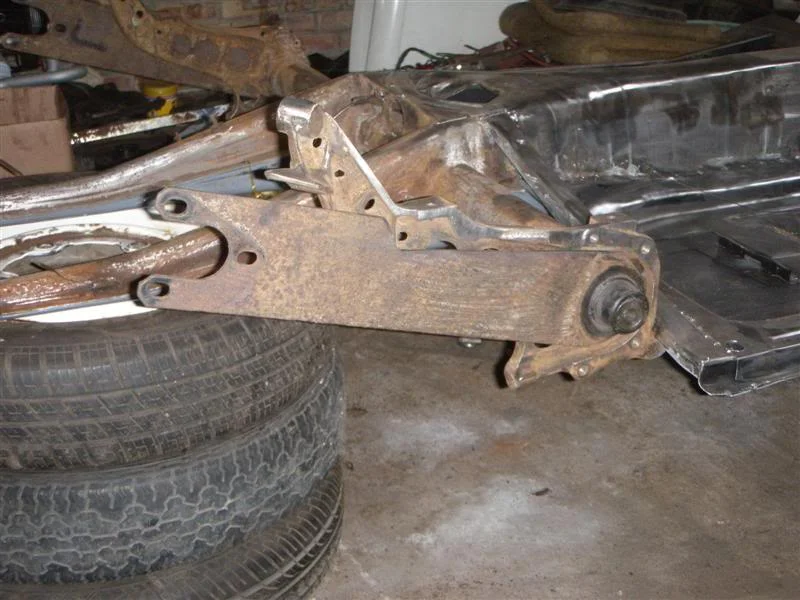
But took some time out to notch my springplates using KCW's tech thread, allows for better suspension travel when it's lowered a couple of notches in the back
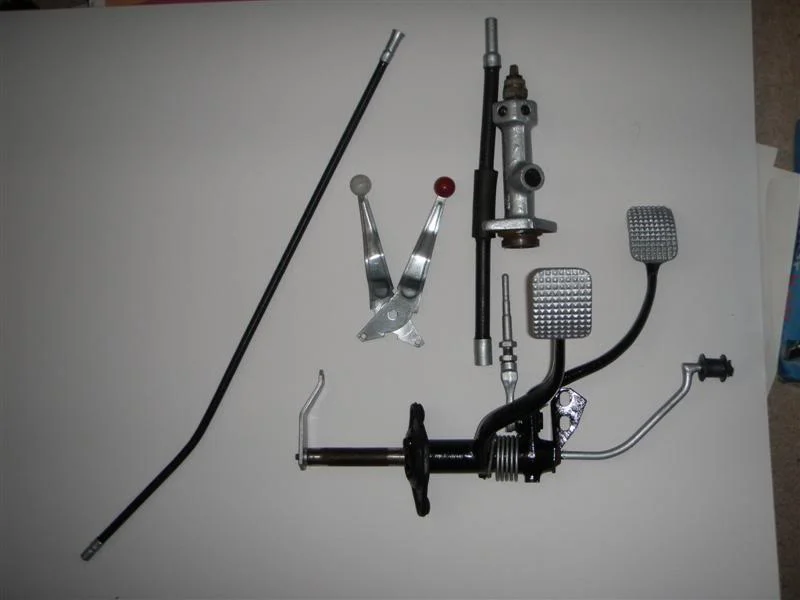
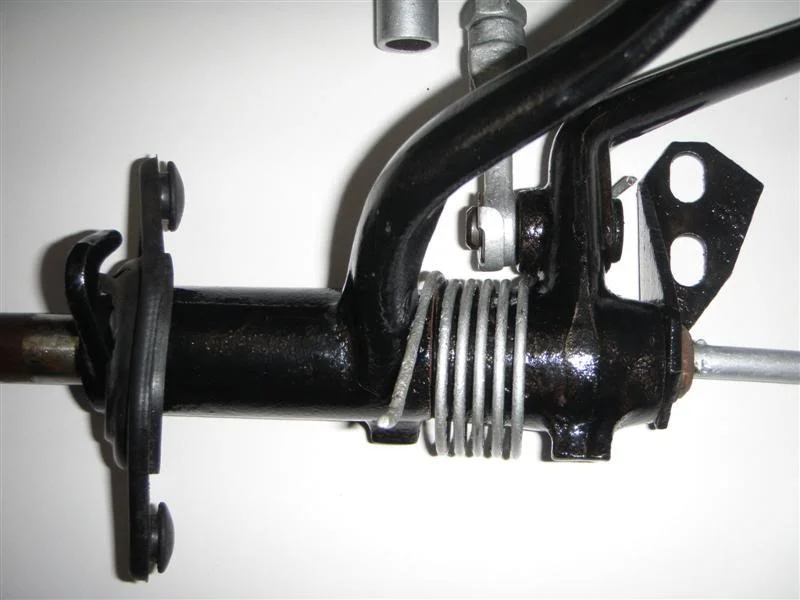
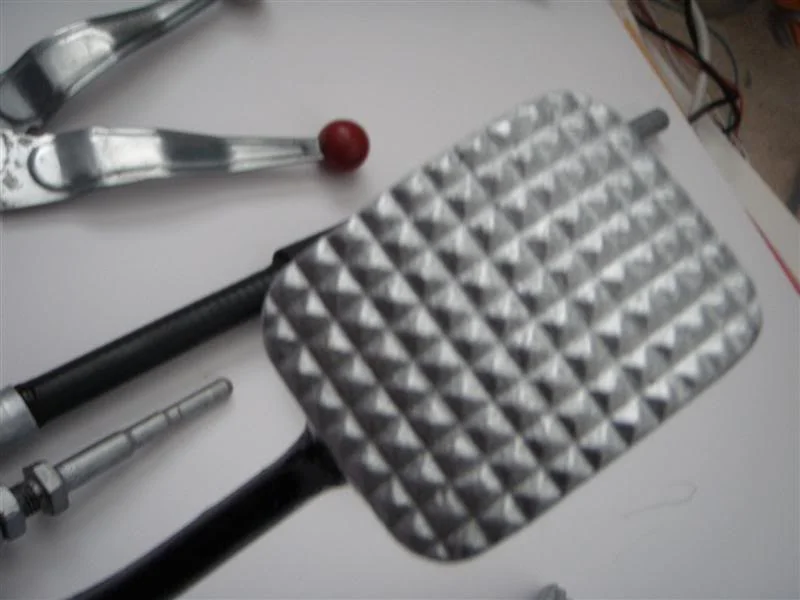
Also managed to attack the pedal cluster, master cylinder etc with a spot of hammerite - actually really iimpressed with how they came out
On the original pan the voltage regulator was screwed into the floor, didnt really want to do this so knocked a little something up using genuine college materials
Whats needed:
Hardware
Strip of aluminium to connect points
Wire to connect to neg earth
Strip of plastic drilled and bent into shape using a strip heater
Coat of satin black
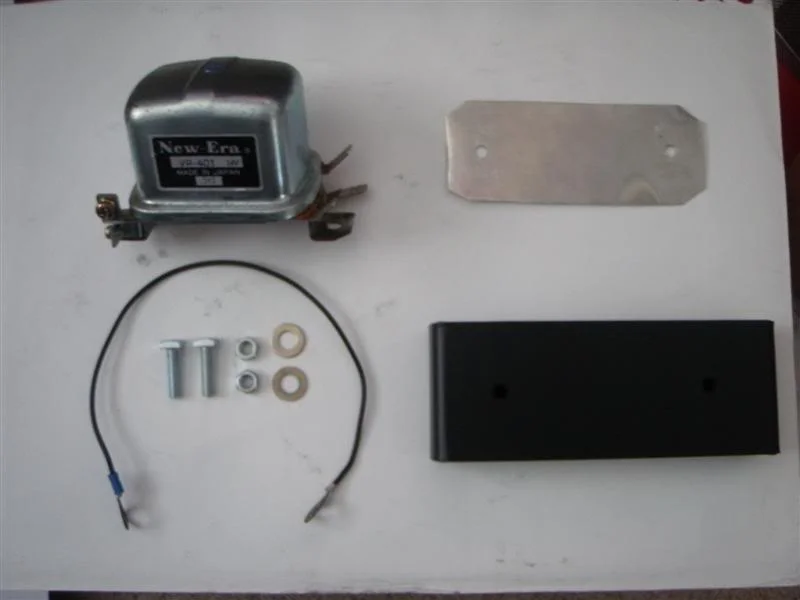
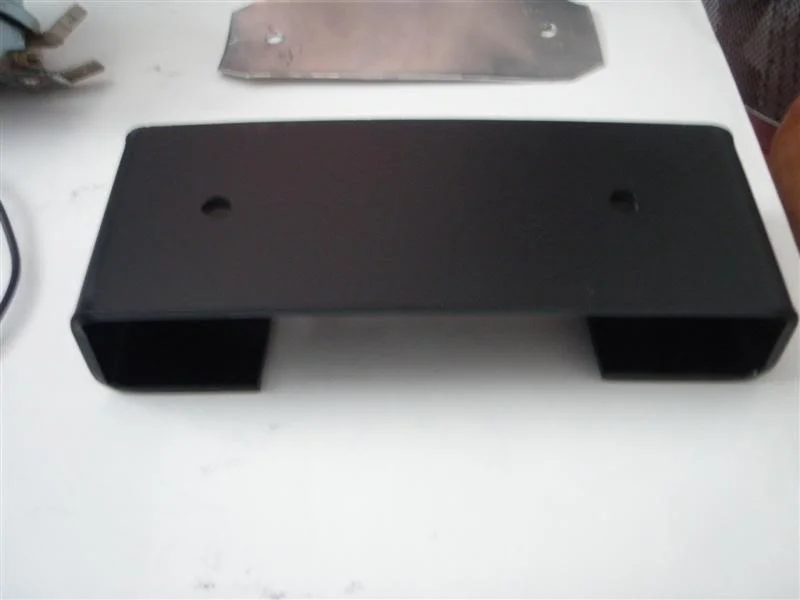
Bash it together
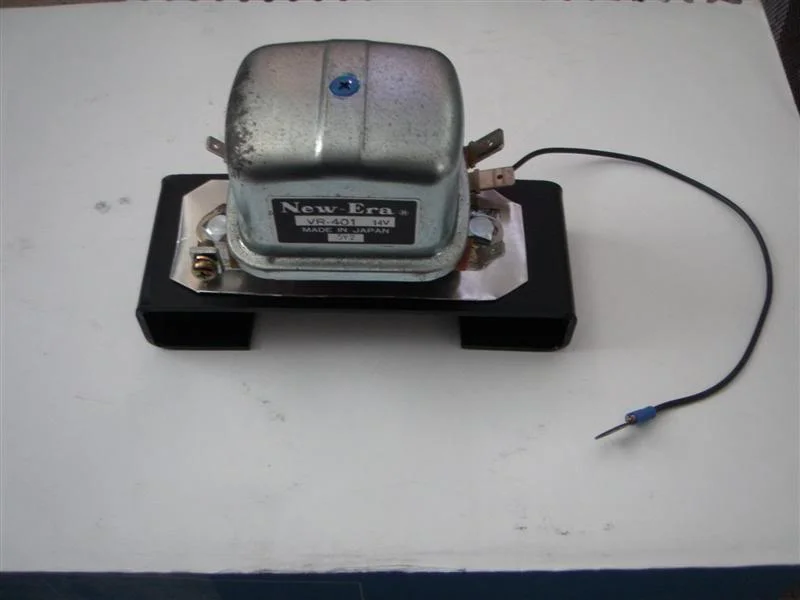
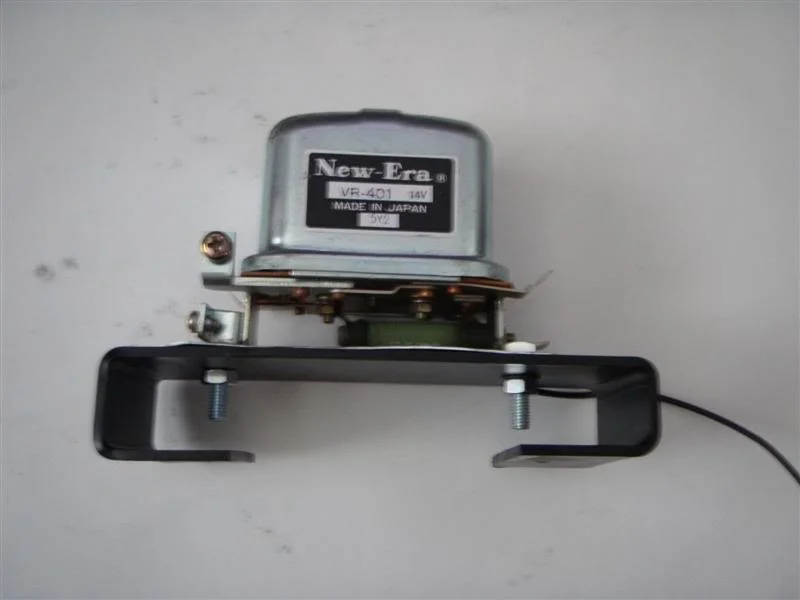
looks mint imo, cant wait to get the pan fully painted and sealered and start bolting stuff down
Right, Flipped the chassis over now and been grinding away rust, paint and smoothing over welds ready for some more POR15
But took some time out to notch my springplates using KCW's tech thread, allows for better suspension travel when it's lowered a couple of notches in the back
Also managed to attack the pedal cluster, master cylinder etc with a spot of hammerite - actually really iimpressed with how they came out
On the original pan the voltage regulator was screwed into the floor, didnt really want to do this so knocked a little something up using genuine college materials
Whats needed:
Hardware
Strip of aluminium to connect points
Wire to connect to neg earth
Strip of plastic drilled and bent into shape using a strip heater
Coat of satin black
Bash it together
looks mint imo, cant wait to get the pan fully painted and sealered and start bolting stuff down
525i, 66' Bug, Civic
Was down the barn all day friday untill 2.30am preping the topside for paint and getting the master cylinder hole drilled
left it looking like this
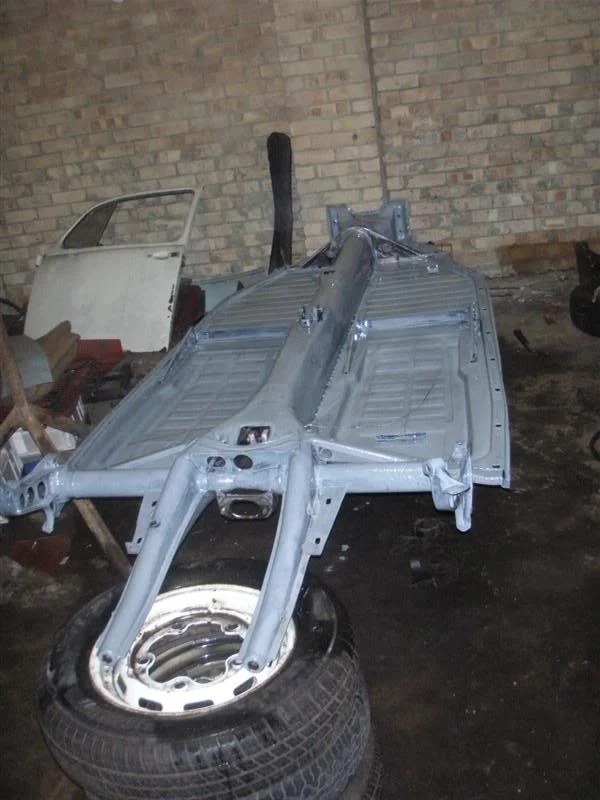
Will paint the framehead hat and gearbox mount when i finnish cleaning them up, need to weld up the hole on the LH side of the hat - realised i didnt have any spare steel
Thought i'd give the insides of the torsion bar covers a coat of red lead to stop the rusting too much
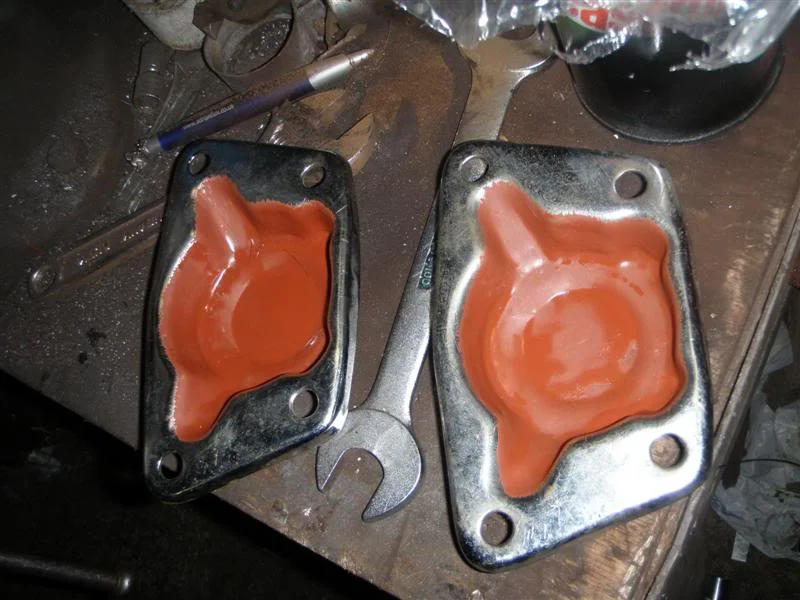
Then saturday, my mate came over to flip the pan and get seam sealer on both sides
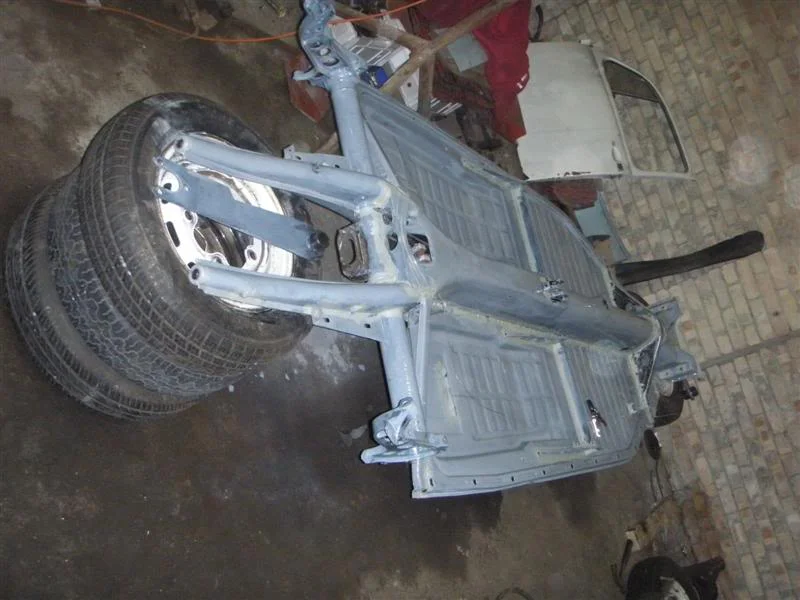
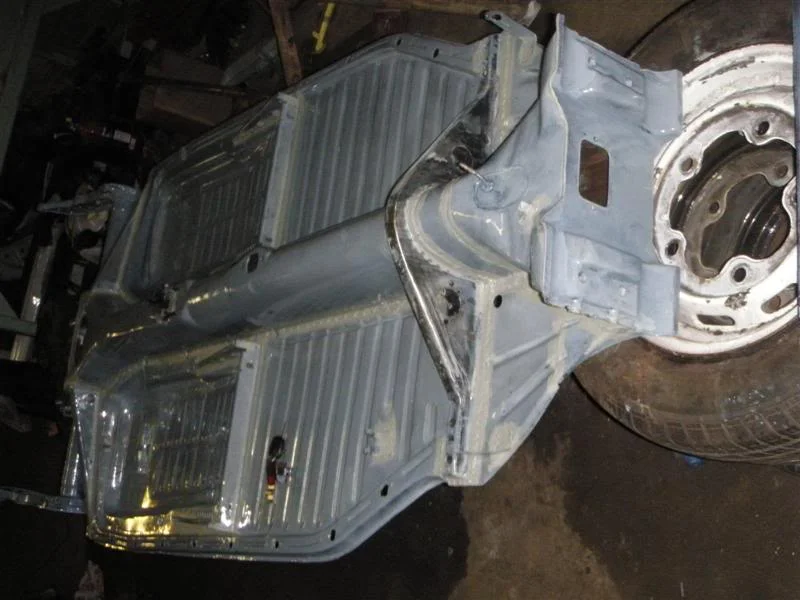
left it looking like this
Will paint the framehead hat and gearbox mount when i finnish cleaning them up, need to weld up the hole on the LH side of the hat - realised i didnt have any spare steel
Thought i'd give the insides of the torsion bar covers a coat of red lead to stop the rusting too much
Then saturday, my mate came over to flip the pan and get seam sealer on both sides

525i, 66' Bug, Civic
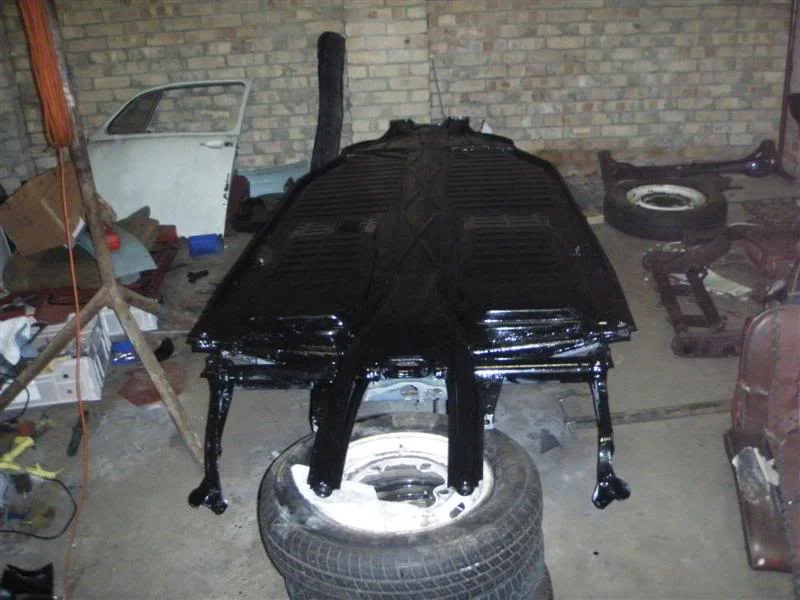
Right, tonight got the black paint on, will probably be continuing with it tomorrow aswell
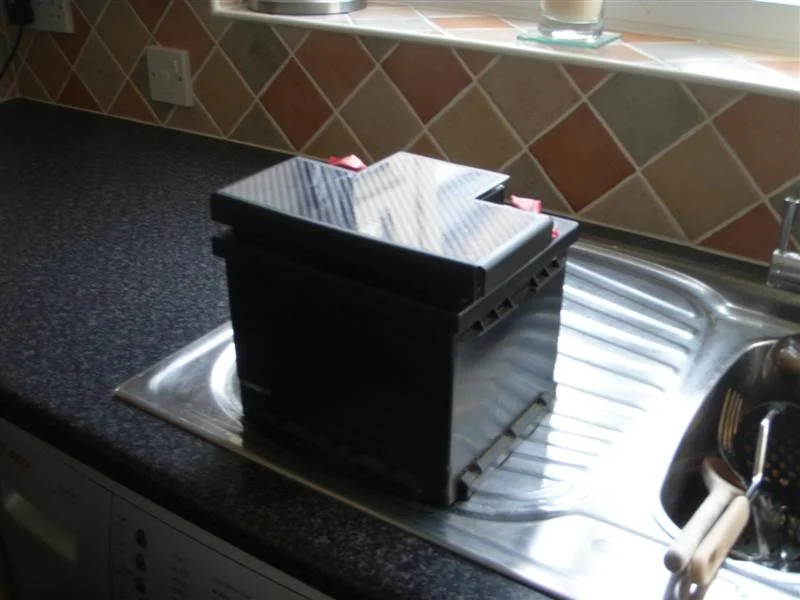
Also managed to knock up this moulded plastic battery cover, sprayed matt black with carbon vinyl
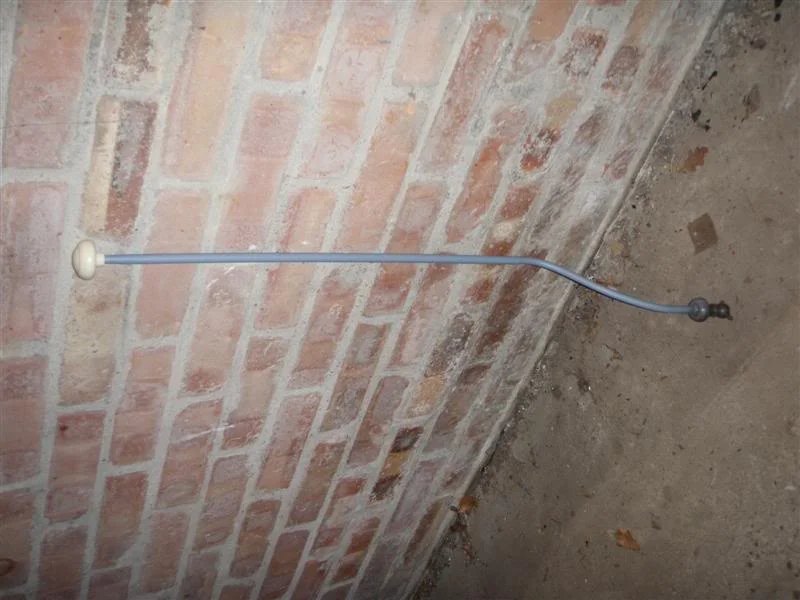
finally had a go at making a crazy shifter in a spare 10 mins, over twice the height of the orig, jus for laughs
Also managed to knock up this moulded plastic battery cover, sprayed matt black with carbon vinyl
finally had a go at making a crazy shifter in a spare 10 mins, over twice the height of the orig, jus for laughs
525i, 66' Bug, Civic
welcome to 2.30am
havent updated in a while so heres the latest
Final coat of paint (missed a few bits )
)
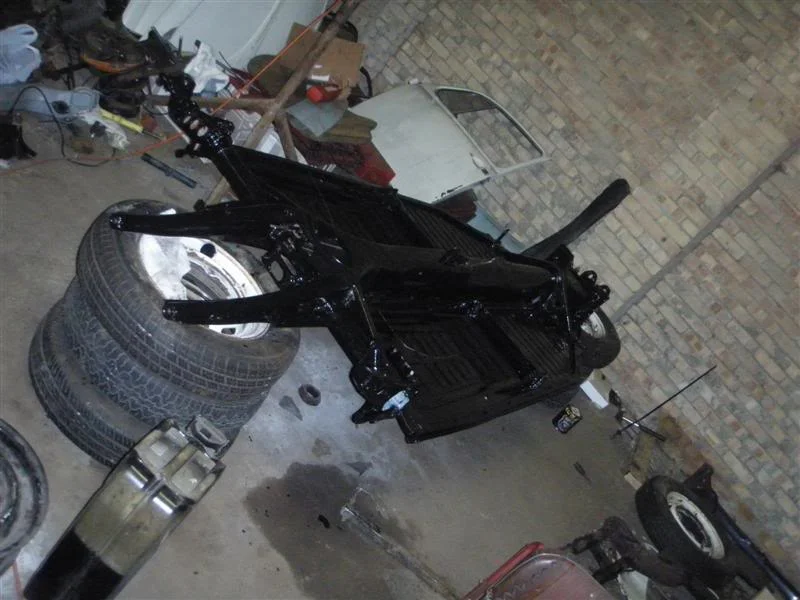
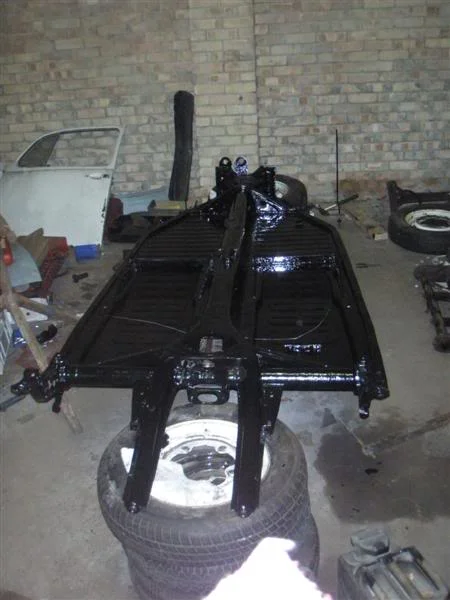
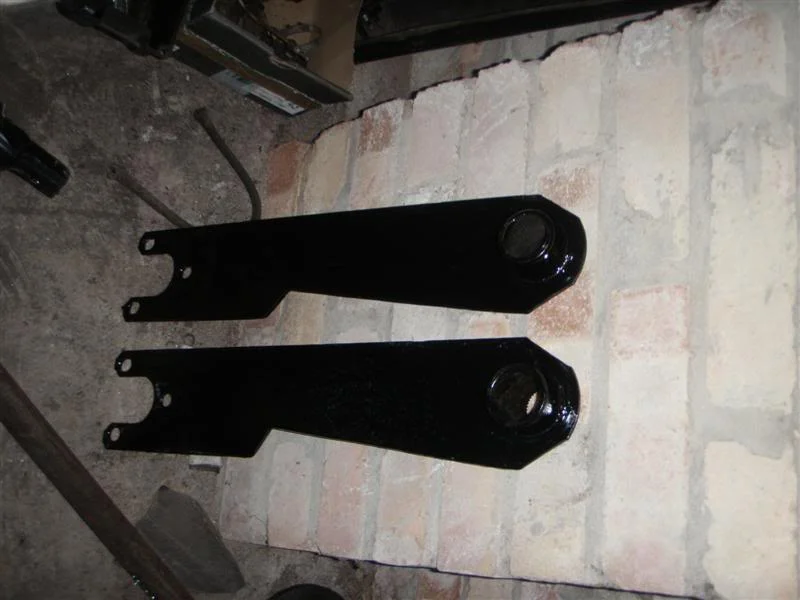
Been cracking on with installation for a while aswell
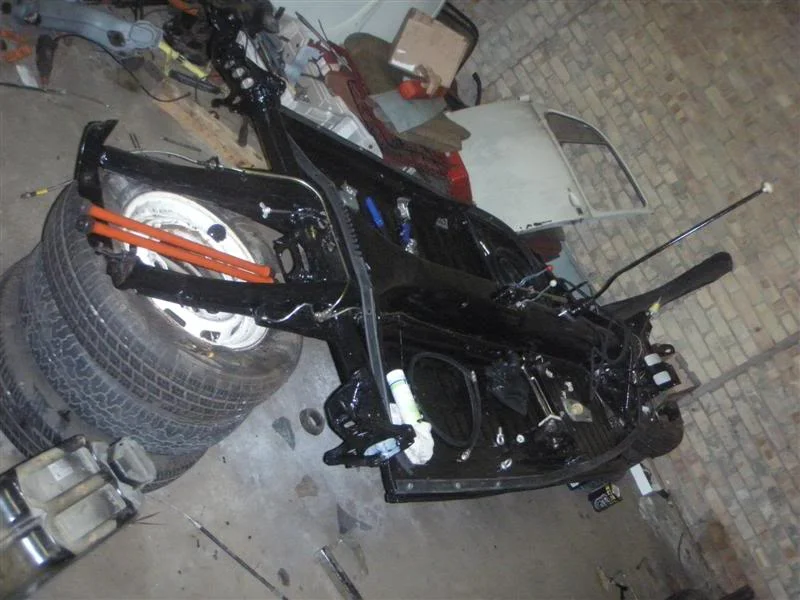
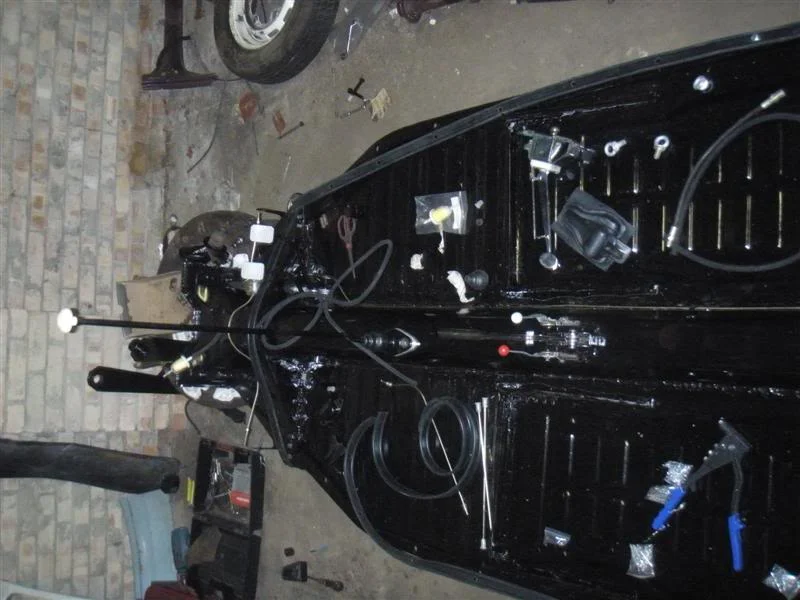
All brake lines are in, and chassis seals are ready to be bonded down
heres how i cut the holes, as drilling rubber is difficult i found there tubes in my room and decided to make use of them
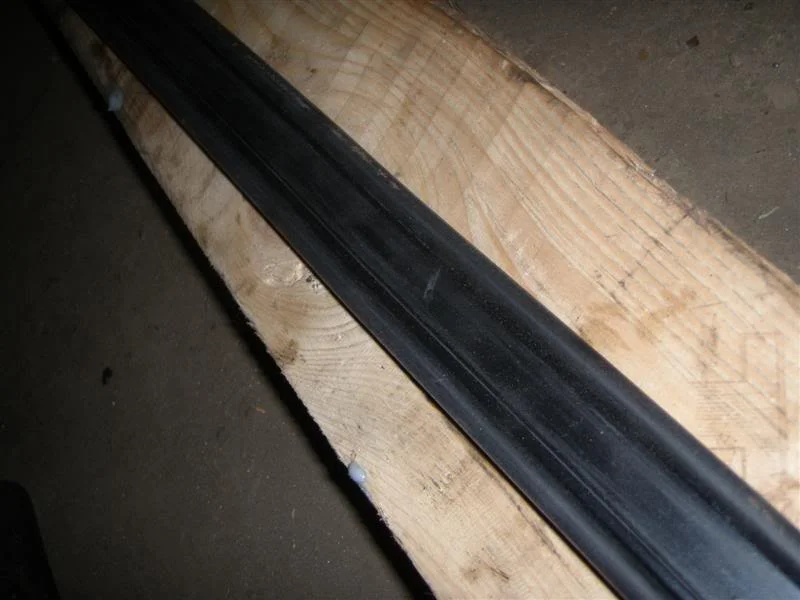
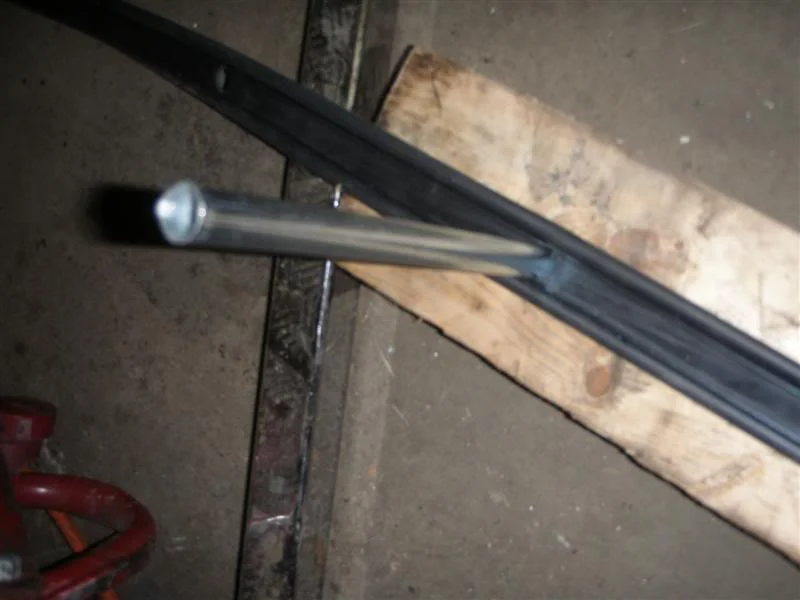
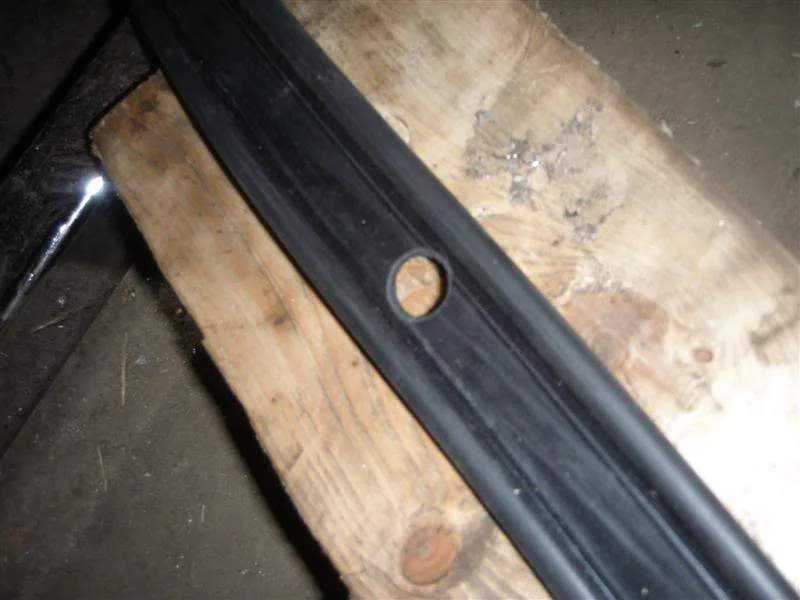
you actually get alot of chassis seal, more than you should need anyway...
More supprises tomorrow! big ones
havent updated in a while so heres the latest
Final coat of paint (missed a few bits
)Been cracking on with installation for a while aswell
All brake lines are in, and chassis seals are ready to be bonded down
heres how i cut the holes, as drilling rubber is difficult i found there tubes in my room and decided to make use of them
you actually get alot of chassis seal, more than you should need anyway...
More supprises tomorrow! big ones

525i, 66' Bug, Civic
cheers guys
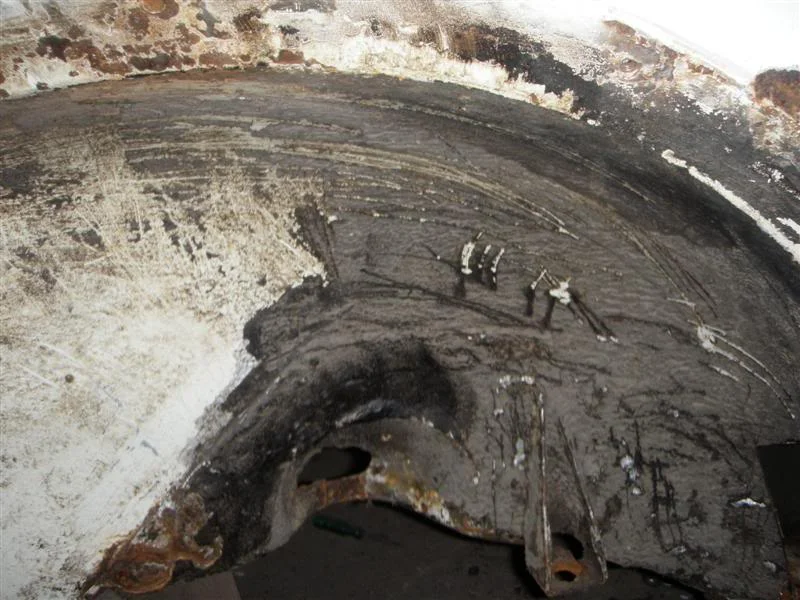
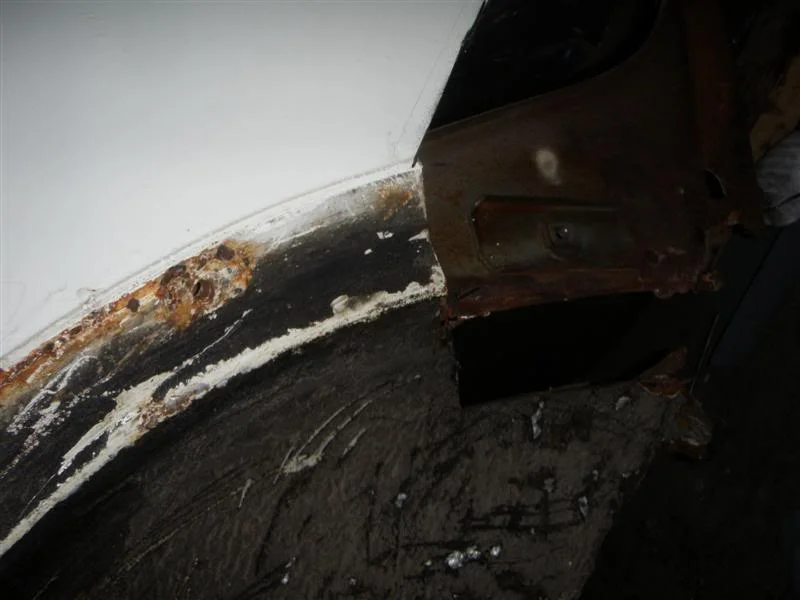
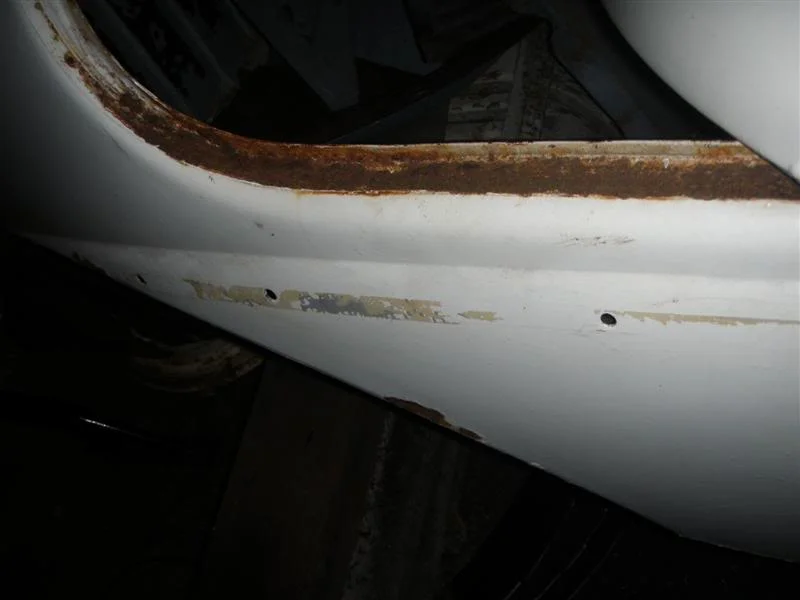
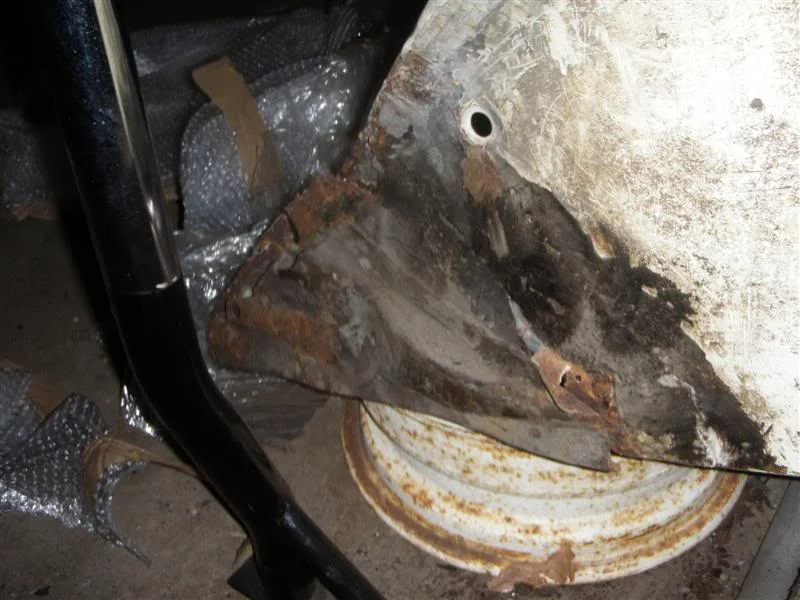
Heres a step in the right direction: basically the rear quarter needs 6x seperate panels - rear lower quarter, inner arch, outer arch, frame panel, bumper mounts and wing bolt line
so to save time, money and finish i picked up this
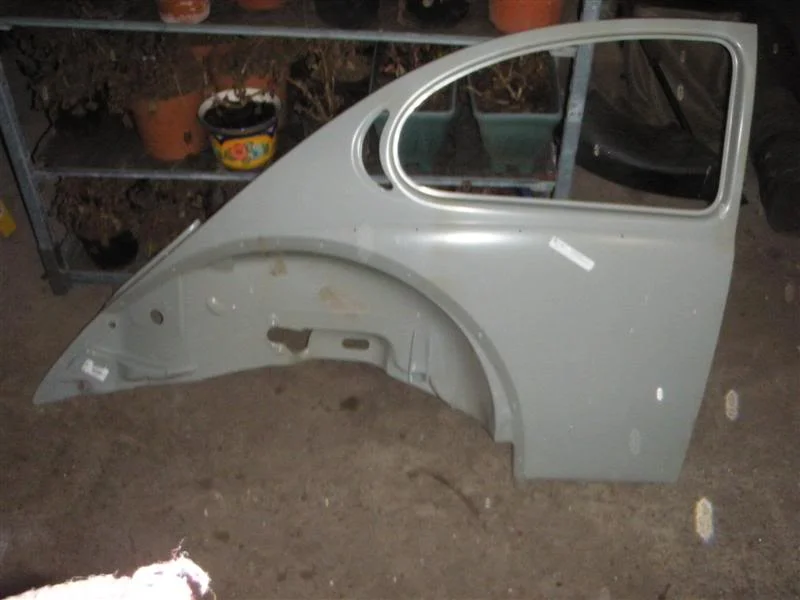
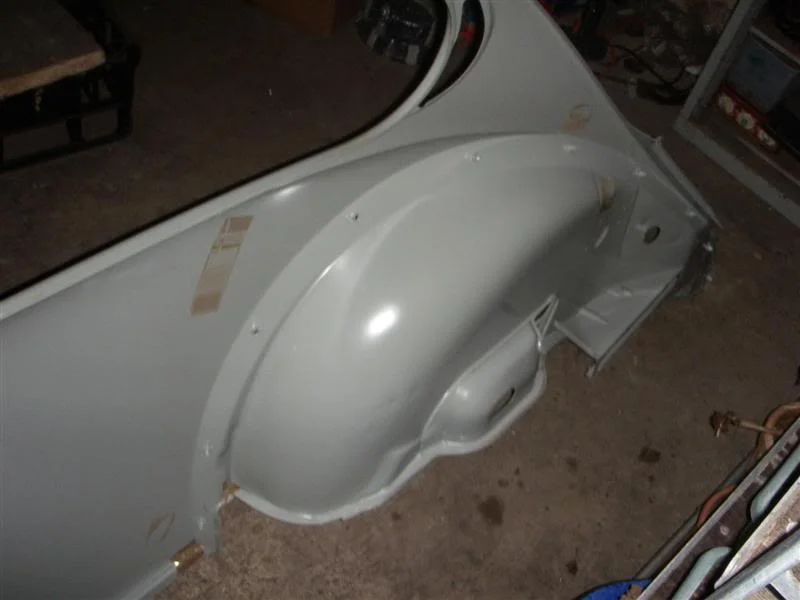
not an ounce of rust, just need the other one now...
Heres a step in the right direction: basically the rear quarter needs 6x seperate panels - rear lower quarter, inner arch, outer arch, frame panel, bumper mounts and wing bolt line
so to save time, money and finish i picked up this
not an ounce of rust, just need the other one now...

Similar threads
- Replies
- 43
- Views
- 10K


- Replies
- 125
- Views
- 42K
