ClioSport.net

This is a sample guest message. Register a free account today to become a member! Once signed in, you'll be able to participate on this site by adding your own topics and posts, as well as connect with other members through your own private inbox!

  • When you purchase through links on our site, we may earn an affiliate commission. Read more here.

Restoring Little Bluey - my 182 FF ClioSport in Racing Blue

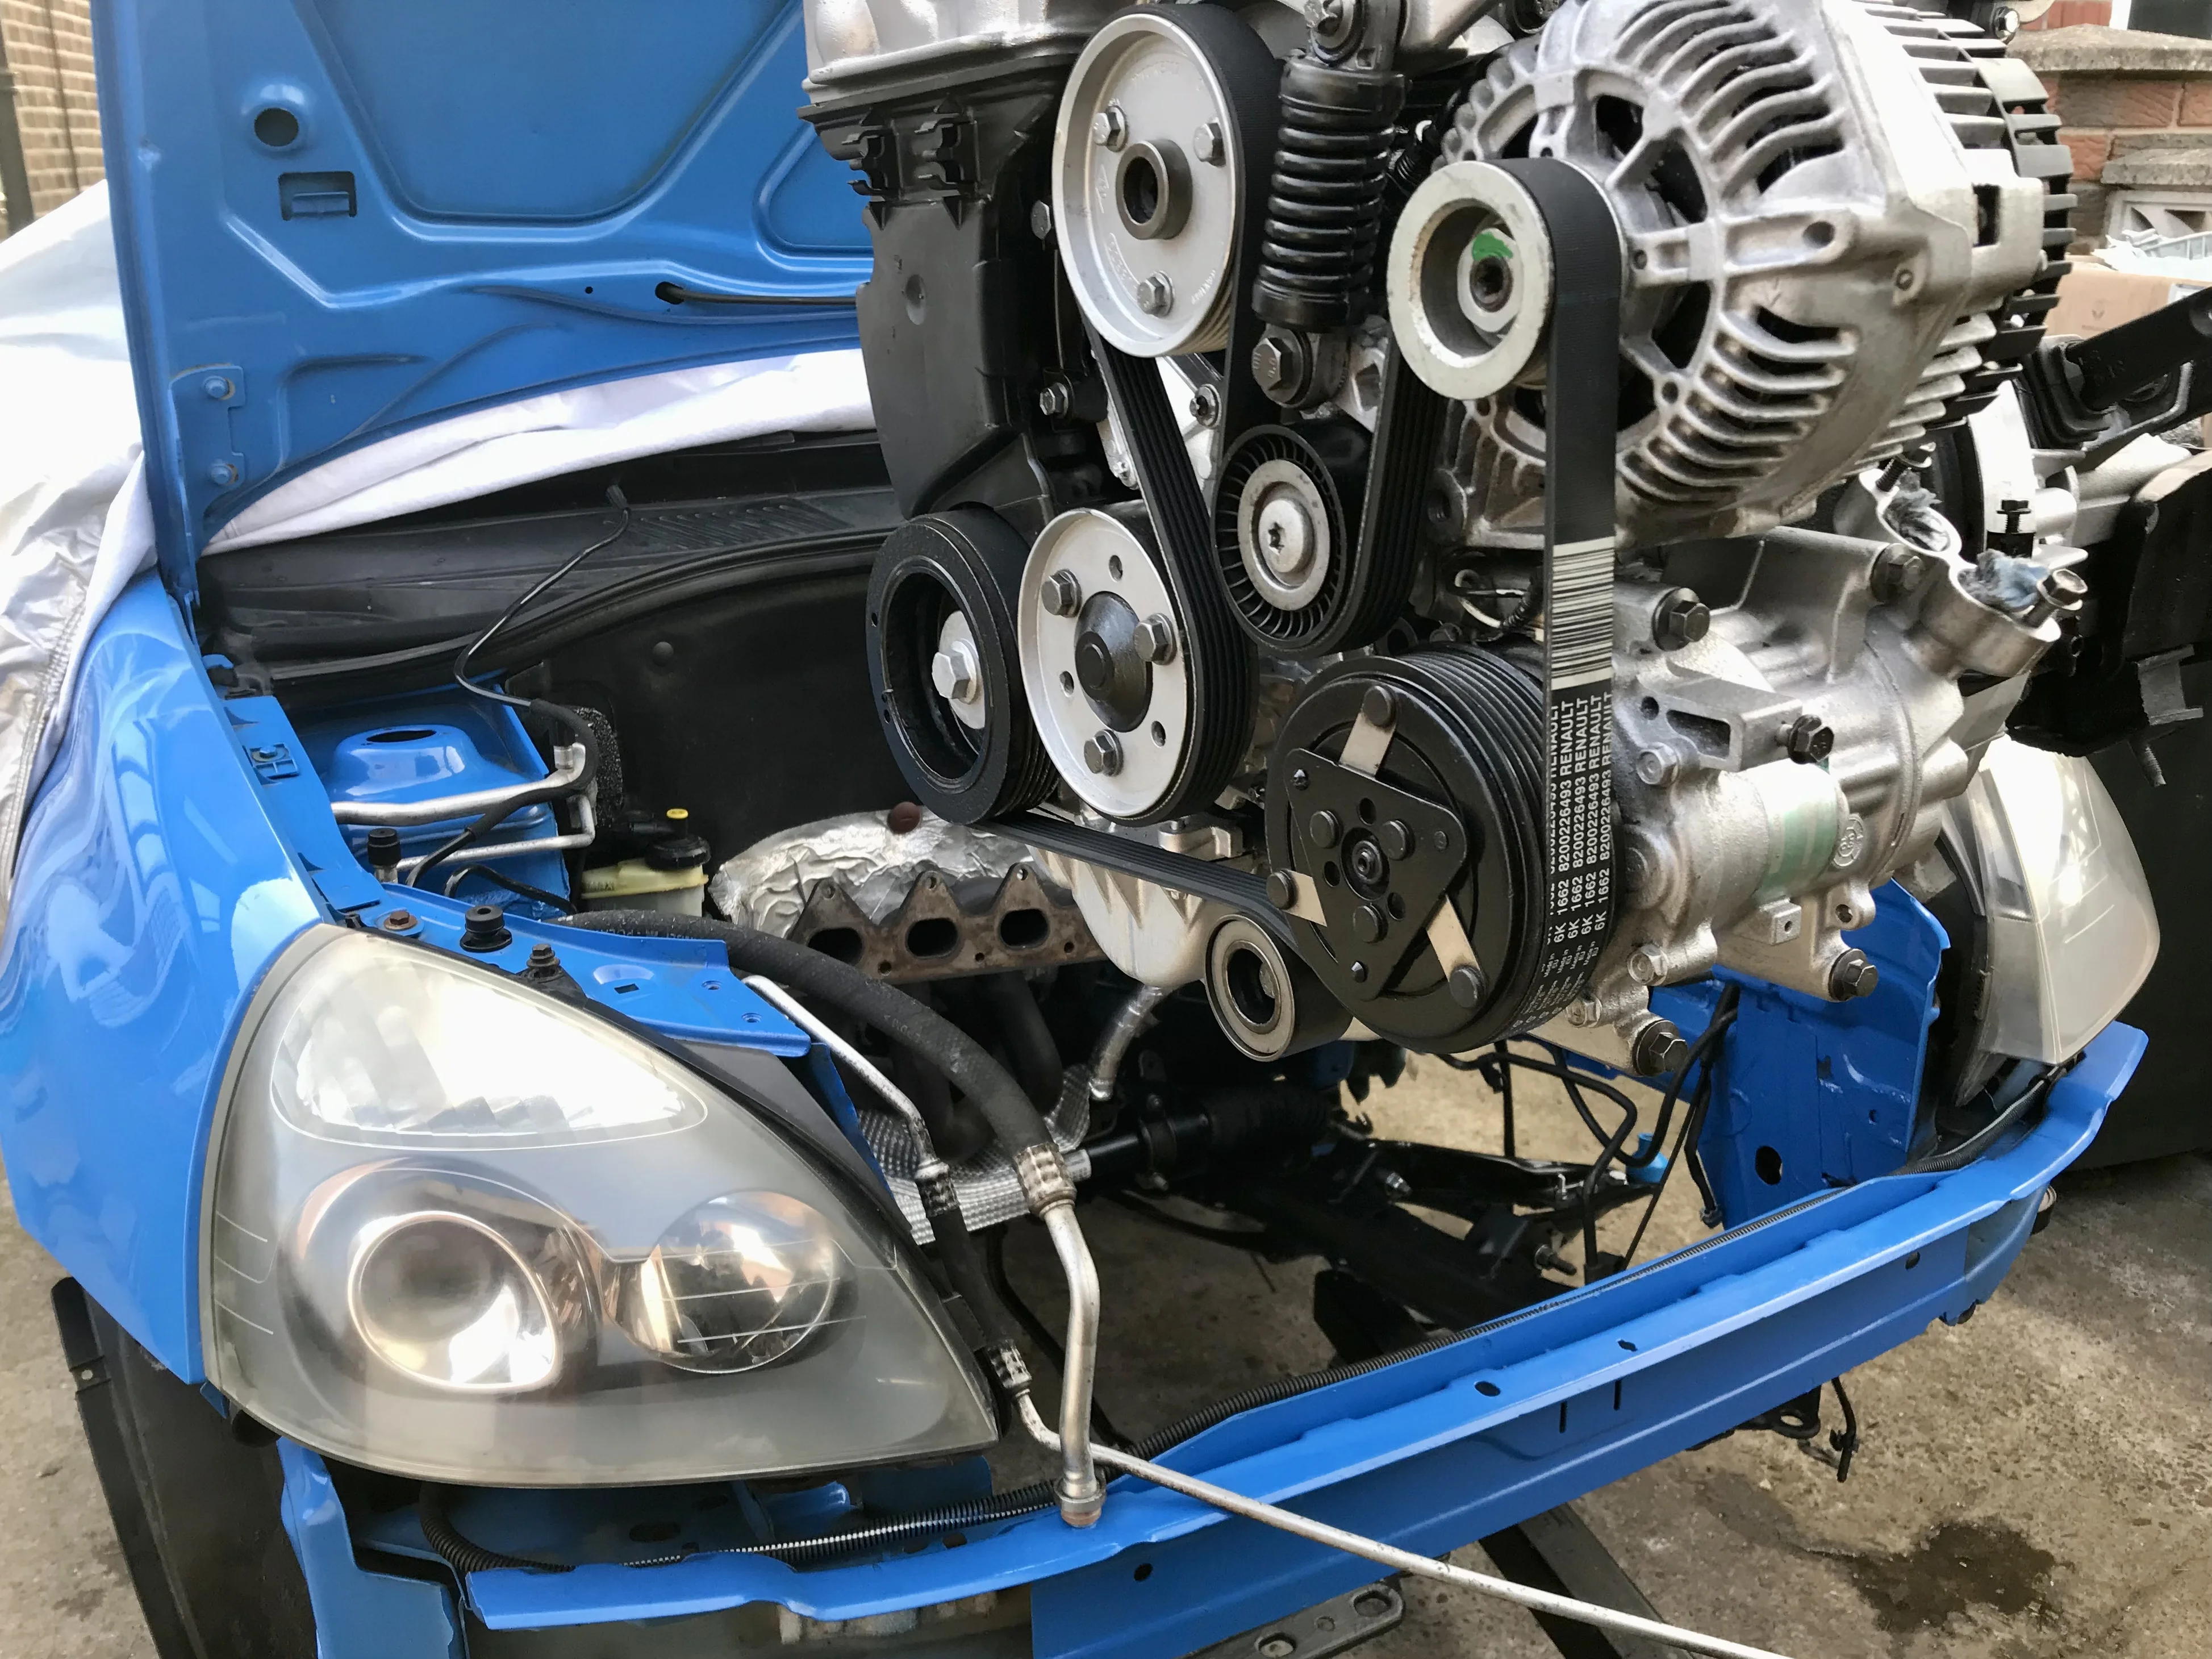
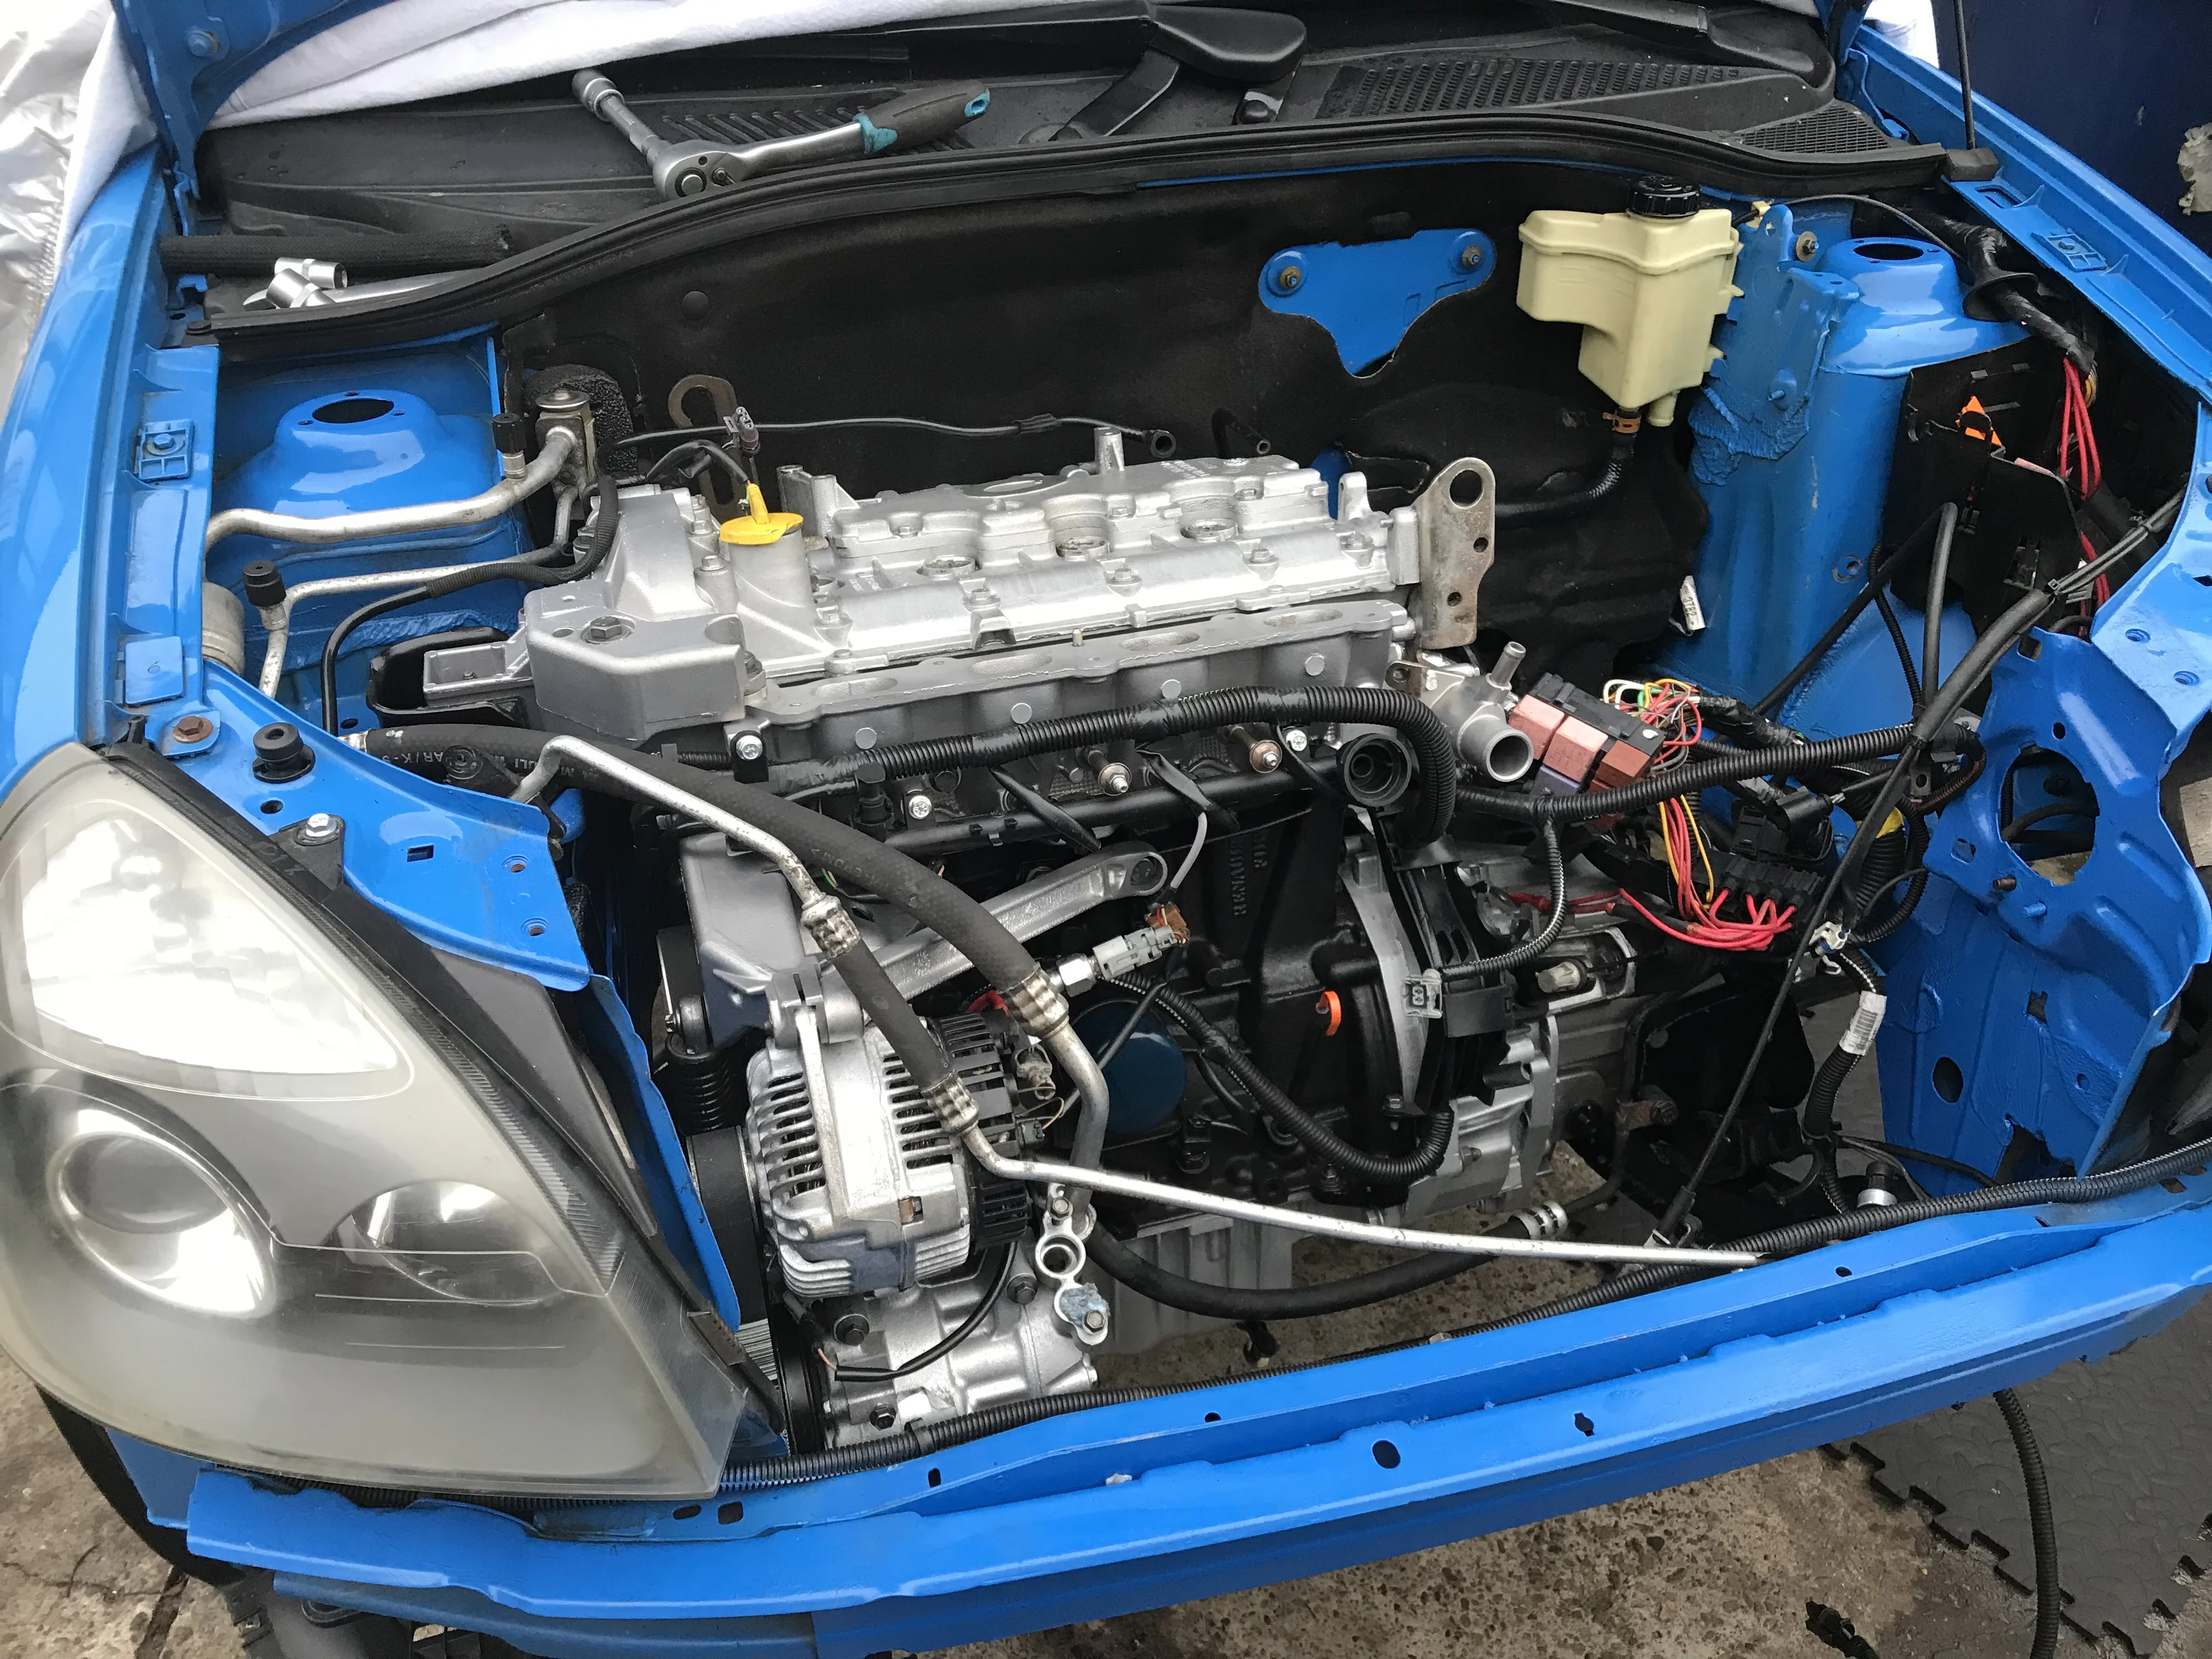
A cold and fresh early start today putting the engine back in.

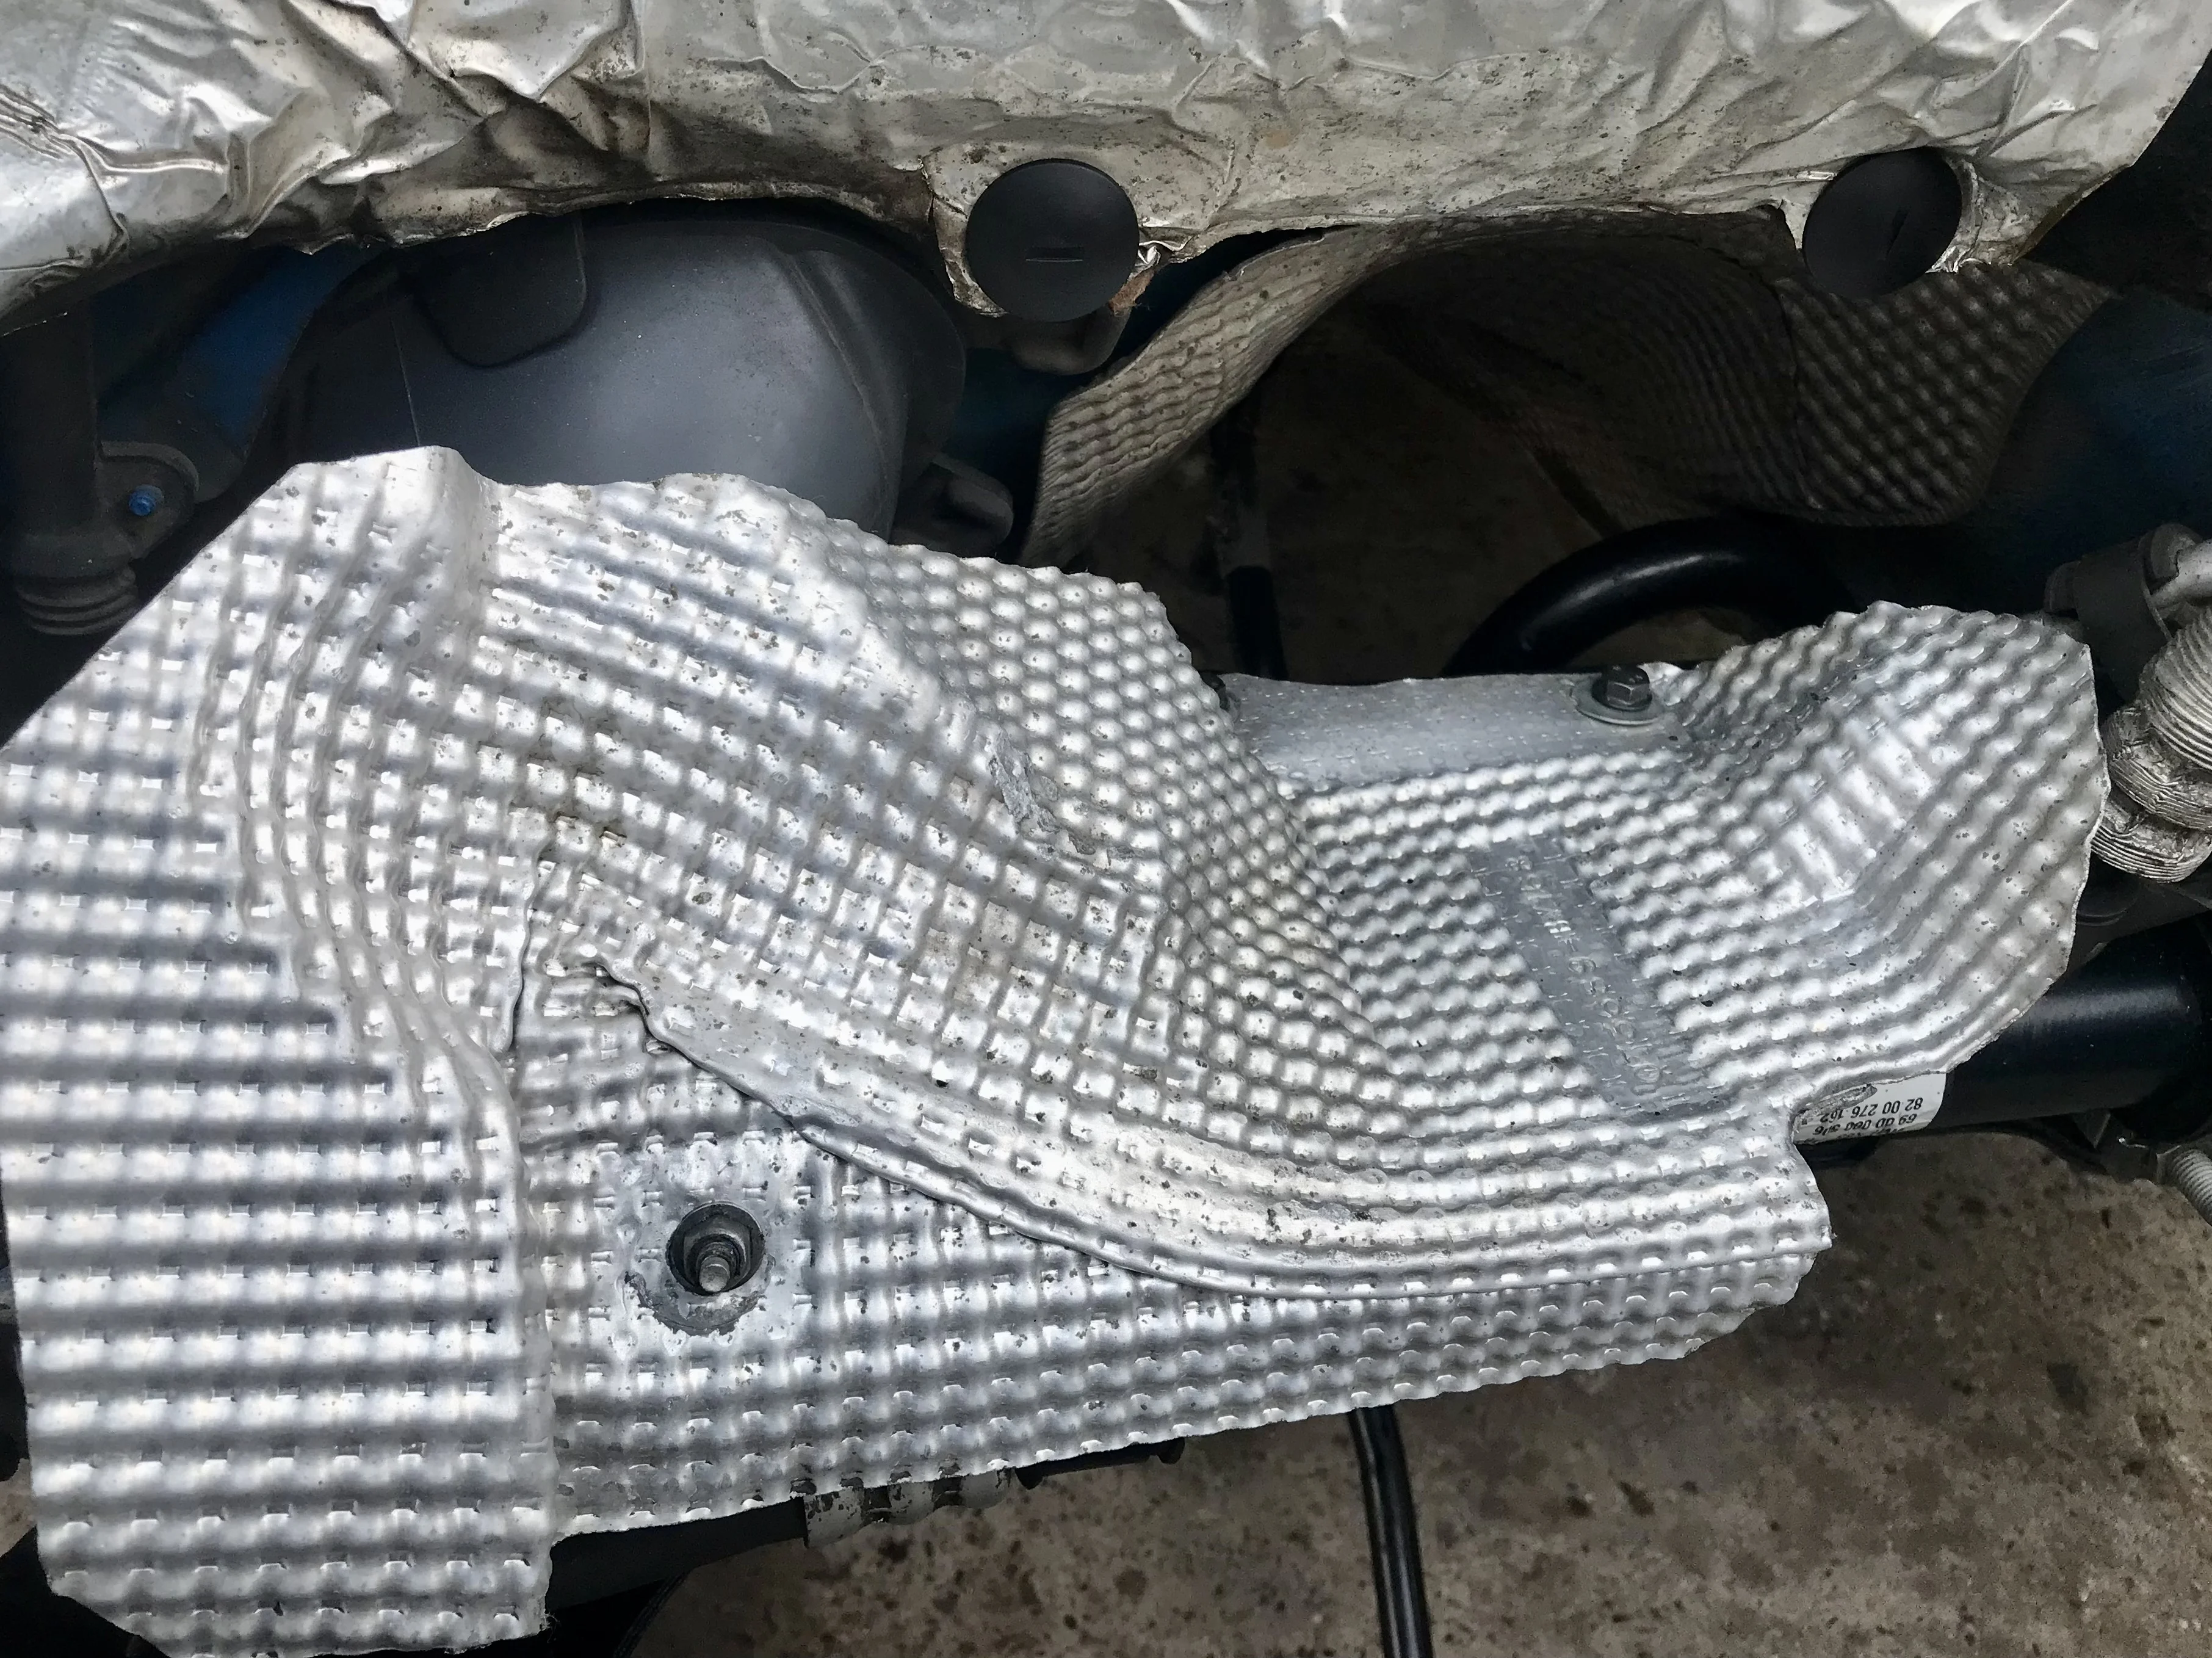
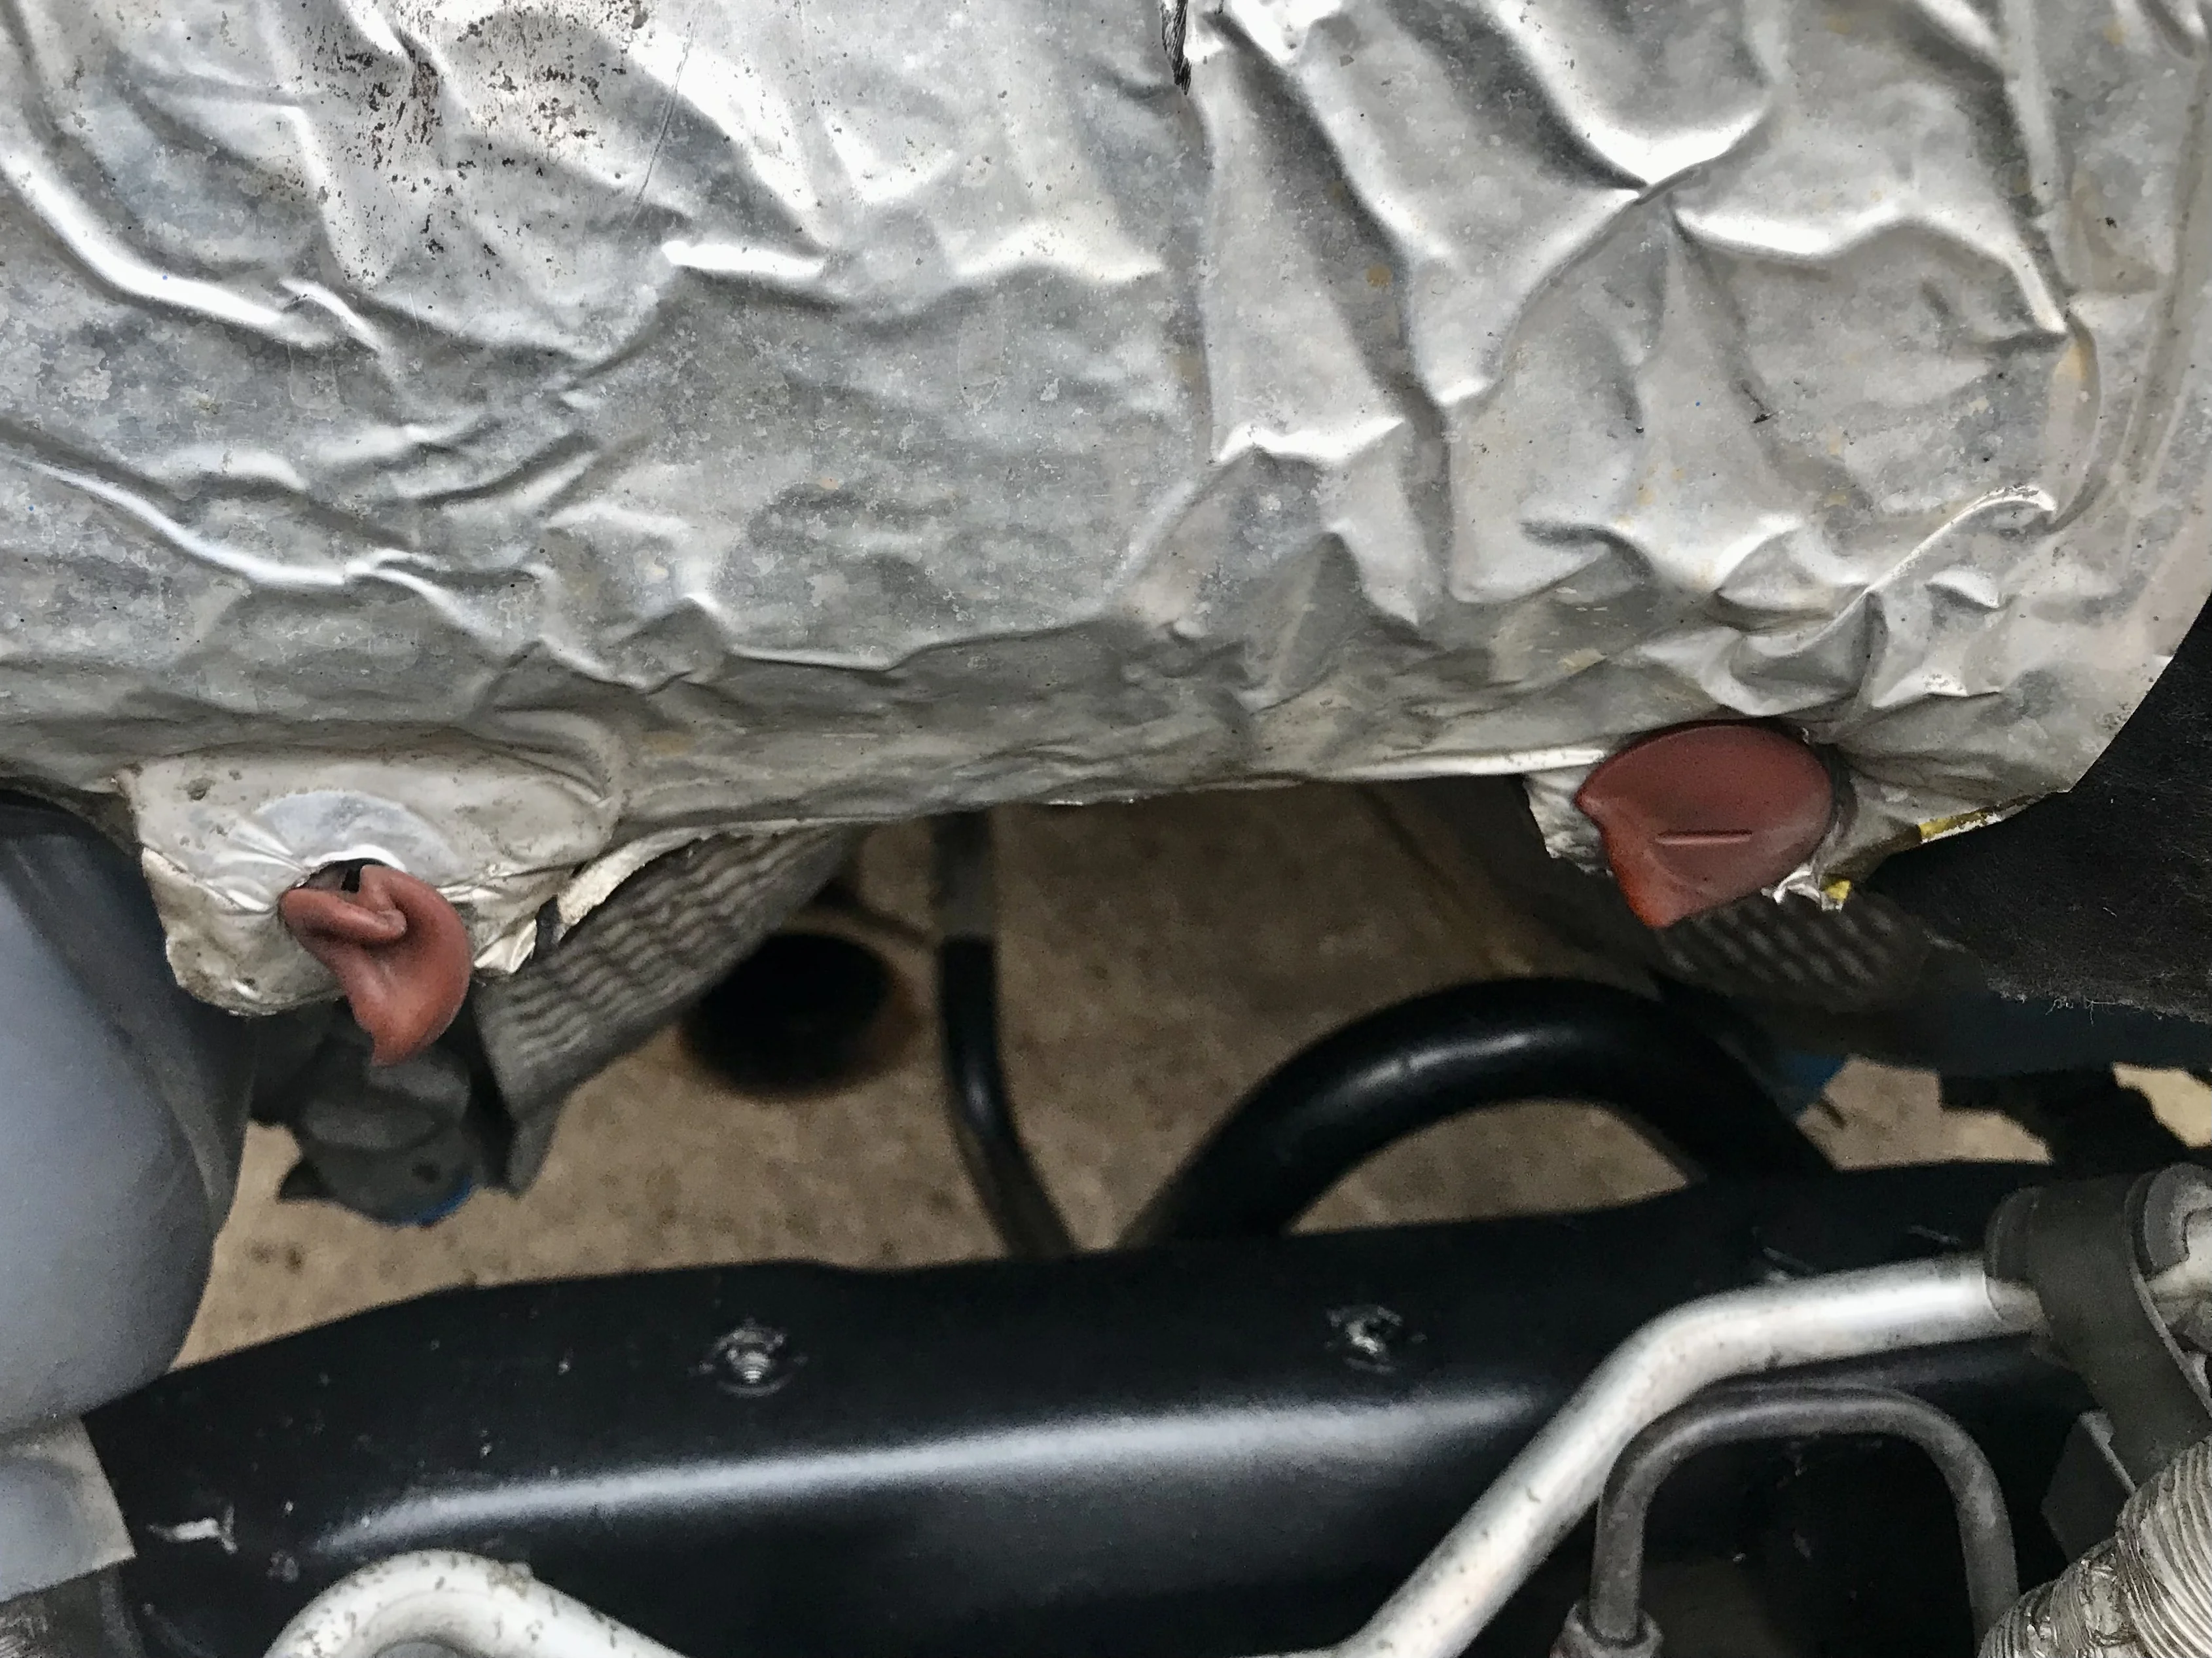
A couple of small jobs to do under the bonnet first, including replacing a couple of melted grommets. They’ll no doubt melt again.
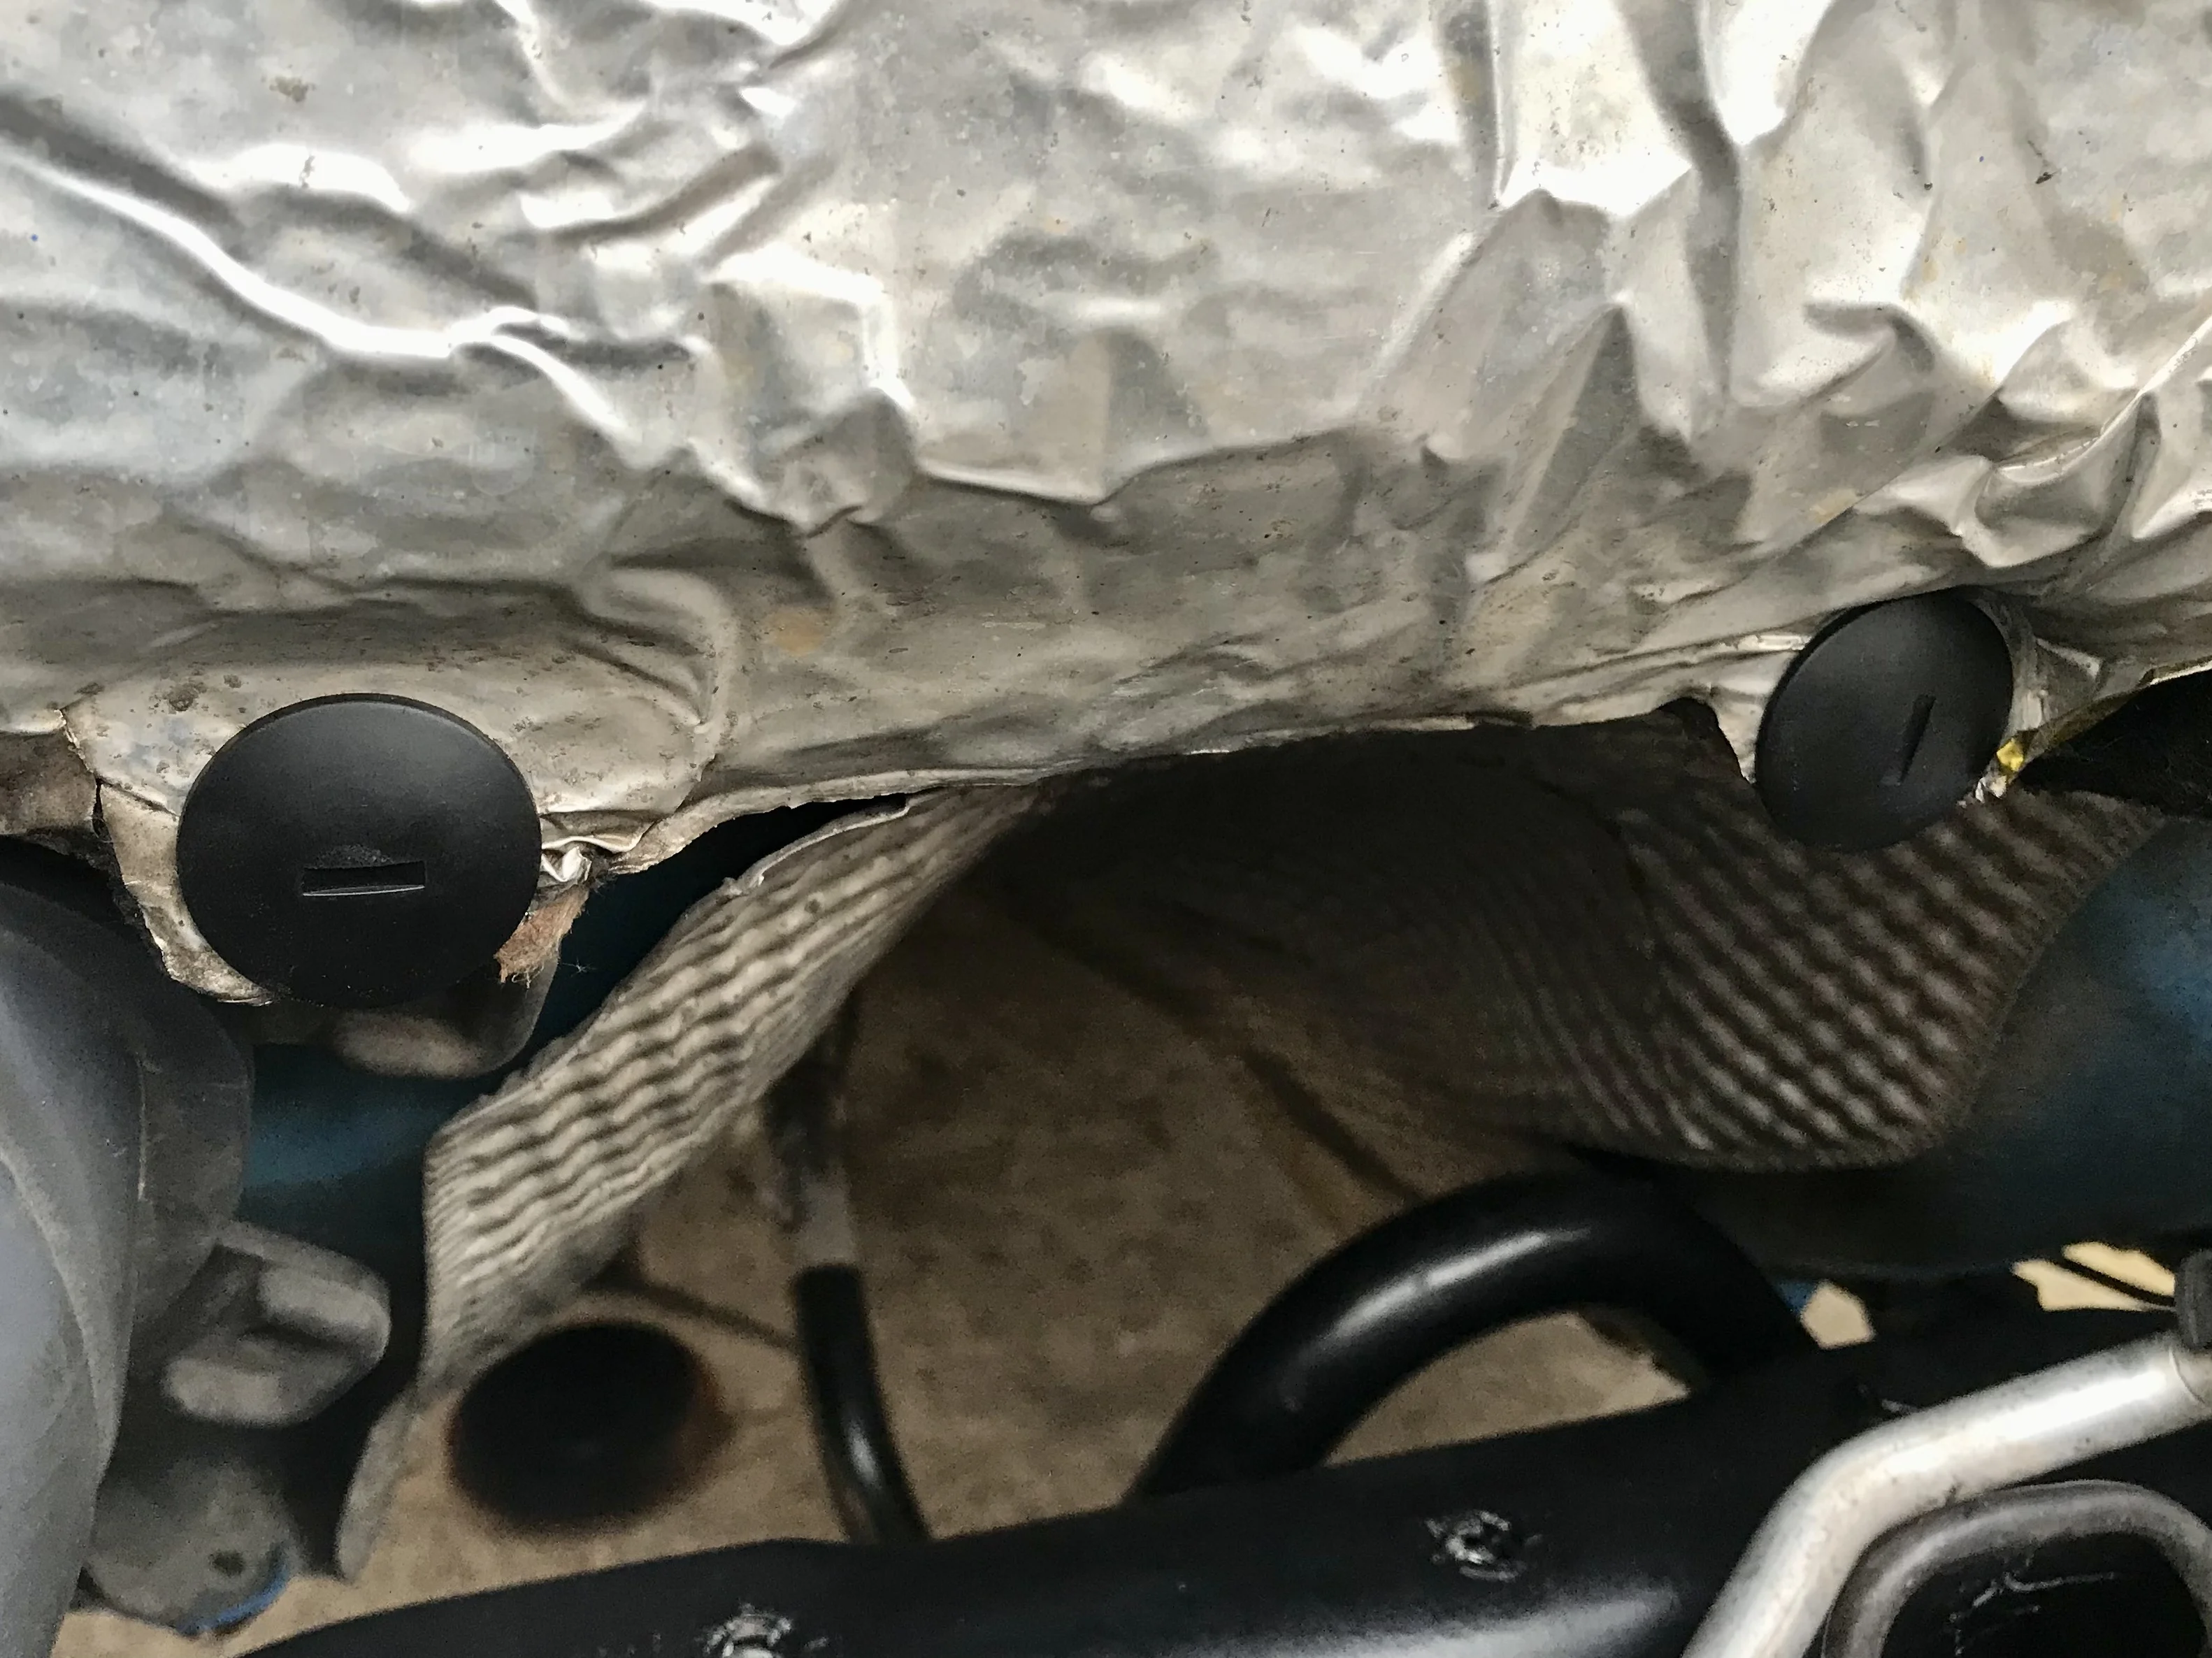
402DE9BC-8434-421D-9F3D-1D087AF99DC5.jpeg
0B210B95-05F9-47D1-B6B4-13F2AB031966.jpeg


Then a clean up of the heat shield.
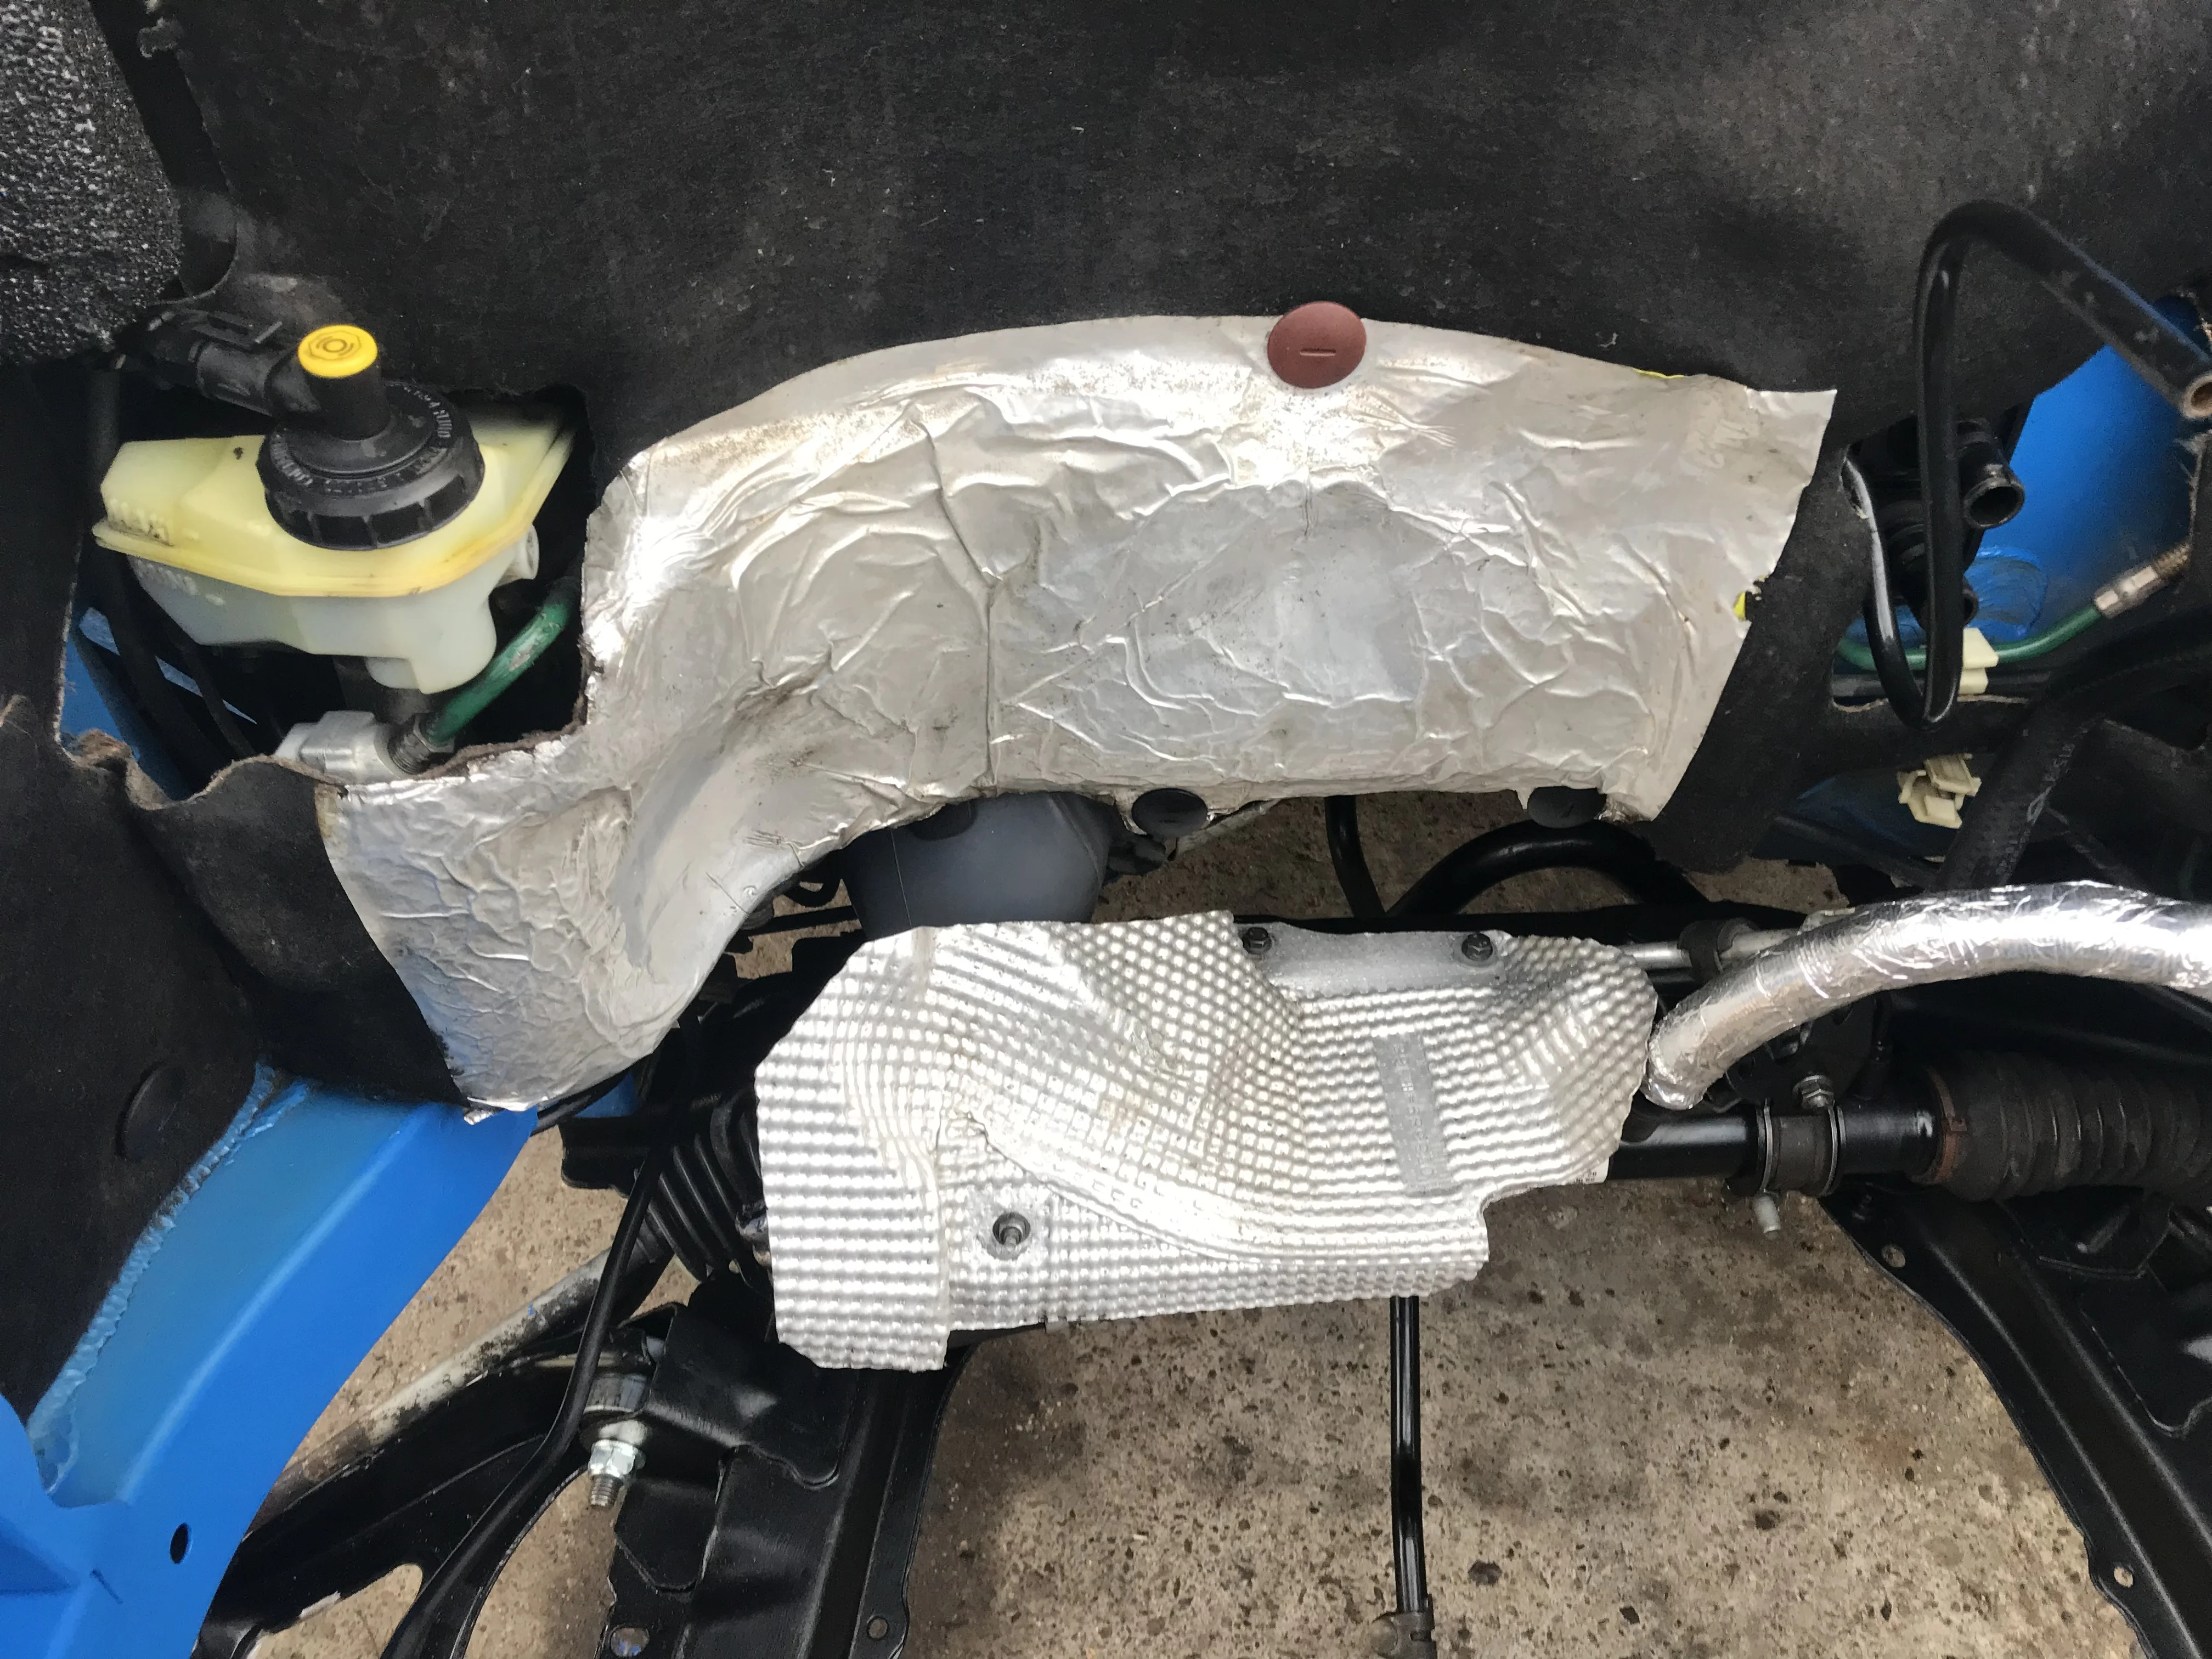
6FF44806-462D-4703-9890-4E5F26E59B64.jpeg
86A9E9F9-FE78-4E6D-88EE-0125BF035AD2.jpeg


Then a check over the loom and cleaning up the earths/connections and repairing some broken bits of tape.
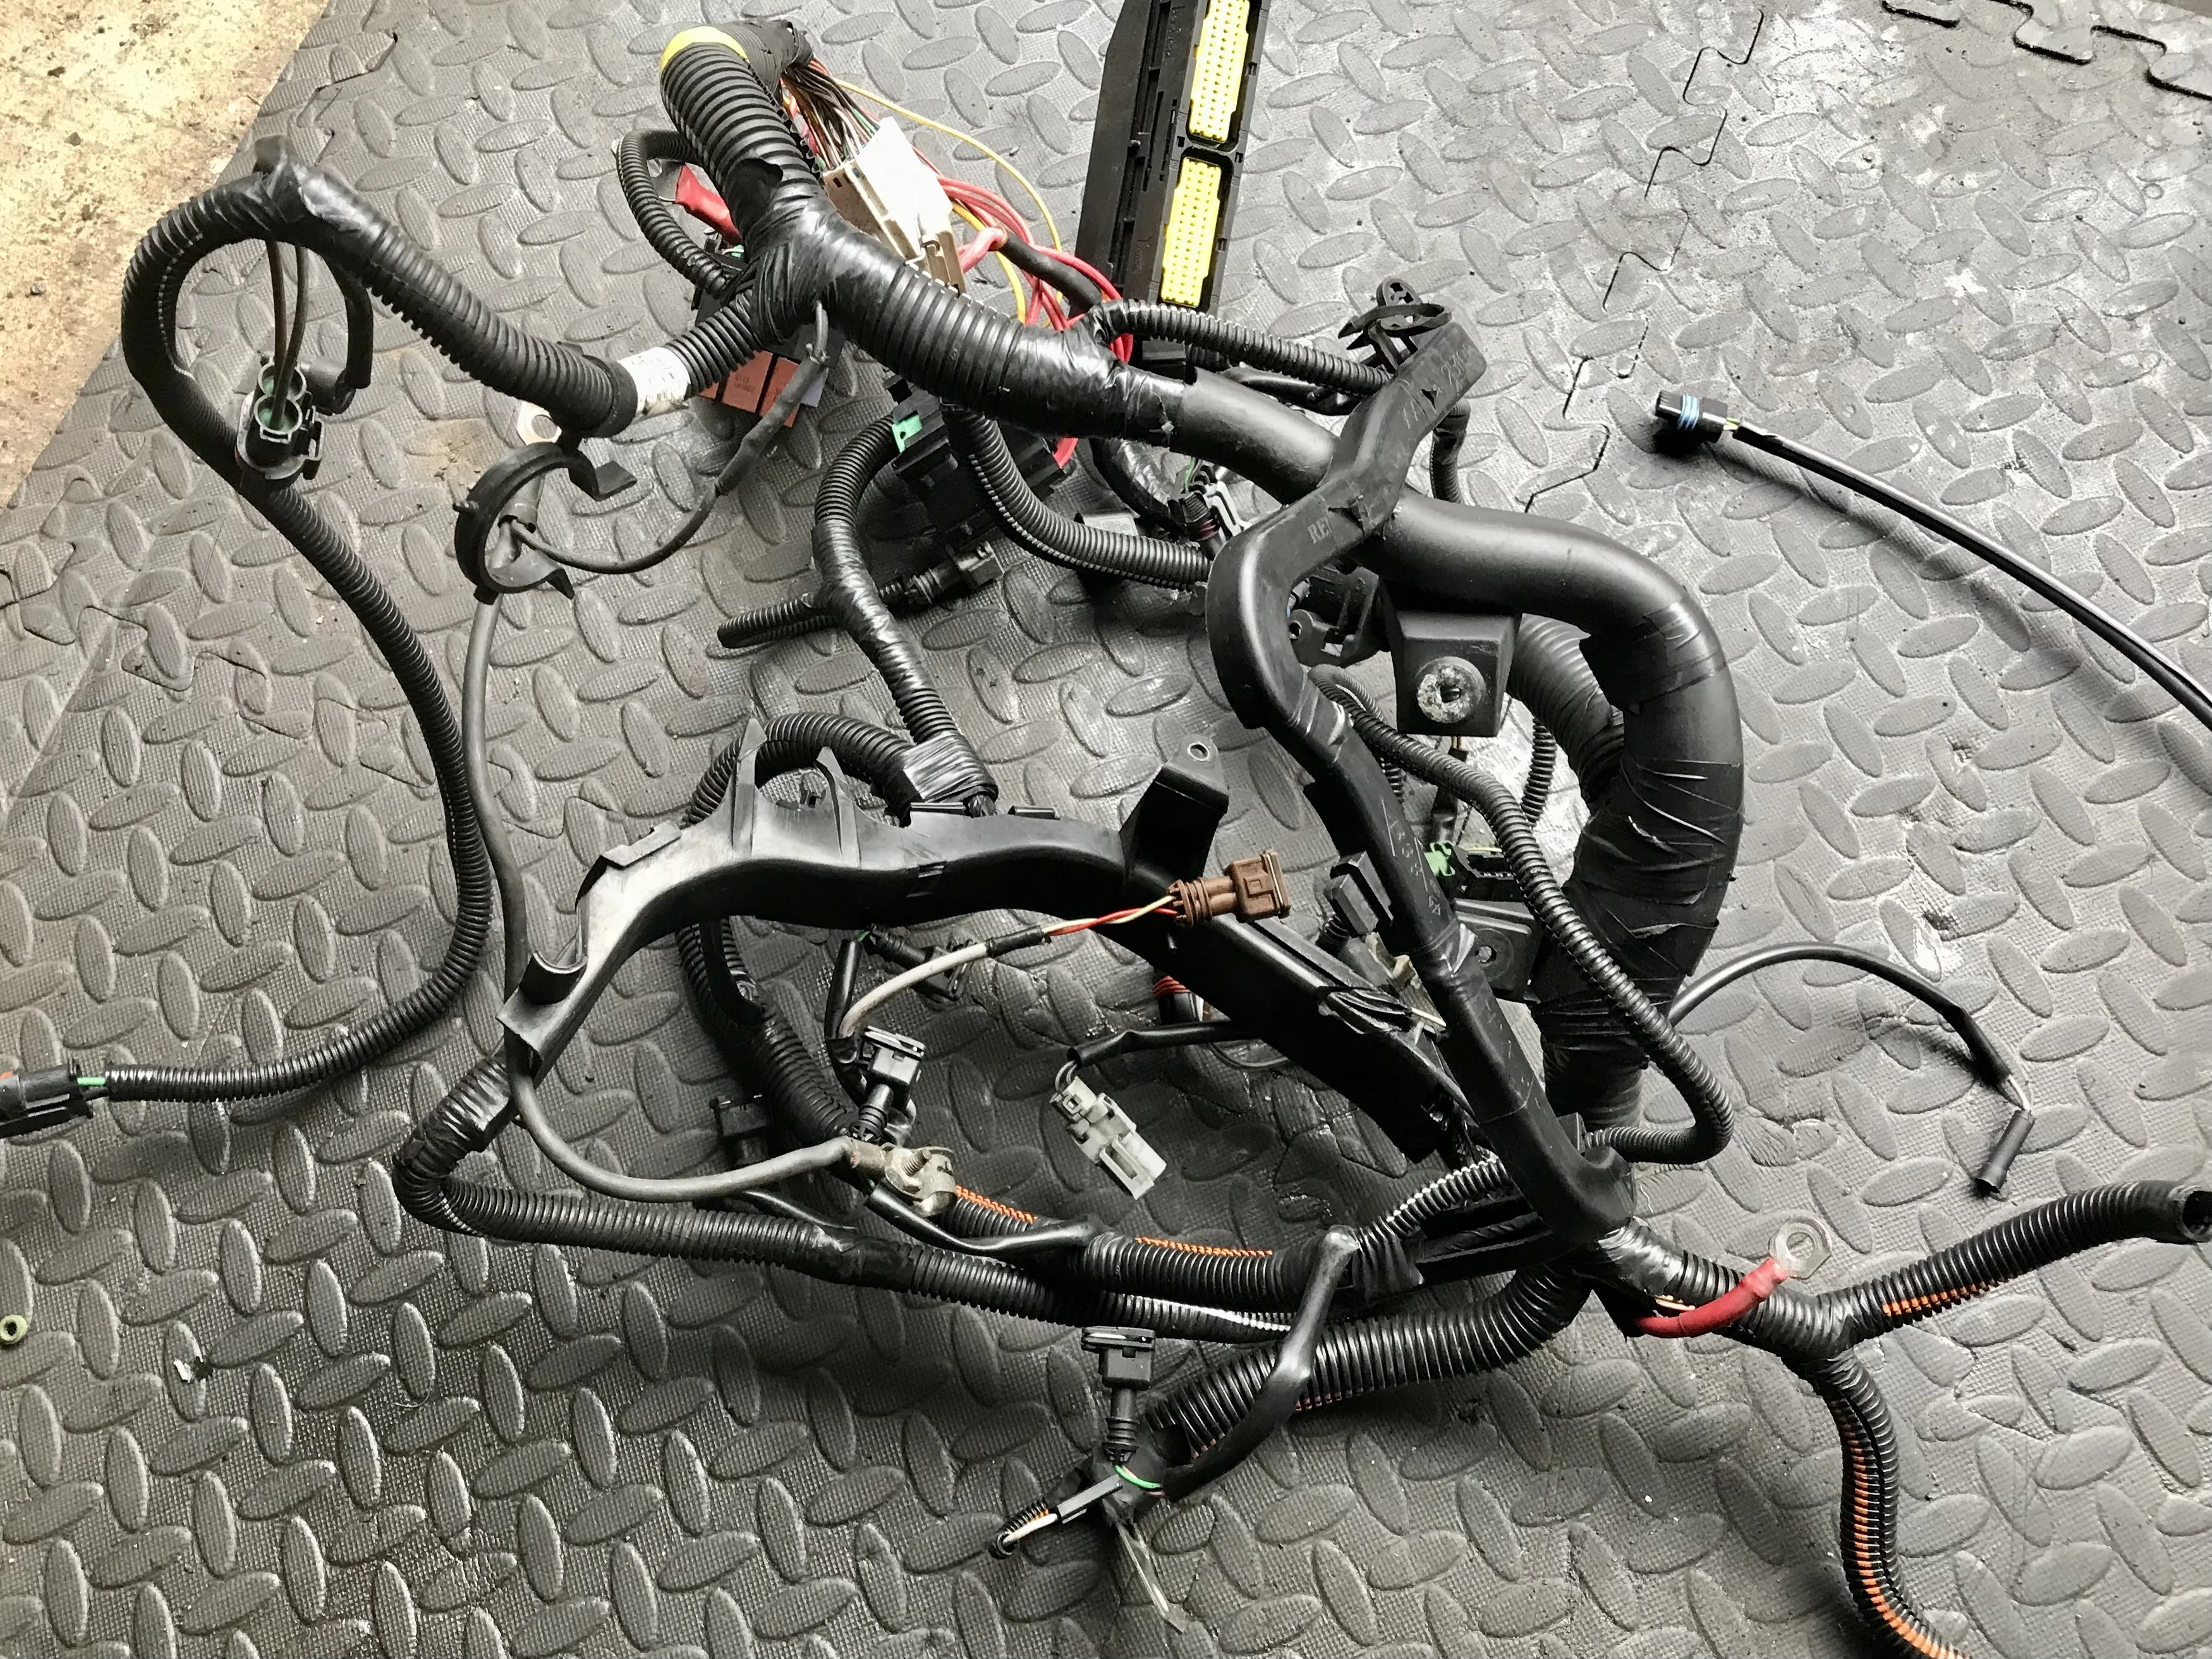
97ACB1E0-B510-4A58-85B0-B36708120FF4.jpeg


Before finally getting the engine back in.
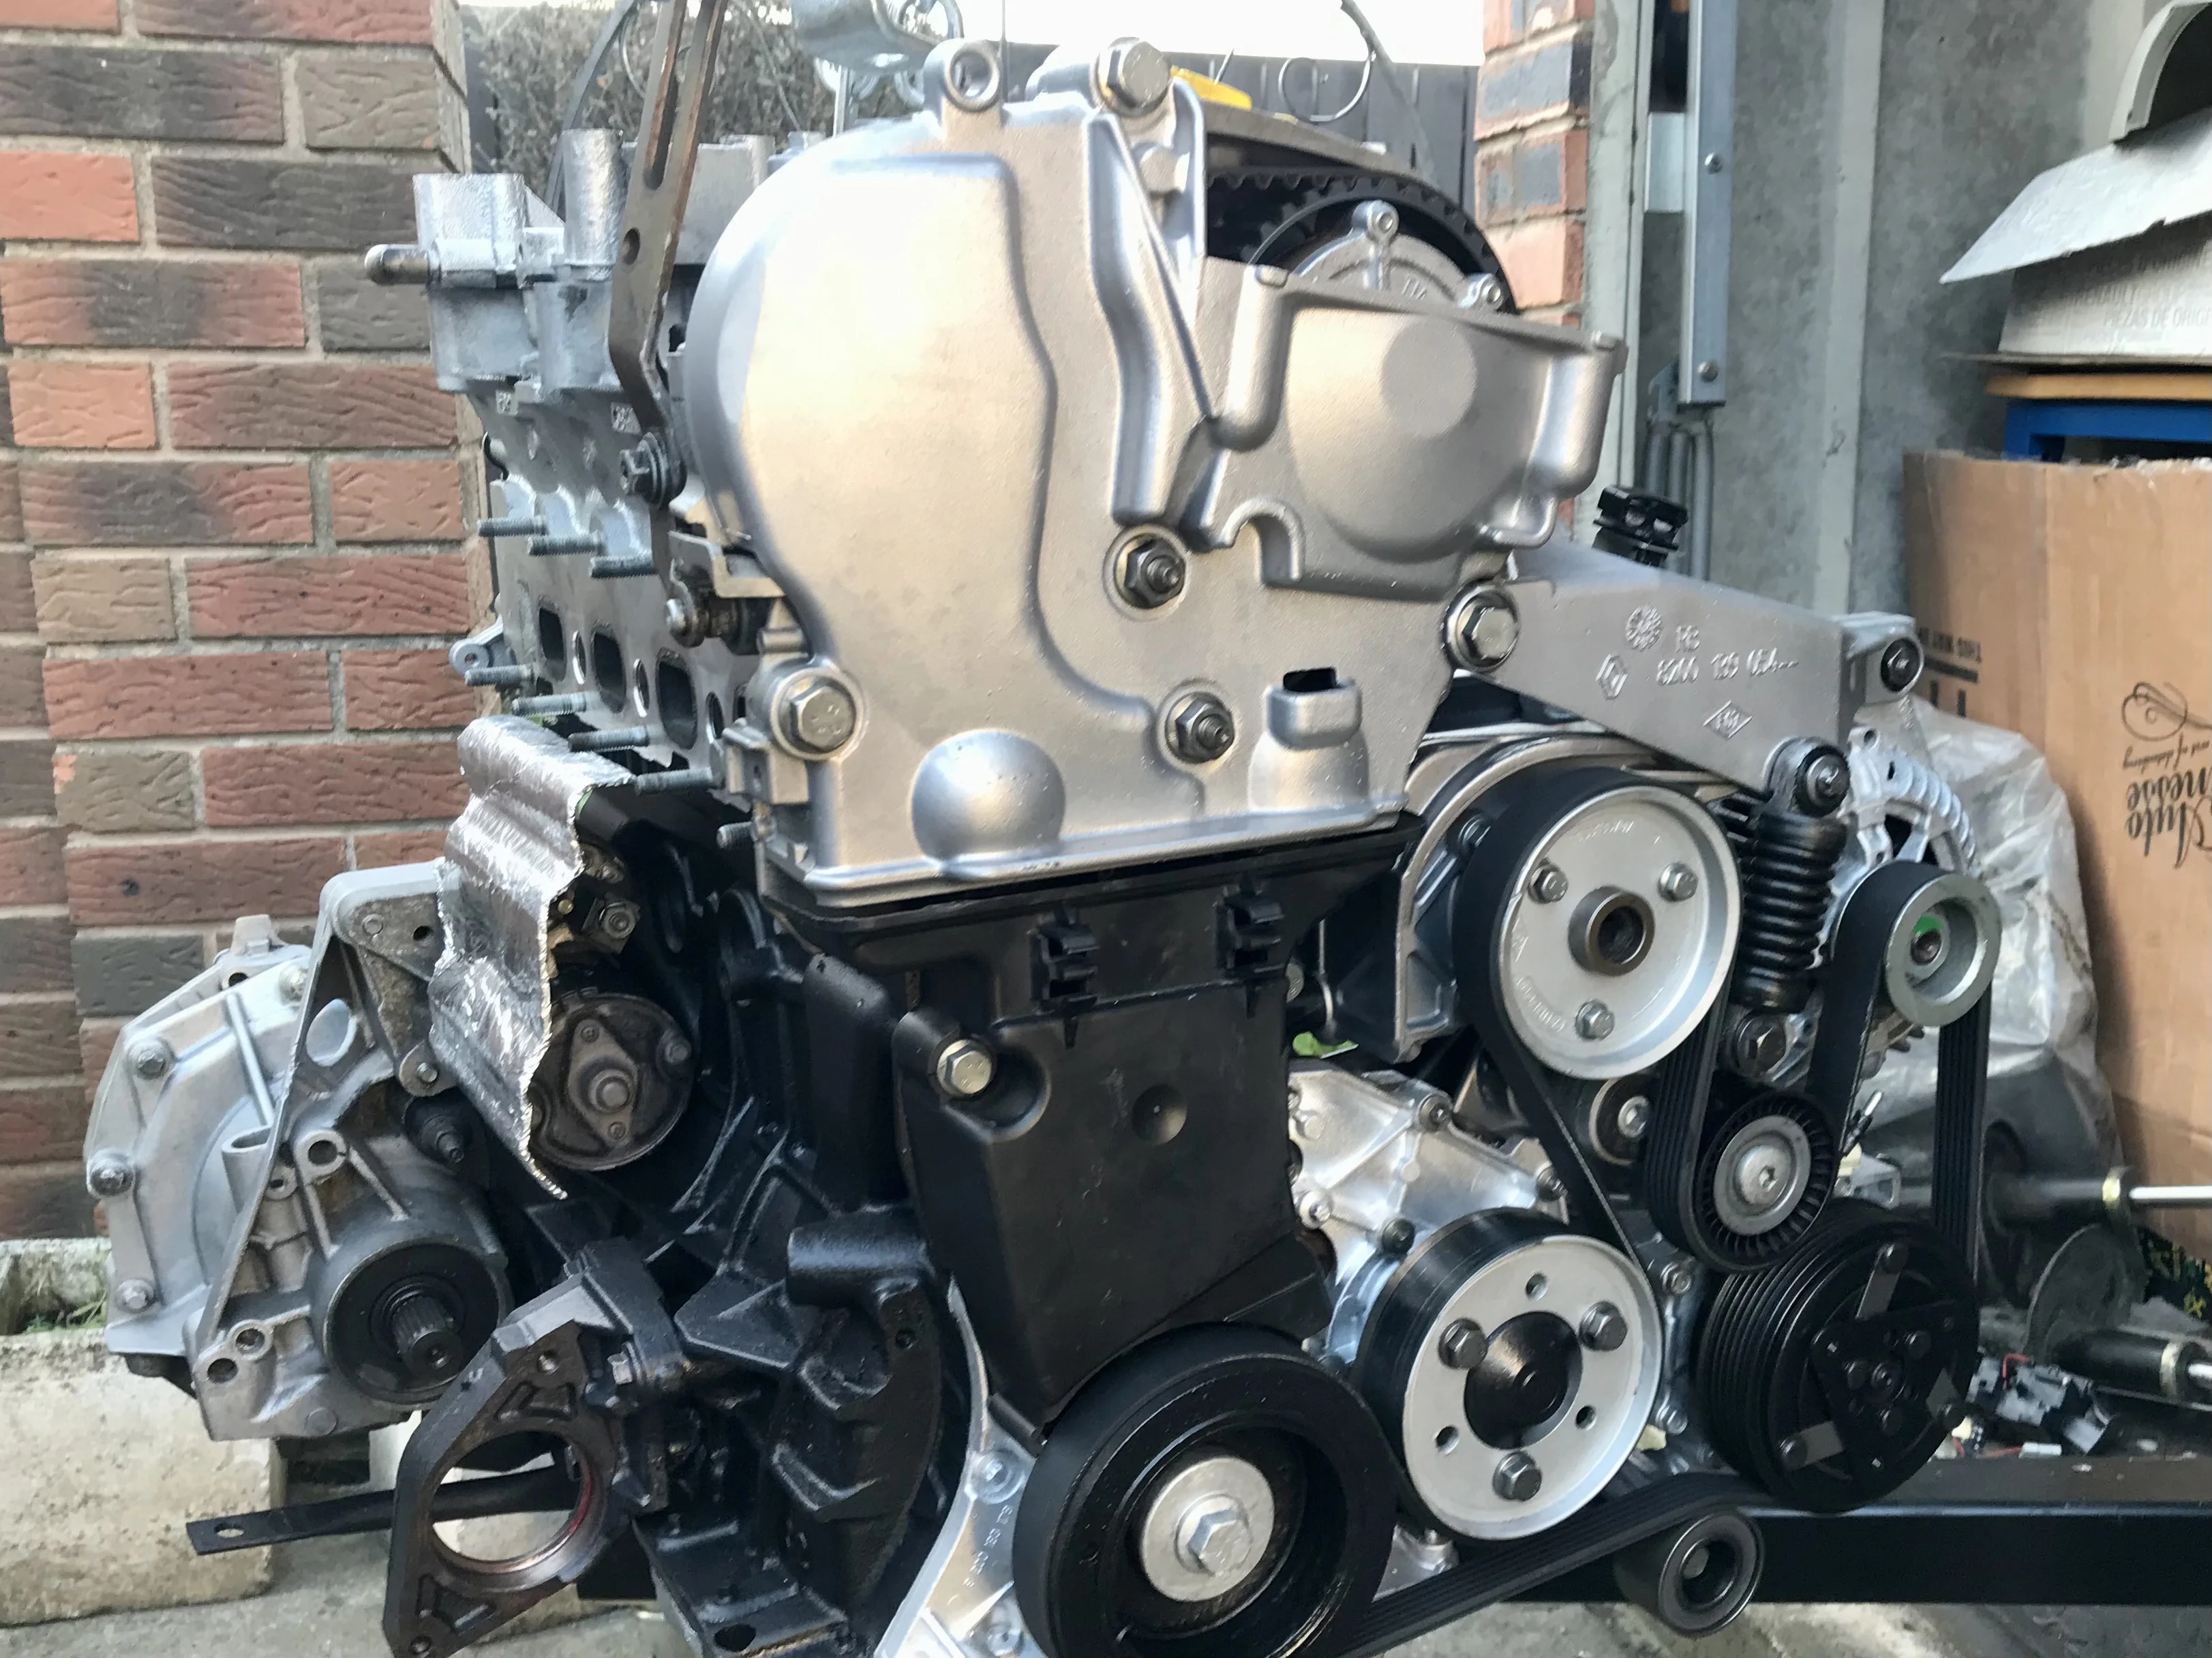
8205AF17-7705-494B-808E-C386FF99798B.jpeg
243DB28E-539F-4DDE-8B7D-21564E3D5B1E.jpeg
A276FD4F-794A-48E5-9DF6-BE1EA1FF6357.jpeg


Started to get a bit cold and at my age you have to watch yourself 😂 So knocked off for the day for a hot bath and a nice cup of tea.

If I get some time tomorrow I’ll build it all back up and hopefully get some suspension work done. Thanks for reading 😊
 
This level of commitment and attention to detail is what I someday hope to be able to give to mine. Amazing.
Aw thanks fella. It’s a good standard but tbh i could make the finish on some parts much better, but I’m going to use the car over summertime. Just trying to strike a good balance.
 
Rained off this morning but by lunch it had cleared up enough for me to start bolting the engine down.

A few detail shots of the upper gearbox mount, battery tray, upper inlet and fuel guard.

9A305FAC-87D9-44EA-B37F-10B36E220968.jpeg
97E8D043-D4A4-4E67-B7E0-4844C02506CA.jpeg
576FDF7C-FEF0-4EEC-8B3B-788C4708E4C8.jpeg


Got everything torqued up so turned my attention to the suspension.

Picked up a couple of Shaftec drive shafts as the others were completely shot.

8F681CD8-6139-4F58-BB4C-2A5D01AA1E6D.jpeg


Began building up the drivers side first.

B9C64C41-B3B6-4E59-BC28-3772B0878001.jpeg
9ED30723-8B1F-4135-AF10-15069185BE7C.jpeg
CC8E00F1-A32A-40B1-8581-F72A259A1BF3.jpeg
C456AD28-4D49-4BD4-9203-EFC3FD80ECA6.jpeg


Everything other than the hubs and Eibach springs, which I’ve refurbished, are new including :

CUP dampers, top nut kit & spacer, pinch and damper bolts, ABS sensors, wishbones, ARB inner and outer bushes.

Gave everywhere a good coating of ACF-50 to keep it looking fresh. Pretty pleased with how it’s all coming together.

4399450E-2D36-4ABA-89B7-E074F49CA74C.jpeg
 
That dreaded moment when you look down and find a few find parts left over that you have no idea where they came from 😂

IMG_6073.jpeg


Luckily i use Partsouq which is great for finding part numbers for your car.

And both items had part numbers so i was able to pop those into the search and get a nice illustration of where they fit.

In this case a bit of radiator (15) and bonnet latch trim (1) 😅

IMG_6075.jpeg
IMG_6074.jpeg
 
Not many mid-week updates other than I’ve removed the headlights and am going to have a go at cleaning them up. What could possibly go wrong 🤦🏻‍♂️😂

6DA75A5E-F3DE-4B40-98CD-527B03748024.jpeg
528877F9-6D75-4916-8EFC-5814F4115F71.jpeg


Then gave the front slam panel a clean up, some corrosion treatment and a lick of paint.
There’s never enough paint on them anyway.

Not the best finish I’ll admit but this is getting painted professionally when I get some of the paintwork corrected anyway. So it’ll do for now.

007381AC-631A-4A33-86DA-B940F802174B.jpeg
71E65705-05BD-4E96-B660-7E439D8A7F0B.jpeg
2BE6D05A-5612-42A9-90E1-AC407B251053.jpeg


Finally I dug some of my Trackday discs out and started cleaning a couple up. No point in buying new discs as I have lots of these lying around after switching pad compounds between trackdays. Little to no wear.

FAB79ED4-B959-4946-AAA2-4230BF255690.jpeg


And that’s pretty much it. Going to build and clean remaining parts up, then see if I can complete the work at the weekend 🤞🏻

Thanks for reading.
 
Looks proper mate, love reading through this and I’m excited to see this all finished. Great work!
 
Put a shift in today, although it doesn’t seem like a lot was done, but it was a day of tidying, torquing things up, reconnecting pipes etc.

Got the brakes built up, just need a bleed.

BB28DF2D-1870-4703-A644-77437C0C4F9E.jpeg


Fitted stainless steel braided lines.

36A7F8CA-9D11-4EEE-AECA-0301076FEB0B.jpeg


HEL stainless steel bleed nipples. The ones you get with standard calipers are too soft and easy to round off.

4CE15197-7AEC-4578-877C-9652E03B96C7.jpeg


Was contemplating painting the calipers Blue but I stuck with titanium in the end, less maintenance I think.

ABD48A5F-3820-4D19-BEFE-A9512C13C105.jpeg


Gave behind the headlights a clean up and in all the nooks and crannies.

E3560813-1999-4772-8C4A-7D6CBEEFD9C5.jpeg


Headlights back in. They look amazing.

1802D007-792D-4854-BF37-7DF20AE26A22.jpeg
6887F809-D1FD-44D5-B739-E508ED67495E.jpeg


Just need to fill the gearbox and engine with oil, bleed the brakes and add power steering fluid and that’s pretty much all the underneath and mechanical jobs done.
 
@Jon Wright if I send you my Trophy for 6 / 8 months fancy doing mine ?

Thats an amazing job, I just dont have the motivation to do this so massive credit to you.
 
Last edited:
You should be super proud of what you have achieved fella! Top bloody work!
Thanks Russ. Oddly enough I’m not. I’ve had to make a few short cuts due to impending building work on the house. Most people won’t see them, but I know they’re there. Version 2 will be so much better 😂
 
Such a great build Jon, credit to you 👏
Thanks.

It could be so much better, which is what's playing with my OCD me right now 😂

But i know if i went concourse it would never be driven. So it's a sort of halfway house refresh that'll protect the car, allow me to enjoy it and stop it ending up in a scrappy.
 
@Jon Wright, aplaud to you buddy! you have really created something mint here. love the attention to detail. and if your still searching for springs. i believe i have some near mint 182 cup springs laying around. rears are (white and red dots) which are the original 182 cup springs. fronts are i believe green yellow or blue yellow.

let me know buddy, and let me know when you are in holland again for a cup of coffey!
 
I hate throwing original bolts away so thought I’d try my hand at Metal Blacking.

I noticed on the airbox that there were only a couple of screws holding it together, so dug out some of the original screws that I hoard away.

A bit rusty but they’ll clean up.

9CADE3CF-D736-4C04-BCC3-F93B9037D6FB.jpeg


The process was pretty easy and the results seem great.

First I wire wheeled the rust off the screws then left in some DEOX-C for about 6 hours.

4887DBF7-BD11-4750-BA4A-6B5E609253B9.jpeg


Then I soaked them in degreaser, washed off with tap water and then submerged them in some Phillips Professional Cold Blue. It’s a simple 3 parts water to 1 part solution mix. I agitated with a brush giving them a good coating for 3 minutes.

F8663BF7-E9C7-4860-B4B6-F817C4E62E8D.jpeg


Removed from the solution and immediately sprayed them with Phillips Water Repellent Gun Oil. You can use WD-40 or GT 85 I believe.

3CB1B9EB-2ECB-4381-BF97-0ACBA50A5B45.jpeg


I left them to dry for an hour before wiping the oil off with a paper towel and hey presto!

A184E4F3-87F6-4C1B-A633-82F70AE5A74B.jpeg


Almost as good as new and protected against corrosion.

2BCB63B2-57C1-4F90-8D71-5221D3E5F915.jpeg


Just thinking what else I can do under the bonnet now 🤔
 
Loving your process on the airbox screws Jon, you've inspired me to tackle the ones on my Trophy and get them restored to this standard! 👍 :)
 
Back
Top