
ClioSport.net
-
When you purchase through links on our site, we may earn an affiliate commission. Read more here.
You are using an out of date browser. It may not display this or other websites correctly.
You should upgrade or use an alternative browser.
You should upgrade or use an alternative browser.
Project Sunflower
- Thread starter Middo
- Start date


Chocolate Bar™
A bit more progress on my colour coded strips...
started by sanding them down with the black and decker mouse to get them nice and smooth
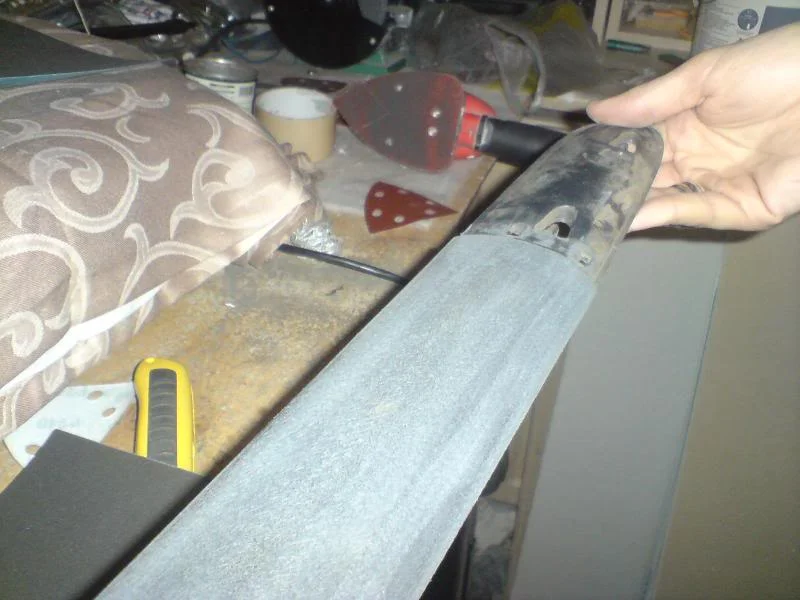
started working through the rgades by hand
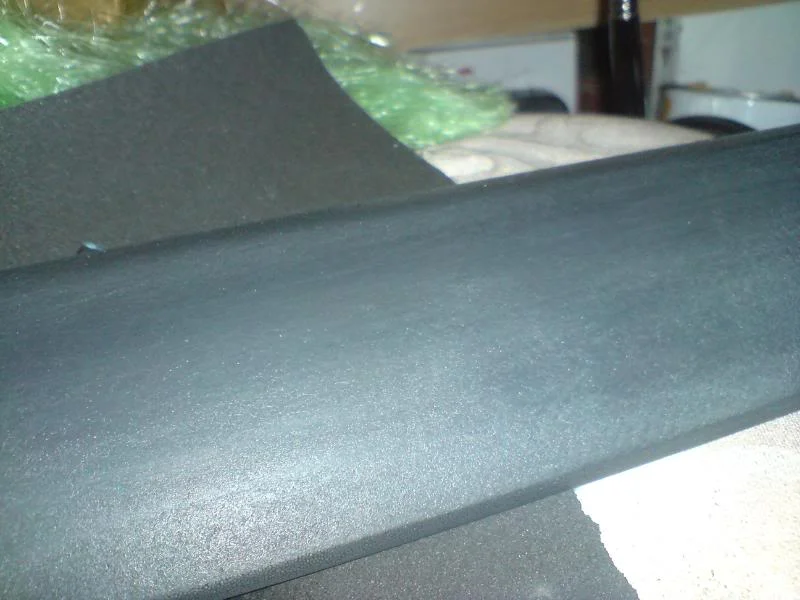
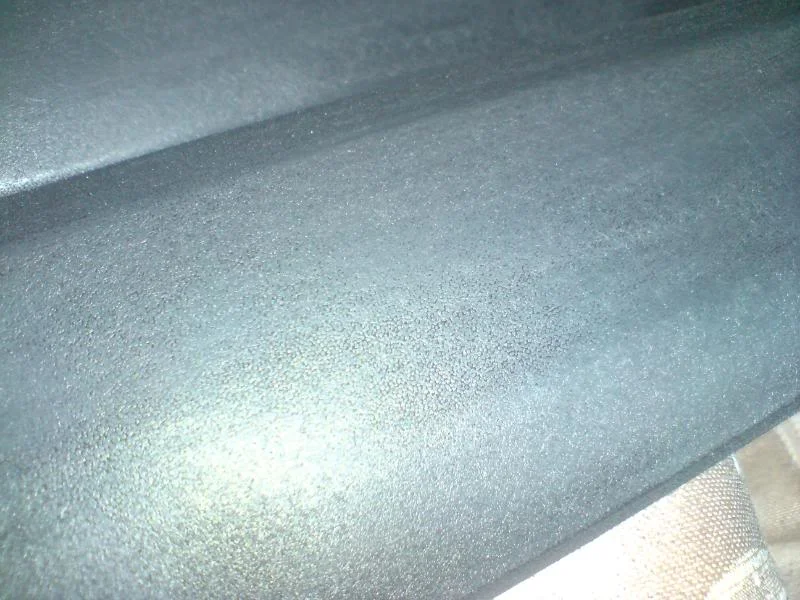
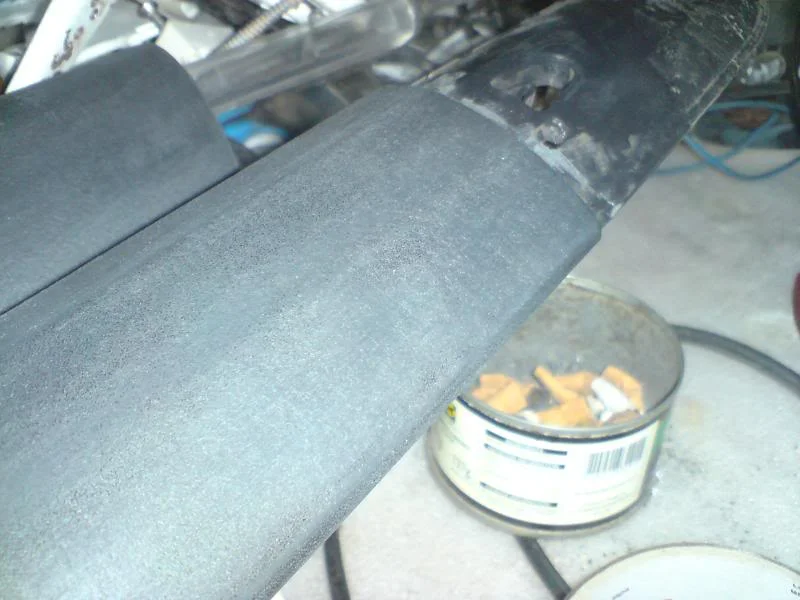
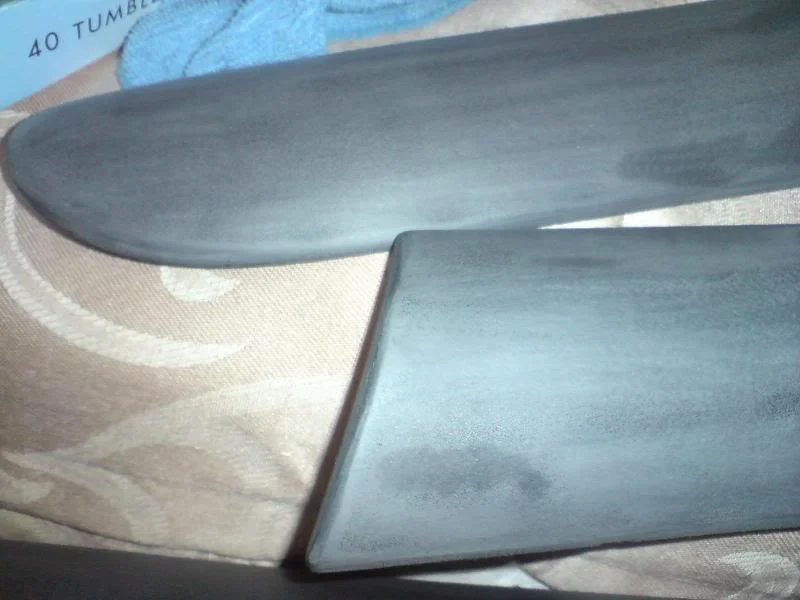
Covered with a layer of grey primer so i can see the areas of rough plastic that i've missed
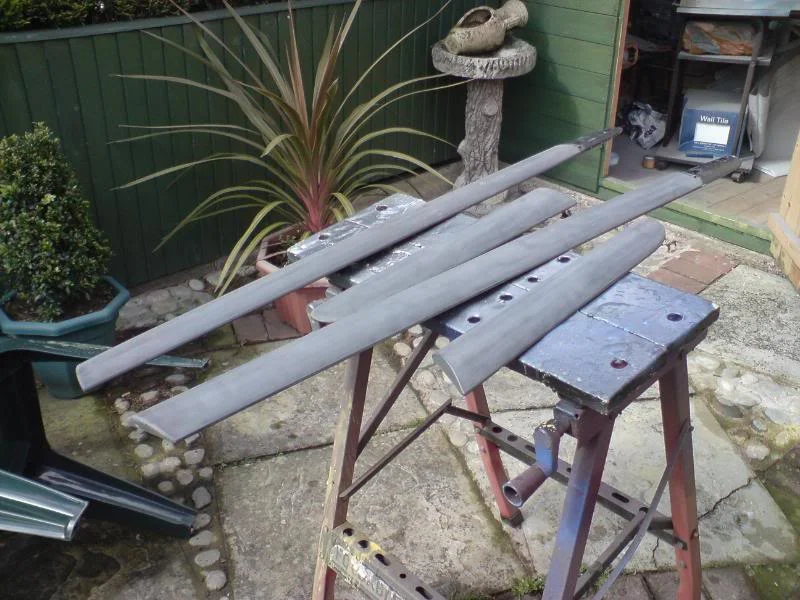
sanded down then a layer of red primer
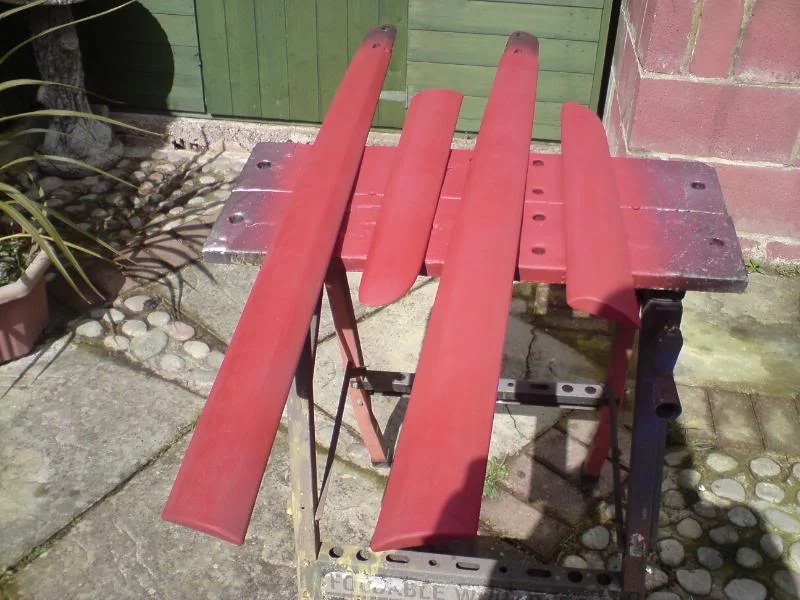
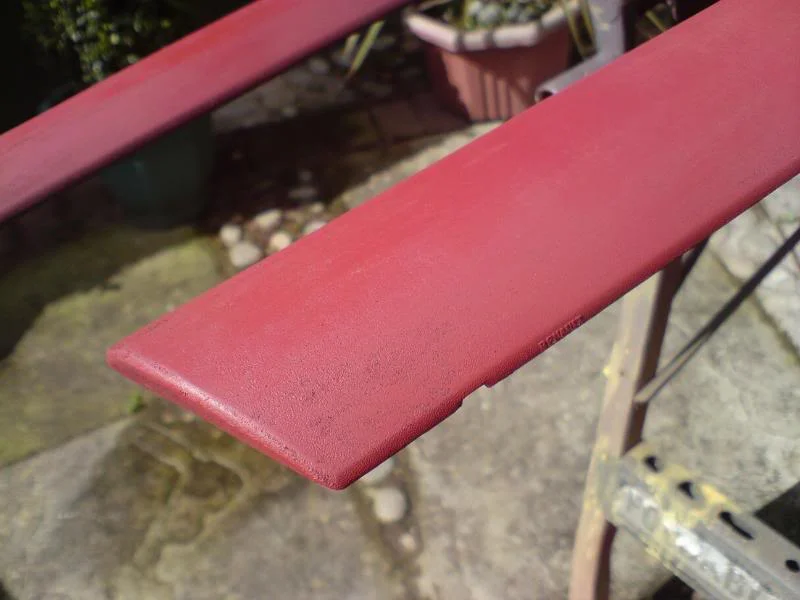
Still a bit bumpy so sanded again and covered with filler primer
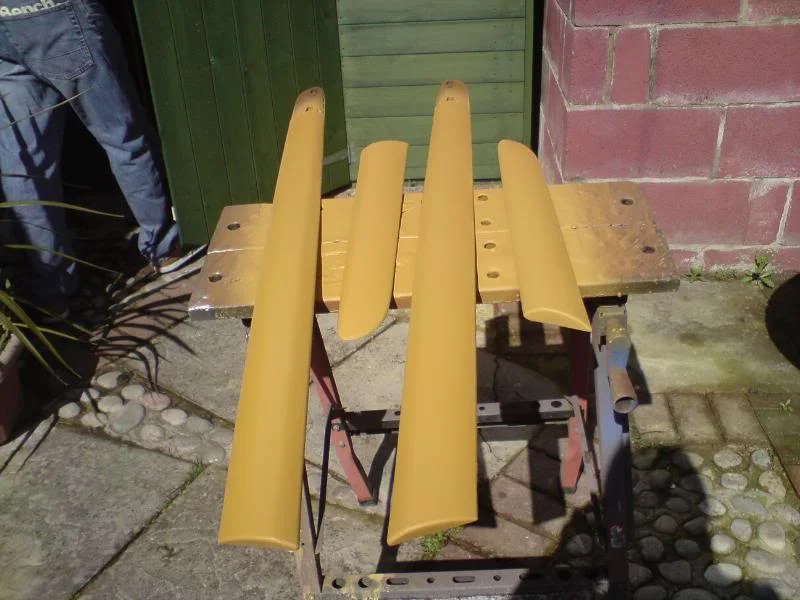
sanded this down after leaving for a few days to dry, and gave another coat of red
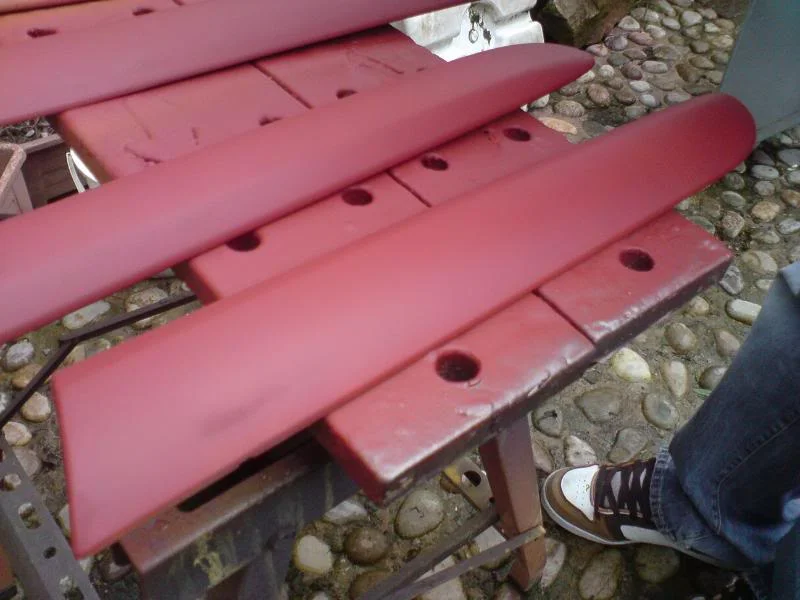
Currently sitting with the second layer of filler primer ready to be sanded again before the coat of colour
started by sanding them down with the black and decker mouse to get them nice and smooth
started working through the rgades by hand
Covered with a layer of grey primer so i can see the areas of rough plastic that i've missed
sanded down then a layer of red primer
Still a bit bumpy so sanded again and covered with filler primer
sanded this down after leaving for a few days to dry, and gave another coat of red
Currently sitting with the second layer of filler primer ready to be sanded again before the coat of colour



Chocolate Bar™
Your so thorough with your Painting Fella... Wish i had the space to do a bit more painting
GF's Dad's Motorbike is often in the Garage so I'm limited to the Area's I can use
i dont have the space, i normally have to work outside which is a pain in the arse when the weathers bad



Got the badges today Mark cheers
Will get my handles soon and then you can repeat the above process all over again!!!
Will get my handles soon and then you can repeat the above process all over again!!!

M
mini-valver
Mark, wednesday? trip to Birchdown, Steve's going to go over the VTS to have a poke round and see why the wheel sits back slightly. Coming?
count me in. could do with a chat with steve before booking my car in. should have been paid so know how much i can waste lmao
Coming in the Saxo? If you dare, lol! Drop you a text tommorrow sometime dude...
You'll see the state of the paint aswell. Well, bodywork in general, lol.
M
mini-valver
Yeah no problem! I need to get a decat before we go though as the cat pipe is about to fall off. Clayed and waxed one side earlier, comes up well if you ignore the dents 
Pick you up at 8!......
ish
Pick you up at 8!......
ish
M
mini-valver
I'm not even going to protest, lol! 
Chocolate Bar™
didnt have many bits to spray this weekend, so was able to spend the day sorting my own bits out for the sub.
did take a few pics of these whilst actually prepping and sorting them, but as they're on the other computer you will have to make do with just a couple of the finished pics lol.
so first up was to spray my ph2 side strips:
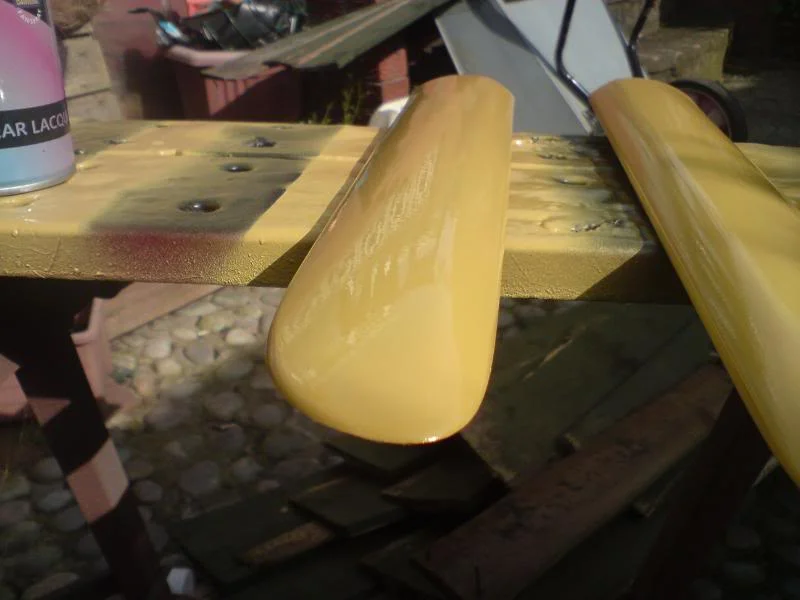
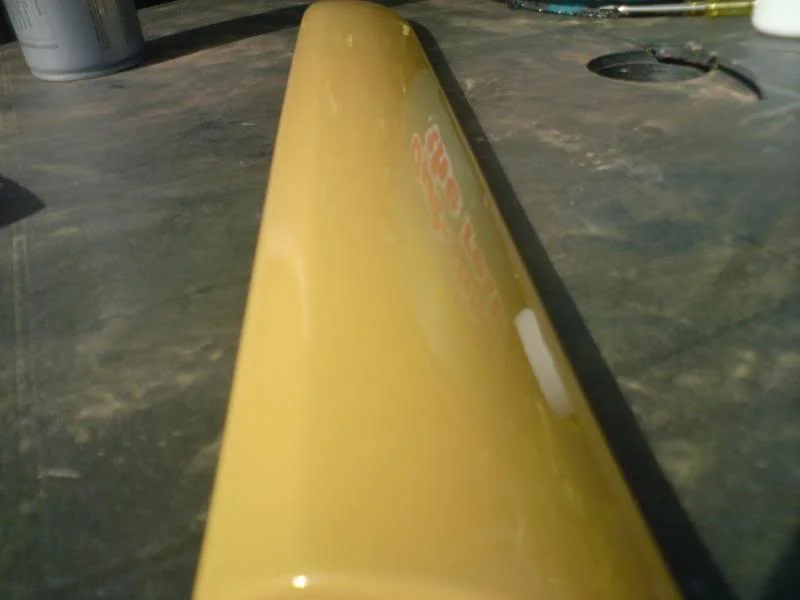
i'll be wet sanding and machining these during the week, so i can make a proper post on that if anybodies interested :clown:
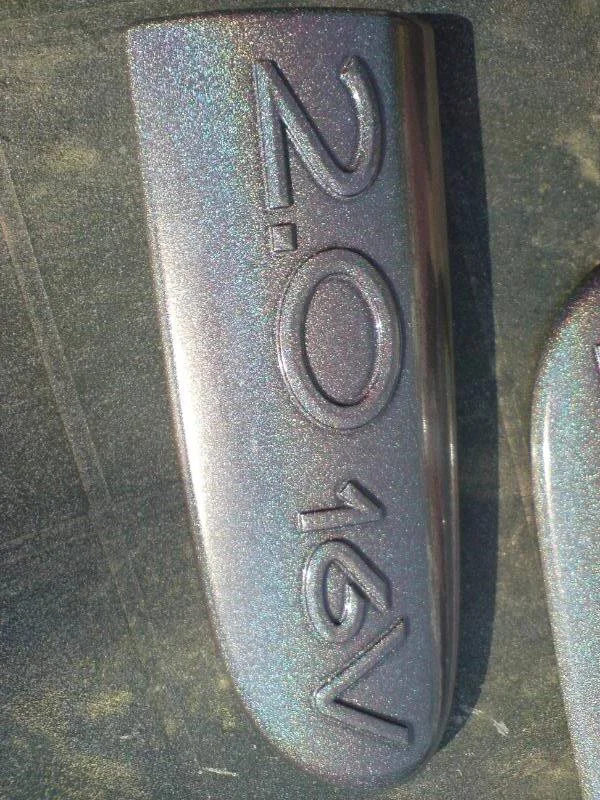
then moved onto my ph2 side badges to go with them. opted for andromeda as i loved them on timsclios car when i did him a set, and im a chav so love the glitter. out of the sun they just look like a normal gunmetal, but have a load of flake in them:
out of the sun (ob no lacquer or lettering):
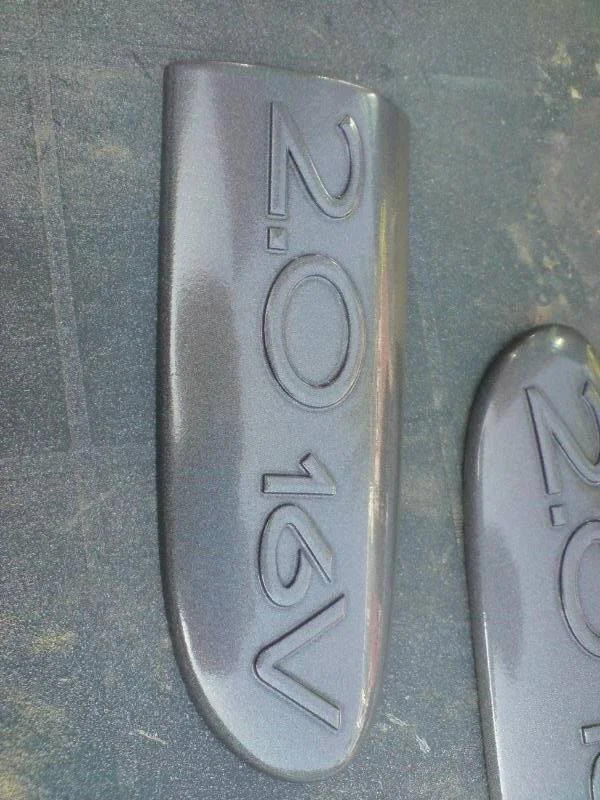
in the sun:
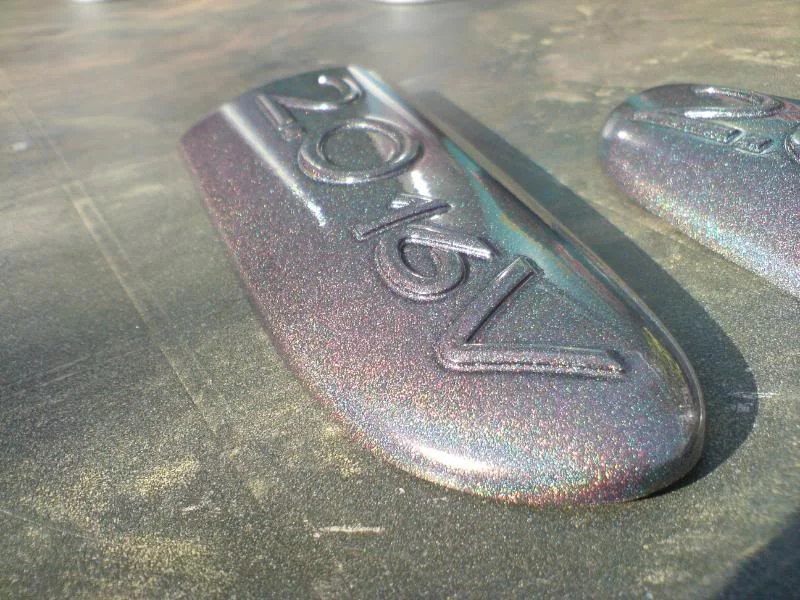
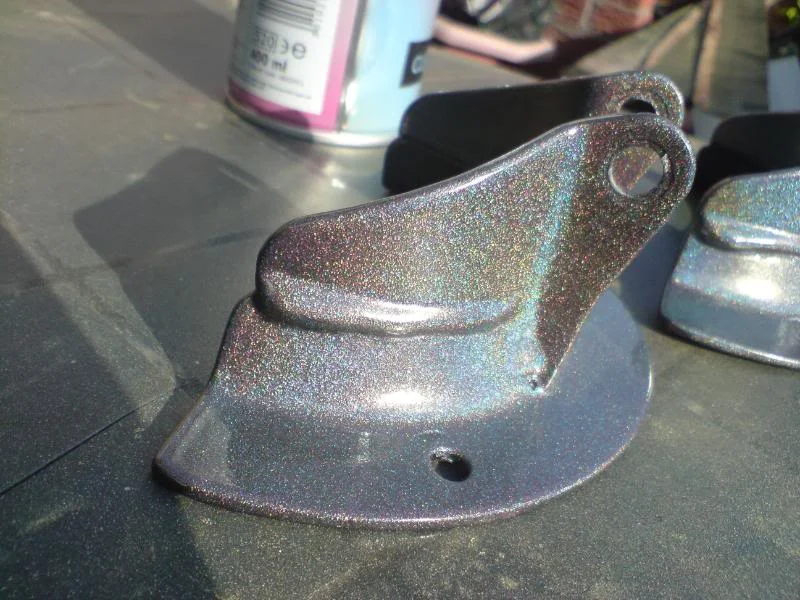
travelled down to kully's last weekend to pick up a strut brace, so decided to give that a chav respray as well to match my fuse box cover, and felt chrome/yellow would look out of place with all the other polished bits.
so started off with a fully prepped brace in black groundcoat:
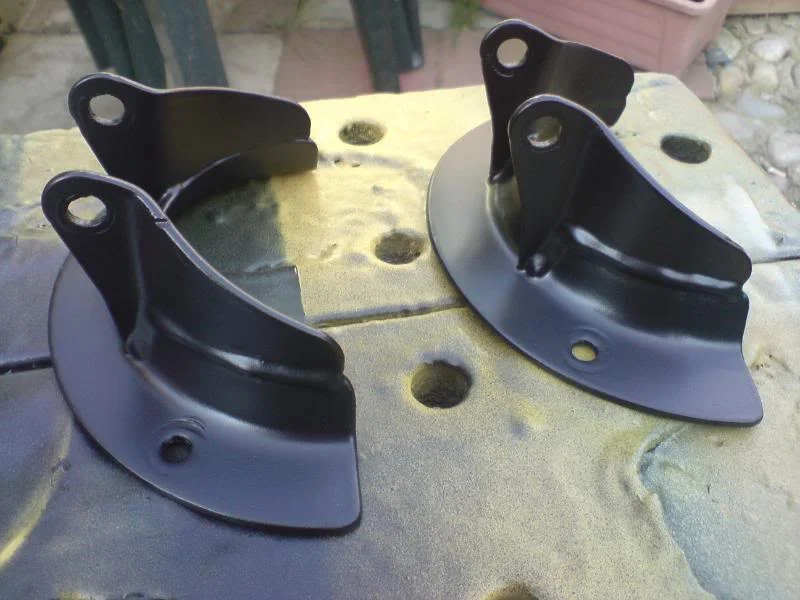
5 mins later:
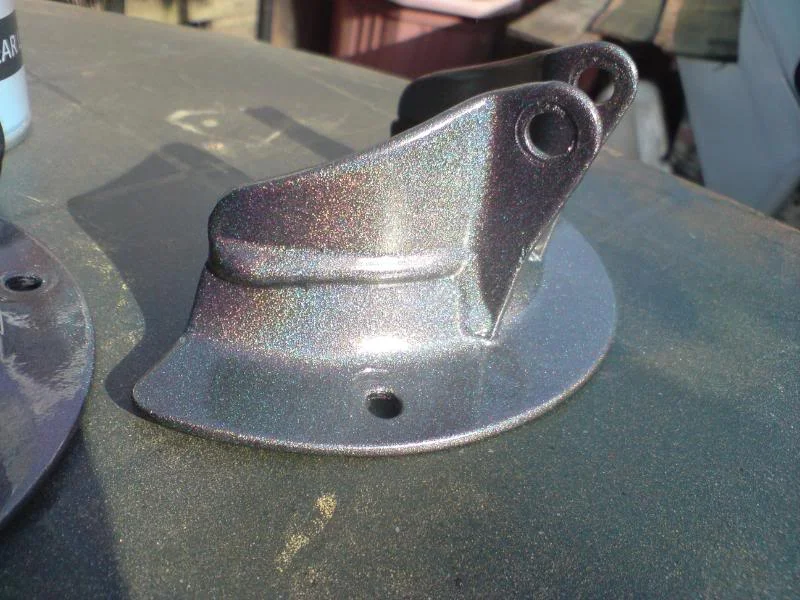
exactly the same, out of the sun:
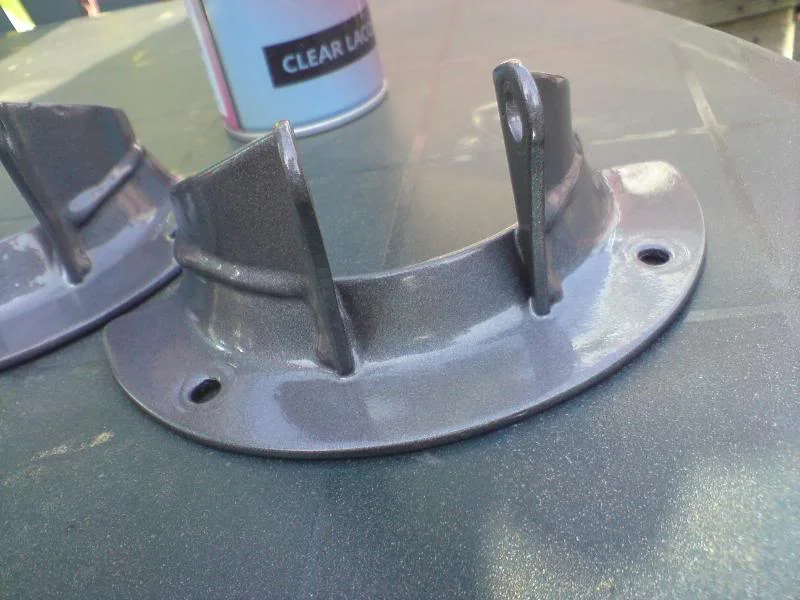
in the sun:
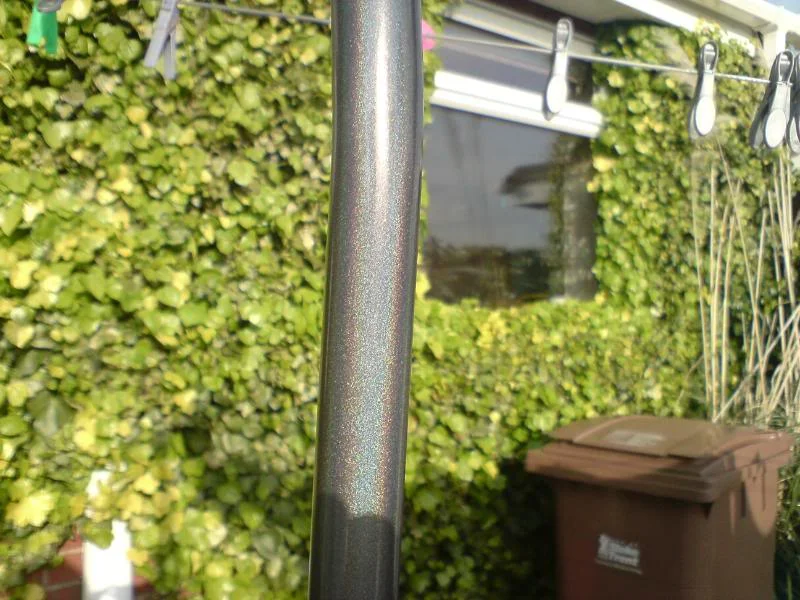
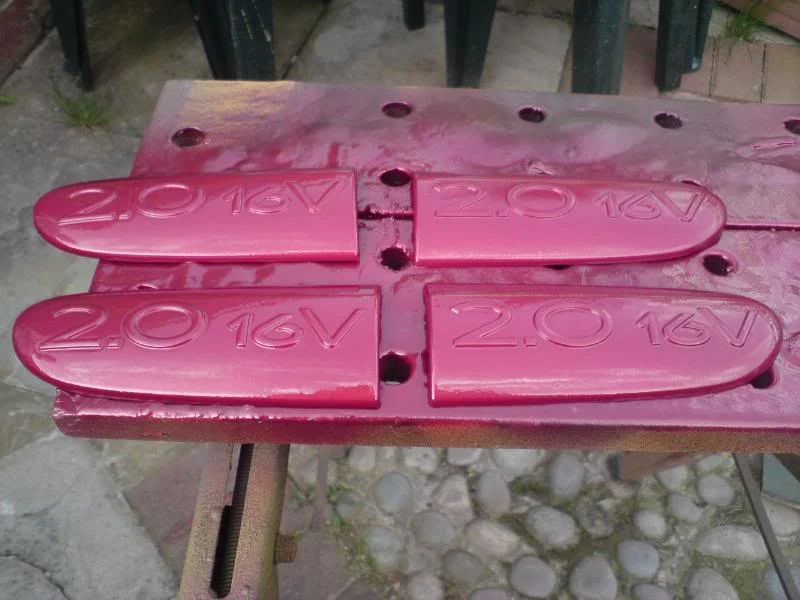
and i even found time to spray these lol
also popped down renault and ordered a new centre cap as mine went missing after the yoko paradas were fitted :S a load of screws to reattach the front arch liners as i was a couple short, and ordered a new shorter sound insulation panel for the bulkhead as mine is looking a bit tatty.
other than that, this month should see the yellow HT leads go on, thanks dave, and the konig seats once the recaro subframes arrive from gaz @ sportseats4u
did take a few pics of these whilst actually prepping and sorting them, but as they're on the other computer you will have to make do with just a couple of the finished pics lol.
so first up was to spray my ph2 side strips:
i'll be wet sanding and machining these during the week, so i can make a proper post on that if anybodies interested :clown:
then moved onto my ph2 side badges to go with them. opted for andromeda as i loved them on timsclios car when i did him a set, and im a chav so love the glitter. out of the sun they just look like a normal gunmetal, but have a load of flake in them:
out of the sun (ob no lacquer or lettering):
in the sun:
travelled down to kully's last weekend to pick up a strut brace, so decided to give that a chav respray as well to match my fuse box cover, and felt chrome/yellow would look out of place with all the other polished bits.
so started off with a fully prepped brace in black groundcoat:
5 mins later:
exactly the same, out of the sun:
in the sun:
and i even found time to spray these lol
also popped down renault and ordered a new centre cap as mine went missing after the yoko paradas were fitted :S a load of screws to reattach the front arch liners as i was a couple short, and ordered a new shorter sound insulation panel for the bulkhead as mine is looking a bit tatty.
other than that, this month should see the yellow HT leads go on, thanks dave
, and the konig seats once the recaro subframes arrive from gaz @ sportseats4u
M
mini-valver
Sidestrips look mint, even without the PC! Did that sound deadening fit BTW??
I'm gonna do that arch this week ready for friday too so you can polish it up while I take yours apart
I'm gonna do that arch this week ready for friday too so you can polish it up while I take yours apart

Christopher
ClioSport Club Member
Z4M
Amazing work, as always!
I've sorted my caps and badges now Mark... i thought that if i messed them up (highly likely) that i could pass them to you. Surprisingly, they turned out excellent! I was quite impressed with myself. lol
Cheers anyway lad!
I've sorted my caps and badges now Mark... i thought that if i messed them up (highly likely
) that i could pass them to you. Surprisingly, they turned out excellent! I was quite impressed with myself. lolCheers anyway lad!
Chocolate Bar™
Sidestrips look mint, even without the PC! Did that sound deadening fit BTW??
I'm gonna do that arch this week ready for friday too so you can polish it up while I take yours apart
sound deadening is interesting to say the least. isnt an exact copy of whats there, but its going to look mint as it'll be exposing some of the painted bulkhead

M
mini-valver
Really is looking amazing matey! Sound deadening is a really good touch too, full of ideas me

Nafoff
ClioSport Club Member
sweeeettt

Clio Sport 172
Sounds good Mark. Get some pics up

Chocolate Bar™
not so much an update, but more a couple of proper pics showing what dave did to the sub whilst i was giving his saxo a bit of a spruce up. started the day with a trip to renault to have a new bonnet catch fitted. going to be removing and painting all the bolts later in the week, so for the tme being the rusty ones will have to do lol
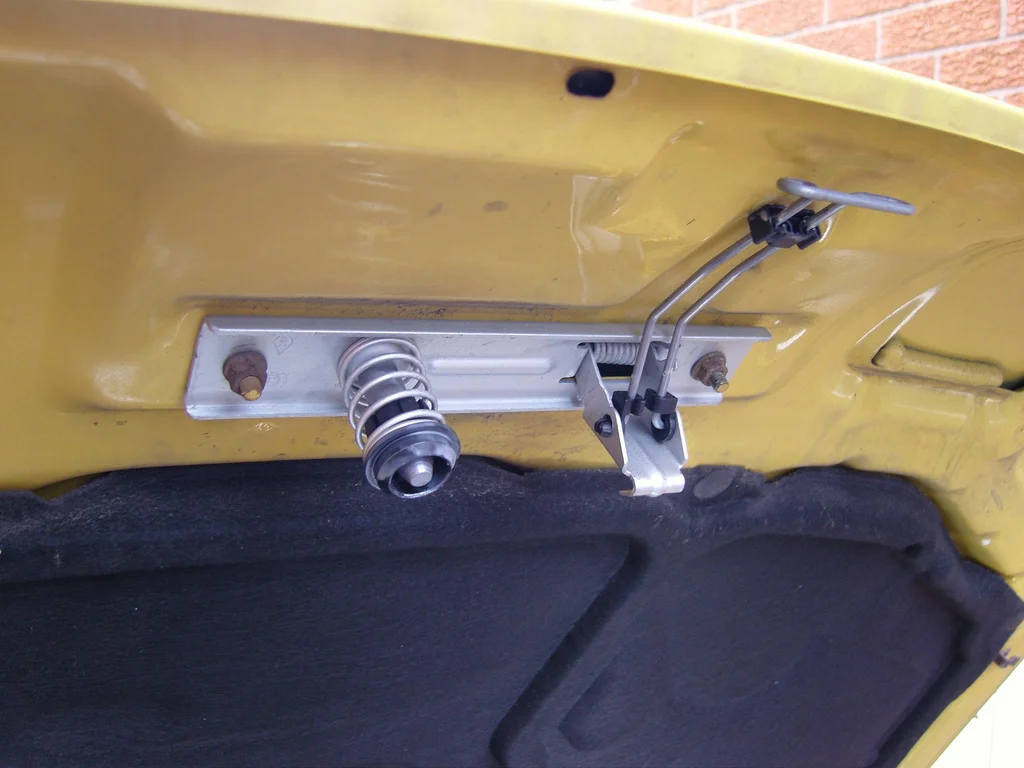
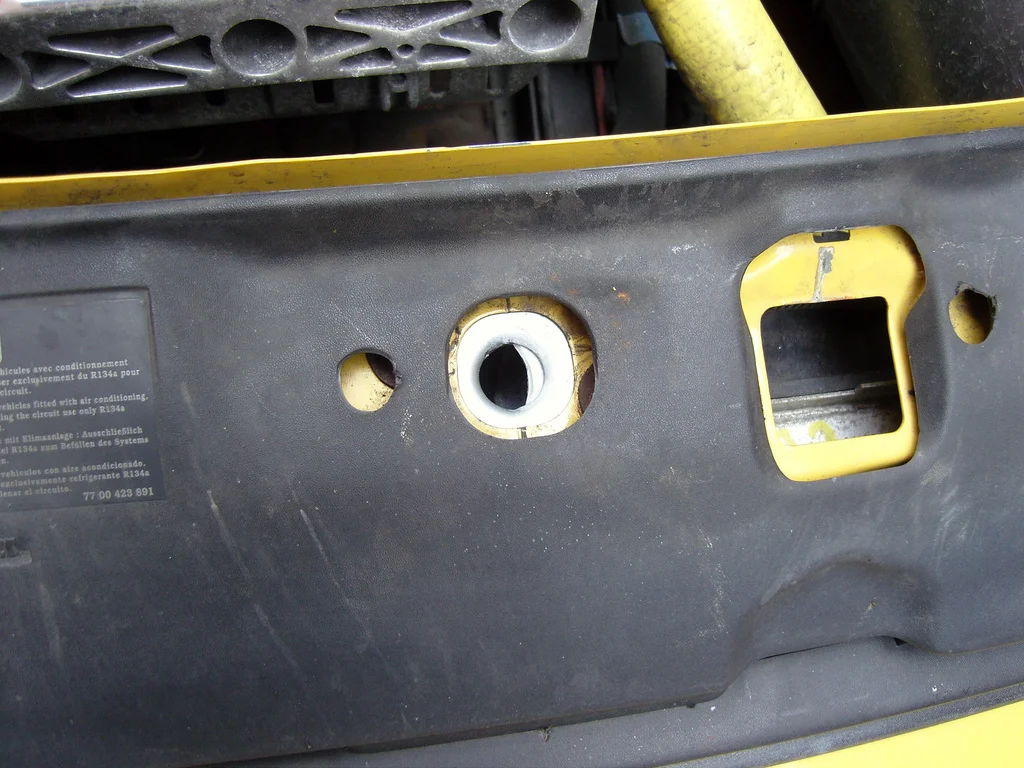
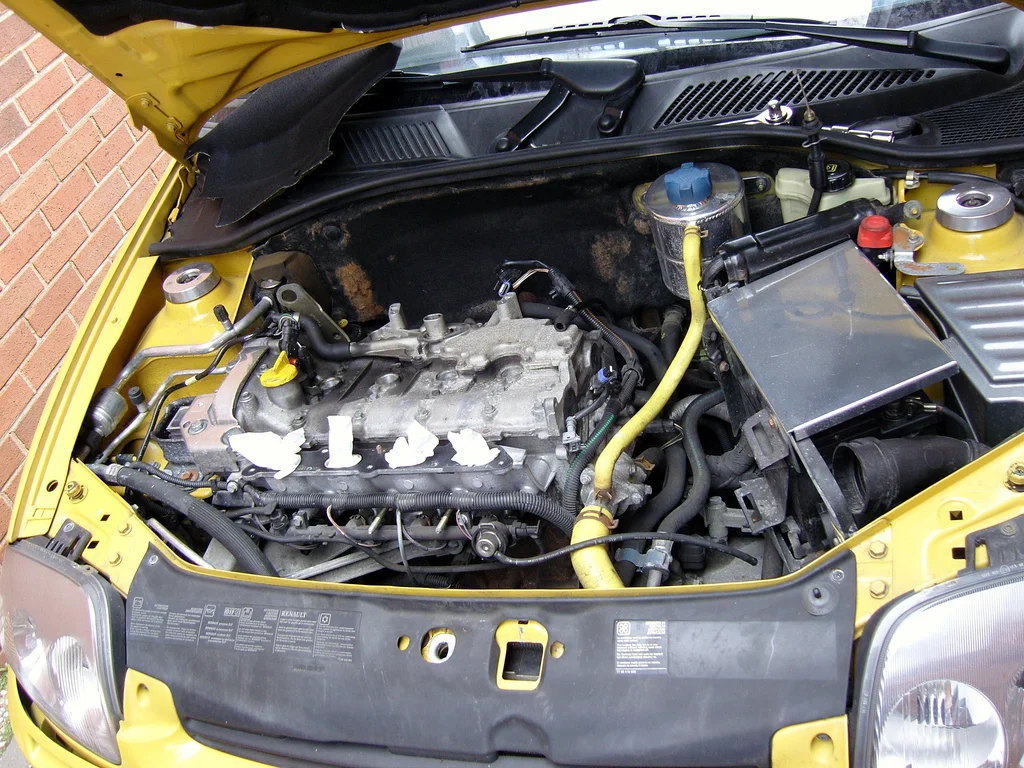
this is the sight that greeted us. all the metal will have a couple of days spent on it later in the month when ive got some time off work.
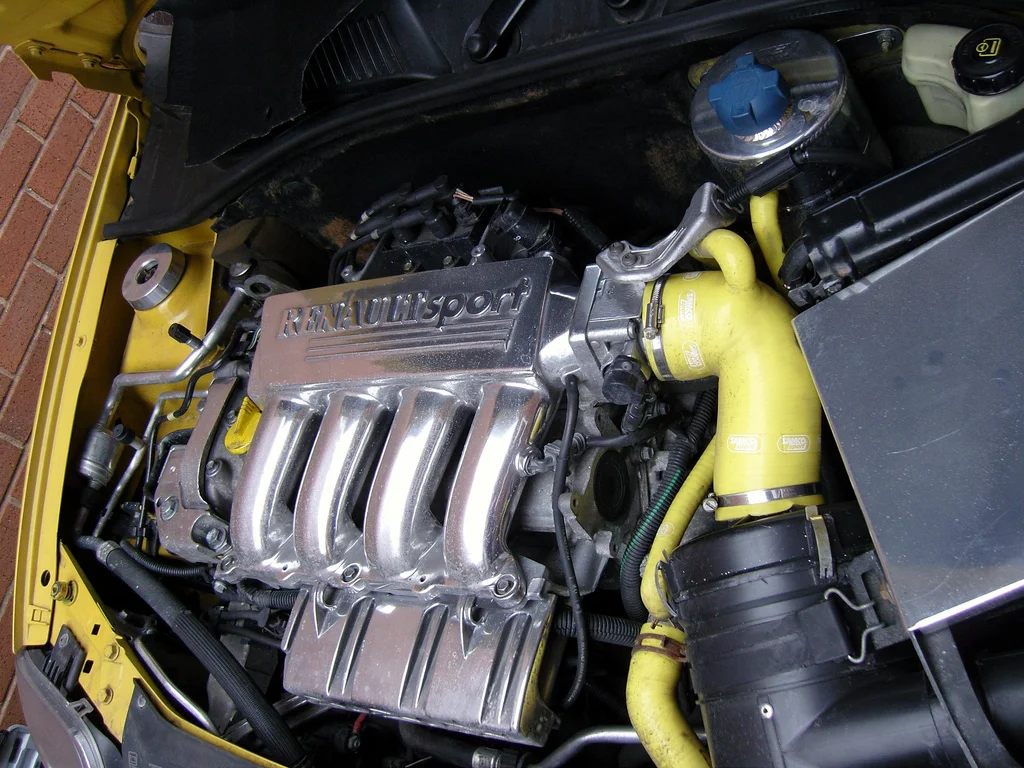
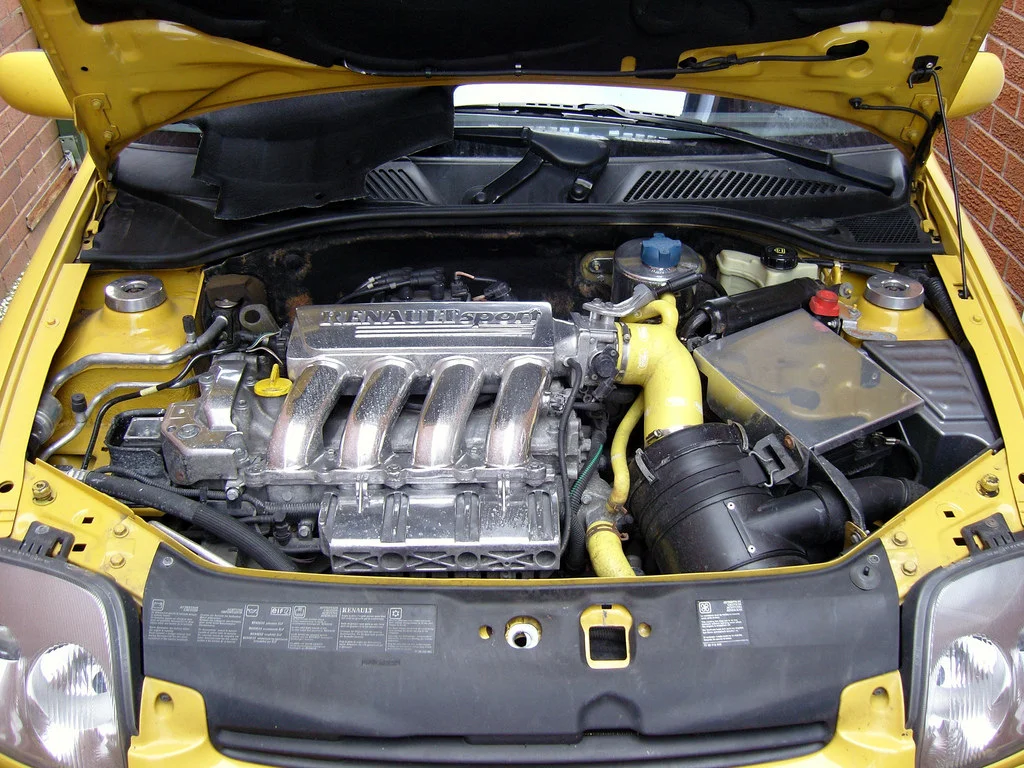
notice how the sound insulation at the back of the engine is in a complete state. luckily that was on the list of things to do so dave got cracking whilst i put the kettle on.
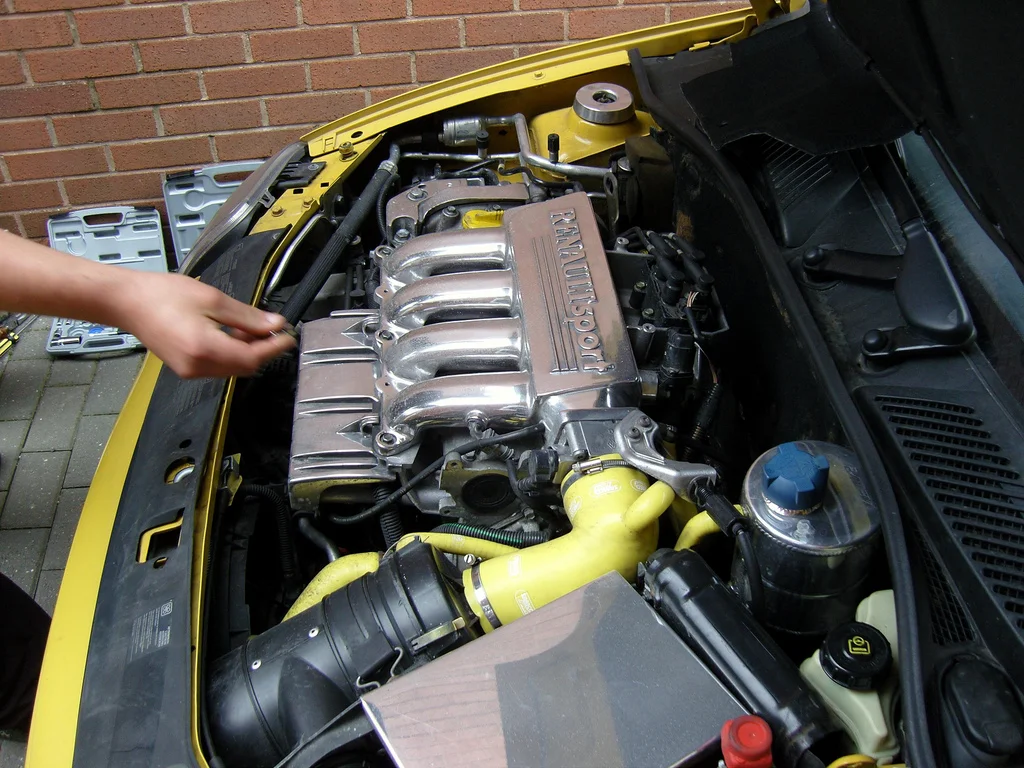
came back to find he wasnt messing around and had actually done something which is a bit of a shock. (love u really )
)
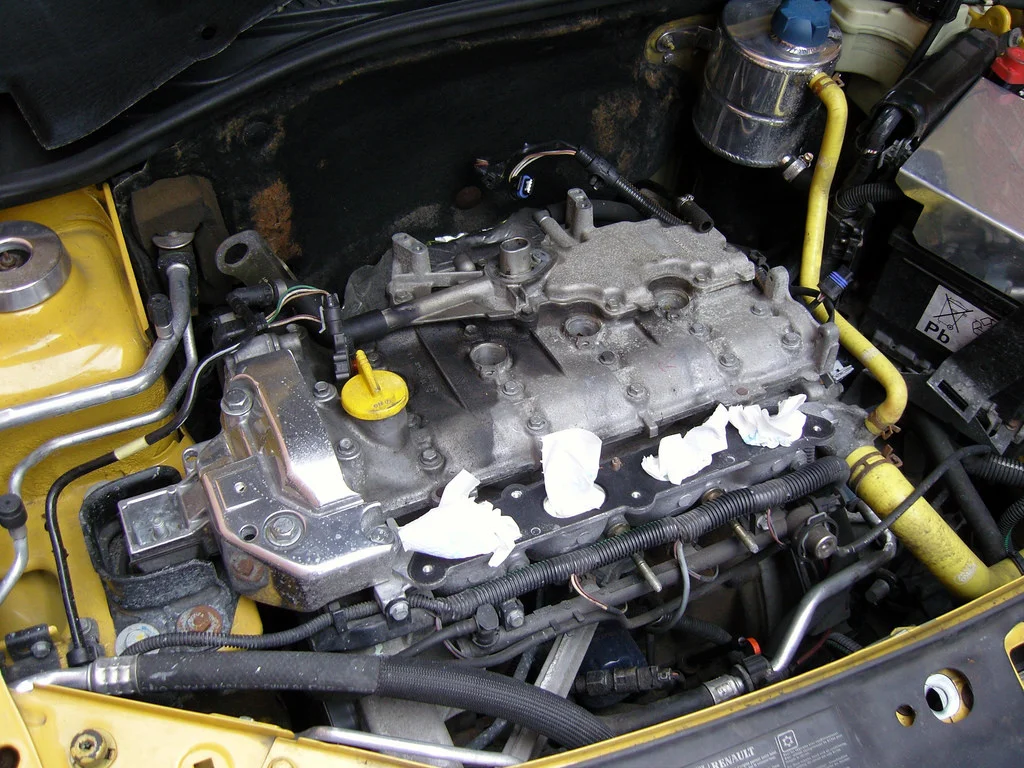
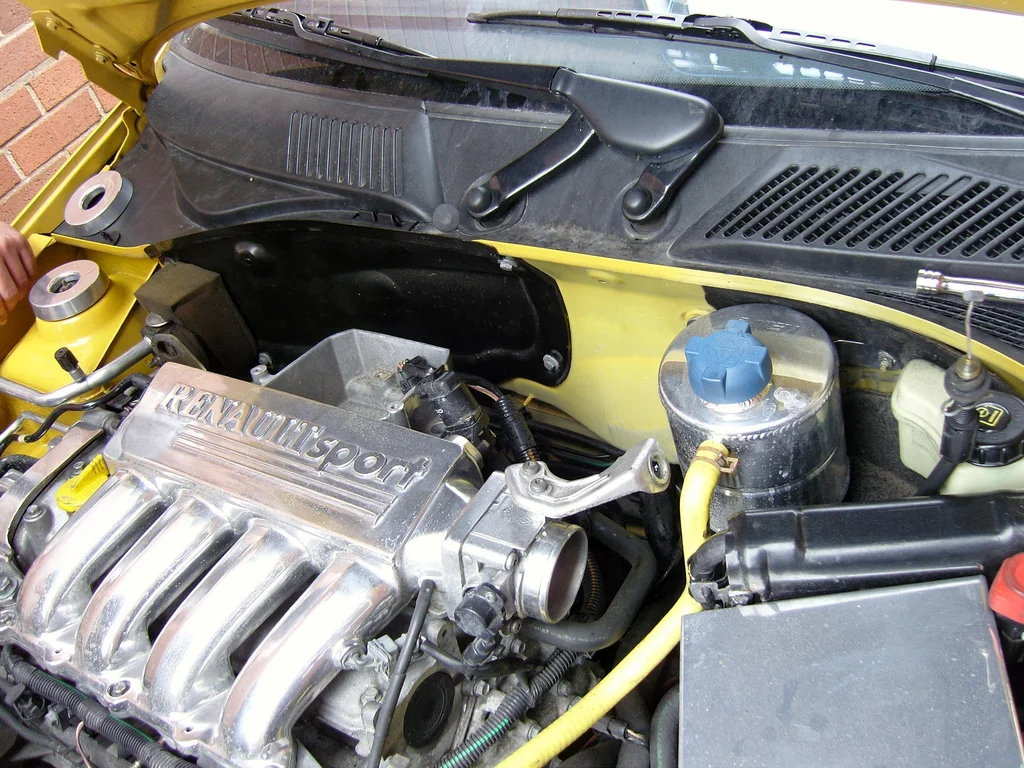
so yellow ht leads were fitted from performance leads. quality isnt great, but they look good and will do for the time being. in all honesty i can see them being changed for magnecour ones - however at £40 its worth a gamble.
you'll notice that we ripped the sound insulation off the back wall and found that it was painted black on the left hand side, but left yellow on the right. as the new insulation isnt as large as the original it left a section approximately 4-5'' that was visible down the side of the bailey header tank.
so out came the spraycans and gave it a quick lick of satin black. seeing as i had to do the painting i didnt grab any photos but it did involve moving the header tank and masking up the back of the engine.
once sprayed and with the insulation refitted it looked nice and smart. sorry its a camera phone, but my digi cam photos will be uploaded soon...
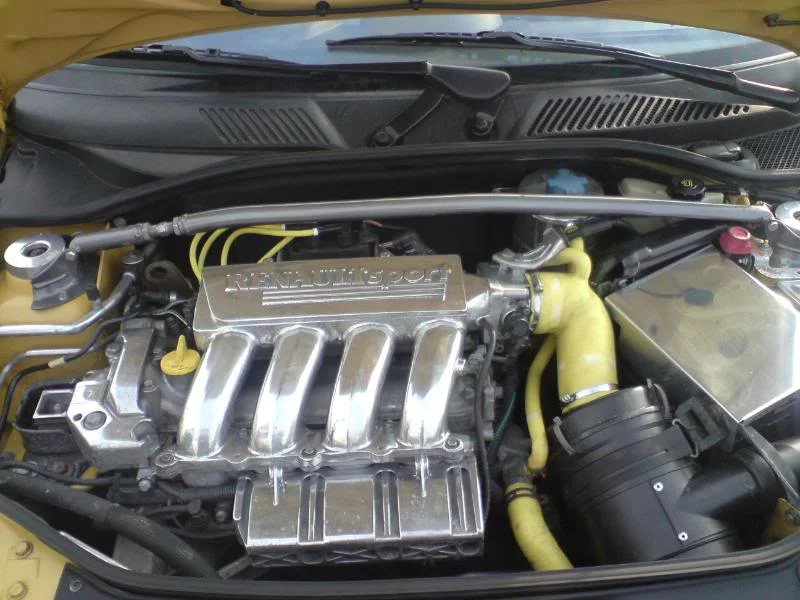
we also found time to wack the strut brace on.
once that was sorted i decided to finish my side strips as they had been a long time in the garage and i was getting fed up of seeing them. so out came the sandpaper:
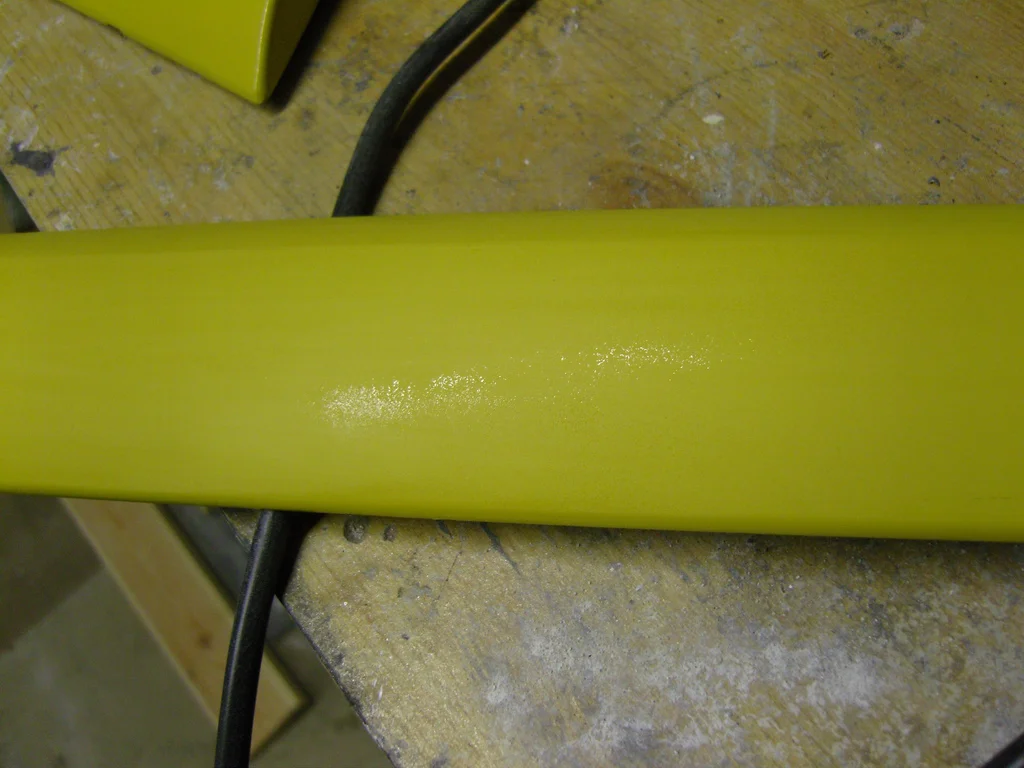
you can see on the above and below photo what it looks like after one pass with 1500 sandpaper. this was then given a further sanding with 1500 so that the entire section was flat/none shiny. these sanding marks were then perfected with 2500 in order to make correction easier.
after giving them one pass with menzerna IP on a 4'' spot pad i was left with the following shine.
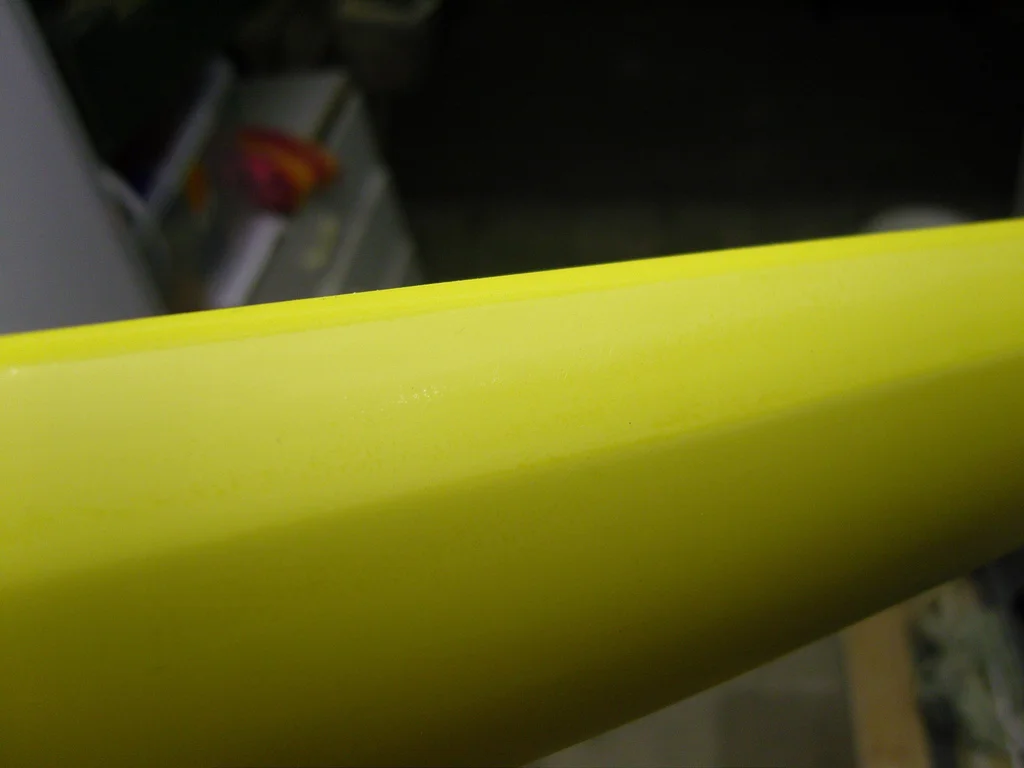
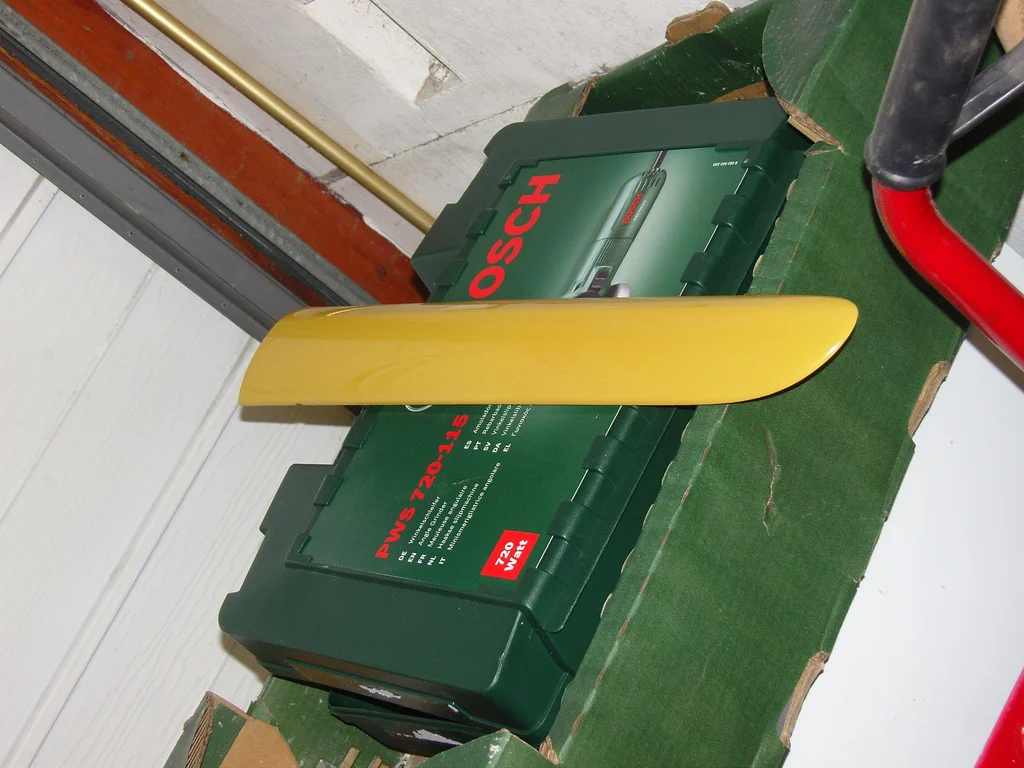
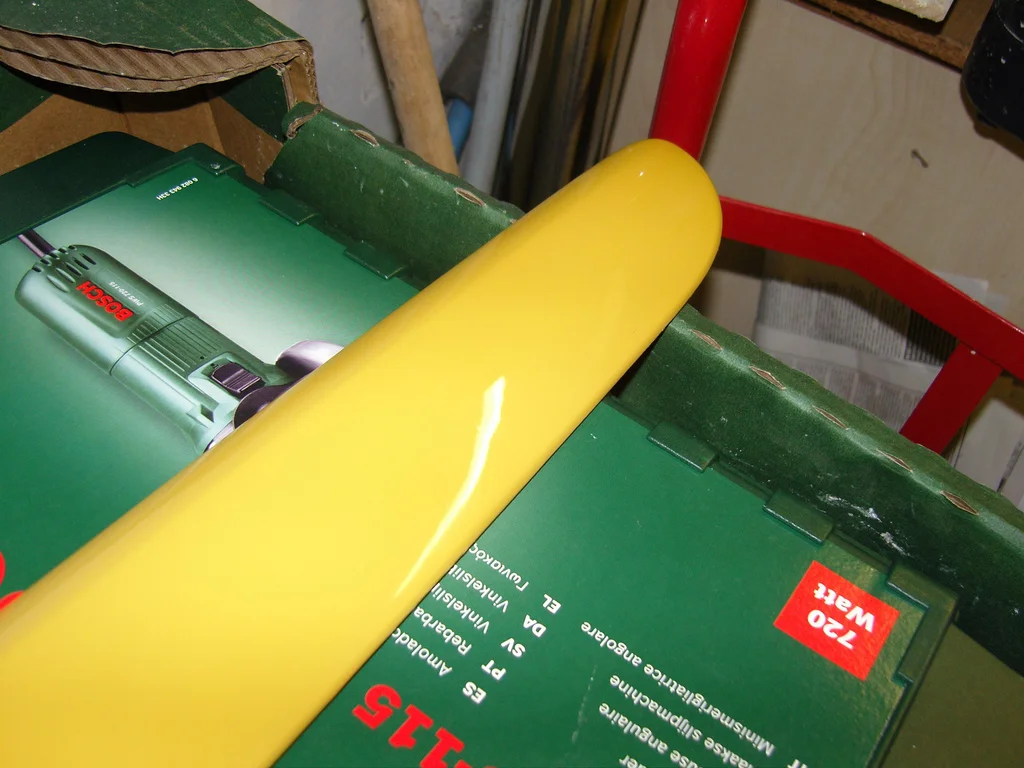
and then i felt obliged to offer up the side badges to see what they would look like:
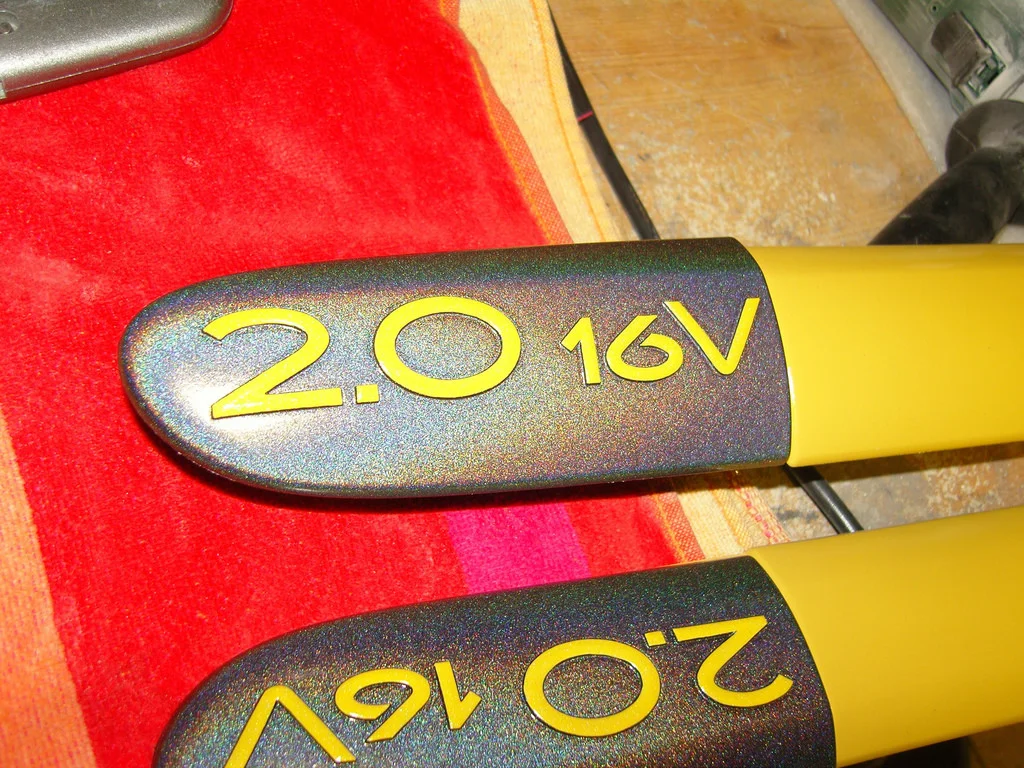
i then got these finished and thrown back on the car, along with removing the bonnet insulation so that the underside of the bonnet could be fully cleaned and waxed. but once ive given the car a clean ill get some proper pics of it.
once again, massive thanks to dave (mini-valver) absolute legend
this is the sight that greeted us. all the metal will have a couple of days spent on it later in the month when ive got some time off work.
notice how the sound insulation at the back of the engine is in a complete state. luckily that was on the list of things to do
so dave got cracking whilst i put the kettle on. came back to find he wasnt messing around and had actually done something which is a bit of a shock. (love u really
)so yellow ht leads were fitted from performance leads. quality isnt great, but they look good and will do for the time being. in all honesty i can see them being changed for magnecour ones - however at £40 its worth a gamble.
you'll notice that we ripped the sound insulation off the back wall and found that it was painted black on the left hand side, but left yellow on the right. as the new insulation isnt as large as the original it left a section approximately 4-5'' that was visible down the side of the bailey header tank.
so out came the spraycans and gave it a quick lick of satin black. seeing as i had to do the painting i didnt grab any photos but it did involve moving the header tank and masking up the back of the engine.
once sprayed and with the insulation refitted it looked nice and smart. sorry its a camera phone, but my digi cam photos will be uploaded soon...
we also found time to wack the strut brace on.
once that was sorted i decided to finish my side strips as they had been a long time in the garage and i was getting fed up of seeing them. so out came the sandpaper:
you can see on the above and below photo what it looks like after one pass with 1500 sandpaper. this was then given a further sanding with 1500 so that the entire section was flat/none shiny. these sanding marks were then perfected with 2500 in order to make correction easier.
after giving them one pass with menzerna IP on a 4'' spot pad i was left with the following shine.
and then i felt obliged to offer up the side badges to see what they would look like:
i then got these finished and thrown back on the car, along with removing the bonnet insulation so that the underside of the bonnet could be fully cleaned and waxed. but once ive given the car a clean ill get some proper pics of it.
once again, massive thanks to dave (mini-valver) absolute legend
Chocolate Bar™
Looks really good does that.
How much is the chav paint by the way? Looks really really good I think!
about £20 a tin i think, plus you'll need a black satin groundcoat.
M
mini-valver
More than welcome lad
Love working on the sub, always goes to plan.....Which is a nice change
Love working on the sub, always goes to plan.....Which is a nice change


Similar threads

- Replies
- 375
- Views
- 20K


- Replies
- 11
- Views
- 416


