
ClioSport.net
-
When you purchase through links on our site, we may earn an affiliate commission. Read more here.
You are using an out of date browser. It may not display this or other websites correctly.
You should upgrade or use an alternative browser.
You should upgrade or use an alternative browser.
here’s a few sneak peaks of the custom dash.
basically I am using the old dash as the base of the mould for the carbon fibre. so I’m just in the process (30 f-in hours of making the mould)
1. so started buy taking my dash and removing the airbag.
2. I then cut the dash down first I made a cut to remove the glove box using the grinder.
3. then I cut off the drivers end where the storage tray is and the dimmer switch etc.
4. on both cuts I have left the top half of the dash on where the vents are for the windscreen.
5. then I trimmed up the edges and made nice smooth curves and remove all sharp edges.
5. now it was time to remove the radio surround and vents from the centre console, these are plastic welded in....so got the gas torch and melted the welds whilst pulling the vents.
-----------------------
6. then I popped to IKEA and picked up a thick bed sheet and with my trusty stapler gun hooked up to the new compressor I cut the fabric to size to cover the top dash.
7. then whilst holding one side tight I tacked the fabric along the back of it, ensuring I get no lumps or folds!
8. Next then I began to pull the fabric very tight and a smooth as possible whilst stapling it on the front side.
9. with the whole thing covered I then set on making the contour lines round the barnacle etc... basically just held the fabric down whilst using the airgun to tack it round forming the shape.
10. now just need to pull the fabric on the underside leaving nice edges and tacking and trimming it from the underside.
woohooo.
next I mixed up some Polly resin mixed with 2% catalyst, covered the fabric with two layers and left it to set hard.
11. Next up was now to pop to b&q and grab a tube of arroldite (sp) and glue and screw the top and lower dash together, left this to set over nite.
12. Then i took more of the fabric and started the 3 hour process of covering the center of the dash making smooth lines etc, the fabric is a great way of doing this as you and form anyshape.
SEE THE DANGEROURS STAPLES?
13. then next i took to making the extentions of the dash making a wooden frame and covering it in fabric again making smooth flow of material using the air gun. The frame took around 2 hours to get rite and to form the rite shape.
14. with all the fabric trimed up i make sure a “bump” or “rise” had been make to cover the brack on the passenger side bracket on the rail.. see pic.
15. again then i took the Polly resin and layed it with two coats all over the new racer dash mould. This set nice and hard but still as this is the mould i wanted to cover it in chop strand matt and a futher two coats or resin.
Now this set super ridgid which is great as now all i need to do is cover it in body filler and then flat it down nice and smoth....then two coats of laqur.
16.ill update some pics when i make the dash off this mould.....
M
mini-valver
I made a boot build for a mate doing that, turned out mint but took ages filling and sanding. When you've covered it in matting give it a THICK coat of just resin and hardener, it make filling much easier and quicker to get smooth and flat....
so you're taking a mould of the thing above, then laying the carbon into that?
yer im making a fibreglass female mould from that.
then putting relase agent inside that mould
then laying that upwith 3 coats of gel coat
then laying the carbon fibre twil down when its tacky
then weting the fibre out with 2 layers of epoxy resin
then removing the carbon fibre from the inside mould
then wet sanding any defects
polish up then i have a carbon fibre billit dash
Nice work Ben. Car will be amazing when finished.
If I give you £50 will you make me a ph2 dash?
bargin!
LOL the carbon fibre is £40 a Sqmtr
i would suggest using a WOLO type release agaent (5 applications minimum)
either that or honey wax
is the pva MIX anygood


M2,XJS,S1000RR
just had a thought for ben and batman with the serious weight removal:
your both happy to do a lot of work with your cars, would it not help weight if you cut out the spare wheel well, welded in some 3mm plate flat then sprayed it etc?
just had a quick after dinner thought!
your both happy to do a lot of work with your cars, would it not help weight if you cut out the spare wheel well, welded in some 3mm plate flat then sprayed it etc?
just had a quick after dinner thought!

Coiley'd Clio PH2
..thats lucky cos you like that mig welder.
thats lucky cos my wife likes that mig welder
LMAO.


Clio 172 ph2 + 990SM
damm i wish i had the skill and knowledge to pull this off
Clio 172 ph2 + 990SM
dude whats the score with the carbon dash? are you gona keep the moulds, i can foresee a few people wanting the same 
Clio 172 ph2 + 990SM
sounds like a pretty resonable price to me. cant wait to see the results 
Clio 172 ph2 + 990SM
Just re-read all 390 posts and no-one has asked you why your staying with the 172 exhaust manifold rather than sticking a 182 one on...

Update. Sorry not done too much as I am in the middle of opening a new office.
but here is a few pictures etc;
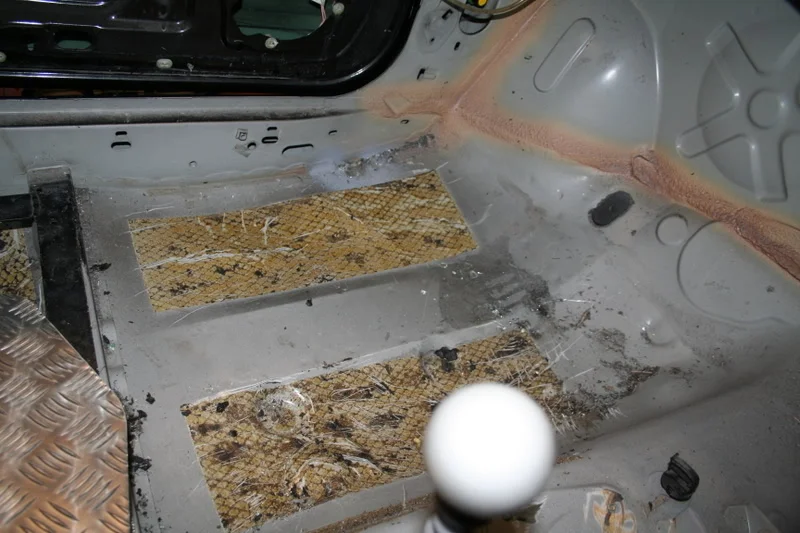
I have been concentrating on the weight loss side of things, first up was all the sound proof tar like substance. this is awful stuff and was an issue to remove.
you can see it in this pic, (the greay stuff)
first I tried to freeze it and then use a hammer and chisel to nock it off, this took ages and just seemed to dint the steel and make a mess!
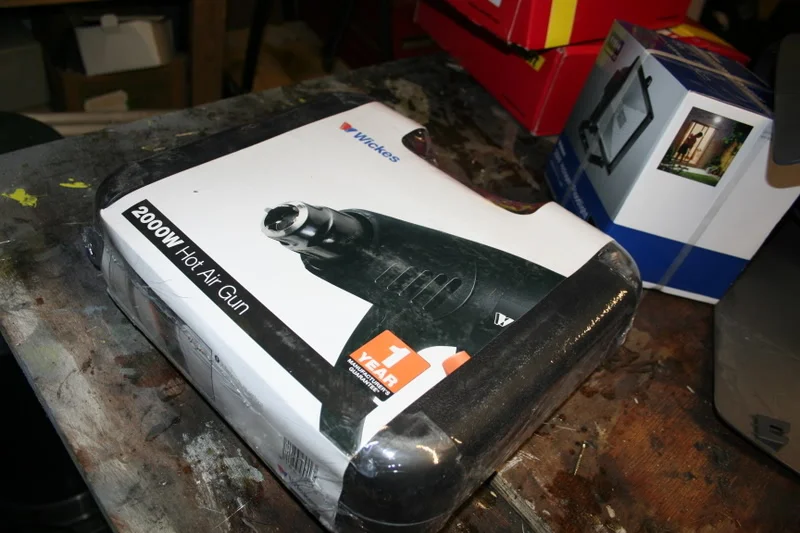
So nipped to Wickes (there open until 8.30) and picked a heat gun and a wall paper scraper.
basically heated up the tar with he gun and tried to keep the temp up whilst scrapping the tar from the body work! the fumes were awful after about 4 hours I had removed all the tar from the car. (I left it inside the rear arch as I didn't want to burn the paint)
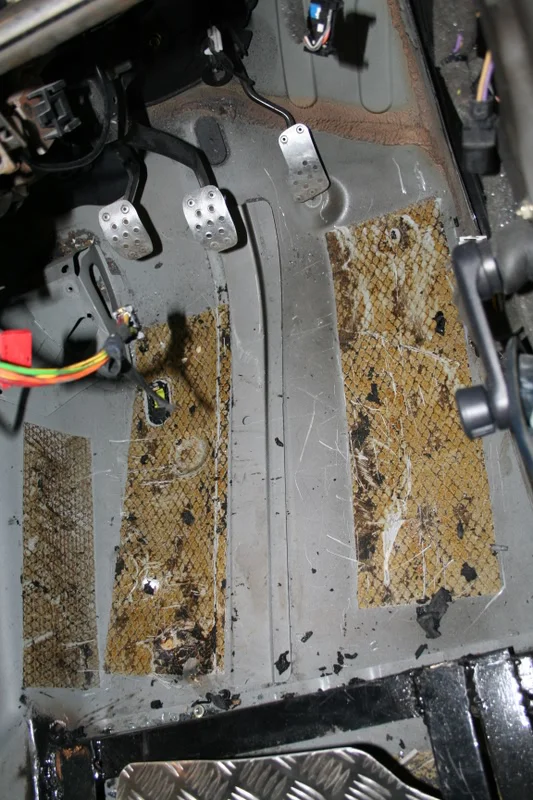
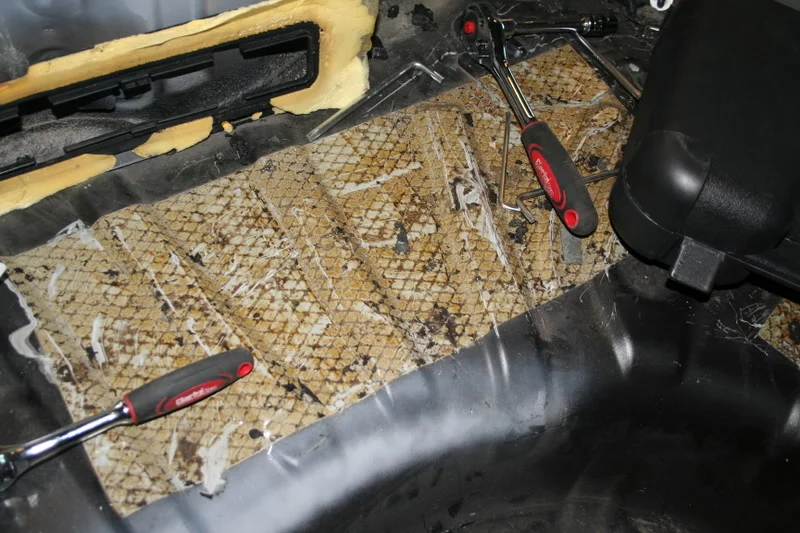
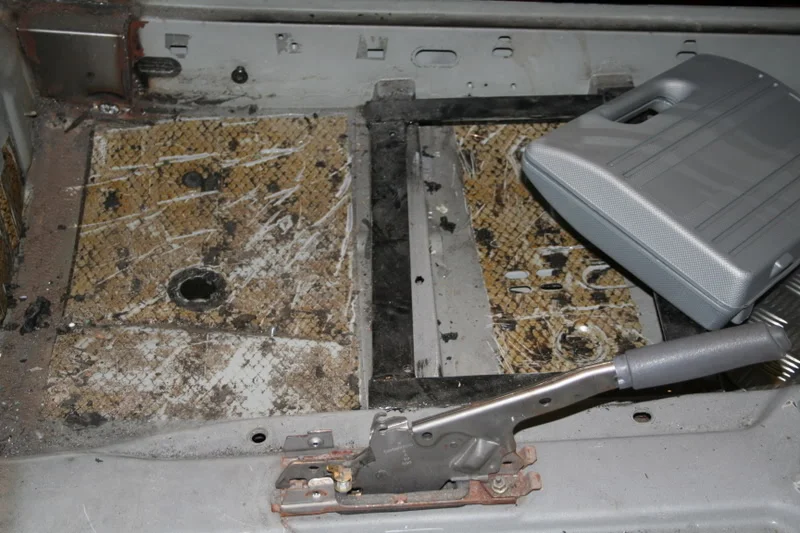
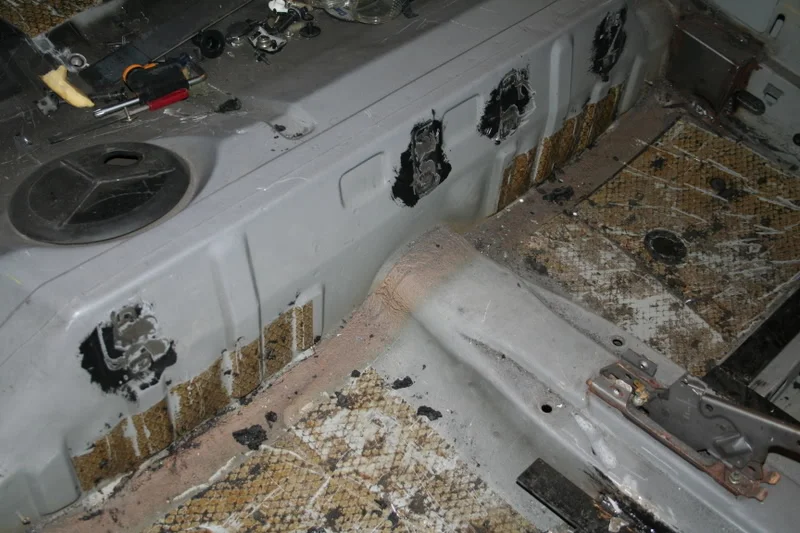
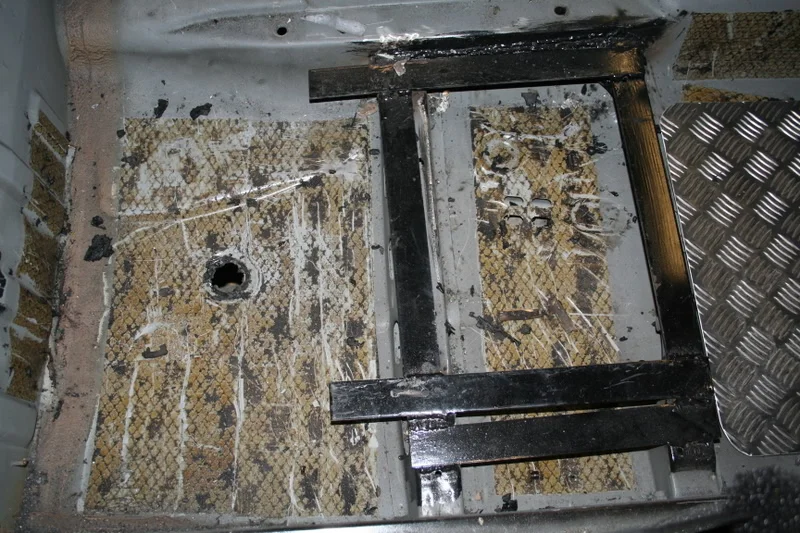
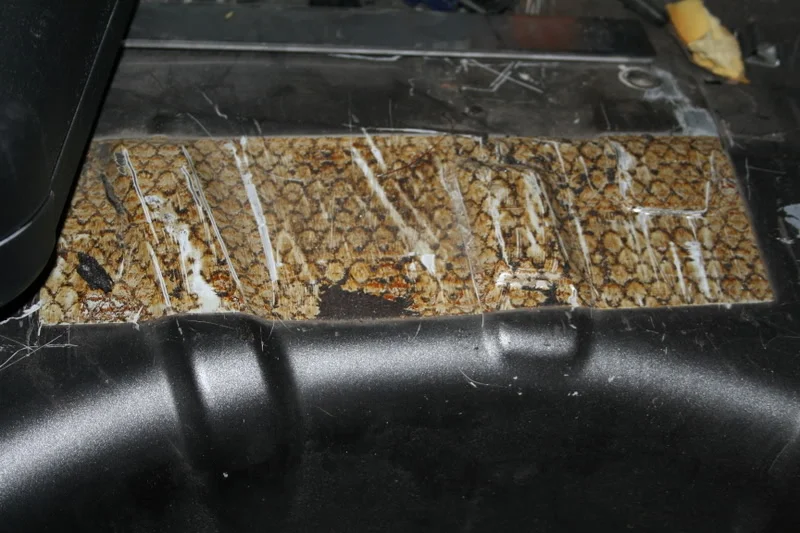
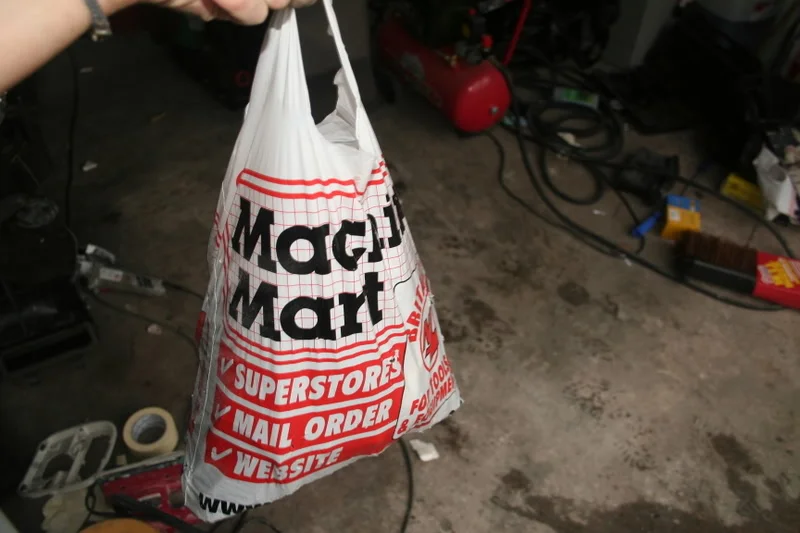
the weight of this stuff is unbelievable! it filled two carrier bags from the inside and from behind the scuttle panel! stuck it on the scales ............14kgs! you can see one o the bags on this pic where the handle is almost being pulled off!
***************
Nipped to machine mart again
grabbed two cutting and one grinding disk for my grinder and set about cutting all the bits of steel that are no longer needed.
rear seat mounts (lower)
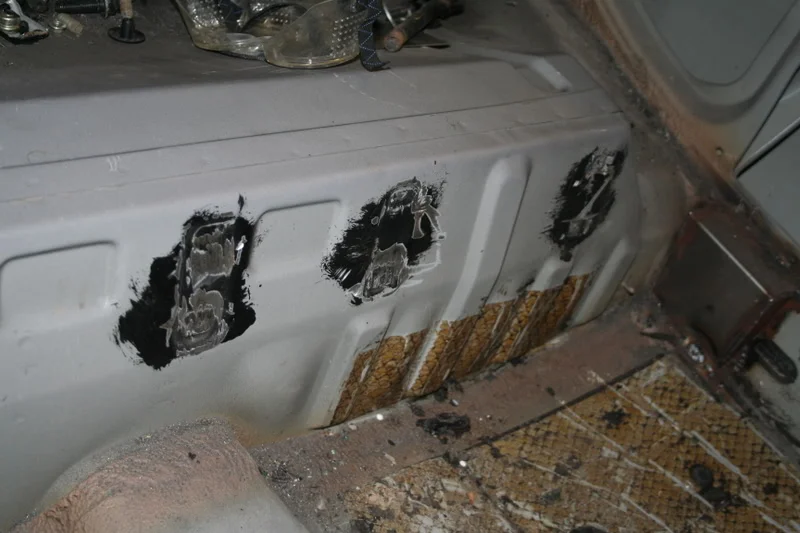
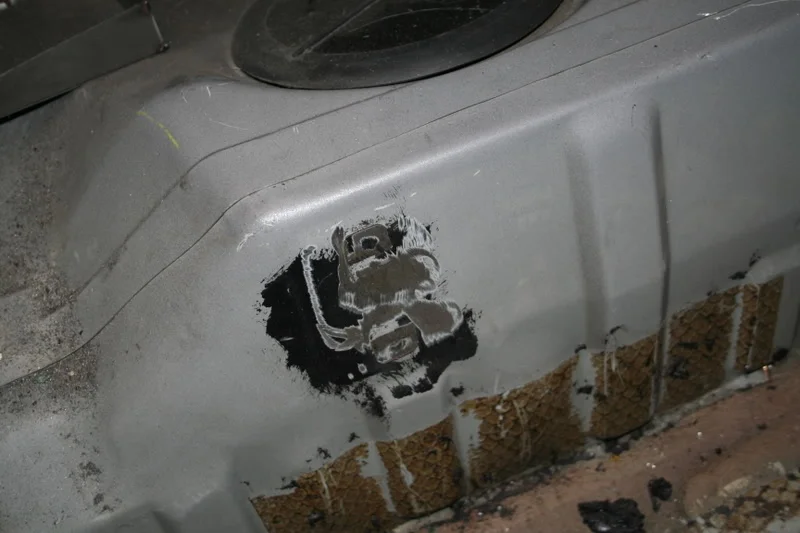
rear seat mounts (side)
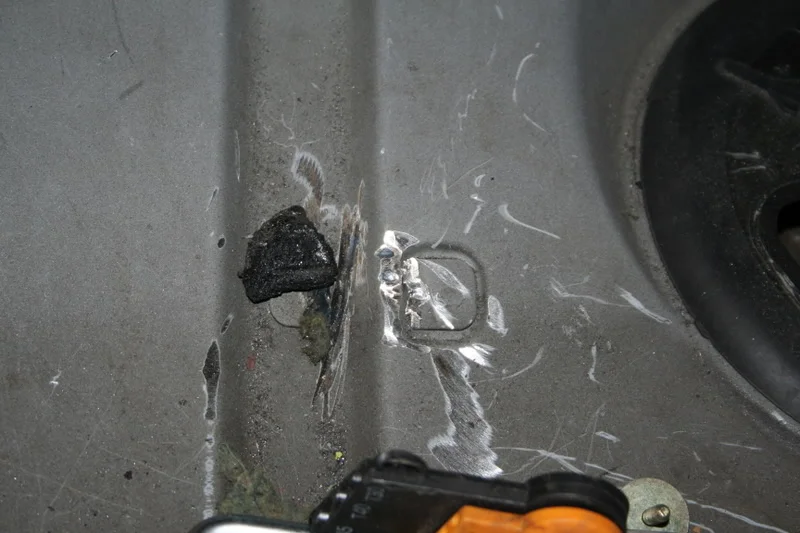
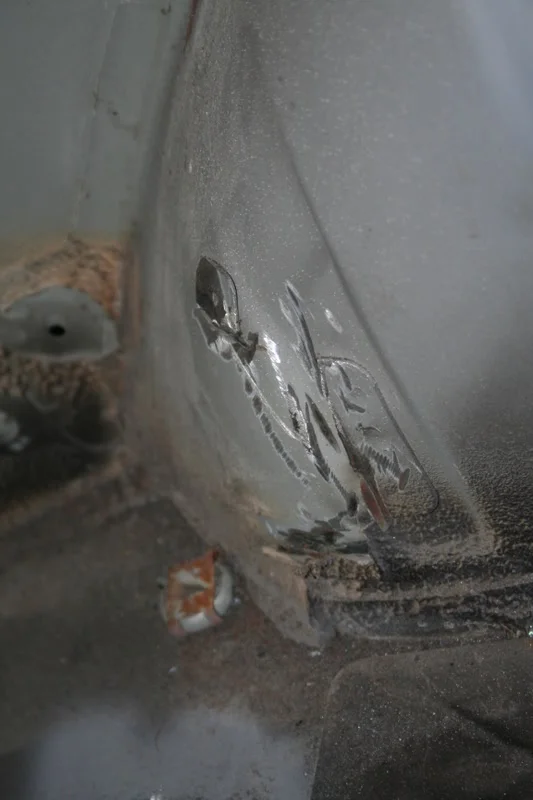
all screws and mounting plates from dash
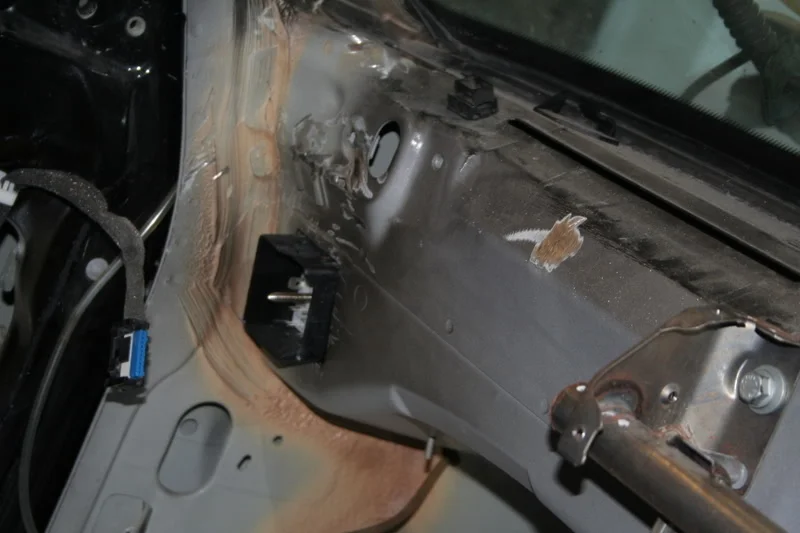
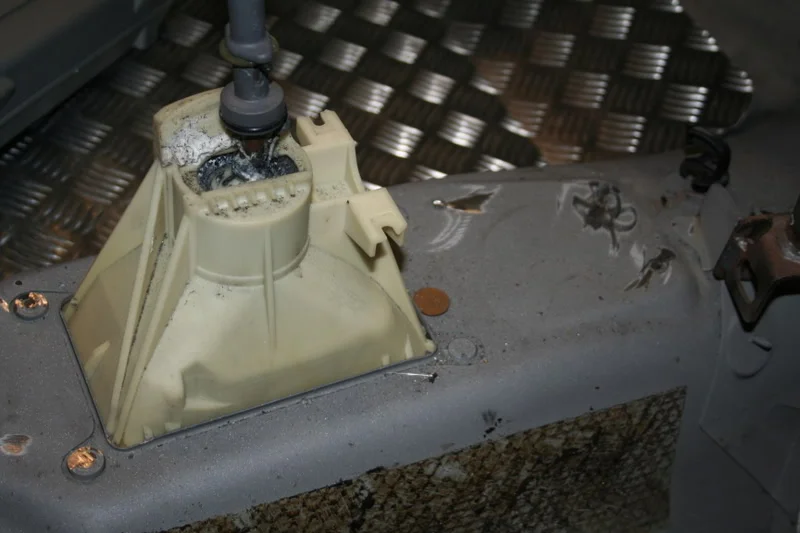
rear upper seat mount and clips
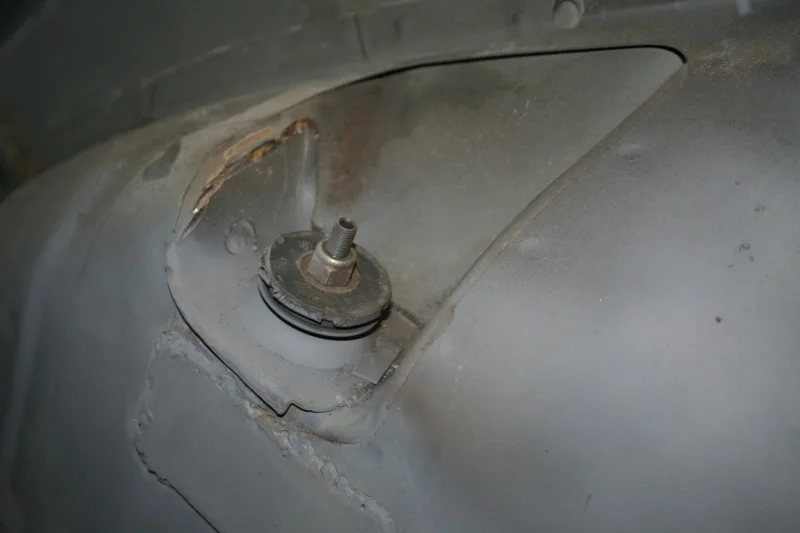
the boot brackets (where the plastic mounts too)
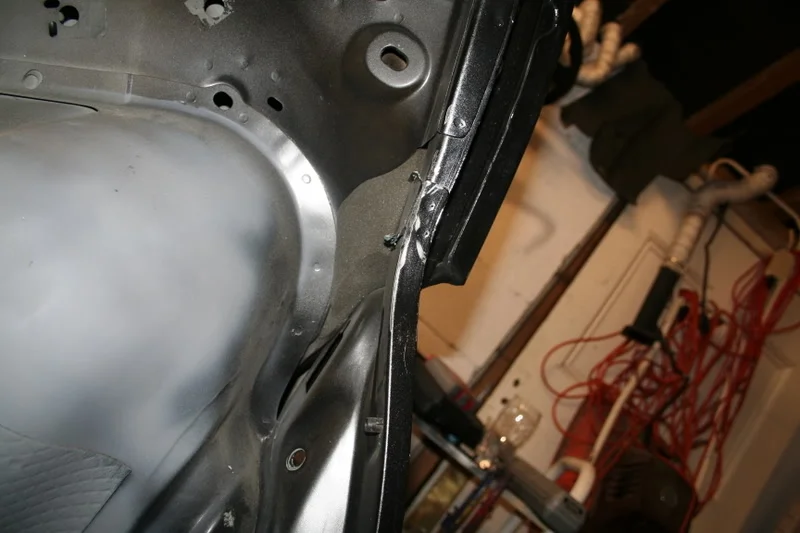
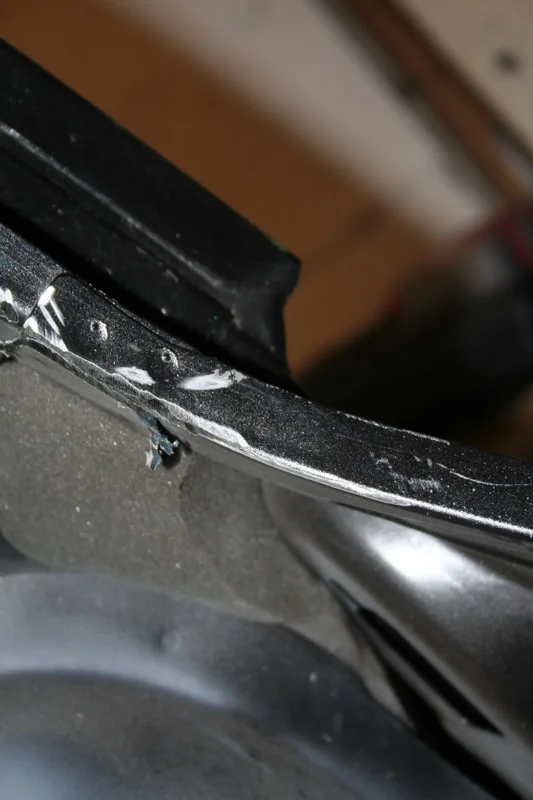
the spare wheel bolt and mounting bracket.
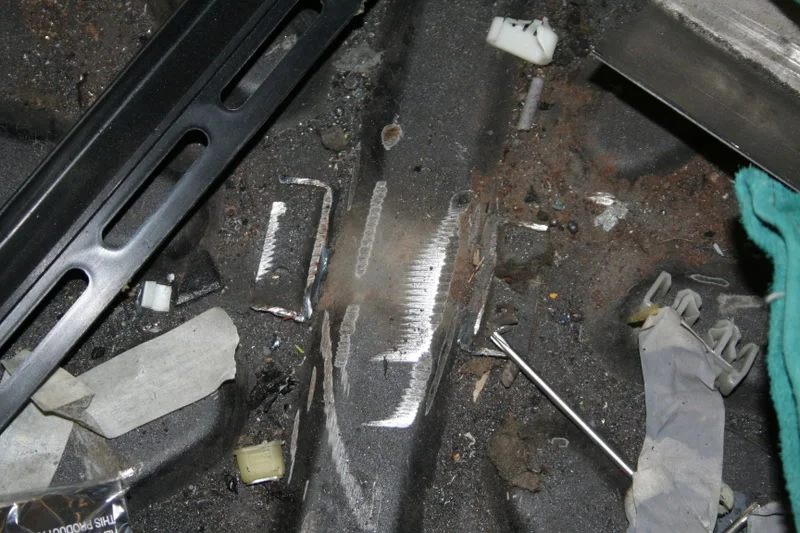
then with my socket set and pliers I removed all the unwanted bolts from the seat belts (the big black m10 ones) and other interior fixings. then I removed all the plastic lugs and any foam, fixings etc I could!
Also removed the interior lights and mountings, cut the loom back for them too.
total save = 4.2 kgs
next on the heat save will be the big composite pad on the roof! By the looks of things there is about 2kgs there too. Just not sure how to remove it ?
but here is a few pictures etc;
I have been concentrating on the weight loss side of things, first up was all the sound proof tar like substance. this is awful stuff and was an issue to remove.
you can see it in this pic, (the greay stuff)
first I tried to freeze it and then use a hammer and chisel to nock it off, this took ages and just seemed to dint the steel and make a mess!
So nipped to Wickes (there open until 8.30) and picked a heat gun and a wall paper scraper.
basically heated up the tar with he gun and tried to keep the temp up whilst scrapping the tar from the body work! the fumes were awful after about 4 hours I had removed all the tar from the car. (I left it inside the rear arch as I didn't want to burn the paint)
the weight of this stuff is unbelievable! it filled two carrier bags from the inside and from behind the scuttle panel! stuck it on the scales ............14kgs! you can see one o the bags on this pic where the handle is almost being pulled off!
***************
Nipped to machine mart again
grabbed two cutting and one grinding disk for my grinder and set about cutting all the bits of steel that are no longer needed.
rear seat mounts (lower)
rear seat mounts (side)
all screws and mounting plates from dash
rear upper seat mount and clips
the boot brackets (where the plastic mounts too)
the spare wheel bolt and mounting bracket.
then with my socket set and pliers I removed all the unwanted bolts from the seat belts (the big black m10 ones) and other interior fixings. then I removed all the plastic lugs and any foam, fixings etc I could!
Also removed the interior lights and mountings, cut the loom back for them too.
total save = 4.2 kgs
next on the heat save will be the big composite pad on the roof! By the looks of things there is about 2kgs there too. Just not sure how to remove it ?

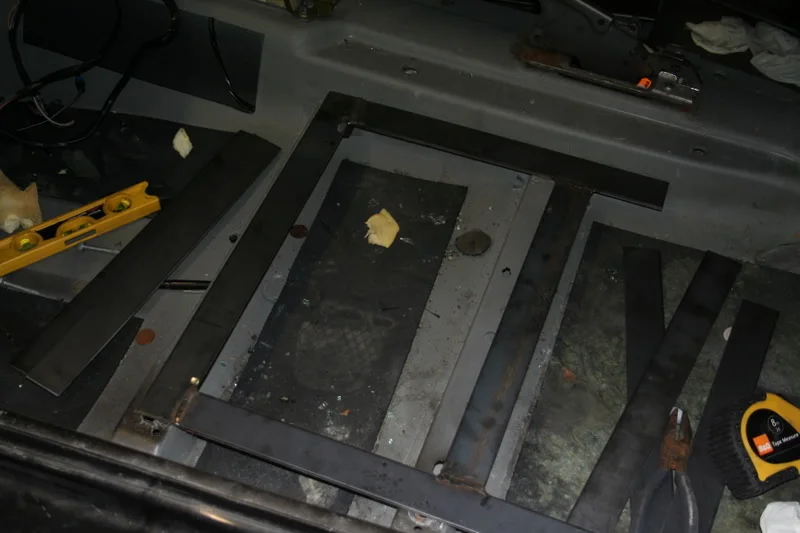
Next up was too sort out these bloody mounts for the cage!!
As they don’t supply you with anything you need to fabricate them up. As the middle legs are about 6inchs too small. Popped down to GAP steel in Warrington and picked up some high strength 3 mm steel plating.
So I measured the middle mounts up, I went for a box section design and just put a spot of weld on each corner to enable me to form the shape.
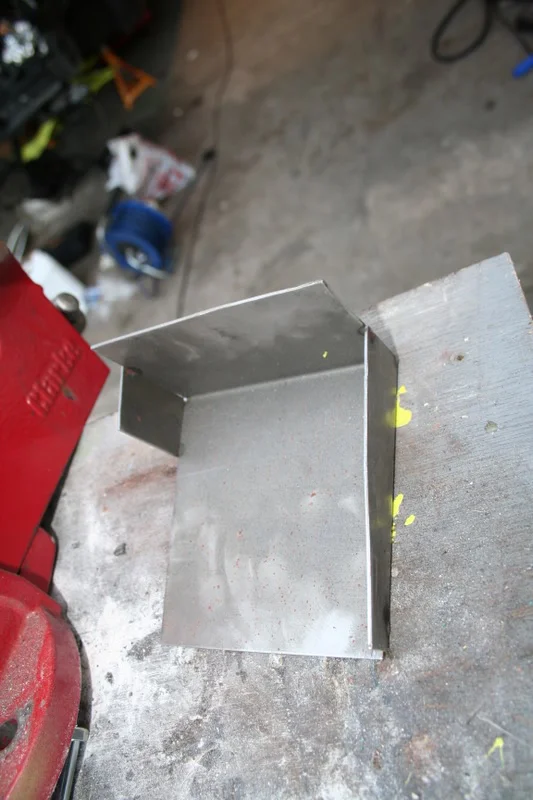
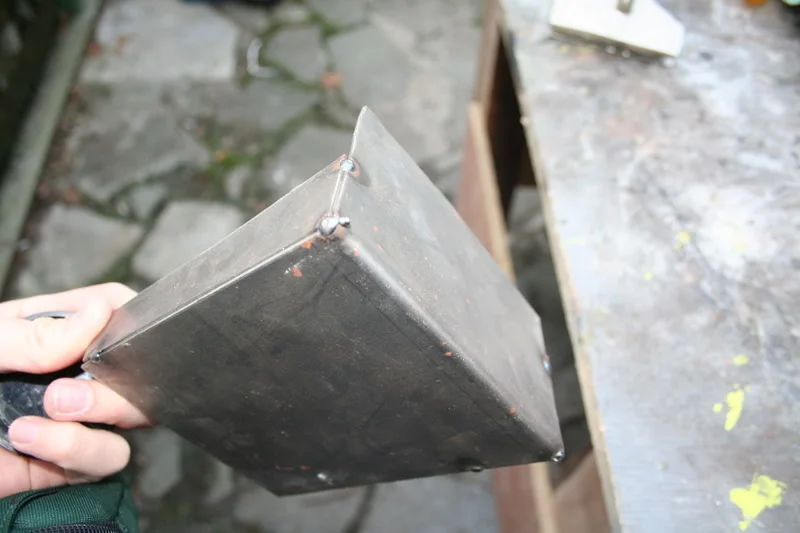
Then once I knew they would fit I took to seem welding all the joints to give good strength.
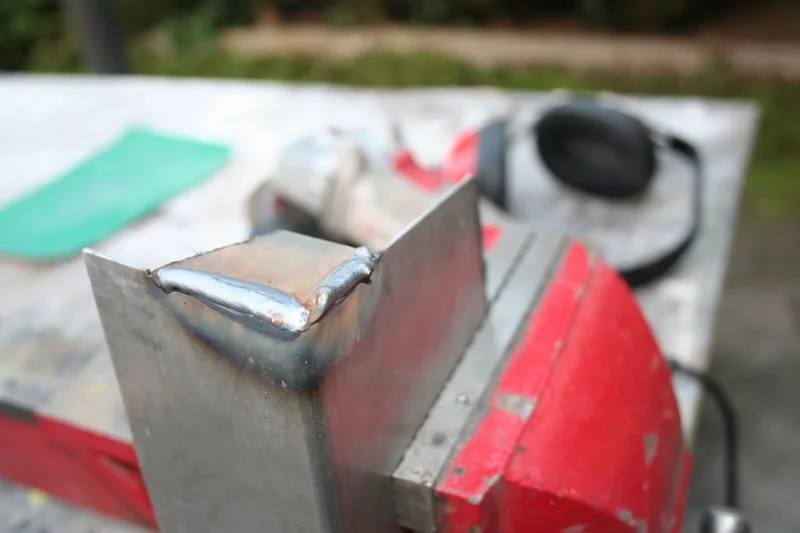
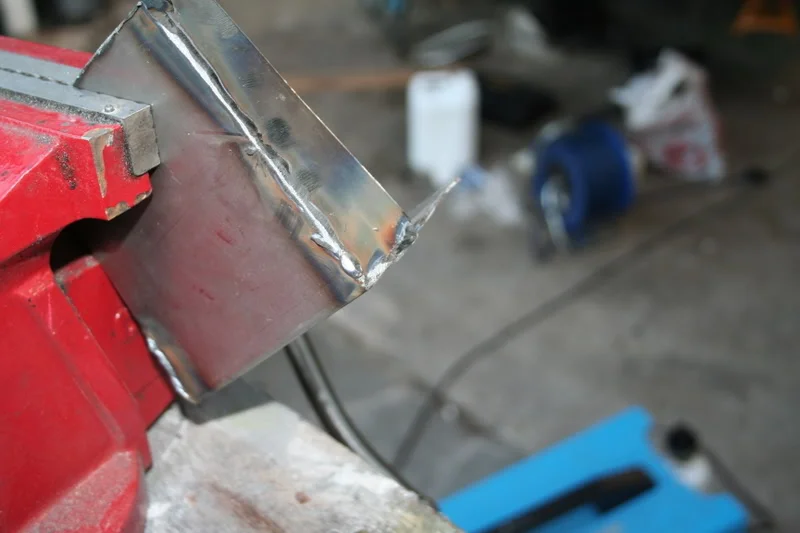
I made these two pillar mounts for both sides and am very impressed with there strength.
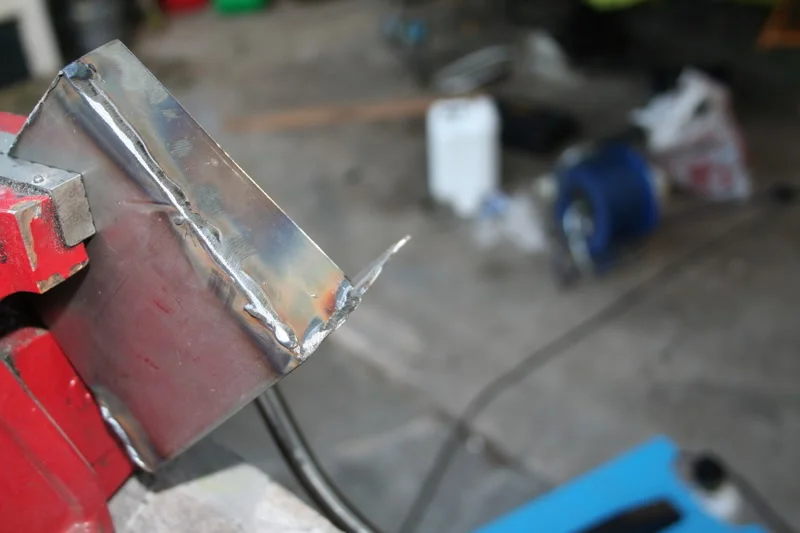
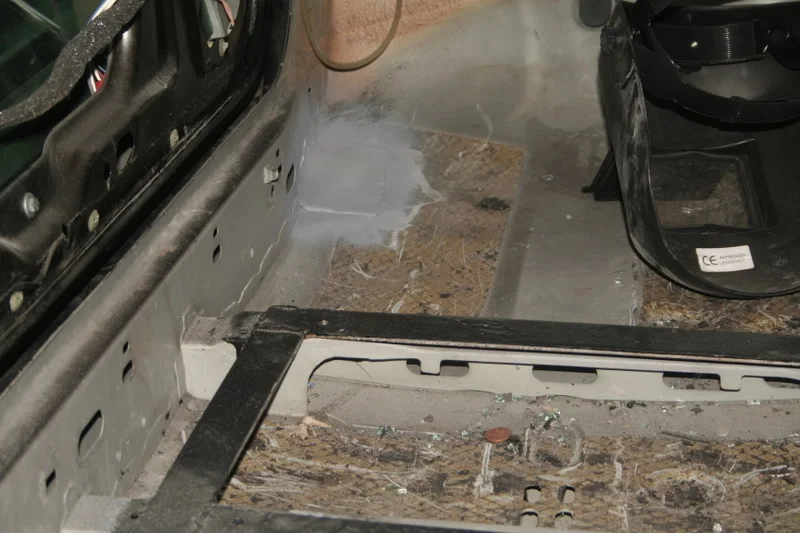
Next I needed to make two mounts for the floor pan where the cage runs in front of the dash. Again I took my 3 mm steel cut the plates to size, smoothed any rough edges with the grinder and made a duplicate plate for the other side.
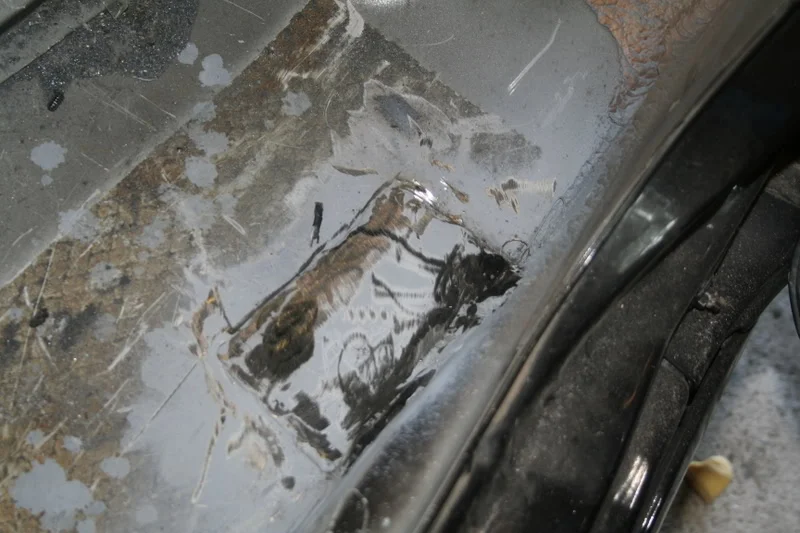
Now needed to make two more plates for where the cage mounts between the rear arches, cut two steel plates up and tidied the edges up.
Just two more to make for where the cage mounts to the floor above the axel. As the floor is a crazy shape I had to basically;
measure the steel to size
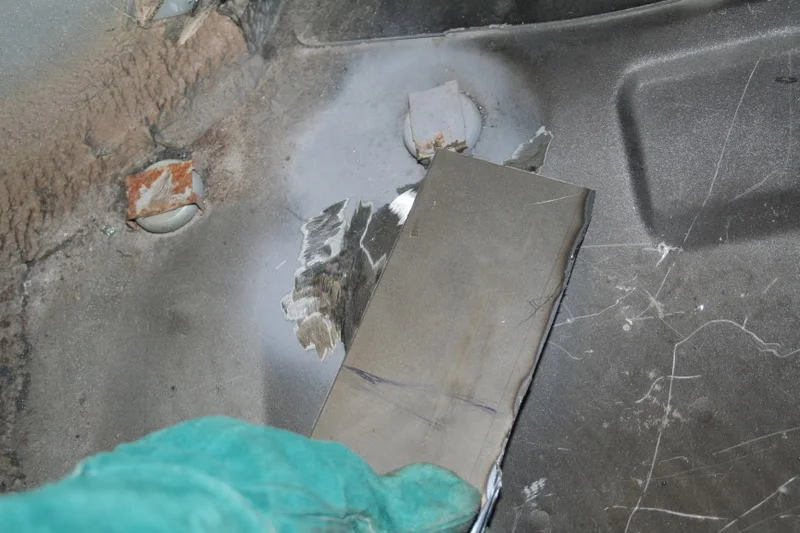
Then draw the contour out on the plate to the shape of the floor
Cut that shape out
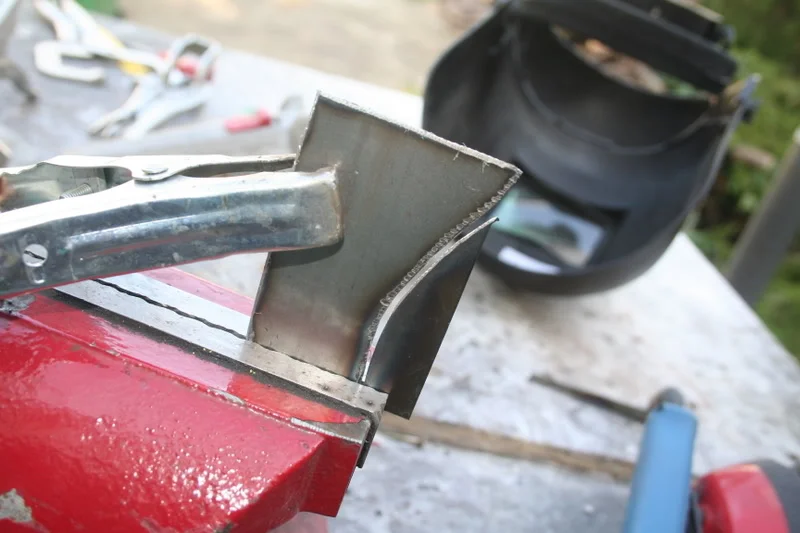
Put a tack of weld on it and bend it to the angle of the floor
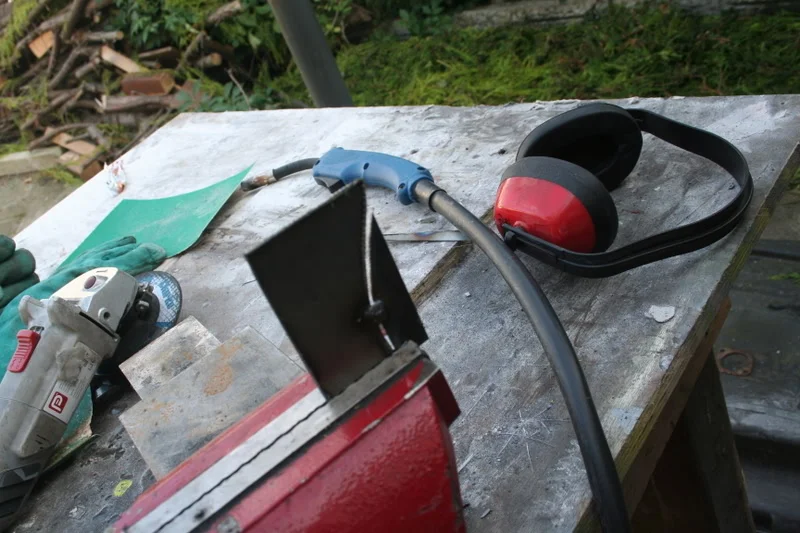
Then weld it up and dress the weld!.
*************************
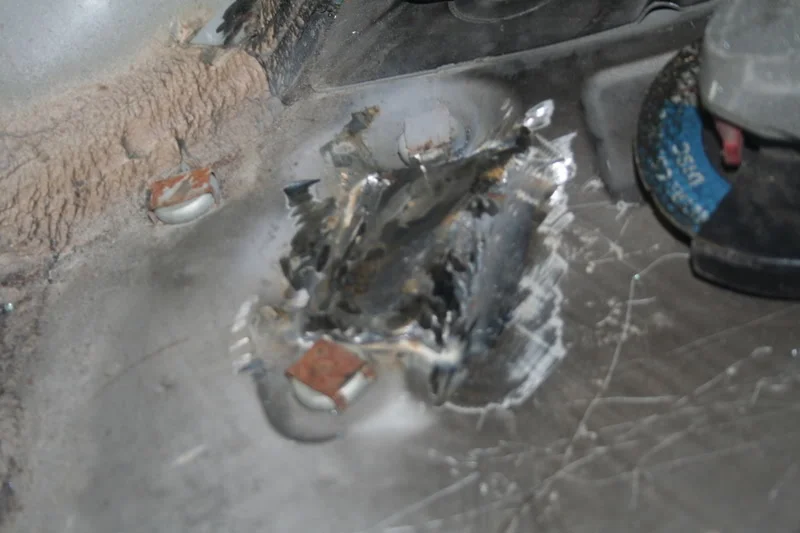
So with all the plates made I took my trusty grinder and grinded all the primer off where I needed to mount them to the car. And also had to cut through that mastic substance which covers Renaults shocking welds!
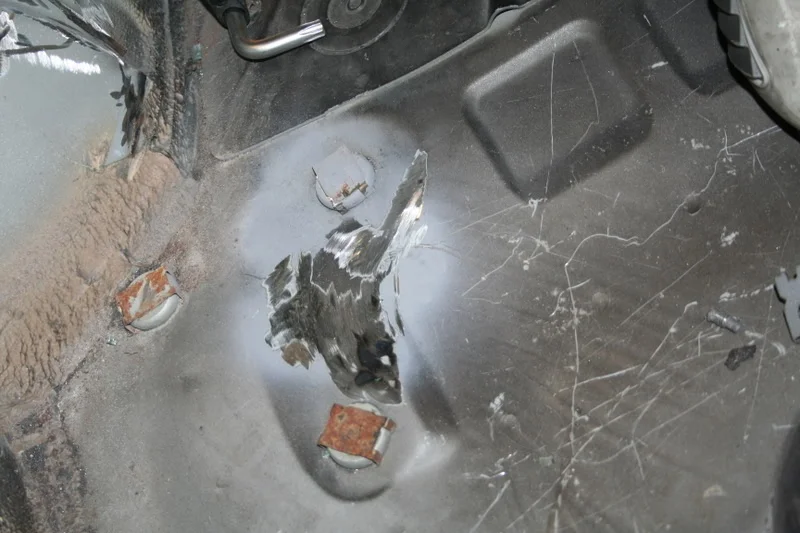
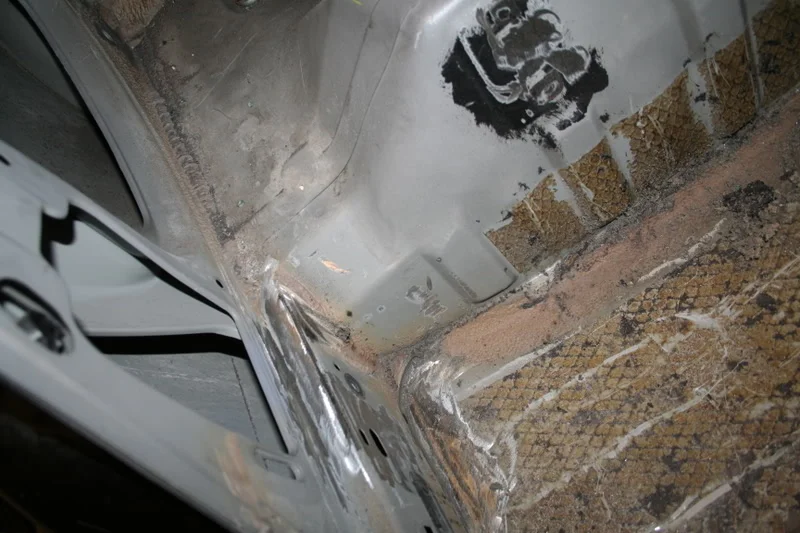
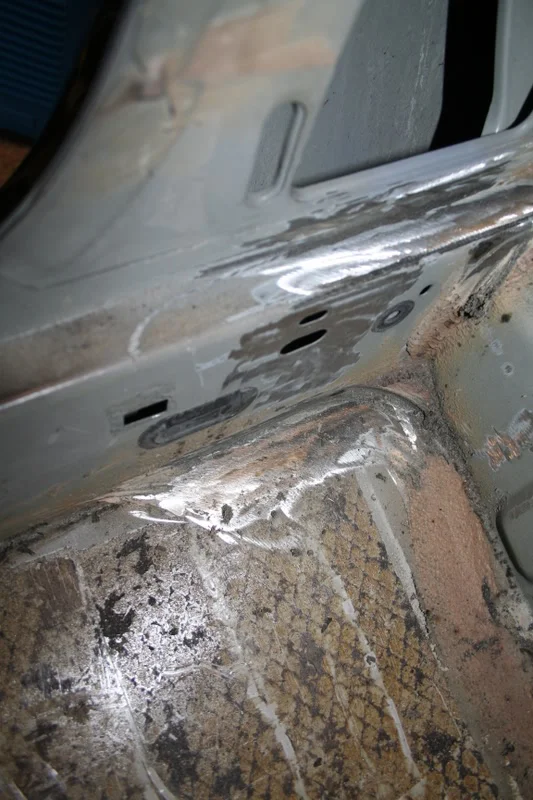
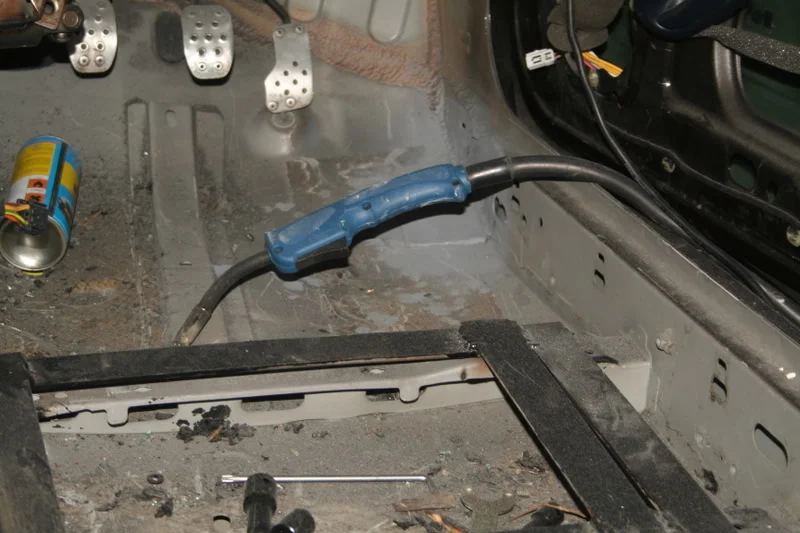
Then took to mounting each plate to the car with the mig welder.. 3 hours later and job finished!
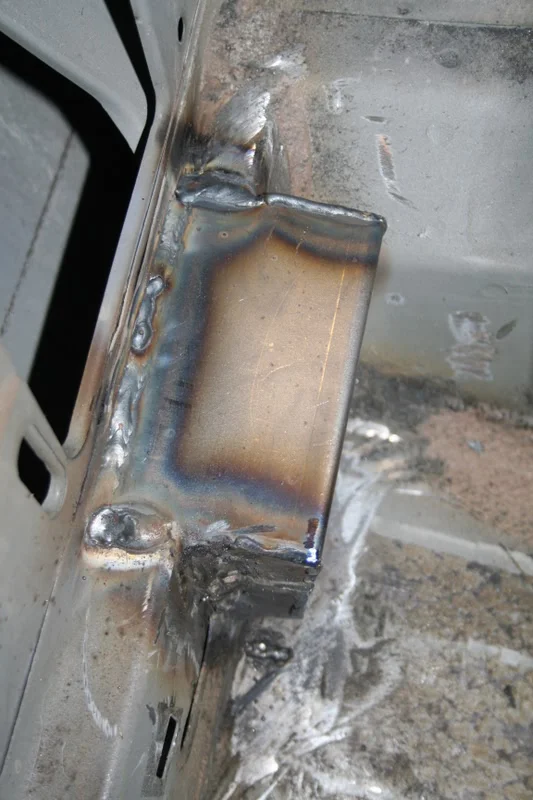
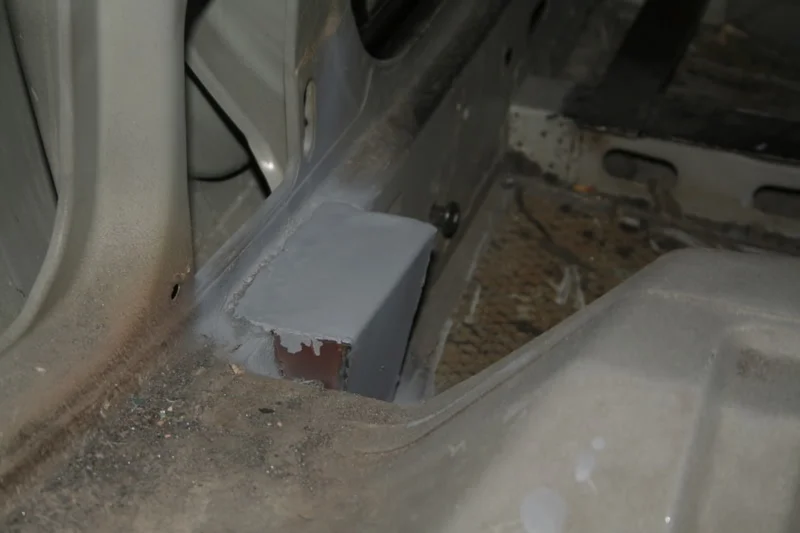
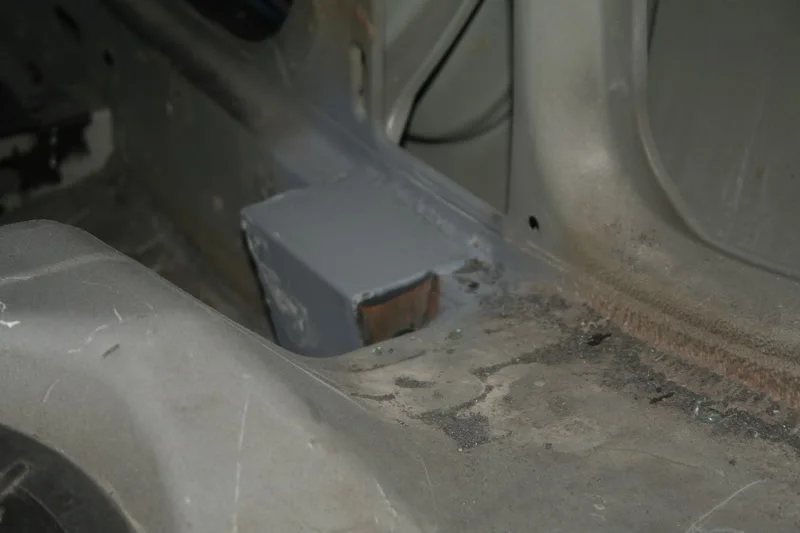
As they don’t supply you with anything you need to fabricate them up. As the middle legs are about 6inchs too small. Popped down to GAP steel in Warrington and picked up some high strength 3 mm steel plating.
So I measured the middle mounts up, I went for a box section design and just put a spot of weld on each corner to enable me to form the shape.
Then once I knew they would fit I took to seem welding all the joints to give good strength.
I made these two pillar mounts for both sides and am very impressed with there strength.
Next I needed to make two mounts for the floor pan where the cage runs in front of the dash. Again I took my 3 mm steel cut the plates to size, smoothed any rough edges with the grinder and made a duplicate plate for the other side.
Now needed to make two more plates for where the cage mounts between the rear arches, cut two steel plates up and tidied the edges up.
Just two more to make for where the cage mounts to the floor above the axel. As the floor is a crazy shape I had to basically;
measure the steel to size
Then draw the contour out on the plate to the shape of the floor
Cut that shape out
Put a tack of weld on it and bend it to the angle of the floor
Then weld it up and dress the weld!.
*************************
So with all the plates made I took my trusty grinder and grinded all the primer off where I needed to mount them to the car. And also had to cut through that mastic substance which covers Renaults shocking welds!
Then took to mounting each plate to the car with the mig welder.. 3 hours later and job finished!
Now back to the dash.
Last time I had left it where basically that dash had two layers of chop strand matt and resin.
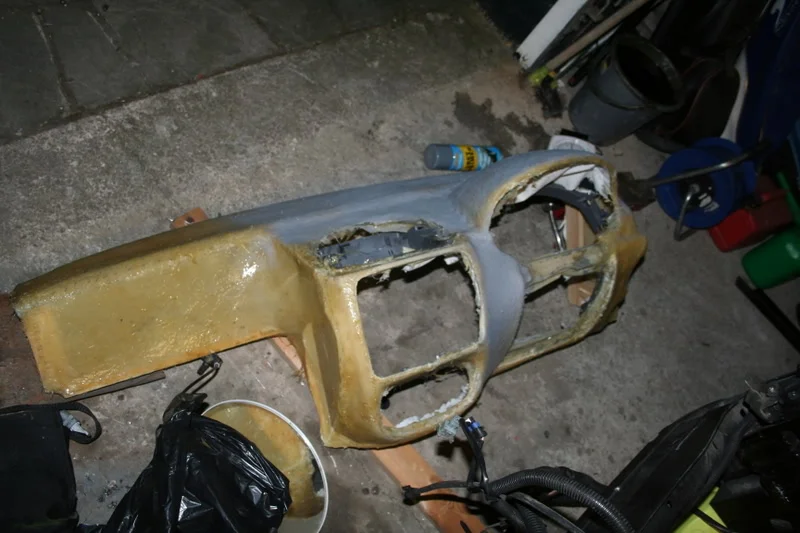
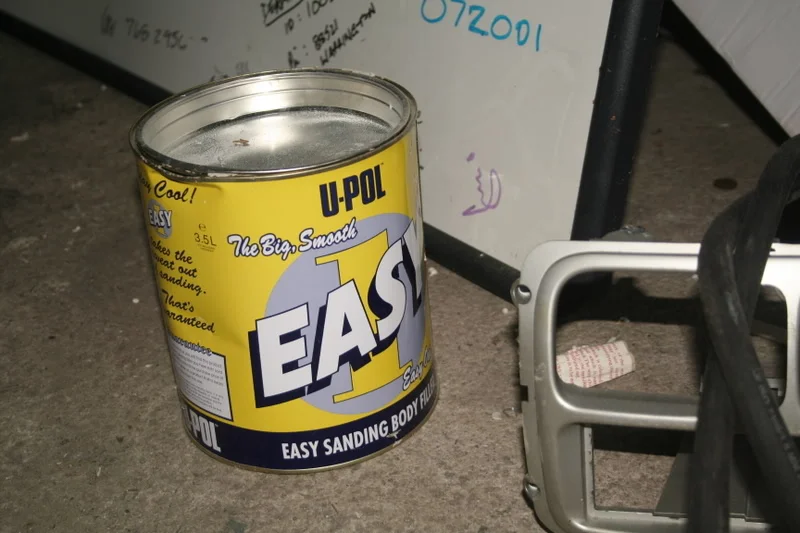
Popped to the local motor factors and picked up a BIG tub of Upol body filler
and some sand paper.....lots of it
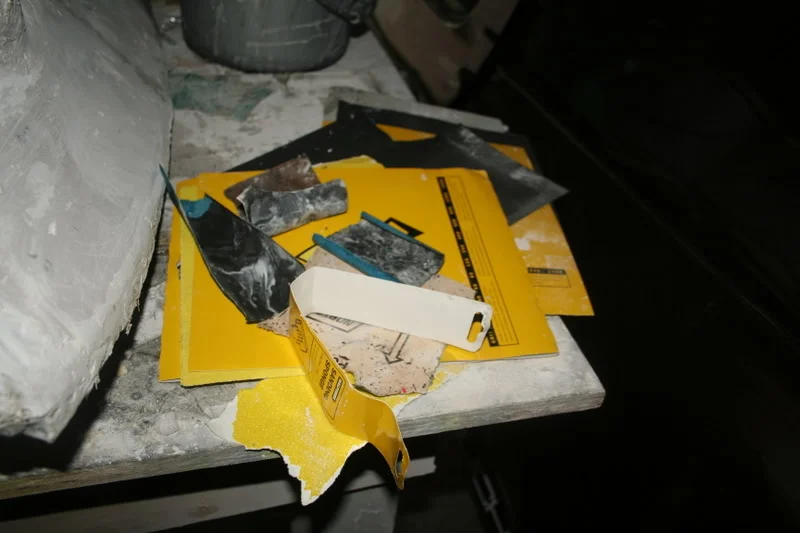
Mixed it up and covered the whole dash in and left for 24 hours to dry.
This stuff sets like concrete and is sooooo hard to sand down ( I put it on to thick.. my bad)
But anyway I am about 40% way though it as I want this to be 100% perfect!
Here are a few pics.
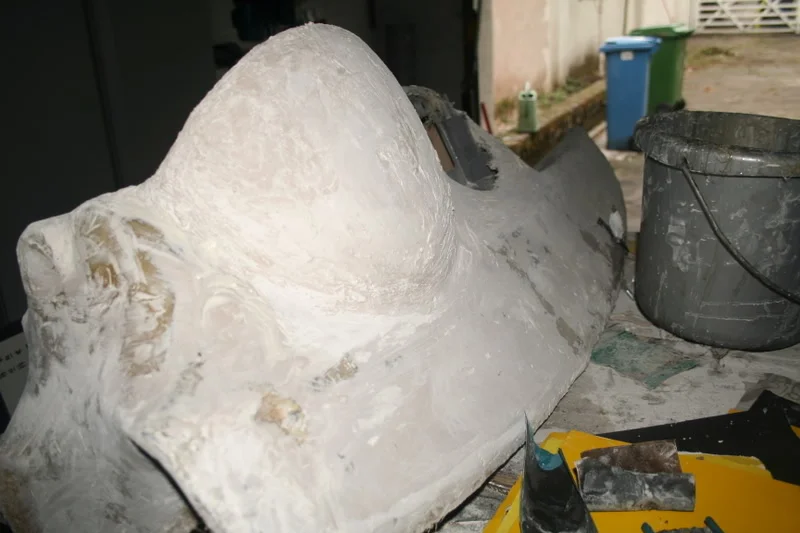
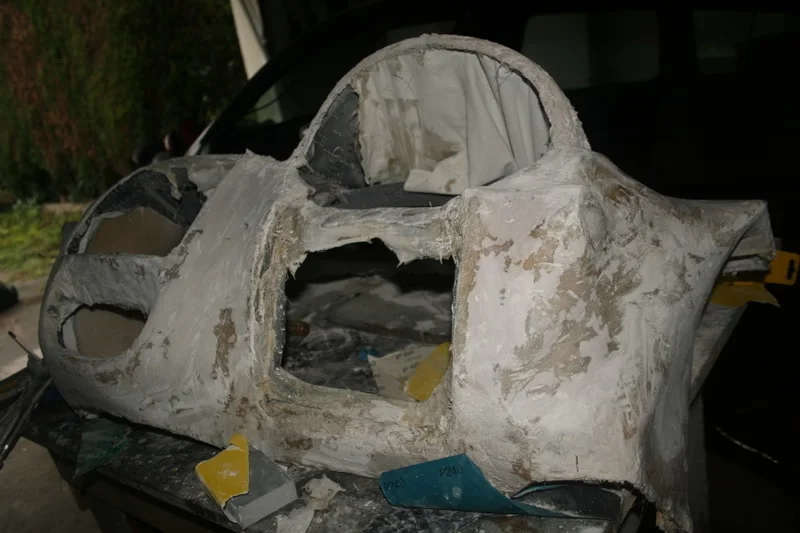
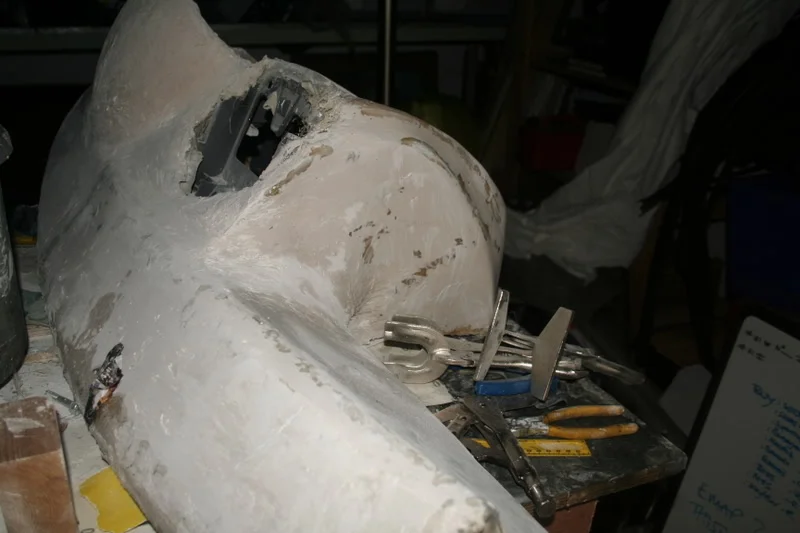
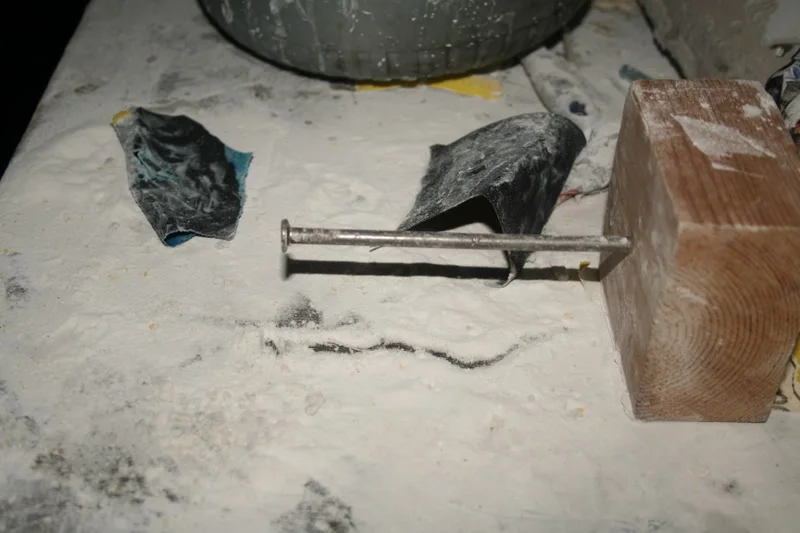
Look a this small mountain of dust and filler! I had to wear my respirator as the dust was killing my lungs!
Last time I had left it where basically that dash had two layers of chop strand matt and resin.
Popped to the local motor factors and picked up a BIG tub of Upol body filler
and some sand paper.....lots of it
Mixed it up and covered the whole dash in and left for 24 hours to dry.
This stuff sets like concrete and is sooooo hard to sand down ( I put it on to thick.. my bad)
But anyway I am about 40% way though it as I want this to be 100% perfect!
Here are a few pics.
Look a this small mountain of dust and filler! I had to wear my respirator as the dust was killing my lungs!
some new presents for this week..
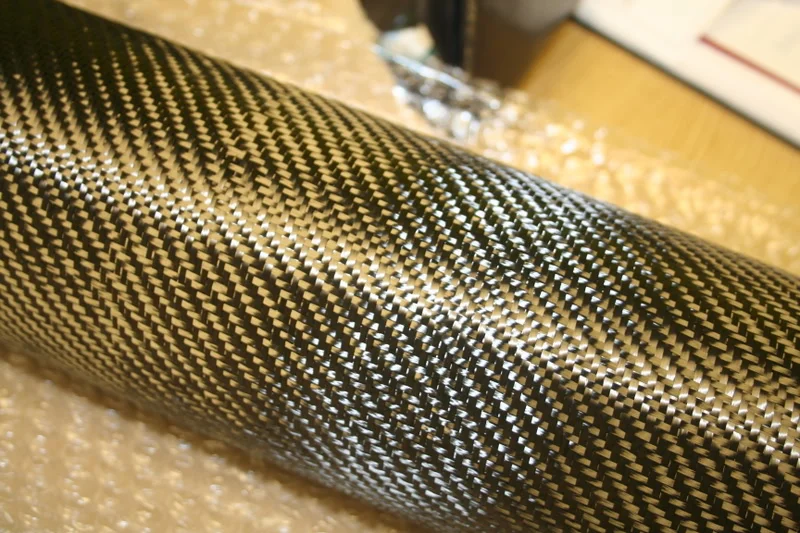
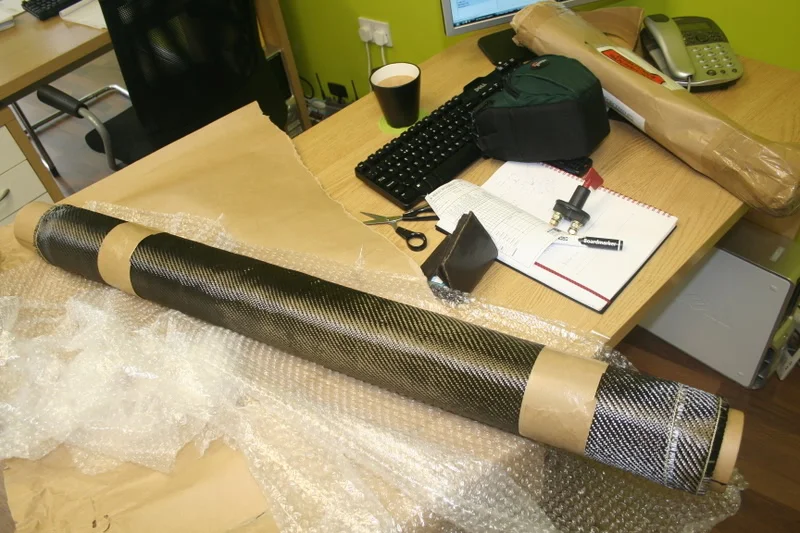
20 meters by 1250 mm roll of 200gsm carbon fibre weave (2x2)
soooooo exensive LOL
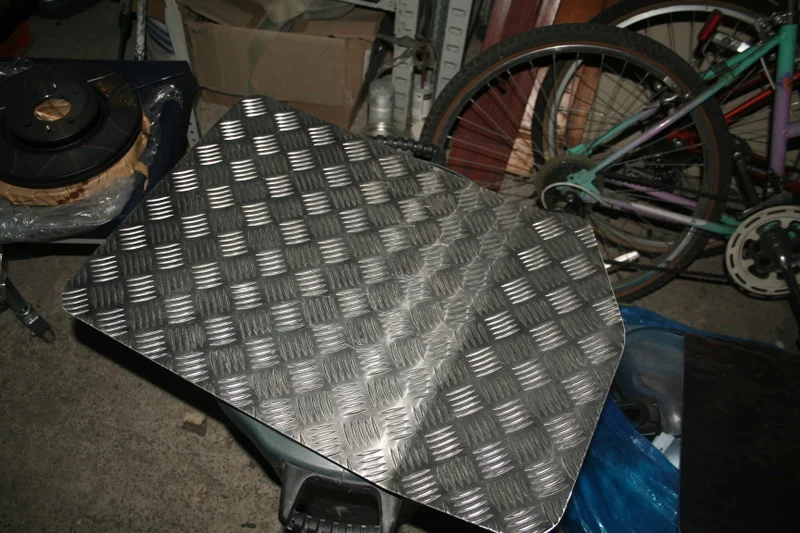
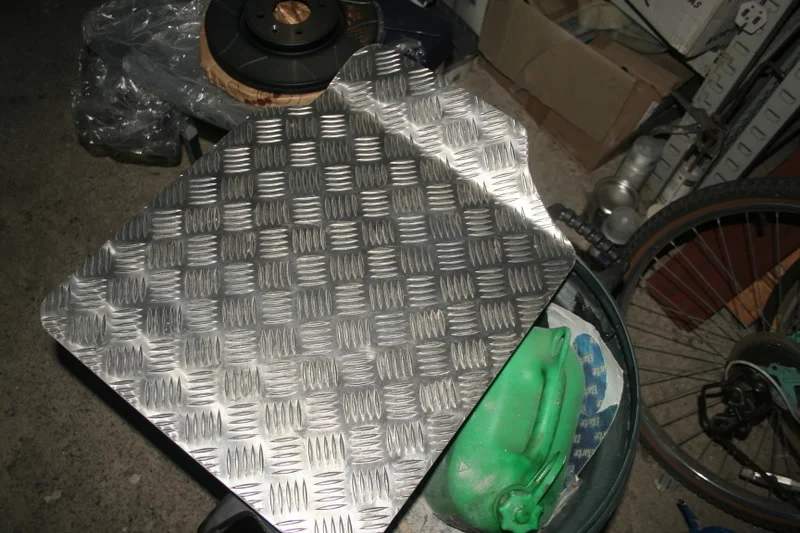
Ally checker floor plates for the front (weigh about 2grams LOL)
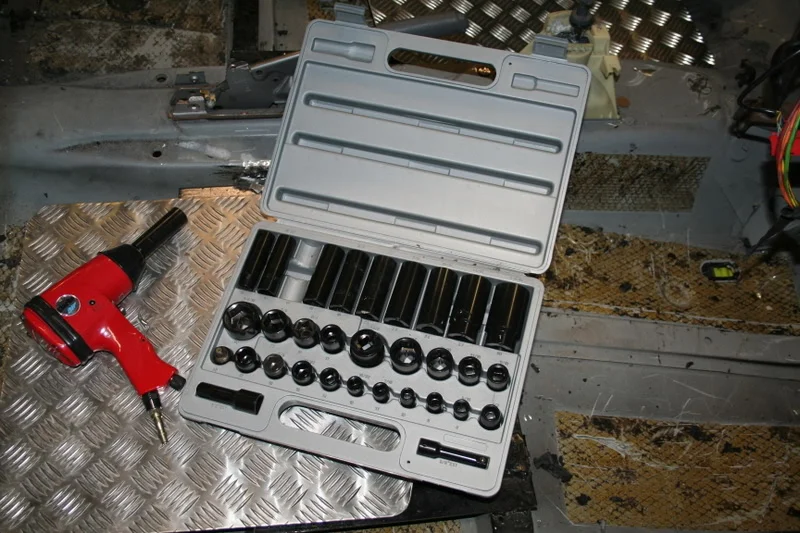
340 FTLB impact wrench for the compressor and a full set of high strengh impact sockets deep and shallow
Tin top metla drilling bits,. these are very good quality and should last for about 5 cuts each
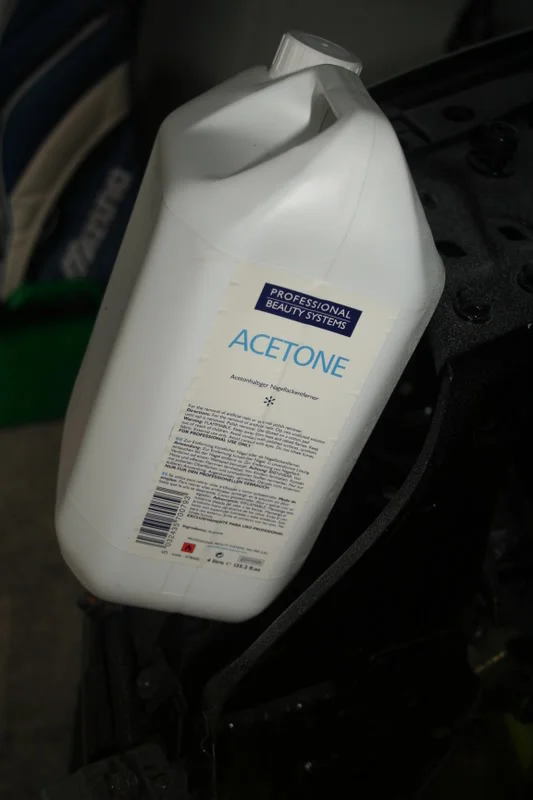
4 ltrs of acitone for the resin on the carbon fibre!
20 meters by 1250 mm roll of 200gsm carbon fibre weave (2x2)
soooooo exensive LOL
Ally checker floor plates for the front (weigh about 2grams LOL)
340 FTLB impact wrench for the compressor and a full set of high strengh impact sockets deep and shallow
Tin top metla drilling bits,. these are very good quality and should last for about 5 cuts each
4 ltrs of acitone for the resin on the carbon fibre!
 as i have bought the carbon fibre Evolutions .. in the same fabric and logo etc
how can you tell LOL!
it was more the angle that was the issue. wana weld it for me?
The blobby wide welds and the heat distorsion... what settings were you using for 3mm plate?
Don't get me wrong, i'm craptastic at it; but thats why im getting a professional to fit my cage as I wouldnt trust anyone who wasn't to weld something that is there to prevent me from serious injury
how can you tell LOL!
it was more the angle that was the issue. wana weld it for me?
The blobby wide welds and the heat distorsion... what settings were you using for 3mm plate?
Don't get me wrong, i'm craptastic at it; but thats why im getting a professional to fit my cage as I wouldnt trust anyone who wasn't to weld something that is there to prevent me from serious injury
had wire on 6
its 150 amp welder.
had it on
A
2
Min
with argon/co2 mix
Similar threads

- Replies
- 8
- Views
- 3K


