ph1 172
Ahh was hoping for a decent updated. Not to find it's being broken!
Keep the sell unless you offered decent money for it, everything else can be replaced with out loosing to much.
All the best with the house.
Hello mate!
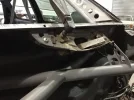
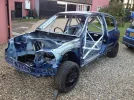
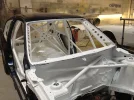
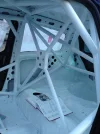
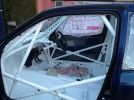
I know unfortunately so but like you say, the main thing is the shell will be kept and can come back to popping bits back on it here and there over a longer space of time.
")

") Hopefully cya on track in the summer.
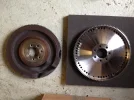
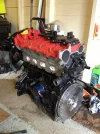
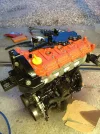
Hopefully cya on track in the summer. engine has done 76,963 miles iirc.