ClioSport.net

This is a sample guest message. Register a free account today to become a member! Once signed in, you'll be able to participate on this site by adding your own topics and posts, as well as connect with other members through your own private inbox!

  • When you purchase through links on our site, we may earn an affiliate commission. Read more here.

Zarko's 172'd Twingo

Car  Renault twingo
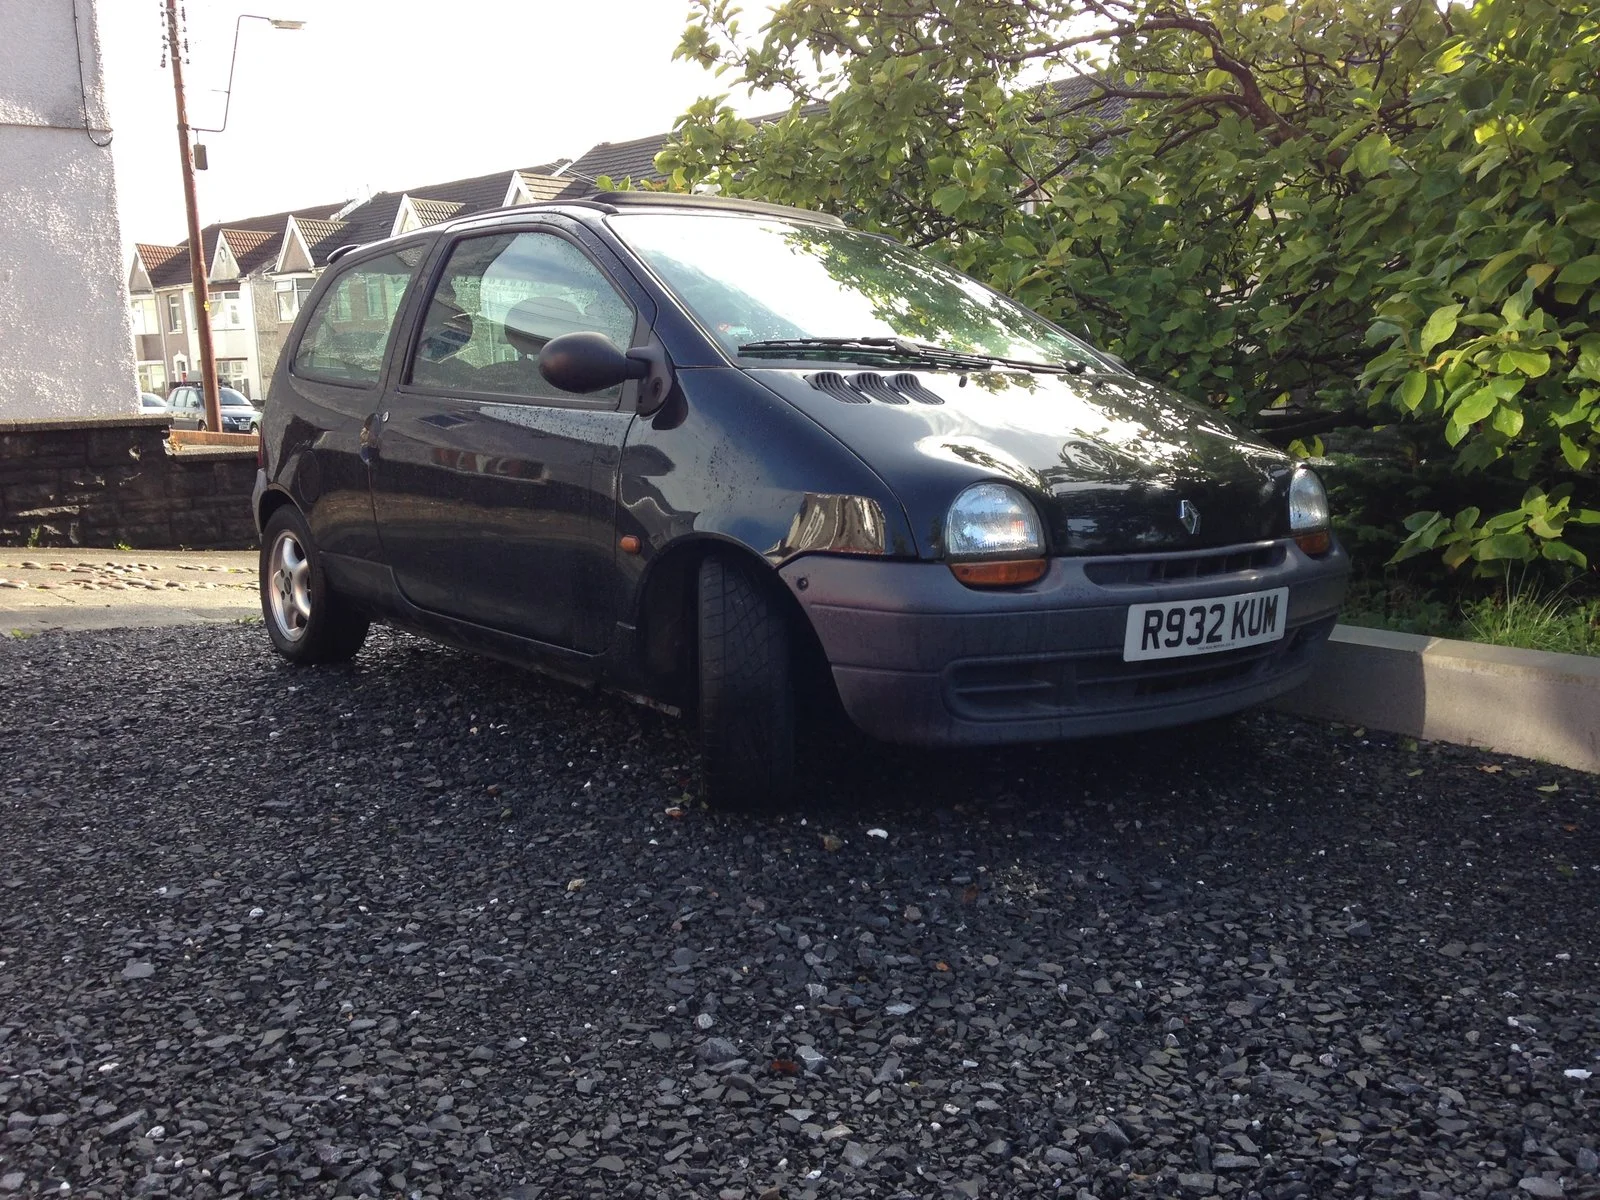
There she is. The car that looks like Stewie of family guy. As an Impulsive character I have a tendency to buy junk.. Little did I know that this little shoe-box is going to stay in my life for so long !
001.webp

Started out with an eBay ad (as they all do) with the intention of swapping the Auto box for a manual and get about town with it.
003.webp

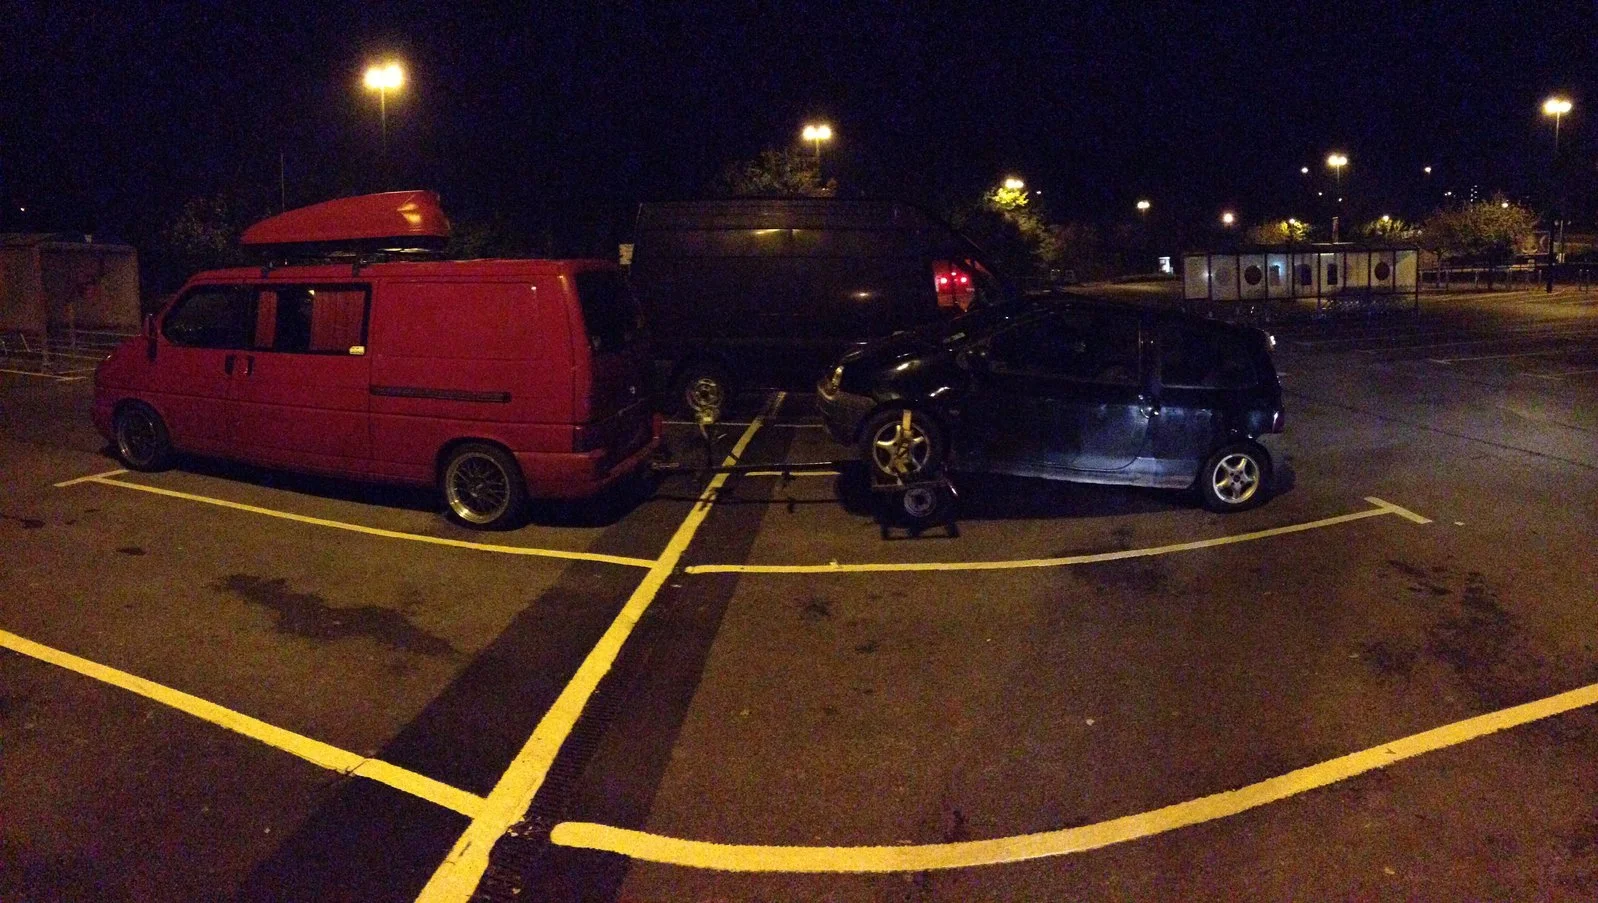
With good company on board , we headed out with Ry's van and picked it up Cardiff way From a gent who clearly didn't have a clue to the surgery his beloved twingo was going to get. 😂

DSC_0108.webp

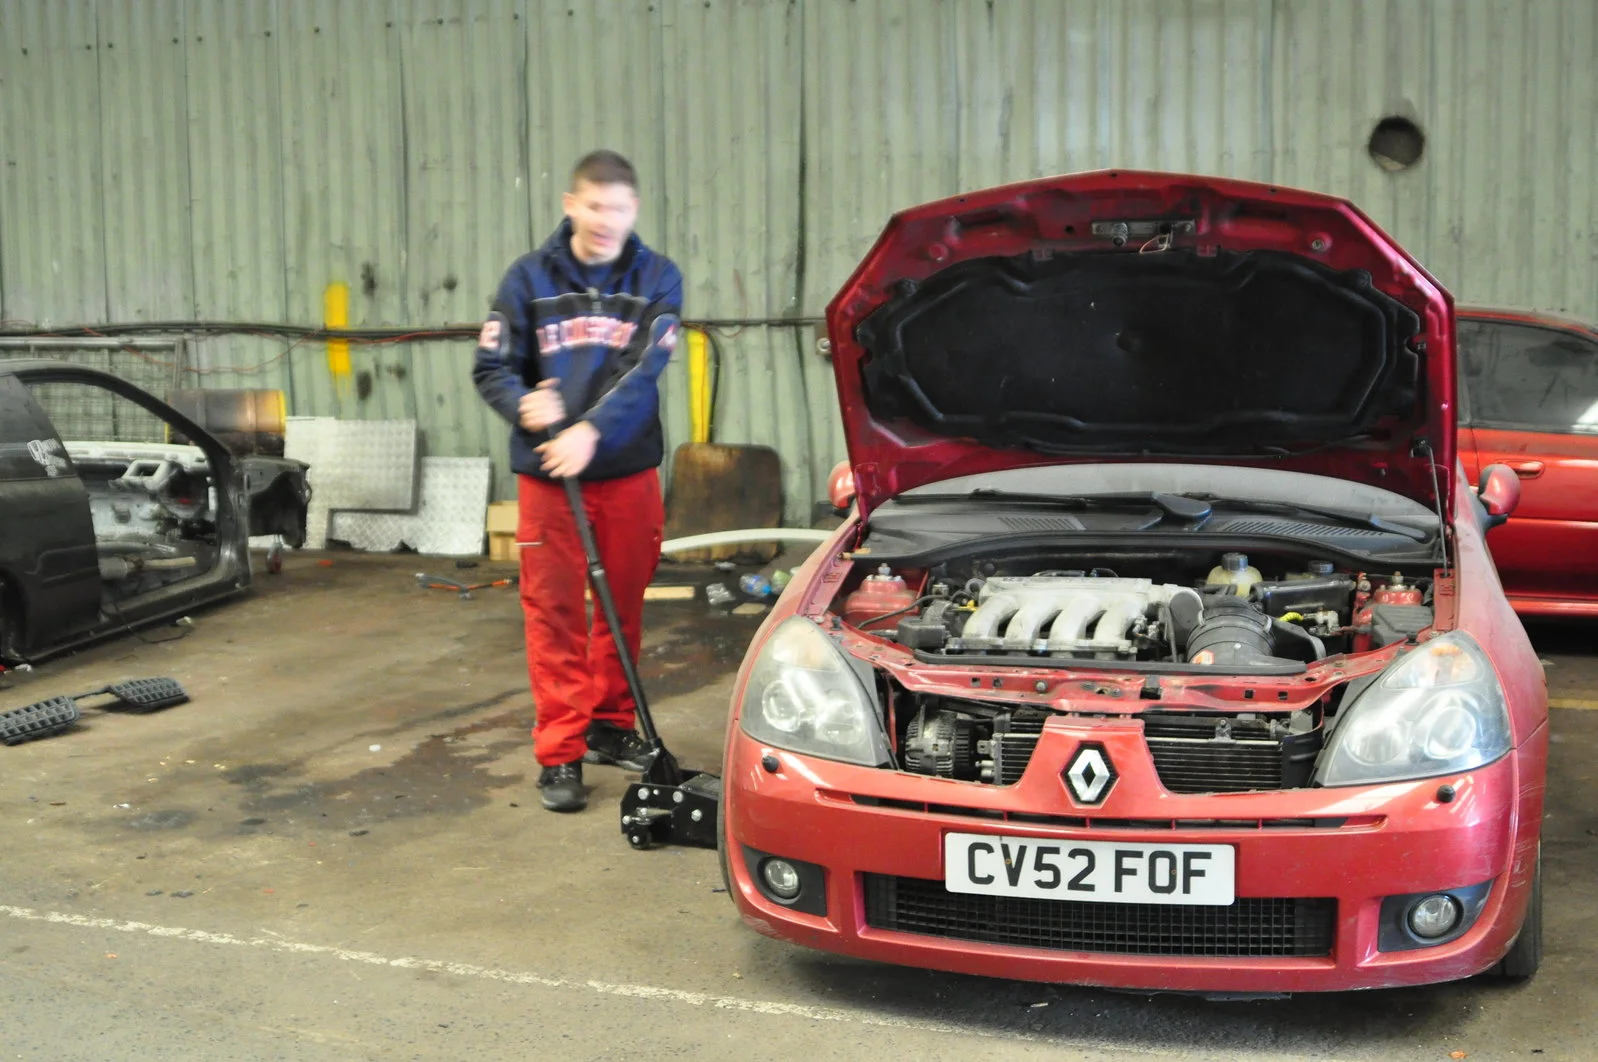
As I said before, The plan was to just to swap the broken auto box for a manual..... But Greg soon started to plant an idea in my head which soon sprouted. Pretty much G wanted to get rid of his Asbo car in favor of a civilized diesel workhorse. It ended in me buying his 172 at an irresistible price....
DSC_0139.webp


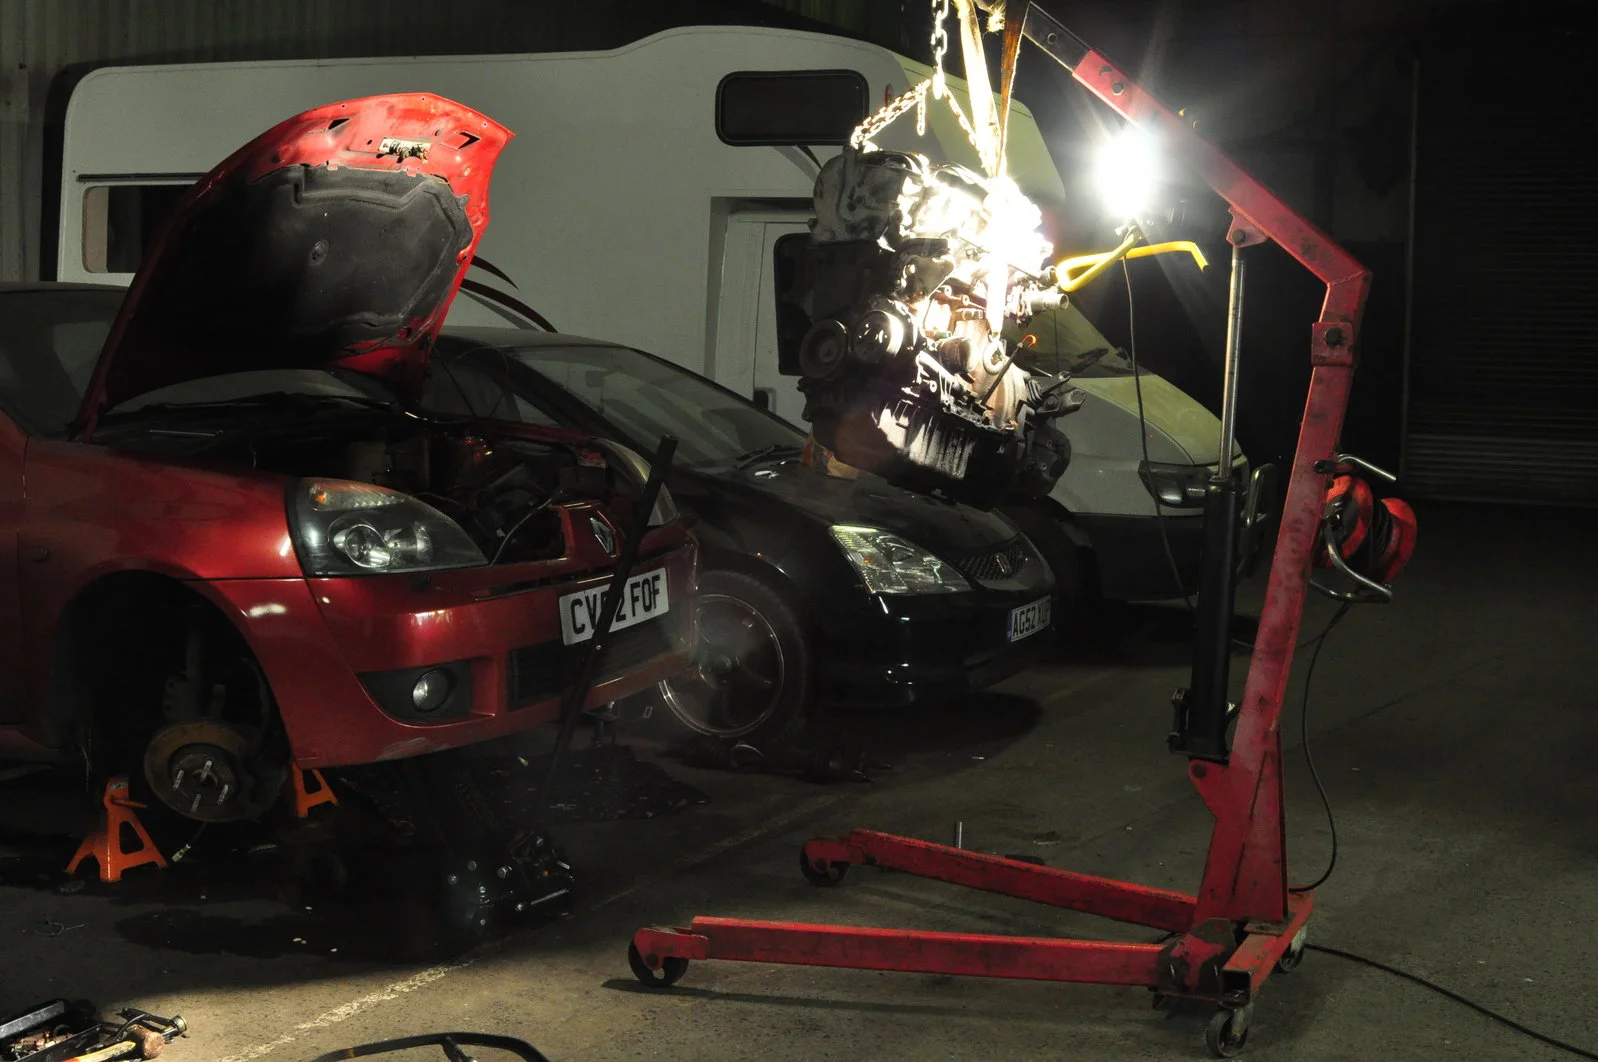
After a night of tinkering, the heart was out along with the gearbox. The plan was to use most of the parts from the Clio onto the twingo.
DSC_0147.webp

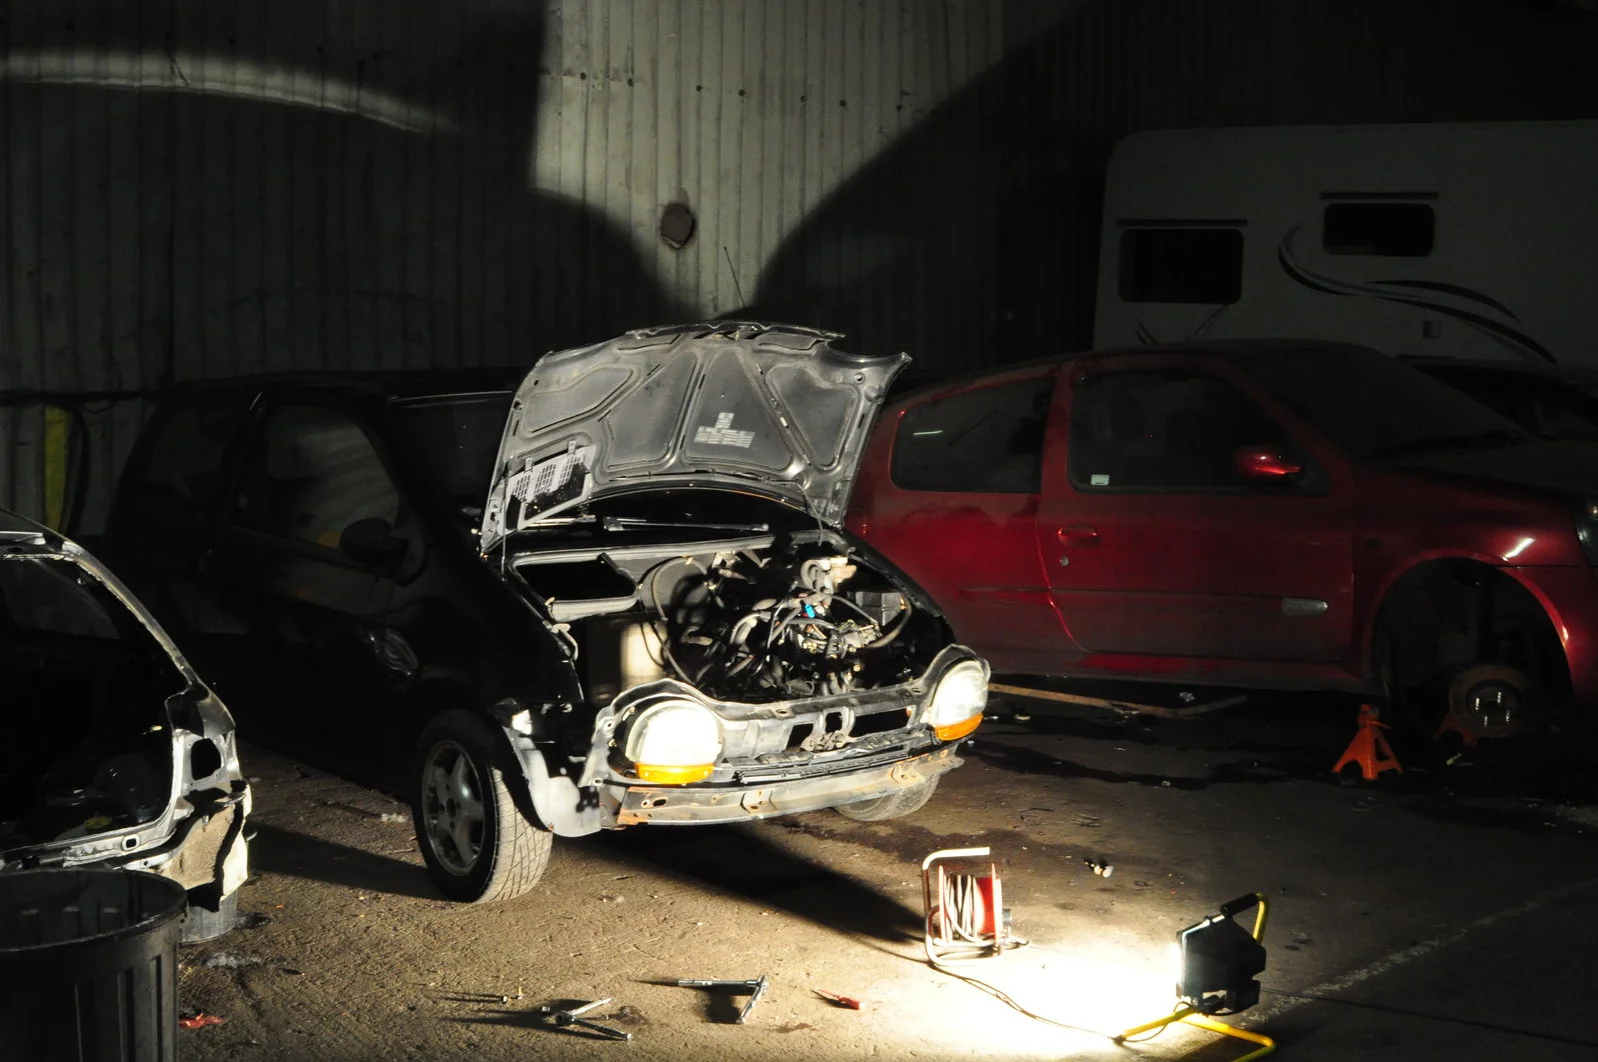
Since the twingo was sat outside in the darkness for almost 4 months, It was very impressed to see light again!
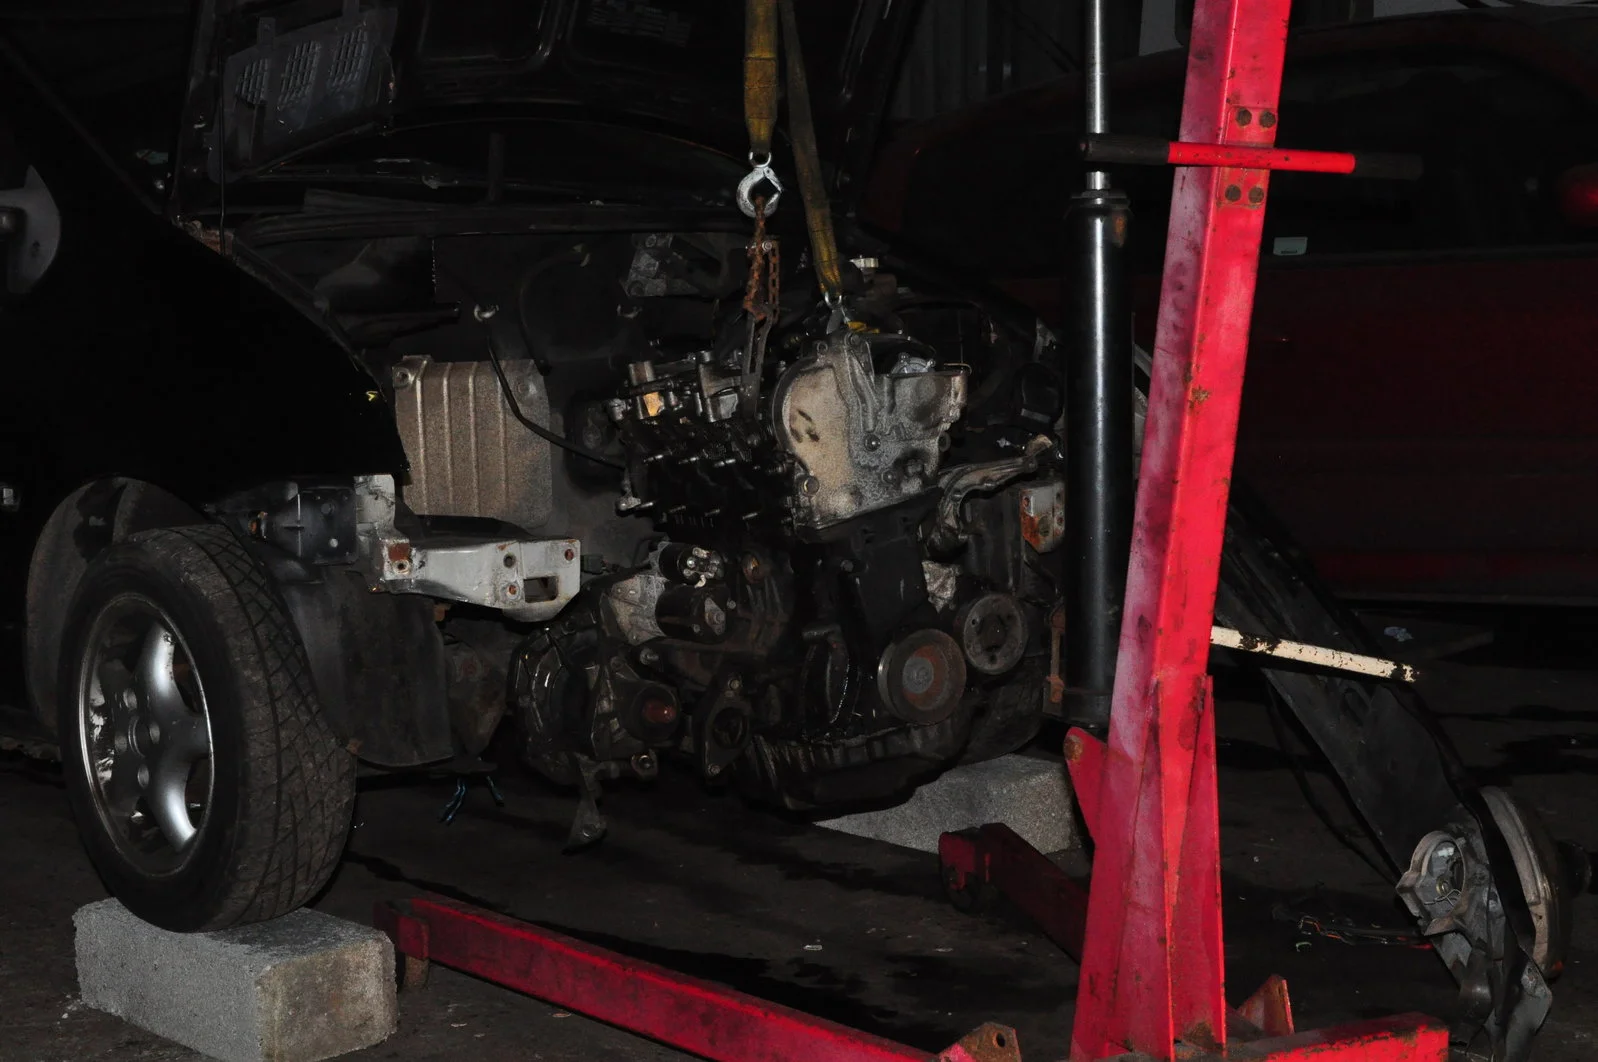


DSC_0166.webp


This engine configuration was not allowed due to increased health risks...
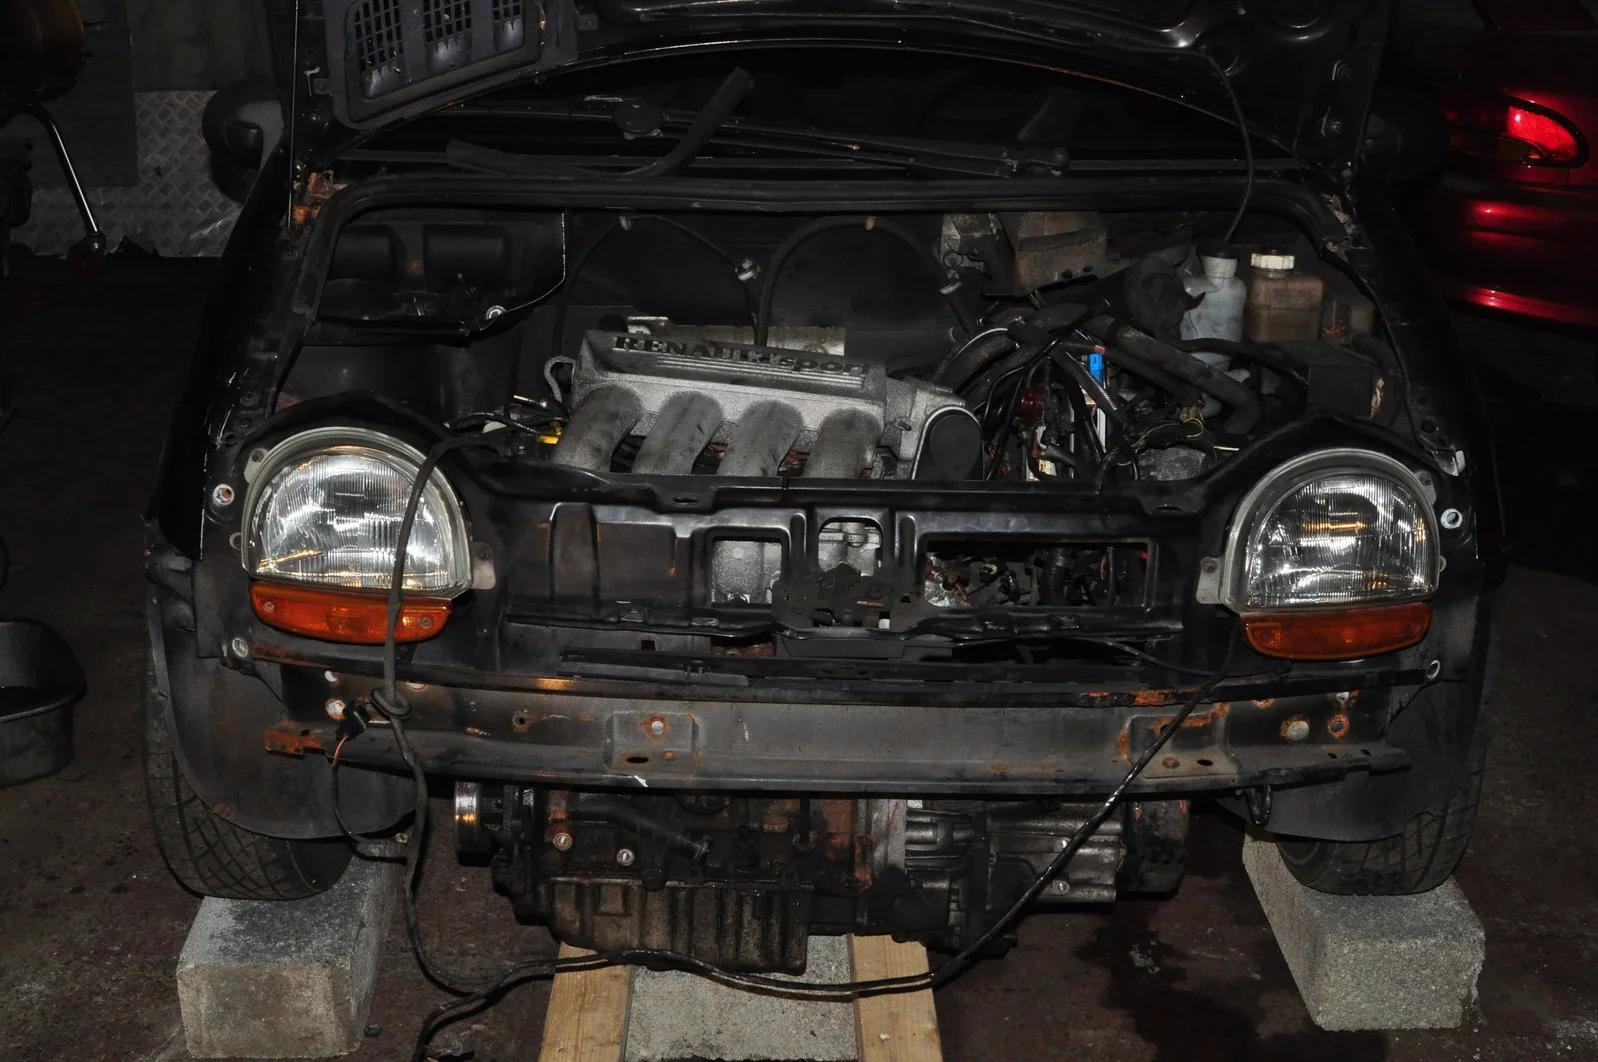
DSC_0170.webp

Just dumped the engine to see how it would look like inside the car, It was 3am but we wern't going home without an image in our heads!
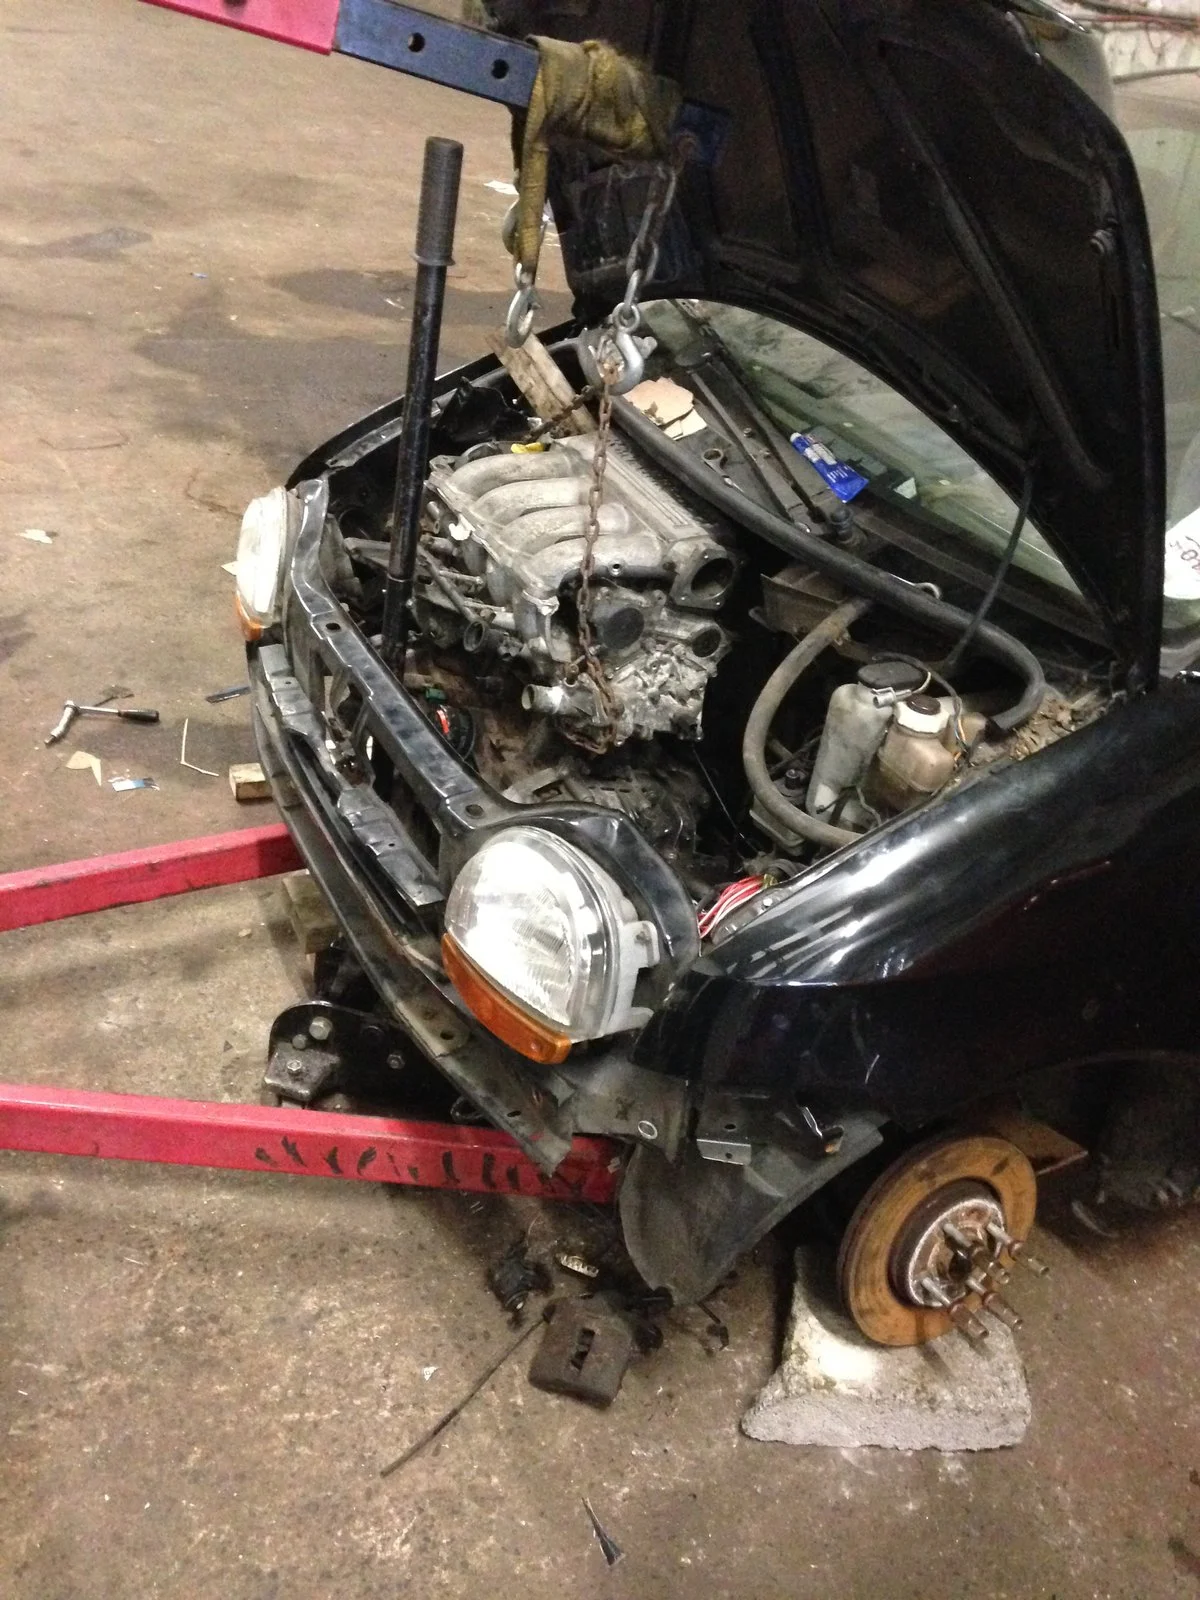

IMG_3085.webp

The first thing was to Chalk up the engine into the chassis. The chalking was a pain since there was little room to maneuver and a lot to think about. e.g. driveshaft alignment adjacent to the subframe, Exhaust exit etc.
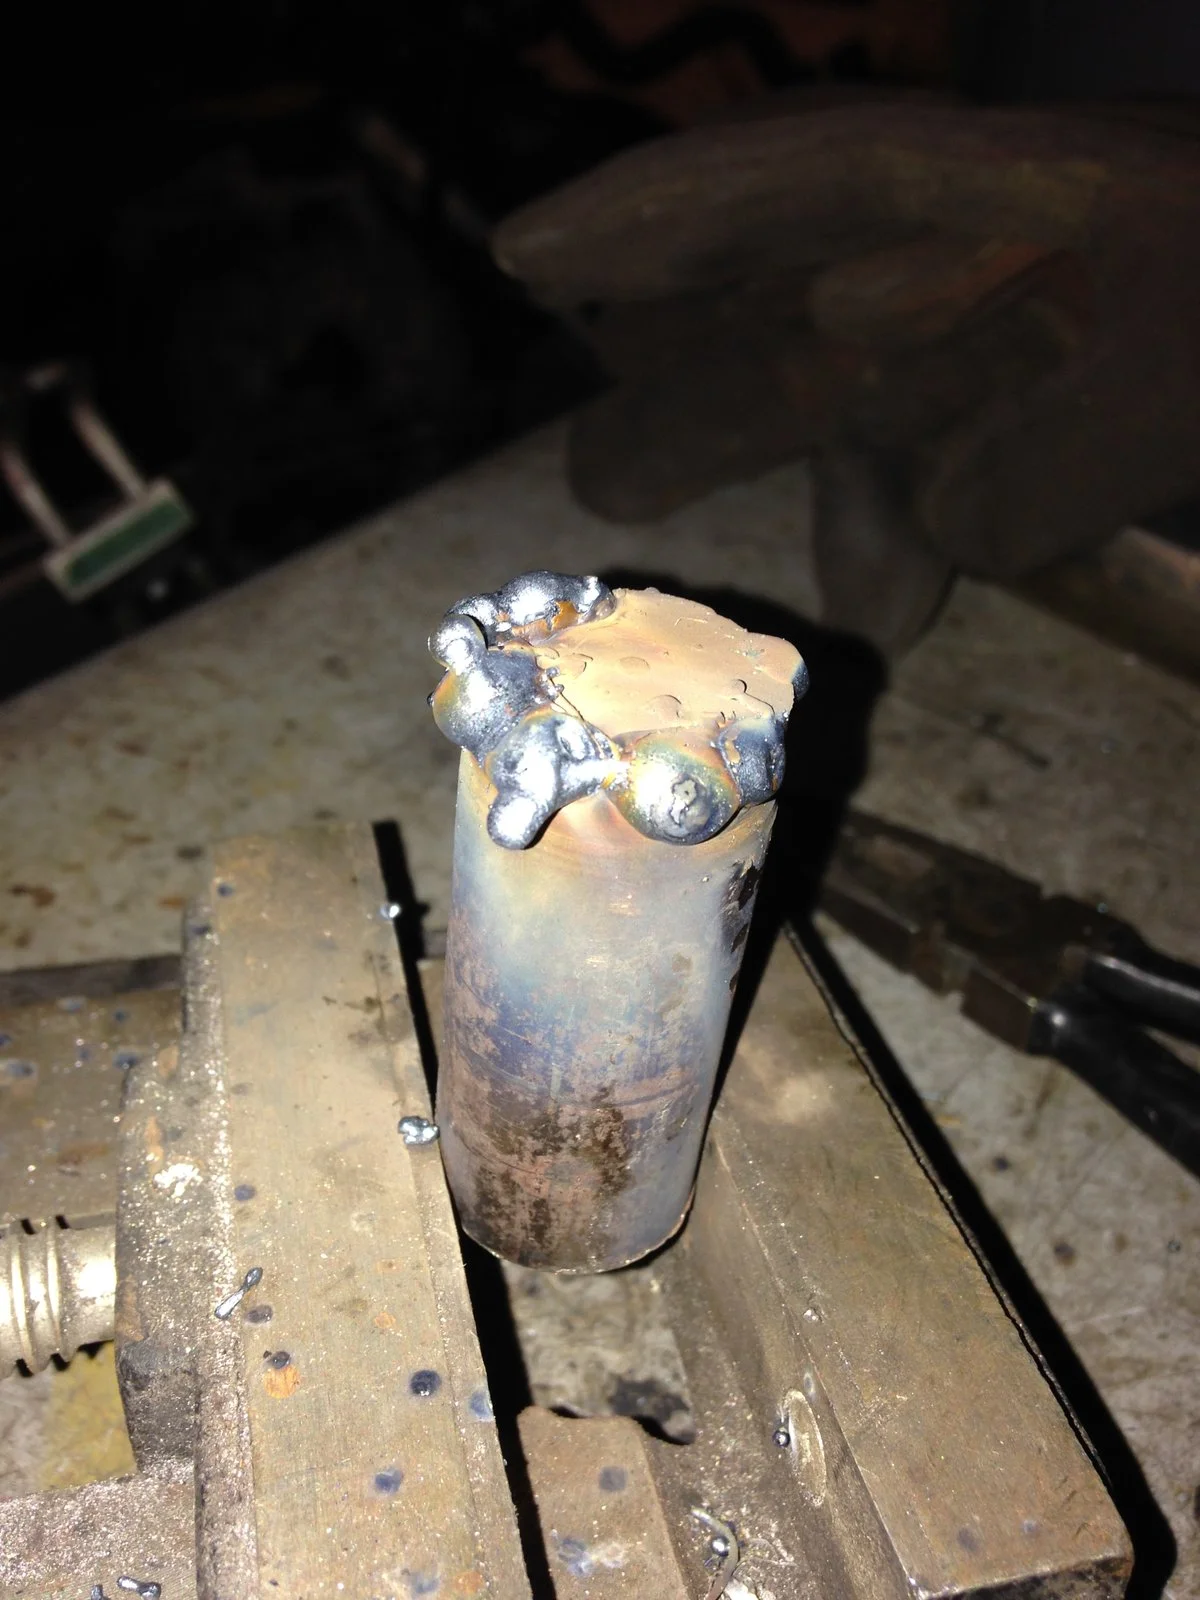
IMG_2999.webp

Next : engine side mount needed 3 studs that were going to be bolted on to some of the existing engine side mounts. This is one of the studs with my 2nd attempt at welding them , 25mm tube with the ends drilled out to make way for the hex bolts !
 

Attachments

  • IMG_3008.webp
    IMG_3008.webp
    206.1 KB · Views: 227
The car that looks like Stewie of family guy.

Ha! I had never ever thought of that, but I so see it!

Interesting project this, will watch with interest. Remember seeing one in Max Power donkey's years ago with an R5 GTT engine in it.
 
IMG_3001.webp

After some cleaning up on the lathe, They looked Fab !
IMG_3002.webp

All is left to do is to center drill it to spec.

IMG_3008.webp

The mount was coming along nice, You can see the lathed parts on the 3 mount points on the engine. The bars inbetween the studs took hours to grind and shape but it was shaping up well. Made sure that all the 3 bars connecting the studs came to a point at the top of the housing of the escort bush housing so the engine load would sit on top.
IMG_3010.webp

Grind... Put on top of bush... Grind again haha !

IMG_3011.webp


IMG_3040.webp

With the 2 studs fully welded to the bush on the engine side, I started to concentrate on sorting the gearbox side out.
IMG_3082.webp

.... Of course l have left the welding to the expert... I go as far as tacking lol

IMG_3084.webp
Can't really see but that's the engine side mount fully welded. Lovely job Greg !

IMG_3087.webp

After that , placed the engine back to see if the drive shafts still cleared and everything was okay and not out of place.

IMG_3088.webp
Everything seemed legit!..
 
Nice, one of the guys did this over on RTOC about five or six years ago, guy called Andrew Cooke. He loved it and brought it out on track at National day. Last I head he was looking at fitting a turbo to it lol
 
Nice, one of the guys did this over on RTOC about five or six years ago, guy called Andrew Cooke. He loved it and brought it out on track at National day. Last I head he was looking at fitting a turbo to it lol
Lmao ! im looking at turbos ! but I need to finnish it first, If its the turqoise blue one, I've been reading about it , looks awesome ! and it helped me see whats involved.
 
IMG_3104.webp

IMG_3104.webp
Welded Plate where my Engine side mount will be sitting is
IMG_3105.webp
IMG_3144.webp

IMG_3145.webp
Bent some 3mm plate to make A "U" shaped bracket, This is where my escort bush will rest.

IMG_3146.webp

Now this Bit Took me ages: Trying to get the engine as level as possible before finally Tacking the 2 chassis side mounts in place... Greg saw me faffing around, Ended up placing some string across the whole car... Made life 100 times easier lol


IMG_3147.webp

Everything is level , placed a pin through the "U" bracket and the Bush

IMG_3148.webp

Now for the Gearbox side....


IMG_3150.webp
With both Chassis brackets Welded/Tacked up , Everything bolted nicely from engine to chassis.


IMG_3151.webp

IMG_3153.webp

There you have it... The heart is held in by its own weight !
 
IMG_3148.webp

Another shot of The gearbox mount.. Cant wait to paint them up, they are going to look great !
IMG_3159.webp

Now, The Suspension of this thing is a bit of a concoction/Cocktail mix of some fine skunkworks parts... here goes: Basically The Spax coilovers belonged to gregs old 4 door Clio (Which he F7R'd ). The 1.2 hubs are thinner and therefore the mounting on the coilies will not go round my 172 hubs, So the plan was to take the old shocks of the 172 and remove the mountings on them , then, slide them over the 1.2 coilies and weld them in place. So I dremelled round the welds in hope it will hammer off.
IMG_3161.webp

1 mount done , 1 more to go ,
IMG_3163.webp

Another one

IMG_3164.webp

It took a couple of blows to get them off... But they did come off.. Well fly off.
IMG_3166.webp
The Spax Coilies that I will be using, they also needed the Mounts ground off them

IMG_3167.webp

IMG_3168.webp
This is where I fucked up and pissed G off... , Kinda cut too much in with the angle grinder and ended up cutting into the actual cylinder. so he had to fix them up before sliding the 172 mountings on.. Sorry dude Lol
IMG_3277.webp

(Random Off the build topic: I was on holiday in Bulgaria summer 2014 when I seen this mischievous little beast.) September 2014: This is where the build kinda stopped for me, Unfortunately due to me beginning 3rd year in uni that September, I bombed the car off. Completely neglected it, Due to G moving to a new garage , the Car again took a side step and sat outside where the Welsh weather was far from kind to it...
 
IMG_3478.webp

Fitting the 172 Fuel pump to the twingos tank.. (forgot that it had a full tank when I bought it , so you could say I was enjoying taking my time swapping the 2 items over... got me all chilled out this task.. know what I'm saying ;) )

IMG_3479.webp
IMG_3487.webp

Again End of 2014/Start of 2015 wasnt a good time for me/ Plenty of uni work and It was also time to say goodbuye to the type R which was replaced by a proper drivers car. the 106 held more water on the inside than my local swimming pool... but it took me back and forth to uni and it was cheap to run.. hows Swansea to London and back on £35 sound ?

Anyways... Summer of 2015 was upon us and With me graduating and G buying me a couple of cans of "man the F**ck up" I was back in action
IMG_4982.webp

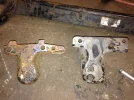
Now on this photo , The top beam is the twingo beam, The bottom is the 172 beam. Somehow I have managed to miss read another members build (The turqoise twingo 172) and thought that he mentioned that a 172 rear beam would fit straight on..... That wasnt the case, the 172 beam is a whole 5CM wider from mounting point to mounting point..
IMG_4988.webp

Greg advised to chop the beam in half where we would weld it... I was rather dubious but after some persuasion(not much atall) I said F**k it and I ended up chopping the bugger in half ... (at that point I didn't realized I misread the build thread ... lol )
IMG_4989.webp

Im a little bit gutted as I have a few photos missing on me grinding the beam and making the strength plates after Greg seriously welds the 2 halves together and the strength plates.. If I find them ill place them up here.
 

Attachments

  • IMG_4983.webp
    IMG_4983.webp
    237.4 KB · Views: 217
  • IMG_5124.webp
    IMG_5124.webp
    153 KB · Views: 193
IMG_5217.webp

these 2 beauties came on offer on eBay so i ended buying them . Cant wait to fit them !

IMG_5358.webp

(As you can see at this point the twingo is rather rusty but god has spared me enough metal as if to say (either finnish it or ill take it away from you)... What happened with the mounts.. Well , pretty much we built the shocks up , put a 15" wheel underneath the arches only to find out that we had an inch of travel. So the plan was to raise the top mounts by 3 inches so we get a total of 4" of travel. As you can see there is like a shroud/plate where the air from the bonnet scoops down towards the interior. only problem is it was on the way of everything, so it had to come off. Then i made my own compass with 2 nails and some plate i found off the floor. The reason why the nails are different heights is that im taking consideration of the difference in height from the center to the bottom of the mount where i have scribed.

IMG_5359.webp

Luckily for me G has already made some top mounts for his own Clio project , so I ended up swapping my new spherical bearing top mounts for his items.

IMG_5365.webp
This was a pain because I had to lie down with the drill and punch holes through as I didn't have enough clearance for my drill up top. This is where I realized how weak my muscles were and that I need more training lol !

Lucky for the second top mount I used the air saw which made things a piece of P**s
IMG_5566.webp

Just testing how they would fit , They are looking sweet !

IMG_5567.webp

IMG_5612.webp

Greg needed some clearance for his welder so I punched these holes either side so he can get the welder round the back as well as the front.
IMG_5613.webp
 

Attachments

  • IMG_5388.webp
    IMG_5388.webp
    114.7 KB · Views: 188
  • Like
Reactions: Gus
IMG_5938.webp

Welds are now complete on the top mounts thanks to G's epic welding

IMG_5967.webp

I have cleaned the bracket as it was rusty as S**t

IMG_5968.webp

Prepping for some more welding

IMG_5969.webp


The gearbox mount has some strength to it thanks to the 2 plates that go round and one rectangular plate to give it some extra support. Sprayed everything with acid etch.
IMG_5970.webp

More support on the other side as well

IMG_5973.webp
IMG_5974.webp
IMG_5975.webp

Clean all the little spits from the welds and it should look awesome !
 

Attachments

  • IMG_5972.webp
    IMG_5972.webp
    254.1 KB · Views: 201
  • IMG_5976.webp
    IMG_5976.webp
    100.4 KB · Views: 190
Lmao ! im looking at turbos ! but I need to finnish it first, If its the turqoise blue one, I've been reading about it , looks awesome ! and it helped me see whats involved.

Yes mate that's the one. He loved it, he used to be on here but he seems to be another legend who's drifted away.
 
I like seeing you pop up every now and again to be honest.

Is there an update in your build thread?

I'm too old to dedicate countless hours to this social media stuff.

It's still stupid fast, but I still have box issues, after looking at every ND0 gearbox available I've today purchased an ND0 009. Will be removing the DCi final drive along with the LSD which should kill two birds with one stone. Then will run it this year and so the final incarnation over winter.
 
I'm too old to dedicate countless hours to this social media stuff.

It's still stupid fast, but I still have box issues, after looking at every ND0 gearbox available I've today purchased an ND0 009. Will be removing the DCi final drive along with the LSD which should kill two birds with one stone. Then will run it this year and so the final incarnation over winter.

What are you building T.Trophy ?
 
01twingobeampaint.webp

18/02/2016 Rusty Beam no more: I had a guy sandblast the subframe , wishbones , hubs and rear beam as they were getting rather rusty. This is the modified rear beam with the welded supports after a few coats of chassis black. Sprayed them in my garage so excuse the old lawnmower.

02twingobeampaint.webp

Another close up of the weld on the underside. Thumbs up for Gs welding skills again.

03twingobeampaint.webp

04twingobeampaint.webp

Remember the old rusty Subframe? This is whats left of it.... plenty of work thats for sure :(

05twingobeampaint.webp
07twingobeampaint.webp

The subframe is made of a couple of layers of mild steel so its gonna be tricky to repair.

08twingobeampaint.webp

Its come out lovely after sandblasting tho !

1702twingo.webp

Like drying salami , The Italians would be jealous, French prosciutto anyone?
 

Attachments

  • 06twingobeampaint.webp
    06twingobeampaint.webp
    370.5 KB · Views: 198
12741865_10205642554170823_2530889793894380411_n.webp
Last one for the night. just came home from the garage, the beam has seen better days, so its gonna have to undergo some surgery....tbc
 
What are you building T.Trophy ?

It's all a bit old hat now but my little Clio Trophy, I've had it from new and done a few bits to it over the year's. It's at 435bhp and 390lbft at the moment, I'm just not happy with the gearbox that I fitted.
 
Back
Top